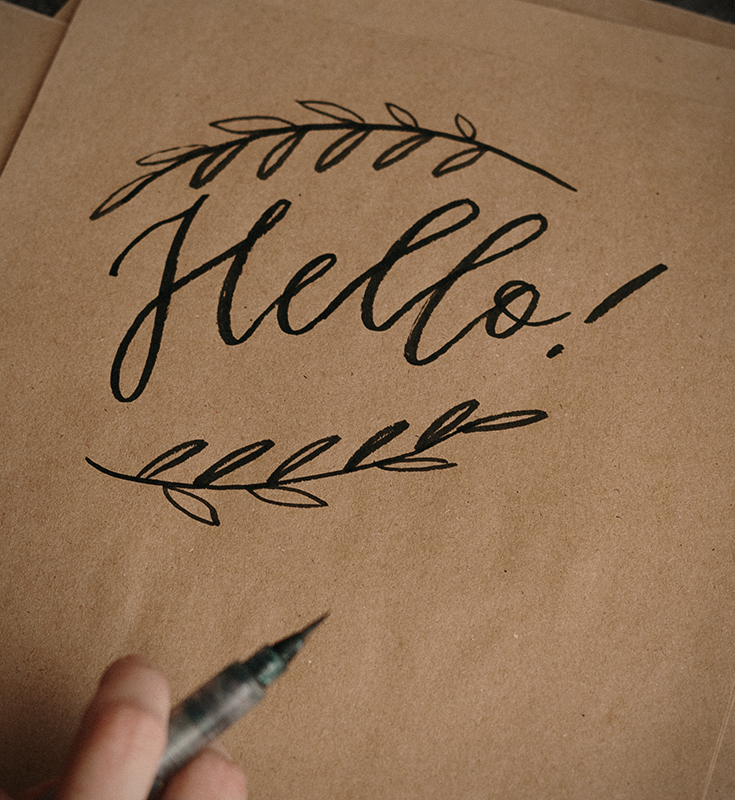
Adding hand lettering to your art projects is a great way to add a personal touch.
Whether you're working on a scrapbook page, a mixed media canvas, or a simple card, hand lettering can really make your project stand out.
Plus, drawing letters is a lot of fun!
In this blog post, we'll show you some easy tips and tricks for adding hand lettering to your art.
So, grab your supplies and let's get started!

Types of Hand Lettering
There are three main ways to add hand lettering to your art projects:
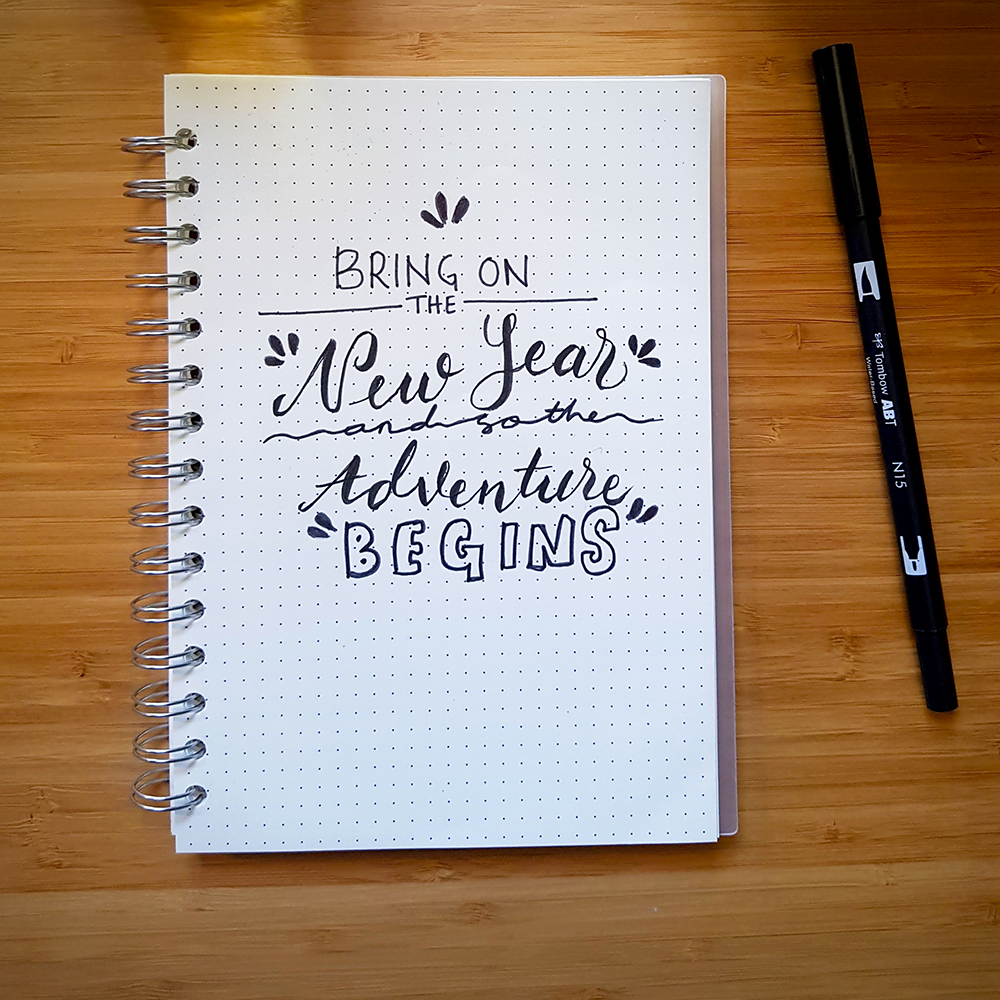
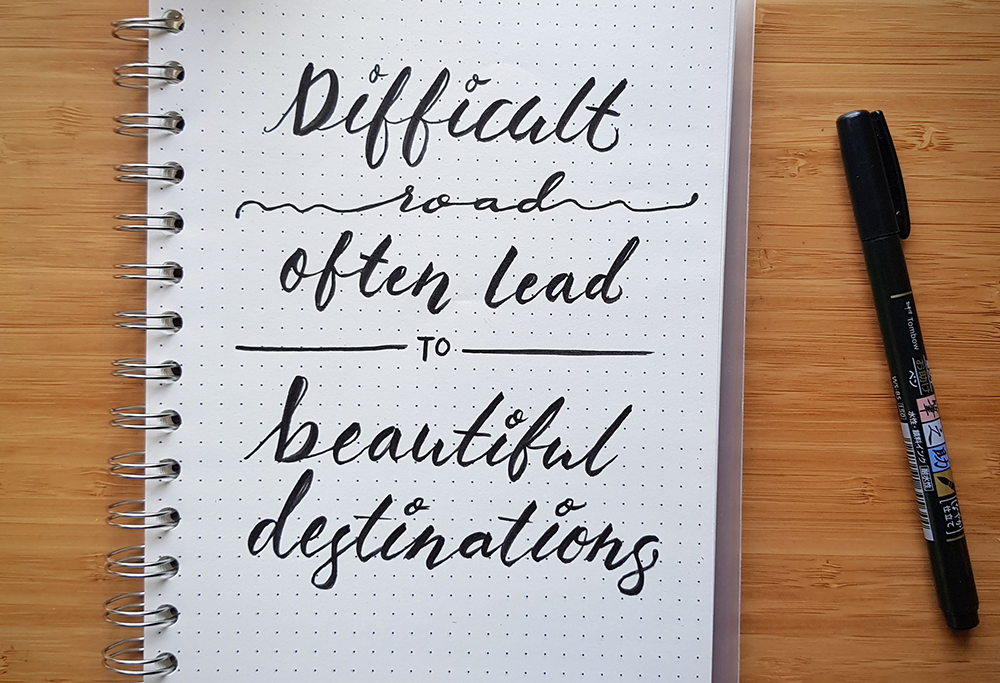
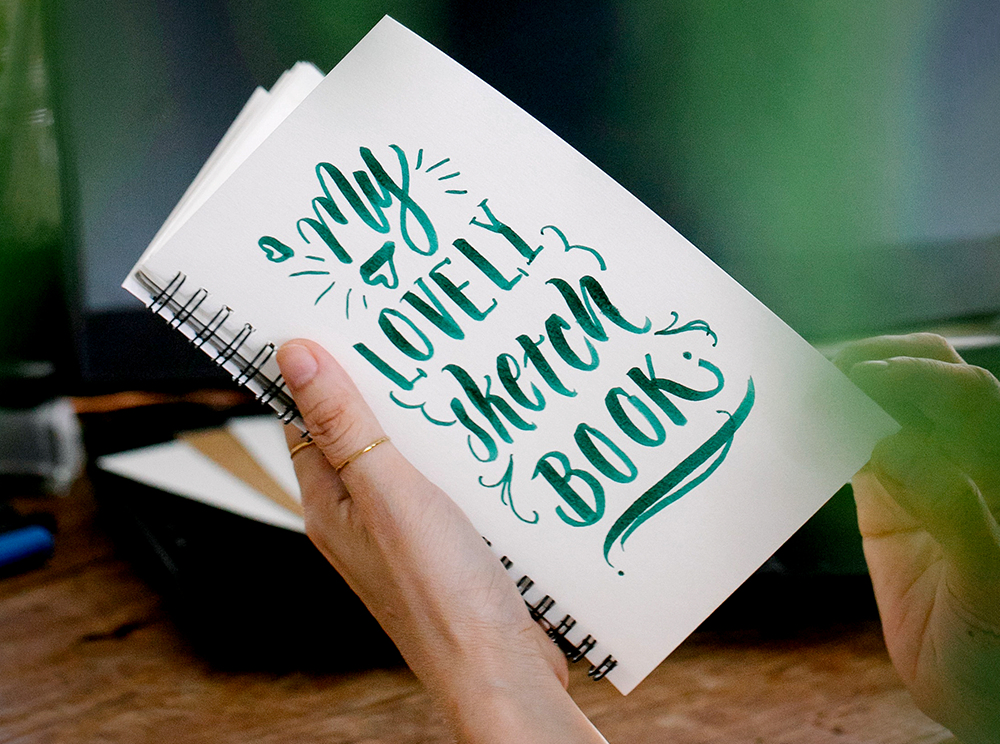
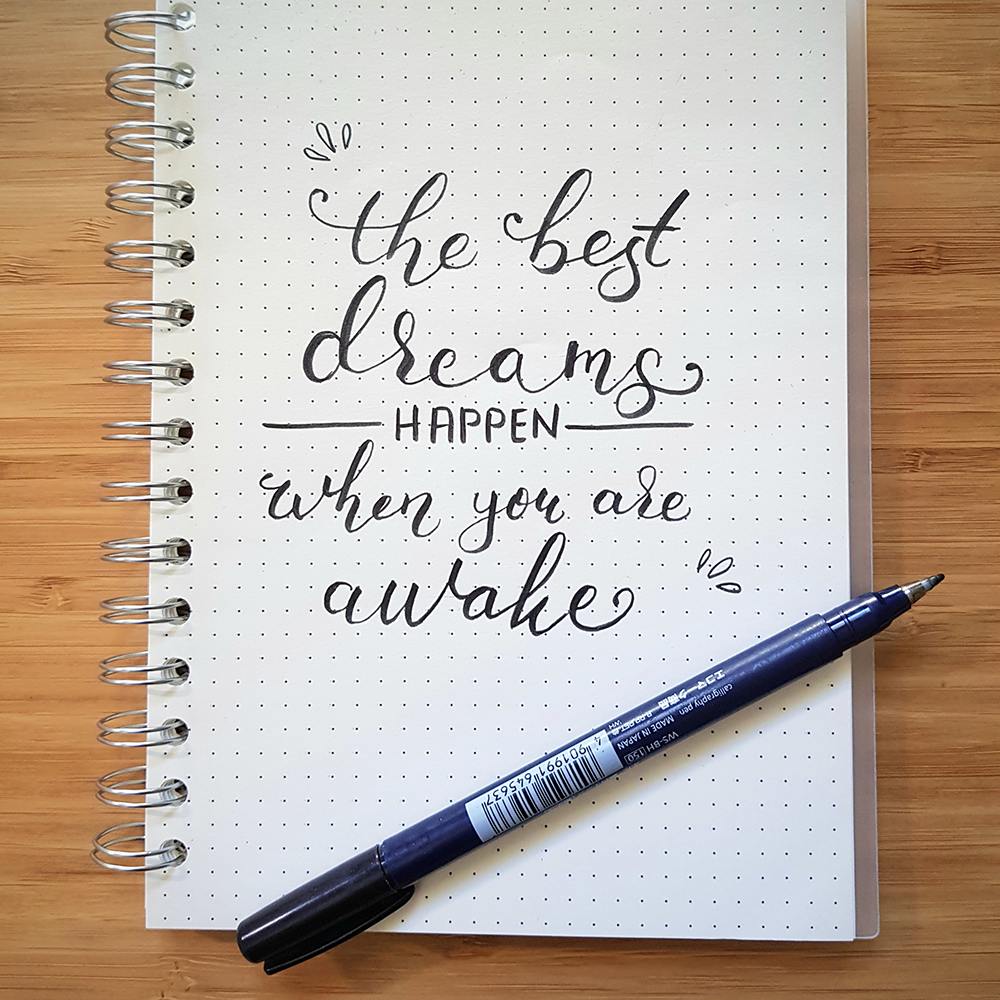
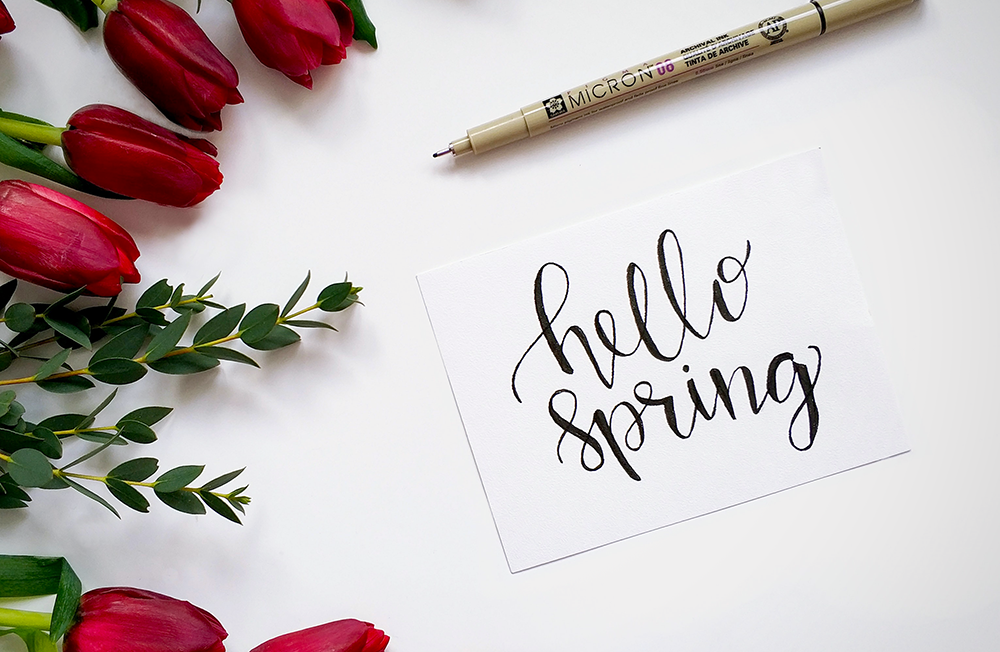
- Freehand lettering:
Freehand lettering is one of the different styles you can use to master hand lettering.
This is when you simply write out your words or phrases without any guidelines.
It's a great way to add a personal touch to your project, and it's also the quickest and easiest method.
You can use any type of pen or marker for freehand lettering, although we recommend using a fine-tip pen for more control.
- Lettering stencils:
Stencils are great for creating consistent lettering on your project, and they are essential lettering tools for beginners.
There are all sorts of stencils available, from simple alphabet stencils with all the letters to more intricate designs.
If you're new to hand lettering, we recommend starting with a basic stencil set to draw letters and practice hand lettering with.
You'll also need some sort of pencil or pen to trace the stencil onto your project.
- Lettering stickers:
Another easy way to add lettering to your project is with stickers.
Stickers are great because they require no additional supplies and they're very easy to use.
Just peel off the backing and stick them on your project!
There are all sorts of lettering stickers available, from simple alphabet stickers to more decorative designs.
Explore these basic lettering styles and experiment, so you can find the best lettering style for you and your artwork!

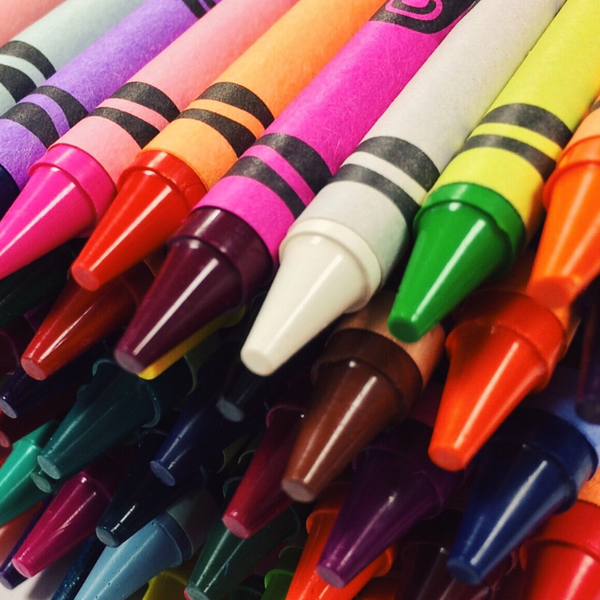
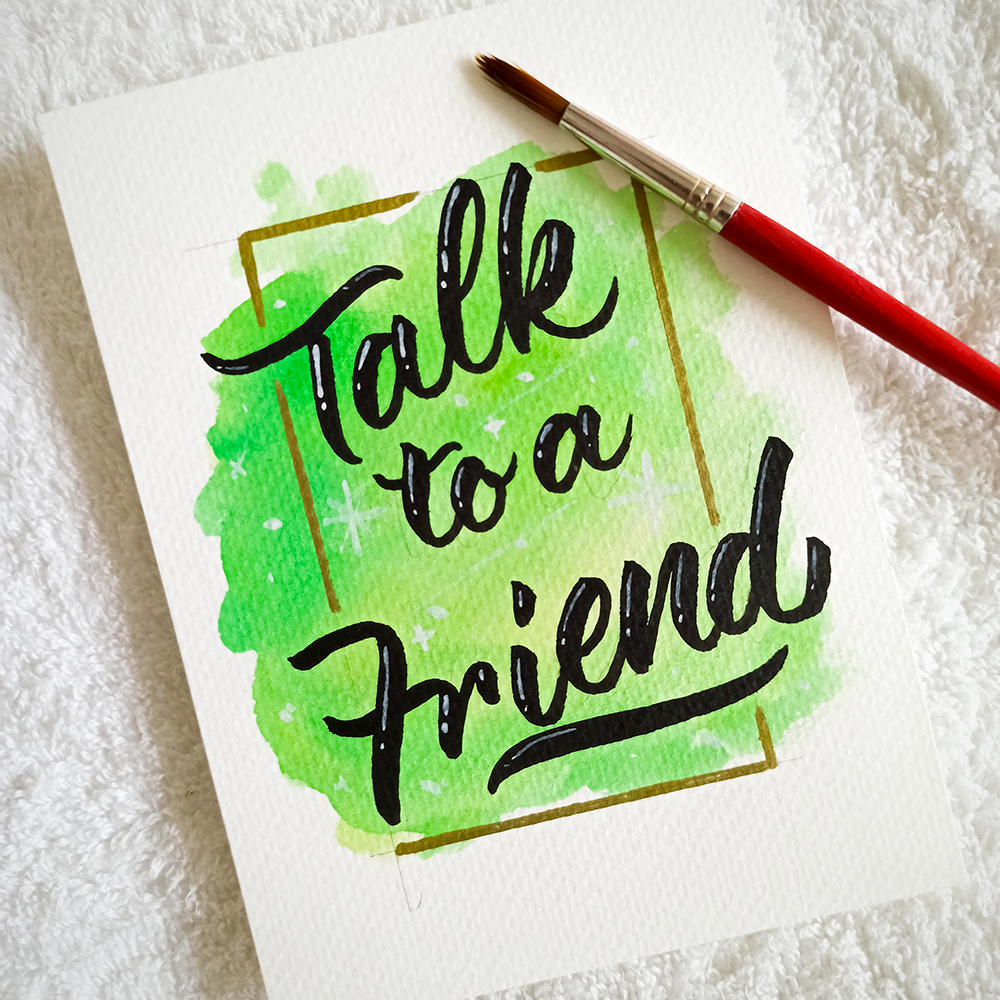
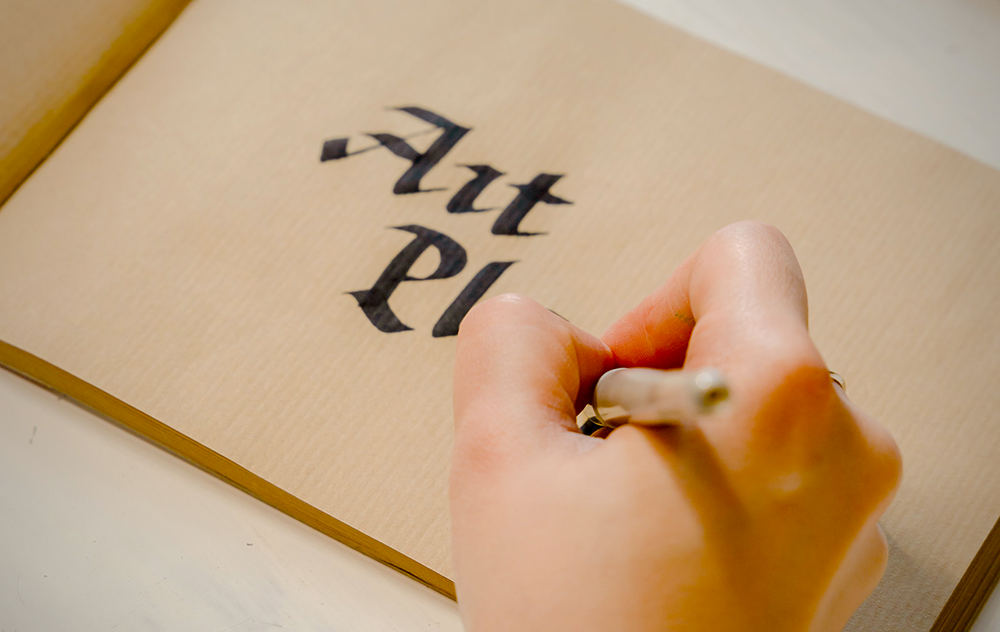
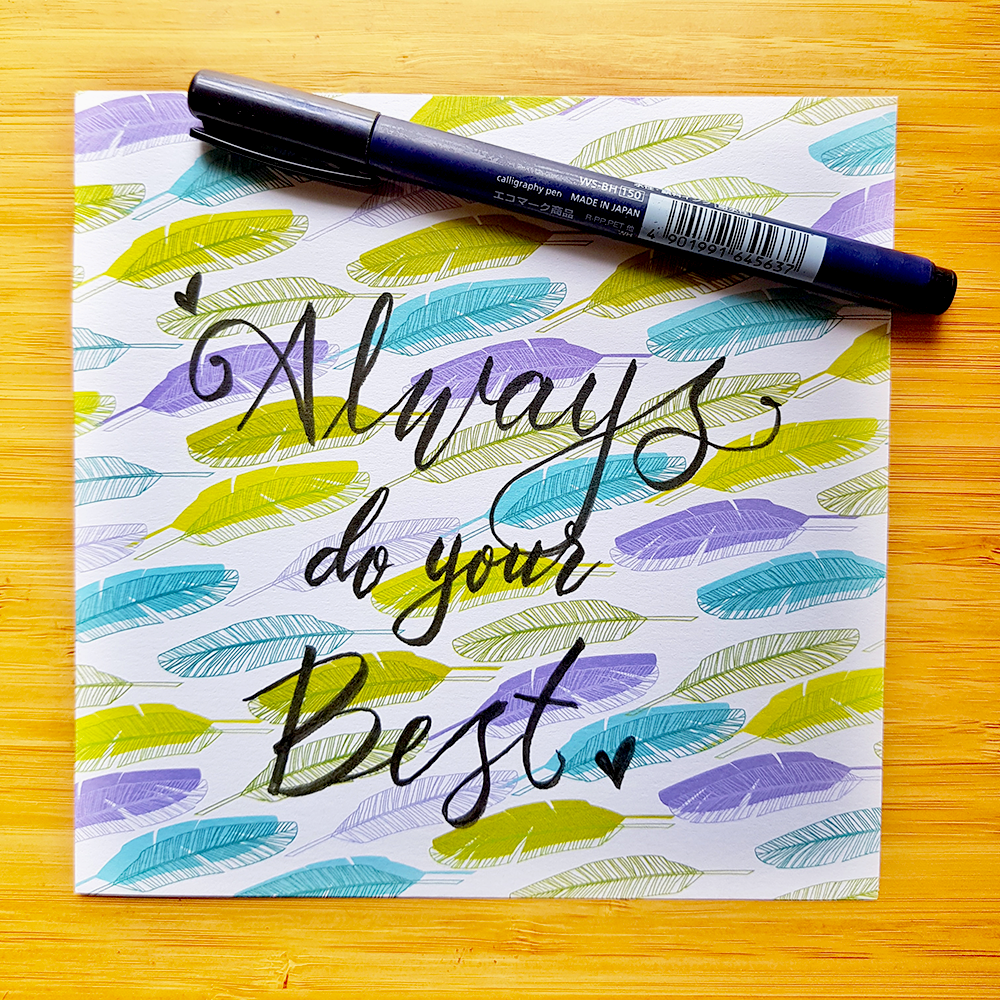
Choose Your Materials
The first step is to choose the right materials for your project.
Brush lettering is a common practice on many artists' lettering journey; brush pens are great for hand lettering projects and easily let you develop your lettering skills.
If you're working on a scrapbook page, you'll want to use acid-free pens, like a brush pen set, or pencils, so that your lettering won't fade over time.
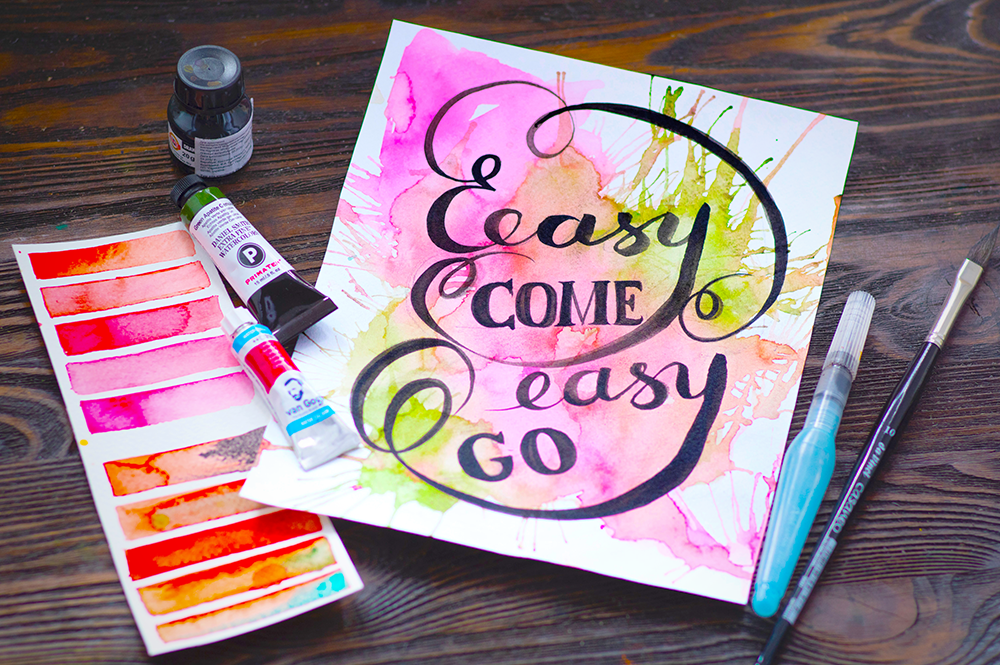
For a mixed media canvas or other project where you'll be adding paint or other mediums, you can use any type of pen or pencil.
Just make sure it's waterproof when you hand letter, so that the ink doesn't run when you add wet mediums.
Now that you've chosen your materials, it's time to start lettering!
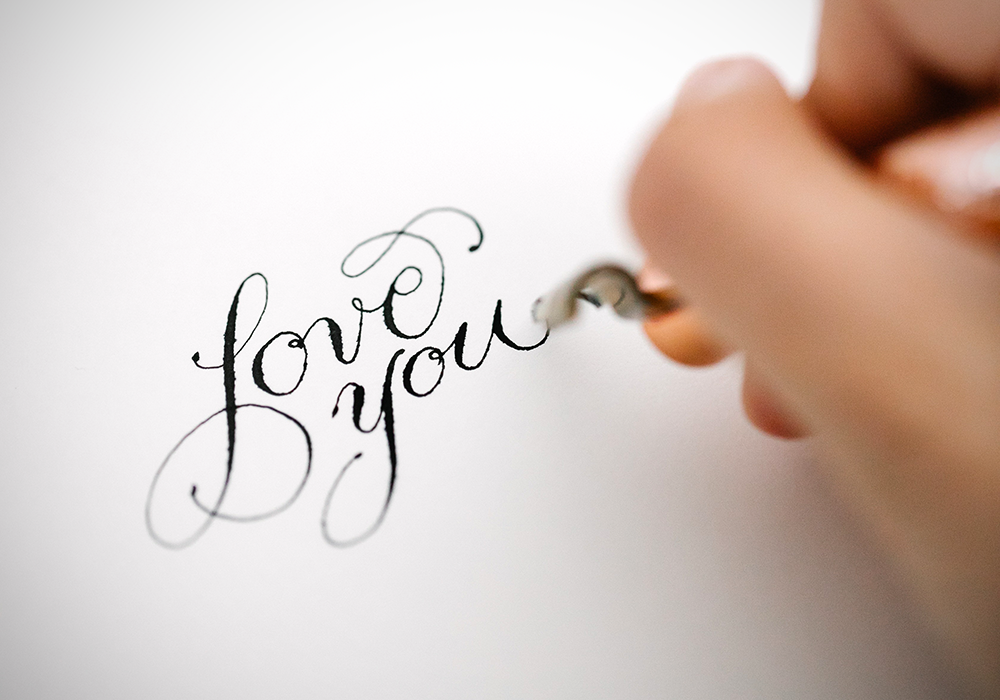

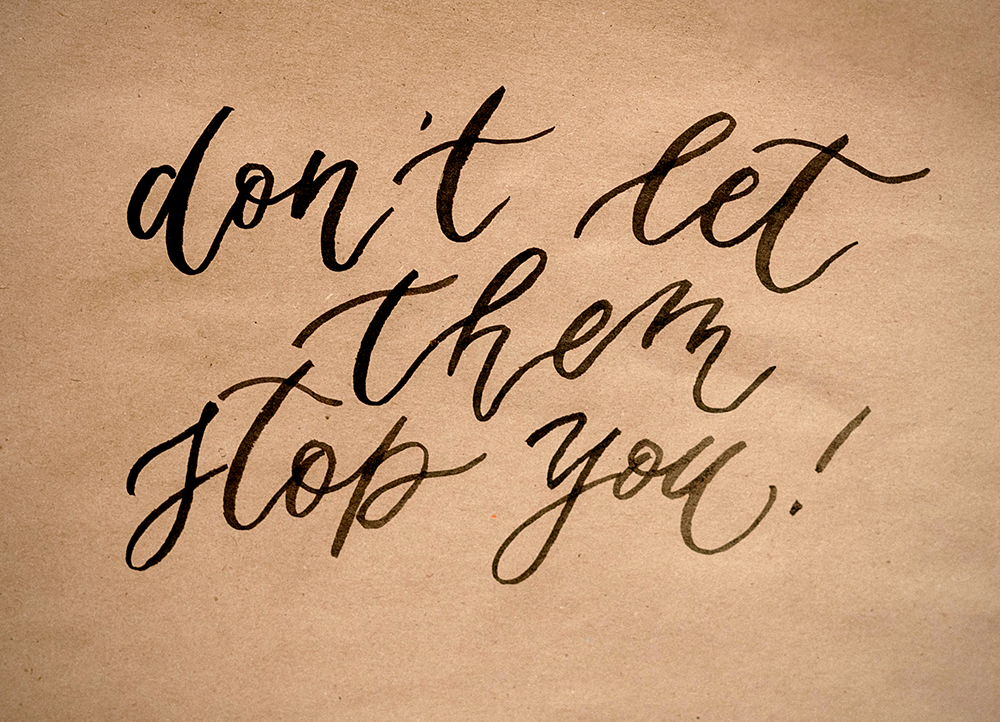
Practice First
Before you start adding lettering to your project, it's always a good idea to practice the basic strokes first.
This will help you get a feel for how the pen or pencil works and how much pressure you need to apply.
It will also give you a chance to try out different lettering styles, such as serif lettering or script lettering, until you find one that you like.
There are plenty of hand lettering tutorials available online to help you achieve successful hand lettering.
Once you've got the hang of it, you can move on to your project.
Start Slow
When you're ready to start adding lettering to your project, take it slow at first.
Write out each word or phrase one letter at a time so that you can focus on getting the letters right.
Once you've got the hang of it, you can start writing faster.
Just don't get too ahead of yourself—if you make a mistake, it can be hard to fix!

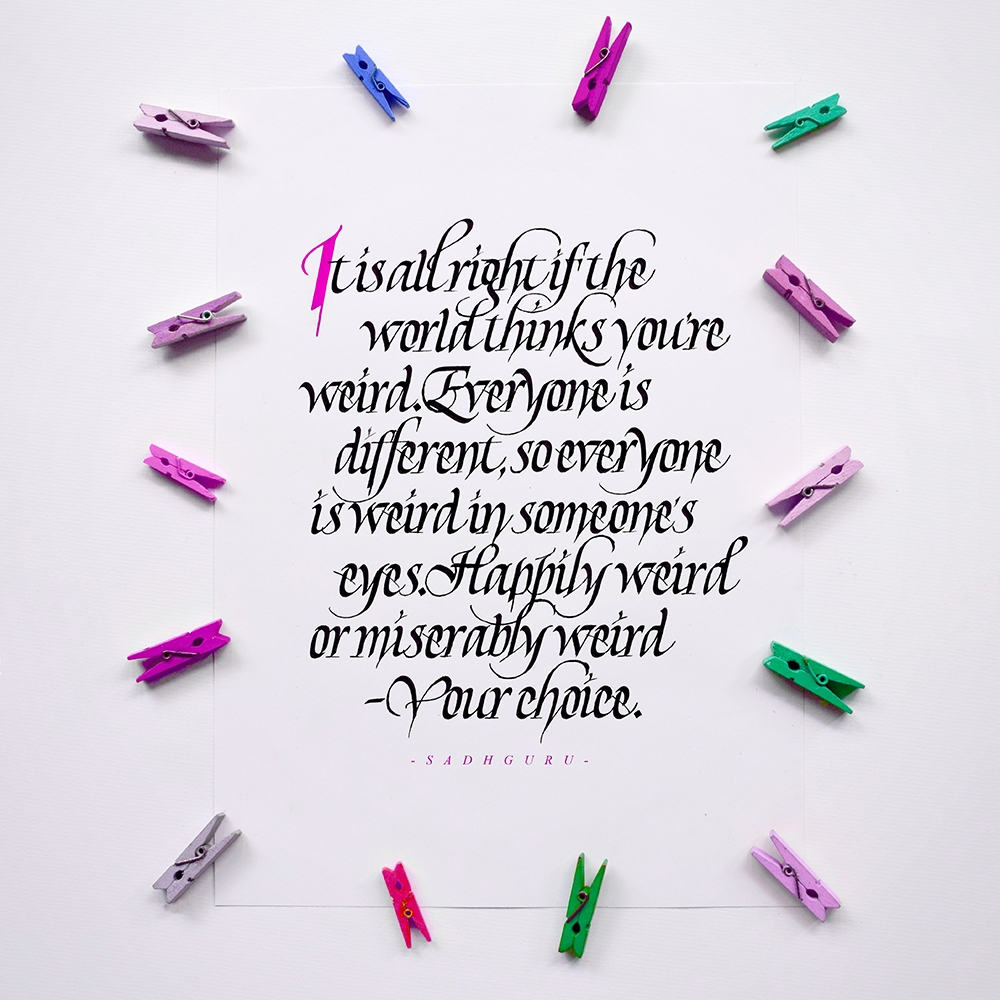
Select Your Quote or Phrase
One of the best things about hand lettering is that you can pretty much write anything you want.
So, take some time to think about what you want to say.
Do you want to add an inspirational quote to your project?
Or maybe you just want to write a simple message or greeting.
Once you've decided what you want to say, you can start writing it out!
There are a few things to keep in mind when you're choosing your quote or phrase:
- Keep it short and sweet.
The longer the quote, the more challenging it will be to write out.
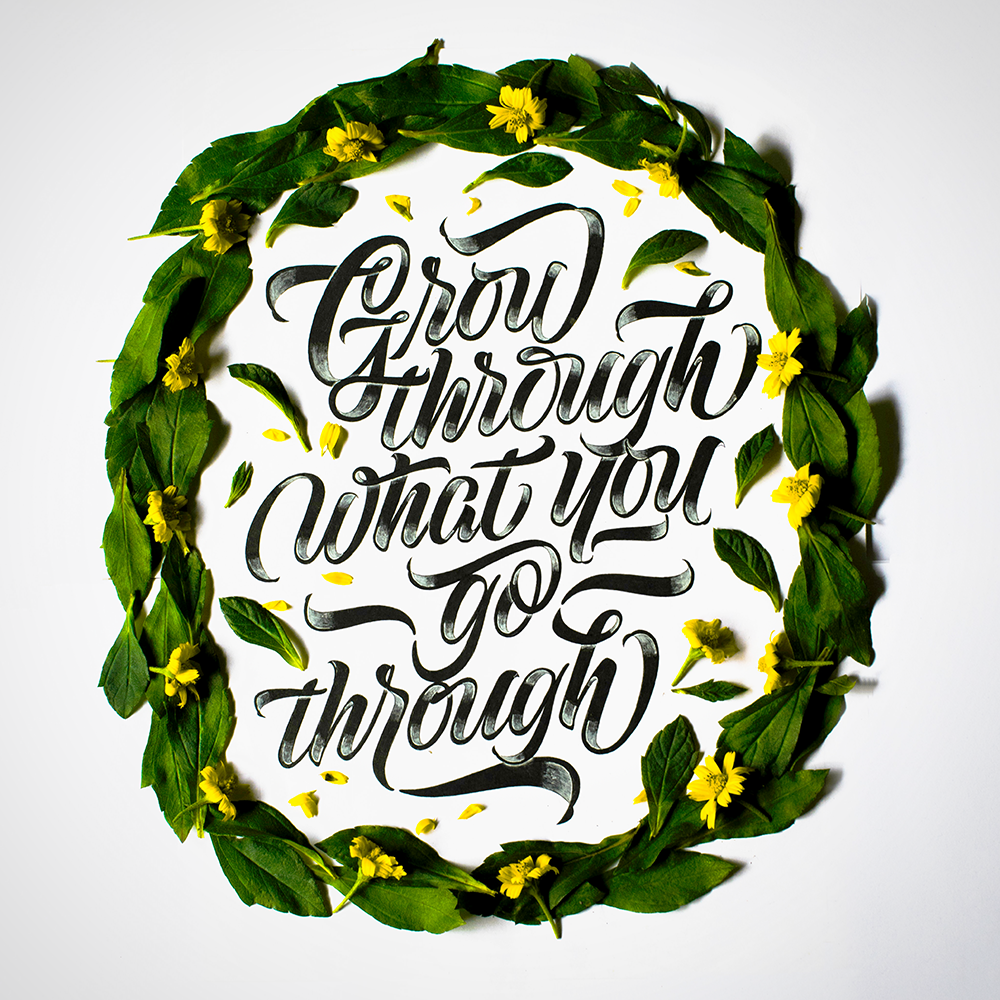
- Choose a phrase that's meaningful to you.
This will make your project more personal and special.
- Avoid using common phrases.
Be creative and come up with something unique!
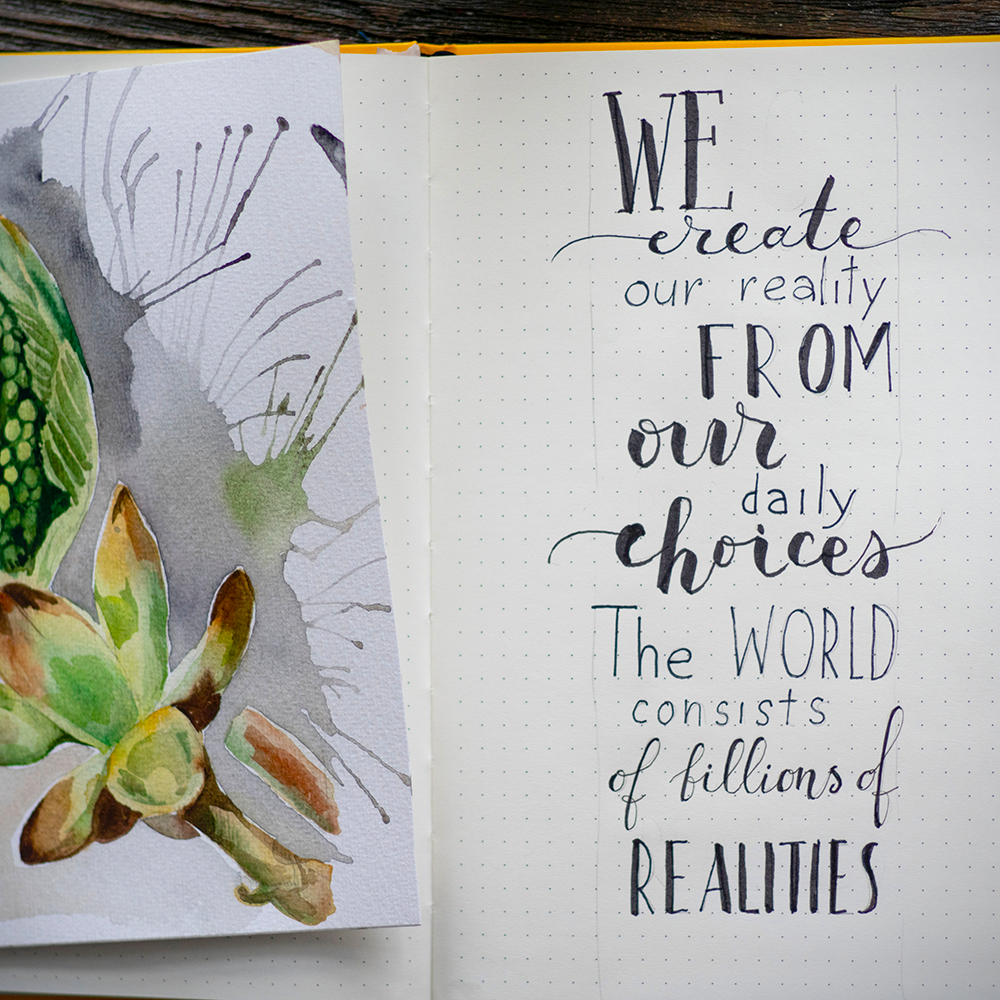

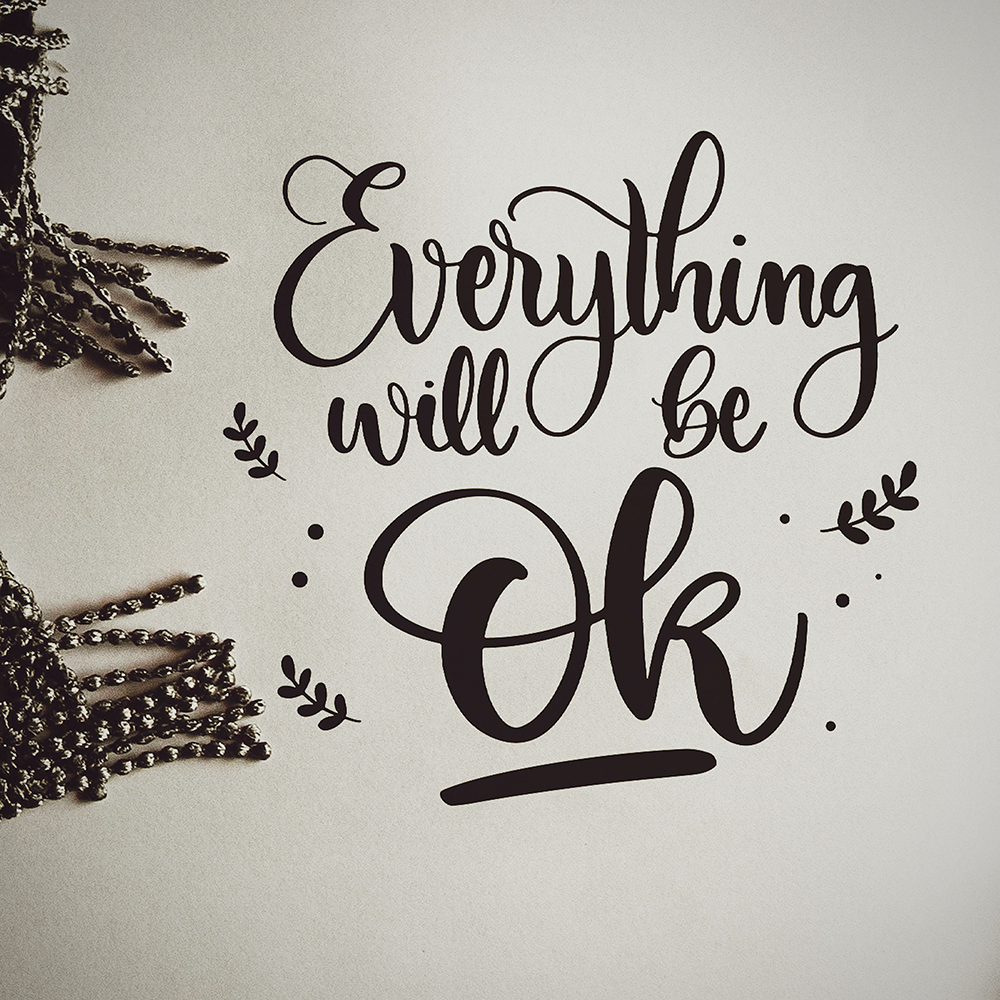
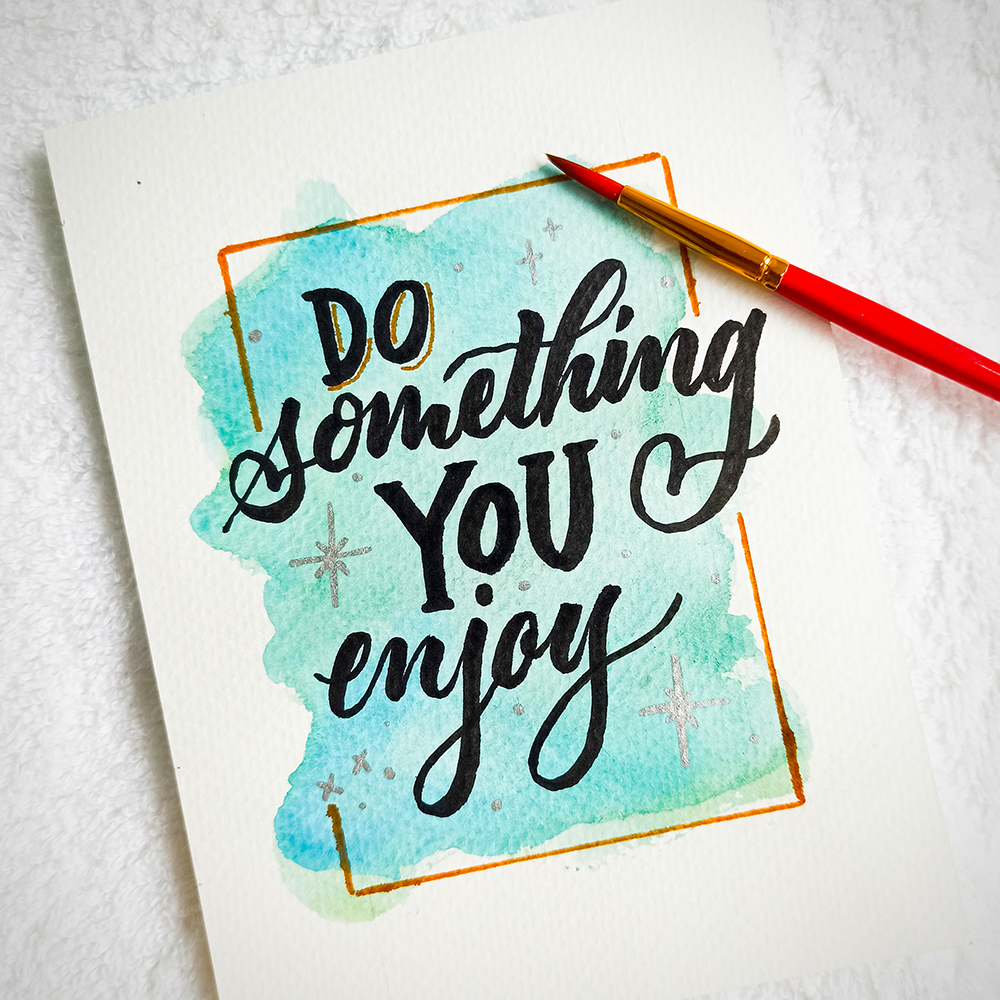
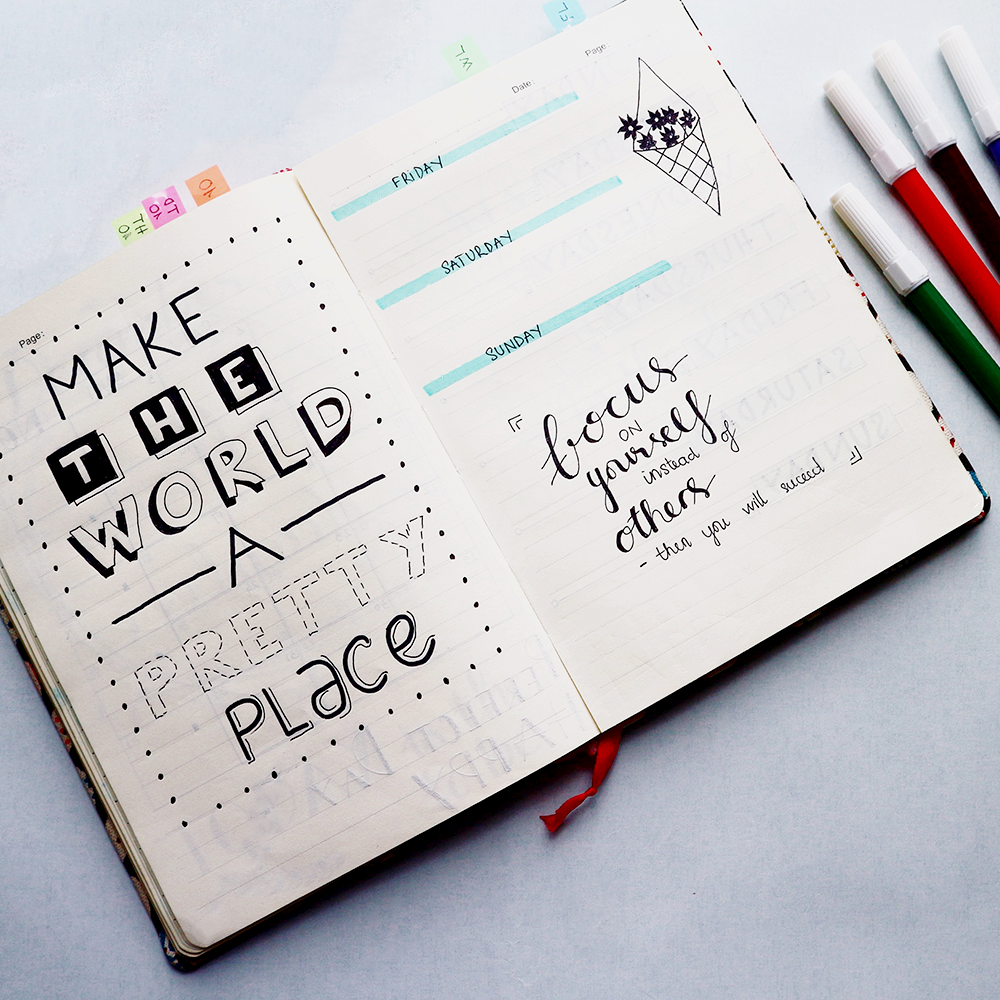
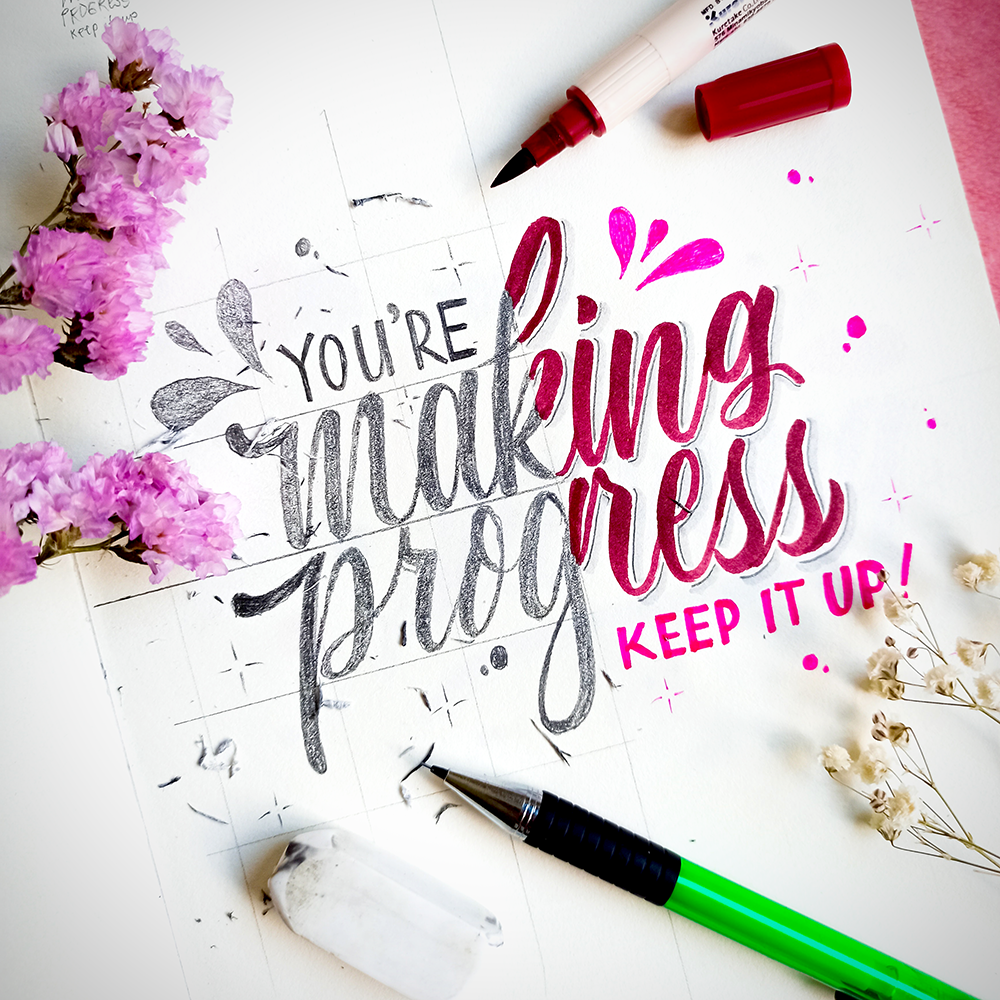
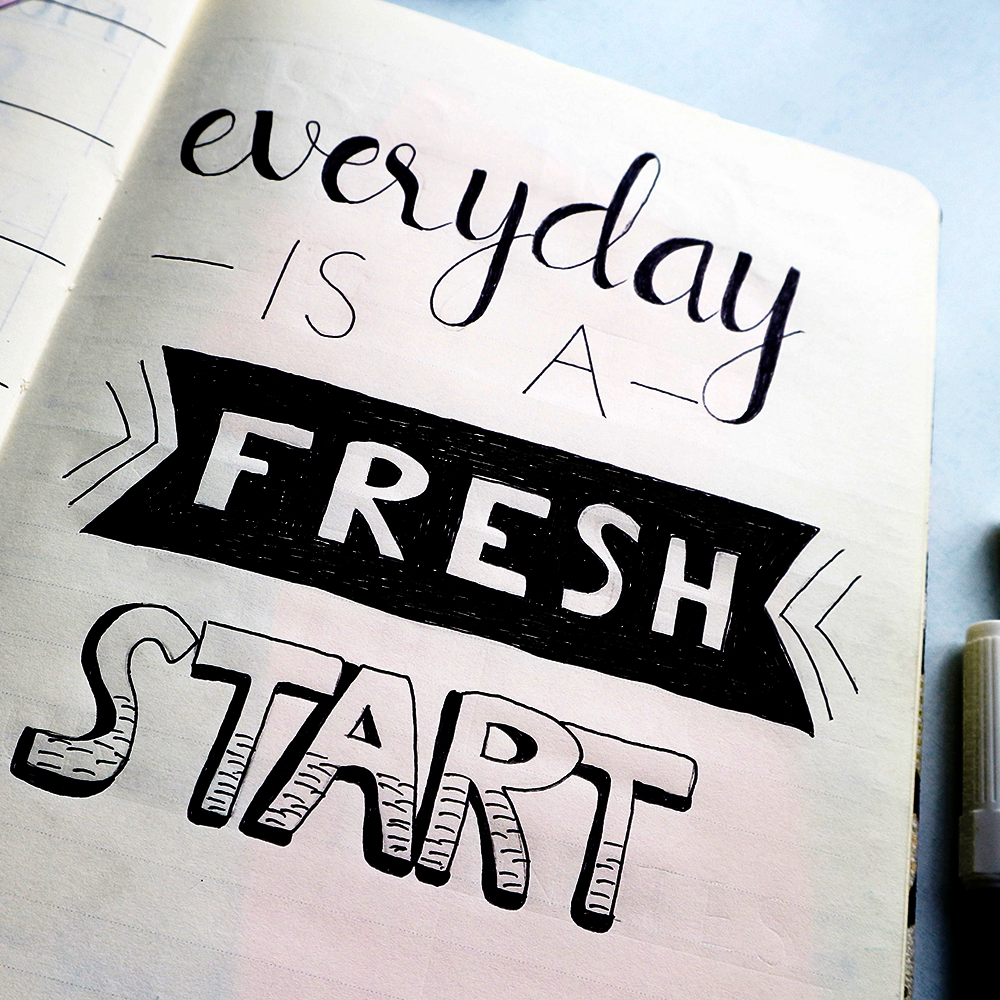
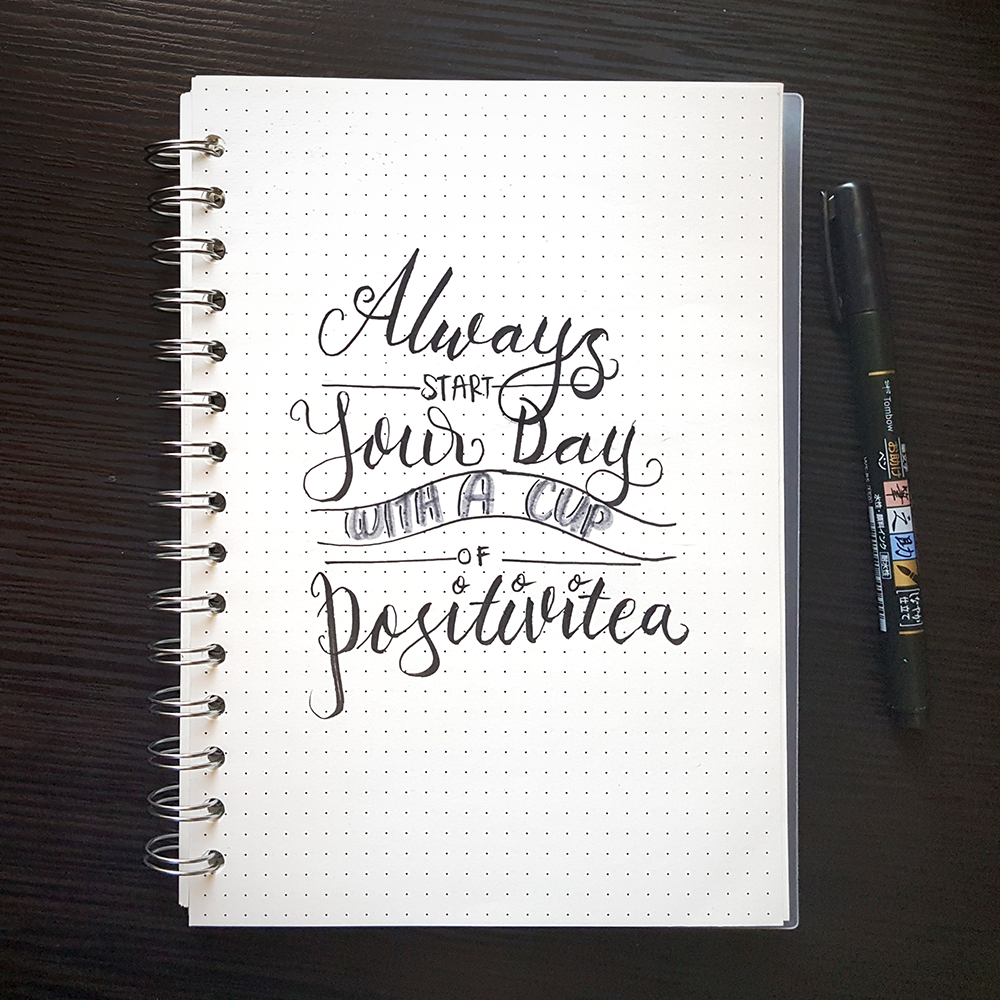
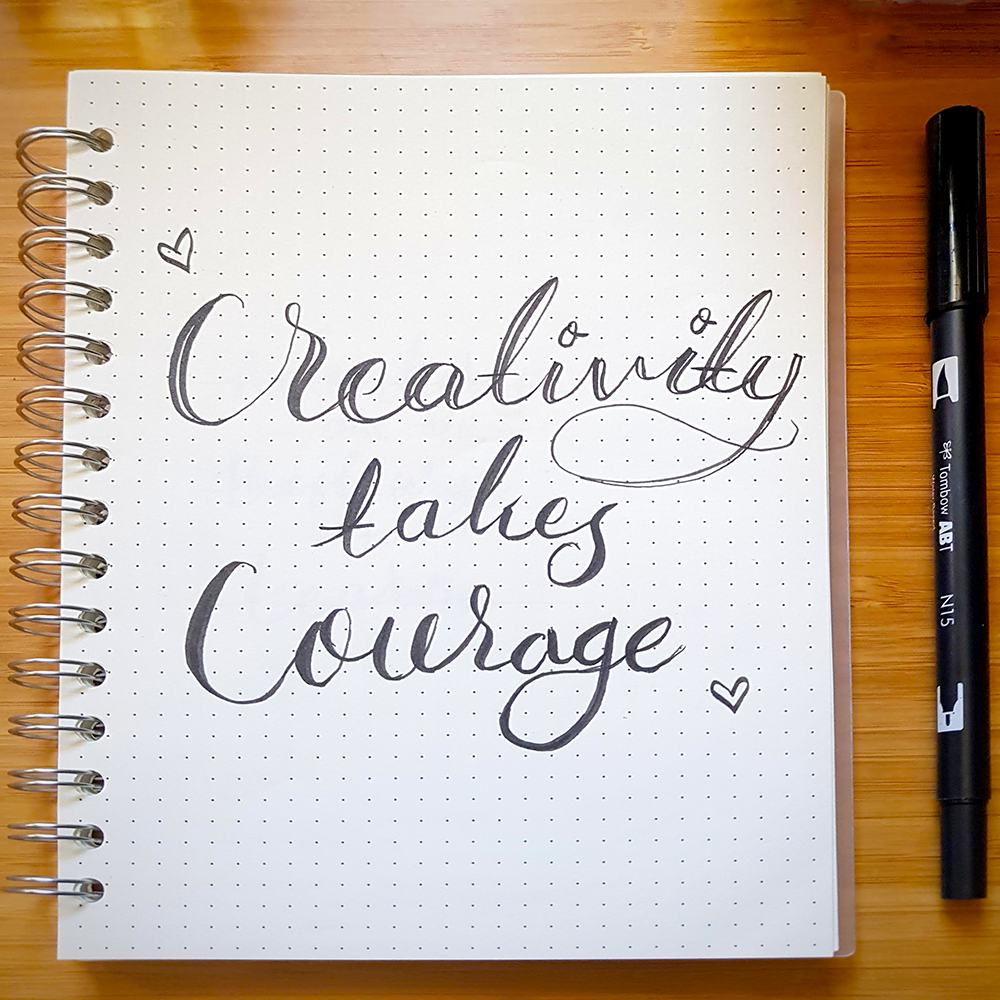
Add Some Artistic Flourishes
Once you've written out your quote or phrase, you can add some artistic flourishes to really make it pop.
There are all sorts of ways to do this, so get creative!
Here are a few ideas:
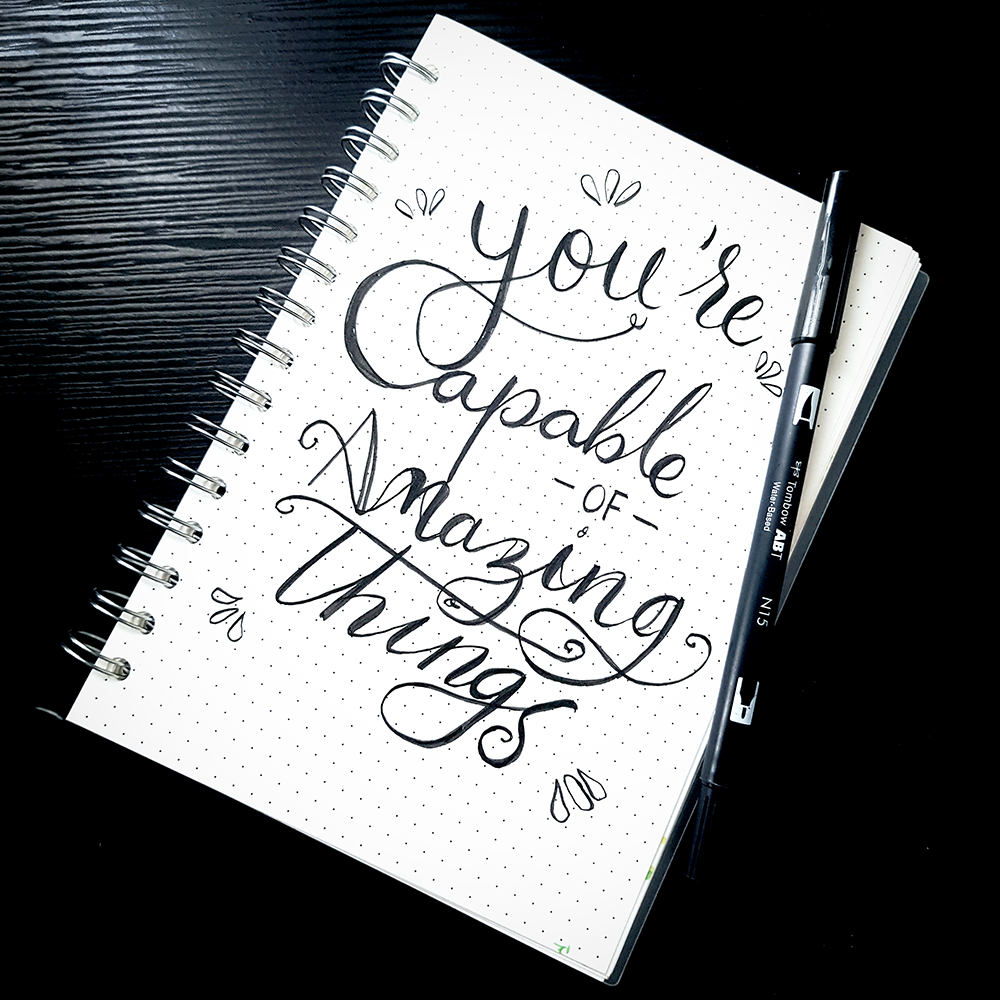
- Add some decorative borders.
- Experiment with different fonts.
- Write in all capital letters or all lowercase letters.
- Add embellishments like dots, stars, or hearts.
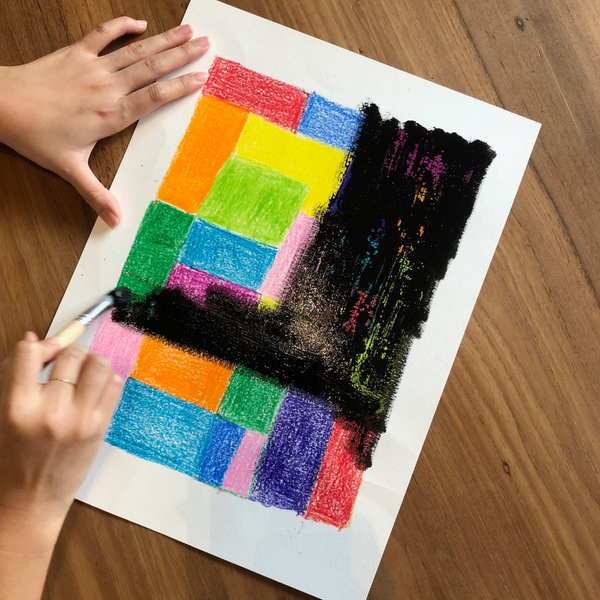
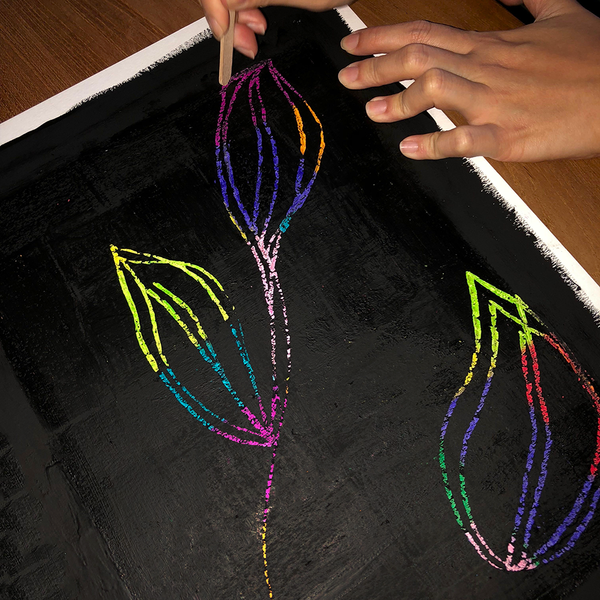
- Use different colors.
The sky's the limit!
Remember, the goal is to have fun and let your creativity shine through.
Tips and Tricks for Hand Lettering
Now that you know some of the main ways to add hand lettering to your project, let's take a look at some tips and tricks for getting started.
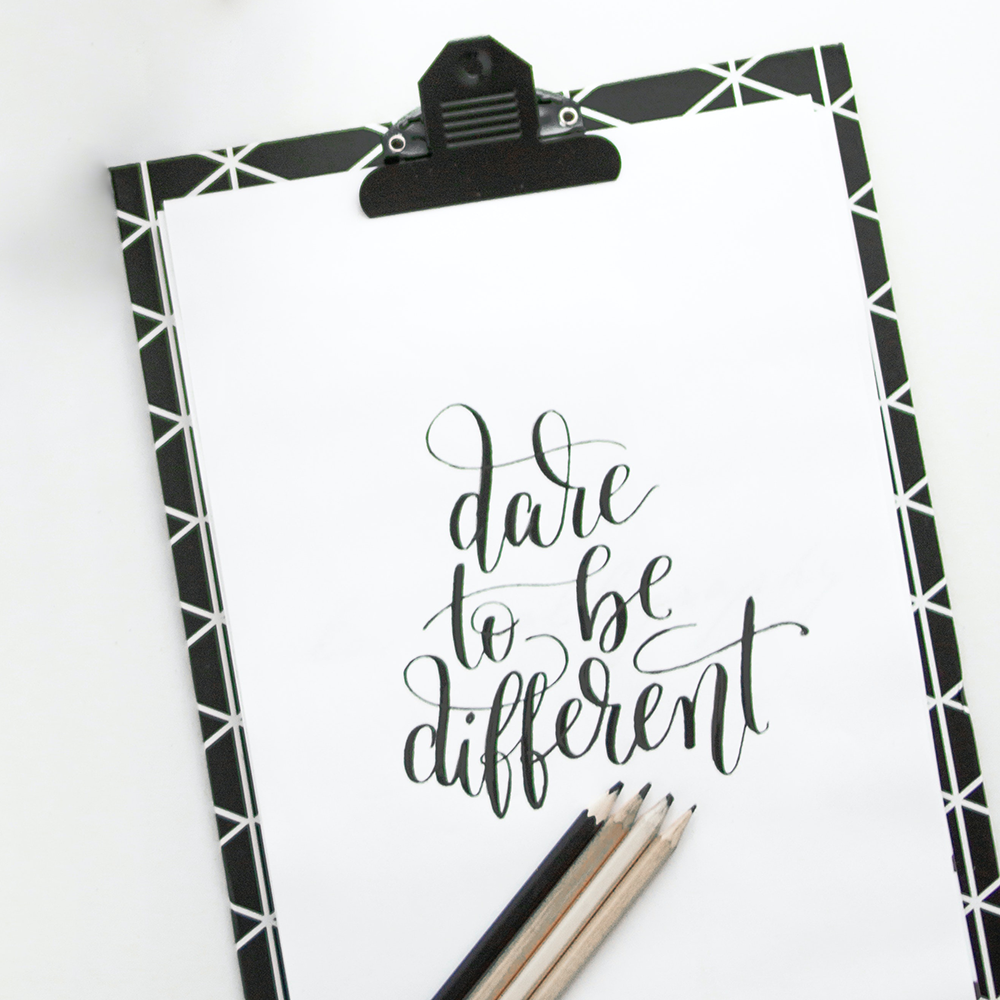
1. Start with a pencil.
If you're new to hand lettering, we recommend starting with a pencil.
This will help you get a feel for the letters and how they connect.
Once you're comfortable with the pencil, you can switch to a pen or marker.
2. Use a light touch.
When you're first starting out, it's important to use a light touch.
This will help you avoid making mistakes and it will also make erasing easier.
3. Use a ruler or other guide.
If you're struggling with getting your letters to look even, try using a ruler or other straight edge as a guide.
This will help you keep your letters straight and prevent them from looking wonky.
4. Take your time.
Hand lettering is all about taking your time and being patient.
If you make a mistake, don't worry! Just erase it and start again.
5. Experiment.
Hand lettering is a great way to experiment with different fonts and styles.
Feel free to play around with the letters and see what looks best on your project.
6. Have fun!
Above all, remember to have fun!
Hand lettering is a great way to add a personal touch to your project.
So relax, take your time, and enjoy the process.
The most important thing is to have fun with it!
Make sure to experiment and play around until you find what works for you.
There's no right or wrong way to do it—just let your creativity flow!

Adding Hand Lettering to Your Next Project
There are lots of different ways to add hand lettering to your project.
The most important thing is to have fun with it and experiment until you find what works for you.
Don't be afraid to make mistakes—they're part of the process!
Just relax and enjoy adding your own personal touch to your project.
We hope these tips have inspired you to add some hand lettering to your next art project!
Remember, there are no rules—just have fun and let your creativity loose!
So, what are you waiting for? Get started with hand lettering today!
I've even managed to secure a FREE gift for our readers from world-renown calligraphy instructor, Diane Foisy! If you're eager to start calligraphy, you'll definitely want to check it out!
Interested in jumping into hand lettering? Check out How to Hand Letter's tutorial!
If you want to start hand lettering, checkout some of our other articles: