Are you curious about resin art but don't know where to start?
If you're interested in trying your hand at resin art, this beginner's guide will show you the basics of working with this versatile material.
You'll learn how to create a simple resin artwork, and get tips on handling and storing resin.
By the end of this post, you'll be ready to start experimenting with resin yourself!
So, let's grab your supplies and get started on your new art projects.

What is Resin Art?
Resin art is a type of artwork that uses resin, a polymer substance, as the medium.
This two-part liquid, when mixed together, hardens into a solid form and can be used like glue.
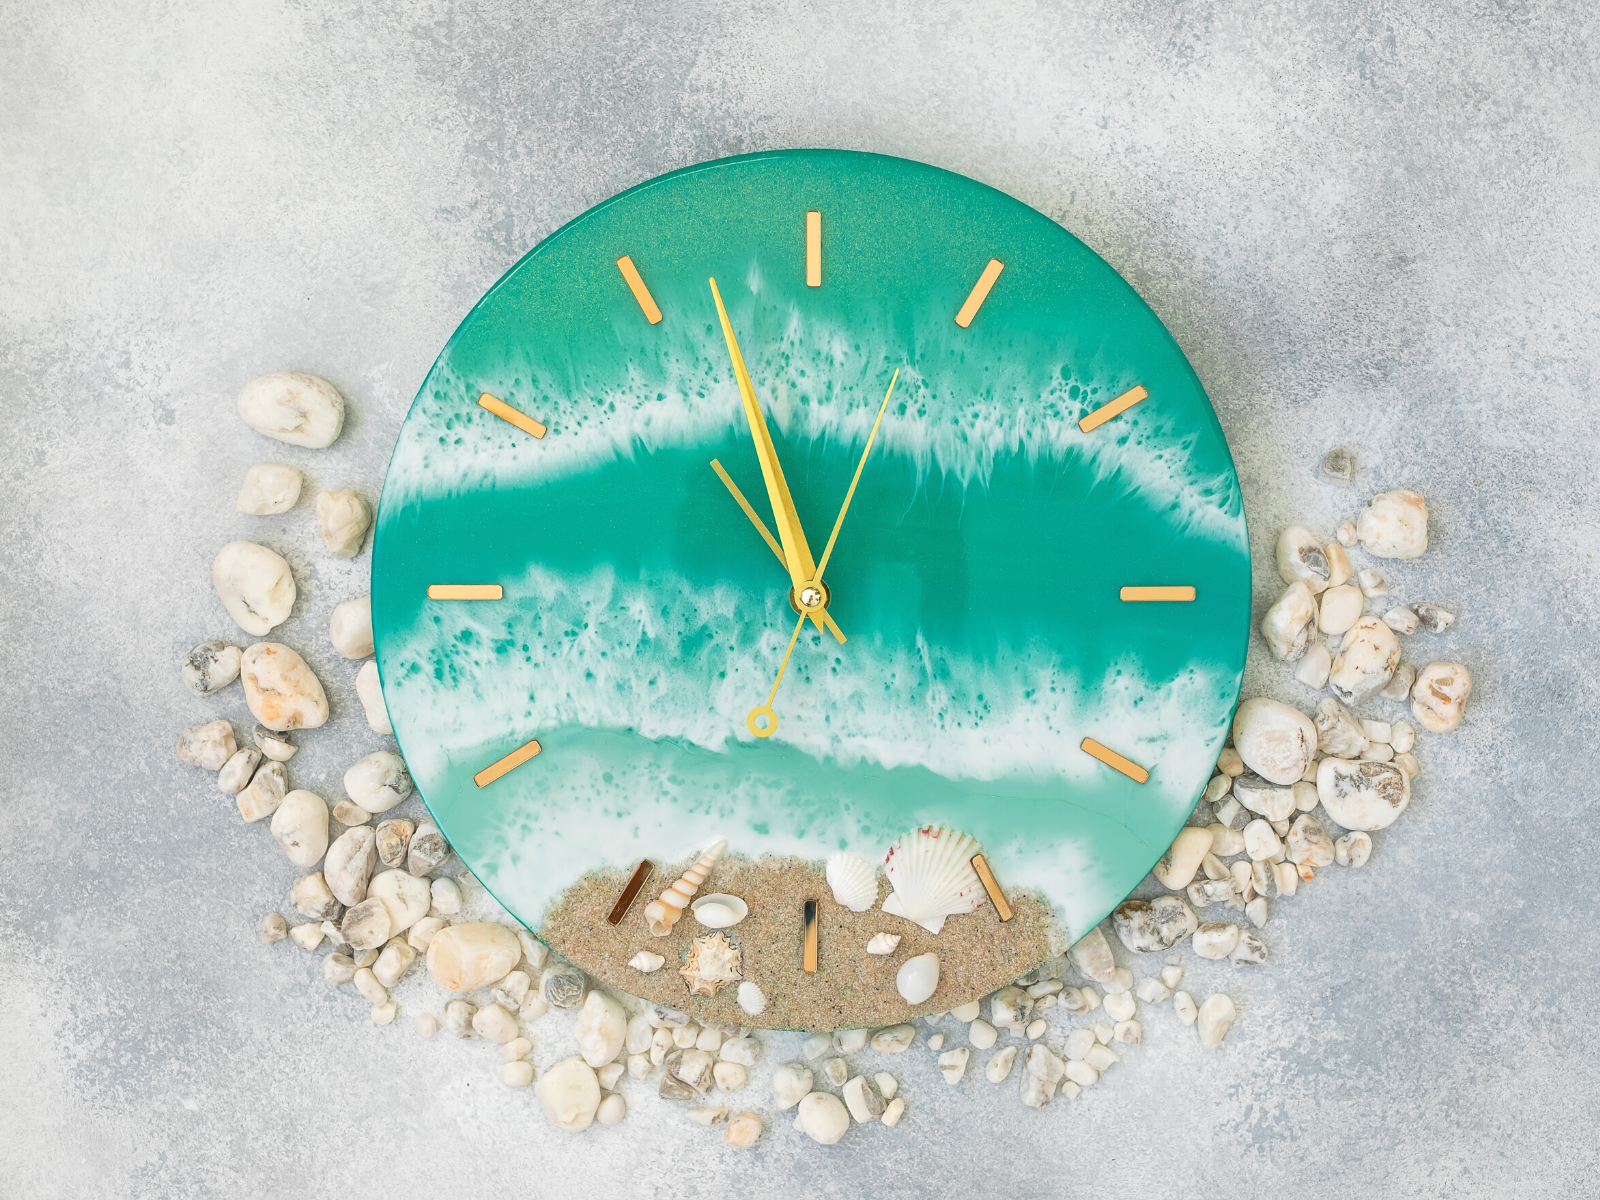
It can be used to create a variety of different pieces, from orgonite, sculptures, paintings, and jewelry to functional objects like coasters and resin tables.
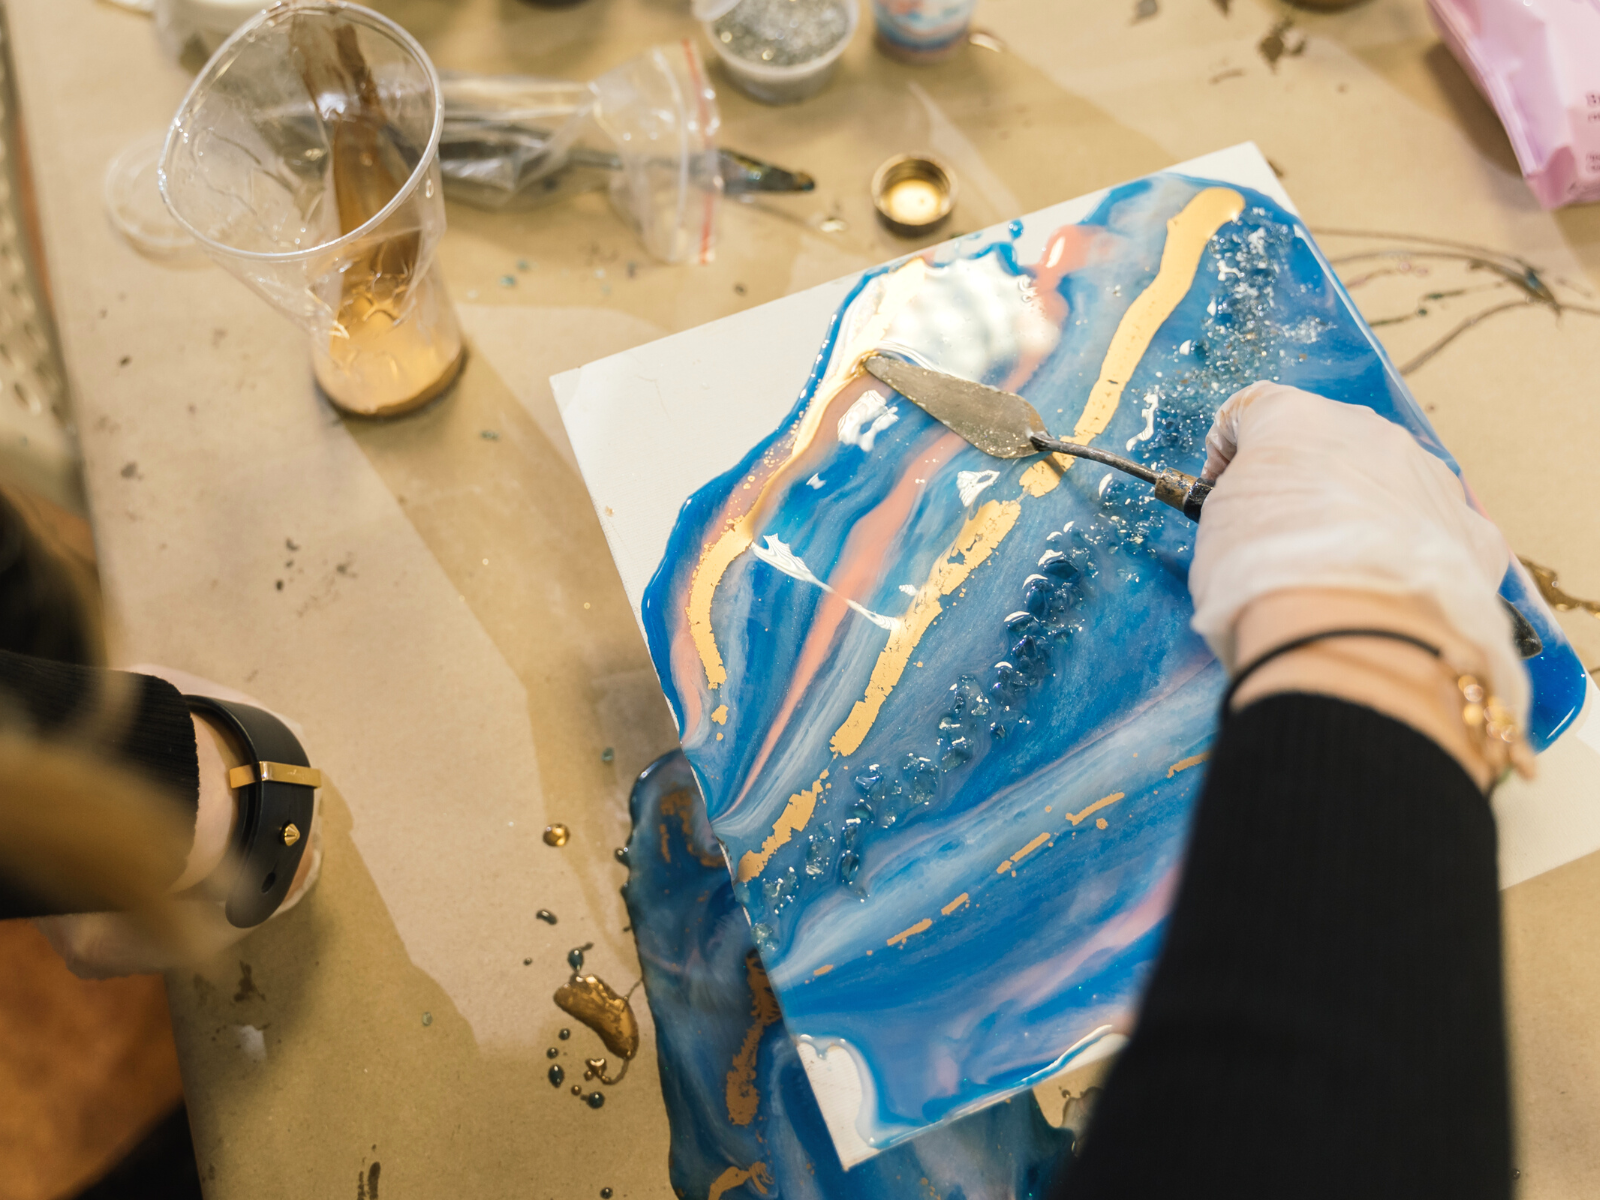
This art form is often characterized by its high gloss finish, which gives it a unique look that stands out.
Creators can make resin art expensive pieces or craft simple artworks with minimal cost.
Creating resin art doesn’t have to be intimidating or complicated.
With a few basic supplies and some practice, you can get started applying resin to your own art projects.
What You'll Need
First, you'll need to gather all the materials necessary for creating resin art.
This includes resin, hardener, mixing cups, stirrers, gloves, and a mold or container.
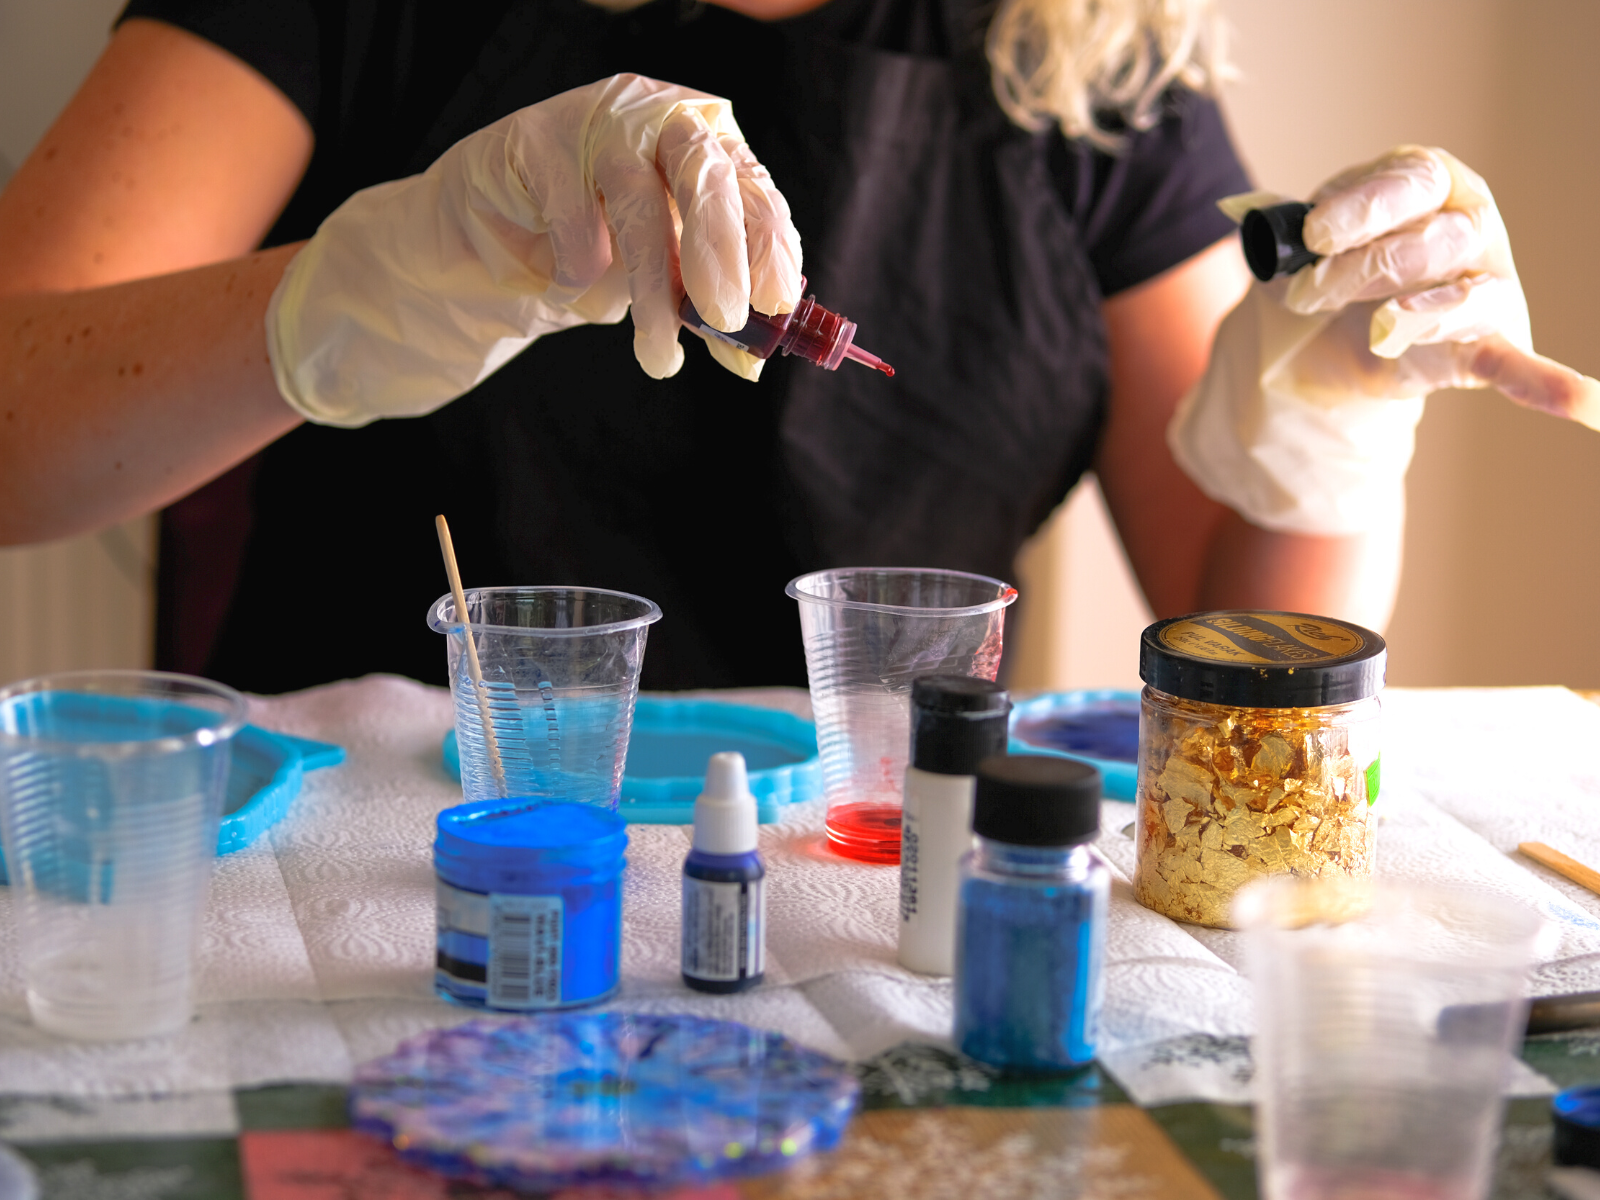
You'll also need to purchase any dyes, pigments, glitter, mica powder, or other additives that you want to incorporate into your artwork.
To get started, at least gather the following supplies:
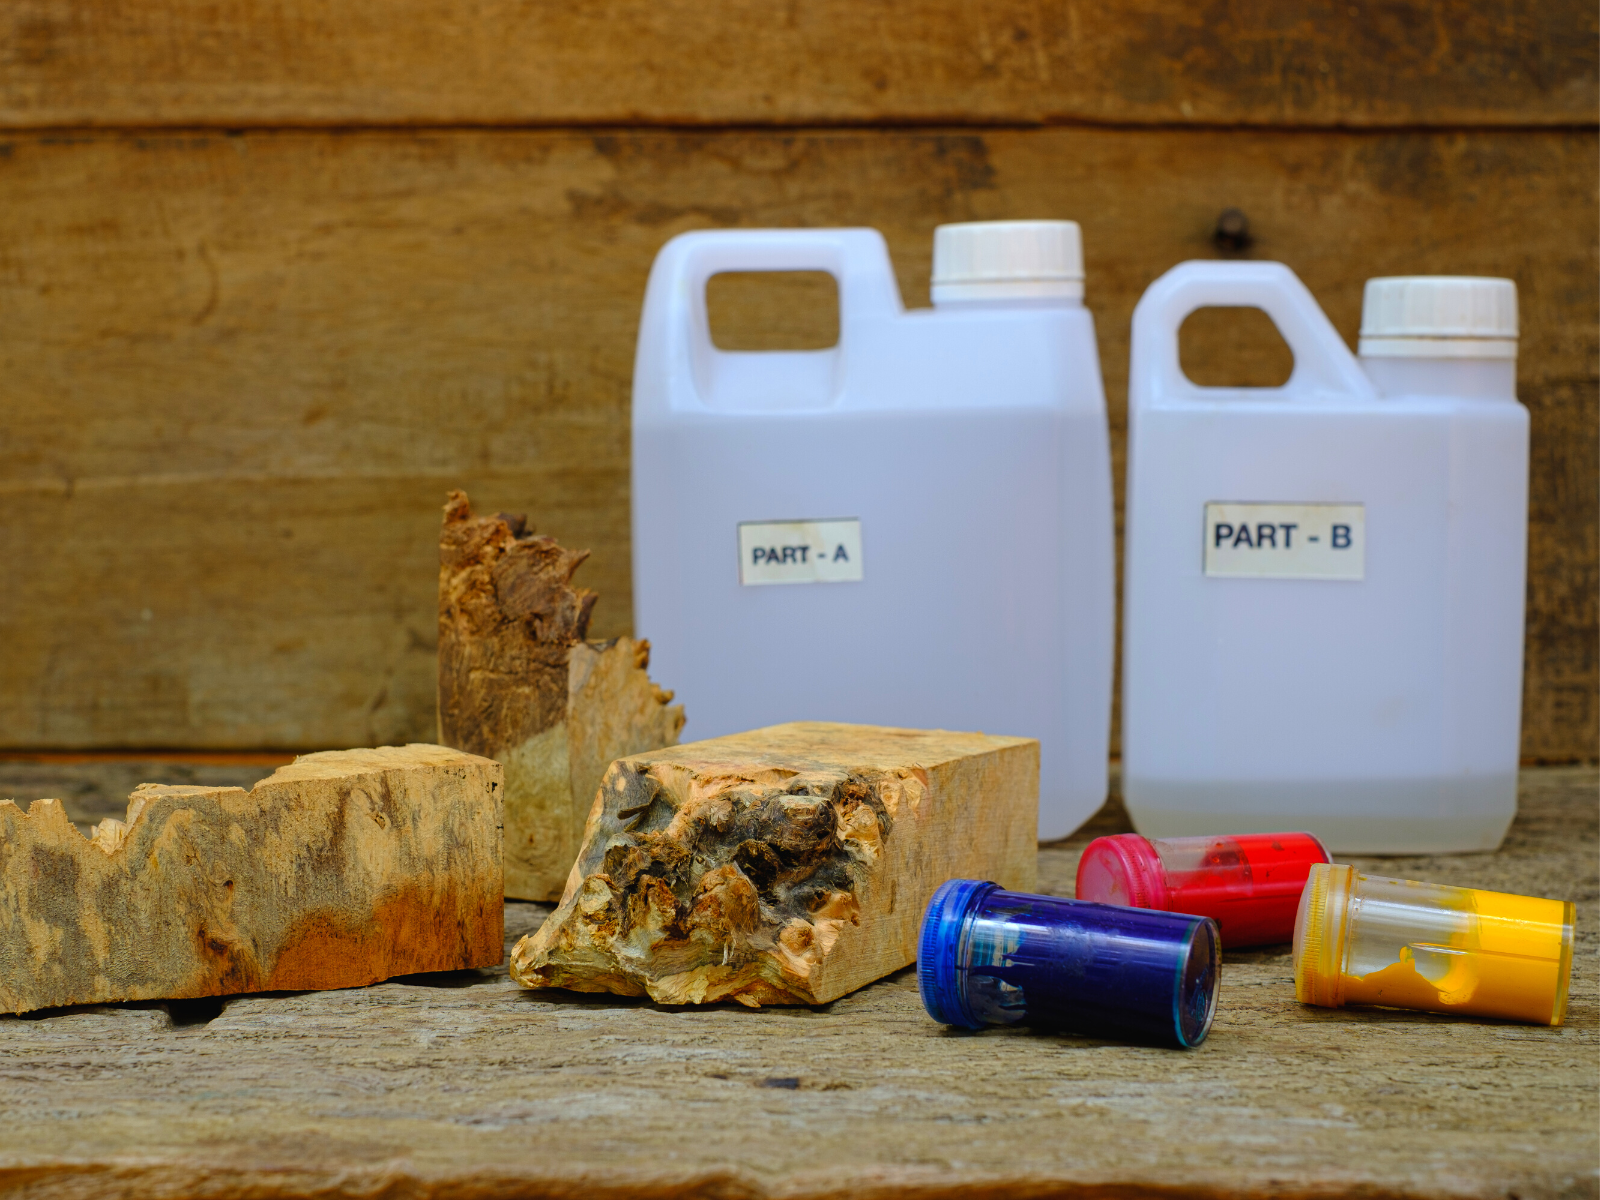
Resin
You can purchase resin online or at your local craft store.
There are two main resin types: epoxy resin and polyester resin.
Epoxy resin is the most commonly used type of resin for crafting because it is easy to work with and less expensive than polyester resin.
However, polyester resin produces a higher-quality finish and is more durable than epoxy resin.
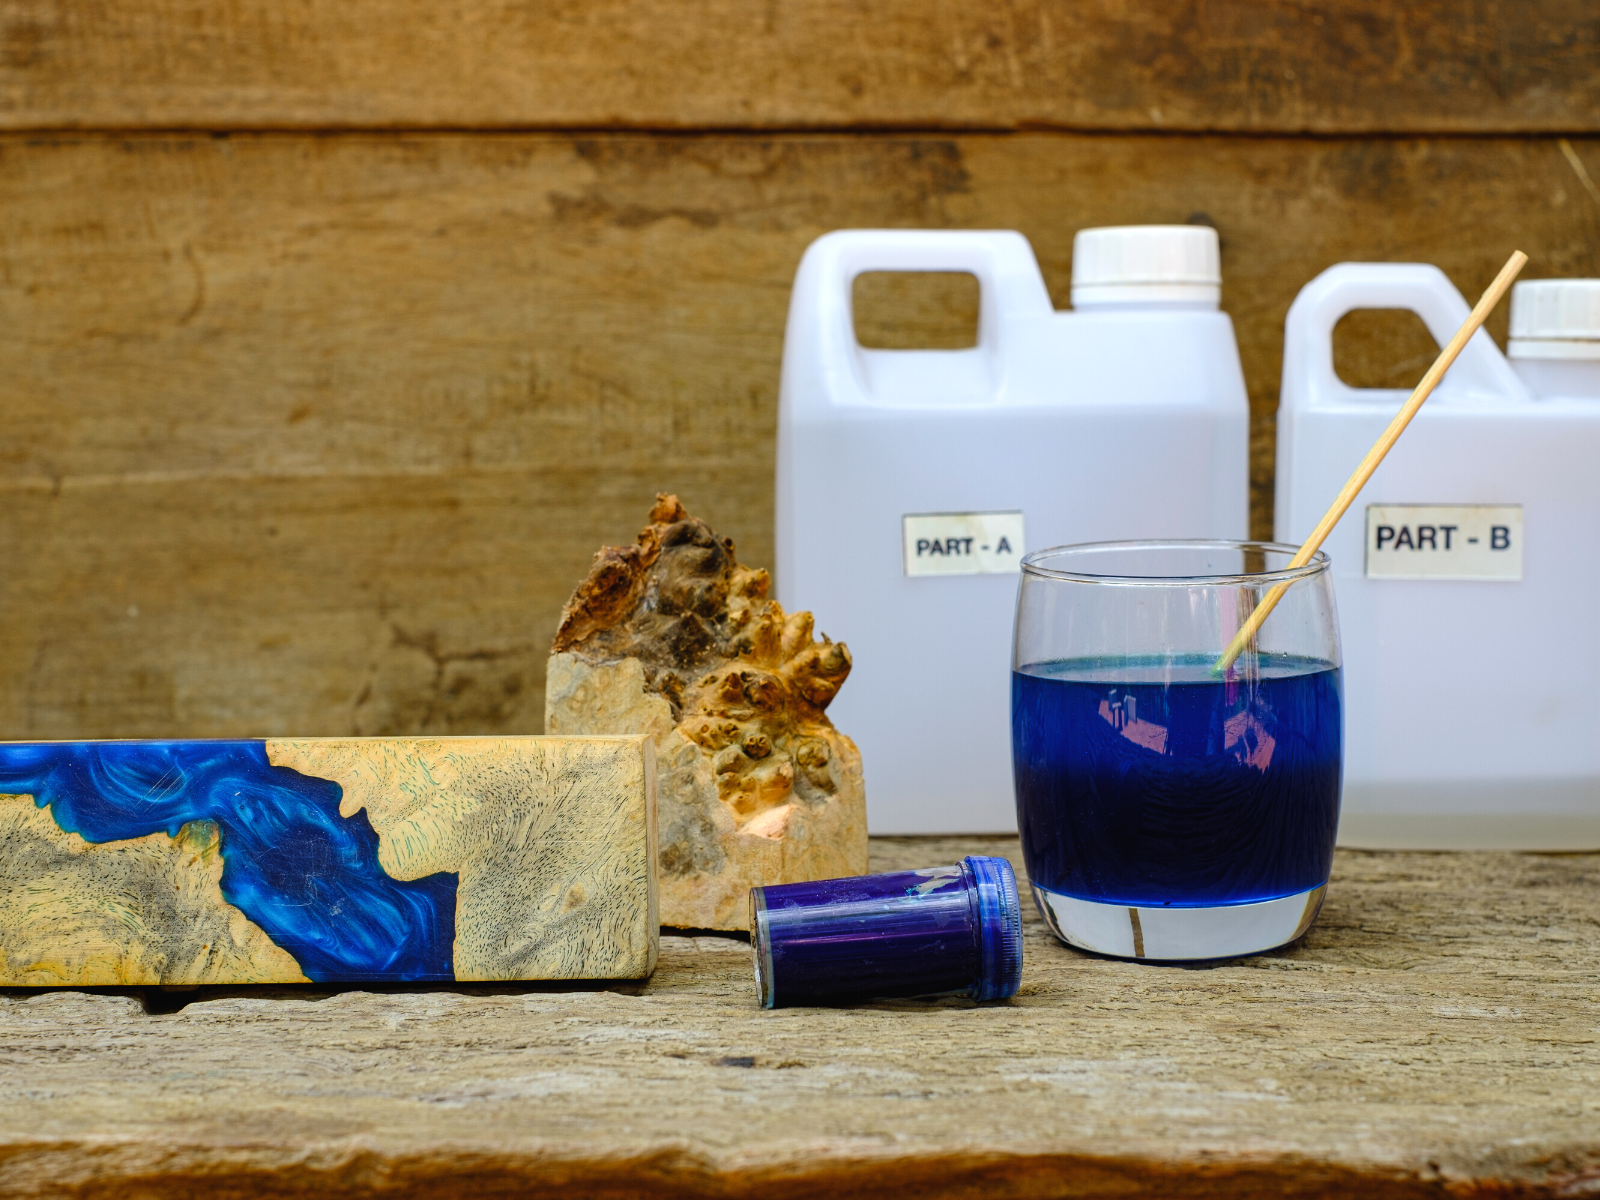
Epoxy resin comes in two parts, the resin and the hardener, which must be mixed together before use.
Hardener
This component is mixed with the resin in order to trigger the curing process and how the chemical reaction takes place.
The hardener works with the resin to form an adhesive, waterproof bond.
It also helps to prevent yellowing and cracking over time.
The ratio of hardener to resin will be determined by the type of resin you are using; follow the instructions on your packaging carefully.
Measuring Cups
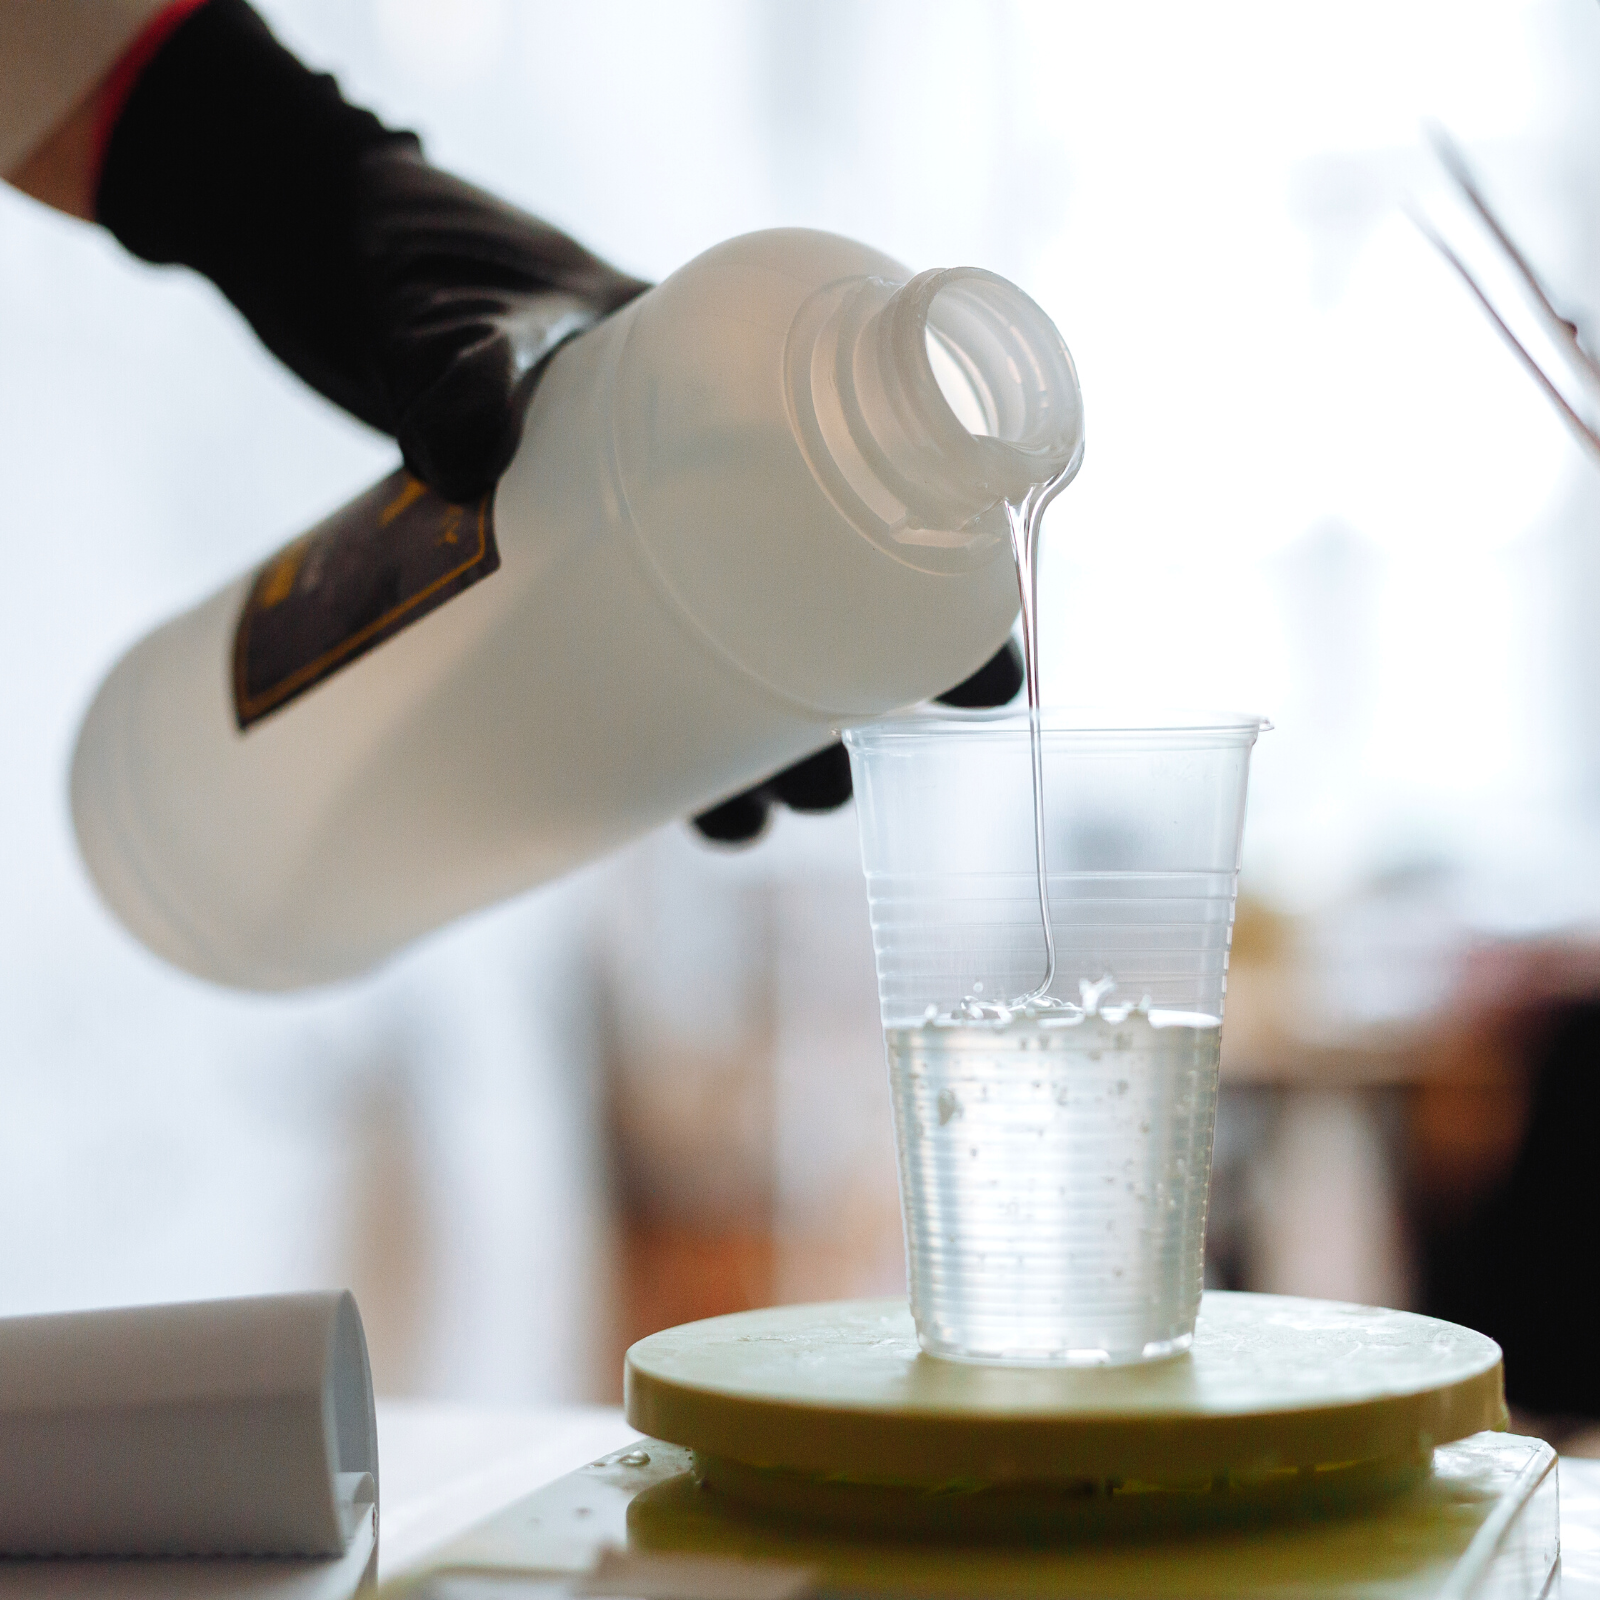
Resin and hardener must be mixed together before use, so you'll need to mix the proper proportions of resin and hardener together in cups.
Make sure the cups you use are made of plastic or another non-reactive material, as certain metals can react with the resin.
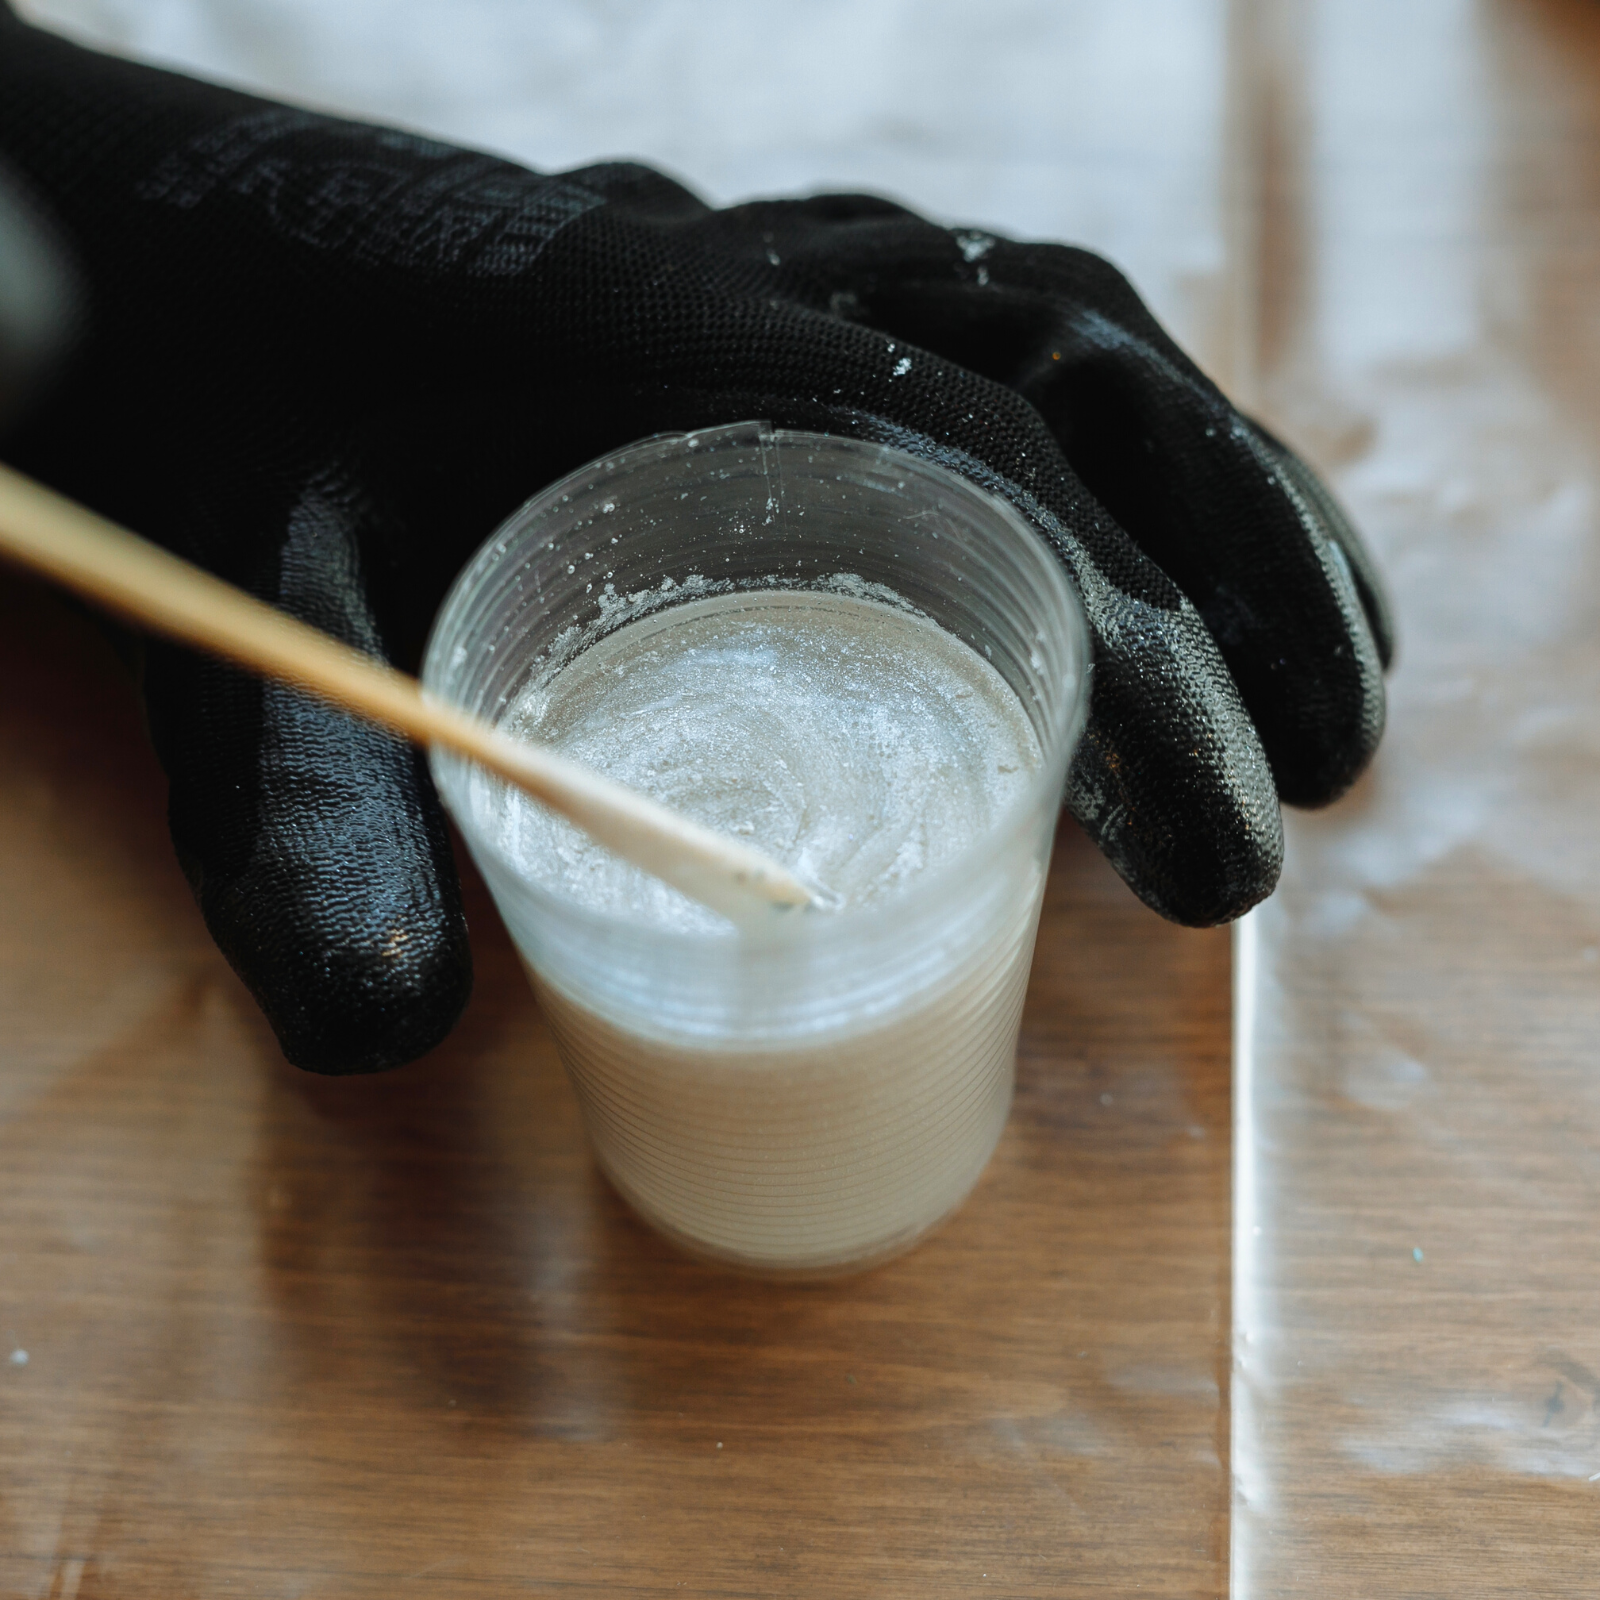
Stirrers and Mixing Sticks
Use this to stir the resin and hardener together until they are fully combined.
You can purchase mixing sticks and stirrers at your local craft store or online.
Gloves
Resin is a sticky substance that can be messy, so protecting your hands with gloves is a must!
Latex or nitrile gloves are the best option.
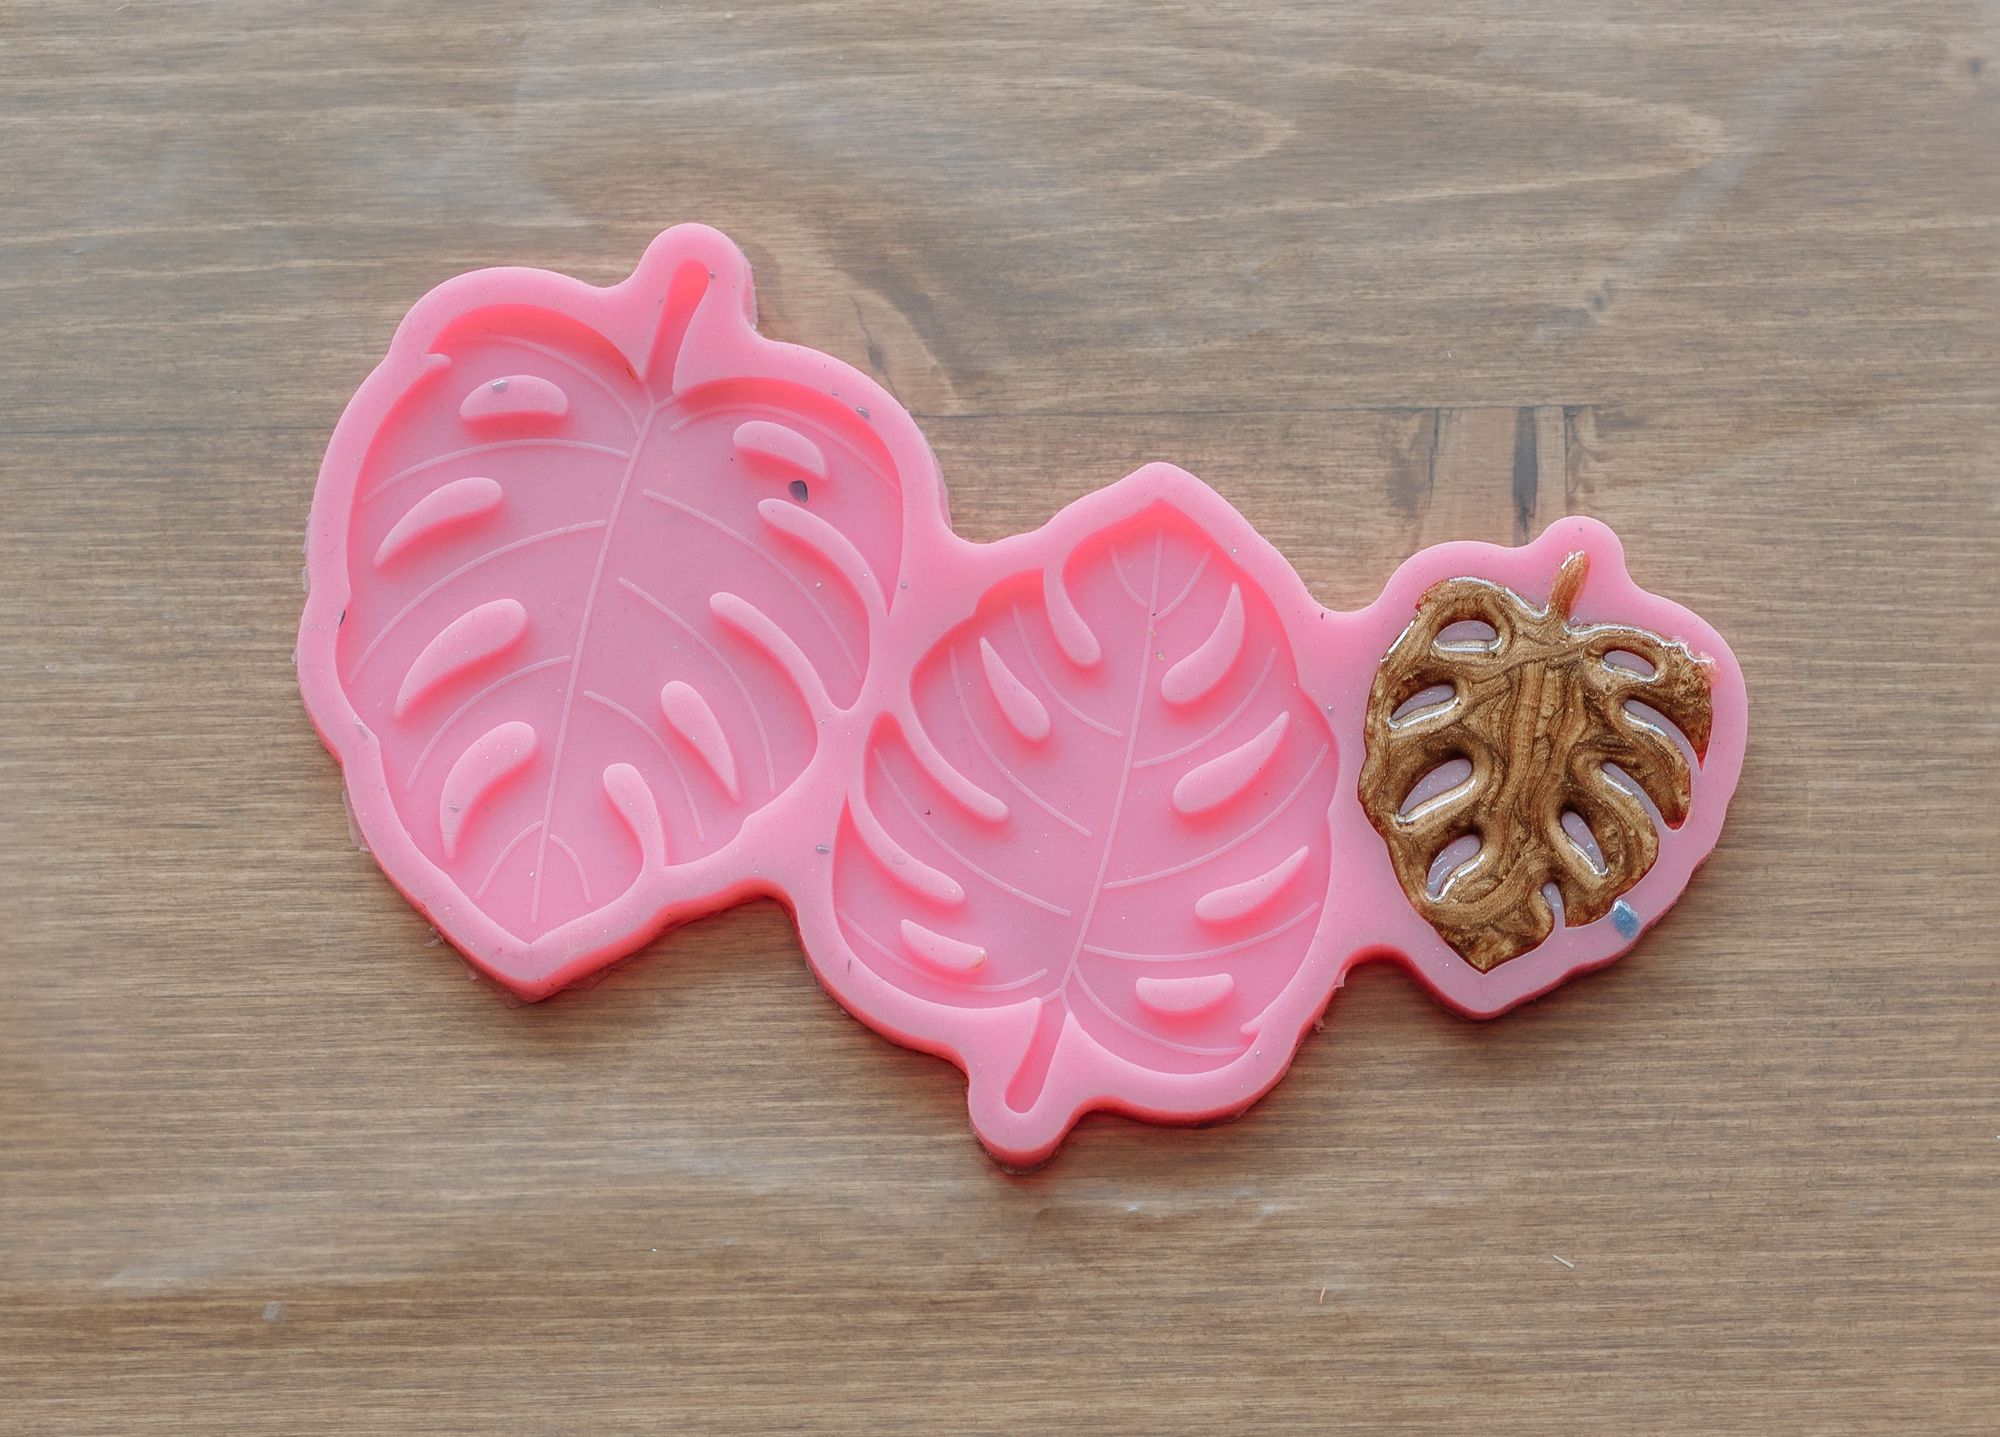
Molds (Optional)
The mold you choose will determine the shape of your final piece.
You can use anything from a silicone mold to a plastic container, depending on the size and shape you want your artwork to be.
You can also apply resin straight to a surface, such as a canvas or wood board.
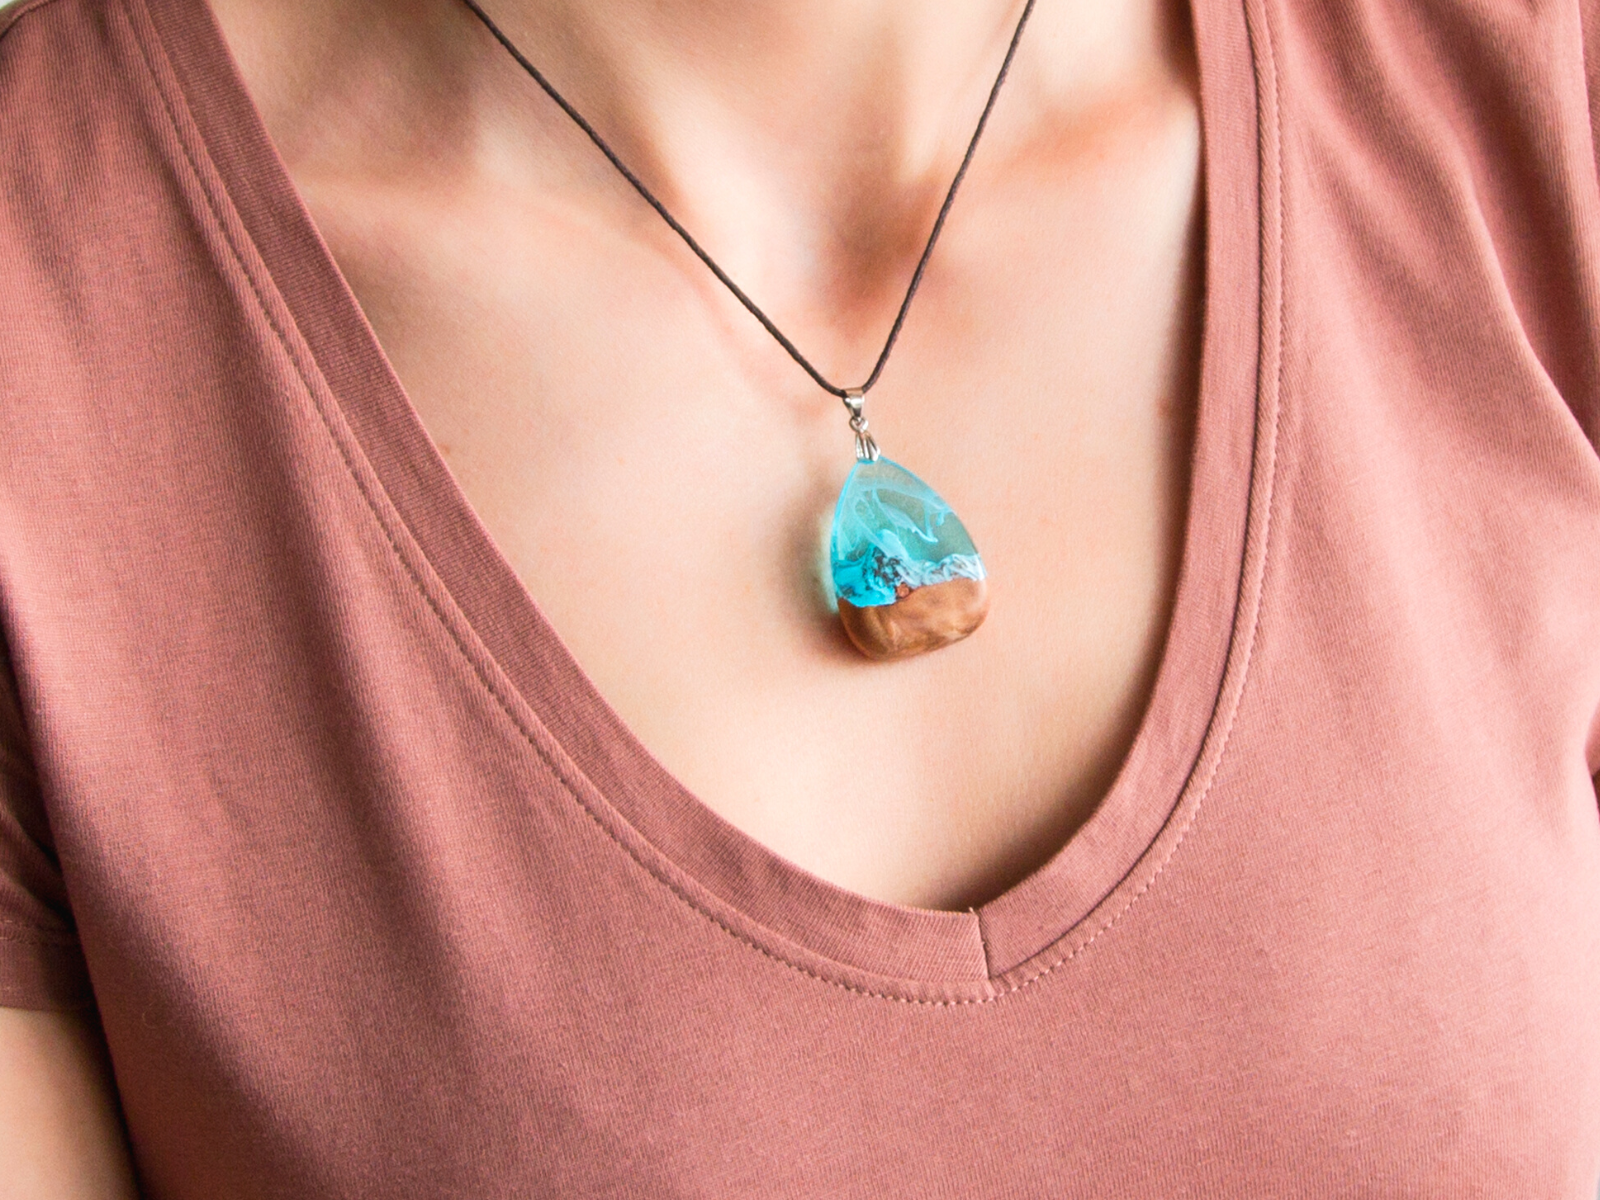
You can also add resin to metal pendants, jewelry, or other objects.
Paper Towels and Coverings
Have these on hand in case you need to clean up any spills.
It's highly recommended to protect your work surface with a plastic tablecloth, garbage bag, old sheets, newspaper, or any other covering in case of any mess to prevent resin from ruining your workspace.
Prevention is better than clean up!
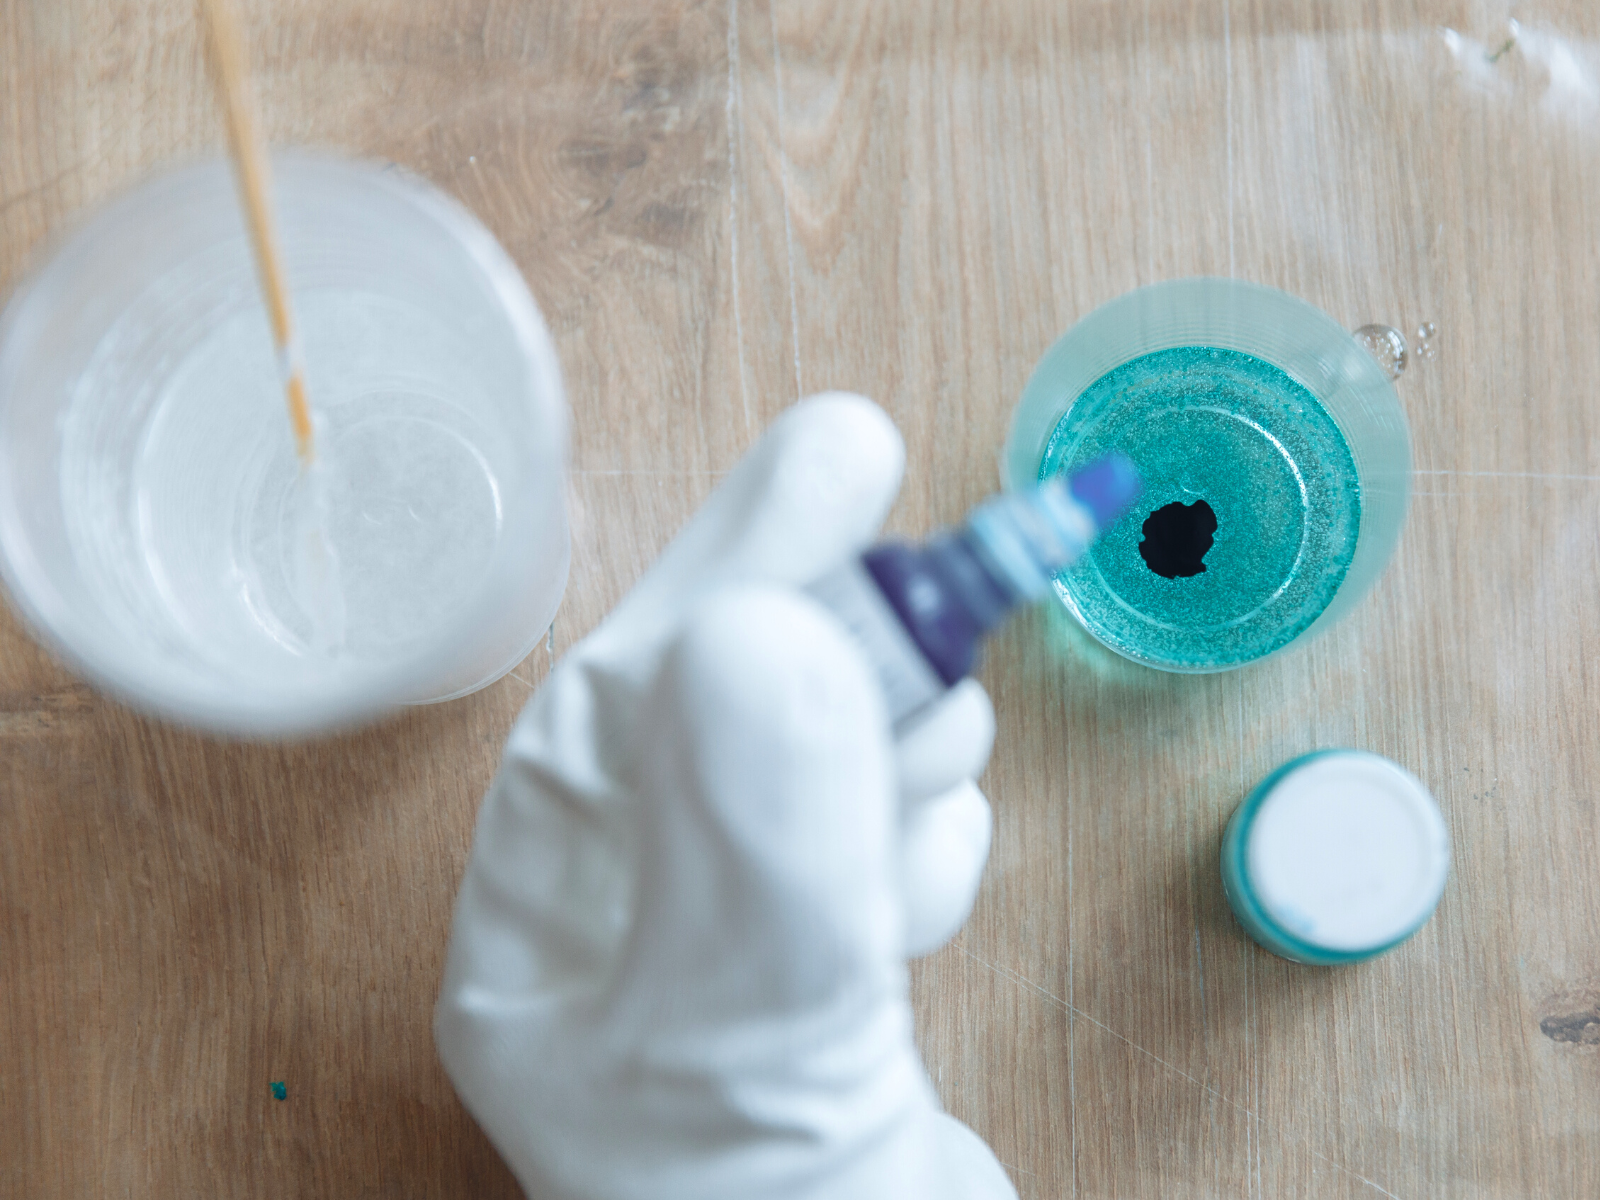
Optional Additives
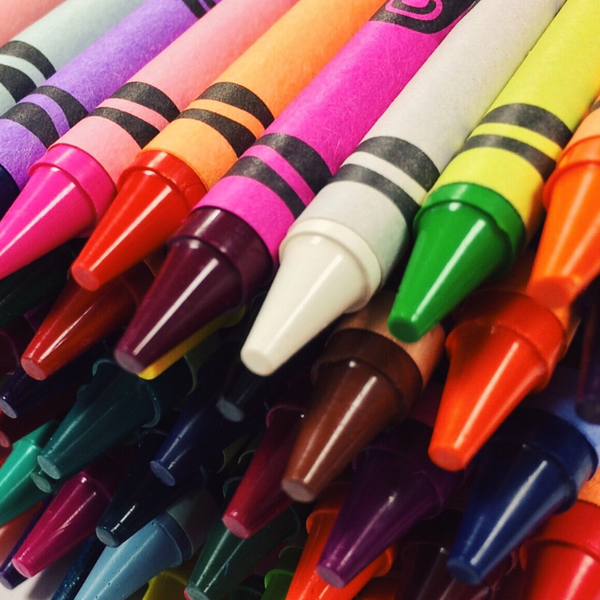
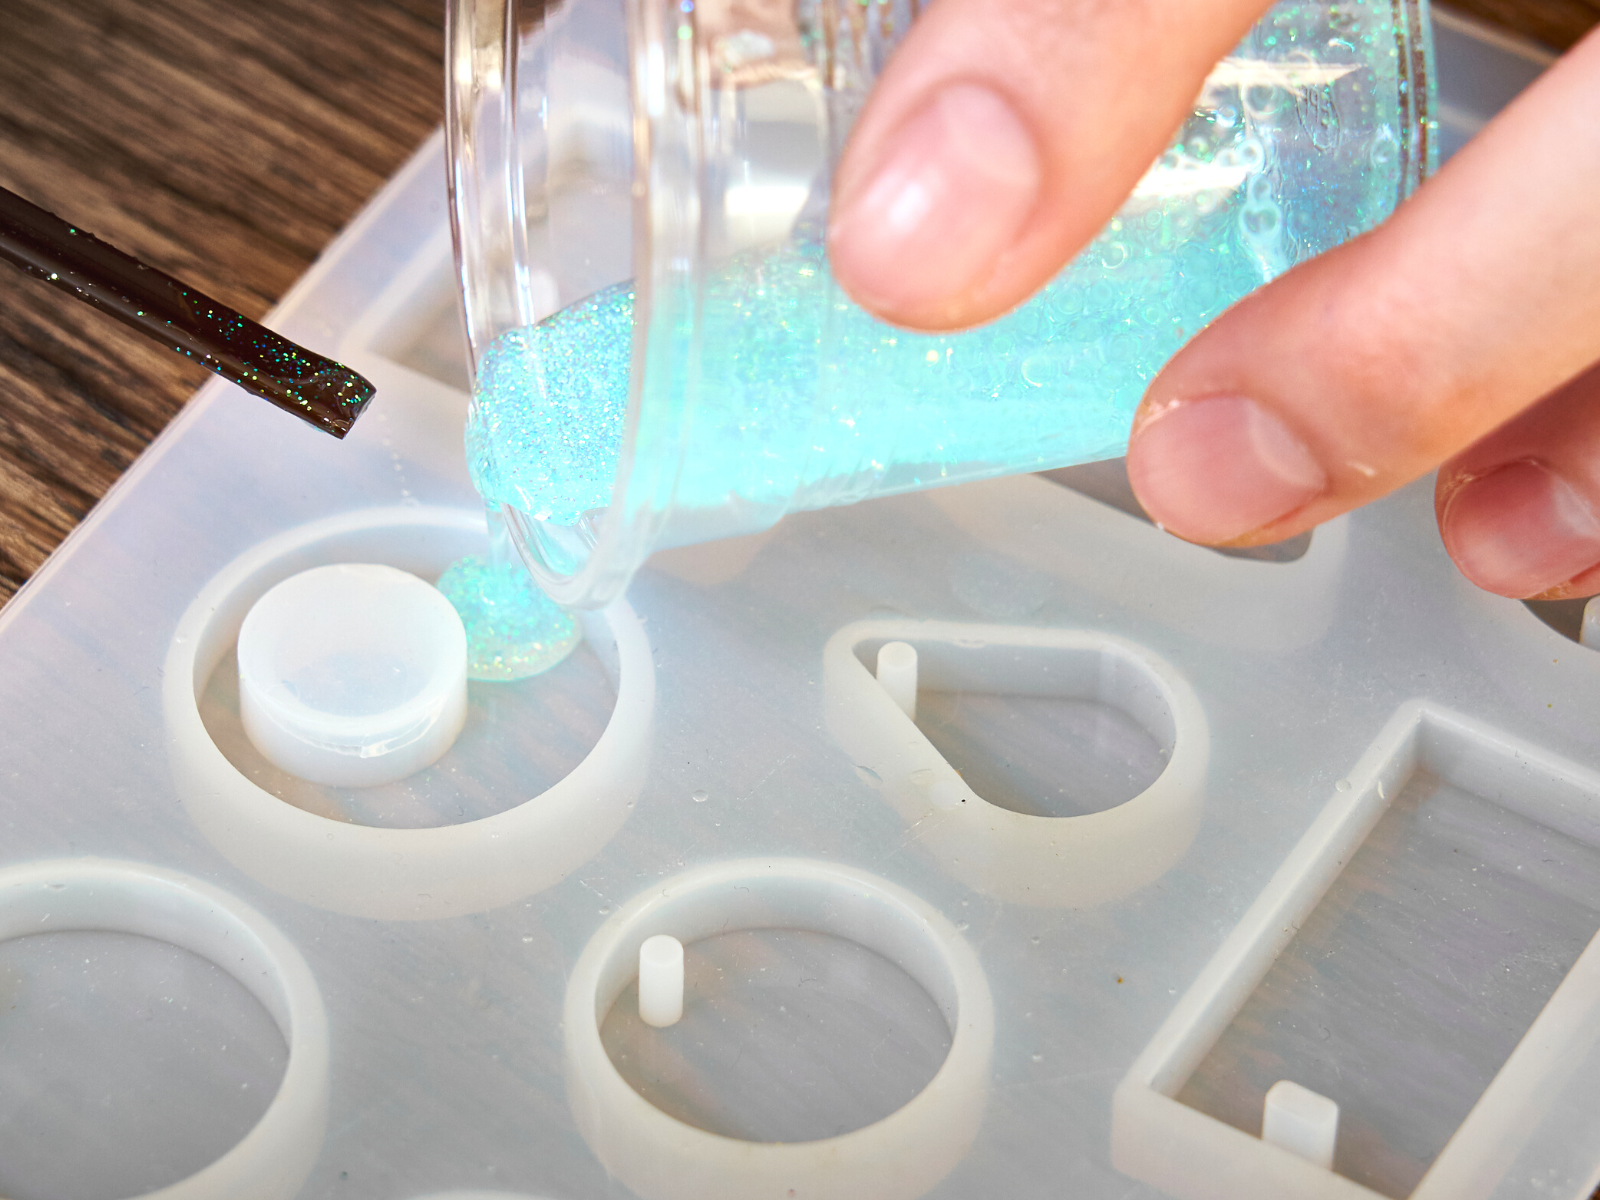
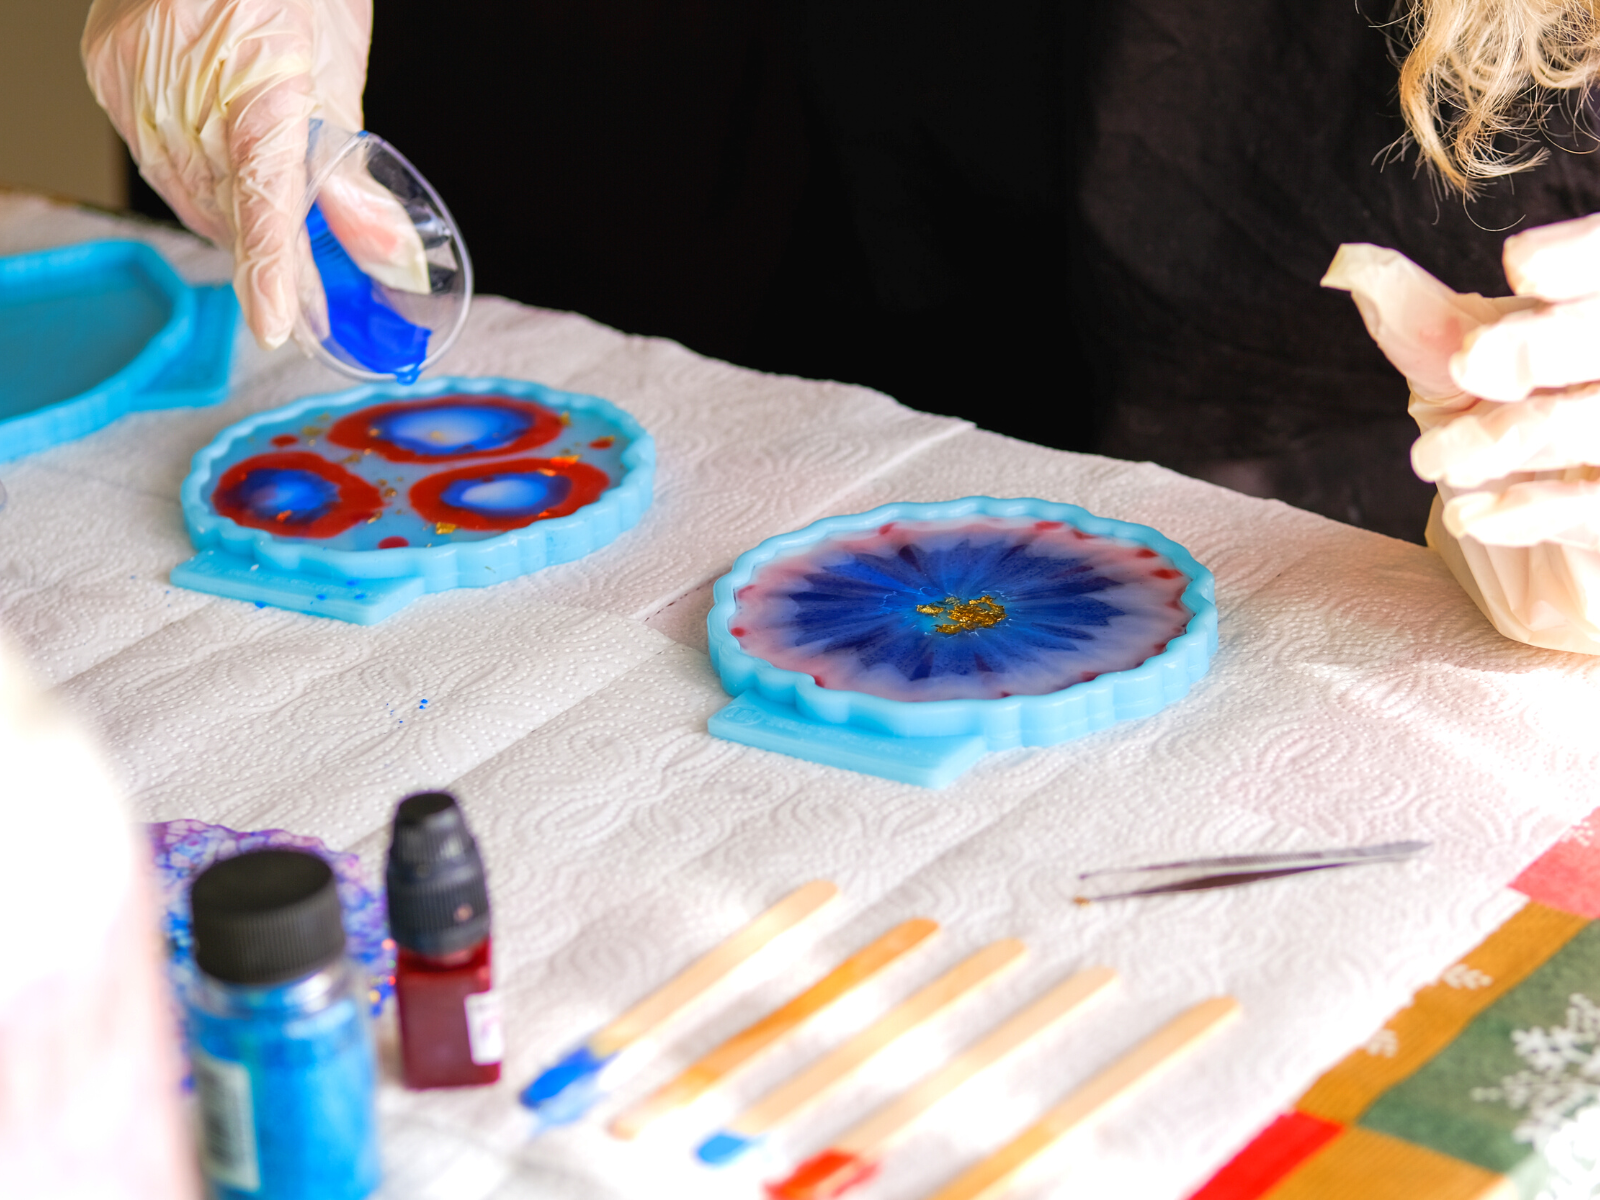
You can add color pigment, glitter, or other embellishment to your resin mix for a unique effect.
If you choose to do this, make sure that your additive is compatible with the type of resin you're using.
You can add these embellishments to resin layers or the top surface resin.
Resin Techniques
There are a wide variety of resin art ideas you can make.
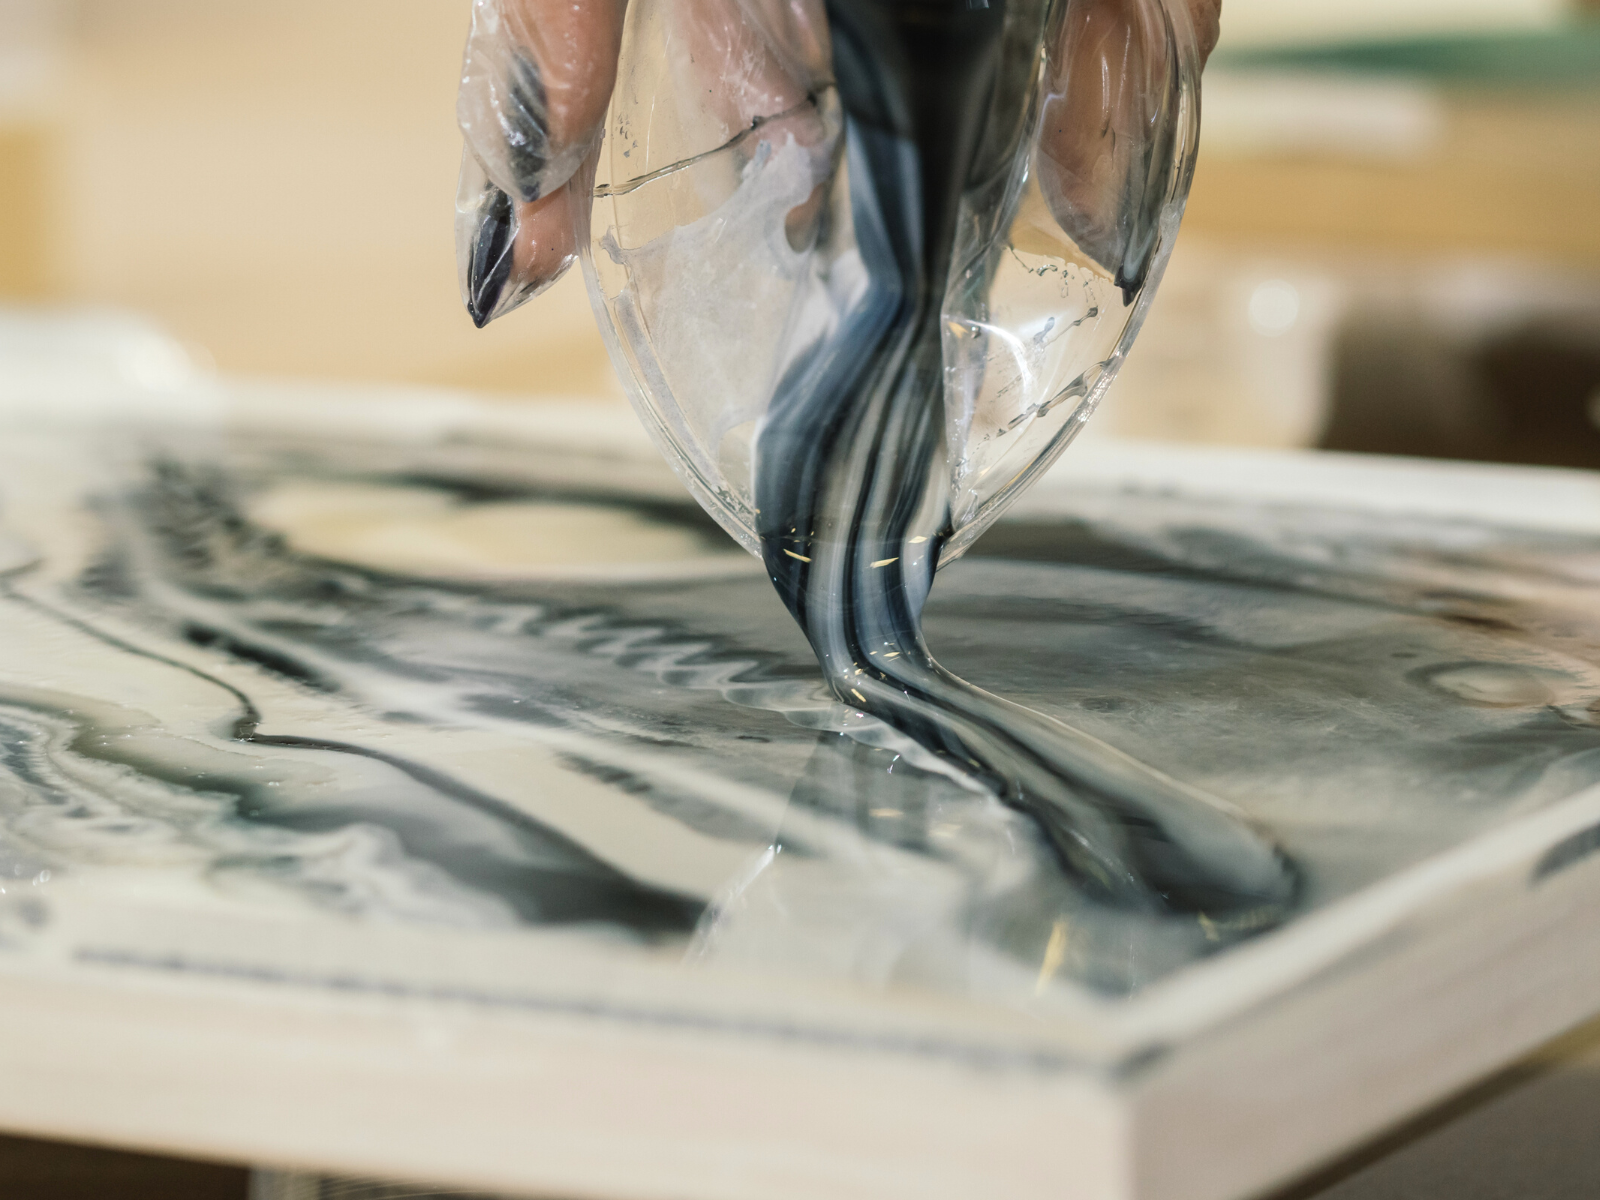
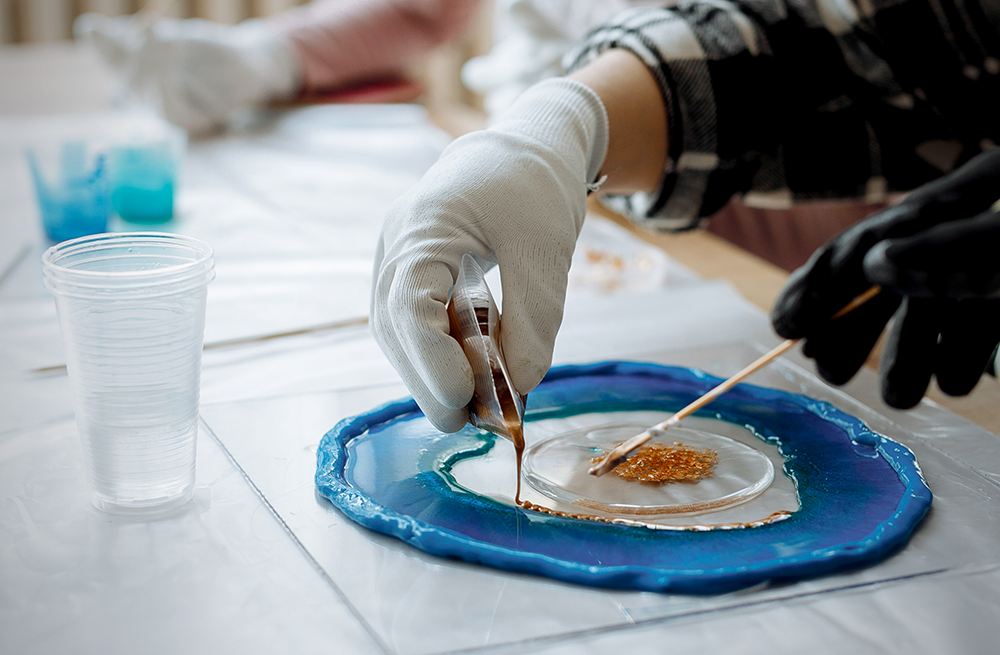
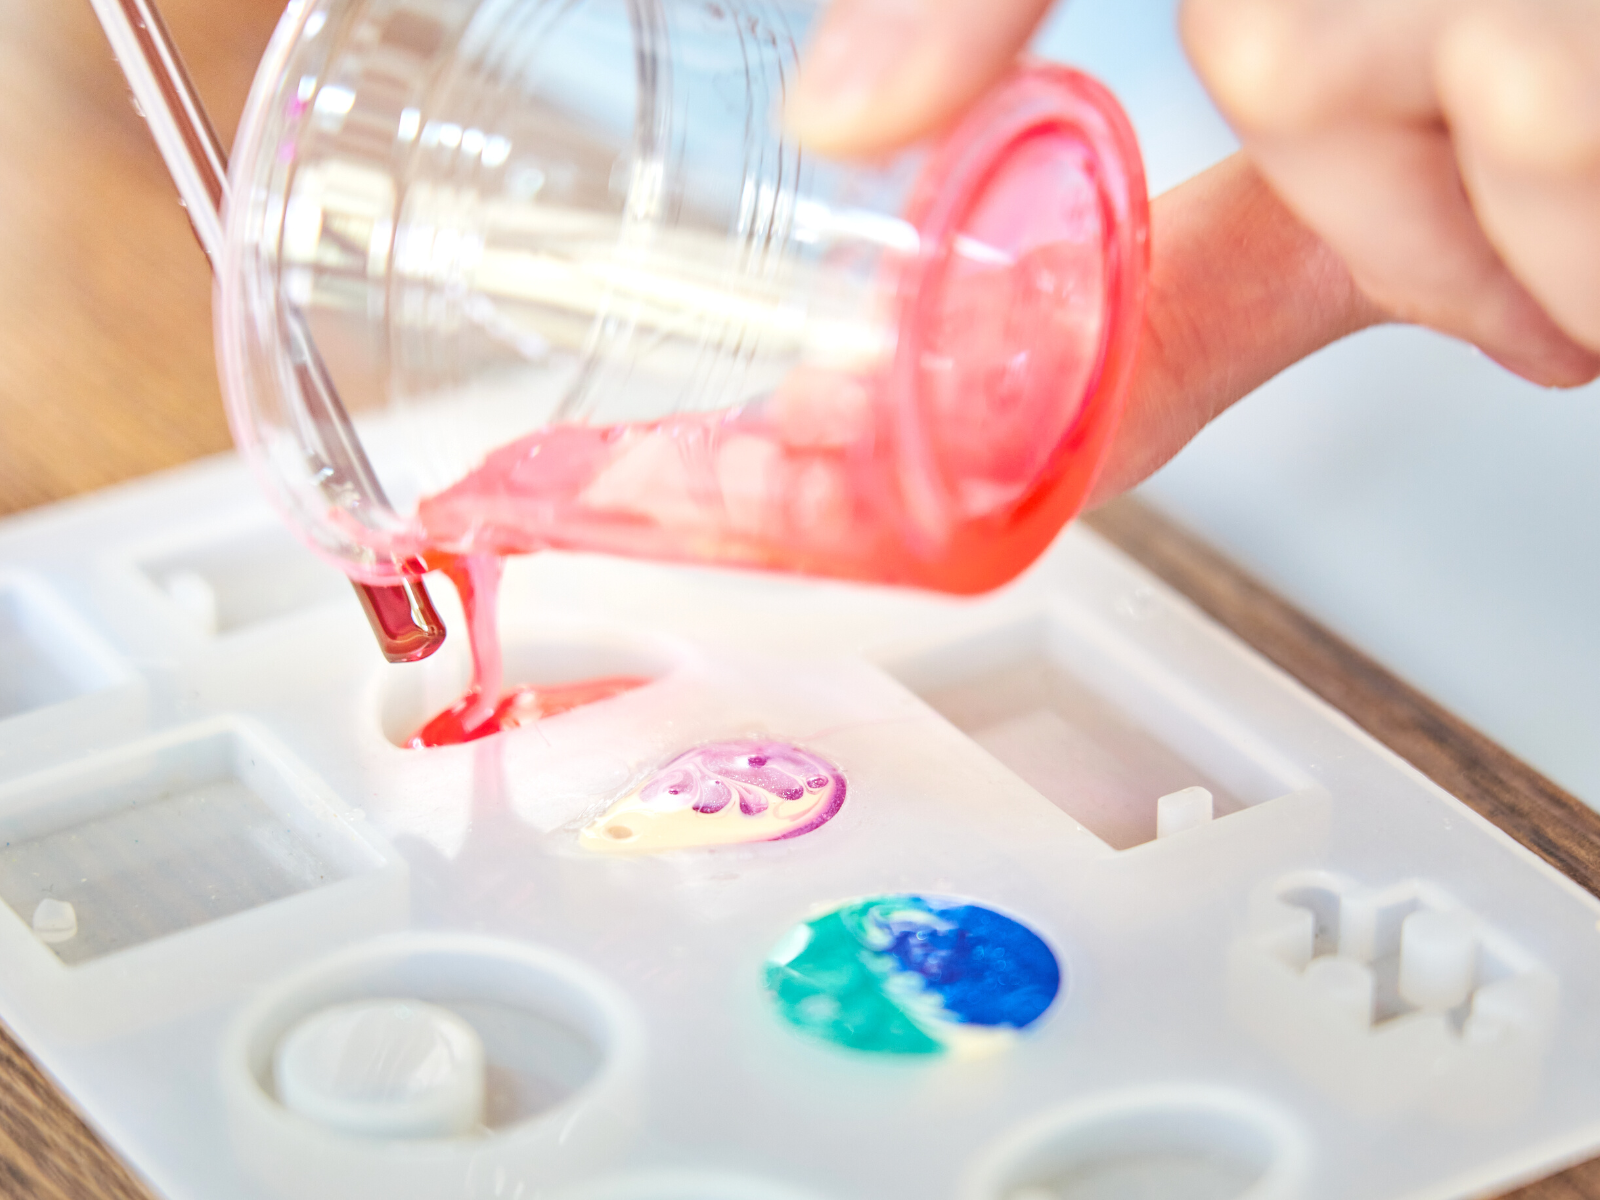
The most common technique used with liquid resin is layering.
This involves pouring a thin layer of resin into your mold or container, allowing it to cure, and then repeating the process with a different color or additive onto the resin surface.
Once the piece has cured, you can add a glossy finish with a layer of resin and hardener.
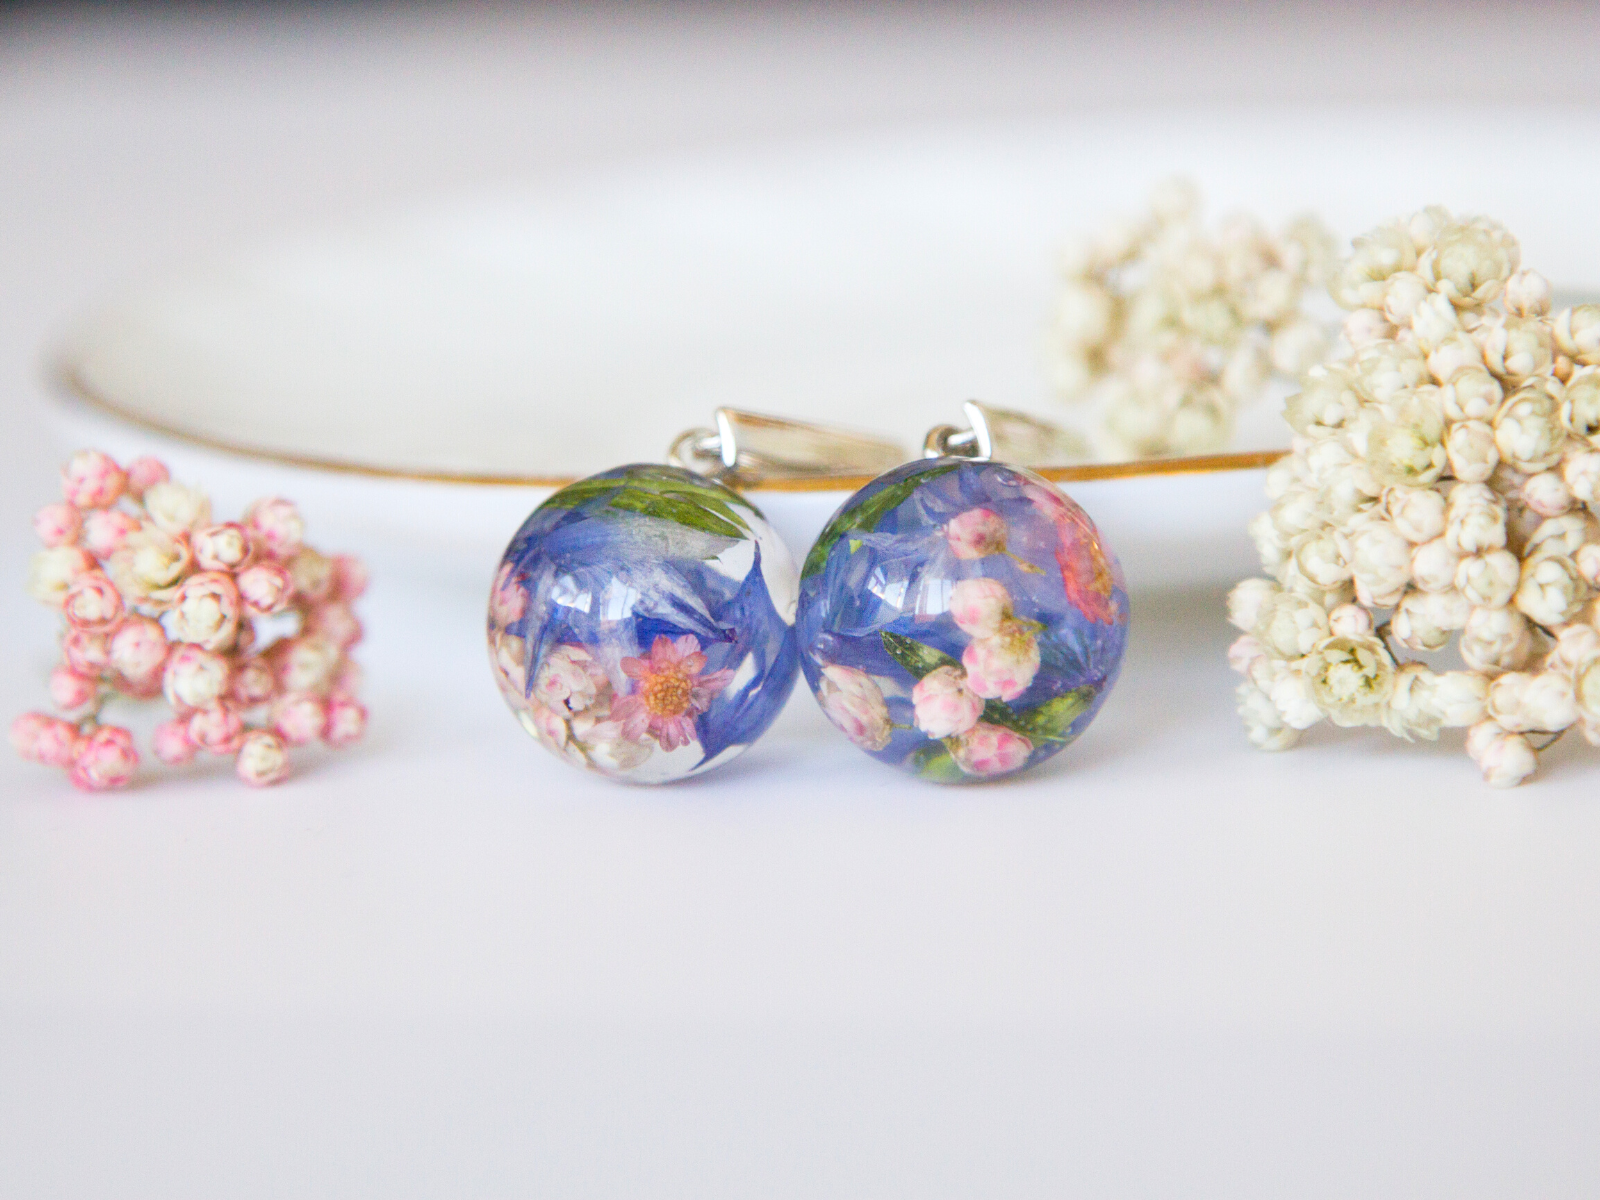
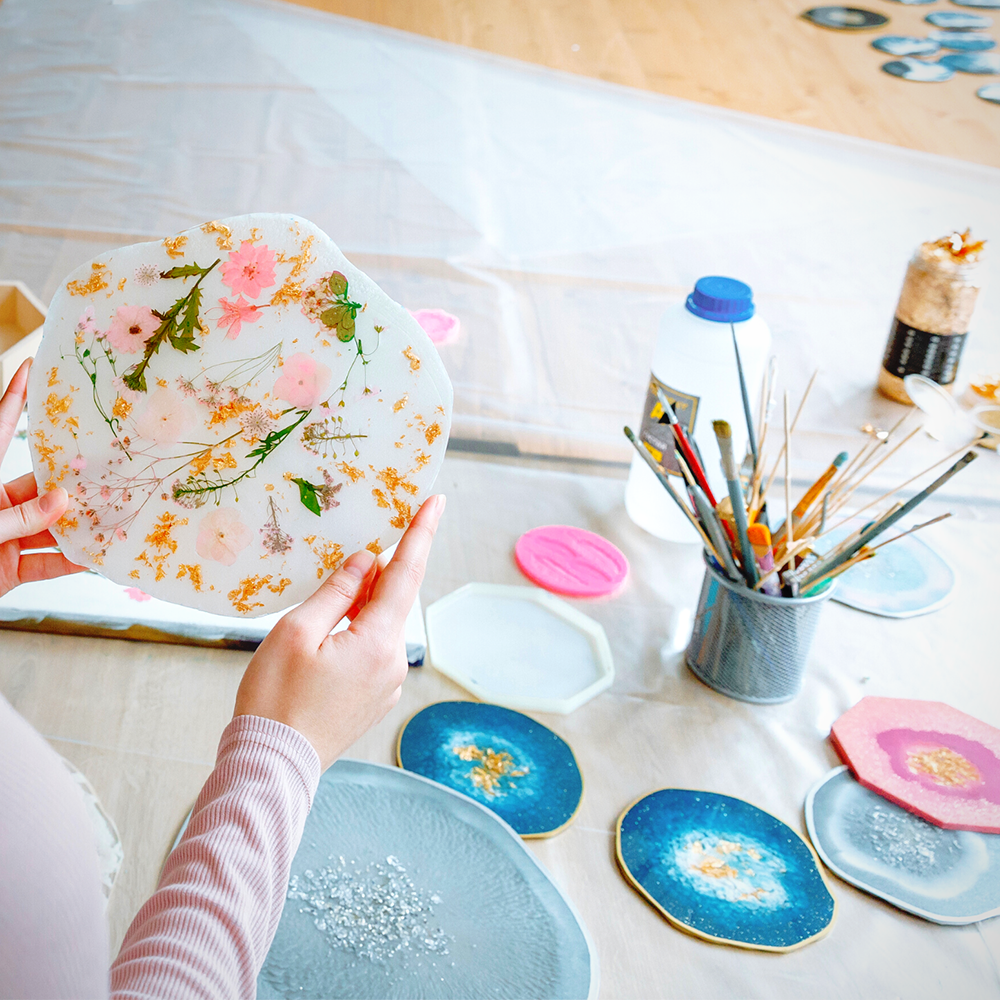
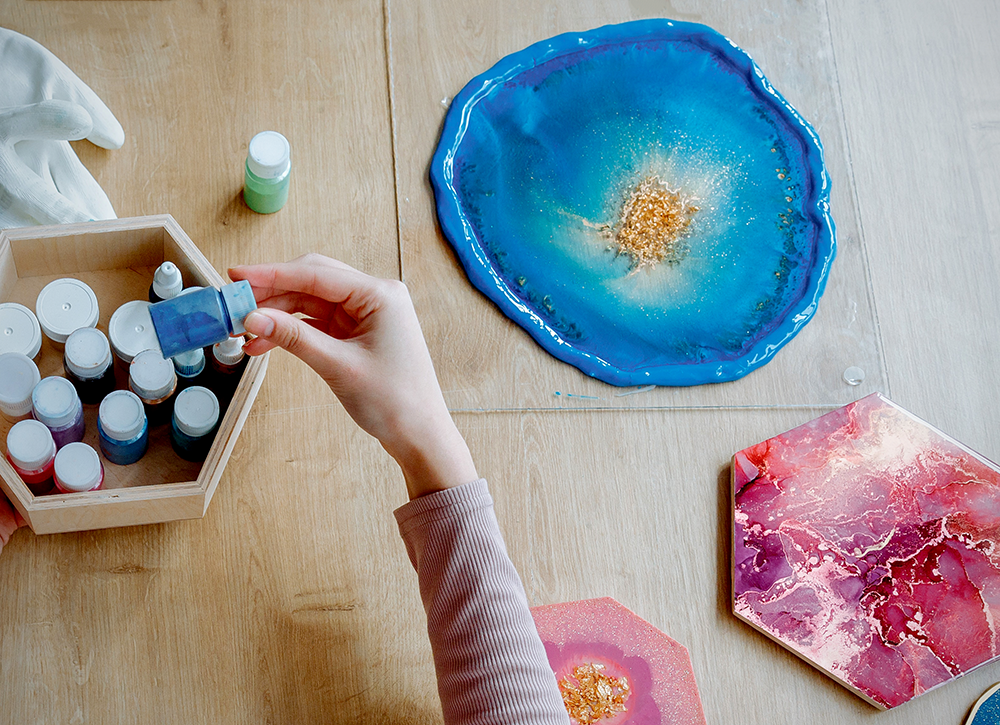
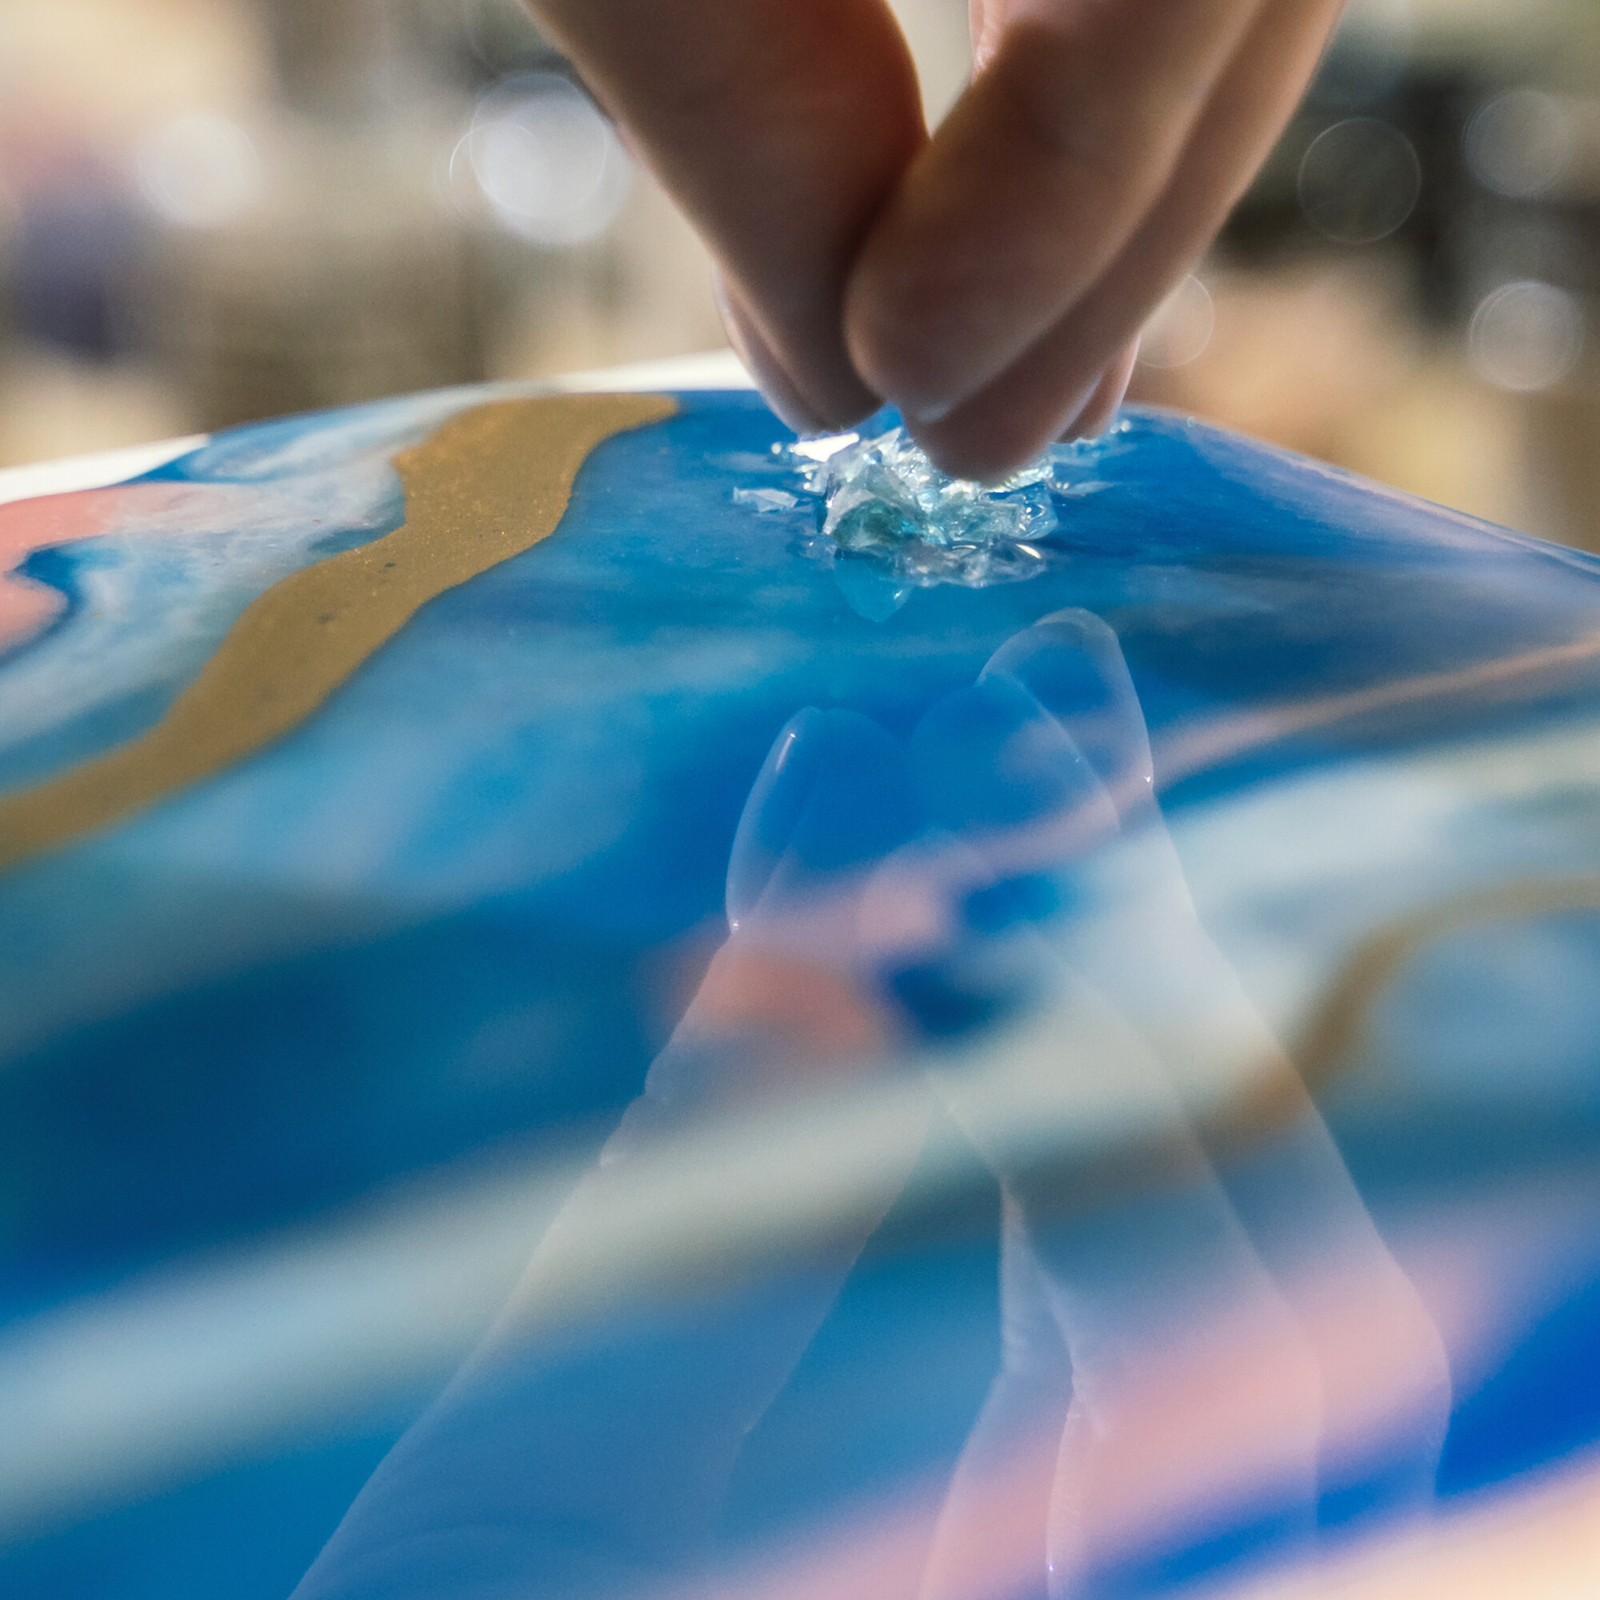
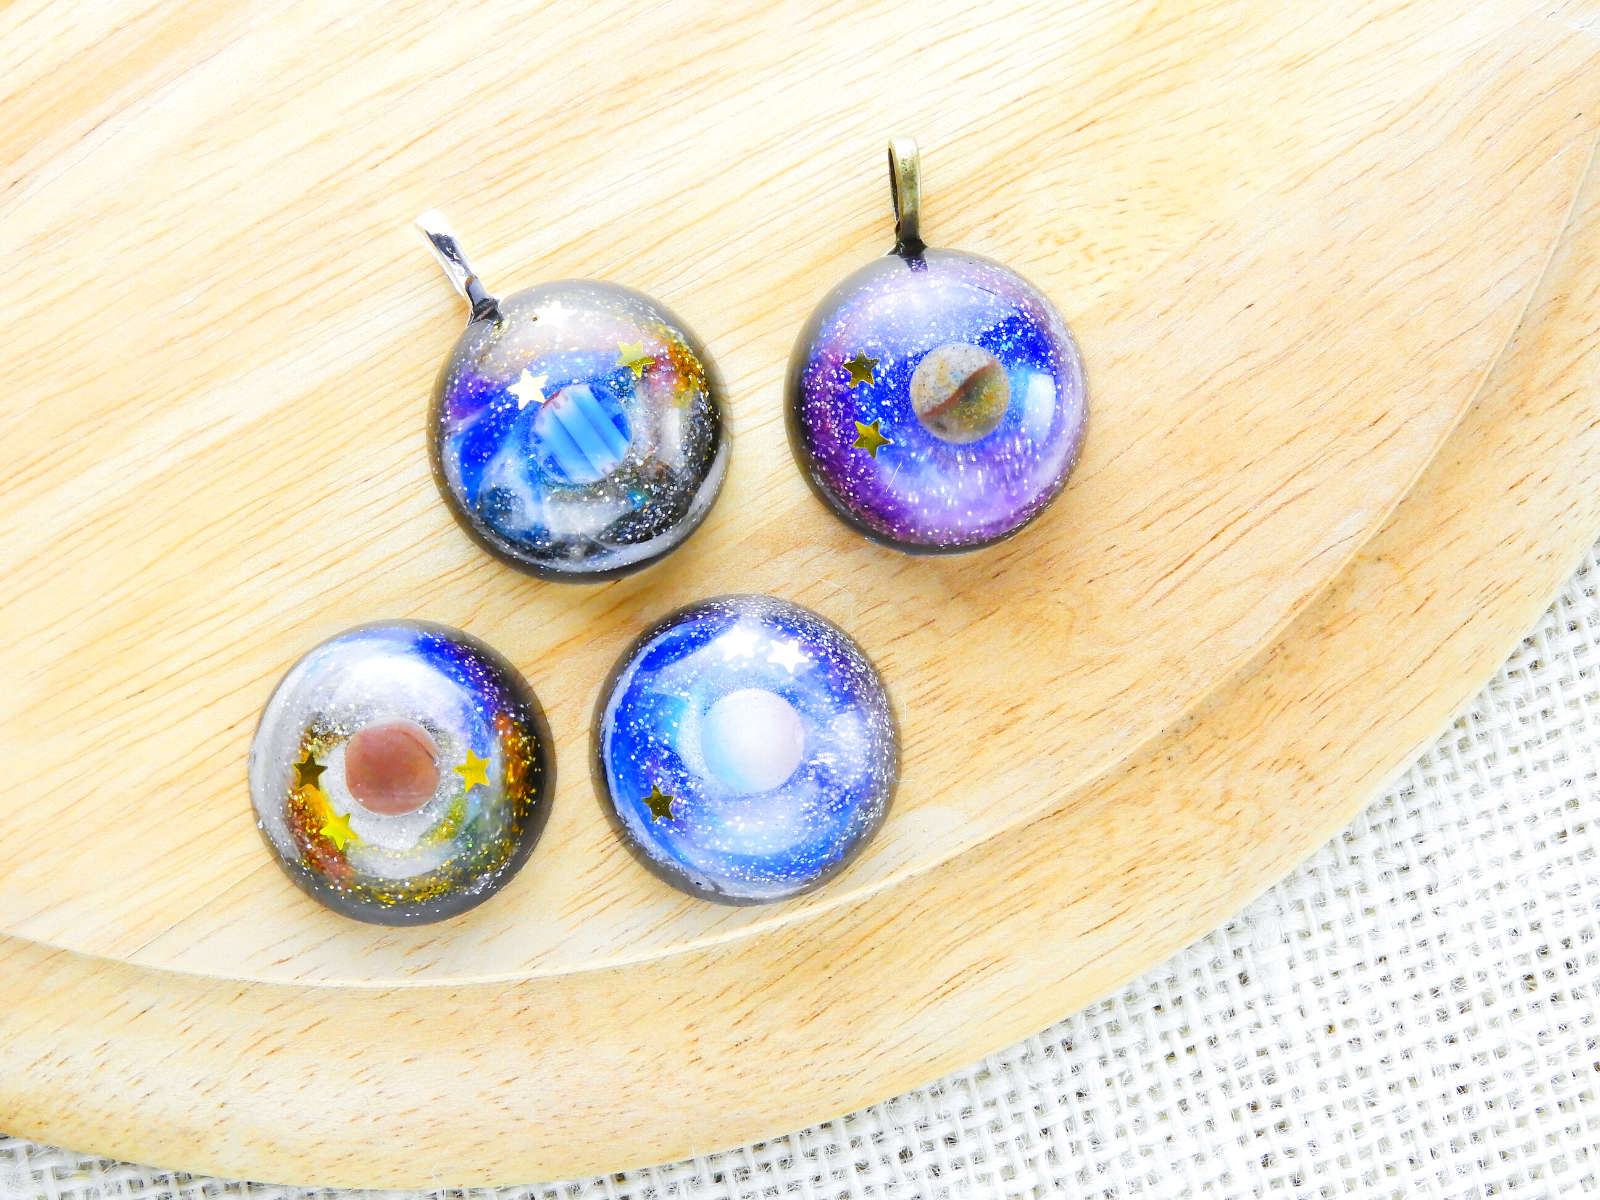
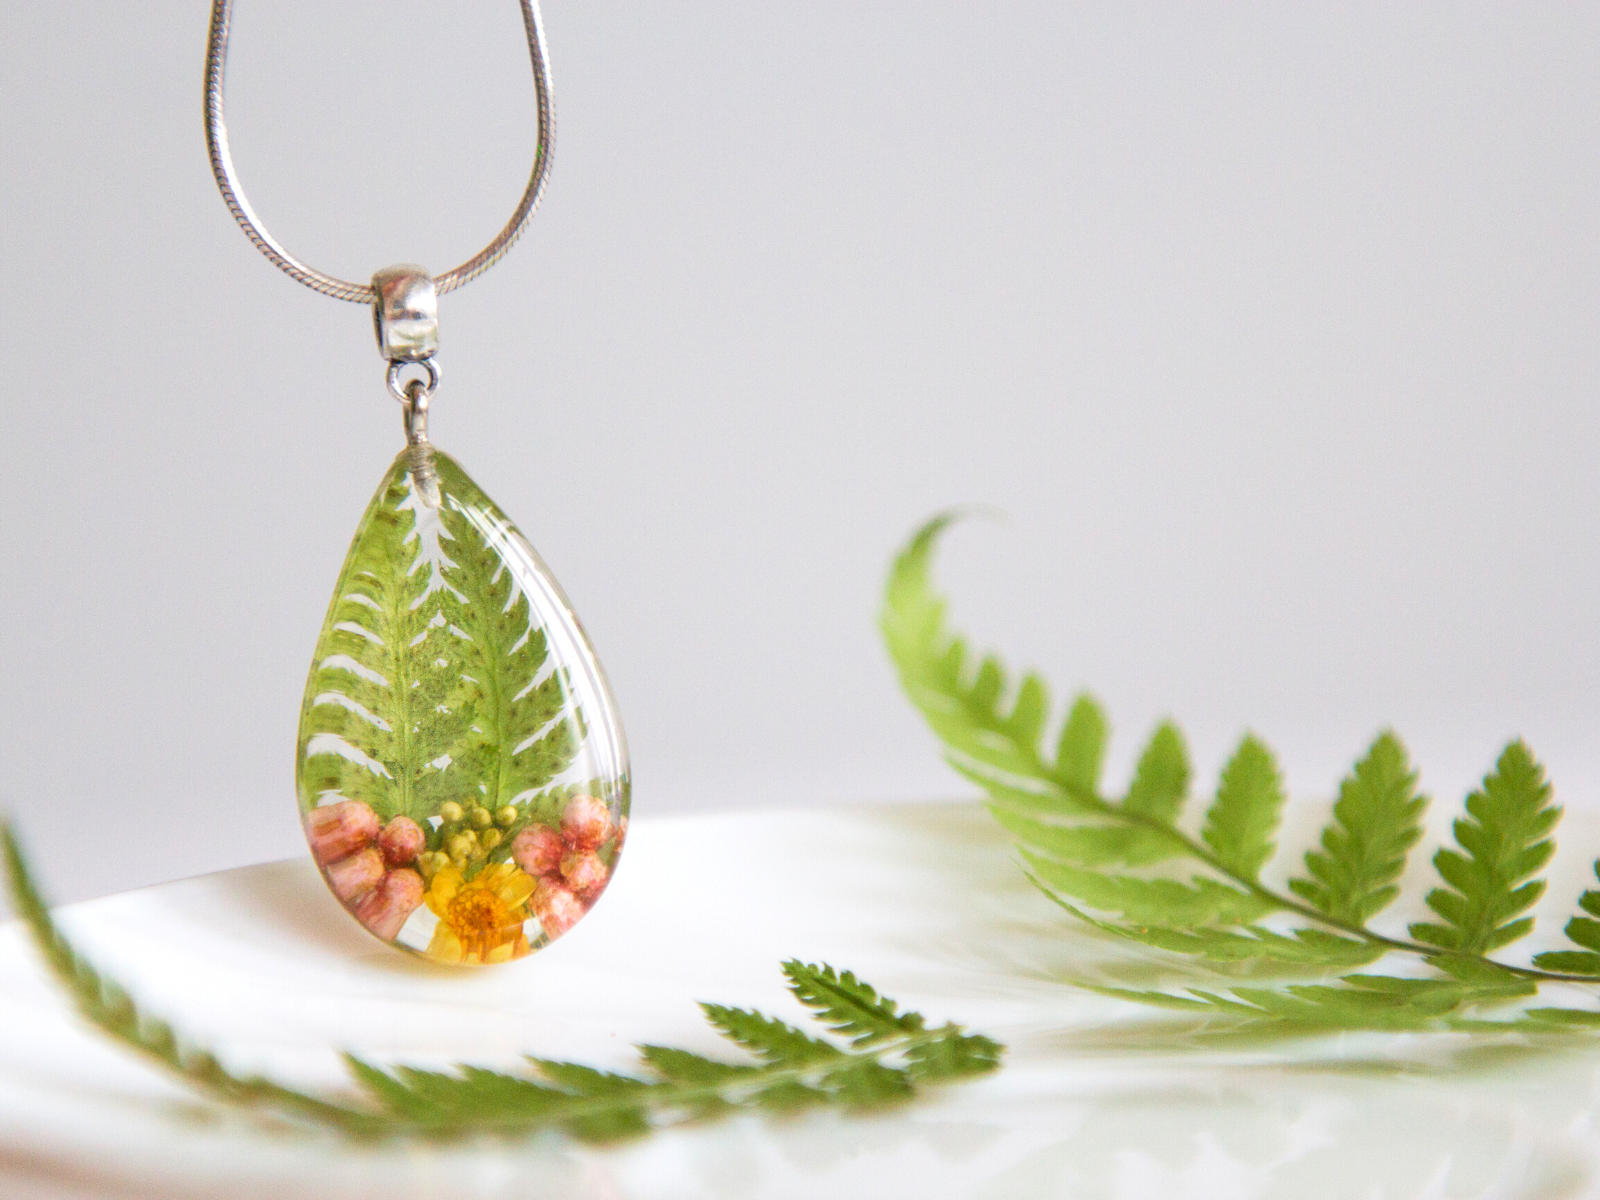
Other techniques include deep pour resin and embedding objects, such as dried flowers, crystals, or shells, in the resin and creating a doming effect.
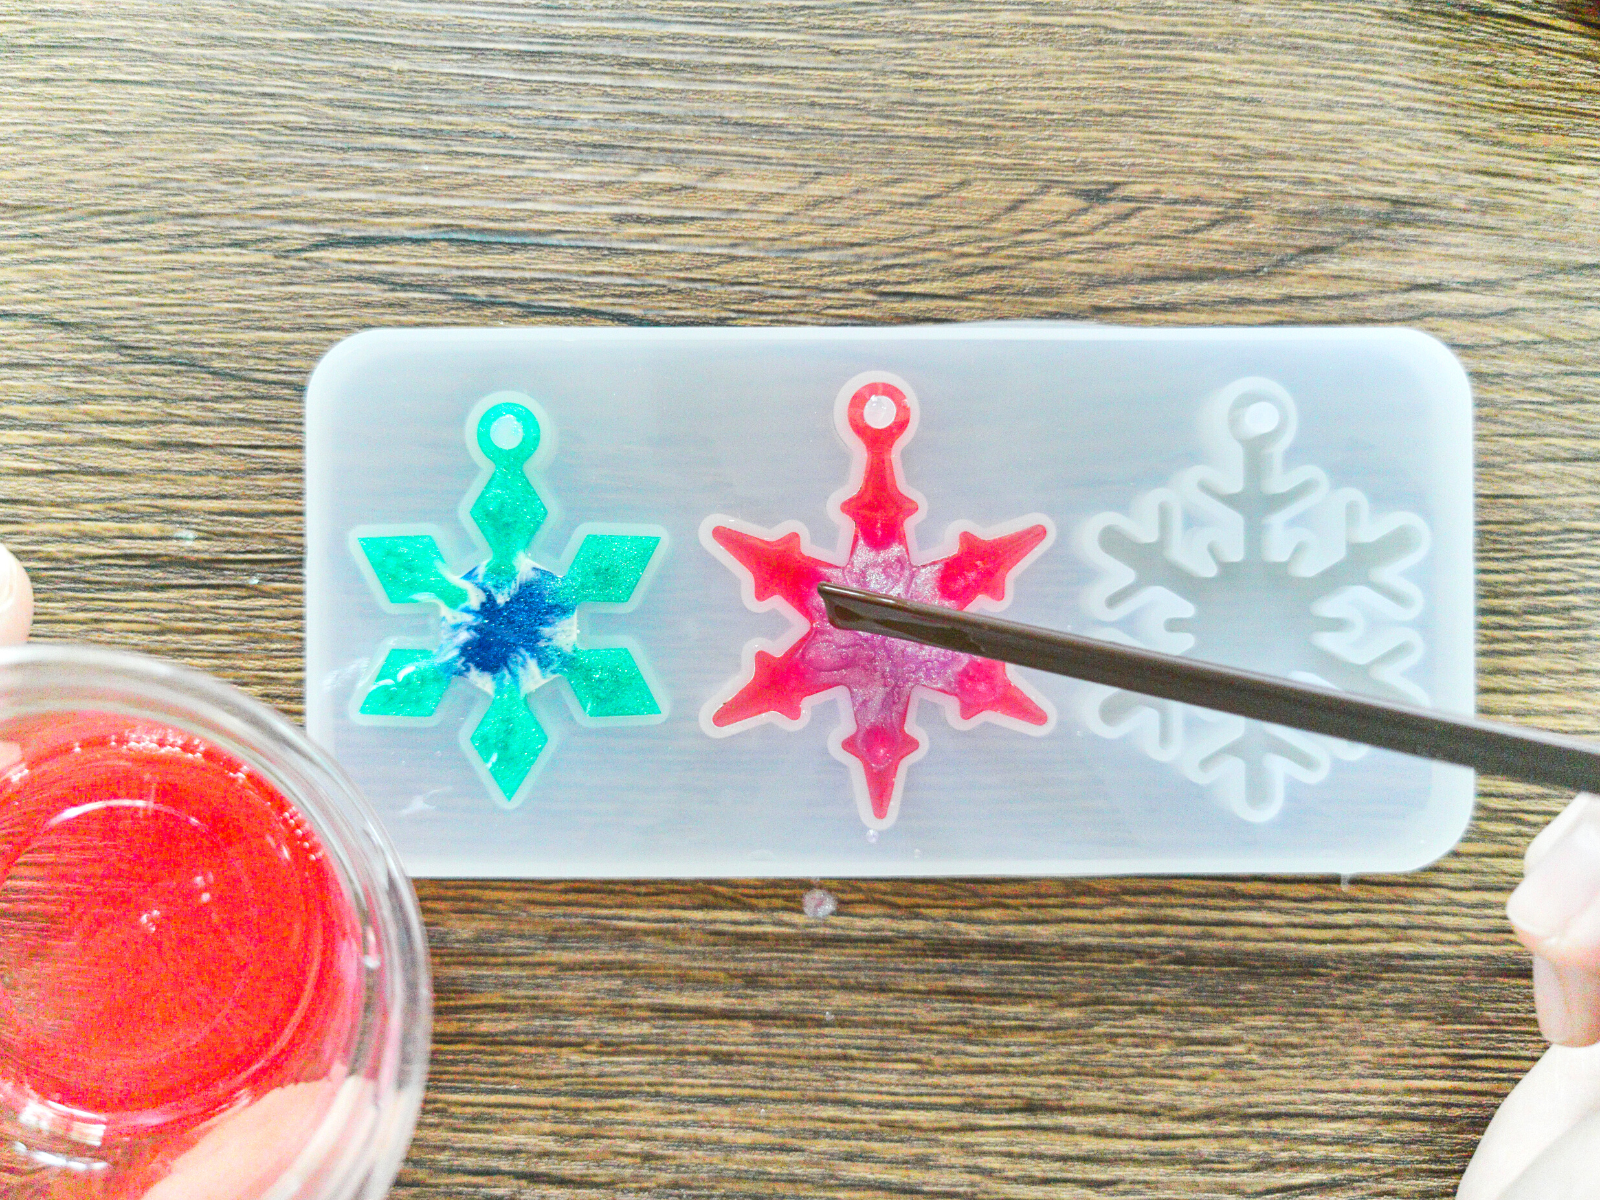
You can also create patterns by swiping a toothpick or other object through the wet resin.
Some artists enjoy creating collage jewelry using resin or even producing resin painting by adding acrylic paint or oil-based paint on the resin once it has cured.
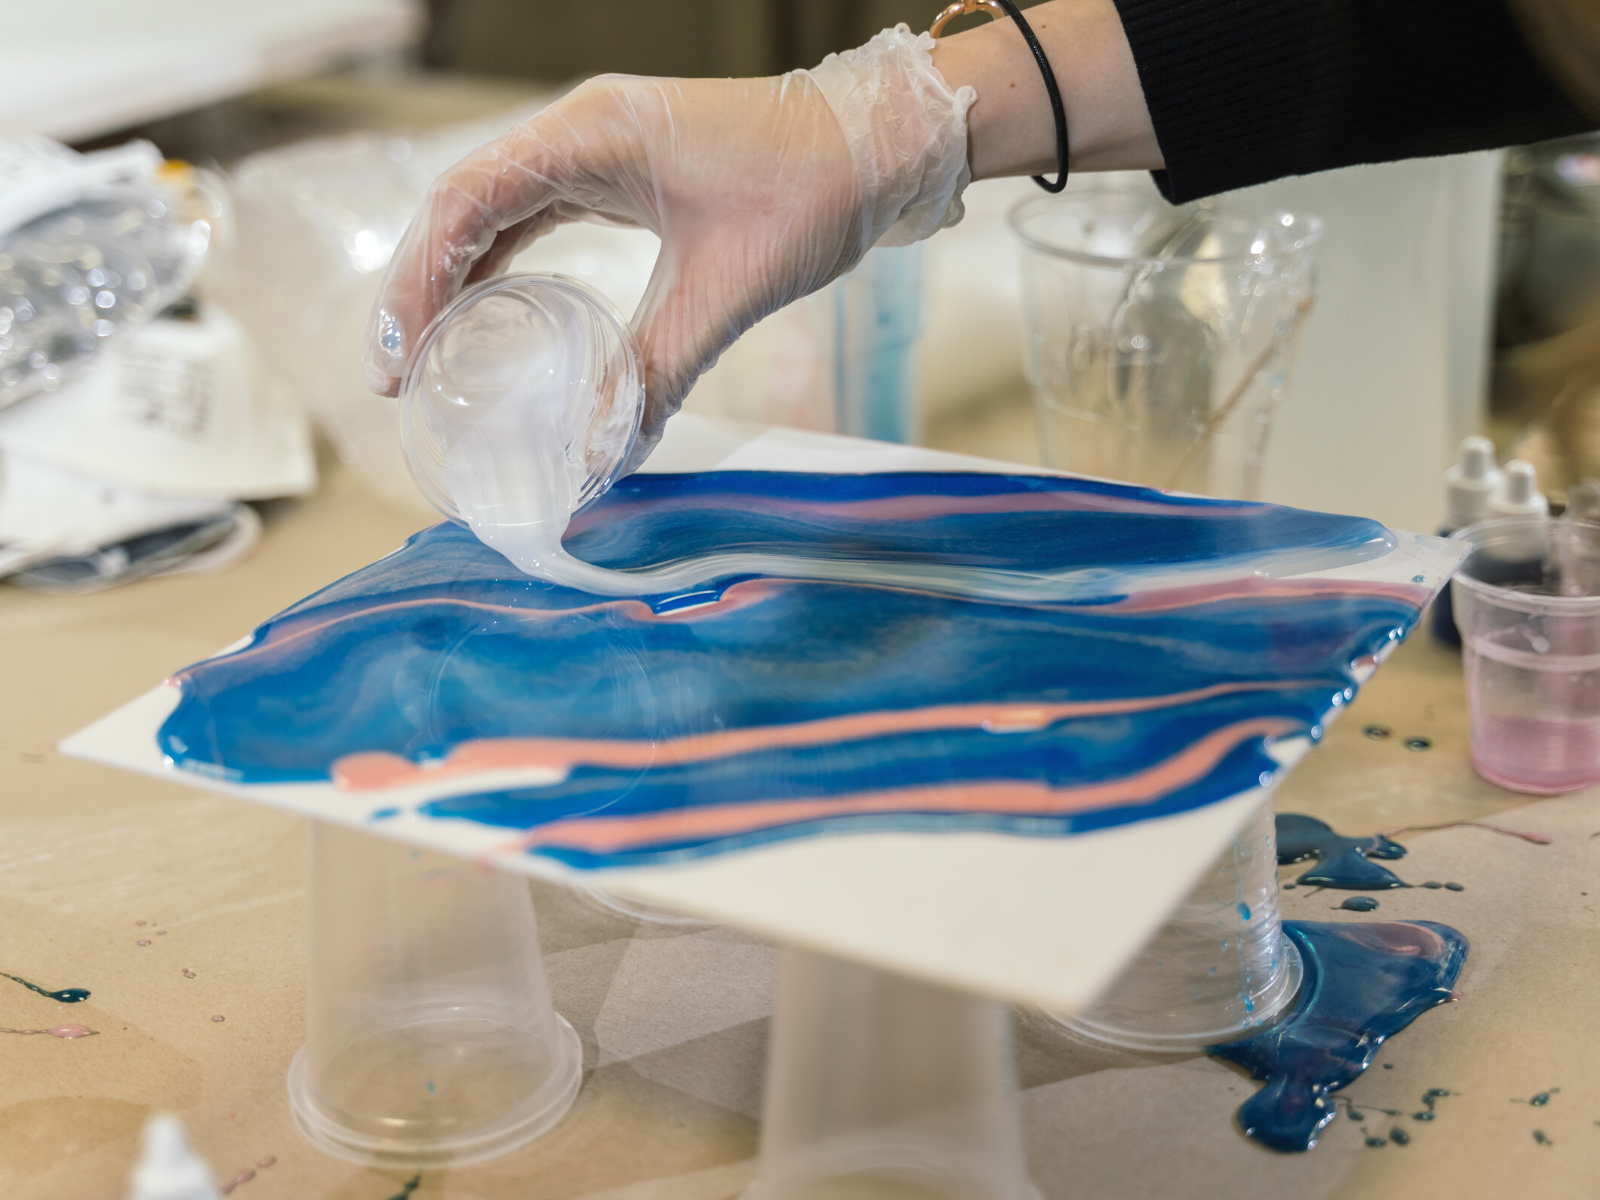
You can also try creating abstract art with resin.
This involves mixing various colors of resin together and pouring the mixture into a mold or container to create an interesting pattern or design.
Once you feel comfortable working with resin, try experimenting with different techniques, colors, and additives to create unique artwork!
The possibilities are endless!
How to Use Resin
Once you have all the necessary supplies, it's time to get started making fascinating resin arts!
Resin is easy to use, but it's important to follow the instructions for your particular type of resin.
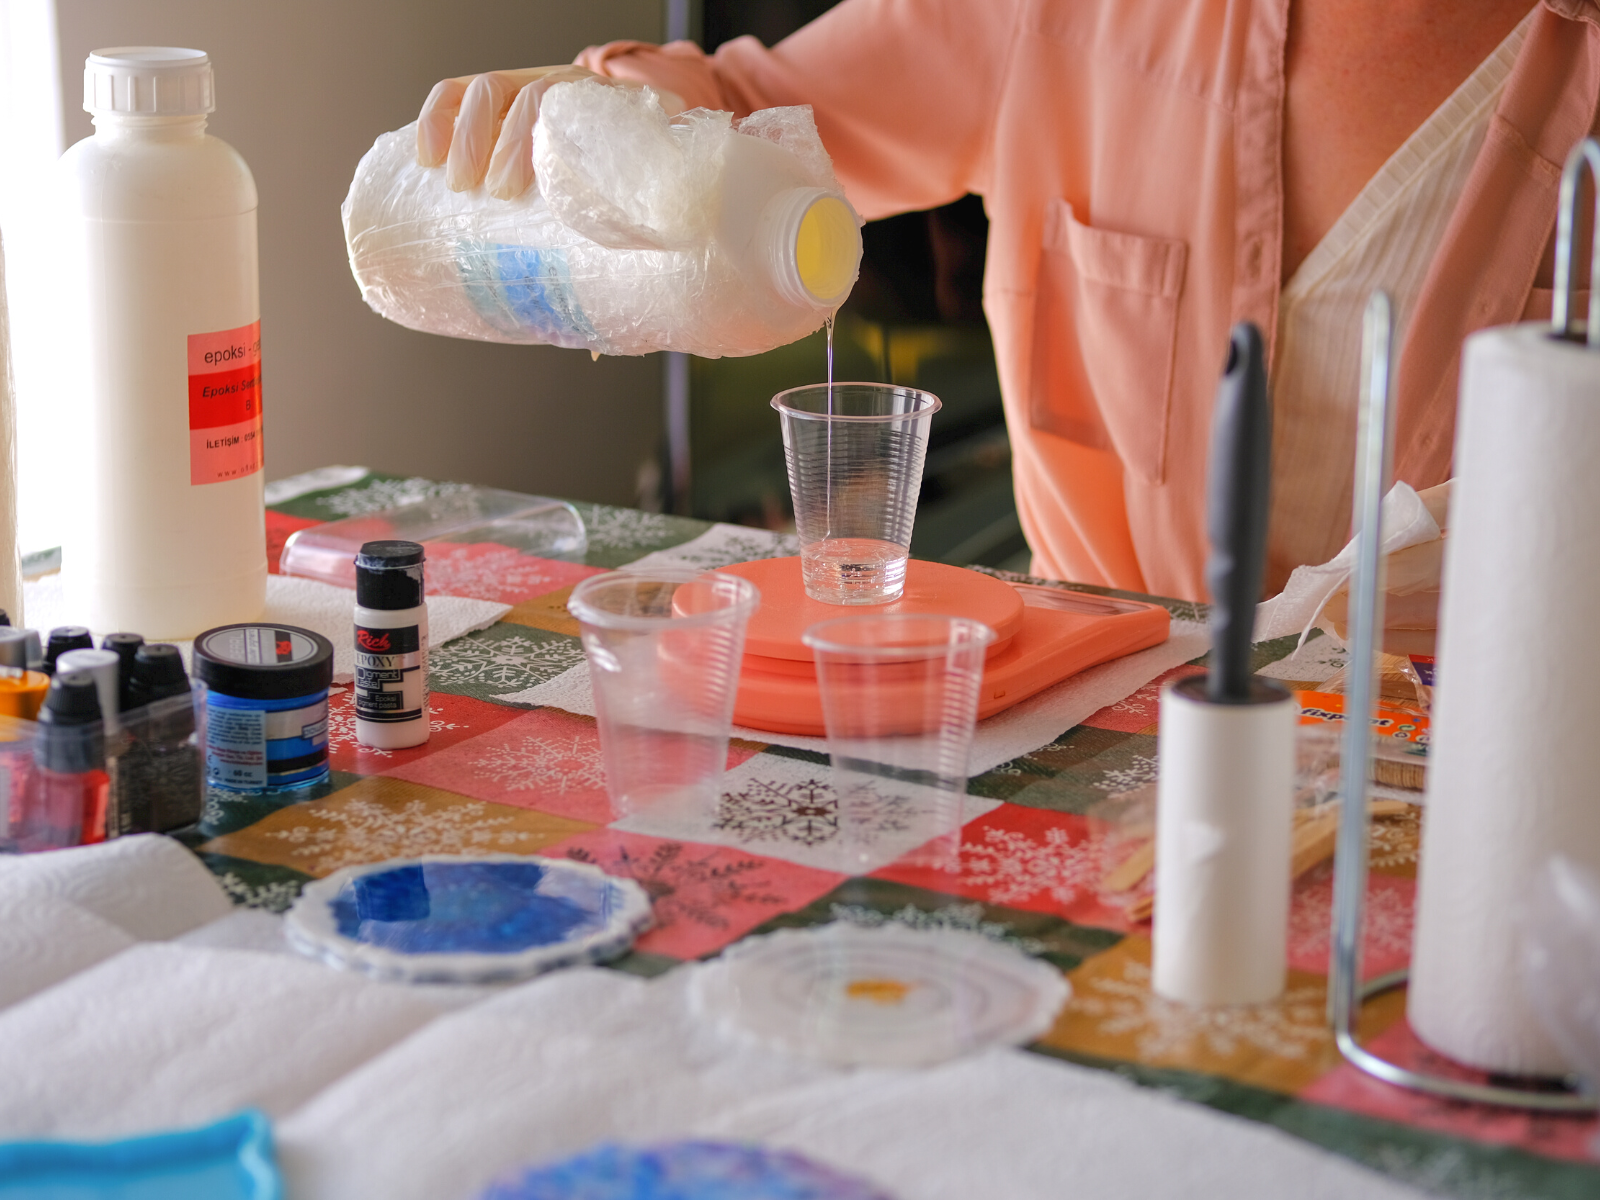
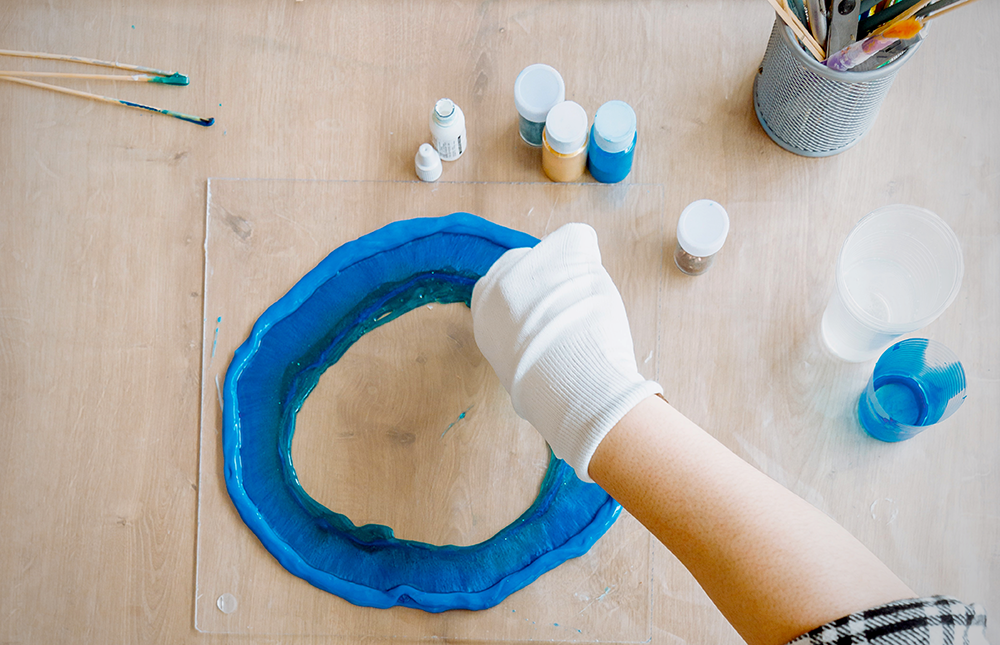
When pouring resin into a mold, make sure to fill it up slowly and evenly and ensure your mold is on a flat surface.
Generally, you'll need to mix the resin and hardener in the correct proportion (usually in a one to one ration but it can vary from resin to resin), stir for two to three minutes, pour the mixture into a mold or container of choice, and allow it to cure.
Cure time depends on the type of resin and temperature, but it usually takes at least a few hours or a day.
Once your piece is cured, you can remove it from the mold and admire your work!

Resin Art Tips
Resin art is a fun and creative way to express yourself, but it's important to keep safety in mind.
It's best to wear gloves and eye protection when working with resin, and make sure you're in a well-ventilated area such as an open garage or outside.
Also, be sure to follow the instructions of your particular type of resin.
Be aware that some resins require a higher ratio of hardener, while others require a lower ratio.
Take your time and measure out the correct proportions; this is crucial because the wrong ratio could ruin your artwork.
Tap the container gently against your work surface to help remove air bubbles that may be present.
To speed up the cure time of your resin art you can use a heat gun or UV lamp, but follow the directions carefully.
Cured resin can be sanded or polished to make it even glossier.
Remember to clean up any spills immediately since the resin will stick to the surface and could be difficult to remove.
Finally, don't forget to have fun and be creative!
Experiment with different techniques, colors, and additives to create original pieces.

Creating Resin Art
Resin is a wonderful material for creating art, jewelry, and more.
Whether you're starting your first resin painting or other resin products, with the right supplies and techniques, you can create unique and beautiful pieces of art.
Just remember to keep safety in mind when working with resin and make sure to follow the instructions of your particular type of resin.
No matter what your skill level, you can create something beautiful with resin!
Good luck and have fun creating resin art pieces!
Eager to learn more about creating resin projects? Check out ArtResin's video!
Want even more content about creativity and art?
Be sure to check out all of our creative chronicles!
Need more adhesives for your arts and crafts?
Check out some of our other articles: