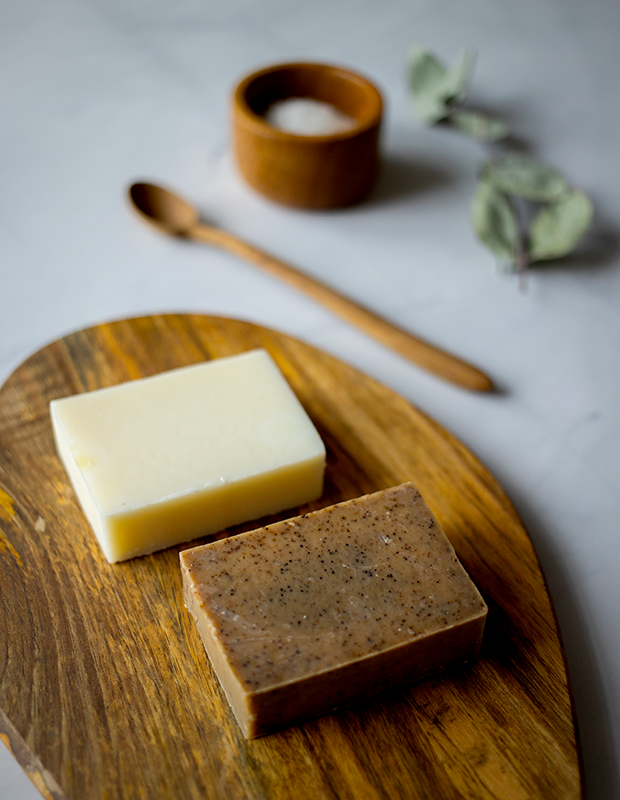
Soap making is a fun and rewarding hobby that anyone can enjoy.
The process of soap making involves combining natural ingredients to create bar soap that is both cleansing and moisturizing.
While making homemade soap may seem like a daunting task, it is actually quite simple and only requires a few supplies.
With a little patience and practice, you will be able to create beautiful, natural soaps that your friends and family will love!
Gather Your Supplies
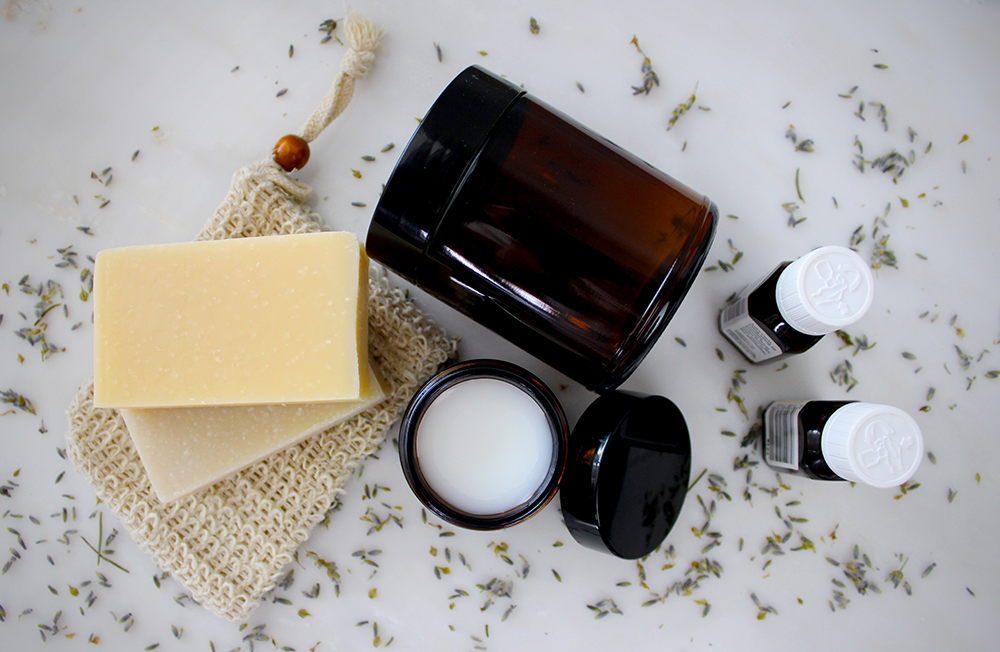
Before you can begin making soap, you must first collect the necessary supplies.
You will need a variety of oils, butters, and other ingredients, which can be found at your local craft store or online.
There are a variety of soap bases that you can choose from, but the most popular are glycerin and melt-and-pour.
Glycerin soap is made from natural fats and oils, while melt-and-pour soap is made from a pre-made base that has been melted down.
Both types of soap are equally as easy to work with, so it is up to you which one you choose.
Shea butter, coconut oil, and olive oil are popular in a variety of soap recipes because they are both cleansing and moisturizing.
Other popular oils include avocado oil, jojoba oil, and almond oil.
These oils can be combined in a variety of ways to create different types of soap.
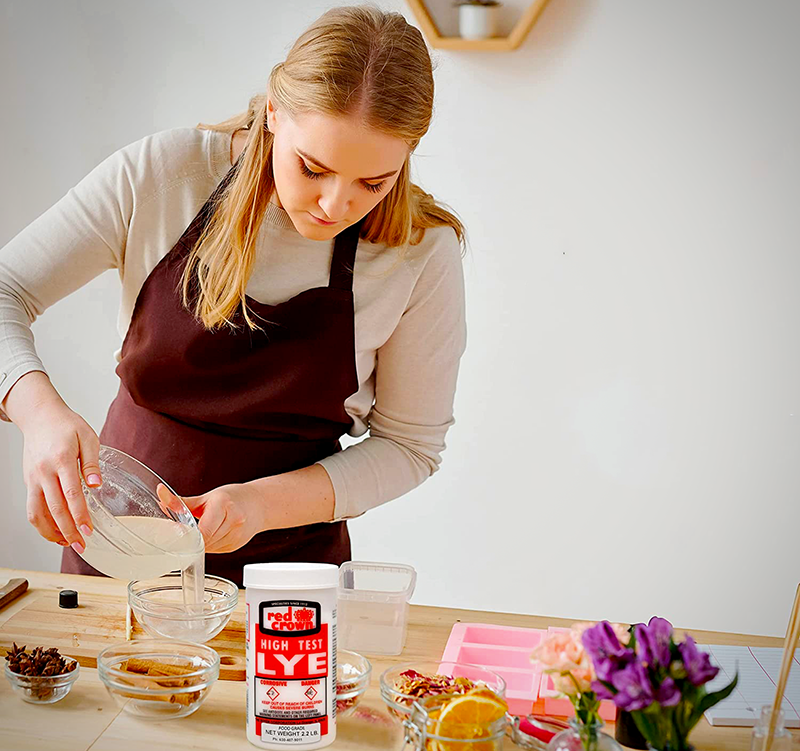
Lye, also known as sodium hydroxide, is a must-have ingredient for soap making because lye is what causes the chemical reaction that allows the oils to saponify, or turn into soap.
However, it is very caustic and can be dangerous if not handled correctly.
For this reason, it is important to take precautions when working with lye and be sure to follow all safety instructions.
Choose Your Soap Making Process
There are several different soap making techniques you can choose from, the most popular two being the hot process and cold process.
Hot process soap making is a bit quicker than cold process soap making because the soap is cooked on the stove top, which speeds up the saponification process.
Cold process soap making involves combining the ingredients and then letting the soap sit for 24-48 hours so that it can saponify on its own.
Both methods will produce high-quality soap, so it is up to you which one you choose.
Prepping Your Materials
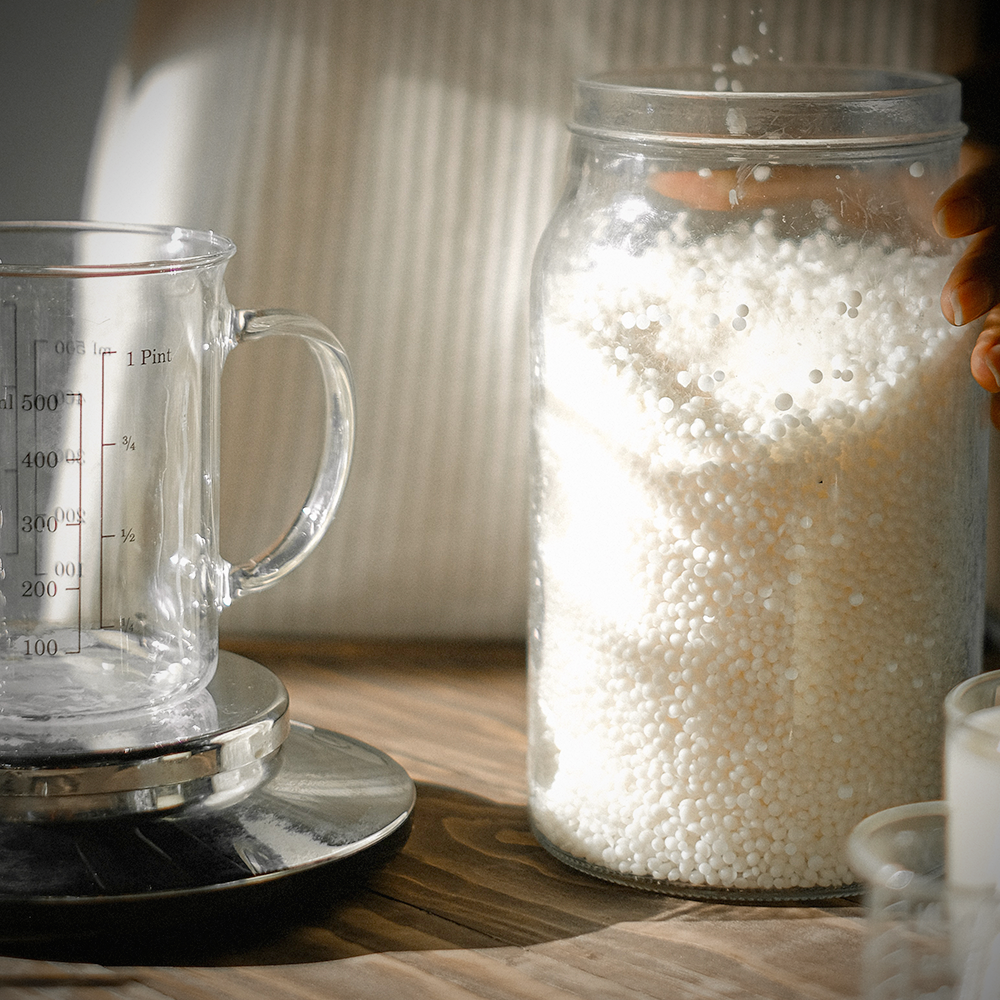
Once you have gathered your supplies, you will need to melt the oils and butters together.
This can be done either in a double boiler or in the microwave.
In general, using a double boiler is best because it helps to prevent the oils from scorching.
Scorched oils can cause your soap to smell bad and can also make it less effective.
Double boiling is a simple process that just involves placing a glass bowl or measuring cup on top of a pot of simmering water.
Make sure that the bottom of the bowl does not touch the water.
Once the water is simmering, add your oils and butters to the bowl and stir until they are completely melted.
If you choose to melt your oils in the microwave, do so in short bursts of 15-30 seconds, so that it does not burn.
Add in Lye
Once the oils and butters have been melted, it is time to add the lye to the soap batter.
Remember, lye is a corrosive substance, so handle it with care.
When using lye, make sure to wear gloves and safety goggles to protect yourself from any potential accidents.
Be sure to add the lye slowly to the oil mixture, stirring constantly.
Once all of the lye has been added, allow the mixture to cool for several minutes before moving on to the next step.
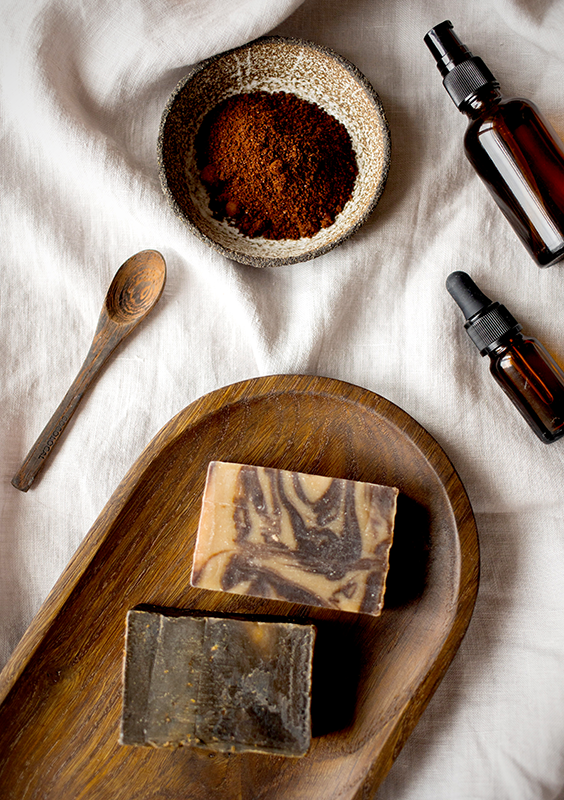
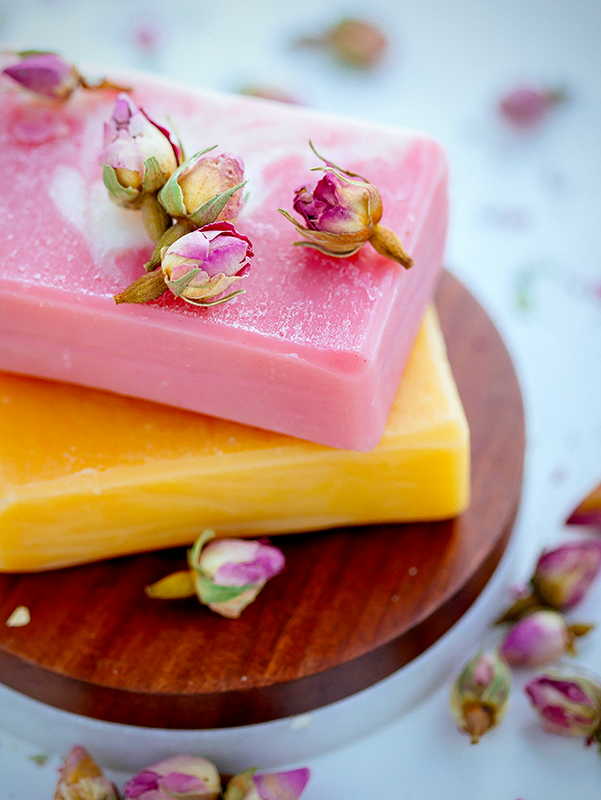
Optional Touches
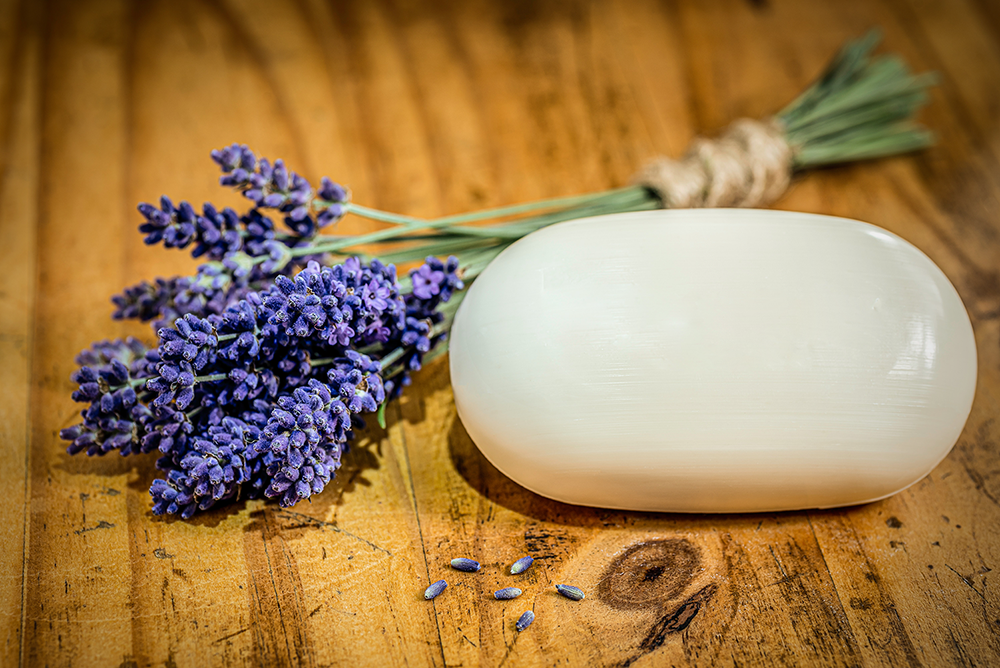
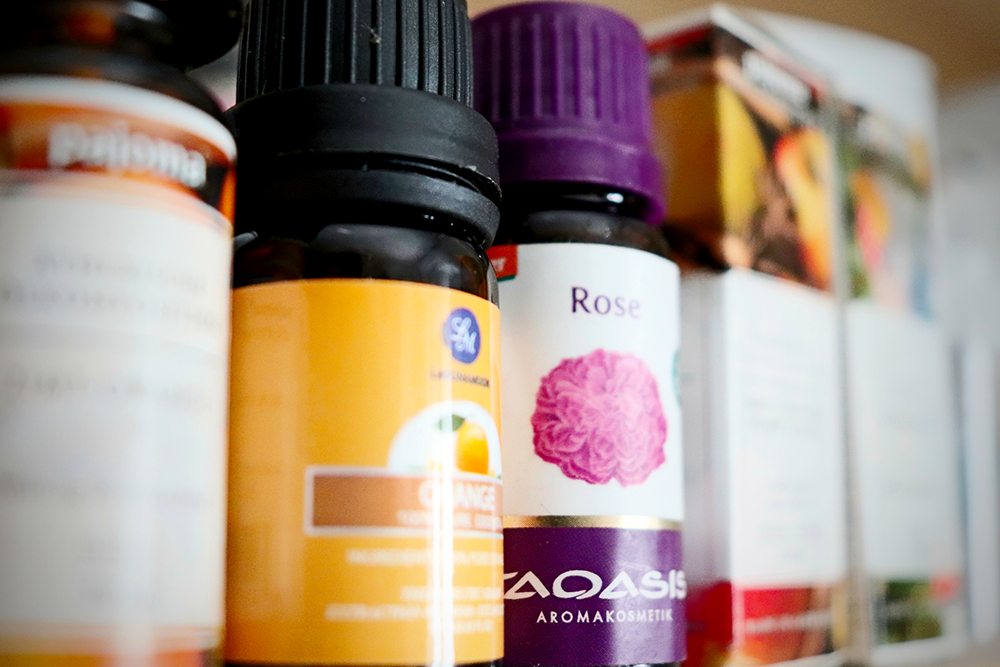
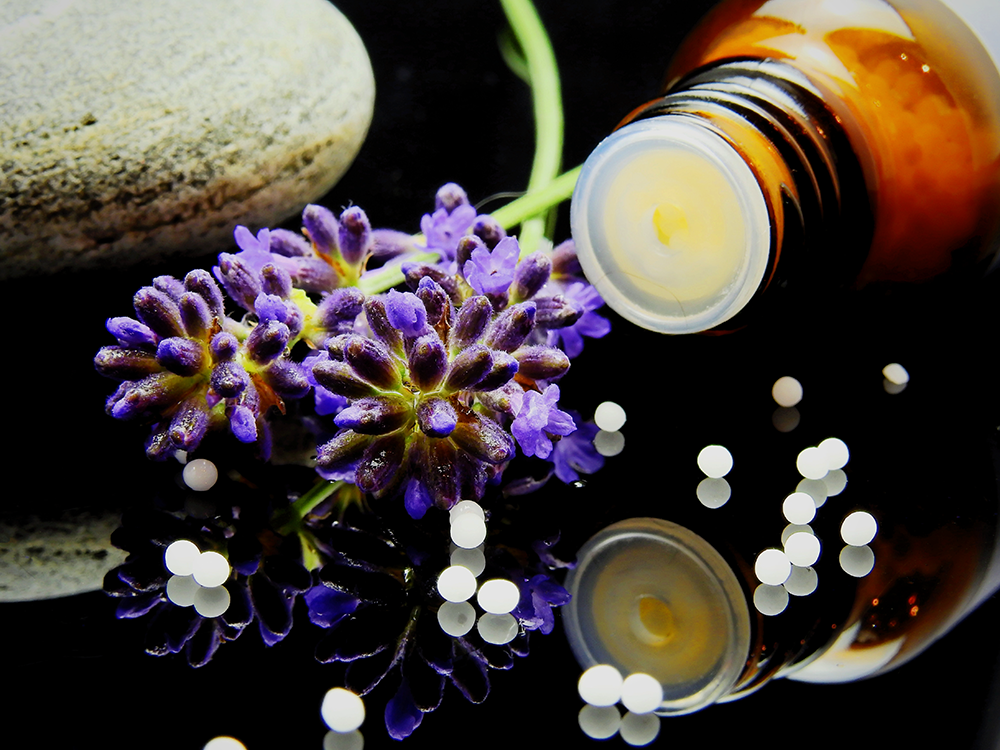
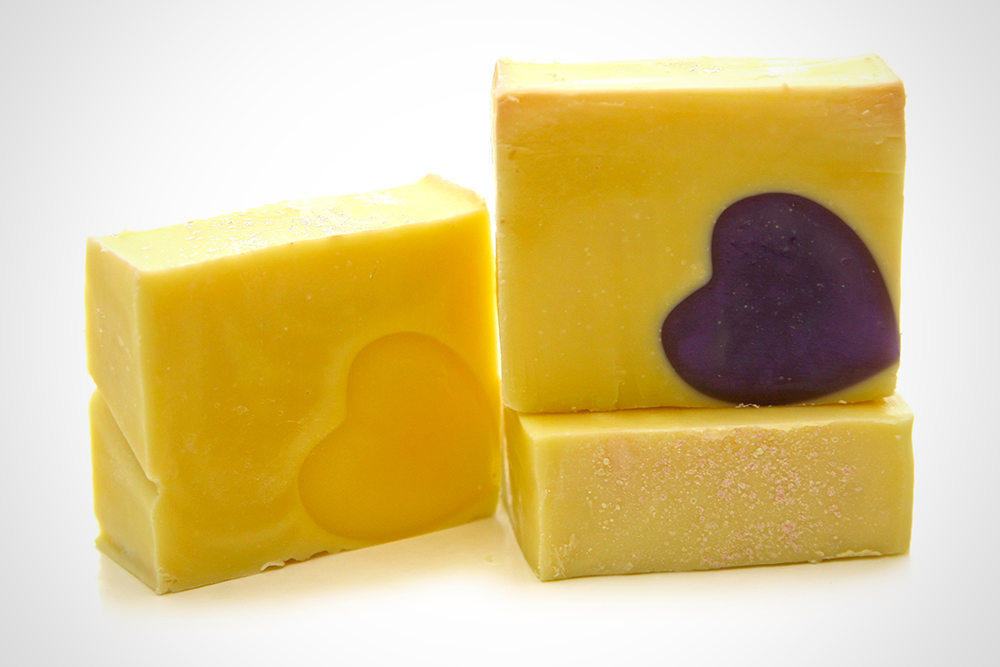
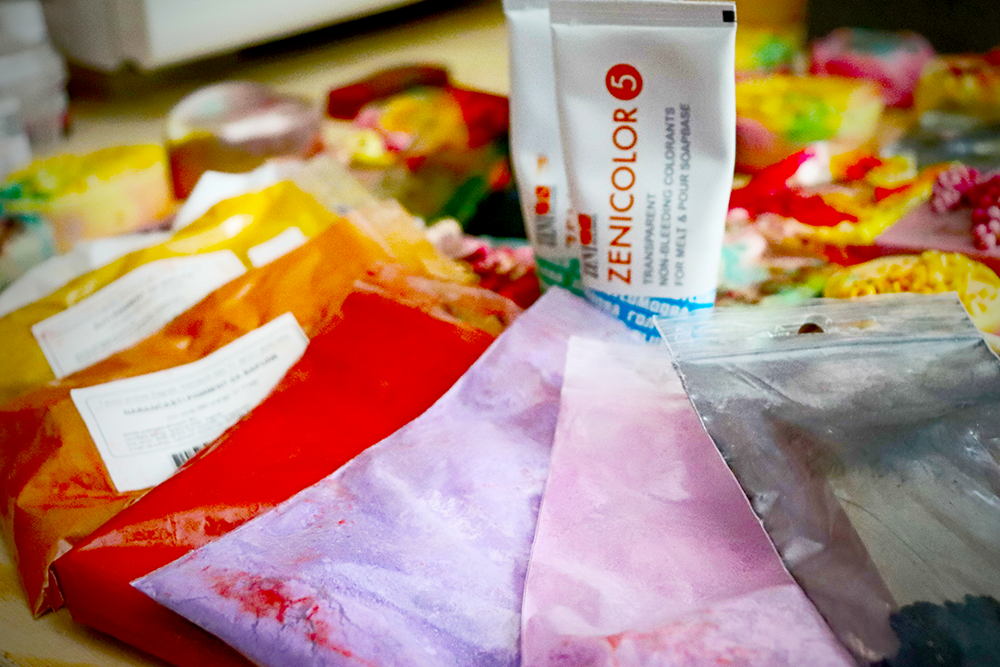
Now it is time to add any desired fragrance, essential oil, and color.
Fragrance and essential oils can be added to create a pleasant smell, while colorants can be used to give the soap a unique look.
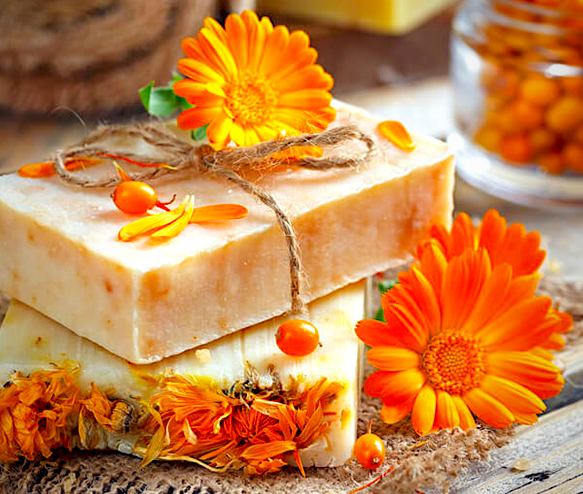
There are a variety of colorants that can be used, including natural options like clay and herbs.
You can also use soap dyes, which can be found at most craft stores.
Once you have added the fragrance and colorants, stir well to ensure that they are evenly distributed.

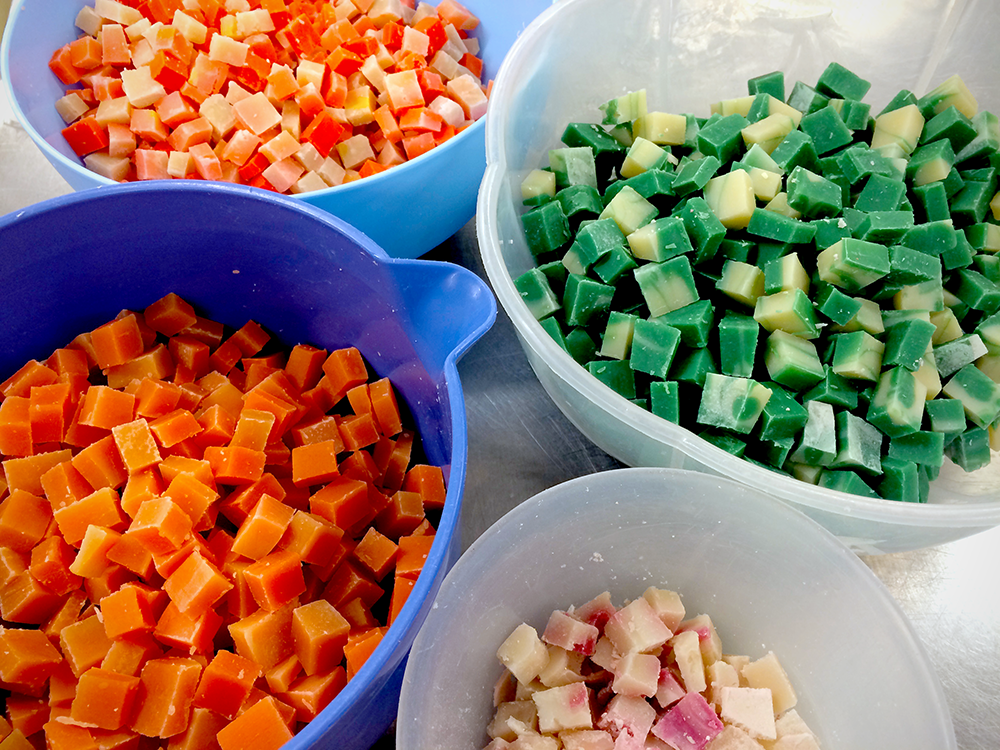
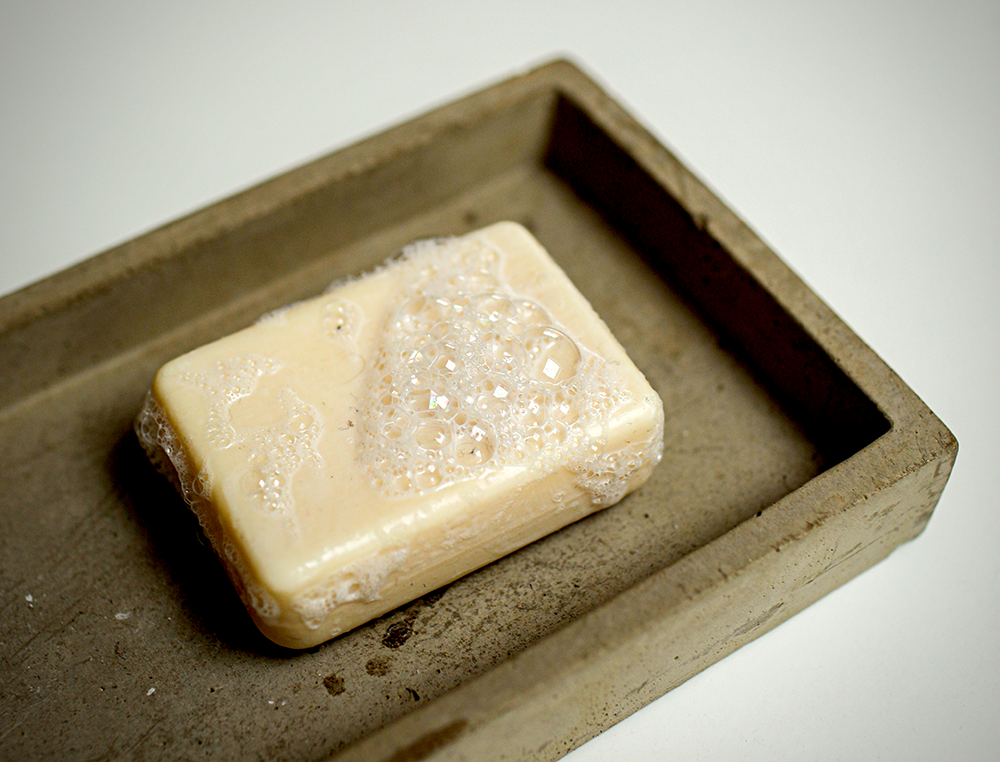
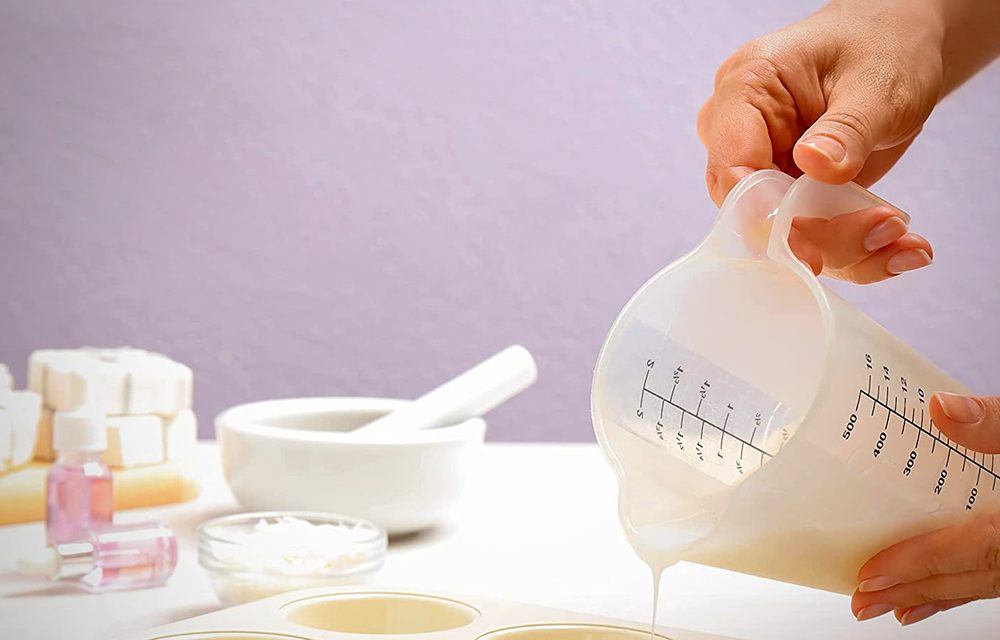
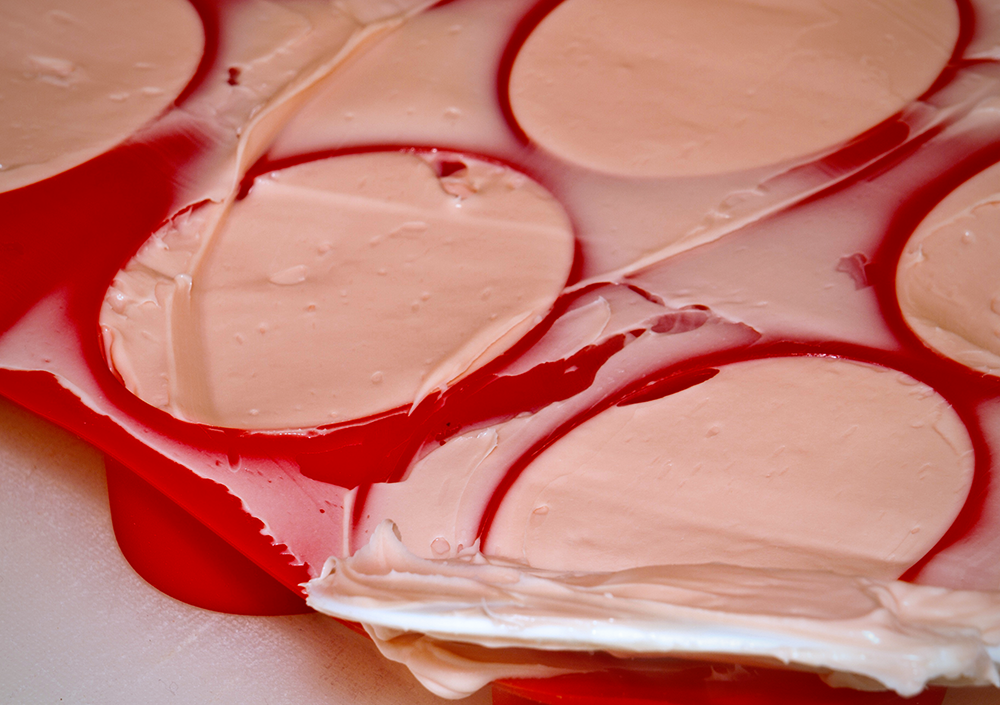
Pour Into Molds
The final step is to pour the finished soap mixture into molds and allow it to harden.
This process can take anywhere from 24 to 48 hours, depending on the type of soap that you are making.
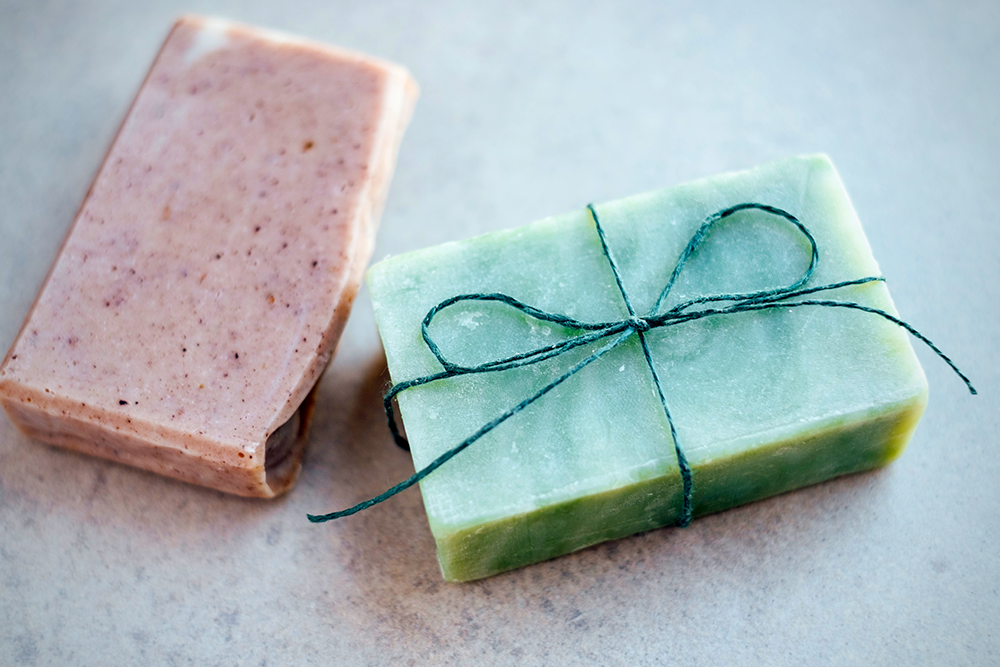
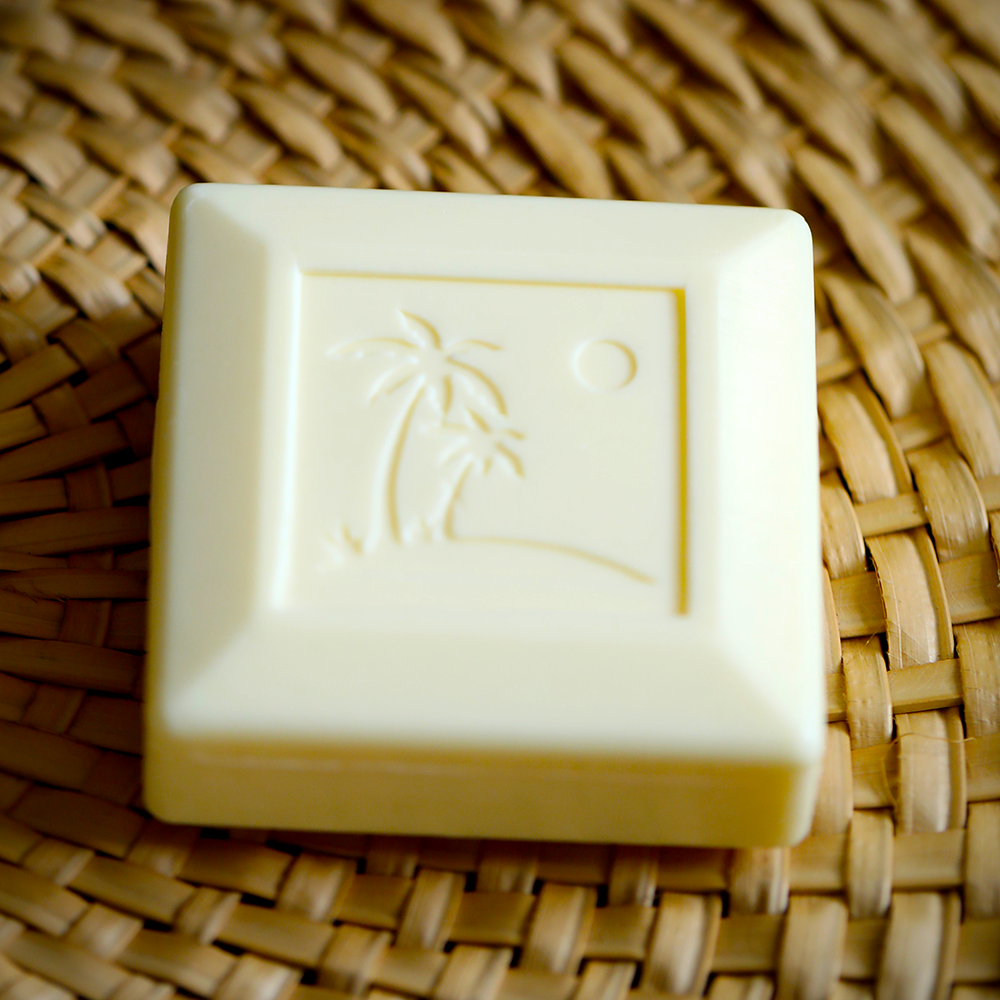
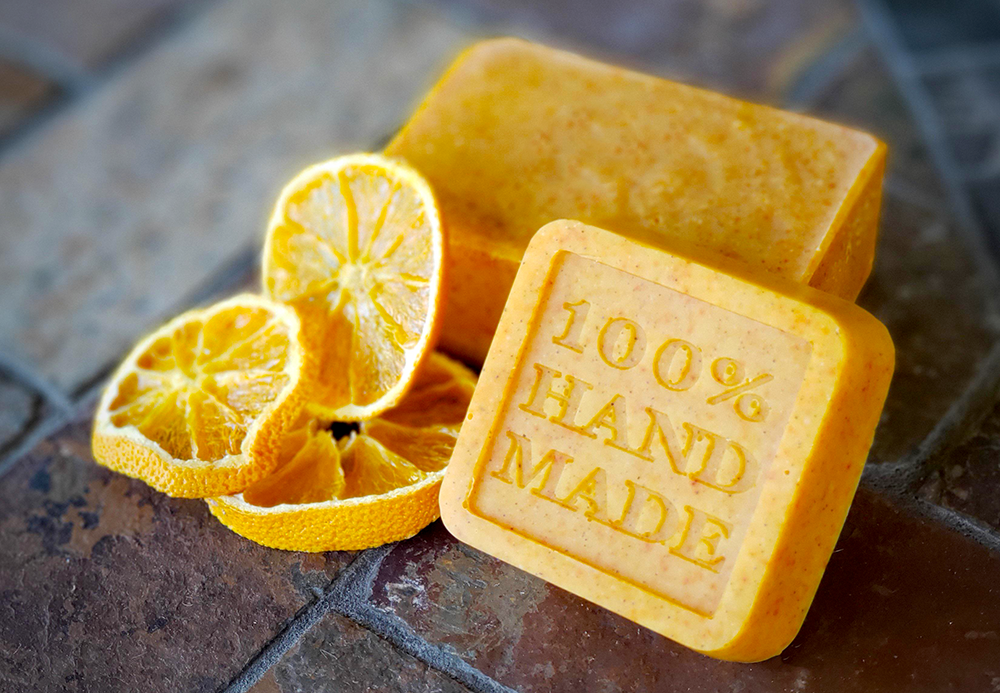
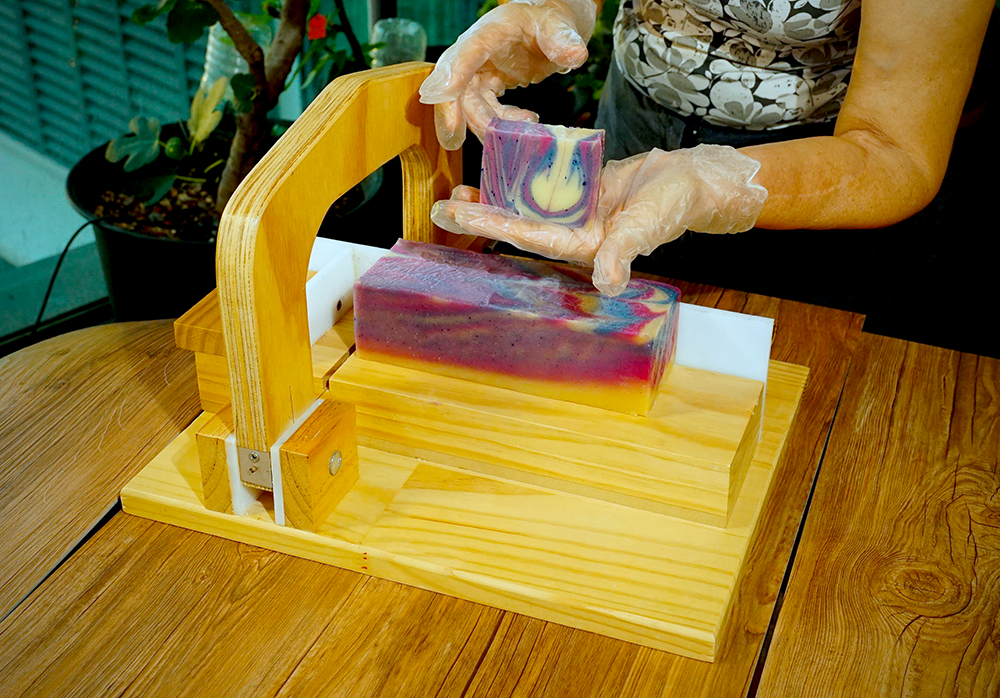
Once the soap has hardened, it can be removed from the soap mold.
You can then cut the soap into bars and enjoy!
Making your own soap is a fun and rewarding experience, and by following these simple steps you can create your own!
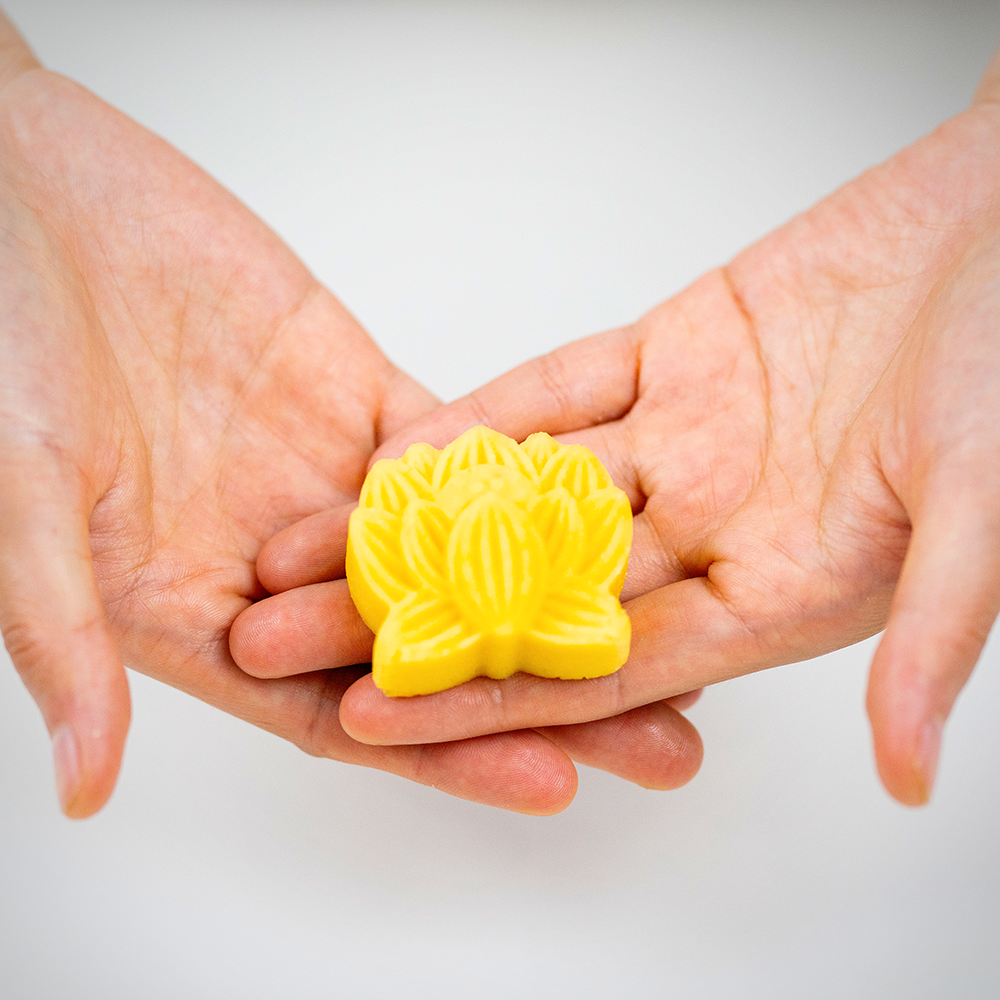
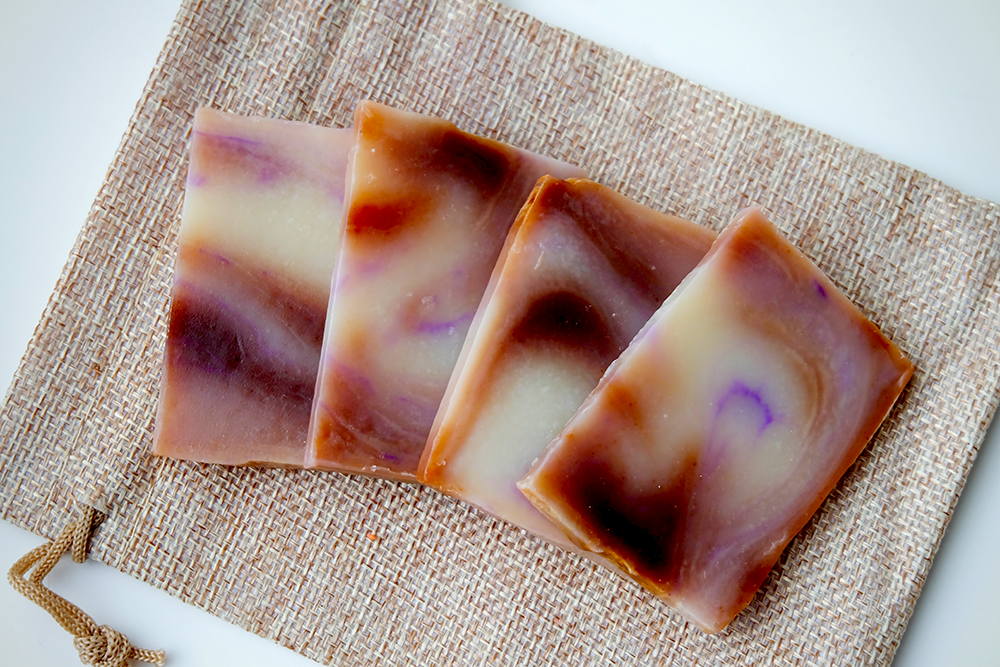
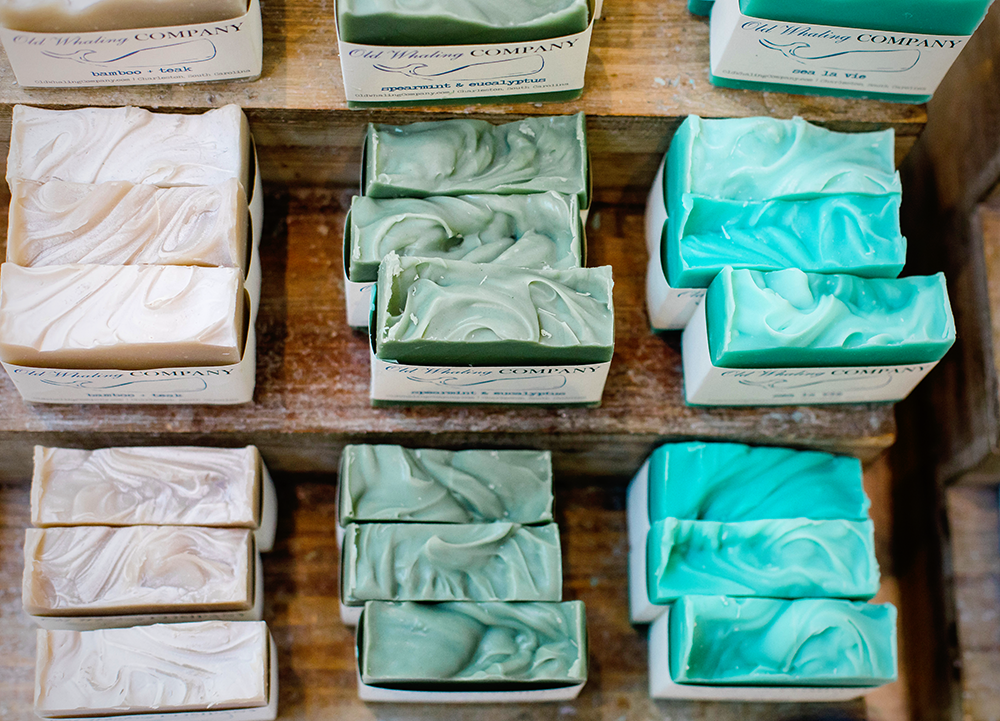
Creating Homemade Soaps
Soap making is a fun hobby that beginners, professional soap makers, and hobbyists can enjoy!
With just a few supplies and some patience, you can create beautiful bars of homemade soap that your friends and family will love!
Not only will you save money by making your own soap, but you will also have the satisfaction of knowing exactly what ingredients are going into each bar.
If you're ready to create homemade soaps, gather your supplies and give it a try today!
Want to learn more about soap making? Check out Bramble Berry's video!
Now that you know how to make soaps, you can bring them to stay squeaky clean when camping! If you love camping, you're definitely going to want to check out Travis' article on Resilient Reviews for the best camping shower tents!
Interested in getting serious about soap making?
Check out some of our other soap making articles:
If you enjoy soap making, you might also like candle making, so check out some of our candle making articles: