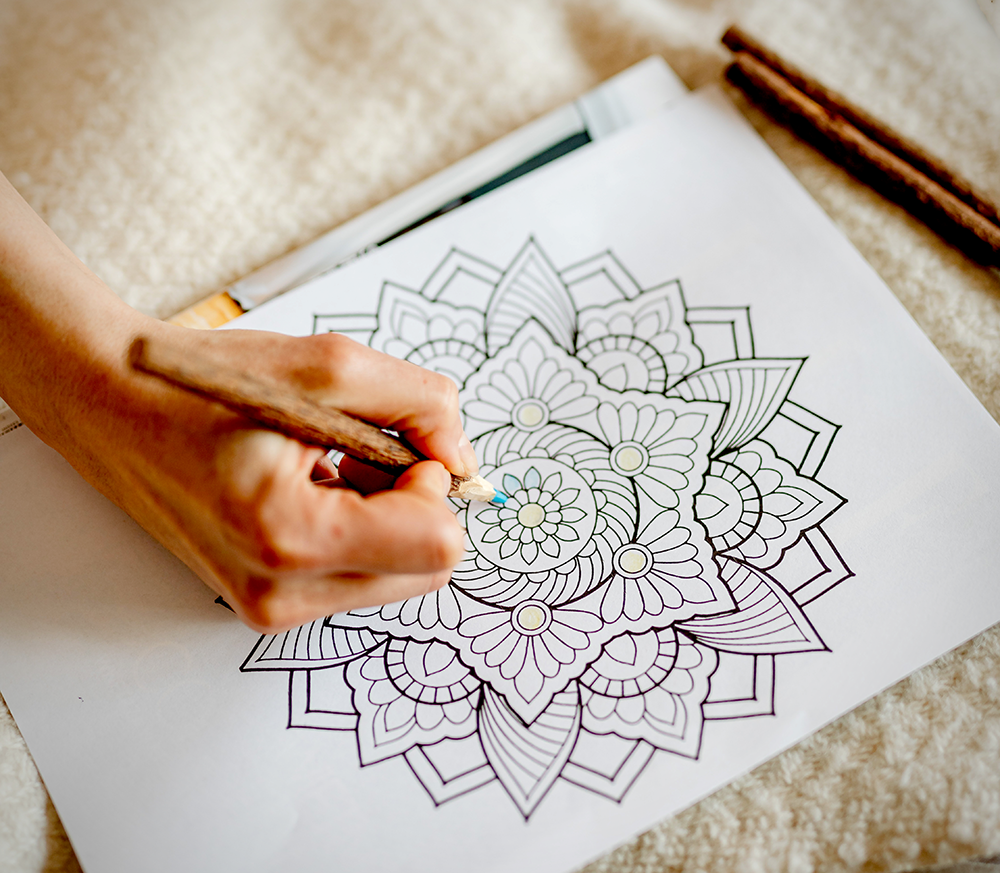
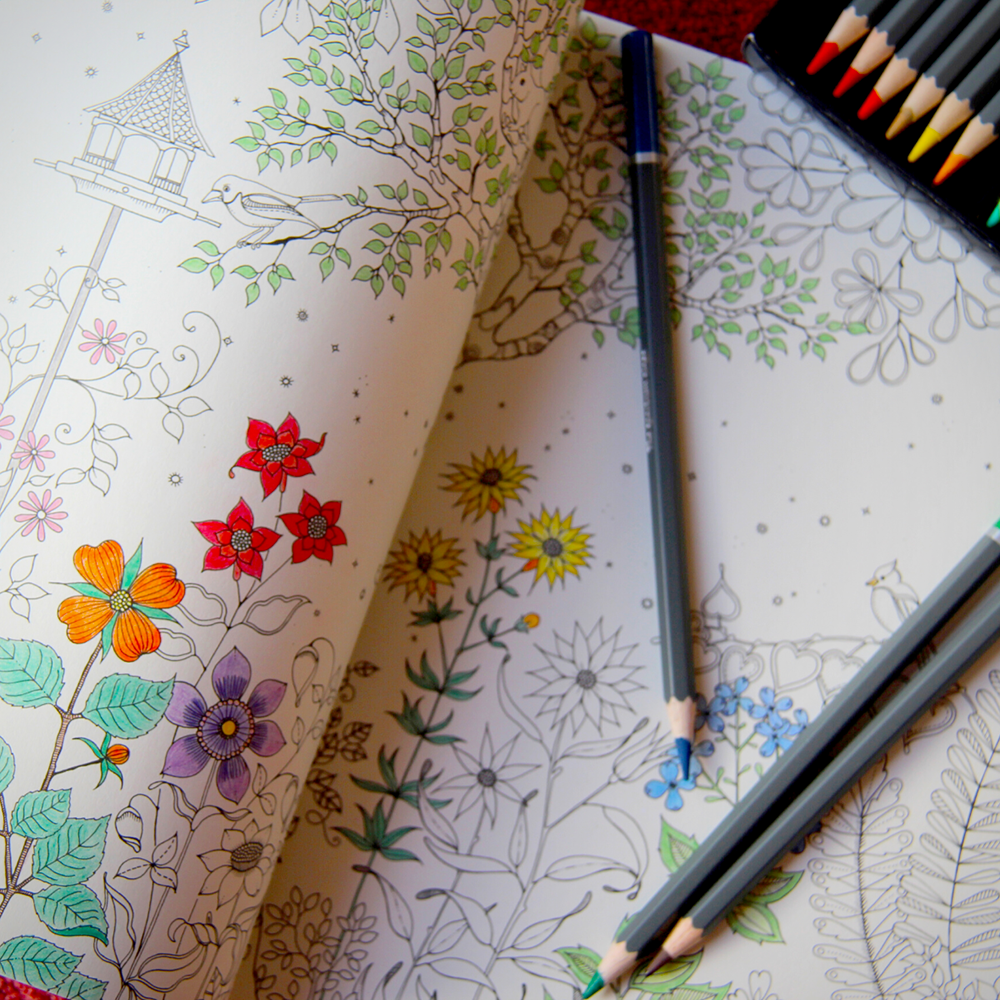
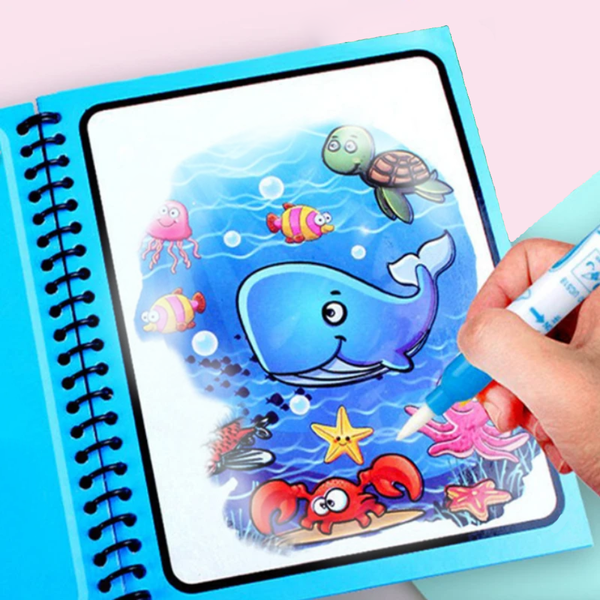
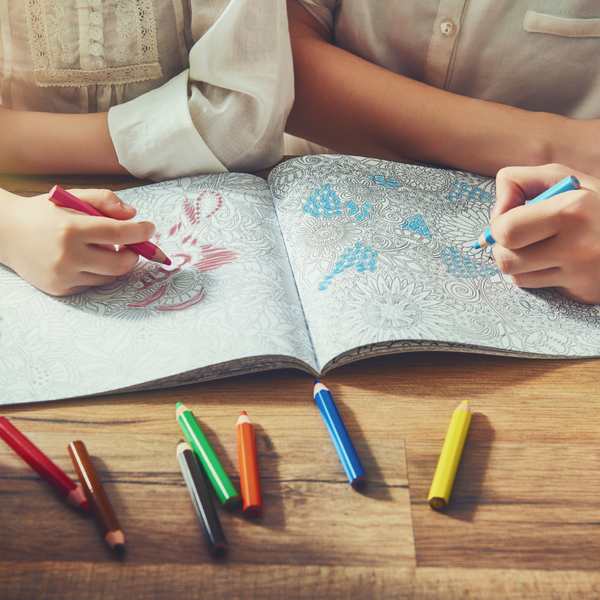
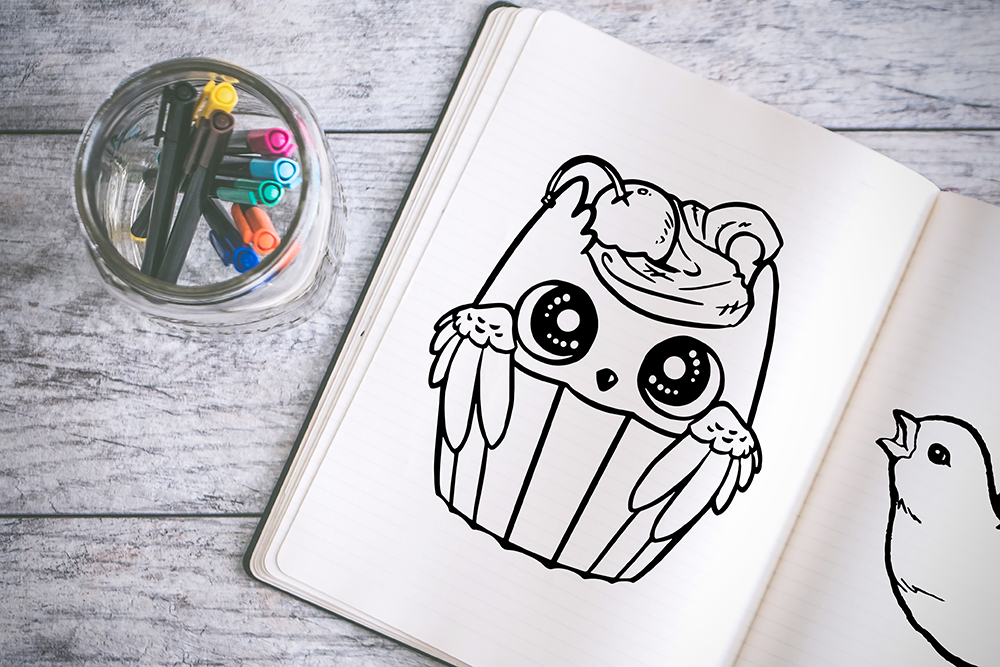
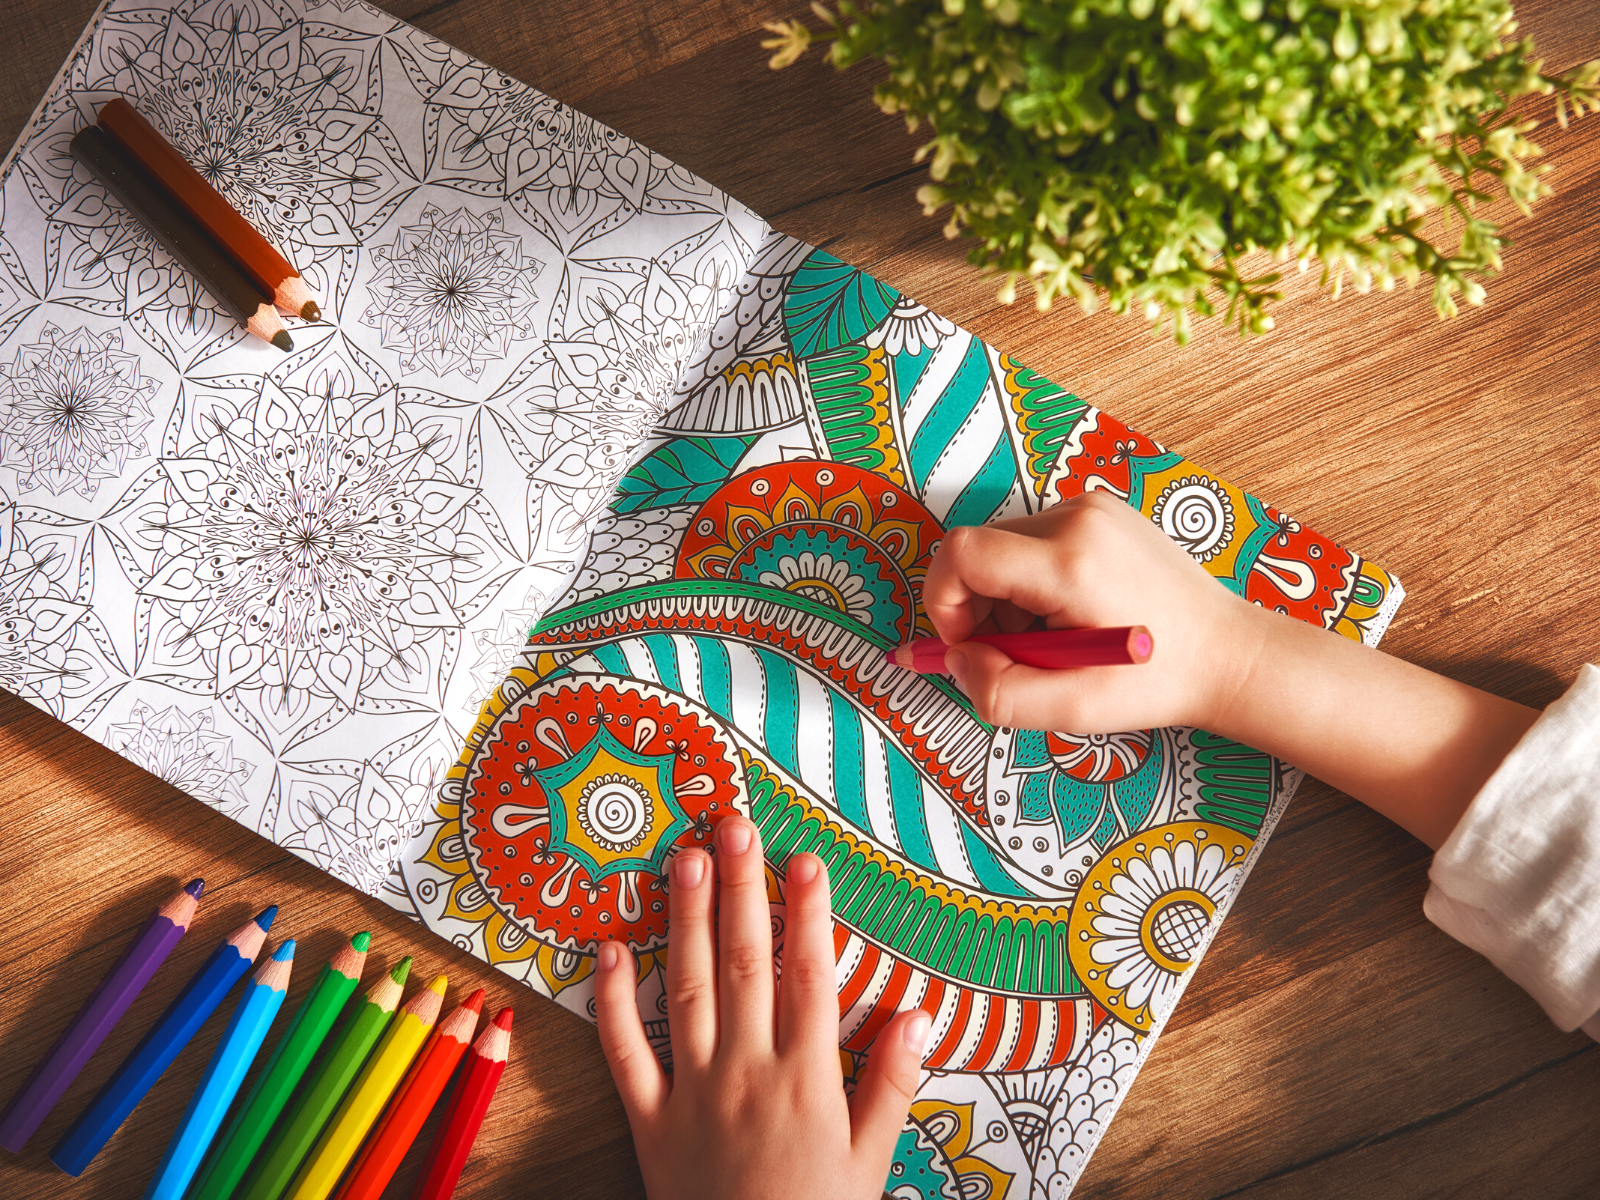
Coloring books have long been a staple of childhood, but in recent years, they've seen a resurgence among adults as a way to relieve stress and unleash creativity.
It's not just a dream; it's a creative reality waiting to unfold!
Coloring books aren't just for kids—they're a canvas for adults to de-stress, reminisce, and spark their artistic spirit.
If you've ever found yourself wondering, "Can I turn my pictures into a coloring book?" we have fantastic news for you.
Yes, you absolutely can, and we're here to show you how.
This article is your step-by-step manual to transform your beloved snapshots into a bespoke coloring book masterpiece.
Get ready to see your memories and creations in a whole new light, one hue at a time!
Key Takeaways:
- Learn the step-by-step process to convert your favorite photos into unique coloring book pages.
- Discover the tools and techniques needed to create a very clear outline and perfect grayscale images for coloring.
- Understand how to use layers, blend modes, and sliders to adjust your photos for the best coloring experience.

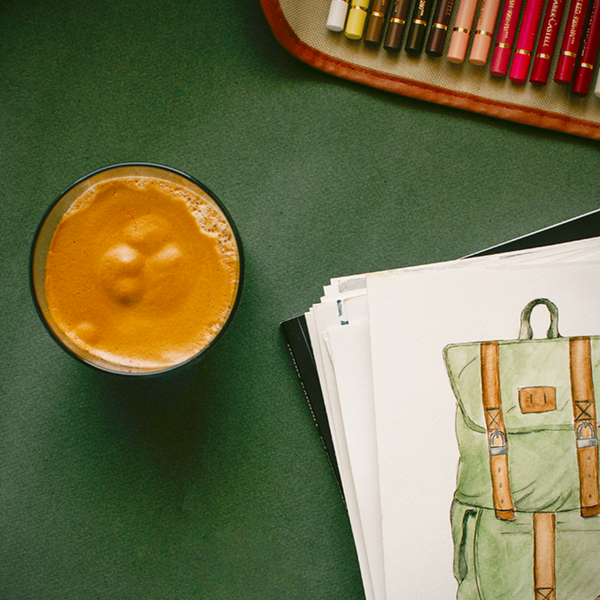
Preparing Your Photos for Conversion
Before you dive into creating coloring pages, it's essential to select the right photos.
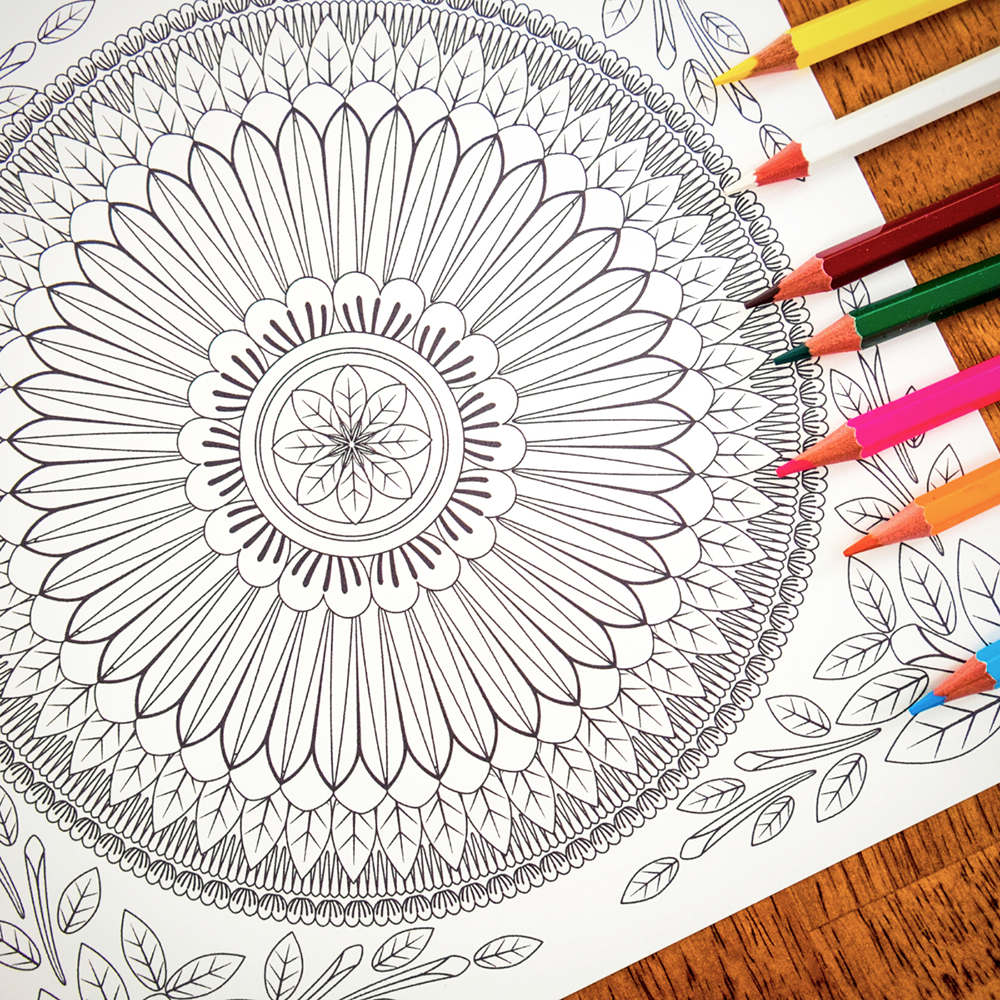
Choose images with a very clear outline and minimal background clutter.
This will make the process of converting your own photo into a new coloring page much more straightforward.
Once you've selected your favorite photo, ensure it's in a digital format by scanning or taking a high-quality picture of it.
Using an Online Photo Editor
To turn photos into coloring book pages, you'll need to use an online photo editor.
Websites like the Mimi Panda website offer specialized features that can convert your images into free coloring pages.
Simply upload your file to their platform, and let their automated system handle the conversion, providing you with a downloadable sketch of your original photo.
Working with Layers in Photo Editing Software
If you prefer a more hands-on approach, open a photo editor that allows you to work with layers, such as Adobe Photoshop.
In the layers window, create a new layer over your original photo.
This background layer will serve as the canvas for your new coloring page.
With the layers palette open, select duplicate layer from the drop-down menu to create a copy of your photo on a new layer.
Adjusting Your Photo to Black and White
To create coloring book pages, your photo must be in black and white.
In your photo editor, find the option to desaturate or convert to grayscale.
This will remove all color and leave you with the gray tones necessary for a coloring page.
Use the black slider and white sliders underneath the layers palette to adjust the contrast and make the outlines more prominent.
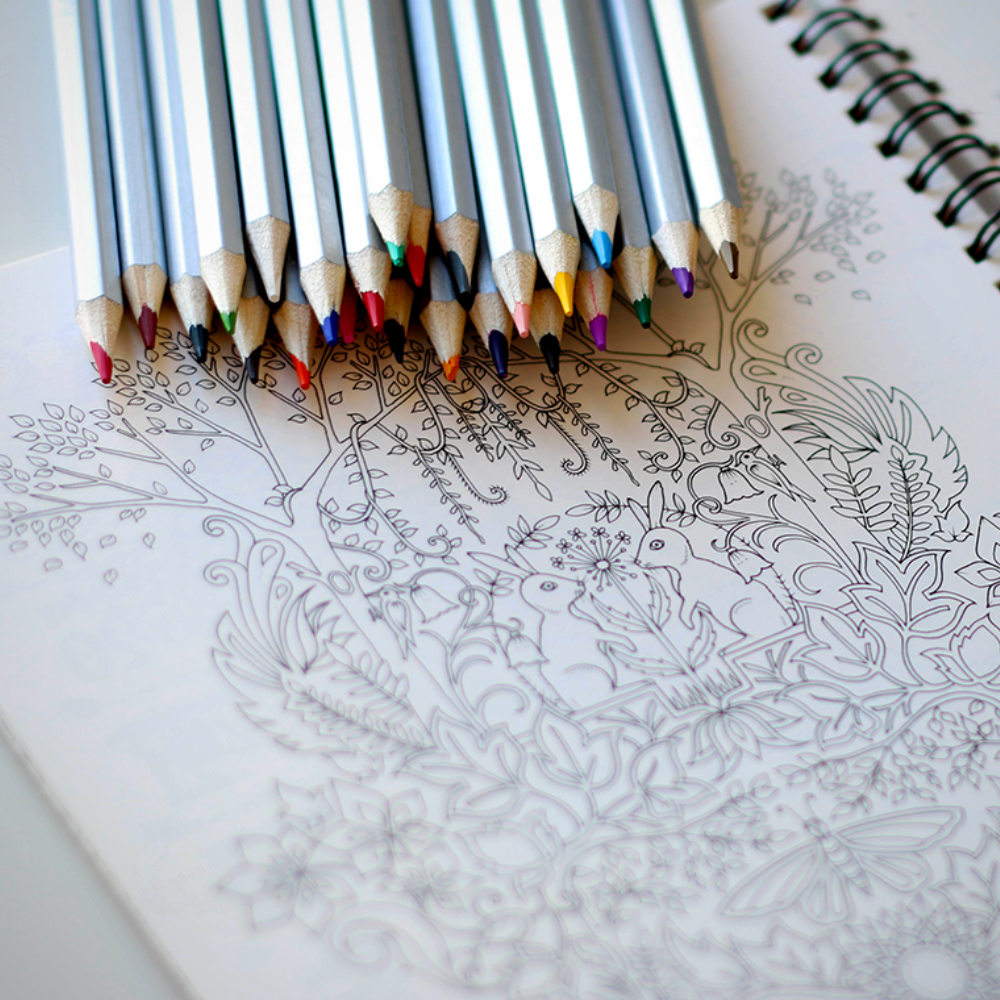
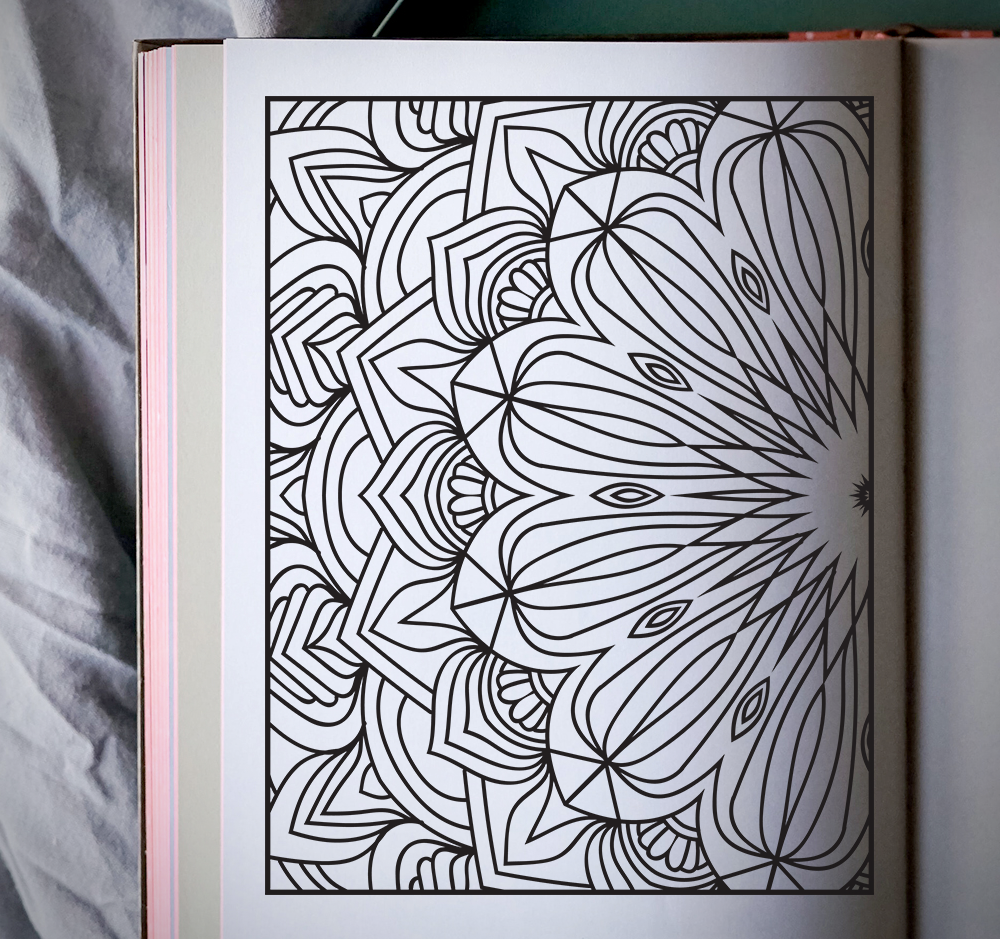
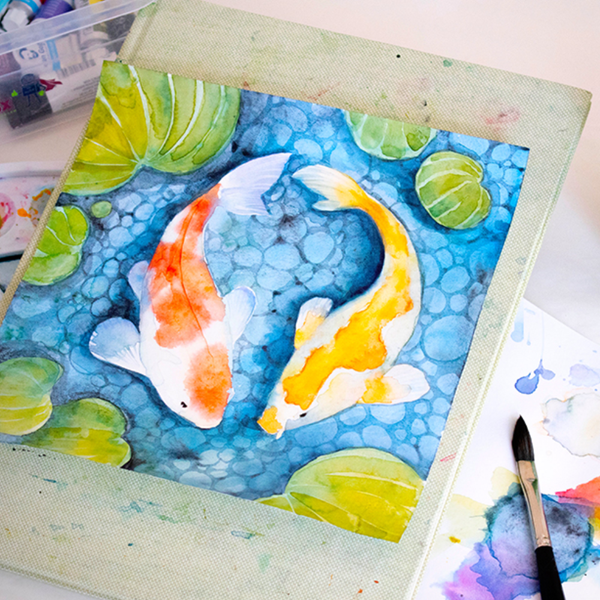
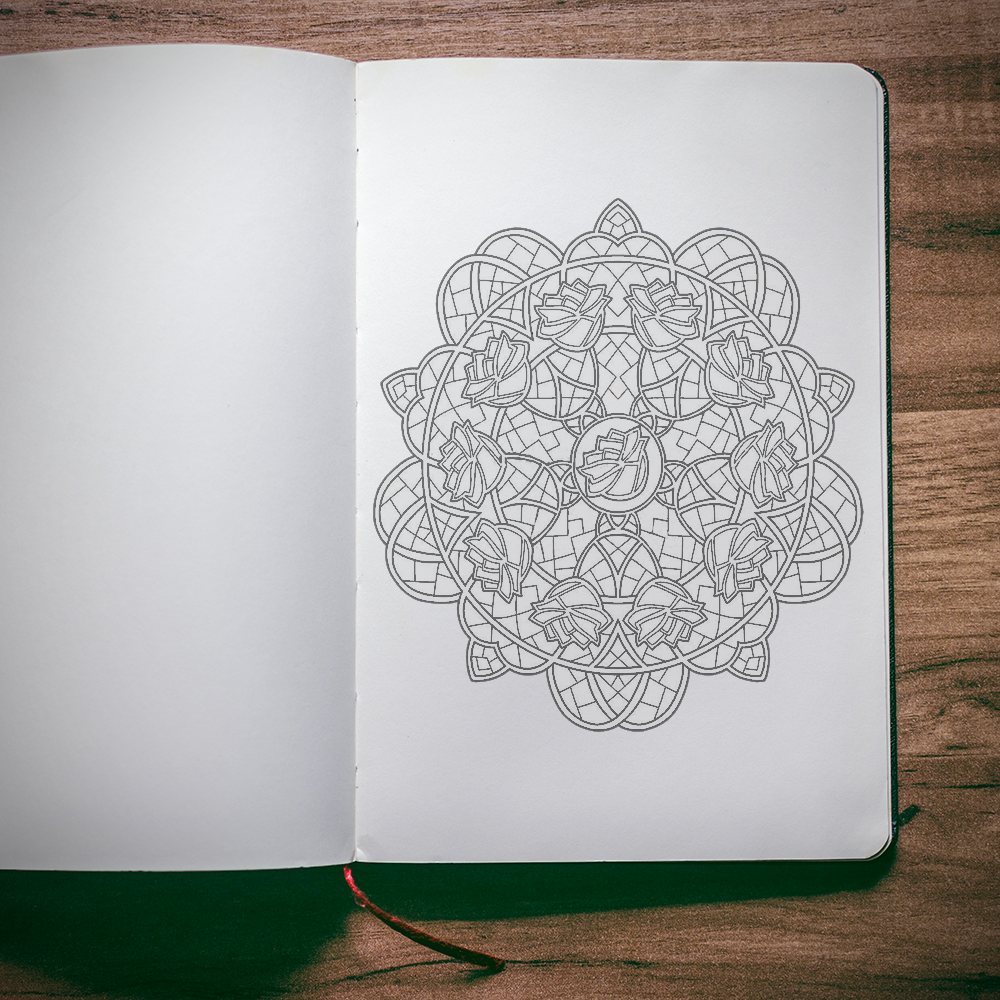
Selecting the Right Images for Your Book
When embarking on the journey of transforming your pictures into a coloring book, the selection process is crucial.
Begin by opening your photo editor, which can often be accessed via a drop down menu on your computer.
Look for images that spark imagination, such as those with clear subjects and minimal background clutter.
Even animated creatures or vibrant scenes can translate well into coloring pages, especially for kids who revel in adding their hues to drawings.
The key is to choose photos that will be enjoyable to color and that will translate well into a black and white format.
In your account, you might find a plethora of images to choose from.
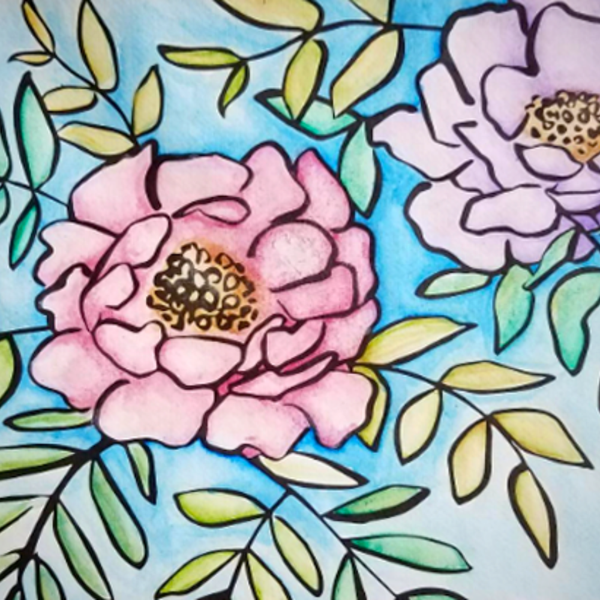
Consider the elements within each picture that could become part of the coloring experience.
A photo with a distinct foreground and background can add depth to the drawing, while a bit of texture can challenge the colorist to experiment with shading techniques.
Remember, the goal is to create a coloring book that is not only personal but also engaging.
Use your graph of memories as a point of reference to select images that hold significant meaning or that will simply be delightful to color.
Incorporating Interactive Elements
To elevate your coloring book from a simple collection of images to an interactive experience, consider adding elements that engage the user beyond coloring.
For instance, you can create a series of 'find the hidden object' pages within your coloring book.
Use a photo editing tool to subtly insert small objects into your images before converting them into coloring pages.
Users can right-click to save these specially crafted images, adding a layer of fun as they color and search for the hidden items.
Another interactive feature to consider is adding QR codes to your coloring pages.
These codes can link to online galleries or videos that show the original photo, provide coloring tips, or even reveal time-lapse videos of the page being colored.
To include a QR code, generate one using an online QR code maker, then insert it into your image using photo editing software before the conversion process.
This modern twist not only enriches the coloring experience but also bridges the gap between the physical coloring book and digital content, making it a multifaceted activity.
Enhancing Images for Clarity and Ease
Once you've selected the perfect images for your coloring book, it's time to enhance them for clarity.
This involves right clicking on the image in your open photo editor and adjusting various settings.
Utilize the three sliders typically available for contrast, brightness, and sharpness to make the outlines of your images pop.
This step ensures that the final coloring page is easy for the colorist to interpret and enjoy.
It's a bit like setting the stage for the imagination to take over, providing a clear structure while leaving room for creativity.
Additionally, consider removing any unnecessary elements that might overcomplicate the coloring experience.
Simplifying the image can be done by erasing parts of the photo or by using blend modes to emphasize the main subject.
This process helps in creating a coloring page that is not only aesthetically pleasing but also user-friendly, especially for younger kids who might get overwhelmed with too many intricate details.
The aim is to strike a balance between maintaining the essence of the original photo and making it an inviting canvas for drawing and coloring.
Customize Image Resolution for Optimal Printing
When creating coloring books from your pictures, the resolution of your images is paramount to ensure high-quality prints.
High-resolution images will prevent pixelation and blurriness, which can detract from the coloring experience.
Before you proceed with the conversion process, right-click on your image file, select 'Properties,' and check the resolution.
Ideally, your images should be at least 300 DPI (dots per inch) for print purposes.
If the resolution is too low, consider rescanning the image or using a high-quality source image to begin with.
Adjusting the resolution of your images can be done through photo editing software.
After opening your image, look for the 'Image Size' or 'Resize' option, which is typically found in the 'Edit' menu. Here, you can input the desired resolution.
Remember to maintain the aspect ratio to prevent distortion.
Once you've set the right resolution, save your image with a new file name to preserve the original.
This step ensures that your coloring book pages will be crisp and clear, providing an enjoyable coloring experience for users of all ages.
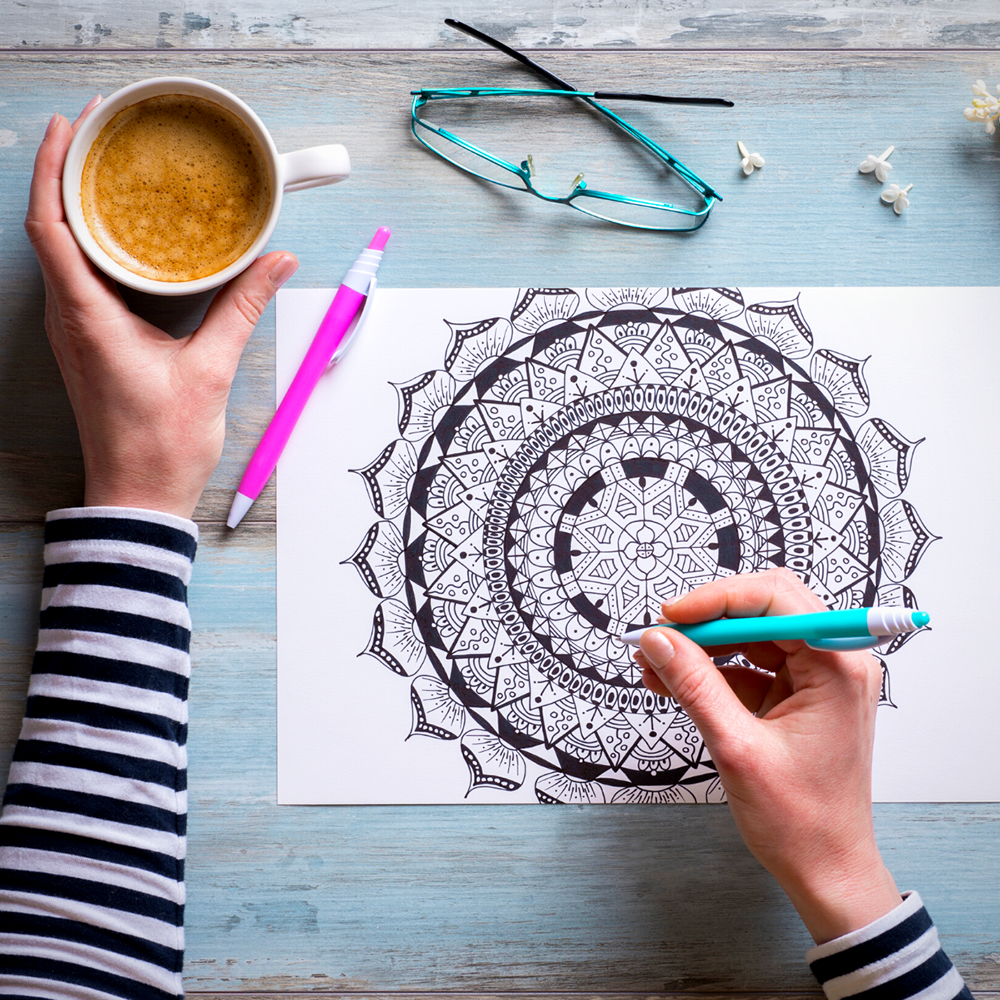
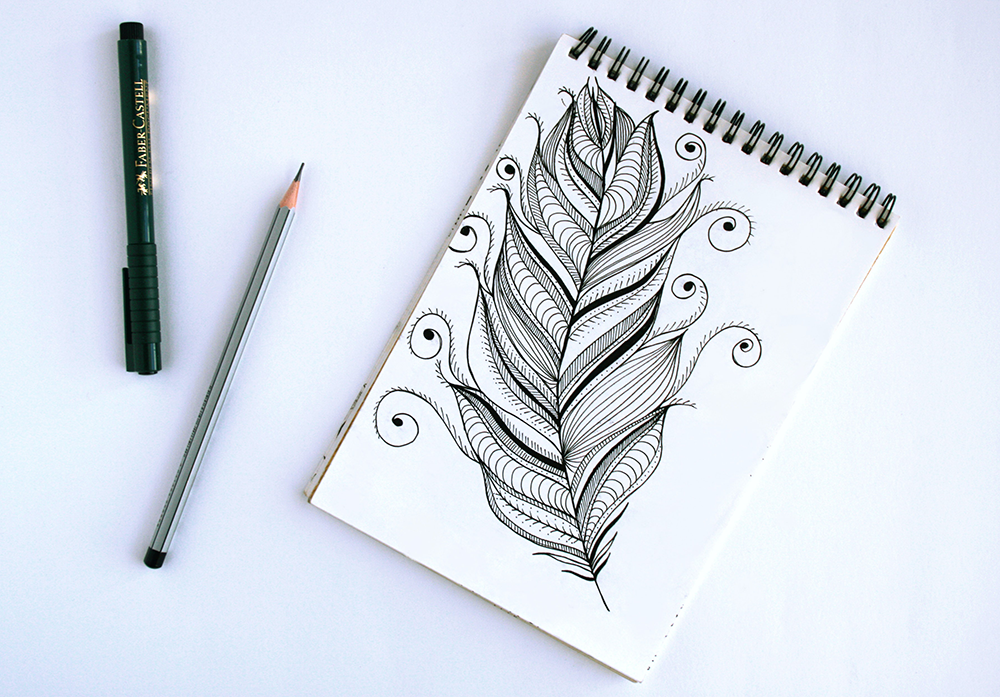
Refining the Outline with Blend Modes
With your photo now in black and white, it's time to refine the outline to make it suitable for coloring.
In the layers window, select the top layer and change its blend mode.
Experiment with different modes to see which one gives the best outline for your image.
The goal is to have a pencil thin, very clear outline that will guide the coloring process.
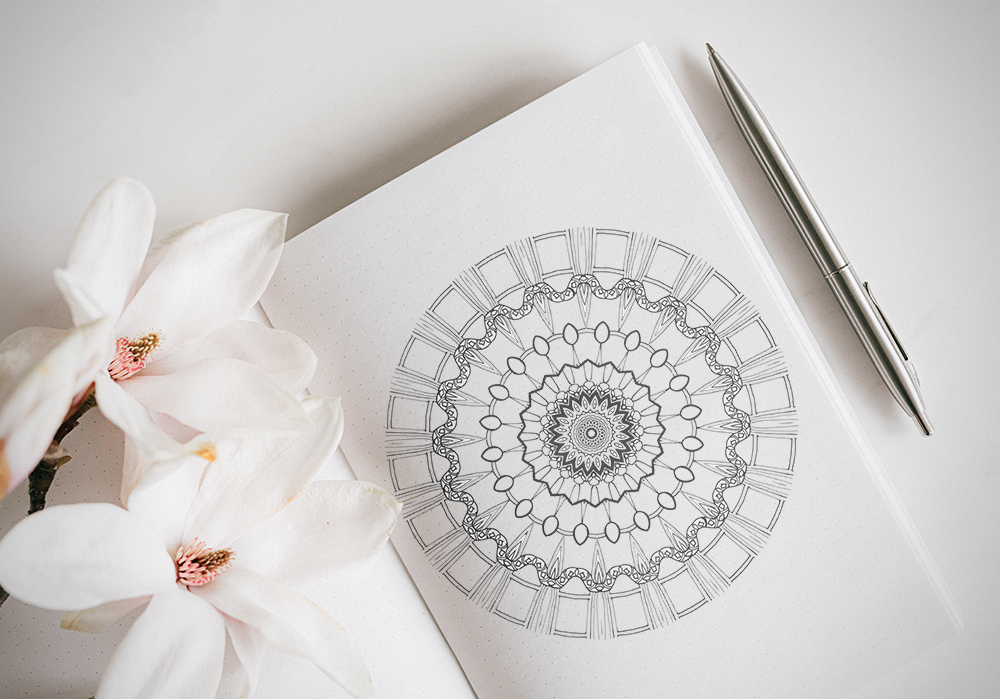
Finalizing Your Coloring Page
Once you're satisfied with the outline, it's time to merge the layers.
Right-clicking on the layers palette, select merge layers or select merge visible from the drop-down menu.
This will combine your adjusted layers into one, finalizing your new coloring page.
You can then download or print your creation, ready for coloring.
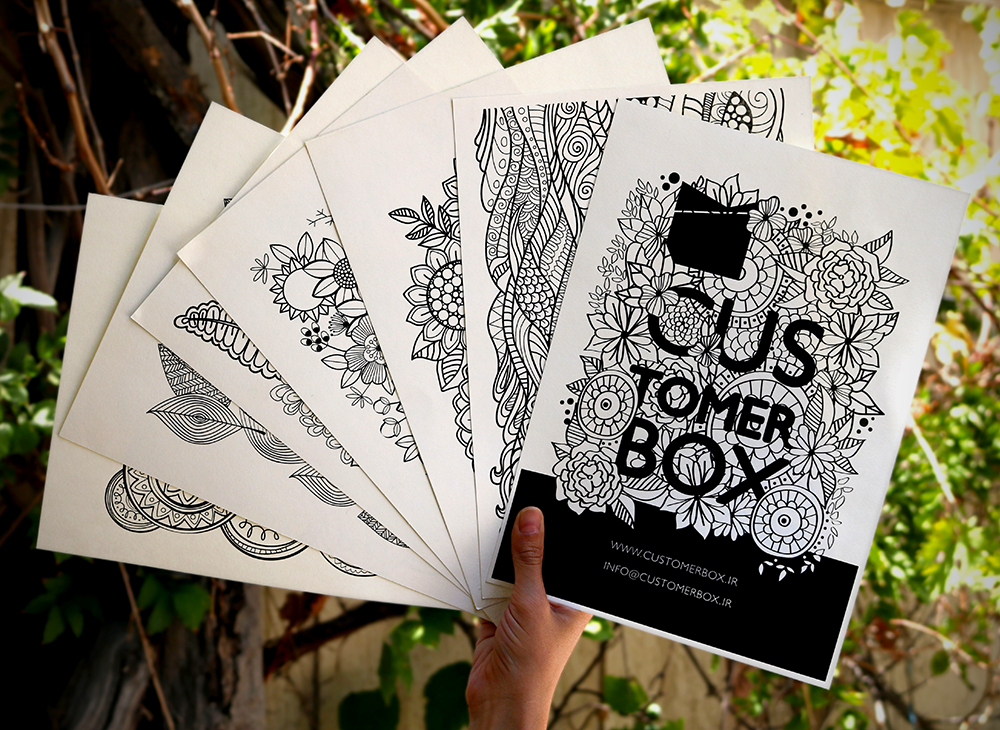
Printing and Binding Your Coloring Book
After creating multiple coloring book pages, you might want to compile them into a physical book.
For printing, choose a heavier paper that can handle markers or paints without bleeding through.
Many online services offer book printing features, allowing you to upload your pages and receive a professionally bound coloring book.

Sharing Your Coloring Book
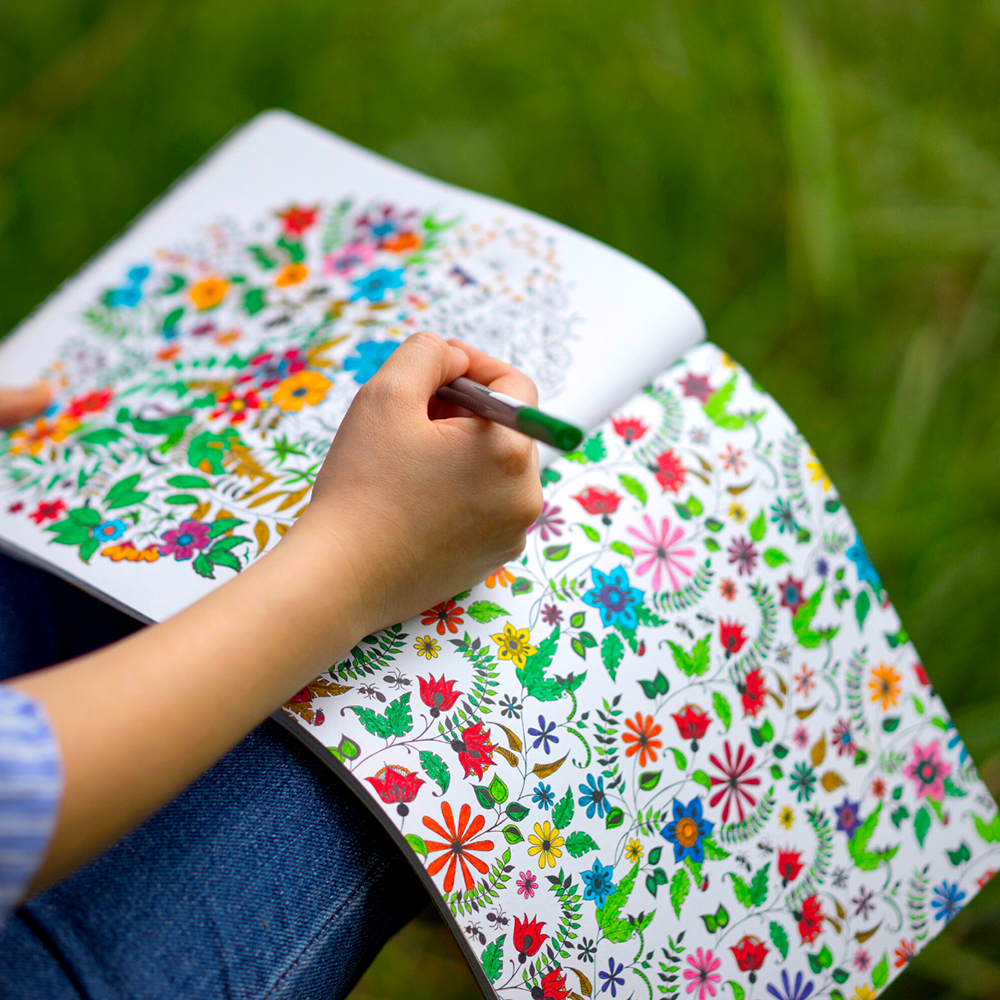
Creating a coloring book from your own photos is not just a fun project; it's also a unique gift idea.
Share your coloring books with friends and family, or even sell them online.
Remember to give proper photo credits if you're using images that aren't your own.
This personal touch can turn a simple coloring book into a treasured keepsake.
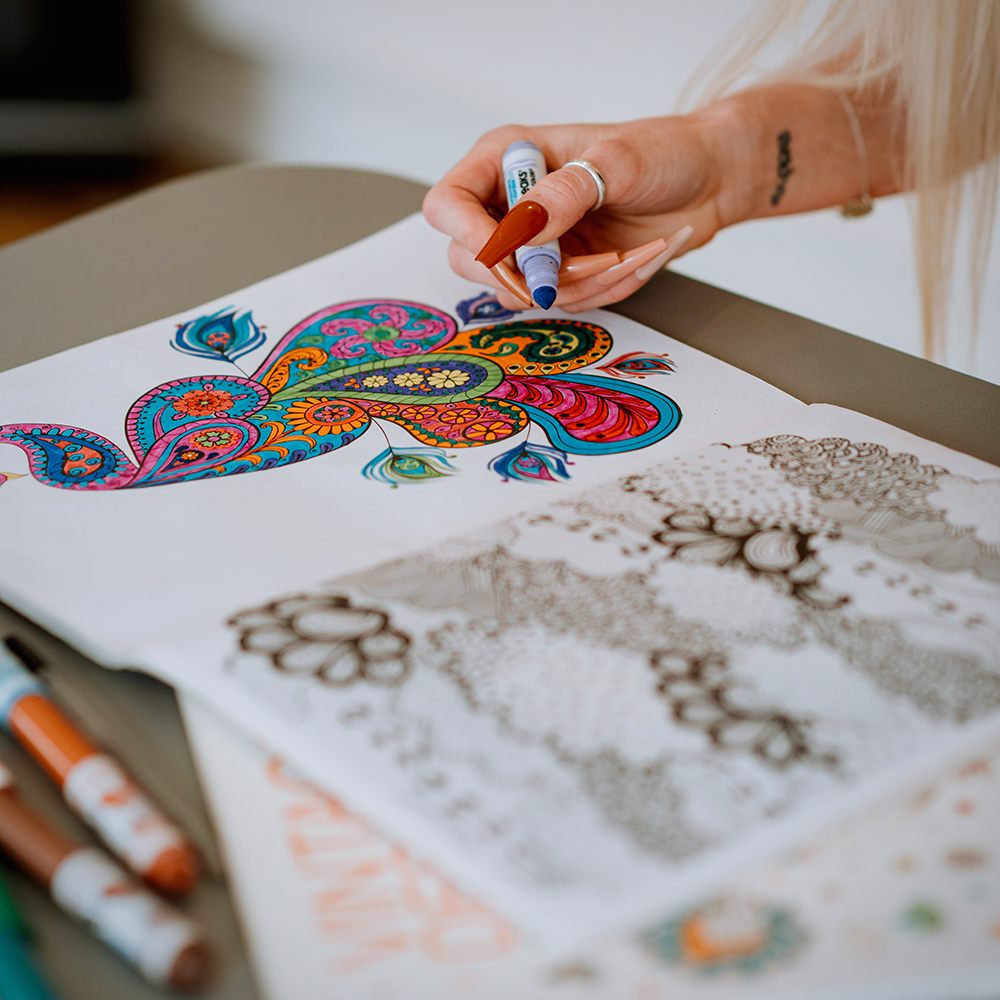
Craft Your Own Colorful Memories
Transforming your cherished photographs into a coloring book is not just an innovative endeavor but a heartwarming journey through your memories.
By following the steps outlined in this article, you can convert your favorite photos into coloring book pages using online tools or photo editing software.
The process we've navigated together in this article empowers you to breathe new life into your favorite moments, turning them into interactive art.
The simplicity of converting images, tweaking them to perfection, and finally holding the printed pages in your hands is a rewarding experience.
Whether it's for your own peaceful coloring escape or as a thoughtful, personalized present, your tailor-made coloring book is a treasure trove of potential joy and serenity.
So, grab your colored pencils and let the adventure of coloring your world begin!

Coloring Book FAQs
Creating your own coloring book pages from photos can be a delightful and creative endeavor, whether you're looking to craft a personalized gift or just want to enjoy a unique way to unwind.
But before you dive into the world of transforming your favorite snapshots into sketch-like masterpieces, you might have a few questions.
Here's a quick FAQ guide to help you get started on your coloring page journey.
Do I need advanced photo editing skills to create coloring pages?
Not necessarily. While having some familiarity with photo editing software can be helpful, there are online tools like the Mimi Panda website that can automate the process, making it accessible for beginners.
Can I turn any photo into a coloring book page?
Yes, you can turn any photo into a coloring book page, but it's best to choose photos with clear outlines and minimal background details for the best results.
How can I ensure that my coloring book pages print well?
Use a heavier paper stock to prevent bleed-through and consider using a professional printing service to ensure high-quality printing of your coloring book pages.

Ready to turn your photos into coloring pages? Check out Old MrKent's video!
Want even more content about creativity and art?
Be sure to check out all of our creative chronicles!
Love coloring books and want to find your next favorite?
Check out some of our other articles:
-How many pages should a coloring book have?