Candles are a popular way to add ambiance and decoration to any room.
But did you know that you can also use candles as a medium for art?
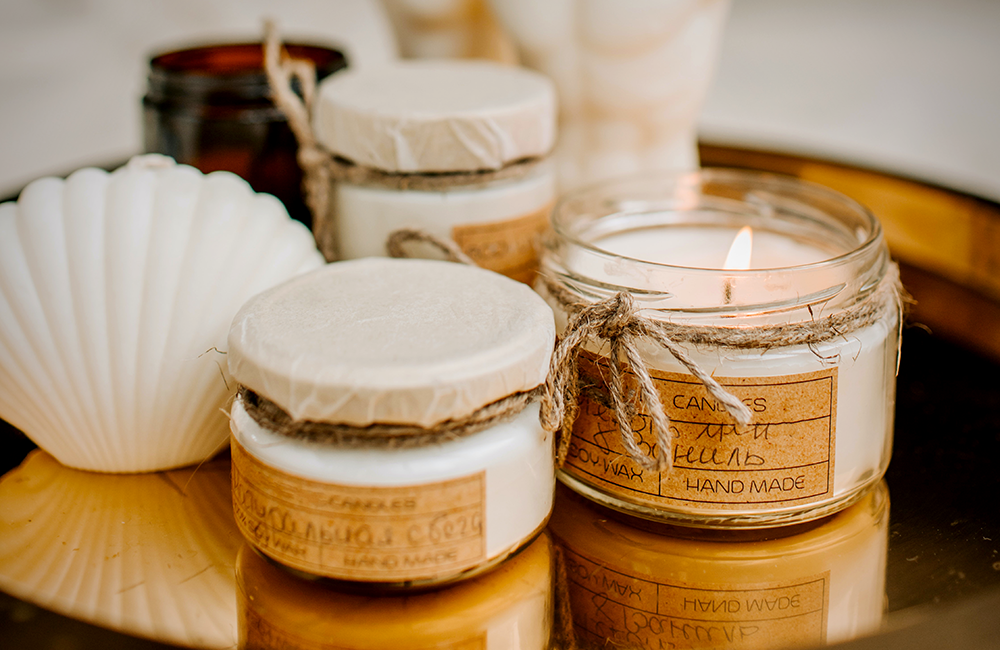
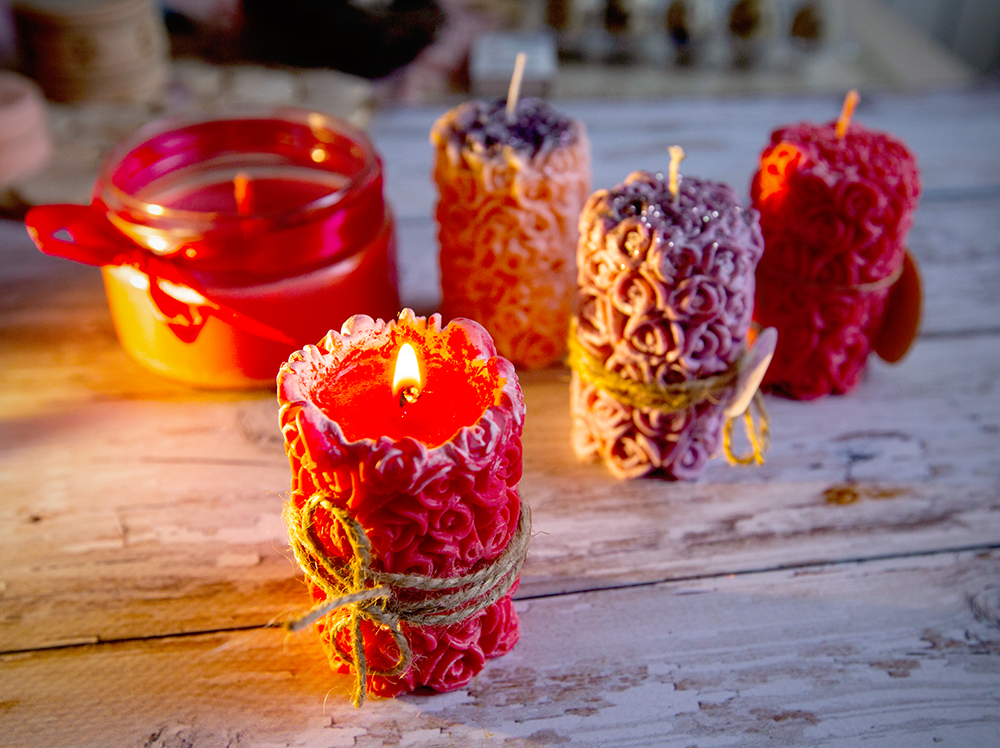
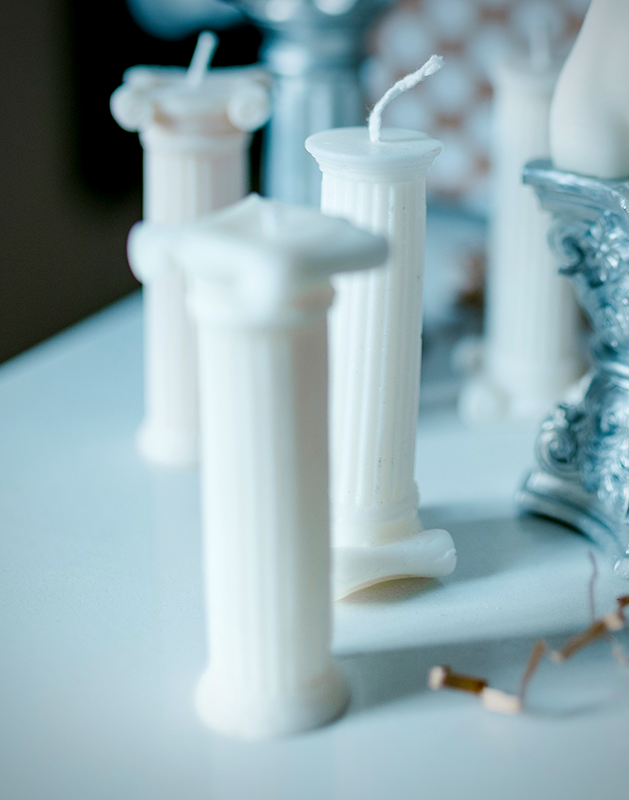
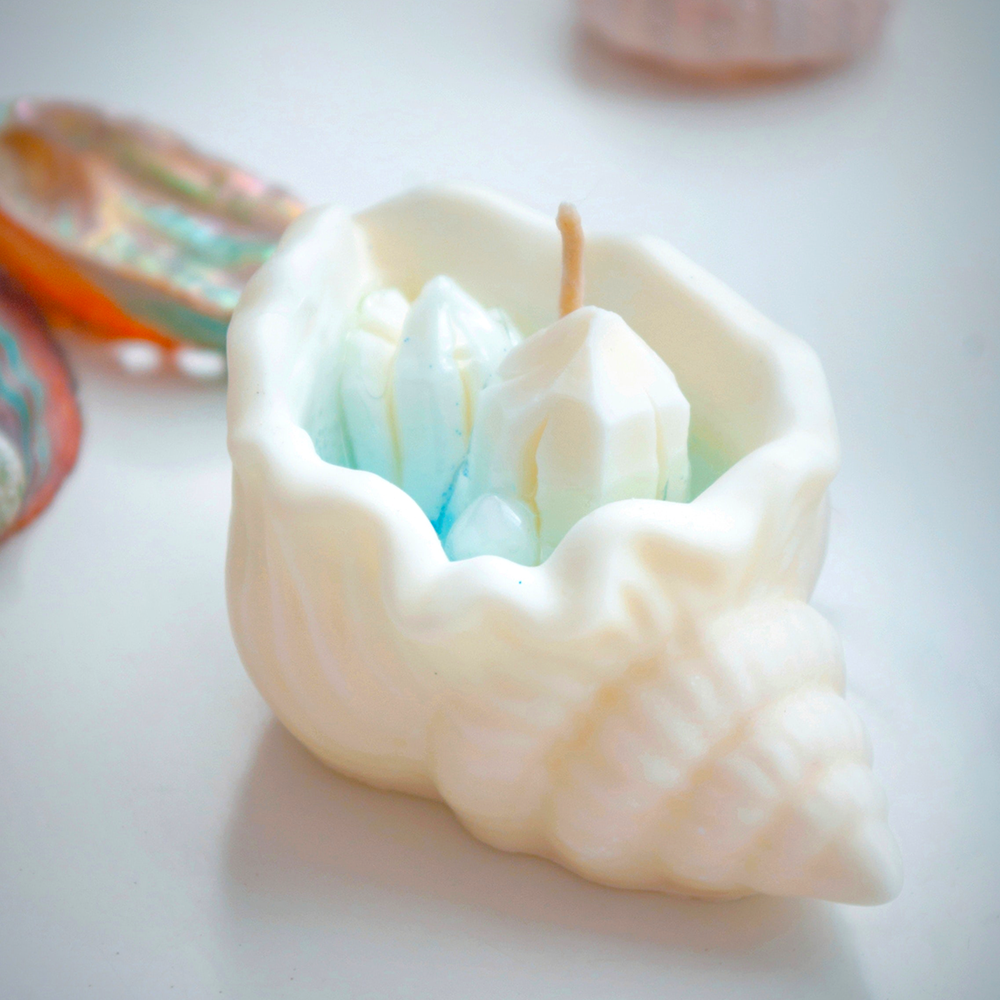
Sculpted and carved candles are a beautiful way to add a personal touch to your home décor.
In this blog post, we will show you how to make sculpted and carved candles step-by-step.
Candle Making Basics
Before you get started creating sculpted and hand-carved candles, it is important to review some basic candle making terminology and safety tips.
Wax
The wax is the main ingredient in a candle.
It is what makes the candle solid and gives it its shape.
The type of wax you use will determine the properties of your candle, such as the burn time, fragrance, and color.
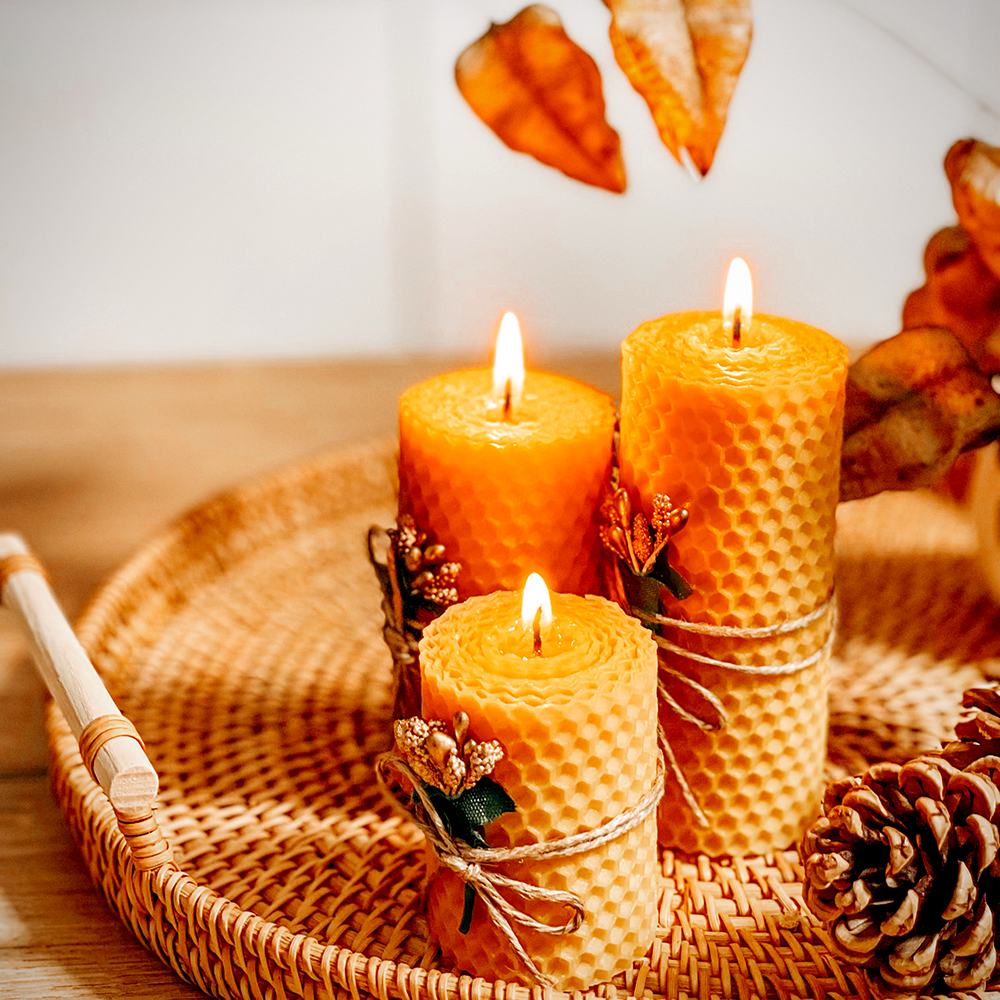
For sculpted and carved candles, we recommend using paraffin wax or beeswax.
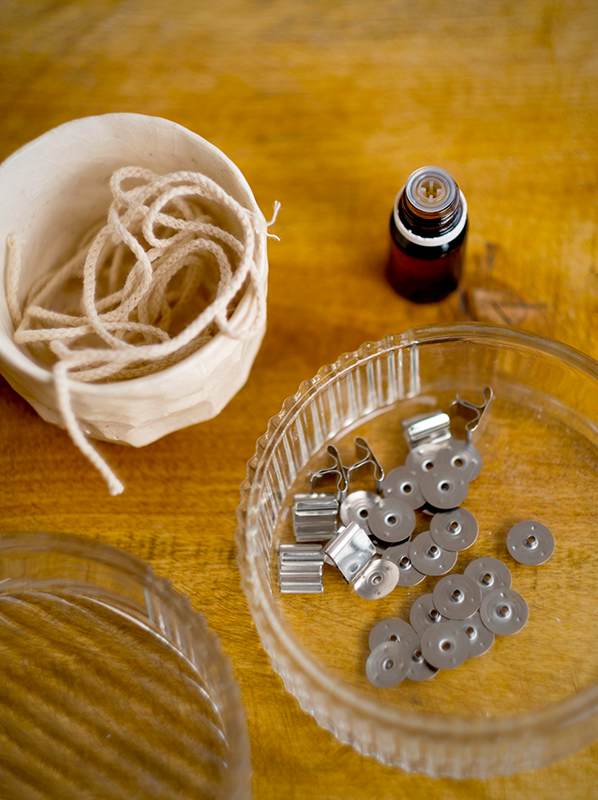
Wick
The wick is the part of the candle that is lit.
It is made of cotton or another natural fiber that is coated in wax.
The wick is what burns and creates the flame.
Fragrance
Fragrance is optional but can be added to your candle to create a pleasant smell.
There are many different types of fragrance oils that you can use.
Just make sure to use a fragrance oil that is compatible with the type of wax you are using.
Colors
Like fragrance, color is also optional but can be used to give your candle a unique look.
There are many different types of wax colorants that you can use.
Again, make sure to use a colorant that is compatible with the type of wax you are using.
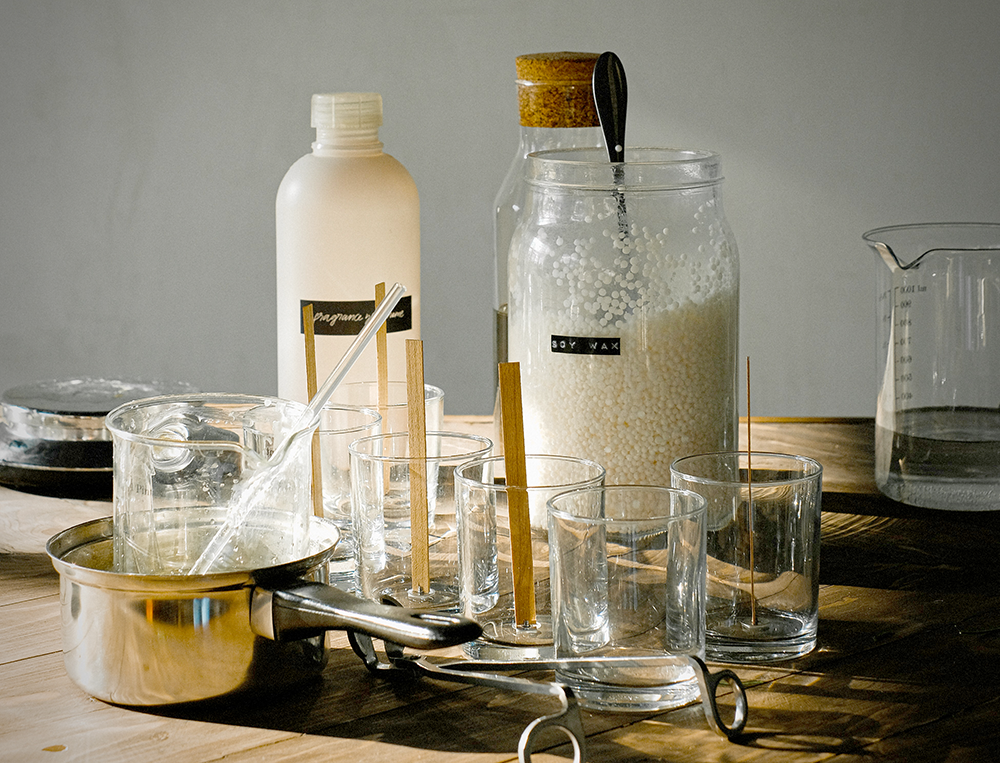
Tools & Materials
To create any candle, you will need the basics.
When creating sculpted or carved candles, you will also need some additional tools and materials.
- Candle wax
- Candle wicks
- Double boiler, wax melter, or crockpot
- Mold (you can use a store-bought mold or create your own out of cardboard)
- Cookie cutters (optional)
- Knife or carving tool (optional)
- Paint brush (optional)
- Stencils (optional)
Gather your supply items, choose your color and/or scent, and let’s get started!
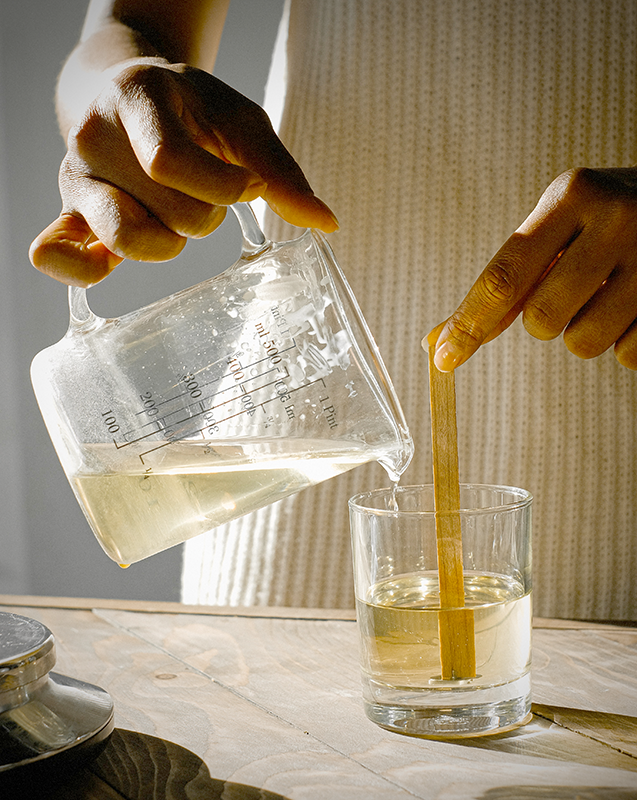
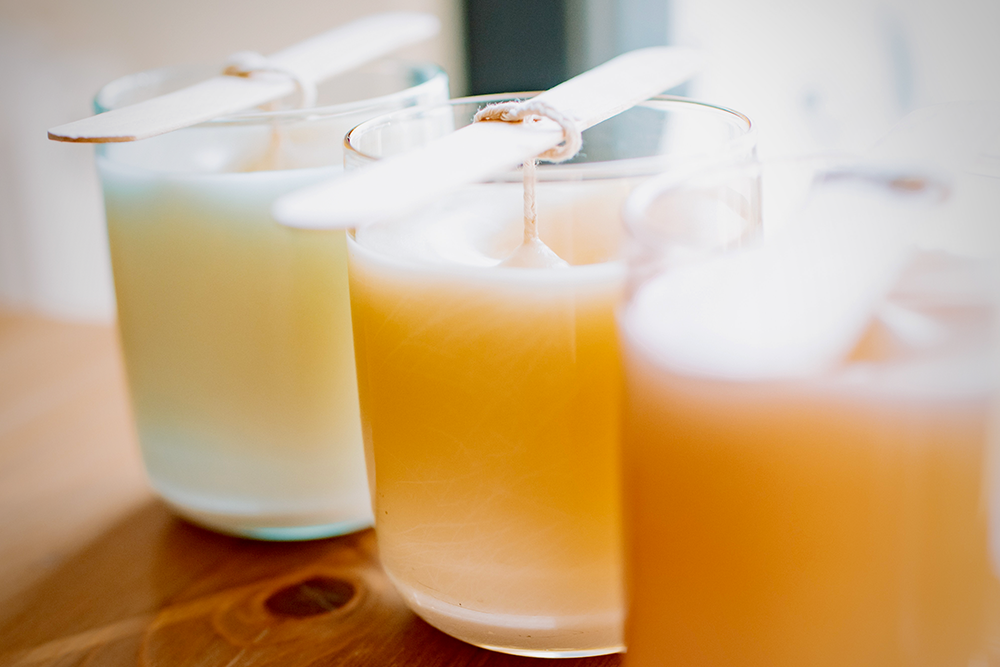
Step One: Melt the Wax
The first step is to melt the wax.
You can do this in a double boiler, wax melter, or crockpot set to low heat.
If you are using a double boiler, be sure to keep an eye on the water level and add more as needed.
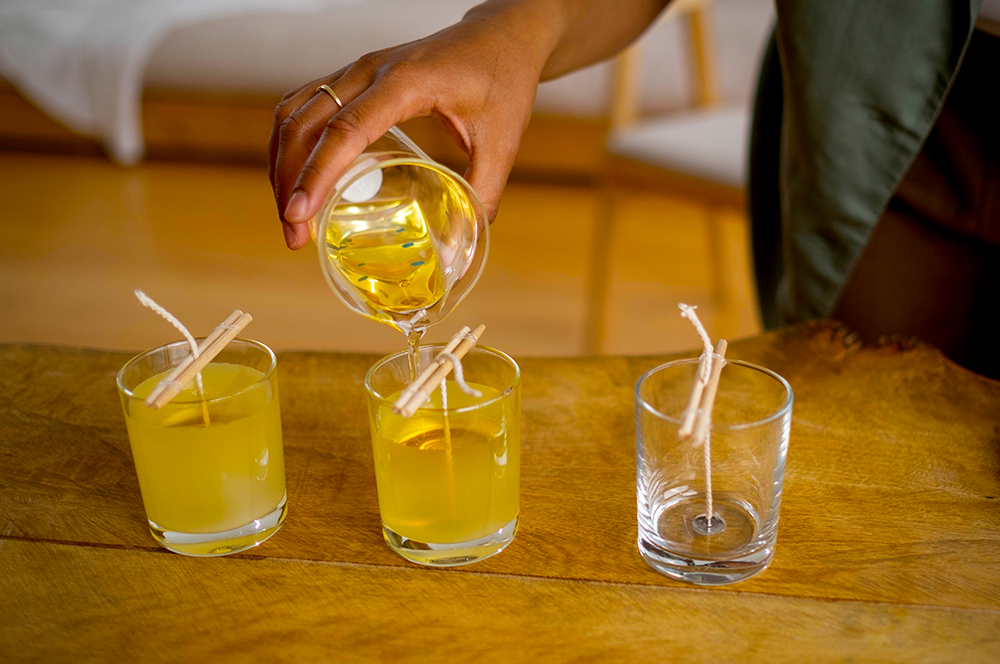
Once the wax is melted, carefully pour it into your mold.
If you are making a sculpted candle, you will want to pour a small amount of wax into the mold and then let it cool slightly.
This will create a layer of wax that is easier to carve.

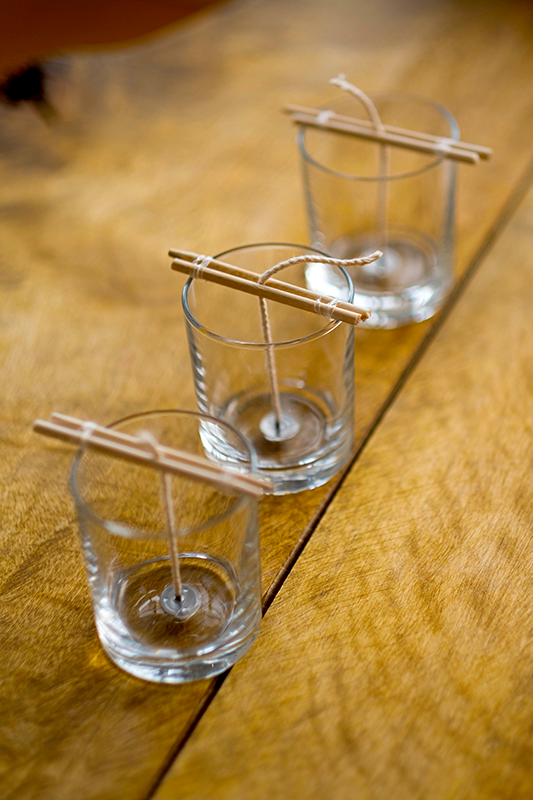
Step Two: Add the Wicks
Next, it’s time to add the wicks.
For best results, use wicks that are made specifically for candle making.
Cut the wicks to the desired length and then place them in the center of the mold.
If you are making multiple candles, be sure to space the wicks evenly apart.
Let the wax cool completely before moving on to the next step.
Step Three: Carve or sculpt Your Candle
Once the wax is completely cooled, it’s time to start carving or sculpting your candle.
If you are using a store-bought mold, you can simply carve designs into the surface of the wax with a knife or carving tool.
If you made your own mold out of cardboard, you will need to cut away sections of wax until your design is revealed.
Another option is to use cookie cutters or stencils to create patterns and change the wax surface.
Simply press the cookie cutter or stencil into the wax and then remove it carefully.
You can also paint designs onto the surface of your candle with a paintbrush dipped in melted wax.
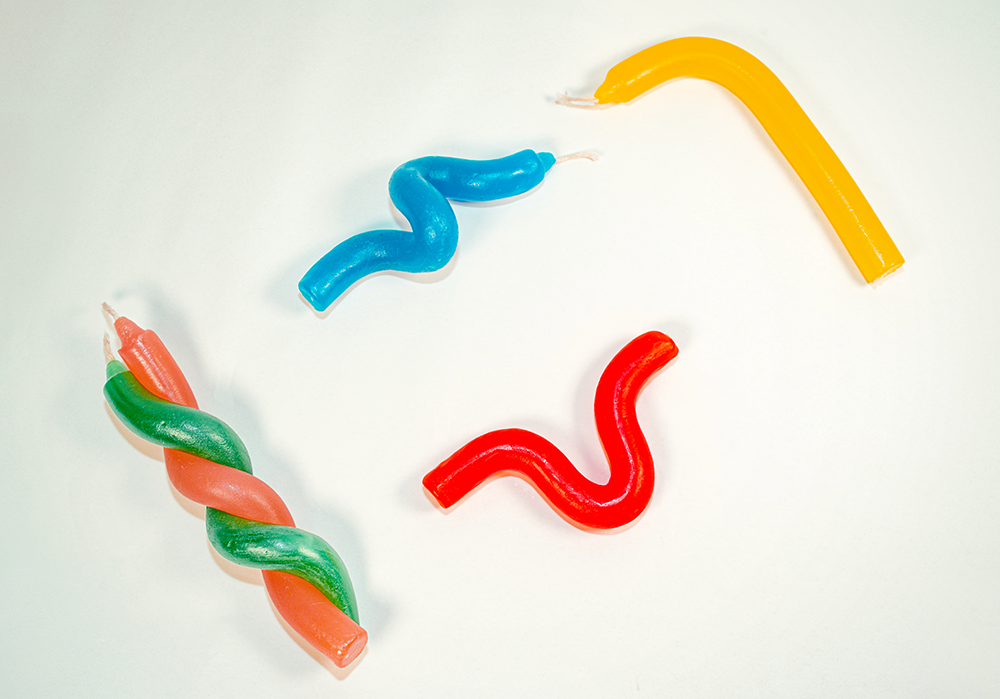
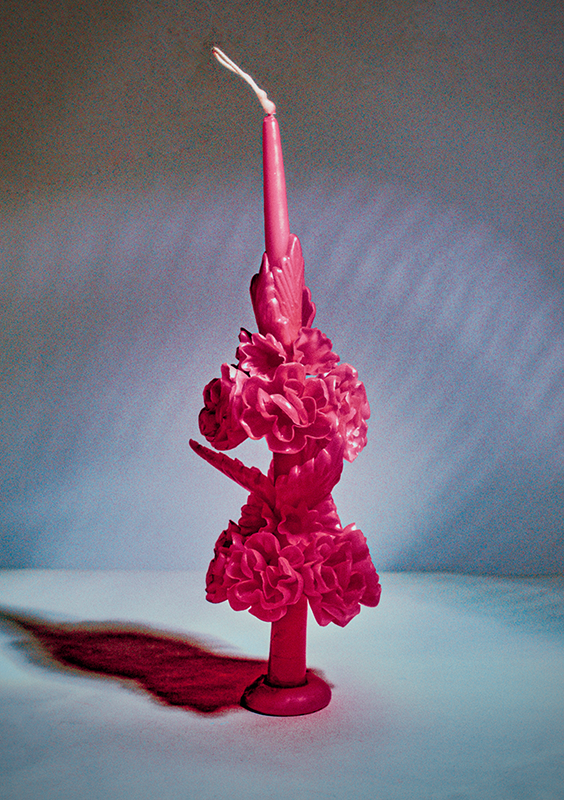
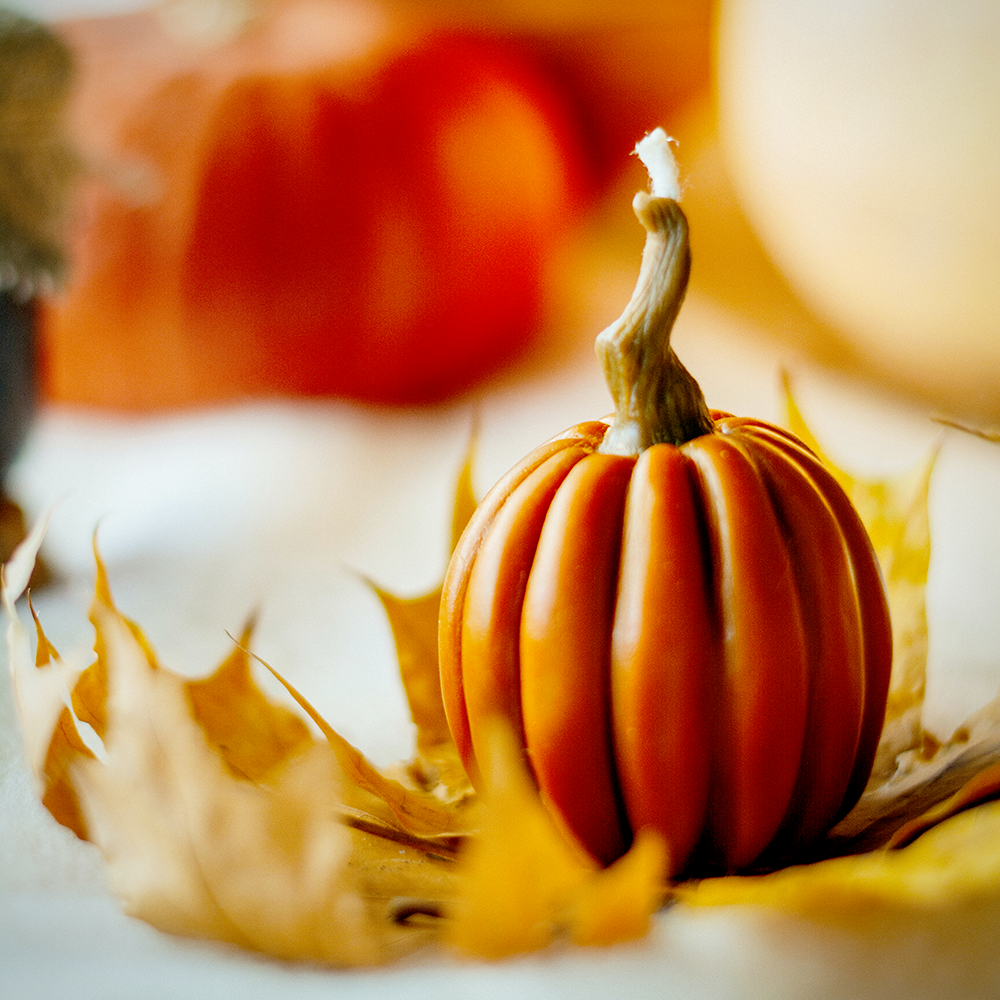
Be creative! There are endless possibilities when it comes to carving and sculpting candles.


Step Four: Let It Cool Completely
Once you have finished carving or sculpting your candle, let it cool completely before lighting it.
This can take several hours, depending on the size and thickness of your candle.
If you are in a hurry, you can place your candle in the refrigerator or freezer to speed up the cooling process.
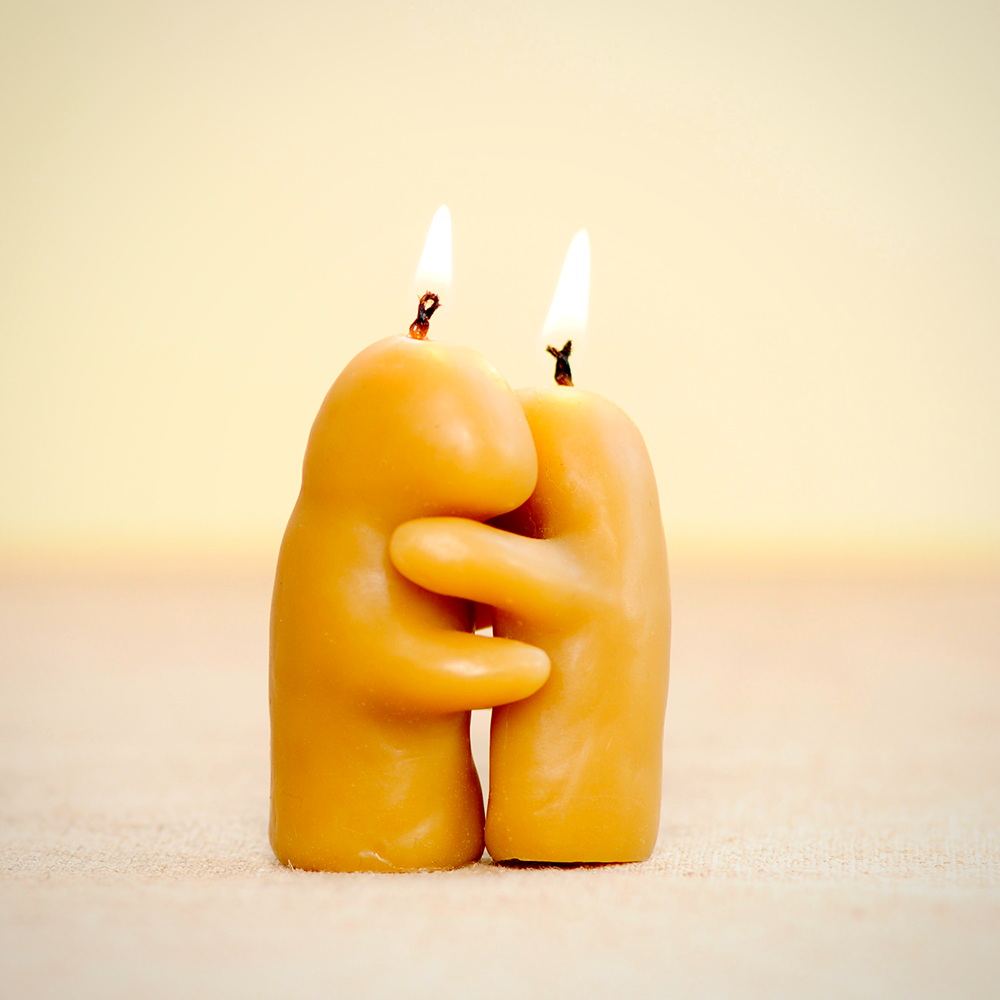
Step Five: Enjoy Your Candle!
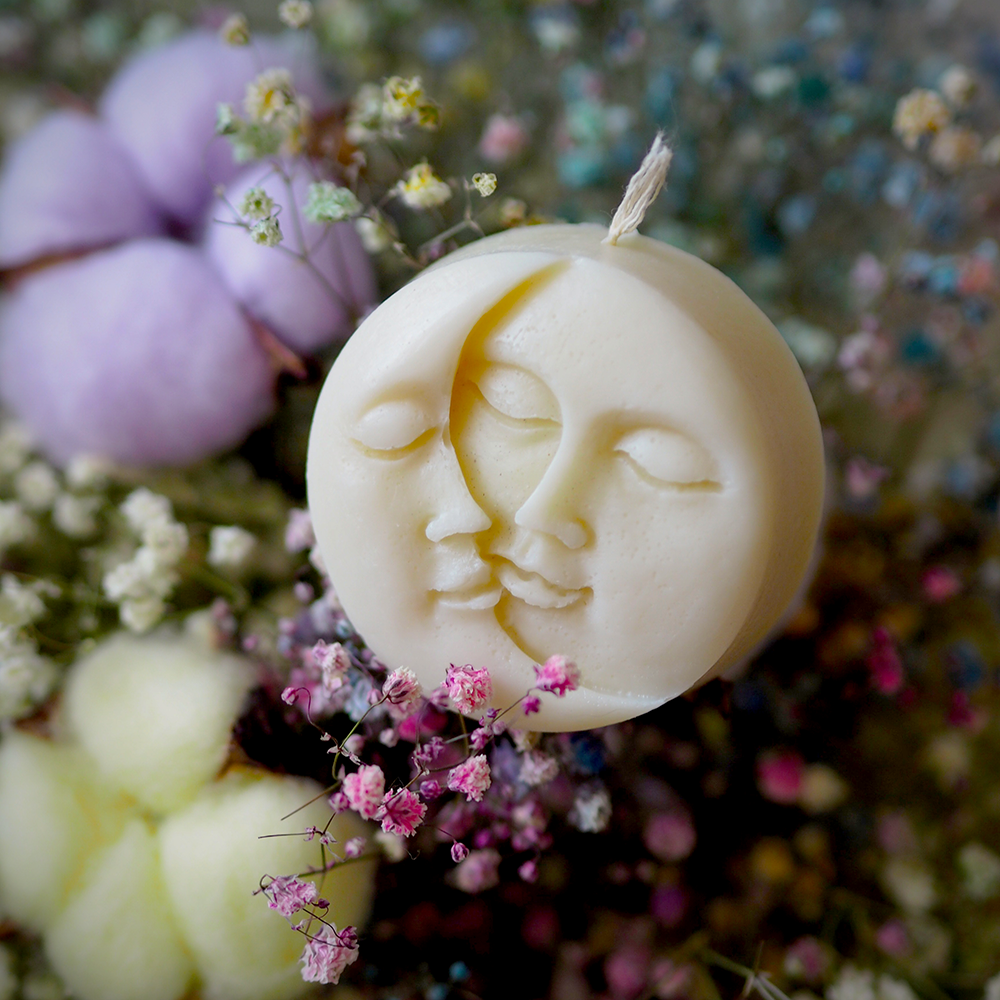
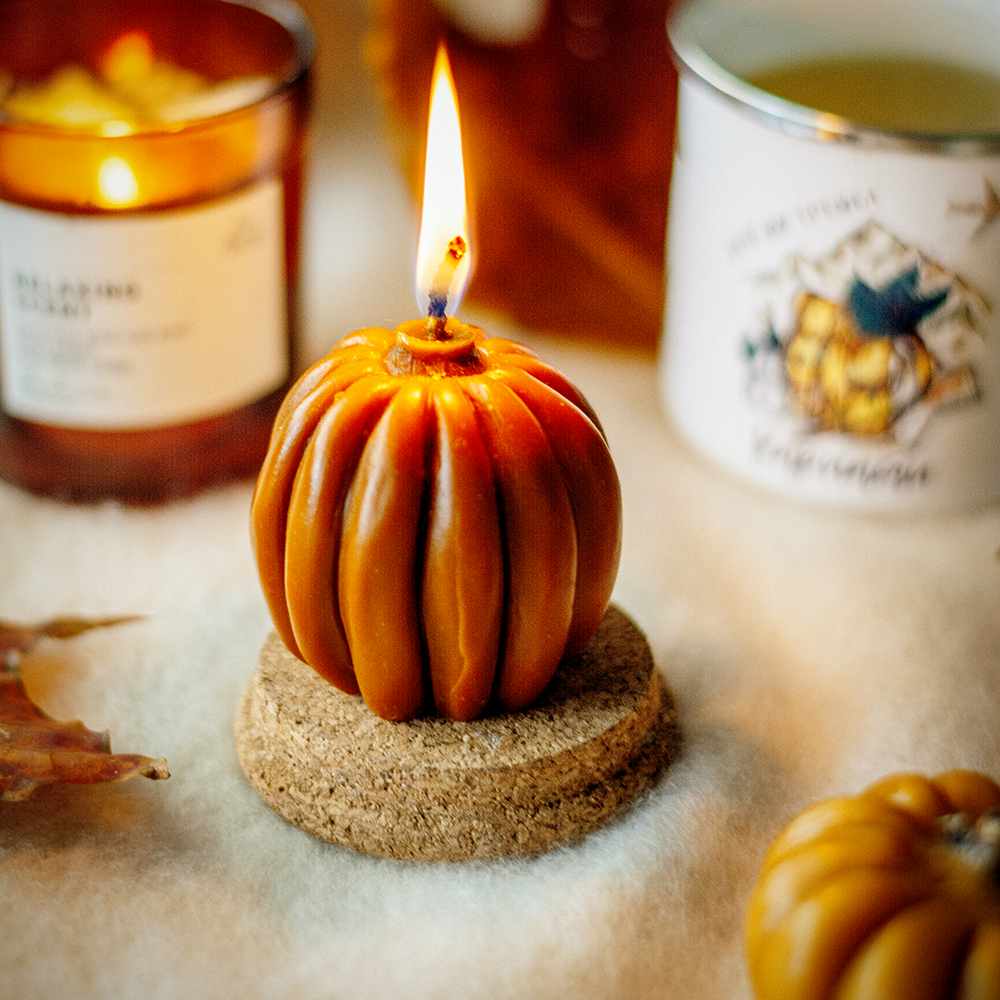
Now it’s time to enjoy your beautiful hand-crafted candle!
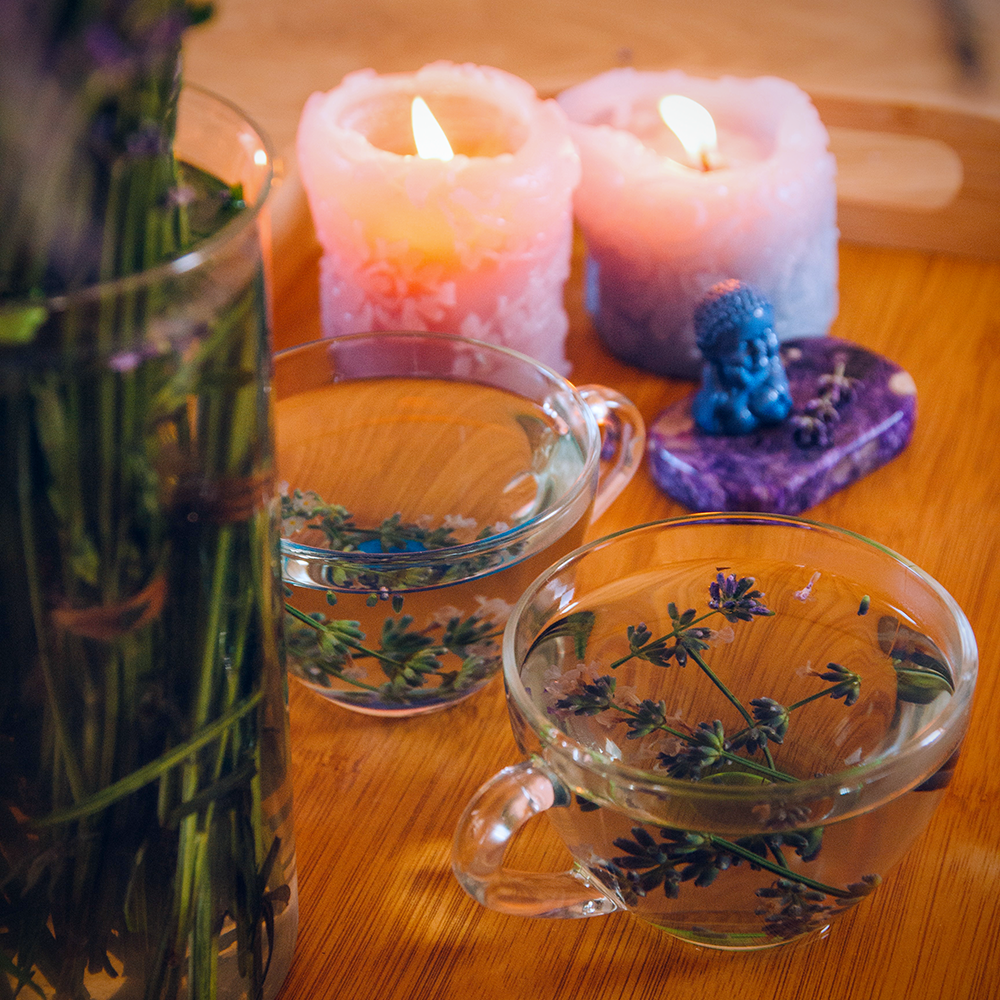
Light it and enjoy the soft light and pleasant fragrance.
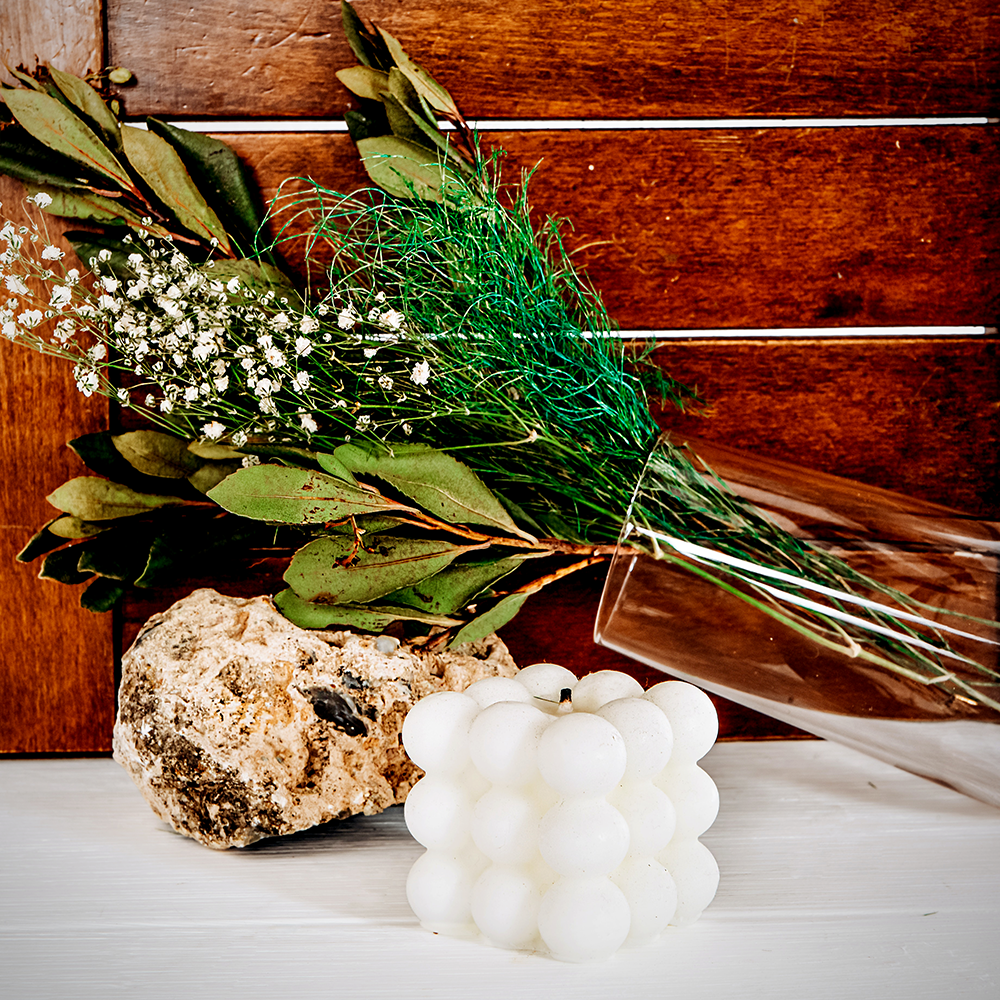
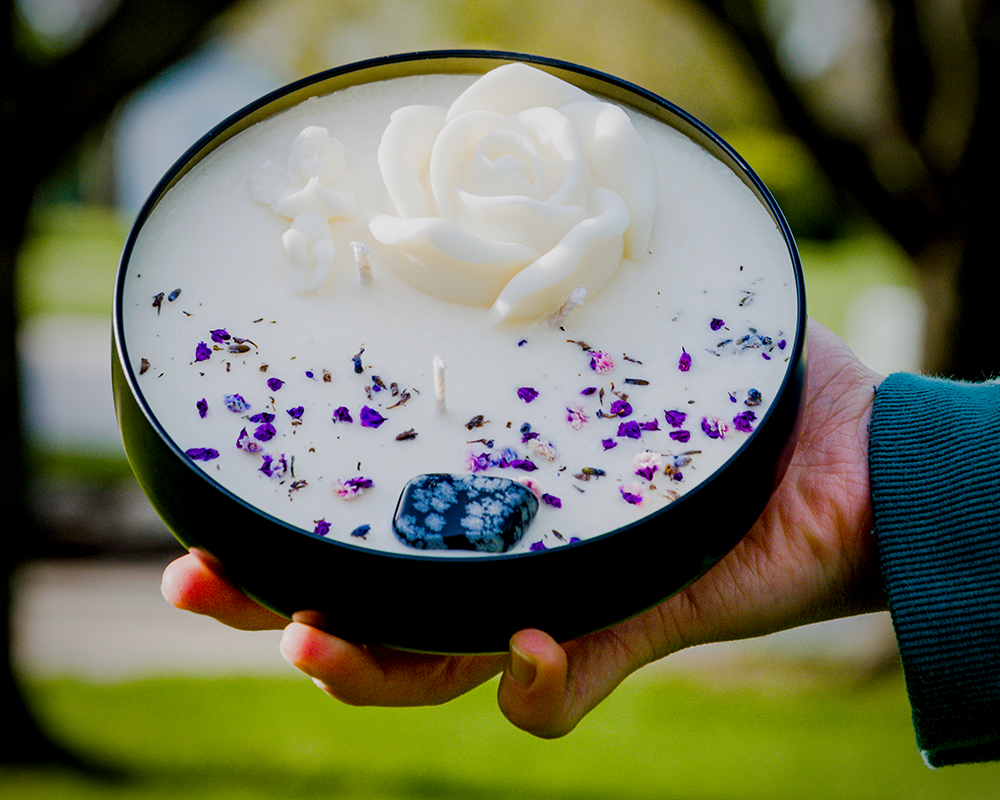
You can also use your candle as a decoration by placing it in a pretty holder or vase.
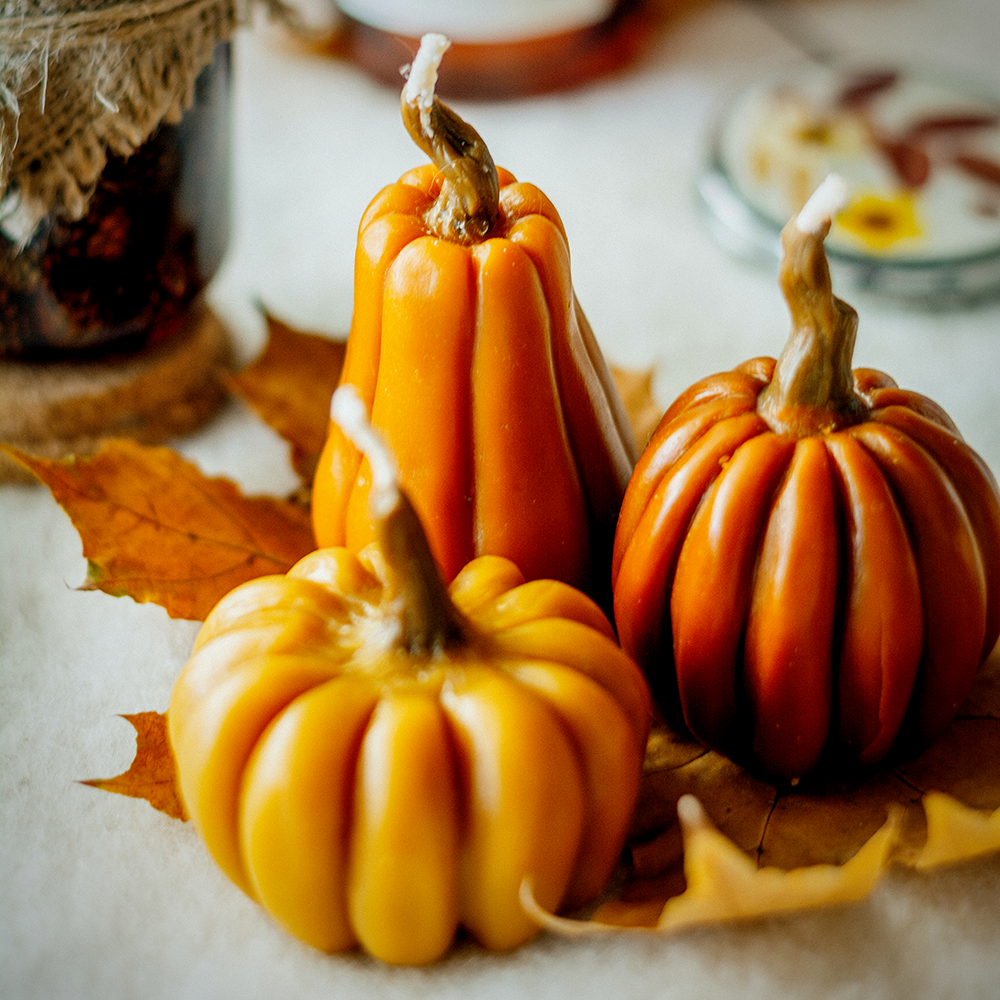
If you made multiple candles, they make great gifts, such as house decor, birthday, or wedding candles, for friends and family!
Congratulations, you now know how to make sculpted or carved candles!
With a little practice, you’ll be an expert in no time, so go enjoy your beautiful, new works of art!
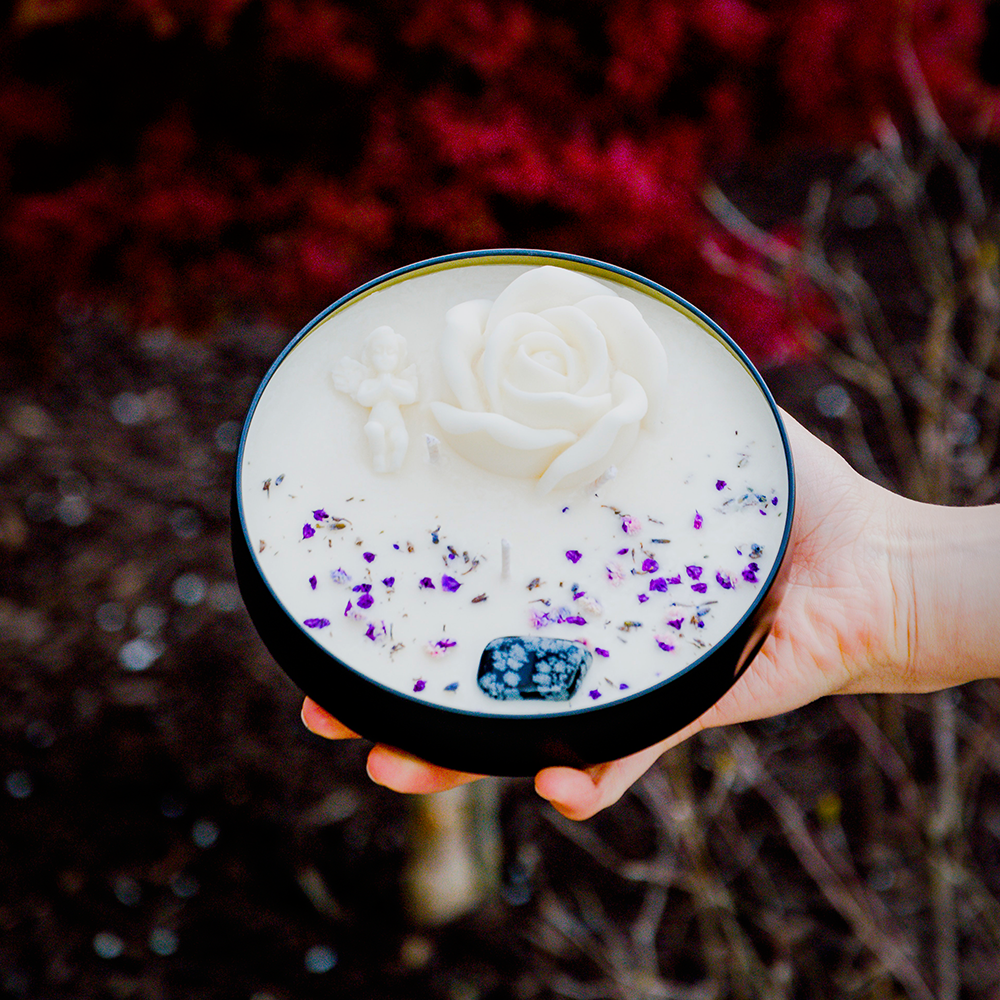
Creating Carved and Sculpted Candles
Candles are not just for illumination; they can also be used as a medium for art!
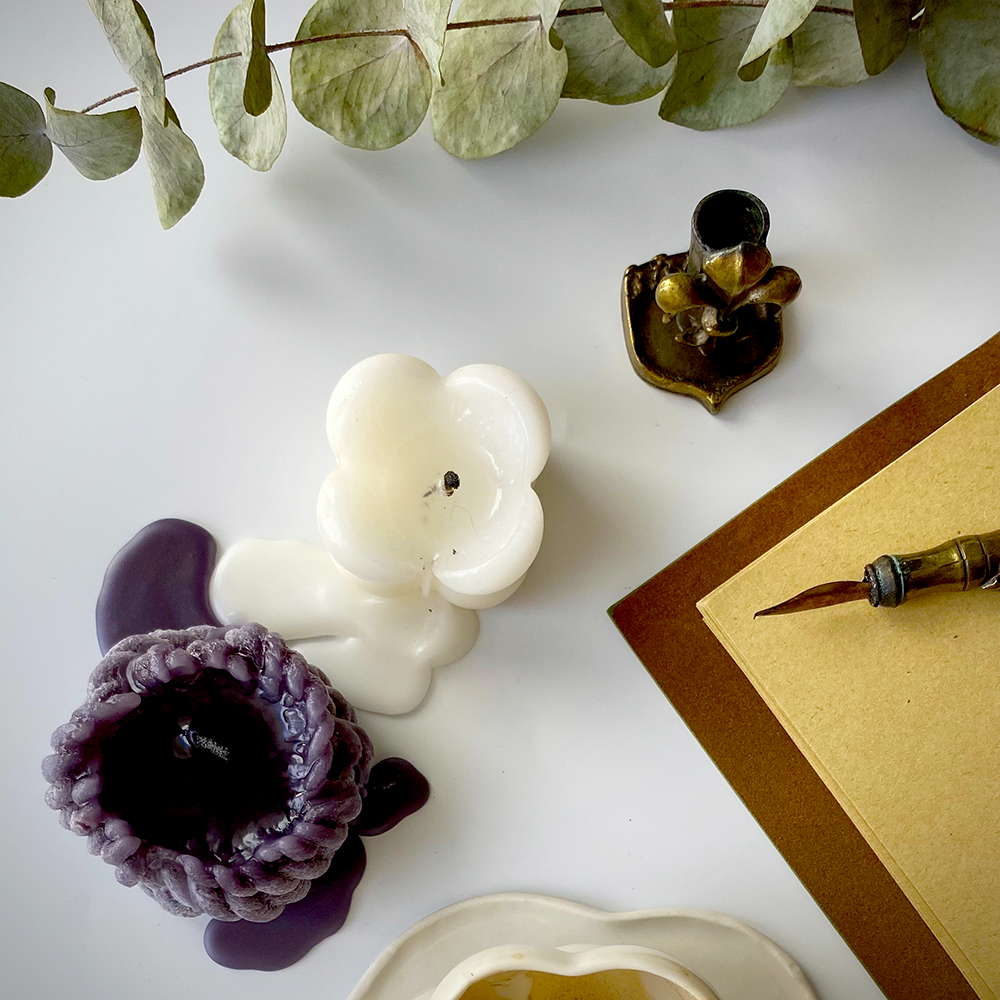
Sculpted and carved candles make beautiful home decorations and make great gifts, like unity candles, for friends and family members.
With just a few supplies and some time, anyone can create stunning carved and sculpted candles at home.
So, what are you waiting for? Get started today!
Want to learn more about creating these fun candles? Check out Now I've Seen Everything's video!
Interested in candle making?
You should check out some of our other supply articles: