Permanent tattoos are not for everyone, but that doesn't mean you can't enjoy the beauty of tattoos!
Henna tattoos are a great alternative for those looking for something more temporary and less expensive.
In this post, we'll show you how to create stunning henna tattoos.
So, whether you're a first-timer or a pro, keep reading to learn everything you need to know about creating beautiful henna art.
What is Henna?
Henna is a dye made from the leaves of the henna plant, which grows in hot climates like India and Africa.
The leaves are dried and then ground into a fine powder.
This powder can be mixed with water, lemon juice, sugar, and essential oils to form a paste that can be used to create designs on the skin and then stain the top layer of skin cells.
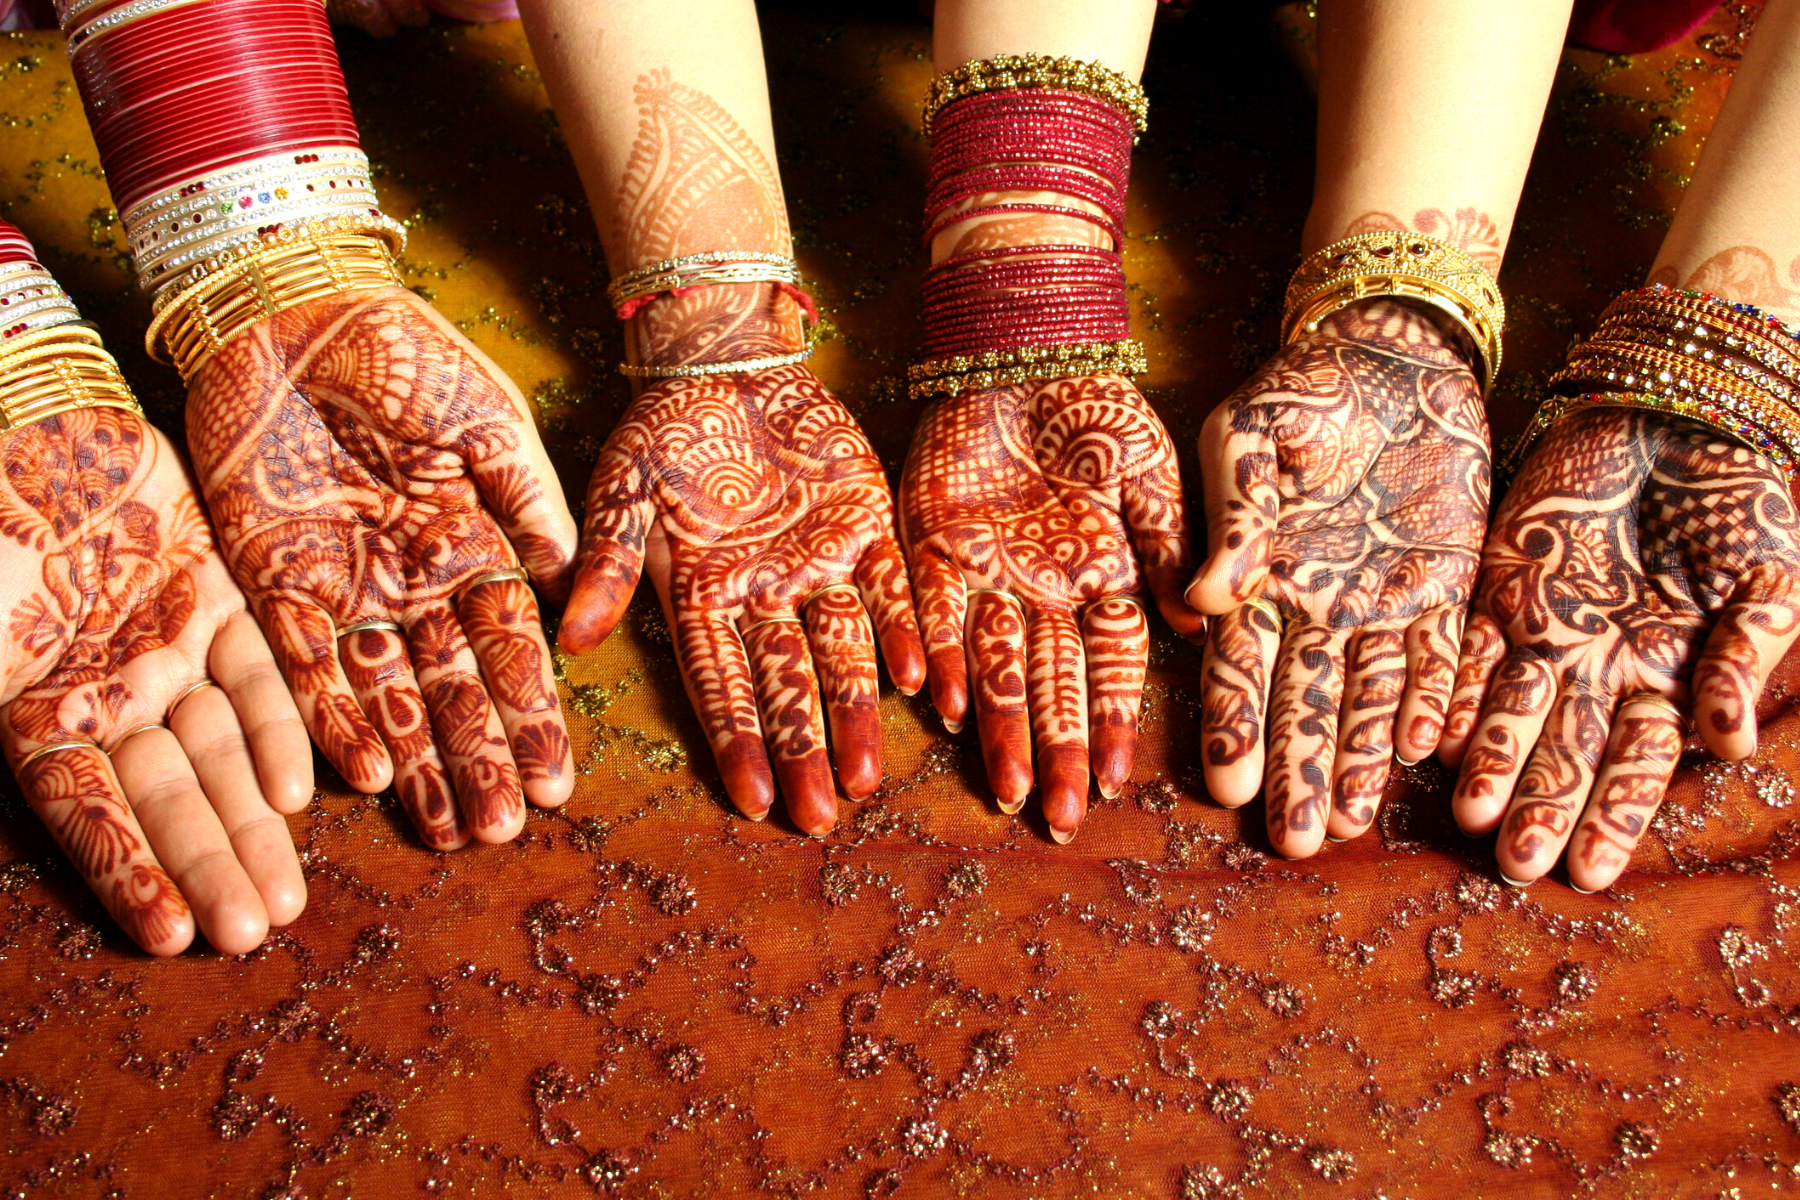
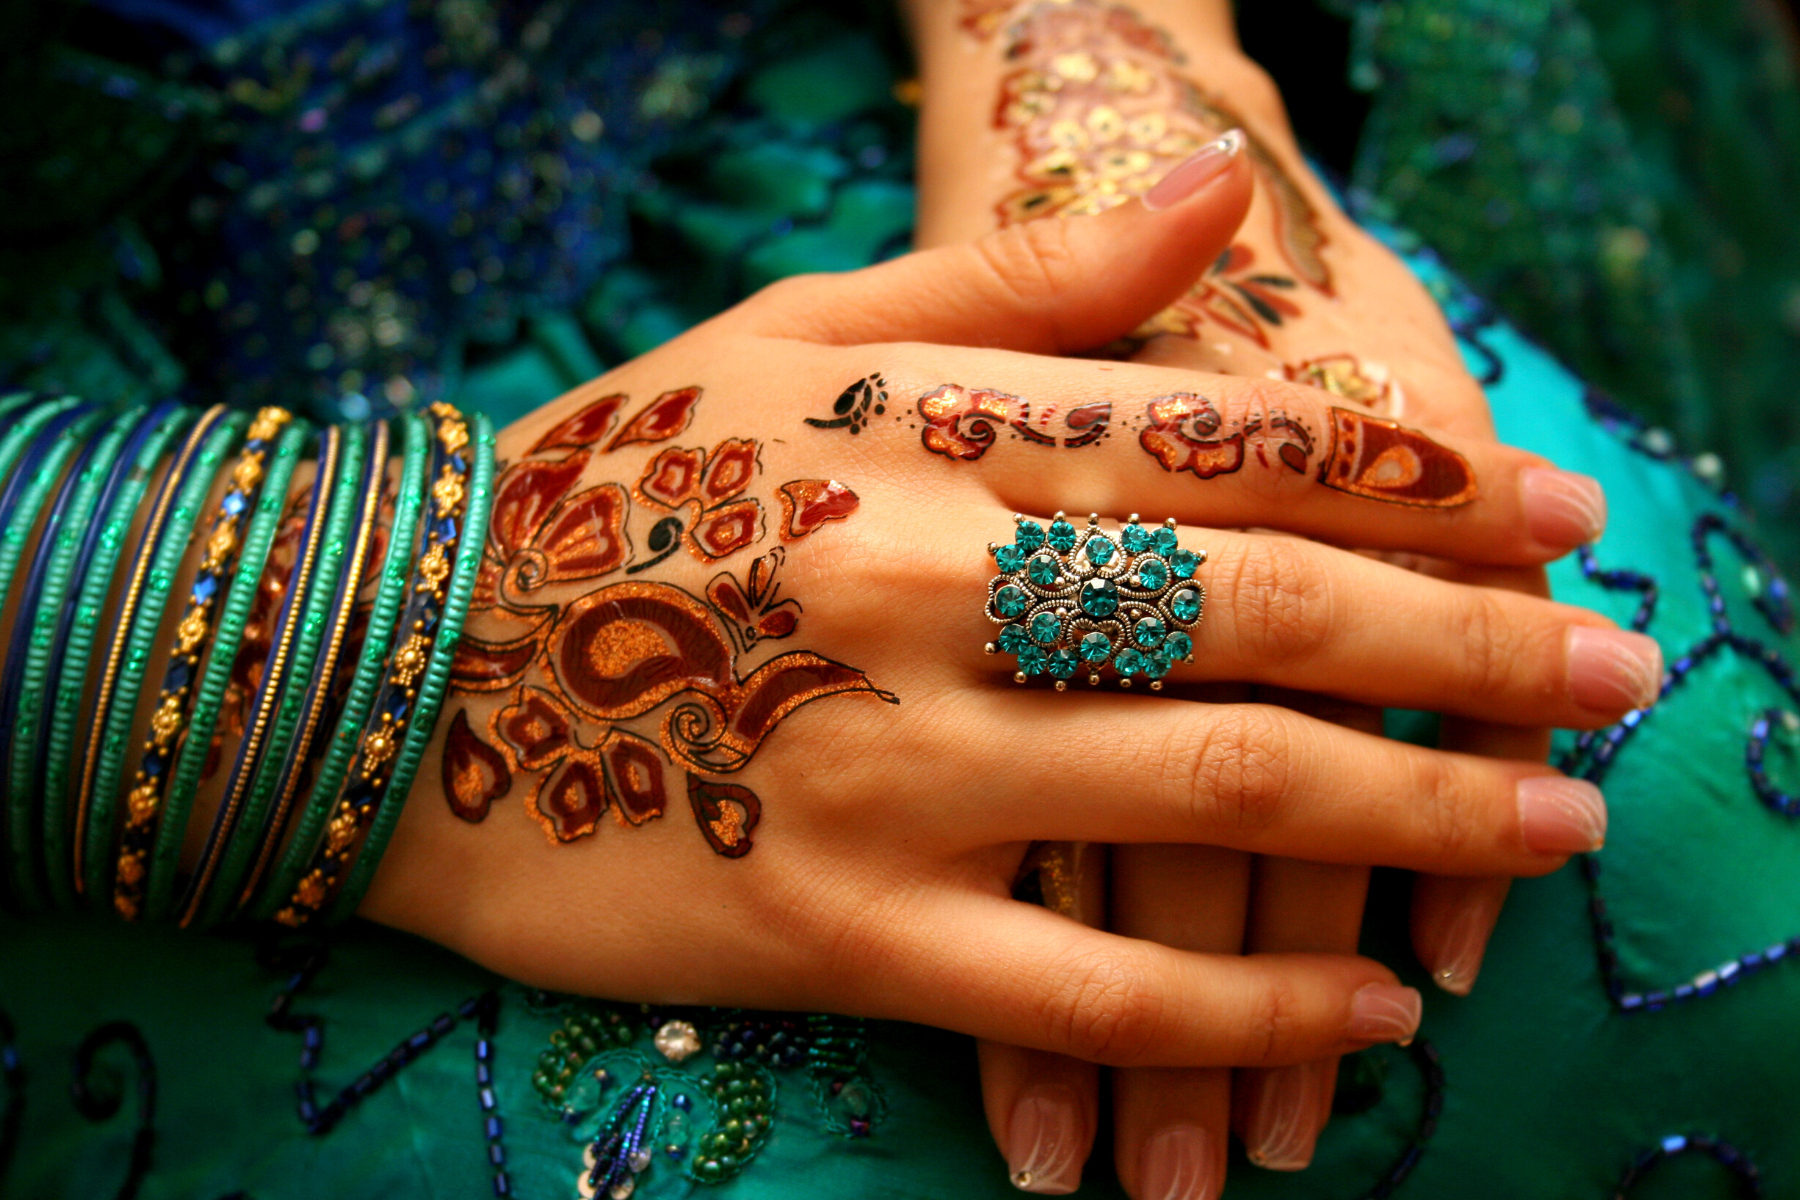
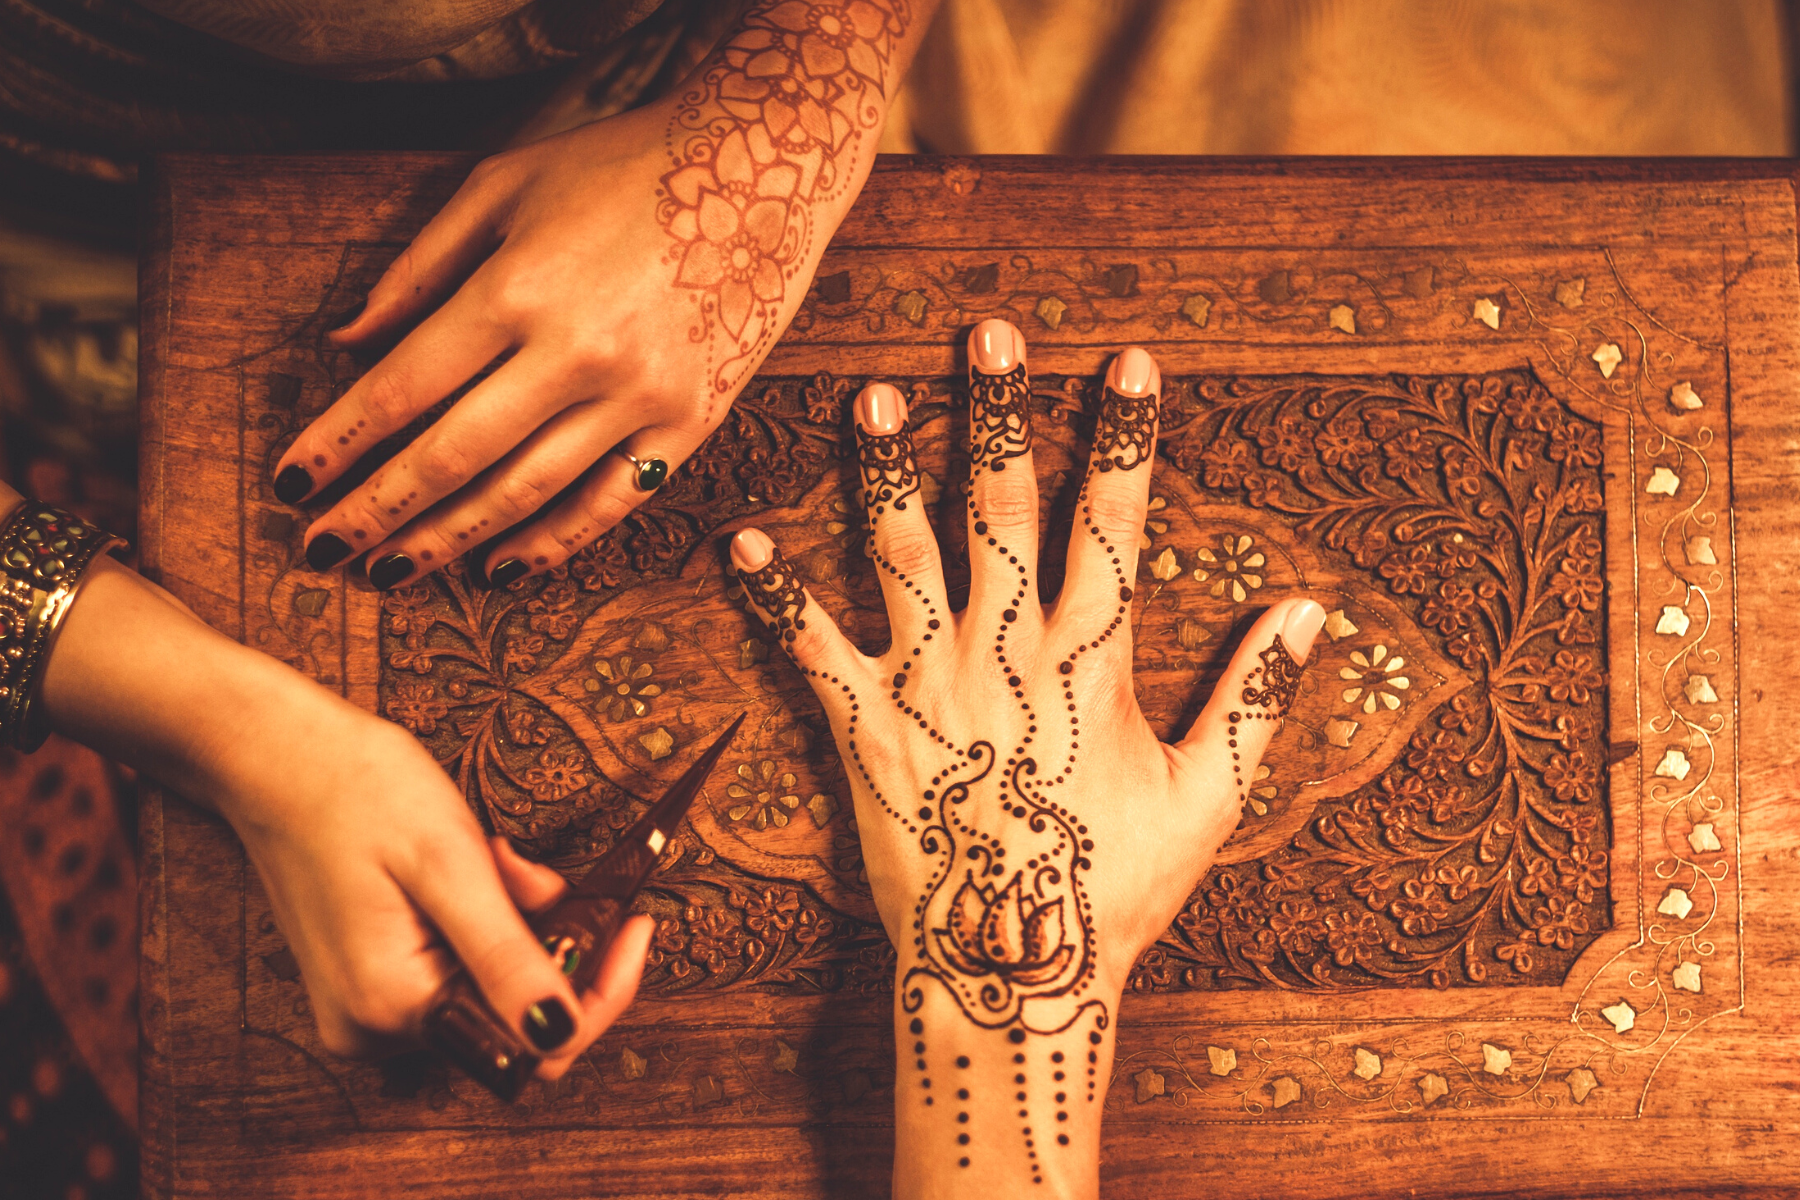
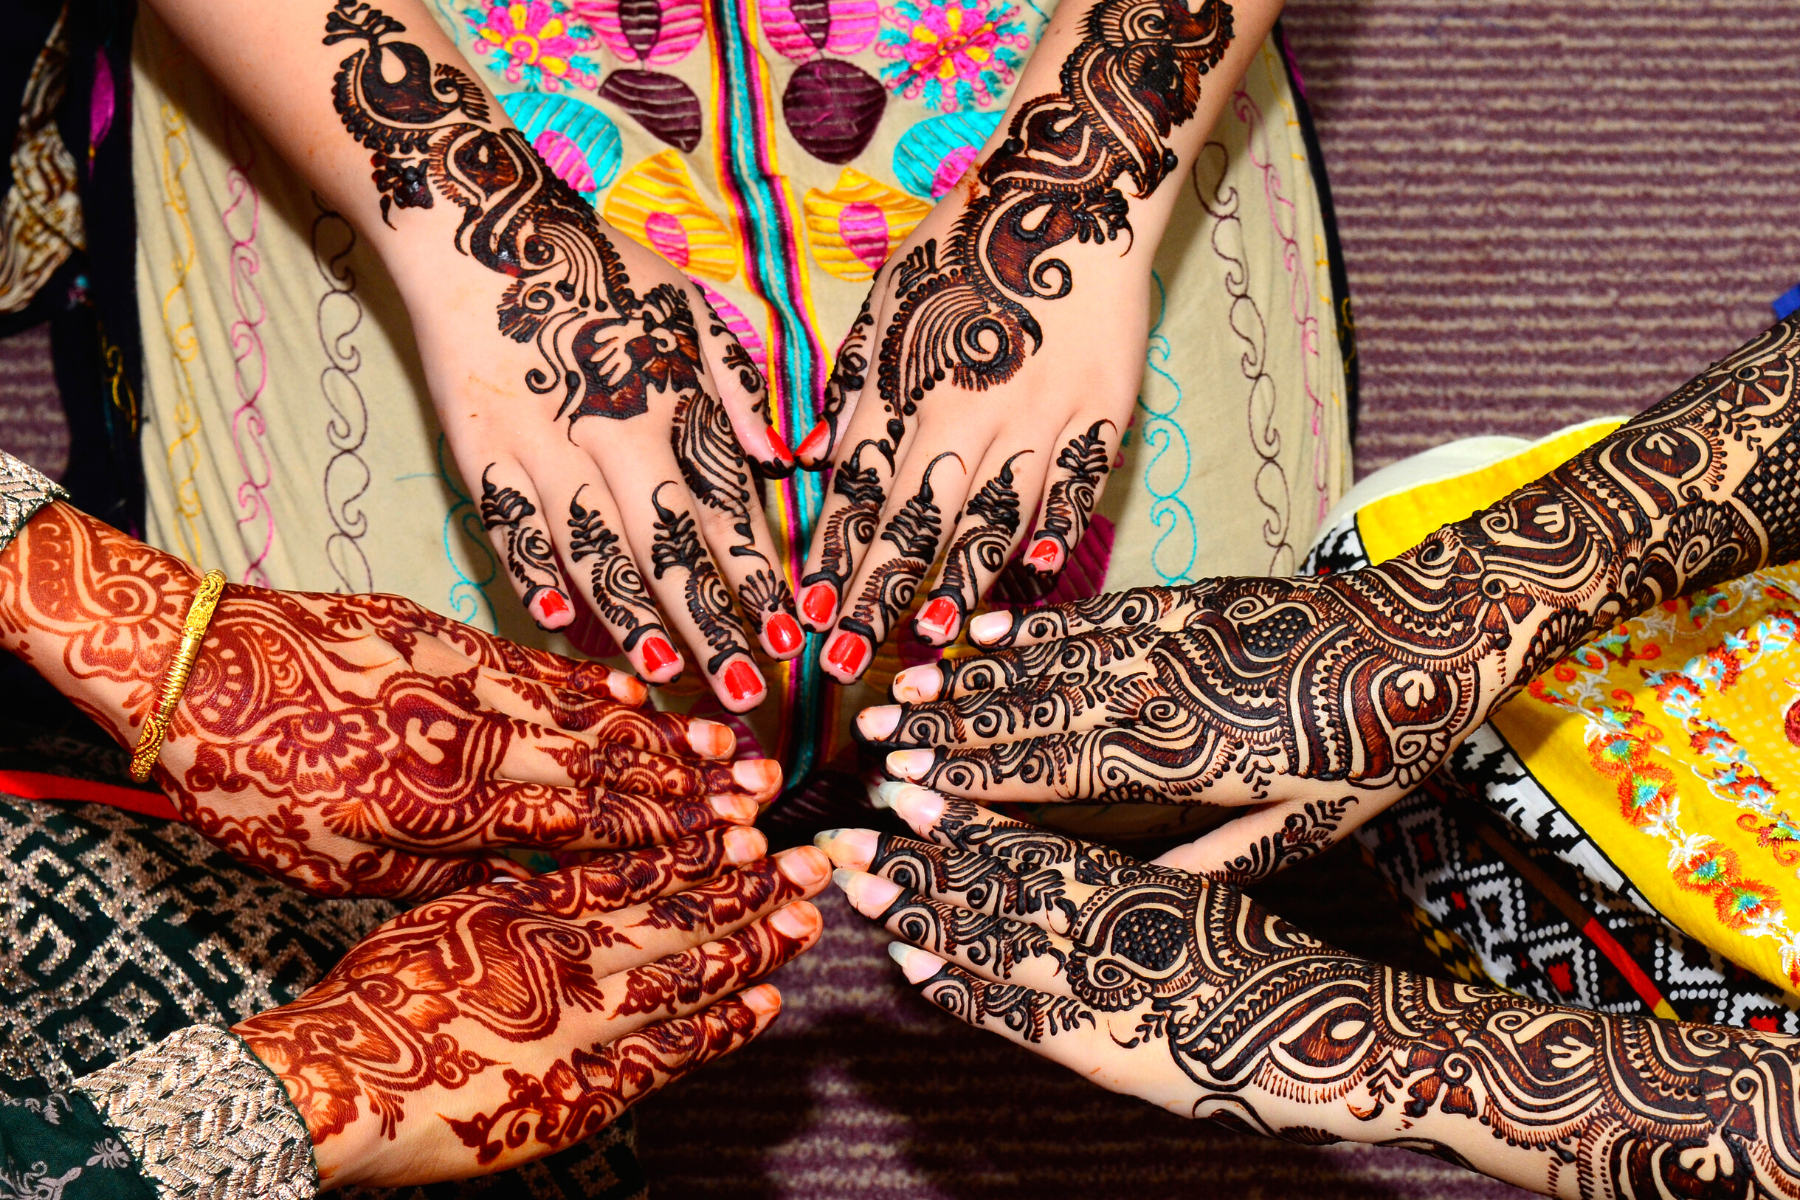
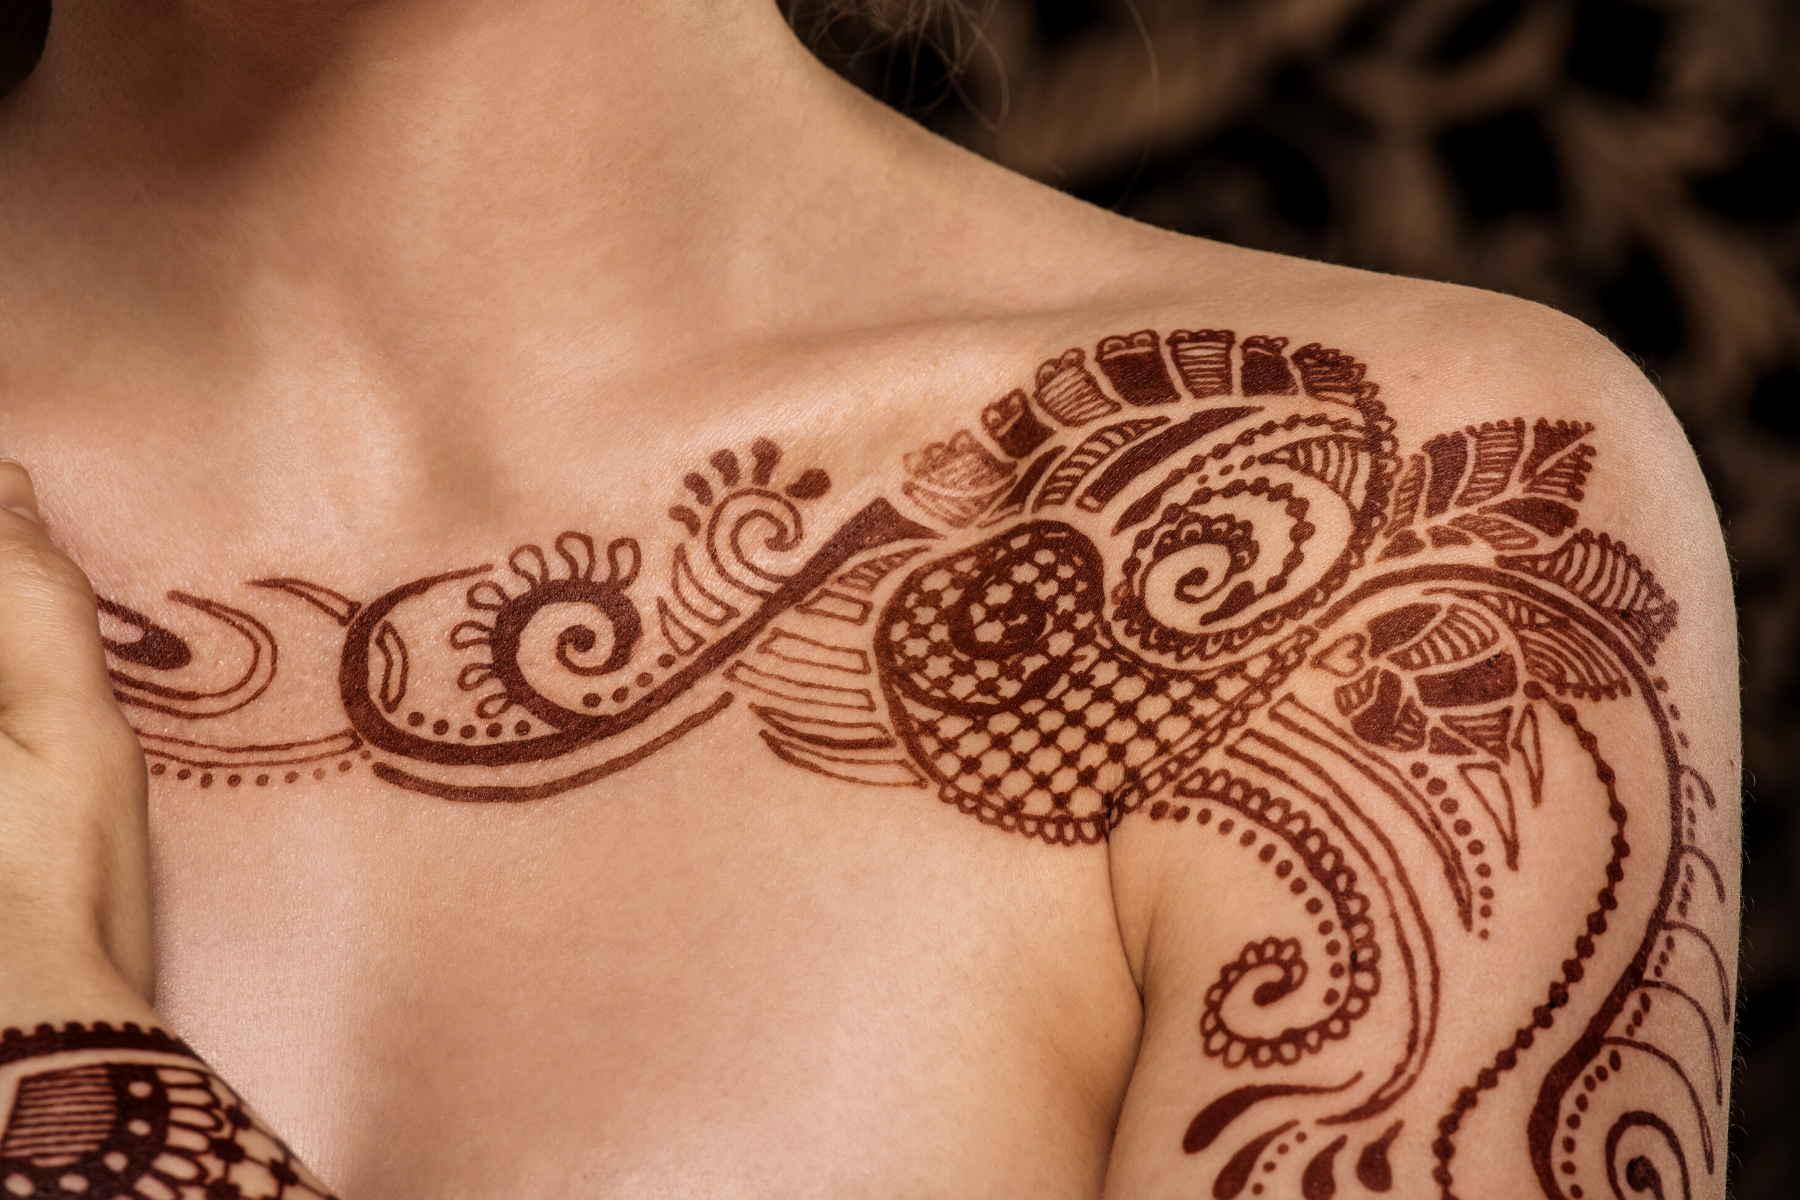
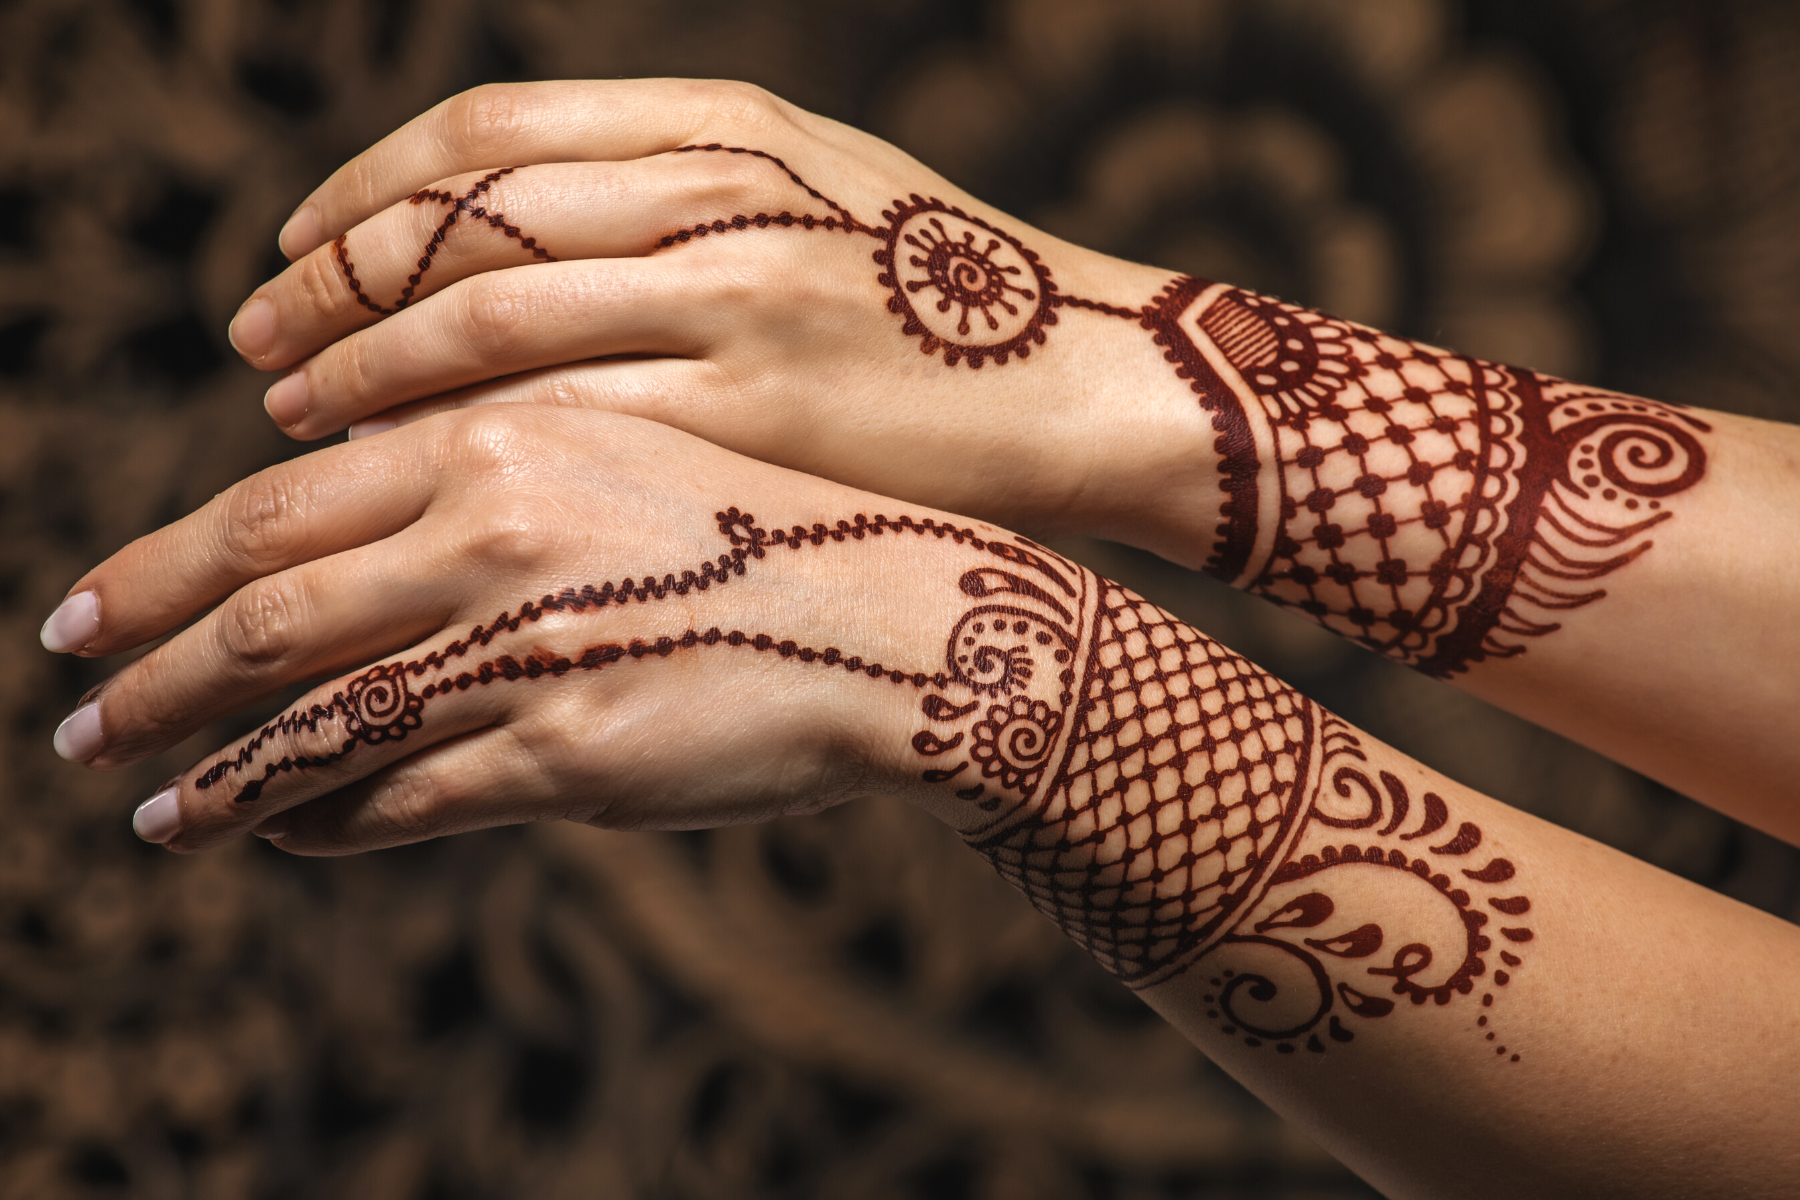
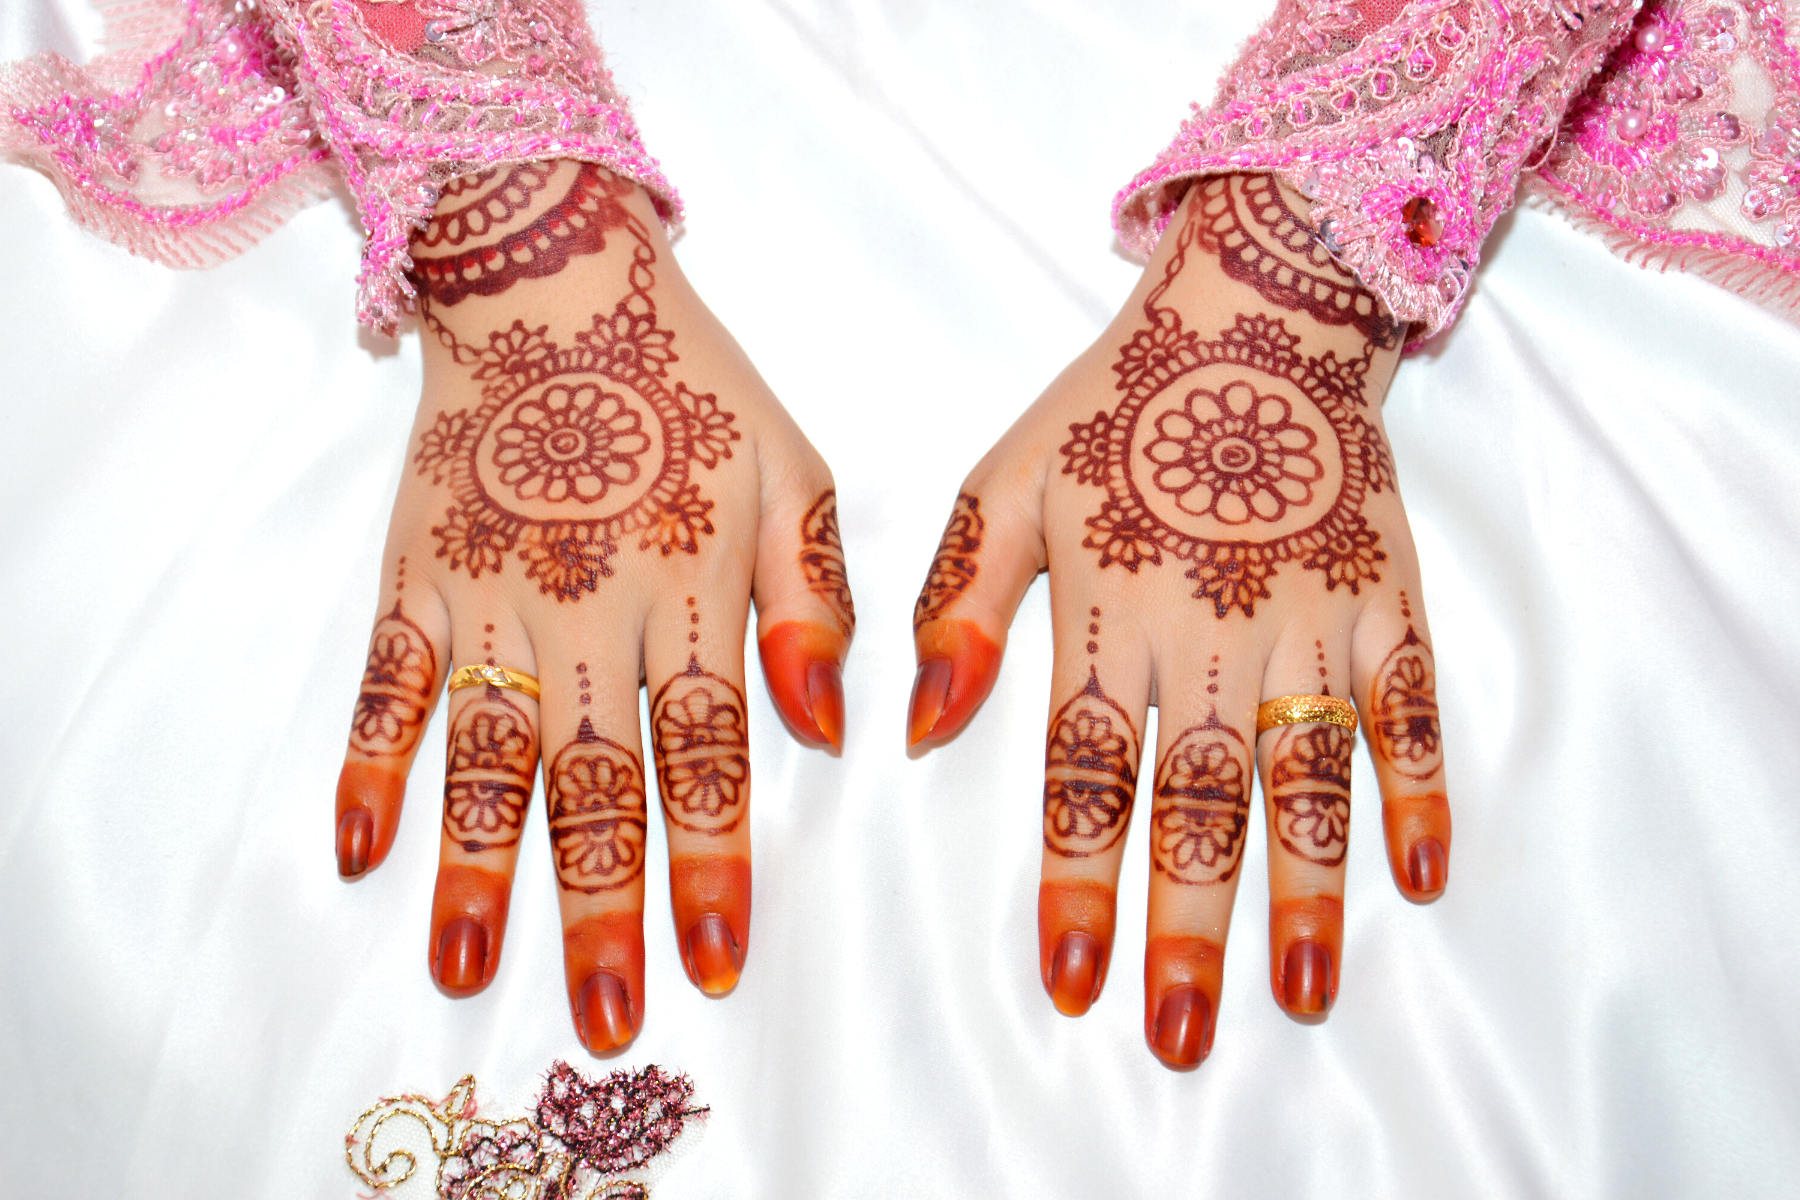
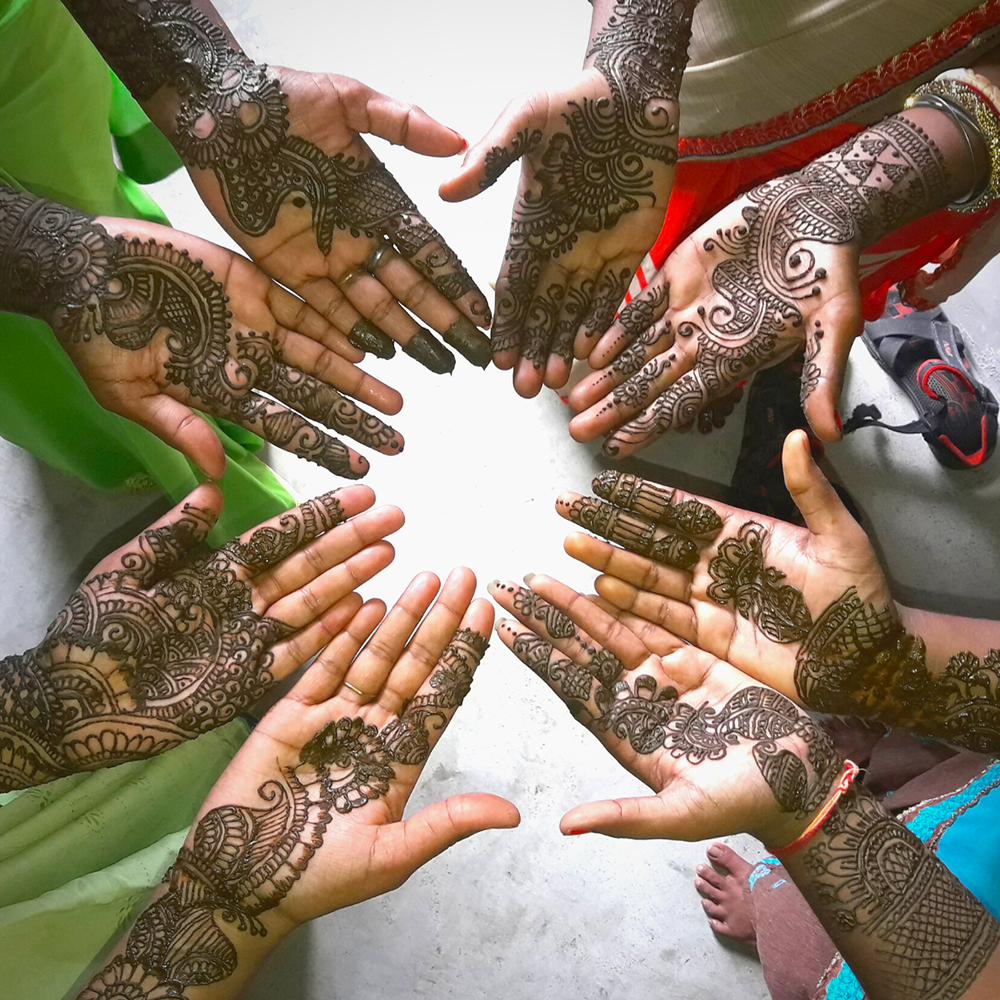
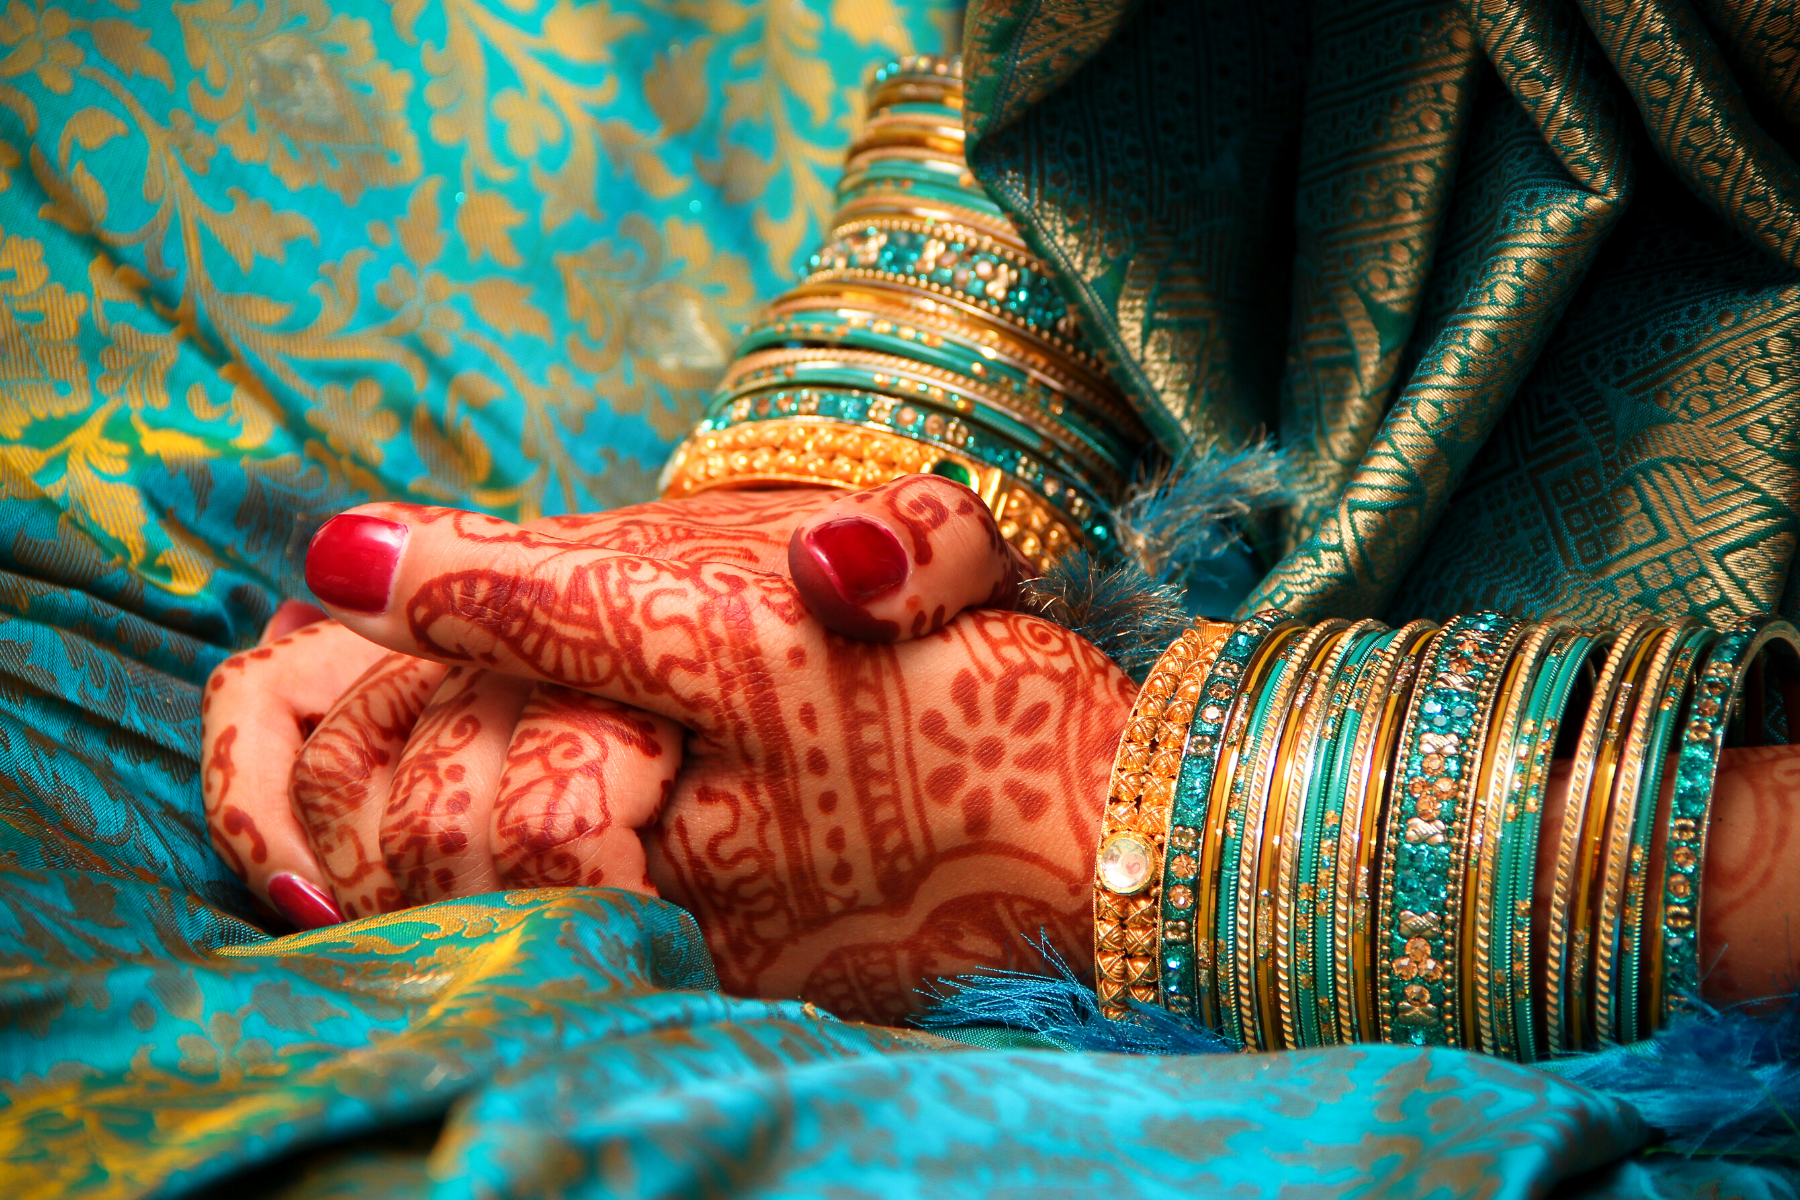
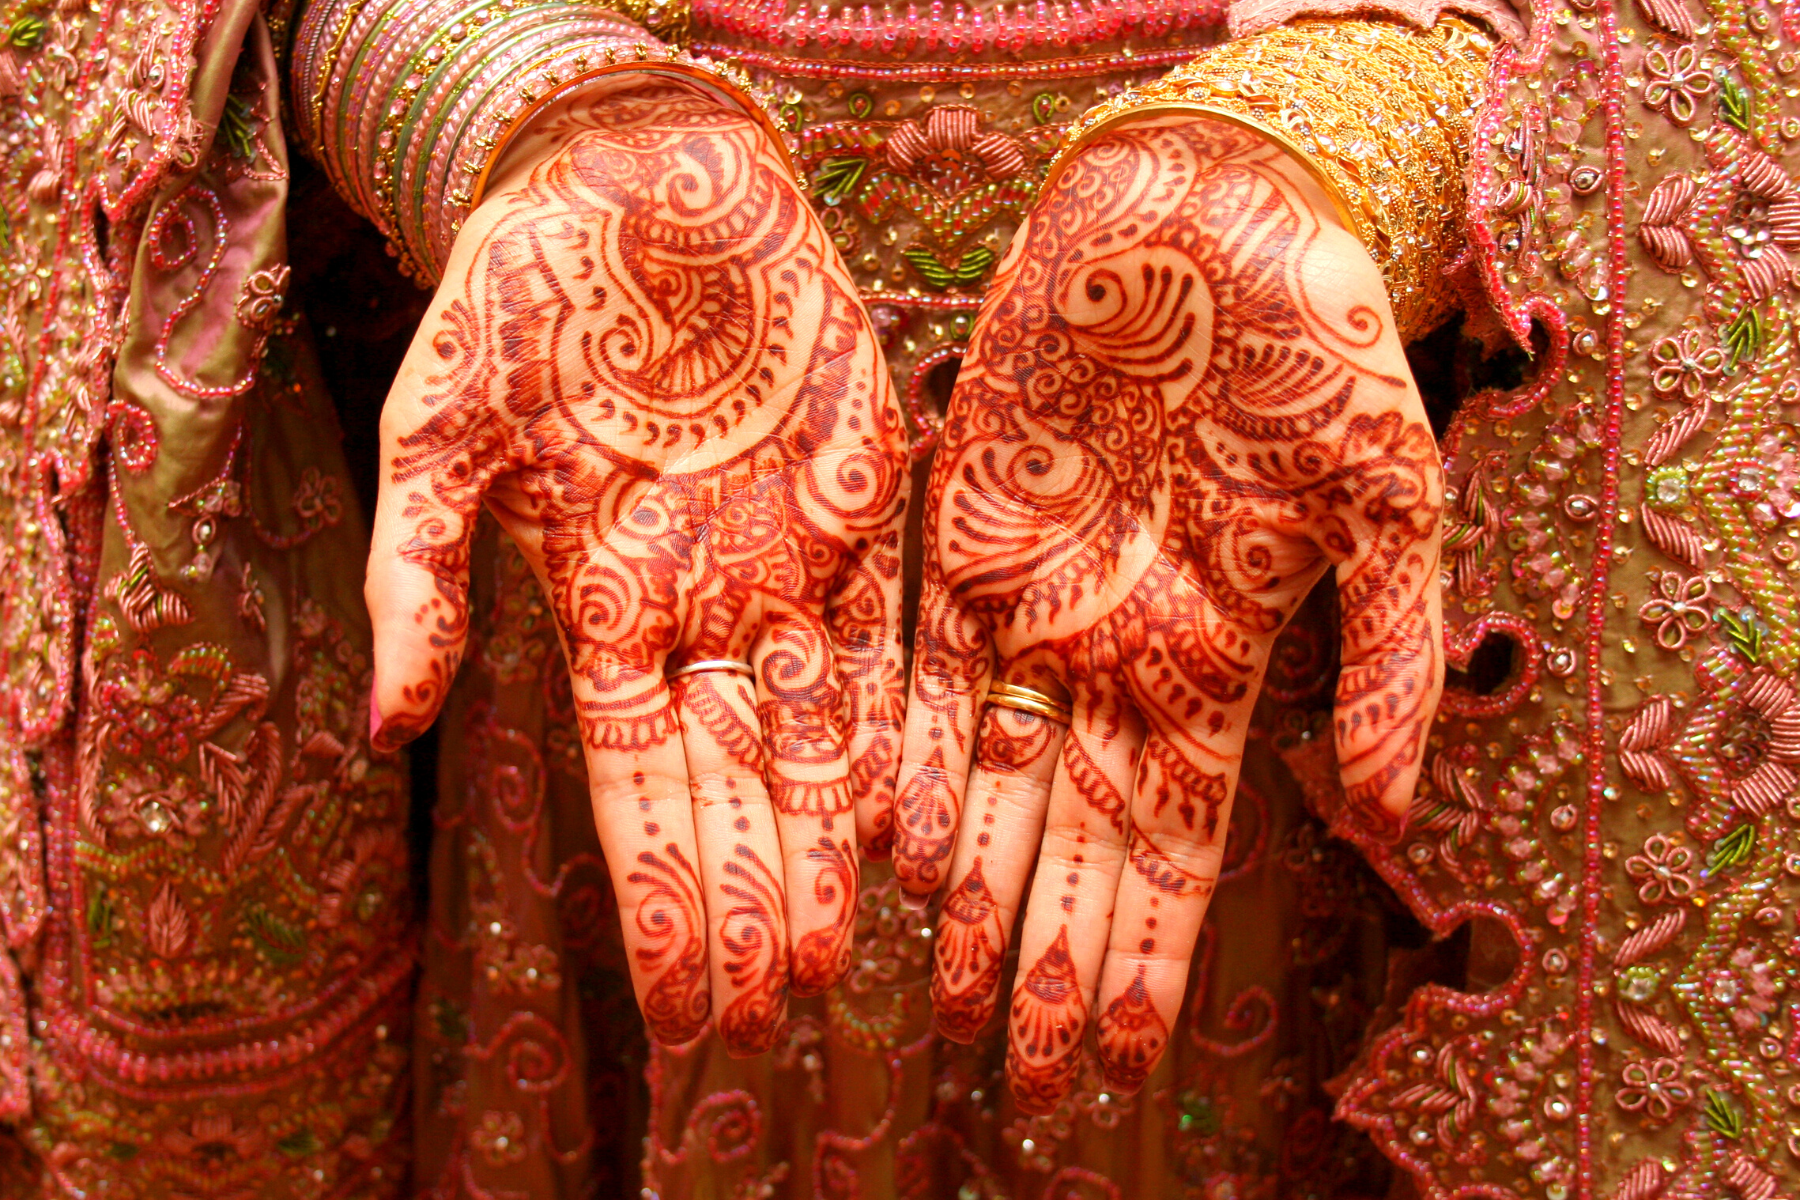
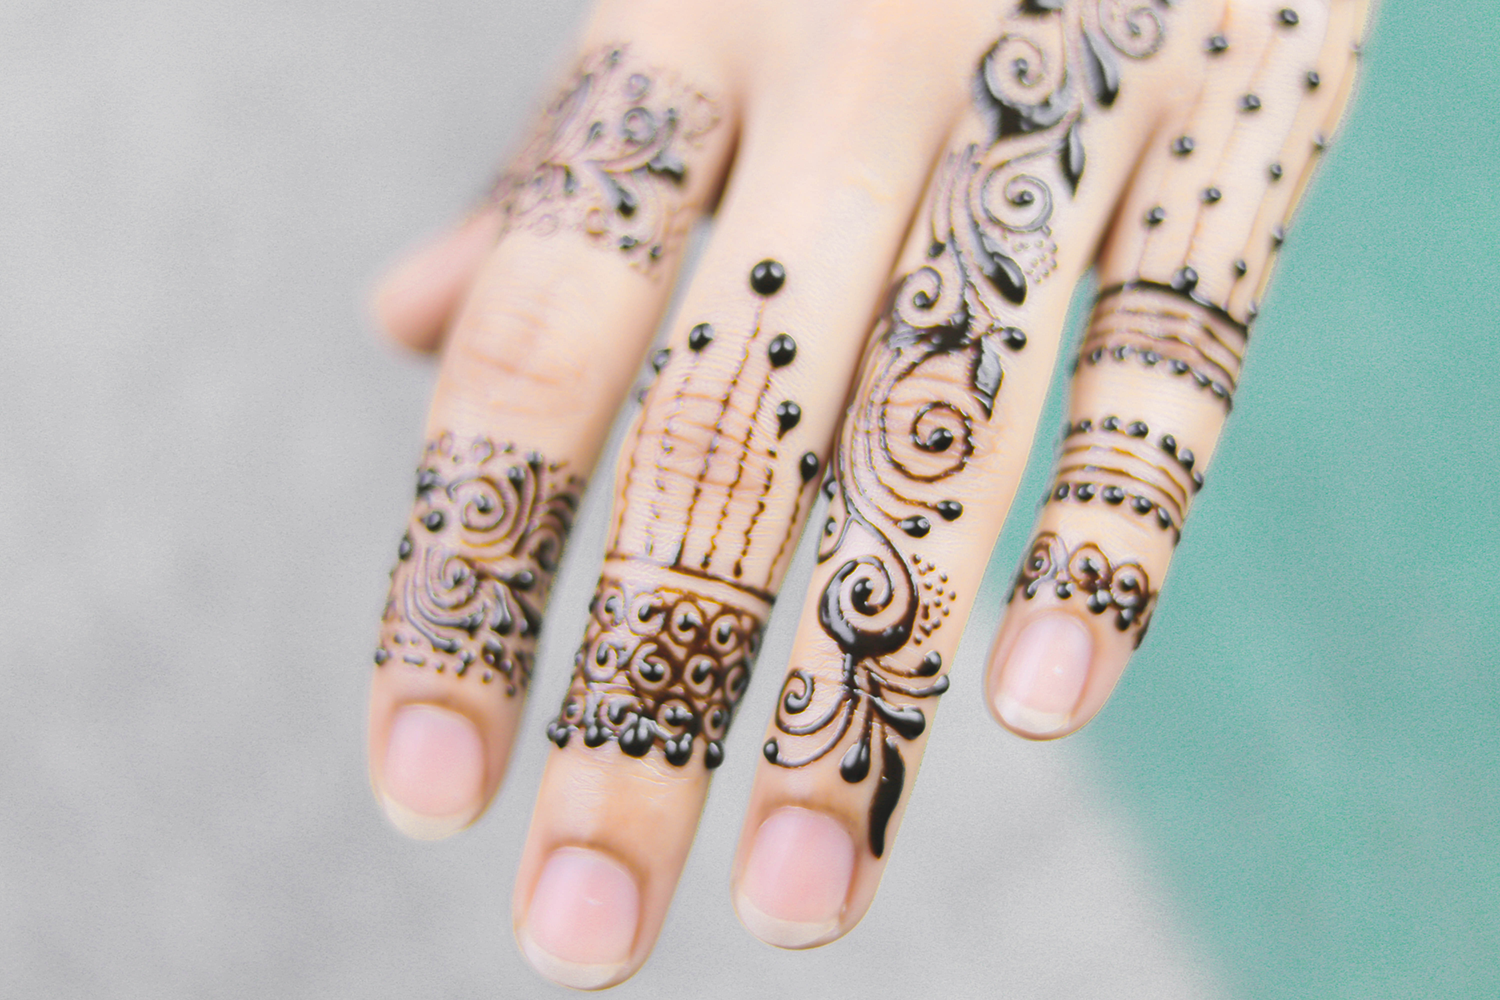
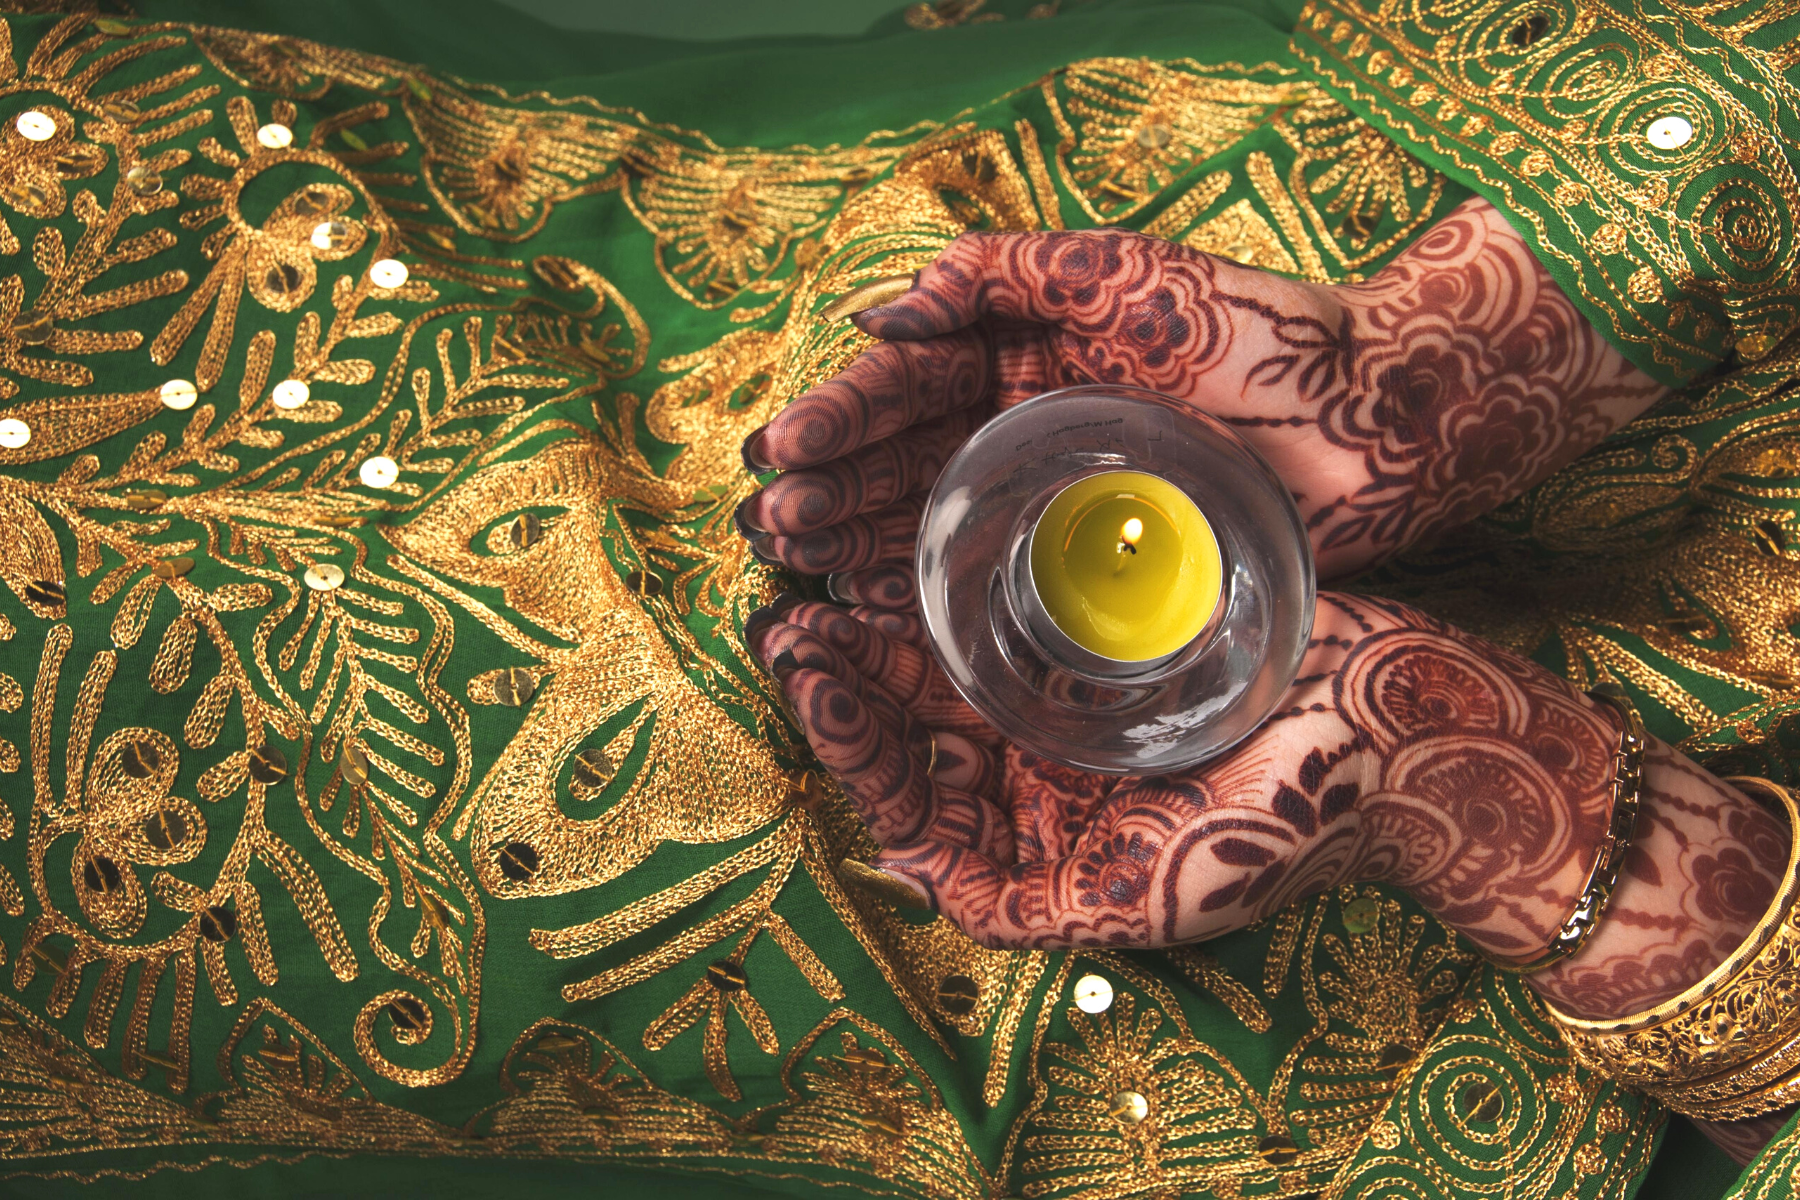
This art form, also known as Mehndi, has been practiced for centuries in Eastern cultures and is now gaining popularity around the world.
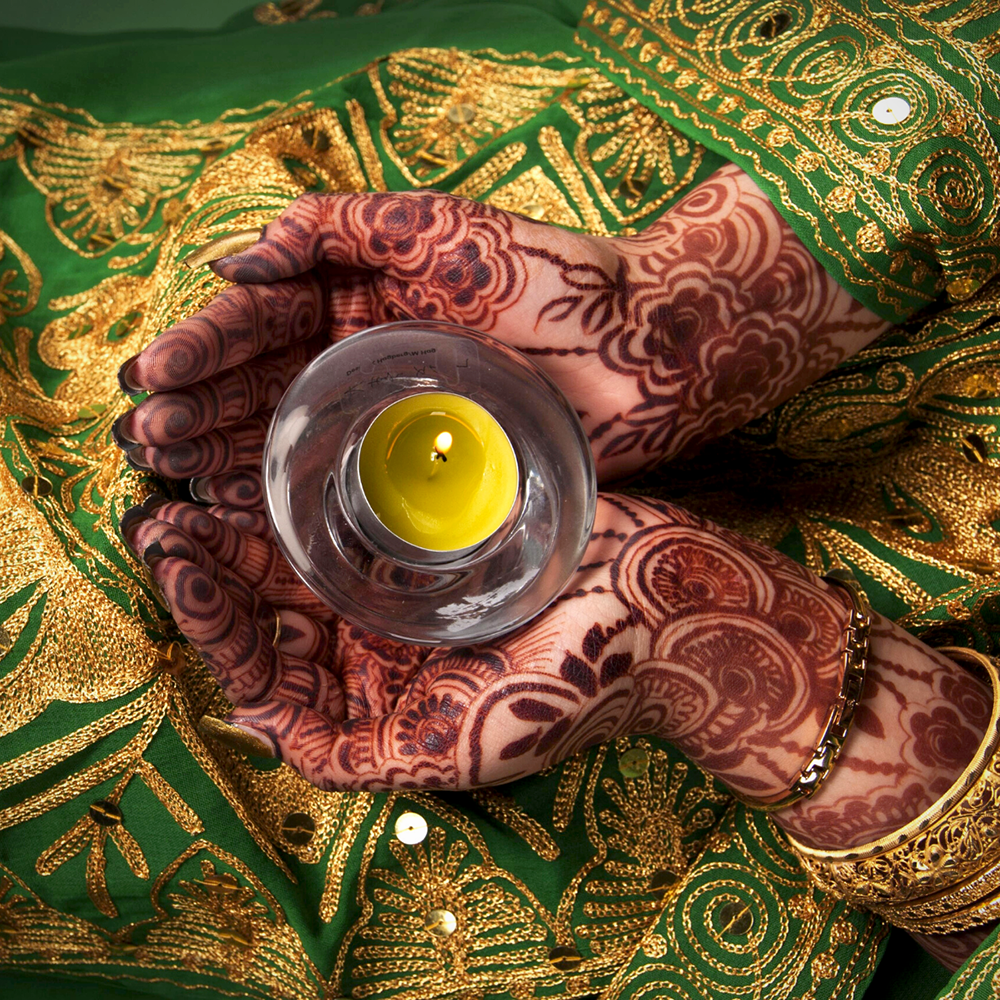
Originating in India, this form of body art is used for special occasions like weddings, parties, and even religious holidays.
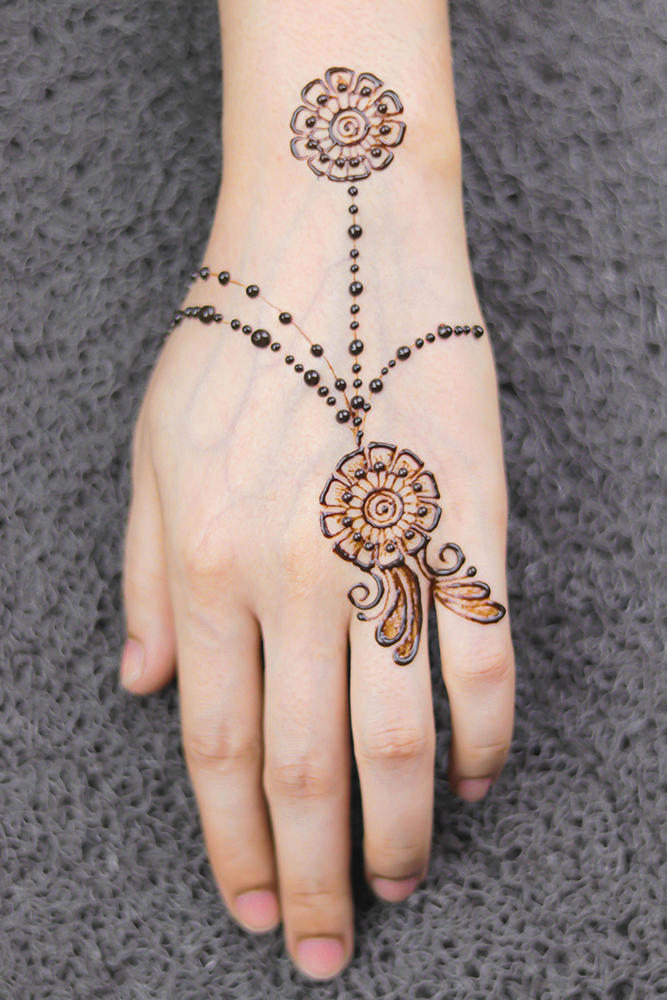
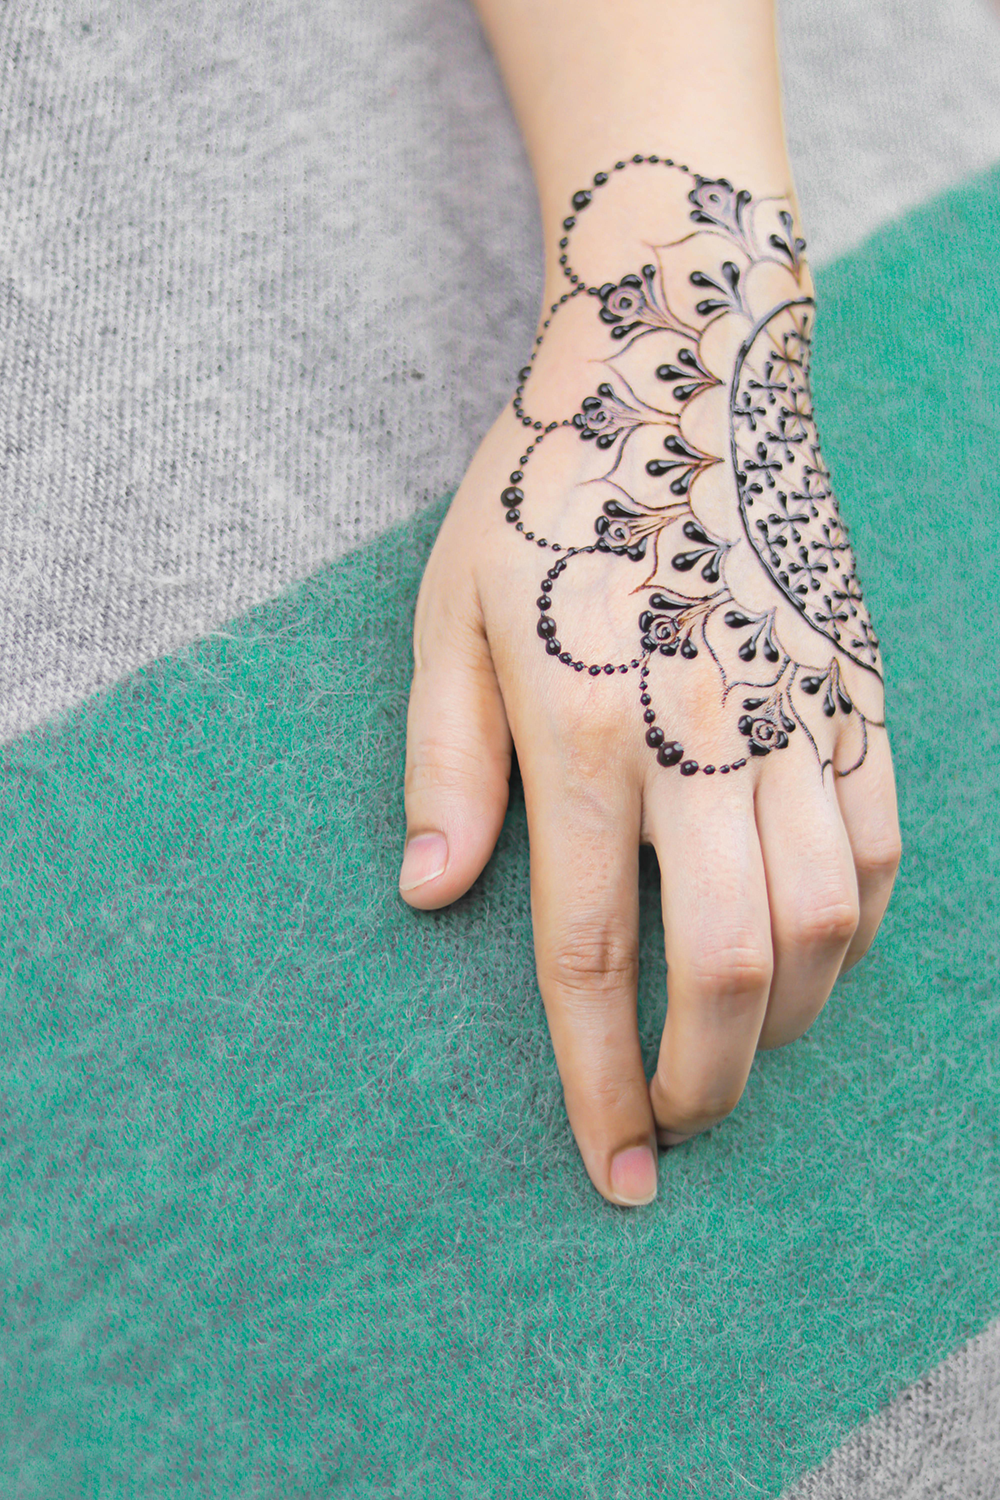
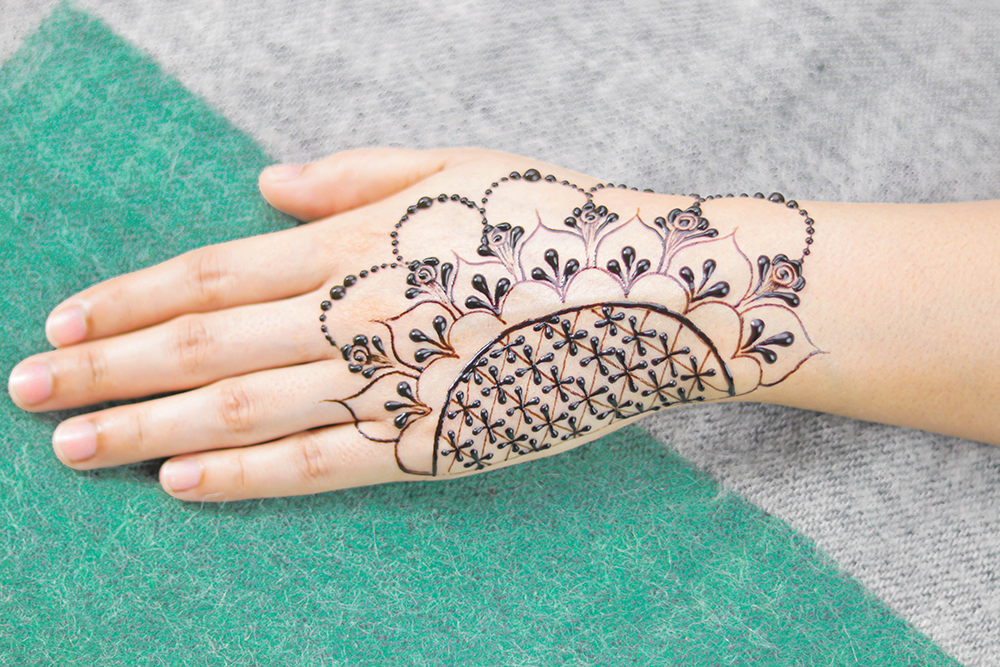
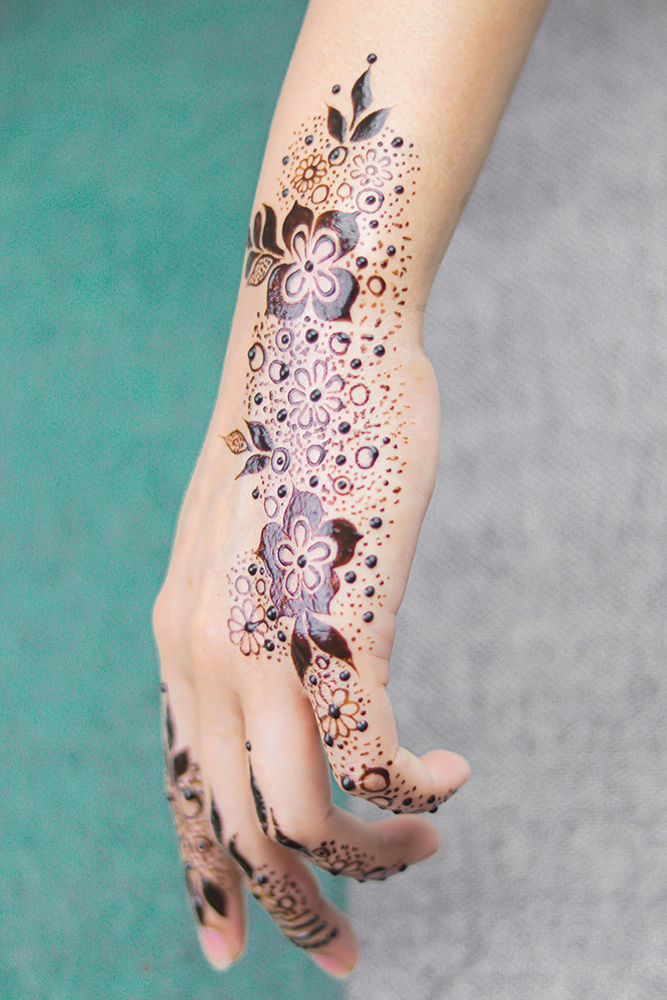
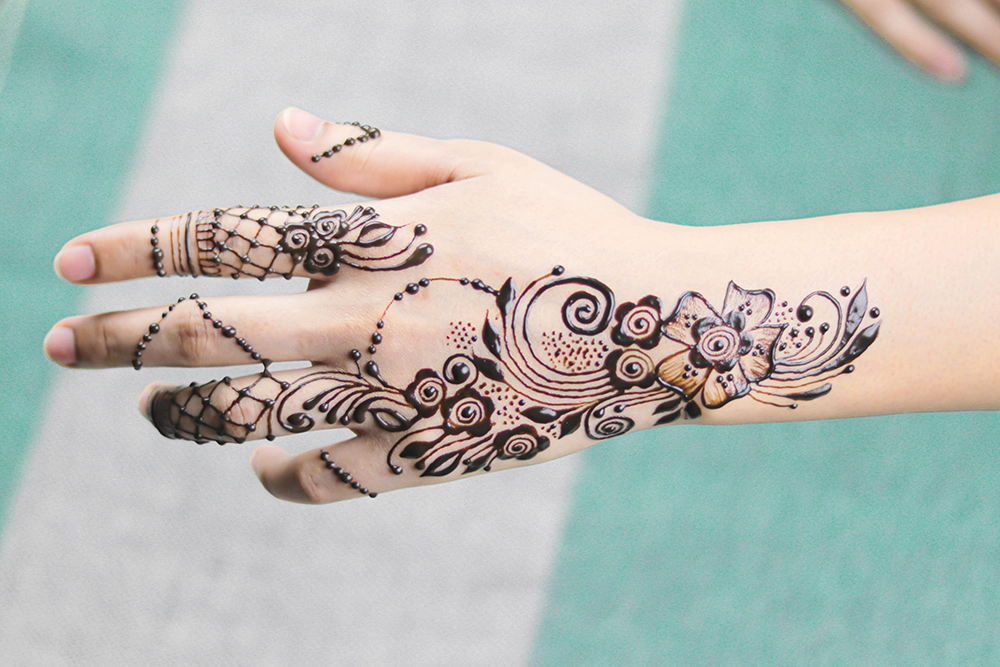
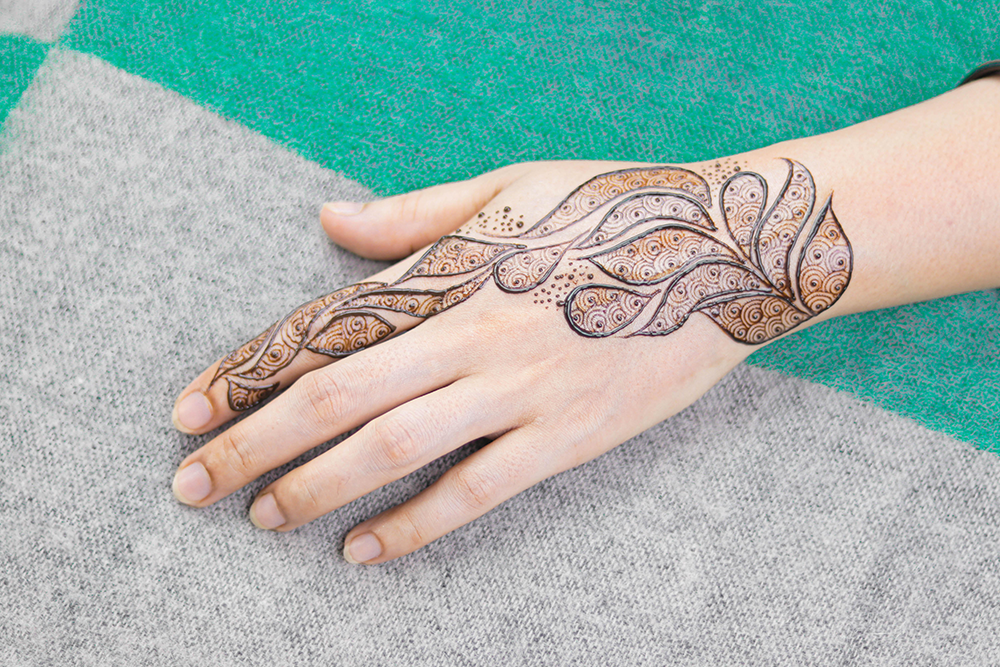
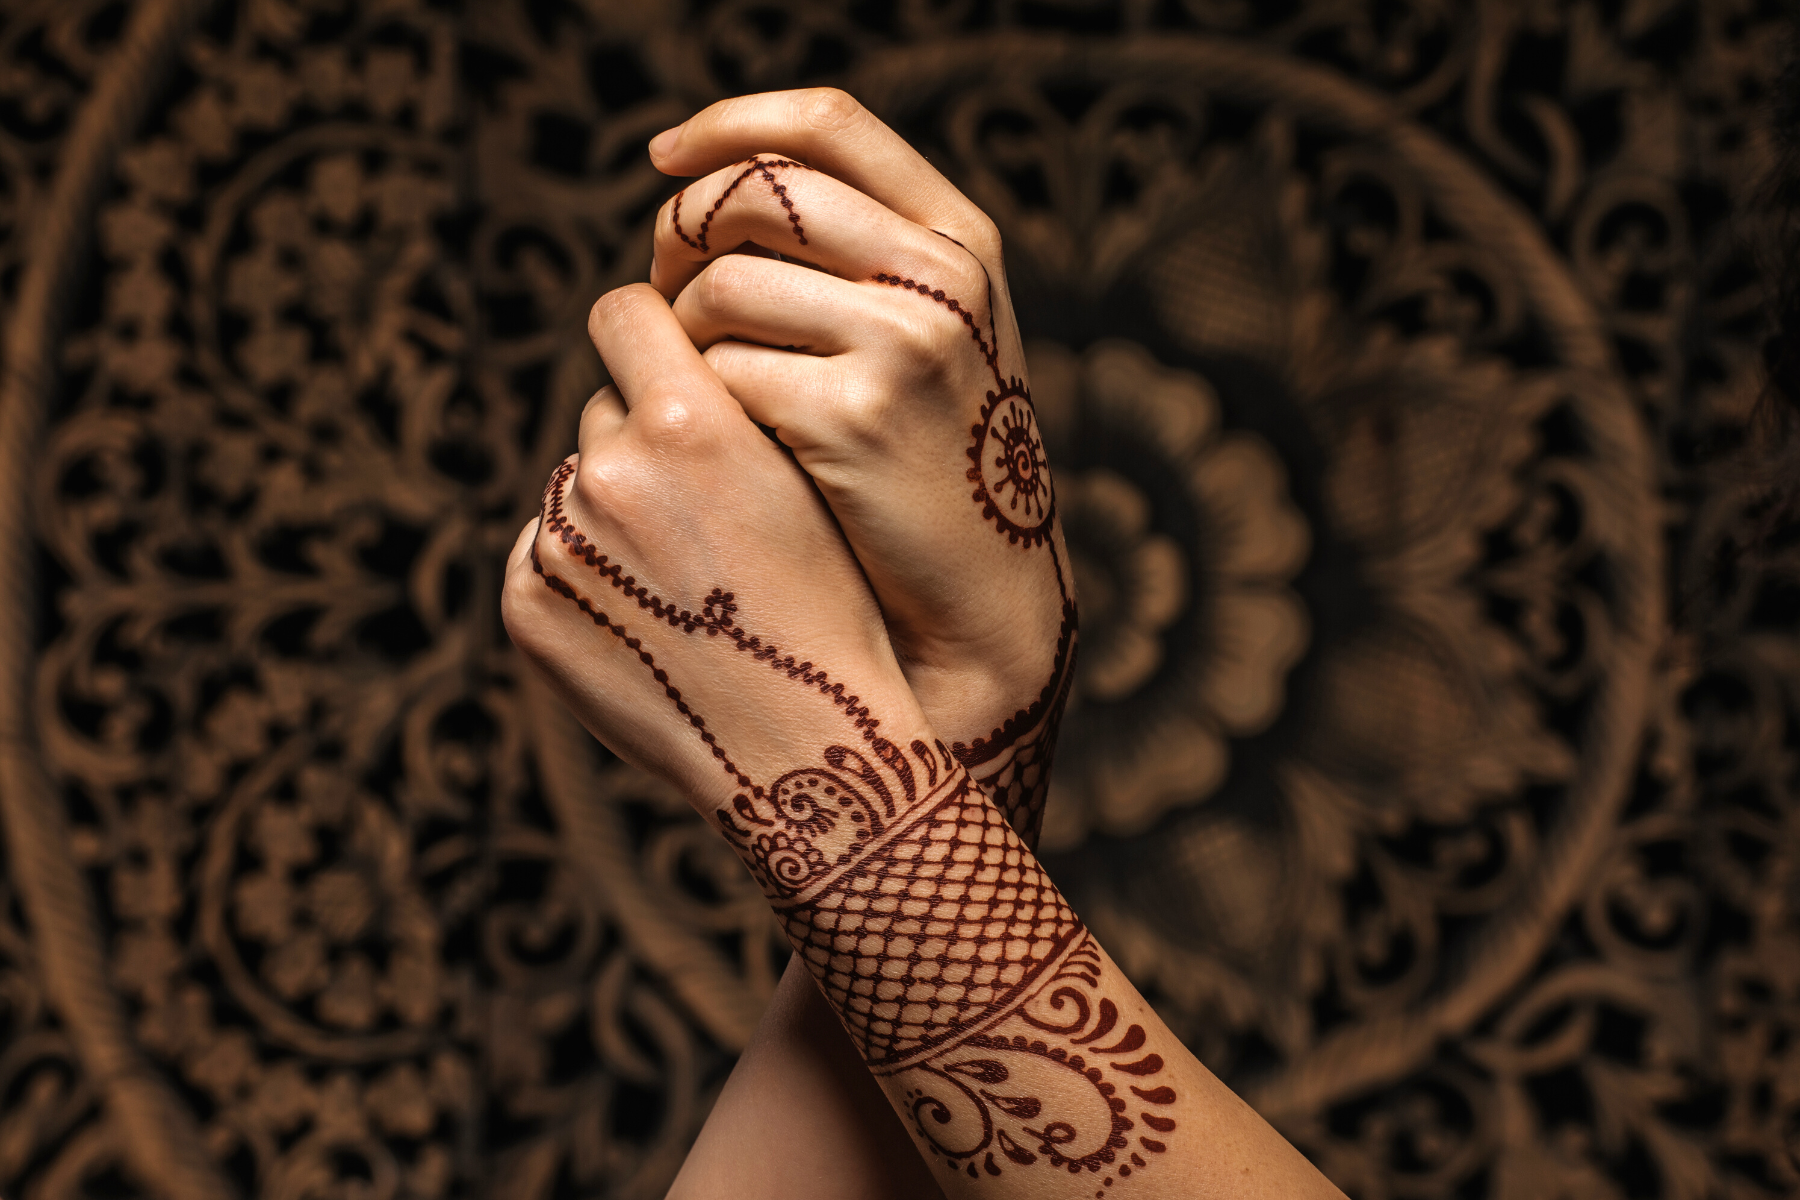
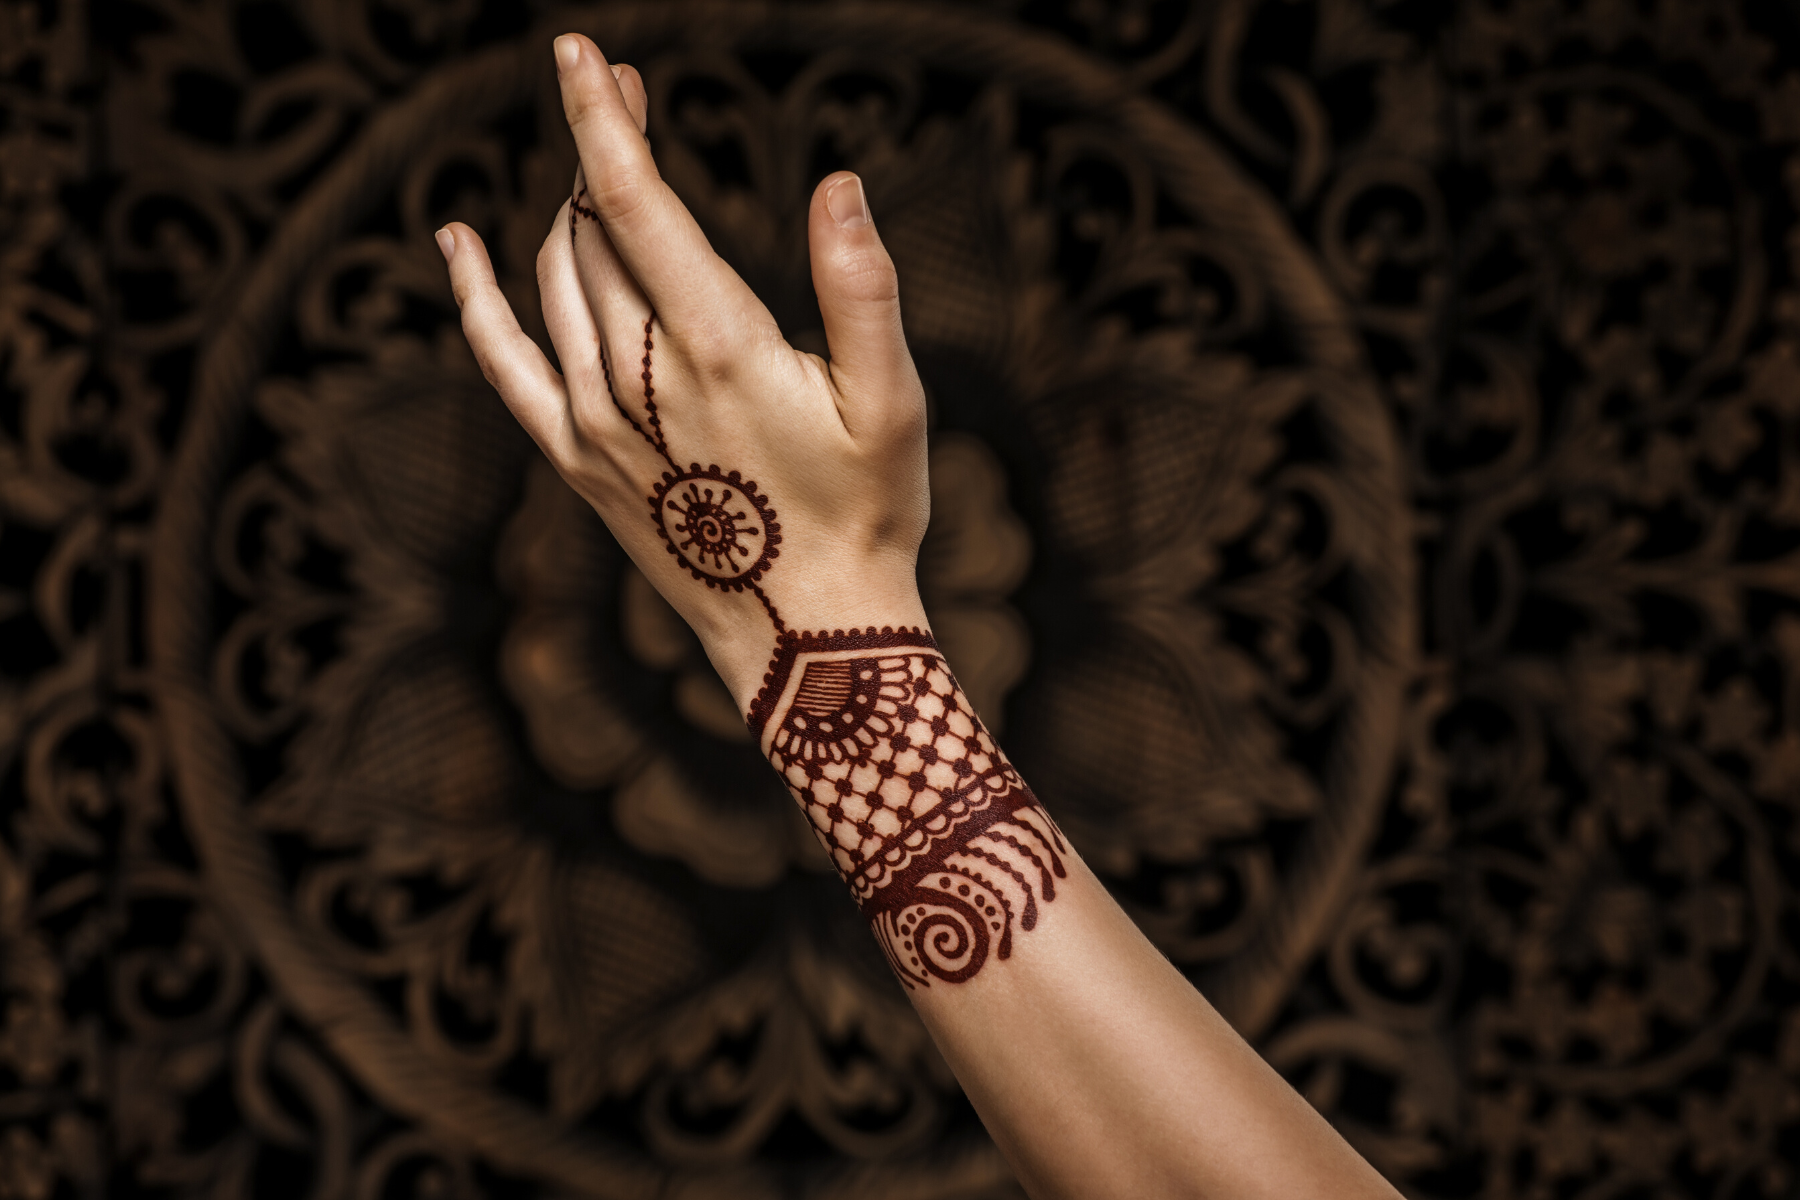
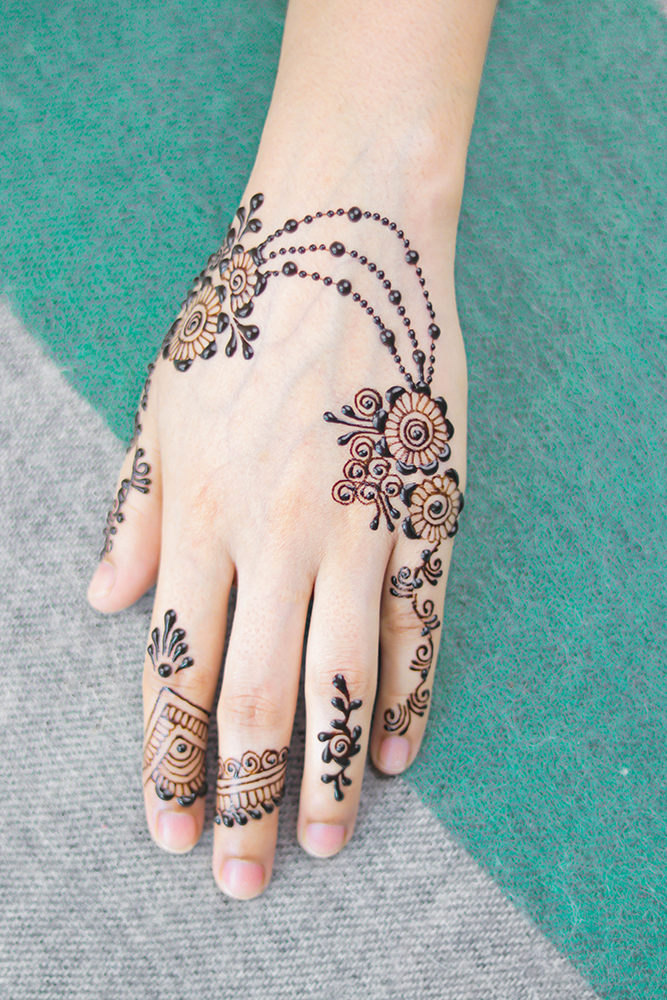
Henna tattoos are a beautiful and temporary way to add some art to your body.
The resulting tattoo is semi-permanent and will usually last for 2-4 weeks.
Henna tattoos are a great way to express yourself without the commitment of a permanent tattoo.
Henna users should also remember that some people have allergies to henna, so it's always important to test the paste on a small area before applying it.
Types of Henna Powder
When it comes to henna powder, there are a few different types and each type has different levels of quality.
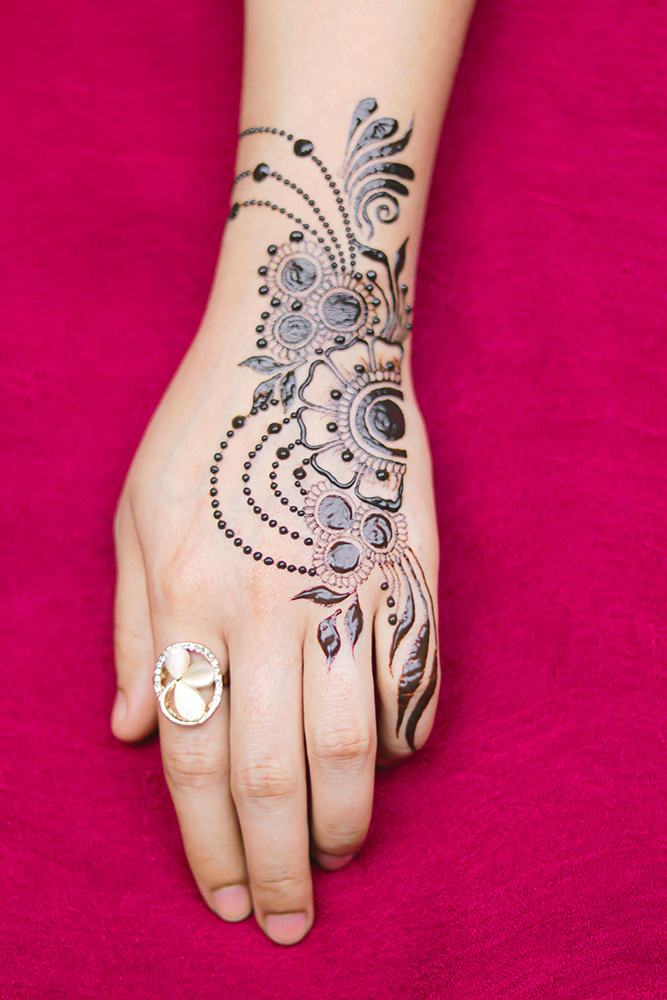
Colors of henna powder include black, brown, and red, but there is also henna to dye hair that can come in colors like indigo and orange.
Black henna is the strongest and often used for bolder designs, while red henna is more delicate and better suited for intricate, smaller designs.
Using the right type of henna powder is essential for creating beautiful and long-lasting henna tattoos.
The two main types of henna powder are natural henna and black henna.
Natural henna is made from the leaves of the Lawsonia inermis plant and is safe to use on your skin.
Black henna, on the other hand, contains a chemical which can cause skin irritation and even allergies.
It is important to only use natural henna for tattooing.
The quality of the powder can also vary from different suppliers.
How to Prepare for Your Henna Tattoo
Before you get started, there are a few things you'll need to do to prepare for your henna tattoo.
First, make sure you purchase the right kind of henna.
Make sure that you buy 100% pure, natural henna powder, as anything else might contain chemicals that can irritate your skin.
Next, you'll need to mix the henna powder with water and possibly lemon juice or essential oils to make a paste.
You'll also want to wear loose-fitting clothes that won't interfere with the design you're creating.
Finally, decide on the design you want to create, so you know what supplies you'll need.
Feel free to sketch out the design your interested in on a page of paper.
If you need help finding henna designs, there are plenty of resources online.
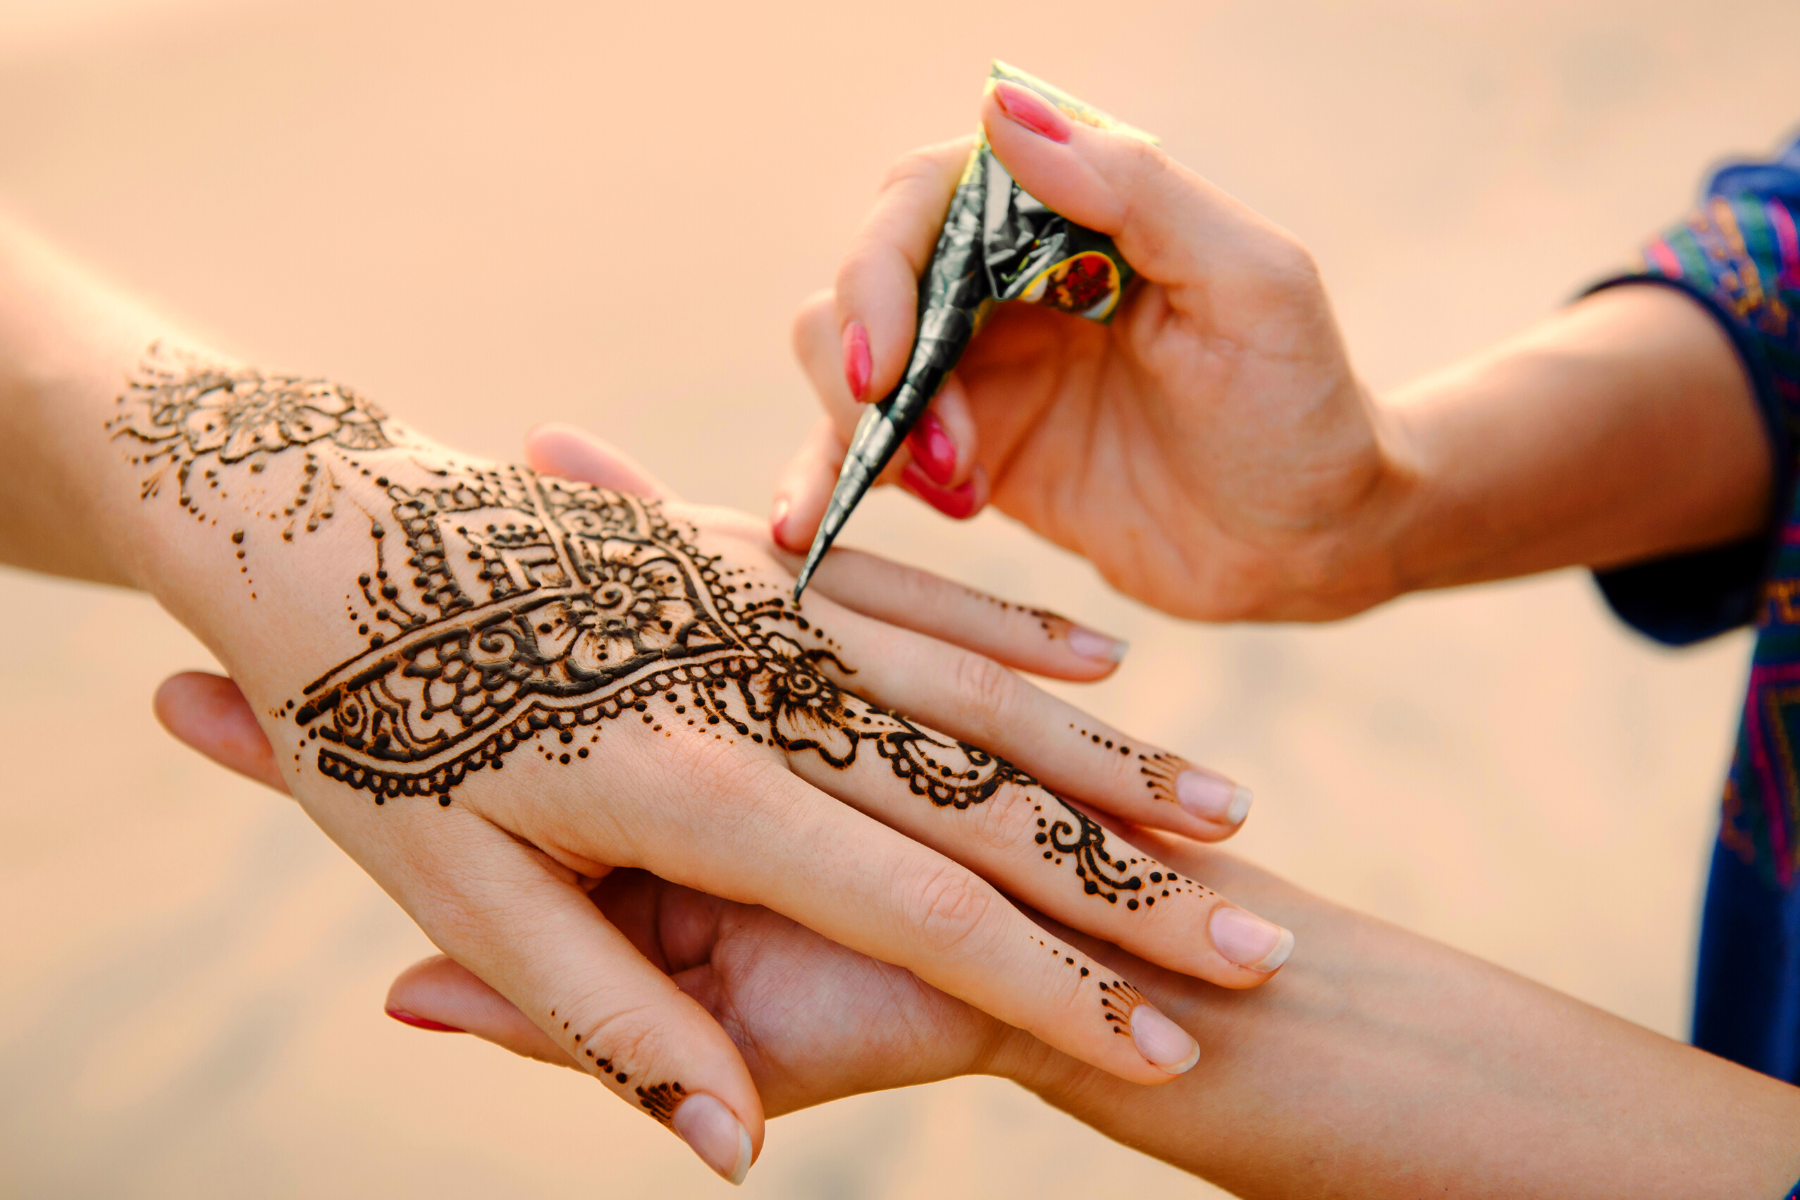
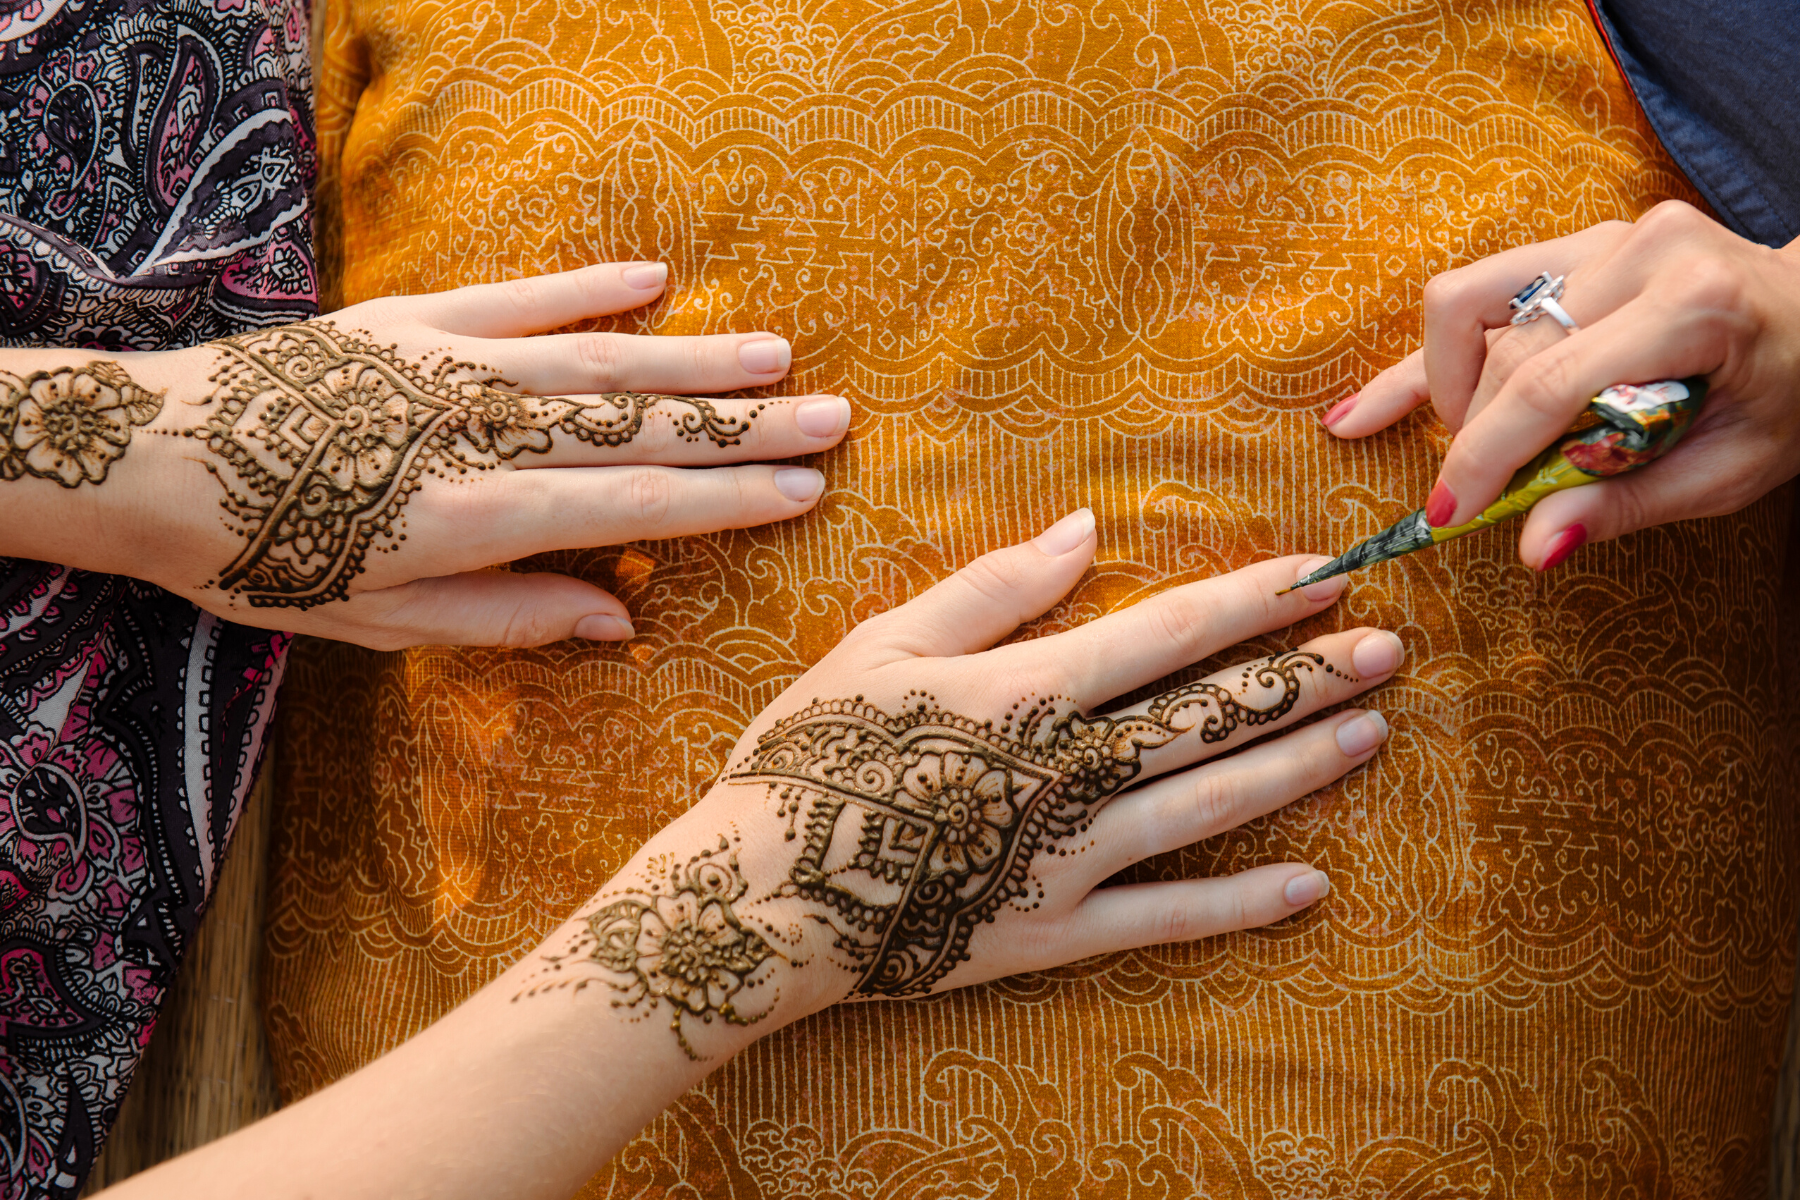
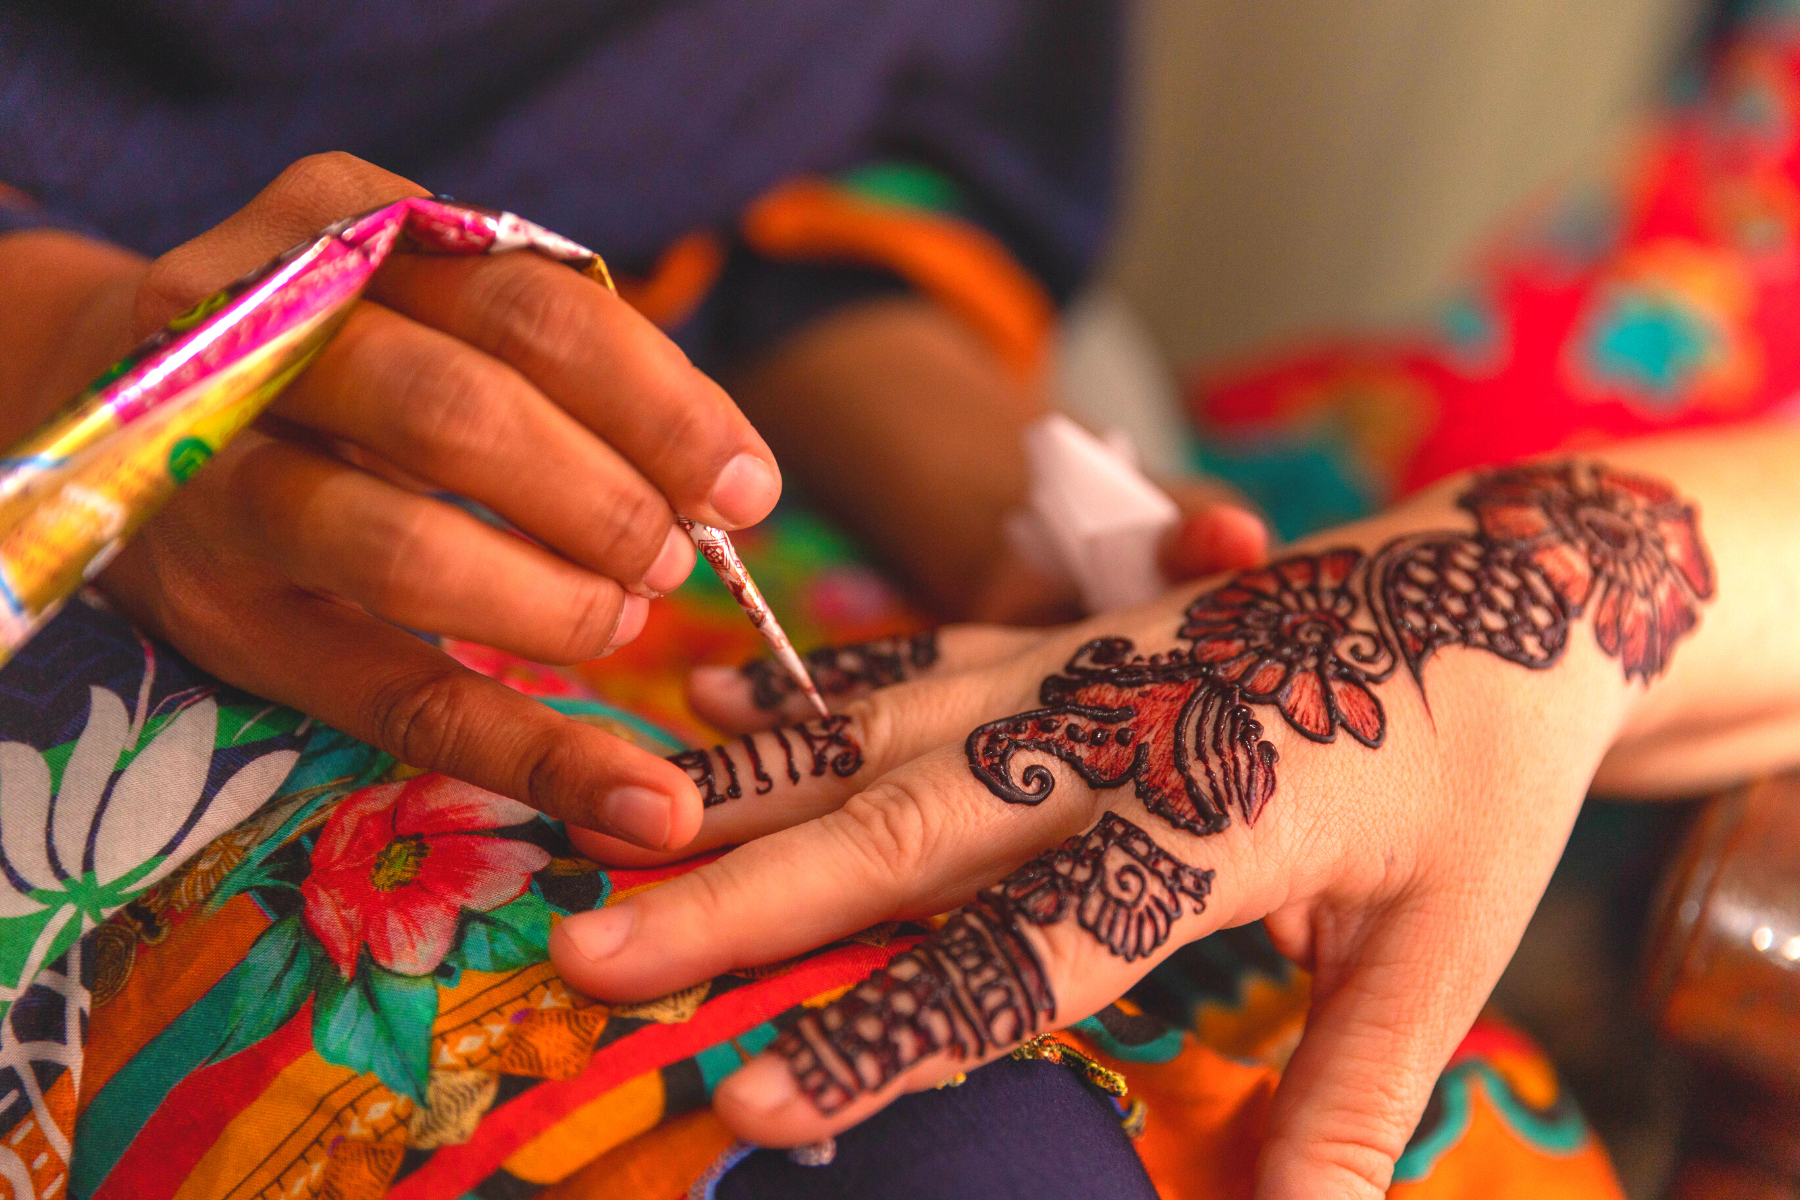
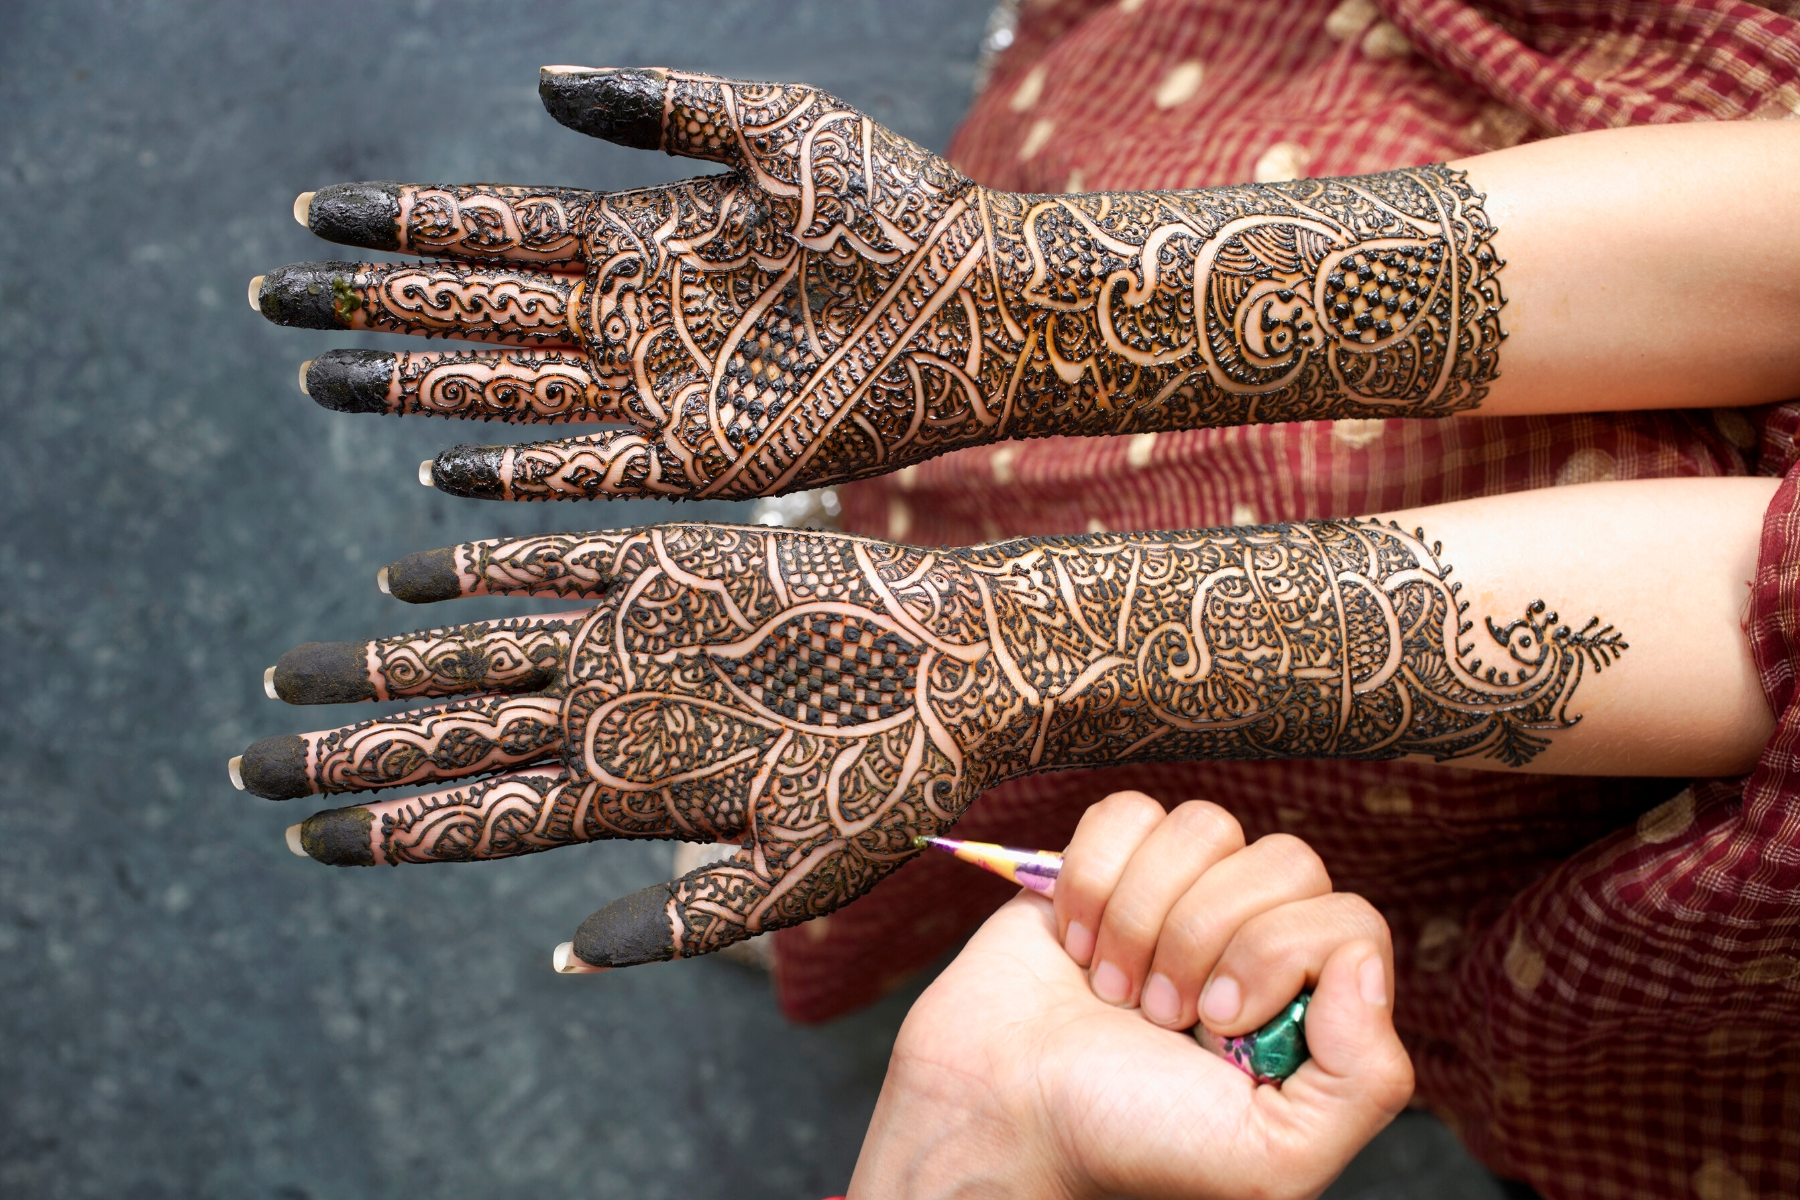
How to Apply Henna Tattoos
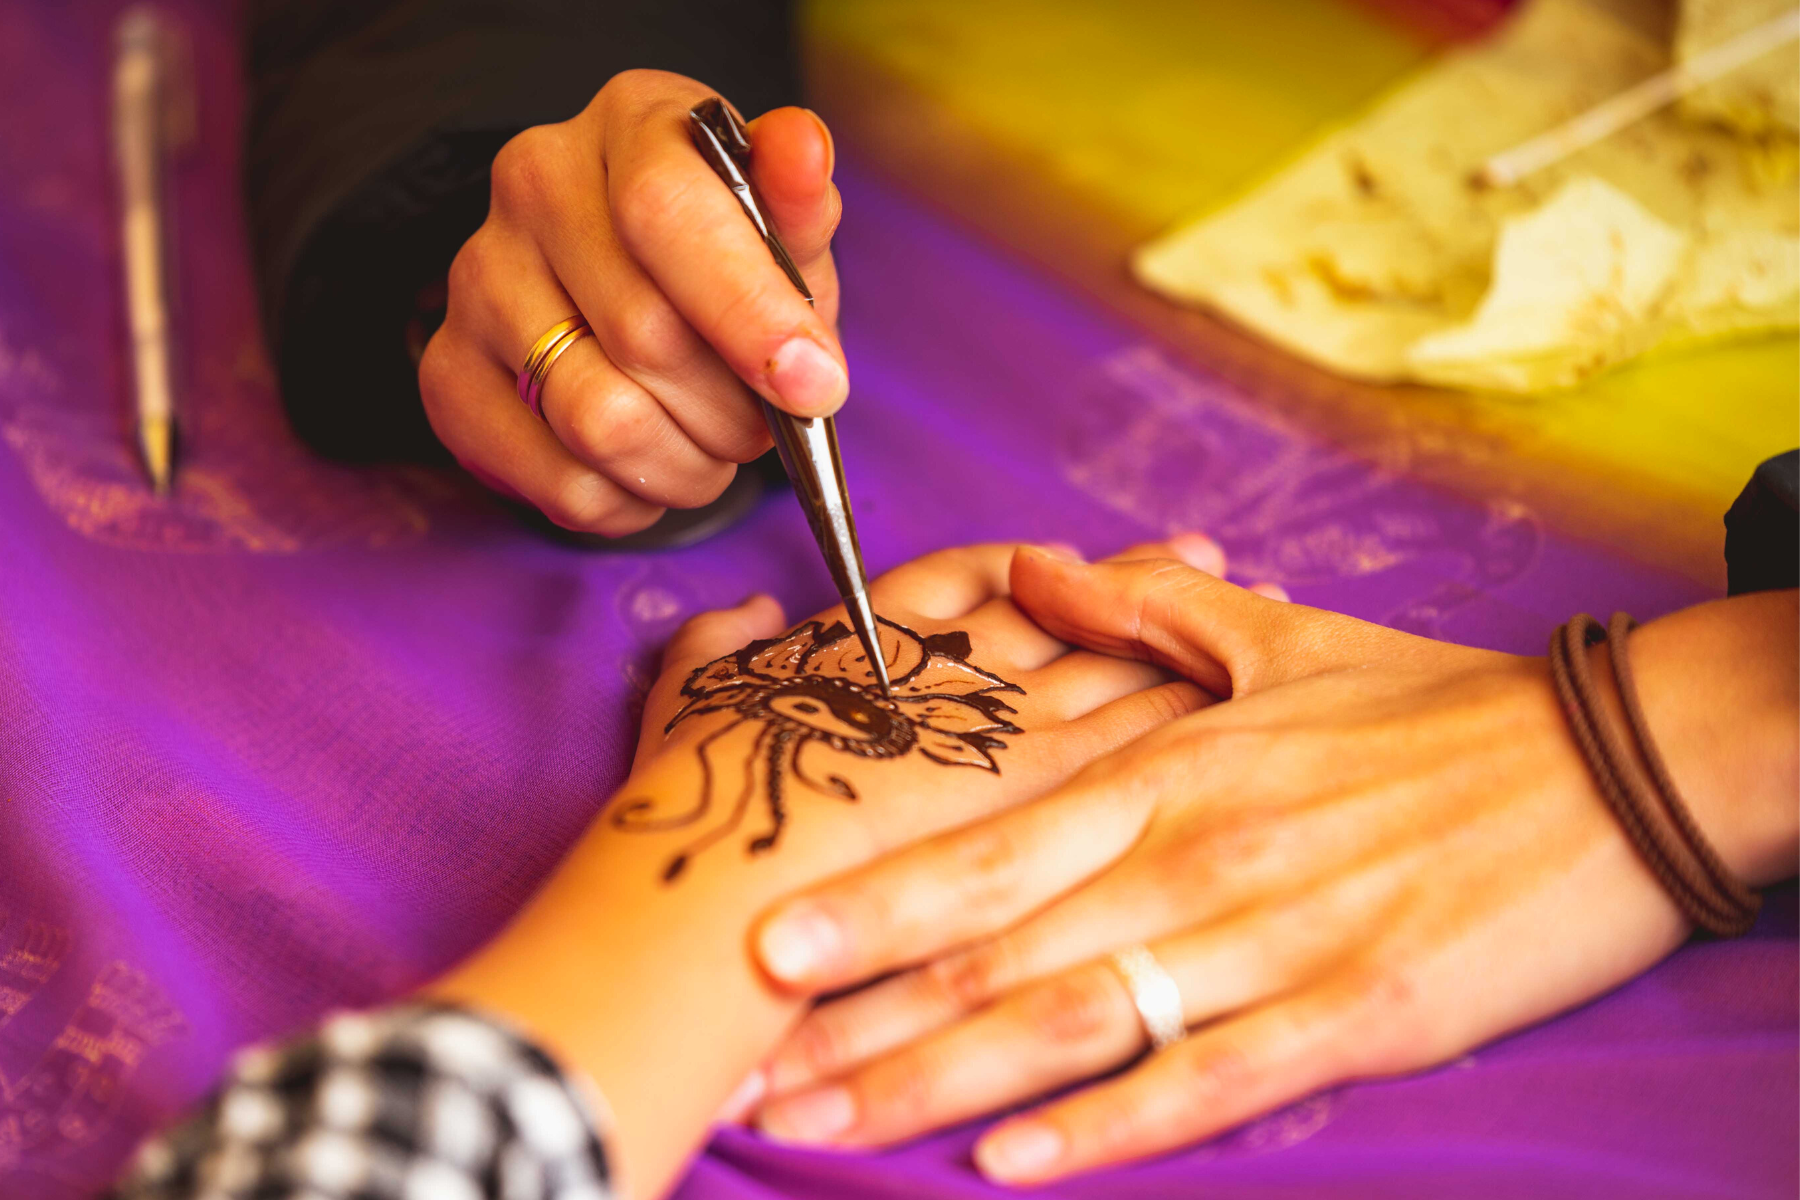
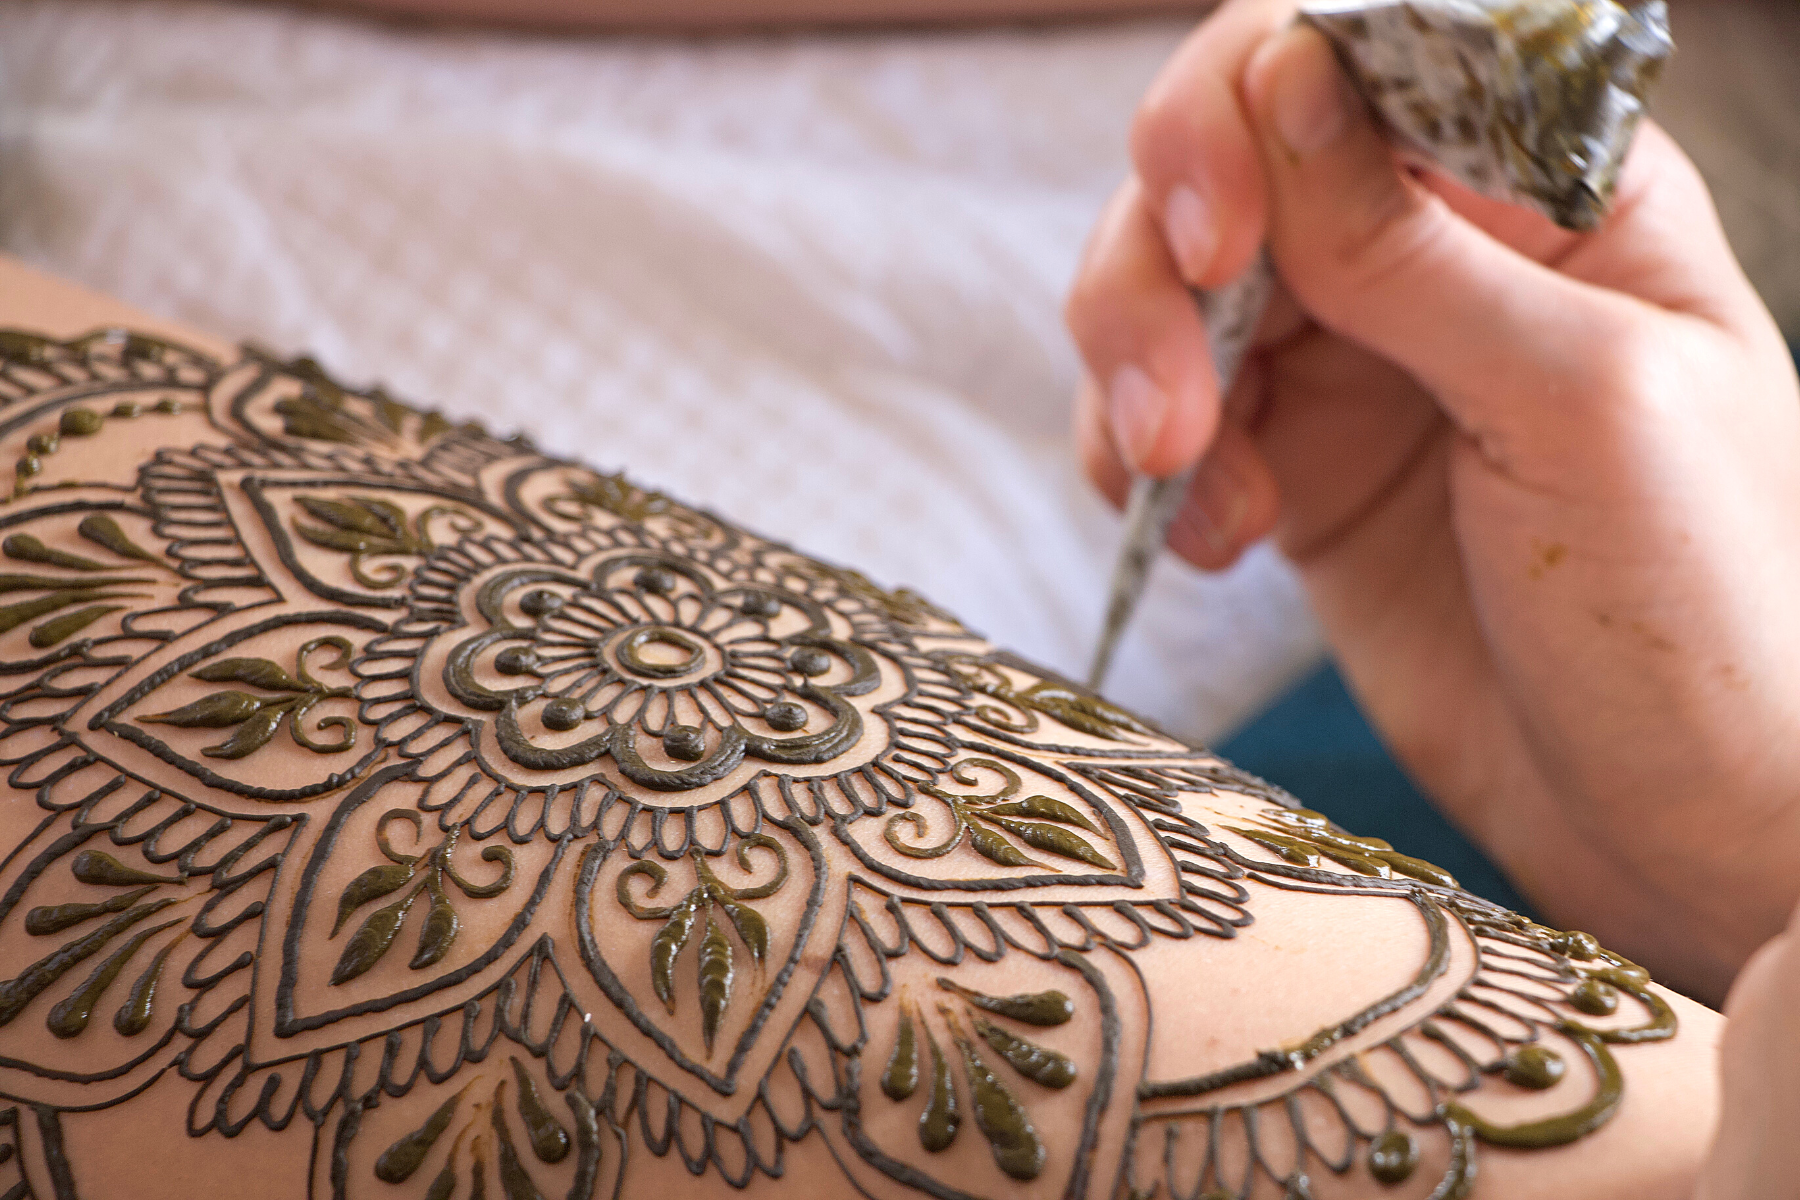
Once you have all the supplies ready, you can start applying the henna.
You can use either a plastic cone or a brush to apply the henna paste to your skin.
The thicker the paste, the clearer and darker the design will be.
Before you get started, you'll need the following supplies:
- Henna powder
- Water
- Lemon juice
- A bowl
- A spoon
- A funnel
- Squeeze bottle
- Paper towels
- Cotton balls
- Hair dryer (optional)
Now that you have everything you need, let's get started!
Step 1: Make Your Henna Paste
Start by mixing together henna powder and water in a bowl until you have a smooth paste.
Once the paste is smooth, add in lemon juice and mix well.
The lemon juice helps to release the natural dyes in the henna powder, which will result in a darker and longer-lasting tattoo.
You can also wear gloves if you want to protect your hands.
Step 2: Prepare Your Work Area
Cover your work surface with paper towels, newspaper, plastic, or some other protective covering to avoid making any messes.
Set up your funnel in the mouth of the squeeze bottle, then carefully pour your henna paste into the funnel.
If your henna paste is too thick to pour easily, add a little bit more water until it reaches the desired consistency.
Using a squeeze bottle or a cone will allow you to easily apply it to your skin.
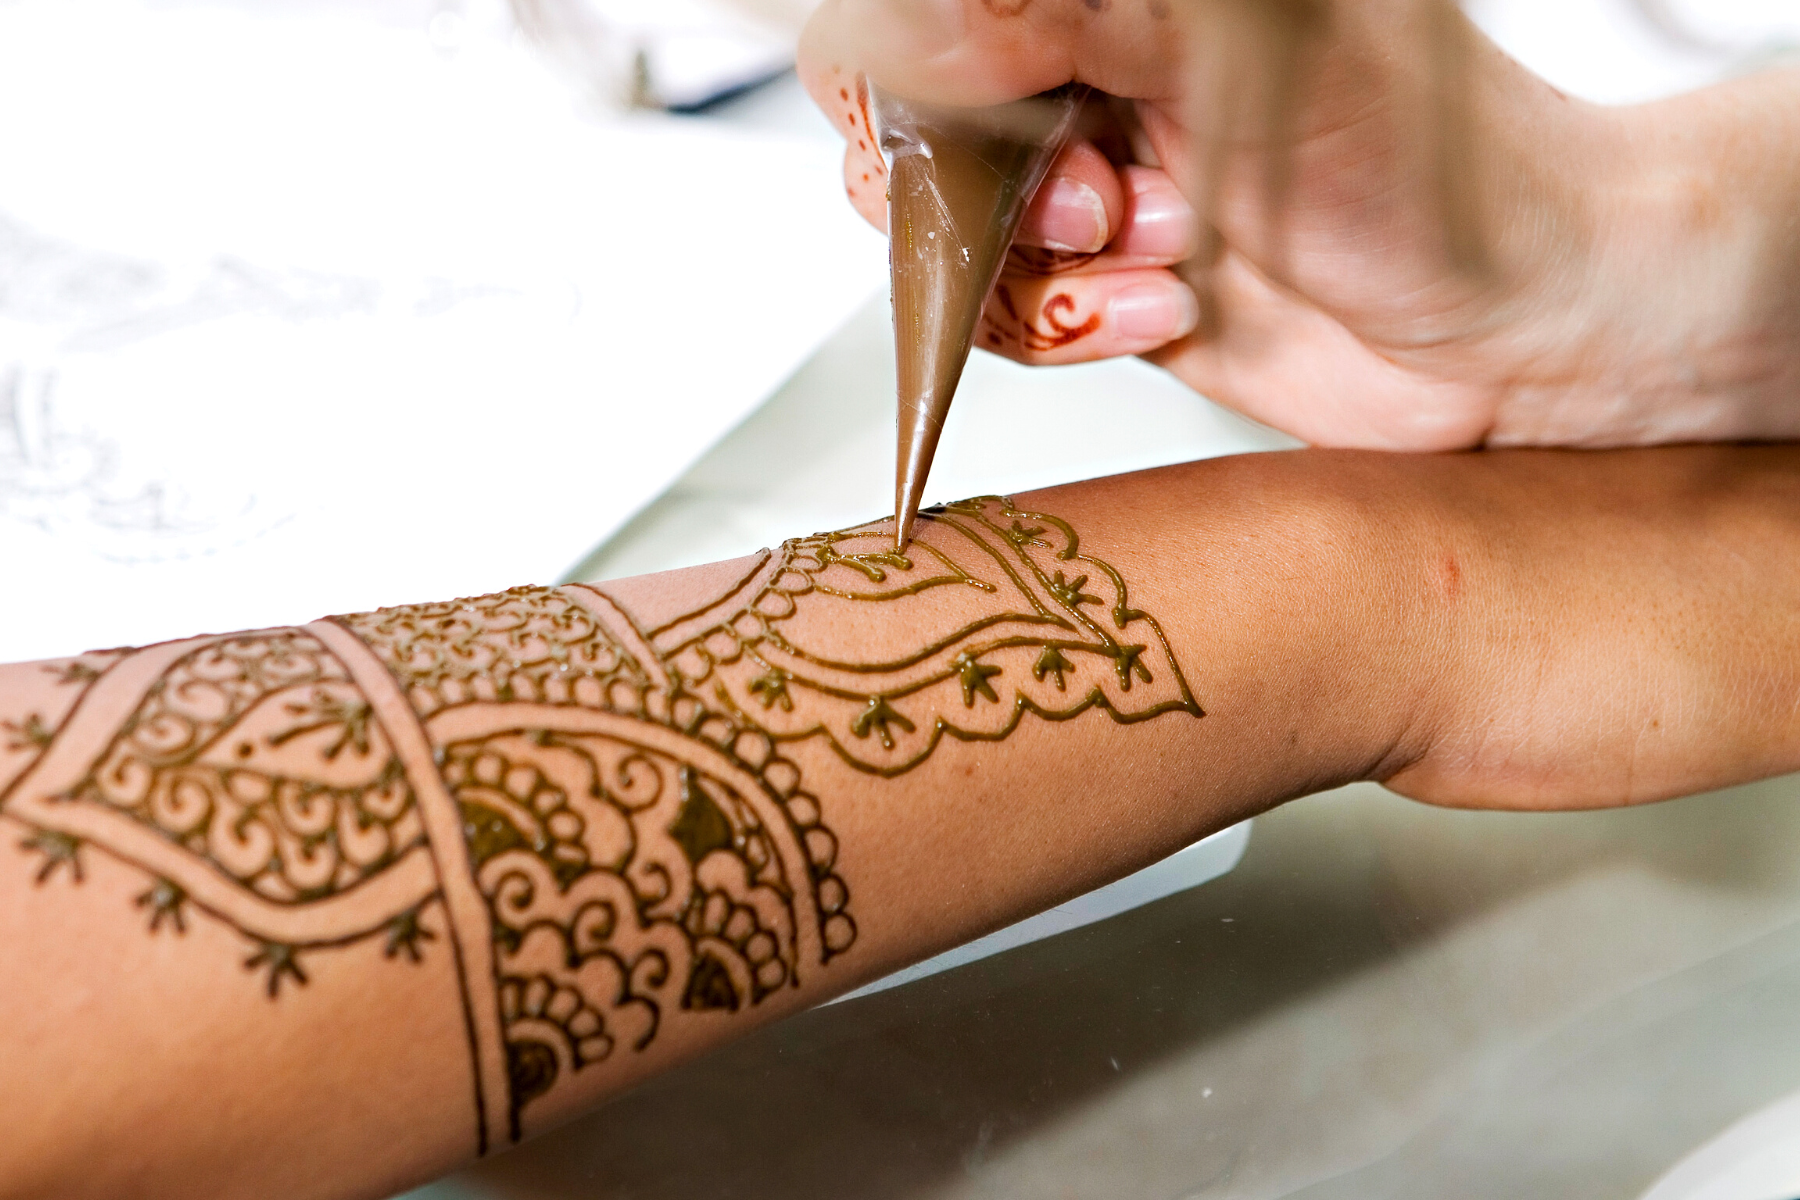
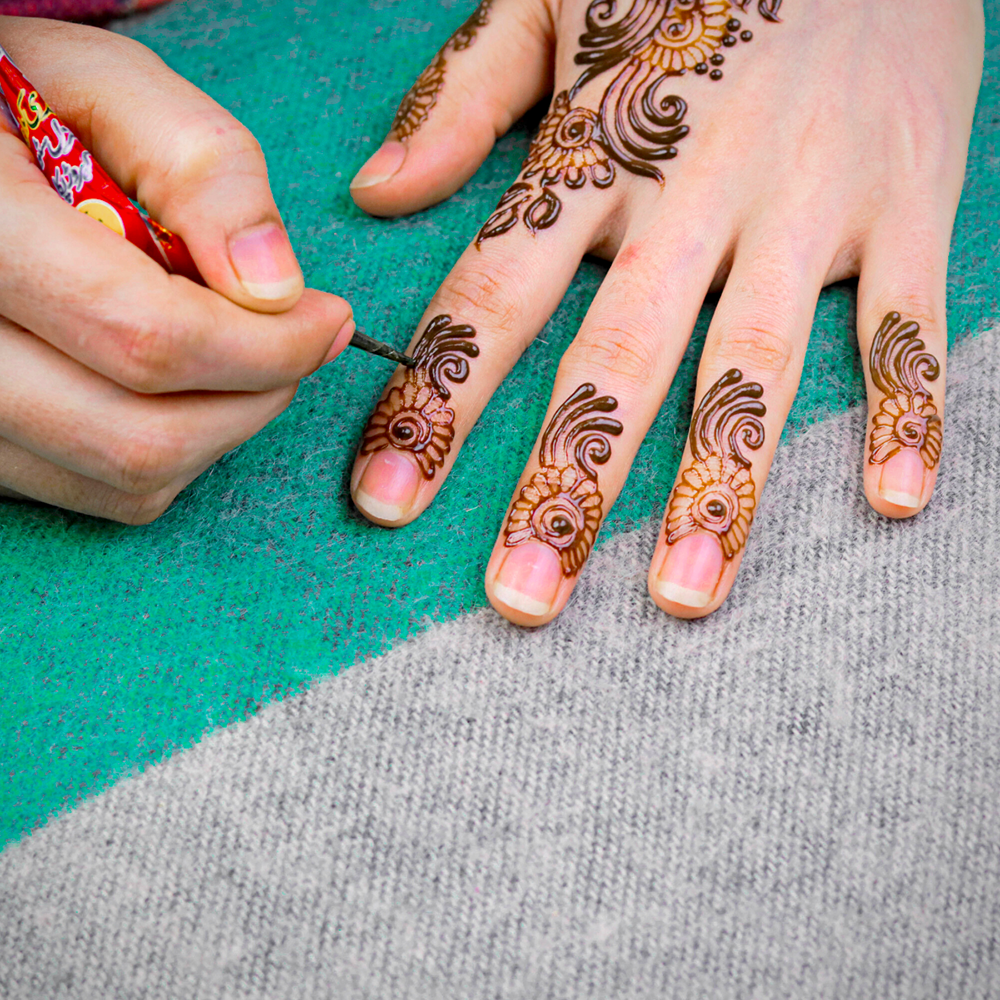
Step 3: Apply Your Henna Tattoo
Now comes the fun part of applying henna!
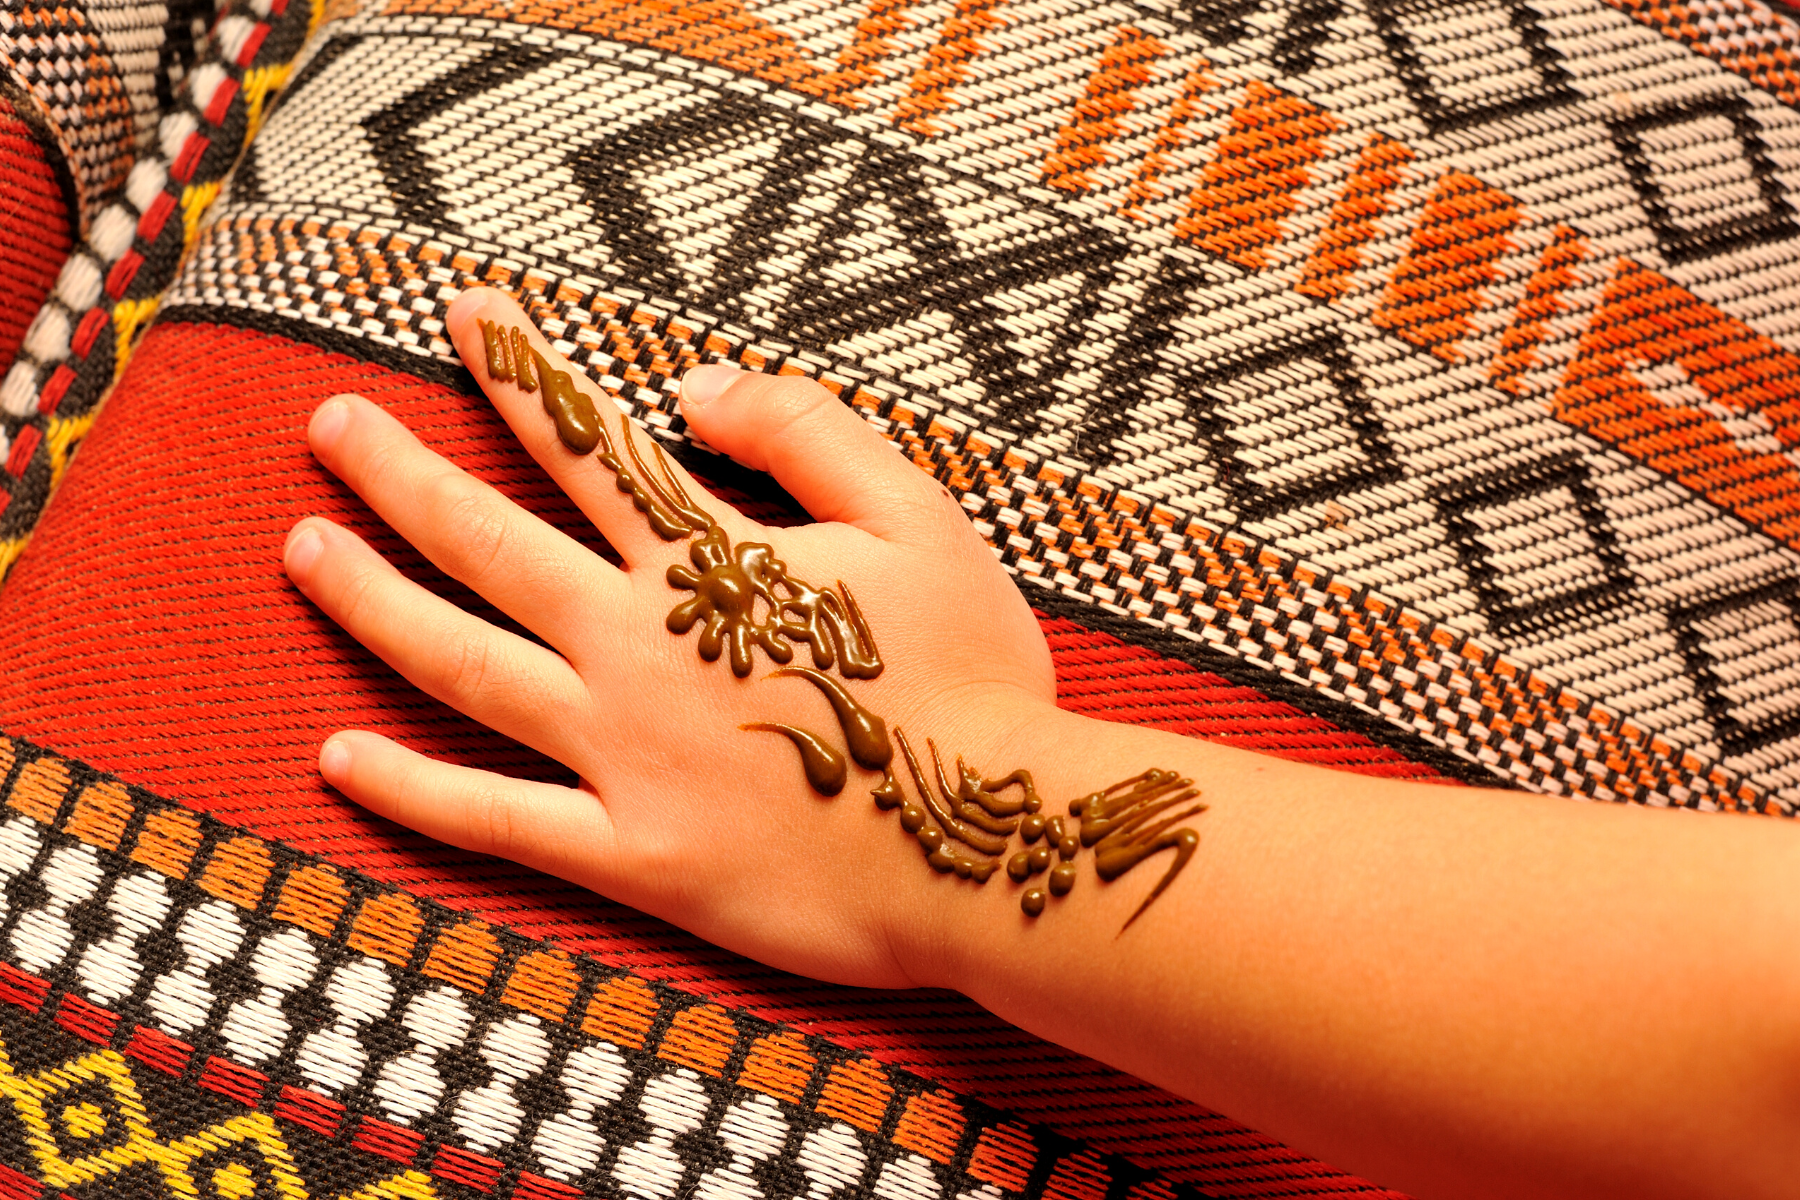
Begin by squeezing out a small amount of henna onto your skin.
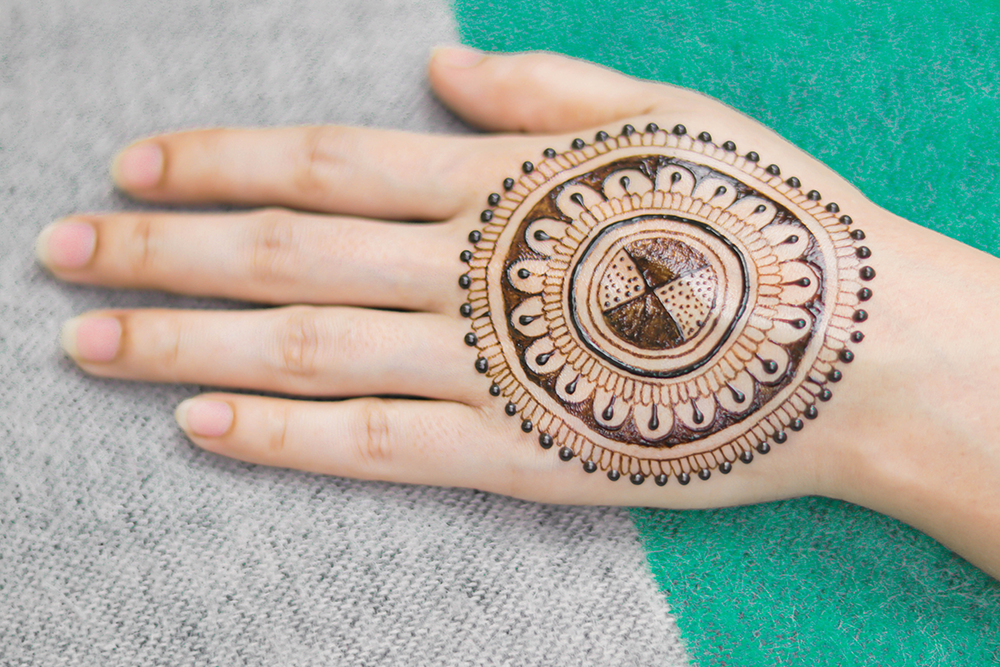
Let it be as simple or complex as you'd like.
If you want to create a more intricate design, use a toothpick or small brush to draw out the details.
You can use your cotton ball to spread it around into a design that you like.
The key to making beautiful henna tattoos is to be creative!
There are no rules, so let your imagination run wild.


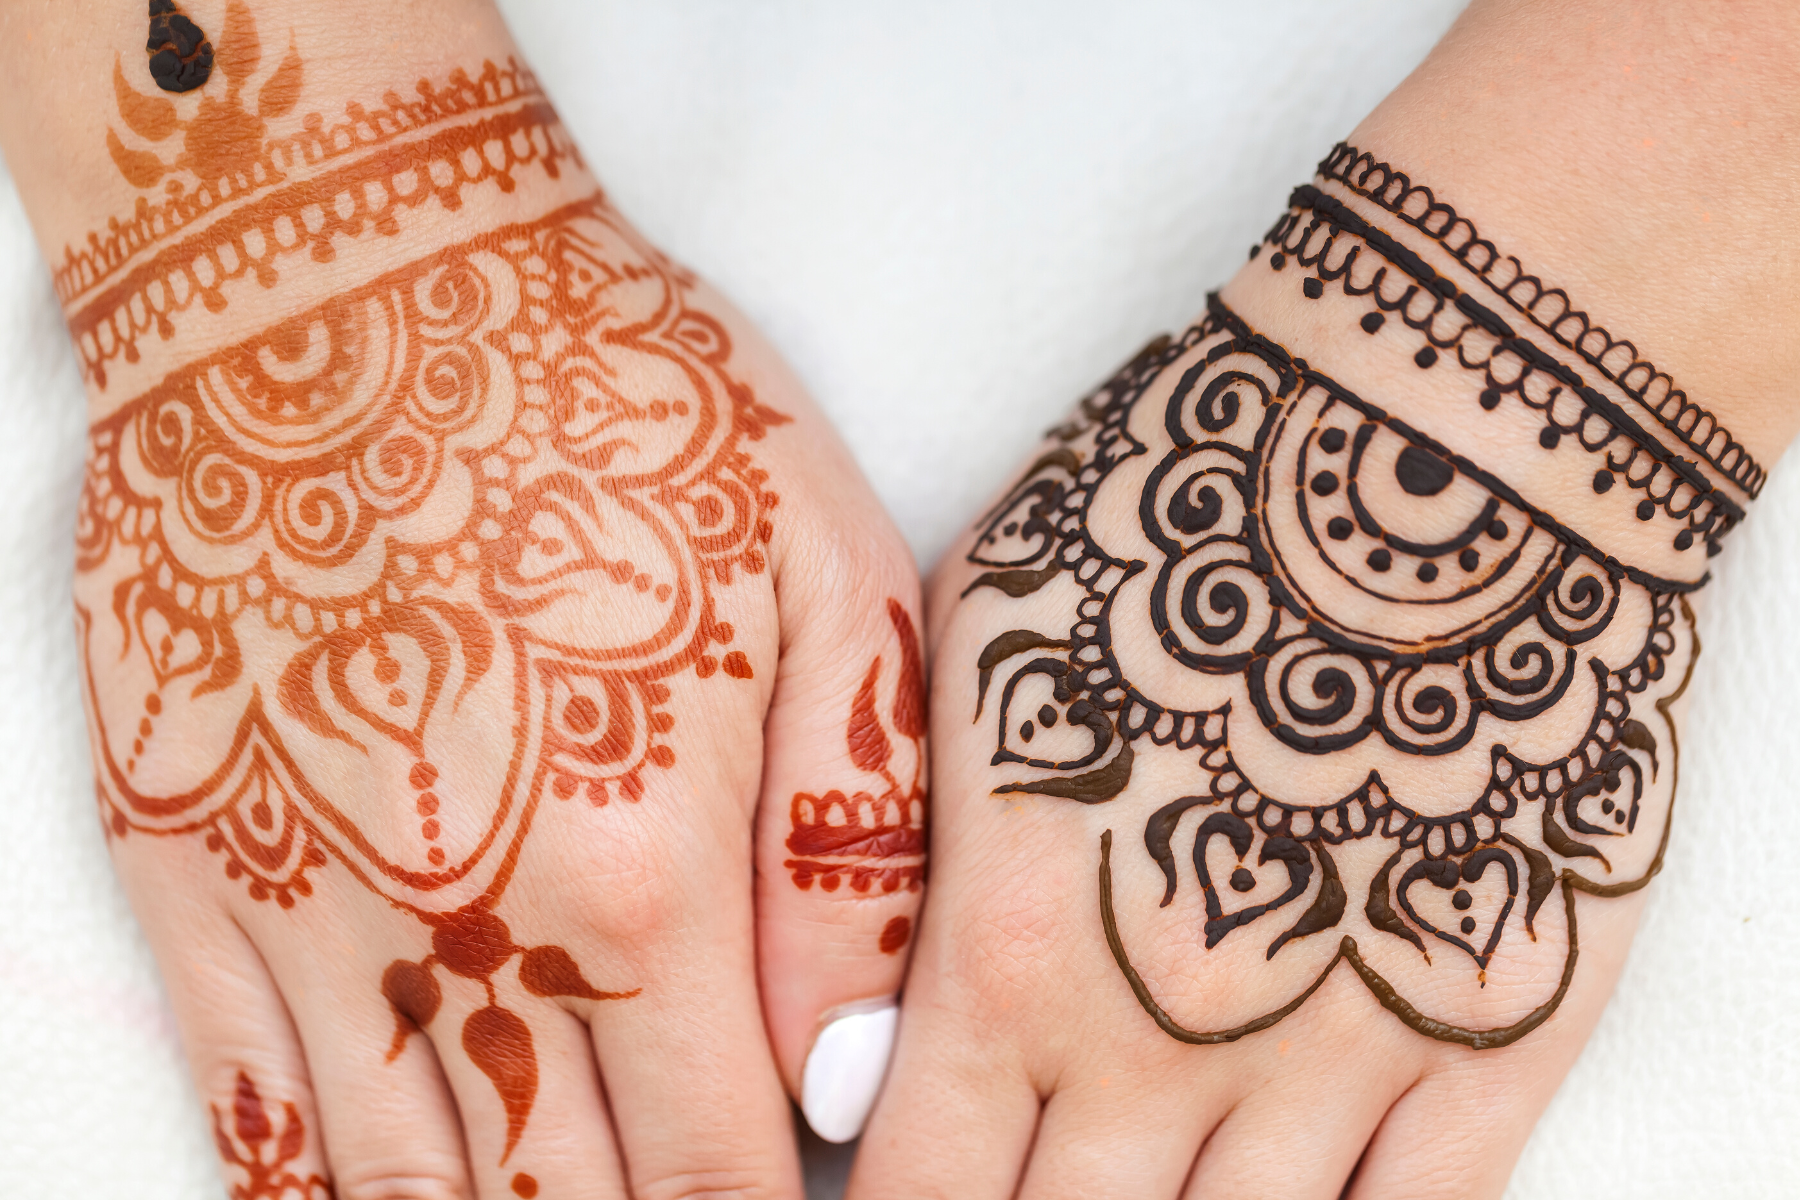
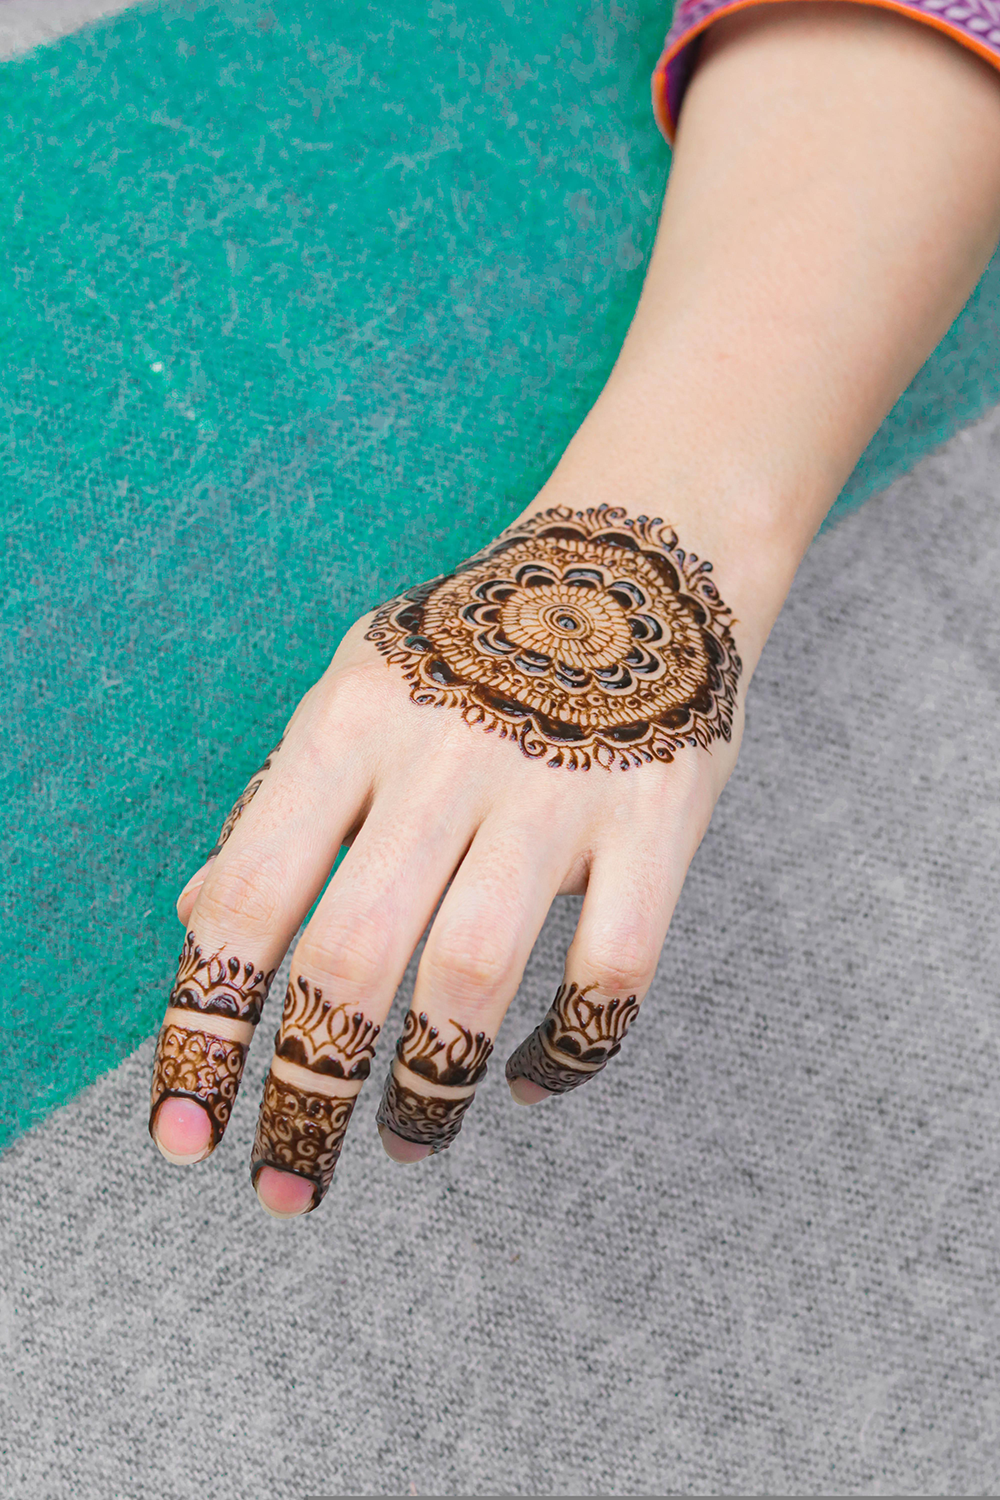
Step 4: Wait for It to Dry
Once you're happy with your design, allow the henna stain to dry completely.
This can take anywhere from 30 minutes to an hour.
Once it's dry, gently rub off any excess henna with a paper towel.
If you're in a hurry, you can also use a hair dryer set on low heat to speed up the drying process.
It's important to dry your tattoo completely because any remaining moisture can cause the henna to smudge, ruin your design, and reduce its staying power.
You wouldn't want to accidentally wash off your new tattoo and cause it to fade!
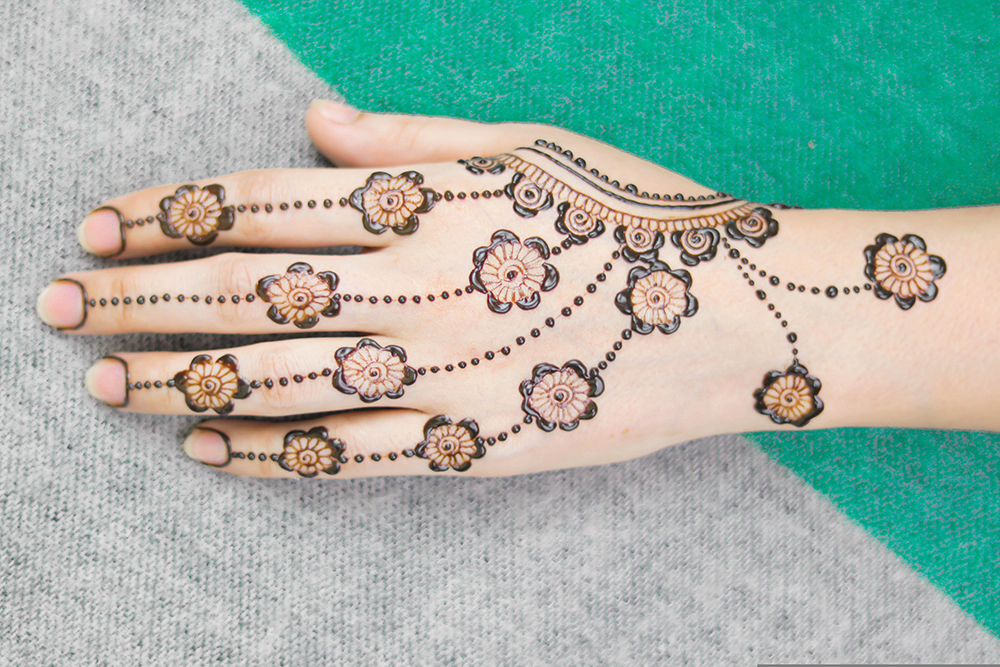
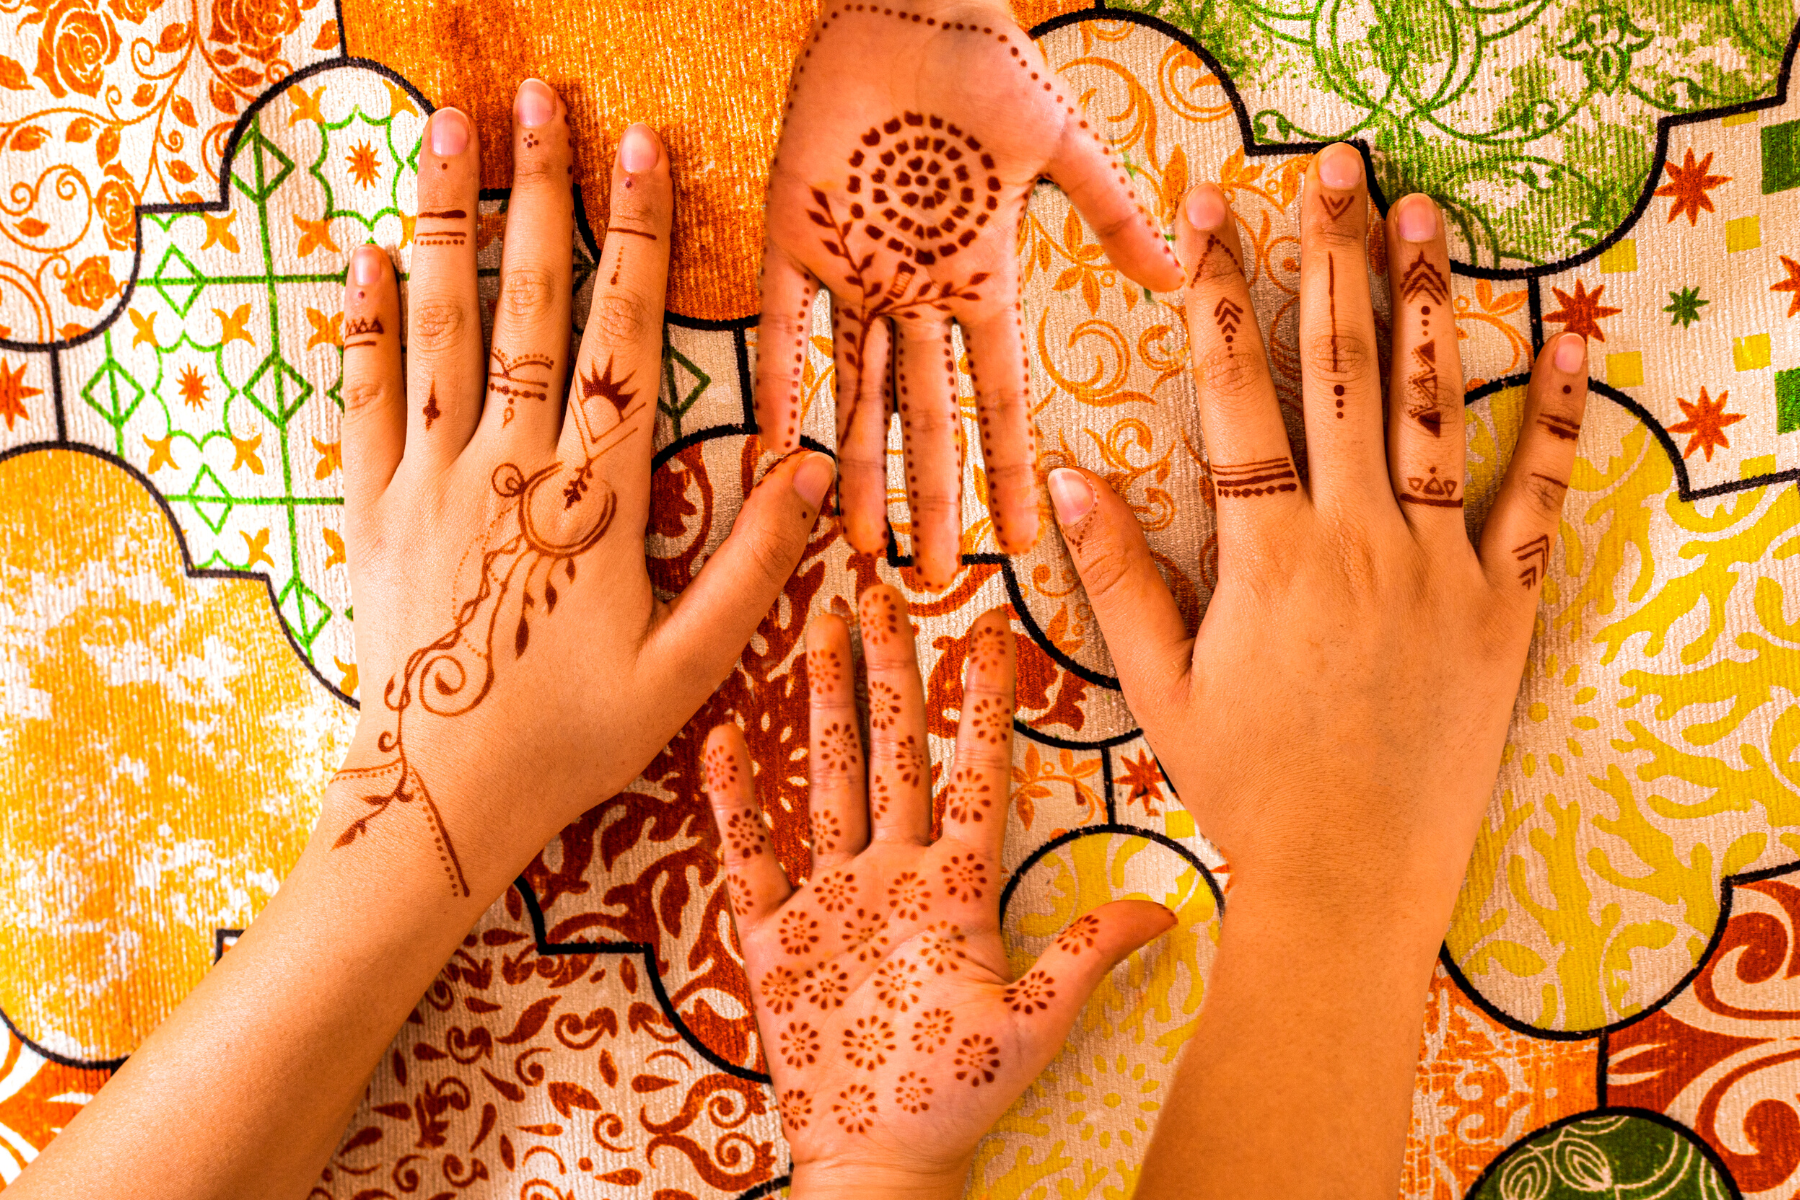
Step 5: Enjoy Your New Henna Tattoo!
Congrats—you did it!
Now all that's left to do is sit back and enjoy your new tattoo until it fades away naturally.
And don't forget to take lots of photos—these henna tattoos won't last forever, but the memories will!


Caring for Your Henna Tattoo
Once your henna tattoo is dry, there are a few things you can do to help it last longer and look its best.
The first thing is to try avoid contact with water for the next 24 hours.
This will help keep the henna from smudging and fading too quickly.
It's also important to keep your skin moisturized with a lotion or oil.
This will help the color stay vibrant and give your tattoo an extra boost of staying power.
By following these simple steps, you can enjoy your henna tattoo for weeks or even months!
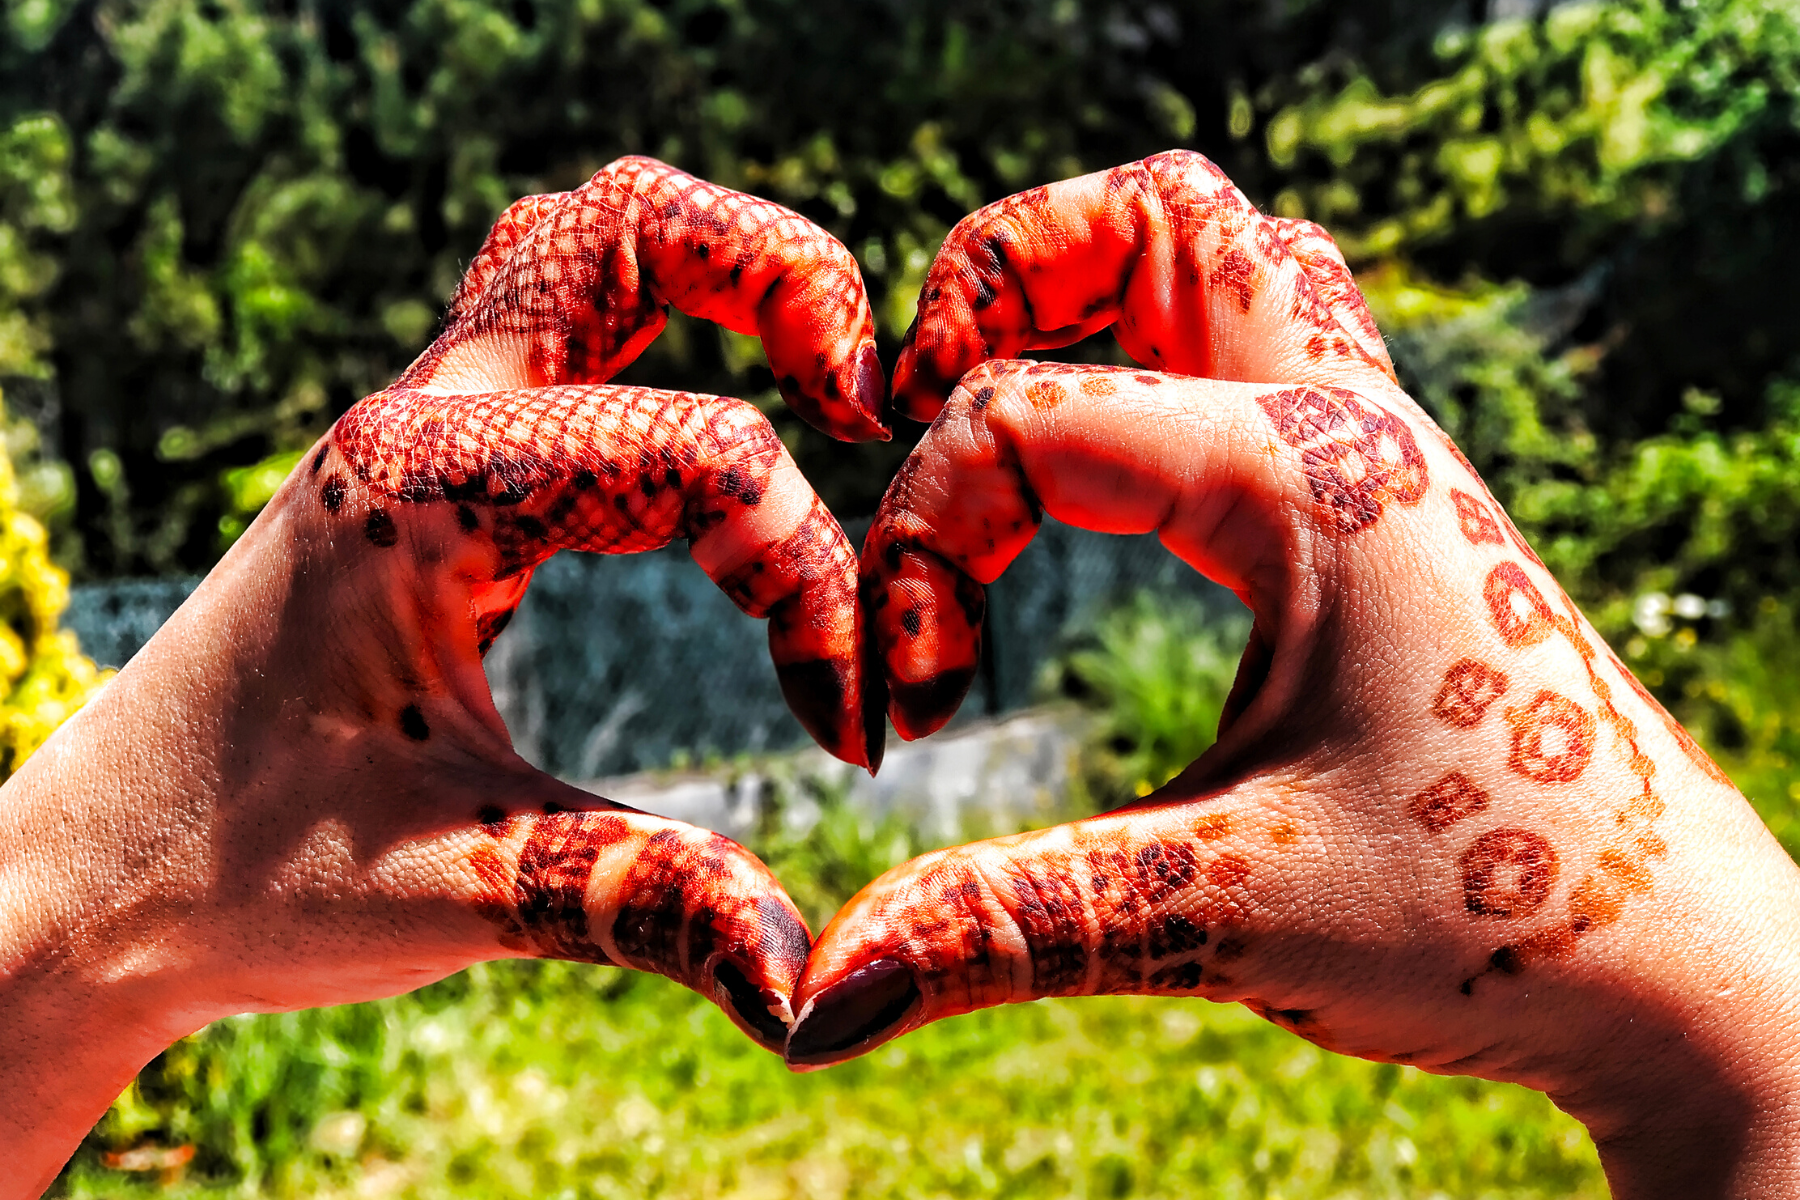
The Benefits of Henna Tattoos
Henna tattoos come with a lot of benefits.
They're temporary, so you don't have to worry about making a permanent commitment.
They're also safe and non-toxic, making them a great option for those with sensitive skin.
And best of all, they're fun and creative!
So, why not give it a try?
With a little bit of henna and some practice, you can create beautiful, long-lasting designs that you'll be proud to show off.
Creating Henna Tattoos
Henna tattoos are a great way to add a unique and creative flair to your look.
With the right supplies, some creativity, and a bit of practice, you can make beautiful designs that last for weeks or even months.
The art of creating henna tattoos is easy, relaxing, and fun!
All you need is some henna powder, water, lemon juice, and a little bit of creativity.
In just 5 simple steps, you can have a beautiful and temporary piece of art on your skin that will last for 2-4 weeks.
So, what are you waiting for?
Grab your supplies and start tattooing today!

Want to learn more about henna tattooing? Check out Fairy Fox Design's video!
Want even more content about creativity and art?
Be sure to check out all of our creative chronicles!
Interested in body art?
You'll want to check out some of our other articles: