Do you love the look of jewelry, but don't want to spend a lot of money on it?
Why not try making your own paper jewelry?
It's a fun and easy way to create unique pieces that reflect your style.
Paper beads are a great way to add a personal touch to your jewelry and add embellishments to scrapbooking and other paper crafts projects.
Plus, you can use recycled materials to make your beads, which makes it eco-friendly too!
In this tutorial, we'll show you how to make paper beads using some common supplies.
All you need is some colorful paper, scissors, and glue, and you'll be on your way to creating unique beads in no time!
Here's a step-by-step guide on how to make them, so let's get started!
What Are Paper Beads?
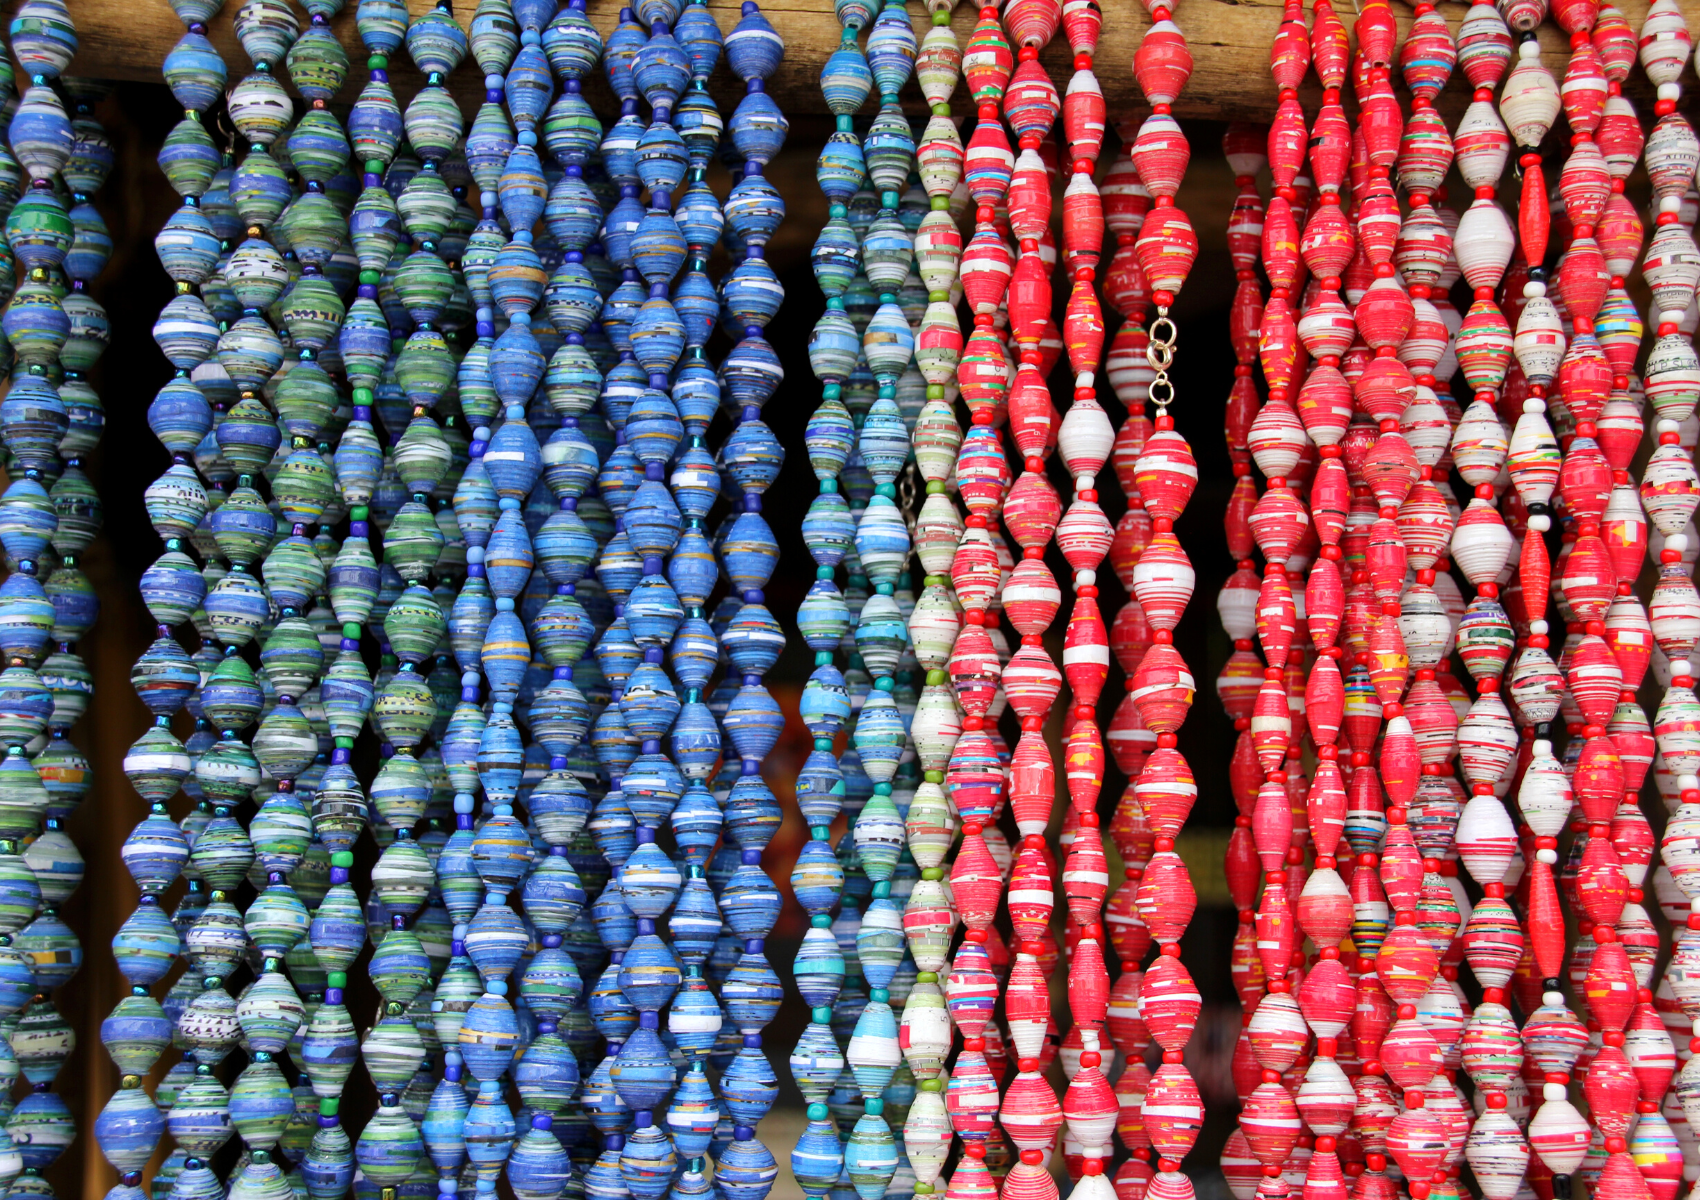
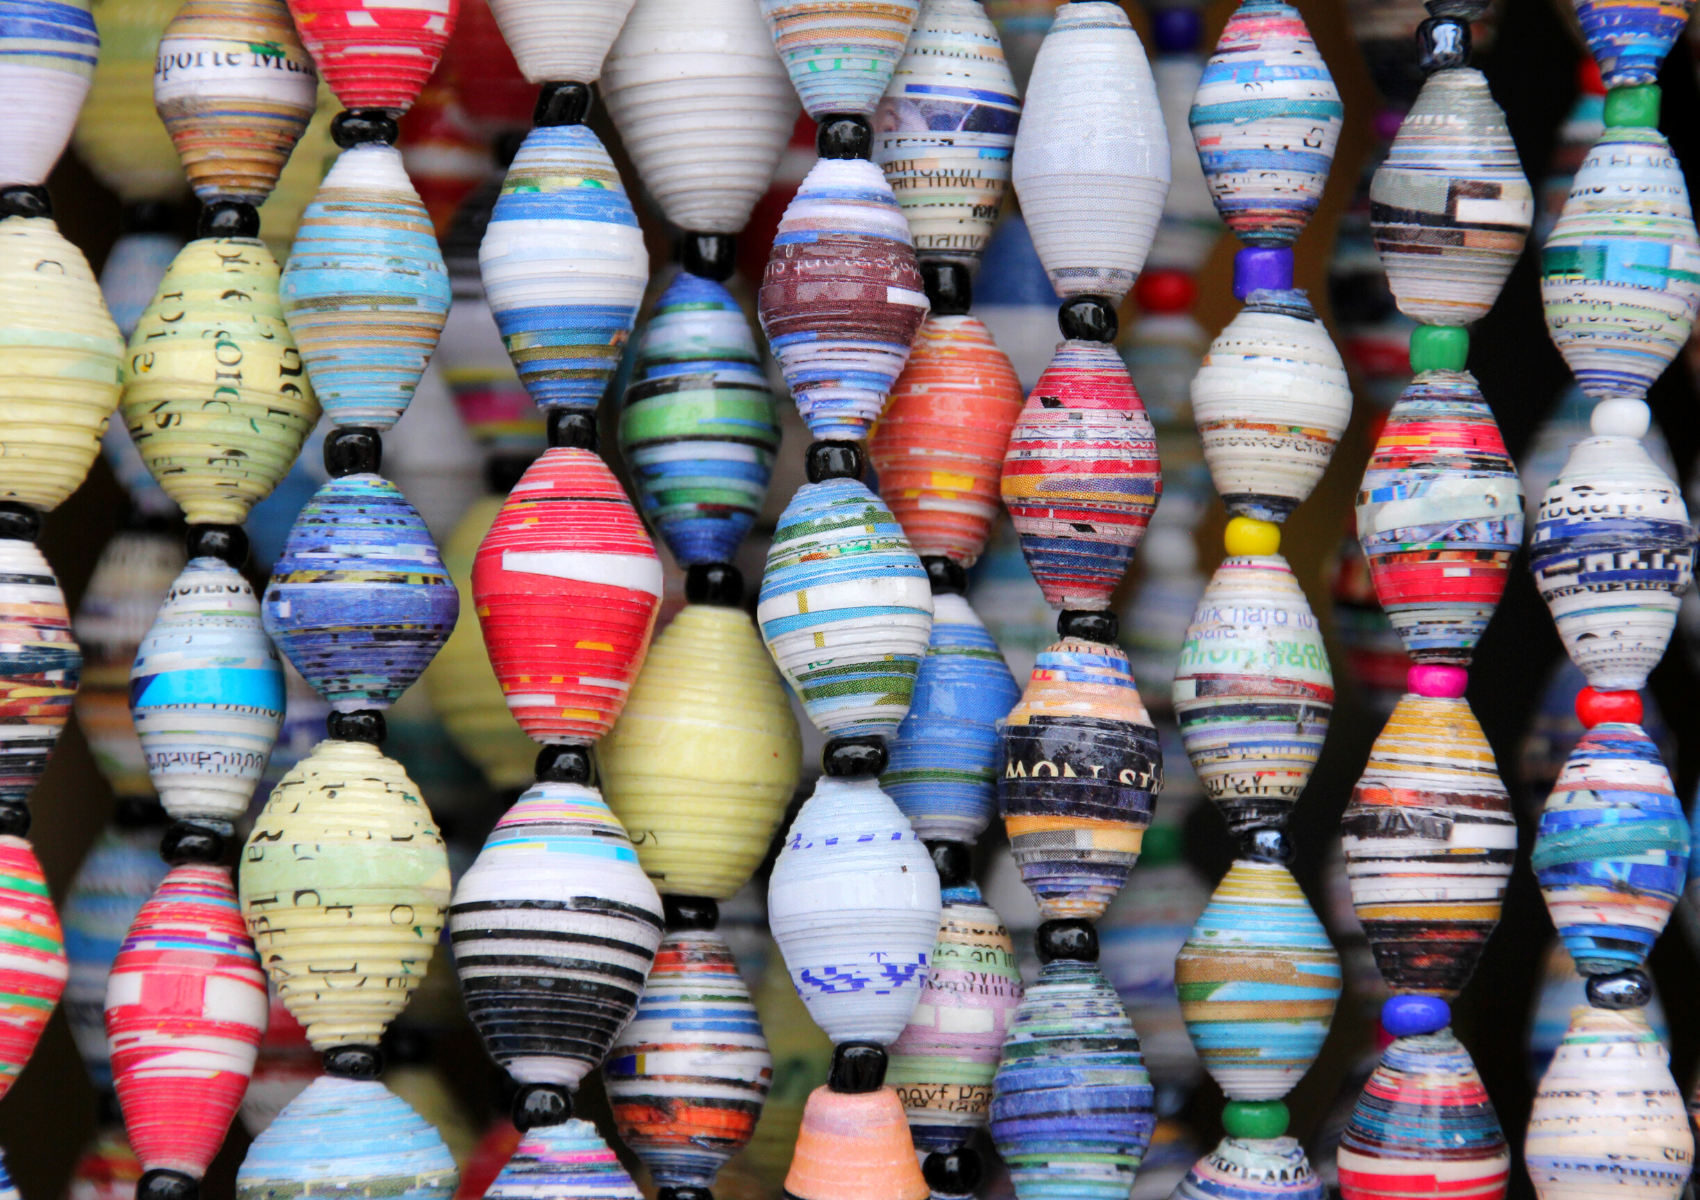
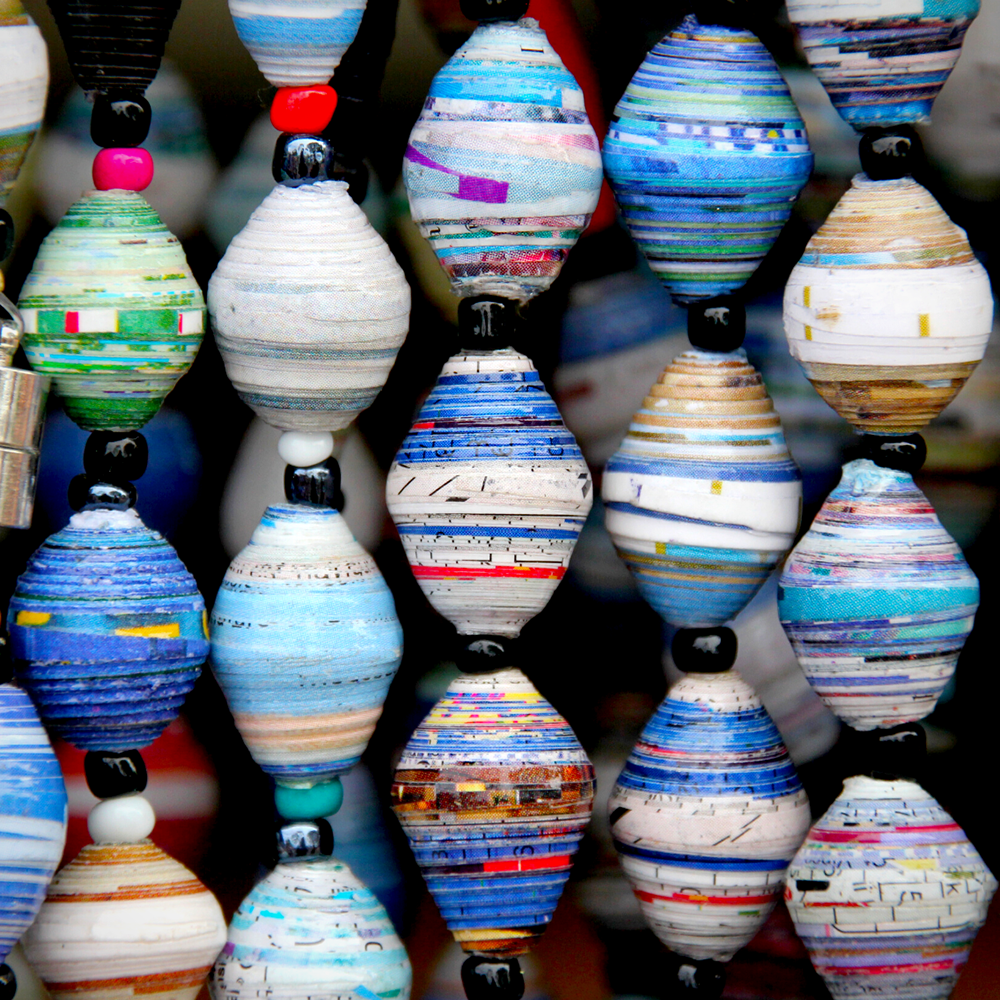
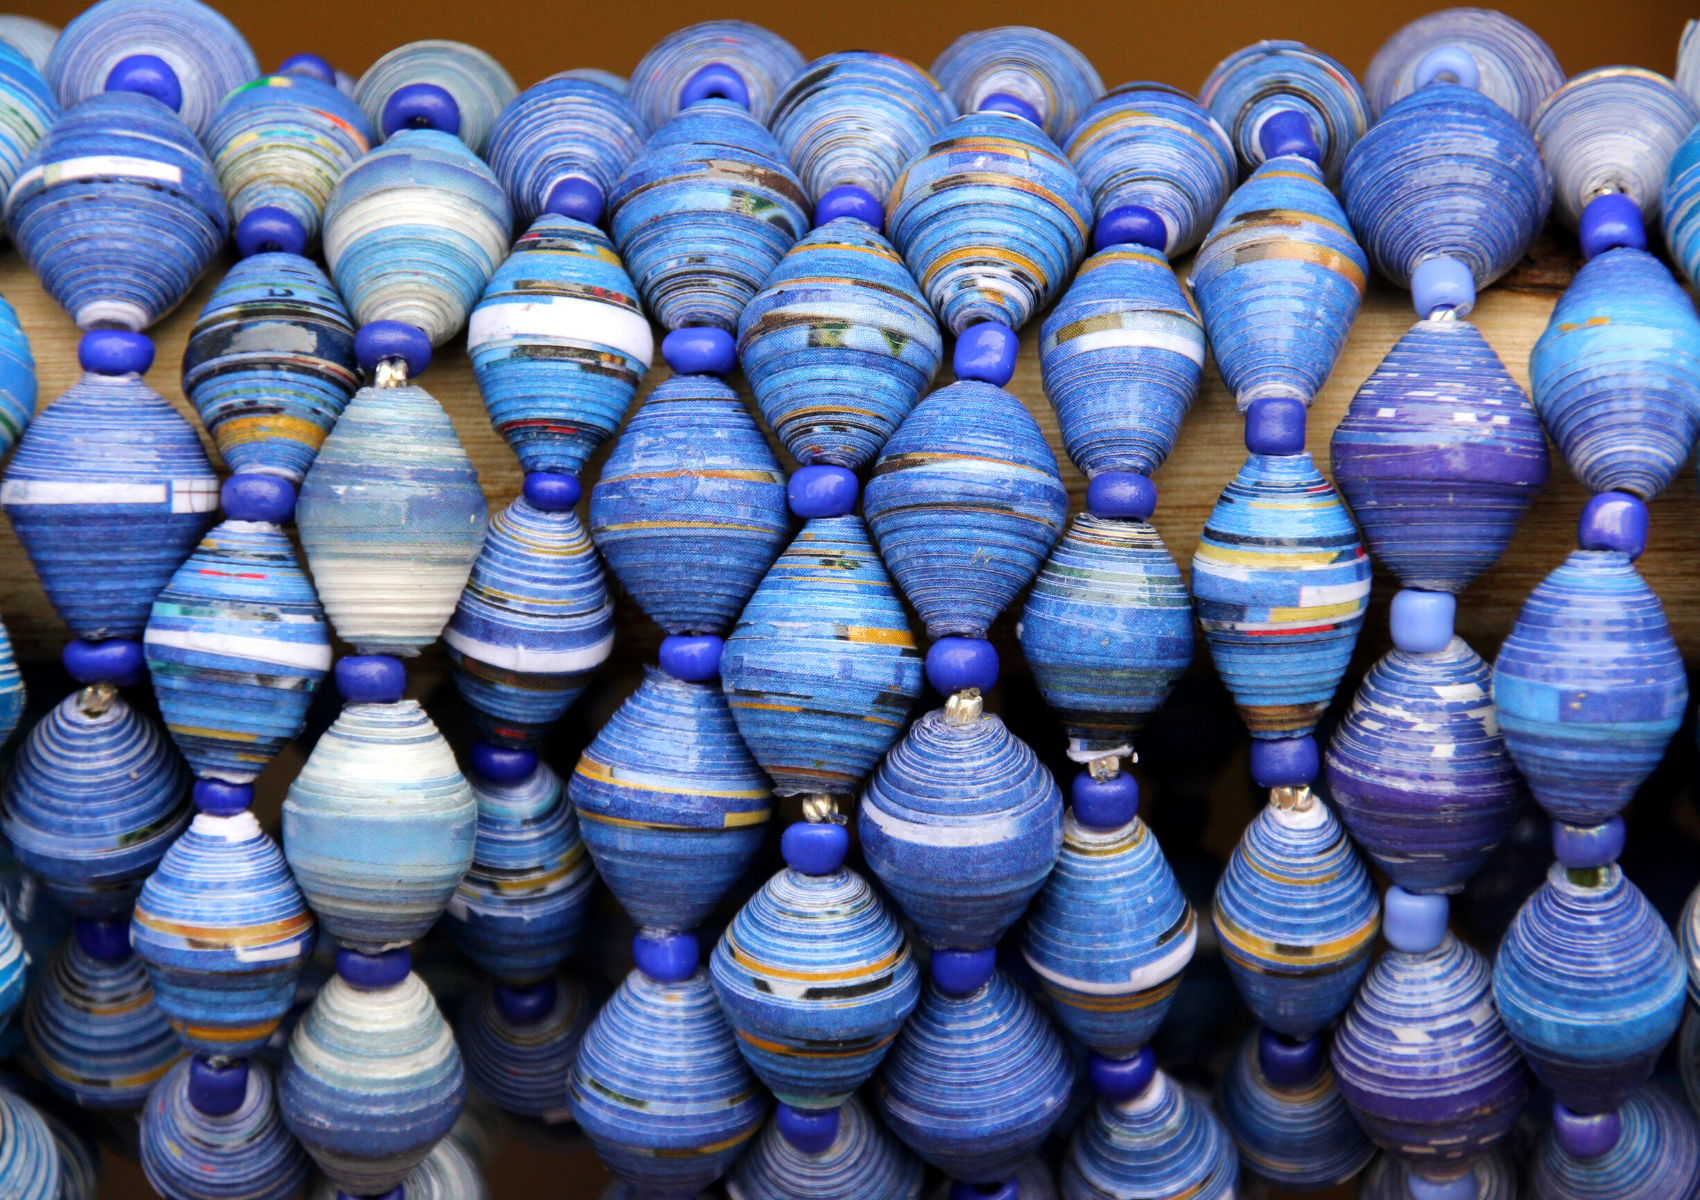
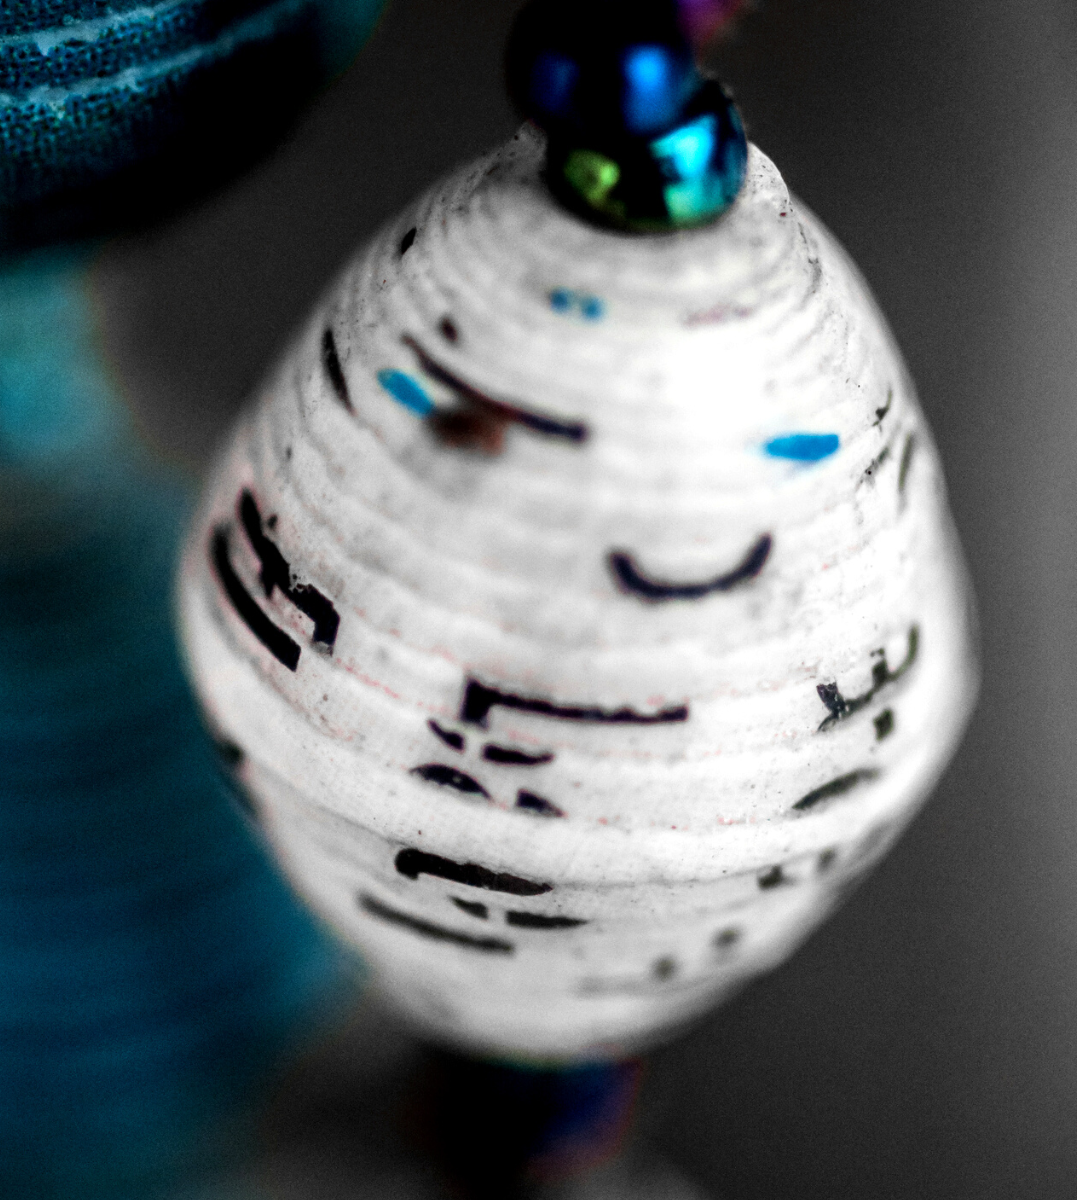
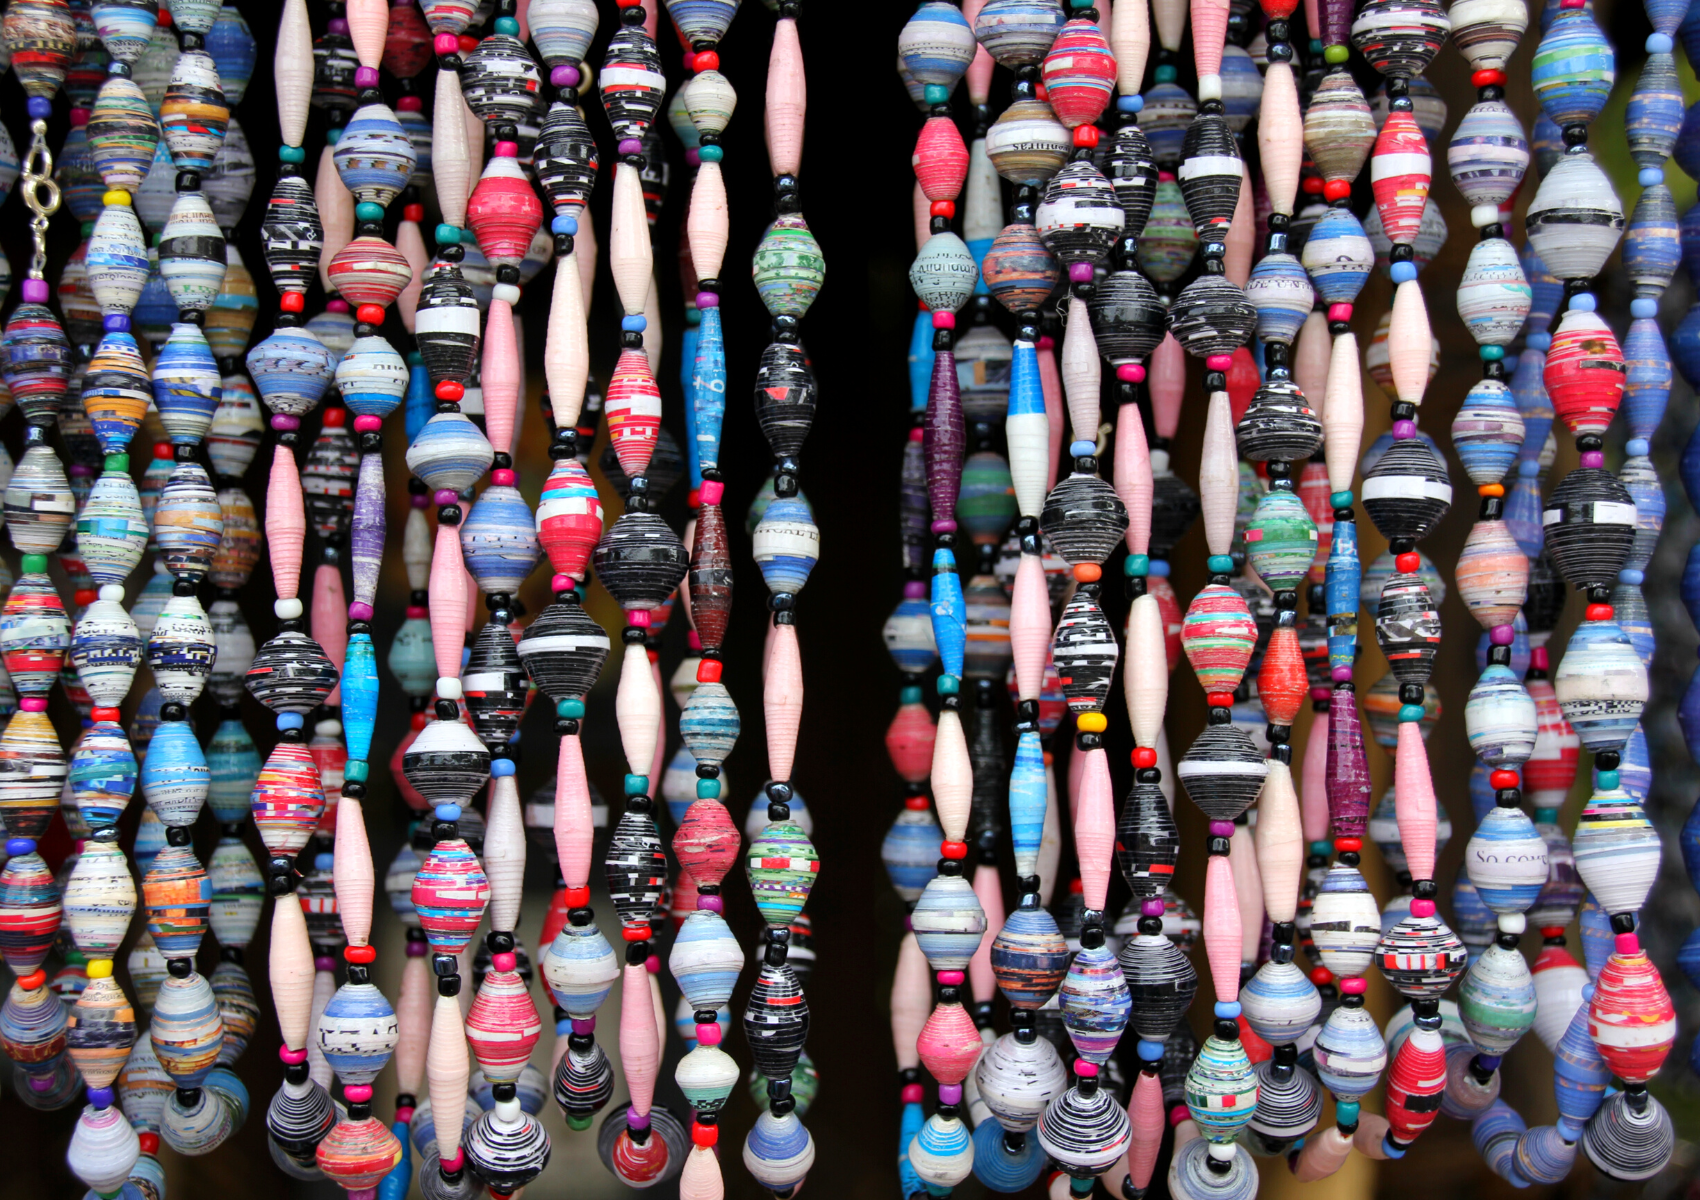
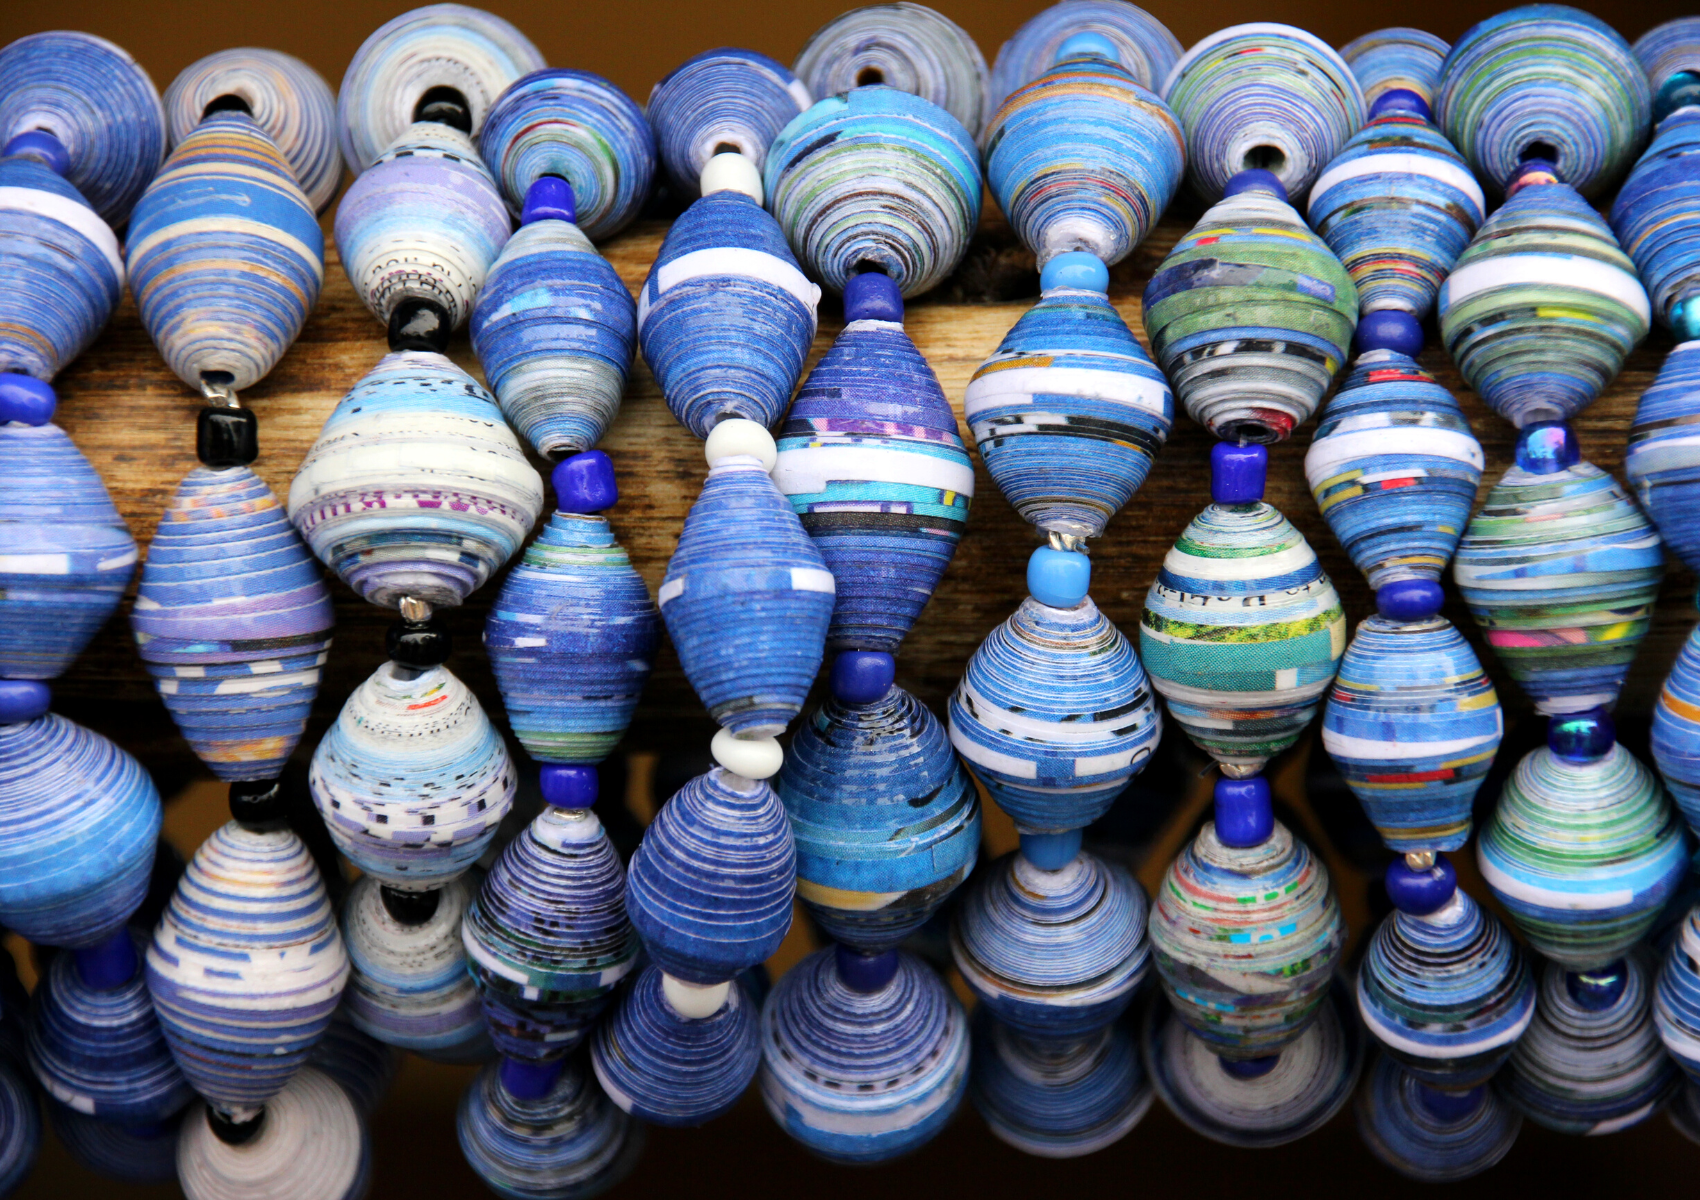
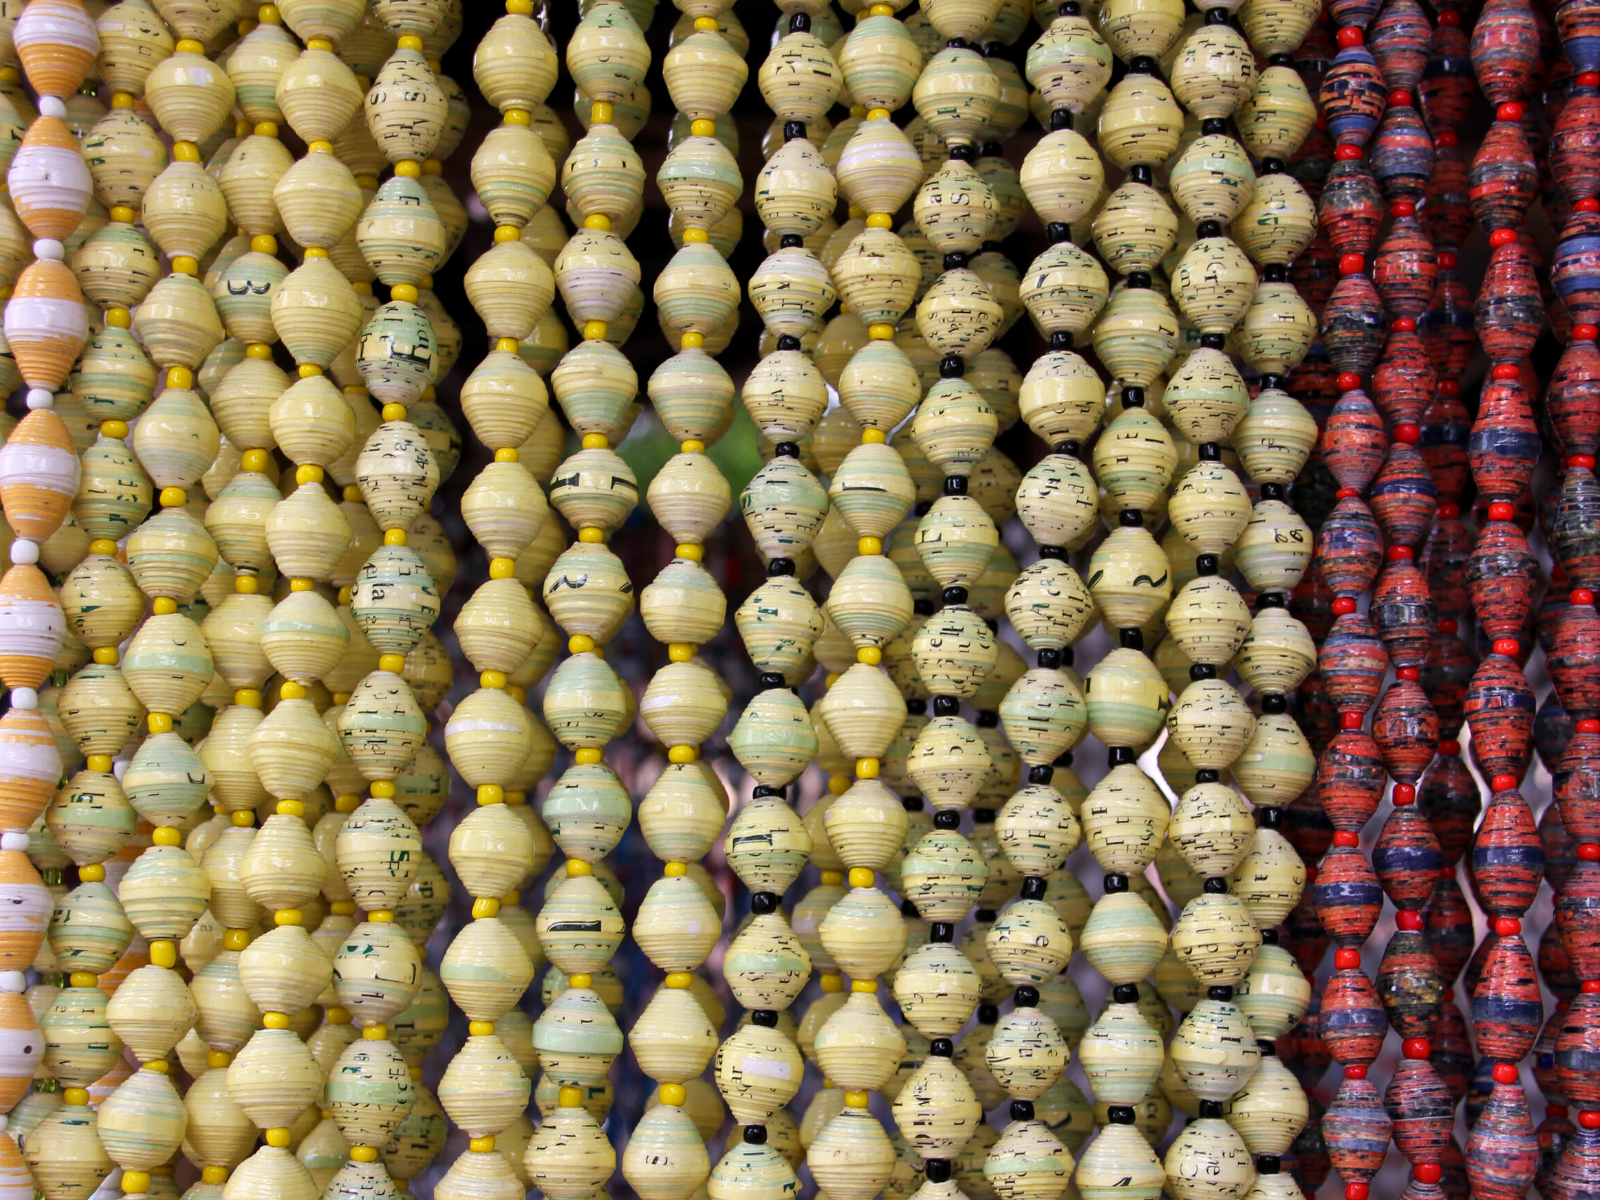
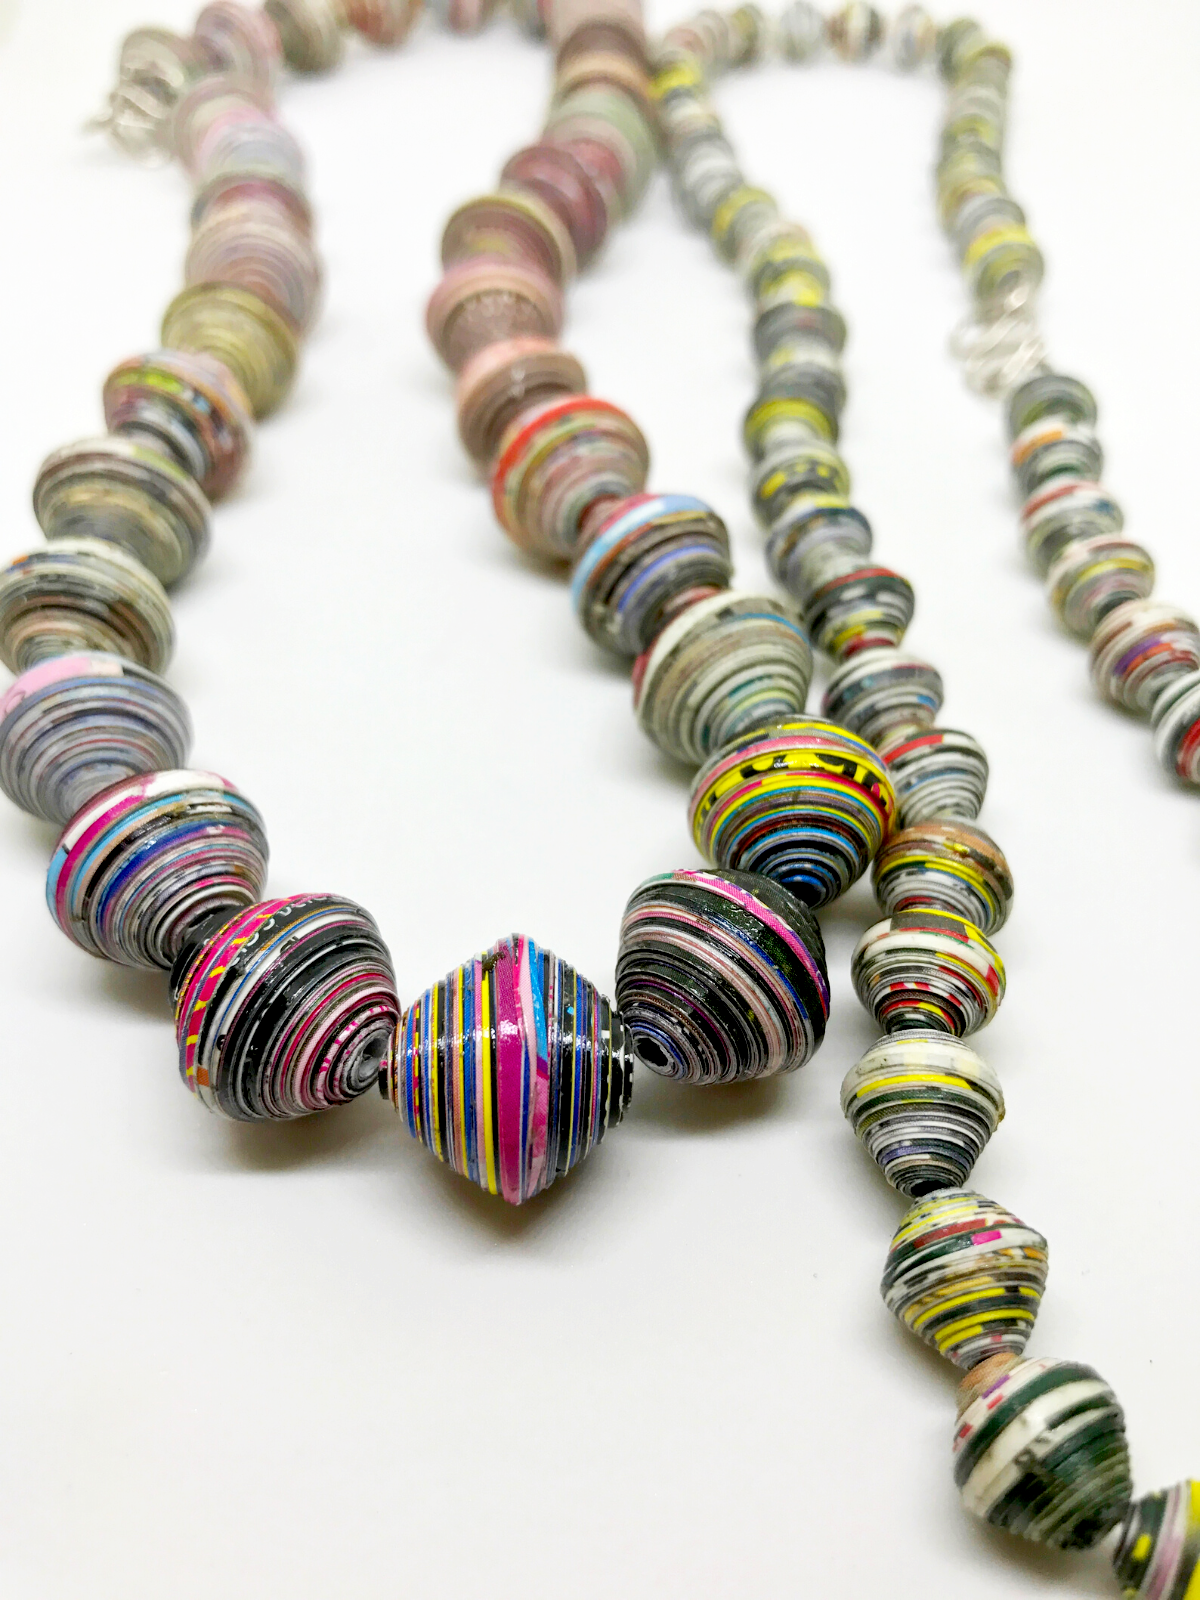
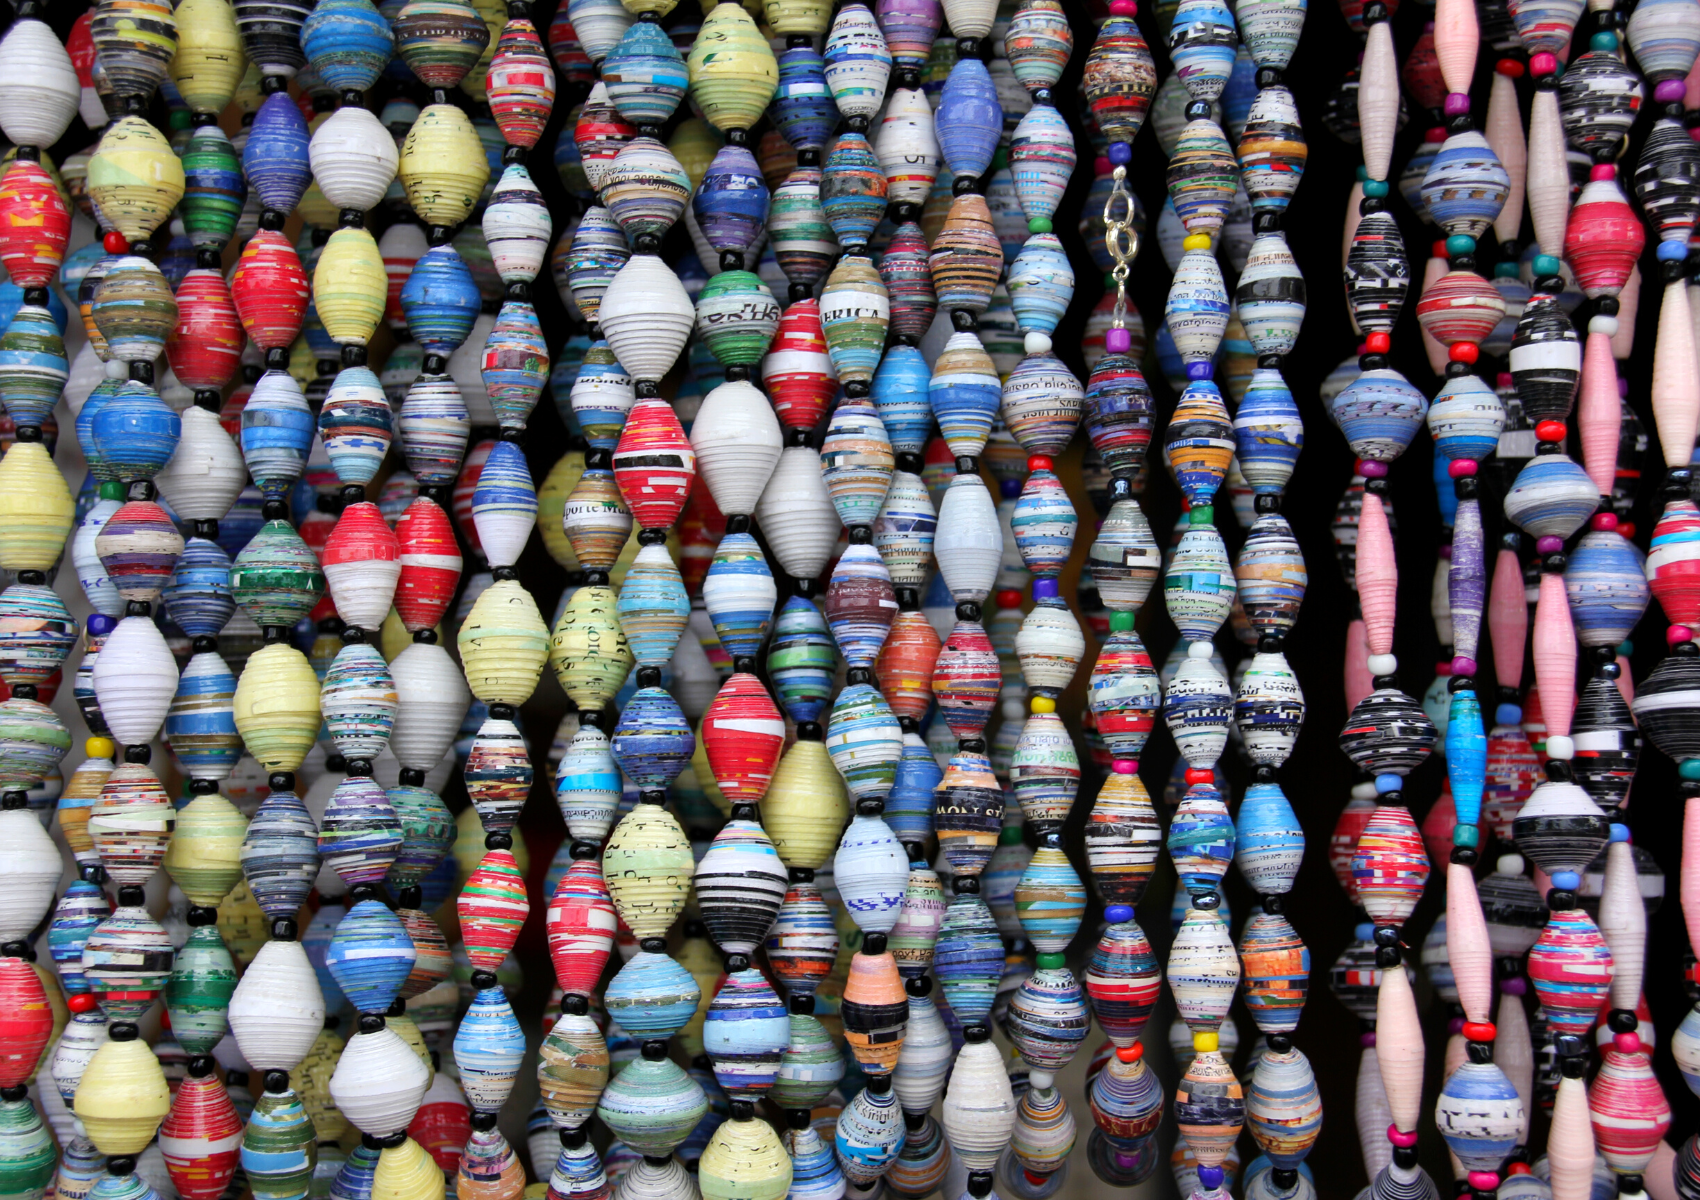
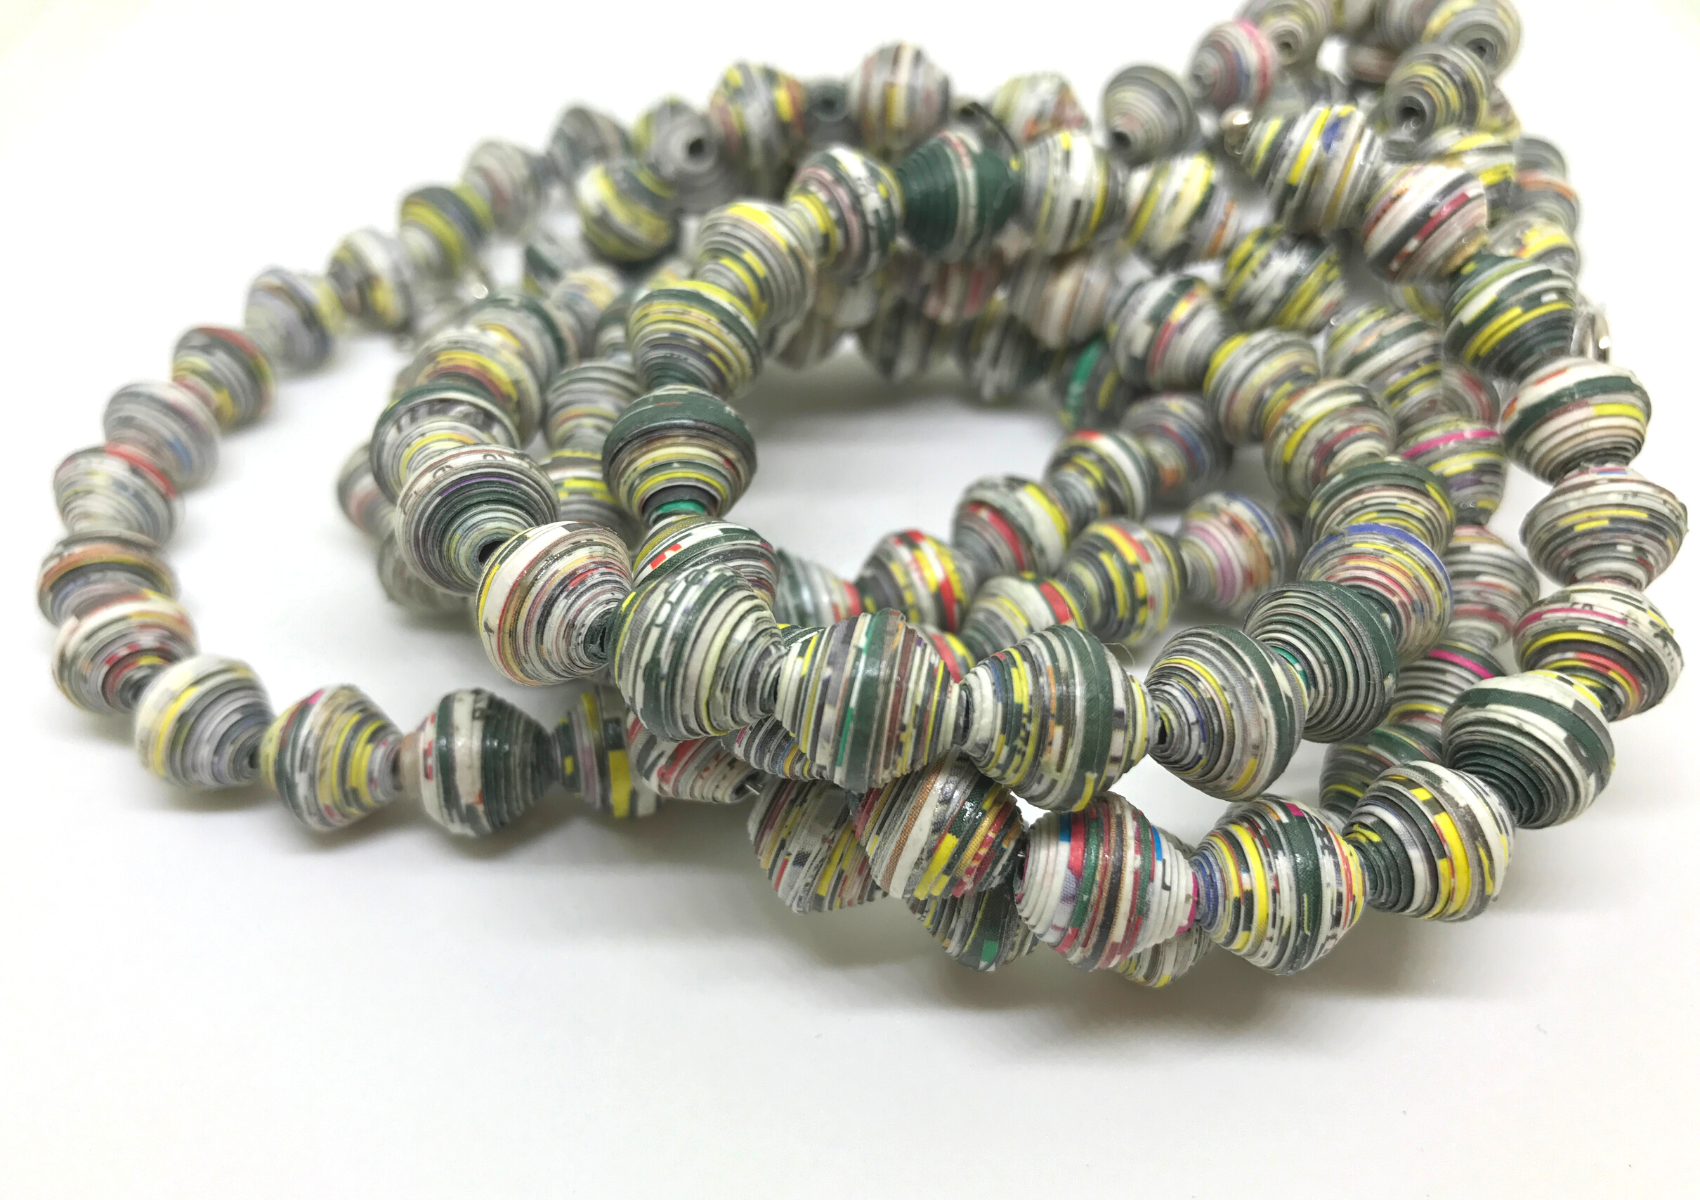
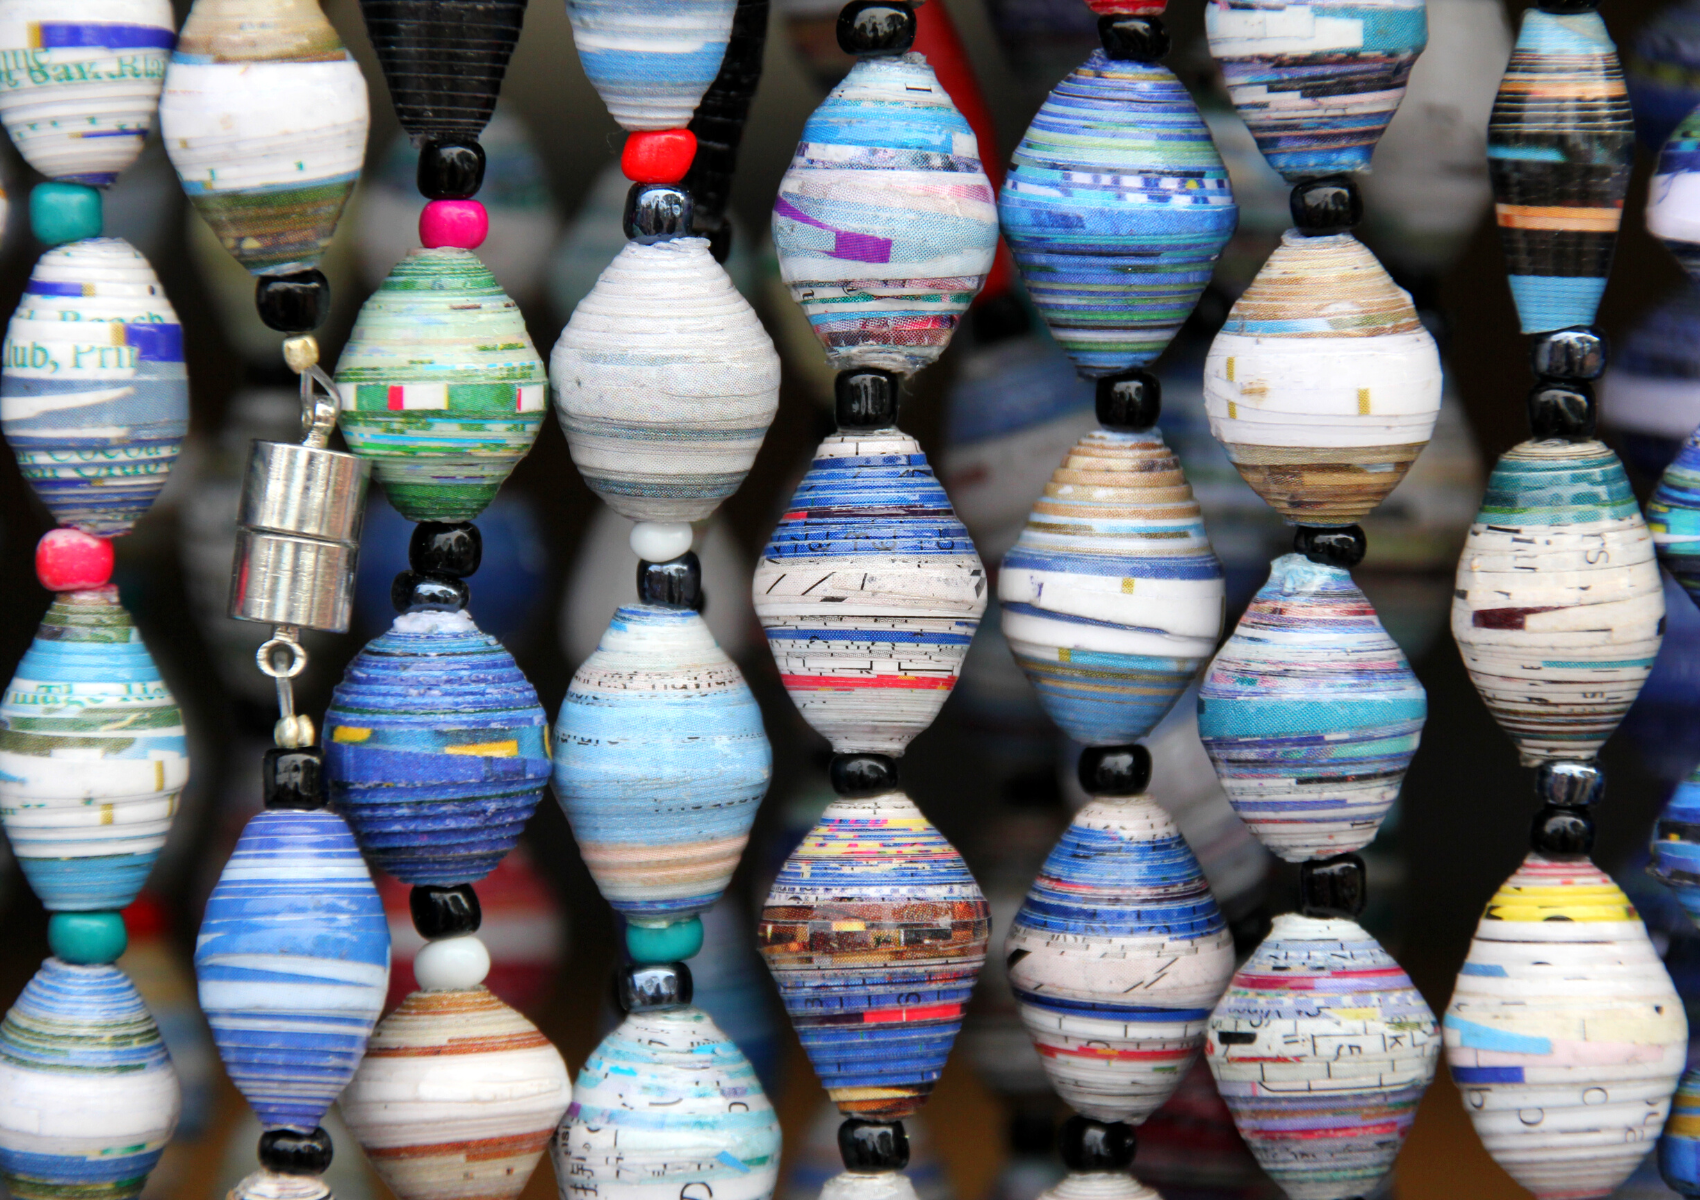
Paper beads are simply beads made from paper.
They can be any shape, size, or color that you want.
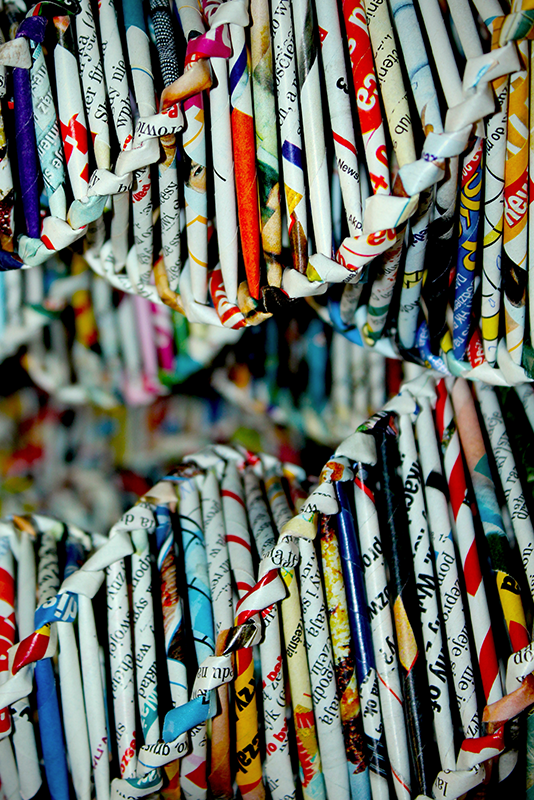
You can use regular paper, cardstock, scrapbooking papers, magazine pages, newspaper clippings, wrapping paper—just about anything you can think of!
Once you have your paper, the possibilities are endless.
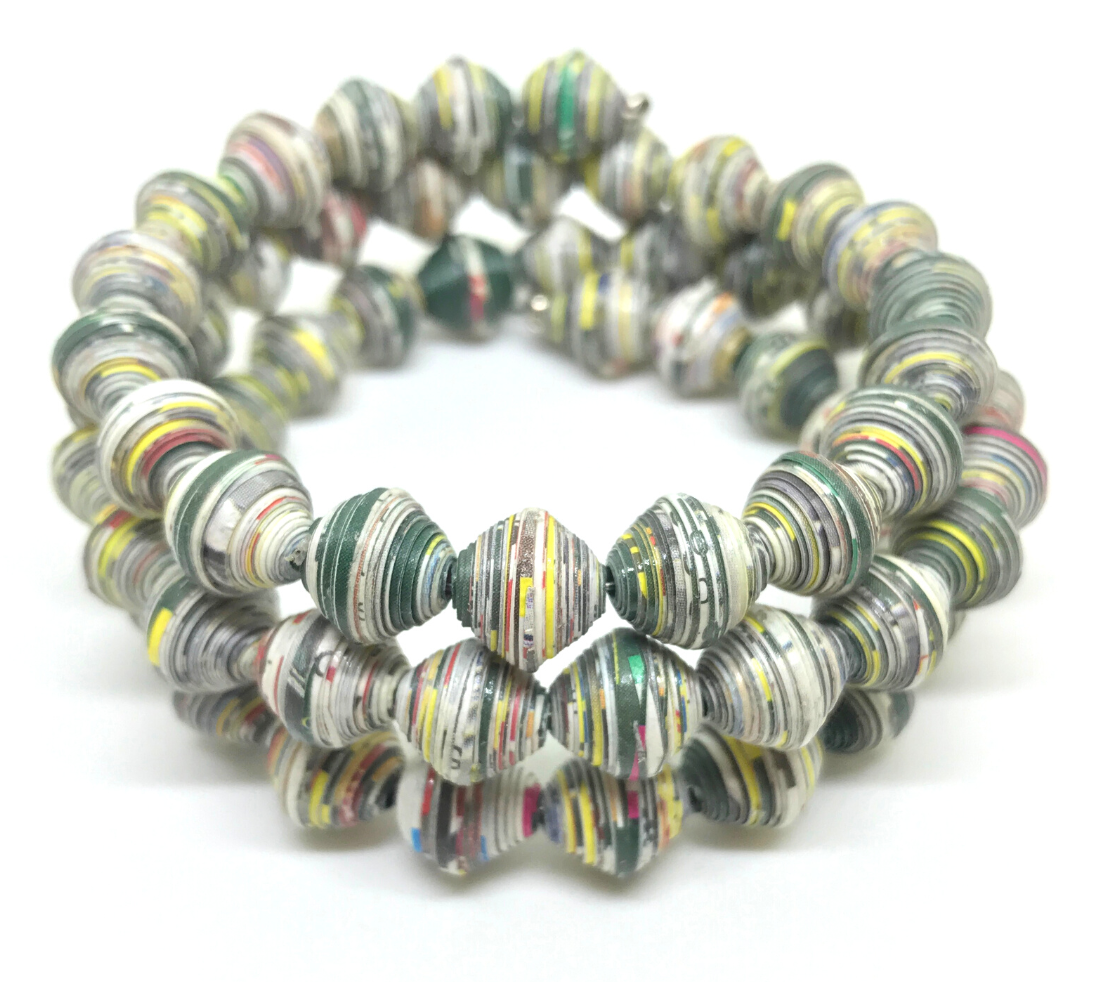
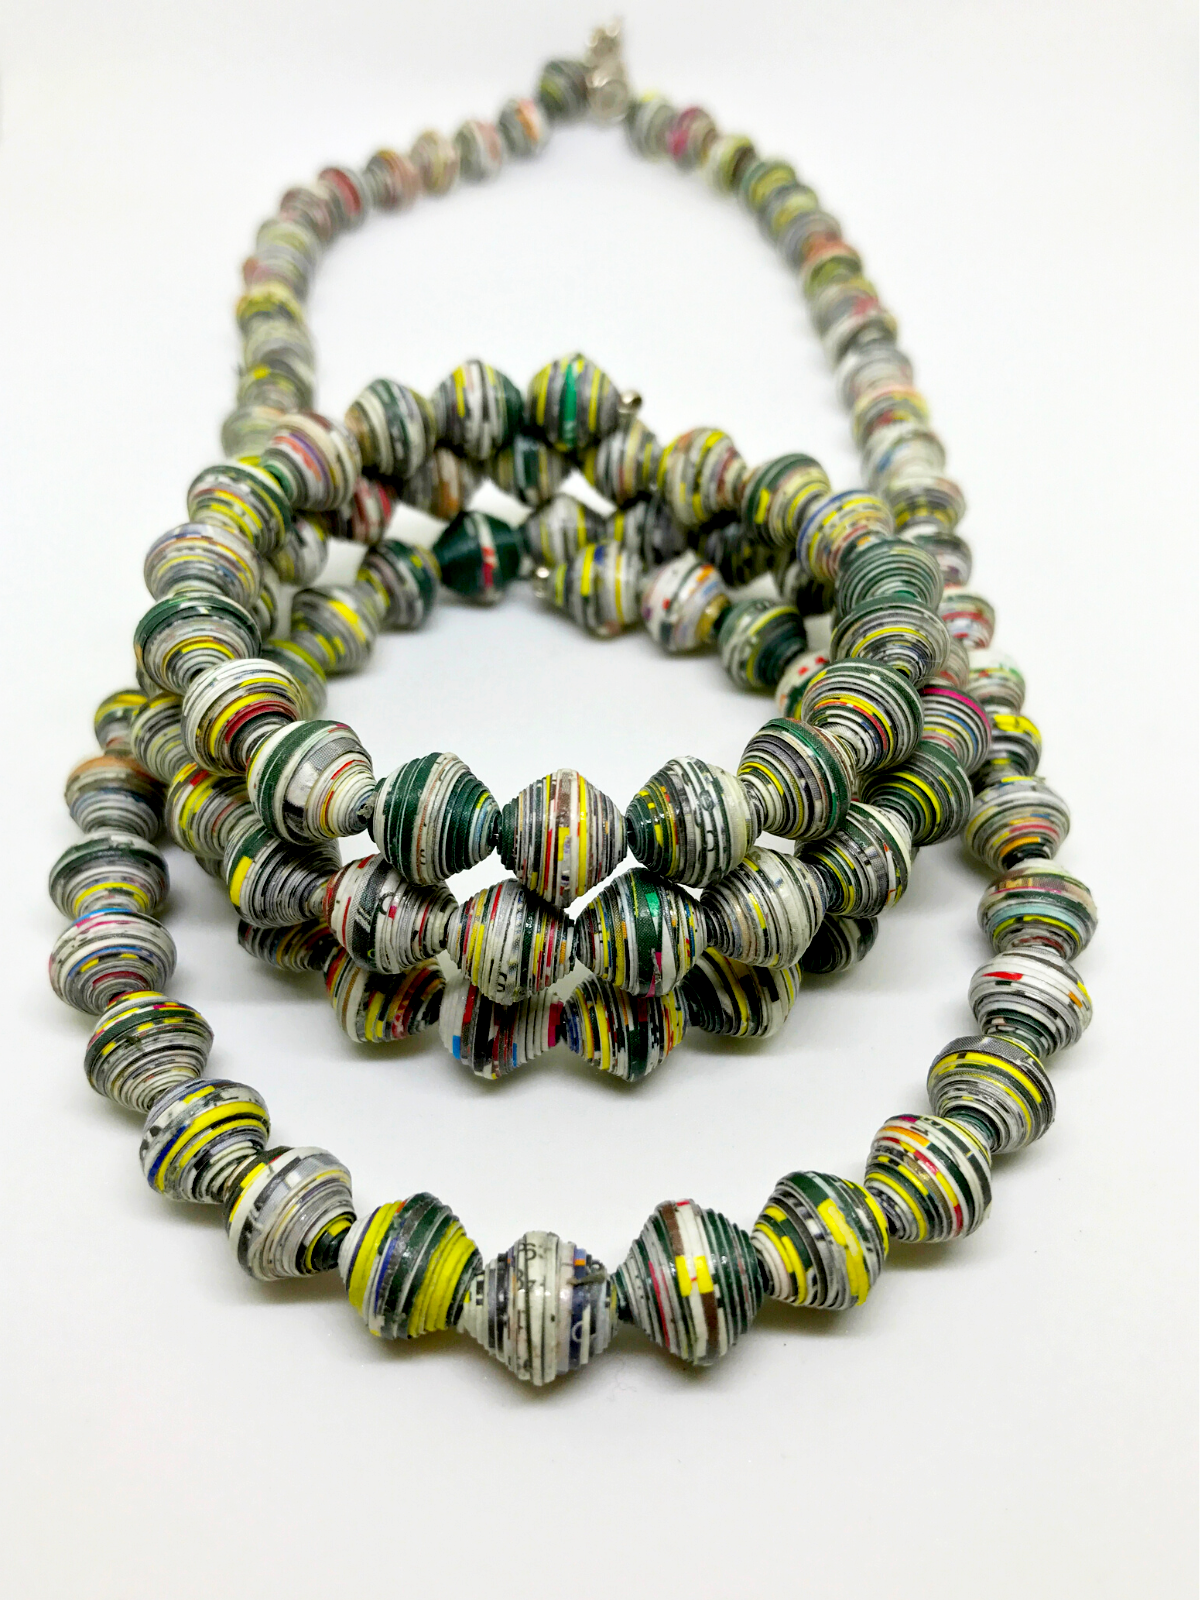
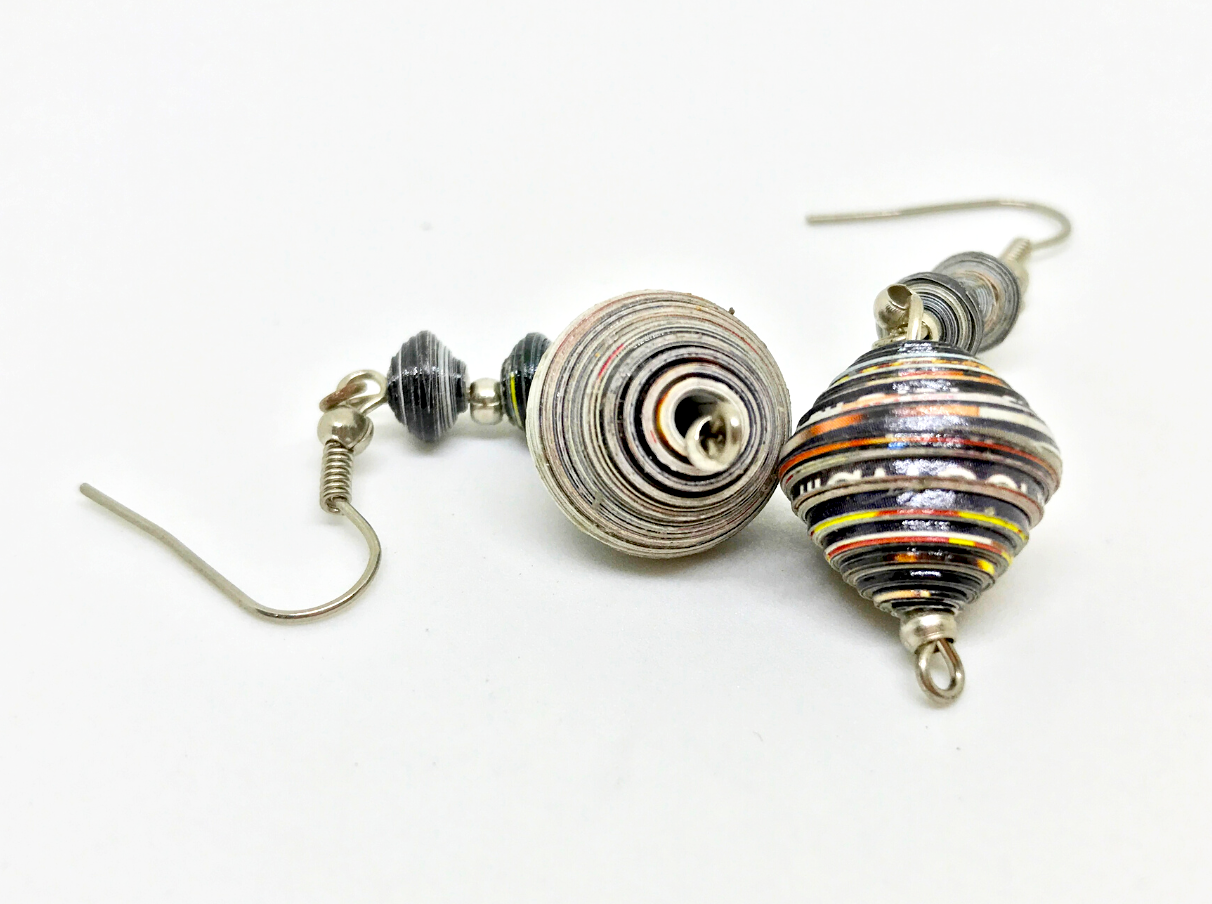
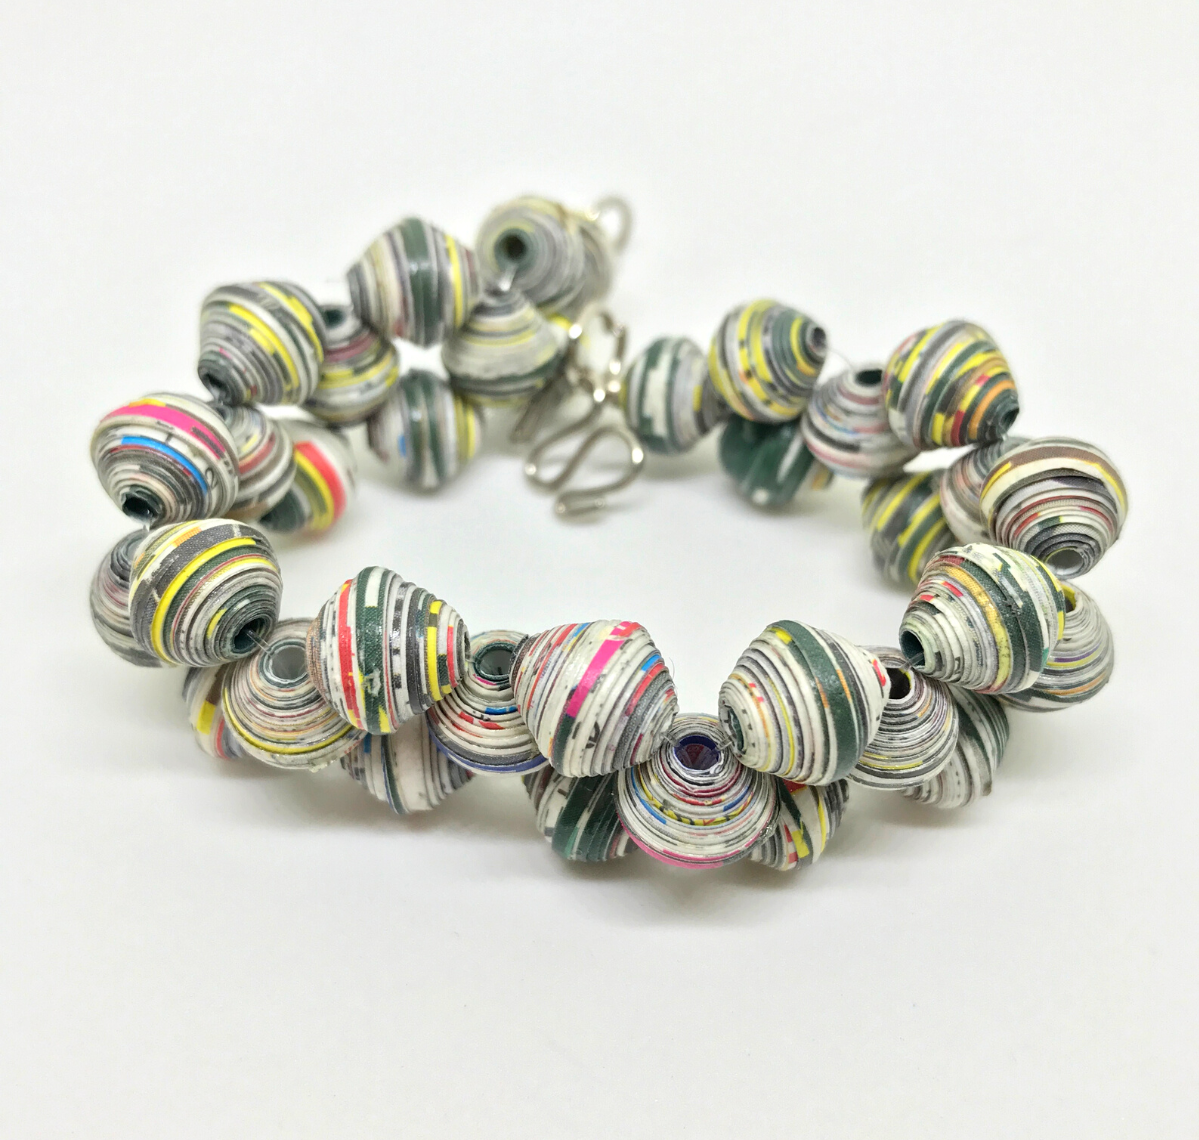
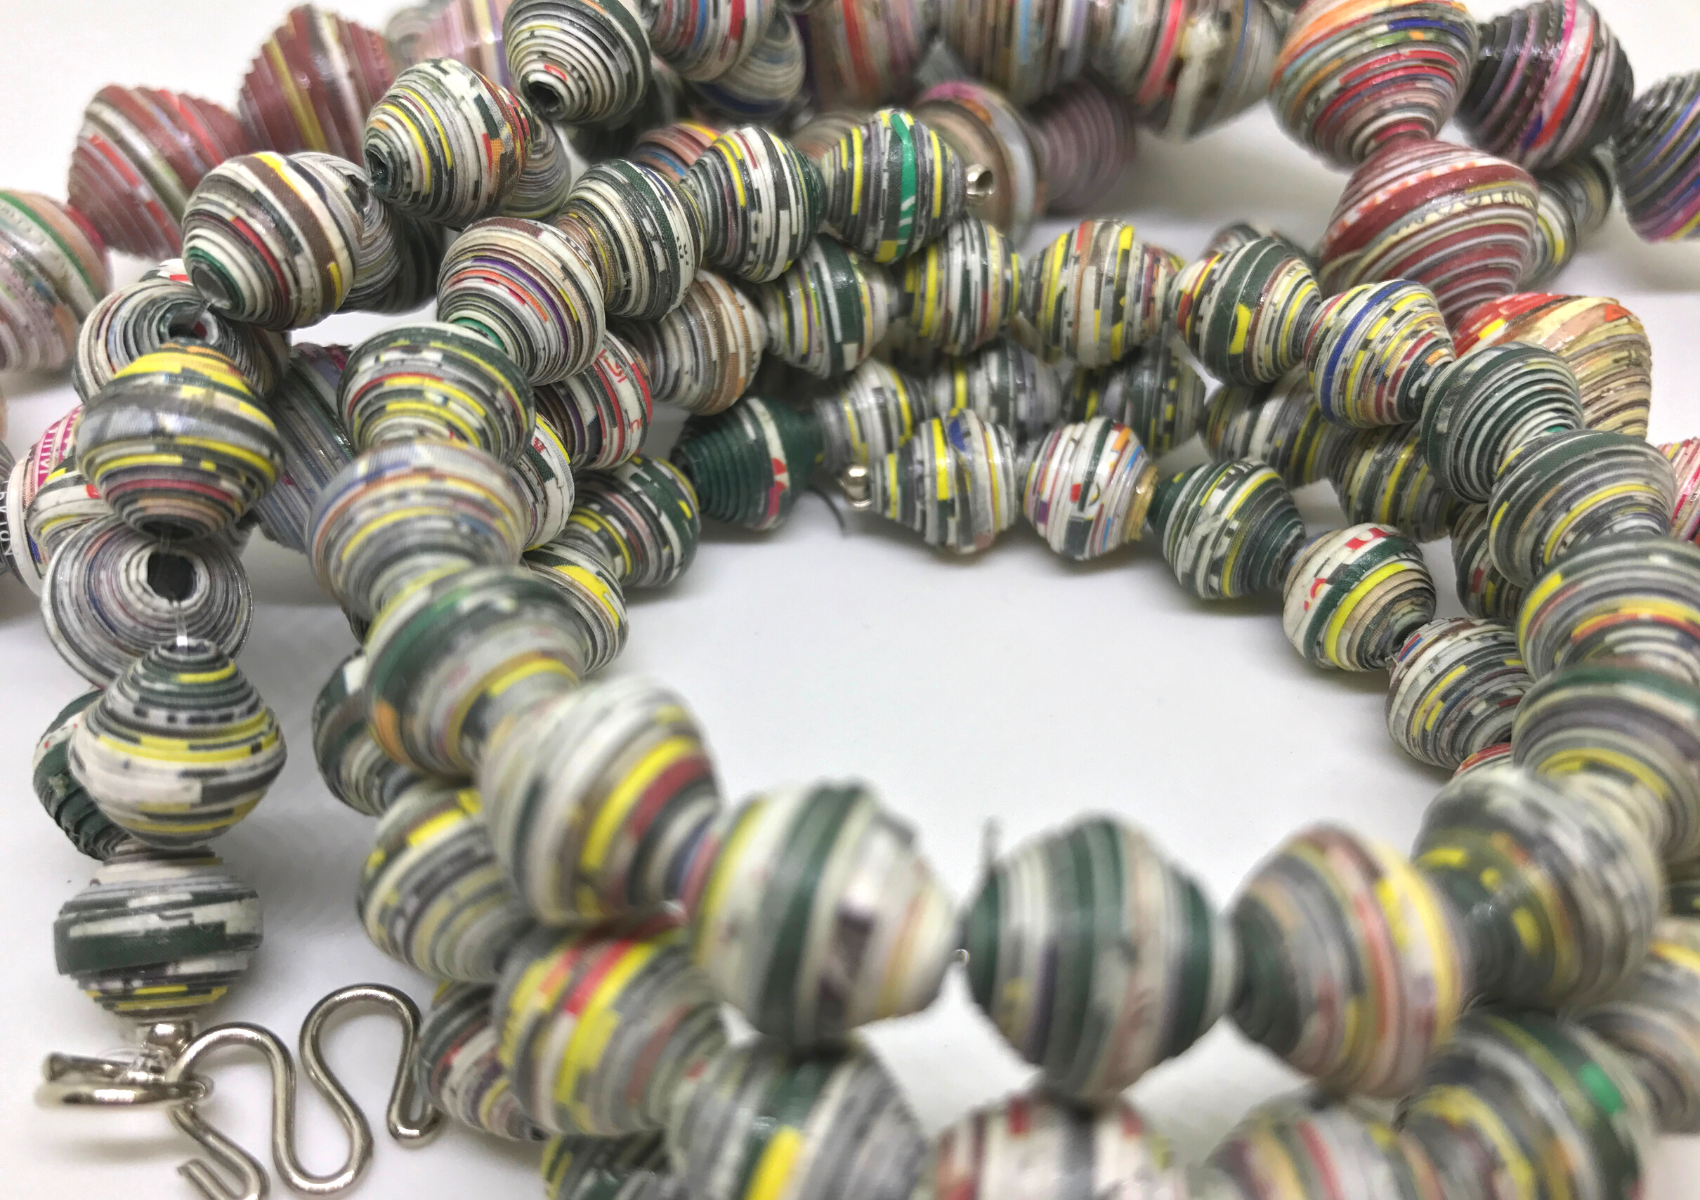
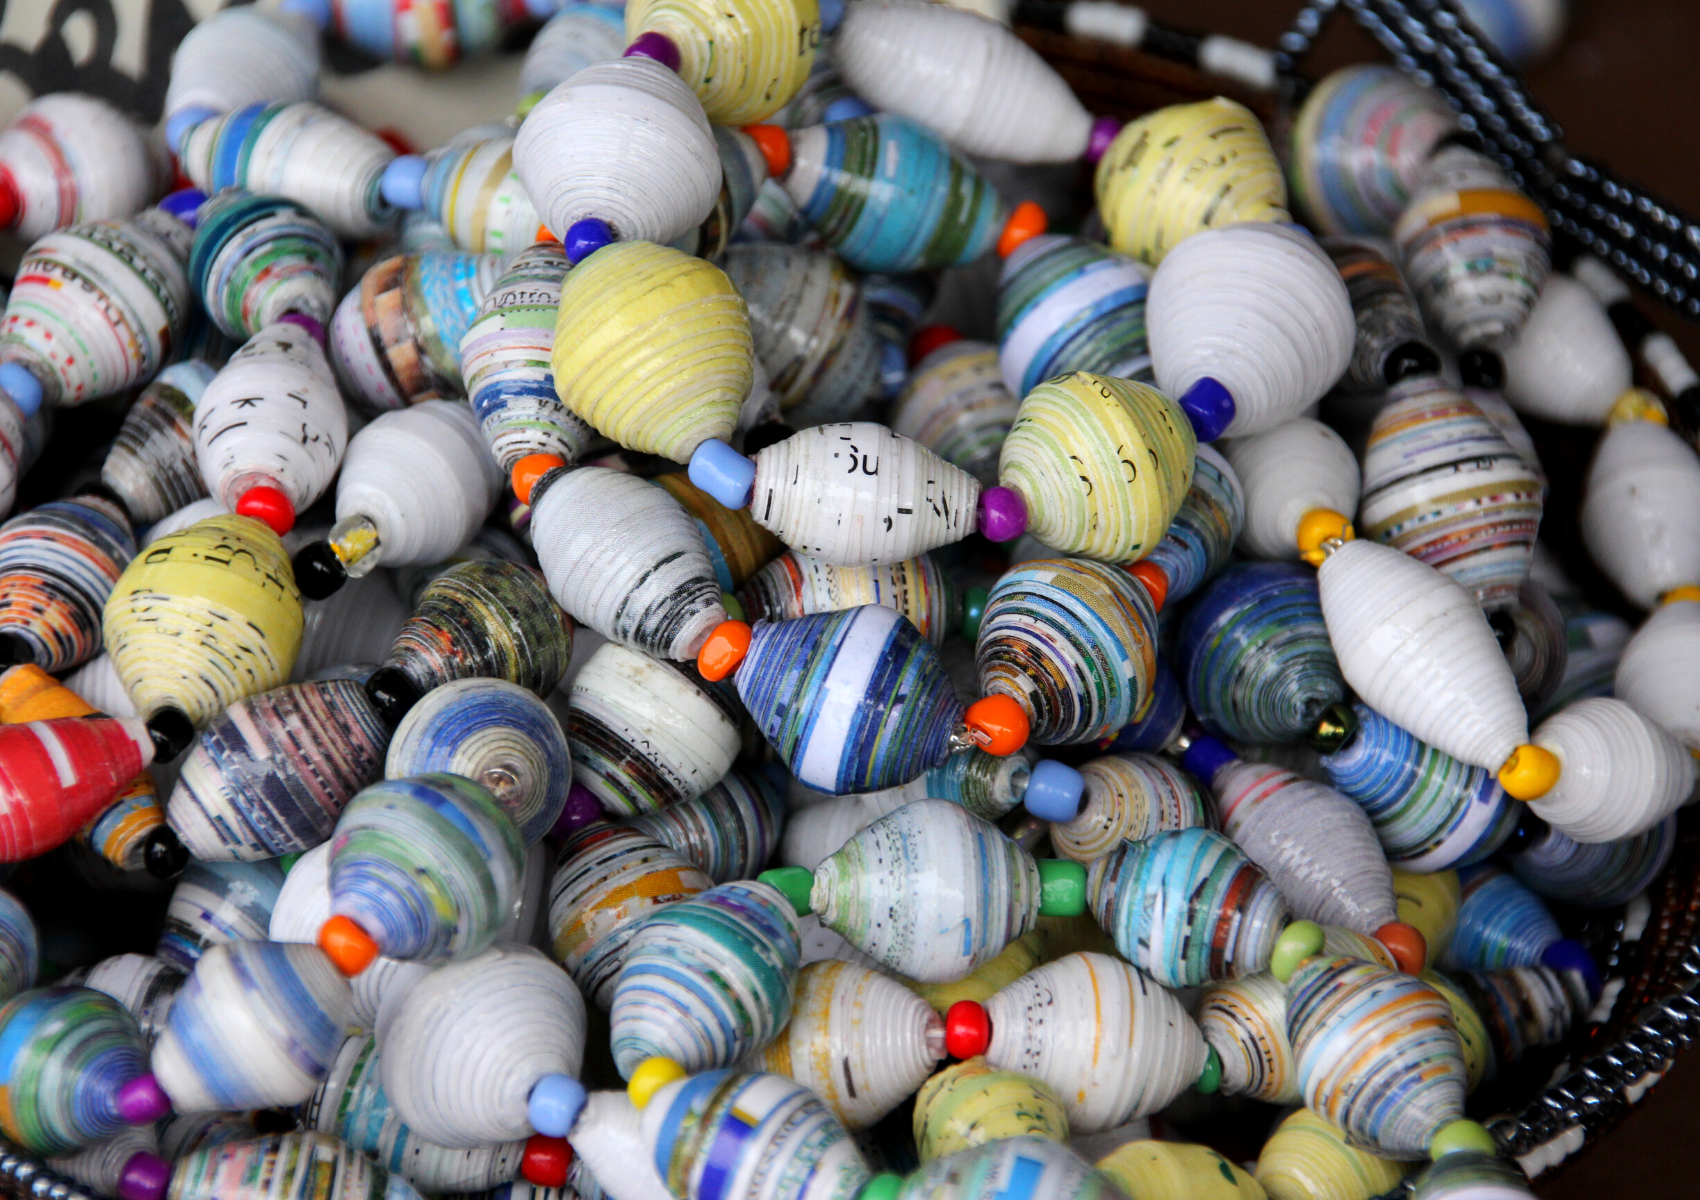
You can create round paper beads, paper bead earrings, paper bead bracelets, and more!
You can even find a paper bead template or paper bead rollers online.
How Paper Beads Are Made
Paper beading is a simple process.
The process involves taking strips of paper and rolling them up into small beads.
You then seal the ends and use a bit of glue to make sure they stay securely in place.
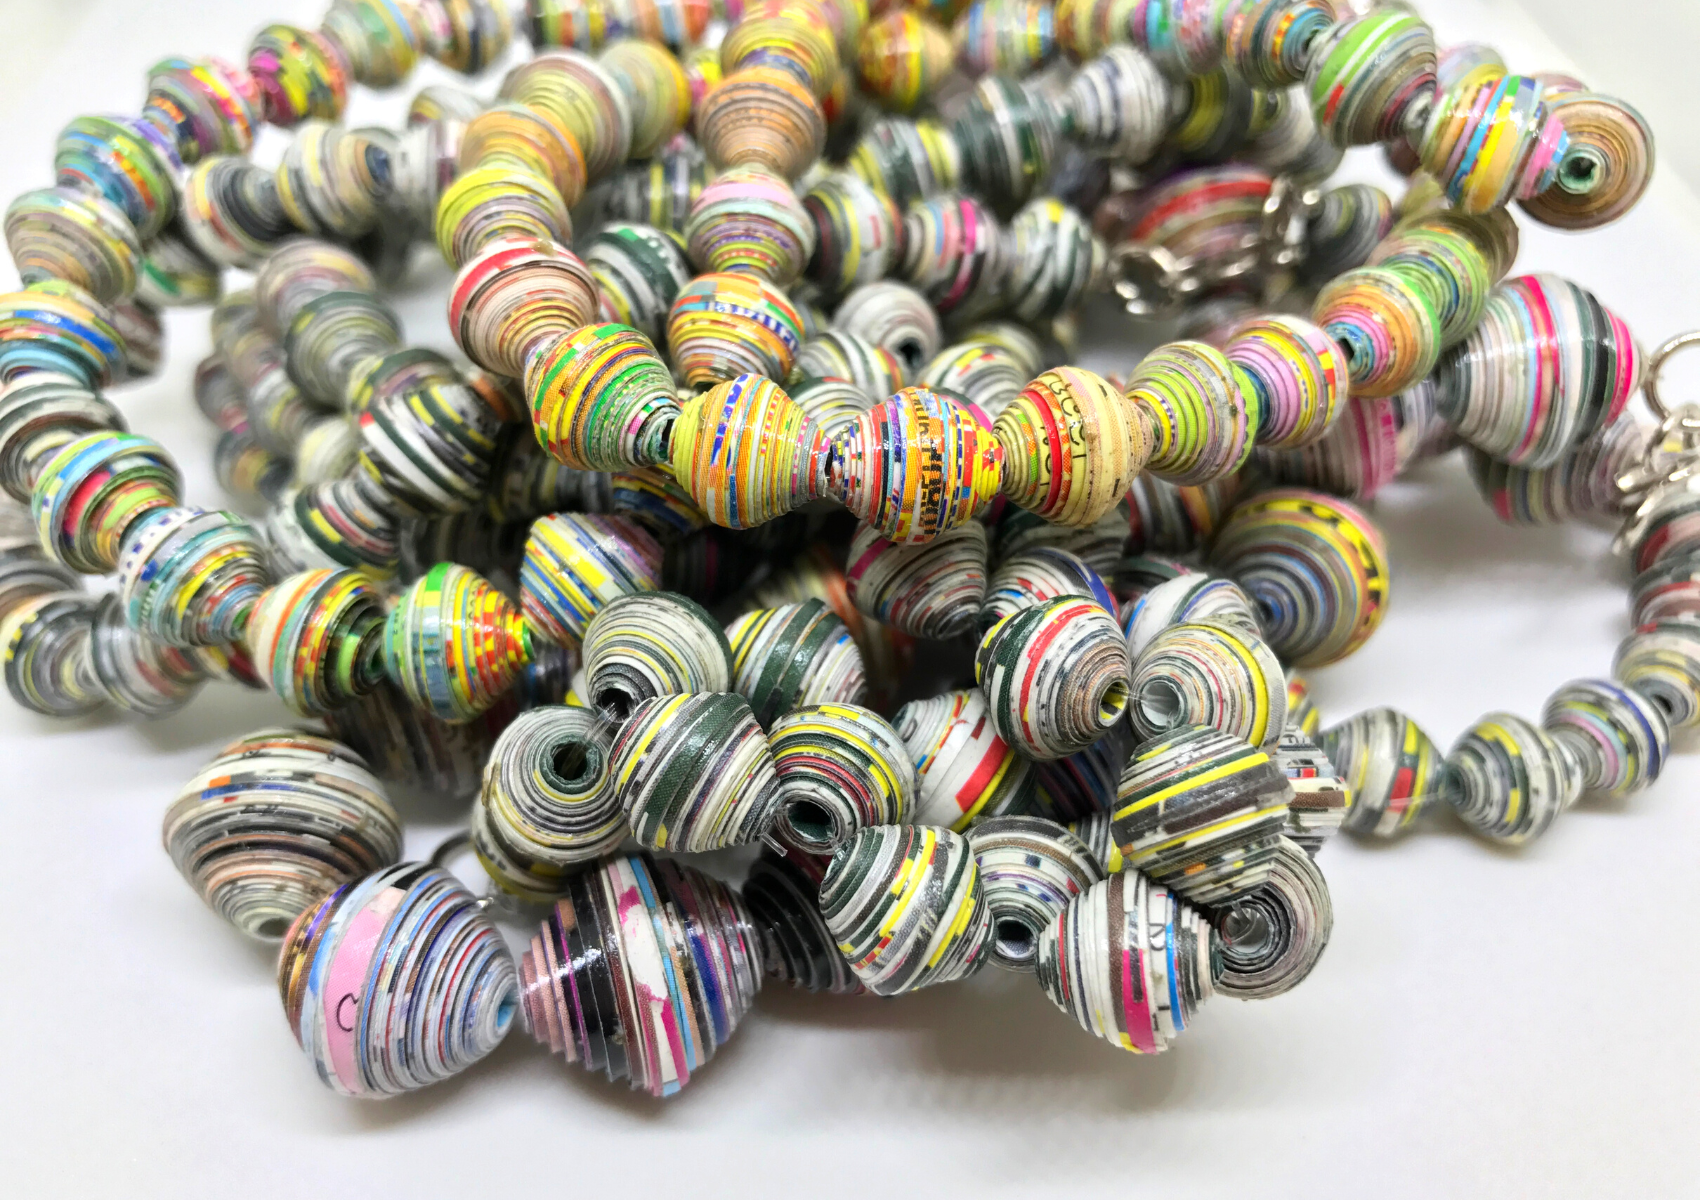
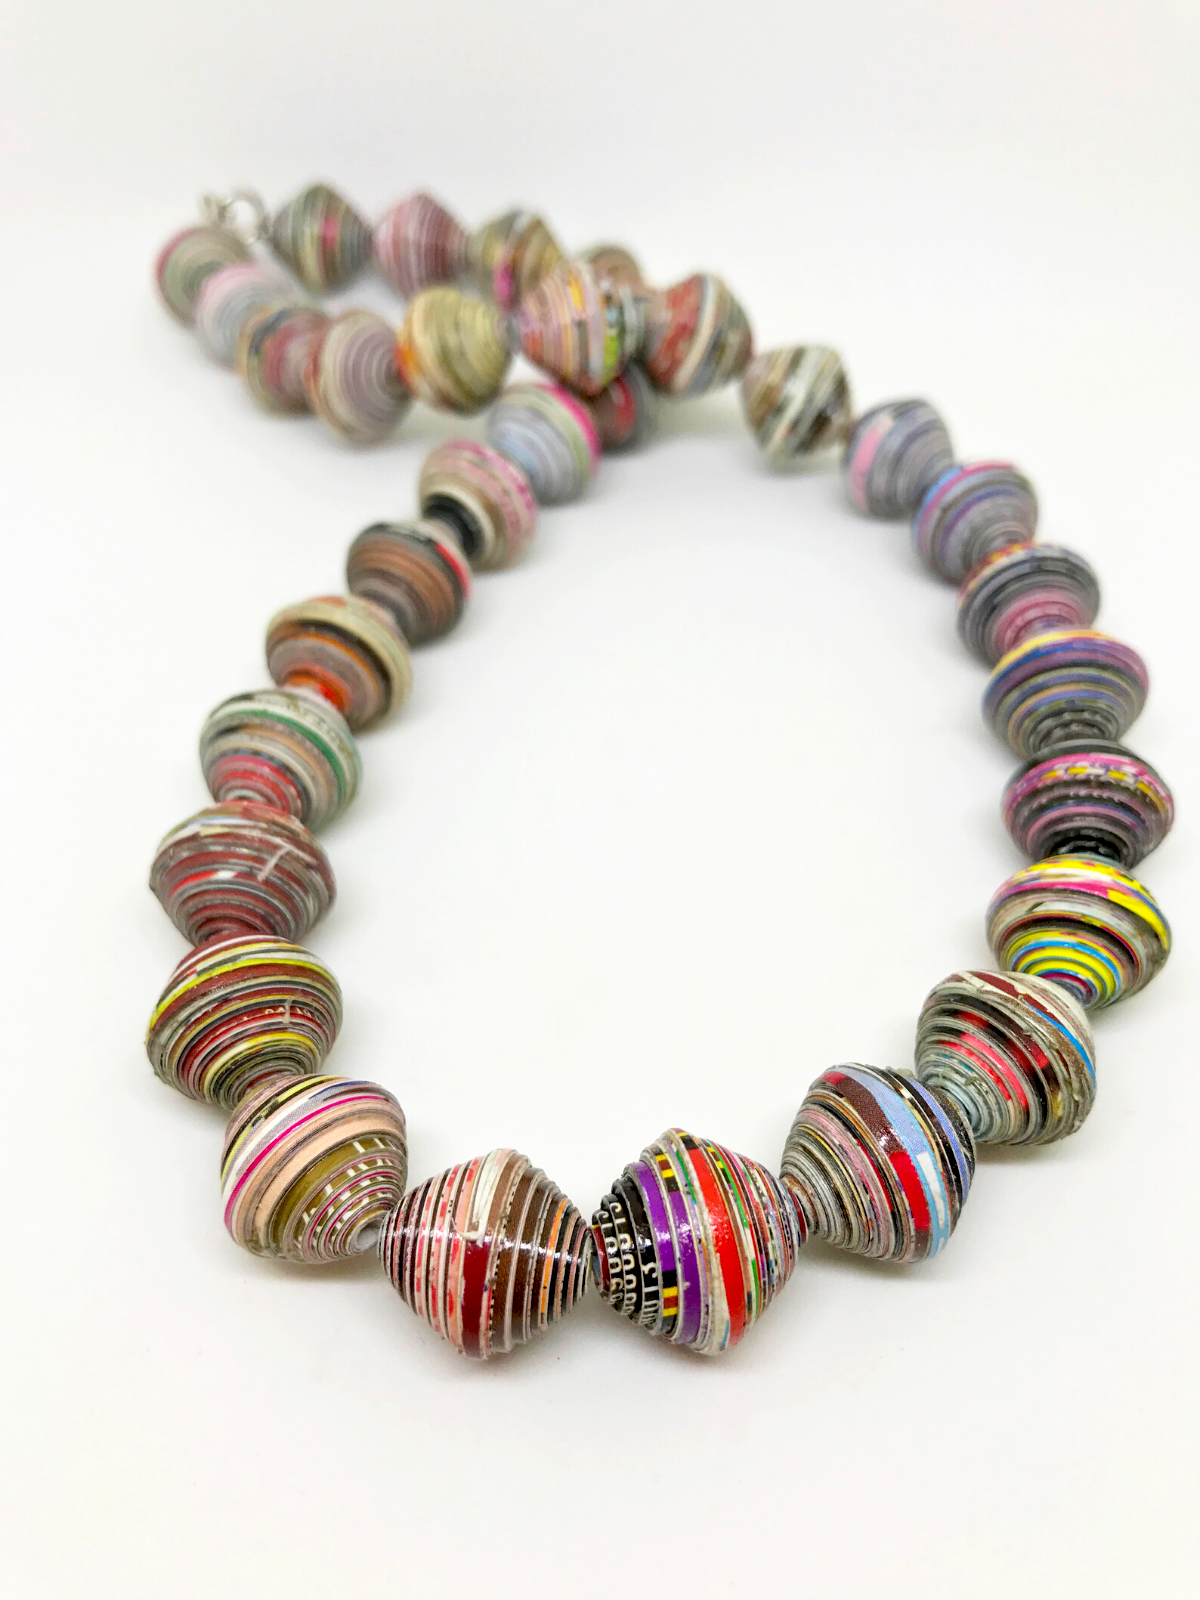
Once the beads are complete, they can be strung onto a necklace or bracelet.
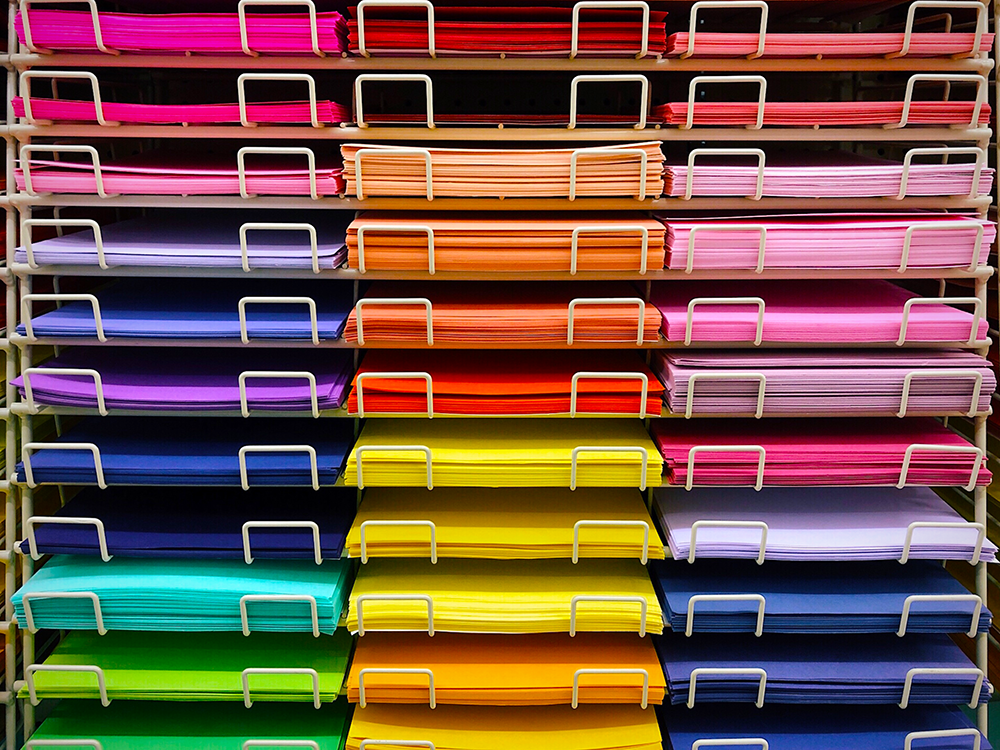
Differences in Paper
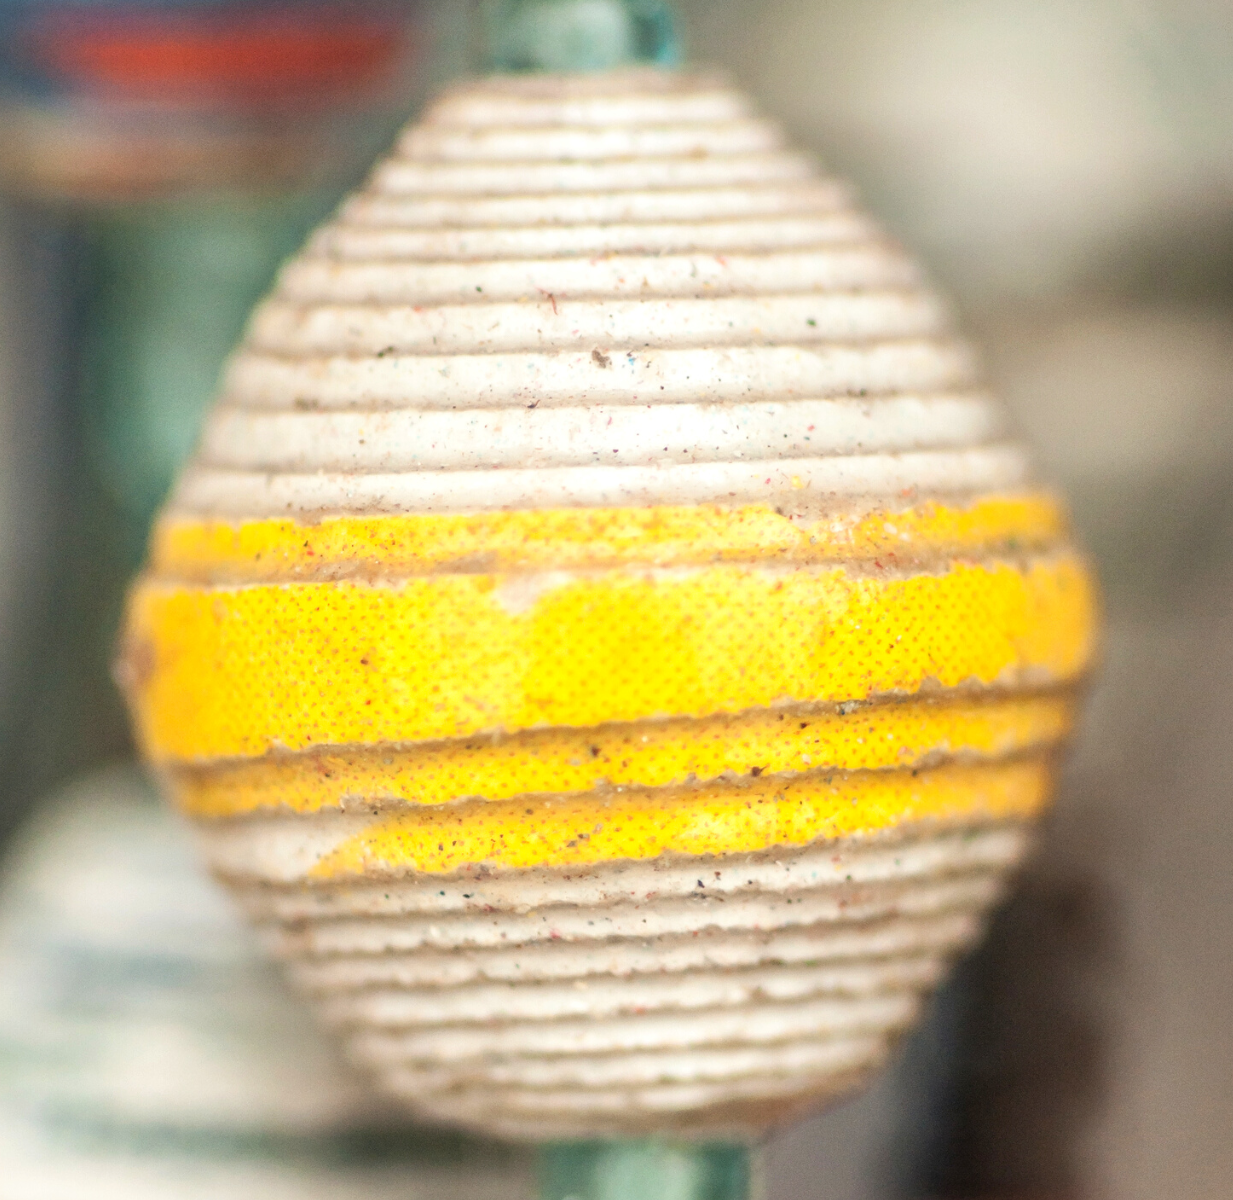
The type of paper you use will determine the type of bead you end up with.
Thicker papers like cardstock will create a more durable bead, while thinner papers like magazine paper or tissue paper will create a lighter and more delicate looking bead.
The paper thickness also will impact how easily you can roll the strips into beads.
Thinner papers will be more pliable and easier to roll, while thicker papers will require a bit more effort.
Experiment with different papers, like craft paper, to create a variety of effects.
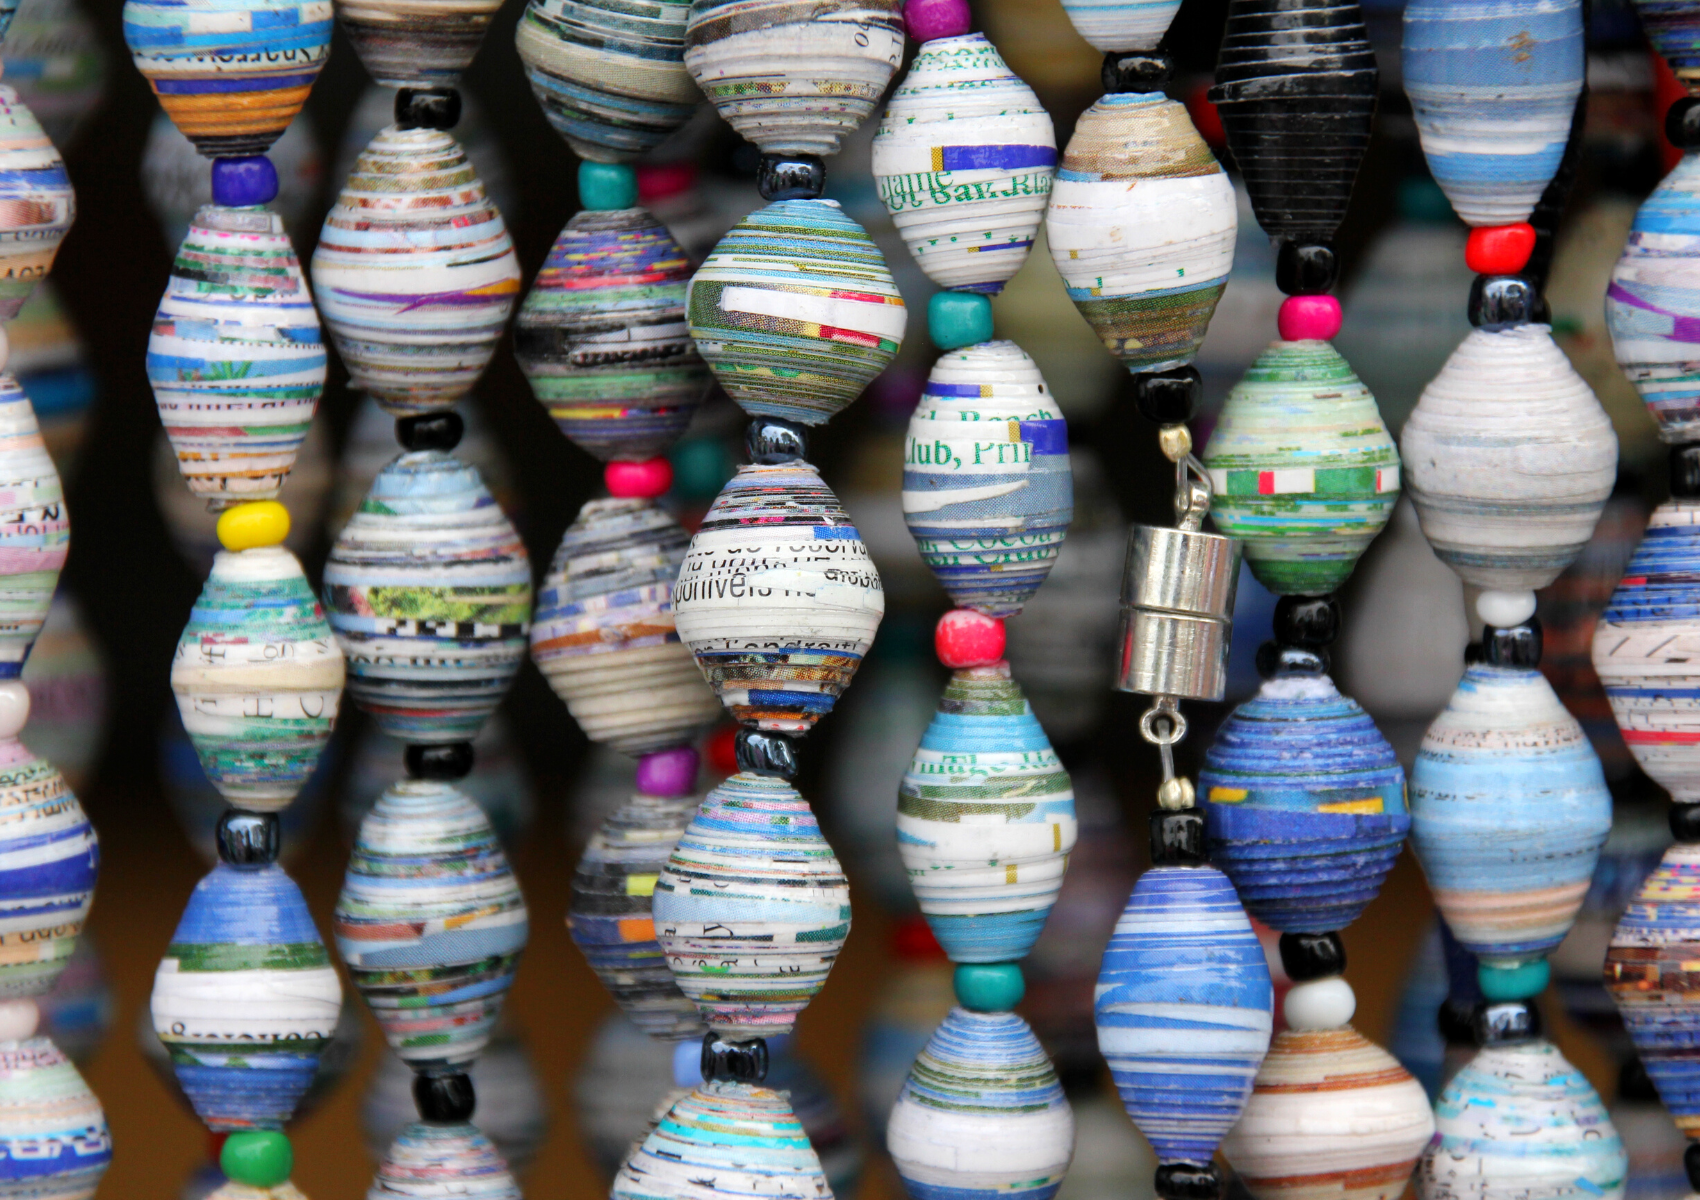
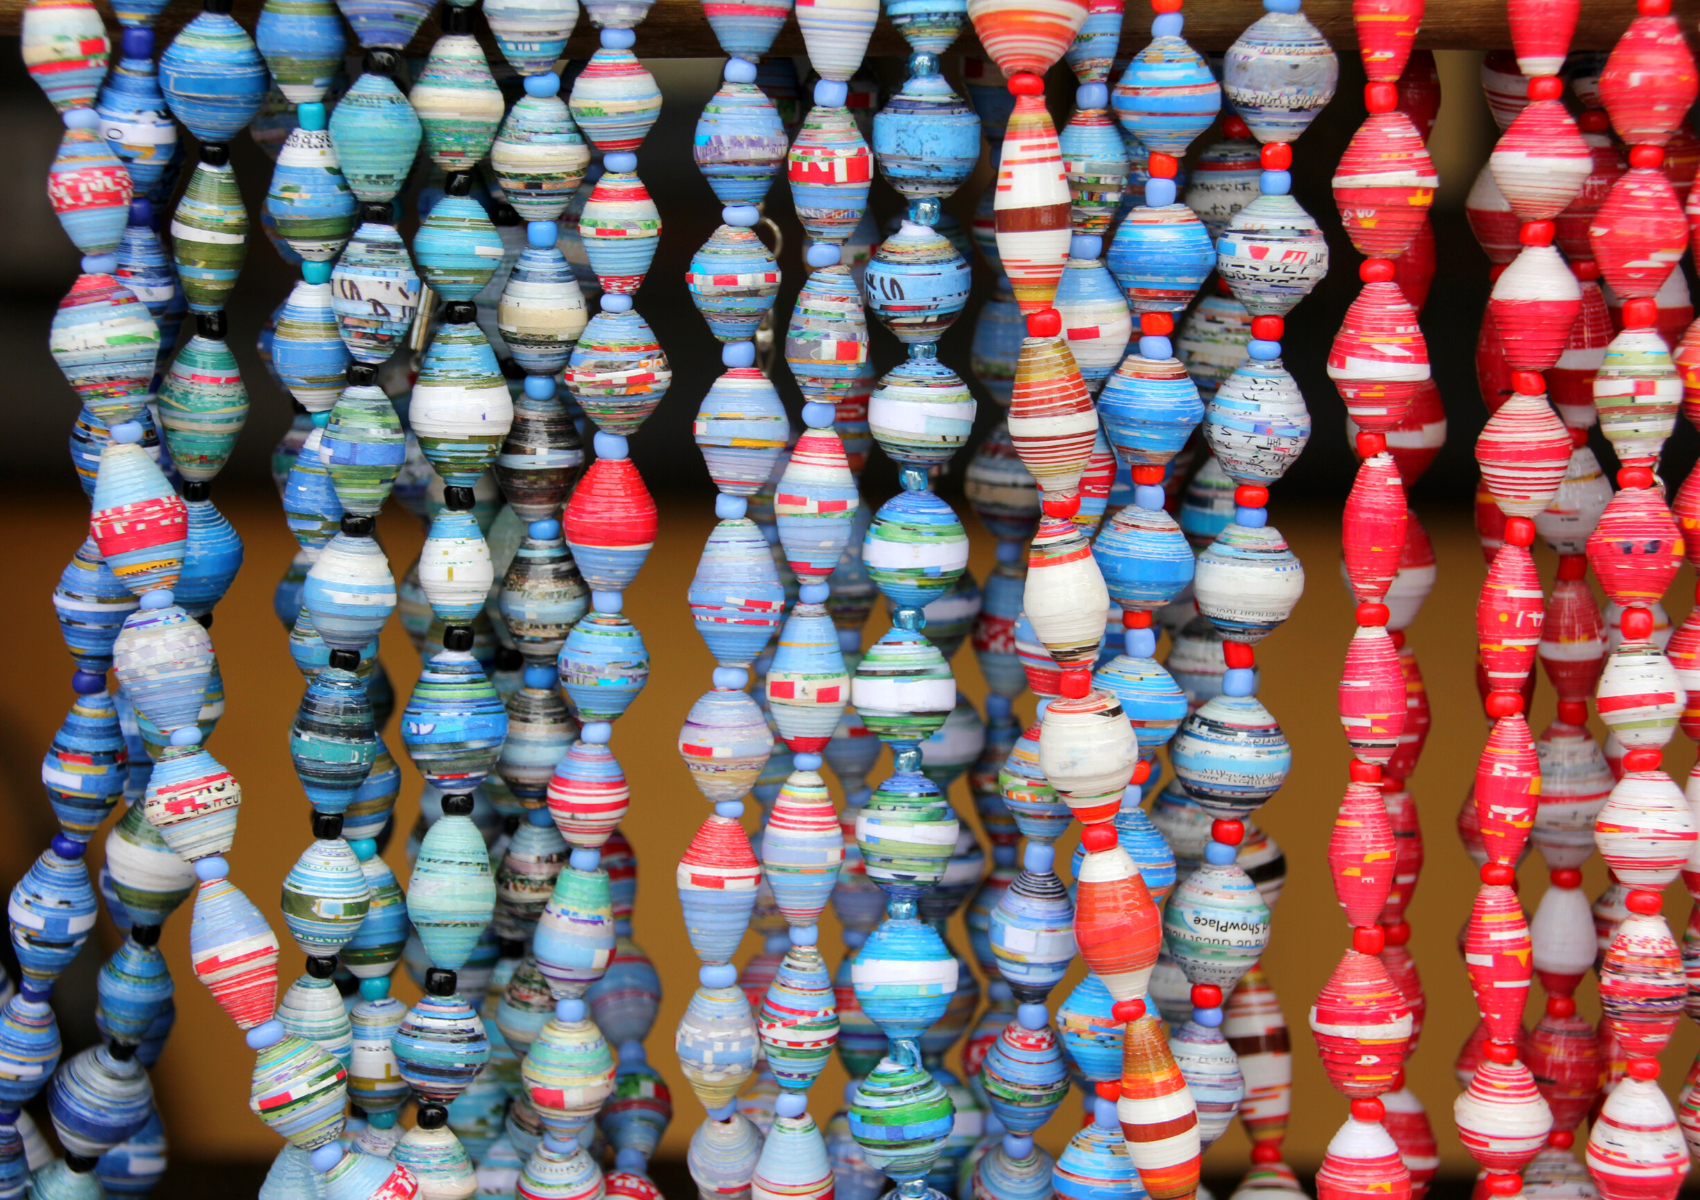
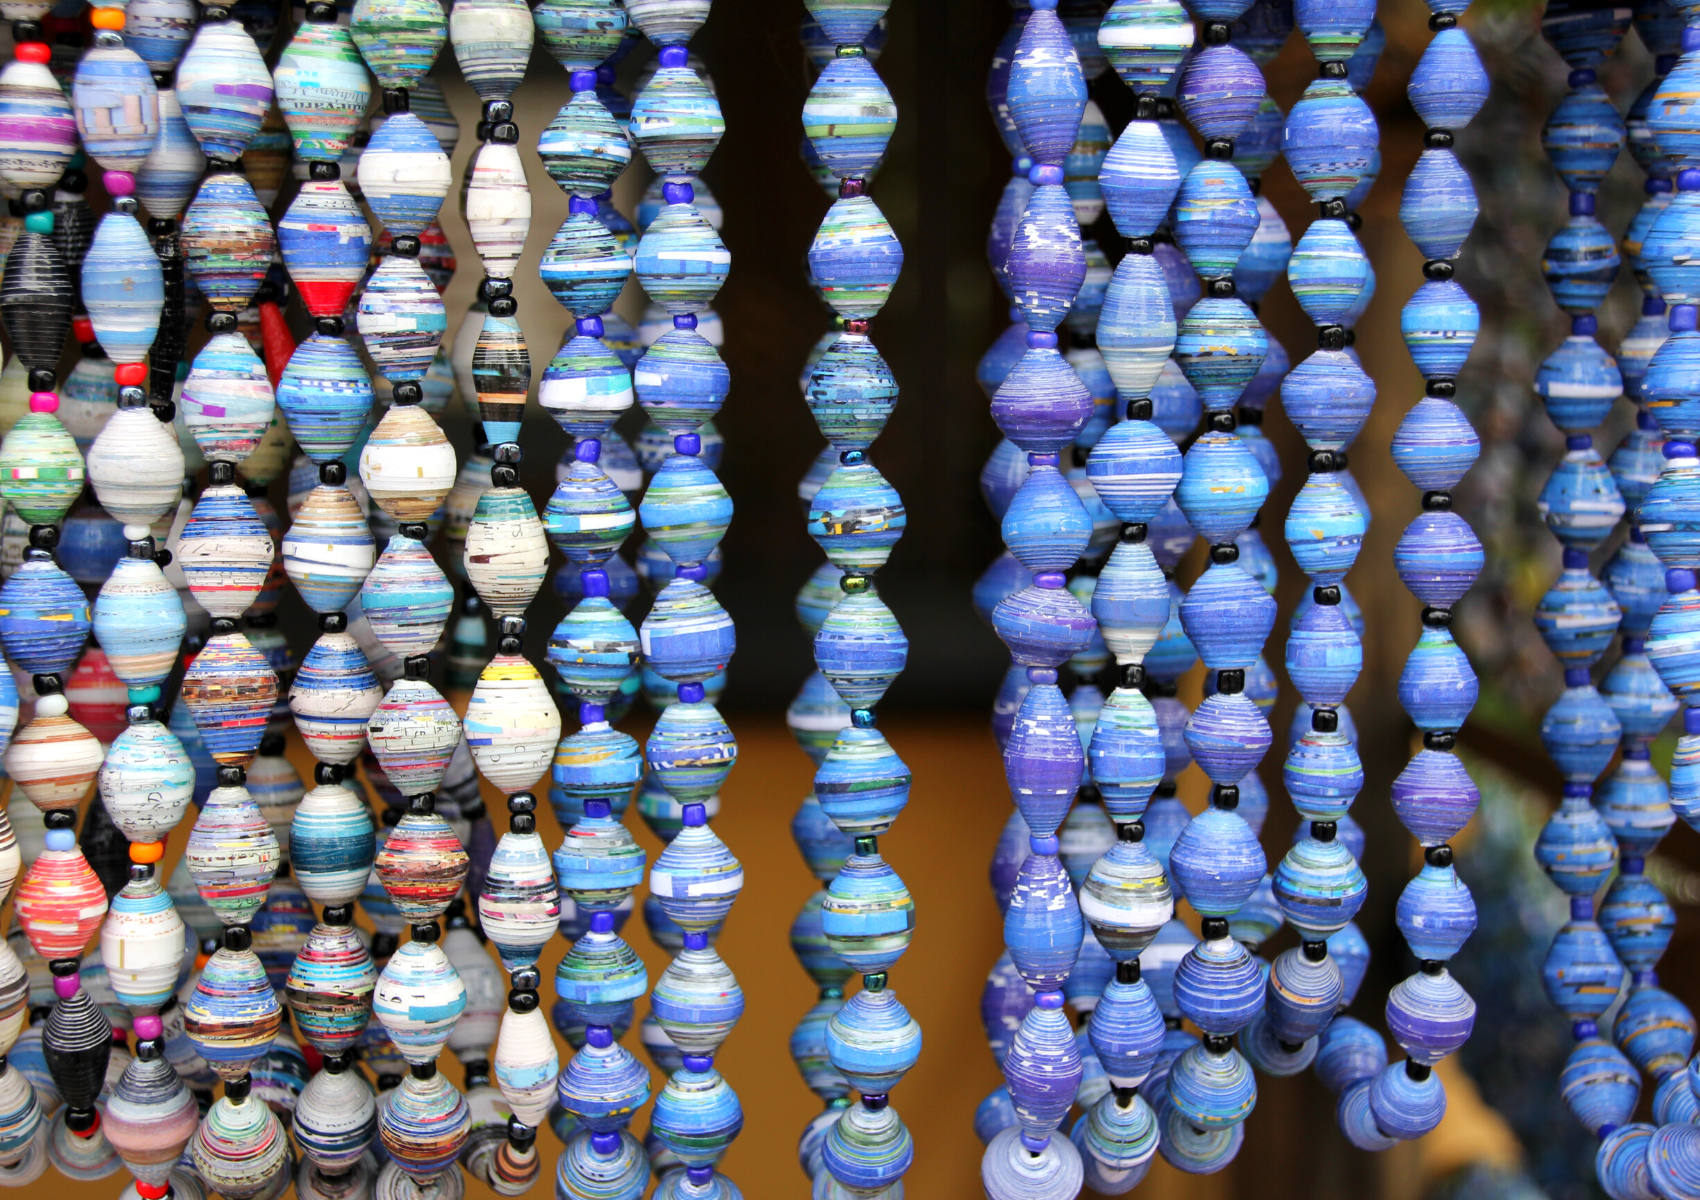
Also, different colors and patterned paper will give you a unique look for your beads.
You can try bright colors or muted tones, or mix and match for a multi-colored effect.
Decorative papers like scrapbook paper also work great for making beads with a fun pattern or design.
The Size of Beads
The length of the paper strips you use will determine the size of your beads.
Longer strips will create thicker beads, while shorter strips will create thinner ones.
The greater the width you paper strip has, the thicker your bead will be.
You can use a variety of sizes to create interesting effects when you string them together into necklaces, bracelets, or other paper bead jewelry.
For a uniform look, try to use the same size strip for all of your beads.
Creating beads with a variety of sizes can add depth and texture to your pieces.
Adding Embellishments
Once your beads are complete, you can choose to add some fun embellishments.
You can use glitter, gems, sequins, or feathers to really make your beads stand out.
You can also use colored inks, markers, or paints to create interesting designs on the beads.
The possibilities are endless!
Paper Bead Making Guide
1. Start by cutting strips of paper that are about 1/2" wide and 6" long.
You can create these strips using scissors, a craft knife, or paper cutter.
You can make the strips any size you want, but this is a good starting poilnt.
If you want your beads to be all the same size, you can use a paper trimmer or a ruler to ensure each strip is cut to the same width.
For a more organic look, simply tear the strips by hand.
Tearing by hand will give you a more random, wavy edge to your strips.
2. Once you have your strips of paper, it's time to start rolling paper into beads.
To do this, take one end of the strip and roll it tightly around a toothpick or skewer.
Continue rolling until the entire strip is used up and then carefully remove the toothpick from the center of the bead.
3. Now that you have your basic bead shape, it's time to add some interest by decorating them with patterns or images.
To do this, you can simply wrap another strip of paper around the bead, gluing it in place as you go.
You can also glue on glitter or anything else you want to use to dress up your beads.
You could also add glitter and color prior to rolling your beads.
4. Once all of your beads are decorated to your liking, give them a final coat of glue and allow them to dry completely before threading them onto string or wire to create your jewelry or embellishments.

Finishing Your Beads
Once you have your beads, it's time to finish them off and give them a polished look.
To do this, add a few drops of glue to the ends and press them together.
This will also help to ensure that your beads don't come apart when you thread them onto a string or wire.
You can also use a clear sealant, like clear nail polish, to make the paper beads shiny with a glossy finish.
Finally, string your beads onto wire or thread and you’re done!
Enjoy your beautiful paper beads!
Creating Paper Beads
Making paper beads is a fun and easy craft that anyone can do.
Armed with the right supplies you can create beautiful beads in any color or style you can imagine!
It's a fun and easy way to add personality to your decorations, jewelry, and embellishments for scrapbooking and other paper crafts projects, like paper mache and origami.
With a little bit of practice and creativity, you can create beautiful paper beads to enhance any piece of jewelry or craft project.
So grab some paper, have some fun, and get started crafting your own beads today!

Want to learn more about creating beads from paper? Check out Gerry's Craft Room's video!
Want even more content about creativity and art?
Be sure to check out all of our creative chronicles!
Check out our other art paper articles: