Are you looking for a new and fun way to spend your free time?
If so, then paper mache may be the activity for you!
This arts and crafts technique is perfect for beginners, and it's a great way to use up excess materials lying around your house.
In this guide, we will cover the basics of paper mache so that you can get started on your own project!
So, what are you waiting for; let's start creating!
What is Paper Mache?
Paper mache, or papier mache, is a craft that has been around for centuries.
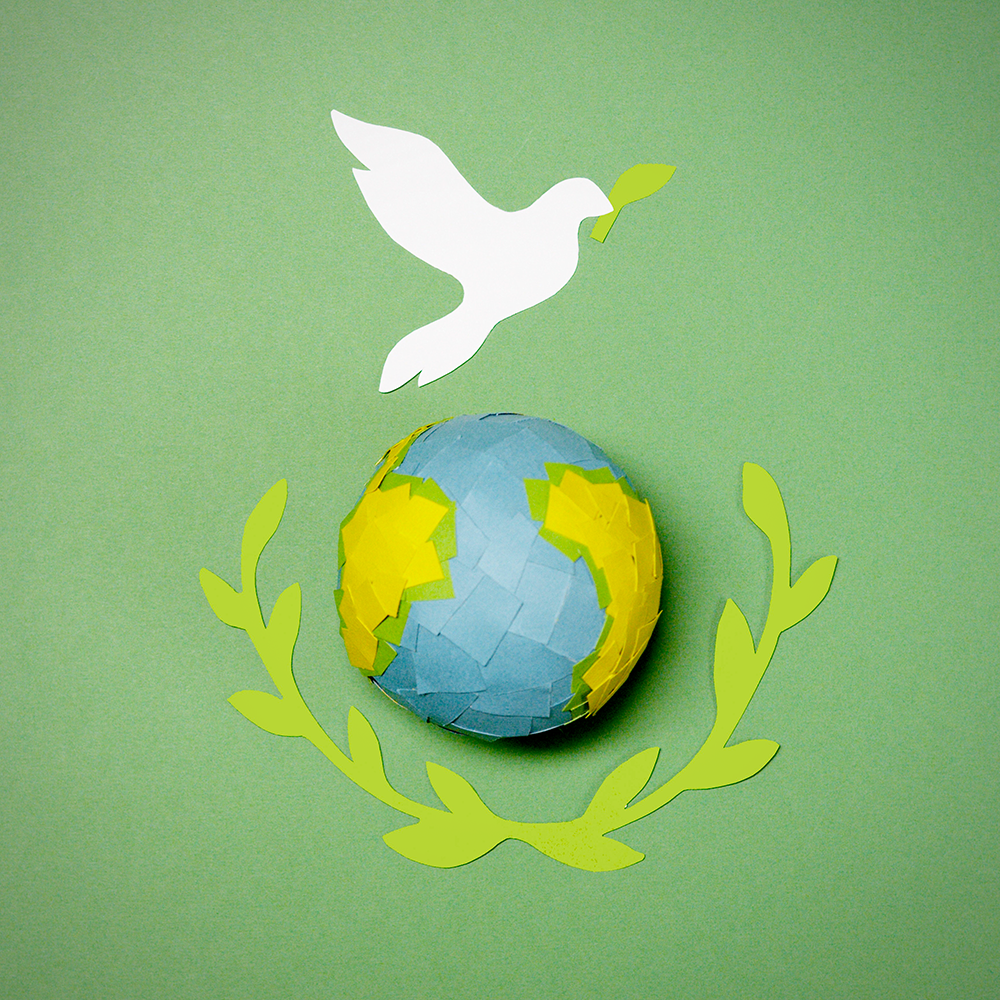
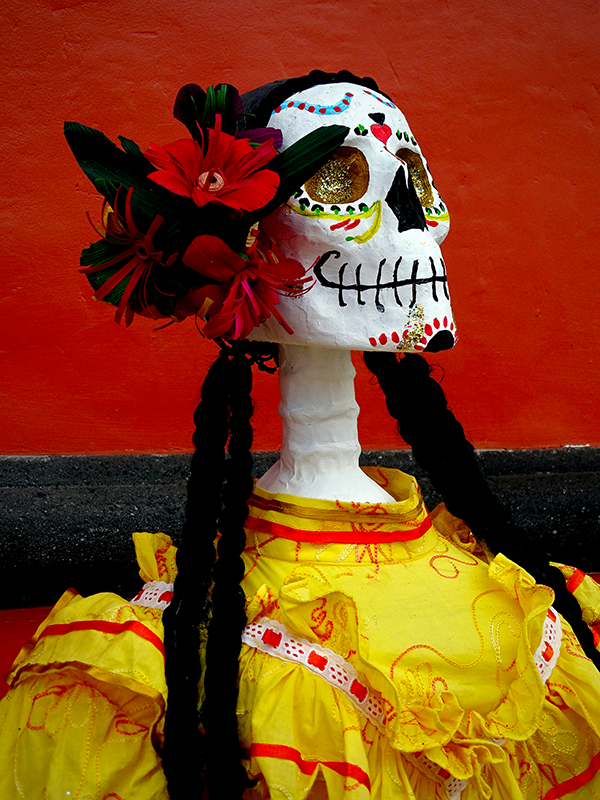
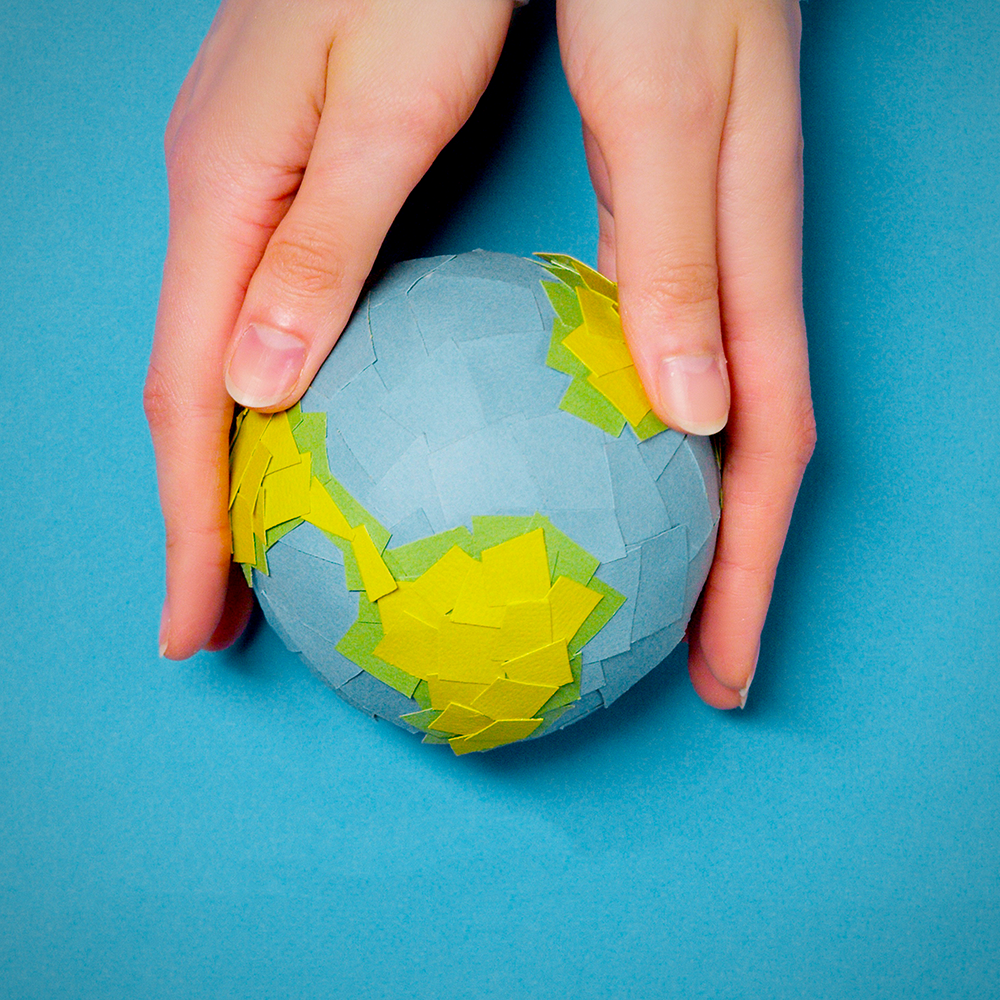
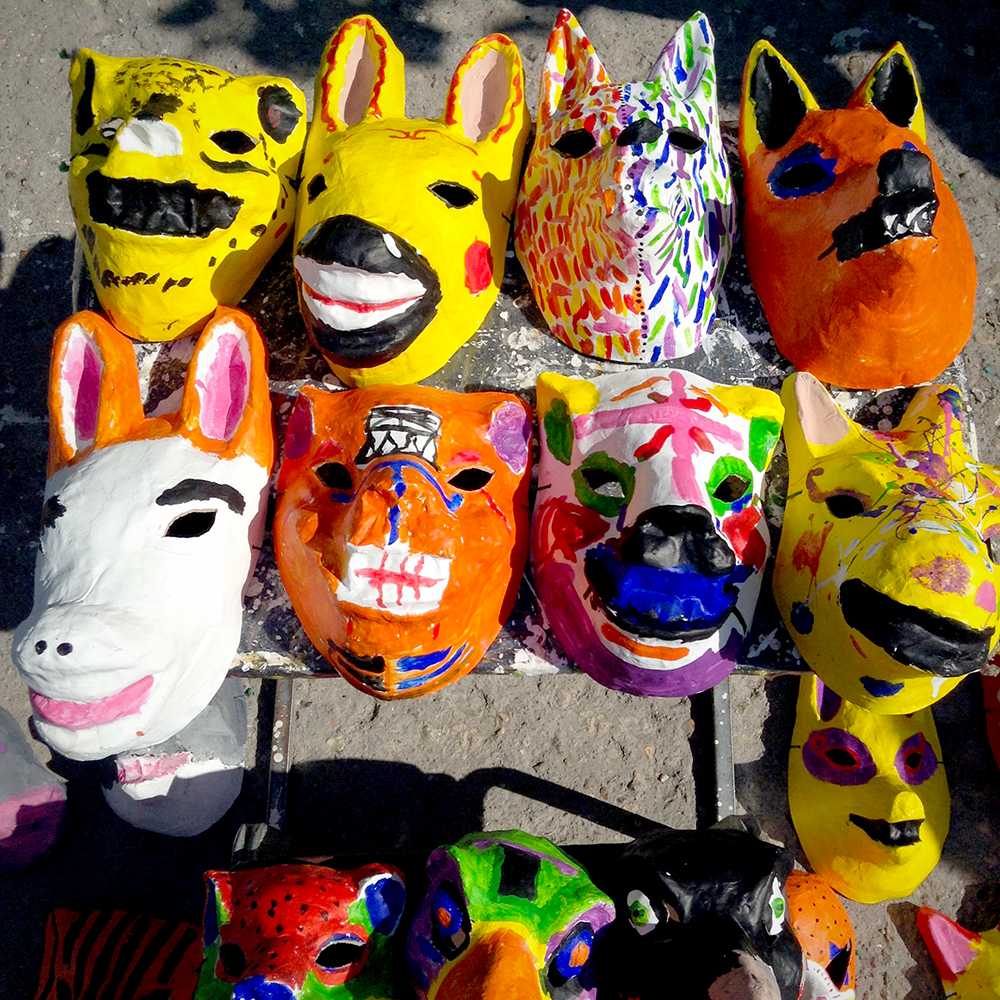
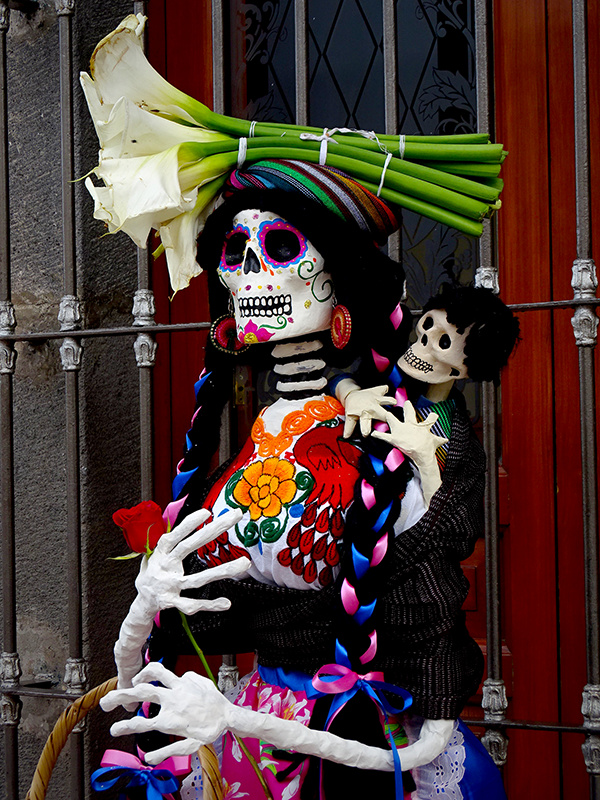
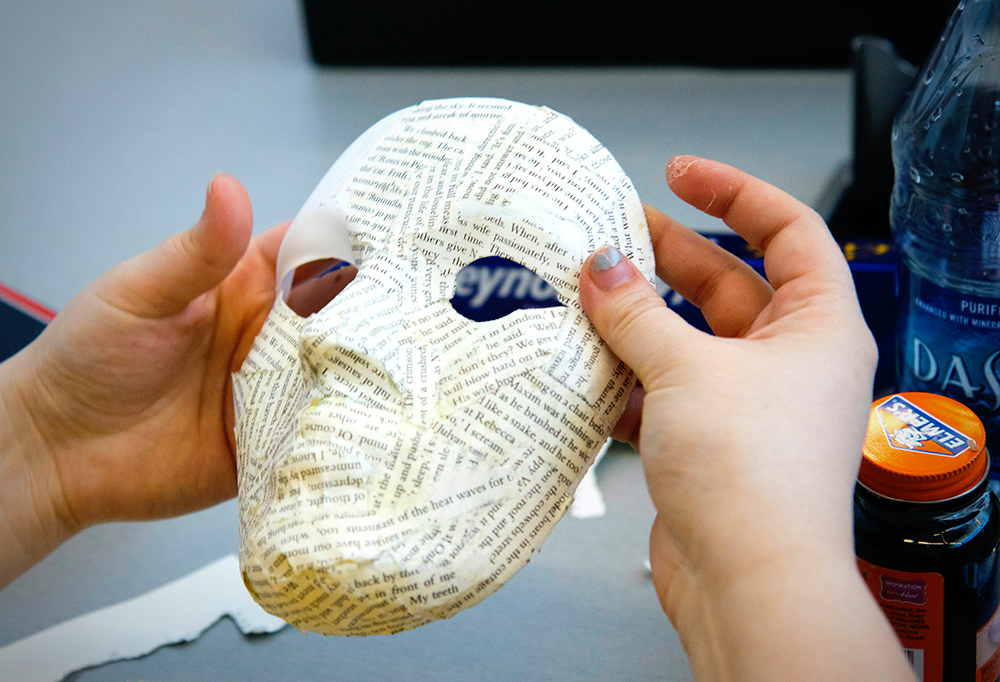
It is a versatile medium that can be used to create sculptures, masks, and other paper art forms.
The word "paper mache" comes from the French phrase "papier mâché," which means "chewed paper."
Paper mache is made by combining strips of paper with a glue or paste.
The most common paper mache paste is flour and water.
Other pastes that can be used include wallpaper paste, wheat paste, and joint compound.
Once the paste is applied to the paper, it can be molded into any shape, allowing you to apply paper mache layers.
One of the great things about paper mache is that it can be done by people of all ages and skill levels.
Paper Mache Supplies
Now that you know a little bit more about paper mache, it's time to gather your supplies!
The supplies you will need for paper mache are probably already in your home.
For most projects, you will need:
- Paper: You can use any type of paper for paper mache, such as newspaper, construction paper, or tissue paper.
- Glue or paste: The most common glue used for paper mache is made from a water and flour mixture, but there are many types of glue you can use to achieve the same result, such as mod podge.
- A mixing bowl and spoon: You will need a bowl and spoon to mix your paste.
- A paintbrush or sponge: A paintbrush or sponge will help you apply the paste to the paper (and any paint you may want to use later).
- Scissors: You will need scissors to cut the paper into strips.
- Work surface: It's best to cover your work surface with newspaper or plastic before you begin.
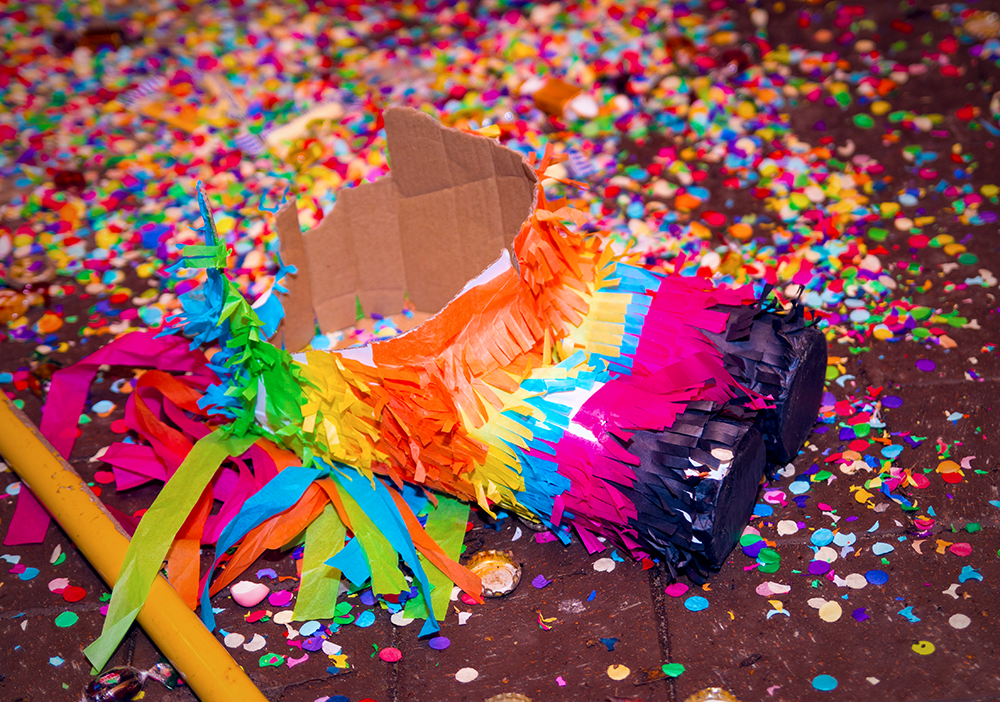
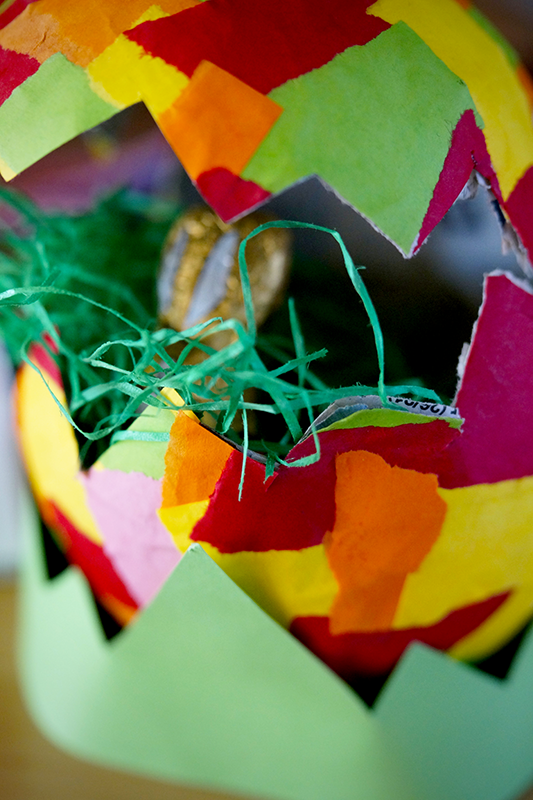
- Optional mold (such as a balloon): If you are making a pinata, mask, or similar project, you will want to use as a mold; molds can vary, so choose one that is appropriate for your project.
- Optional paint and varnish: Once your project is dry, you may want to paint it or add a layer of varnish to protect it.
Now that you have all of your supplies, you are ready to get started!

Paper Mache Techniques
There are many different ways to make paper mache.
The most common method is to simply glue strips of paper to your mold.
Once the paper is in place, you can smooth it out with your hands or a paintbrush.
If you want a smoother surface, you can try using tissue paper or adding an extra layer of paper.
Another technique is to make a papier-mâché paste using flour, water, and salt.
With this paste, you can create a pulp by soaking strips of paper in the mixture until they are saturated.
Once the paper is saturated, you can apply it to your mold in the same way you would with strips of paper.
If you want a sturdier paper mache, you can try using joint compound.
Joint compound is a type of plaster that is used in construction.
It is mixed with water to create a paste, which can then be applied to strips of paper.
Once the joint compound dries, it will create a strong paper mache that can be painted or varnished.
Now that you know the basics of paper mache, it's time to get started on your project!
Instructions
Here are some simple, step-by-step instructions on creating paper mache projects.
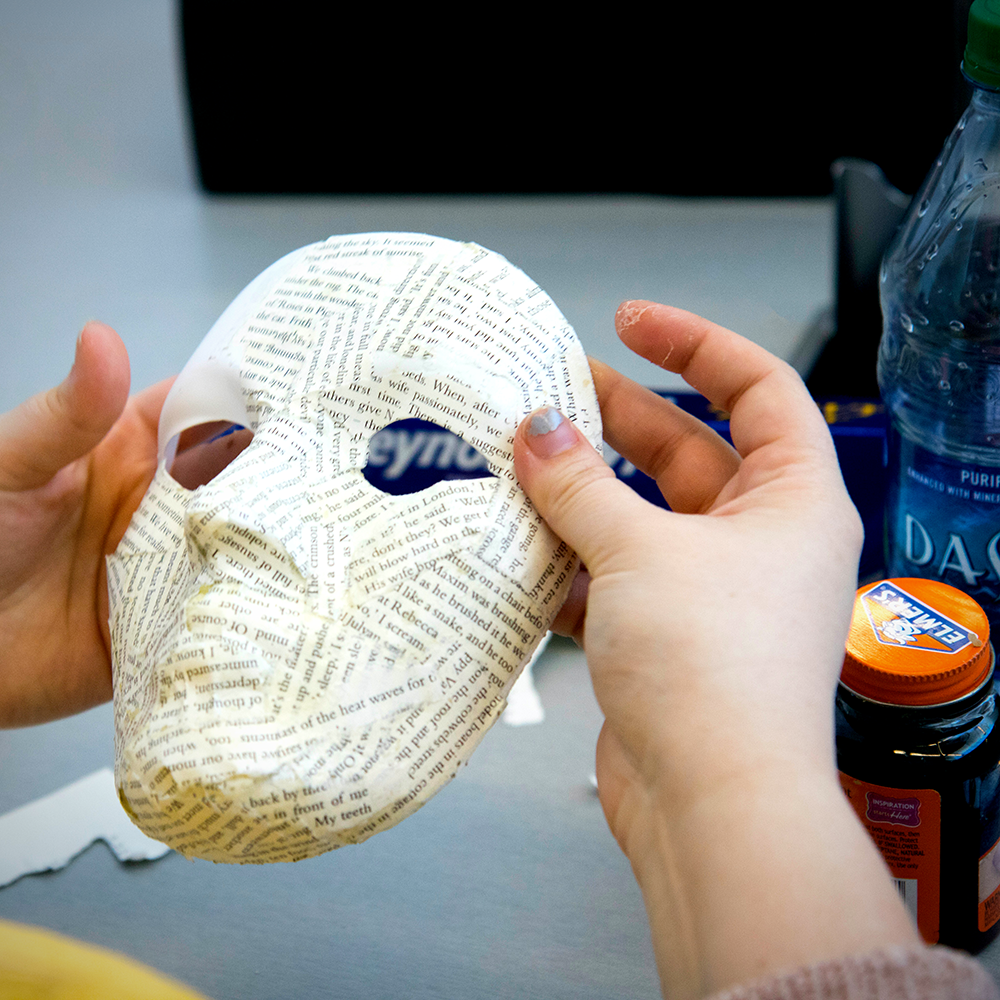
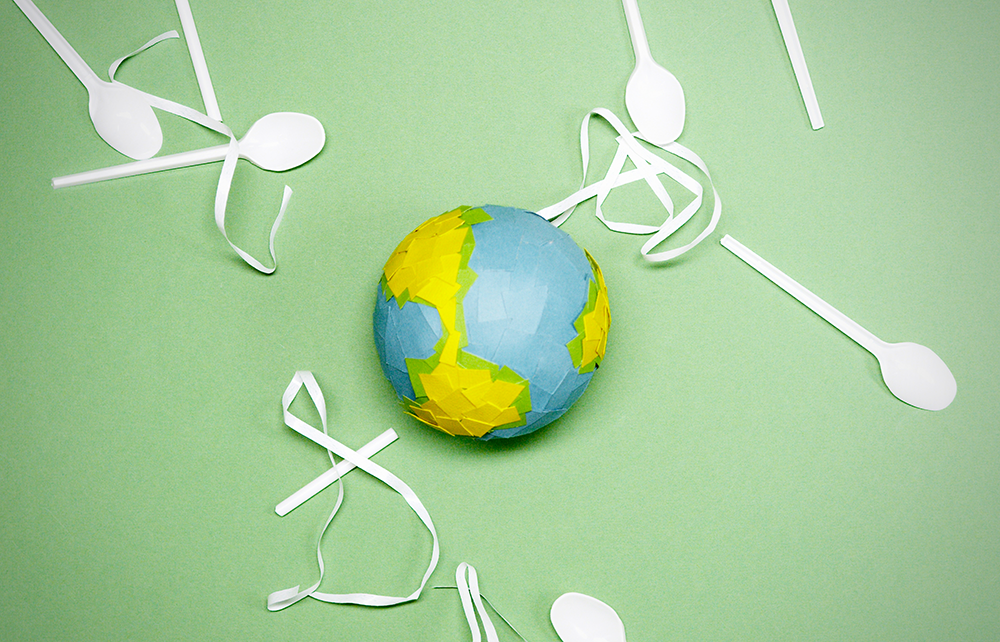
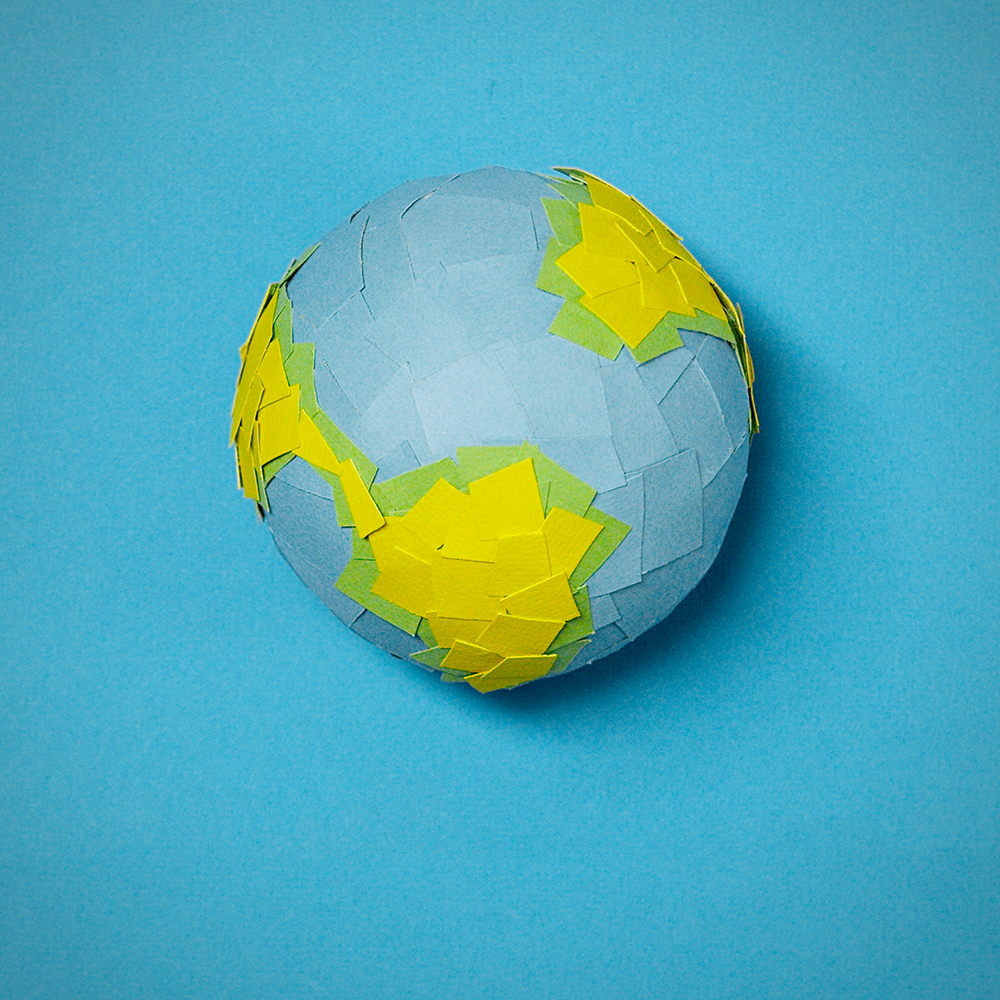
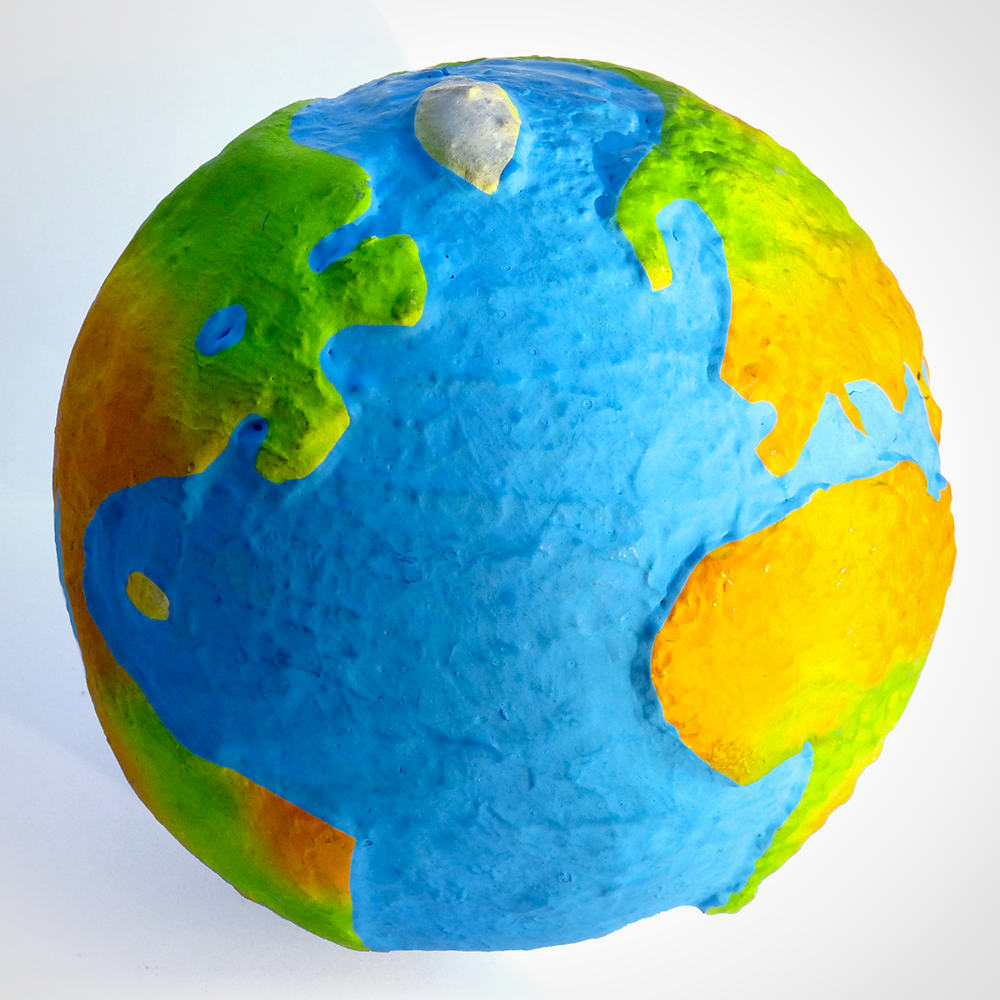
1. Begin by inflating a balloon to the size you want your finished project to be. Tie off the end of the balloon so that it stays inflated.
2. Cut your strips of paper into manageable pieces. If you are using newspaper, you will want to cut them into 1” – 2” wide newspaper strips.
3. Make your glue or paste according to the recipe you are using.
4. Dip a strip of paper into the glue or paste and then apply it to the balloon. Continue doing this until the entire balloon is covered in a layer of strips while being mindful of excess paste.
5. Let the first layer dry completely before moving onto your second layer. Depending on what type of glue or paste you are using, this could take several hours or even overnight.
6. Once your project is as thick as you want it to be (usually at least three layers of paper mache), pop the balloon and carefully remove it from inside your project.
7. Allow your project to dry completely before painting or decorating it however you like!
A few tips to keep in mind…
If you are using a flour and water paste, be sure to boil the mixture for about 5 minutes before using it.
This will help to prevent any mold or bacteria from growing.
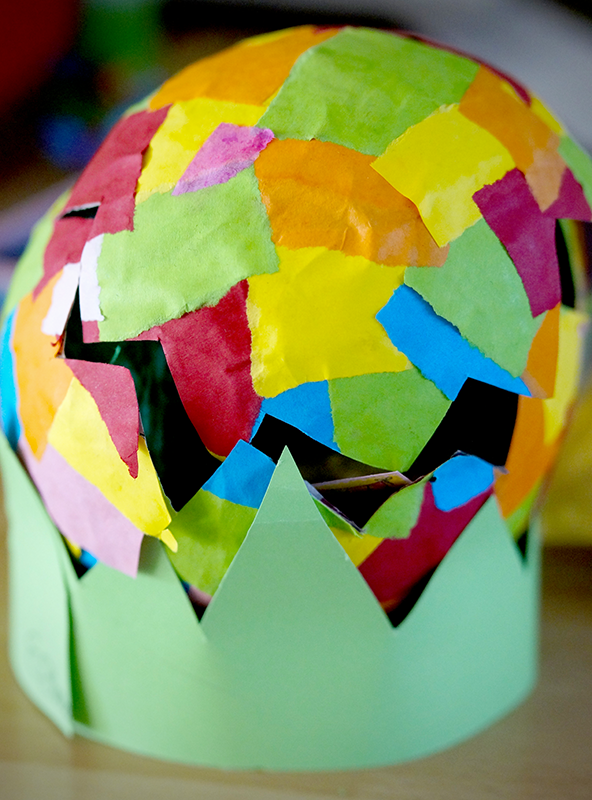
You can use other items for molds or build an internal framework out of cardboard to make a free-standing sculpture.
Plus, you can also use different colors of paper or even add some texture by crumpling the strips before you apply them.
While a bit messy, there are many ways to be creative with paper mache, so feel free experiment!
The possibilities are endless; have fun and be creative!
Creating Paper Mache
Paper mache is a fun and easy craft that can be enjoyed by people of all ages and skill levels.
With just a few supplies and some time, you can make something truly unique!
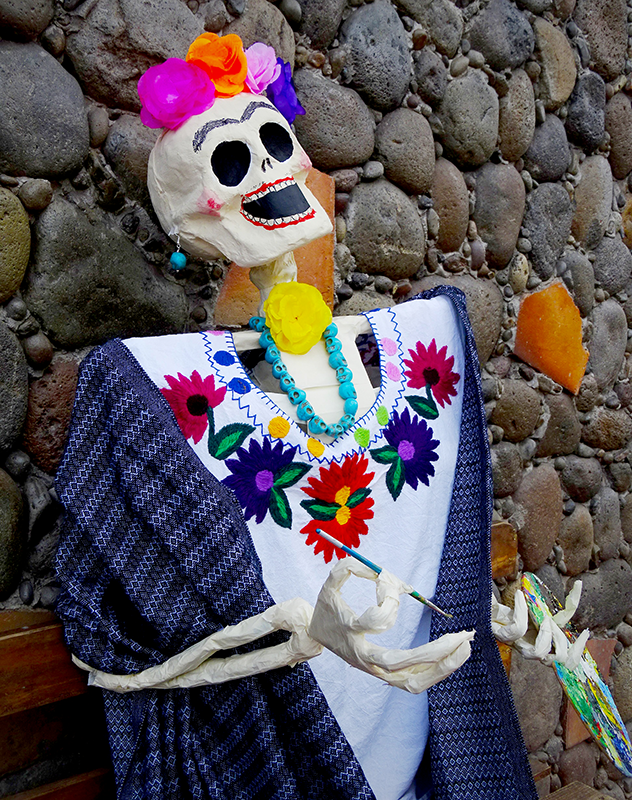
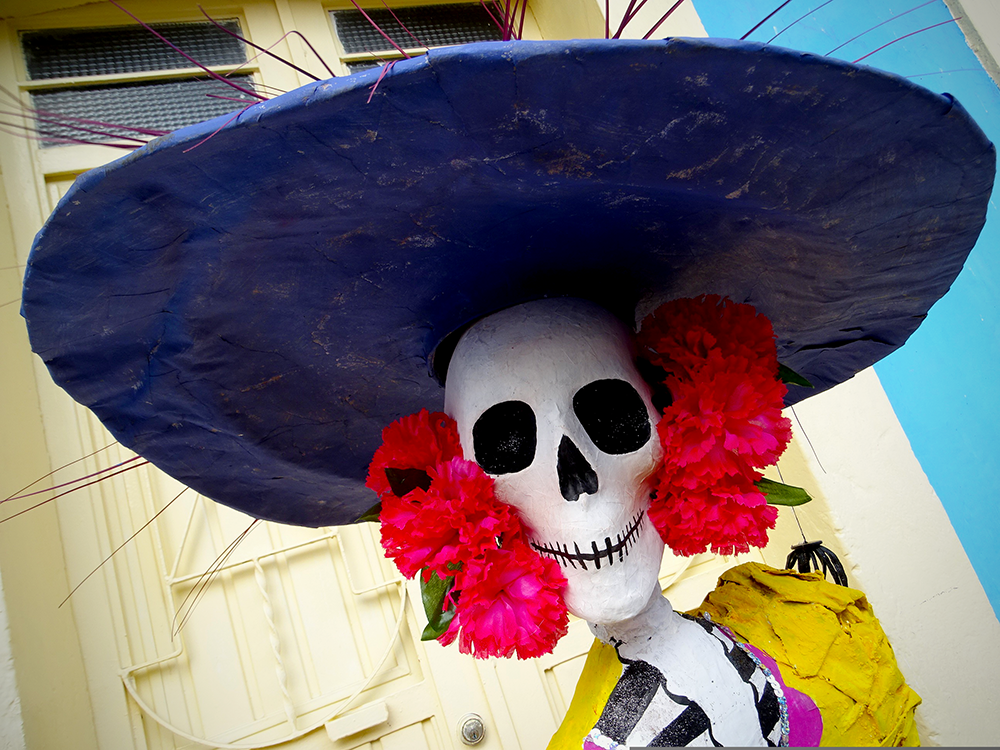
A great way to create unique and interesting sculptures, masks, and more, paper mache is a craft that anyone can enjoy.
With a little imagination and some basic supplies, you can make anything you can dream up!
Now that you know the basics of paper mache, go forth and create something beautiful!
So get out your supplies and give it a try!

Want to learn more about creating paper mache art? Check out How To With Kristin's video!
Interested in creating paper mache and other paper art?
Check out some of our other articles: