If you're new to ceramics, you may have heard the term "wedging" and wondered what it's all about.
In a nutshell, wedging is the process of preparing clay for use on the potter's wheel or in other hand-building techniques.
Wedging clay is the process of working the clay to make it resistant to shrinking and cracking when it dries.
It's an important step in ceramics, and if you're new to the art form, it's something you'll want to learn about.
When done properly, wedging will remove air bubbles from the clay, make it more pliable, and help to ensure that your final product is strong and sturdy.
In this post, we'll explain what wedging clay is and why it's so important.
We'll also provide some tips for getting started to help you wedge like a pro.
So, if you're curious about wedging clay, keep reading!
Why Wedge?
Wedging is an important part of the ceramics process because it strengthens the clay and makes it easier to work with.
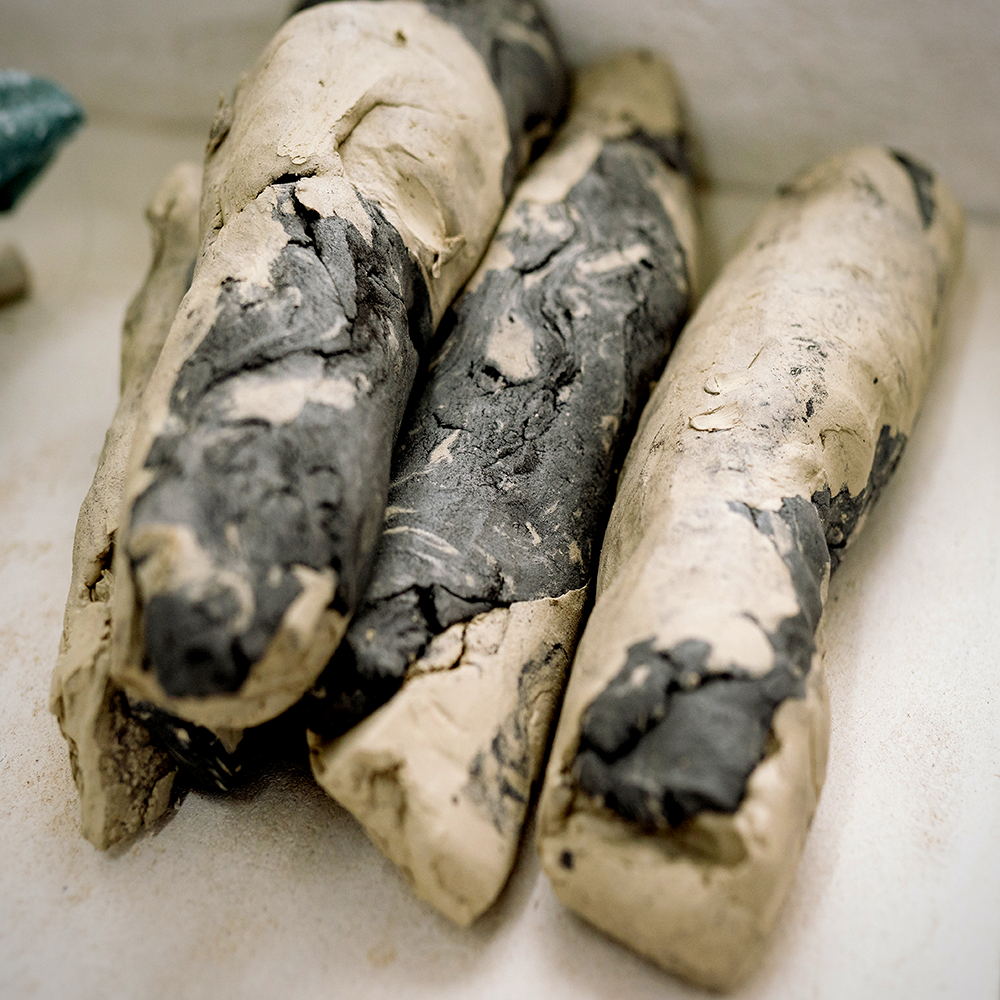
When you first open a bag of fresh clay, it will likely contain lumps, stones, and other impurities with the clay particles.
Mixing clay through wedging helps to break up these impurities and lumps to achieve a smooth, even consistency throughout the entire piece of clay.
In addition, wedging helps to remove air bubbles from the clay, which can cause your final product to crack or crumble.
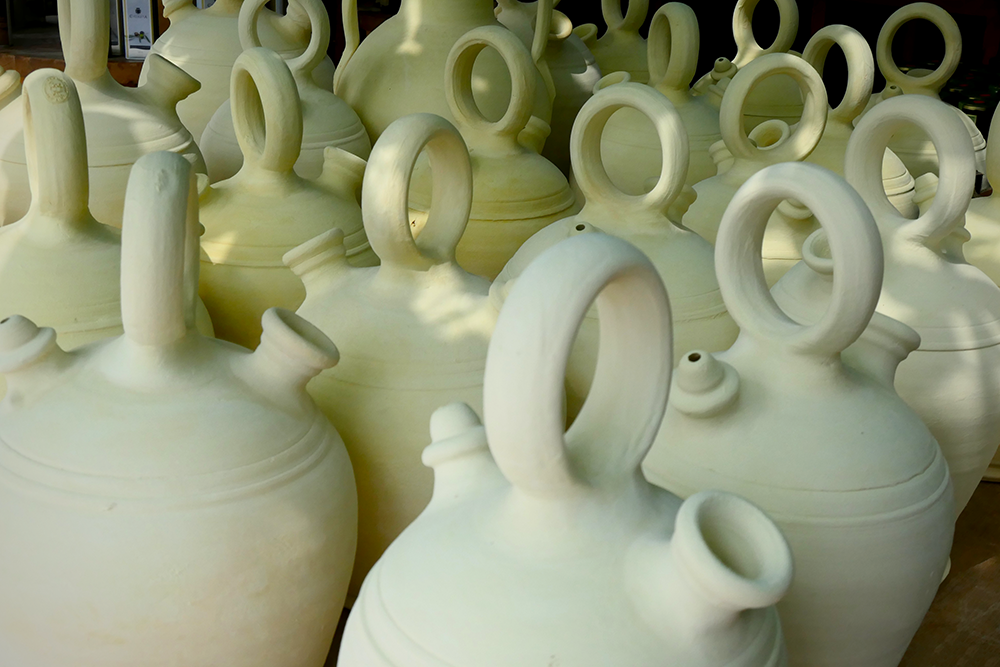
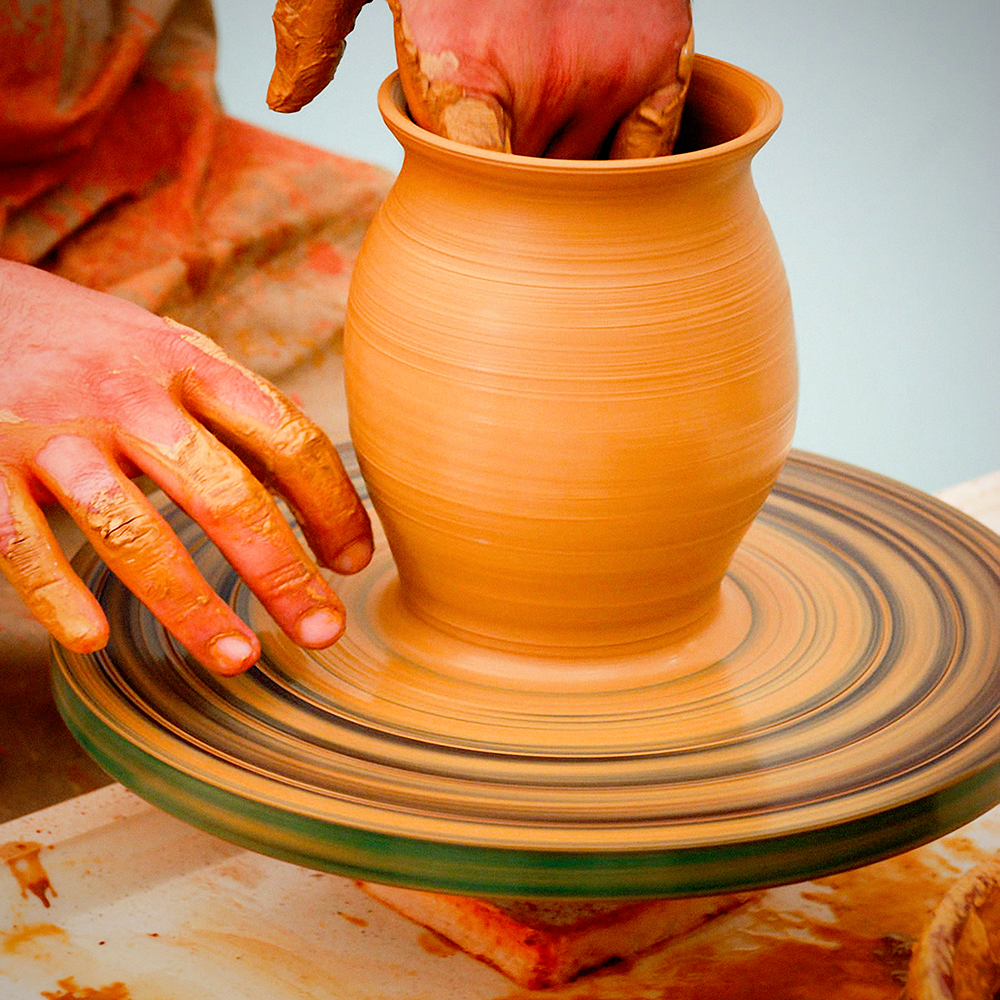
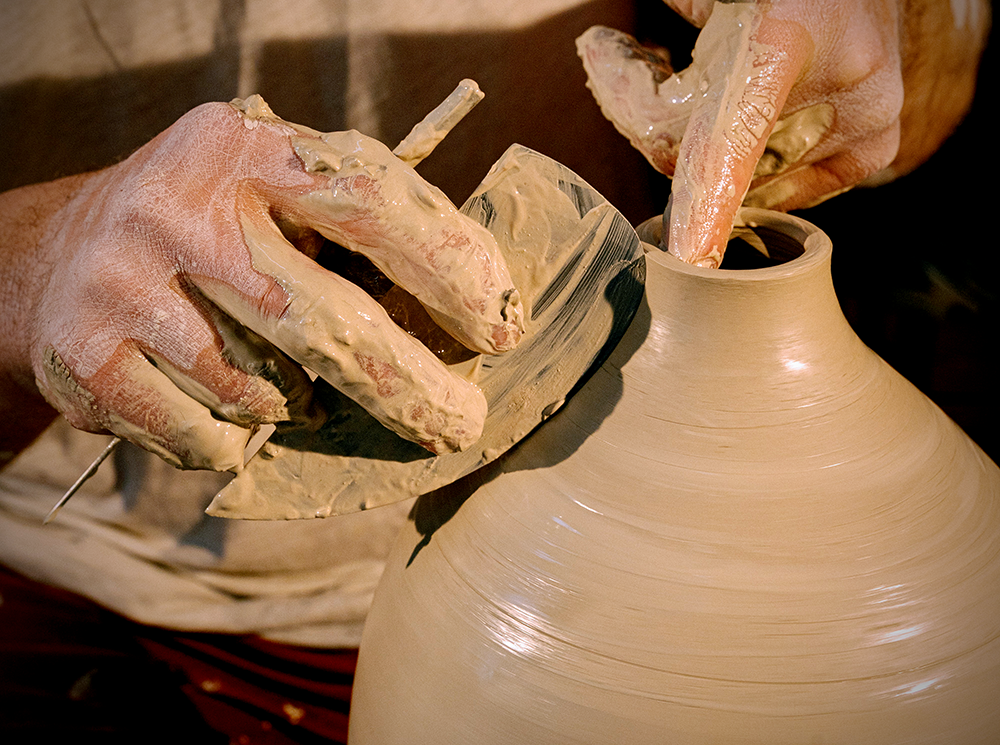
No matter what you want to use clay bodies for, including hand-building and throwing on the pottery wheel, wedging clay is a vital part of the pottery making process.
Do All Types of Clay Need to Be Wedged?
The short answer is yes.
All types of clay need to be wedged before they can be successfully used in ceramics.
However, some clays are more prone to shrinkage and cracking than others, so it's important to know the characteristics of your particular type of clay before beginning the wedging process.
It's also important to note that some types of clay will require more vigorous wedging than others.
For example, a high-fire clay will require more wedging than a low-fire clay.
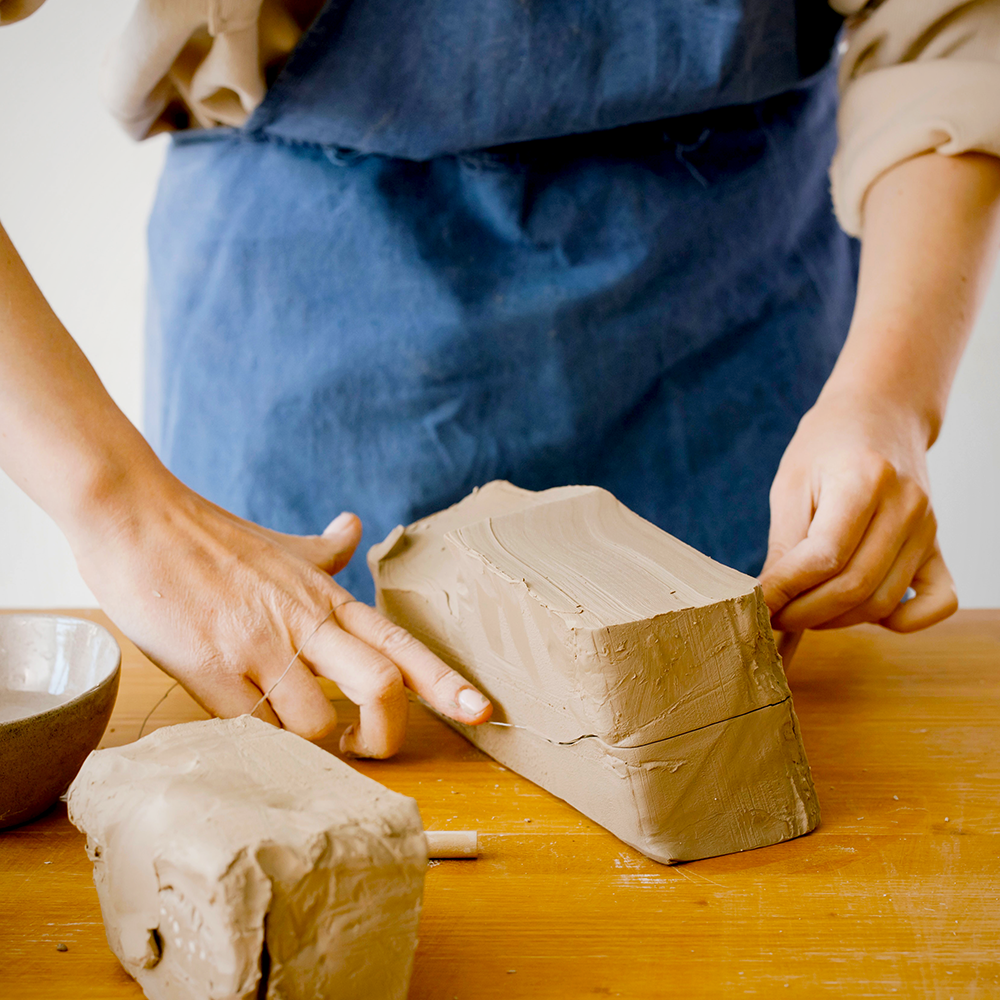
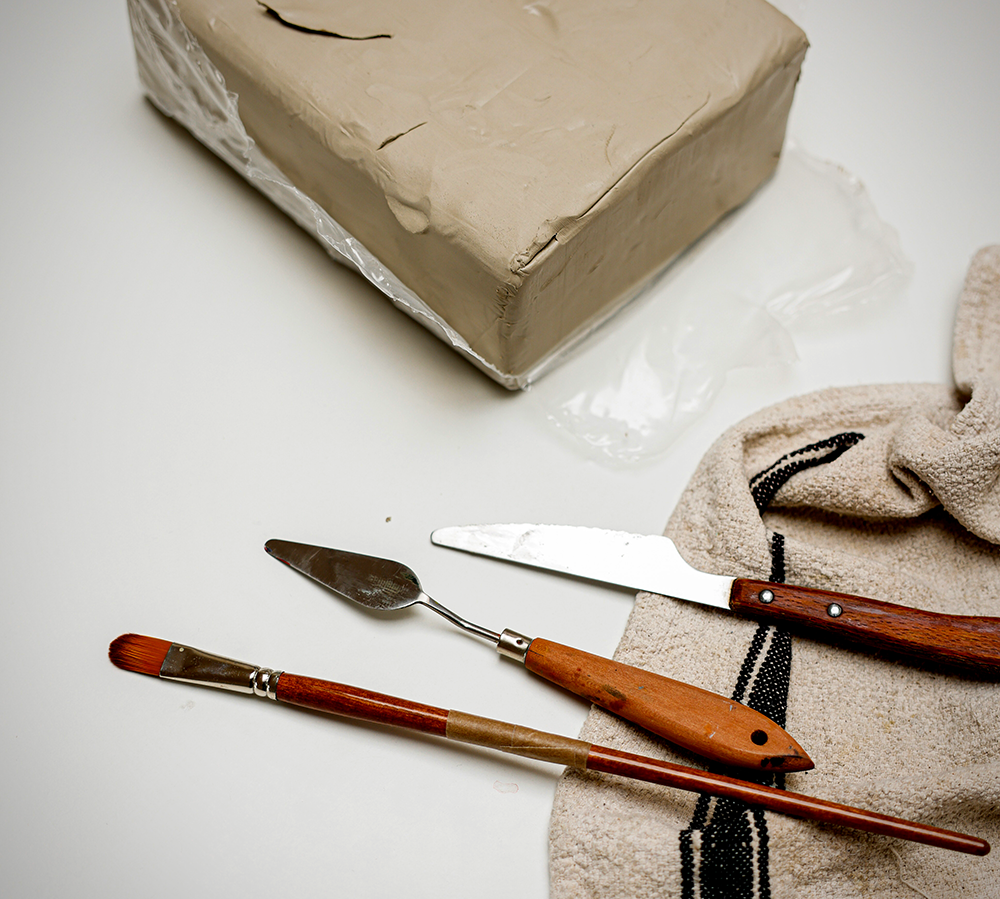
The Tools You'll Need
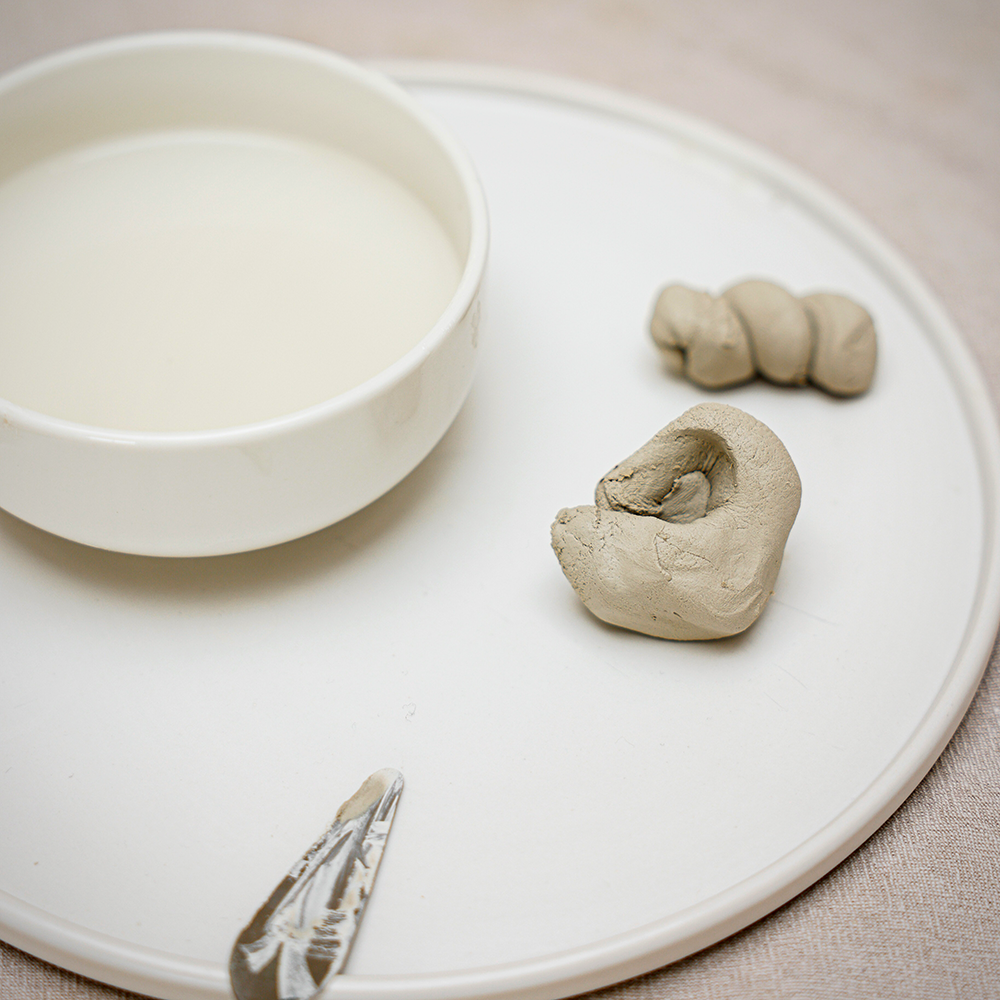
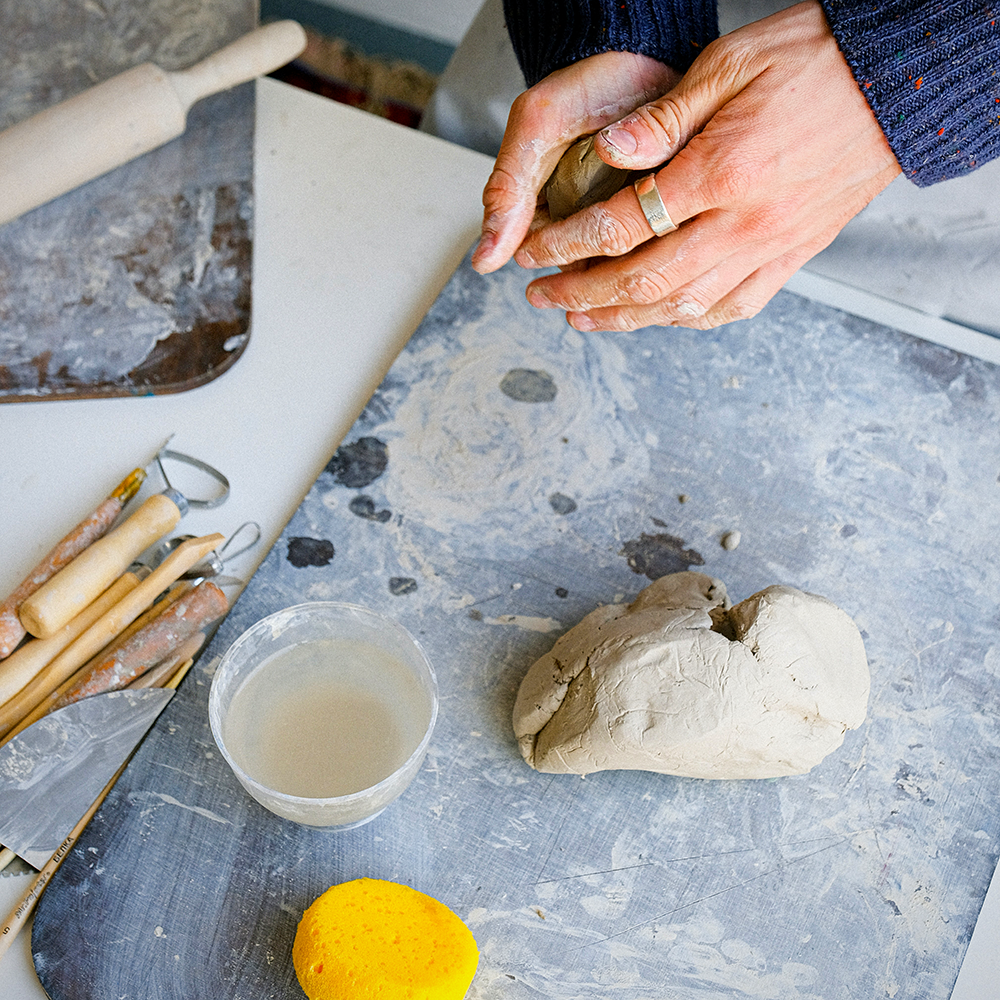
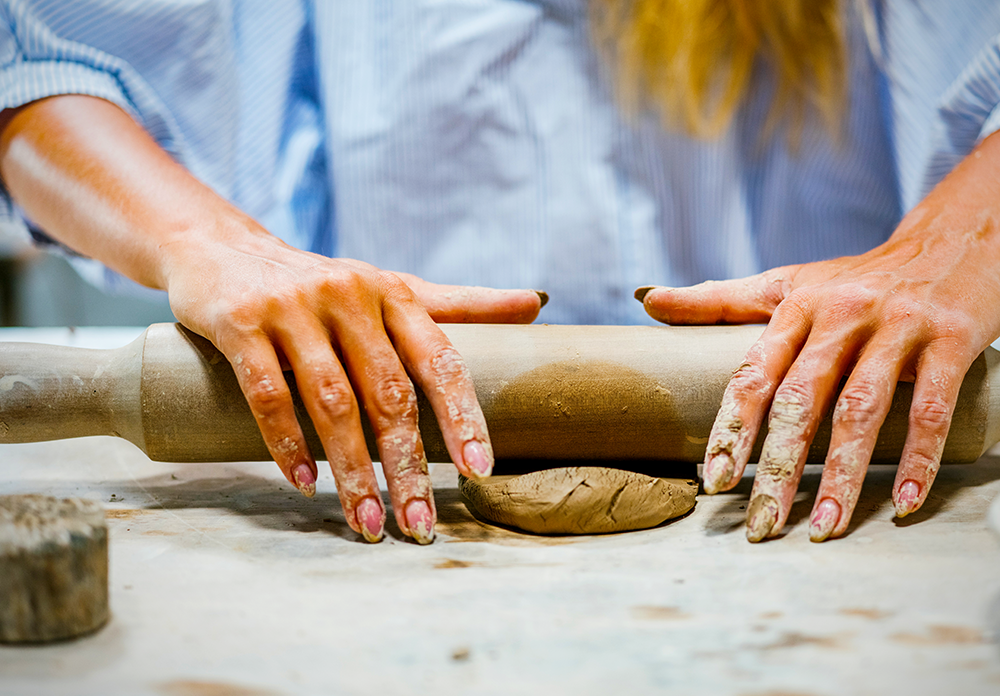
To wedge clay properly, you'll need a little bit of space (a table or countertop will do, but you can also have a dedicated wedging table), a clean surface to work on, some water (for dampening your hands and the clay), and, of course, some clay.
You might want a wire cutter for slicing the clay into manageable pieces, and a paddle or rib for working the clay into a uniform consistency.
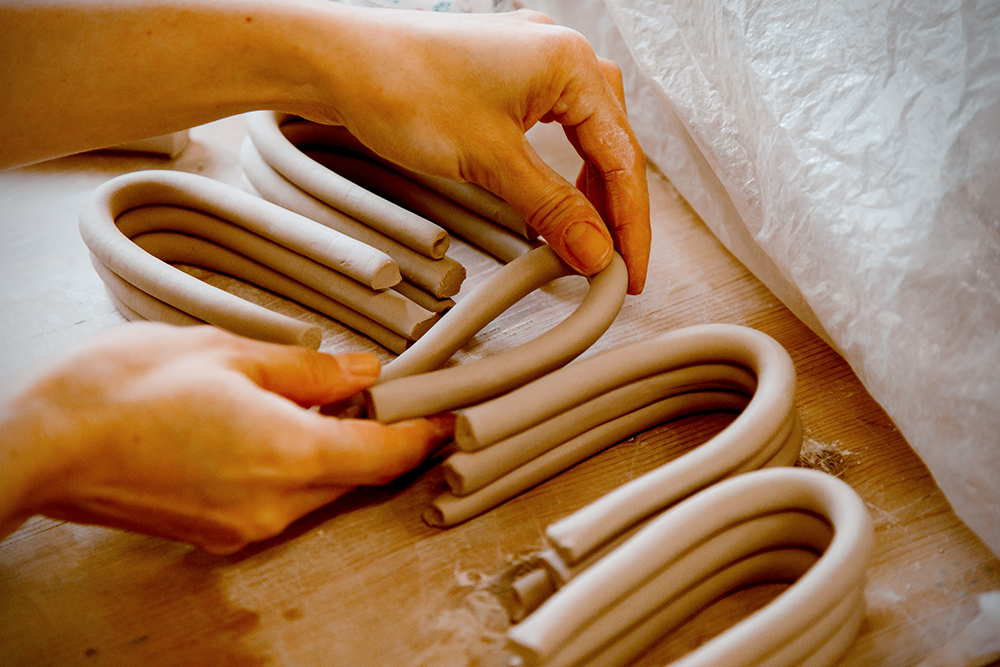
Finally, you'll need an enclosed container or garbage bag for storing your newly-wedged clay if you don't plan on using it all right away.
How Do You Wedge Clay
Now that you know why wedging is important and have gathered the necessary pottery tools, it's time to learn how to correctly wedge your clay.
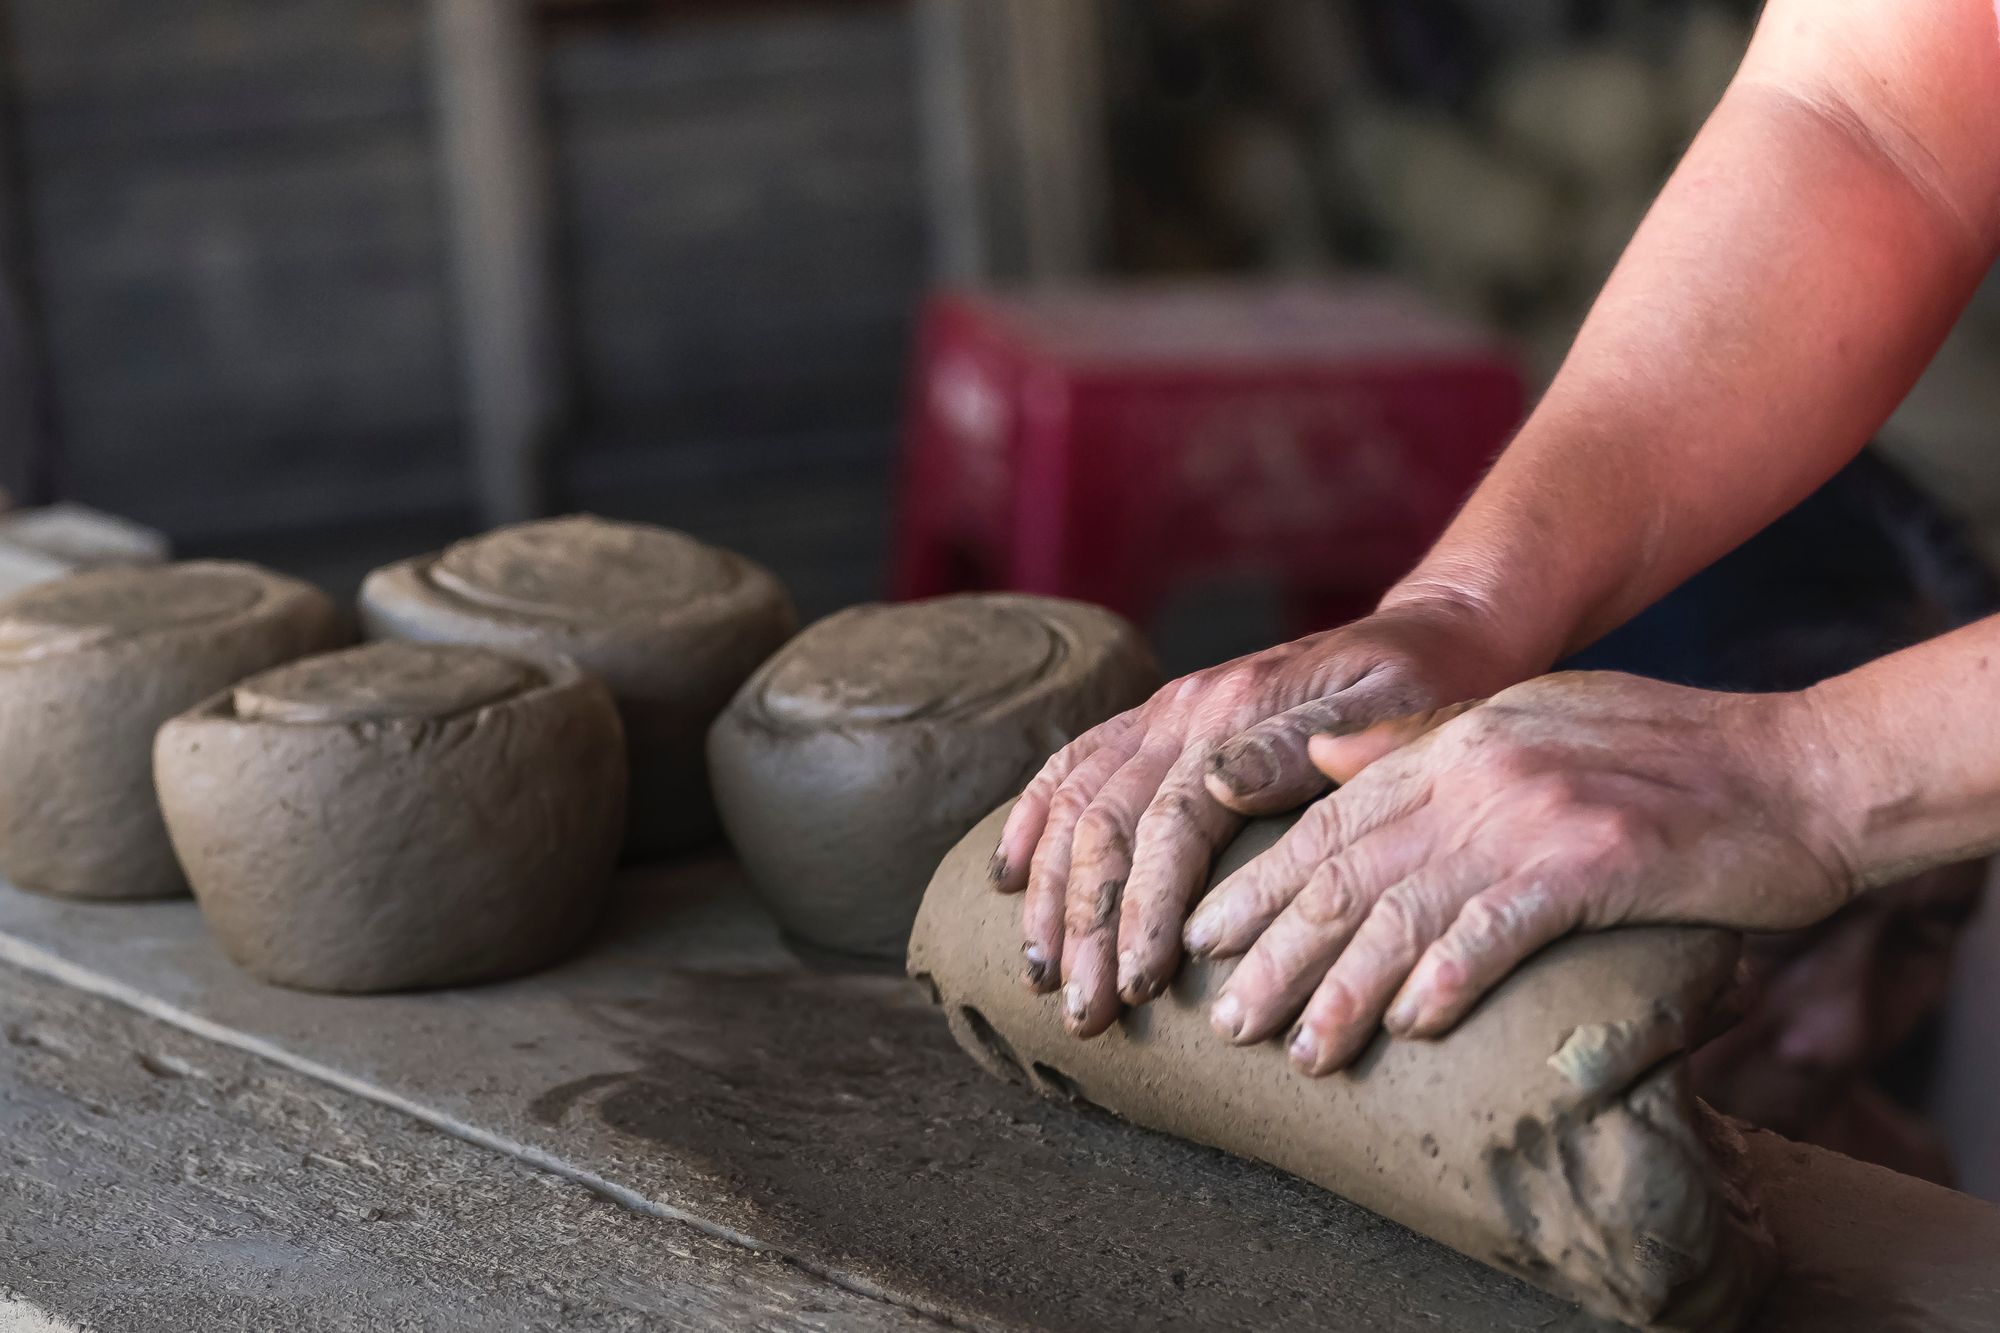
Wedging clay is a simple process that only takes a few minutes if done properly.
There are several different types of methods you can use, such as spiral wedging and slam wedging.
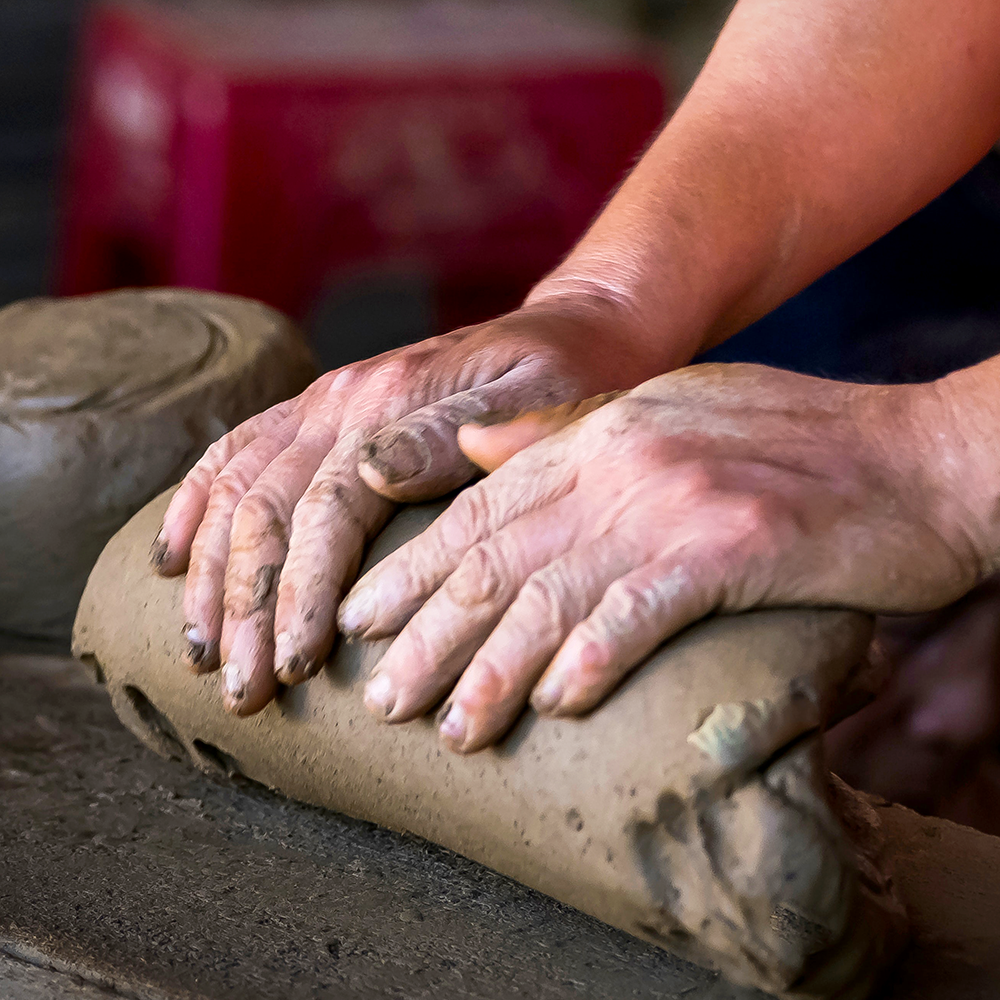
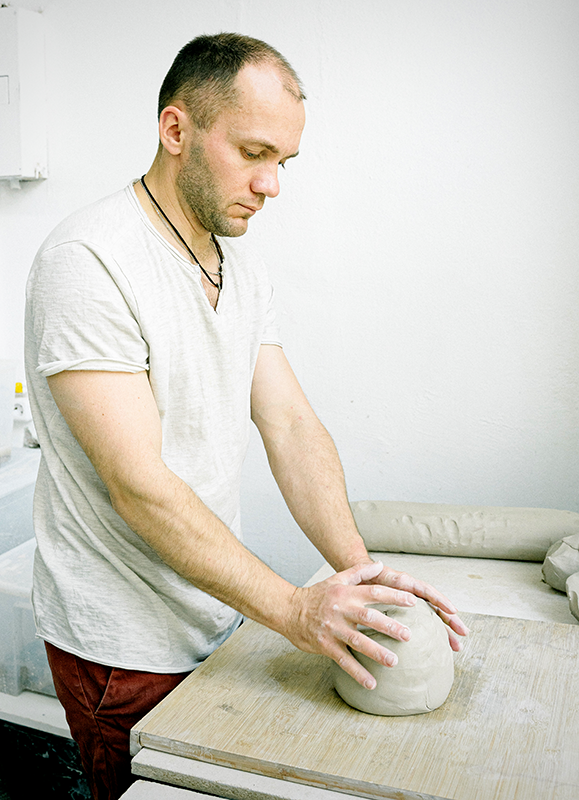
Stack and slam wedging is when you layer the clay and then slam it onto a table or other hard surface.
The action of slamming breaks down the particles in the clay and compresses them together.
This helps to remove air pockets and lumps, creating a smooth and even consistency.
Spiral wedging is similar but involves rolling and kneading the clay in a spiral motion, which helps to create an even more consistent texture.
Whichever method you choose, make sure that the clay is properly dampened before beginning.
Using too much water can make the clay difficult to work with, so it's best to use just enough to make the clay malleable.
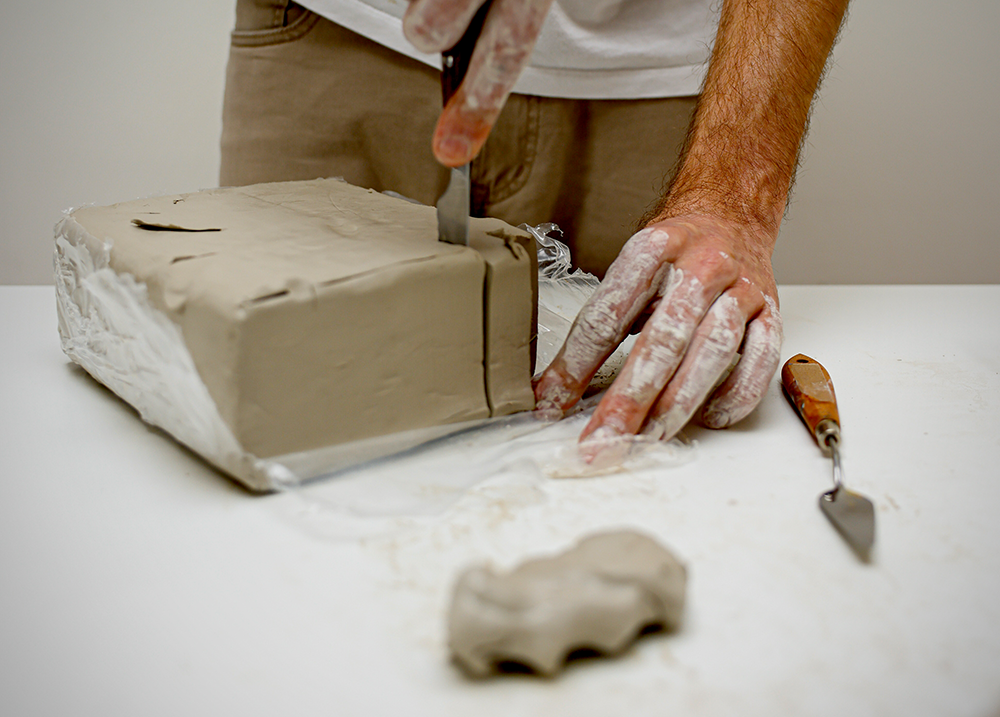
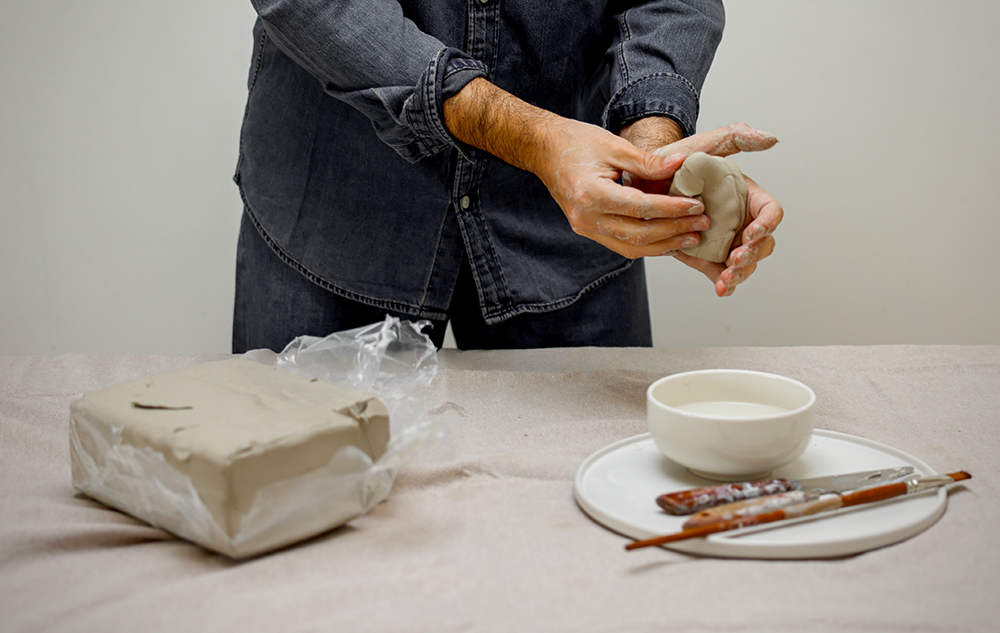
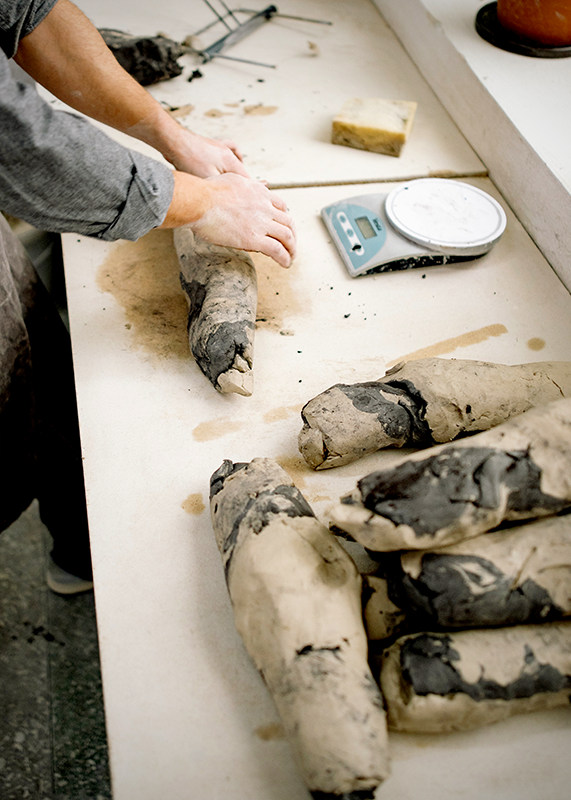
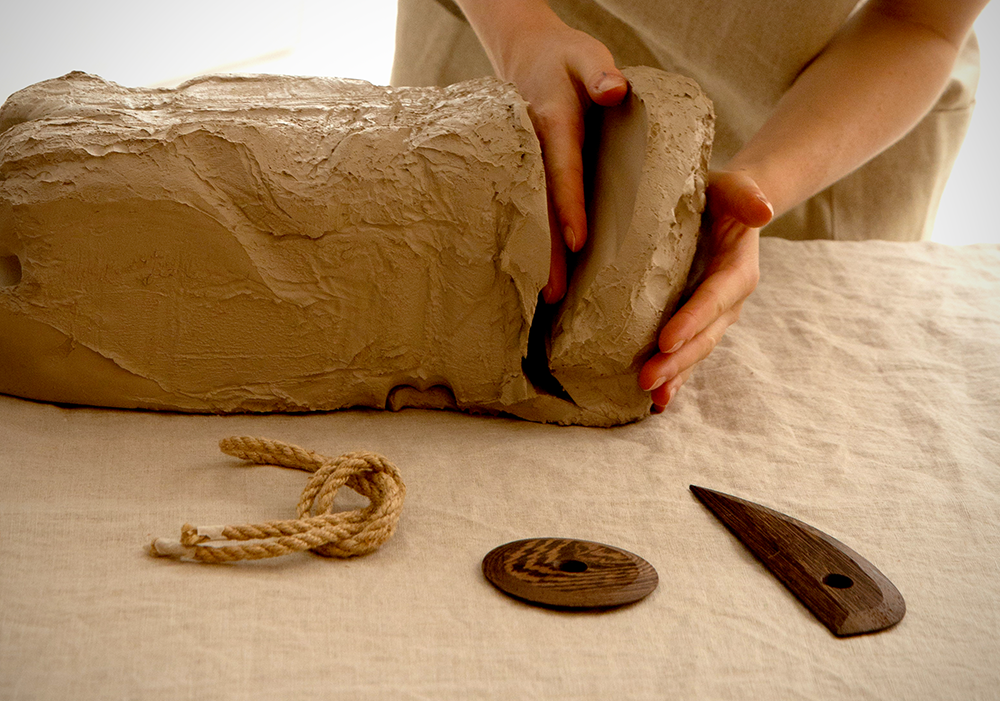
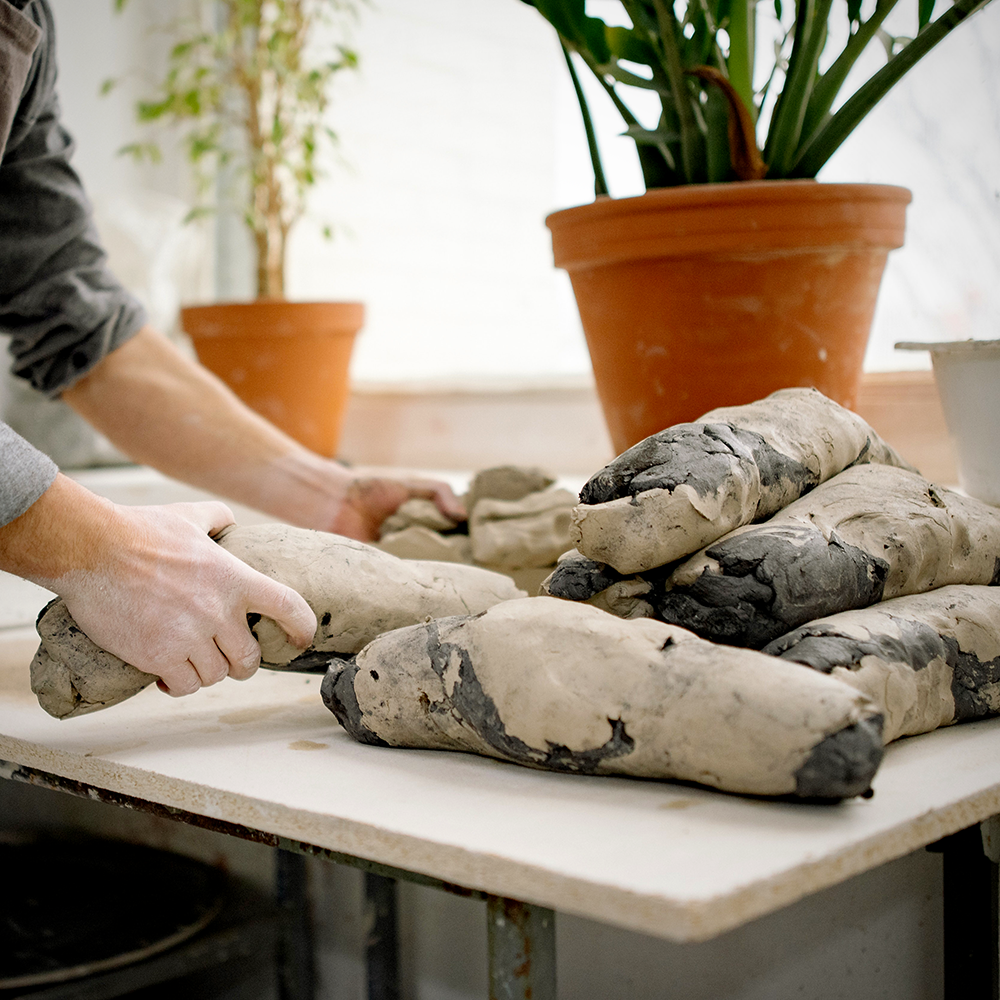
Step One: Cut Off a Small Piece of Clay
Start by cutting off the amount of clay you need for your clay projects.
The size of your piece will depend on how much clay you need for your specific project.
If you're not sure how much to use, it's always best to err on the side of caution and cut off a bit extra.
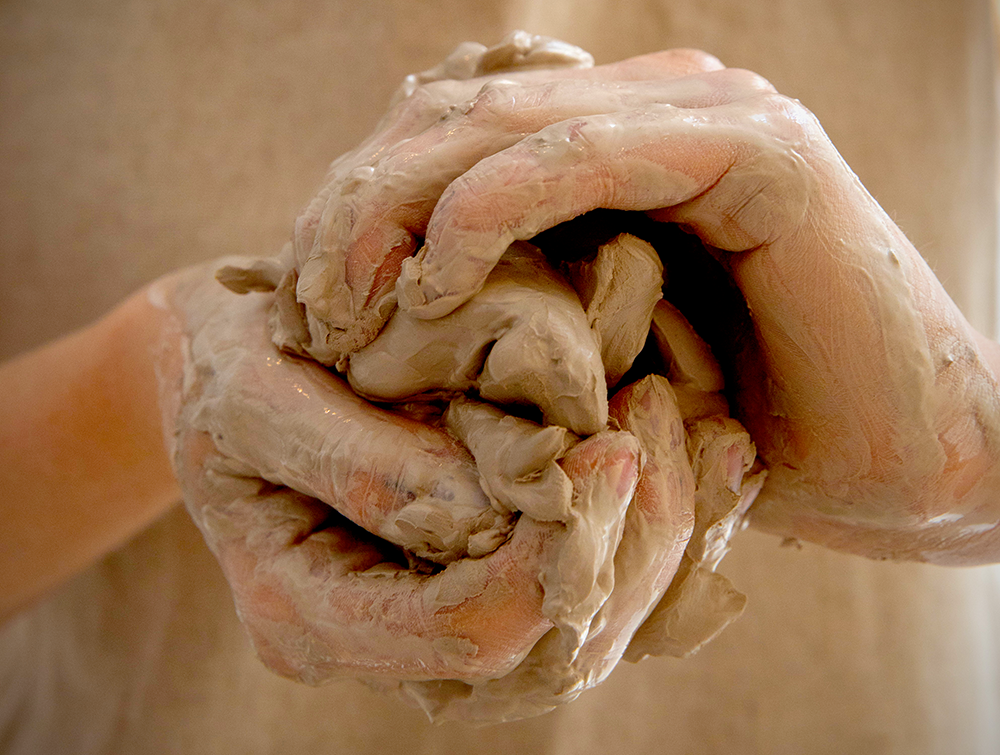
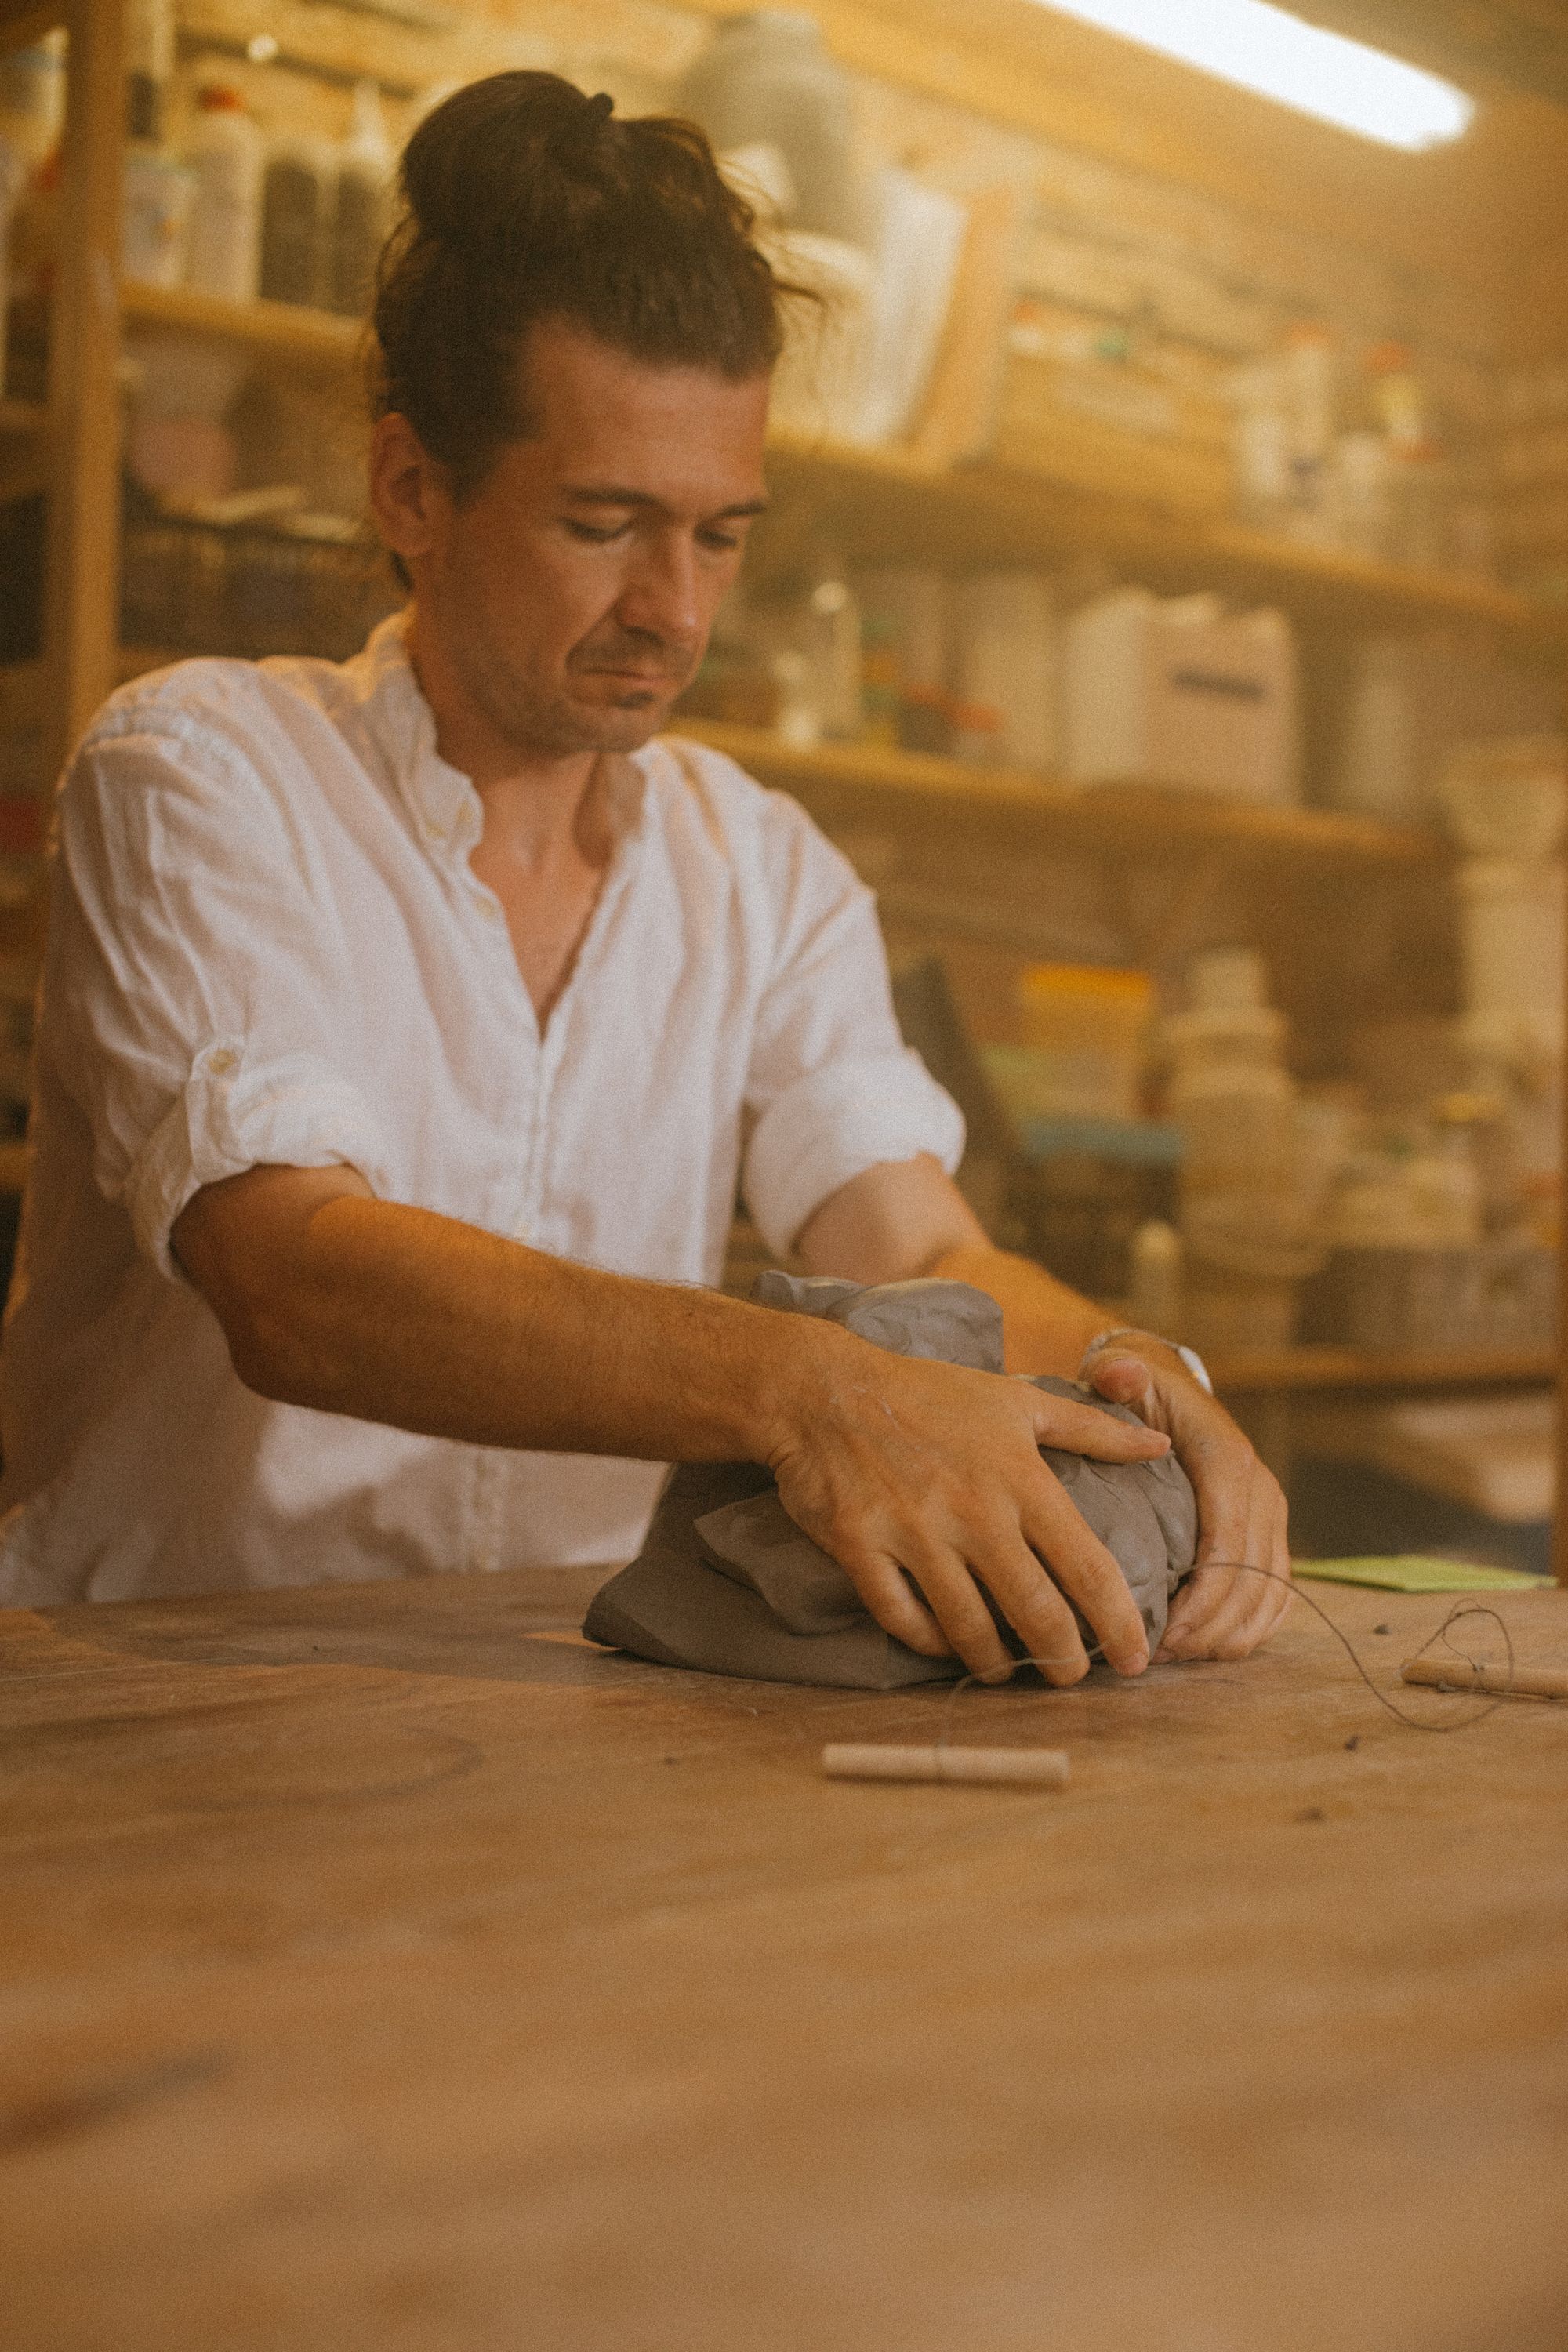
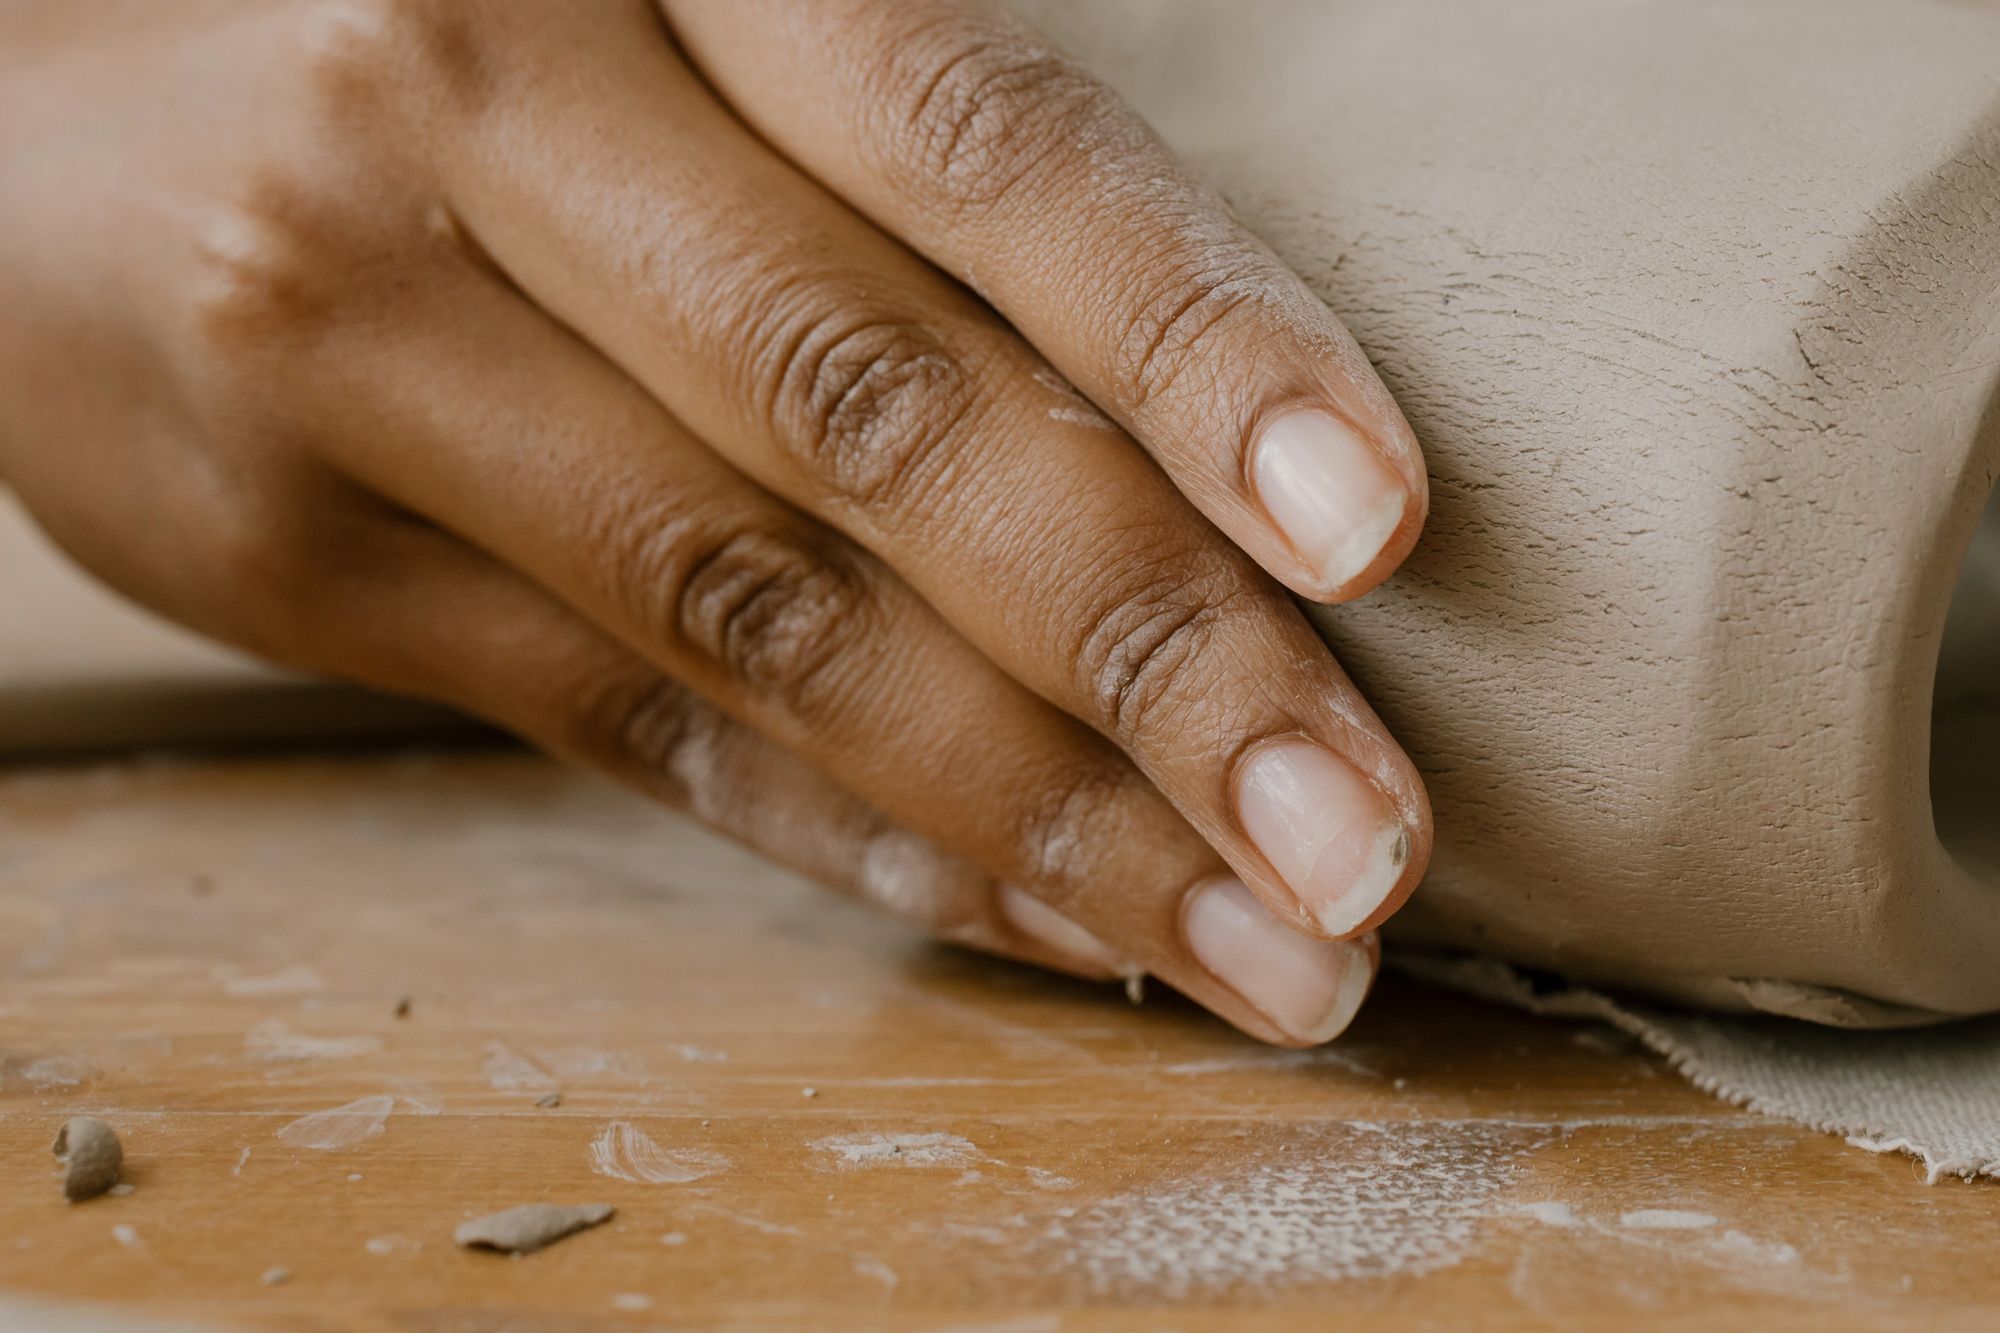
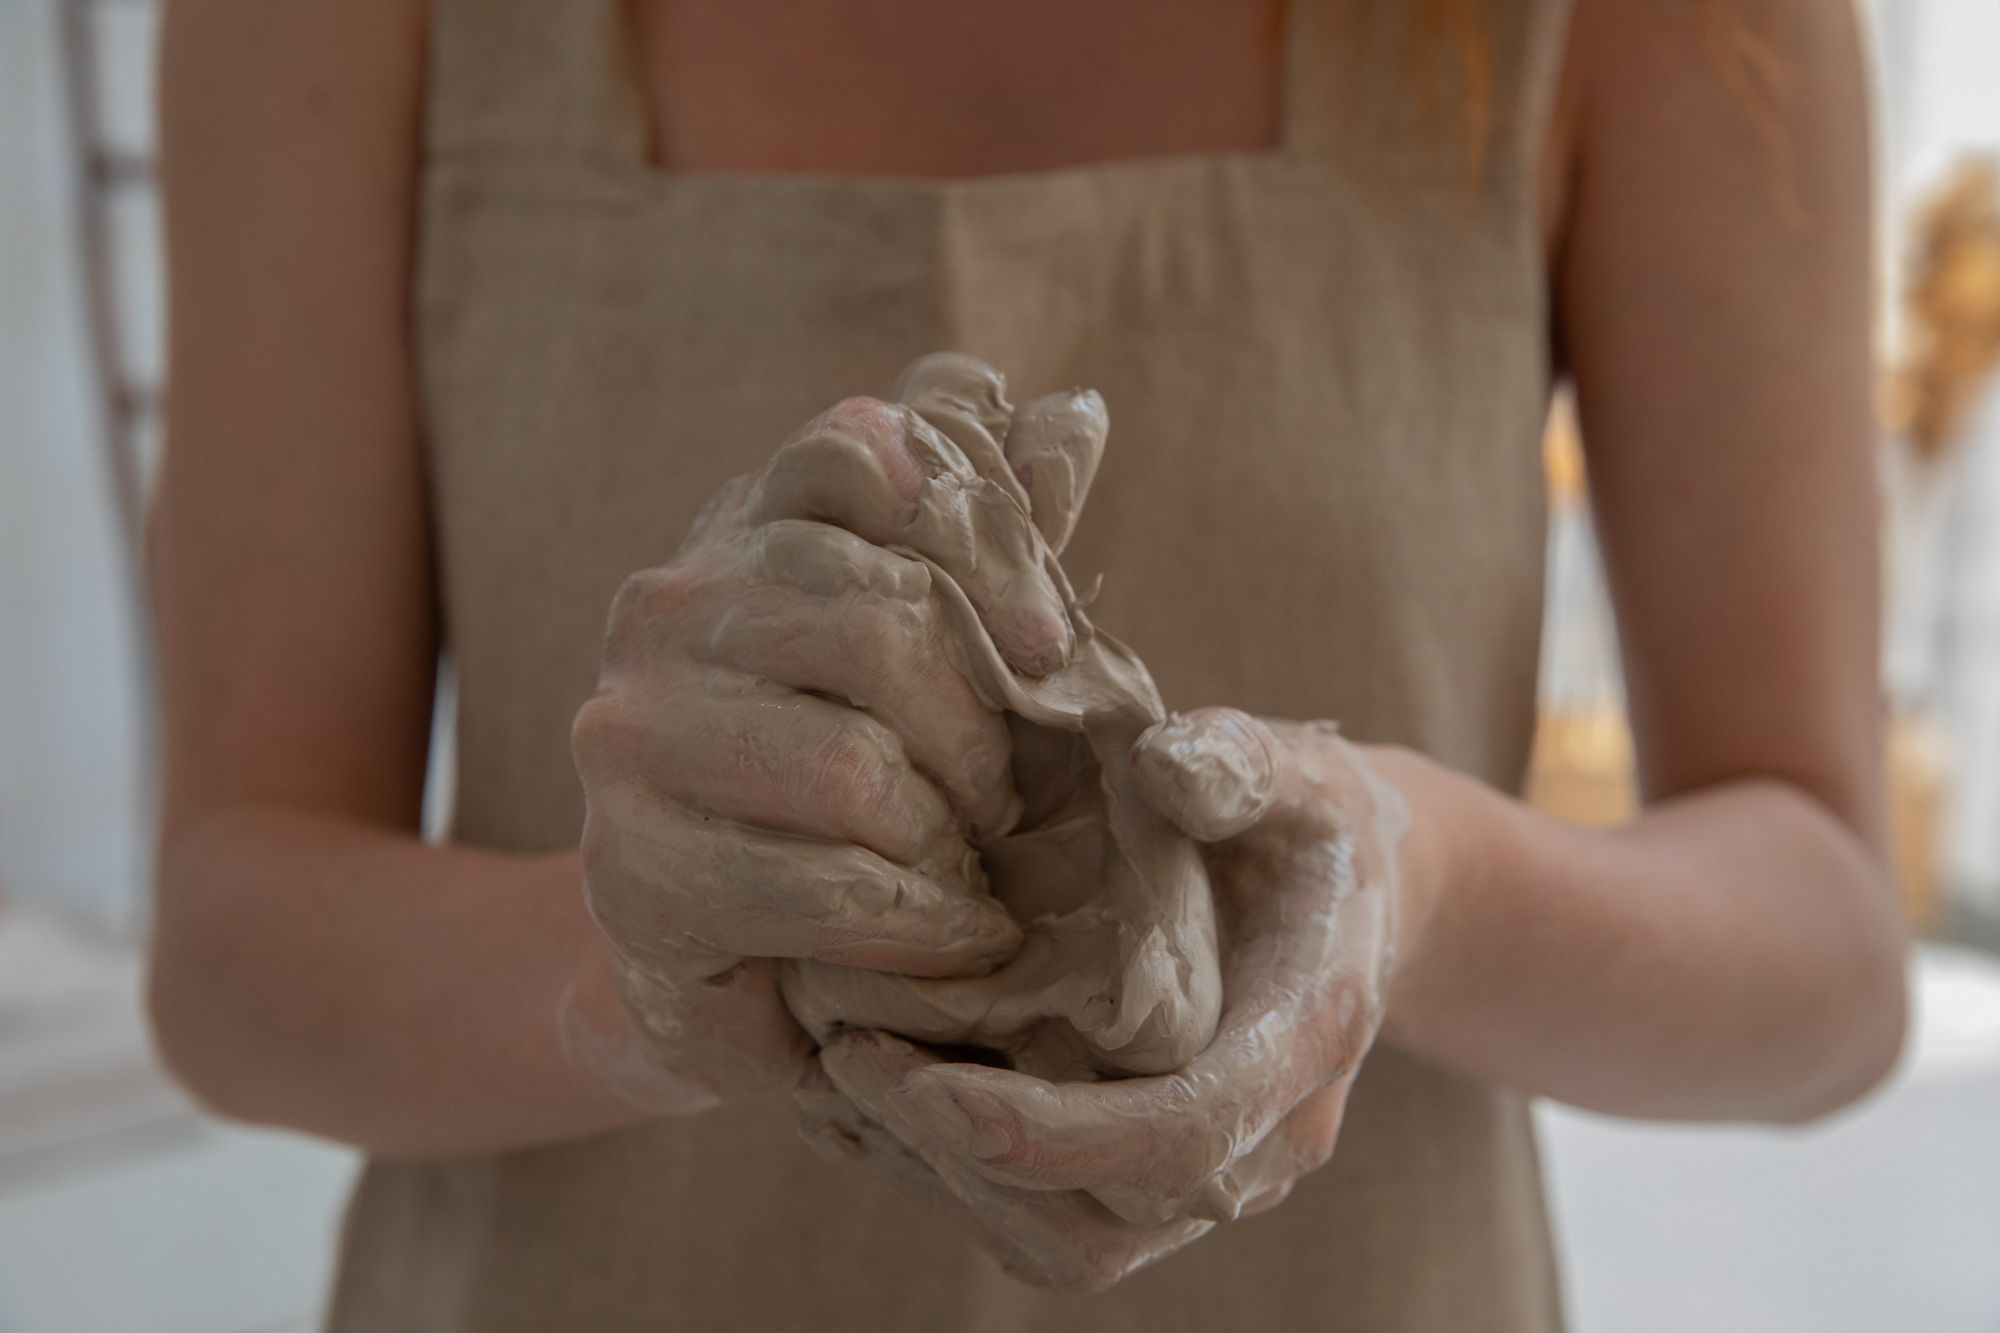
Step Two: Knead the Clay
Now it's time to start kneading and wedging!
Place your clay onto your clean, wedging surface and start kneading it with your hands.
The goal here is to break up any impurities and air bubbles, as well as work the clay into a smooth, uniform consistency.
Apply pressure with your palms in a circular motion and move your hands around the clay to ensure that you are working it evenly.
You may need to add a bit of water to your hands or to the clay if it's too dry and difficult to work with.
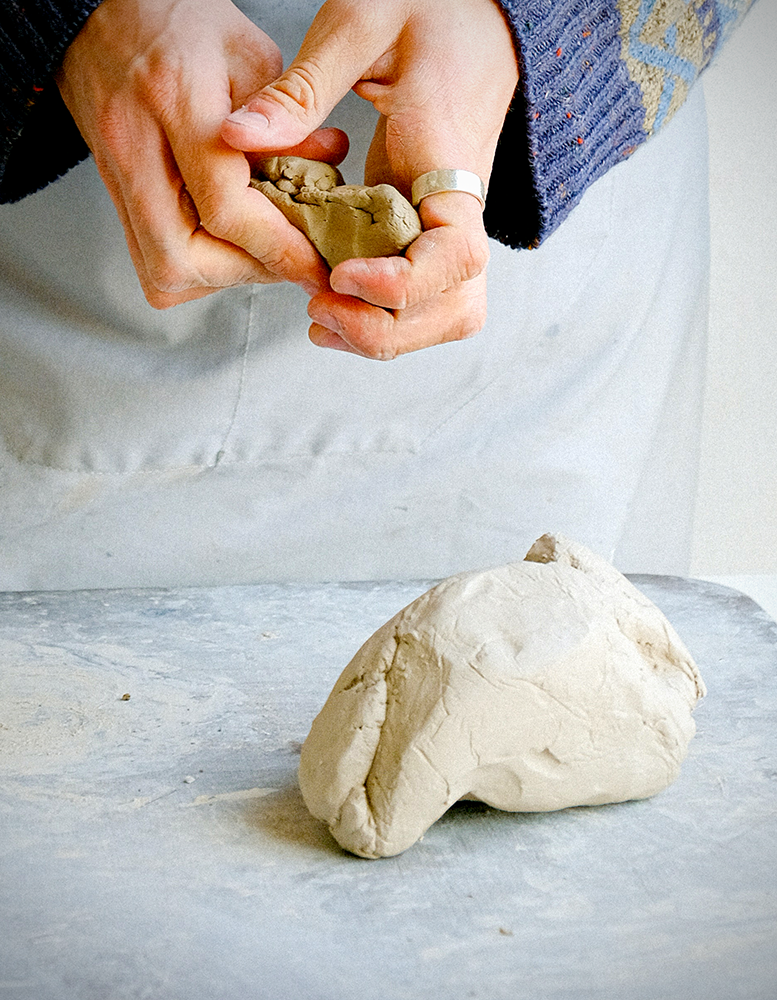
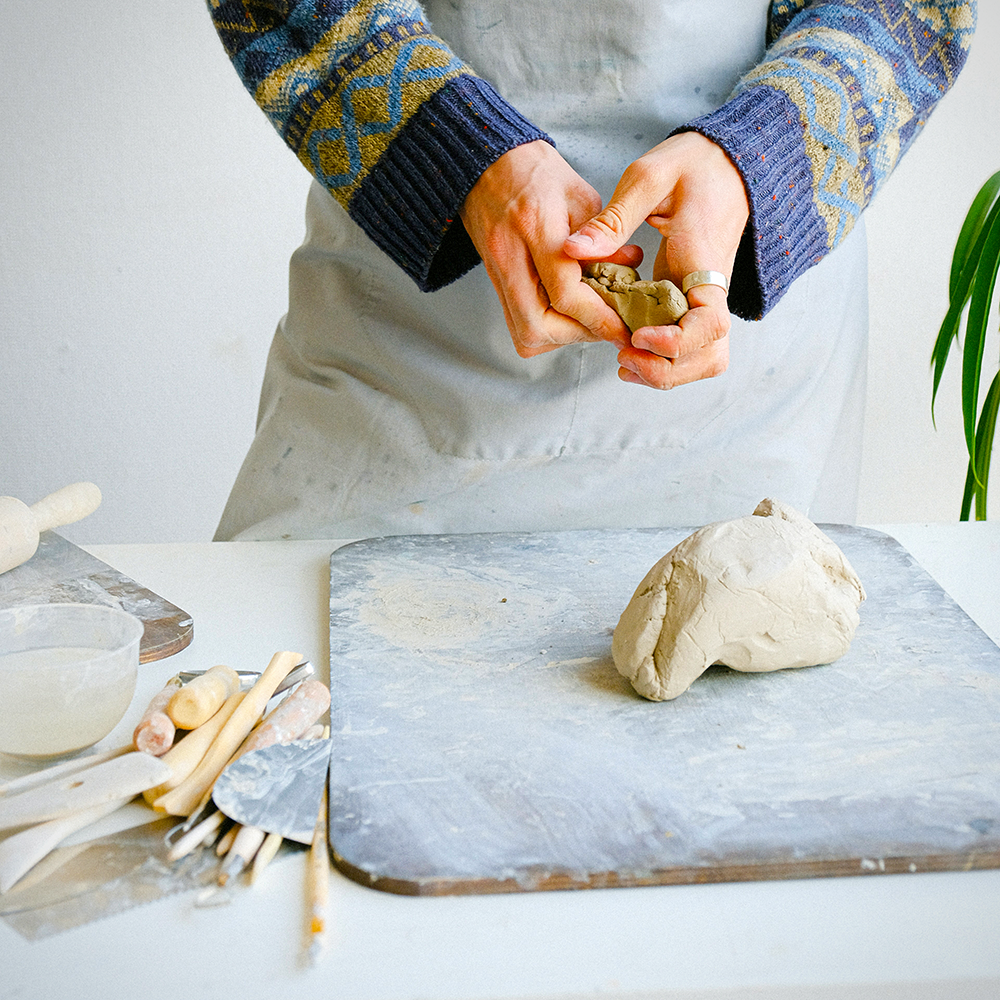
Step Three: Fold and Repeat
Once you have kneaded the clay for a few minutes, it's time to start folding it.
Gently fold your clay over itself multiple times, pressing down firmly each time to make sure that the clay is evenly distributed.
Repeat this process several times until you are satisfied with the consistency of your clay.
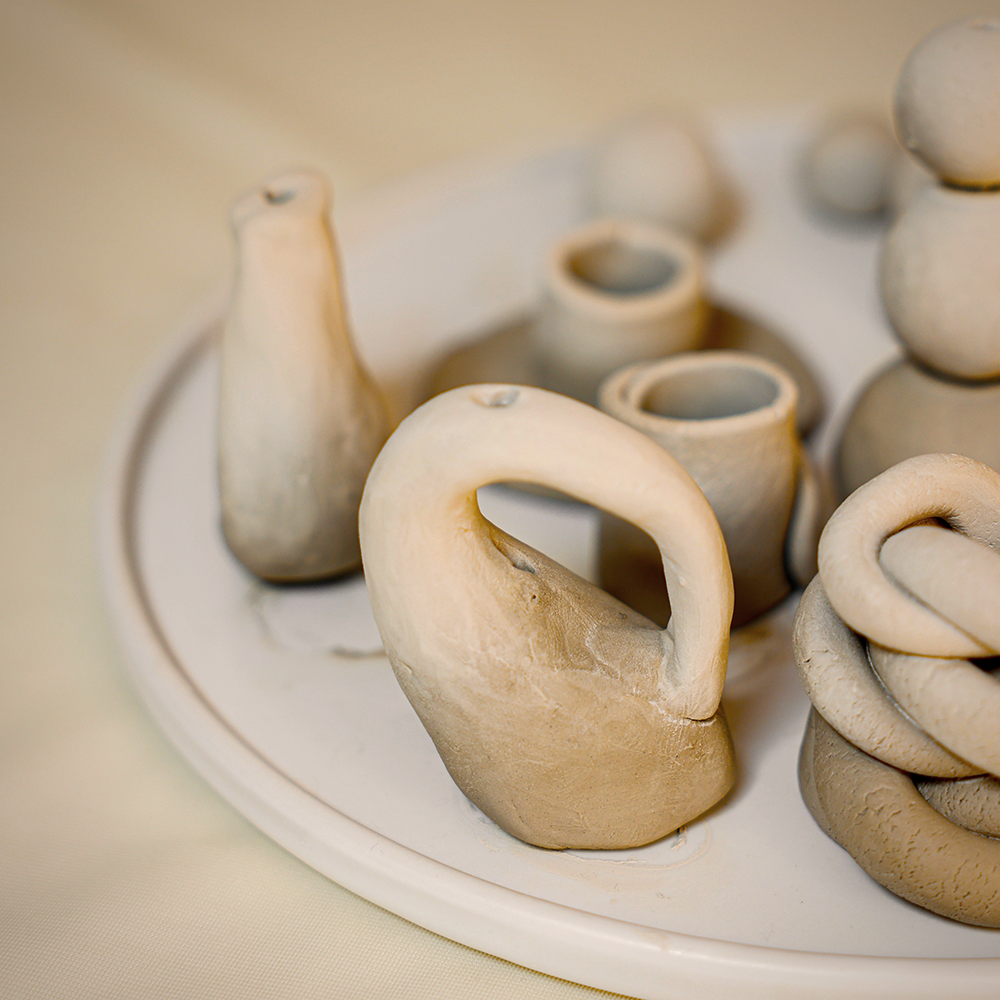
Finally, shape and condition the clay into whatever form you need for your project.
And that's it! You've just wedged your clay like a pro.
Store Your Wedged Clay Properly
Now that you've achieved the perfect consistency for your clay, it's time to store any clay you don't plan on using in an enclosed container or garbage bag until you're ready to use it.
This will prevent the clay from drying out prematurely and becoming unusable.
You don't want your clay to dry out and make all of your hard work for nothing!
With this helpful guide by your side, there's no reason why you can't create beautiful works of art that are sure to impress friends and family alike.
Wedging Clay for Your Next Project
Wedging your clay is an essential step in the ceramics process for any novice or expert alike.
It helps to ensure that your clay is of the right consistency, and it also prevents it from drying out prematurely or cracking.
While wedging may seem like a complicated process at first glance, once you get started you'll realize just how easy it is!
By following the wedging steps outlined above, you should be able to properly wedge your clay when making pottery.
With a little practice, you'll be wedging like a pro in no time!
Just remember to store your clay in an enclosed container or garbage bag until you're ready to use it.
So, what are you waiting for? Grab some clay and get wedging!
You never know what masterpiece awaits.
Good luck!
Eager to learn more about wedging clay? Check out KaransPotsAndGlass' video!
Want even more content about creativity and art?
Be sure to check out all of our creative chronicles!
Love pottery and working with clay?
Check out some of our other ceramic articles: