Ever wanted to try your hand at pottery?
In this beginner's guide to the pottery wheel, you'll learn the basics of working with clay.
You'll find out what equipment you need, how to prepare the clay, and how to start making pots!
Whether you're a seasoned artist or a complete novice, this guide will help you get started in the exciting world of ceramics.
So, get ready to roll up your sleeves and have some fun!
What Are Pottery Wheels?
The pottery wheel is a tool that has been used by artists for centuries.
It is a great way to create symmetrical and evenly-shaped pieces of pottery.
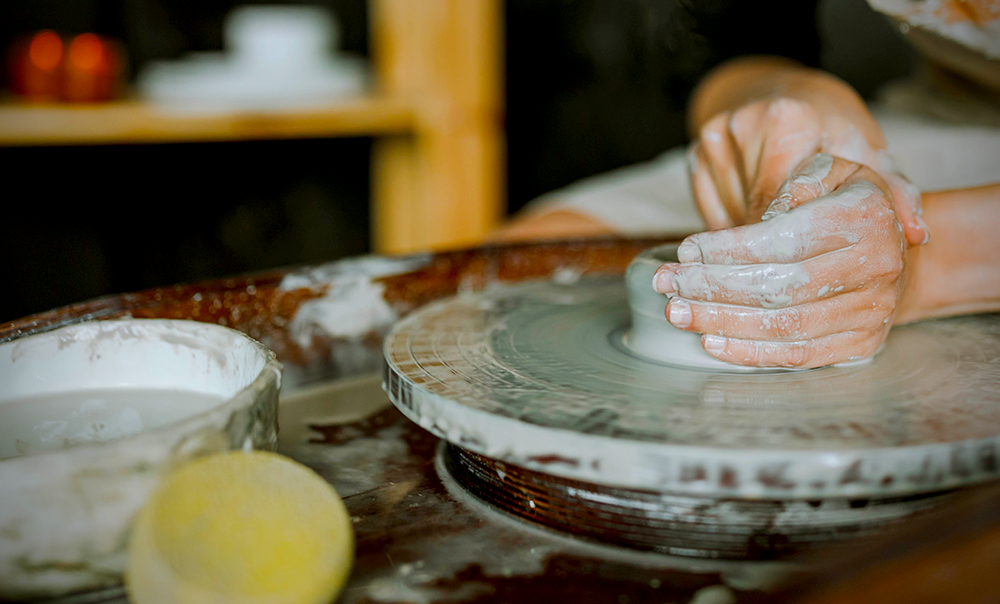
The pottery wheel is a circular platform that you sit at and use your hands to shape the clay.
Some are electric pottery wheels, while others are kick wheels.
You can choose a tabletop pottery wheel, an electric pottery wheel, or a kick wheel.
For example, tabletop wheels are small and portable, making them a good choice for beginners.
There are options with a metal wheel head, plastic wheel head, or even a rubber wheel head.
The best pottery wheel for you will depend on your needs and preferences; some artists prefer an option with a pottery wheel motor while others prefer to use a tabletop wheel.
No matter what type of pottery wheel you use, the basic principle to wheel throwing is the same.
As the wheel rotates, you use your hands to form the clay into the desired shape.
How to Choose a Pottery Wheel
If you're interested in trying your hand at pottery, you may be wondering which type of pottery wheel is right for you.
There are many different types of pottery wheels on the market, so it's important to do your research before making a purchase.
Here are a few things to consider when choosing a pottery wheel:
- Electricity or foot pedal?
If you're planning to use your pottery wheel for professional purposes, an electric wheel is a good choice.
Electric wheels are more powerful and allow you to work for longer periods of time without getting tired.
Foot pedal wheels are a good choice for hobbyists or those who want to save money on their electric bill.
- What is the wheel made of?
Pottery wheels are usually made of either steel or aluminum.
Steel wheels are more durable and sturdy, while aluminum wheels are lighter and easier to move around.
- What is the weight limit?
Some pottery wheels have a weight limit, so be sure to check this before you make a purchase.
If you're planning to work with large pieces of clay, you'll need a wheel that can support the weight.
- How much does it cost?
Pottery wheels can range in price from a few hundred dollars to a few thousand.
It's important to find a wheel that fits your budget, but don't sacrifice quality for price.
When it comes to pottery wheels, you get what you pay for.
Now that you know how to choose a pottery wheel, let's take a look at using a potter's wheel.

Using Pottery Wheels
Now that you've chosen a pottery wheel, it's time to start using it!
Here are a few tips to help you get started:
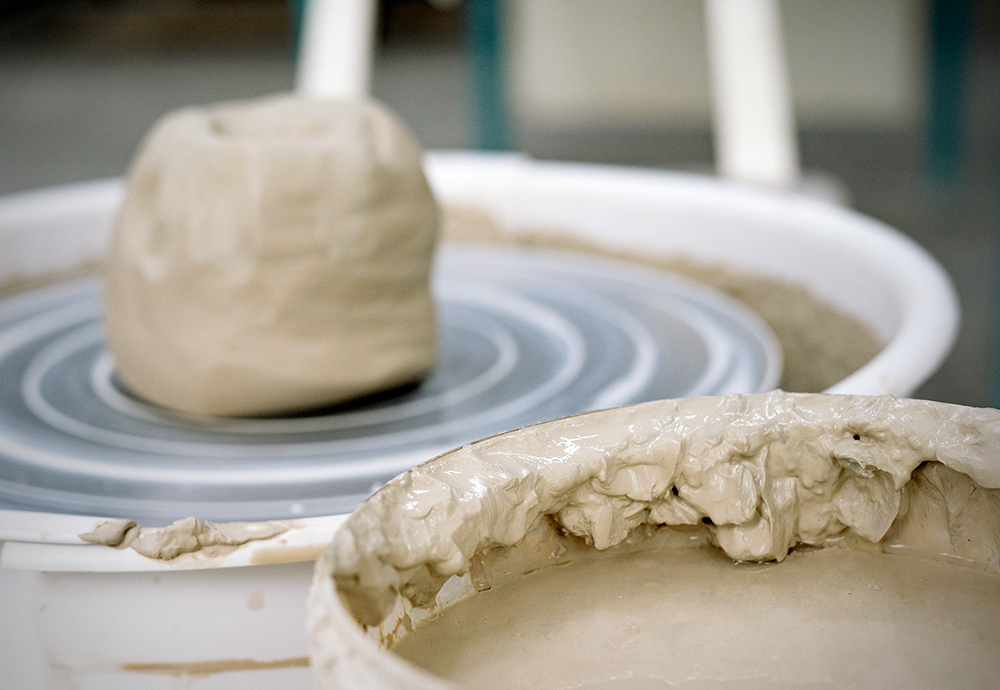
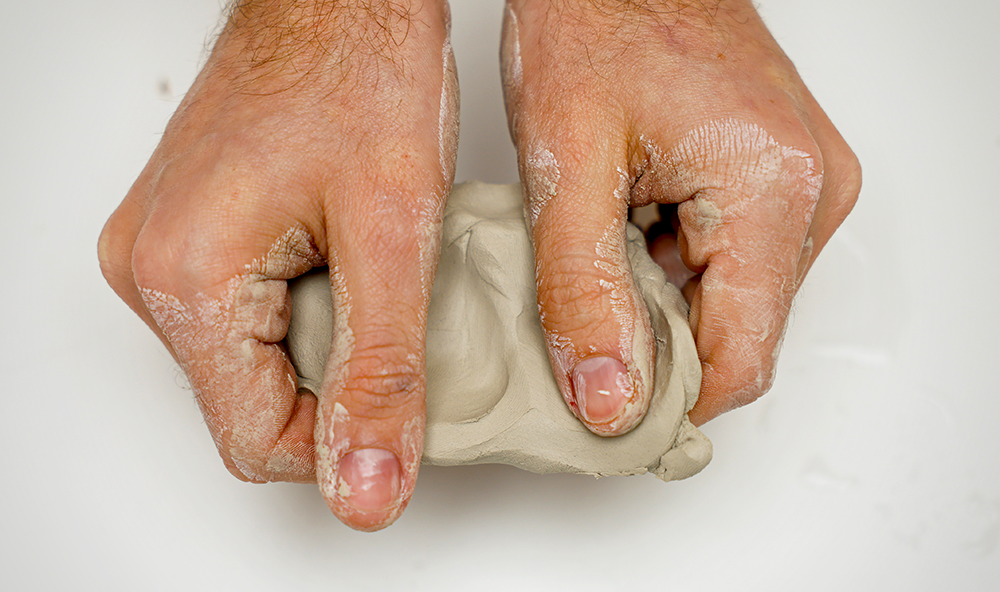
1. Prepare the Clay
Before you start working with the clay, you'll need to condition it.
This will make it easier to work with and will help prevent it from cracking.
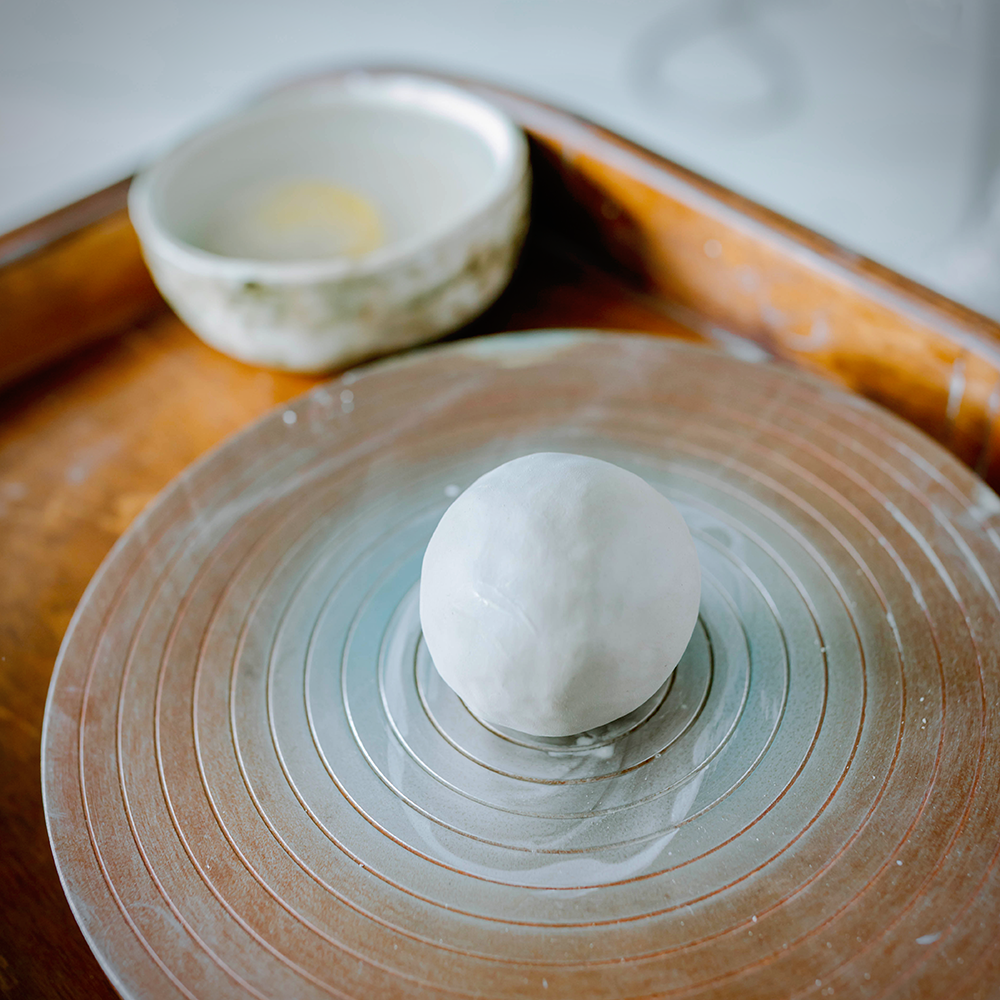
To condition the clay, knead and wedge it until it's soft and pliable.
Then, form it into a ball and let it rest for at least 30 minutes.
2. Get Situated with Your Pottery Wheel
You will want to be comfortably seated with your feet flat on the floor.
Place your hands on the outside of the wheel, so that you are ready to start spinning it.
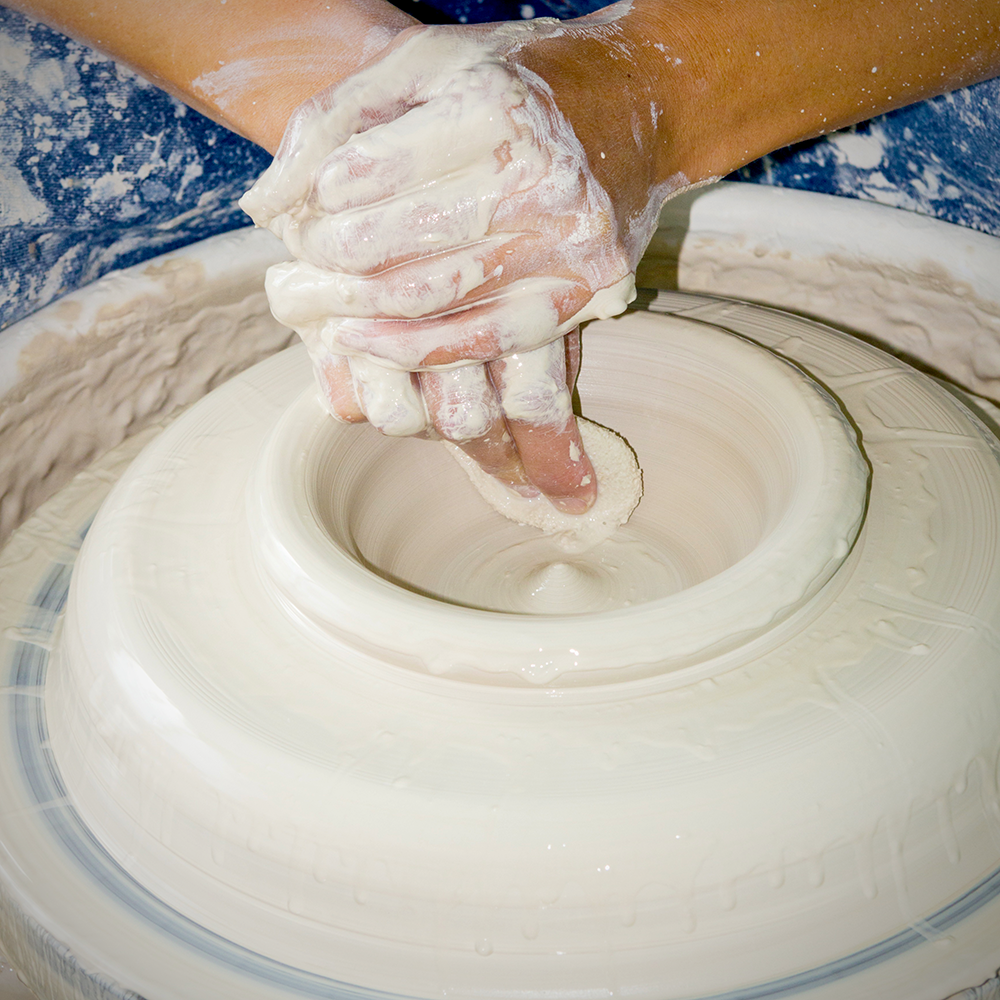
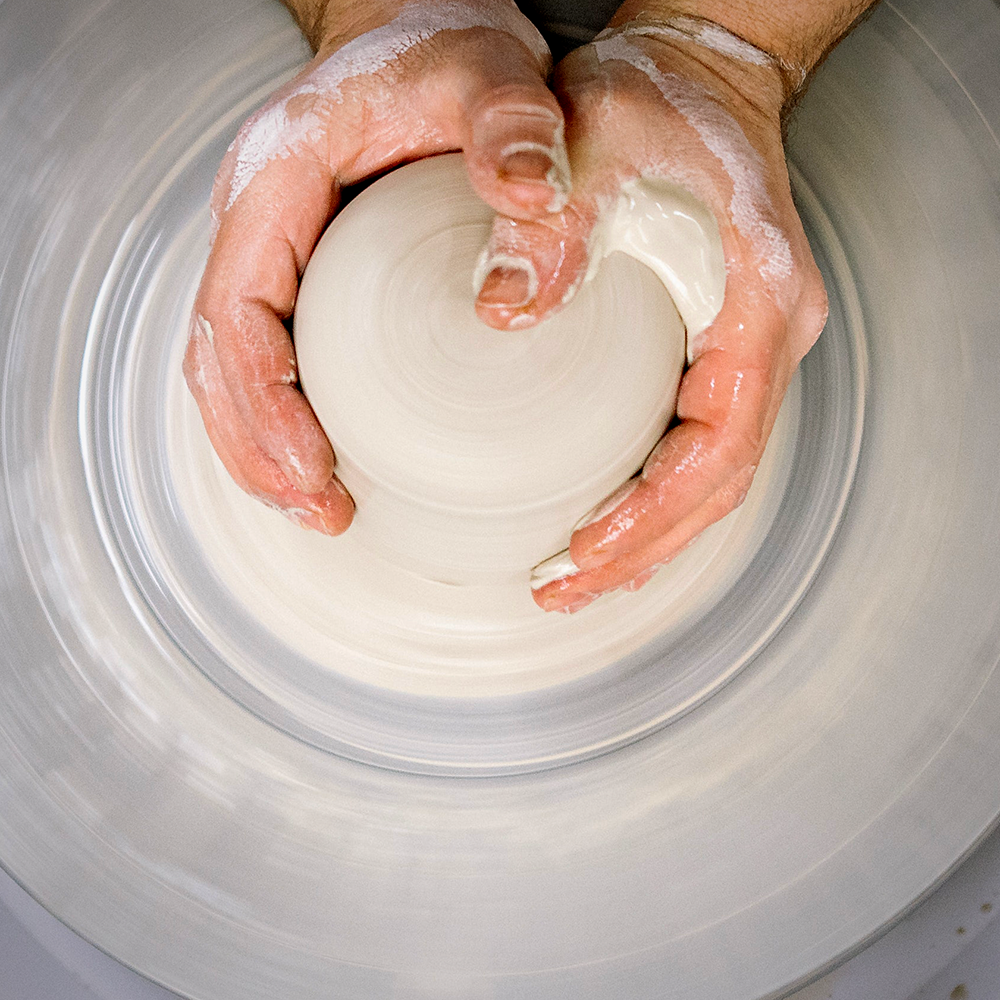
3. Center the Clay
Once the clay is conditioned, it's time to center it on the wheel.
Wet your hands and then press the clay down into the center of the wheel.
Use your hands to shape it into a ball.
4. Start Spinning the Wheel
Now it's time to start spinning the wheel!
If you're using an electric wheel, turn it on to the desired speed.
If you're using a foot pedal wheel, start pedaling slowly and then increase the speed.
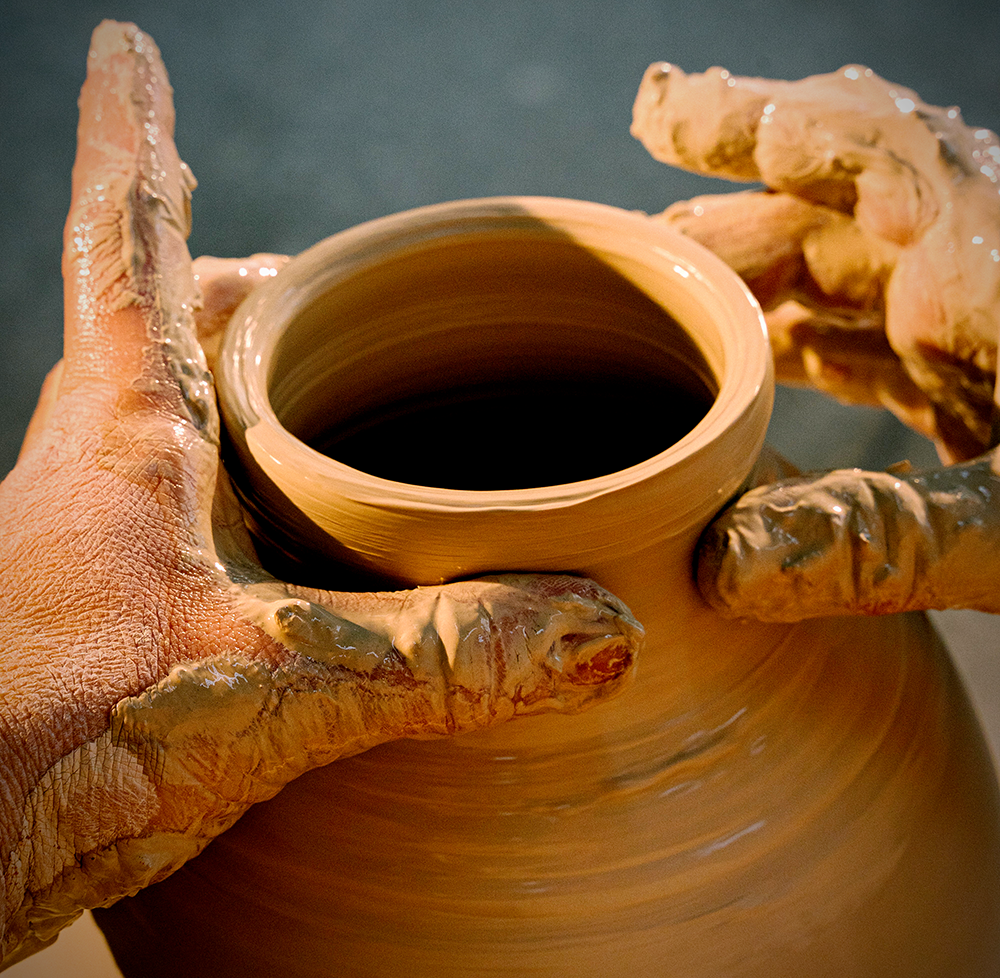
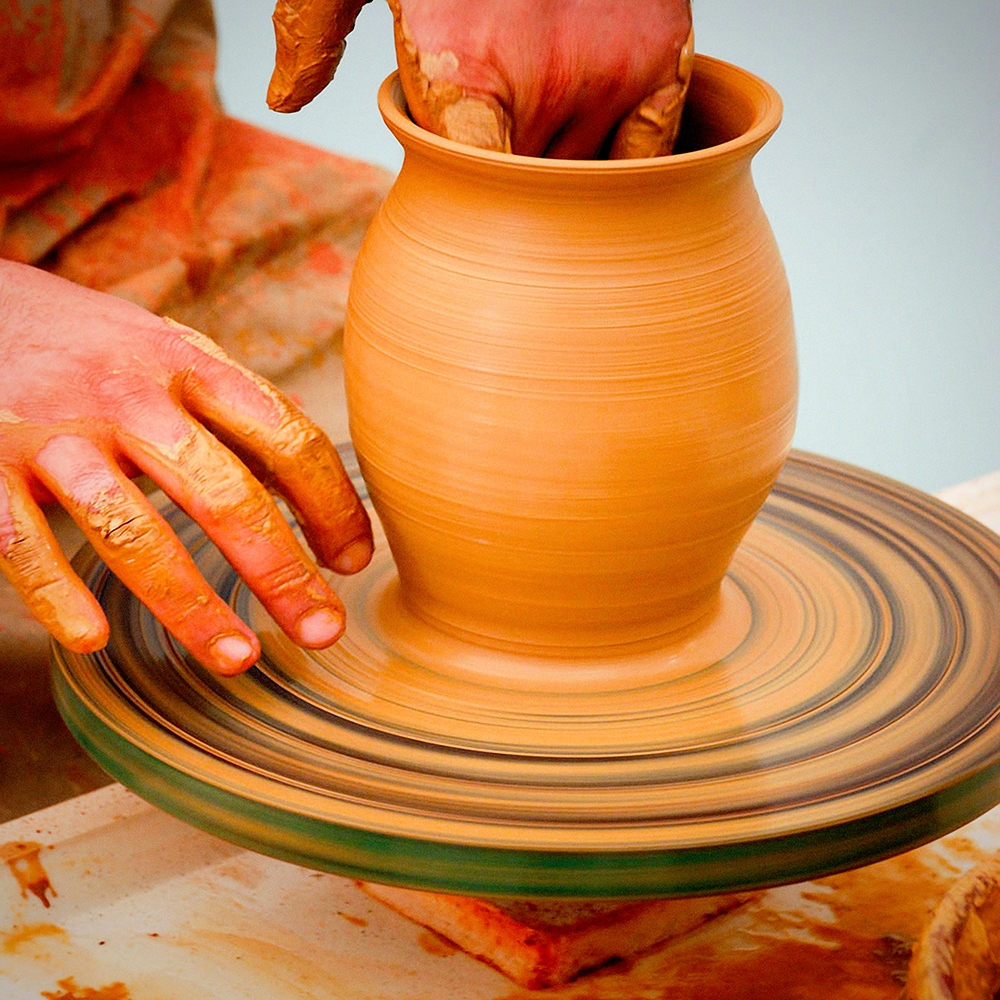
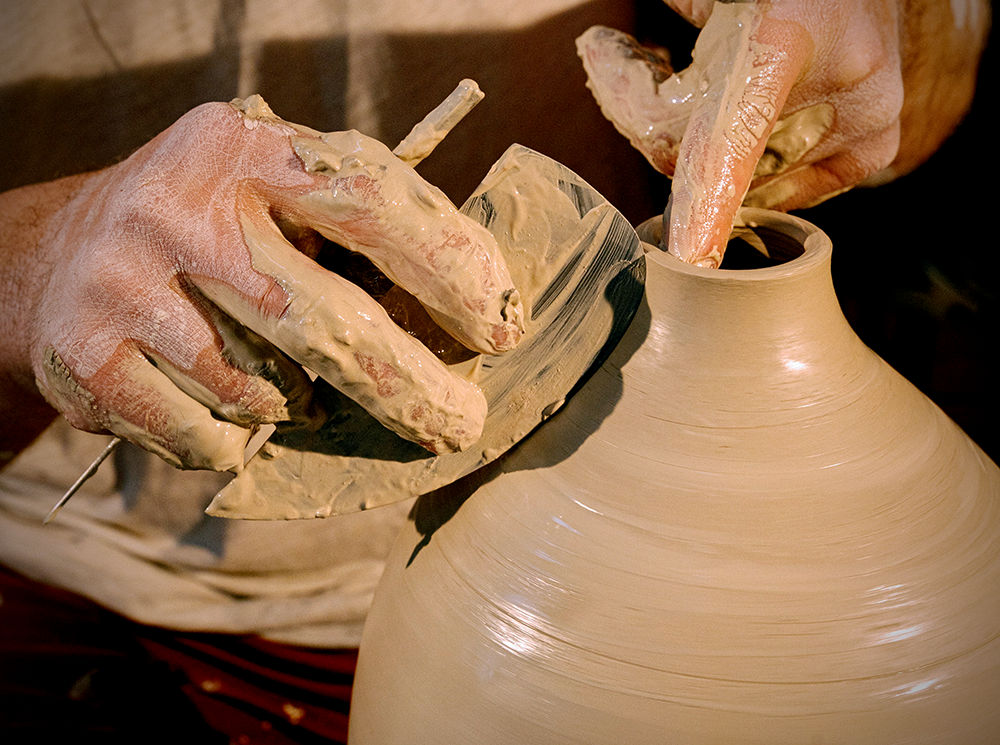
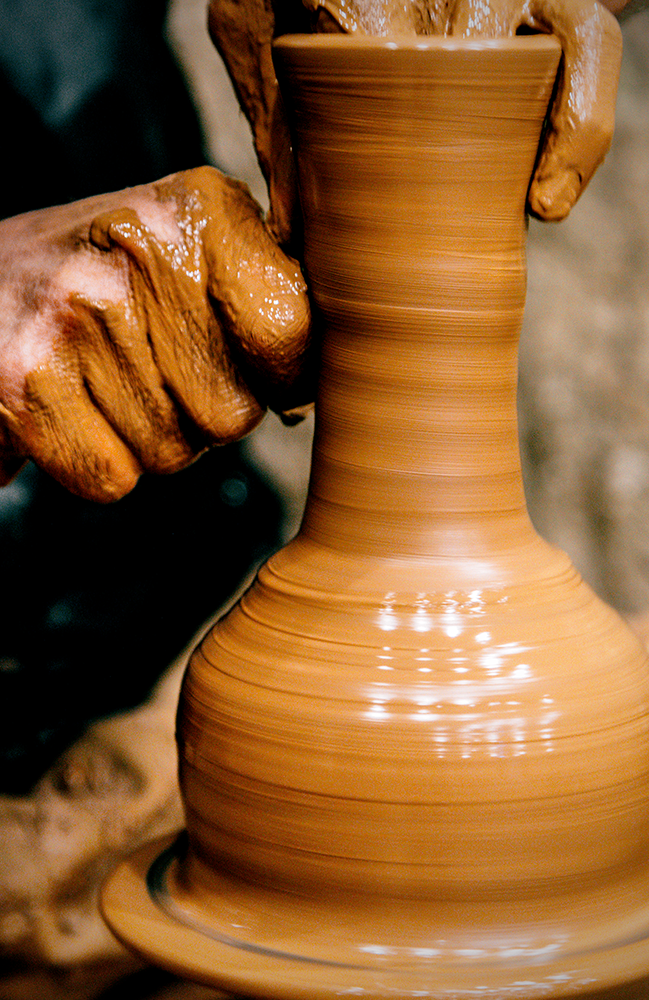
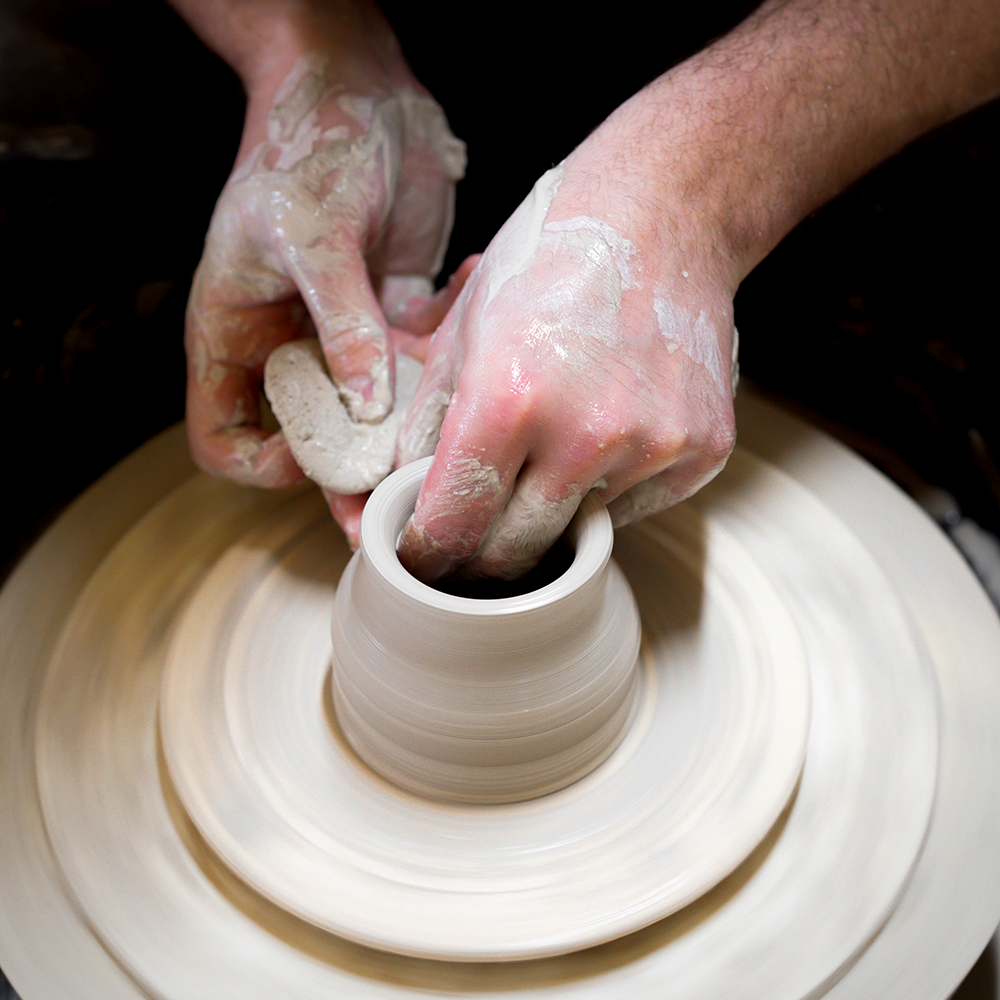
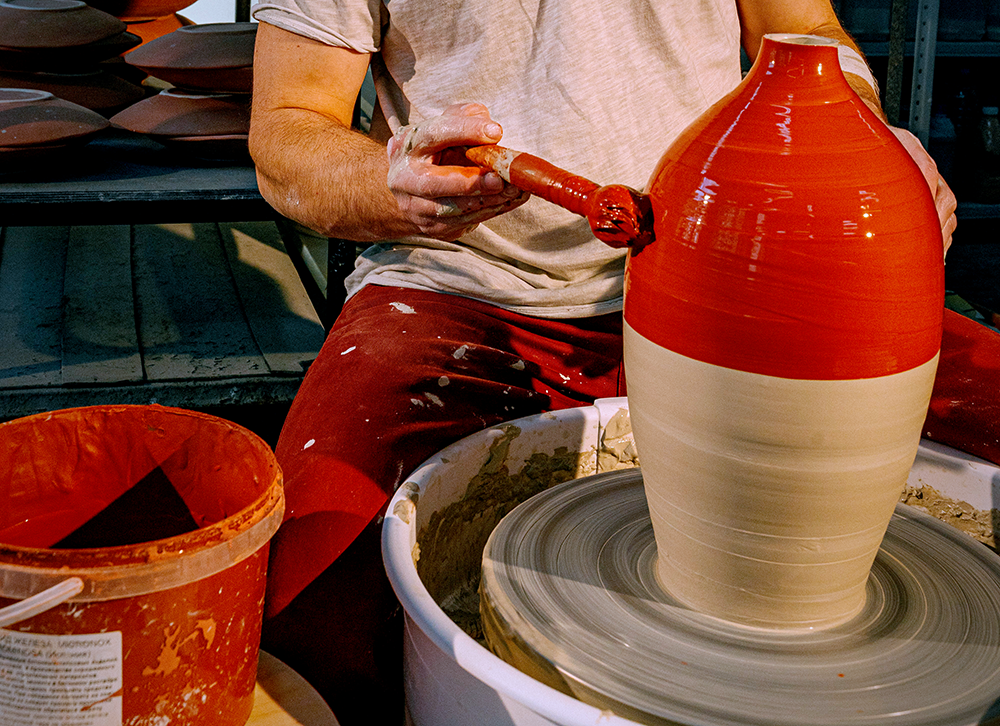
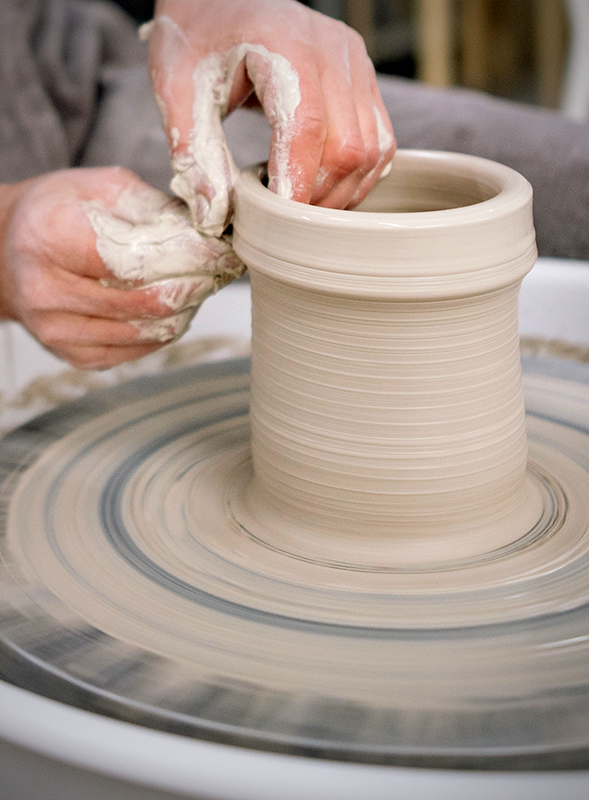
5. Shape the Clay
Now that the wheel is spinning, use your hands to shape the clay into the desired shape.
Remember to keep your hands wet, as this will help prevent the clay from sticking to them.
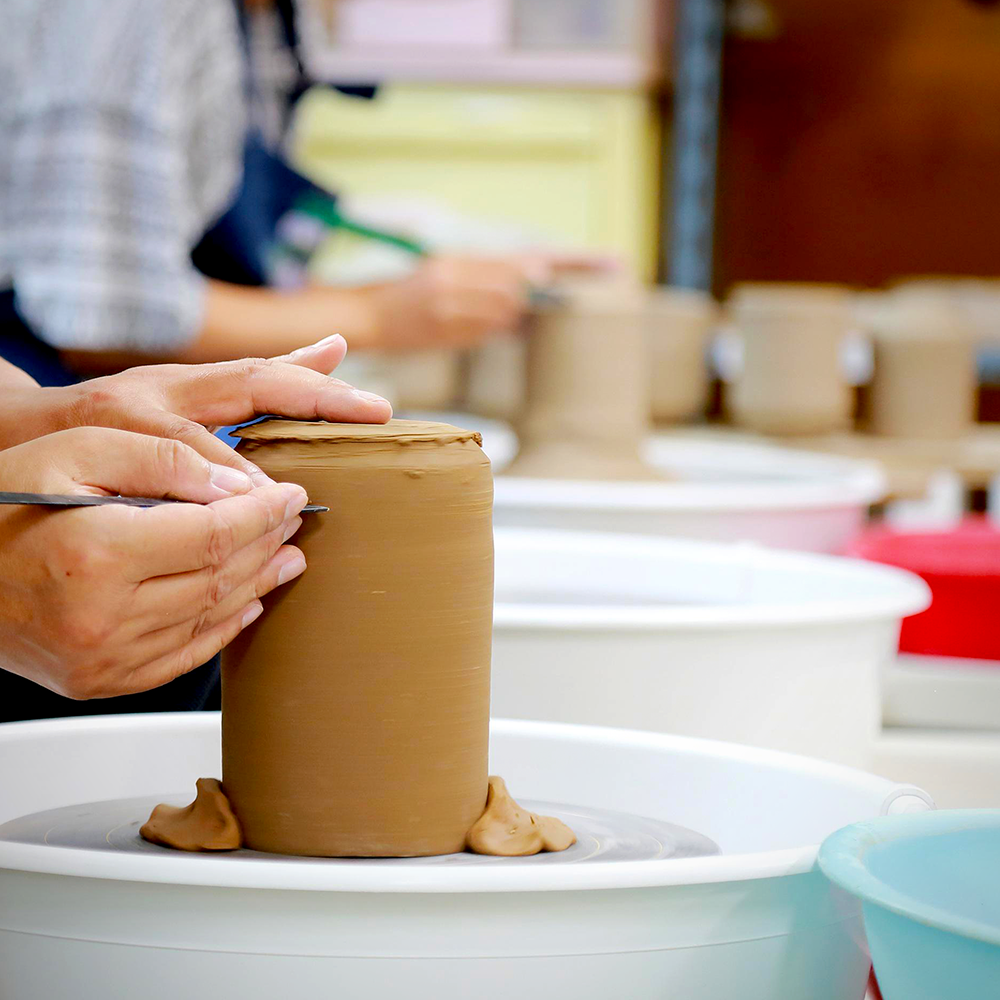
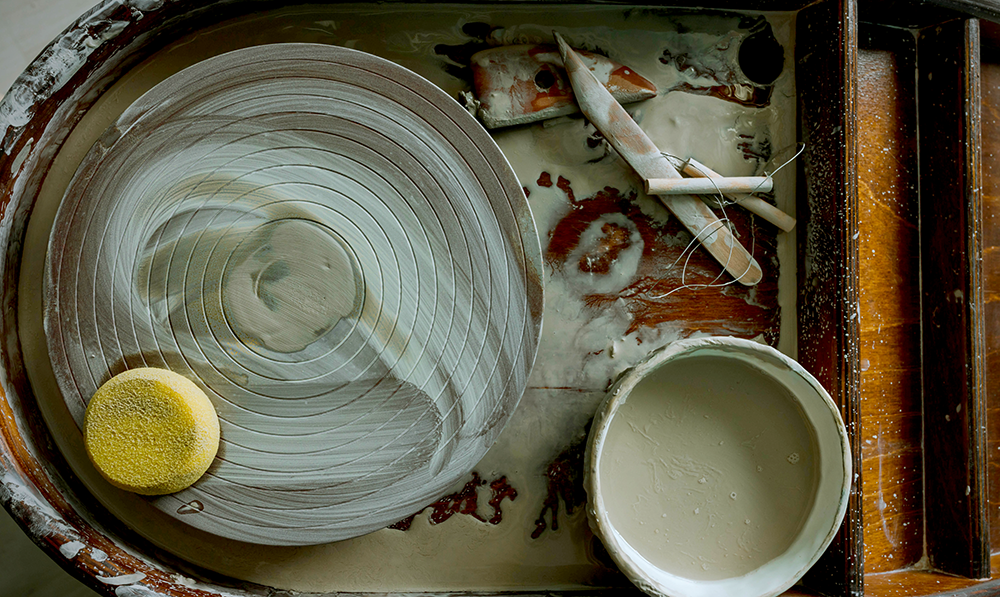
6. Removing Your Pottery from the Wheel
Once you have finished shaping the piece of pottery, use a knife or wire cutter to cut off any excess clay from the edges of the piece.
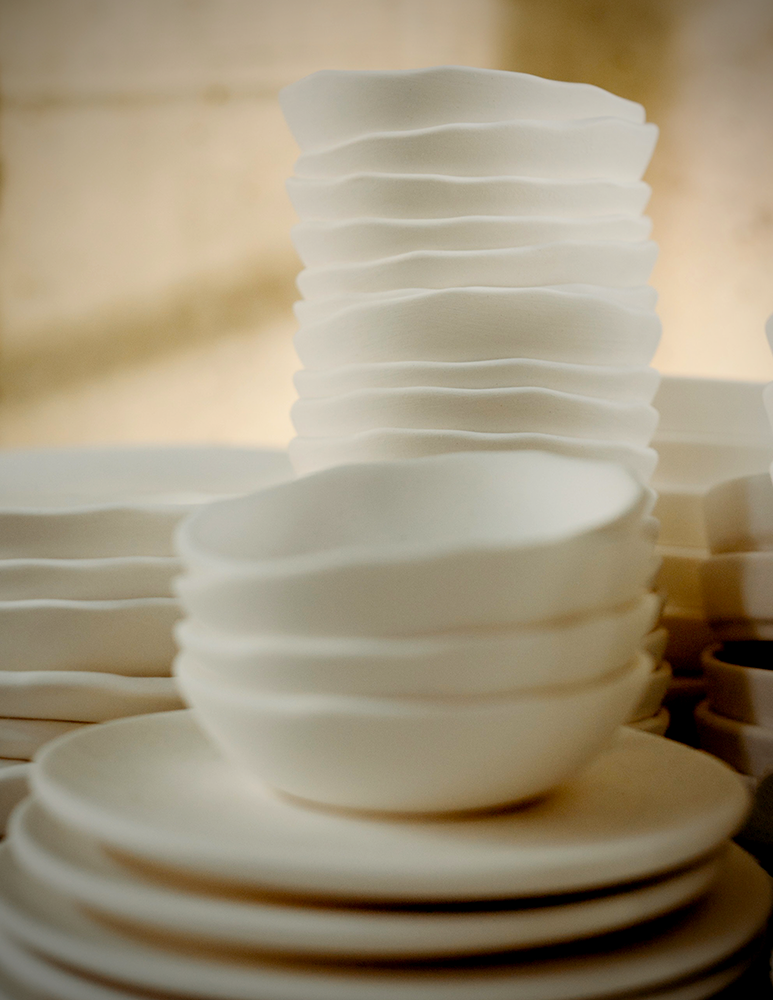
7. Let the Clay Dry
Once you're finished shaping the clay, let it dry completely before painting or glazing it.
This process can take anywhere from a few hours to a few days, depending on the thickness of the piece.
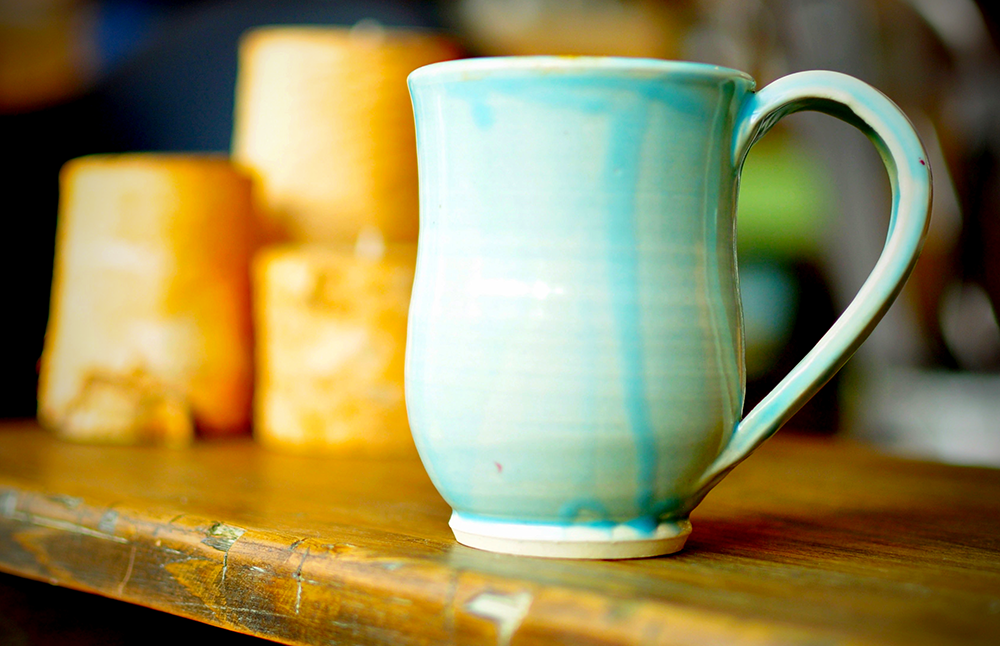
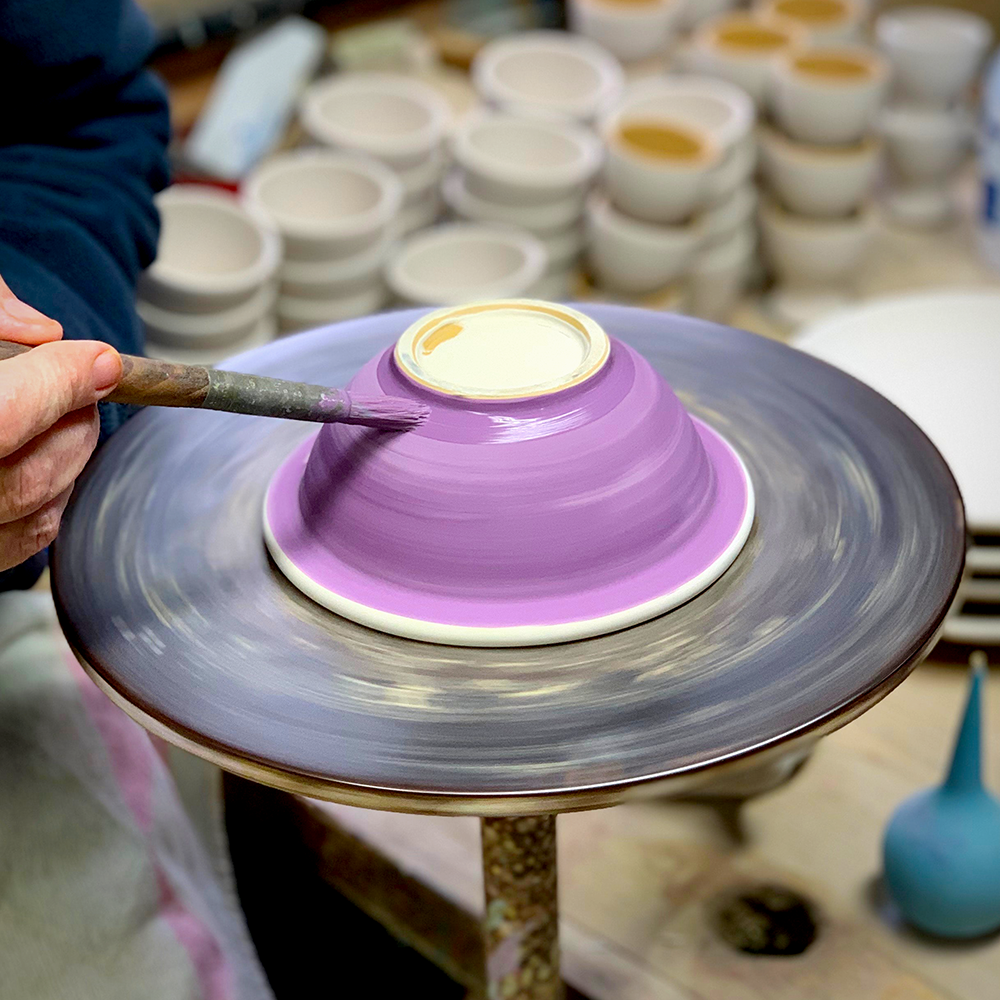
8. Paint or Glaze the Piece
Once the clay is dry, it's time to paint or glaze it.
This is where you can really get creative!
There are endless possibilities when it comes to painting and glazing pottery.
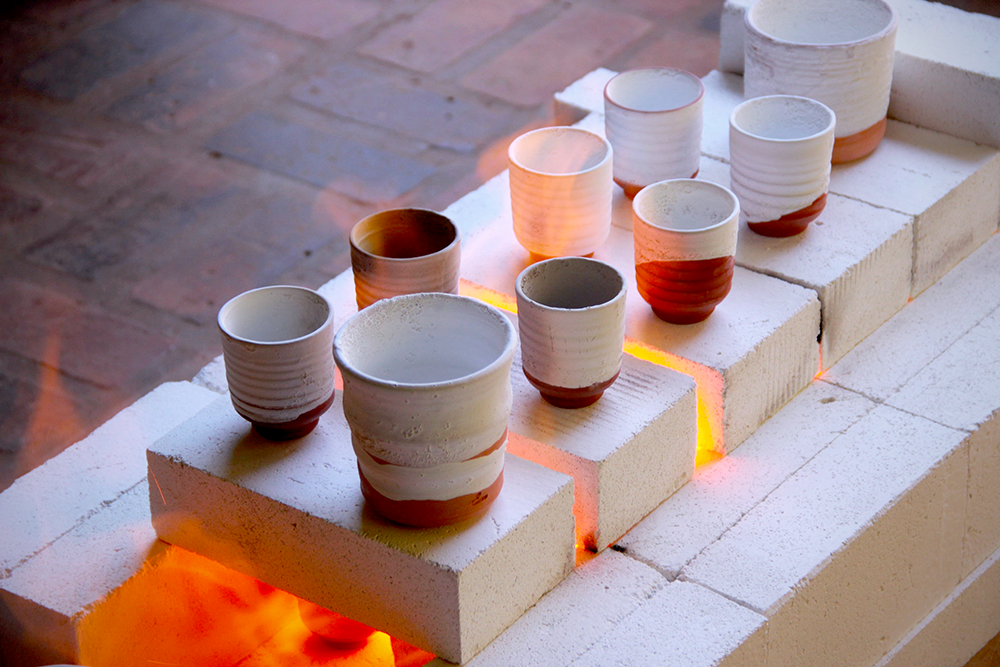
9. Fire the Piece
After the piece is painted or glazed, it needs to be fired in order for the paint or glaze to set.
This process can be done in a kiln.
There are different firing techniques and temperatures that you can use, depending on the types of clay and glaze that you are using.
10. Enjoy Your Pottery!
Once the piece is fired, let it cool completely before using or displaying it.
And that's it! You've now made a beautiful piece of pottery.
Now that you know how to use a pottery wheel, the sky's the limit.
Get creative and have fun!
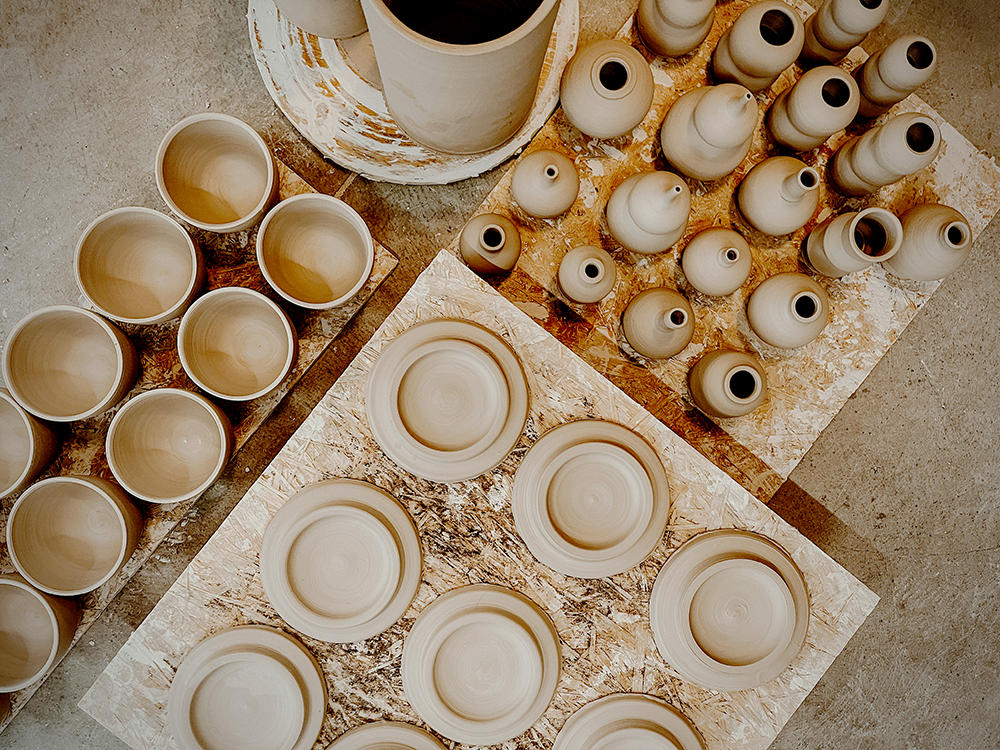
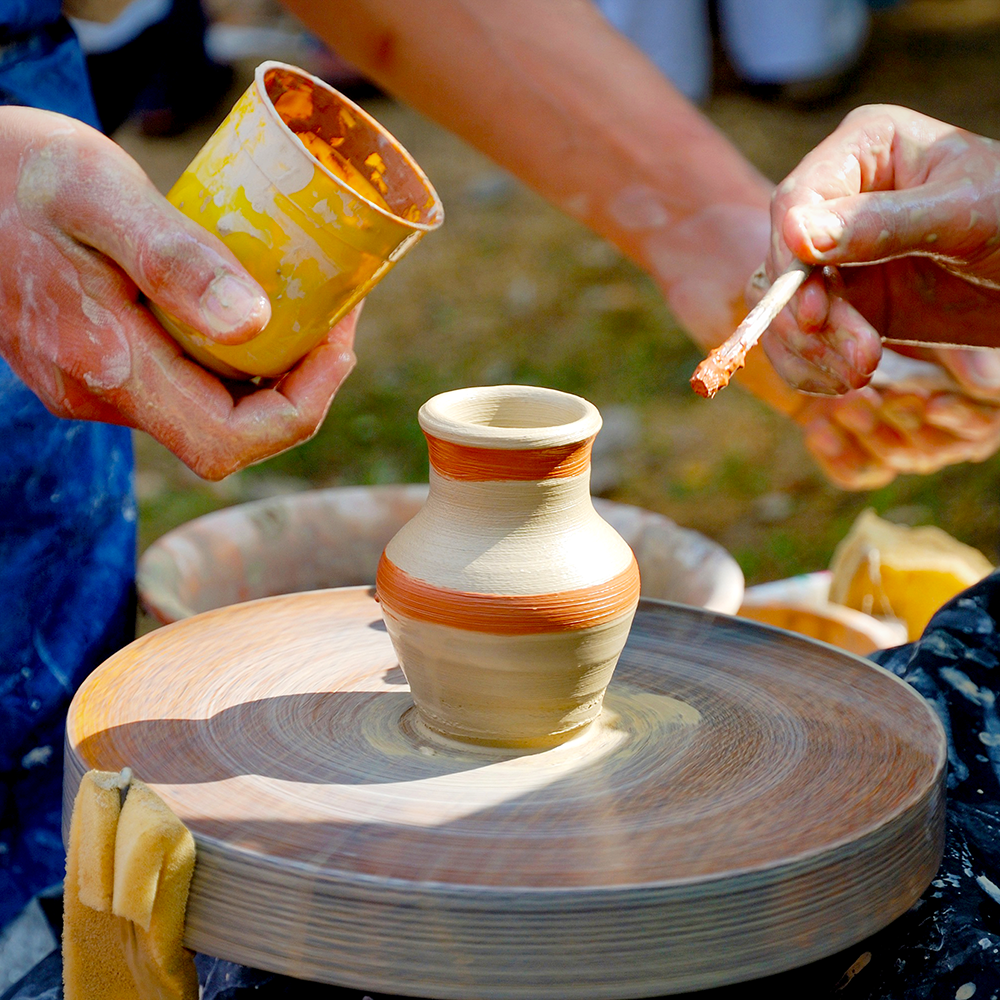
Creating with the Pottery Wheel
Pottery can be a fun and rewarding hobby, but it takes time and practice to master.
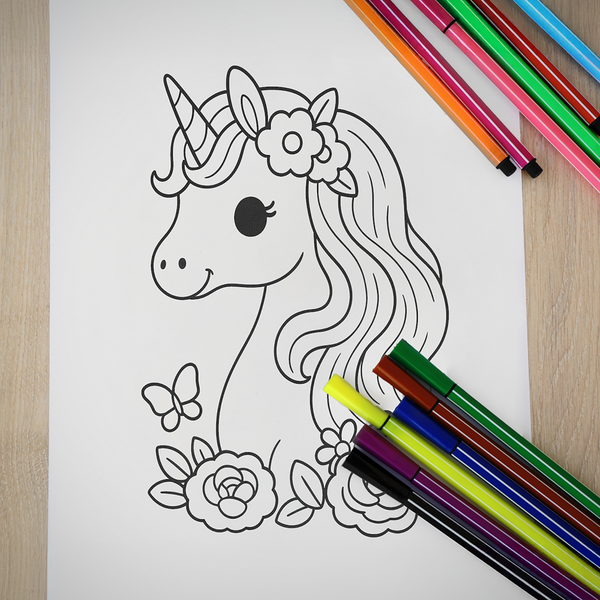
Now that you know how to use a pottery wheel, it's time to get creative!
Try out different shapes and sizes, and don't be afraid to experiment with different colors and designs.
With a little practice, you'll be creating beautiful pieces of pottery in no time!
Don't get discouraged if your first few pieces don't turn out the way you want them to.
There are so many different types of art projects, so you're sure to find one that you're good at.
And who knows?
You might even discover a new passion along the way.
So what are you waiting for? Get out there and start creating!
Eager to learn more about pottery throwing? Check out Timsee clay's video guide!
Love pottery and working with clay?
Check out some of our other ceramic articles: