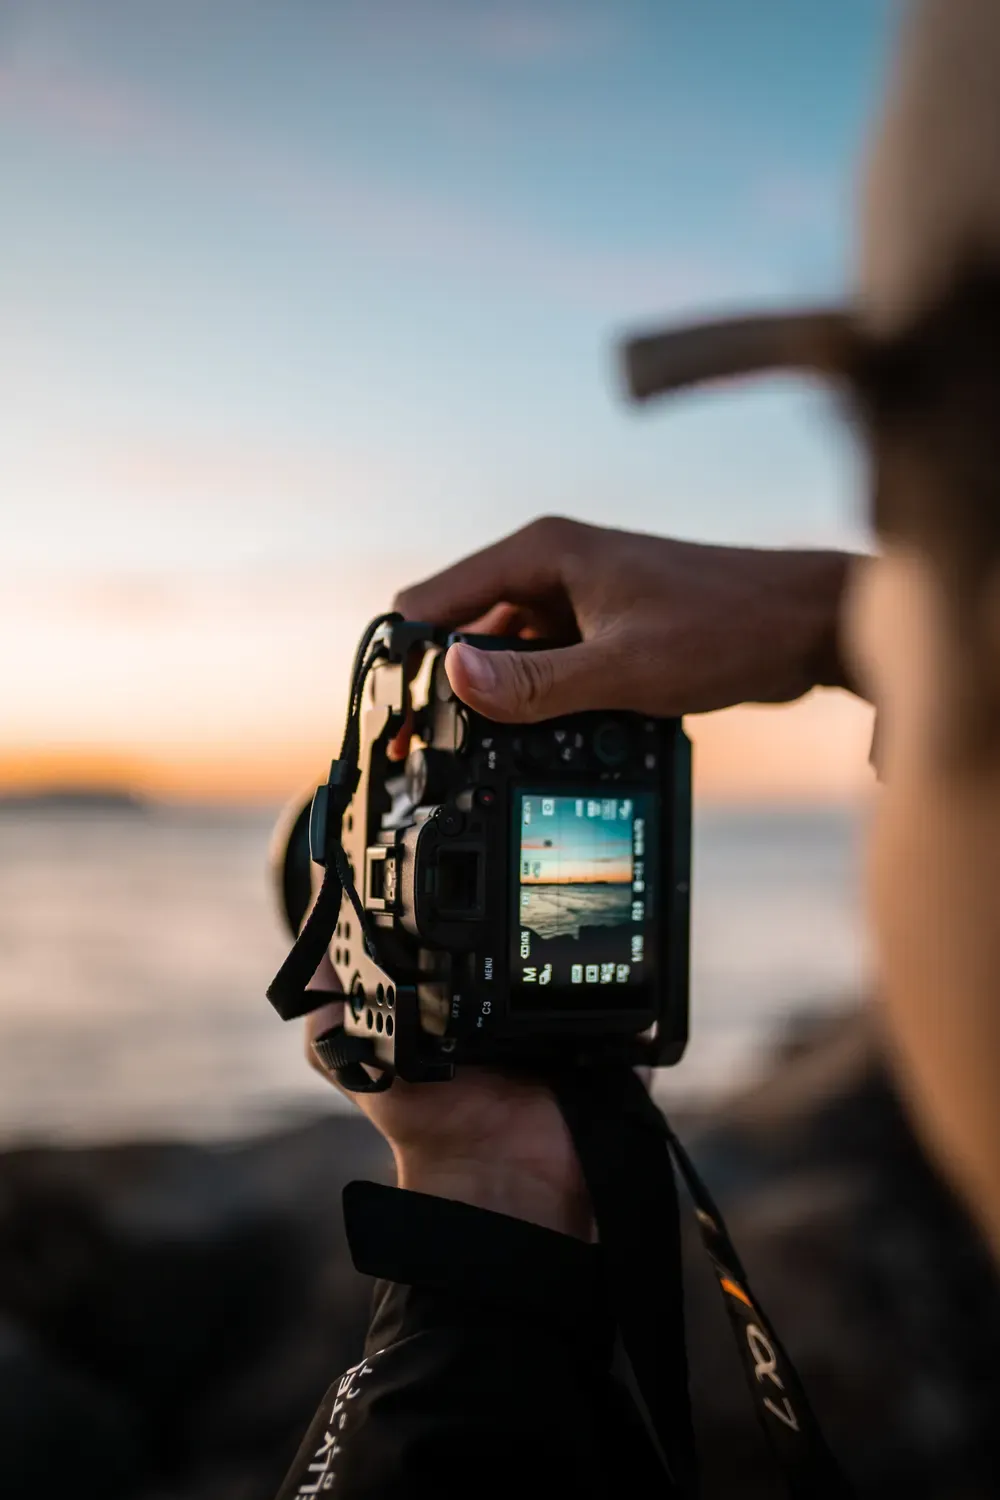
Are you a creator, artist, or simply a hobbyist looking to breath life into your visual work? Then let us share a secret... LIGHT changes everything and can be your best friend and biggest advocate! While understanding the principles around creative lighting and learning the technique will take some time and practice, we're confident that if you follow the the things we teach here and apply some of our suggestions, you will be surprised at the dramatic results you can achieve in only an hour or two.
Remember that your best work will come from having fun and taking pride in what you create! So we suggest you break this article into mini sessions, dividing up what you learn and putting it into practice. Then revisit this article as many times as you need to absorb all of the helpful information.
INTRODUCTION TO LIGHT
Illuminate your mind
The Transformative Power of Lighting
It's truly fascinating how the interplay between light and shadows can fundamentally alter our perception and emotional response to visual art and creations. Whether its a painting, sculpture, photograph or video the presence of lighting has the power to completely transform them.
This article delves into various techniques that leverage different lighting tricks to enhance the appeal of art, infusing it with a fresh and exhilarating aura. We'll explore the utilization of natural sunlight as well as the innovative use of artificial lighting and unleashing their full potential. Join us on this journey as we unveil the incredible ways, in which light shapes and revolutionizes the world of visual art!
A. The importance of artistic lighting in creating impactful images, art, and videos
Artistic lighting design plays a role in shaping the narrative and emotional impact of images and art. It goes beyond providing illumination; light itself takes on its own character or personality as part of a scene acting as a storyteller in its own unique way. The interplay between light and shadow along with intensity and direction can completely transform the mood of a scene by emphasizing important elements, at the same time concealing others.

Whether its in photography, painting. or any visual medium, thoughtful lighting has the power to evoke strong emotions, guide the viewers attention, and convey intricate details. It adds depth and dimension by sculpting surfaces and contours ultimately turning a composition into an engaging visual story. By manipulating lighting techniques artists can harness its potential to create drama, evoke nostalgia, or even challenge perceptions. Consequently it becomes a tool, for crafting impactful and memorable artwork.
B. Overview of the key elements to consider in crafting artistic lighting
Crafting light involves carefully balancing different elements to evoke emotions, enhance aesthetics, and shape the overall atmosphere. The first element to consider is the intensity of the light, which determines how bright or dim it appears and sets the tone for the space. The color temperature (cool or warm) also plays a role in creating a mood – warm hues bring coziness while cool tones give off a more clinical feel. The direction of the light is crucial as it influences how subjects look and creates shadows adding depth and drama to the scene. Contrast plays a role by defining the range between light and dark areas giving a dynamic quality to what we see.
Lighting can also highlight texture revealing surfaces and adding tactile dimensions to our perception. Focal points help guide viewers attention while composition ensures that various sources of light interact harmoniously with each other.
Finally introducing movement through changes in lighting enhances our sense of time and creates a narrative like experience. When all these elements come together artists can use light as a tool to create captivating and immersive experiences.
THE BASICS
A Good Place to Start
Understanding the Basics of Lighting
A. Different types of lighting sources (natural, artificial, continuous)
Natural light, with its dynamic shifts and qualities, helps to connect the audience to reality and emotions. Artificial light, on the other hand, offers precise control, allowing creators to craft specific tones and moods. Continuous lighting sources, such as softboxes or LEDs, provide consistent illumination for controlled scenes, while natural light variations contribute to authenticity.
To help you choose the right type of light to use (in a photograph or painting for example) decide on the mood you want to create or the emotion you want to convey. Also consider your scene or background and the type of light that will best match it for a natural look.
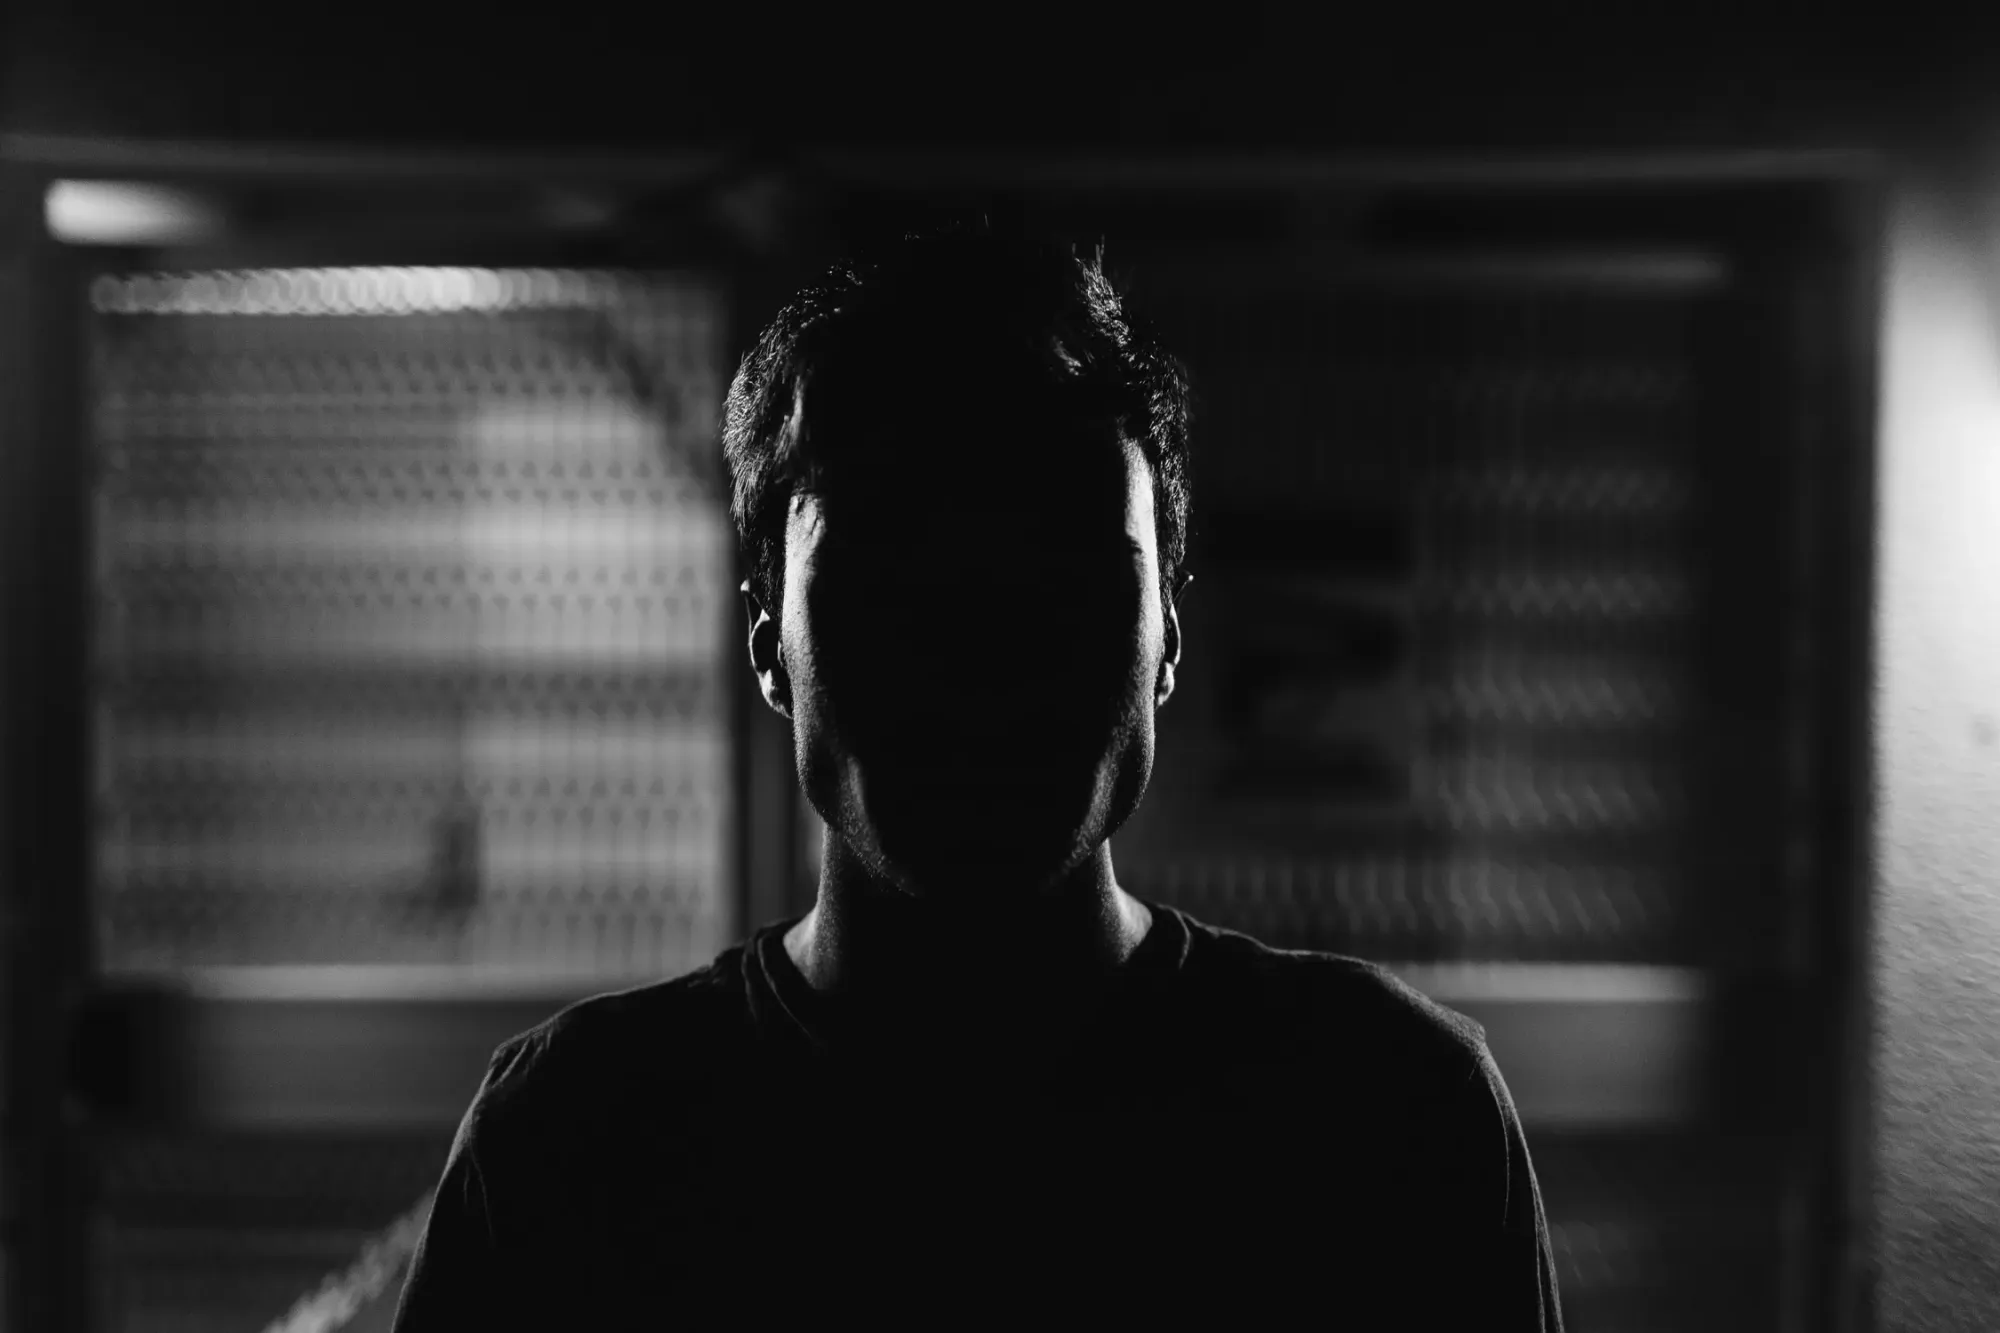
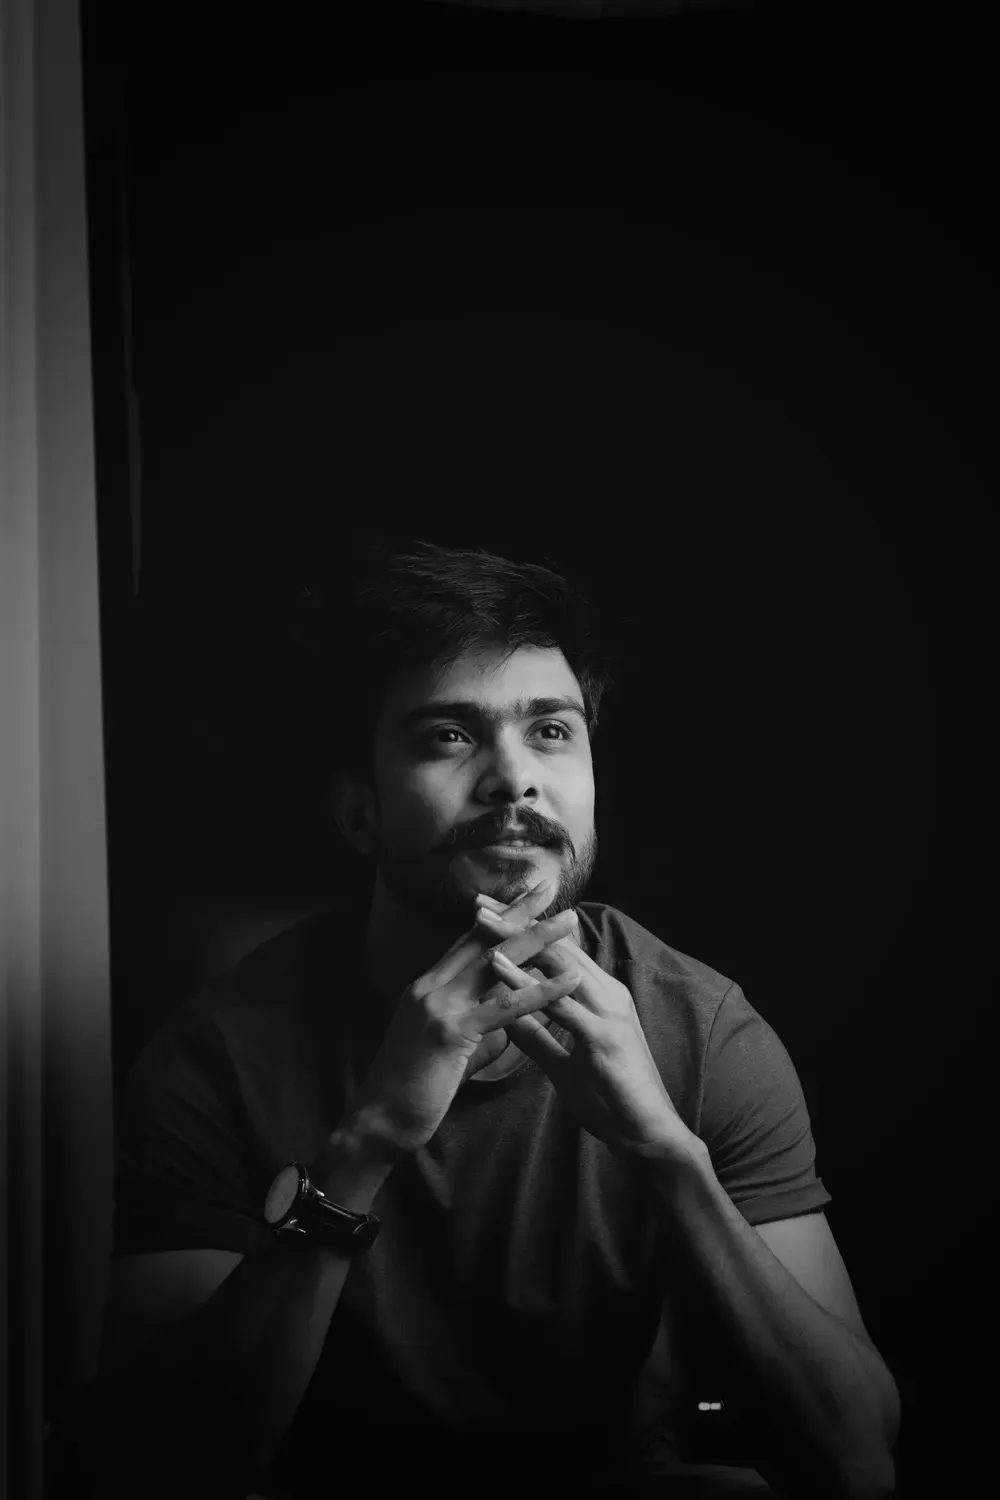
B. The significance of light quality (hard vs. soft light)
Hard light, characterized by strong, direct beams, creates sharp shadows and distinct contrasts. It can evoke feelings of drama, tension, and edginess, making it suitable for suspenseful or high-energy moments. On the other hand, soft light, achieved through diffusion or reflection, produces gentle transitions between light and shadow, resulting in a more flattering and serene appearance. Soft light is often used to convey comfort, intimacy, and emotional depth.
C. Names, types, and purpose.
#1. Lights:
- Tungsten Lights (Incandescent): These warm, traditional lights produce a cozy, amber glow akin to candlelight. Perfect for evoking nostalgic or intimate atmospheres, they come in various wattages and are easily dimmable.
- Fluorescent Lights: Offering a cooler, more neutral light, fluorescents are energy-efficient options. They come in different color temperatures and are often found in tube or compact bulb form.
- LED Lights: Highly versatile, LEDs provide options across the color temperature spectrum. They are energy-efficient, long-lasting, and can be controlled to achieve precise lighting effects.
- HMI Lights: High-Intensity Discharge (HMI) lights offer a powerful, daylight-balanced output. Commonly used in film and photography, they replicate natural sunlight and provide excellent color rendering.
#2. Modifiers:
- Gels: Transparent colored sheets placed in front of light sources to modify the color of the light. Gels are used to add dramatic or creative color effects, correct color temperature imbalances, or match different light sources.
- Diffusion Panels: These tools scatter light to create soft, even illumination. Softboxes, umbrellas, and diffusers are examples of modifiers that spread light across a larger area, reducing harsh shadows.
- Reflectors: Reflective surfaces, such as white foam boards or collapsible reflectors, bounce light back onto the subject to fill in shadows and add dimension.
- Snoots: These narrow, tube-like attachments focus light into a concentrated beam, creating controlled, spotlight-like effects.
- Gobos: Short for "Go Between," gobos are patterns or stencils placed in front of a light source to cast intricate shadows or shapes onto surfaces.
- Barn Doors: Attachable flaps on light fixtures that allow for precise control of light direction by narrowing or shaping the beam.
#3. Lighting position and purpose:
- Key Light: The lead performer in the lighting ensemble, the key light is the primary source that provides the dominant illumination on the subject. Placed to the side and slightly above or in front, it accentuates the subject's form and texture while casting shadows for depth.
- Fill Light: The supporting actor to the key light, the fill light mitigates the shadows cast by the key light. Positioned on the opposite side of the key light, it bathes the subject in a soft glow, reducing harsh contrasts and enhancing details.
- Backlight (Hair Light or Rim Light): Cast from behind the subject, the backlight adds separation between the subject and the background. It creates a luminous outline along the edges, giving the subject a three-dimensional pop and depth.
- Rim Light: A specialized backlight that grazes the subject's edges, creating a thin line of light along the outline. It's especially effective for emphasizing contours and making the subject stand out from the backdrop.
- Background Light (Separation Light): This light is focused on the background, setting it apart from the subject. It can add depth and dimension to the scene, creating a pleasing separation between the subject and the environment.
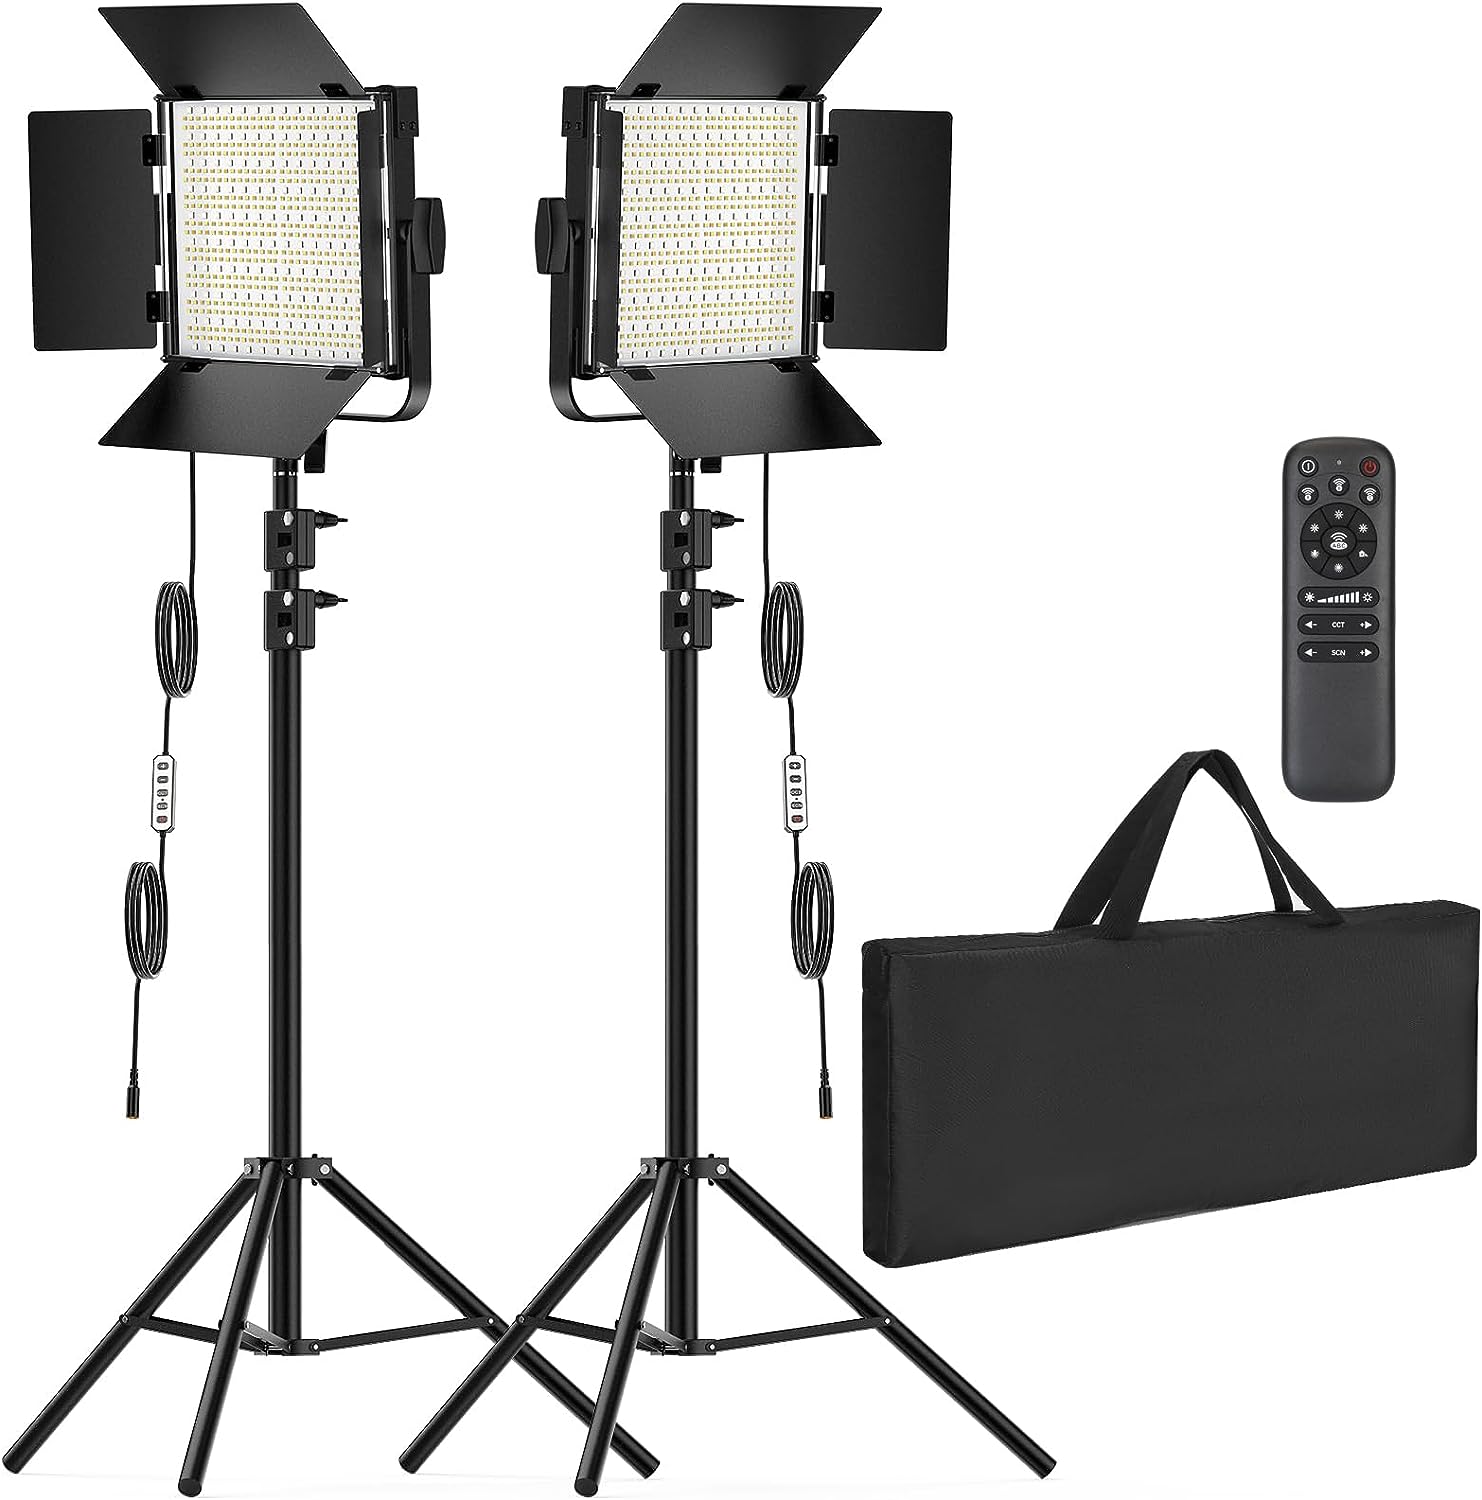
RGB Photography Video Lighting Kit
2 Pack Bi-Color Energy-Saving LED Video Studio Lights with 2300k~8500k and Dimmable
- Fill-in Light (or Fill Flash): Often used in outdoor settings, a fill-in light compensates for strong overhead sunlight by reducing shadows and revealing details in the subject's face.
- Kicker Light (Accent Light): Placed at a 45-degree angle from the subject, this light imparts a subtle touch, highlighting specific areas like hair or shoulders to add dimension and visual interest.
- Cross Lighting (Clamshell Lighting): This setup involves placing two lights on either side of the subject, one above as the key light and the other below as a fill light. It produces soft, flattering illumination by minimizing shadows.
- Rembrandt Lighting: Named after the renowned artist, this technique employs a key light positioned to create a small triangle of light on the subject's cheek opposite the light source. It adds an air of drama and sophistication.
- Loop Lighting: Here, the key light is positioned at an angle and slightly above the subject, casting a small, subtle shadow of the subject's nose onto their cheek. It's a flattering choice for portraits.
- Butterfly Lighting: The key light is placed directly in front and above the subject, creating a distinctive shadow under the nose that resembles a butterfly. It's often used in fashion and glamour photography.
D. Optimizing the environment for creative lighting
Crafting a harmonious lighting setup that complements your subject involves a dash of artistry and a pinch of technical finesse. Natural light is a beautiful and versatile source, offering a soft and dynamic foundation. So when blending artificial sources, strive for consistency in color temperature; this helps avoid jarring contrasts.
Position your lights thoughtfully—key lights emphasize your subject, fill lights soften shadows, and backlights add depth. As you mix sources, balance their intensities to avoid overpowering or underexposing any element. Fine-tune your setup iteratively, checking how each source contributes to the overall vibe. The magic lies in achieving a cohesive narrative—where natural and artificial light collaborate to sculpt your subject's story. Aldo, be creative with your scene by adding objects or decor that can interact with the light and give texture to the scene.
E. Planning your lighting setup:
Take stock of the available light sources—windows, lamps, overhead fixtures—and their quality. Consider introducing supplemental sources, like LED strips or accent lights, to inject layers of intrigue. Experiment with different angles and placements, allowing shadows to play their part in the symphony. Reflective surfaces can bounce and diffuse light, adding a magical touch. Don't be afraid to manipulate color through gels or fabric to infuse your environment with a unique atmosphere (we'll talk about that in a few seconds). As you tweak and tinker, step back frequently to witness the interplay of light and shadows
THE TECHNIQUE
It's all in the wrist... uh, I mean the Watts!
Mastering Lighting Techniques
A. The three-point lighting setup for classic portraits and interviews
The setup of three point lighting is a technique used in the world of portraits and interviews (but the idea can also be applied to lighting objects as well). It adds a touch of finesse and depth by illuminating the subjects.
Lets begin with the KEY light, which serves as the source of illumination. Position it slightly to the side and, above the subjects eye level at a 45 degree angle. This light creates shadows that add dimension to their features. Next introduce the FILL light on the opposite side of the key light. This softens the shadows and helps provide a more pleasing final loo. Finally add a backlight behind the subject on the opposite side, from where you placed the key light. This delicate glow defines their contours and separates them from the background.
When it comes to interviews this lighting setup guarantees visibility and maintains a professional demeanor throughout. For portraits it enhances their form while flattering and highlighting their features.
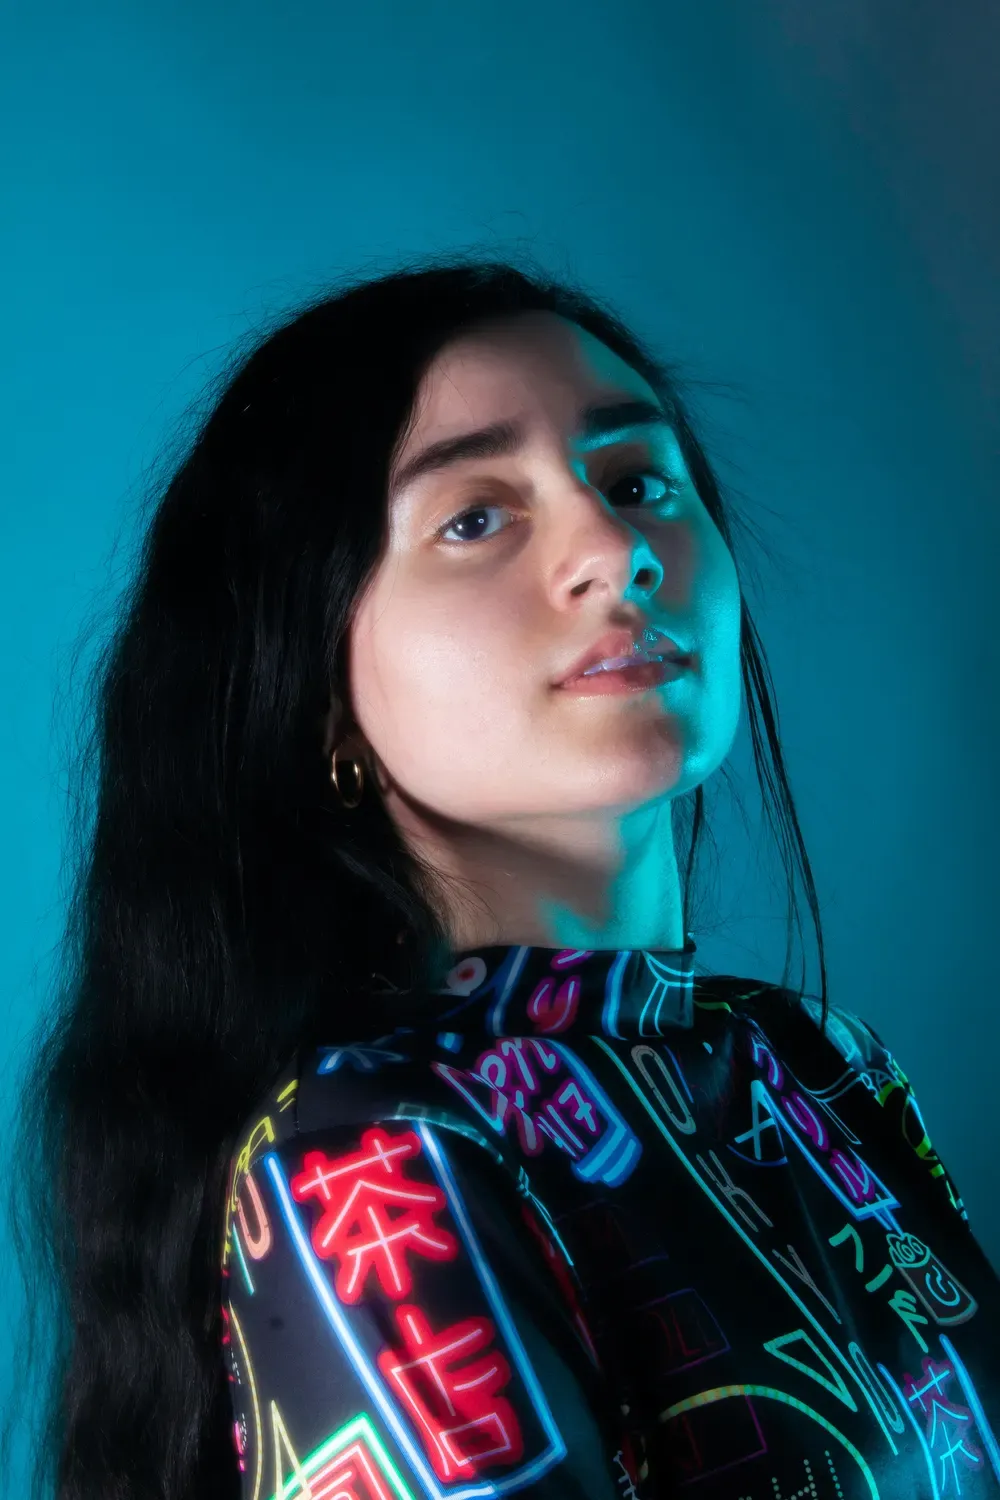
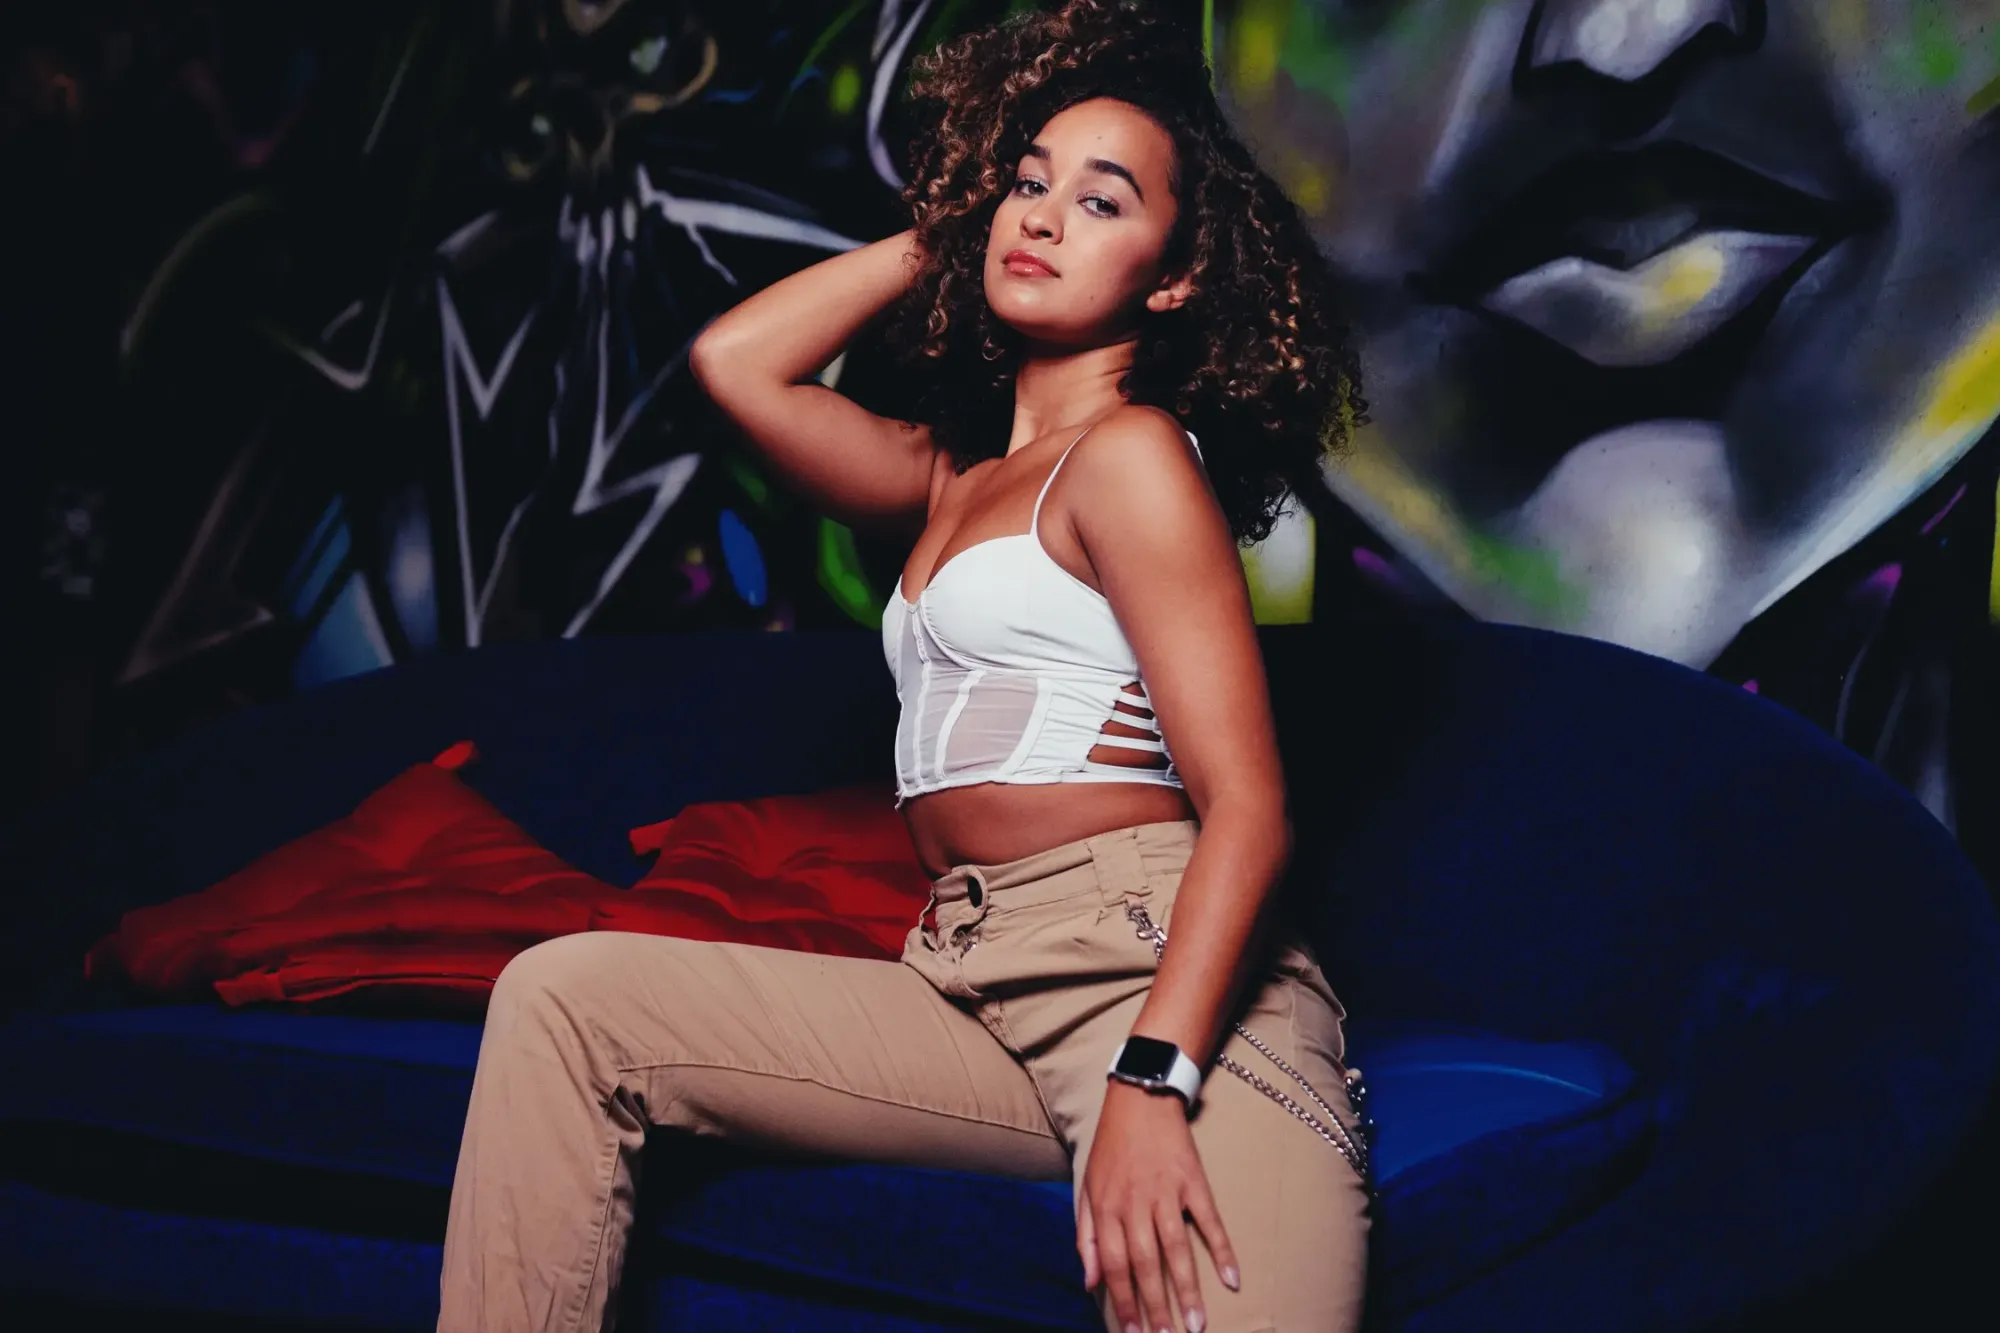
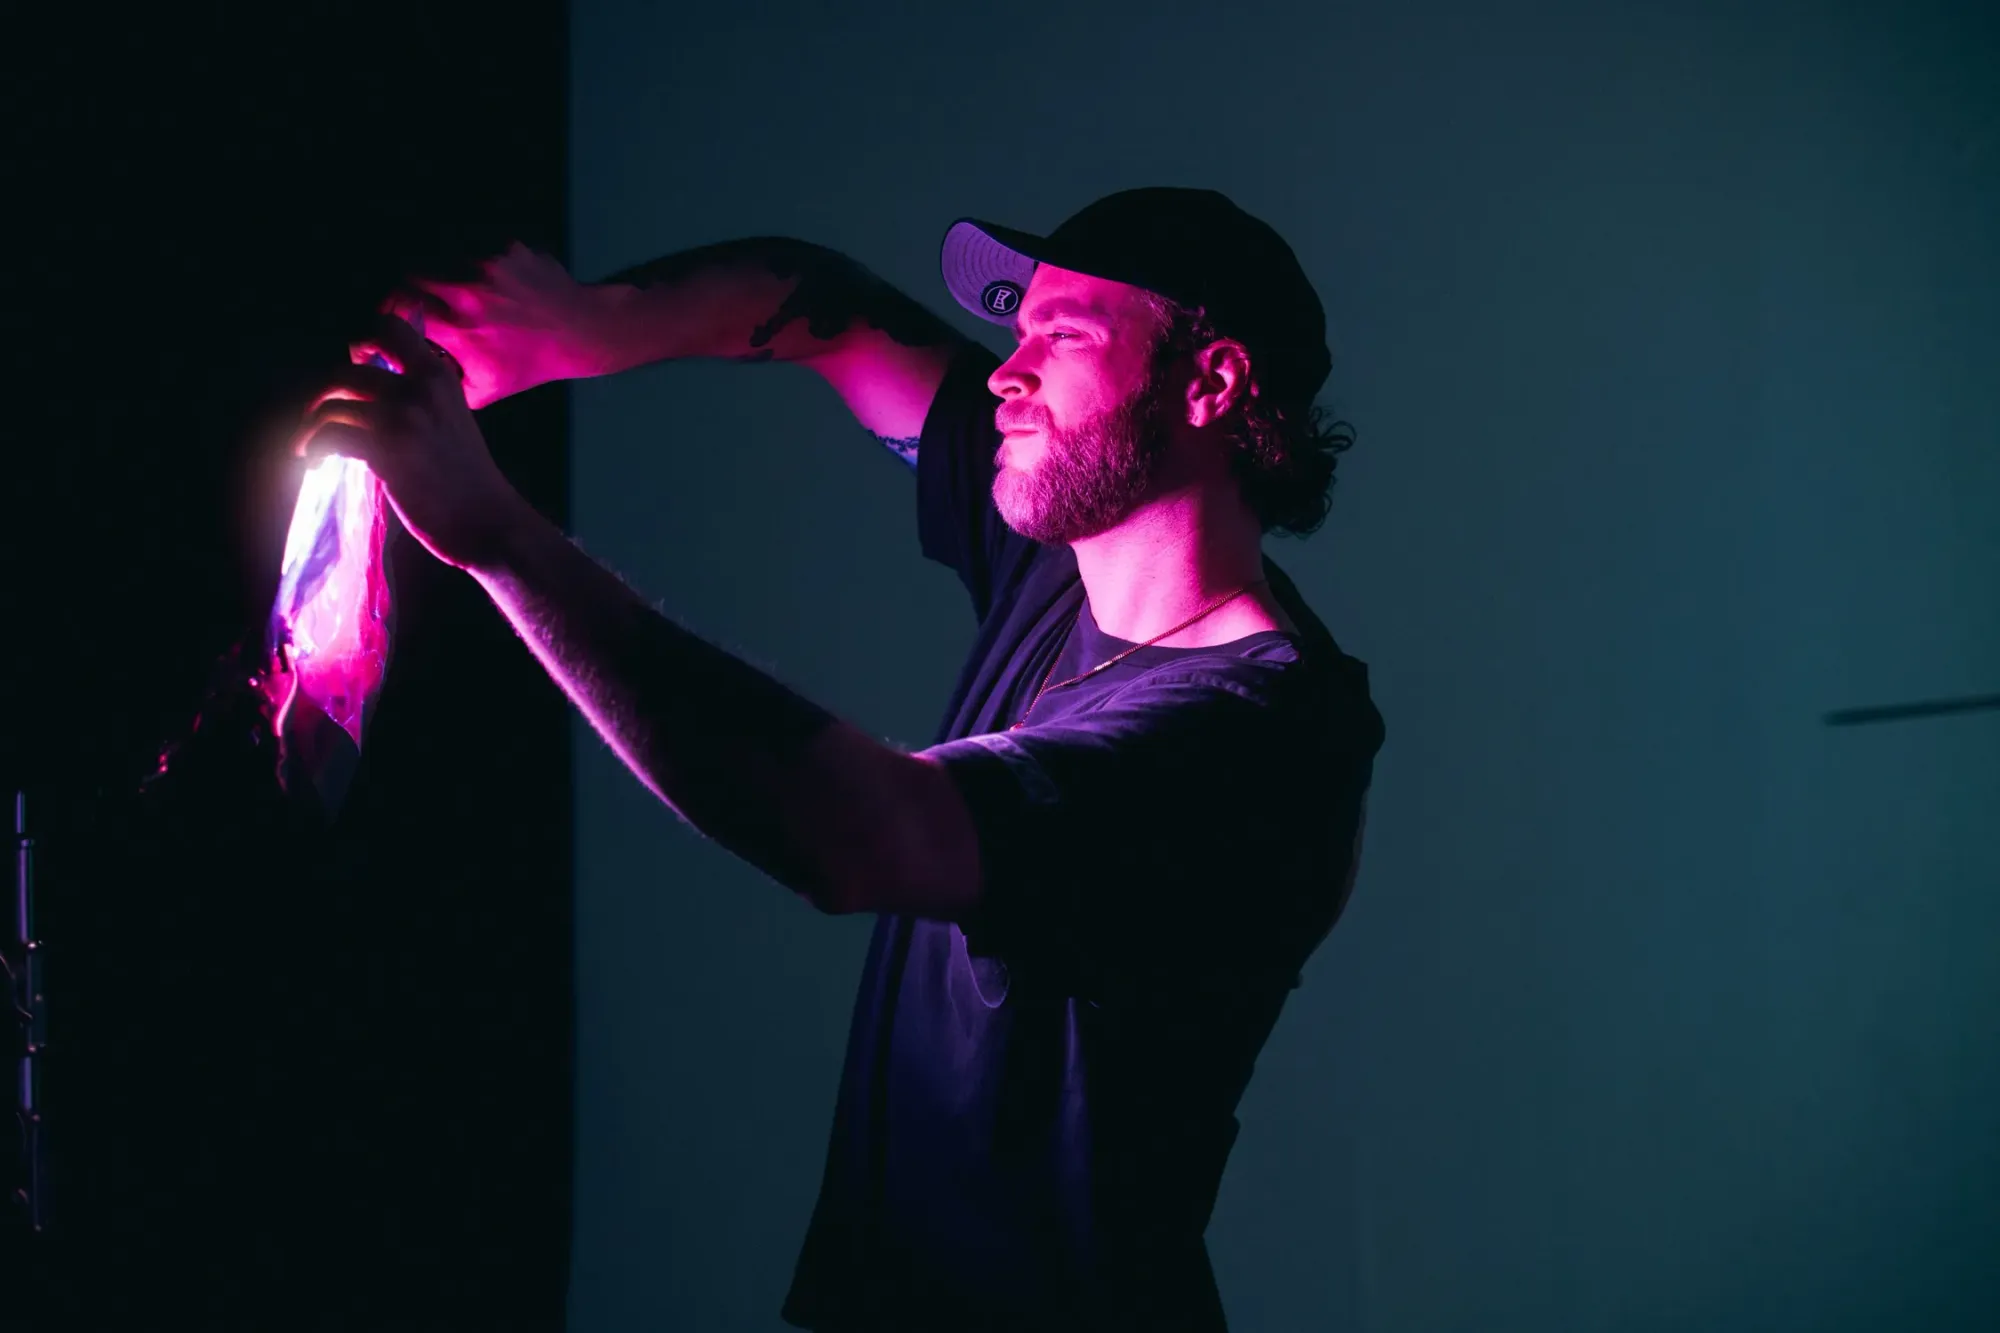
B. Crafting dynamic visuals with colored gels and filters
Using colored gels and filters is an exciting way to add flair and atmosphere to your photographs or lighting setups. To get started, pick your main light source – whether it's a studio light or an external flash. Affix a colored gel onto the light, ensuring it's smooth and even for consistent coloring. Play around with various gel shades to evoke specific emotions – warm tones like red or orange can radiate passion, while cool blues can offer a sense of calm.
Remember, the distance between your light and subject impacts the color's intensity, so experiment accordingly. For a softer touch, consider using a diffuser in front of the gel. To up the ante, incorporate contrasting or complementary gels on secondary lights for an eye-catching blend of hues. With a bit of practice, you'll uncover how this uncomplicated yet impactful method can metamorphose your visuals into captivating narratives.
C. Understanding the inverse square law for controlling light falloff
Basically this rule states that when you move your source away from your subject the brightness of the light diminishes at a faster rate compared to the increase in distance. In terms even a small change in the distance between your light and subject can have a significant impact, on the intensity and how quickly it fades.
Understanding this concept is useful when you want to create lighting effects – bringing the light closer produces stronger and more focused illumination while increasing the distance gives you softer and more gradual lighting. By mastering the square law you can adjust your lighting precisely to achieve the exact mood and atmosphere you desire for your photographs.
SHADOWS
Not The Scary Kind - The Good Kind
The Art of Shadows
A. Embracing shadows:
Shadows are more than just the absence of light; they are powerful storytellers as they help to build the right atmosphere and set the right mood. By intentionally shaping shadows, you can evoke emotions, highlight textures, and add an enigmatic allure to your work.
B. The combination:
Combining light and shadow creates a dynamic visual intrigue, inviting the viewer to engage with the mystery and drama within the frame. Shadows infuse a sense of dimension, guiding the eye to focal points and contributing to the overall composition. Recognizing the significance of shadows allows you to craft images that transcend mere illumination, enabling you to paint with light in ways that captivate and resonate long after the initial glance.
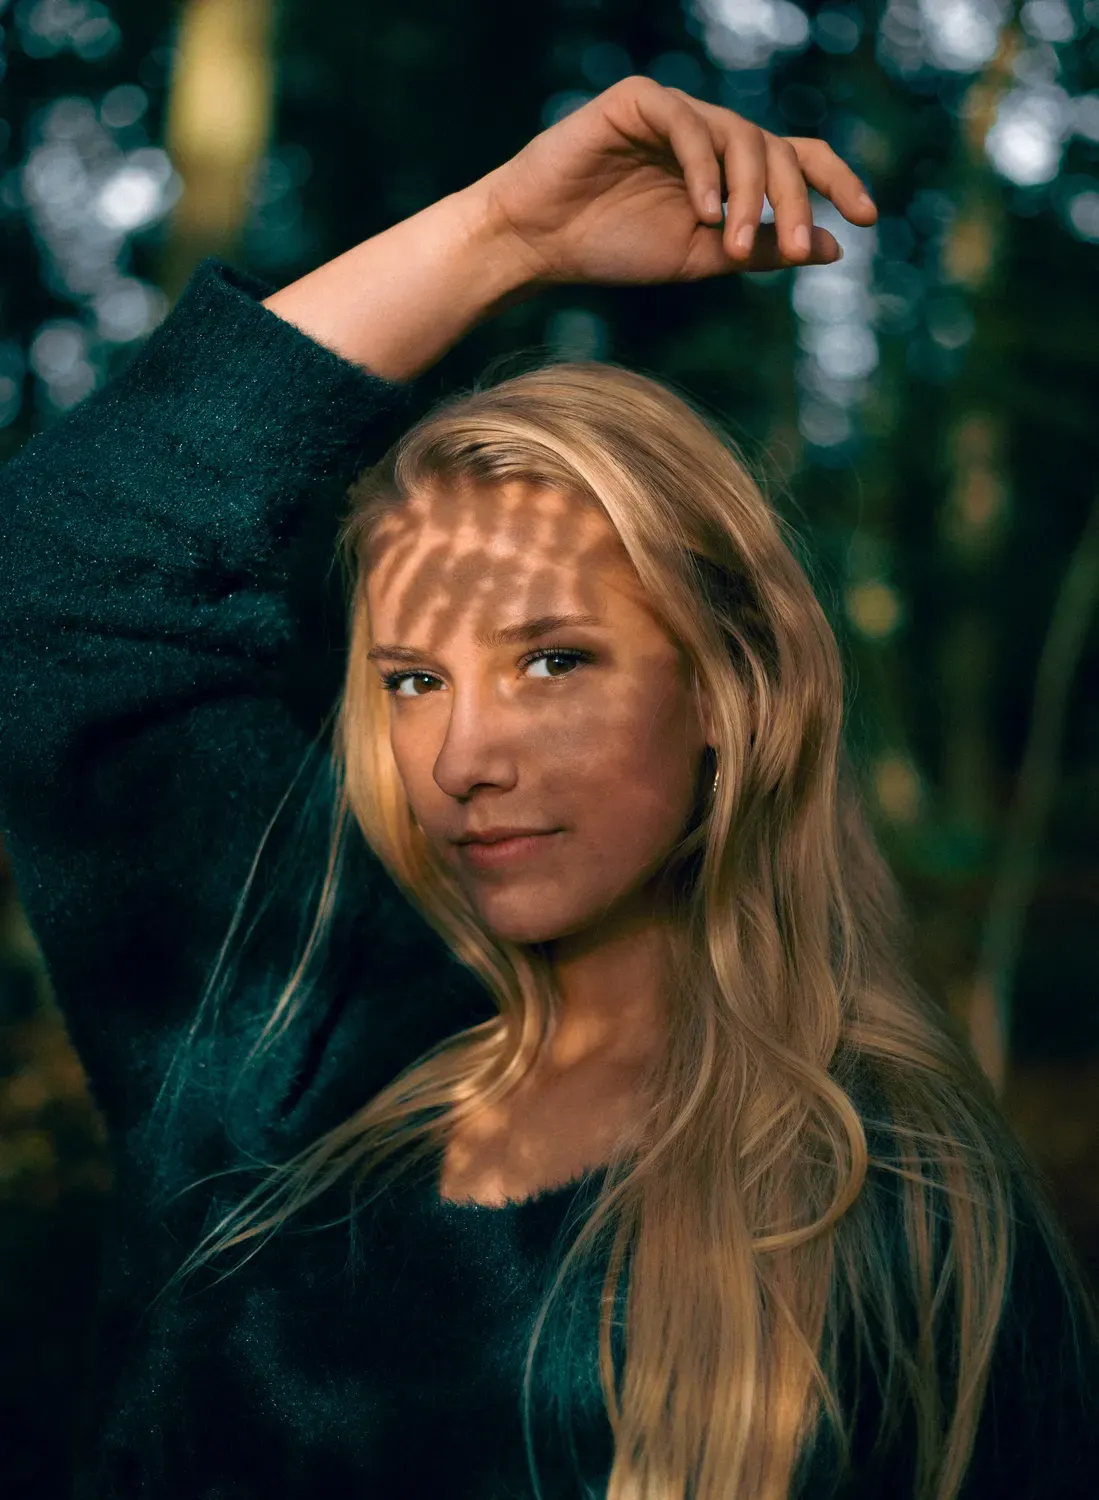
C. Using shadows to add texture and depth to your visuals.
When shadows are used thoughtfully they have the power to elevate a flat two dimensional image into a captivating work of art with depth. One effective technique involves positioning the source at an angle, which casts shadows that enhance the textures and contours of the subject. This method works well in still, life, and portrait photography, art, or video as it brings out intricate details.
Another approach is backlighting, where the light originates from behind the subject creating silhouettes and emphasizing their outlines. Experimenting with shadows during the golden hours – right after sunrise or before sunset – can produce long and dramatic shadows that add an enchanting touch, to outdoor scenes. Remember, shadows possess storytelling qualities and evoke emotions so consider carefully what mood you wish to convey.
CUSTOMIZING YOUR LIGHT
Now We're Getting Fancy!
Modifiers and Accessories
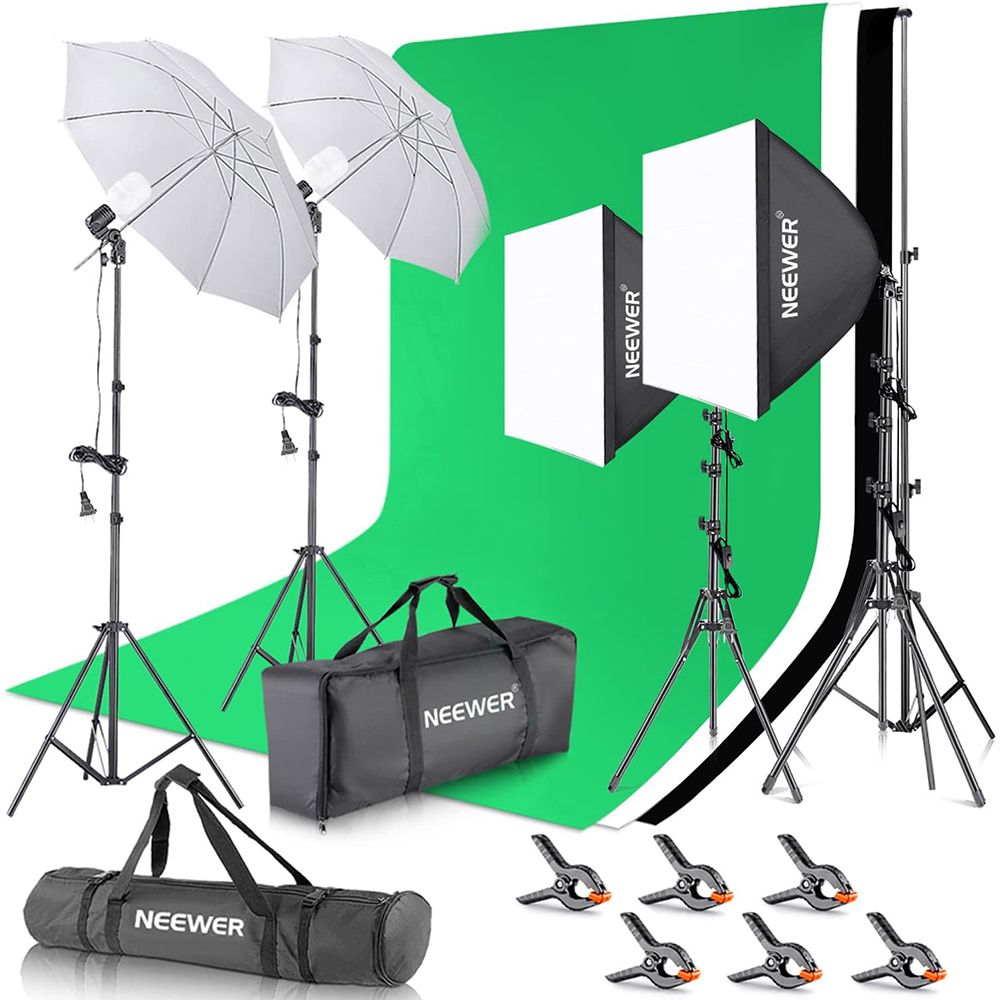
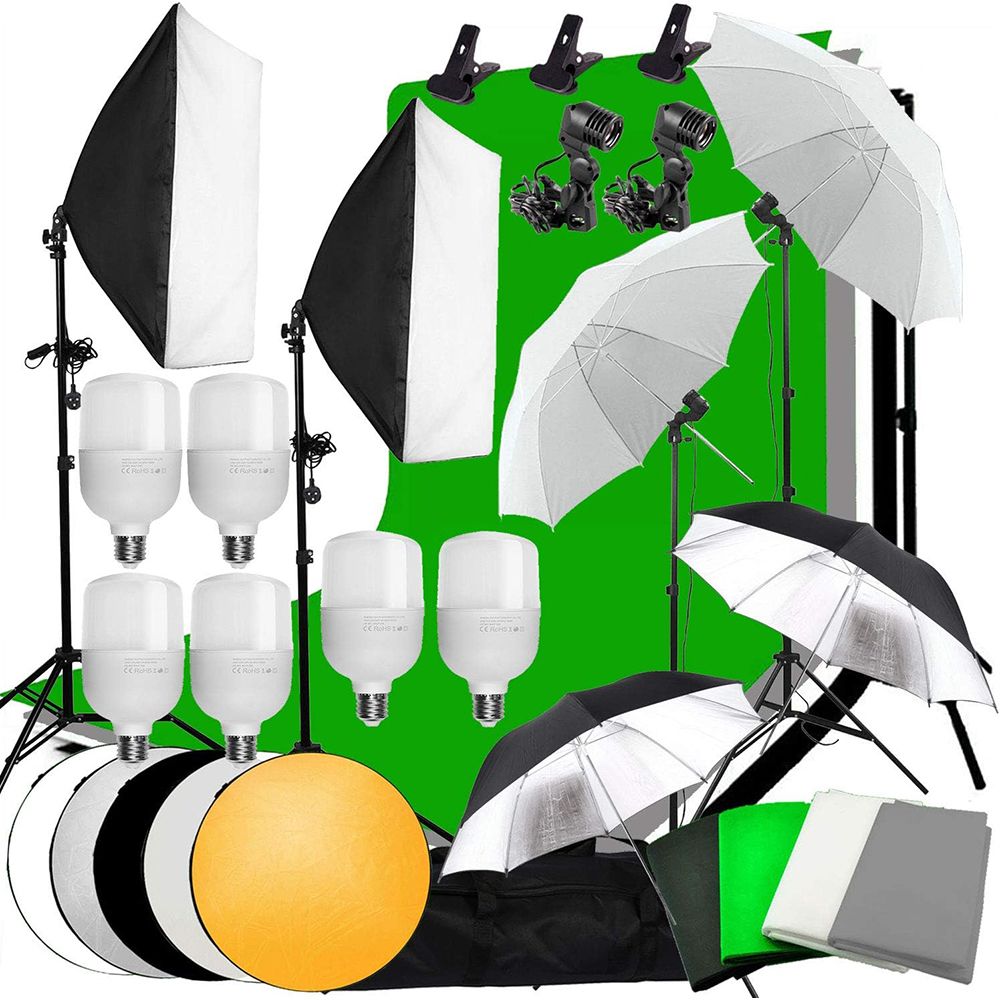
A. The impact of light modifiers (softboxes, umbrellas, and grids)
Once you have set up and positioned your lighting, the next step is to manipulate that light to achieve your desired outcome. A softbox is a tool for diffusing and spreading light resulting in soft shadows and gentle highlights that enhance the appearance of your subjects. It works wonders for portraits and product photography as it creates an evenly distributed illumination.
On the other hand umbrellas offer versatility and affordability by spreading light over a wider area resulting in softer shadows. They are particularly beneficial for beginners looking to set up a soft lighting arrangement.
Grids however act as precision instruments that narrow down the spread of light beams giving you greater control over where the light falls while minimizing unwanted spillage. They are perfect when you need lighting, on specific areas. Each modifier brings its unique touch to your creative vision.
B. Using bounce cards and reflectors to shape and control light
When we use bounce cards and reflectors to artistically manipulate and direct light, it really can become a game changer in the world of photography and videography. Bounce cards (surfaces that are white or neutral in color) allow you to bounce light onto your subject from different angles resulting in softer shadows and an added touch of fill light. They're tools for achieving a natural and well balanced appearance especially when capturing portraits.
Reflectors come in shades such as silver, gold, or white and can bounce existing light onto your subject while amplifying it. Silver reflectors create an cool highlight effect, gold ones bring warmth to the scene, while white reflectors provide an even and soft bounce. By positioning these tools you can shape the light to your advantage, highlighting textures, emphasizing details, or simply achieving a flattering illumination that takes your visuals from good, to outstanding.

Photography Reflector and Diffuser Set
5 in 1 Collapsible Multi Disc Lighting Set
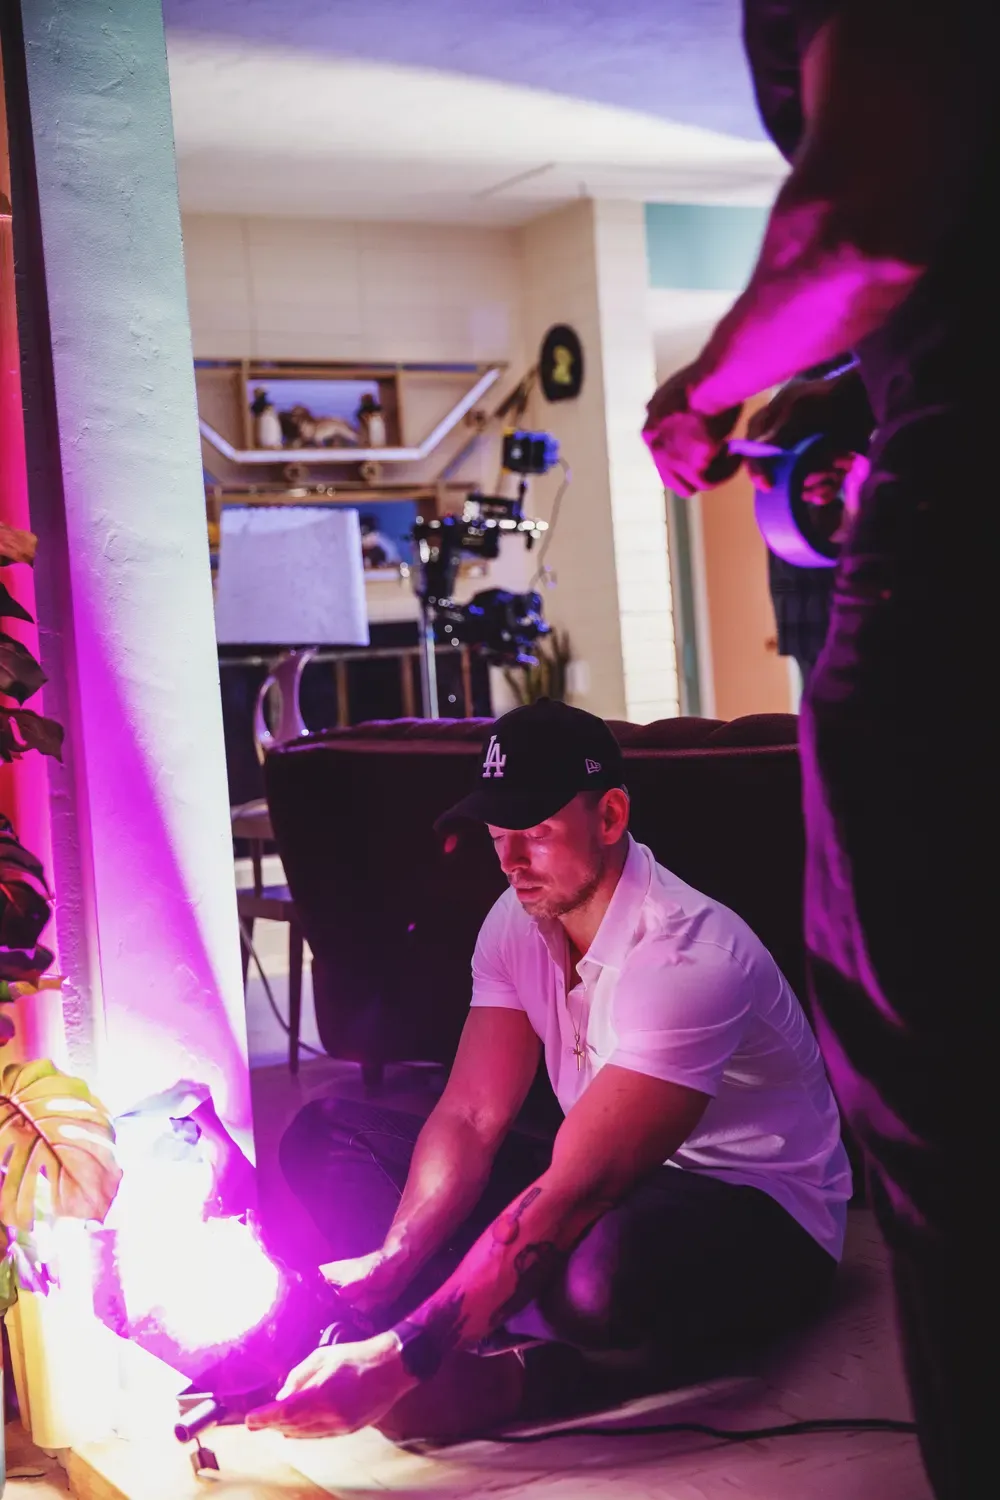
C. DIY solutions for creative lighting on a budget
If money is a little tight but you just can't wait to get that perfect look you want for your next art project, then consider using these everyday objects as light modifiers, that will give you pretty darn good results for pennies (or for free if you borrow from your roommate while they're not looking - Lol). Also, consider post-editing using tools like Photoshop to create lighting, although creating it in the photography shoot is generally easier.
A white bedsheet can become a diffuser to soften harsh sunlight, while aluminum foil can act as a makeshift reflector to bounce light onto your subject. When working within an interior scene, experiment with a household table lamp and colored plastic wrap to craft unique mood lighting. Sometimes you may even have access to designer lighting like using a household pendant light, which can be an excellent choice for mood lighting. Building your own softbox using a cardboard box, white fabric, and a simple bulb is a fantastic low-cost option. Repurposing materials like PVC pipes, shower curtains, or even an old window blind can result in creative light shaping tools.
Or perhaps you have a covered patio? Get outside and take advantage of the soft light mother nature provides, without the direct harsh light of the sun! The secret is to delve in, personalize, and be creative, because these do it yourself tricks not only help you save money, they also promote a deeper comprehension of lighting principles and act as an excellent teacher of manipulating light, allowing you to create breathtaking visuals without spending a fortune.
WRAP IT UP
Because Every Good Story Needs an Ending
In conclusion, the world of art, lighting assumes the role of a skilled storyteller, capable of evoking emotions, setting moods, and weaving narratives that deeply captivate our senses. The dance between light and shadows is a mesmerizing exchange that goes beyond just providing brightness; it imbues artworks such as paintings, sculptures, photos and videos with form and vitality. Whether its the flicker of a candle or the precise manipulation of artificial lighting, this article has shed light on the profound impact that light can have in the realm of art.

Through techniques like employing a three point lighting setup, utilizing filters, and playing with shadows, artists can unlock the true potential of light to create experiences that enthrall us. Rather than perceiving shadows as empty voids, this article has revealed their integral role in artistic expression; they evoke emotions emphasize textures and add depth to artwork. As we conclude this enlightening journey (see what we did there?) let's remember that mastering the art of lighting is not about making things visible; it's, about eliciting emotions, crafting narratives, and transforming the ordinary into something extraordinary.
Eager to learn more about the power of lighting? Check out Manny Ortiz's video!
Ready for a deep dive into photography lighting? Check out Tony & Chelsea Northrup's tutorial!
Want even more content about creativity and art?
Be sure to check out all of our creative chronicles!
Interested in photography?
Check out some of our other articles: