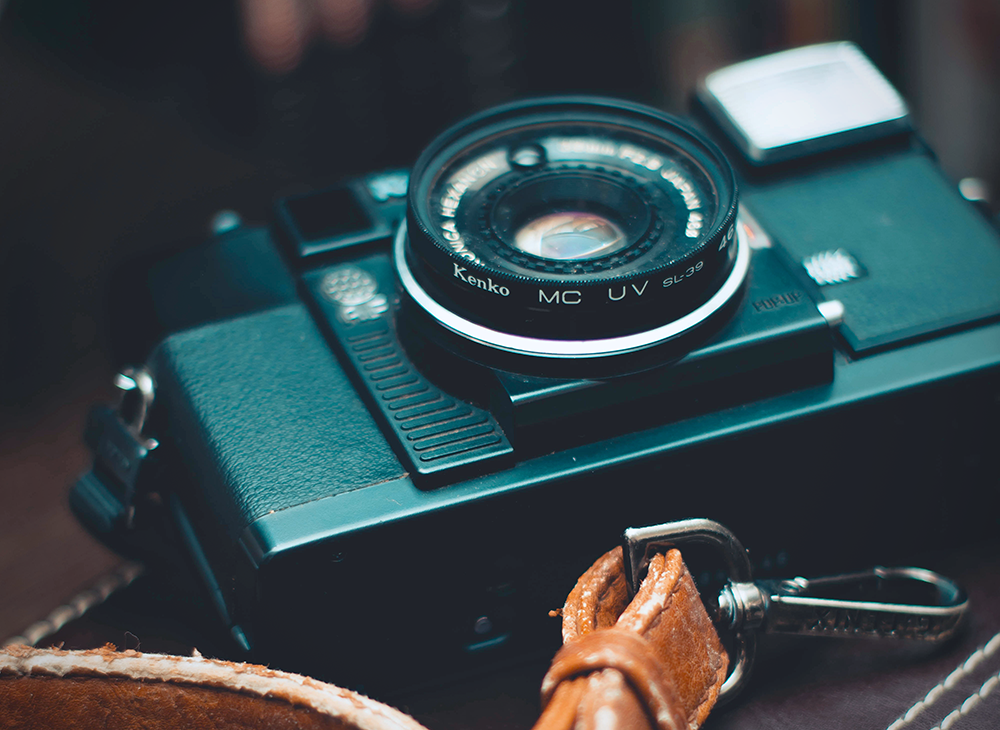
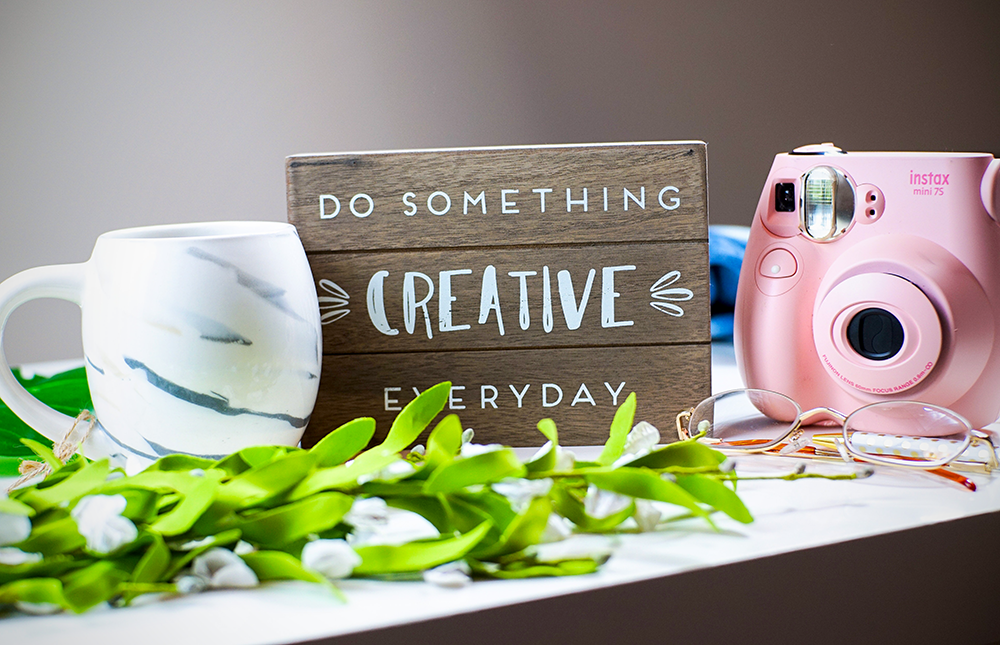
If you're an artist who wants to take your photography to the next level, then you need to learn the basics of studio photography.
With studio photography, you have complete control over your environment, which means you can create any type of image you want.
In this blog post, we'll cover the basics of studio photography, including the different types of studio setups, lighting techniques, and more.
By the end, you'll have everything you need to start shooting stunning studio photos.
What is Studio Photography?
There are many types of photography, including event photography that's on location for weddings, and many different photography specialists, like wildlife and wedding photographers.
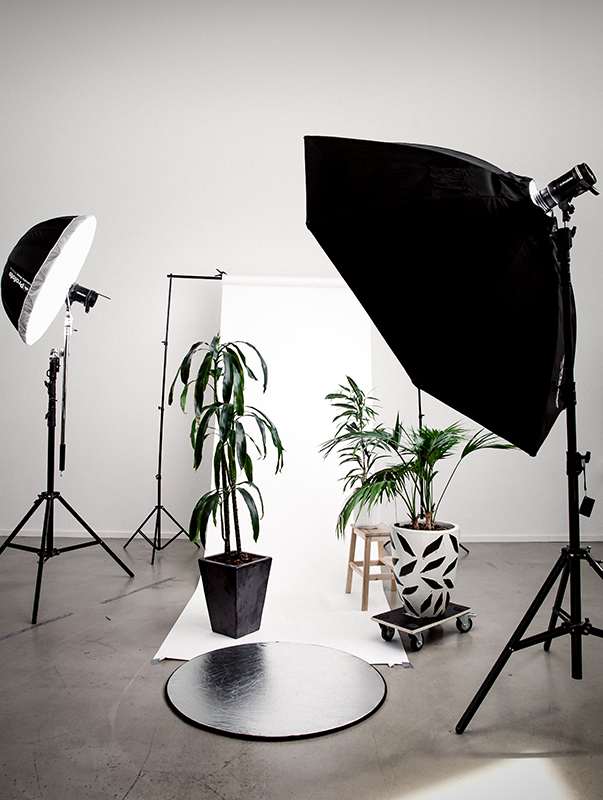
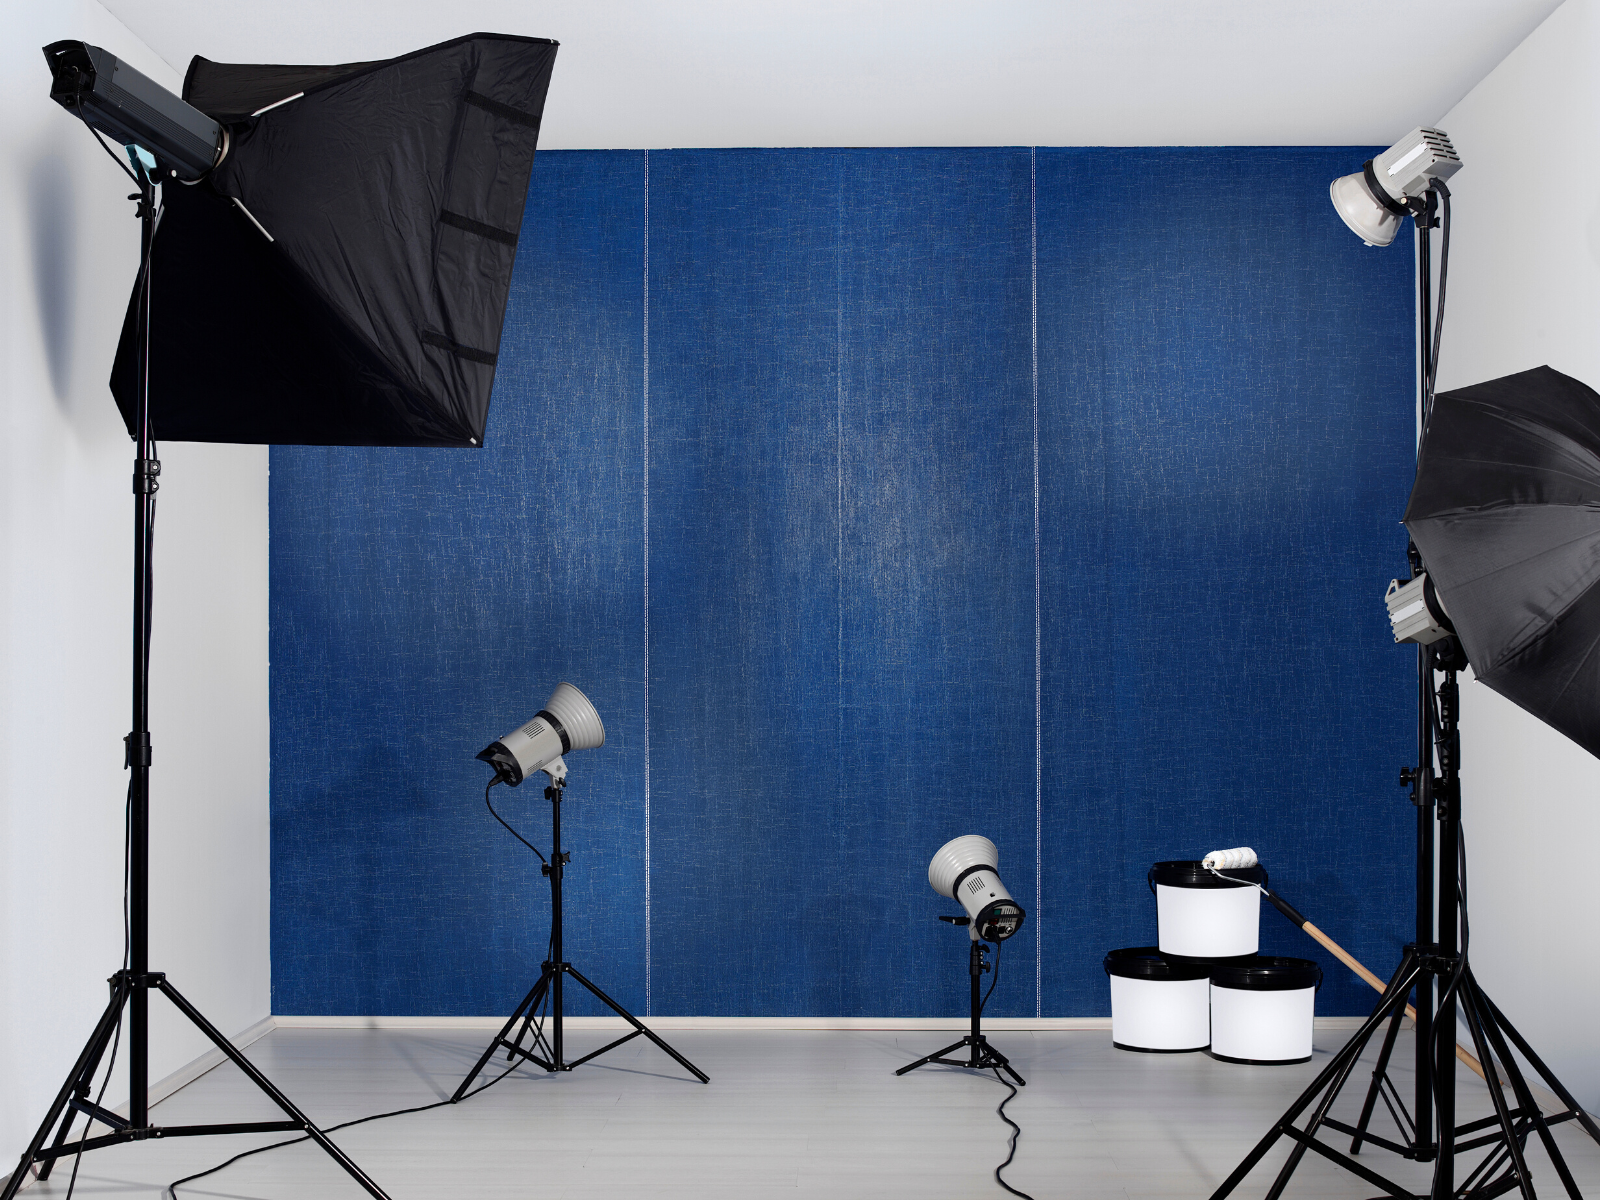
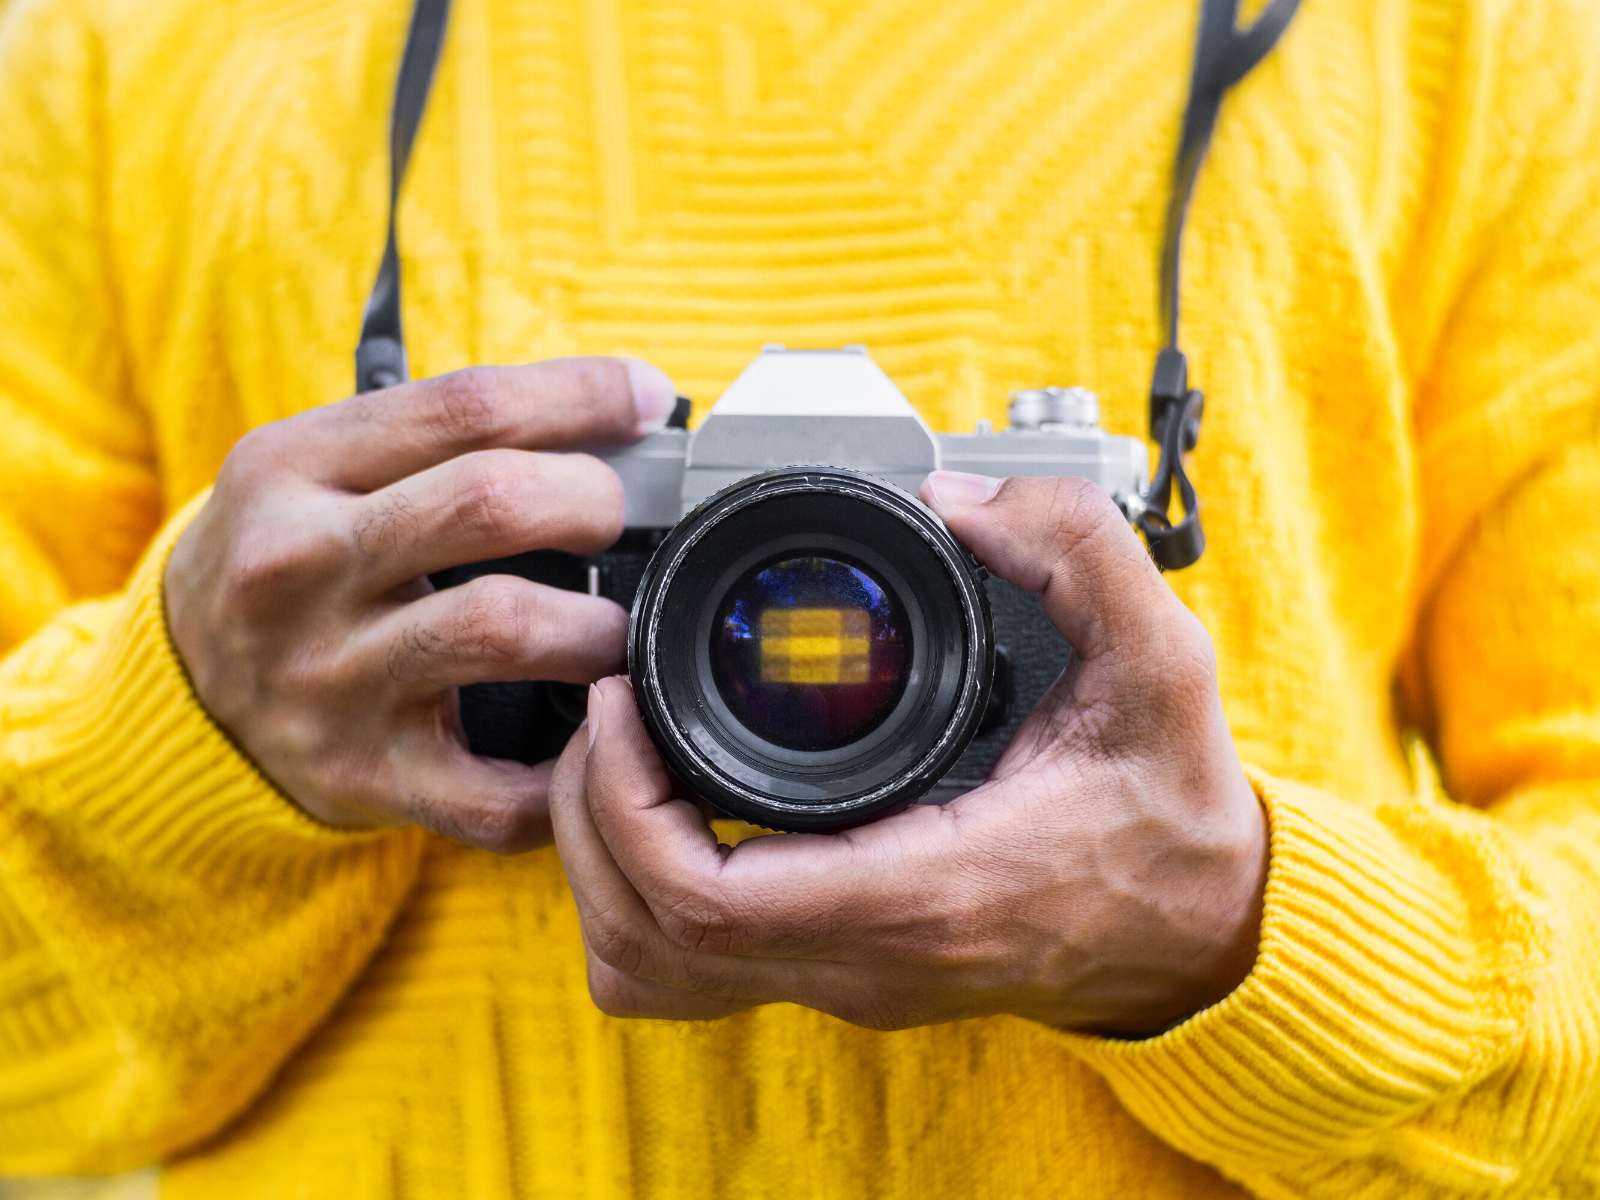
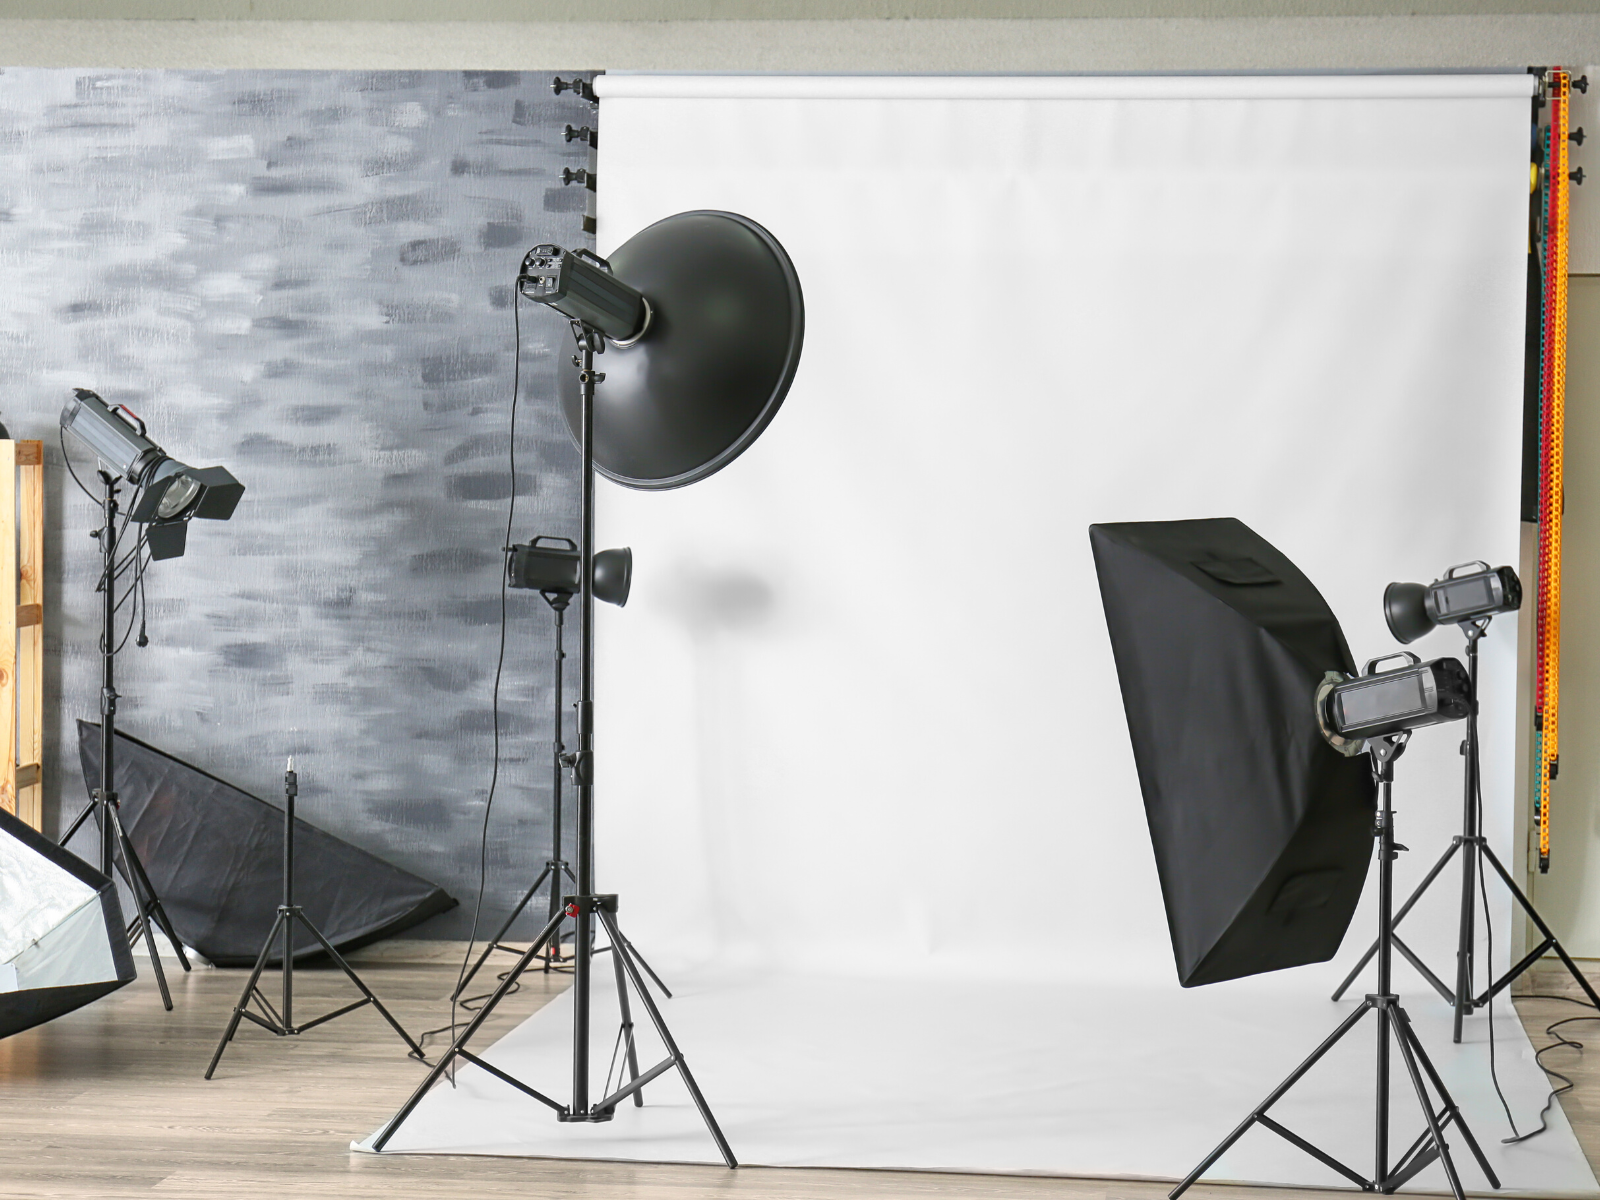
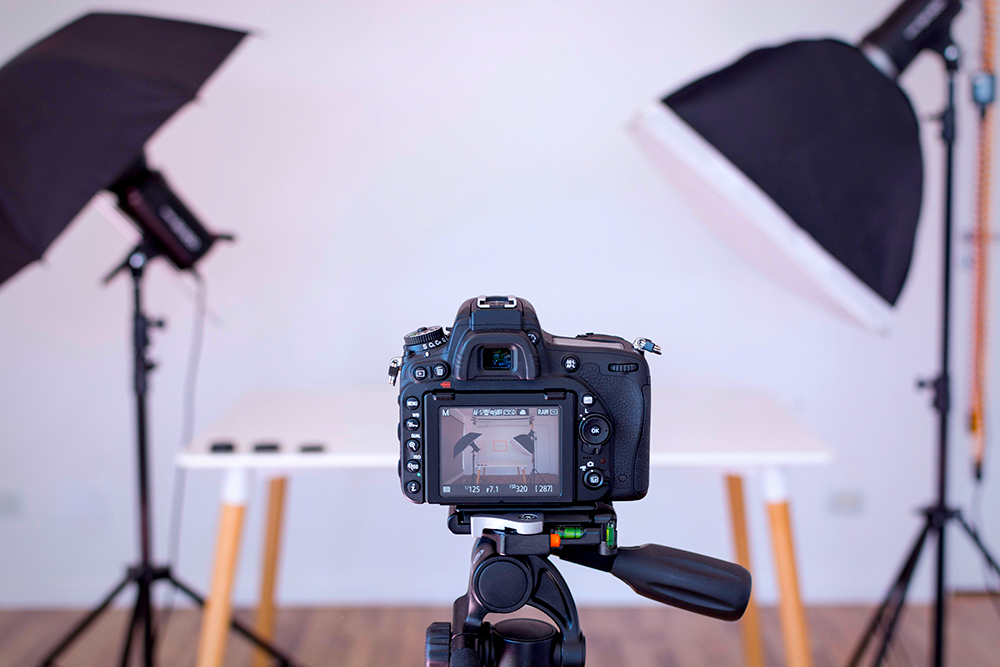
Studio photography is a type of creative photography where the entire photo shoot takes place in a photography studio.
This allows photographers to control every aspect of their environment, from the lighting to the backdrop, making it easier to create a specific look or capture certain types of photographs.
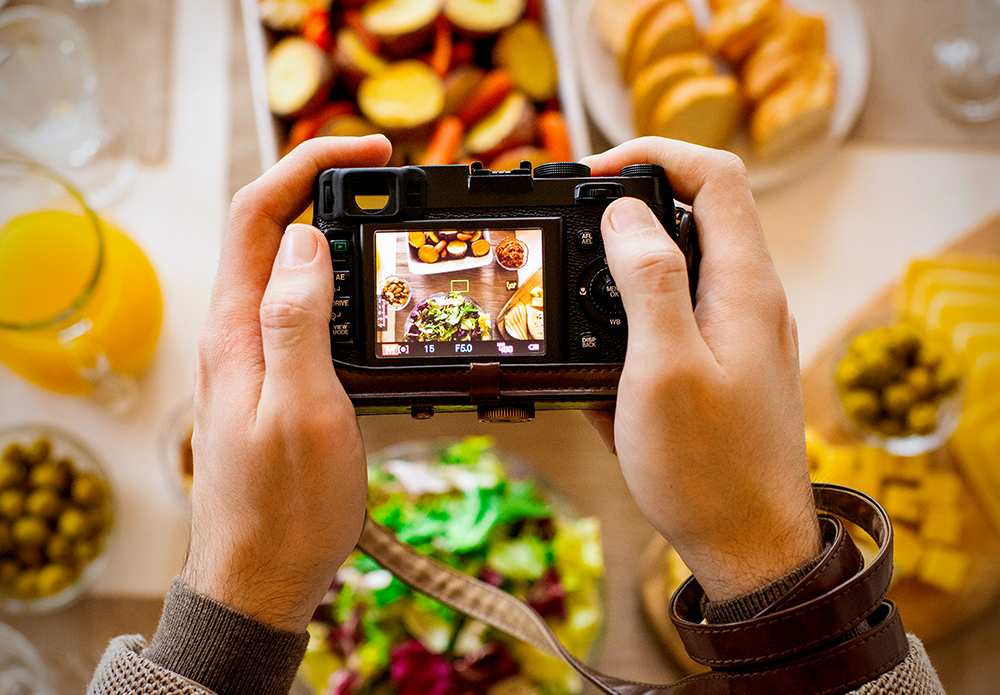
Studio photography is often used for portraiture, product photography, or any type of image that requires precise control over the environment.
It's a great way for a photographer to start a business or company, schedule different shoots, and tap into their creativity.
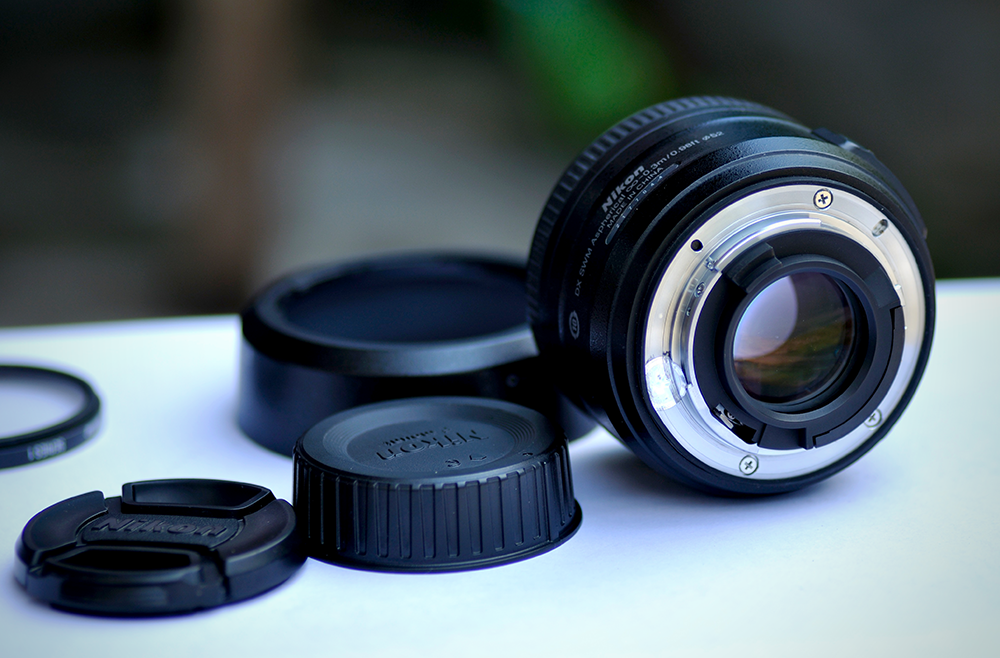
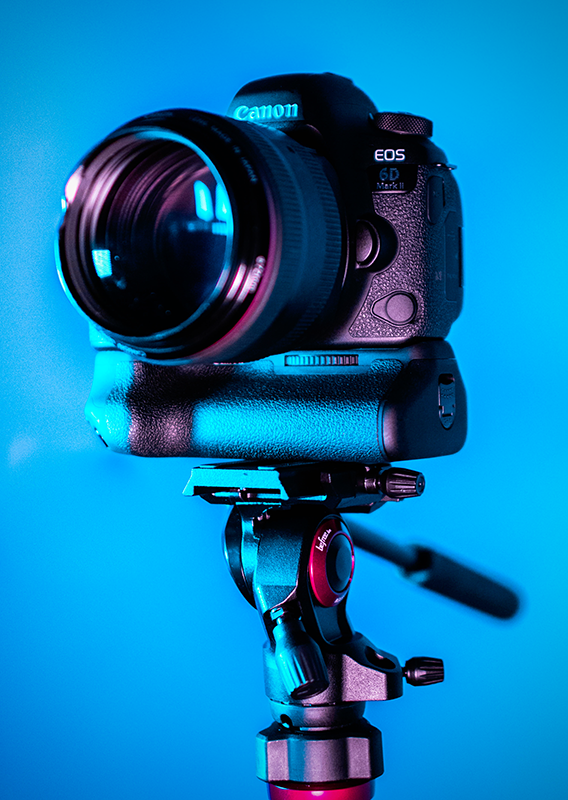
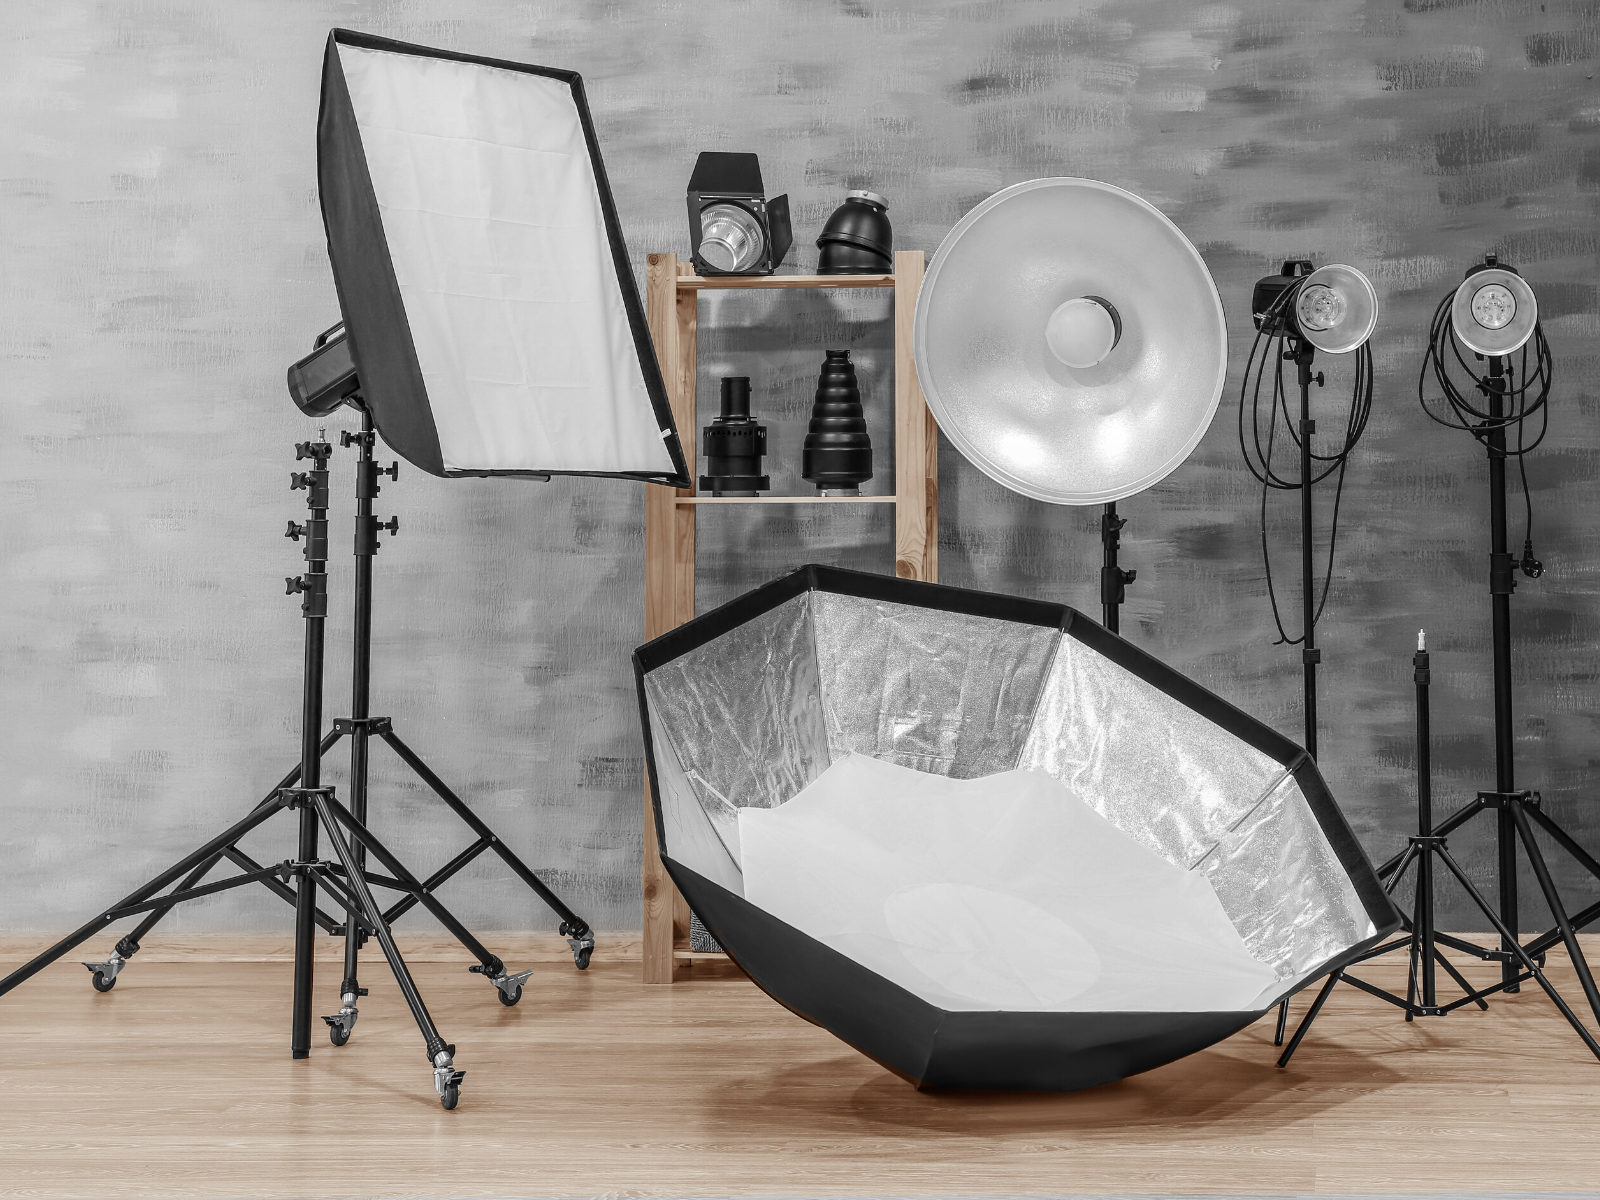
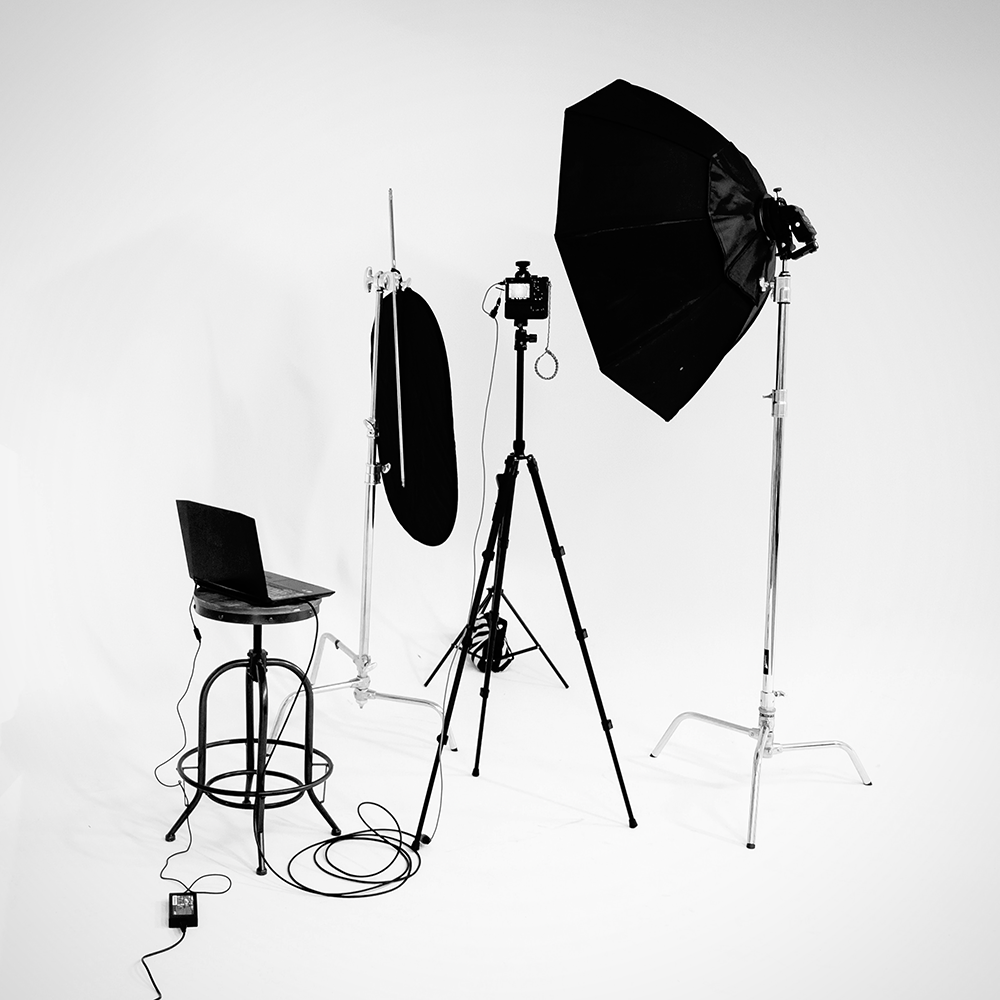
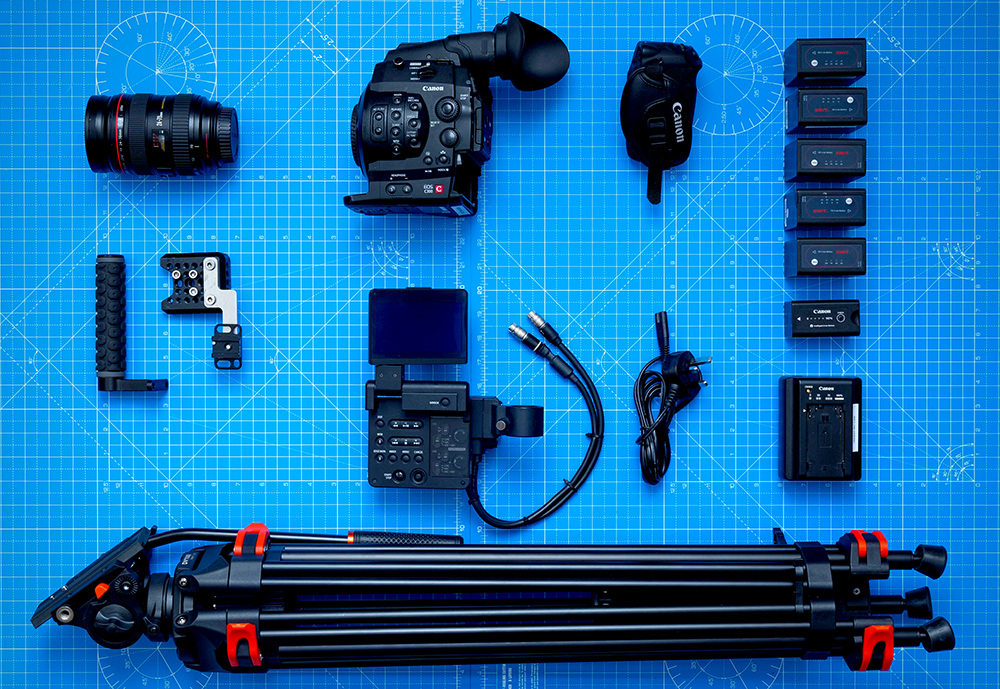
Professional studio photographers often use complicated lighting setups and other photography equipment to achieve the desired look, but it is possible for amateur photographers to create stunning images without a lot of gear.
Why Studio Photography Matters
Beyond the technical advantages of studio photography, it also allows photographers to explore different creative ideas and techniques.
In a studio environment, you can experiment with different lighting setups, poses, and ideas without worrying about external factors like weather or time of day.
The flexibility of studio photography also allows you to produce consistent results, which can be especially important for commercial or product work.
Finally, studio photography is an excellent way to bring out the best in your subjects by creating a comfortable and controlled environment.
Ensuring subjects feel comfortable is what can capture an incredible moment and take the photograph to the next level.
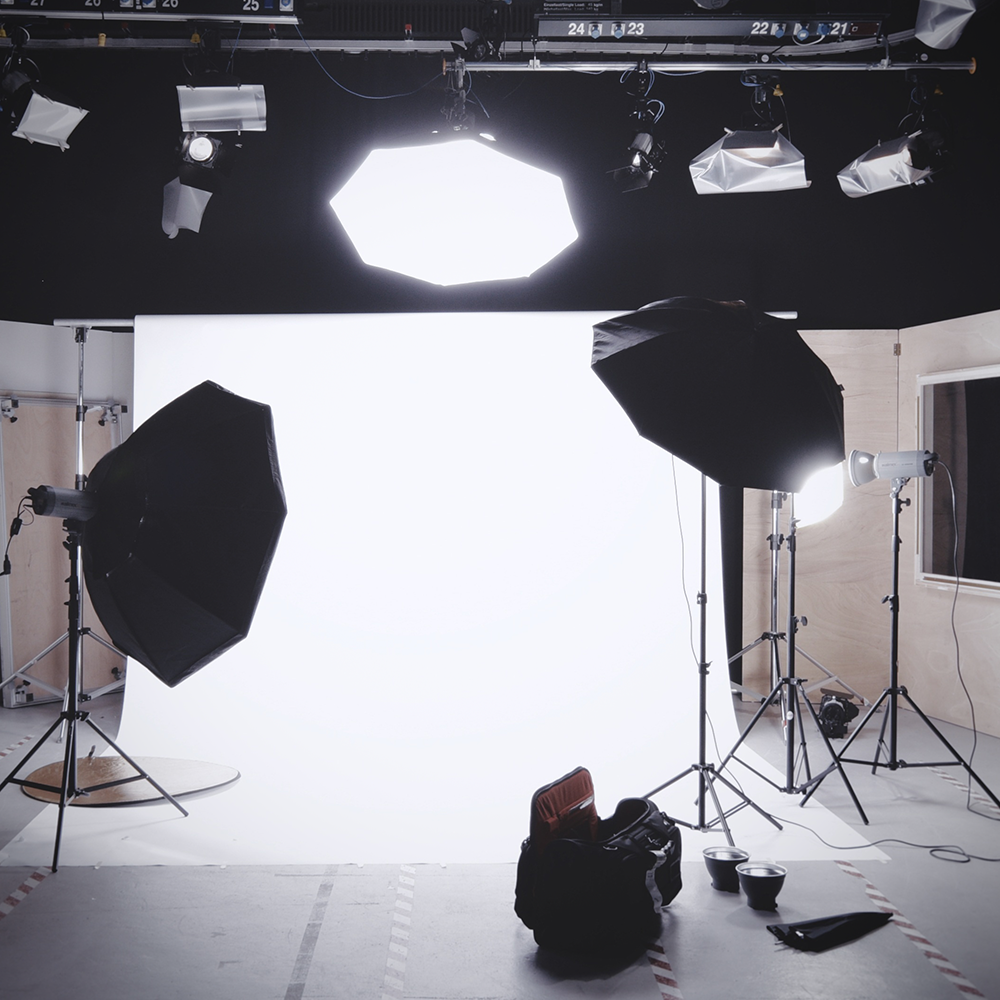
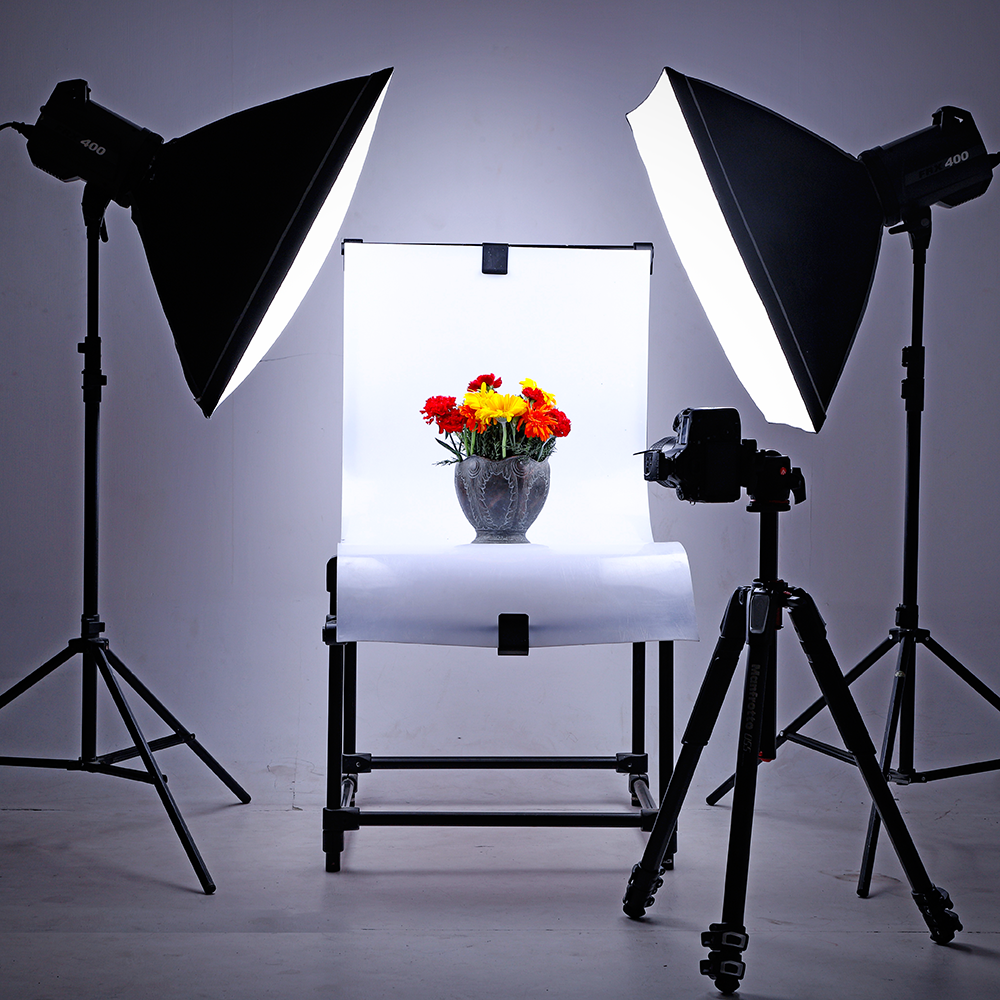
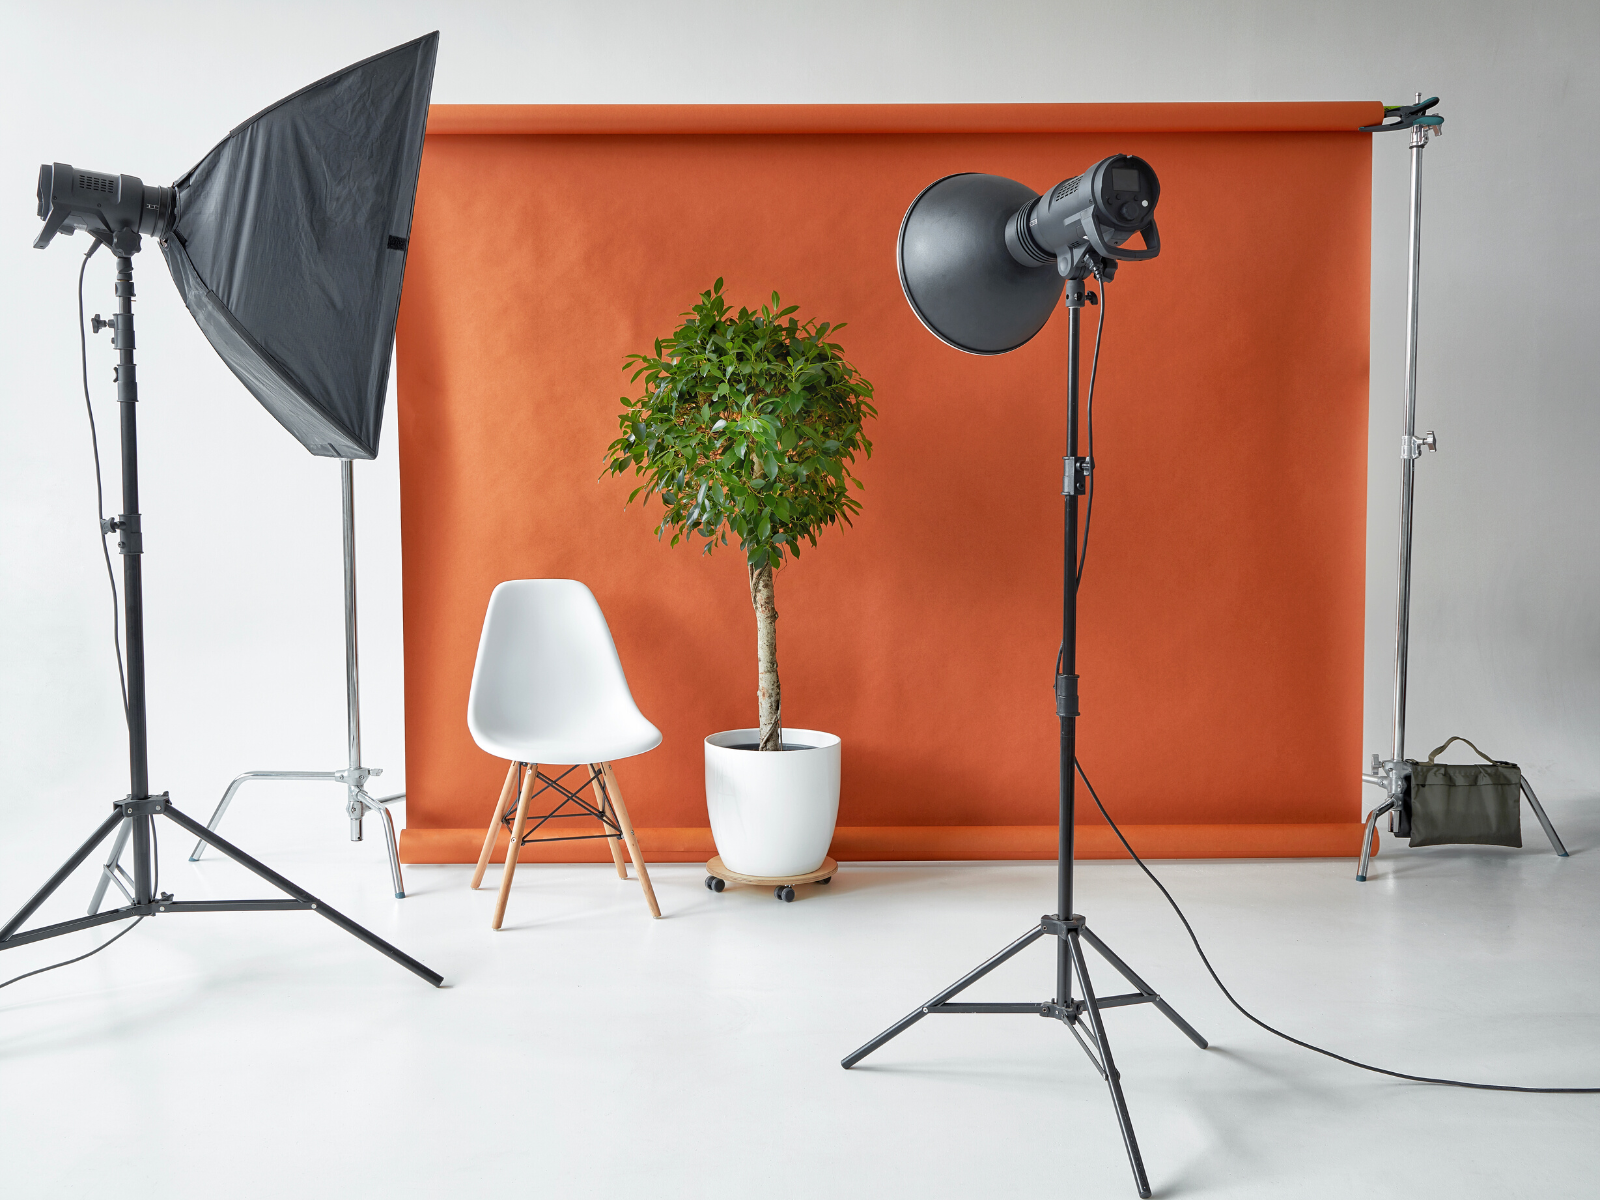
Types of Studio Setups
There are three main types of studio setups: product studios, portrait studios, and still-life studios.
Let's take a look at each one in more detail.
Product Studios
A product studio is used for shooting products (hence the name).
Product studios are usually clean and simple so that the focus is on the product, not the backdrop or props.
When setting up a product studio, it's important to keep in mind how you want your products to be lit.
You'll also need to decide whether you want to shoot in color or black and white.
Portrait Studios
Portrait studios are used for shooting portraits of people.
When setting up a portrait studio, you'll need to consider the type of background you want (plain white, textured, etc.), as well as the lighting scheme.
For example, do you want soft light or hard light?
Do you want to use umbrellas or soft boxes?
These decisions will determine the look and feel of your portraits.
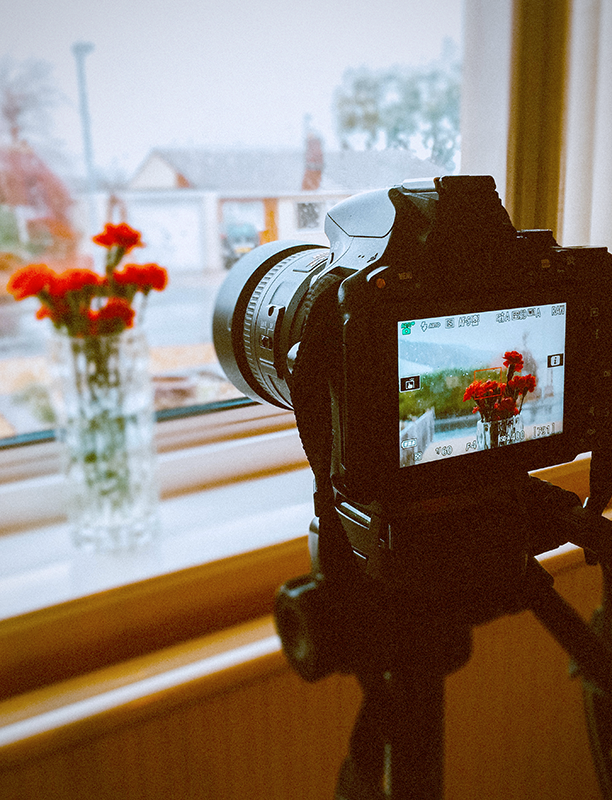
Still-Life Studios
Still-life studios are used for shooting inanimate objects, like flower arrangements or bowls of fruit.
When setting up a still-life studio, it's important to create an interesting composition that will hold the viewer's attention.
You'll also need to consider the lighting scheme and whether you want to shoot in color or black and white.
Lighting Techniques
There are two main types of lighting techniques: artificial lighting and natural lighting.
With artificial lighting, you have complete control over your light source, which means you can experiment with different types of light and create a variety of looks.
Common artificial lighting techniques include back lighting, rim lighting, and reflected light.
Natural lighting is more unpredictable since it depends on things like weather conditions and time of day.
However, many photographers prefer natural light because it can create softer images.
If you're just starting out with studio photography, we recommend experimenting with artificial lighting first.
Once you're comfortable with that, then you can start experimenting with natural light.
When it comes to artificial lighting, there are three main types of light sources: incandescent bulbs, fluorescent bulbs, and LEDs.
Each one has its own unique benefits and drawbacks, so it's important to experiment with all three to see which one works best for your needs.
Incandescent Bulbs
Incandescent bulbs produce a warm light that is similar to natural sunlight. They're relatively inexpensive and easy to find, but they consume a lot of energy, which can drive up your electricity bill.
Fluorescent Bulbs
Fluorescent bulbs produce a cool light that is perfect for shooting portraits.
They're also relatively inexpensive, but they tend to flicker, which can be annoying for both you and your subjects.
LEDs
LEDs are becoming increasingly popular among photographers because they offer many benefits over traditional incandescent and fluorescent bulbs.
LEDs produce a bright, consistent light that doesn't flicker; plus they're very energy-efficient, so they won't drive up your electricity bill.
Another benefit of LEDs is that they generate very little heat, so you won't have to worry about them making your subjects sweat.
Studio Photography Tips
Ever feel like your studio photography just isn't quite up to par?
Here are three easy tips to help you take your game to the next level.
1. Get Familiar with Your Equipment
This may seem like a no-brainer, but it's important to understand the capabilities and limitations of your camera and lighting setup.
Once you know what your gear is capable of, you can start to push its boundaries to get the results you want.
Experiment with different settings and techniques until you find a workflow that works for you.
2. Pay Attention to Details
In studio photography, every little detail matters.
From the way you position your subject to the angle of your camera, everything can have an impact on the final photo.
Be intentional about every aspect of your shoot, and don't be afraid to experiment until you get the perfect shot.
3. Edit Carefully
The editing process is just as important as the shoot itself.
Once you have your raw photos, take some time to go through them carefully and select only the very best images to edit and share.
When it comes to studio photography, less is definitely more—so don't be afraid to be selective in your editing process.
Using Studio Photography
Now that we've covered the basics of studio photography and a few simple tips, it's time for you to start experimenting!
Get out there and play around with different types of setups, lighting schemes, and subject matter.
Just remember to get familiar with your equipment, pay attention to the details, and edit carefully for best results.
At the end of the day, the most important thing is to have fun and experiment with different techniques until you find a style that works for you.
With a bit of practice and patience, you'll be taking amazing studio photos in no time!
Good luck and happy photo shooting!
Eager to learn more about studio photography? Check out Alen Palander's video!
Ready to become a pro at photography, Photoshop, and Lightroom? Check out KelbyOne's Exclusive Online Content for Only $19.99/Month!
Want even more content about creativity and art?
Be sure to check out all of our creative chronicles!
Interested in photography?
Check out some of our other articles: