Are you tired of taking just "okay" photos?
Ready to stand out from the crowd and capture some jaw-dropping, awe-inspiring, make-your-family-proud images?
No worries, we've got your back!
We've got all the best tips and tricks for capturing some of the most picture-perfect shots.
From working with lighting to experimenting with lenses and more - these are surefire ways to get ahead of the competition and impress even the most discerning photographer.
These game-changing photography tips will have you shooting like a pro in no time.
Whether you're a beginner or an experienced artist, buckle up ‘cause we're about to take your photography skills to the next level with these photography tips for beginners!
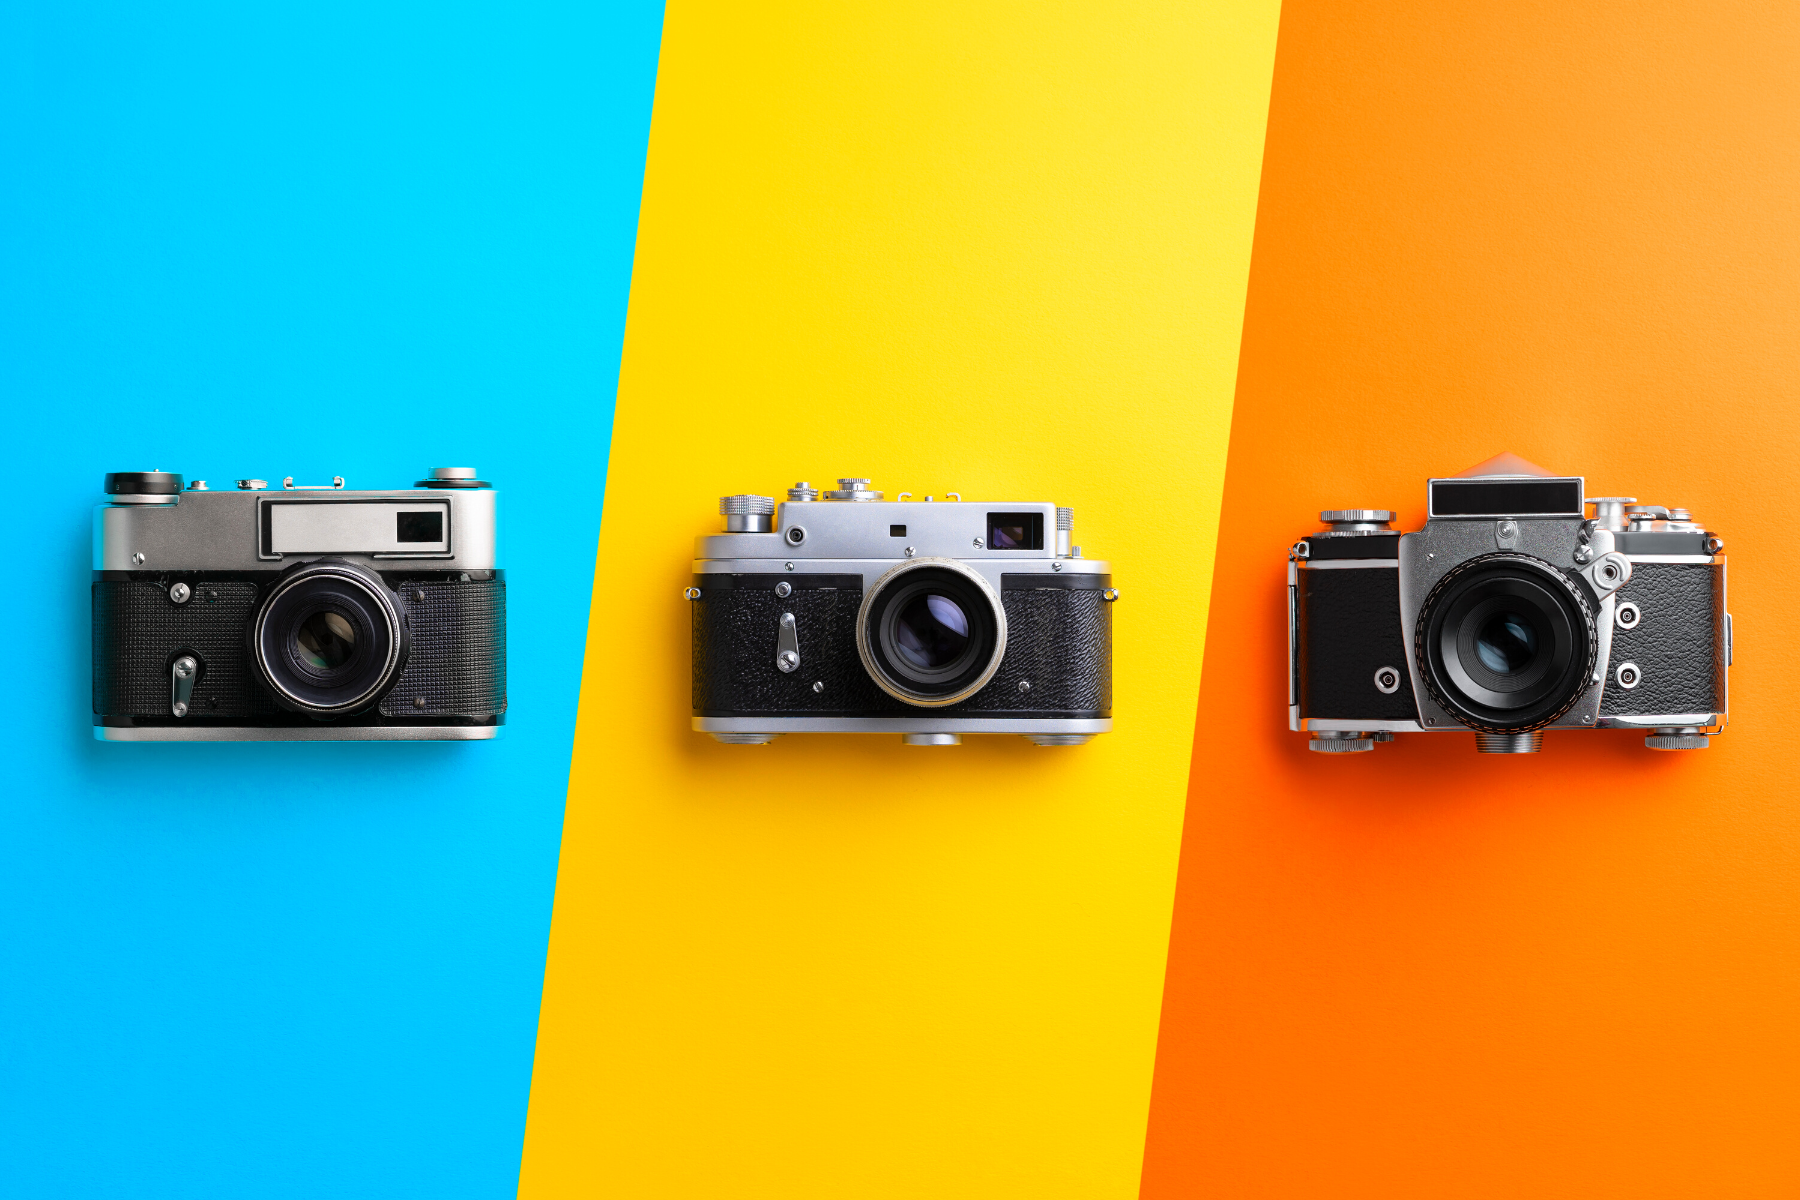
Types of Photography
First of all, it’s important to know the different types of photography.
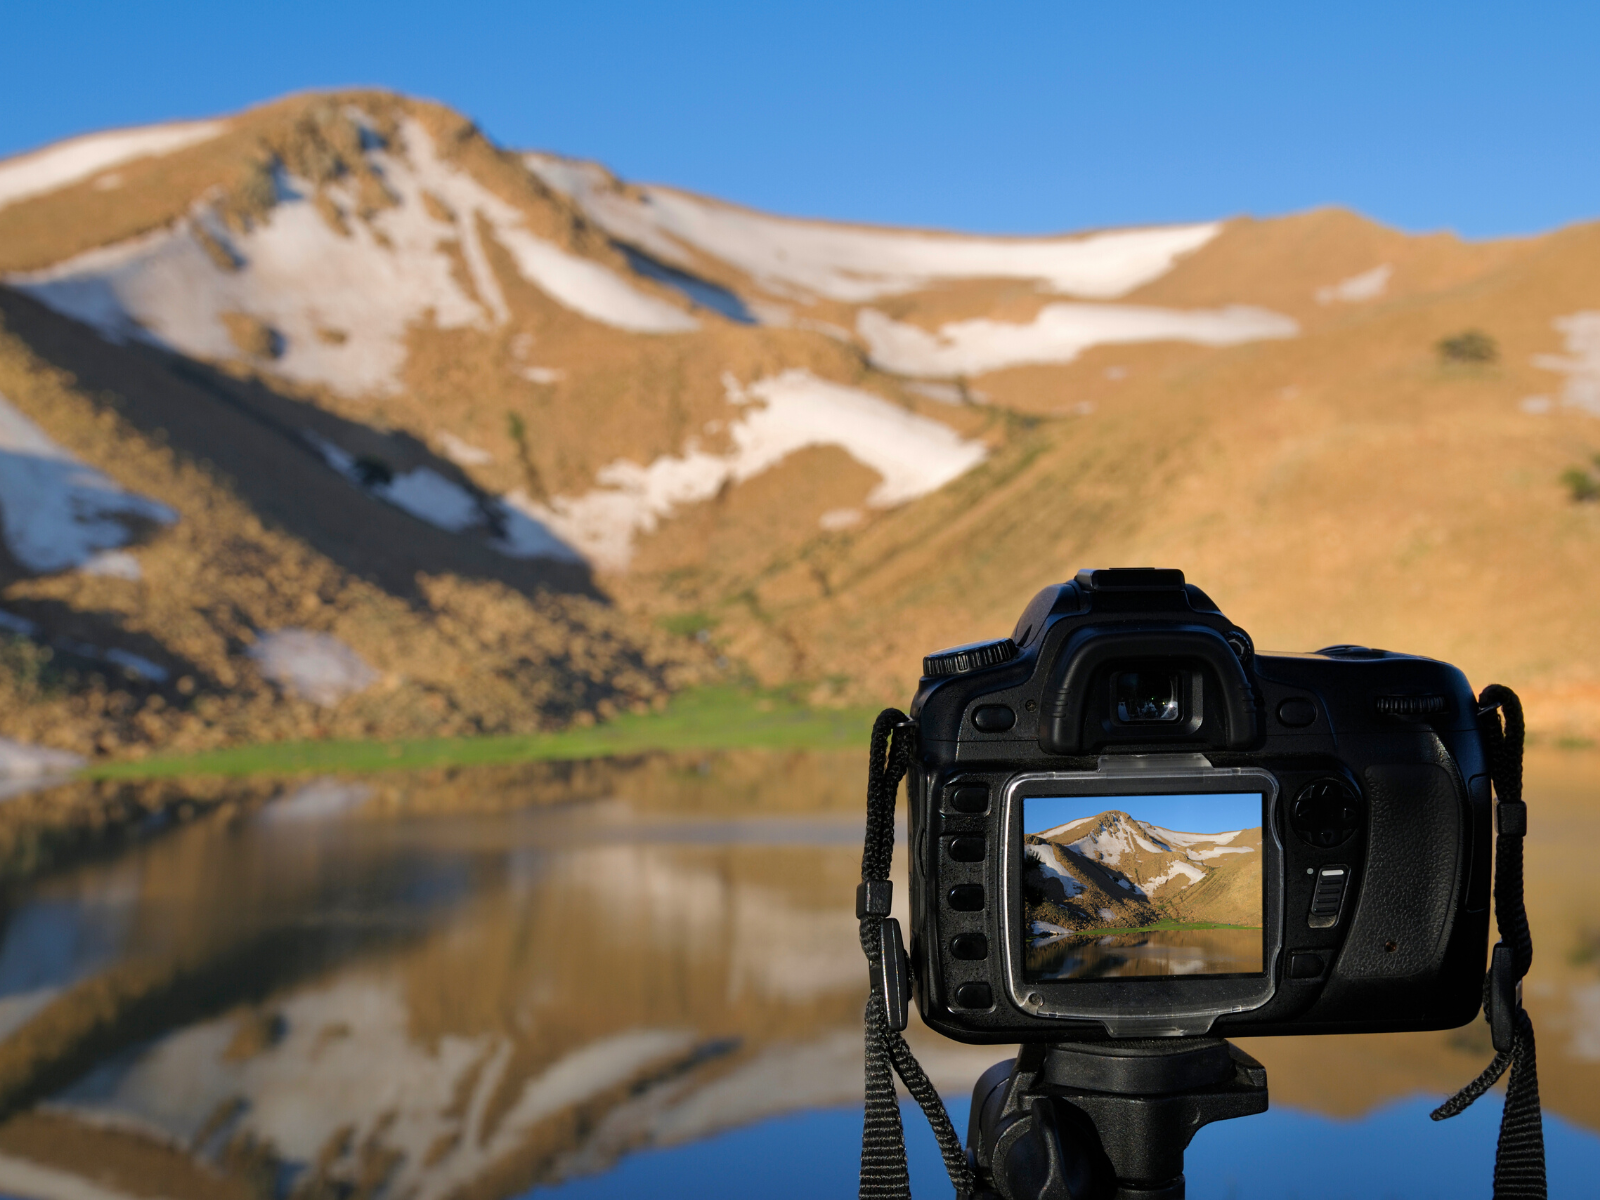
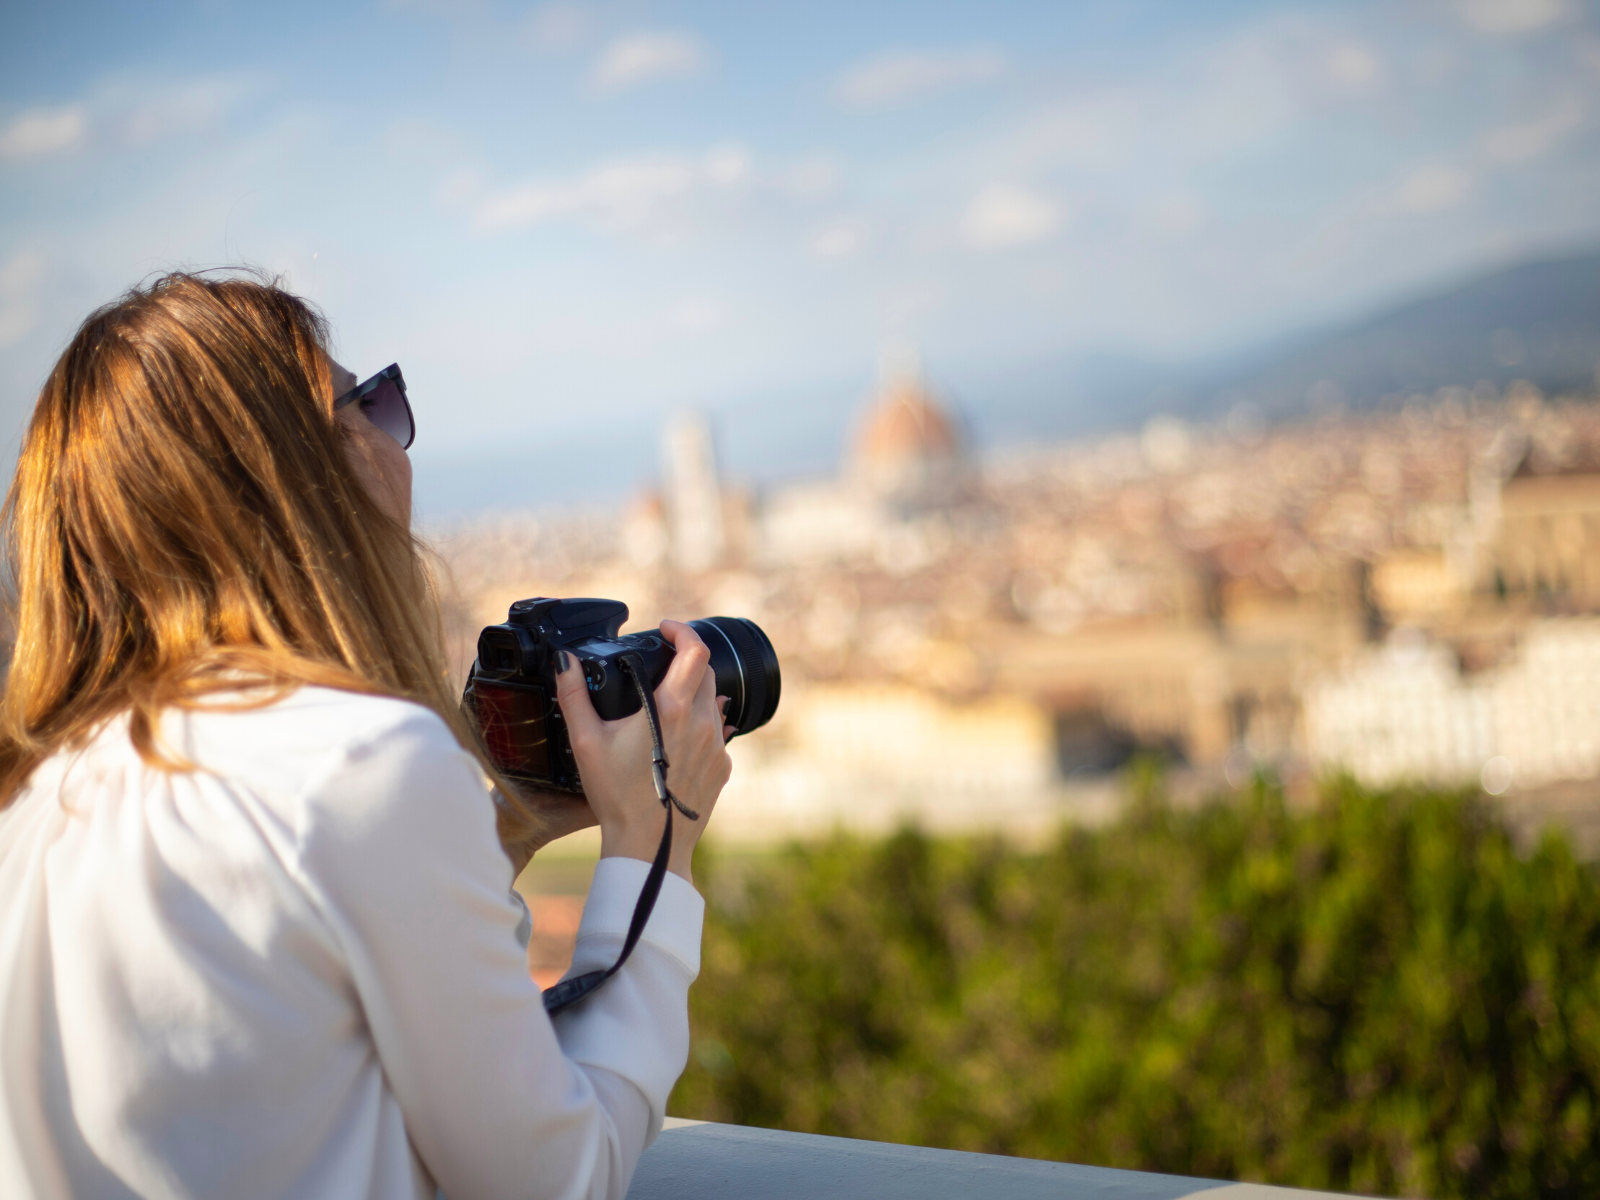
Are you looking to take some breathtaking landscape shots?
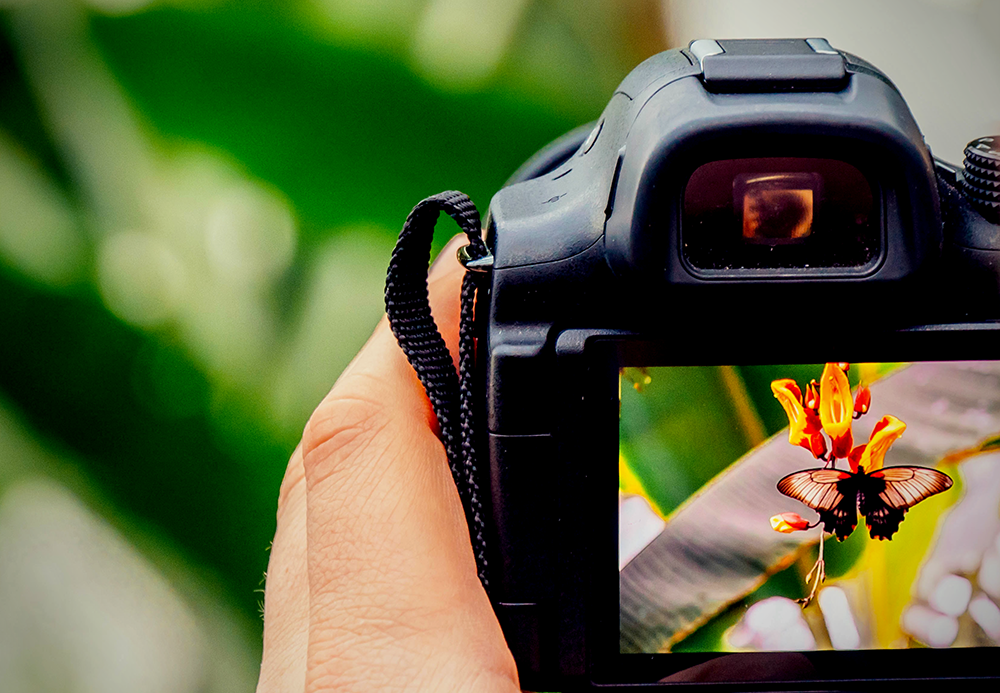
Maybe you want to capture stunning close-up shots of flowers?
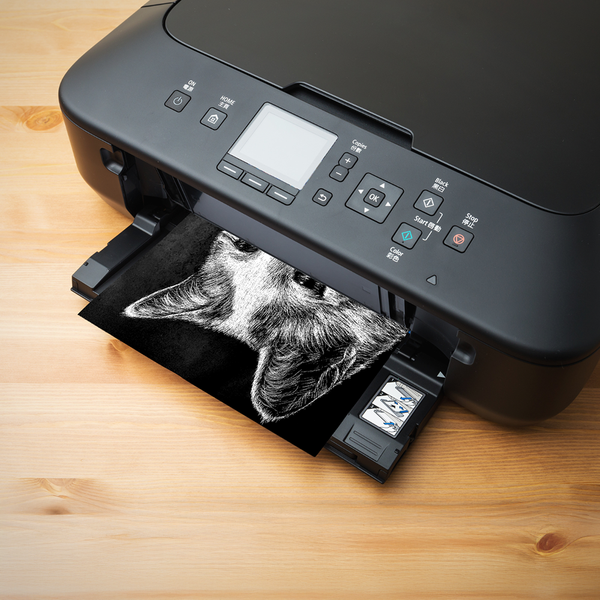
Or maybe even some dramatic portraits with a classic black and white feel?
The type of photography you’re interested in will determine the techniques and tools you should use for your photos.
So, make sure you know what type of photography you’re doing before attempting to take any shots.
Landscape photography requires different techniques than portrait photography, and digital photography requires different techniques than film photography, for example.
It’s important to understand the differences in order to get the most out of your photography session.
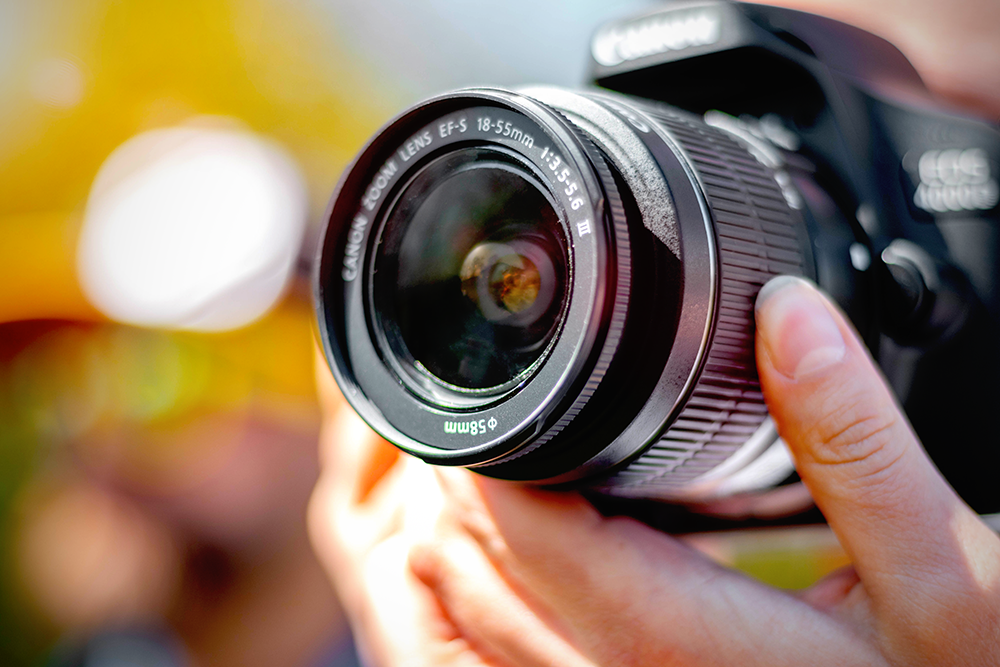
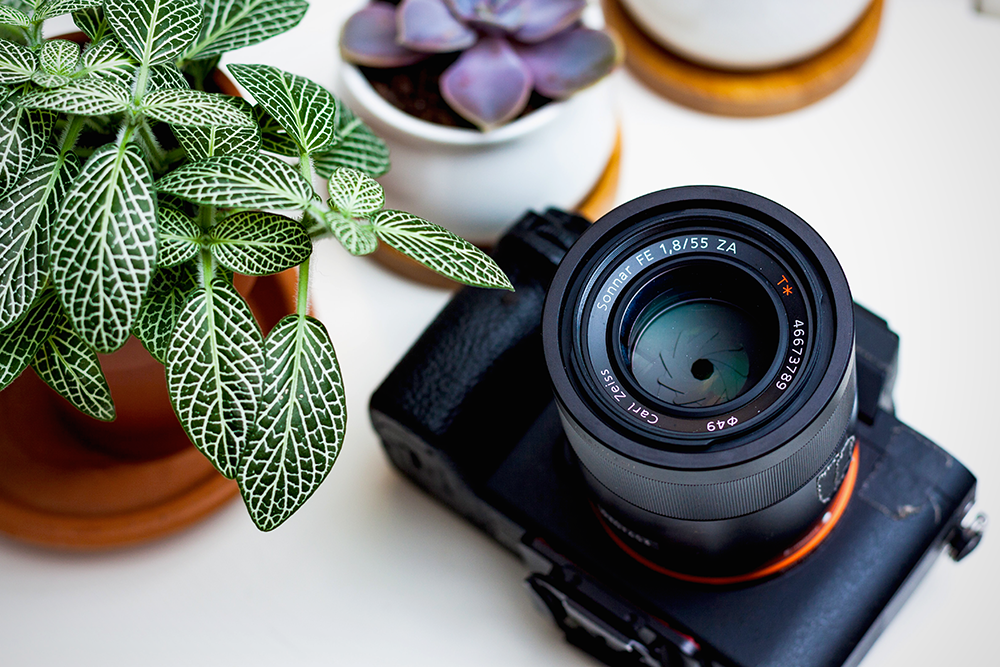
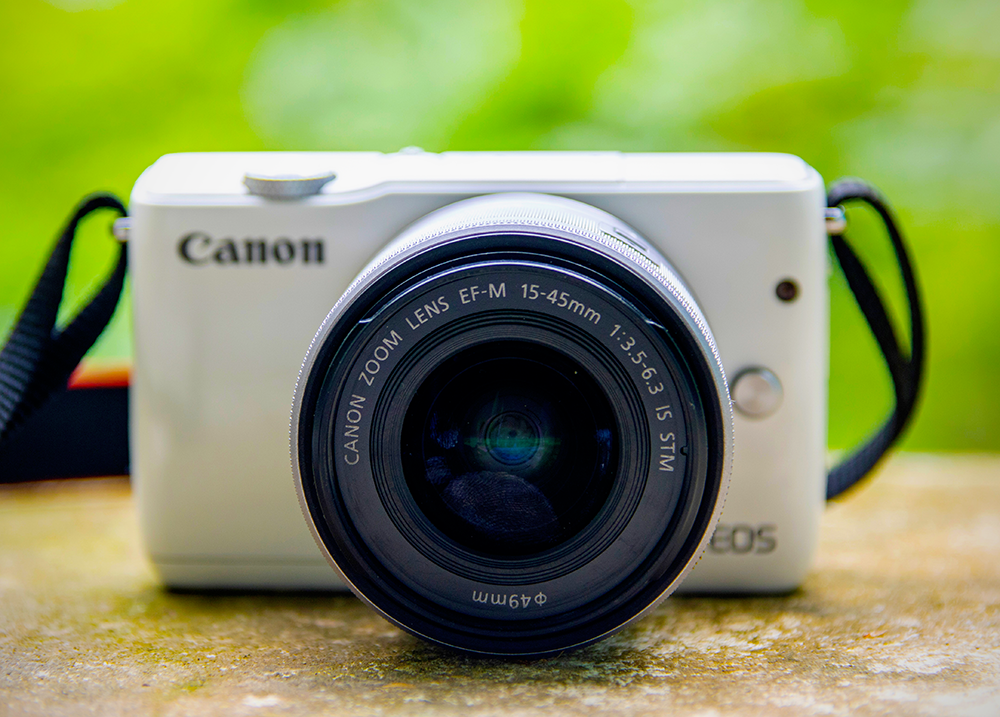
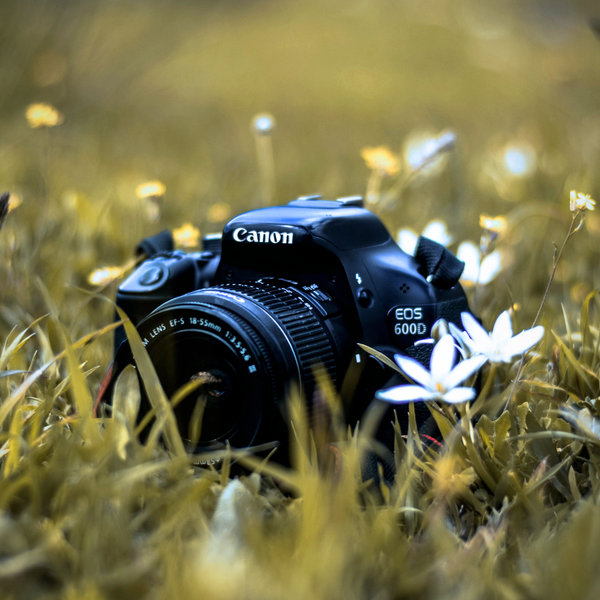
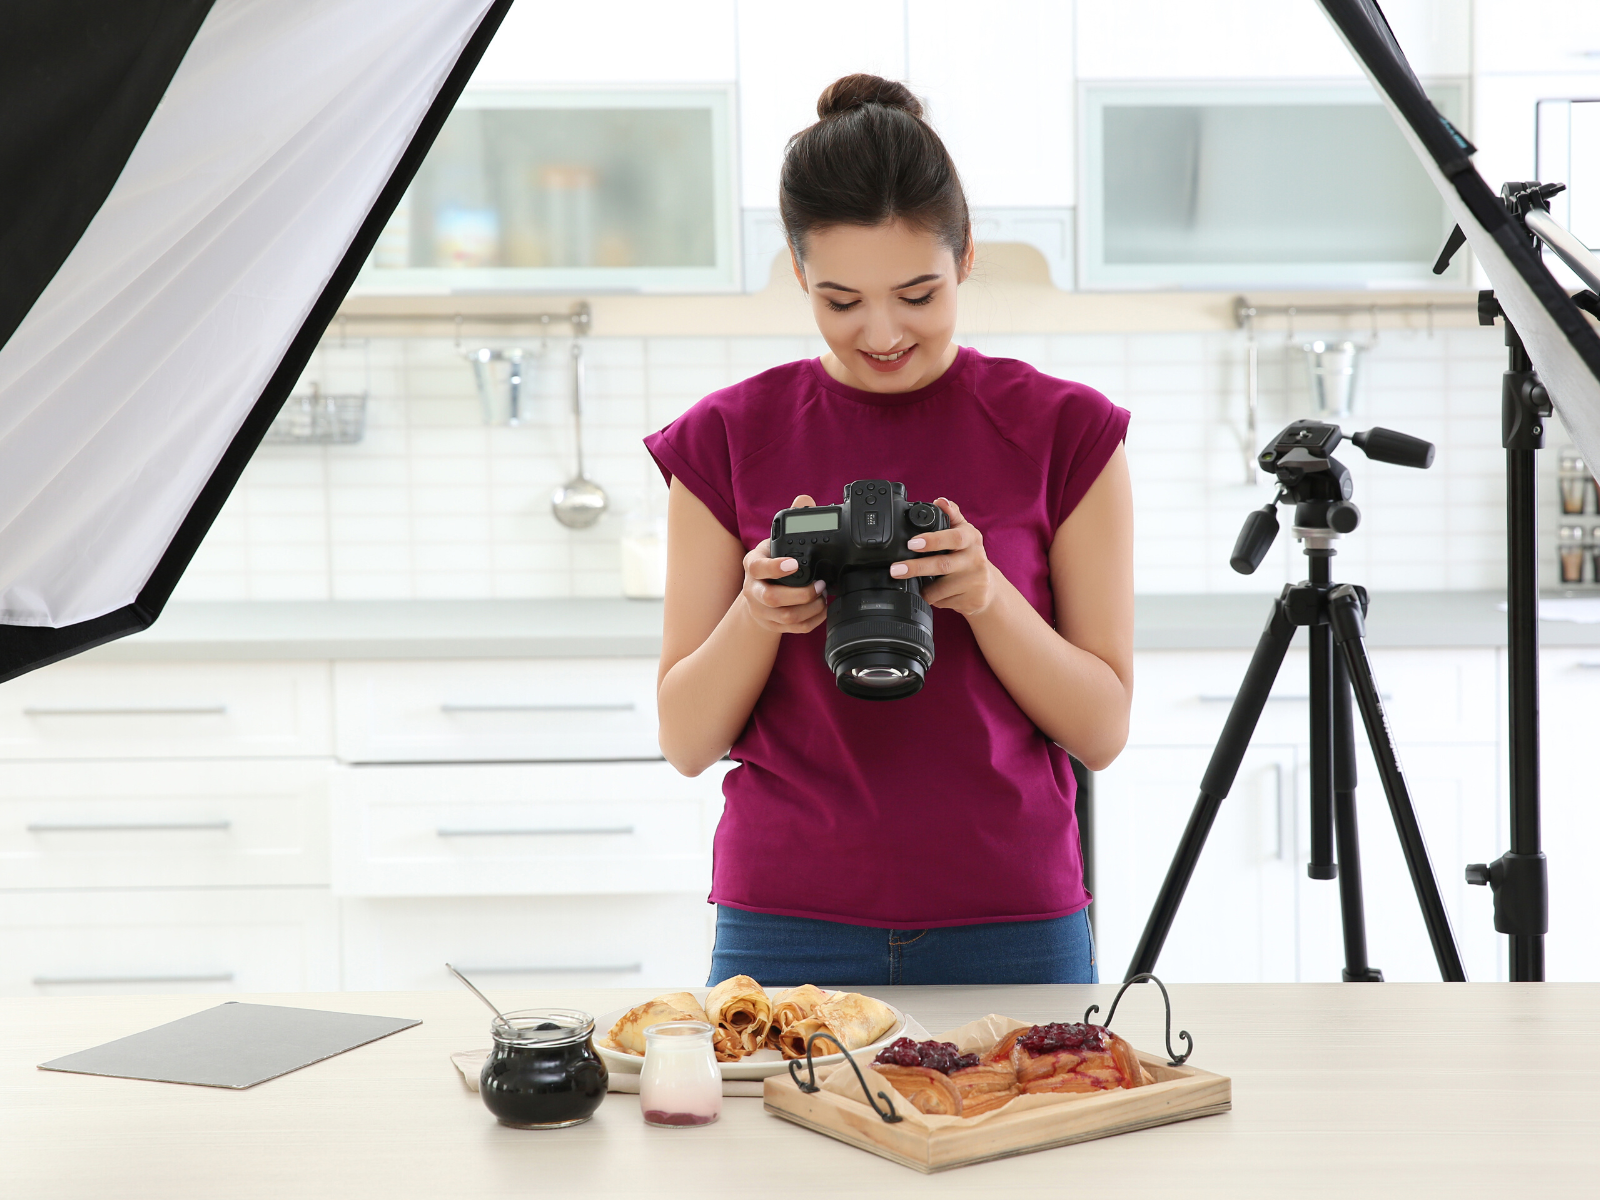
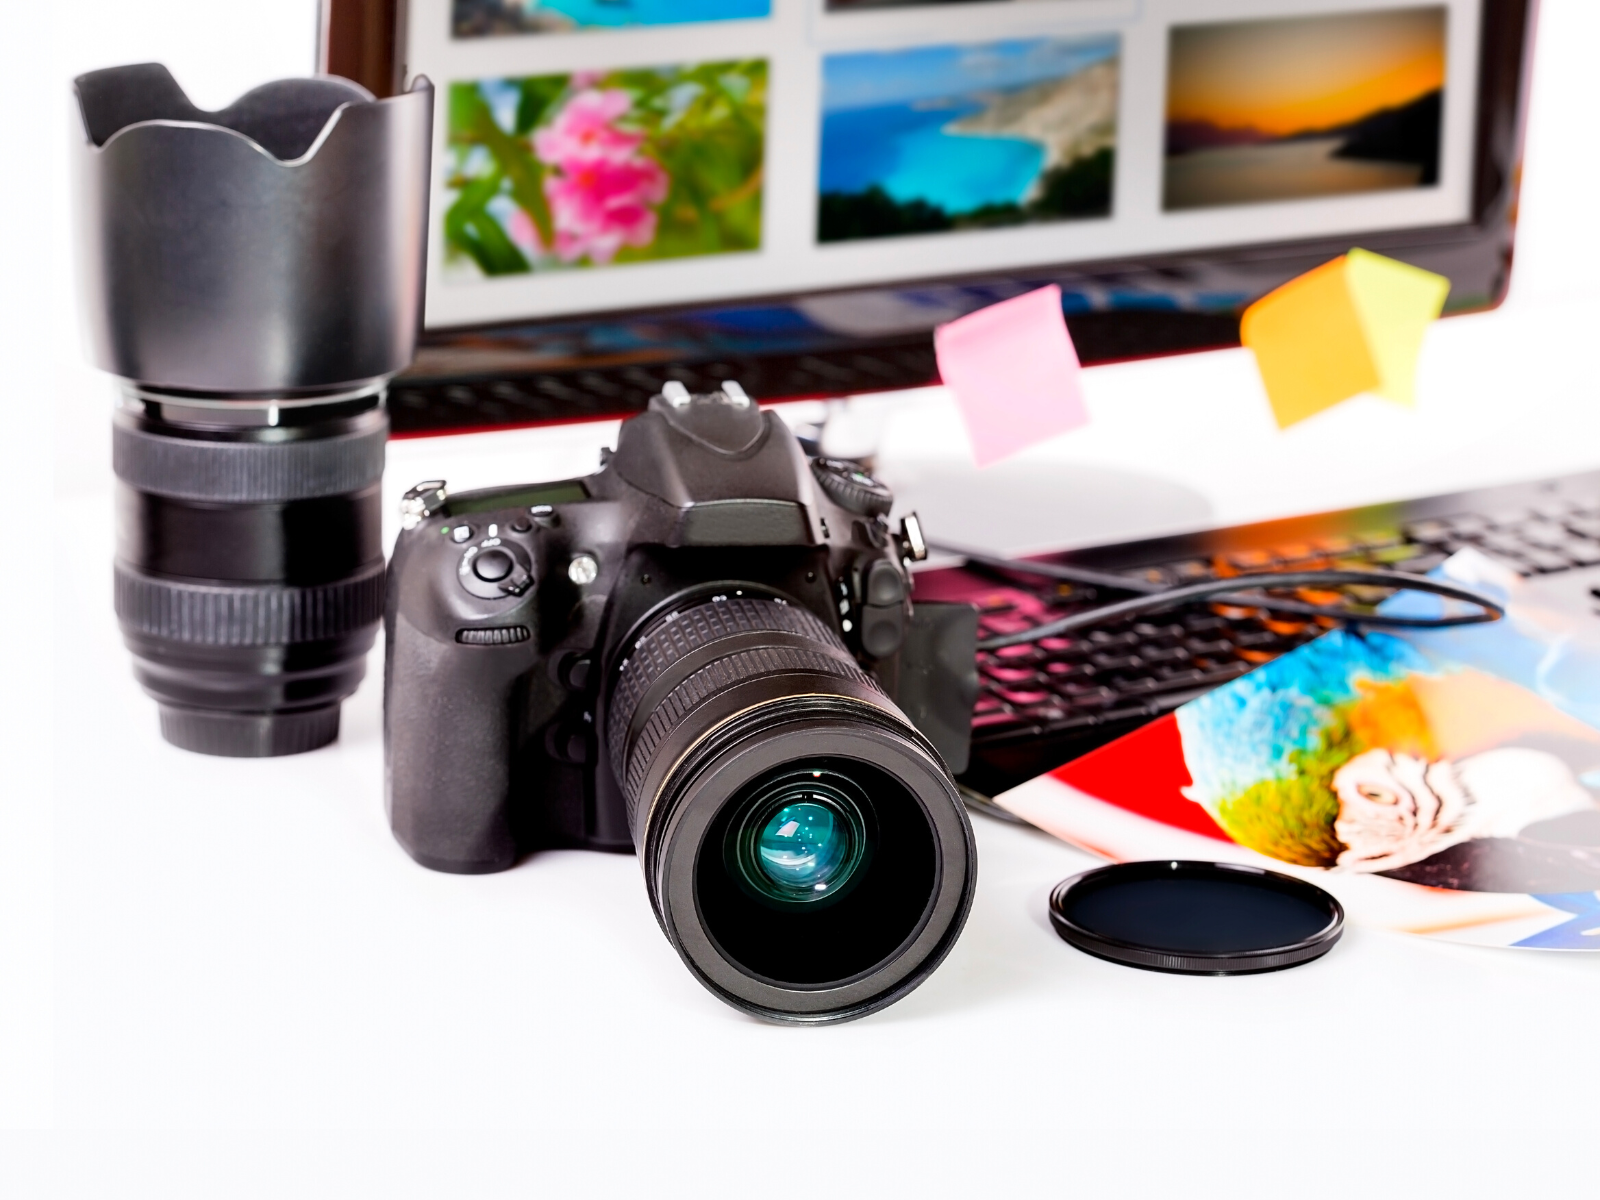
The camera equipment and photography gear you need will depend on the type of photography you’re doing.
For example, landscape photography requires a wide-angle lens and tripod to ensure sharp images and beautiful scenery.
For portrait photography, a medium telephoto lens or a prime lens will be necessary for capturing stunning close-ups of people or animals.
For digital photography, you’ll need a digital camera and flash/lights to capture stunning close-up shots or action scenes.
So, make sure you have the right equipment for your type of photography before you start shooting!

Nail the Basics
Before getting excited about fancy camera gear and complicated techniques, let's go back to basics.
To take stunning shots, it's essential to understand aperture, shutter speed, and ISO.
Aperture is the size of your camera lens opening.
It controls the amount of light entering your camera and affects the depth of field.
A lower f-stop number (like f/2.8) means a larger aperture and shallower focus, whereas a higher f-stop number (like f/16) leads to a smaller aperture and sharper focus.
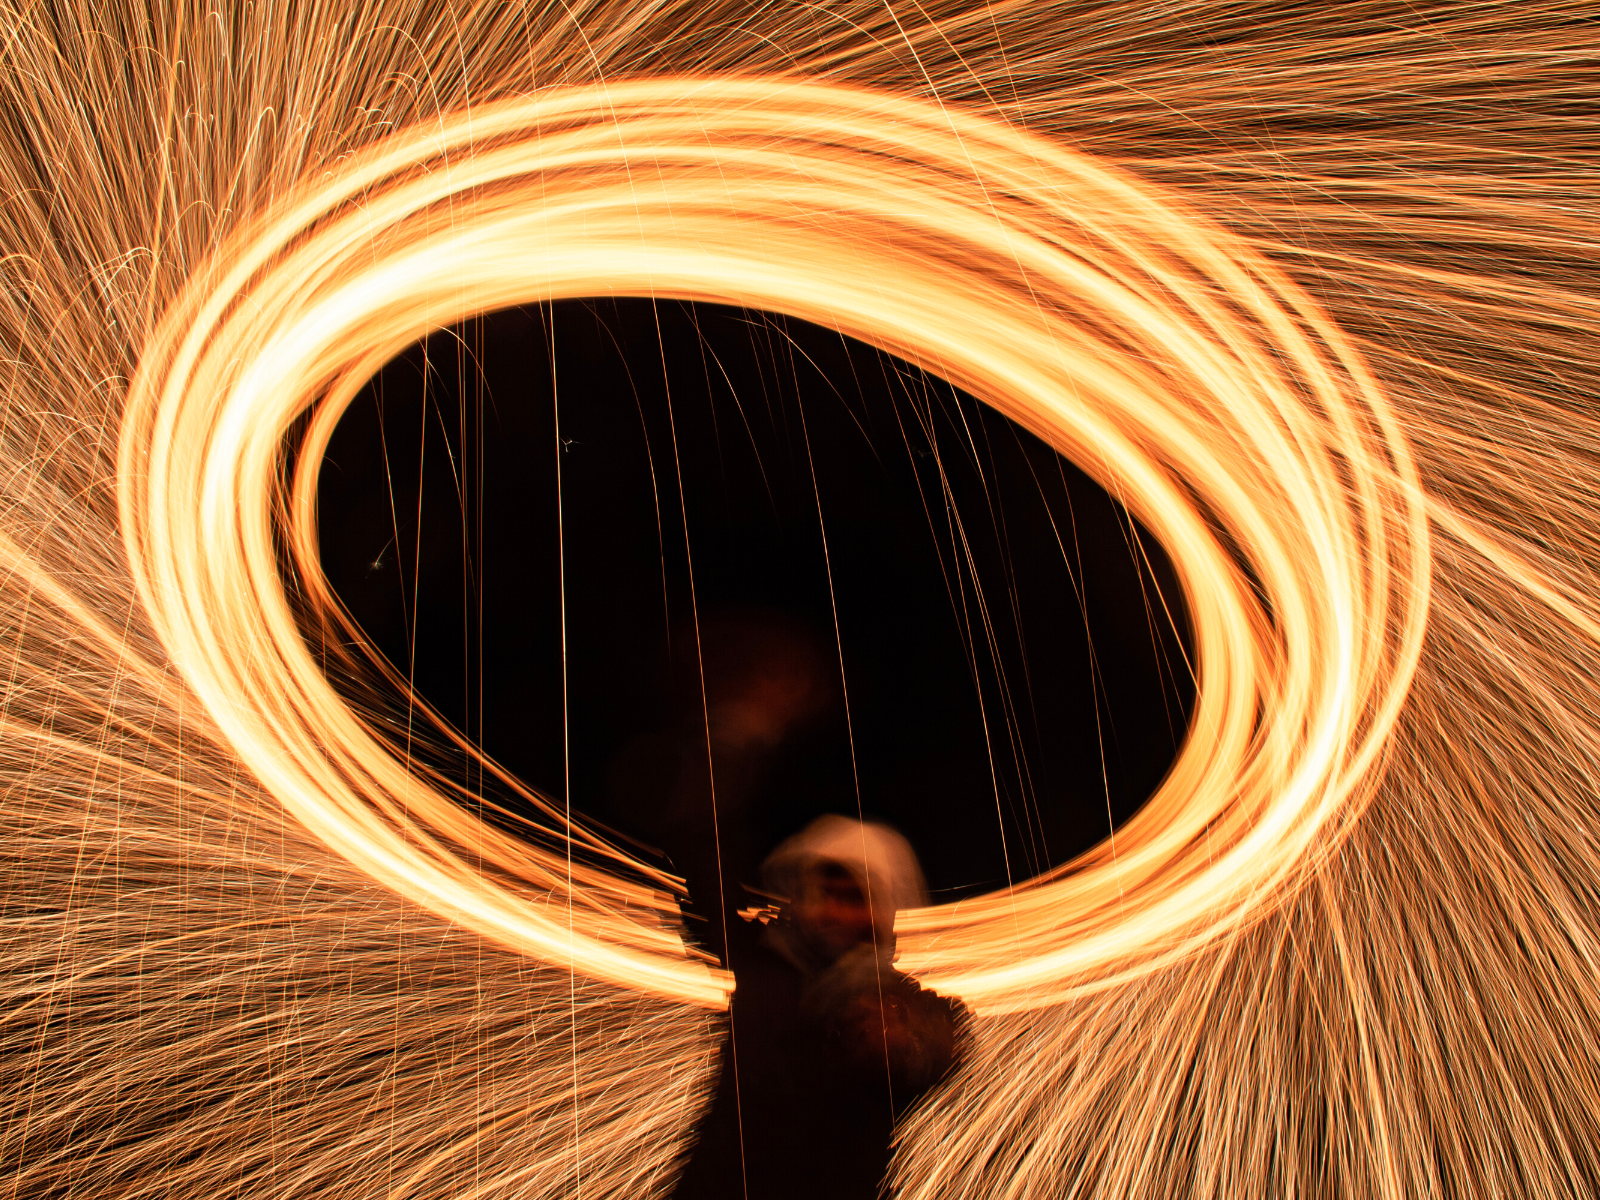
Shutter speed determines the time your camera's sensor is exposed to light.
Slow shutter speeds (e.g., 1/30) can create motion blur, while a faster shutter speed (e.g., 1/1000) will freeze action.
ISO controls your camera's sensitivity to light.
A lower ISO value (e.g., 100) captures less noise in well-lit conditions, while a higher ISO (e.g., 3200) picks up more light in darker scenarios but with more noise.
Knowing how these three settings affect the outcome of your photography is essential for taking great shots.
Mastering these three pillars of photography will allow you to properly expose your images, capture the desired motion, and adjust your focal depth.
Professional photographers also use filters to give their photos an extra flair.
A polarizing filter, for example, reduces glare and enhances contrast in outdoor shots – perfect for landscapes.
A neutral density filter can be used to reduce the light entering your camera when shooting in bright environments, while a graduated filter can help balance the exposure in high-contrast scenes.
By nailing the basics, you’ll be able to create those jaw-dropping, awe-inspiring images that make your family proud.
Illuminate Your Shot with Lighting Hacks
Lighting can make or break your photos - it's that critical!
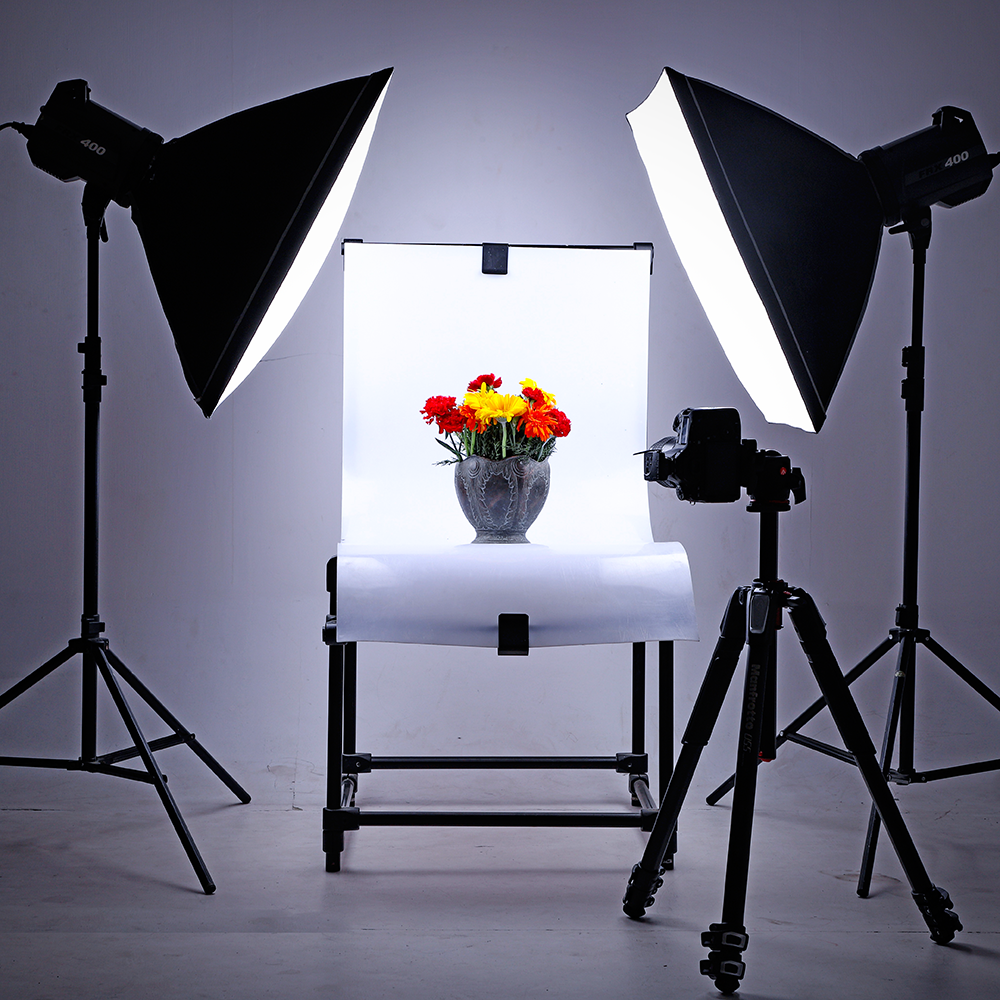
Natural lighting and artificial lighting can both be used to your advantage for capturing stunning images.
Using a camera's built-in flash or a bright light will allow you to capture vibrant images even in dark environments.
How much light you need for your image depends on the type of photography you’re doing.
Experiment with different lighting techniques to get the perfect look for your shots.
Here are some quick lighting hacks to make your snaps shine:
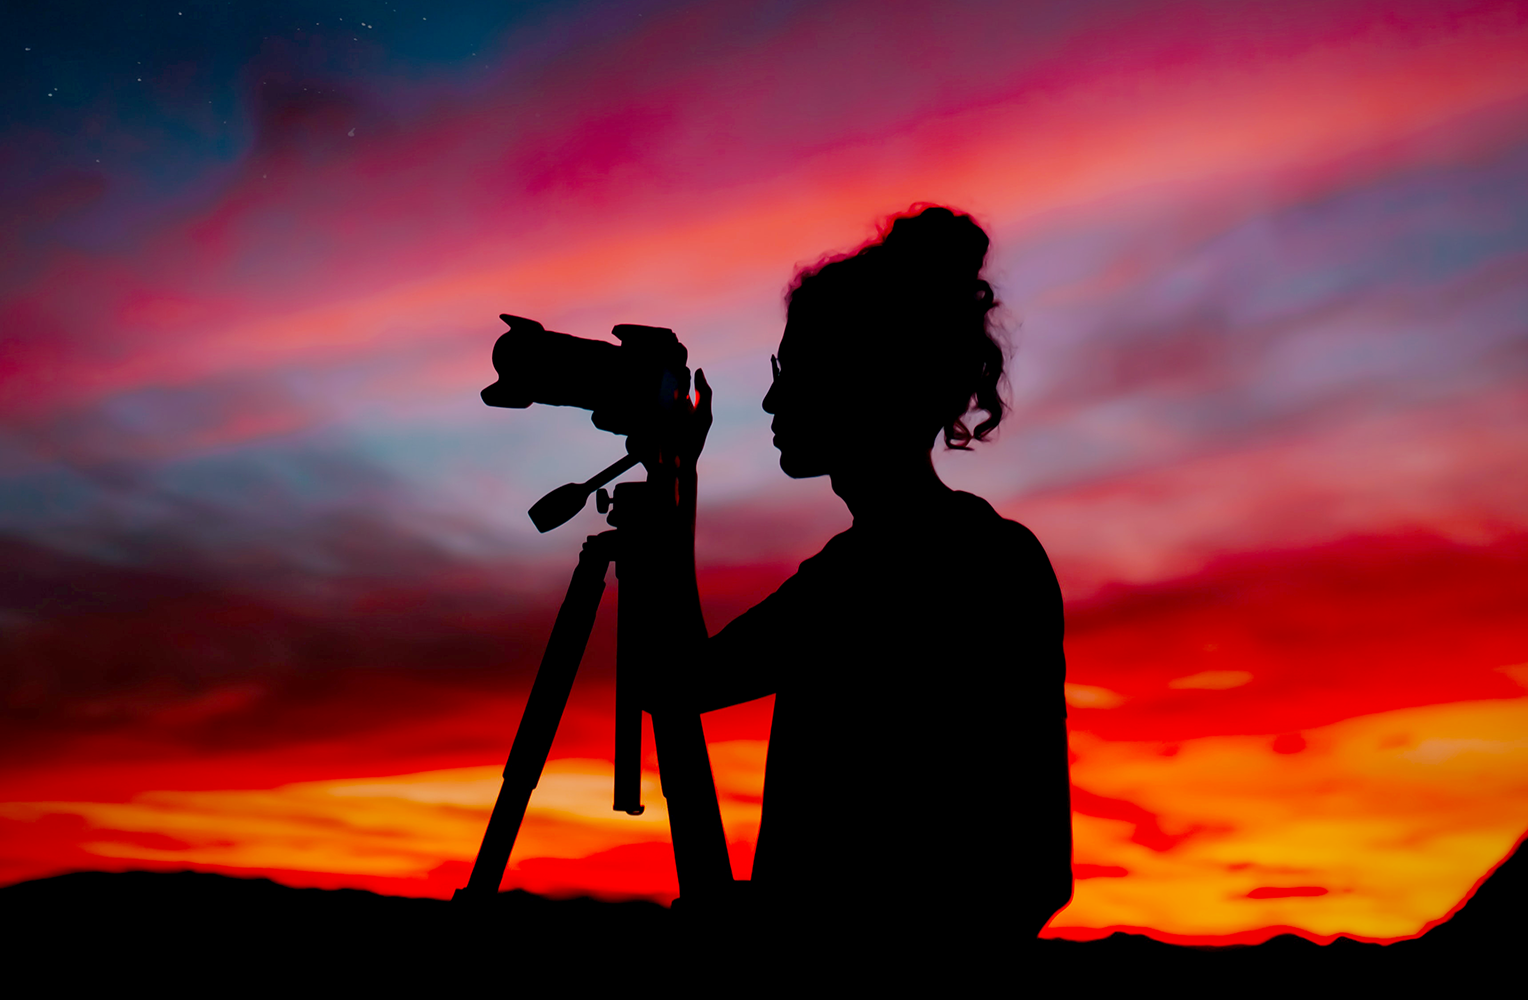
- Use natural, soft light:
You can't go wrong with sunlight!
The golden hour, also known as "magic hour," (one hour after sunrise and one hour before sunset) casts a beautiful, dreamy glow on everything - perfect for portraits and landscapes.
For an even softer light, try using a diffuser or bounce card.
- Embrace and play with shadows:
Don't avoid shadows, embrace them!
Shadows add depth and texture to your photos and can create a dramatic look.
Experiment with the angle and direction of your light source to bring out different effects.
Using shadows to create depth, drama, and exciting contrasts in your shots will make them stand out from the rest.
- Use off-camera flashes:
Off-camera flashes are a great way to take your shots to the next level.
These portable, battery-powered flashlights can be easily positioned and adjusted to add impactful light accents that will make your photos look professional.
It's all about trial and error, so don't be afraid to experiment with different flash positions until you get the result you're looking for!
- Get a reflector:
Reflectors are magical tools that bounce light onto your subject, softening harsh shadows, and eliminating unflattering under-eye circles.
They come in different colors, sizes, and shapes - so you can play around with the reflector to create diverse looks.
The best part?
Reflectors are incredibly affordable and easy to use.
- Experiment with artificial light:
If natural light isn't an option, get creative with artificial light sources like fairy lights, lamps, or even your phone flashlight!
These unconventional light sources can be great for moody shots and unique accents, but make sure to adjust your shutter speed and ISO accordingly.
- Play with Lenses and Filters
From fisheye to telephoto lenses, the possibilities are endless.
Each one has its own unique characteristics and can be used to create very different effects.
So don't be afraid to experiment!
Also, using filters like ND (Neutral Density) and CPL (Circular Polarizer) can help you capture stunning long exposures, add dreamy effects to your landscapes, and reduce glare.
Now that you know the fundamentals of lighting, it's time to start experimenting and create some amazing images!

Level Up Your Composition Game
A well-composed photo is visually appealing and grabs attention.
Composition is all about where you place the elements of your photo in relation to each other.
Here are some composition techniques that'll make you look like a pro:
- Rule of thirds:
When composing a shot, keep the "rule of thirds" in mind.
This is a simple rule that states that the elements of the photo should be placed along the imaginary lines created by dividing your image into thirds both horizontally and vertically.
By placing your main focus point in one of the intersections, you can create a balanced or dynamic and aesthetically pleasing photo.
- Leading lines:
Leading lines are a great way to emphasize certain elements in your shot and direct the viewer's eye where you want it to go.
These lines draw the viewer's eye towards your subject and create depth.
Think of roads, pathways, railroad tracks, rivers, fences, lines created by repeating objects or patterns - all of these can be used to draw the viewer in and give your photo structure.
- Symmetry:
When you use symmetry in your photos, you create a sense of balance and order.
Symmetrical compositions are especially eye-catching, so take advantage of it!
An asymmetrical composition can also be effective, as it creates more tension and feels more dynamic.
- Frame your subject:
Framing your subject is a great way to give them more depth and focus the viewer's attention.
You can frame your subject with anything from foliage to doors and archways.
Utilize natural or man-made frames (e.g., doorways, arches, or tree branches) to highlight your subject and add intrigue.
- Fill the frame:
Closing in on your subject and eliminating distractions will draw the viewer's attention to the main focus and make your photo more impactful.
Don't be afraid to get up close and personal!
Fill the frame with your subject to create a strong, captivating image.
- Emphasize negative space:
Negative space (or "white/blank space") is the area around your subject in an image.
Give your subject some breathing room by including empty space around them.
This will make them stand out and create a minimalistic, clean aesthetic.
By emphasizing negative space, you create balance and give your subject more impact.
Negative space also gives a sense of tranquility or calm to an image, so make sure to use it to your advantage.
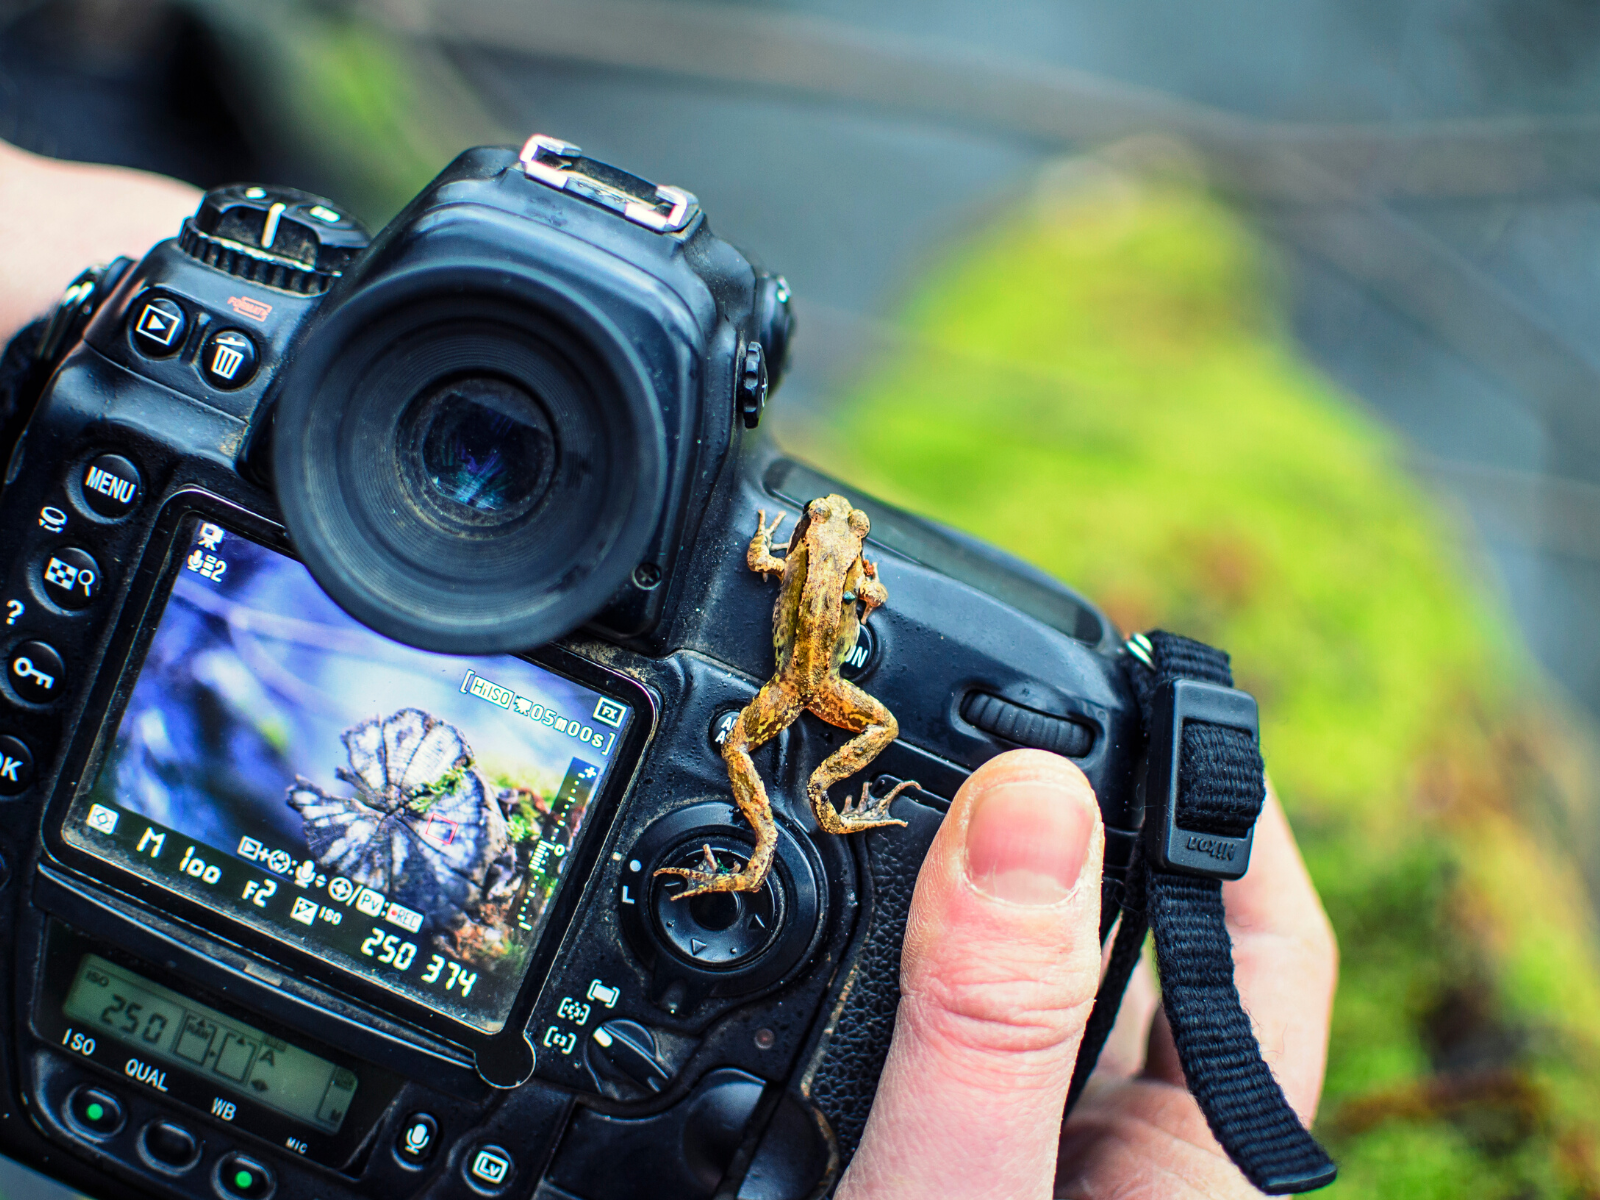
- Capture unique perspectives:
Shooting from different angles and perspectives will make your images look more interesting and dynamic.
Be creative!
Try shooting from high angles, low angles, and from far away.
Take your time and explore the scene to find unique perspectives that will bring out the beauty of your subject.
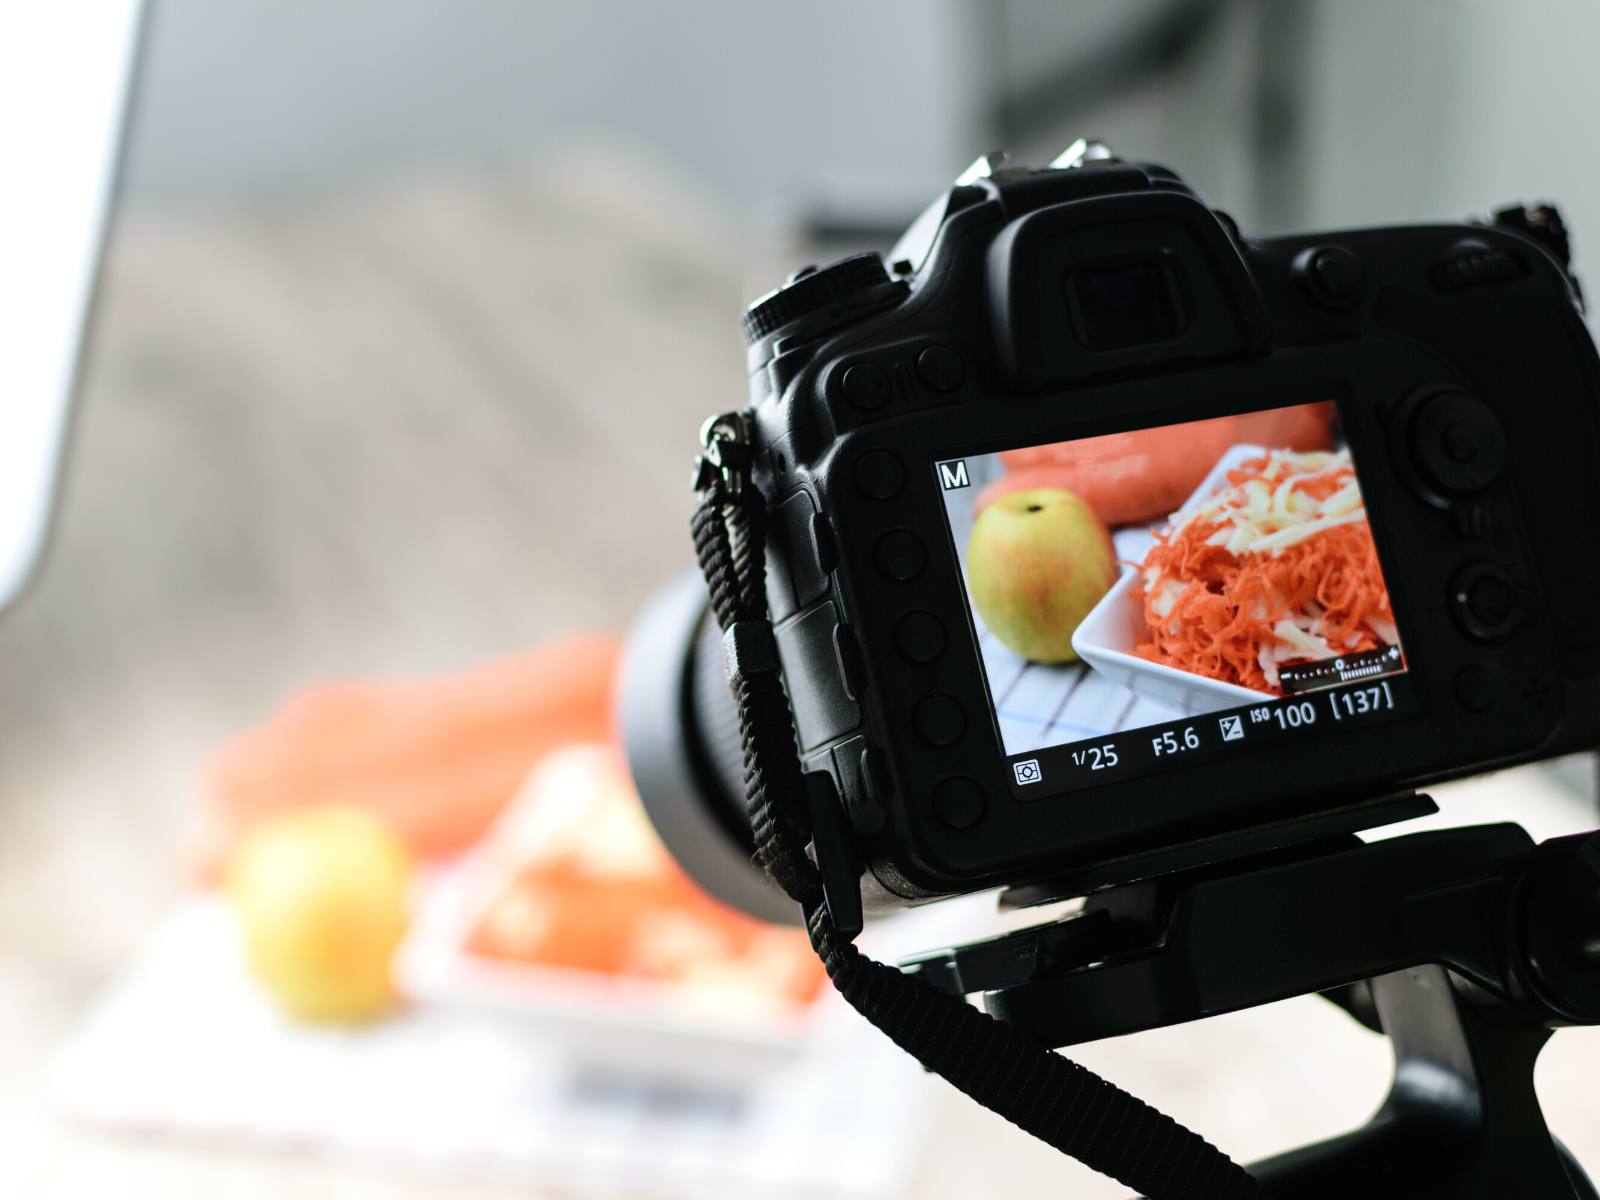
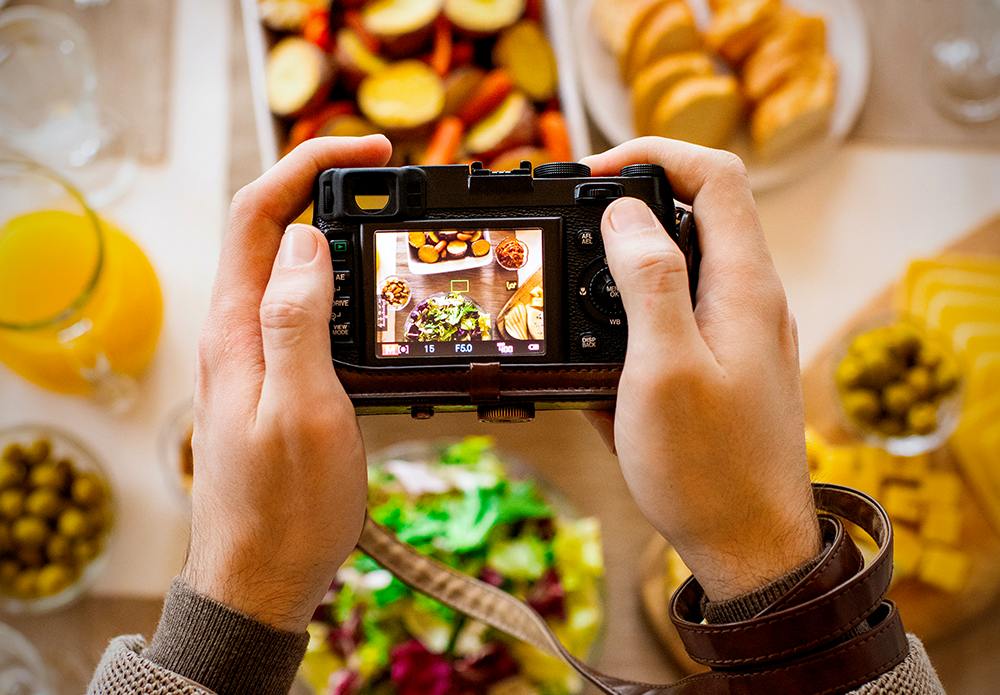
Dial in Your Camera Settings
Choosing the right camera settings is a game-changer!
You need to understand how your camera works and how to adjust the settings depending on the situation.
The first step is understanding the exposure triangle (aperture, shutter speed, and ISO) and how each one affects the outcome of your photo.
Once you've mastered the basics, be sure to experiment with different camera settings.
Whether you're shooting on manual or automatic mode, here's what to consider:
- White balance:
White balance determines the color temperature of your photo.
Adjust it to match the scene's lighting and avoid unnatural color casts.
If you're shooting in RAW format, don't worry too much about it as you can adjust the white balance in post-production.
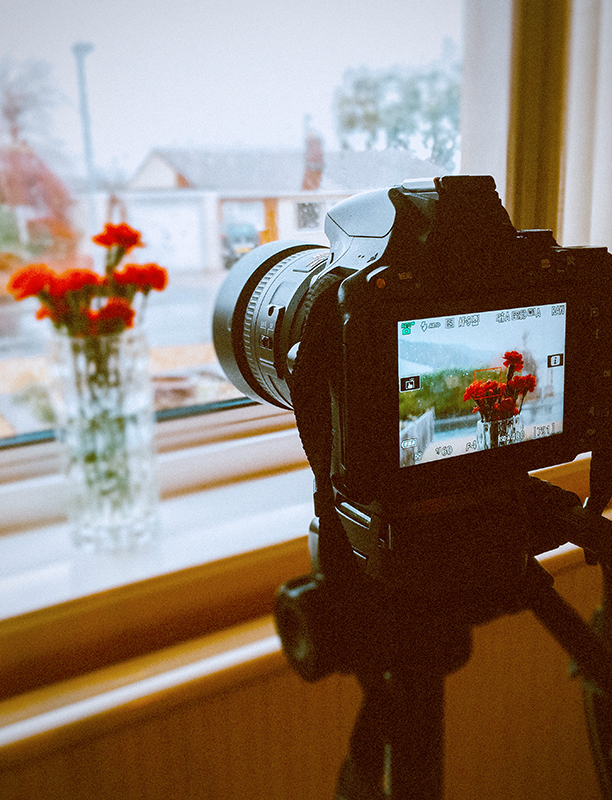
Focus mode:
Choose between single-point autofocus (AF) or manual focus (MF).
Autofocus is great for capturing moving subjects and a great starting point for beginners.
Manual focus gives you more control over your image and is ideal for shooting landscapes or still subjects.
For still subjects, use single-shot autofocus (AF-S/One Shot).
For moving subjects, switch to continuous autofocus (AF-C/AI Servo) and pan your camera to track movement.
- Drive/Burst mode:
This setting determines the speed of your camera's shutter.
For capturing action shots and sports, choose a high drive/burst mode (6+ fps).
For slower shots, choose a lower speed to avoid camera shake.
- Metering mode:
Metering determines how your camera evaluates the light in a scene.
Use spot metering for specific elements or multi-zone metering for more even exposures.
Remember, every scene is different so don't be afraid to experiment with the different settings and see what works best.
- Shooting mode:
Choose between auto, program, aperture priority mode (A/Av), shutter priority mode (S/Tv), or manual mode (M).
Experiment with different shooting modes like aperture priority, shutter priority, and manual to find the one that best suits your creative vision.
- File format:
Choose between JPEG, RAW, PNG, or TIFF.
Some artists prefer to shoot in RAW for its flexibility and superior image quality.
Others prefer JPEGs as they are easier to process, take up less space on the memory card, and can be easily shared on social media or emailed.
Try out different file formats and see which one works best for you!
Shoot in RAW format if possible!
RAW files are uncompressed and provide maximum flexibility in post-processing.
For the highest-quality images and greater control over colors, tone and exposure, always shoot in RAW.
Using these settings wisely can make a huge difference in your photography, so take the time to practice and master them!
Creating images is all about trial and error - so keep experimenting and pushing yourself to try new things!
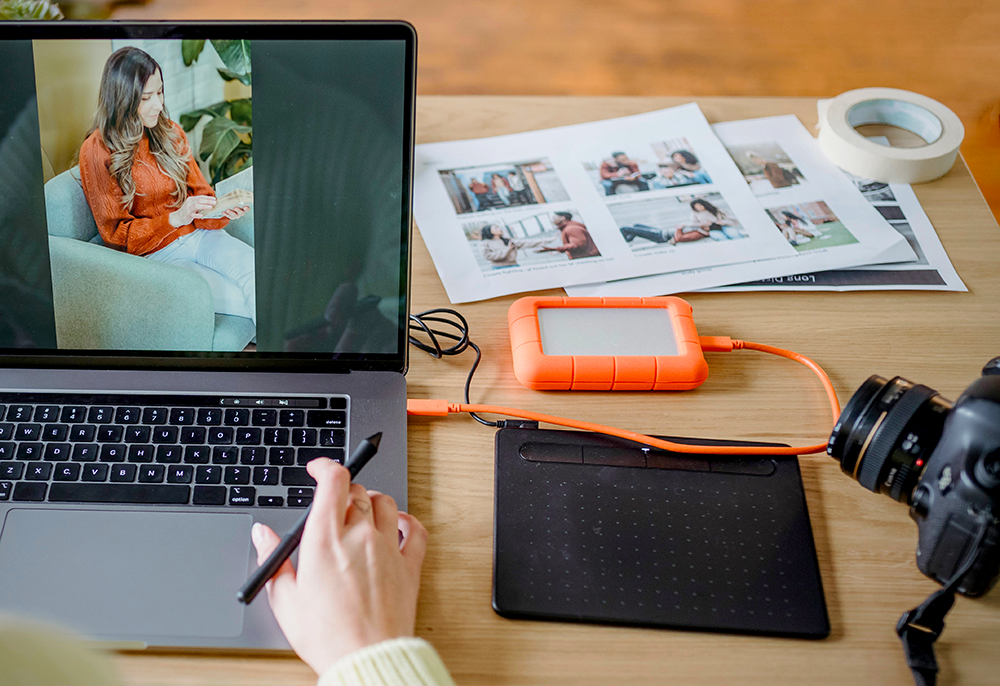
Edit Like a Boss
Want to elevate your photos from good to amazing?
Editing is your secret weapon!
Photo editing software and tools, like Adobe Lightroom, Photoshop, or even free photo editing apps on your phone, can help you take your images to the next level.
Post production can be a great way to fine-tune your images, enhance certain elements, and create interesting effects, but it always helps to have a solid image to begin with.
From playing with colors to adding special effects, you can do it all in post-production.
It's important to know your limits when it comes to editing - a few tweaks never hurt, but over-editing can easily ruin an image.
Here are some tips to polish your images:
- Adjust exposure:
Use the exposure slider to lighten or darken an image; brighten or darken your photo as needed to create a well-balanced shot.
Be careful not to overexpose your images as this will cause blown-out highlights and lost detail.
- Play with contrast:
Contrast creates tension, drama, and depth in your photos.
Experiment with the contrast slider to give your photo an edge.
- Be careful not to go overboard, as too much contrast can make your photos look harsh.
- Tweak colors:
Adjust the vibrance and saturation to make your photos pop or create a moody atmosphere.
Play with split-toning to add color to highlights and shadows for a unique touch.
You can even add color filters or tones to your images for an extra boost.
- Sharpen and adjust details:
Use the sharpening and noise reduction tools to make your images look crisp and clean.
Adjust the clarity to bring out details without compromising the photo's quality.
Be cautious and use a light touch - too much sharpening can make your photos look unnatural.
- Crop:
Cropping an image can create a more interesting composition and draw focus to the subject matter.
Just be sure not to crop out important details or compromise your photo's resolution.
- Retouch:
Light retouching can go a long way in making your photos look professional.
Using tools like the clone stamp, spot healing brush, and dodge/burn, you can easily remove minor imperfections and enhance certain elements in the image.
Editing is a great way to add your personal touch to your images and make them look their best!
So, take the time to play around with the tools and experiment until you find your style.
These basic photography tips will surely help you take your photography to the next level!

Picture-Perfect Photography
Photography is a combination of skill, creativity and experimentation.
When you understand the fundamentals and push yourself to try new things, you're sure to create stunning images that'll make you stand out.
Lighting, composition, camera settings, and post-production are all essential elements of photography.
By mastering these photography basics and combining them with your own creative vision, you can take your photos to the next level!
If you're ready to capture the picture-perfect shot, get out there and start experimenting!
It's time to level up your photography game with these essential photography tips!
Have fun and happy shooting!
Looking to learn more about photography and taking photos? Check out Pat Kay's video!
Eager to become a pro at photography, Photoshop, and Lightroom? Check out KelbyOne's Exclusive Online Content for Only $19.99/Month!
Want even more content about creativity and art?
Be sure to check out all of our creative chronicles!
Interested in photography?
Check out some of our other articles: