Calligraphy, the art of beautiful handwriting, has been around since ancient times.
Today it is still an incredibly popular form of art and one that can be learned by artists of all skill levels.
The key to mastering calligraphy is learning how to hold your calligraphy pen correctly.
In this blog post, we’ll break down the basics of perfecting your pen grip for creating stunning works of calligraphic art.
What is Calligraphy?
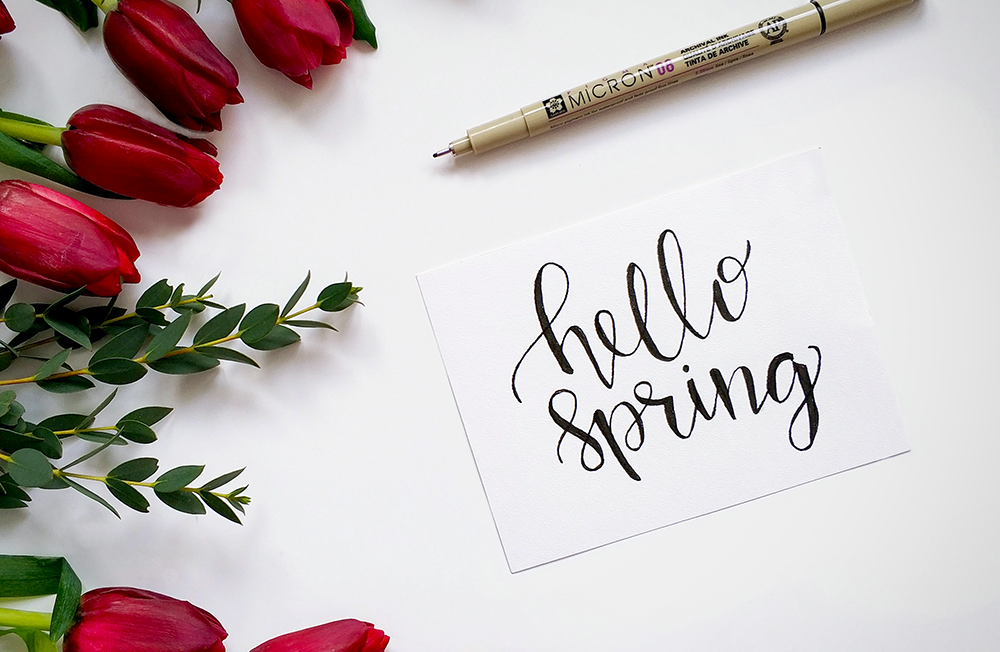
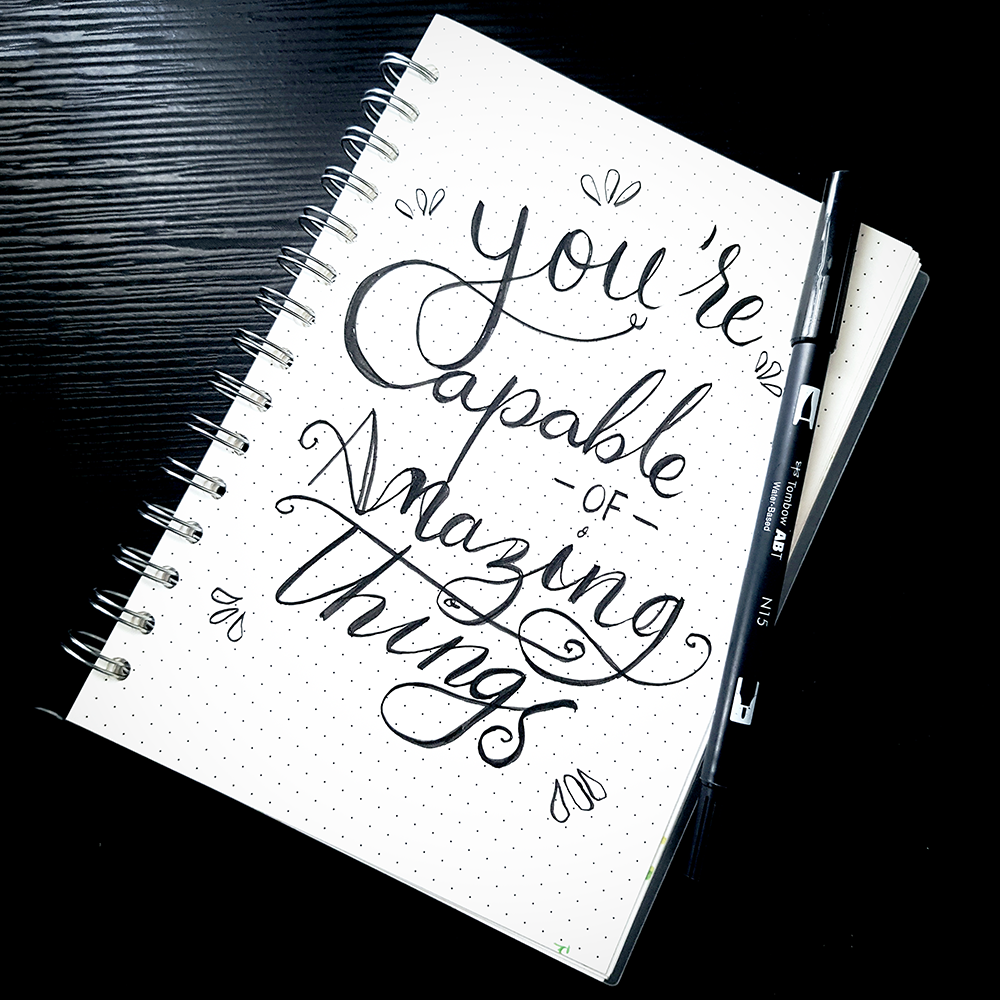
Calligraphy is the art of creating beautiful, decorative handwriting and hand lettering.
It’s an ancient practice that dates back centuries when it was used for writing manuscripts and religious texts in Greek, Latin and Arabic.
Today, calligraphy is still a highly sought-after skill that can be used to create beautiful invitations, cards, storybooks and journal entries.
Calligraphy Pens Basics
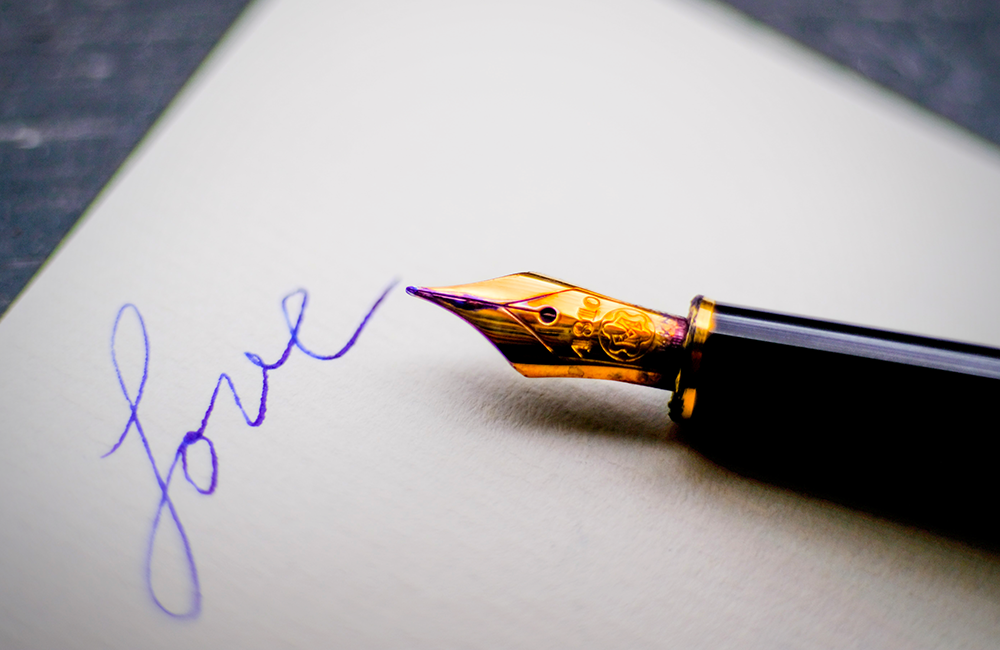
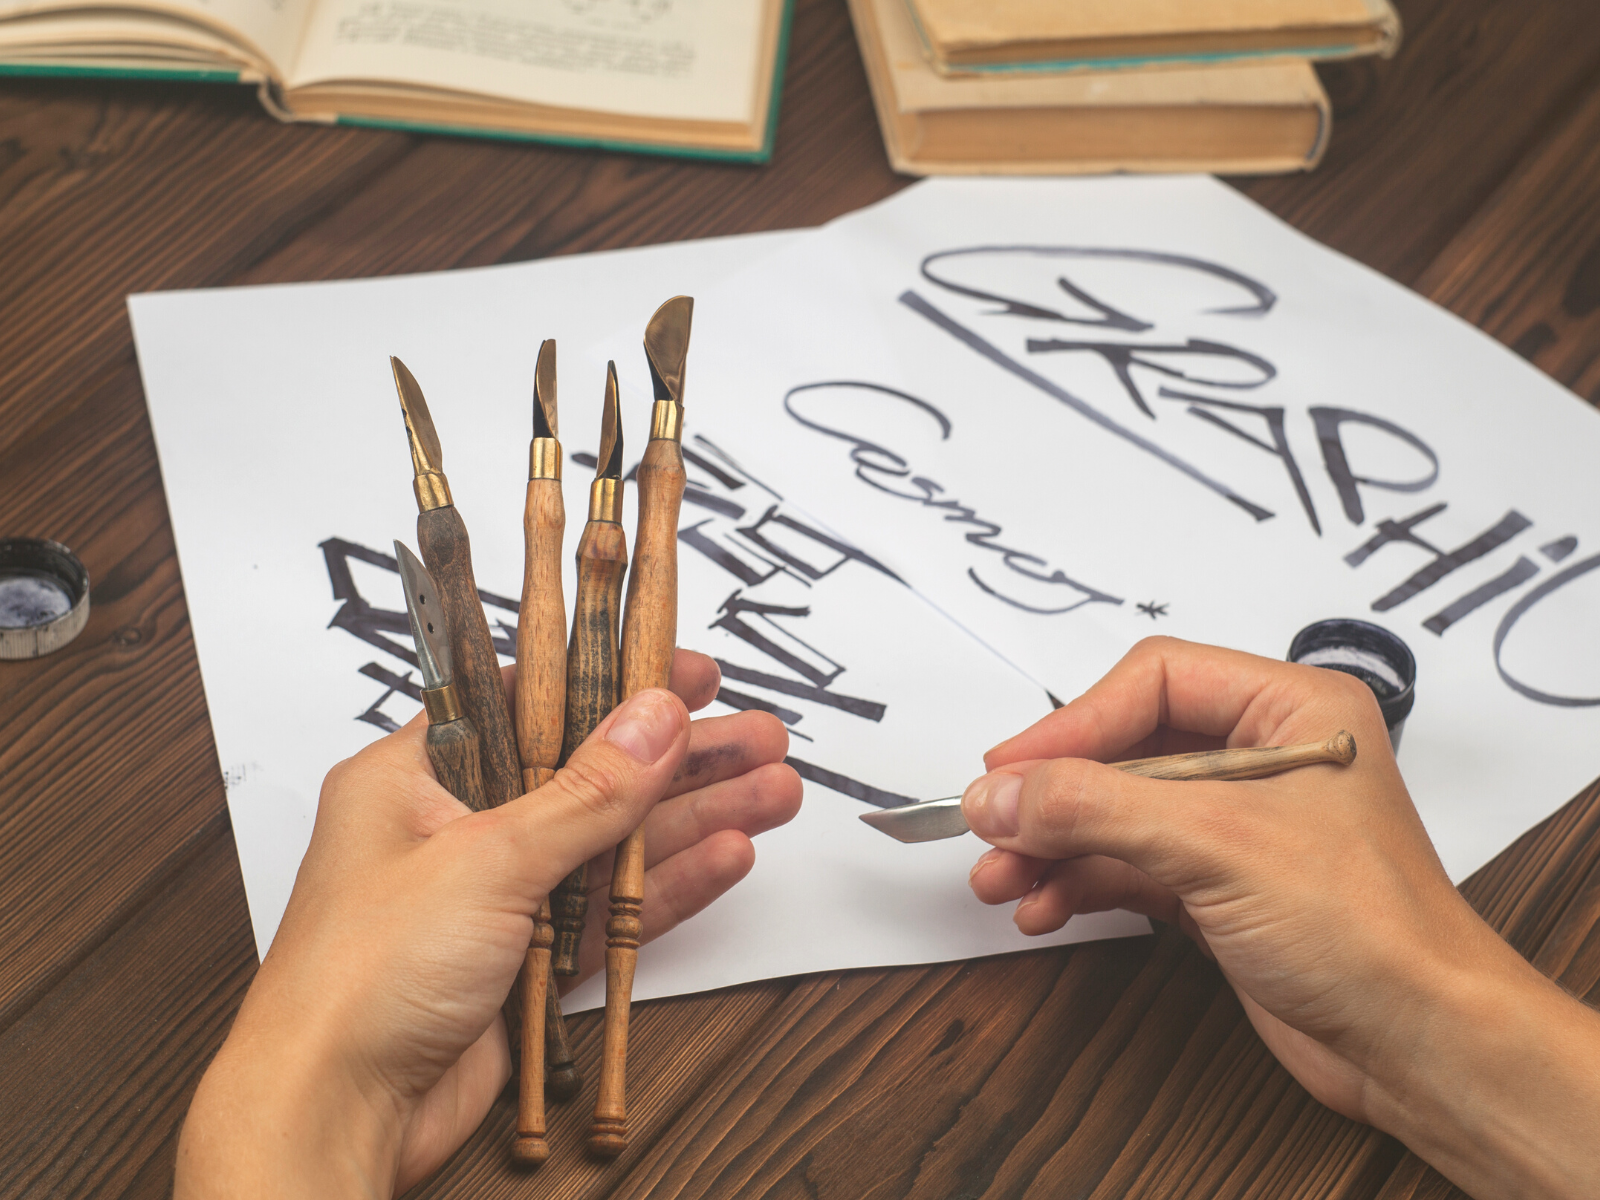
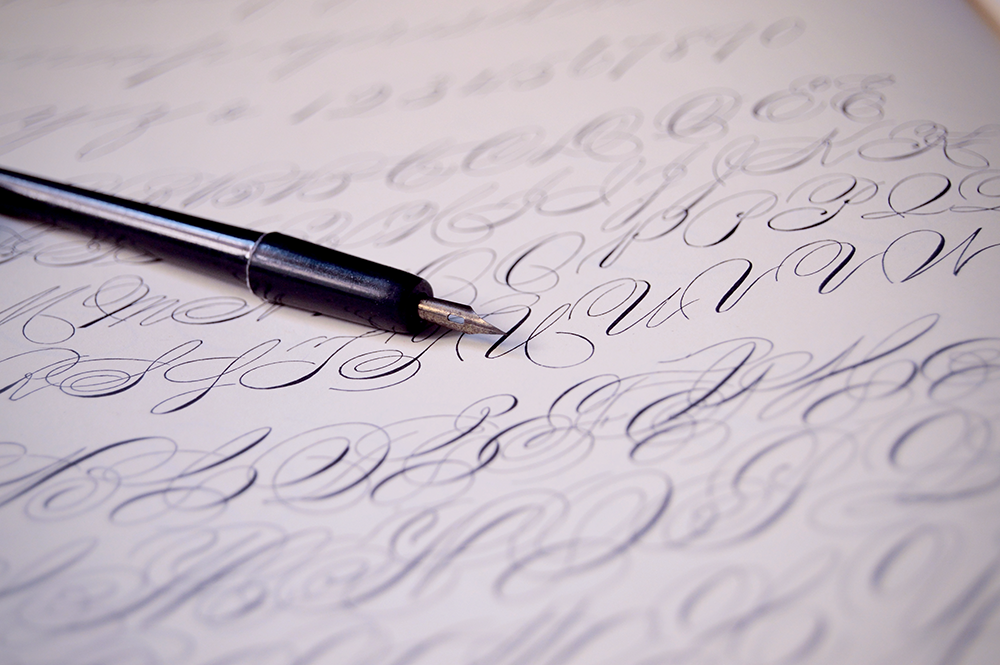
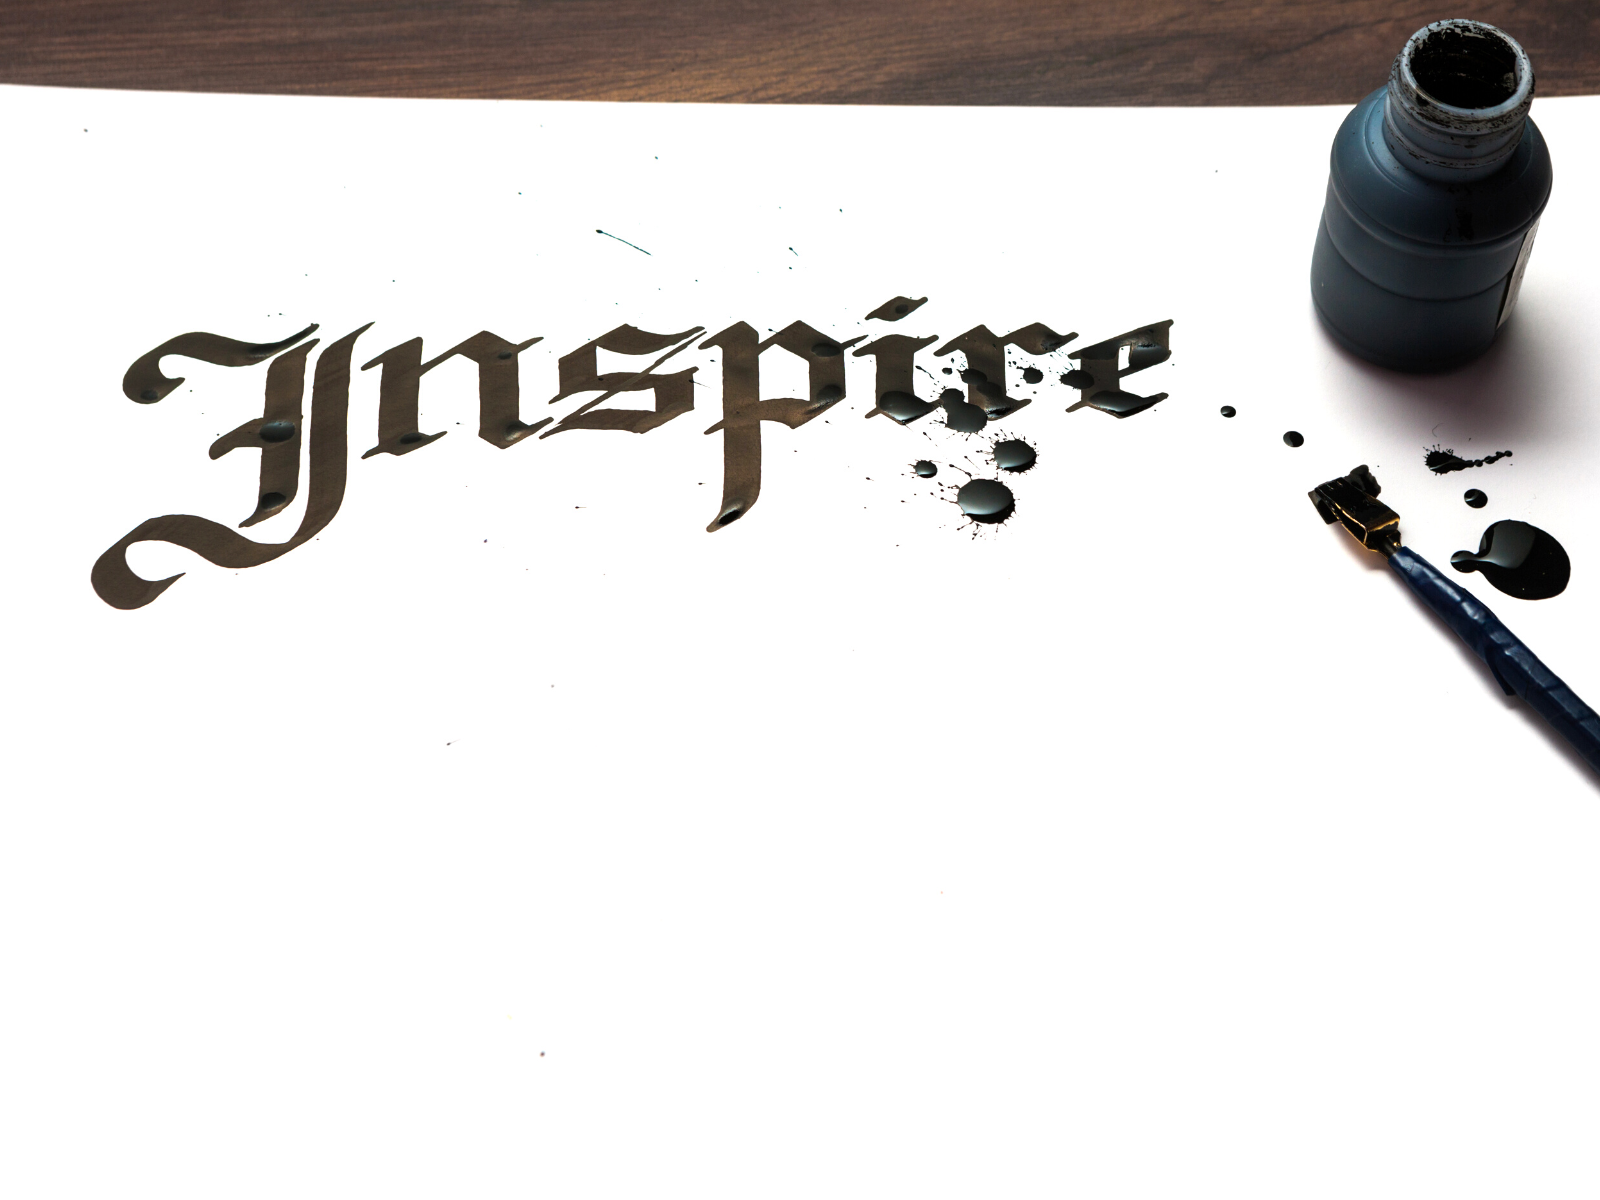
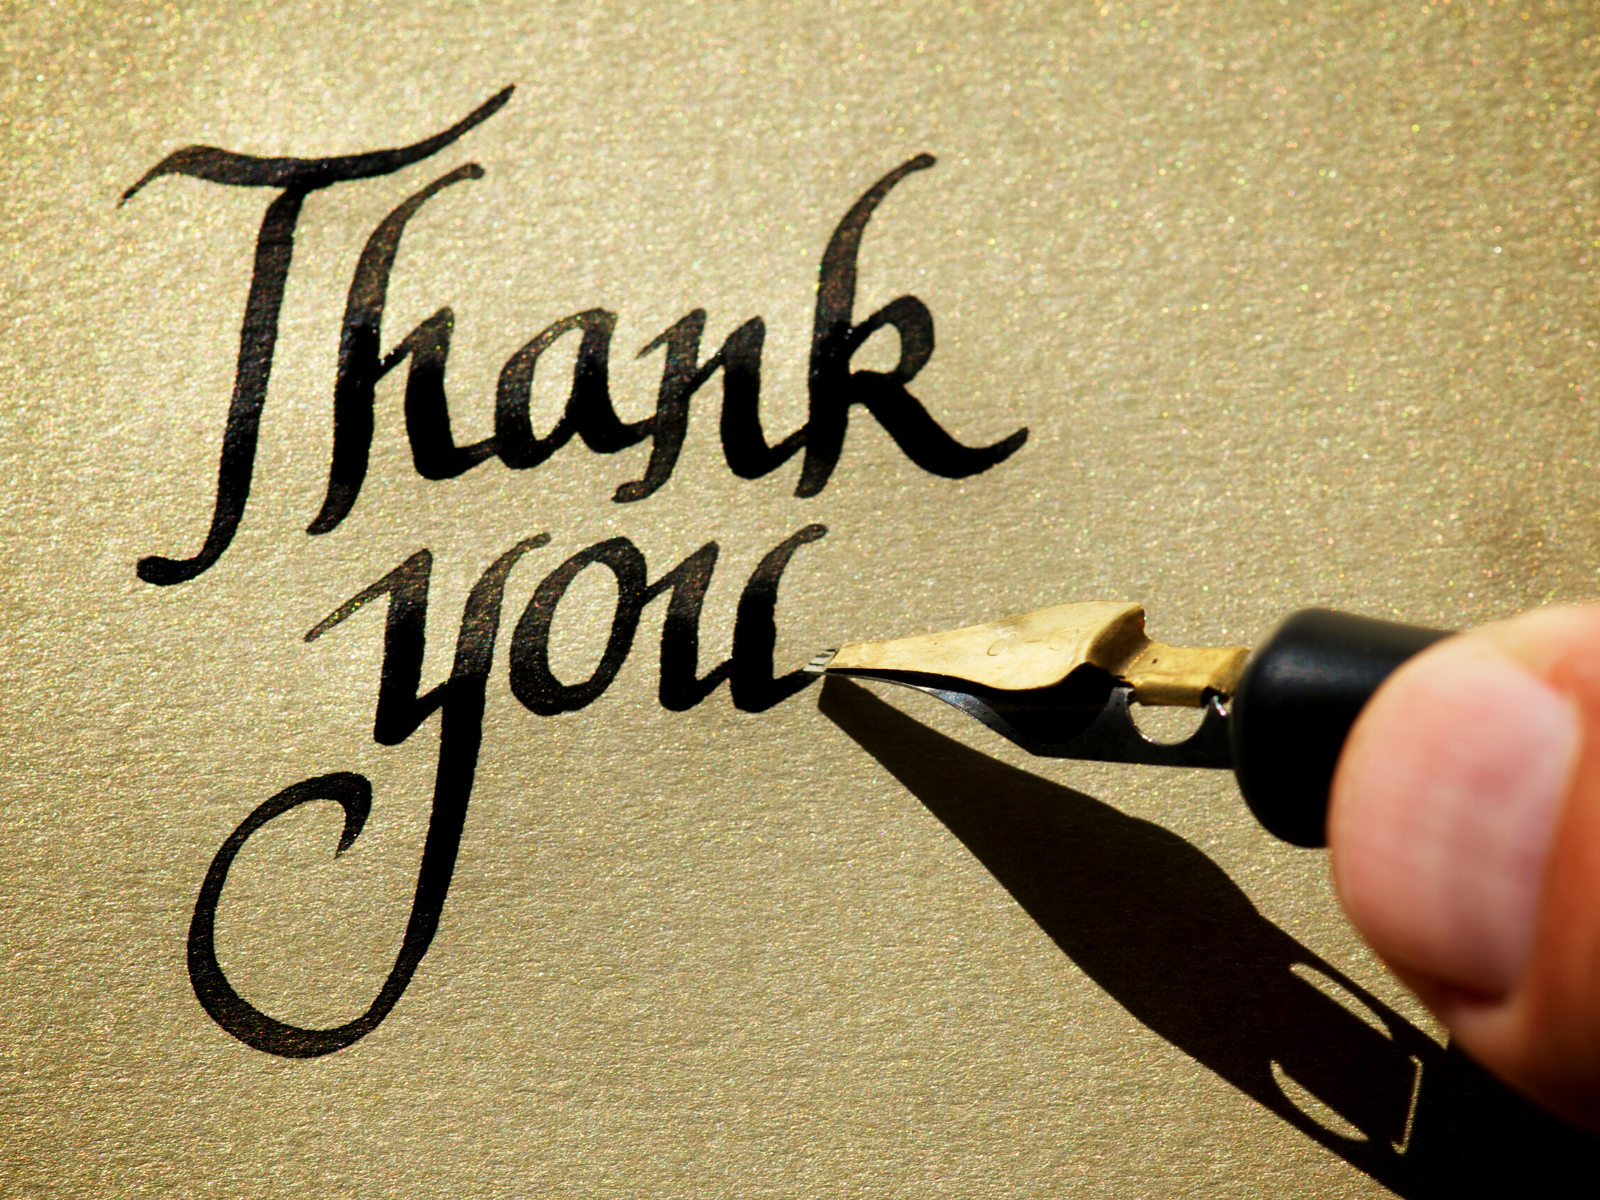
Calligraphy pens come in a variety of shapes and sizes; however, most have a nib on the end that looks like a flattened-out oval with two edges.
This is known as the point or nib, and it is where the calligraphy ink will come out when you write.
The shape of the pen nib can vary depending on how thick or thin you want your lines to be.
For example, a pointed nib will create narrower lines, while a flat-edged nib will create thicker, broader strokes.
Types of Pens
There are a variety of calligraphy tools you can use, and one of the most important is the type of pen; different calligraphy pens will create different types of strokes.
Depending on whether you want thin strokes, thick strokes, or something in between, you’ll need to select the right pen for your project.
Pens come in several types, such as fountain pens, dip pens, and brush pens.
A fountain pen is great for beginners because they come pre-filled with ink, making them easy to use.
A dip pen is great for creating more detailed works of calligraphic art, as they require the artist to manually dip the pen in ink before writing.
A brush pen is a great option for those who want to create more fluid, artistic strokes of brush calligraphy.
There are other calligraphy pens you can use when writing calligraphy, such as a felt tip pen or ball point pen.
Many calligraphers will use a traditional calligraphy pen to create their works of art, as this will give them the most control over the shape and size of their strokes.
An oblique calligraphy pen is a great option for those who want to create more elaborate calligraphic works.
If you want to write calligraphy, the oblique pen has an angled point, which makes it easier to create curved marks and shapes.
Popular calligraphy pens include Pilot Parallel Pens, Speedball Calligraphy Pens, and Zebra Pen Manga G Pens.
Choosing the right calligraphy pen for your writing surface is essential for achieving the desired look and feel of your work.


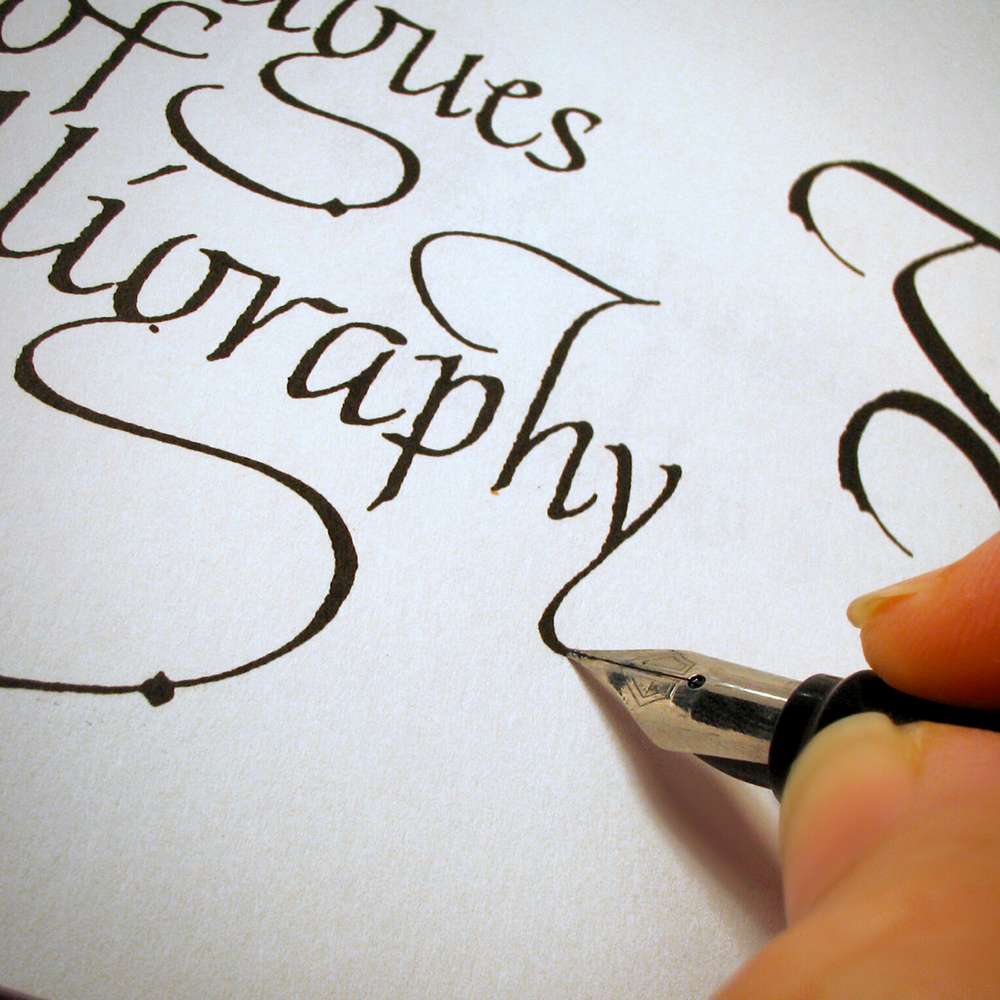
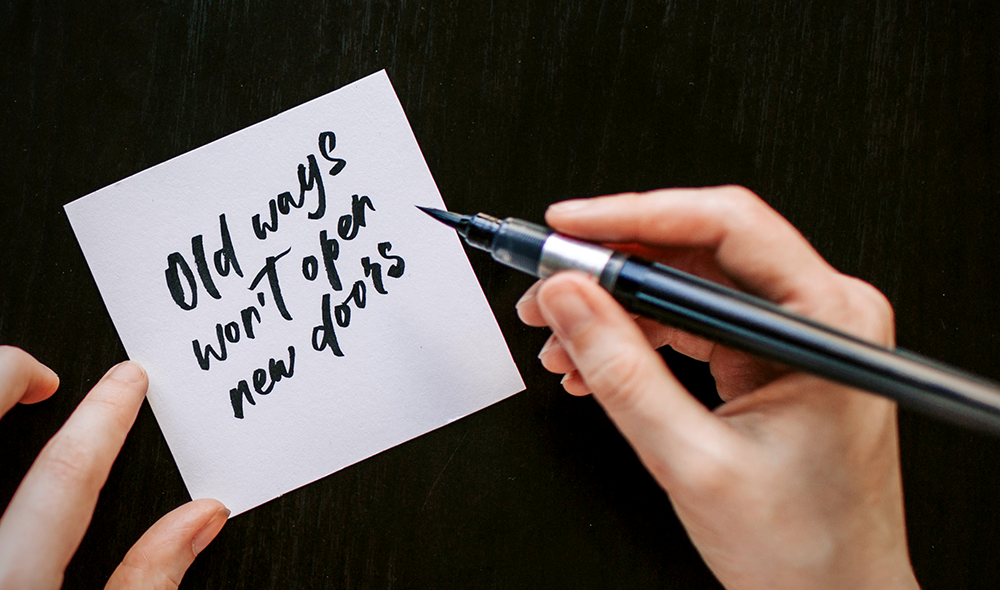
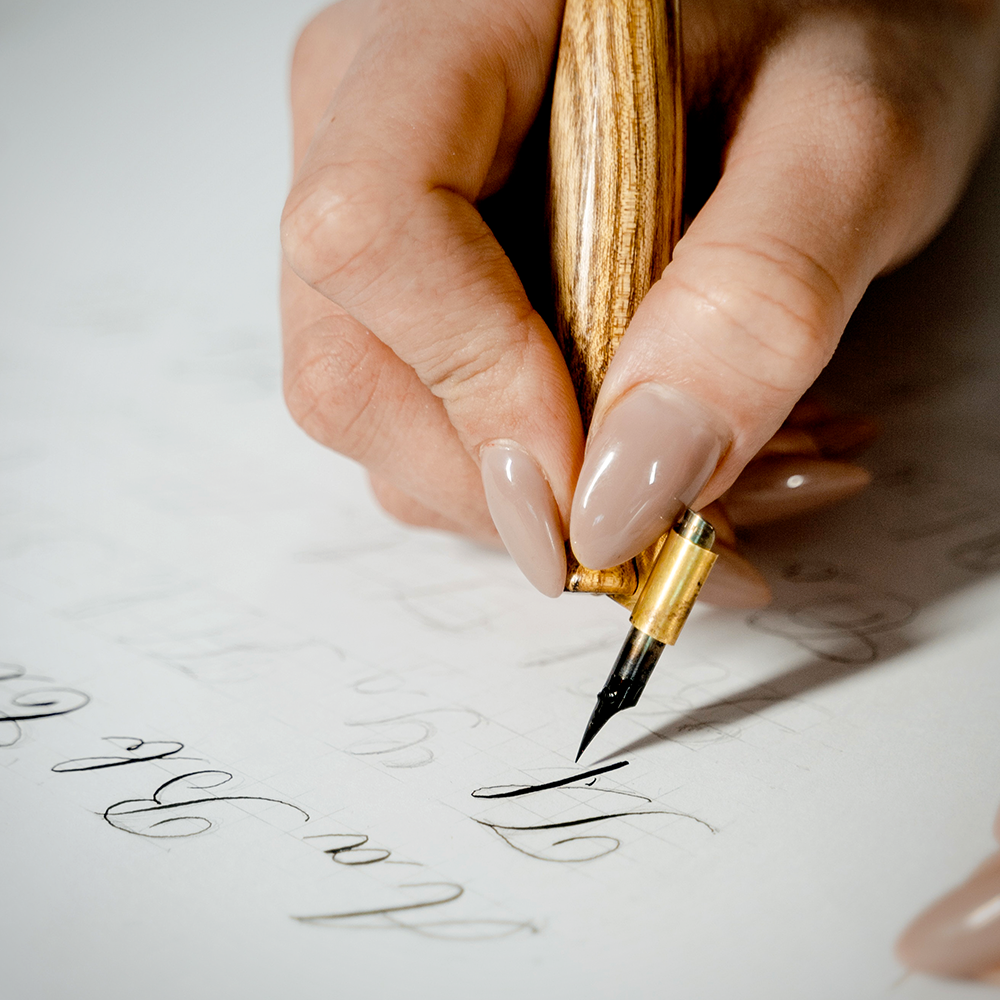
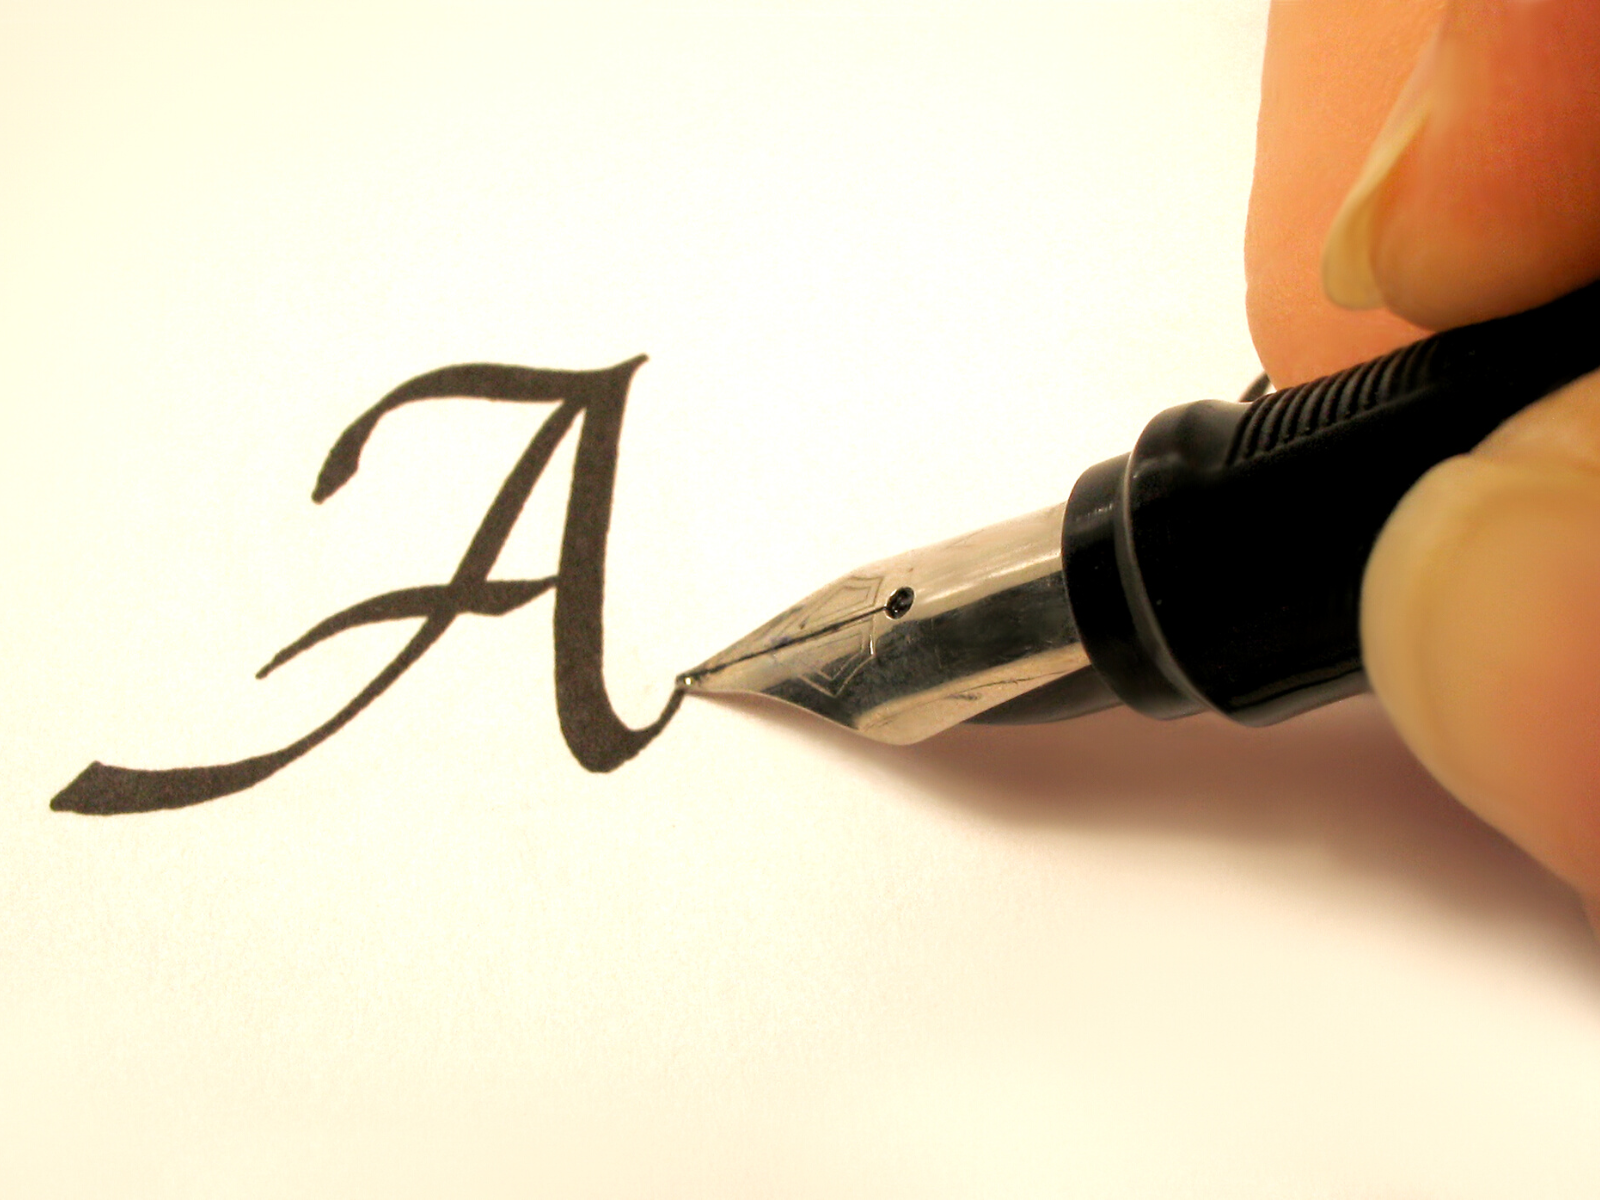
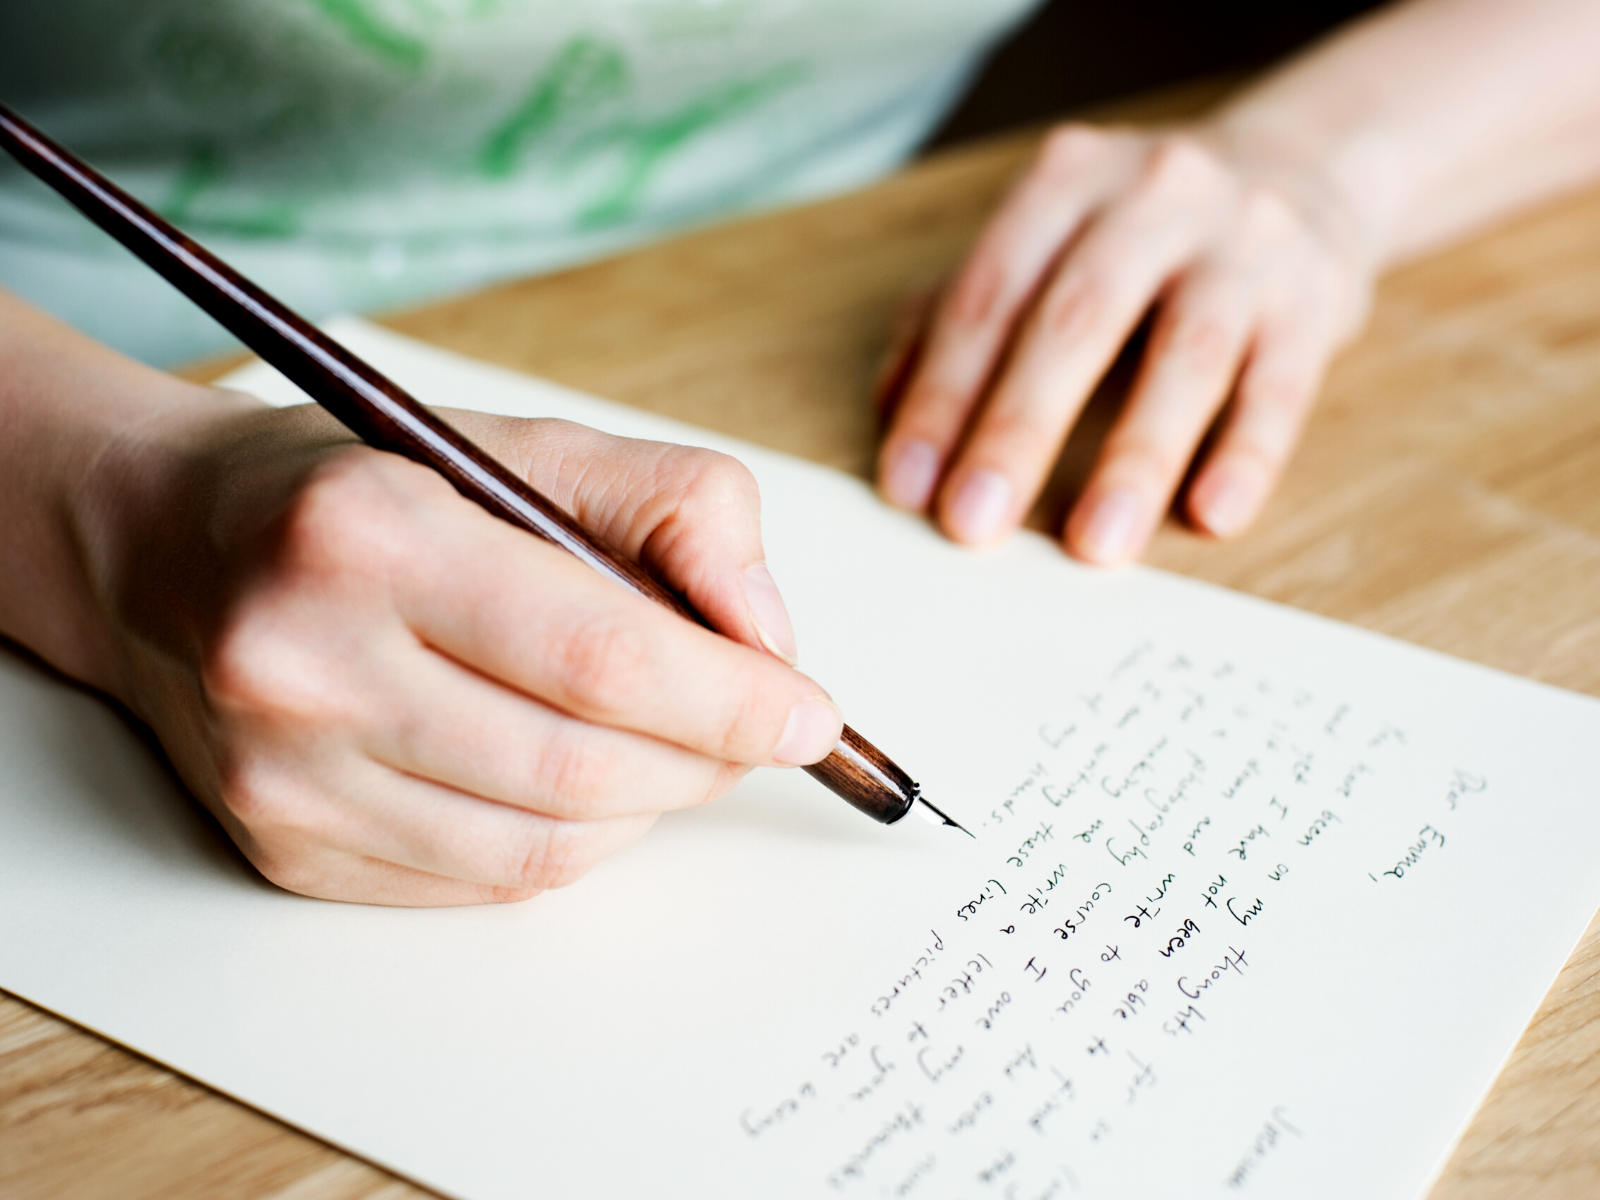
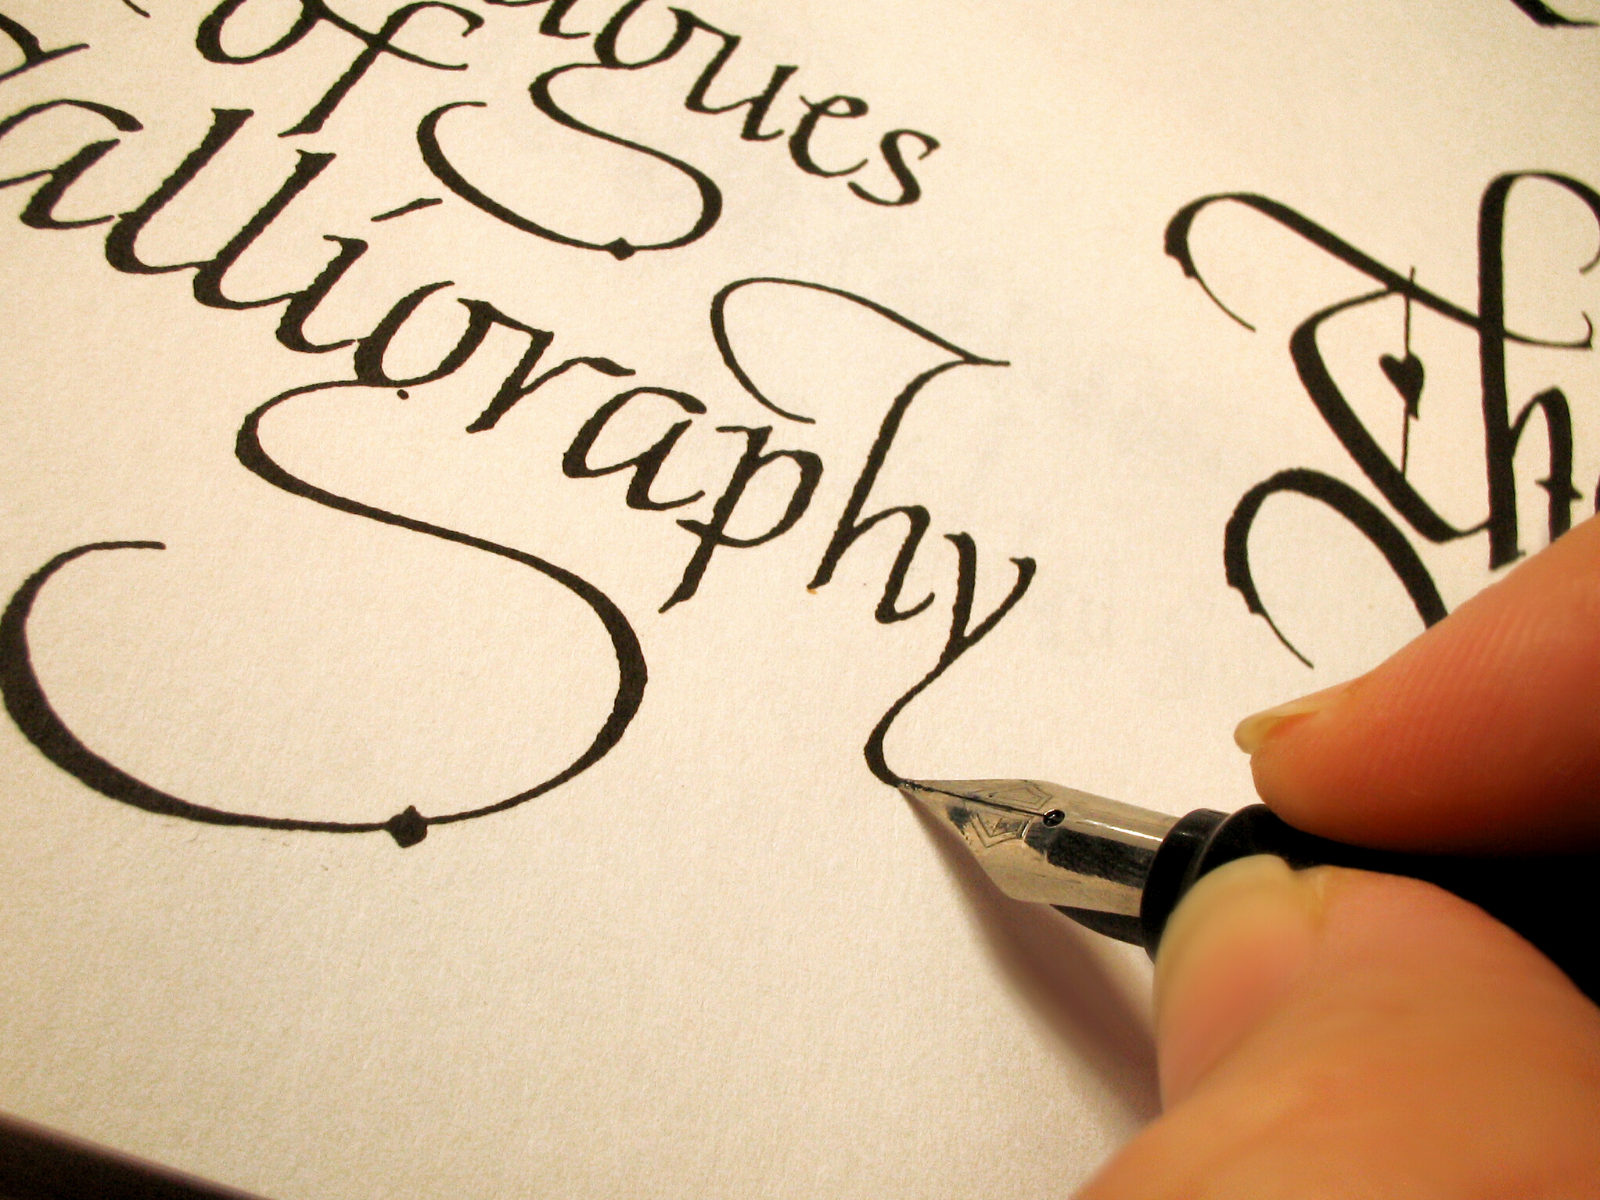
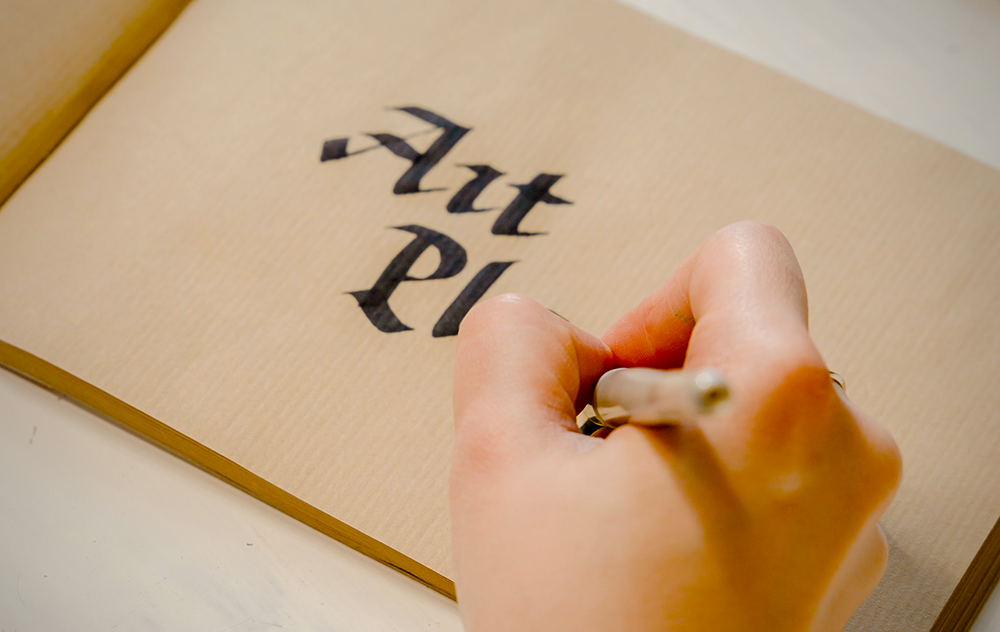
Learning How to Hold a Calligraphy Pen
When it comes to mastering the art of calligraphy, learning how to properly hold your pen is key.
The most basic way to hold your pen is by placing your index finger at the top and resting it on the flat part of the nib while supporting the rest of the pen with your middle finger and thumb.
You may need to adjust your grip depending on what type of writing you are doing; for example, if you are doing cursive writing you will want to keep your hand higher up on the handle so that you can make smooth curves without stopping or starting every few letters.
Keeping your hand steady and relaxed is also important; if you grip the pen too tightly, it can cause fatigue and make writing uncomfortable.
Posture Perfect
Your posture also plays an important role in how well you hold your pen.
You want your arm to be relaxed and close to the paper so that there isn't too much strain on your wrist or fingers.
It is important not to bend over too far because this can cause fatigue and make it difficult to control how much pressure you are applying while writing.
Some people find it helpful to sit up straight with their feet firmly planted on the floor in order to maintain good posture while writing.
Additionally, make sure that you have enough light so that you can see what you are doing; this will help prevent mistakes due to bad visibility!

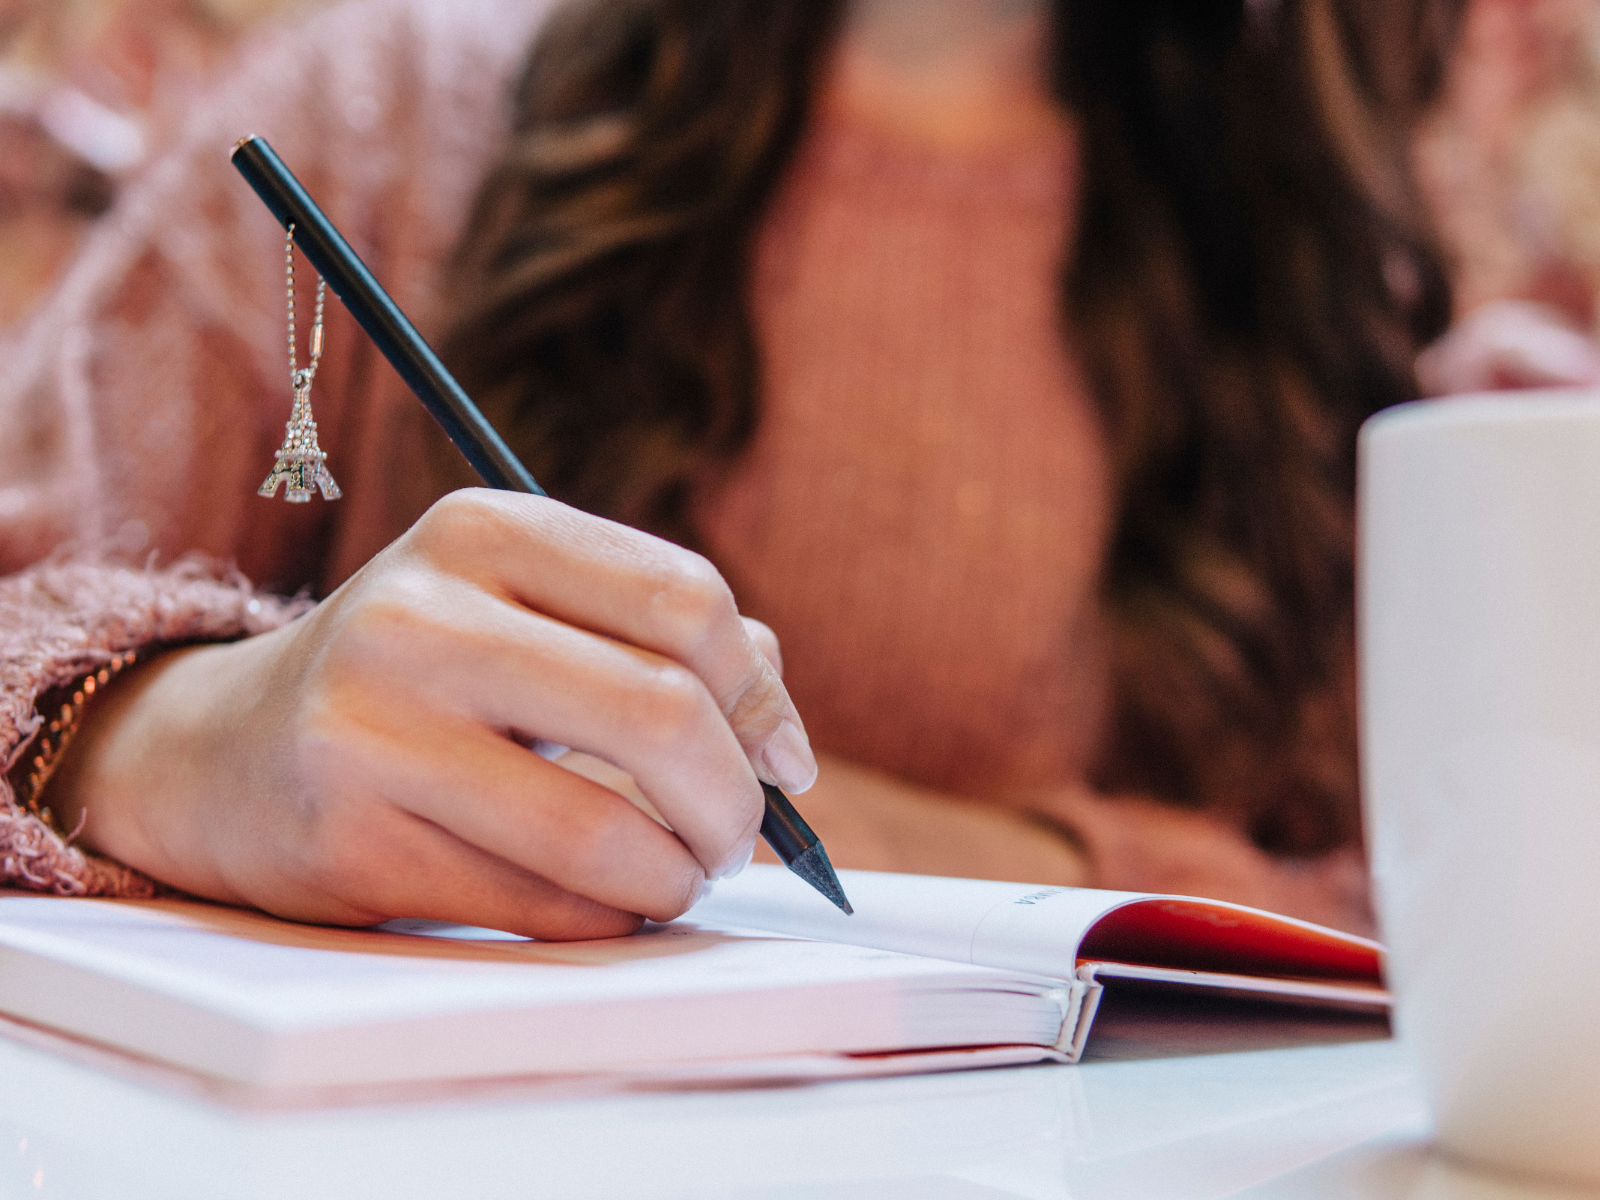

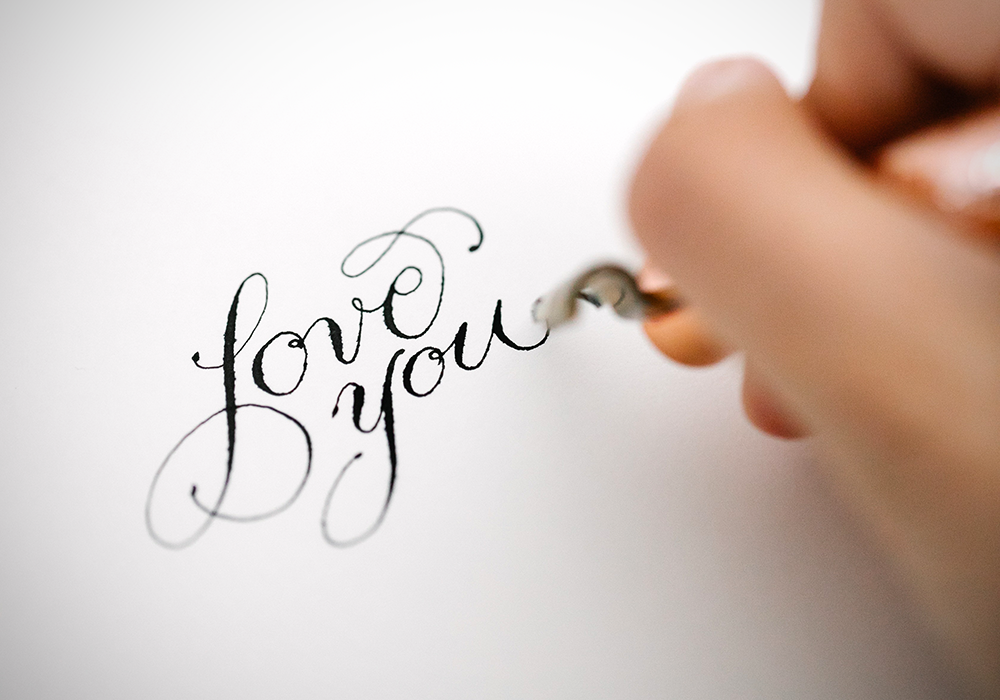
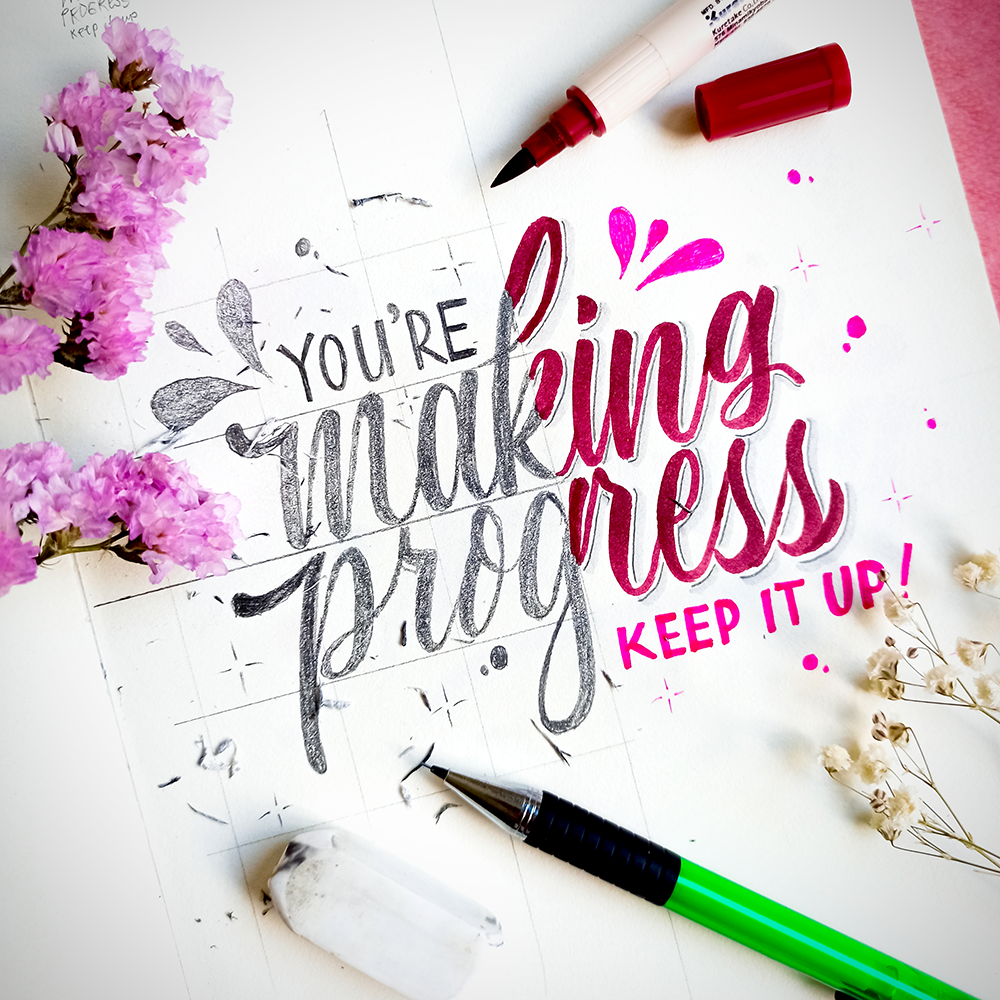
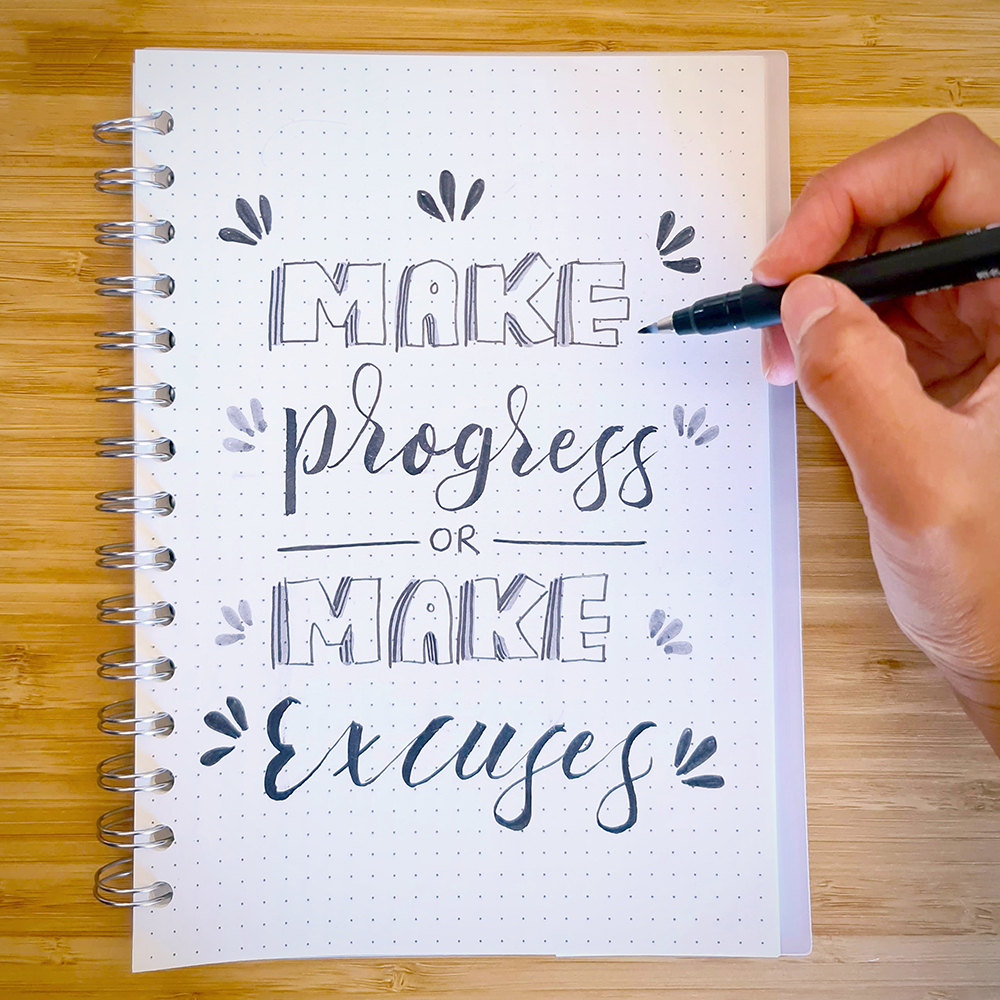
Practice Makes Perfect
Once you have established a good grip on your calligraphy pen and a solid posture, practice makes perfect.
The more time you spend practicing holding your pen correctly and mastering different techniques, such as varying pressure or speed while writing, the better your calligraphy will become.
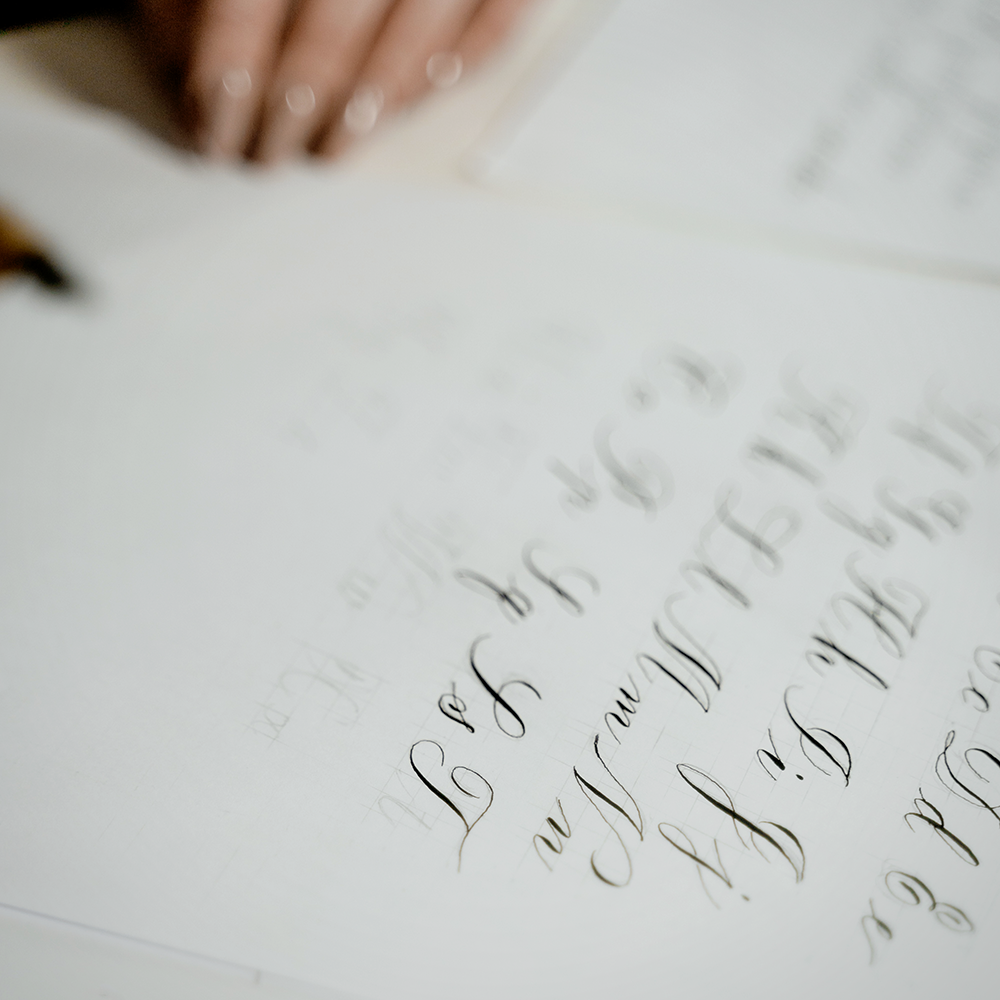
Start with some basic drills such as drawing straight lines, circles and curves.
One great way to do this is by writing out words from a calligraphy book or online tutorial.
It is also helpful to look up different calligraphy styles so you can get an idea of what your own style should look like.
Once you have mastered the basics, move on to more complex script styles and lettering.
With practice and patience, you too can become a master calligrapher!
And don’t forget—have fun!
Calligraphy should be enjoyed as an art form—not just something that needs to be perfected quickly!
Try New Things
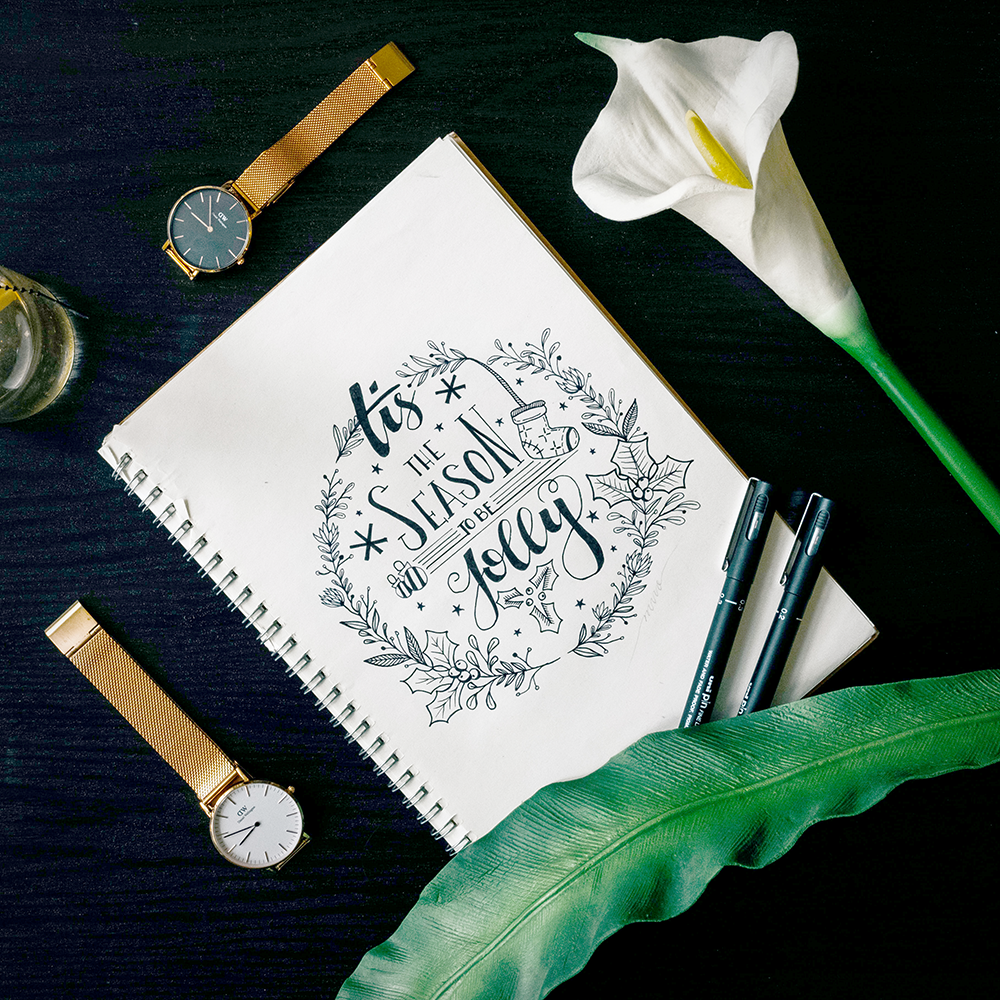
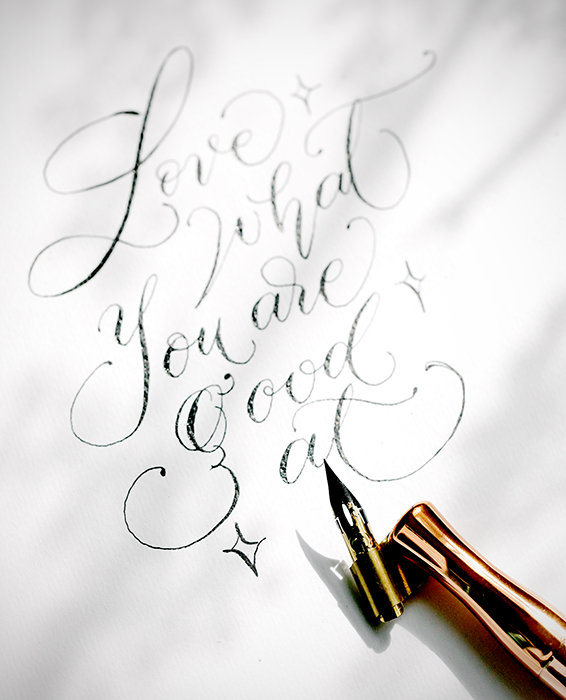
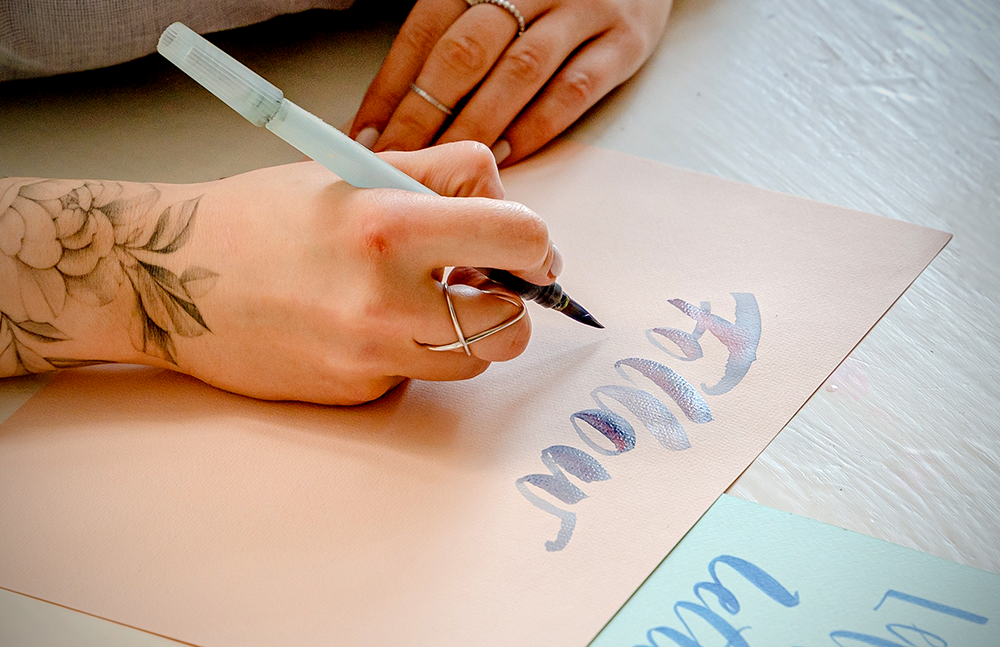
Experimentation and exploration are key to discovering your own unique style.
Try different nibs, inks, and papers to find what works best for you.
Also, don’t be afraid to take risks and make mistakes.
Many times, the best works of art are created by pushing boundaries and not being afraid to try something new.
So go ahead, grab your calligraphy pen and get started on your journey towards perfecting this beautiful art form.
Good luck!

Calligraphy Tips for Perfected Pen Grip
If you're still struggling to find the perfect pen grip, here are a few tips to help you out:
- Take your time and practice until your hand gets used to the grip.
- Hold your calligraphy pen firmly but not too tight because a death grip can lead to tiredness and strain.
- Ensure that you have enough light so that you can see your lines clearly.
- Keep your hand close to the paper and maintain good posture.
- Rest your index finger on the flat part of the nib.
- Vary your pressure and speed while writing to create different effects.
- Experiment with different nibs, inks, and papers to find what works best for you.
- Consider your ink flow when selecting a pen.
- Pen holders and ink cartridges are great for calligraphers who want to write quickly and accurately.
Once you've perfected your pen grip, practice different styles and enjoy creating beautiful works of calligraphic art!

Creating Calligraphy
Holding a calligraphy pen correctly may seem intimidating at first but with just a bit of practice anyone can become a pro at crafting beautiful works of art using their own handwriting style!
With proper posture, correct hand placement, and lots of practice, soon even beginners will be able create amazing pieces they’ll be proud of!
Calligraphy is an enjoyable and rewarding art form that anyone can learn with the right techniques and tools.
So, get out there and start practicing today!
You never know, you may find yourself becoming a professional calligrapher in no time!

I've even managed to secure a FREE gift for our readers from world-renown calligraphy instructor, Diane Foisy! If you're eager to start calligraphy, you'll definitely want to check it out!
Eager to learn more about proper grip for calligraphy writing? Check out Calligraphy Masters' video!
Want even more content about creativity and art?
Be sure to check out all of our creative chronicles!
Interested in starting calligraphy and needs some new pens?
Check out some of our other articles: