Drawing with pens can be a great way to add detail and interest to your drawings.
But how do you get started with a pen and ink drawing?
In this post, we'll go over some basic tips for drawing with pens.
By the end, you'll be ready to start creating your own pen and ink drawings!
Choosing the Right Pen
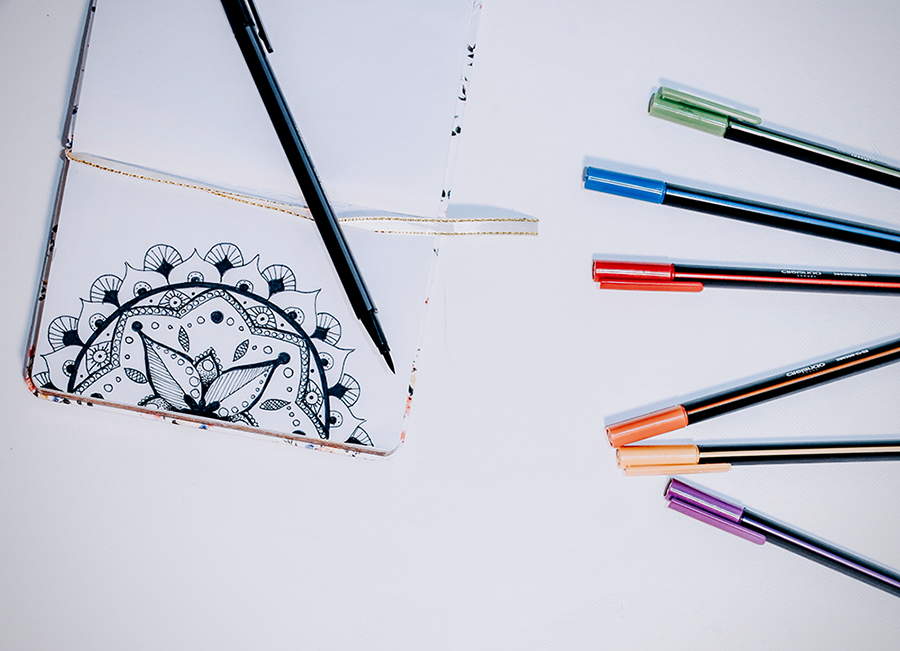
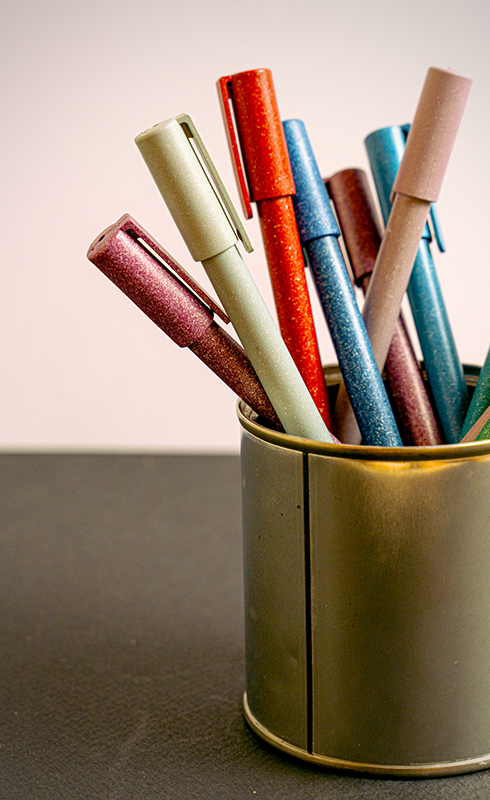
Pens are great drawing tools for creating art, but one of the most important things pen and ink artists consider is choosing the right pen for the job.
There are a variety of different types of pens available on the market, each drawing pen with their own advantages and disadvantages.
Here are a few of the most common types of pens that artists use:
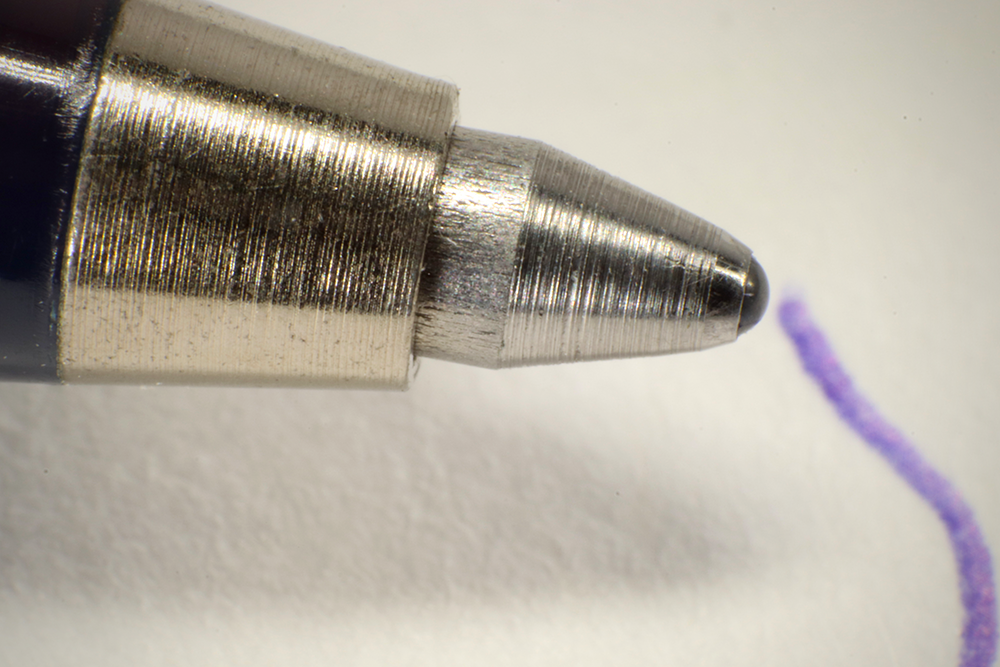
Ballpoint Pens
Ballpoint pens are inexpensive and easy to find, making them a great option for beginners.
They also have a wide variety of tip sizes available, so you can choose one that best suits your needs.
However, ballpoint pens can be difficult to control, and they may not produce the finest lines possible.

Felt-Tip Pens
Felt-tip pens offer more control than ballpoint pens and can produce finer lines.
They come in both water-based and alcohol-based varieties, so you can choose the type that best suits your needs.
However, felt-tip pens can be more expensive than ballpoint pens, and they may bleed through thinner papers.

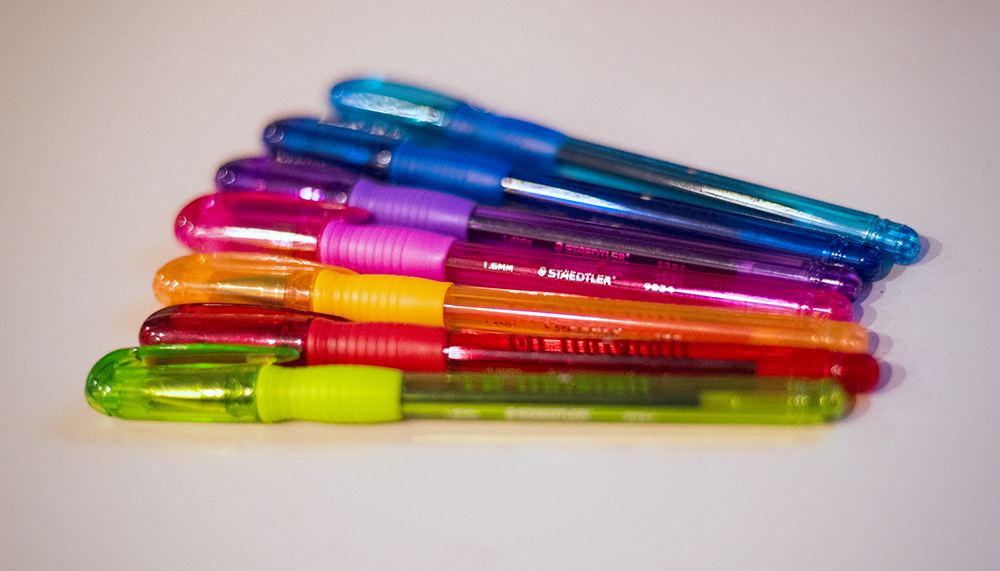
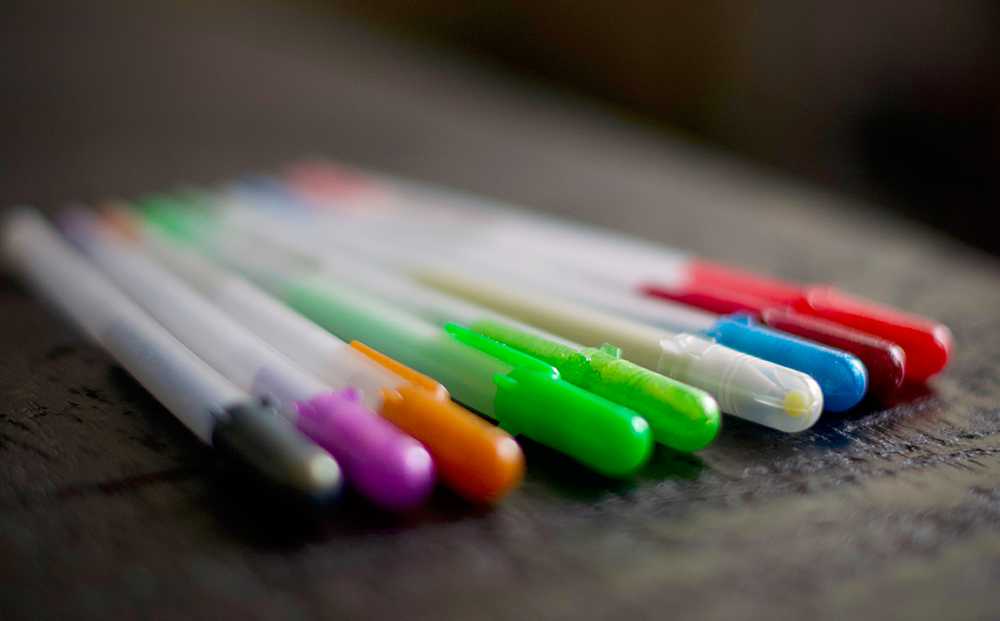
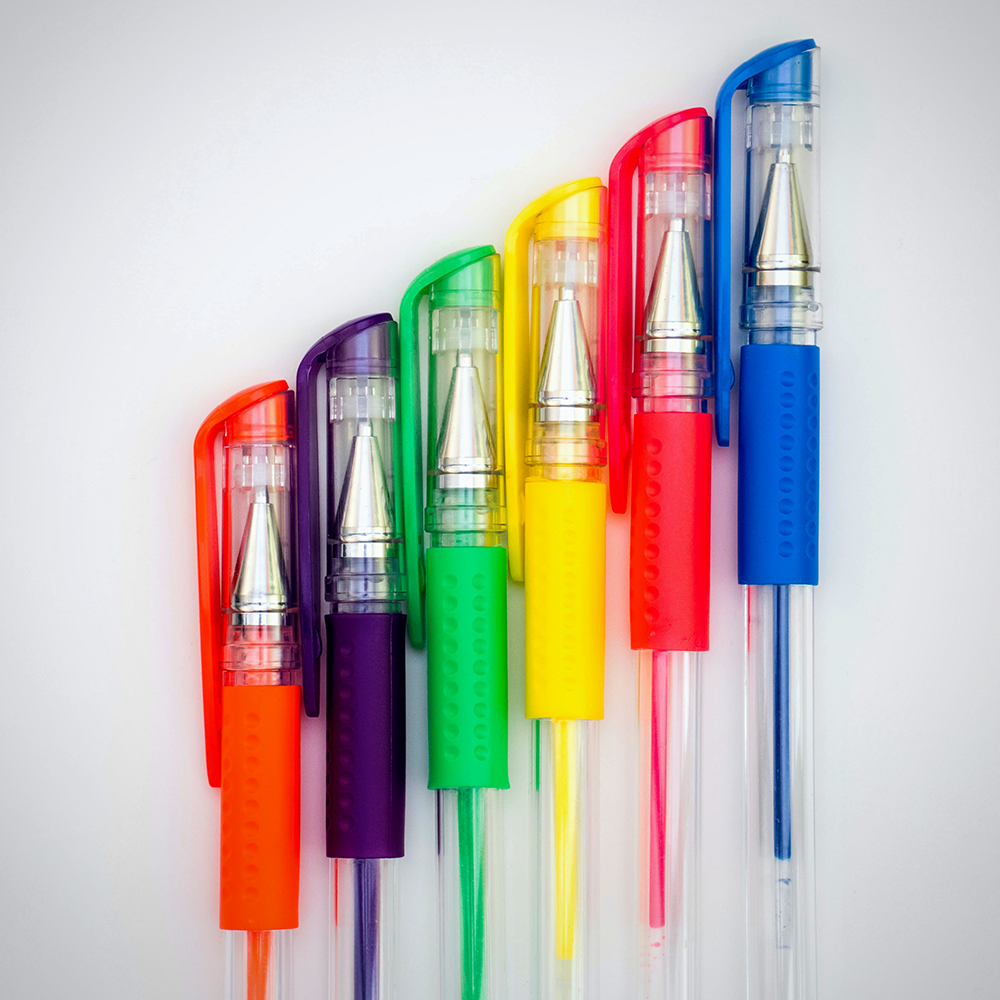
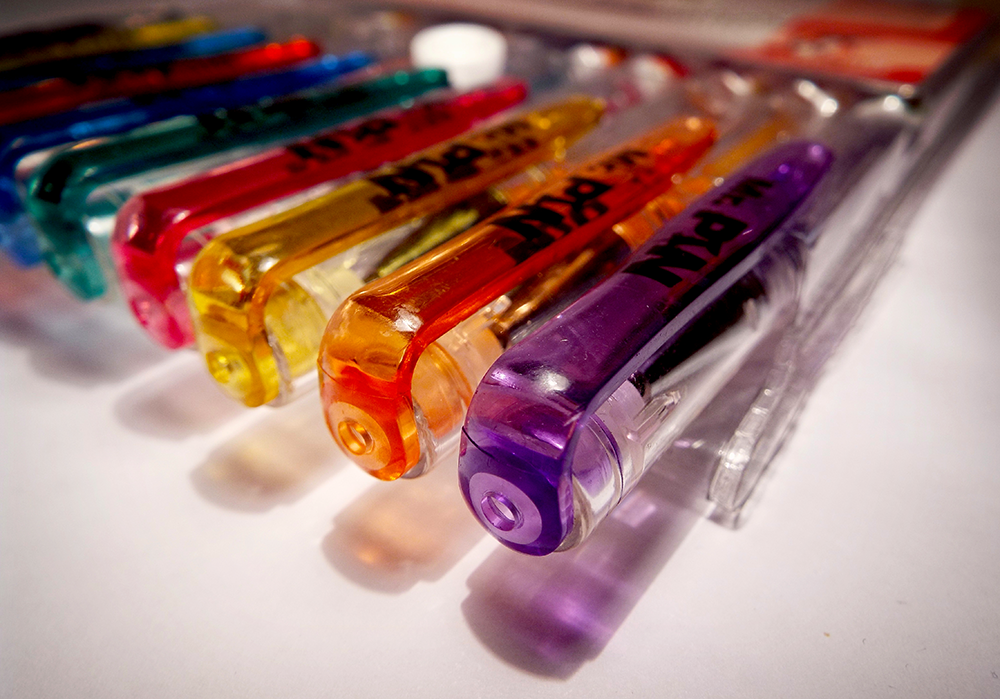
Gel Pens
Gel pens offer many of the same benefits as felt-tip pens, but they tend to produce even finer lines.
They're also available in a wide variety of colors, so you can really make your drawings pop!
However, gel pens can be expensive, and they may bleed through thinner papers.
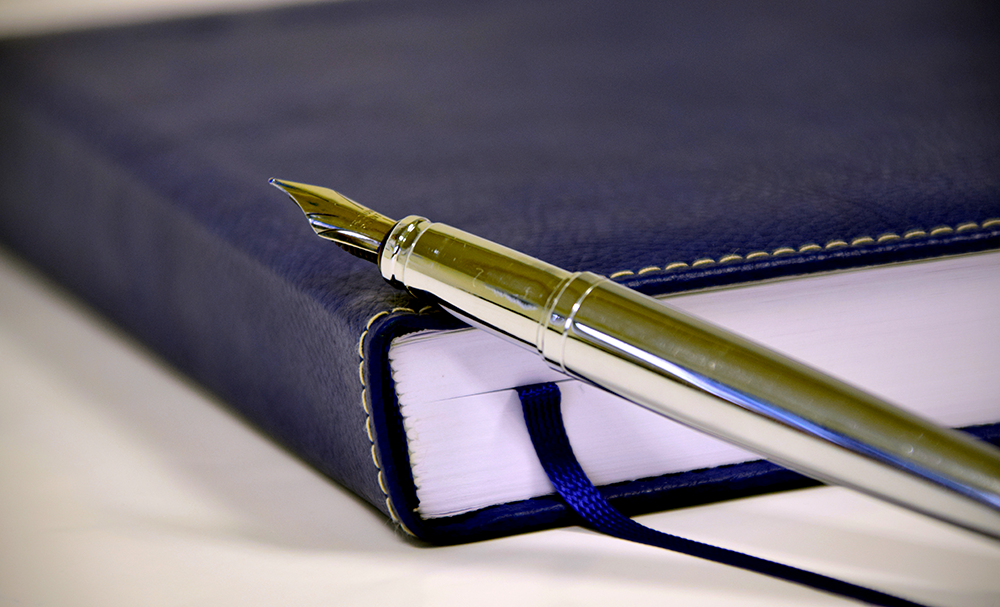
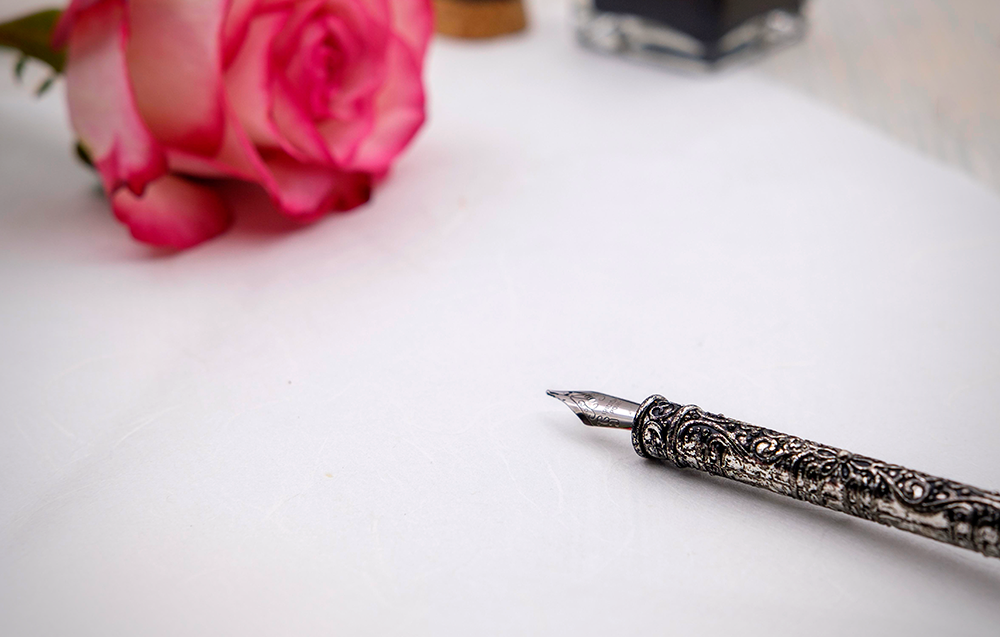
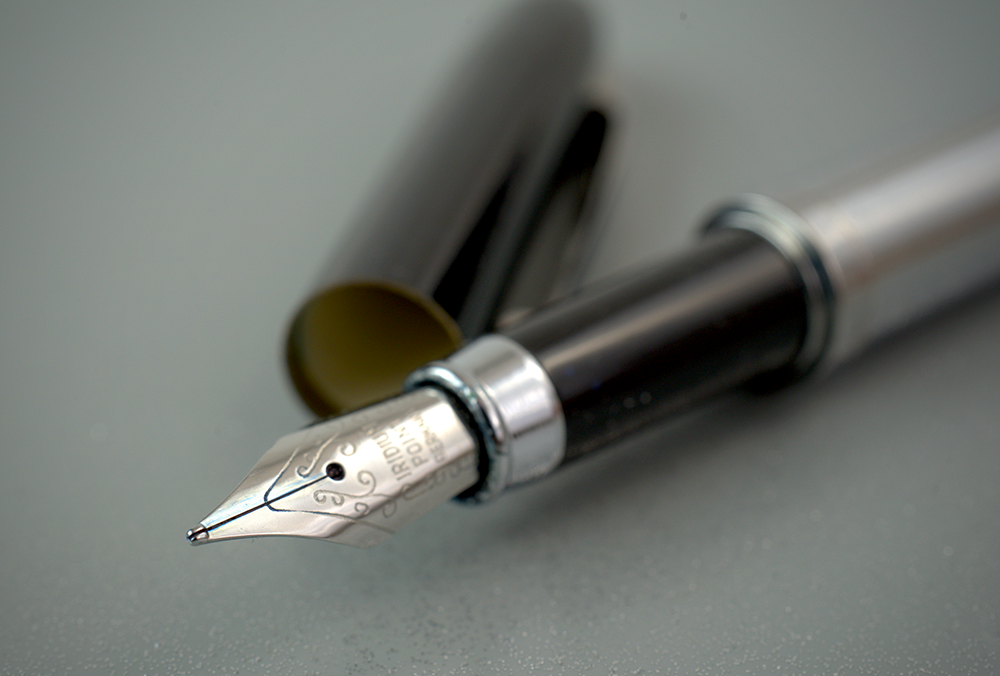
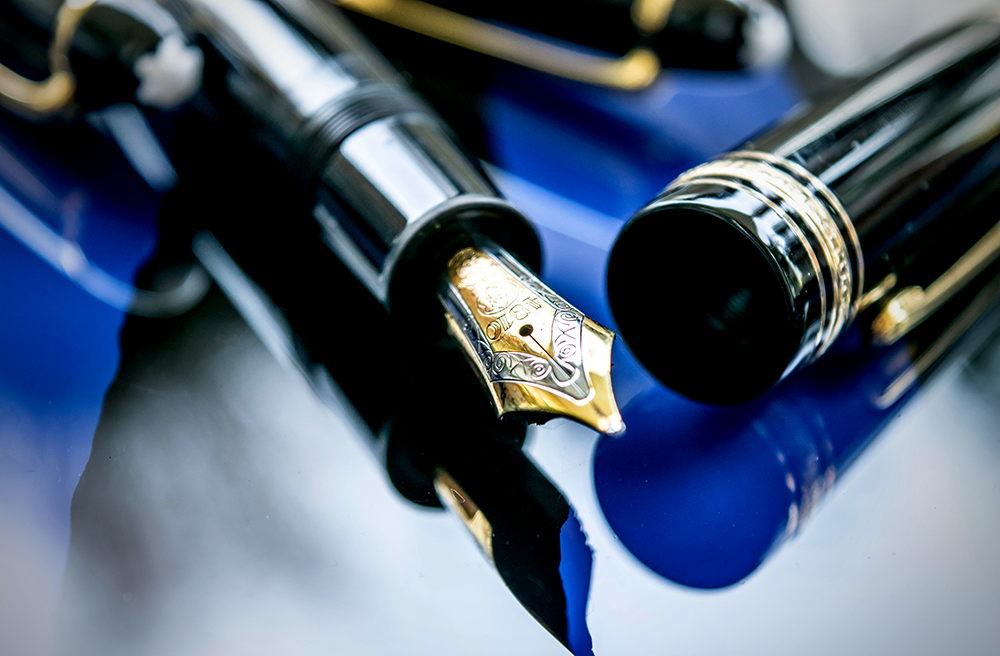
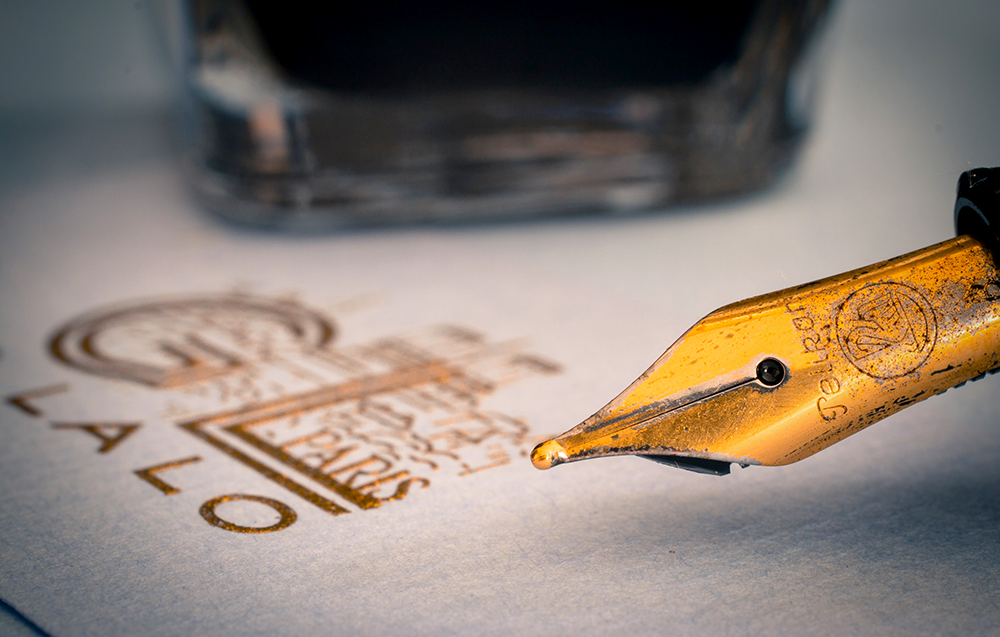
Fountain Pens
Fountain pens offer the smoothest and finest lines of any type of pen.
They're also very easy to control, making them a great option for detailed drawings.
However, fountain pens can be expensive, and they may require special inks and papers.
Brush Pens
Brush pens offer excellent control and can produce fine lines or broad strokes, depending on how you hold them.
They're also available in both water-based and alcohol-based varieties.
However, brush pens can be expensive, and they may require some practice to master.

No matter which type of pen you choose, be sure to test it out on a scrap piece of paper before using it on your final drawing.
This will help you get a feel for how the pen works and how it will react with your chosen paper type while getting an idea of what ink drawing techniques work best.
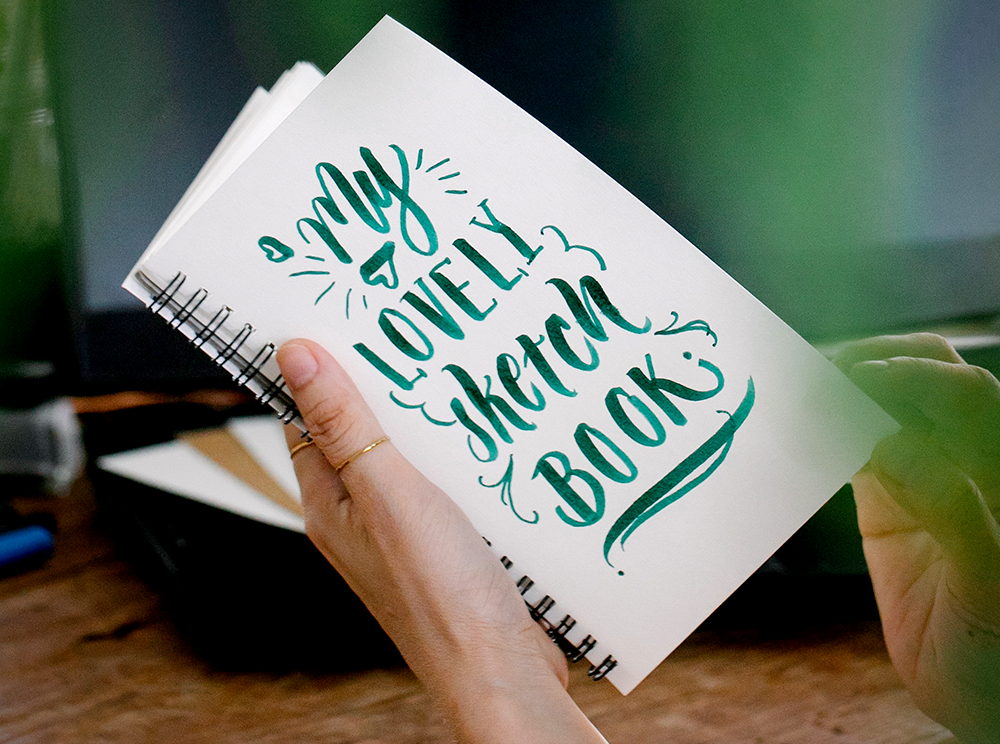
Choosing the Right Paper
Just as important as choosing the right pen is choosing the right paper to use for ink techniques.
There are a variety of different papers available on the market, each with its own advantages and disadvantages.
Here are a few of the most common types of papers used for drawing:
Bristol Board
Bristol board is a thick, heavy paper that's great for detailed drawings.
It's also acid-free, so it won't yellow over time.
However, Bristol board can be expensive, and it may be difficult to find in stores.
Drawing Paper
Drawing paper is a medium-weight paper that's great for general use.
It's acid-free and comes in a variety of different weights and textures.
However, drawing paper may not be heavy enough for some detailed drawings, and it may not hold up as well over time.
Watercolor Paper
Watercolor paper is a heavy-weight paper that's great for wet media such as watercolors or ink.
It's also acid-free and comes in a variety of different textures.
However, watercolor paper can be expensive, and it may be difficult to find in stores.
When choosing a paper, be sure to consider the type of pen you'll be using, as well as the overall weight and texture of the paper.
You'll also want to think about how you plan to store your drawings, as some papers are more susceptible to damage than others.

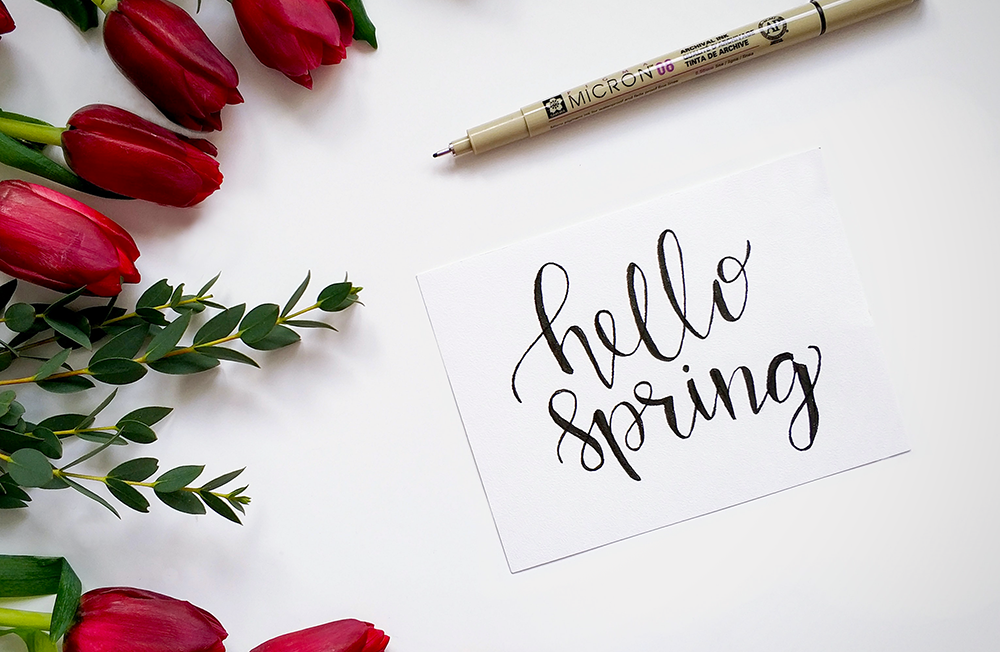
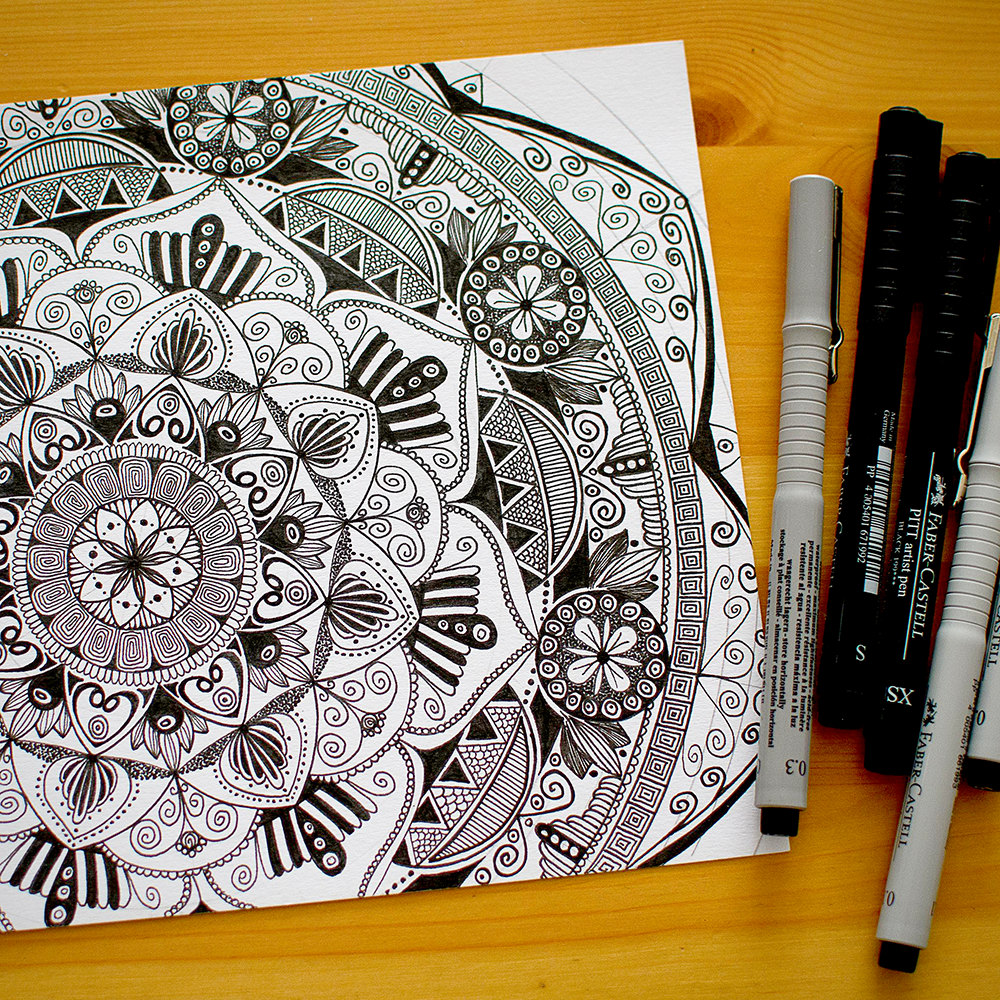
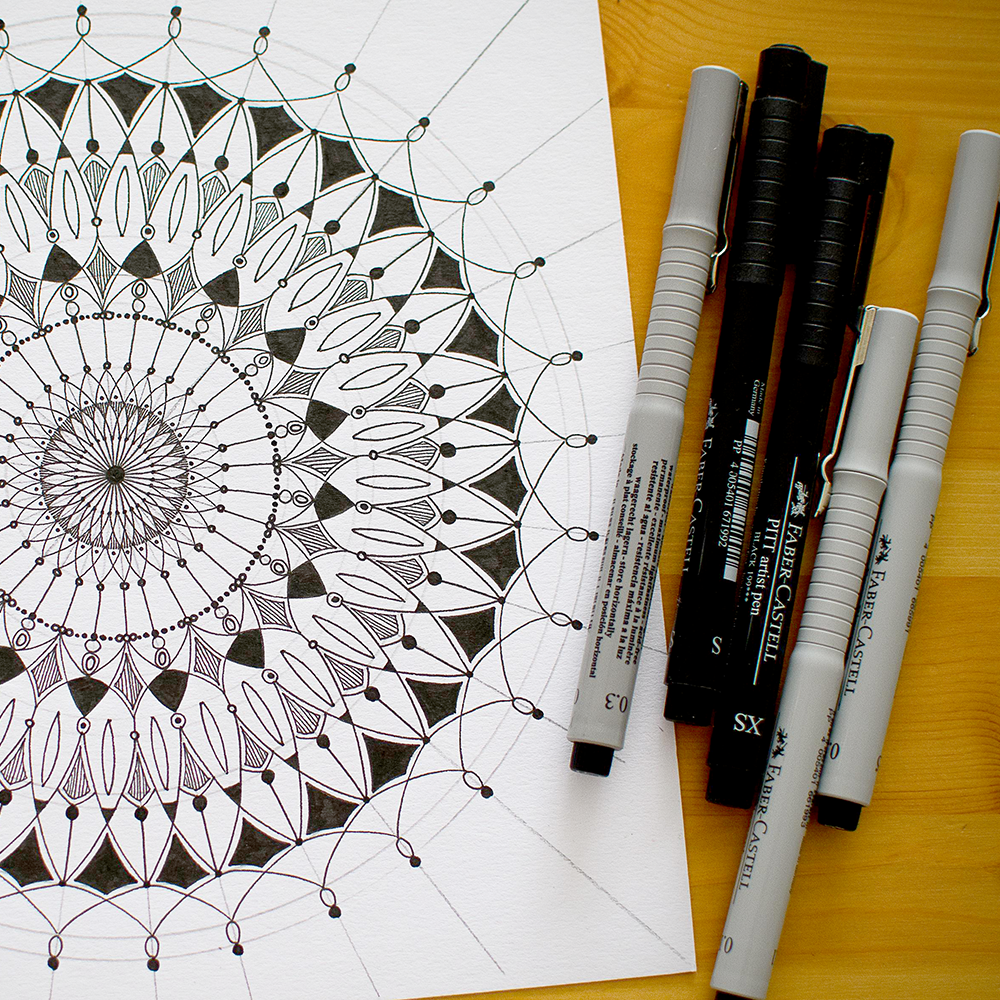
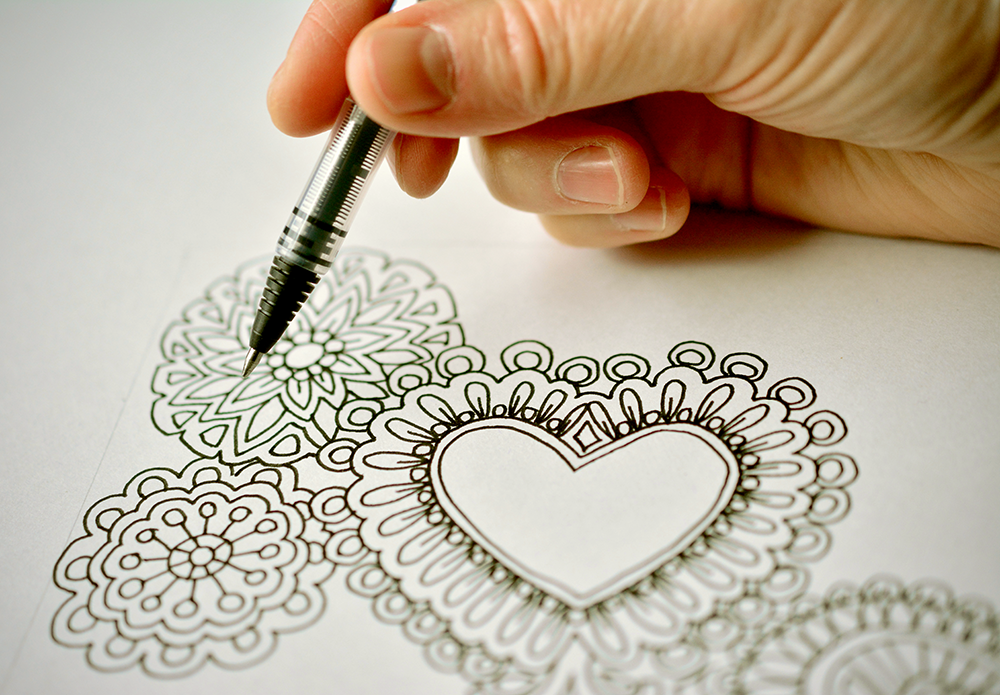
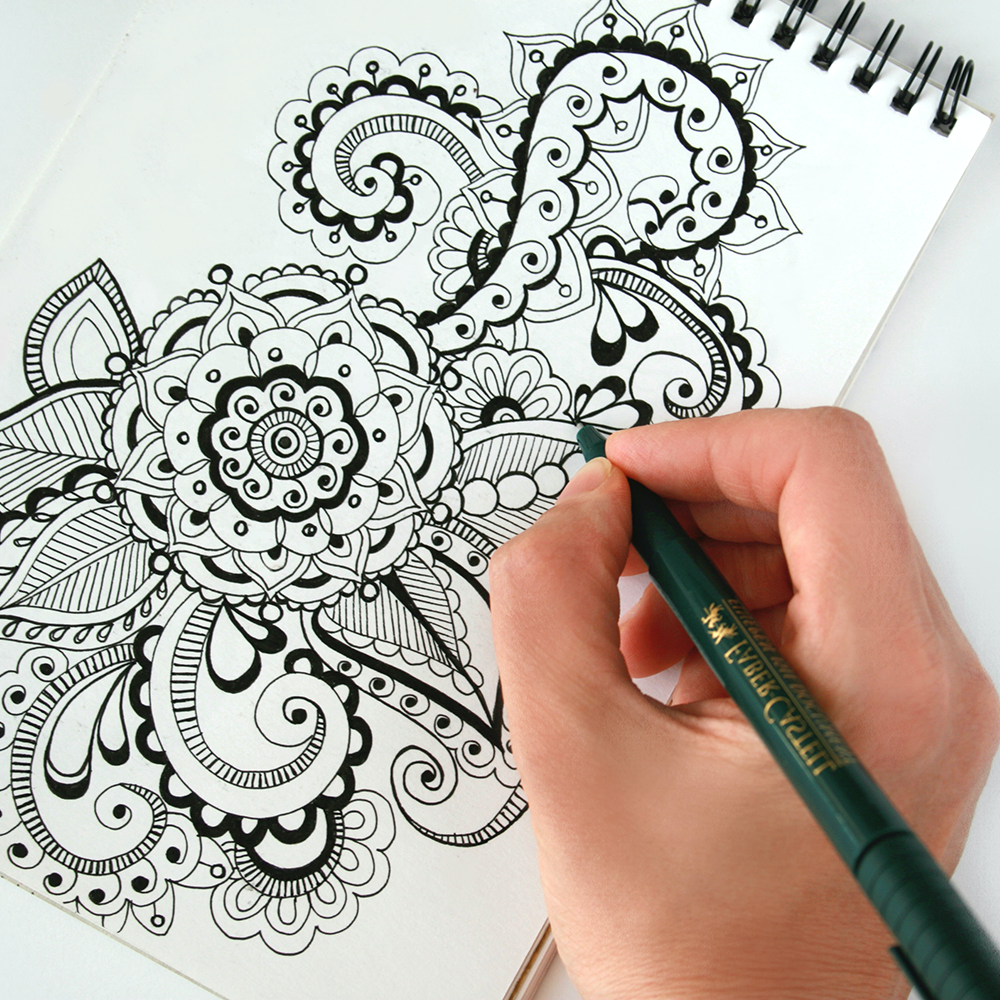
Using Pens to Add Detail
Once you've chosen the right pen for the job, it's time to start adding detail to your drawing!
Here are a few tips for using pens to add detail:
- Use light pressure when first starting out.
This will help you get a feel for how the pen works and how much pressure is needed to produce the desired line width.
You can always add more pressure if needed.
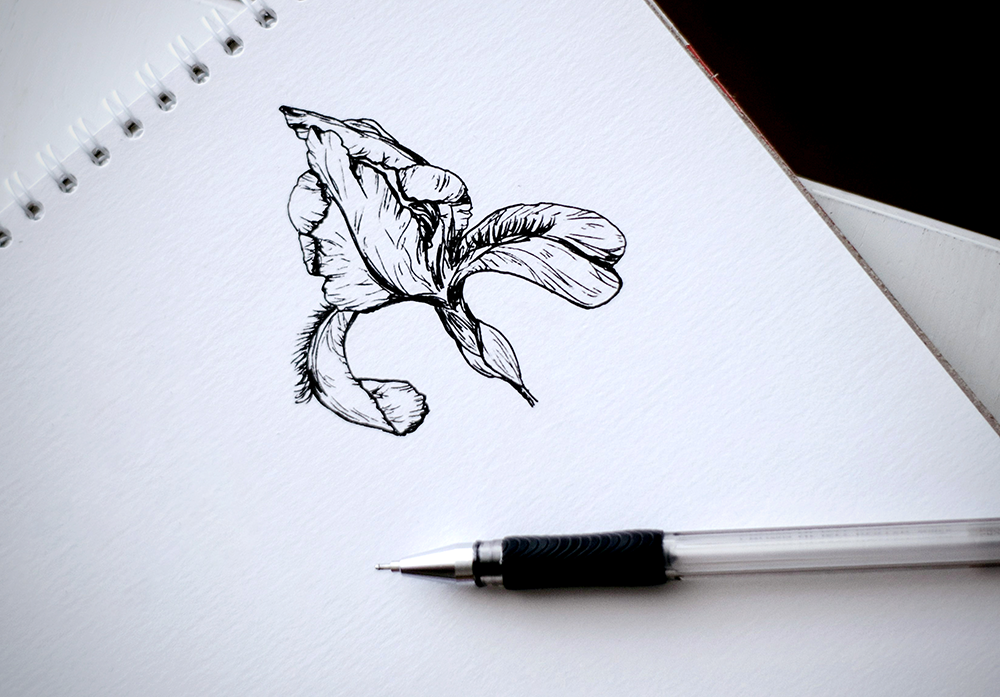
- Experiment with different line widths by vary the amount of pressure you apply while drawing.
This will give your drawing more interest and depth, so play with thick and fine line weight.
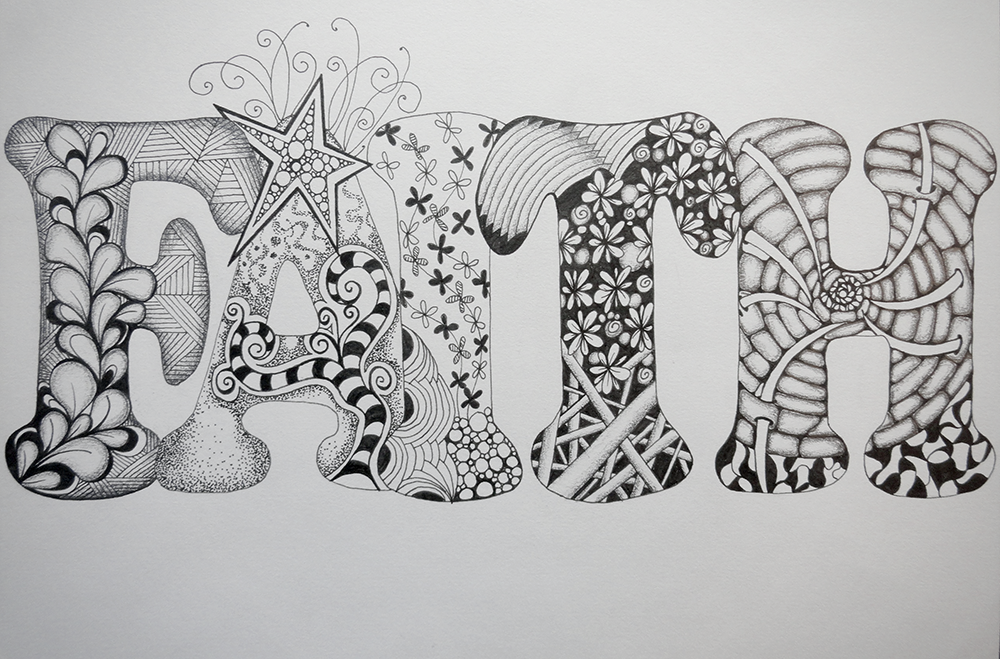
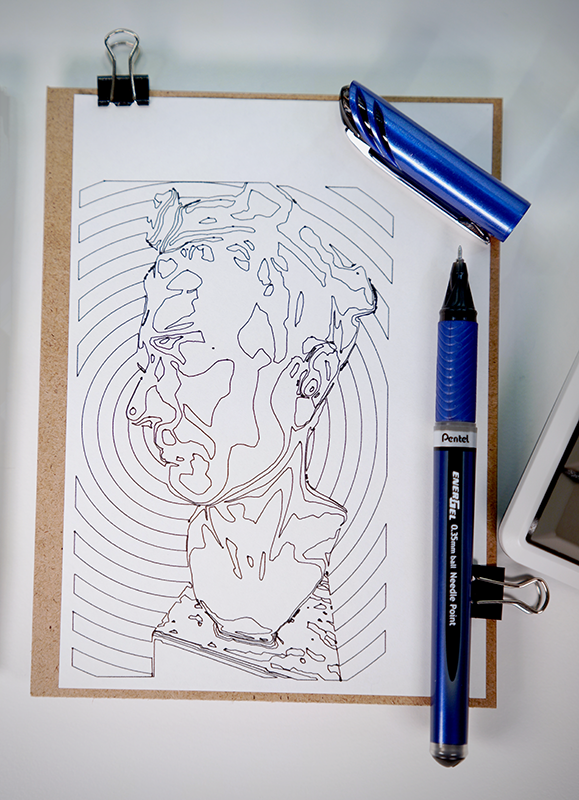
- Use hatching or cross hatching techniques to create shading effects.
Hatching is when you draw parallel lines close together; crosshatching is when you draw intersecting lines at different angles.
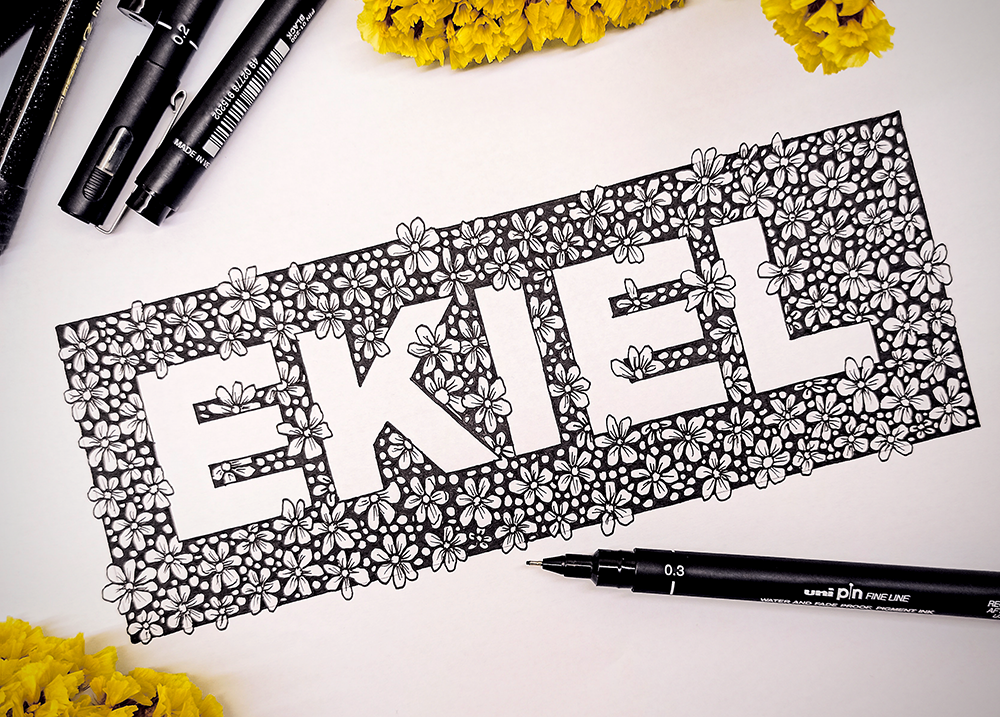
- Use stippling or dots to create texture or shading effects.
Stippling is when you dot your paper with small dots; this technique is often used for creating shadows or highlights.
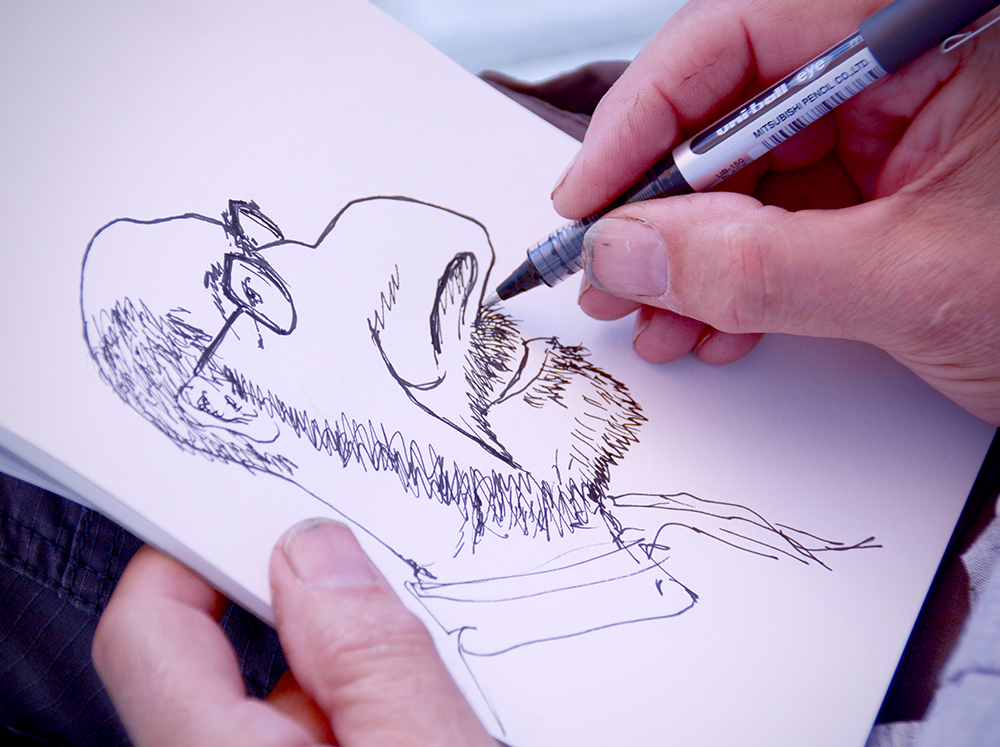
Pens are a great way to add detail to your drawings.
Drawing with Pens
Pens are a great way to add detail and interest to your drawings!
By taking the time to choose the right pen and paper before putting pen to paper, you'll be able to create beautiful and realistic drawings that will last a lifetime.
By following these tips, you'll be well on your way to adding beautiful details to all of your future drawings and ink art!
So, what are you waiting for?
Get out there and start drawing!
If you want to learn more about drawing with pens, check out Paul Priestley's beginner's guide!
Enjoy drawing with pens?
Check out some of our other pen articles: