With so many people looking for ways to relax and de-stress, it's no wonder that coloring books are more popular than ever.
Coloring books are great for both adults and children, and offer a variety of benefits.
And what could be more relaxing than coloring in a book that you created yourself?
In this blog post, we'll show you how to create your own coloring books, step by step.
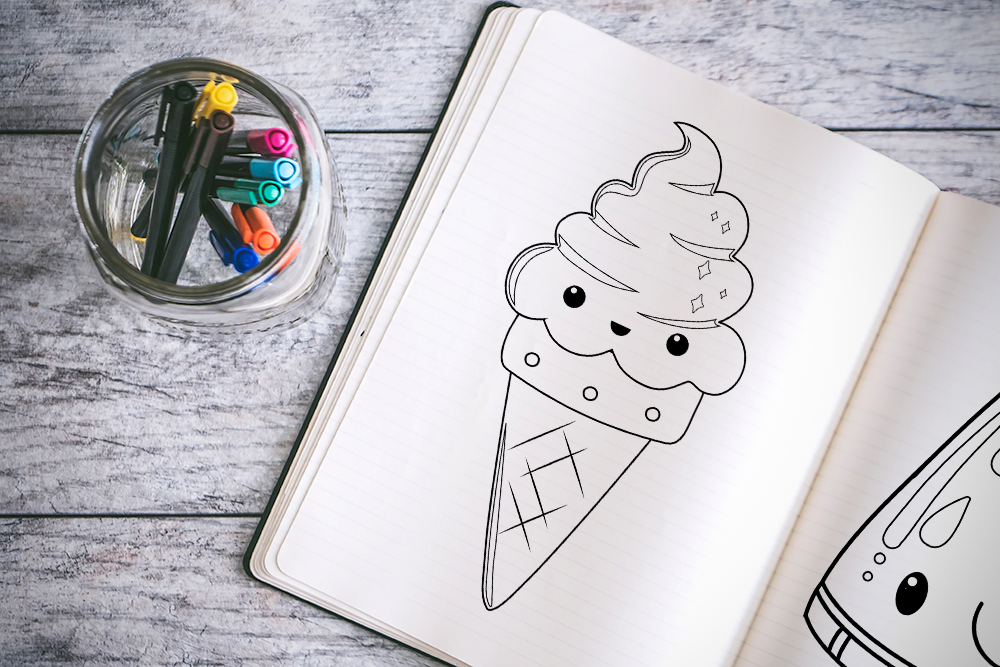
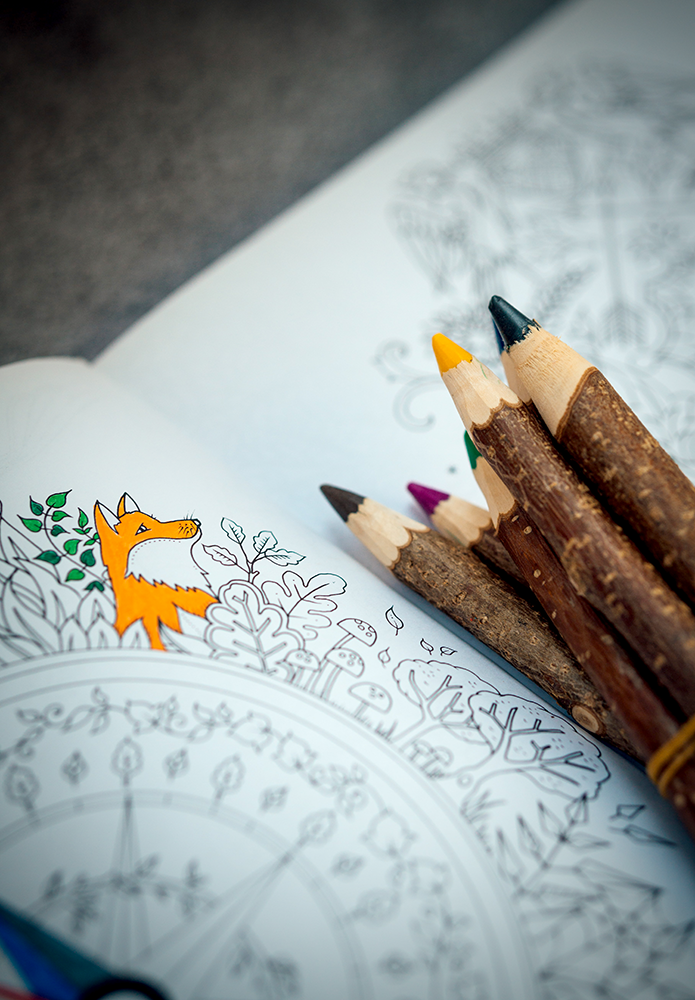
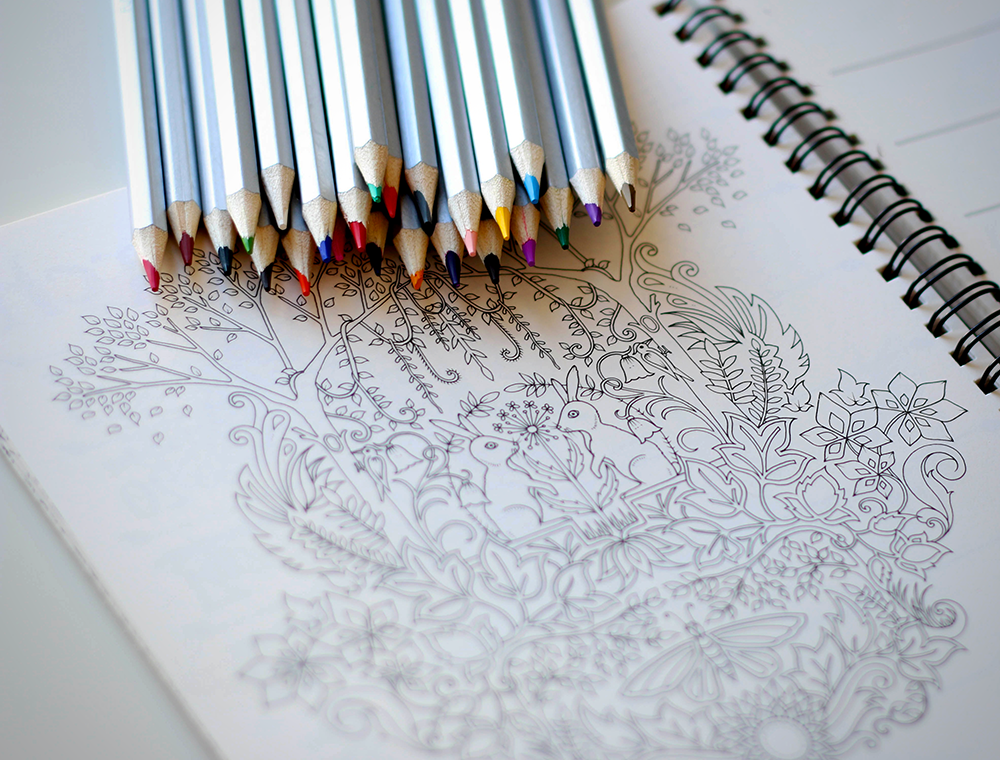
Brainstorm and Plan
There are a few things to keep in mind when you're planning to make a coloring book.
First, what type of book do you want to create?
There are adult coloring books, children's coloring books, mandala coloring books, and more.
The type of book you create will depend on your target audience.
Do you want to create a coloring book for relaxation?
Or are you looking to create a children's activity book?
Once you've decided on the type of book you want to create, it's time to start brainstorming ideas and plan out your book.
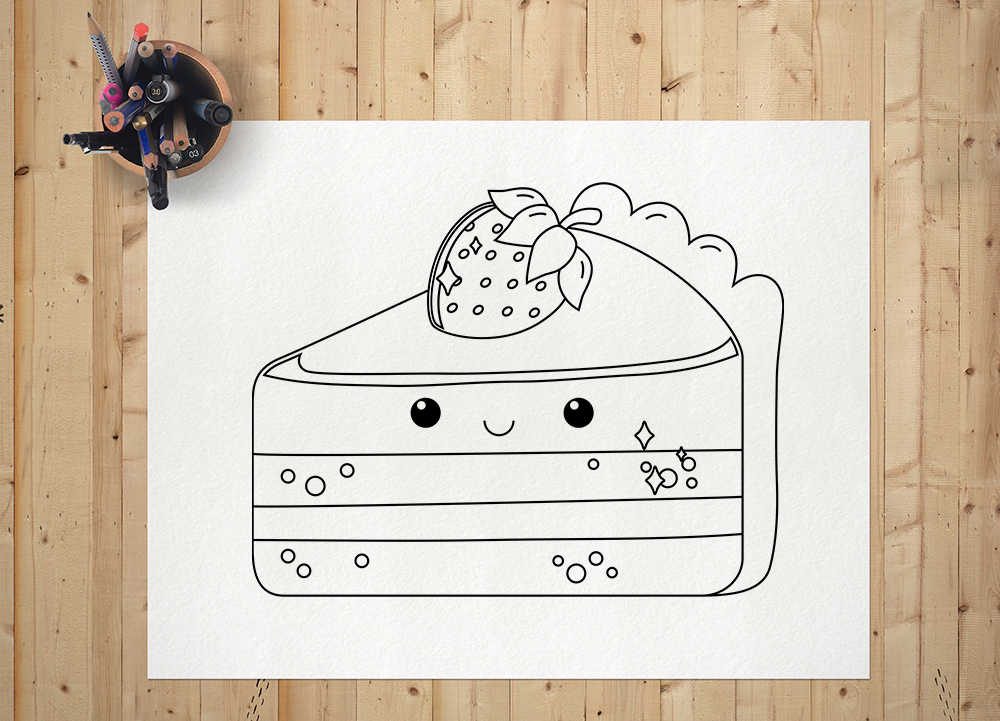
Pick a Subject Matter
After you've decided your intended audience, it's important to pick your subject matter.
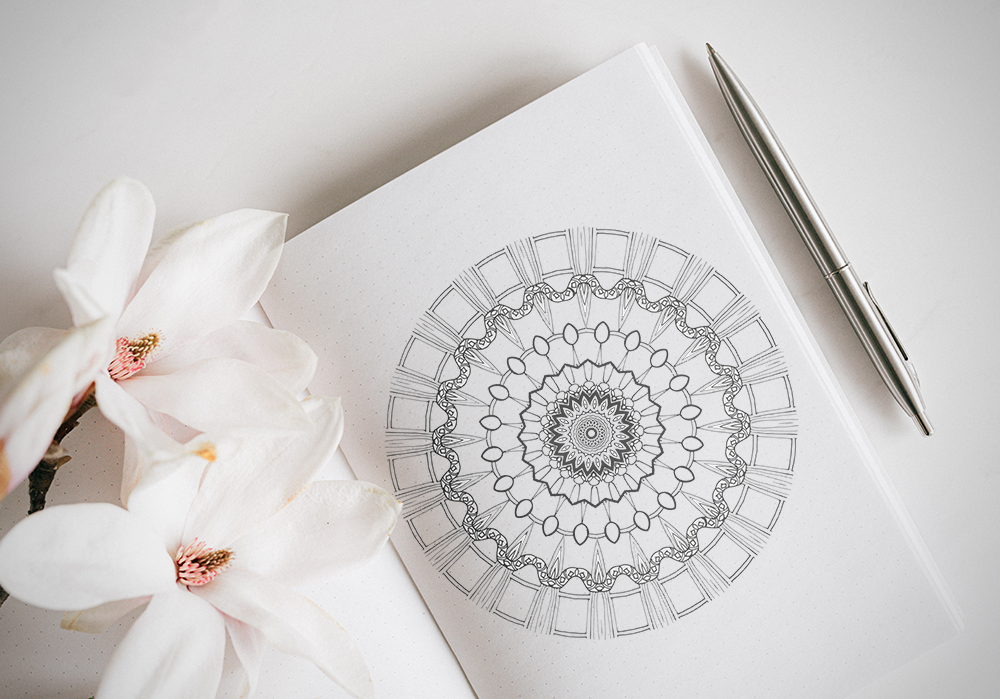
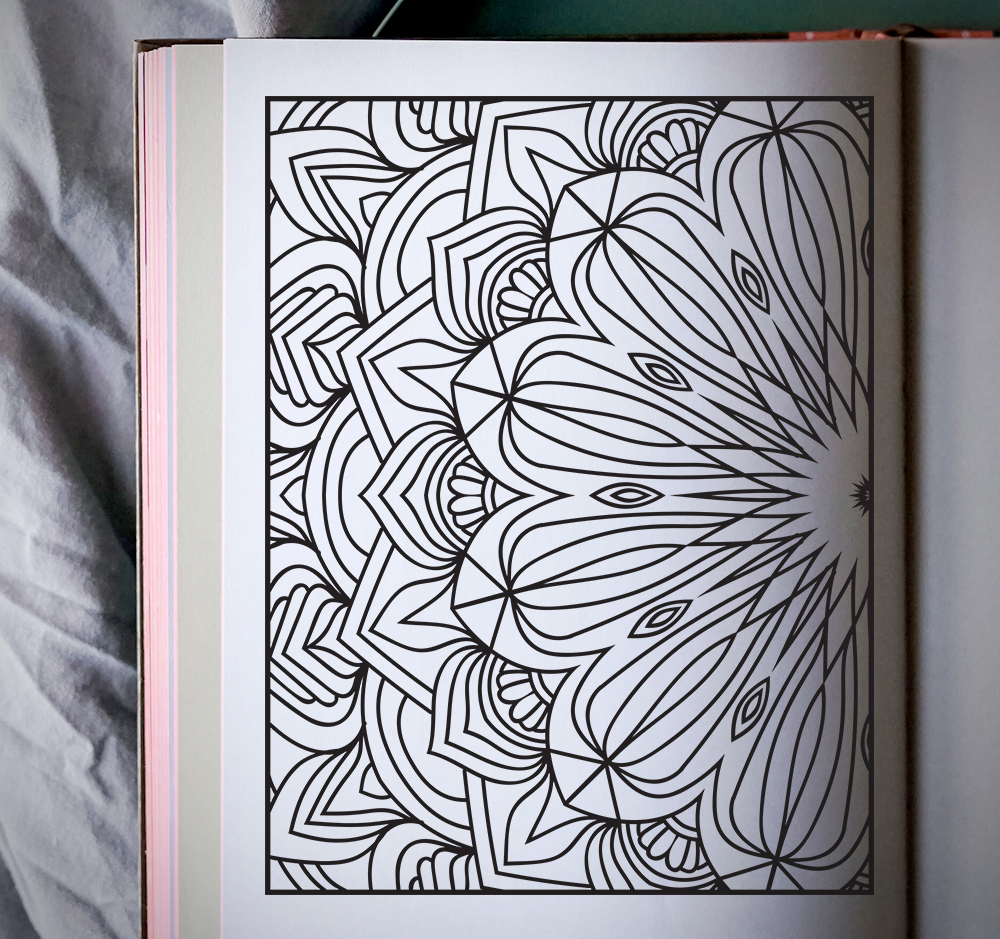
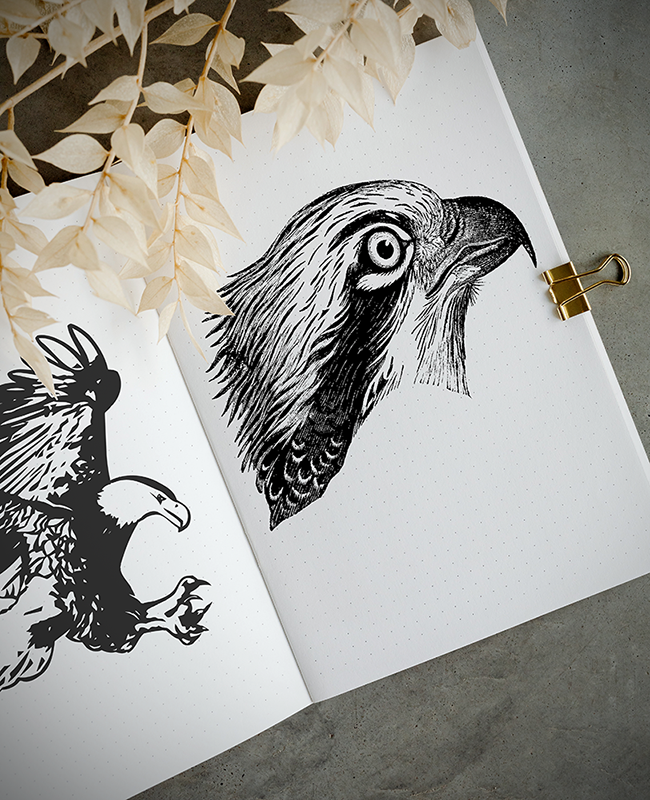
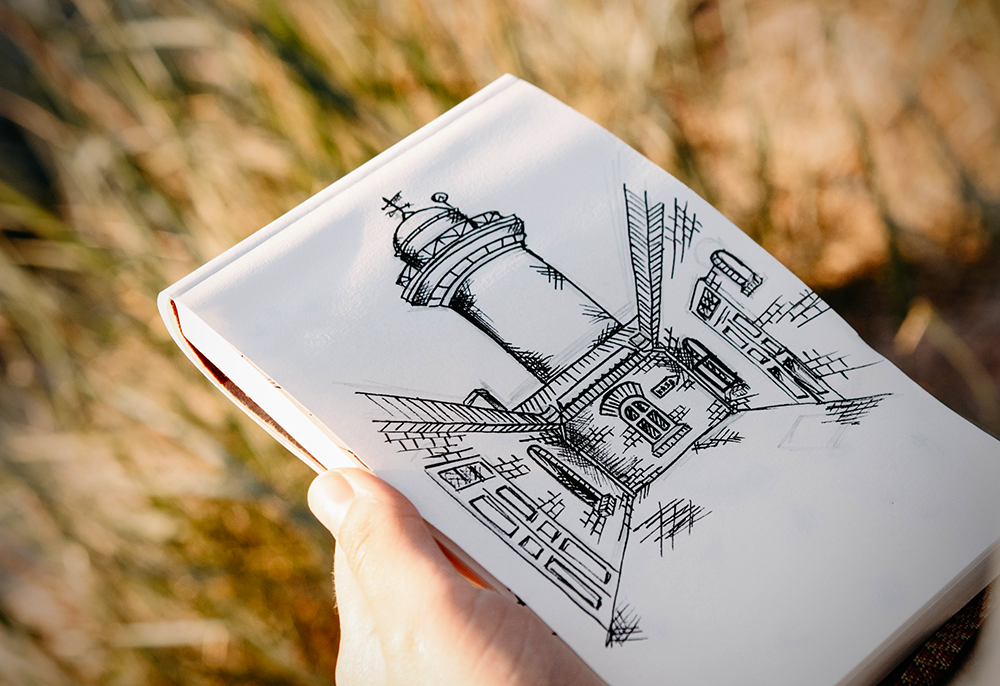
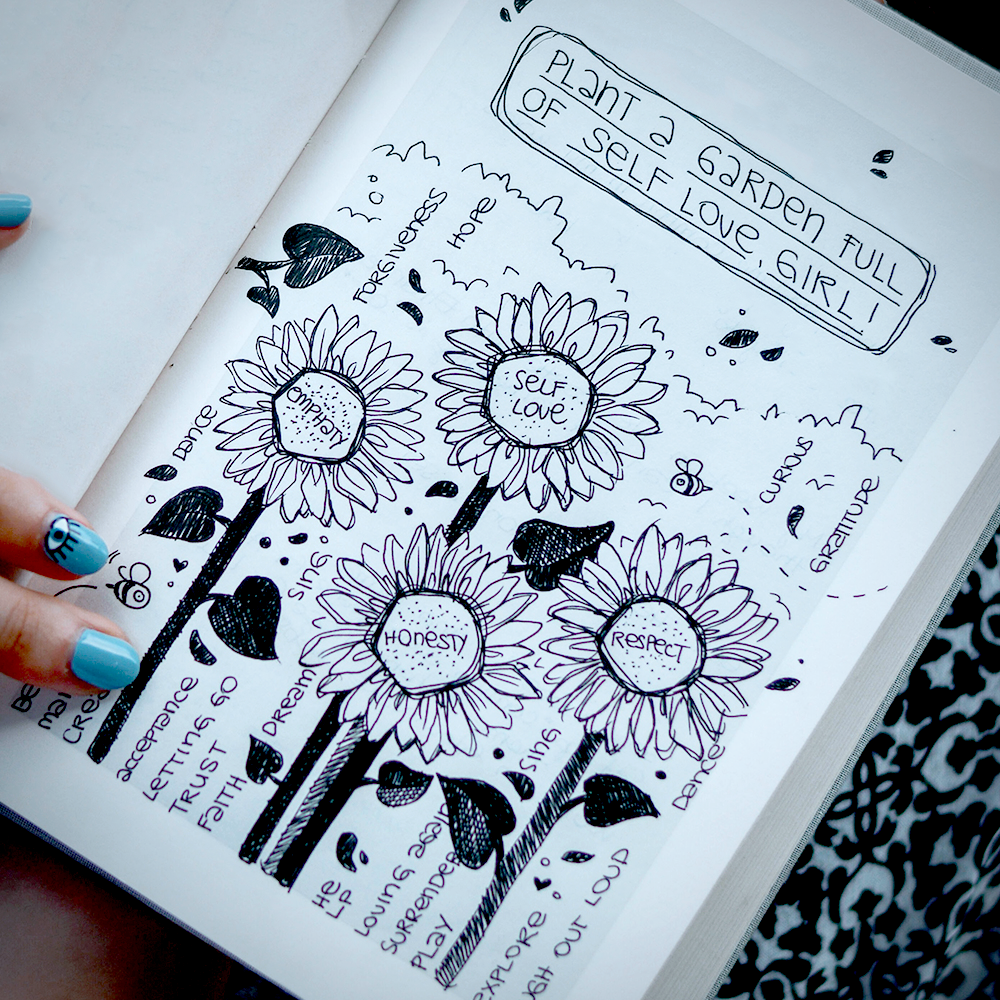
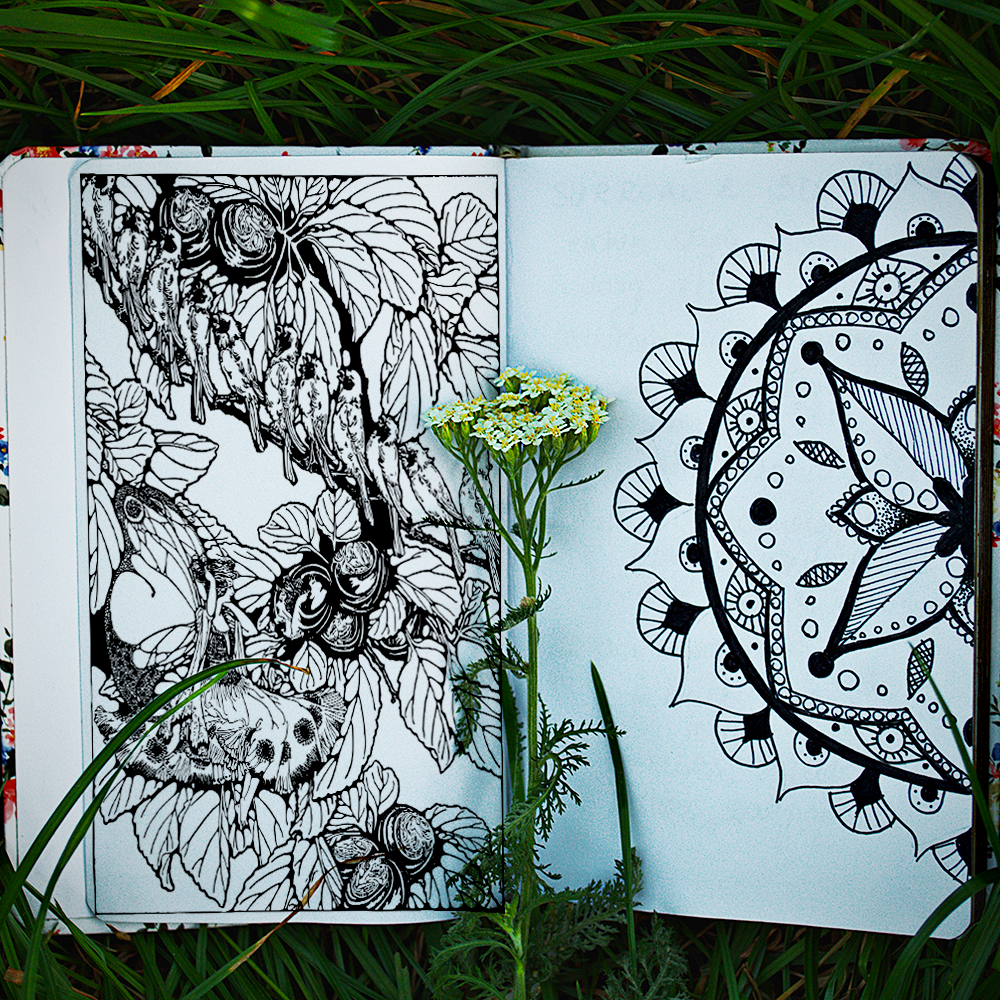
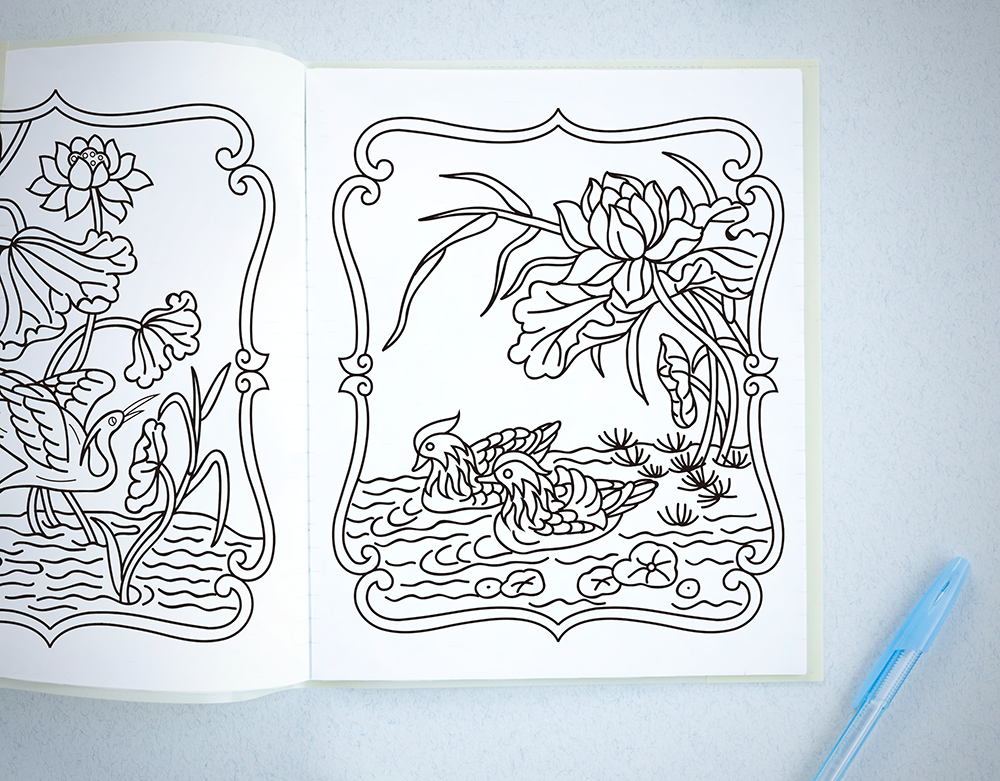
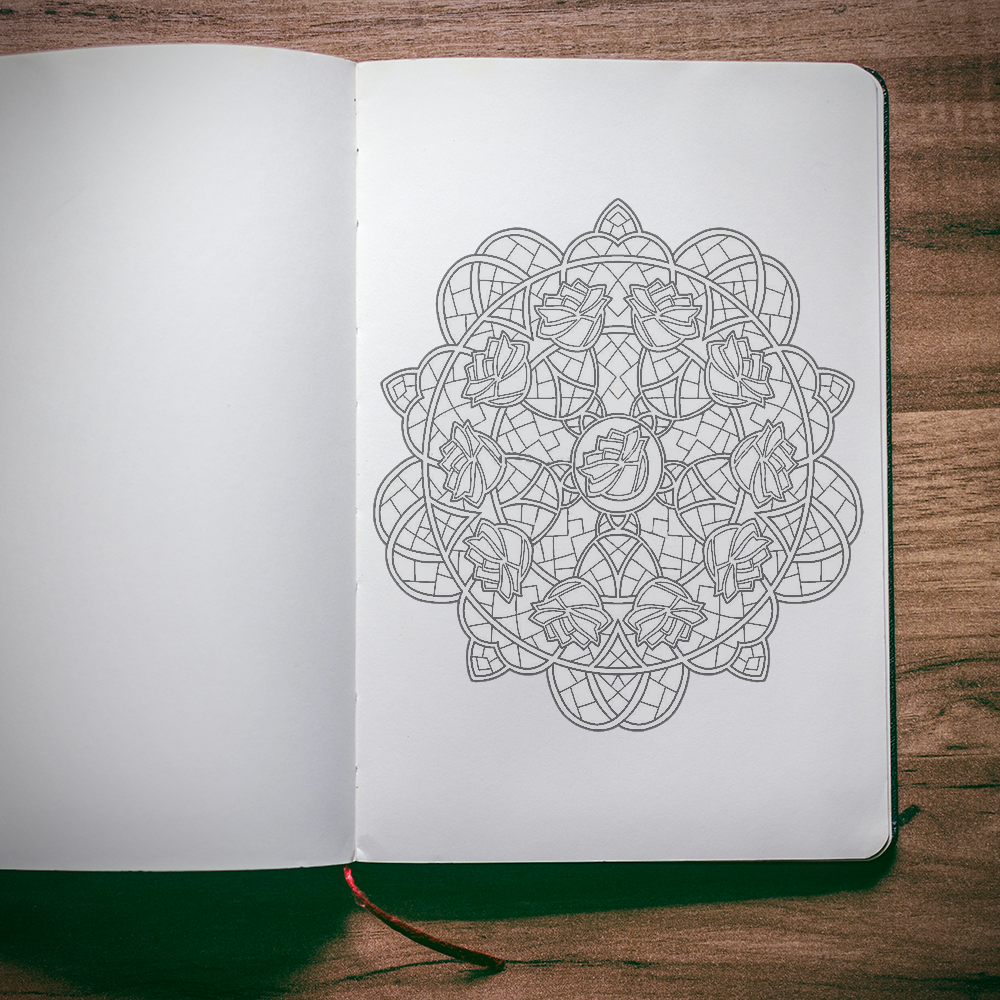
This can be anything from animals to buildings to flowers to mandalas.
If you want to create a book for adults, try to choose a subject matter that is relaxing or therapeutic.
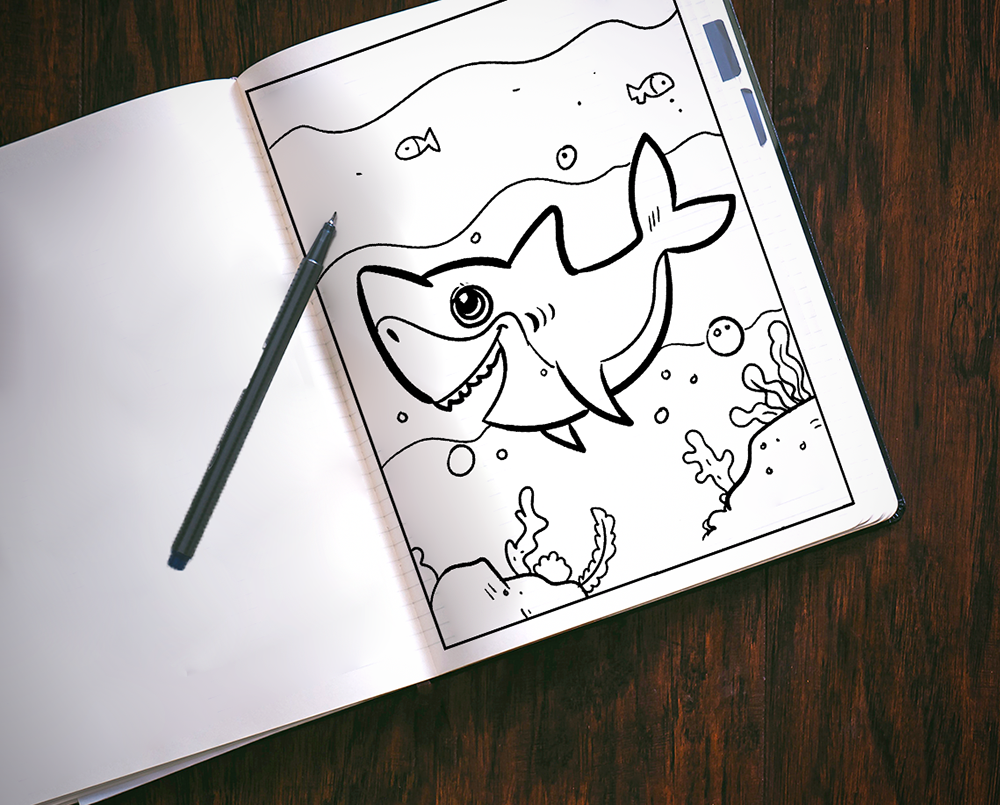
And if you want to create a coloring book for children, try to choose a subject matter that is fun and engaging.
Anything that you find visually appealing and relaxing will work perfectly.
Sketch Out Your Designs
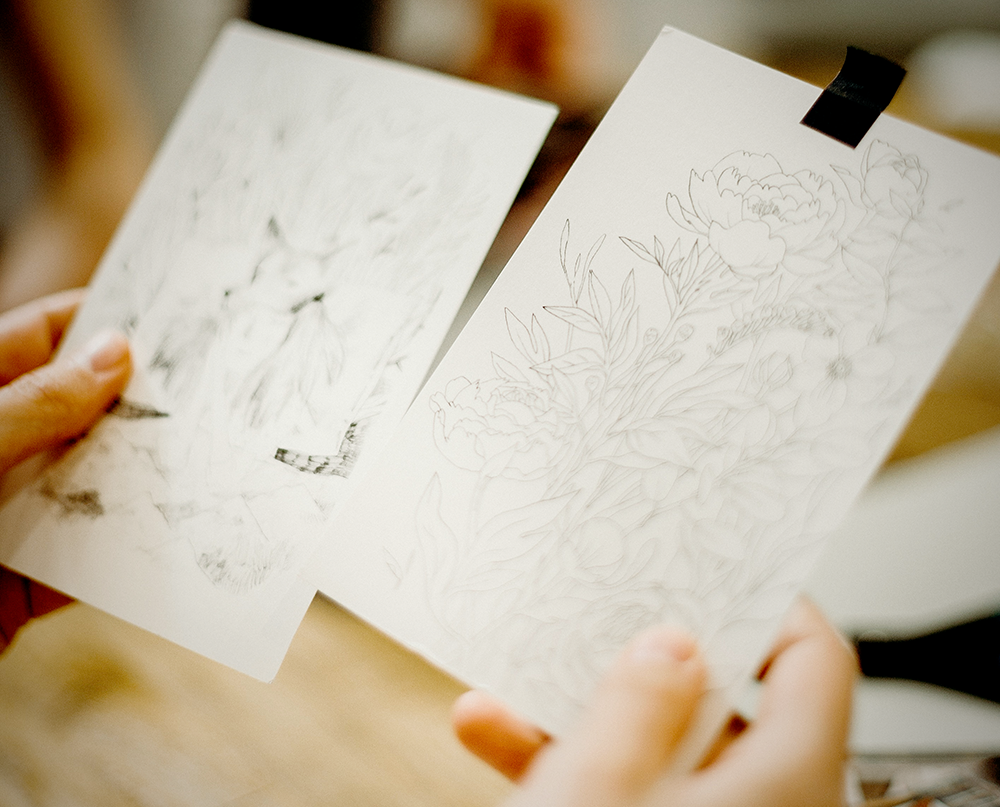
Once you have your subject matter settled, it's time to start sketching out your designs.
You can do this by hand to create a pencil sketch or on the computer to create a digital coloring page sketch; you can even use your own pictures as inspiration.
If you're sketching by hand, use light pencil strokes so that you can erase easily if necessary.
If you're working on the computer, use a graphics program like Photoshop or Illustrator.
Start with simple designs and patterns.
You can always add more details later on.
Once you've completed your first sketch, you can add more pages to your in-progress coloring book.
Create Your Line Art
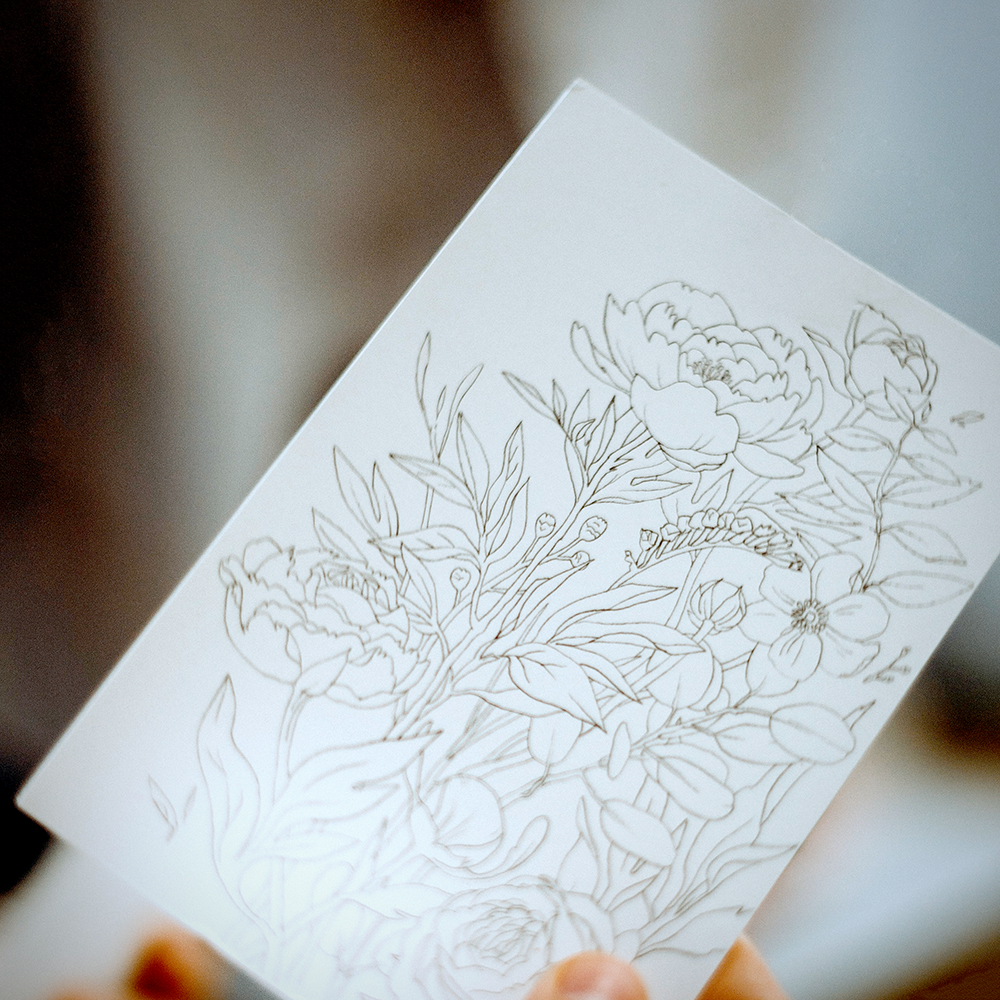
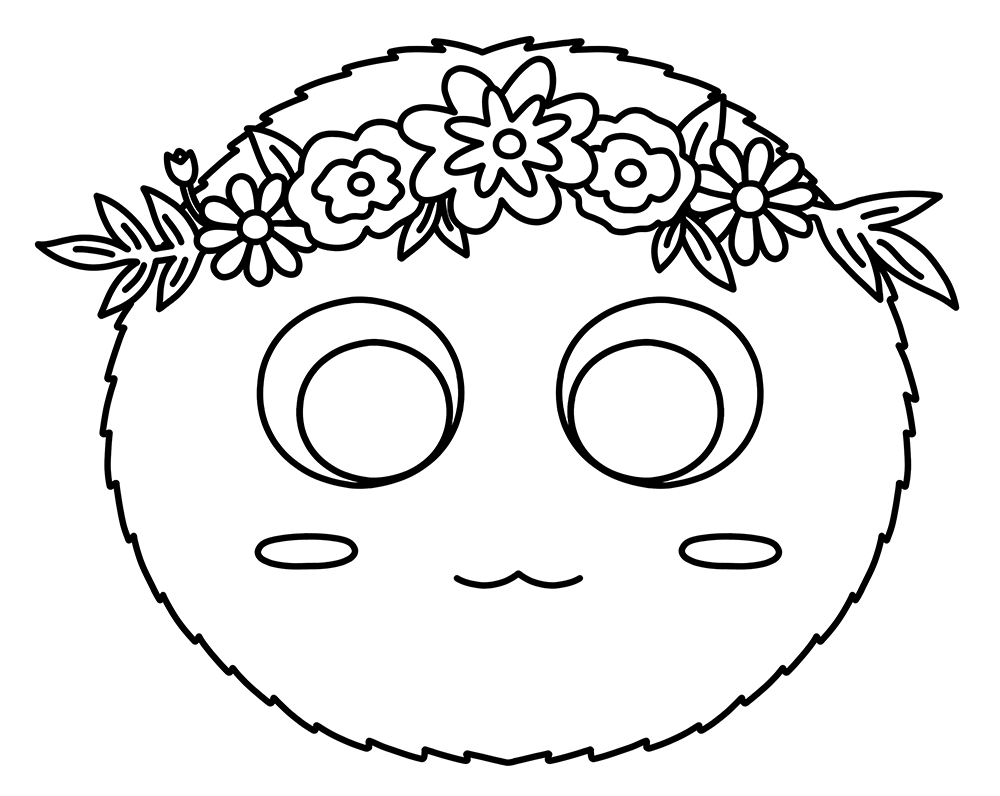
Once you have your sketches ready, it's time to turn them into line art.
This is important because black and white outlines of your design work best for coloring books.
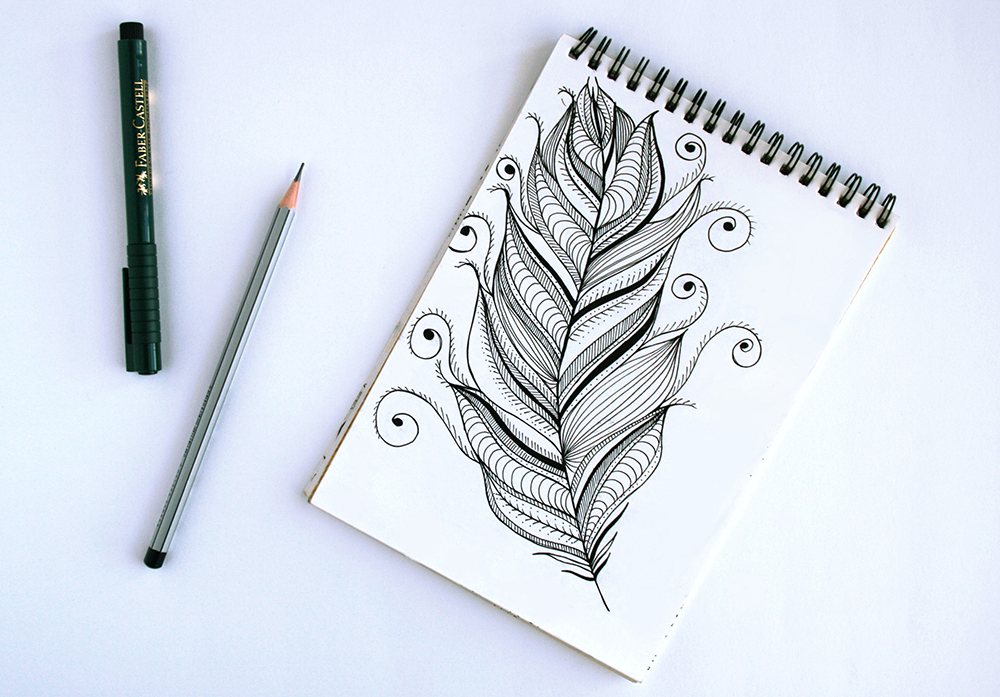
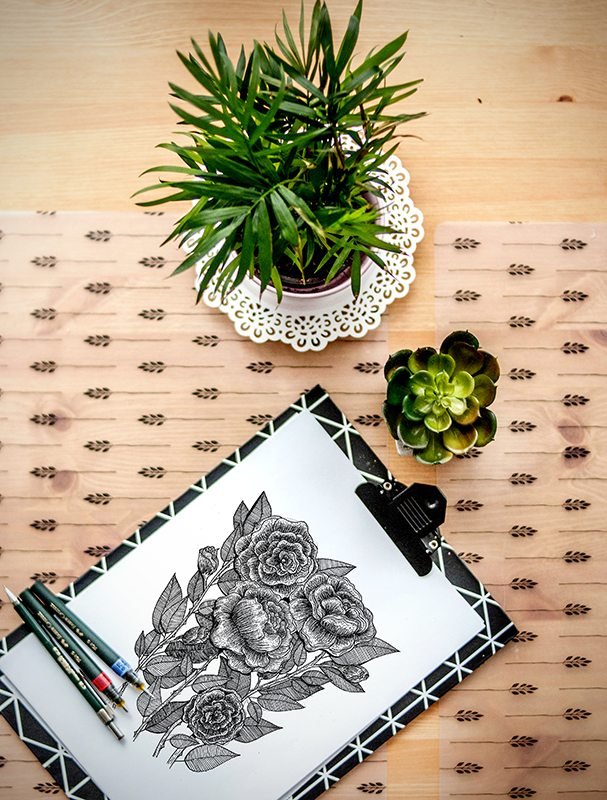
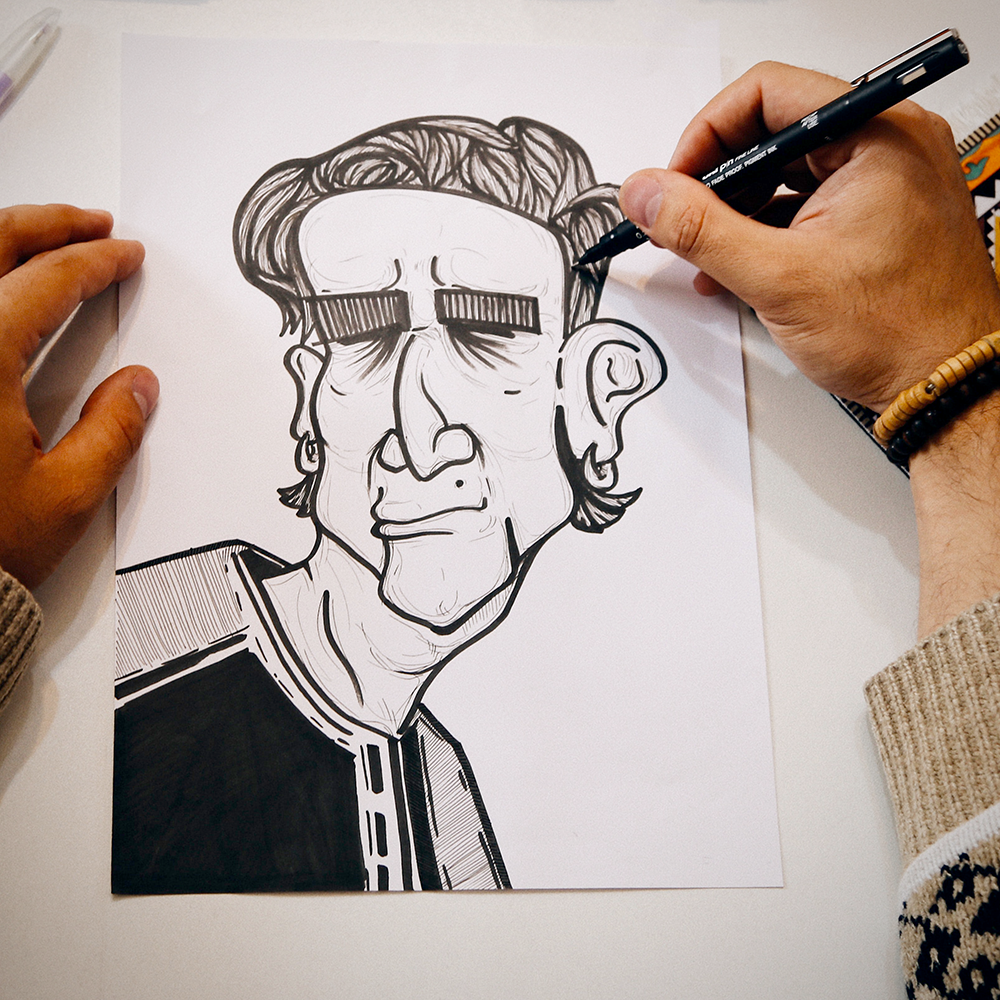
You can do this by scanning your sketches into the computer and tracing over them with a graphics program, tracing hand-drawn illustrations with black ink, or by drawing your designs directly onto the computer.
If you're not comfortable with digital art, you can also trace your sketches onto tracing paper and then scan them into the computer.

Print Out Your Coloring Pages
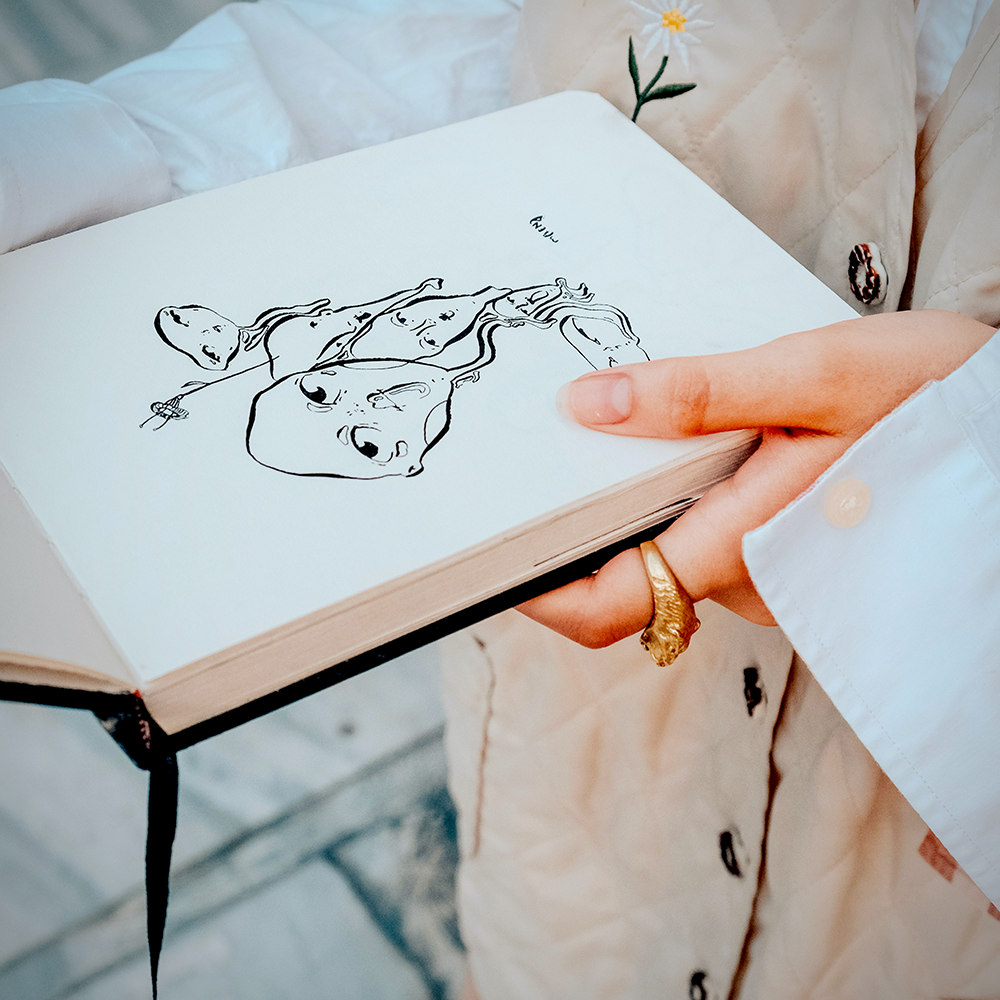
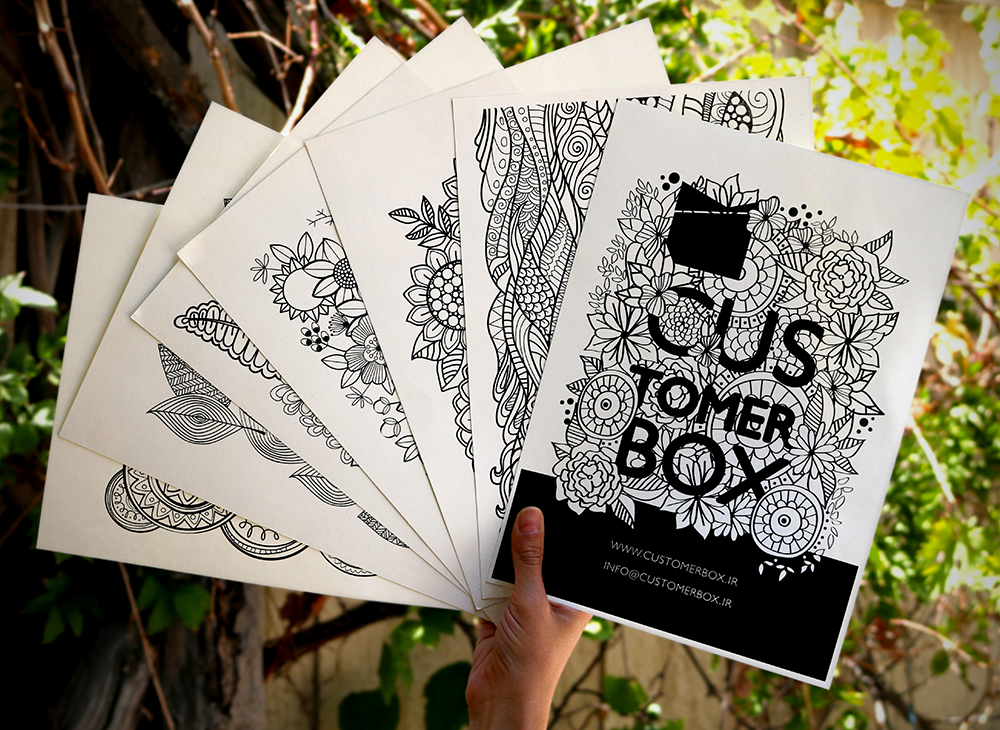
Now that you have your line art ready, it's time to print out your coloring pages.
You can do this on your home printer or take your files to a print shop.
If you're printing at home, be sure to use heavy-weight paper so that your pages won't bleed through when you're coloring.
And if you're taking your files to a print shop, be sure to ask for color copies on cardstock or photo paper.
Bind Your Coloring Book
Now that your coloring pages are printed, it's time to bind them into a book.
You can staples, tape, or a binding machine such as a Cinch.
The best way to bind your book will depend on how many pages you have and how you want your book to look.
If you're binding a small number of pages, stapling or taping them together will work perfectly.
And if you're binding a larger number of pages, using a binding machine will give your book a more professional look.
If you're not sure how to do this, you can find instructions online or at your local craft store.
Once your book is bound, you're ready to start coloring!
Coloring Your Designs
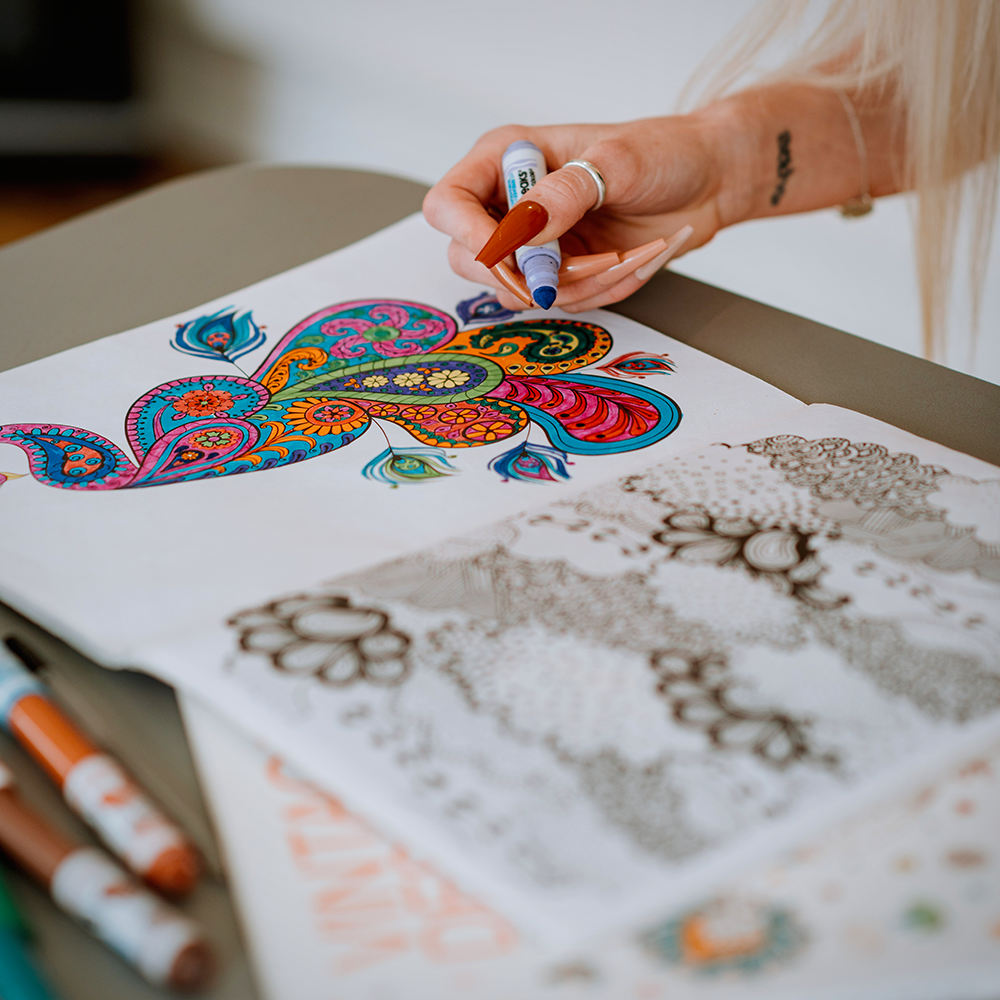
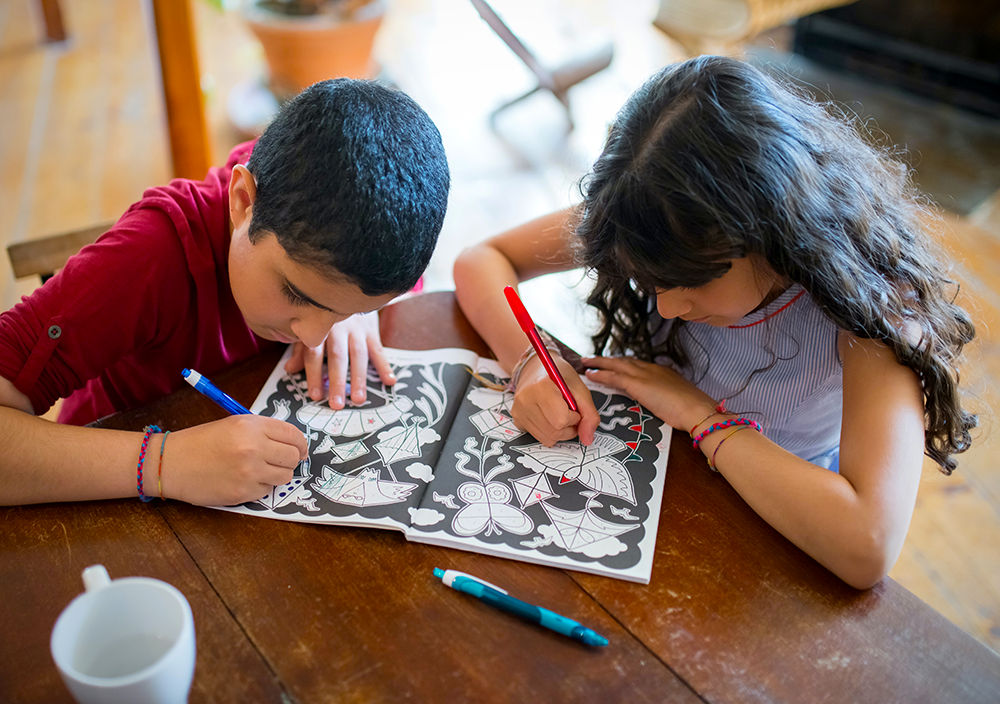
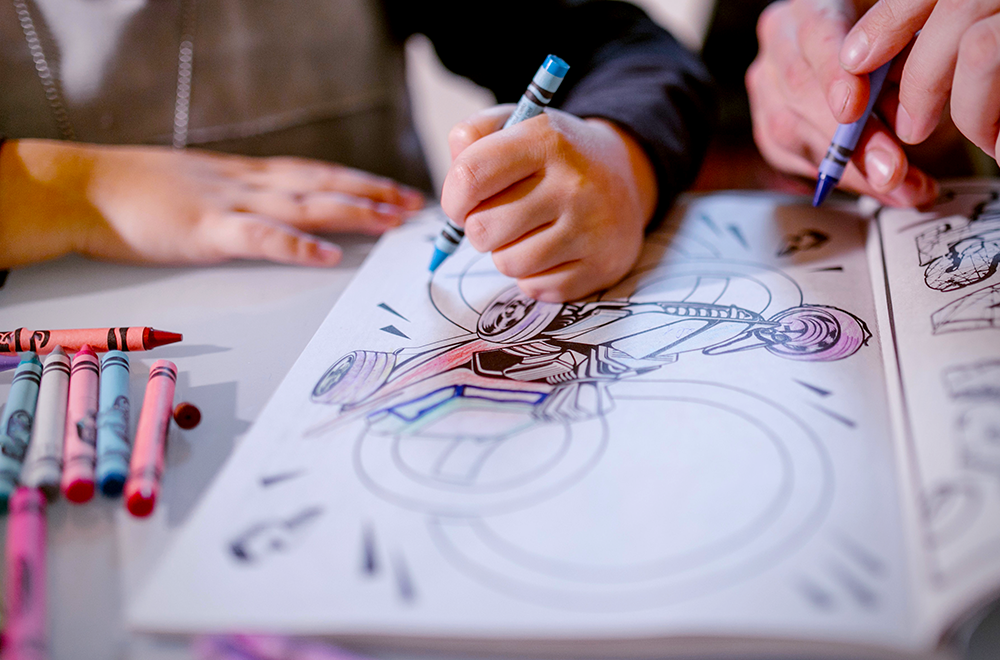
Now that you have your own coloring book, it's time to start coloring!
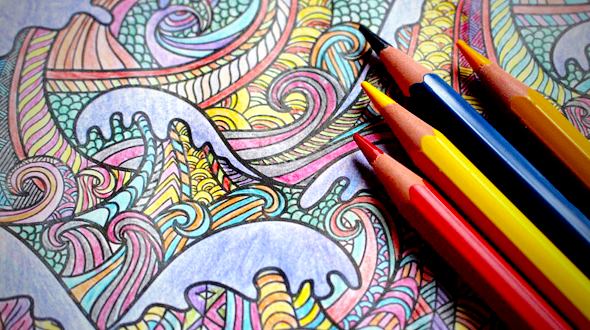
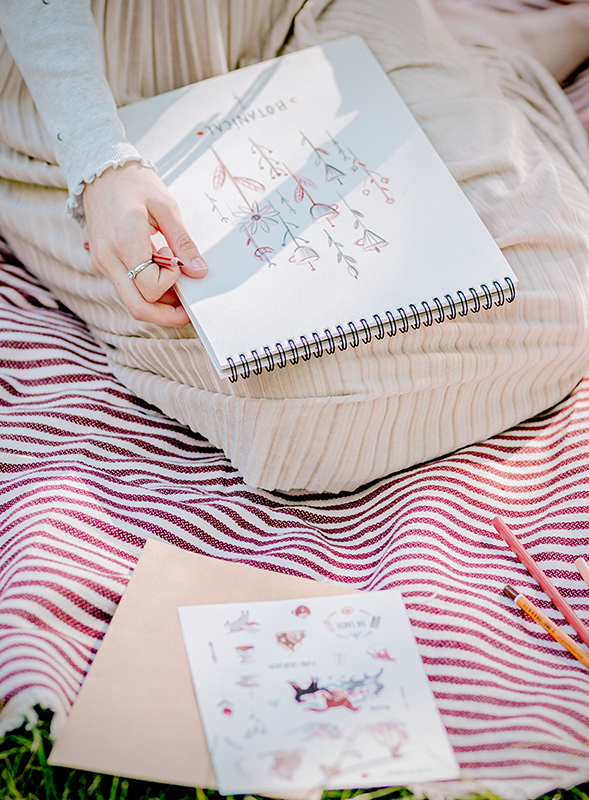
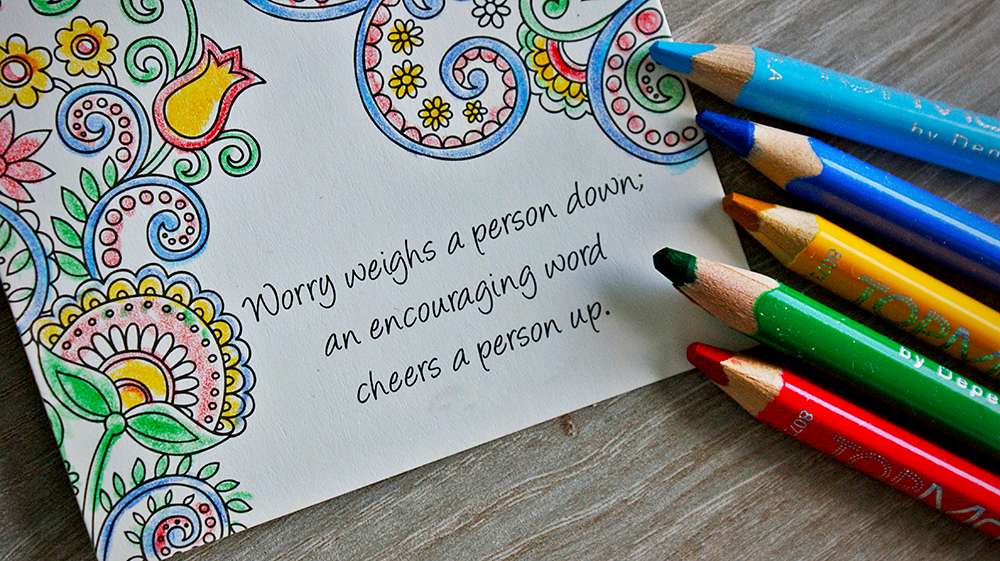
You can use any type of coloring medium that you like, including colored pencils, markers, paint, etc.
There are no rules when it comes to coloring, so have fun and be creative!
And if you're looking for more ideas, there are plenty of resources available online and in bookstores.
Digital Coloring Books
E-books and digital media are huge right now.
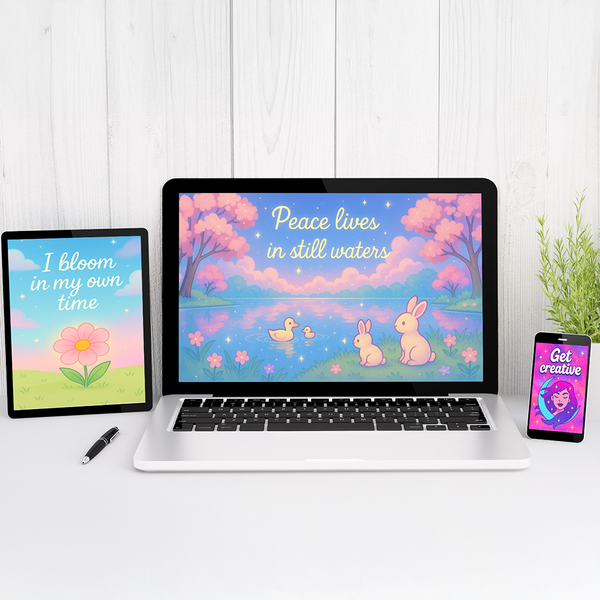
So it's no surprise that digital coloring books are becoming more popular as well.
If you're interested in creating a digital coloring book, there are a few things you need to know.
First, you'll need to choose the right file format for your images.
PDF is the most common format for digital coloring books.
But you can also use JPG or PNG files.
The important thing is to make sure that your file is high resolution so that it will print out nicely.
You'll want to scan or photograph your designs and upload them to your computer.
Then, you can upload them online to share or even sell them.
If you're selling your coloring pages, you'll need to set up a payment system such as PayPal.
And if you're sharing your pages for free, you can upload them to a site like DeviantArt or Tumblr.
You can create a fun children's activity book, a relaxing adult coloring book, or individual coloring sheets.
No matter what you do with your digital coloring book, have fun and embrace your creativity!
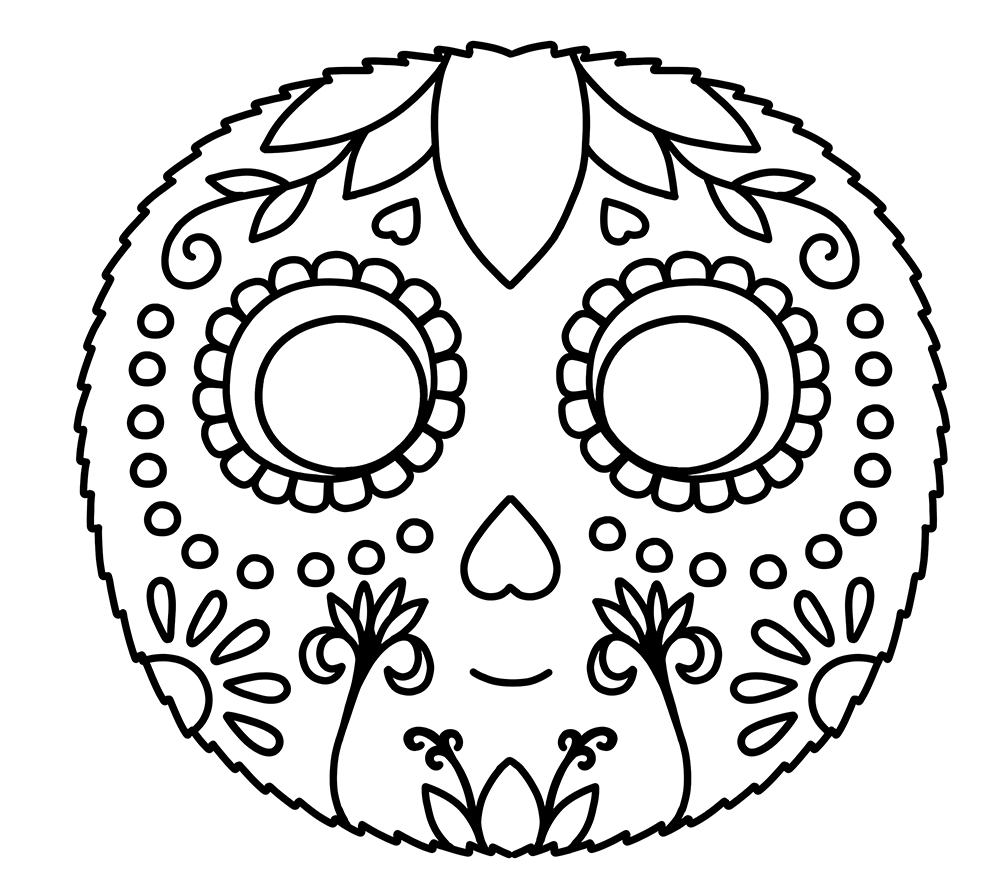
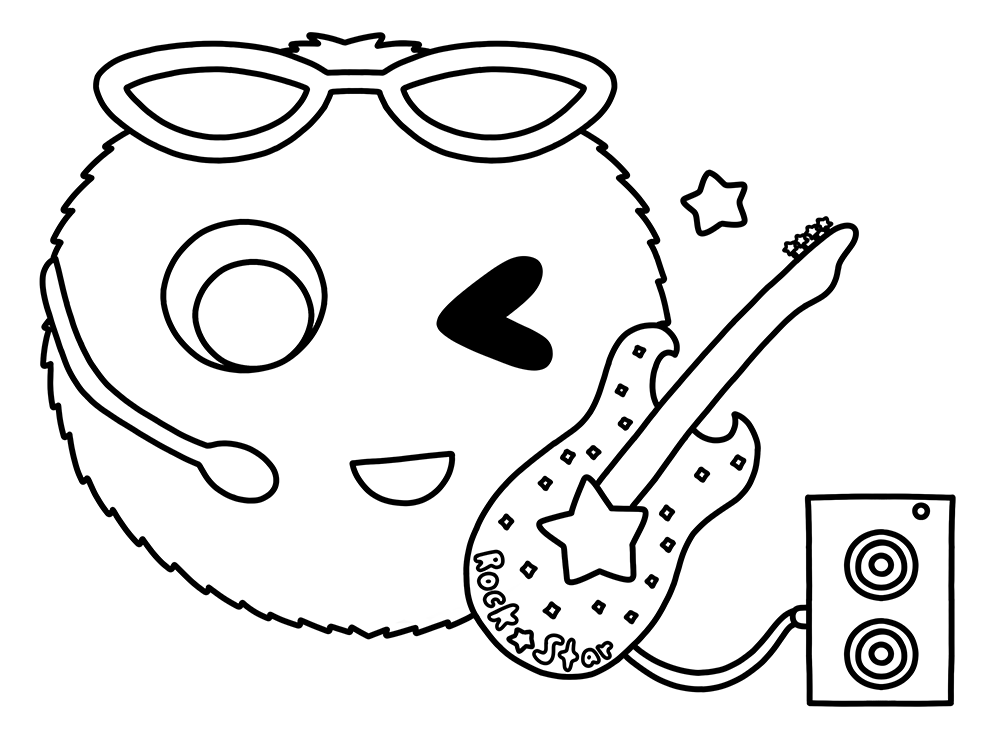
Creating Your Coloring Books
We hope you enjoyed this tutorial on how to create your own coloring books!
Creating your own coloring books can be a fun and rewarding experience.
And it's a great way to share your creativity with the world and relieve stress.
Whether you're selling your coloring pages online or sharing them for free, we hope you enjoy your new found hobby!
Remember to have fun and let your creativity loose with your designs—the sky is the limit!
So, what are you waiting for?
Grab your drawing supplies and get started!

Want to learn more about creating your own coloring books? Check out Rachel Harrison-Sund's video!
Love coloring books and want to find your next favorite?
Check out some of our other articles:
-Art supplies for coloring books
