Halloween is right around the corner, and one of the best things about fall is all the fun and festive activities that come along with it.
Apple picking, leaves changing colors, hay rides, festivals…
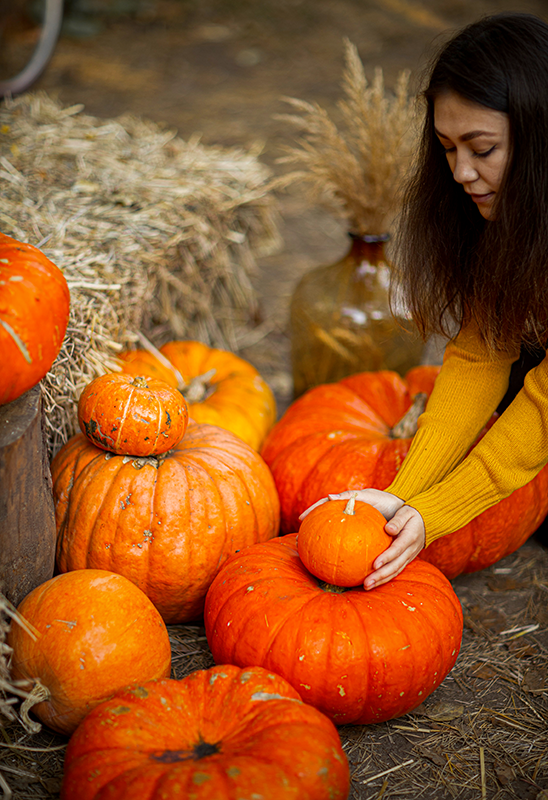
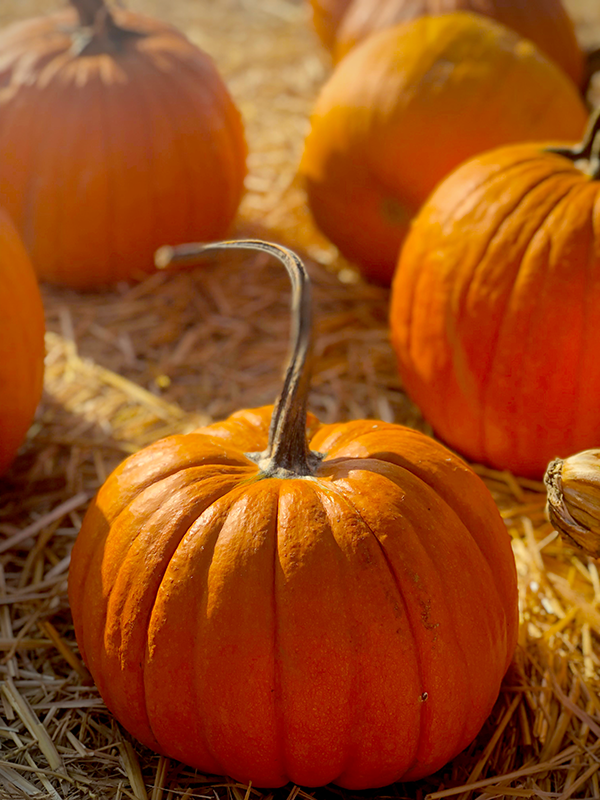
And what would fall be without pumpkins?
While most people think of pumpkins as being solely for carving into jack-o-lanterns, there are so many great ideas to for pumpkin projects for kids and people of all ages!
In this article, we'll explore some of the different ways you can use pumpkins to create art.
So, grab your art supplies and let's get started!

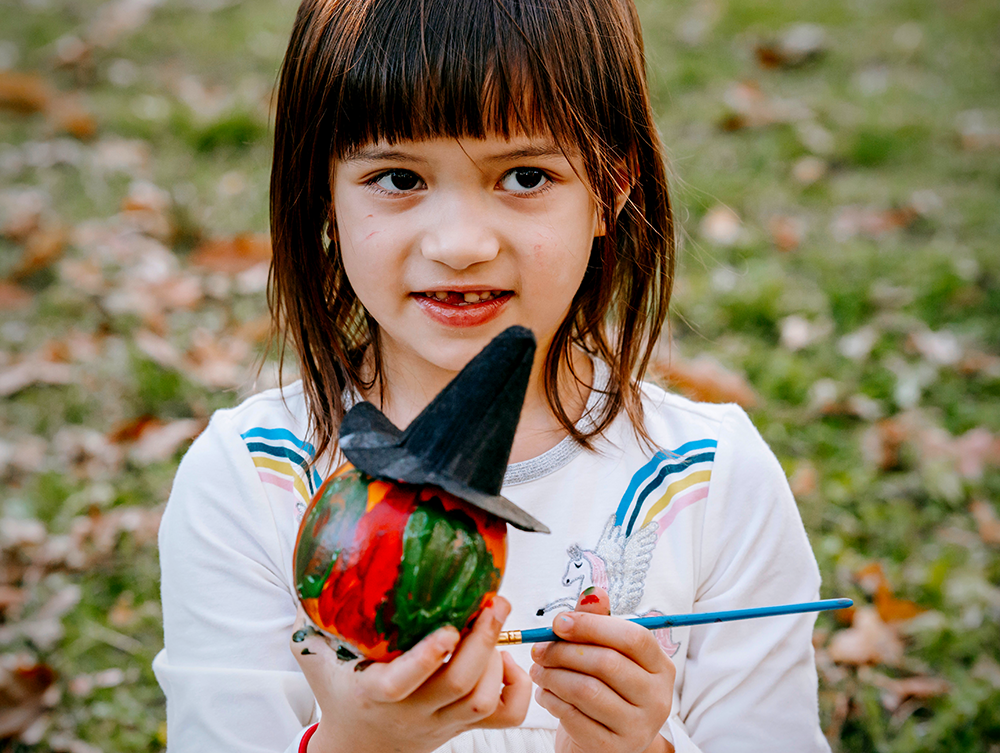
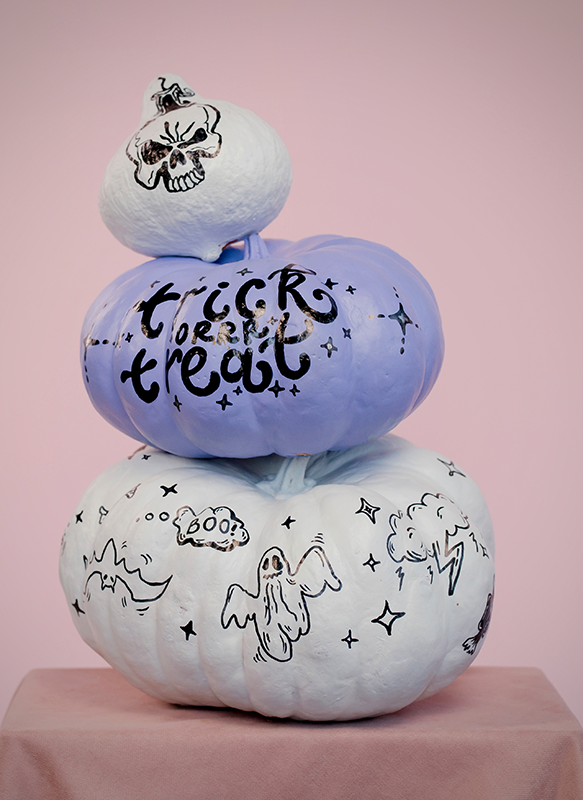
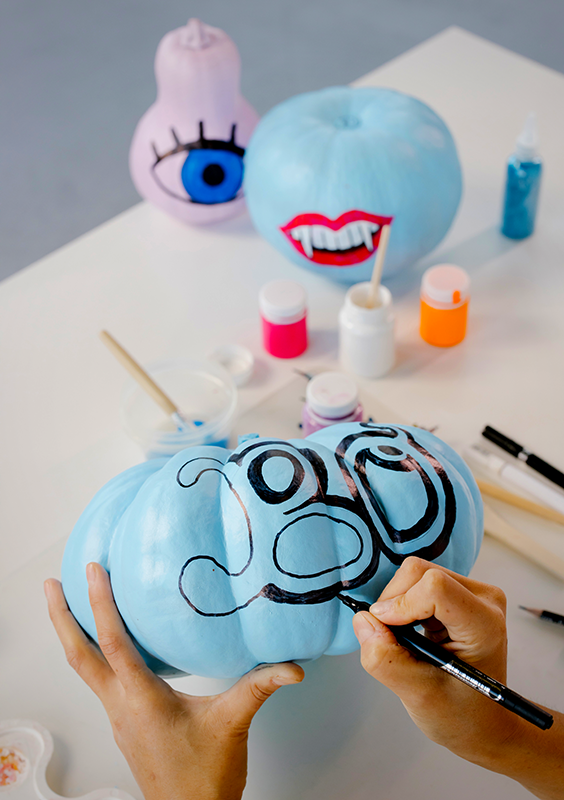
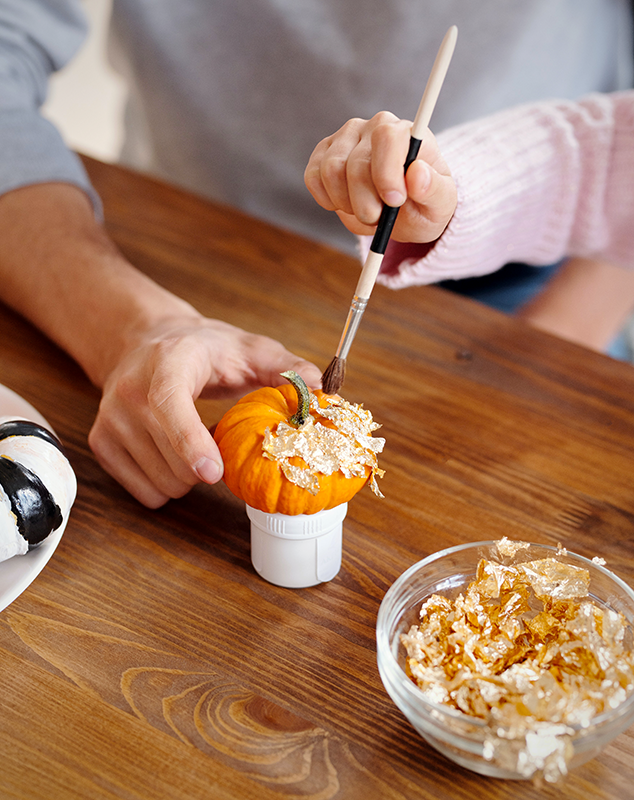
Pumpkin Painting
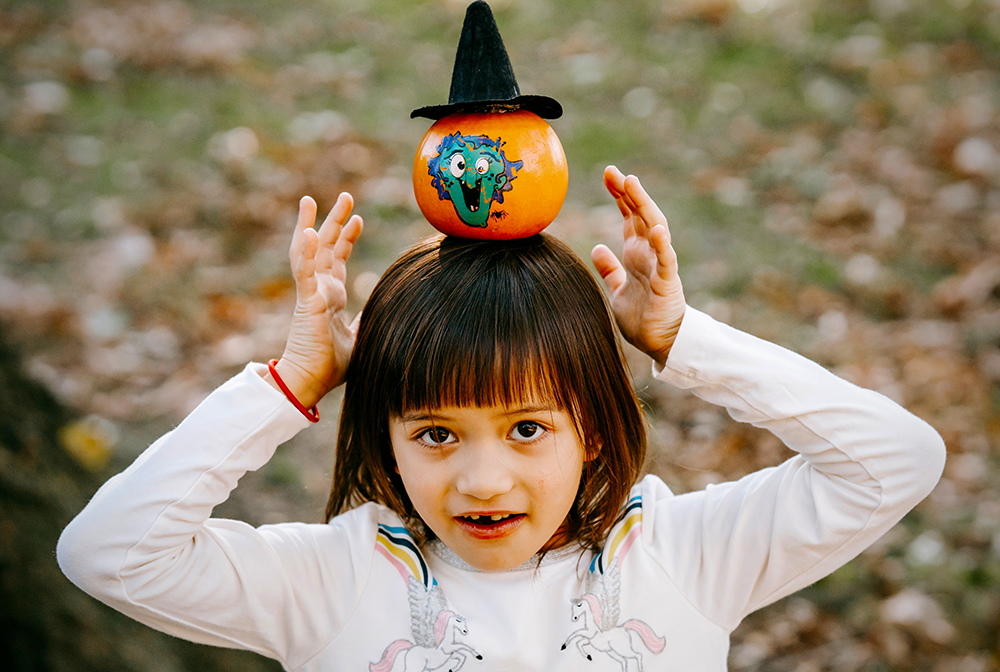
One of the simplest pumpkin crafts you can enjoy is to simply paint them!
You can provide each guest with a white pumpkin and a selection of fall-themed paints and let them go to town.
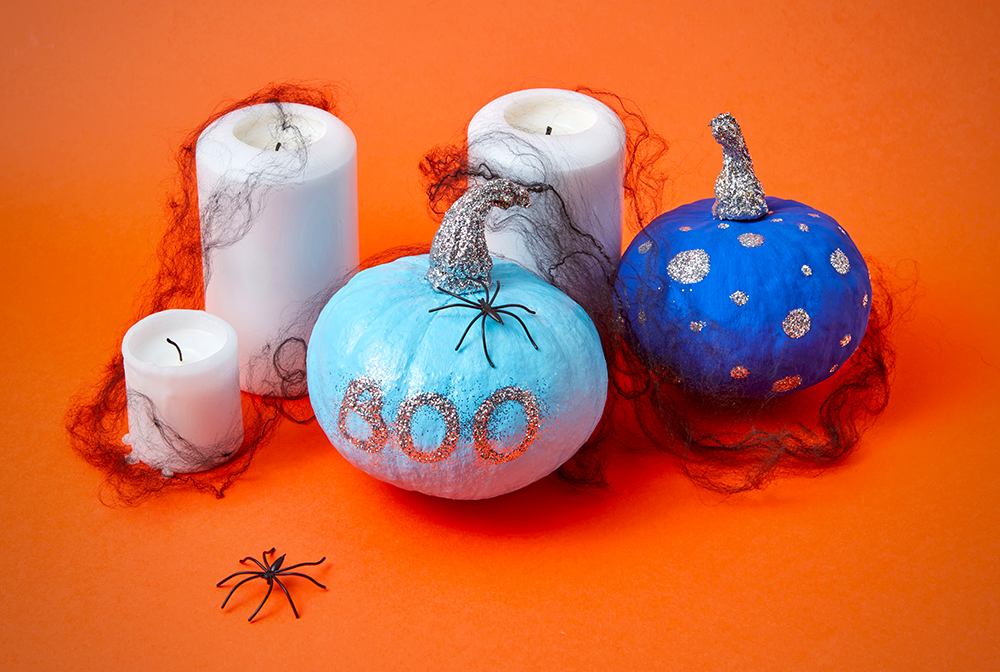
Or, for a more sophisticated look, try painting a monochromatic color scheme on your pumpkins.
Either way, pumpkin painting is a fun and easy activity that is sure to get everyone in the fall spirit!
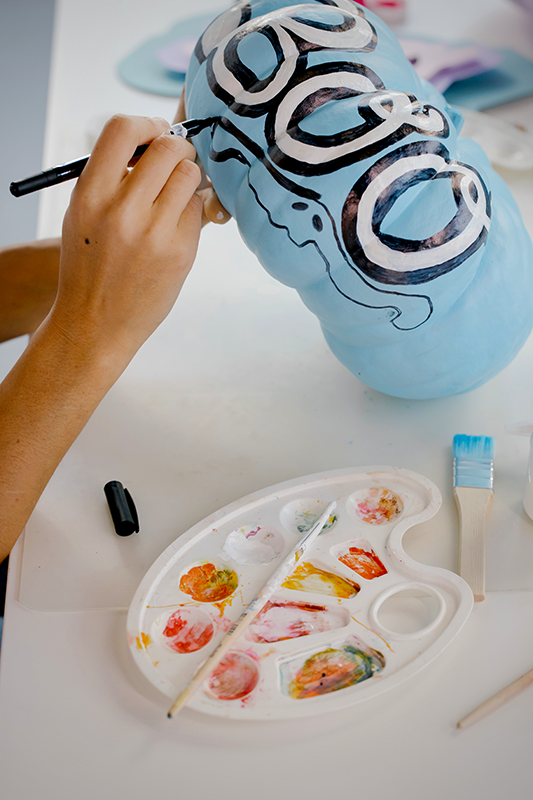
Supplies Needed
The first step is to gather all the supplies you'll need.
This includes pumpkins, paintbrushes, paint (such as acrylic or tempera paint), water, and newspapers or some sort of drop cloth.
It's also a good idea to have an idea of what design you want to paint on your pumpkin ahead of time.
This doesn't need to be anything complicated—a few simple shapes or even just a solid color will do.
Once you have all your supplies ready to go, you can start painting!
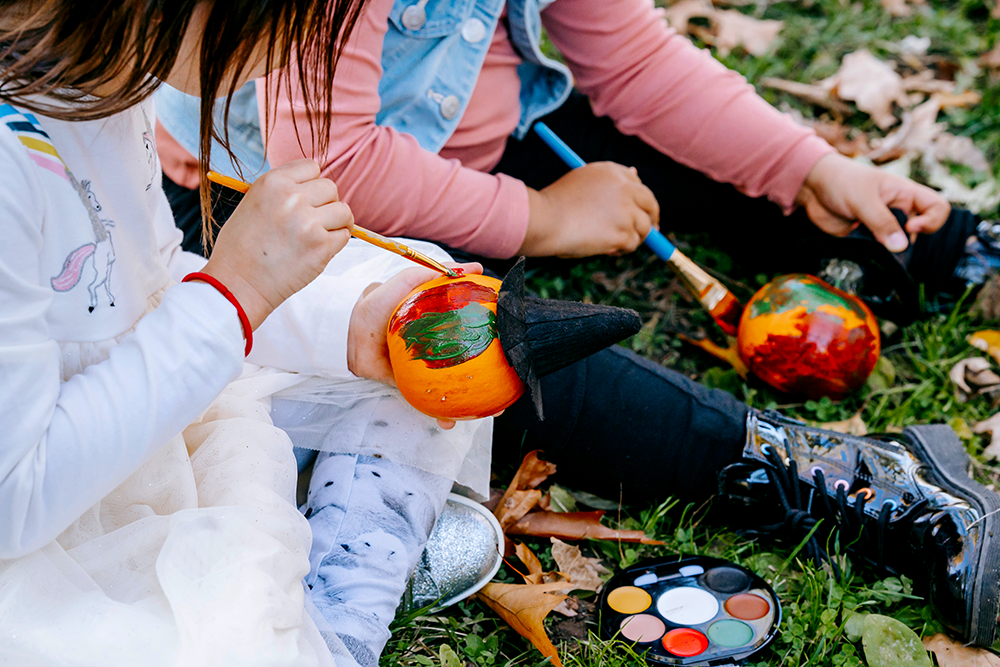
Techniques
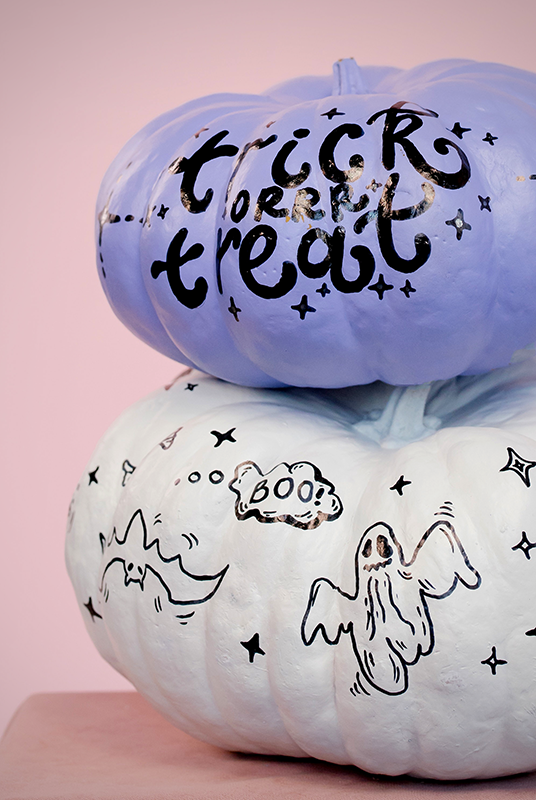
One of the great things about painting pumpkins is that there are no rules.
You can literally paint whatever you want!
If you're not sure where to start, here are a few painting techniques that may help inspire you:
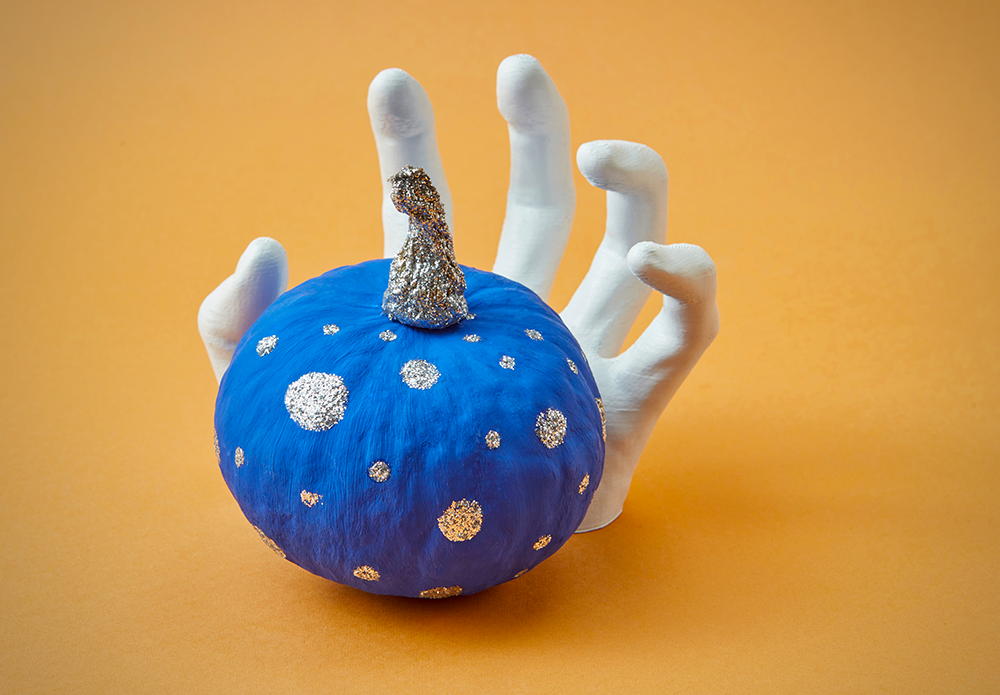
-If you want to paint a pumpkin that is primarily one color, start by painting the entire pumpkin in that color.
Once the base coat is dry, you can add details like stripes, polka dots, or other designs in a contrasting color.
-To create a gradient effect, start by painting the bottom third of the pumpkin in one color.
Then, mix together equal parts of this color and white paint to create a lighter shade.
Paint the middle third of the pumpkin with this lighter shade.
Finally, mix together equal parts of the original color and black paint to create a darker shade.
Paint the top third of the pumpkin with this darker shade.
Use a damp paper towel or cotton swab to blend the colors together, so they transition smoothly from one hue to the next.
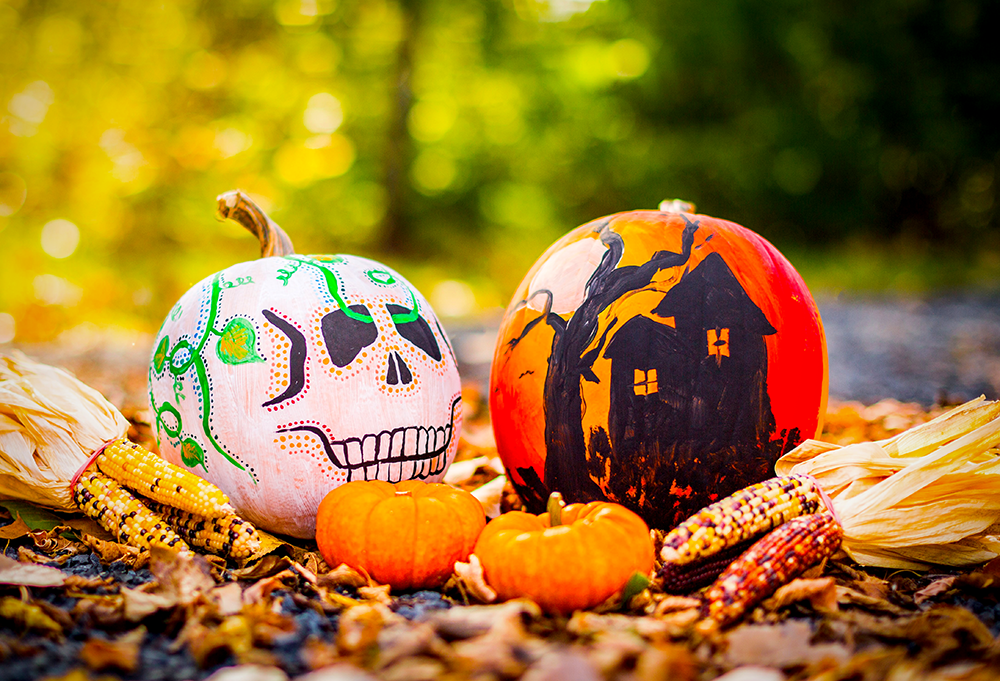
-For a marbleized effect, start by mixing together two colors that compliment each other well (for example: orange and brown or red and purple).
Then, paint large sections of your pumpkin with each color.
Using a toothpick or another sharp object, swirl the colors together in an abstract pattern.
Be careful not to overdo it—you still want each color to be clearly visible.
Allow the paint to dry completely before moving on to the next step.
When you're finished decorating your pumpkin, put it on display for everyone to see and admire.
Pumpkin painting is a fun activity for people of all ages and skill levels!
So, gather your supplies and get started today!
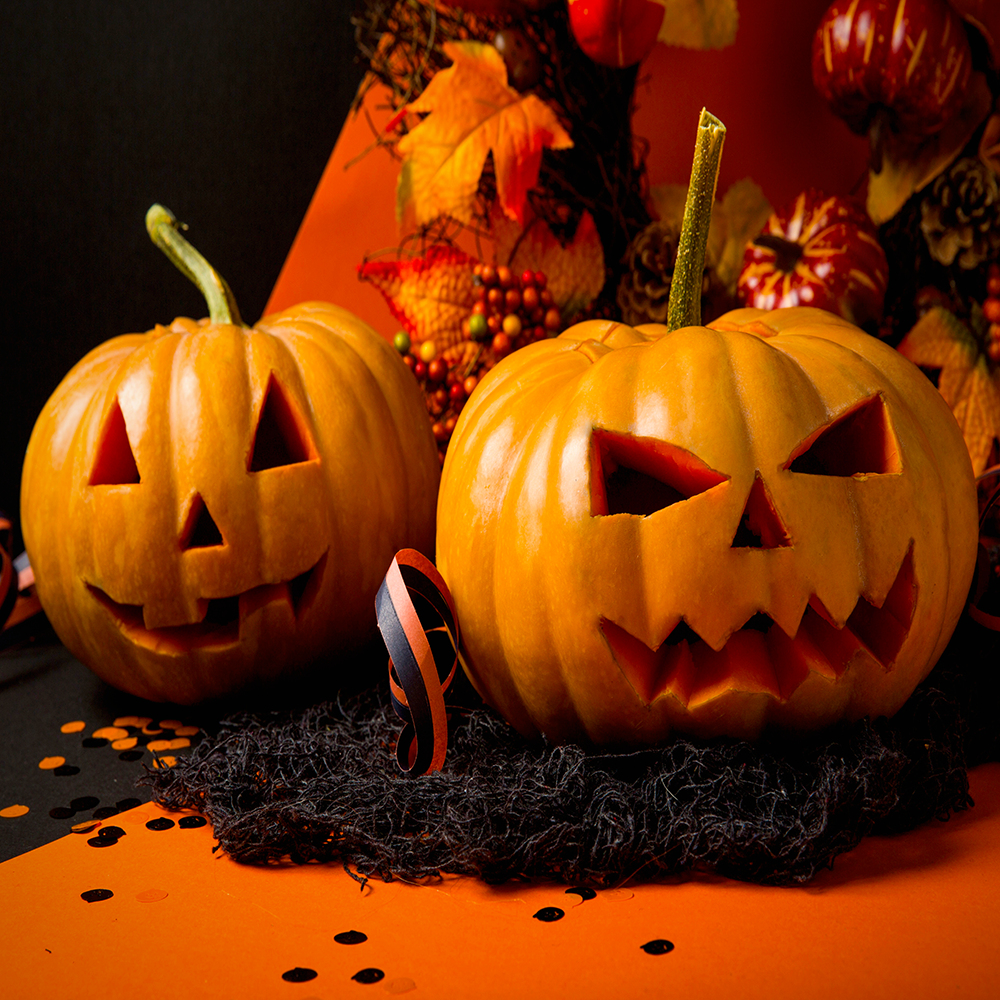
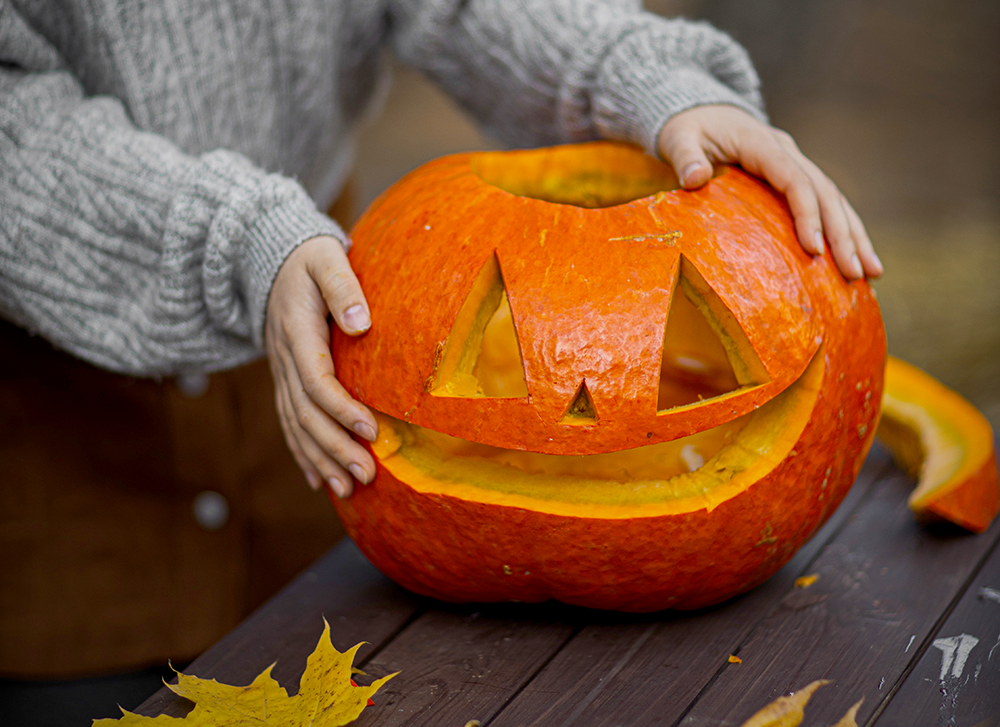
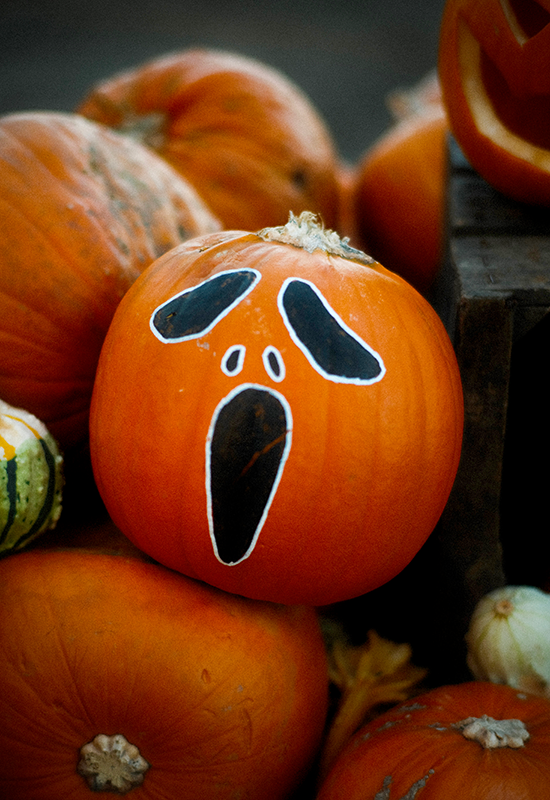
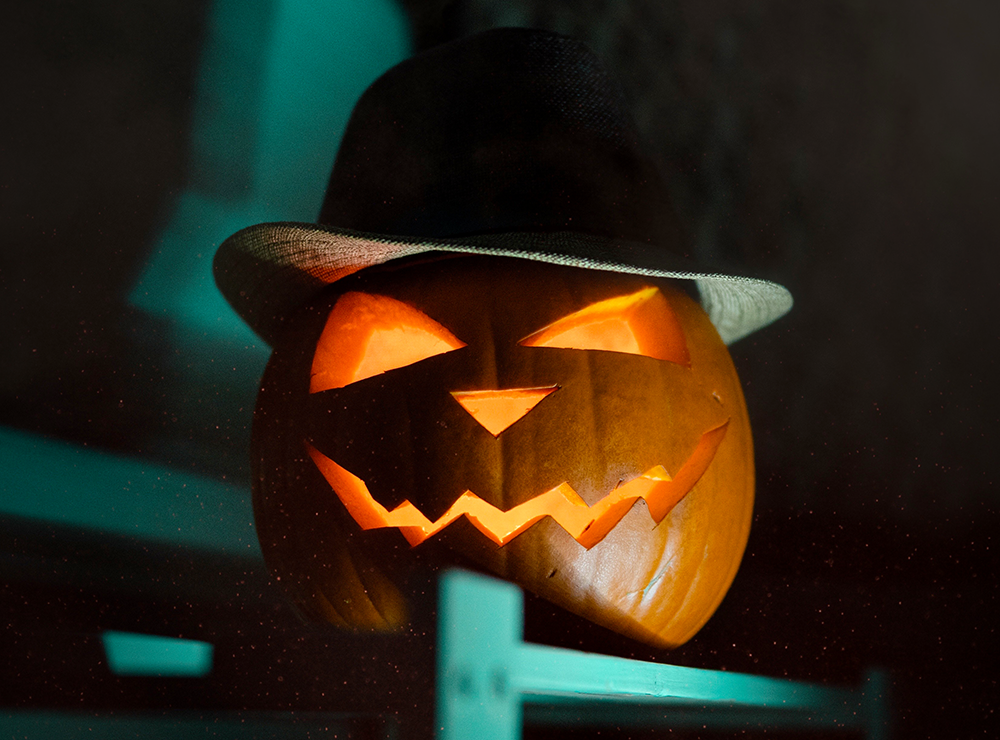
Pumpkin Carving
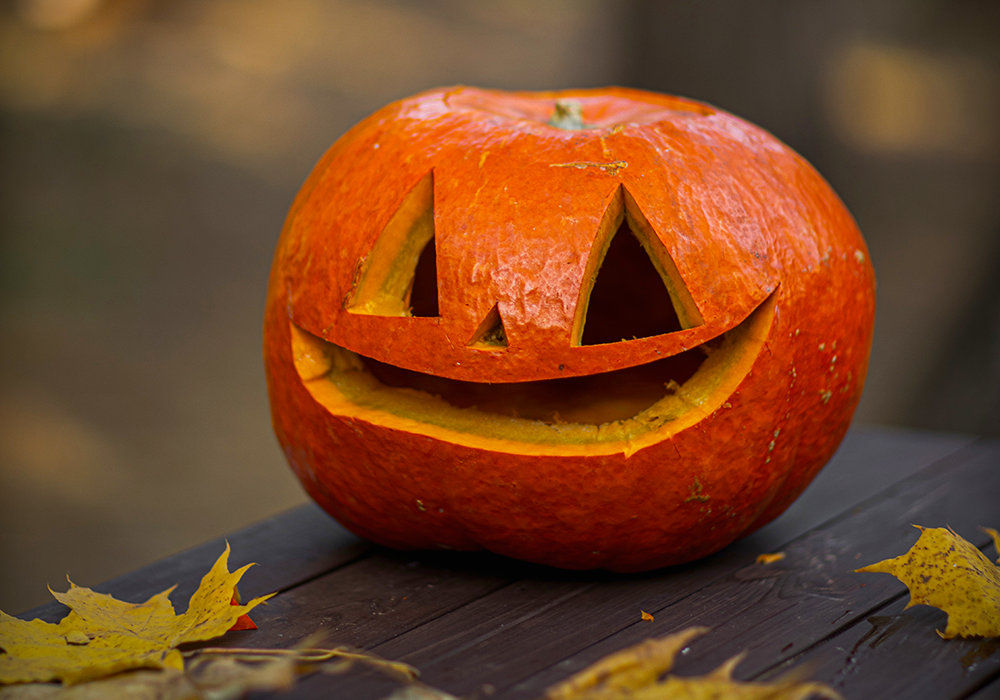
Of course, one of the most popular ways to enjoy pumpkins is by carving them into jack-o-lanterns.
This is a perfect activity for both kids and adults alike.
While it may take some time and effort to carve a detailed design into your pumpkin, the end result is always worth it!
Plus, you can use your carved pumpkin as decoration for your home or office.

Tools of the Trade
Before you get started, you'll need a few tools:
- A sharp knife:
You'll need a sharp knife to carve your pumpkin.
A paring knife or a carving knife will work perfectly.
Avoid using a kitchen knife, as these are not designed for carving pumpkins and can be very dangerous.
If you don't have a sharp knife, you can purchase a carving kit from your local craft store.
- A spoon or scooper:
You'll need a spoon or scooper to remove the pulp and seeds from your pumpkin.
A metal spoon works well for this, but you can also use an ice cream scoop if you prefer.
- A cutting board or surface:
You'll need a cutting board or other surface to rest your pumpkin on while you're carving it.
Make sure the surface is stable and won't slip while you're working.
It's also a good idea to cover your work surface with newspapers or a tablecloth to make cleanup easier.

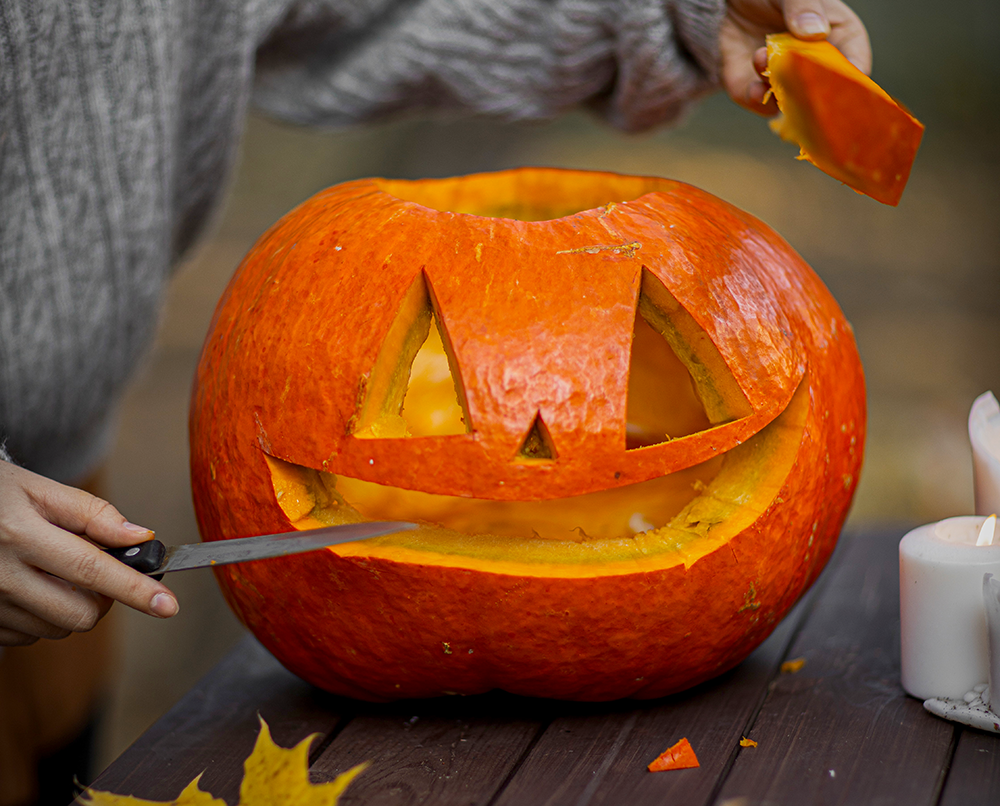
Carving Perfect Pumpkins Every Time!
1. Cut off the top of the pumpkin at an angle.
This will give you a flat surface to work with and make it easier to remove the lid later on.
2. Scoop out the pulp and seeds from the inside of the pumpkin.
You can use your spoon or scooper for this.
Be sure to scrape the sides and bottom of the pumpkin so that it's nice and clean inside.
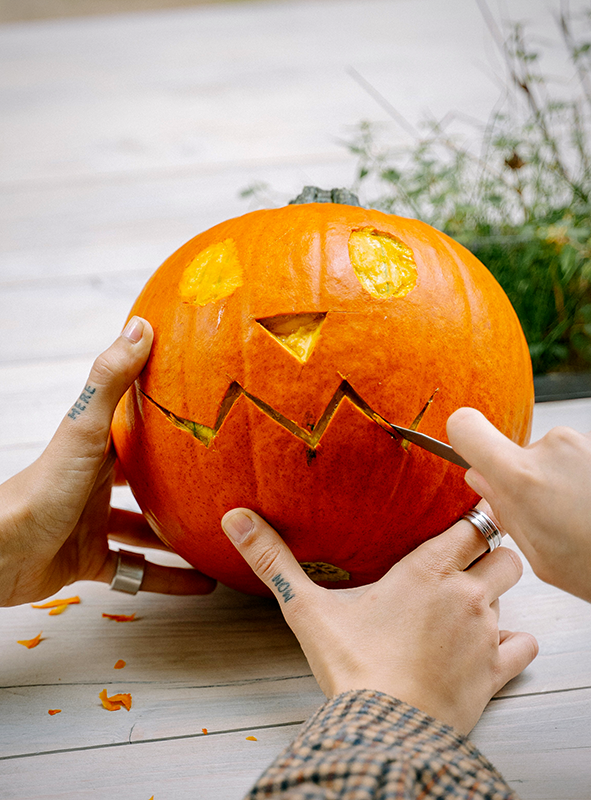
3. Now comes the fun part: carving your jack-o-lantern!
Use your sharp knife to carve out whatever design you like.
If you're not sure what to carve, there are plenty of easy designs that even beginner carvers can try (such as triangles or circles).
Just let your creativity flow!
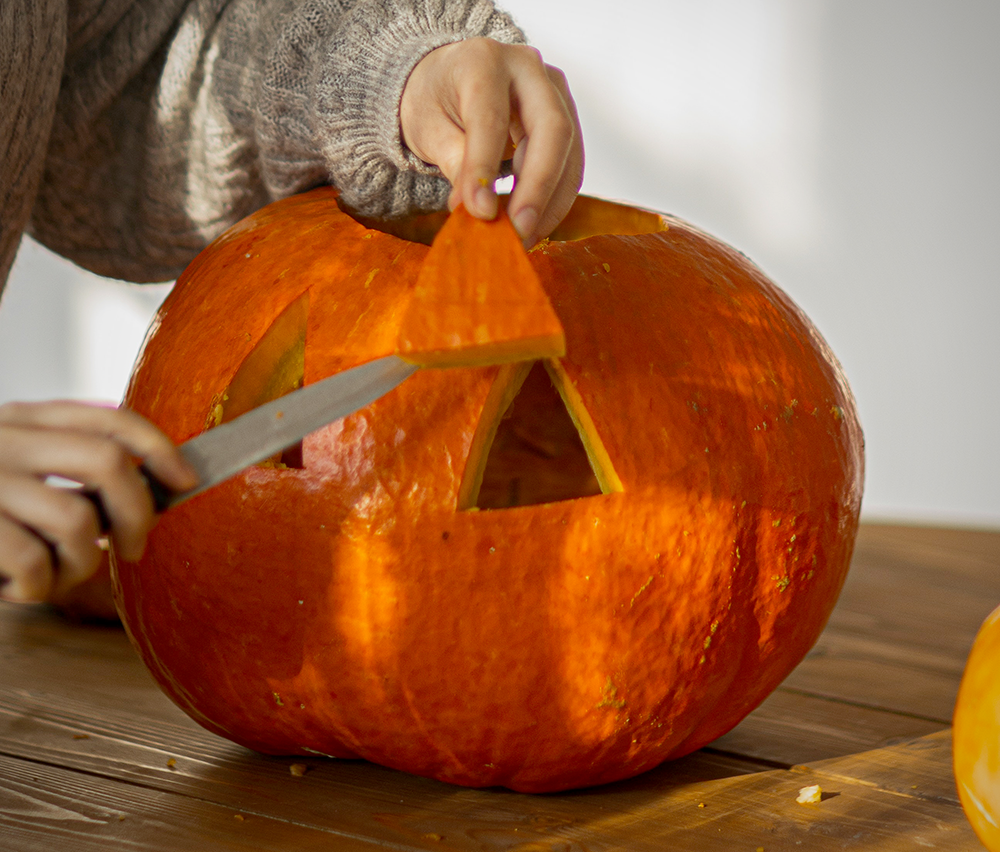
4. Once you're happy with your design, cut out any small pieces with your knife (such as eyes or mouths).
You can also use a toothpick or skewer to make smaller holes if needed.
5. Now all that's left to do is place a candle inside your carved pumpkin and enjoy the fruits of your labor!
Remember to put your pumpkin in a safe place where it won't be knocked over or set on fire.
With just a few simple tools and some creative thinking, anyone can carve an impressive pumpkin jack-o-lantern!
So, get out there and give it a try; you're sure to have a blast!
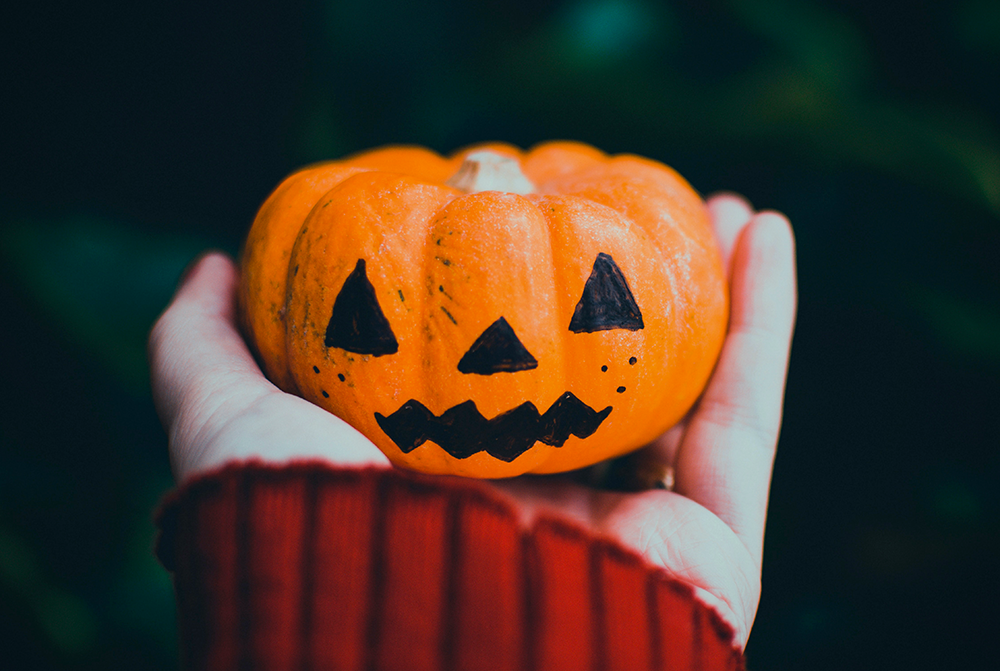
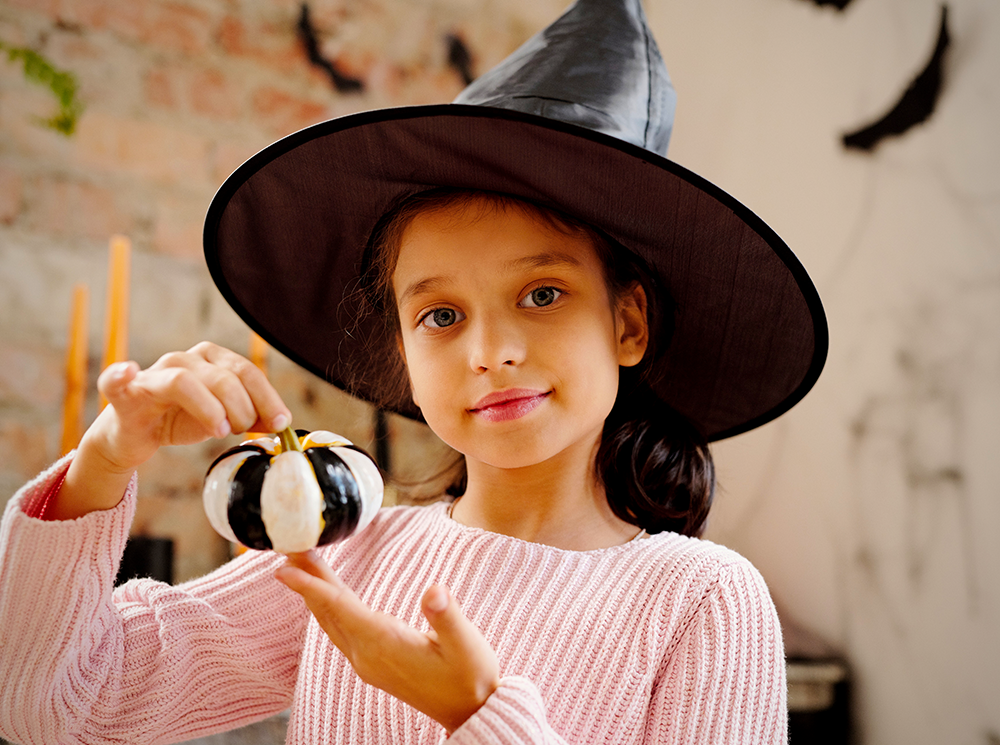
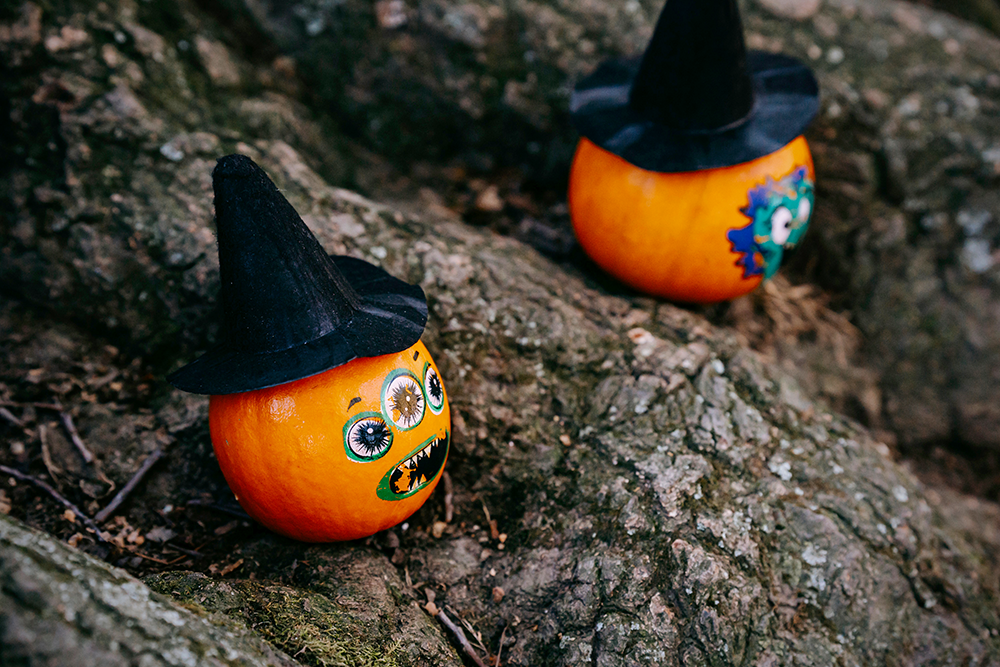
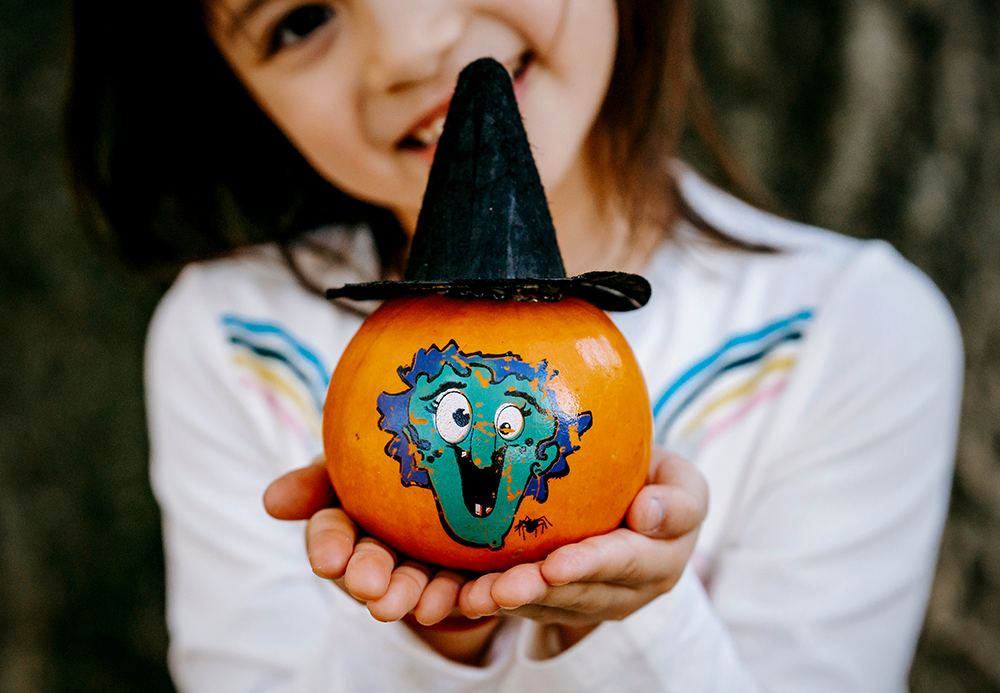
Pumpkin Decorating
Getting crafty with pumpkins is a great way to show your fall spirit!
If you're not feeling particularly crafty, though, don't worry; you can still enjoy pumpkins by simply decorating them.
Try using stickers, markers, or even just ribbons and bows to adorn your pumpkin.
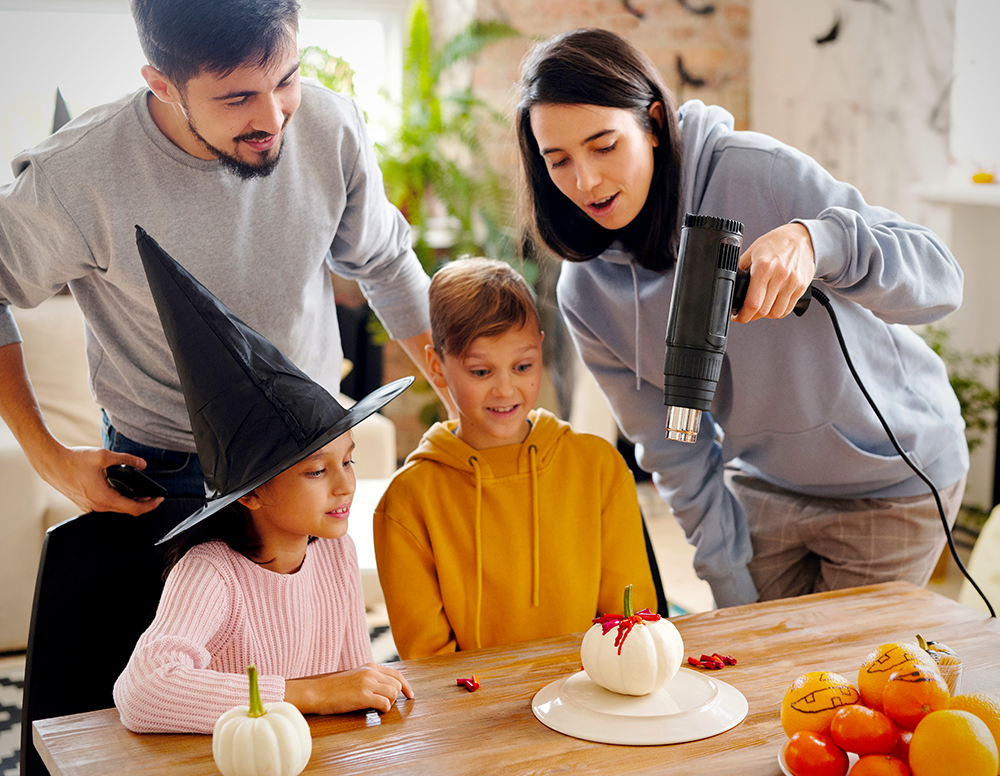
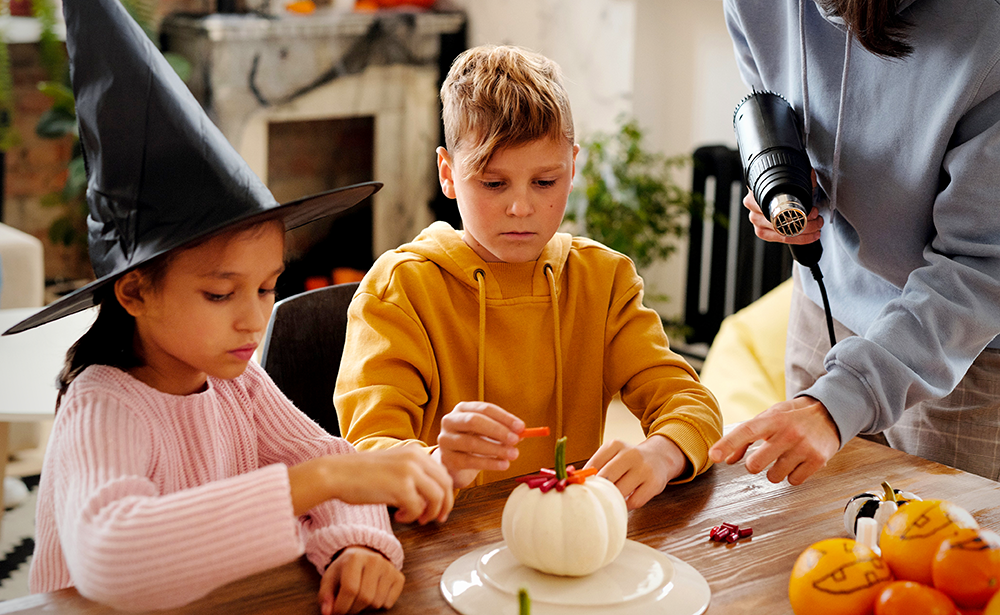
You can even use crayons and a craft heat gun to melt the colorful wax and create a fun, abstract design.
No matter how you decide to decorate your pumpkin, just have fun with it!
This is a great activity for kids or anyone who wants to have some fun with pumpkins without having to put too much effort into it.
Pumpkin Decorating Tips
Here are a few tips to help you get started:
-Start with a clean pumpkin.
If your pumpkin is dirty, the stickers or other decorations won't stick as well.
Give it a quick wash with soapy water and let it dry completely before getting started.
-Use re-positionable adhesive for your stickers.
This will make it easier to place them just where you want them and avoid any mishaps.
-If you're using markers, make sure they're non-toxic and washable.
That way, if someone accidentally gets them on their clothing, it's not the end of the world.
-Ribbons and bows can add a touch of elegance to your pumpkin decorating project.
Try using different colors and patterns to create a unique look.
-Melting crayons on a pumpkin using a heat gun is fantastic fun and a great way to create a one-of-a-kind design.
Just be sure to use adult supervision and caution when doing this.
Decorating pumpkins is a great way to enjoy the fall season, so have fun and be creative because there's no wrong way to do it.
Get Creative with Your Pumpkin
There are so many different ways to enjoy pumpkins, with pumpkin art activities ranging from painting and carving them to decorating them.
Grab some friends, children, and other family members and get started on your fall pumpkin projects!
Decorating your pumpkin can be as simple or complicated as you want it to be.
There are no rules, so have fun and see what pumpkin art project you can create!
Want to learn more about decorating pumpkins? Check out Proven Winners' video!
Want even more content about creativity and art?
Be sure to check out all of our creative chronicles!
Interested in crafty things and creating fun pumpkin art projects?
You'll want to take a look at some of our other articles!