For many people, pumpkin carving is a fun fall activity to do with family and friends.
But for some, it's an art form.
There are all sorts of ways to carve a pumpkin, ranging from professional designs to easy pumpkin carving ideas.
Some people like to keep it simple, while others get really creative.
If you're looking to take your pumpkin carving to the next level this year, read on for some tips from the pros.
Picking the Perfect Pumpkin
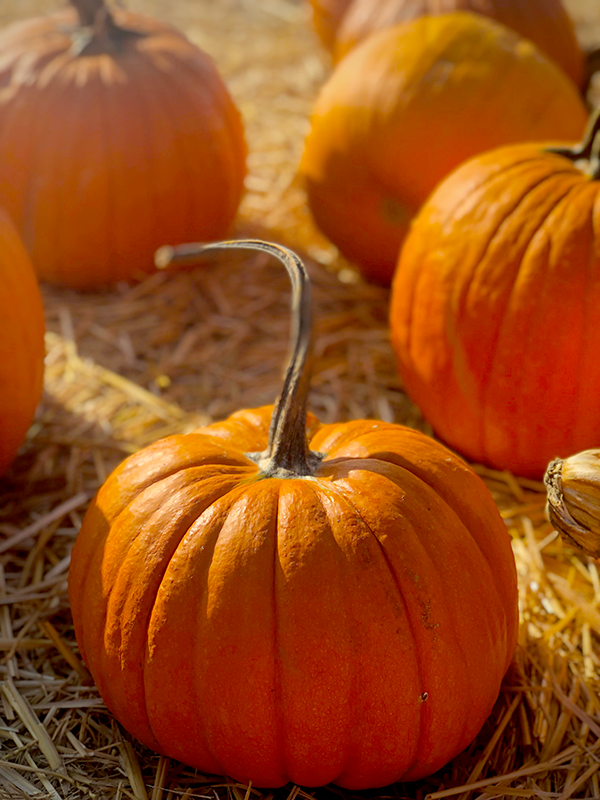
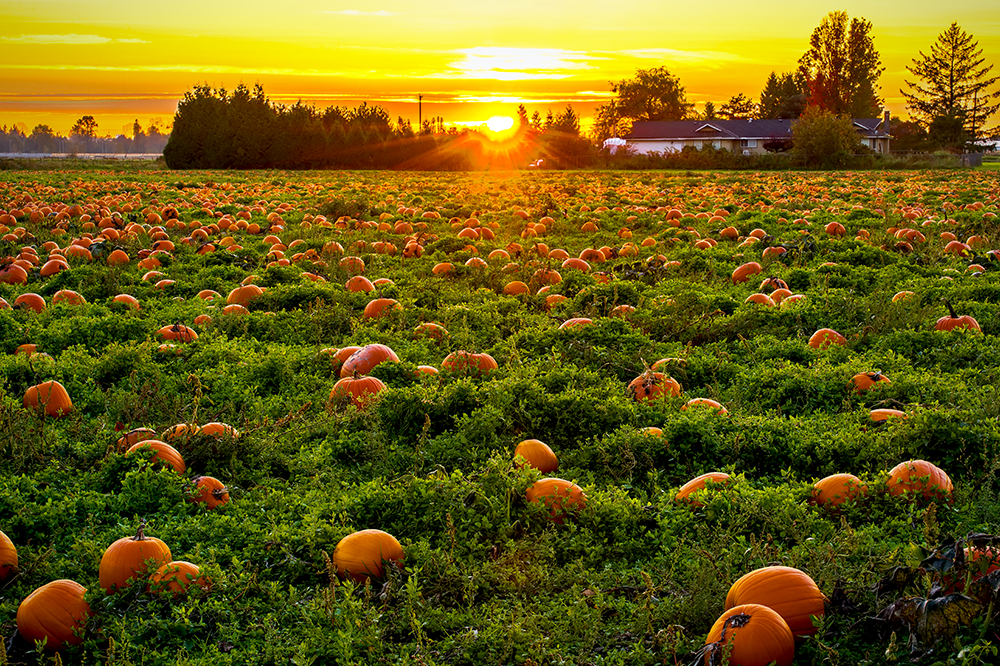
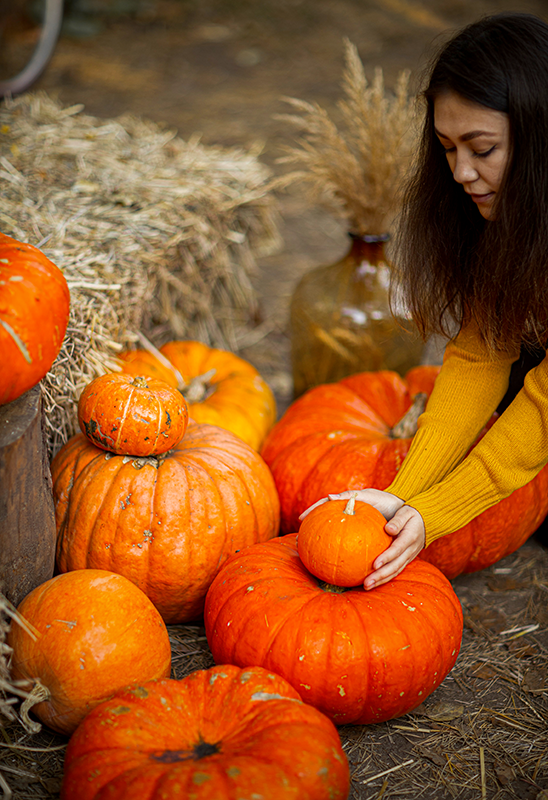
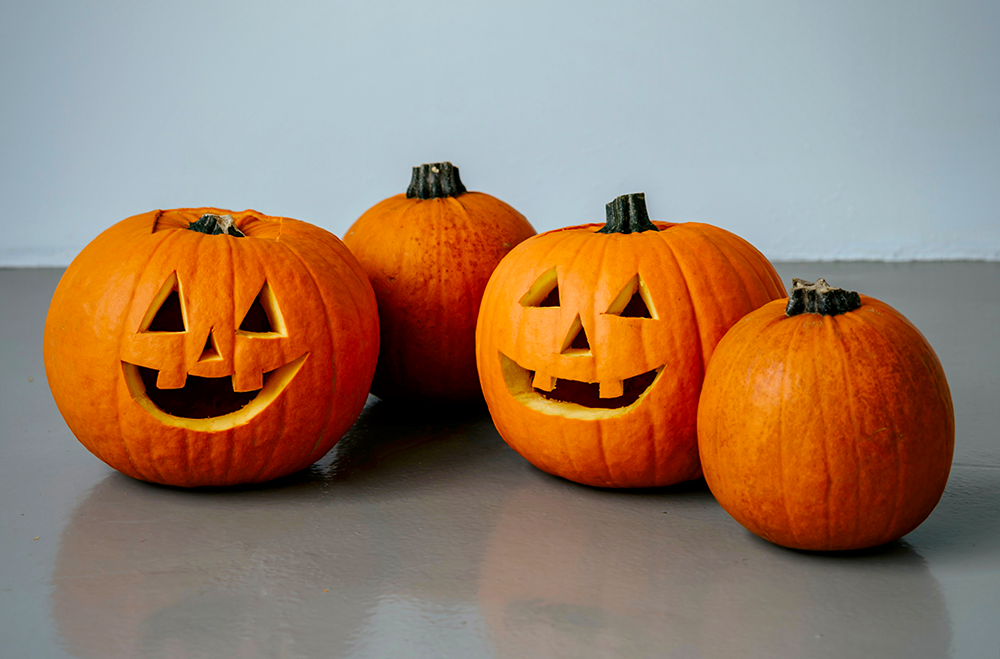
The first step in creating a masterpiece is to pick the perfect pumpkin.
When you're at the pumpkin patch, look for one that's uniform in shape and size.
This will make it easier to carve later on.
Granted, you can still create a masterpiece with a uniquely shaped pumpkin, incorporating a design that plays off its features.
But if you're a beginner, it's best to start with a traditional shape.
As far as size goes, most professional pumpkin carvers recommend choosing one that's around 15 pounds.
Small and mini pumpkins will be too difficult to work with, while large pumpkins will be too unwieldy.
A slightly larger orange pumpkin can also work, but be mindful for it not to get too bulky and heavy.
Whether you choose traditional orange or something special like white pumpkins or a green heirloom pumpkin, there will be the ideal fit for your needs!
Once you've found the perfect pumpkin, it's time to get started.
Planing Your Design
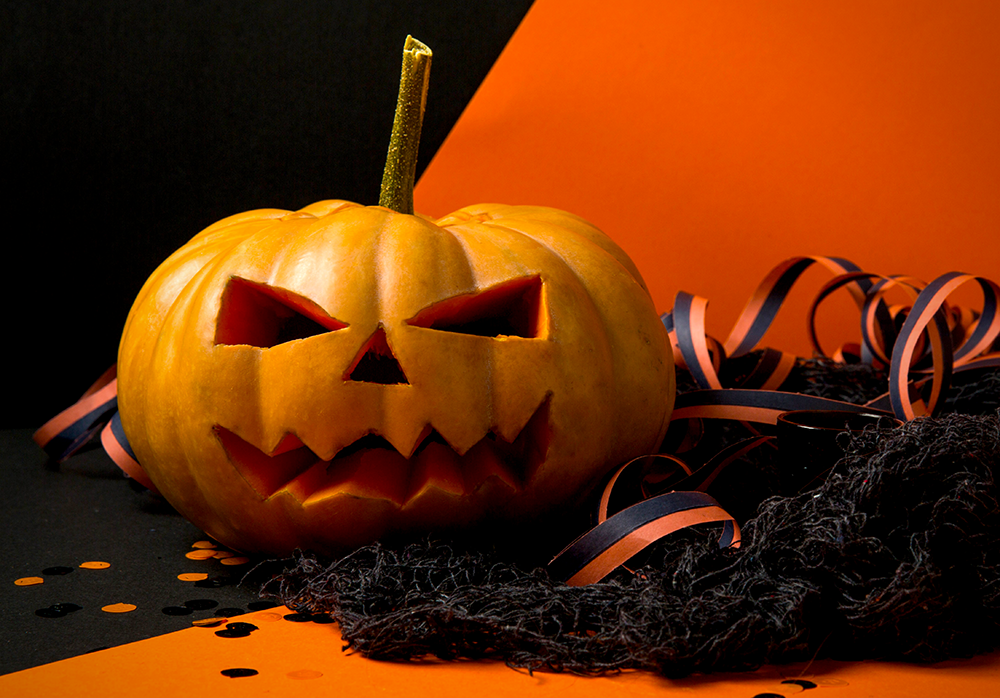
The next step is to come up with a design for your Halloween pumpkin.
This can be anything from a simple face to an elaborate scene.
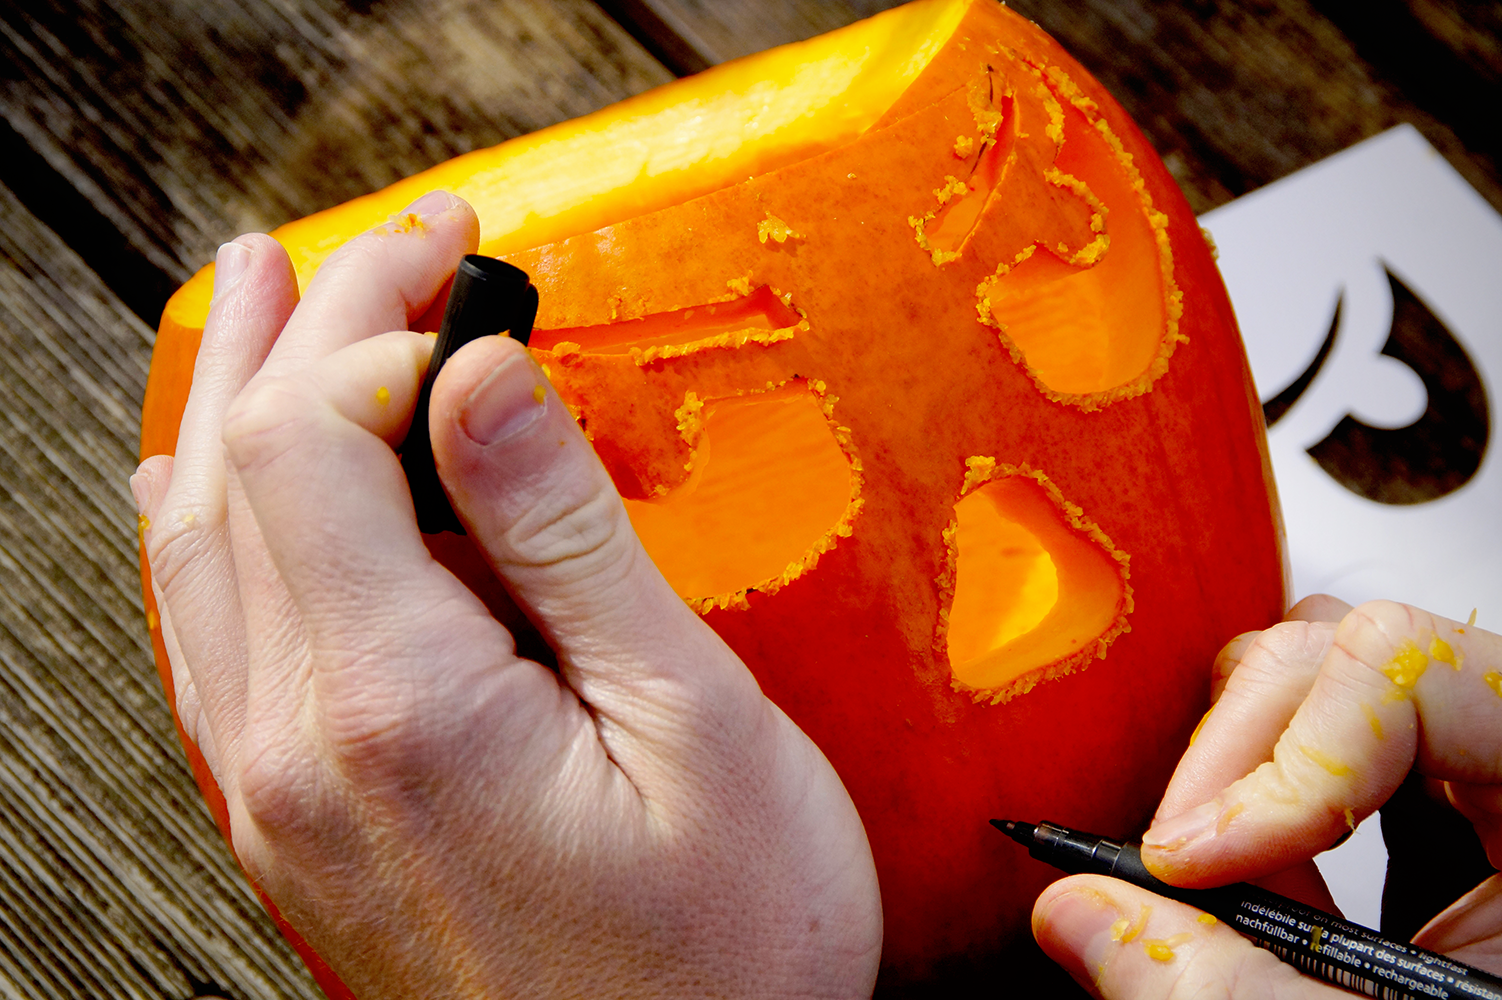
If you're not sure what you want to carve, there are plenty of resources available online, like pumpkin carving templates.
Just do a quick search for "pumpkin carving patterns" and you'll find tons of different ideas to choose from.
Decide on what kind of design you want for your pumpkin, whether you want a design for the entire pumpkin or just part of it.
After choosing a design, sketch out your design on paper.
This will help you plan out your carving and ensure that all of your elements fit on the pumpkin.
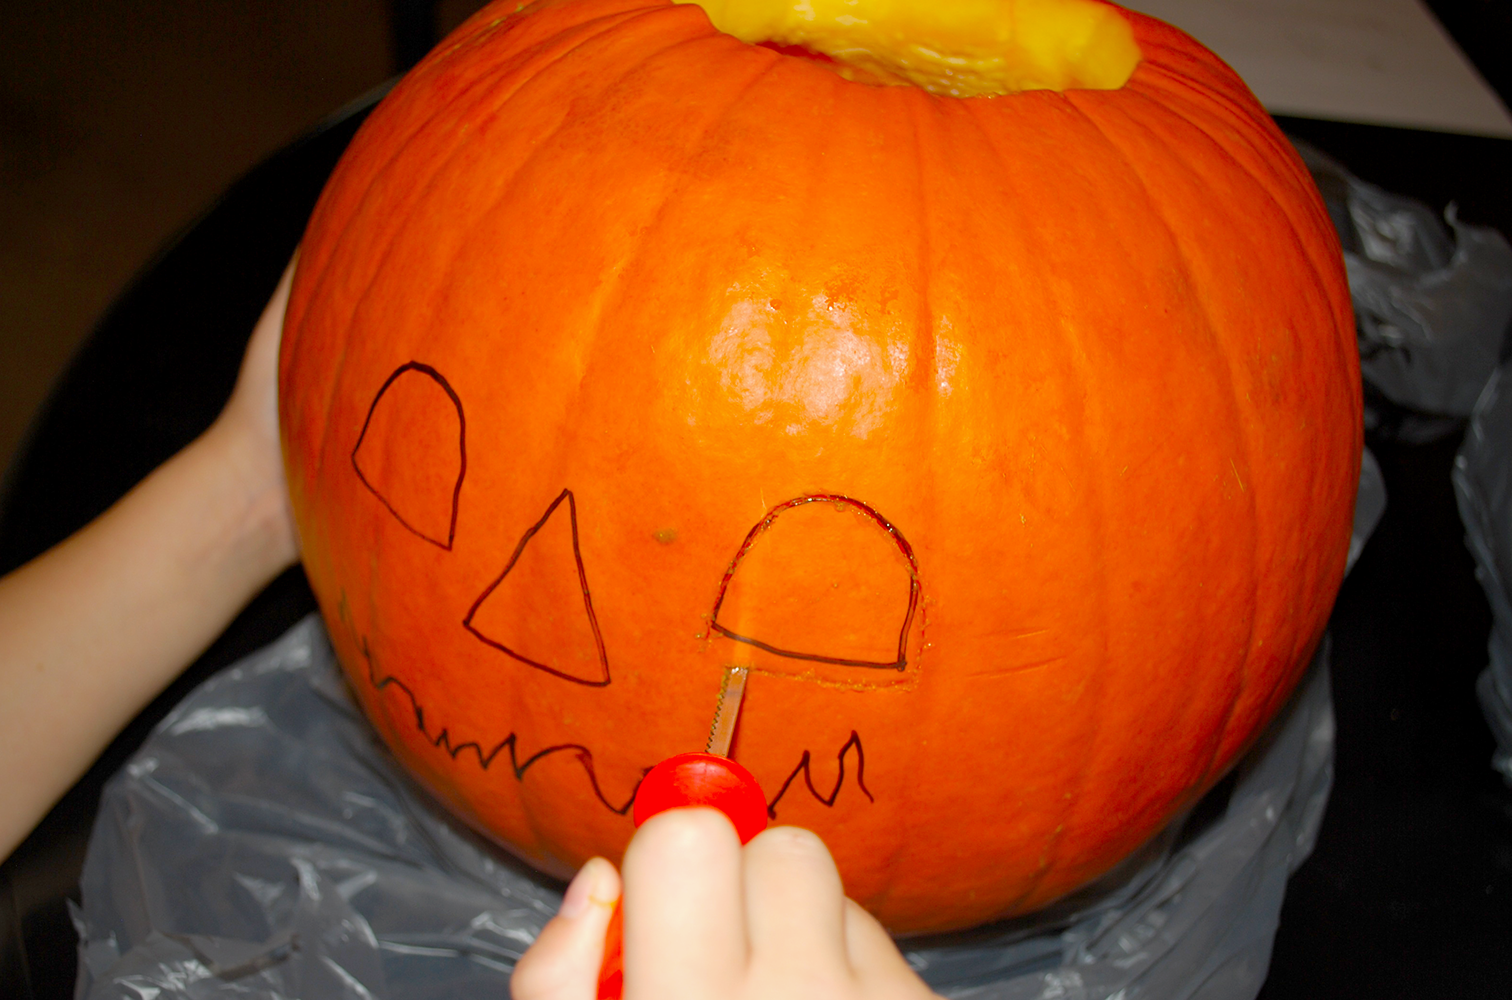
Once you've settled on a design, use a sharpie to trace it onto your pumpkin.
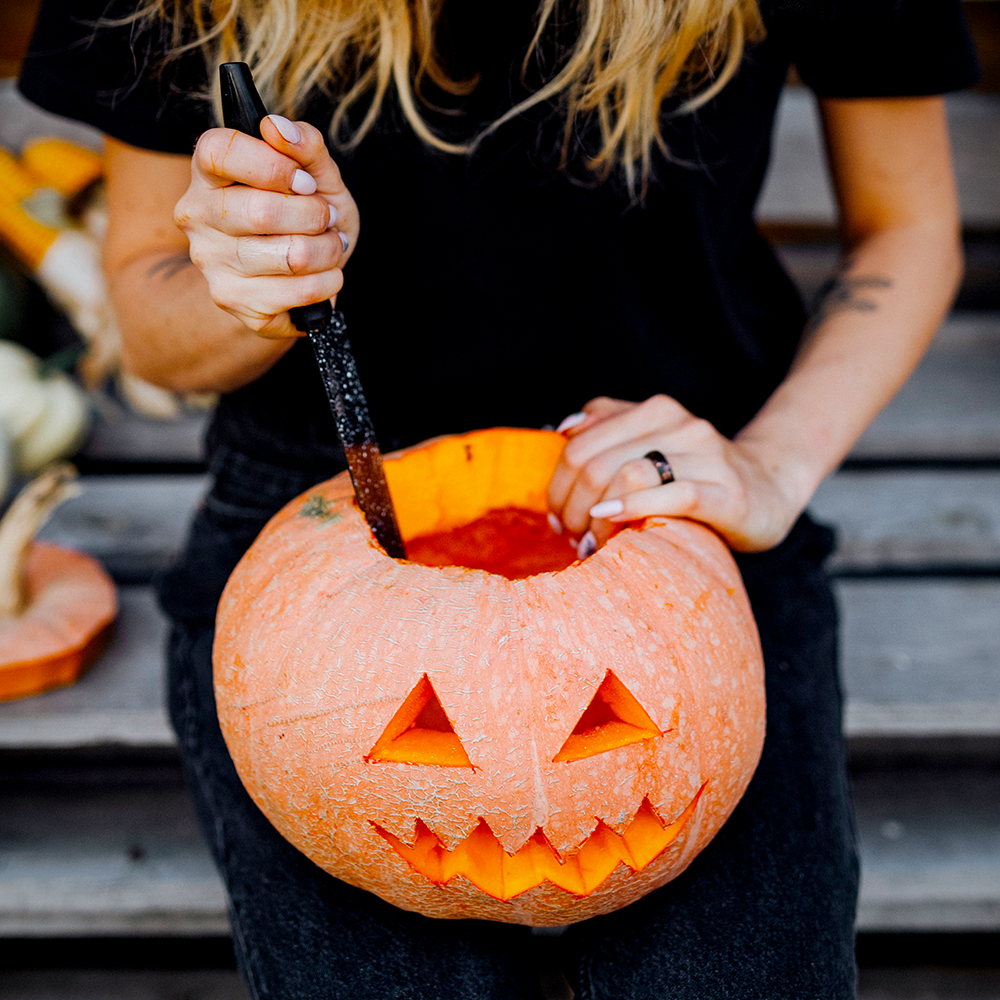
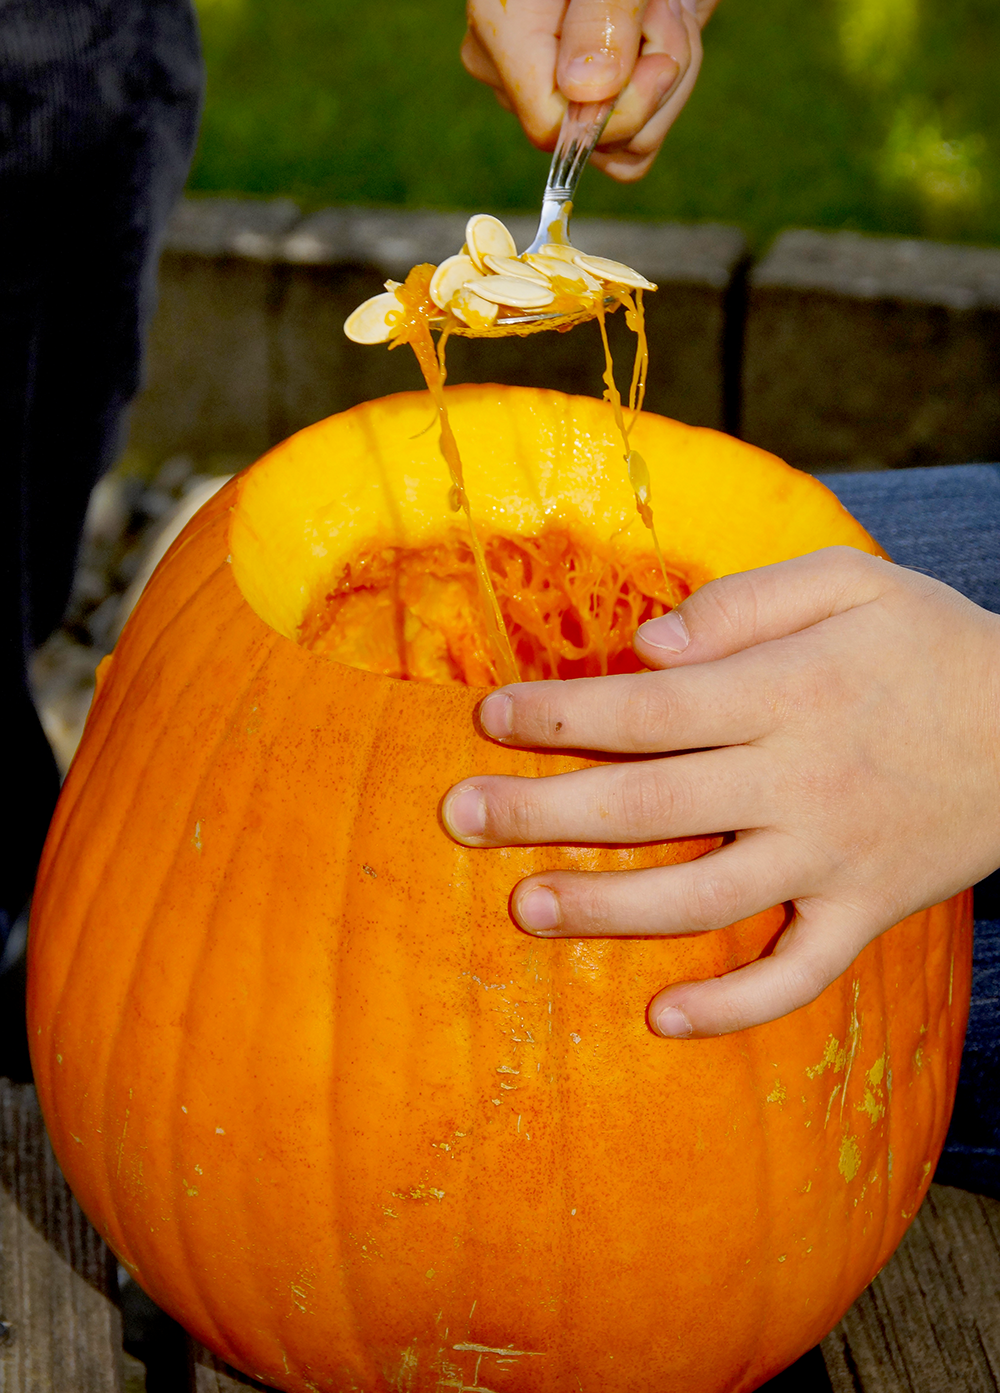
Hollow Out Your Pumpkin
Next, hollow out your pumpkin.
This can be done with the tools in a pumpkin carving kit.
Simply insert the serrated tool into the pumpkin and cut out a circle around the stem.
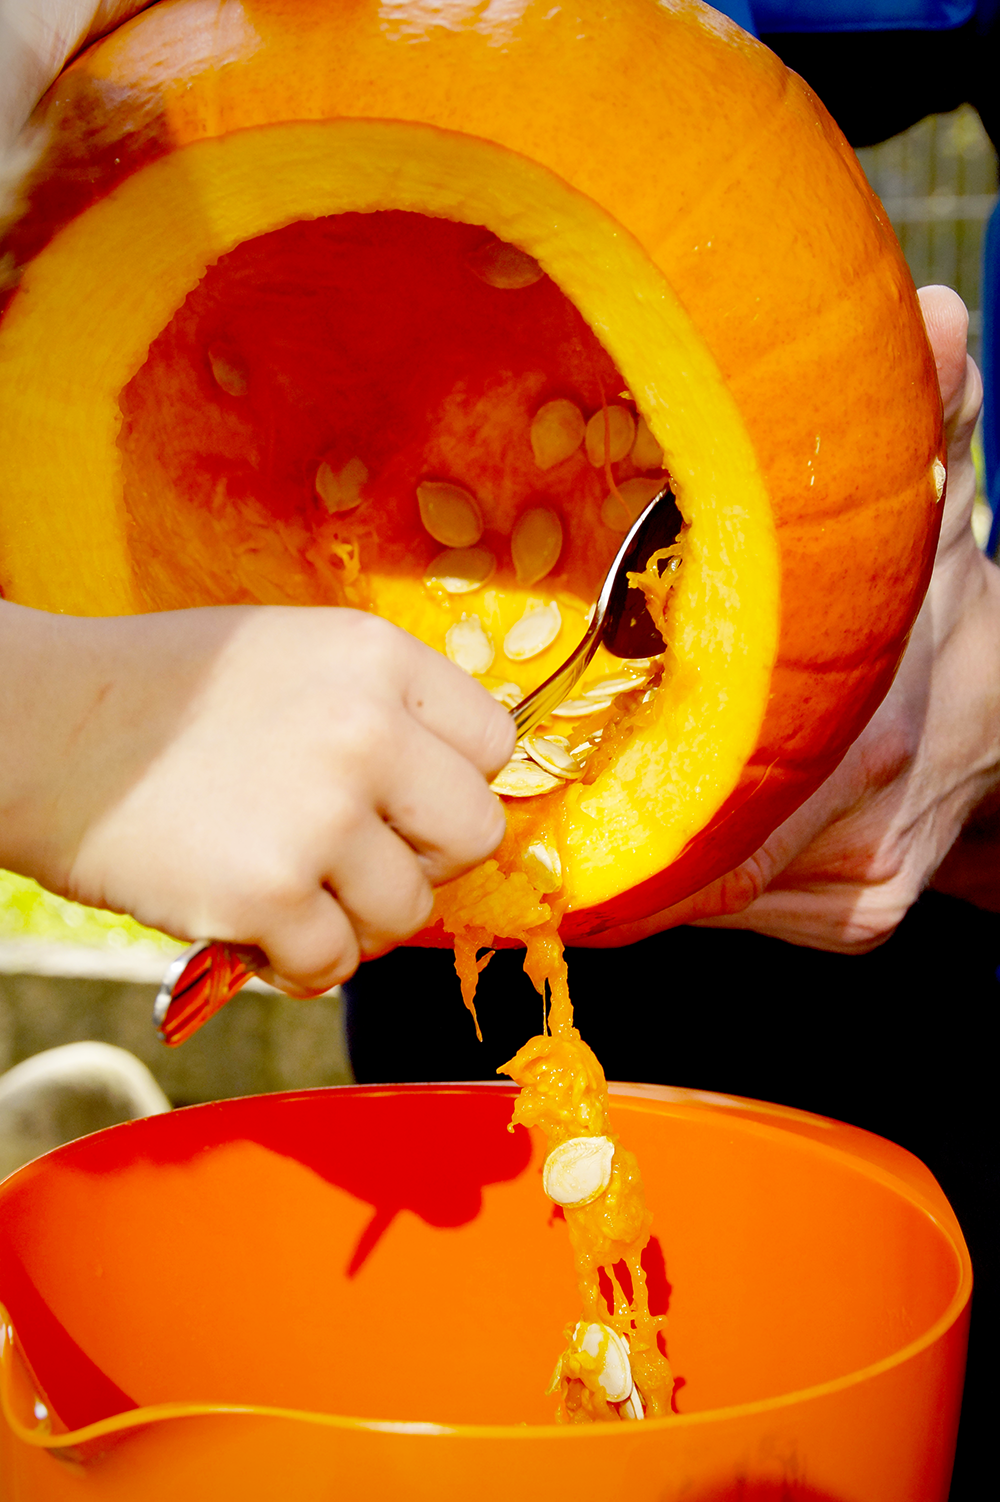
Then, use a large spoon to scoop out the pumpkin guts.
You can save the pumpkin seeds to roast later on.
Once your pumpkin is hollowed out, it's time to start carving.

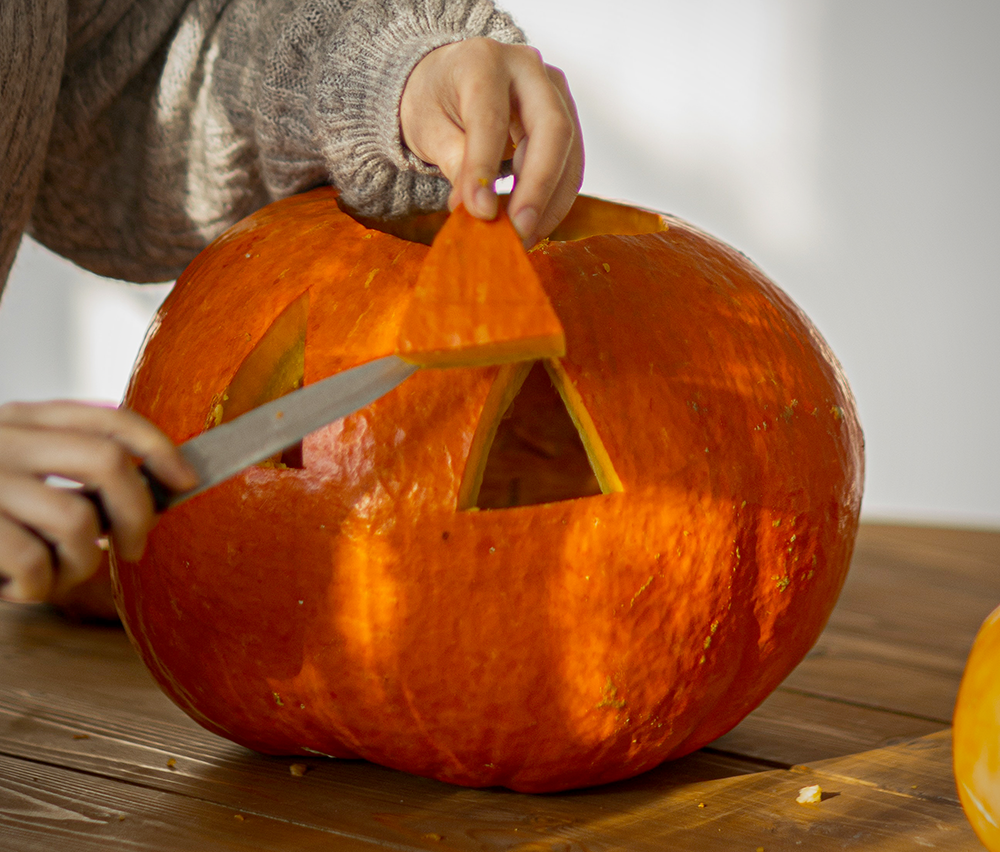
Carving Time
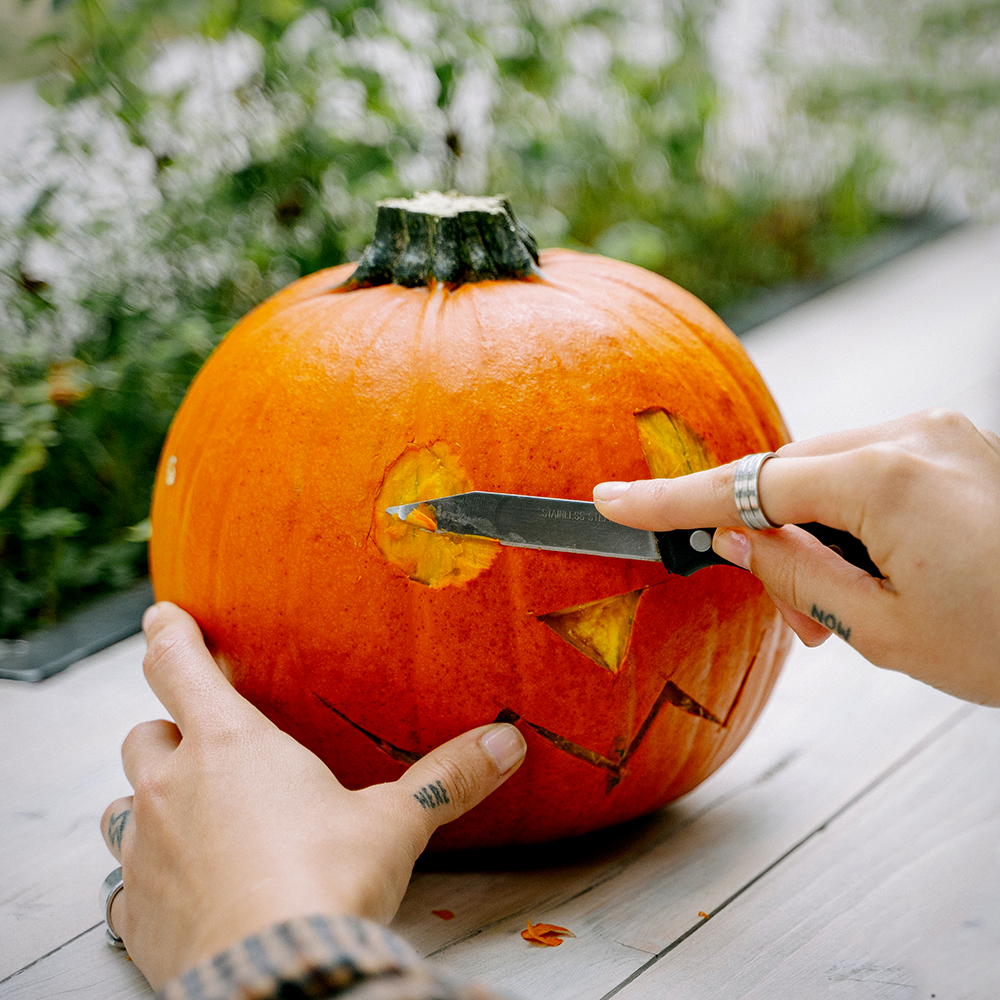
Now comes the fun part—it's time to start creating your pumpkin carving idea!
If you're new to carving a hollowed out pumpkin, start with simple shapes and lines before moving onto more complex designs.
A good pumpkin carving kit will come with all the tools you need to get the job done.
These typically include a small saw, a gouge, and a scraper.
When you're carving, be sure to take your time and work slowly.
Remember, it's always better to err on the side of caution—you can always carve more, but you can't put it back once it's gone.
Also, be careful while handling sharp tools and blades.
It's always a good idea to have an adult present when carving pumpkins, especially if there are small children around.
Once you've finished carving, be sure to give your carved pumpkin a test run by placing a candle inside and lighting it up.
This will help you see how your design looks in the dark and make any necessary adjustments.
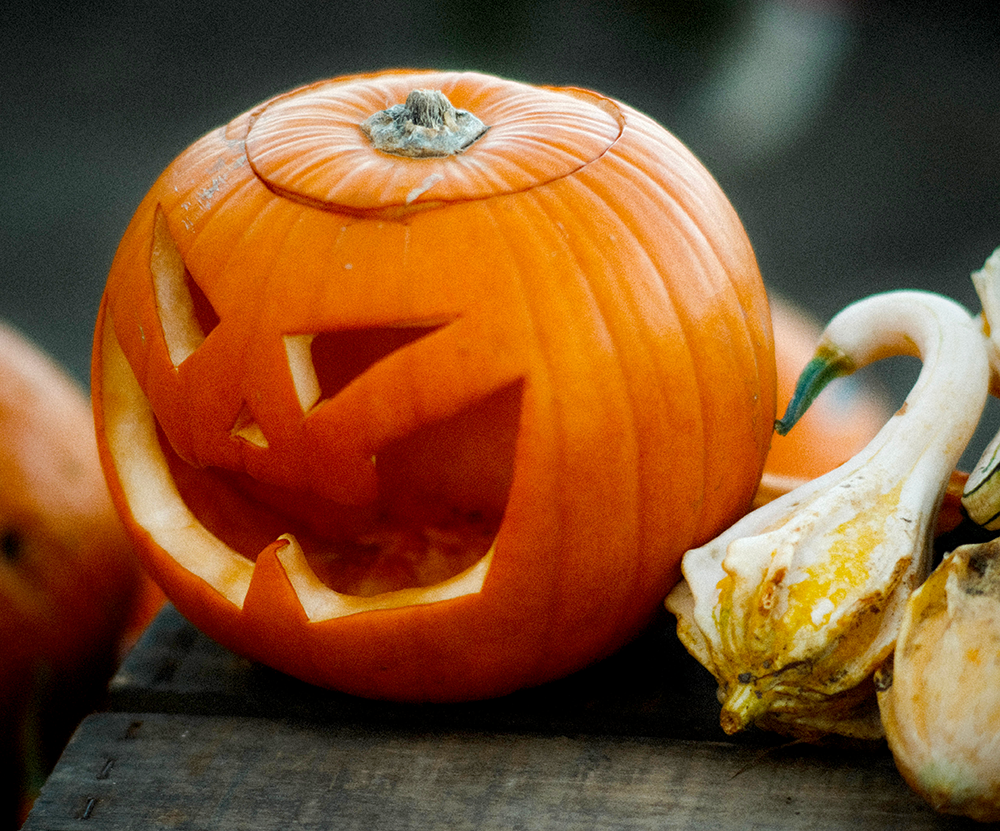

Display and Enjoy
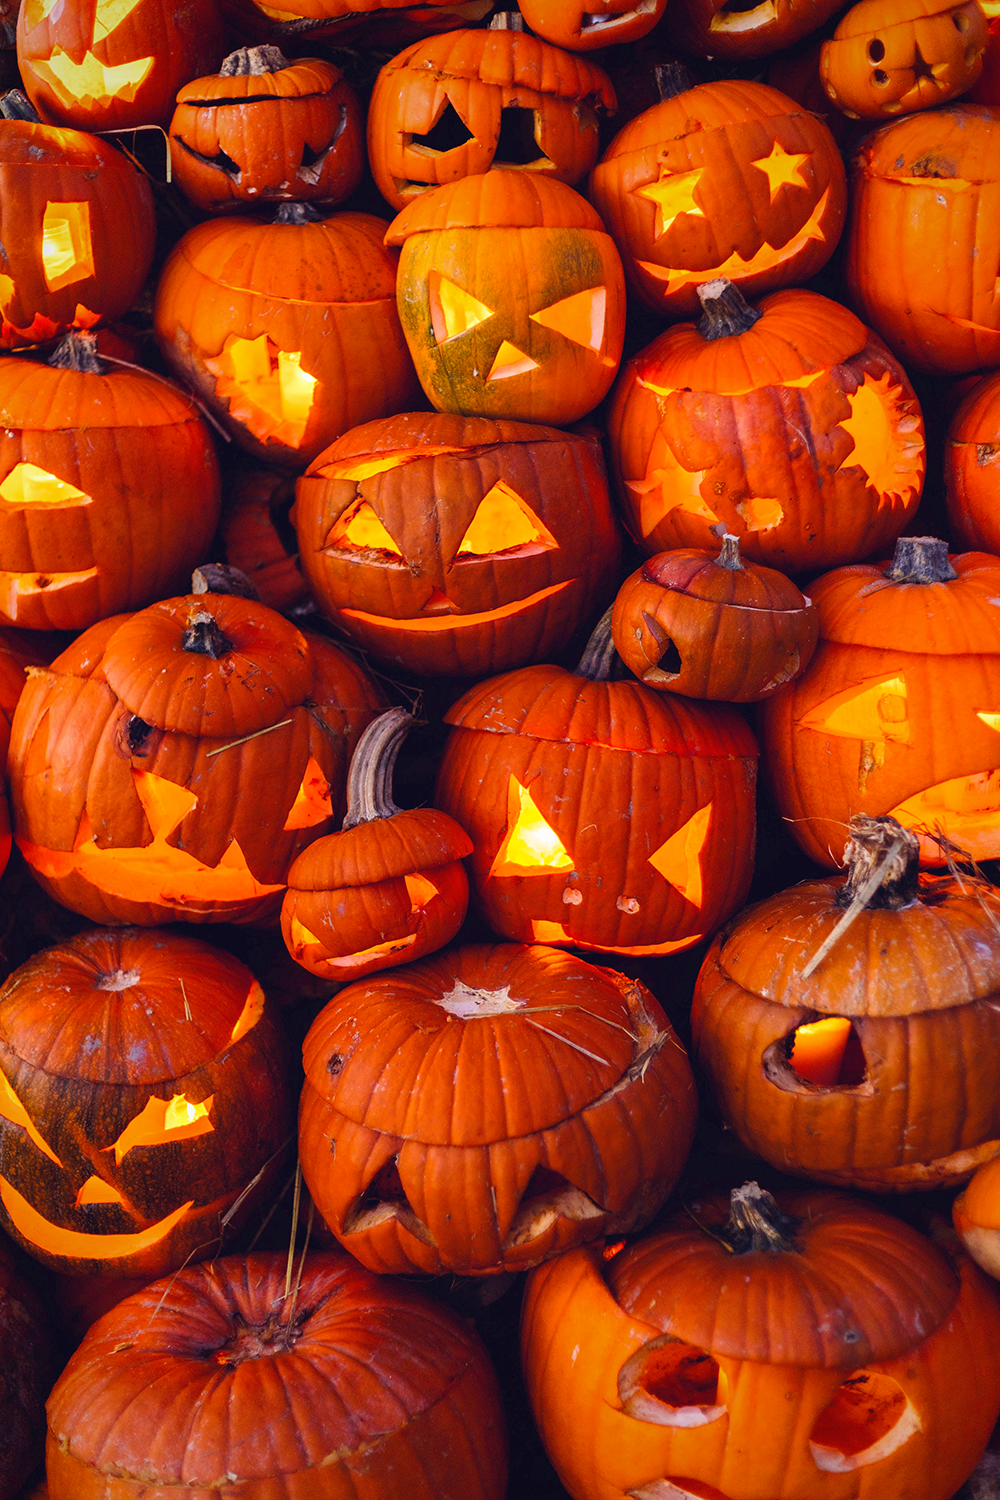
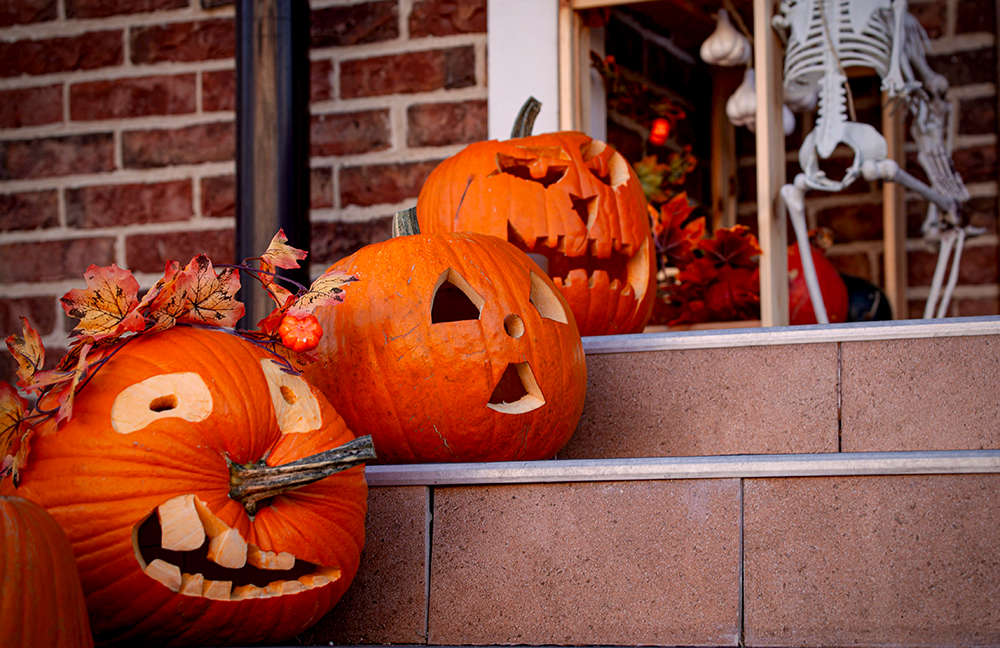
Once you're happy with your design, it's time to display your work of art.
Pumpkins can be displayed in a number of ways.
You can simply place the carved pumpkins and jack-o-lanterns on your porch or doorstep to greet trick-or-treaters, or get a little more creative by making a pumpkin display using hot glue and other supplies.
This can be anything from a witch pumpkin or pumpkin head to a pumpkin piñata or pumpkin topiary.
Get creative and have fun with your Halloween decor!
No matter how you choose to display your pumpkin, be sure to take a step back and enjoy your handiwork.
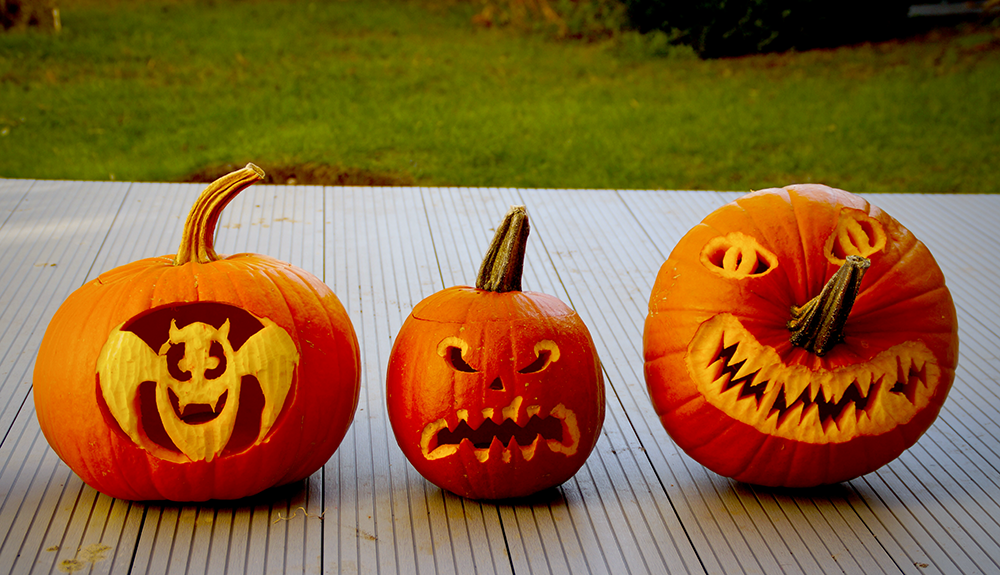

Pumpkin Carving Ideas
If you're looking to add a little more excitement to your pumpkin carving this year, check out some of these ideas.
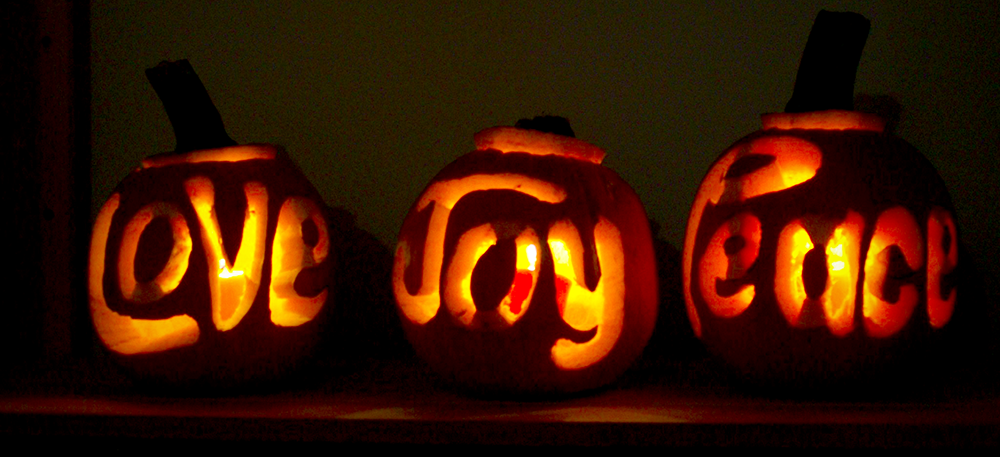
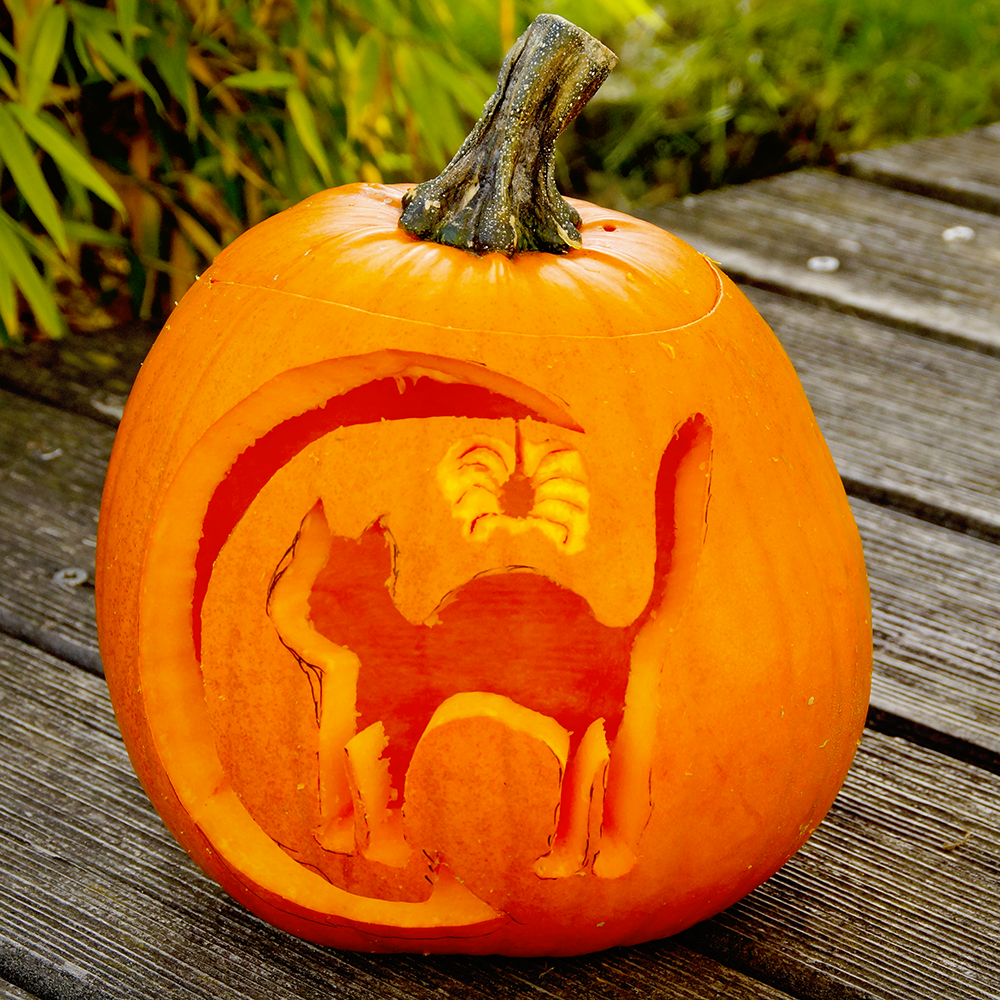
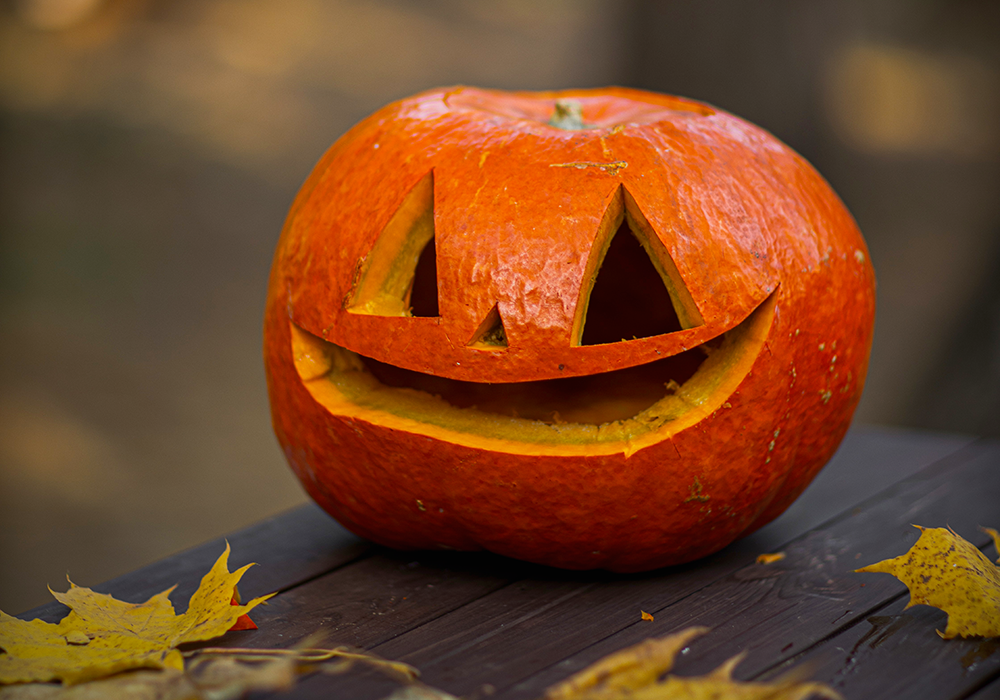
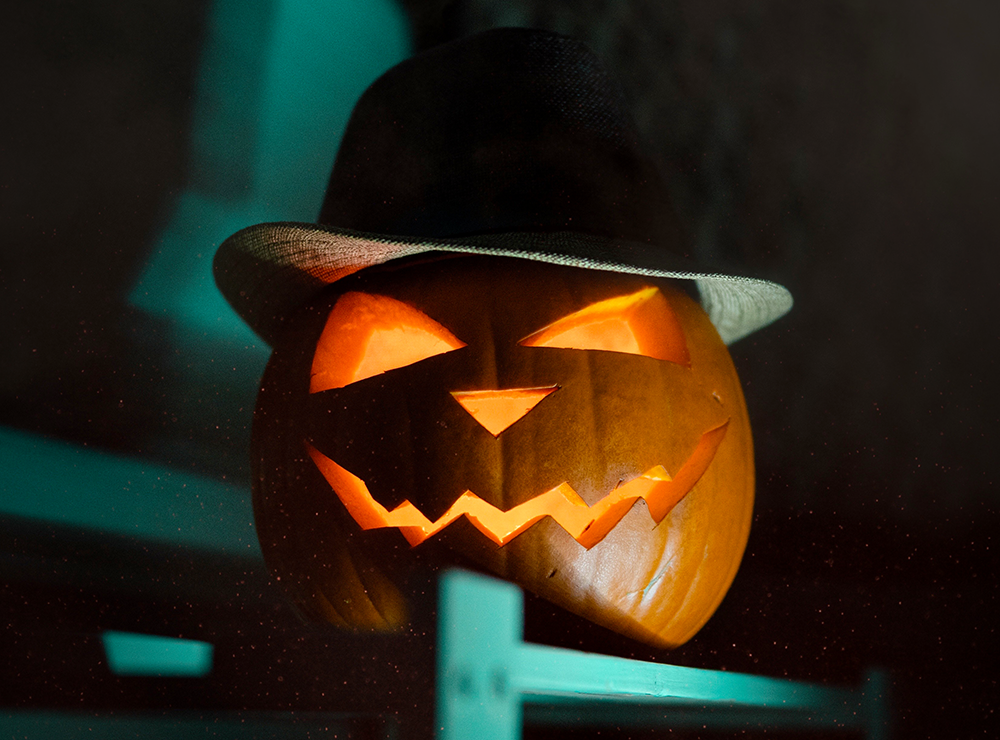
For a fun twist on the traditional jack-o'-lantern, try carving a silly face or funny scene into your pumpkin.
This is a great way to show off your personality and sense of humor.
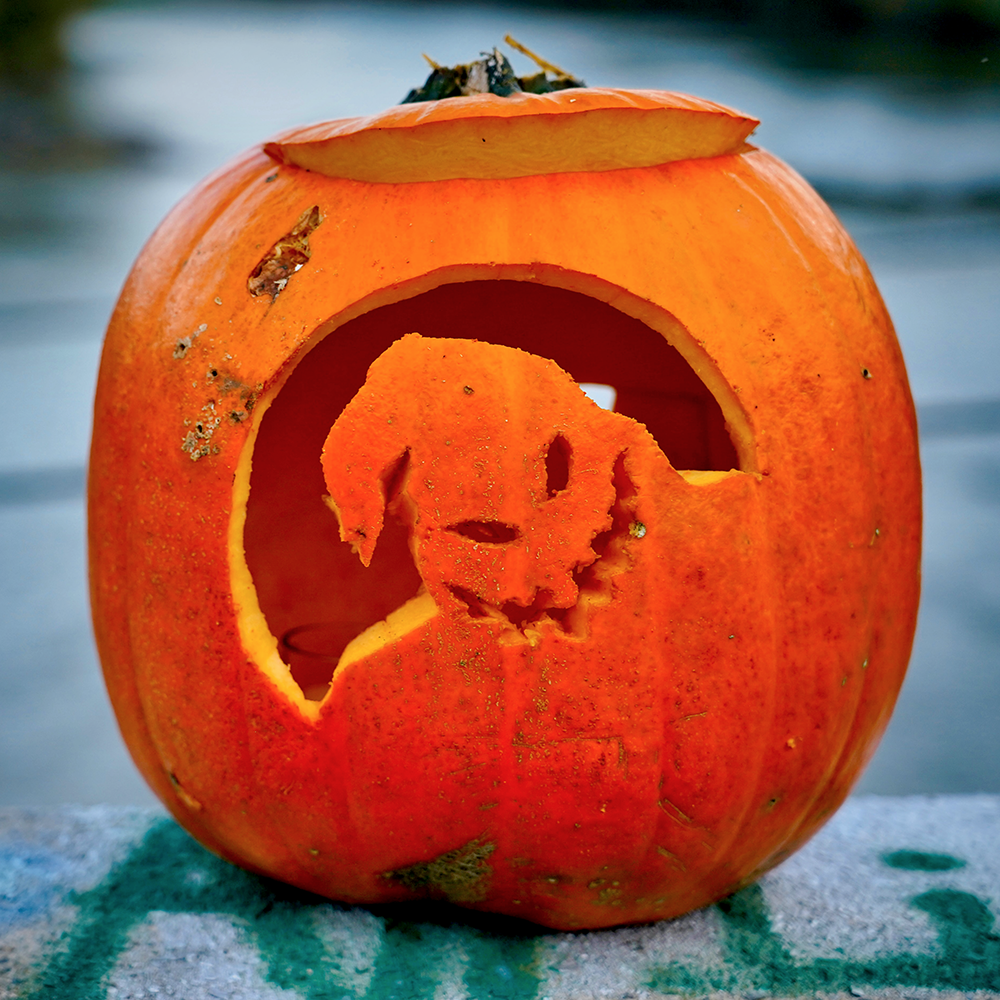
If you're feeling extra creative, try carving your pumpkin without using any patterns or stencils.
Freehand pumpkin carving can be a bit tricky, but the results are definitely worth it.
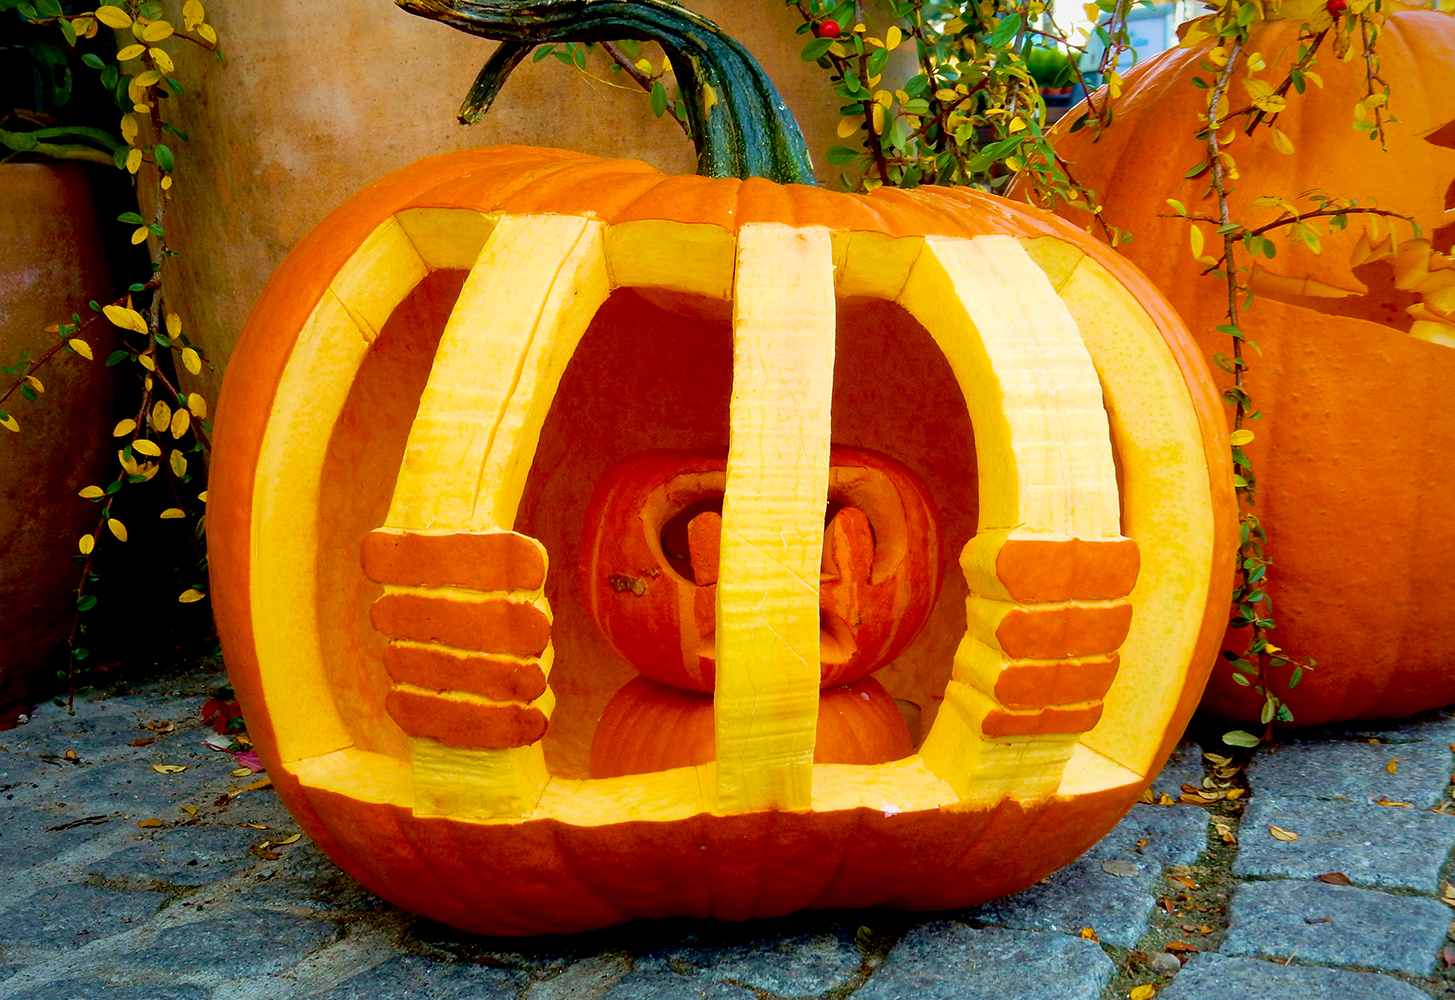
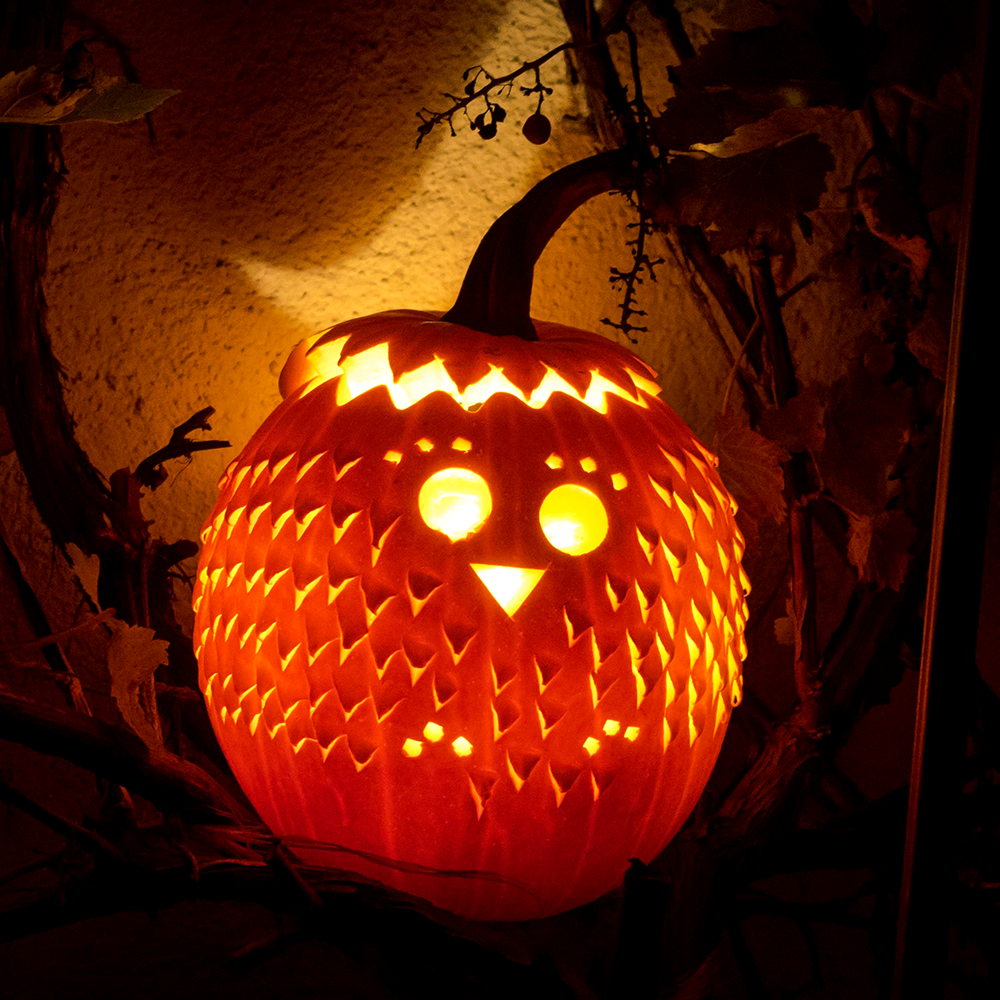
And if you really want to impress your friends and family, try carving a three-dimensional design into your pumpkin.
This is a bit more challenging, but the end result is truly impressive.
So, what are you waiting for? Get out there and start carving!


Perfect Pumpkin Carving
Pumpkin carving is a fun fall activity that anyone can enjoy.
But if you're looking to take your carving to the next level, follow these tips to create amazing pumpkin designs!
With a little bit of planning and practice, you'll be well on your way to creating some truly amazing pumpkins this year!

Eager to learn more about designing and carving pumpkins? Check out WIRED's video!
Ready for Halloween? Check out these articles:

Want to learn more about different kinds of art?
Check out some of our other art guides: