Have you ever wanted to try your hand at pottery but didn't know where to start?
Or maybe you've dabbled in a bit of clay work before but never really got the hang of it.
Well, you're in luck!
This blog post will teach you the basics of throwing pottery on the wheel.
By the time you're finished reading, you'll have all the information you need to get started on your very own wheel throwing pottery journey.
So, grab your clay and let's get started!
Types of Clay
First things first, you'll need to select the right kind of clay for your ceramics project.
There are a few different types of clay that are suitable for pottery, including stoneware, earthenware, and porcelain.
Each type of clay has its own unique characteristics, so it's important that you select the one that best suits your needs.
For example, earthenware is a good choice for beginners because it is relatively easy to work with, while porcelain is best suited for more experienced potters.
Stoneware is somewhere in between and is a great option for anyone looking to make pottery that can withstand more wear and tear.
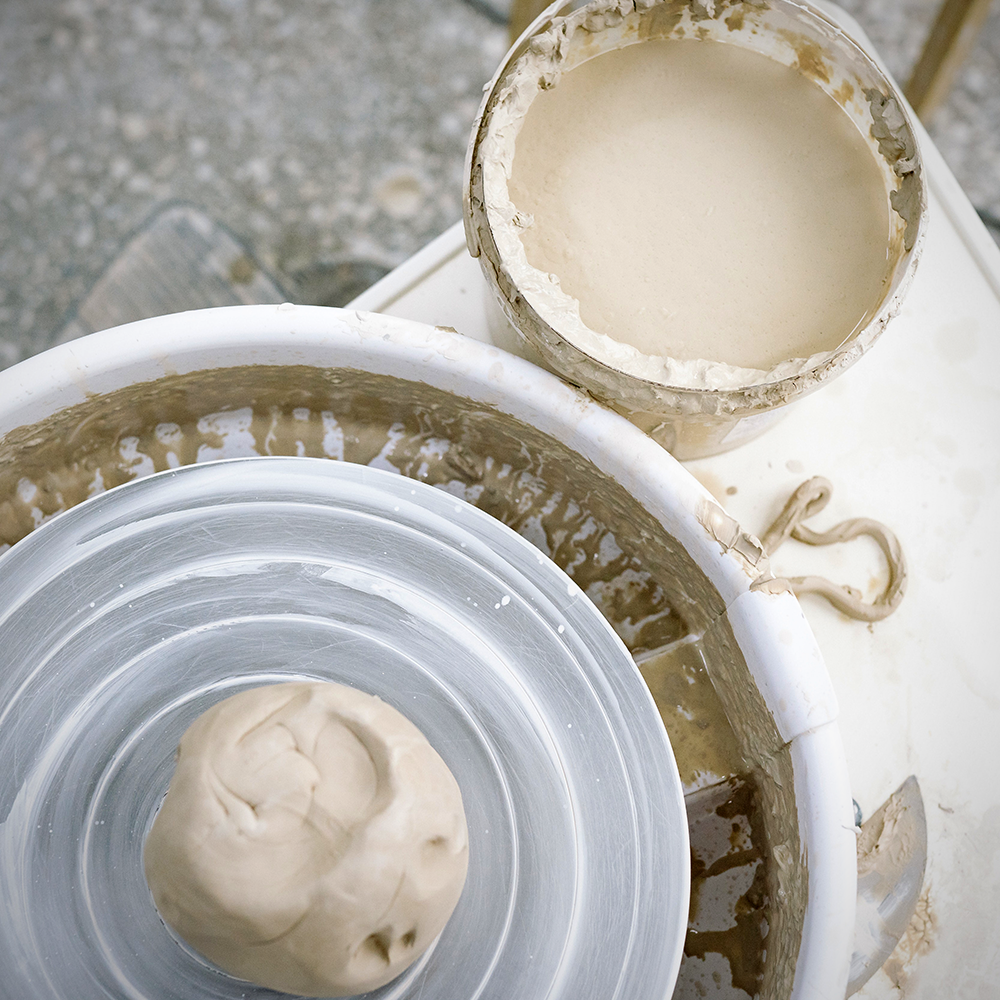
Gather Your Supplies
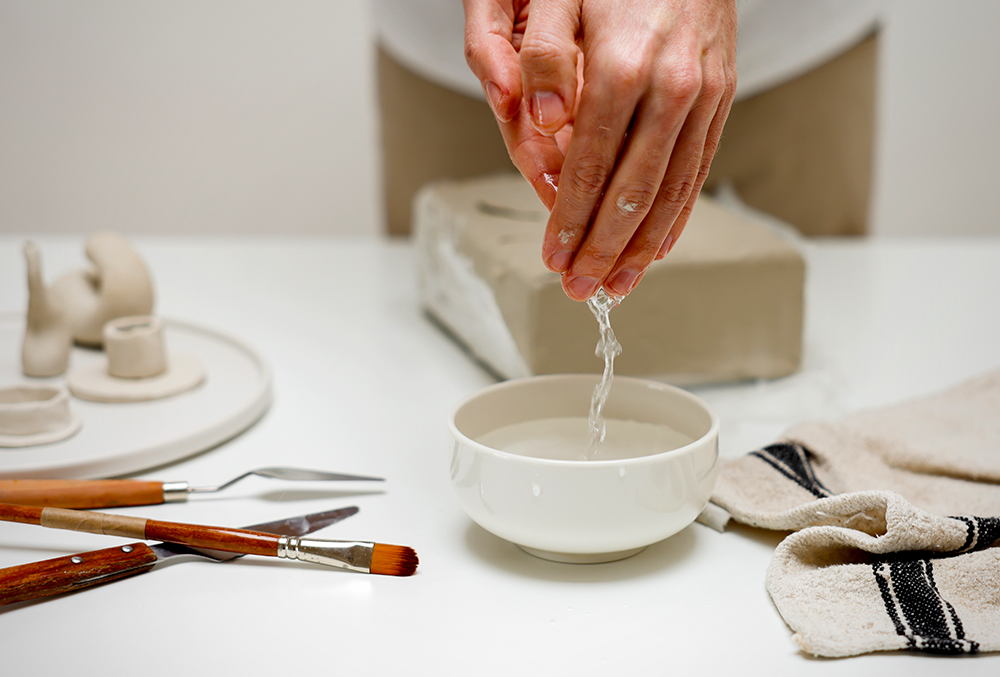
To get started, you'll need gather your supplies.
You'll need a pottery wheel, clay, water, and a few basic pottery tools like a sponge, wooden dowel, and wire cutter.
Pottery wheels come in a variety of shapes and sizes, so make sure you select one that is appropriate for your project.
When selecting clay, consider the type of pottery you are making and the temperature at which it will be fired.
Once you have everything assembled, it's time to start working!
Prepare Your Clay
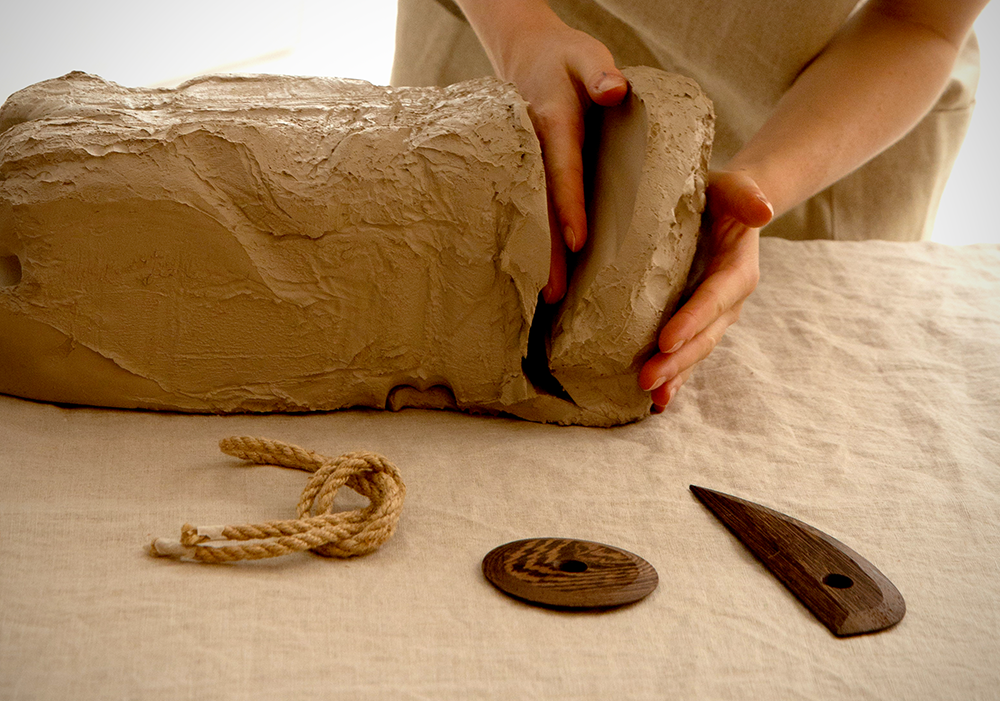
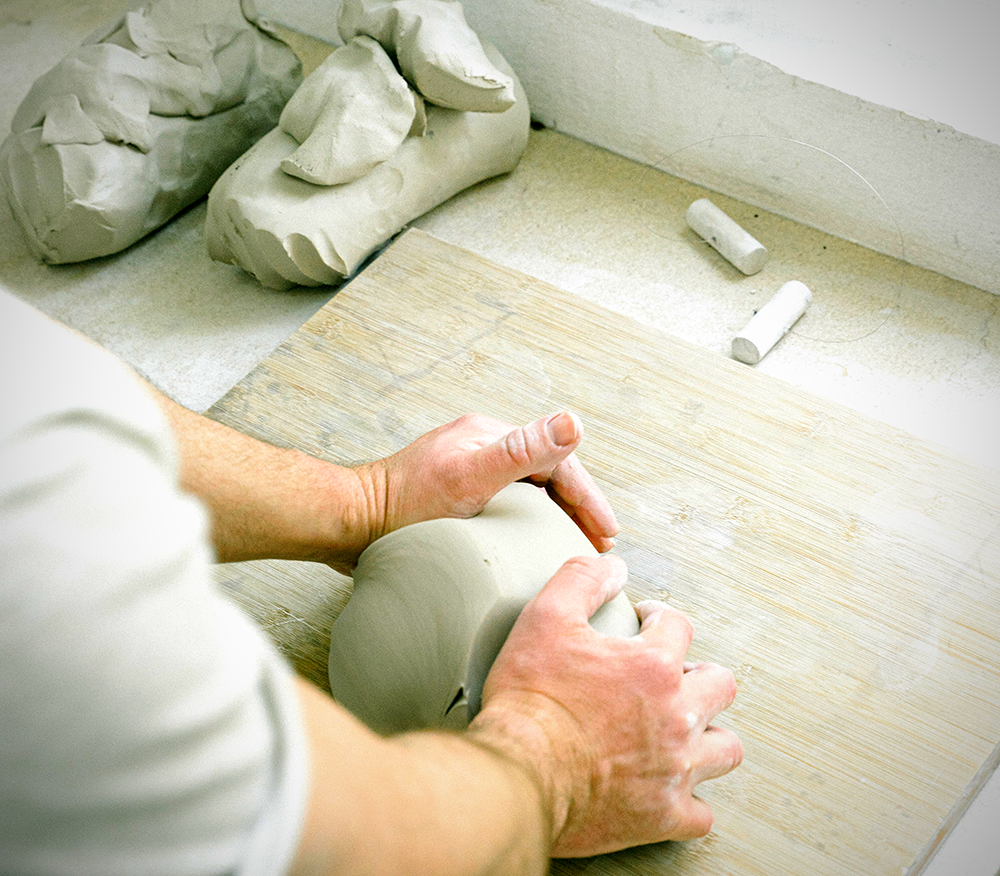
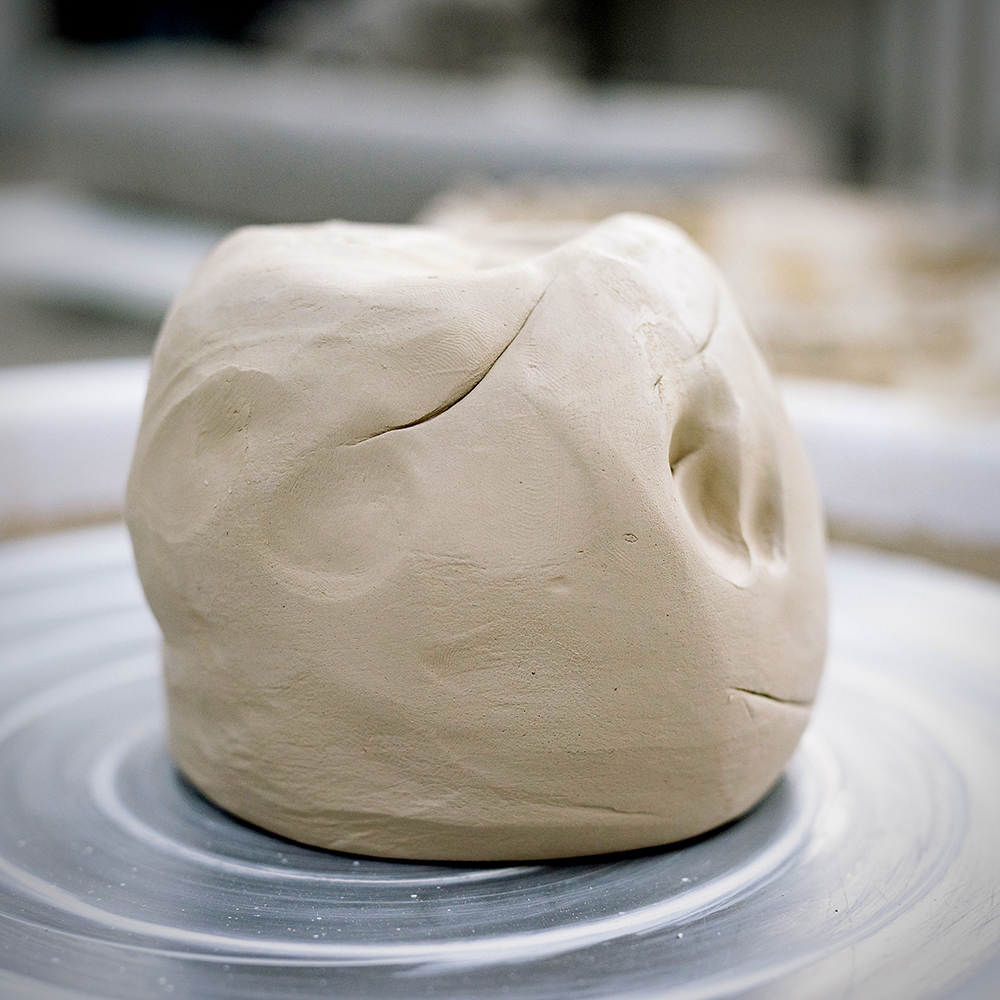
Once you have your clay, it's time to prepare it for throwing.
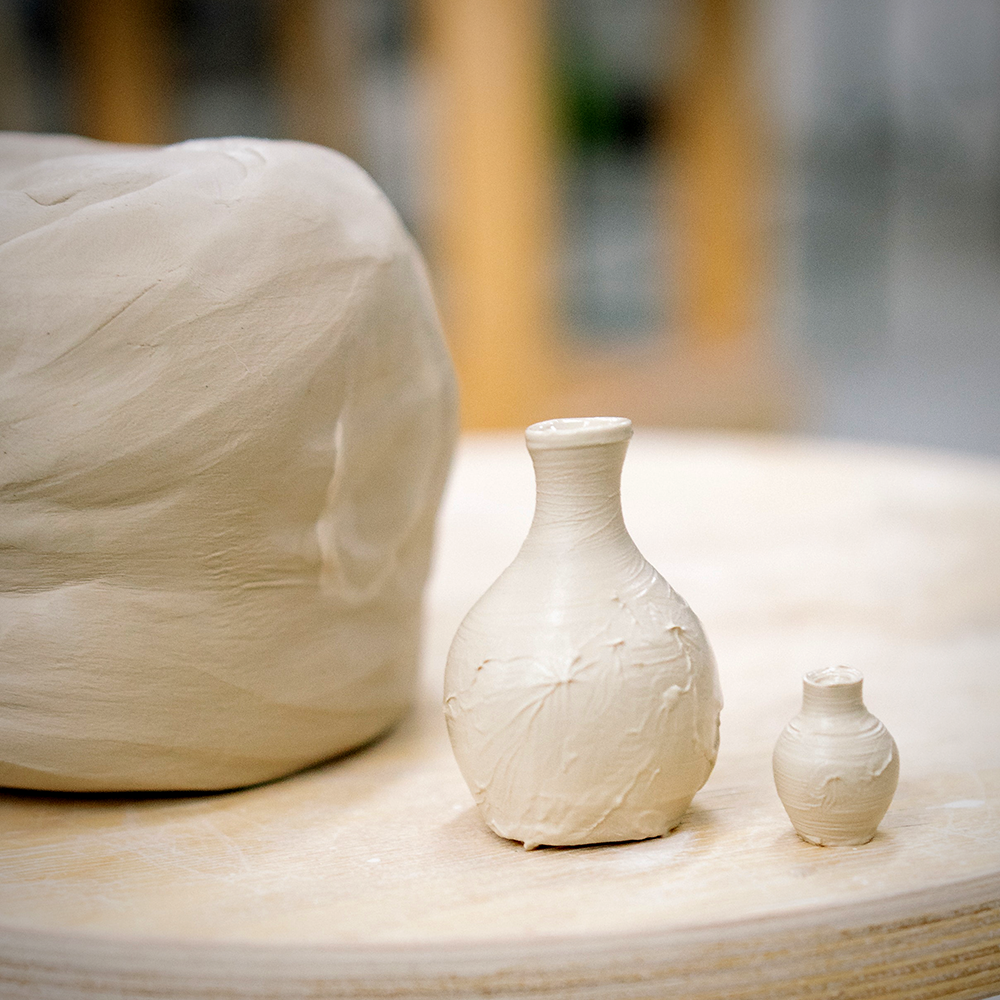
How much clay you'll need depends on the size of your project.
If you're making a small vase or bowl, start with about one pound of clay; for throwing taller pots, you may need up to five pounds.
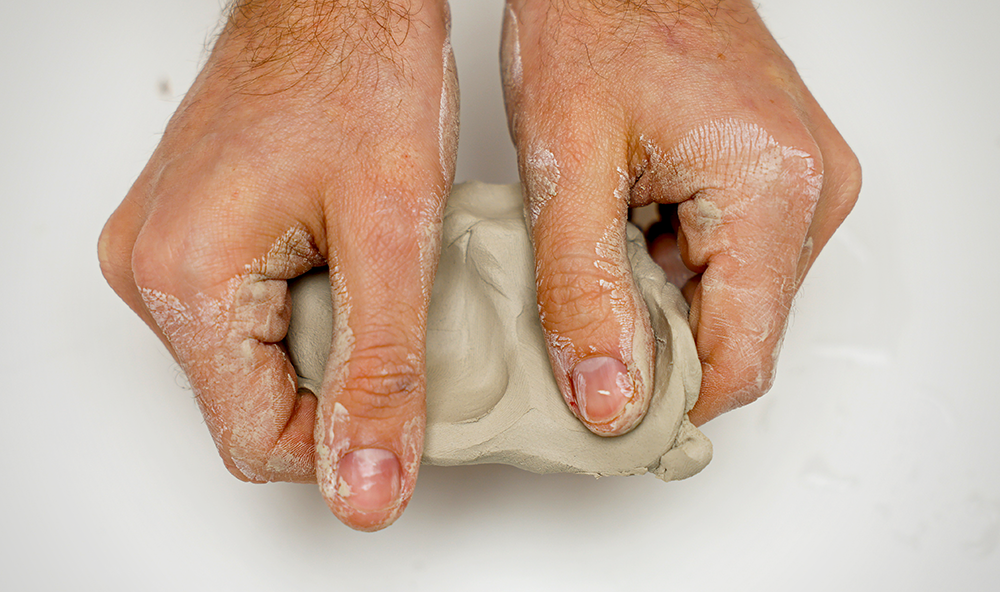
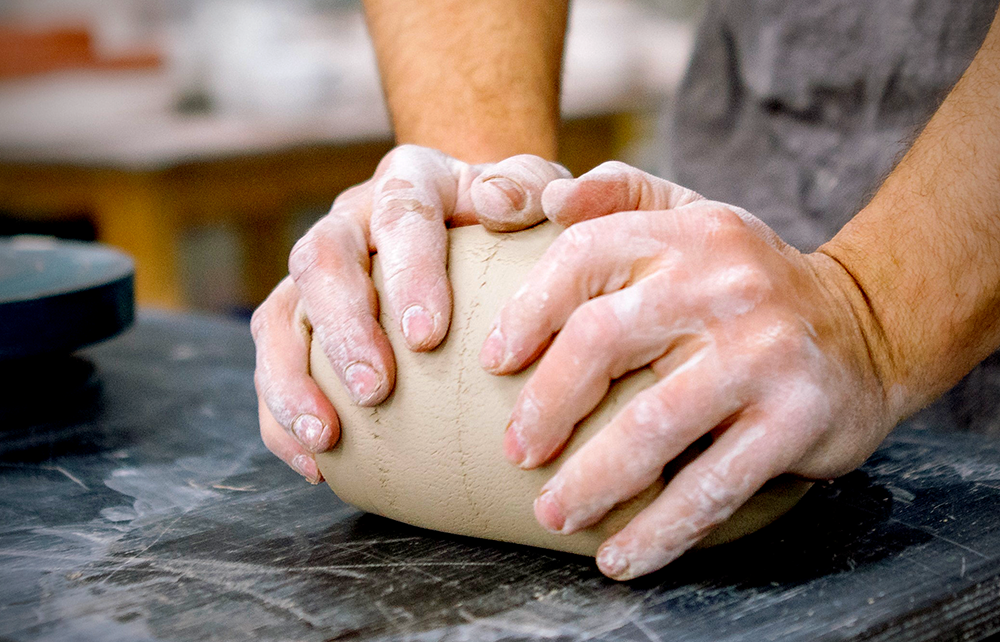
Once you have as much clay as needed, it's time to start conditioning it.
This is the most important step when starting your clay project.
First, knead and wedge the clay evenly until it is soft and pliable.
This will help to prevent air bubbles from forming in the clay as you work.
Wedging clay is an important step that should never be skipped because it will help ensure that your pottery turns out even and with a uniform shape.
Once your clay is prepared, you can use it on the potter's wheel.
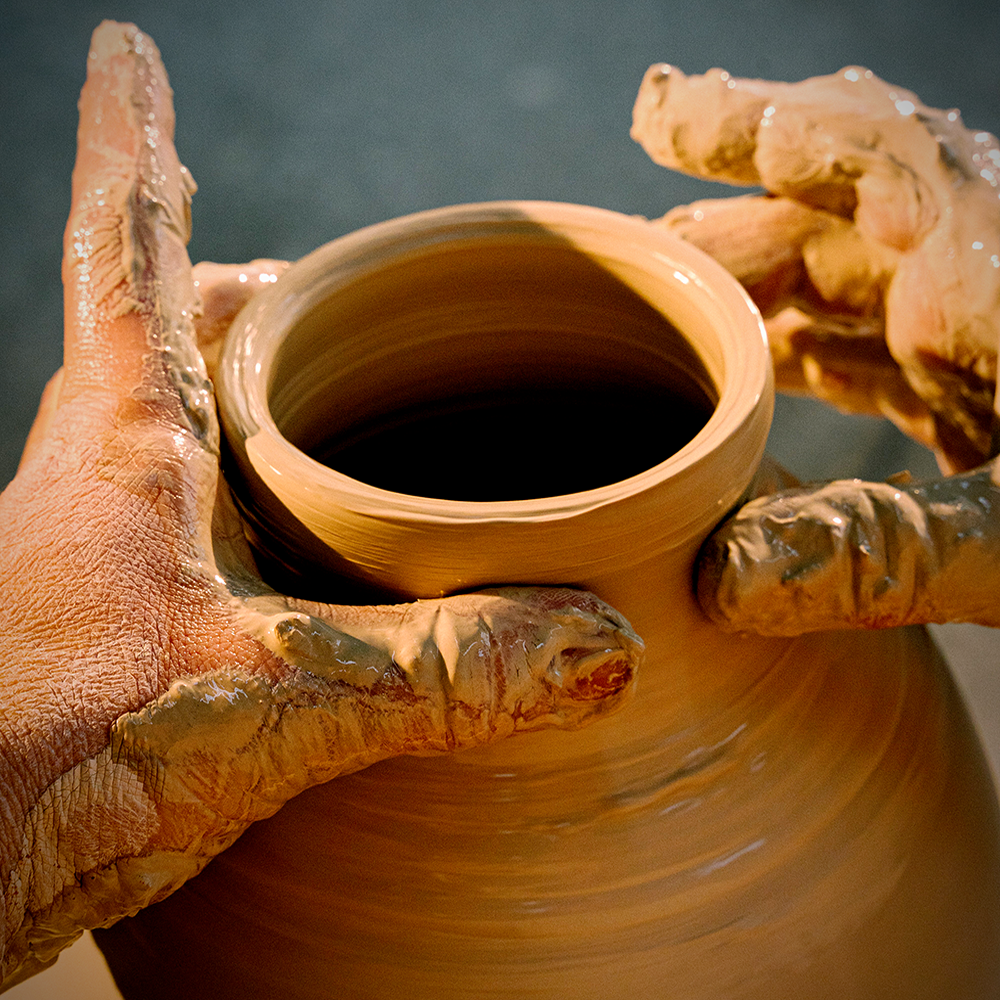
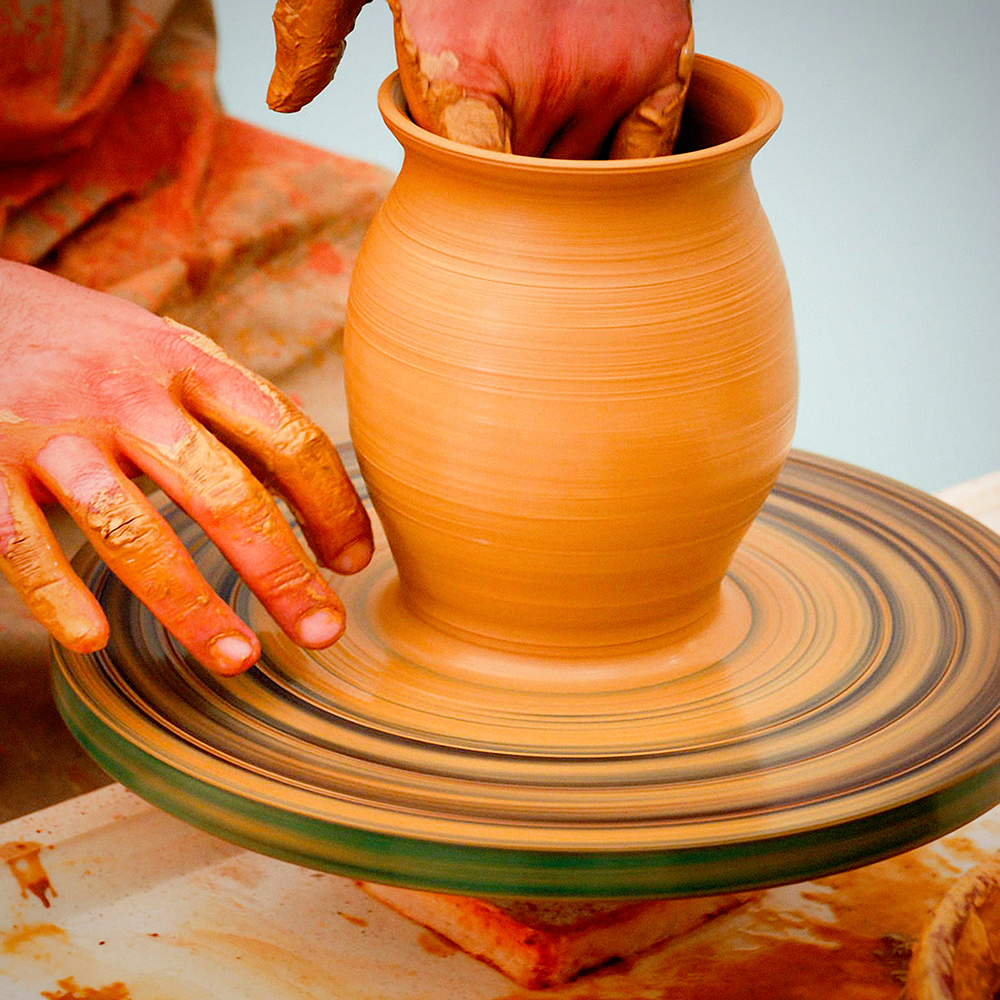
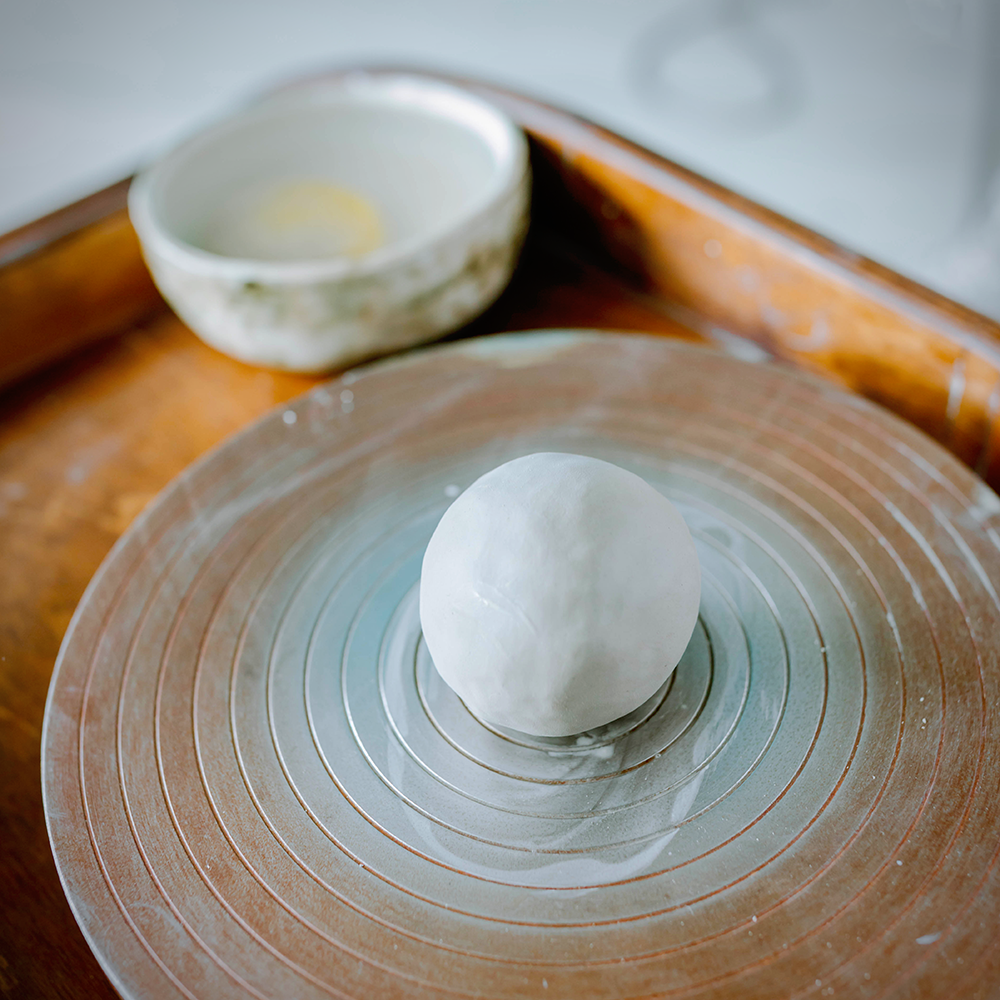
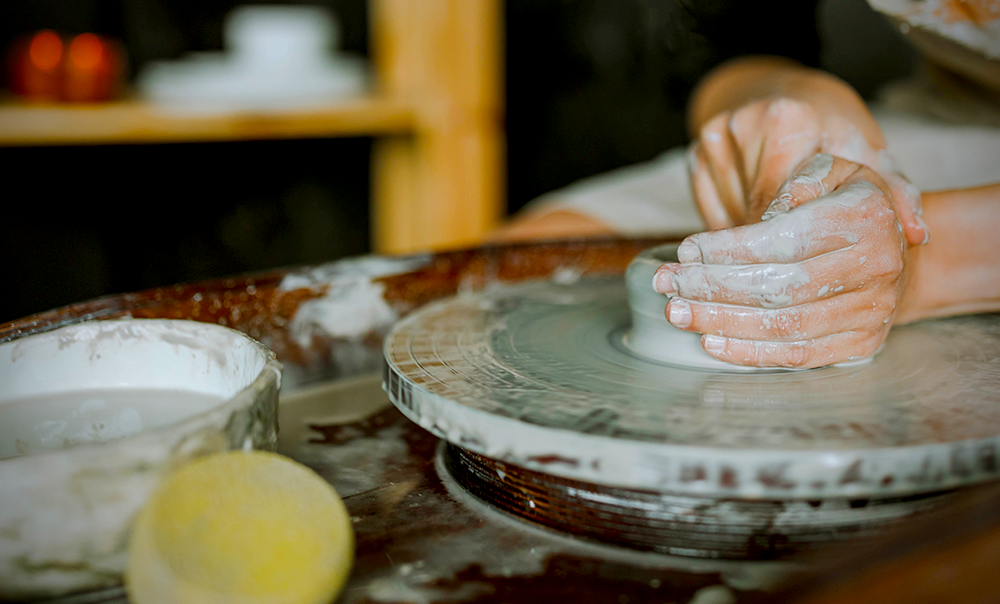
Centering Your Clay on the Pottery Wheel
Take your prepared clay and place it on the center of the wheel head.
To do this, wet your hands and press the clay down into the center of the wheel.
Using your hands, press down firmly on either side of the clay and slowly move your hands outward in a circular motion.
As you do this, the clay will start to rotate and take shape.
This is called "centering" your clay.
Centering the clay is important when you want to throw clay projects; if you don't center it, your piece won't turn out even and uniform.
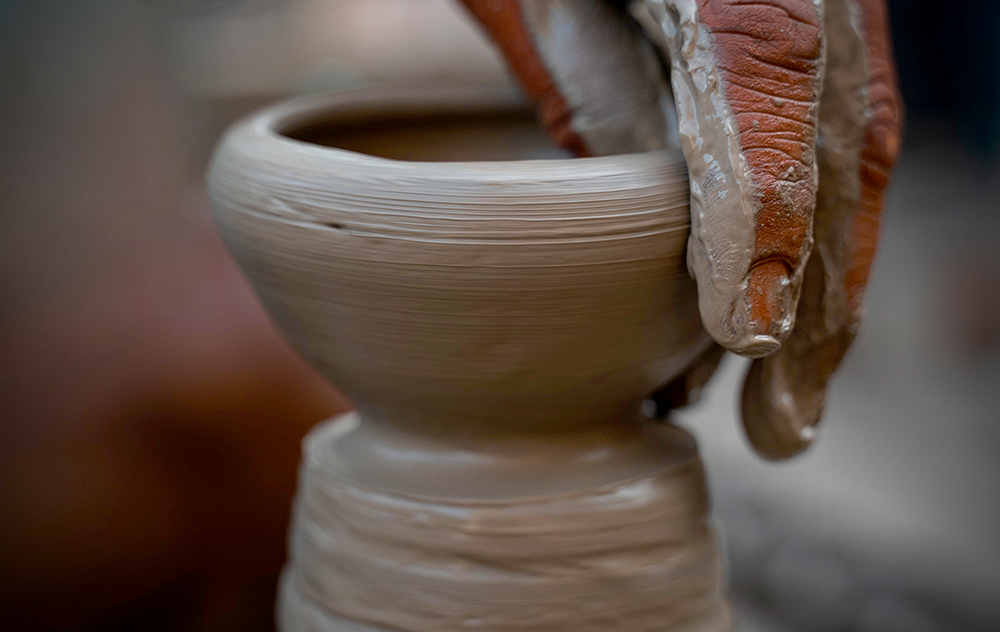
Throwing Clay and Pottery Making
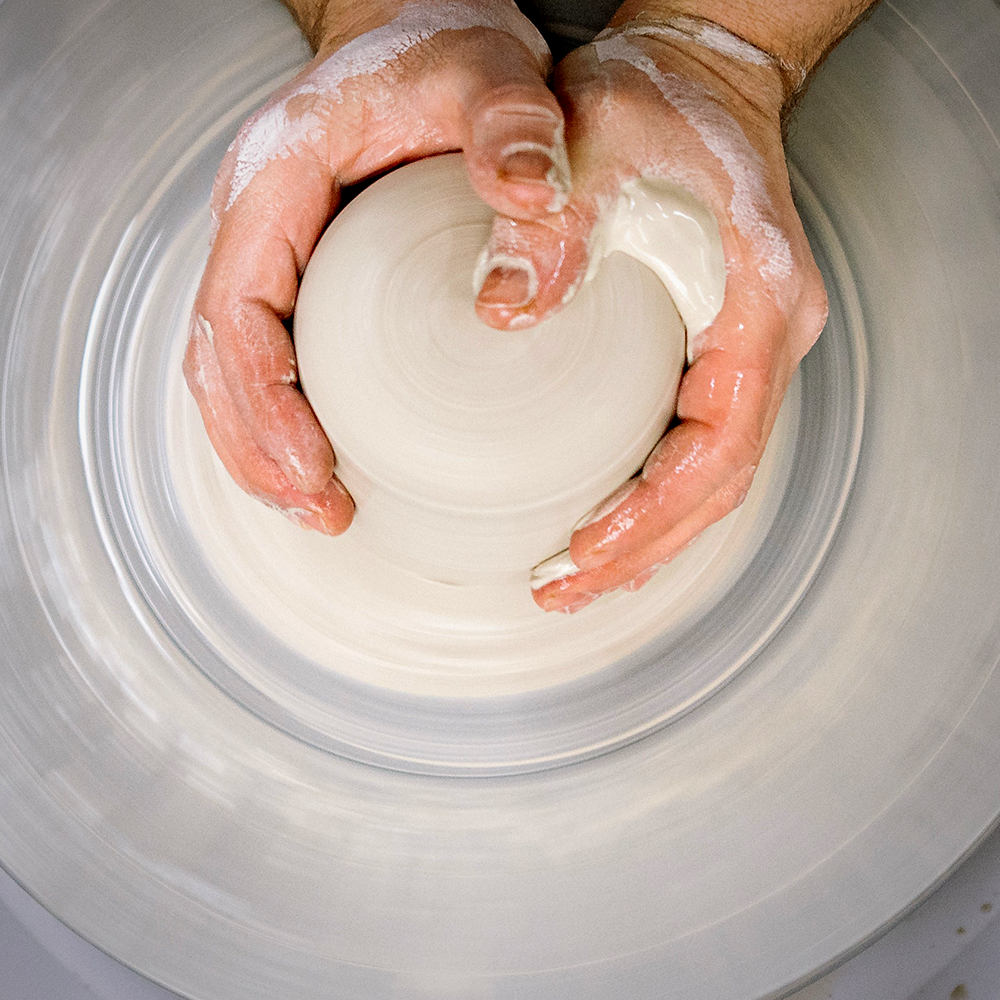
Now that your clay is centered, you can start shaping it on the pottery wheel.
To do this, use your hands to press down on the clay and shape it into a cylinder.
Then use your thumbs to make an indentation in the center of the ball of clay.
Keep your hands wet throughout this process as it will help to prevent the clay from sticking to them.
Gently press down on the ball of clay and use the fingers of your other hand to guide the clay.
The left hand and right hand should create a gradual downward pressure .
This will help to form the shape of your pottery piece.
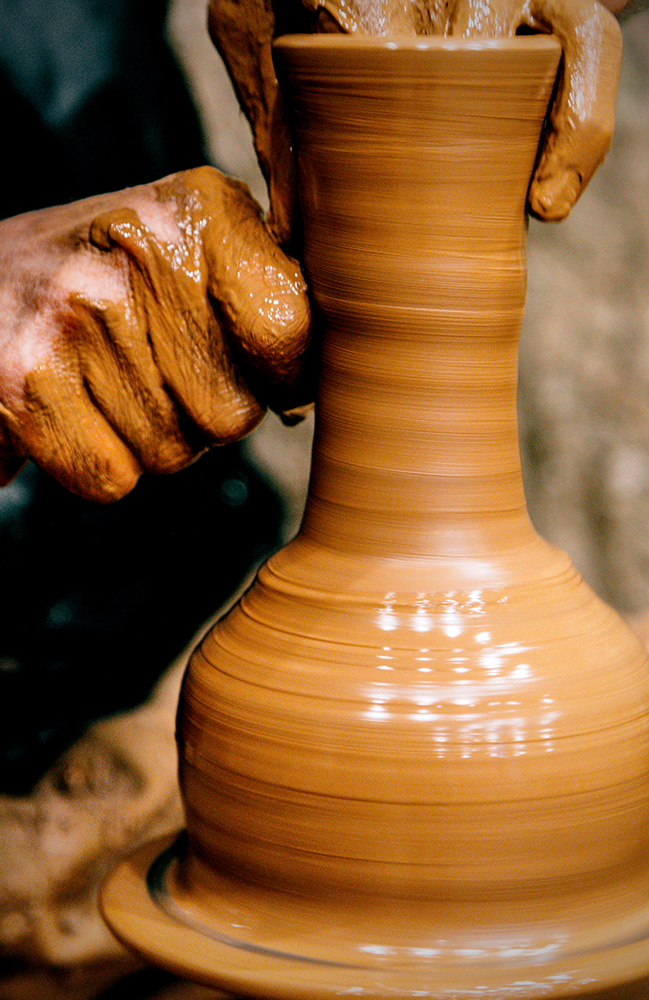
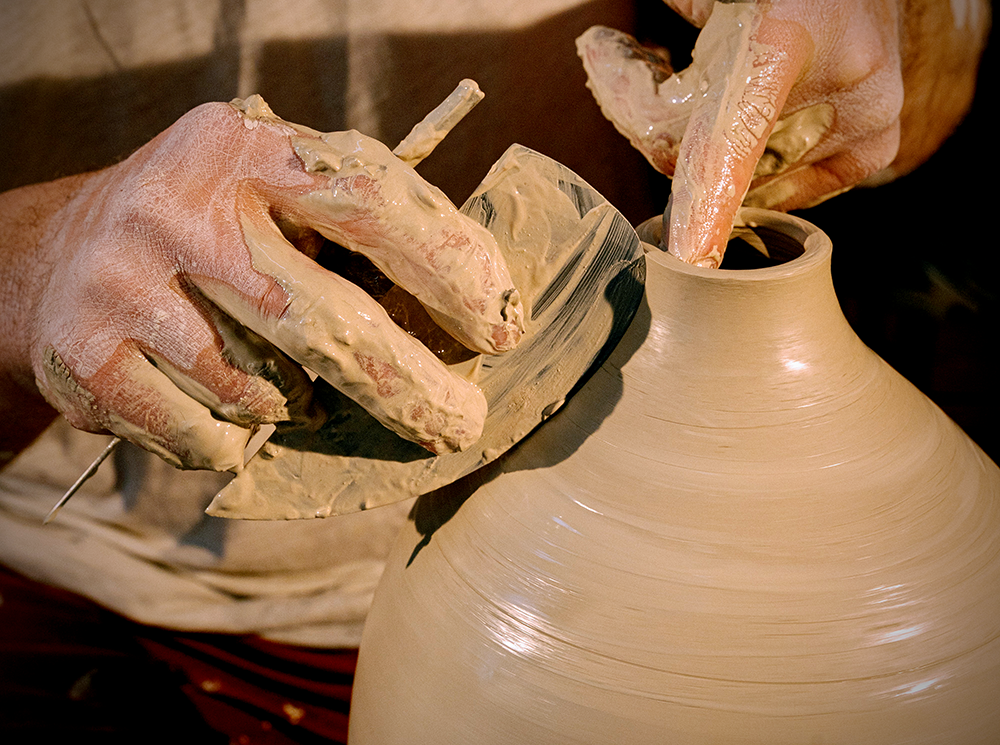
Using your finger tips, you can begin pulling walls up and begin moving the clay outward and upward, until it has formed your desired shape.
Use your index finger as a guide for the thickness of the bottom of your clay piece; a thickness of about 1/4 to 3/8 inch is suggested.
You can create any shape you like, from vases and bowls to mugs and plates.
It's beneficial to consider the wheel speed when you throw pots because it can affect the end result.
A slower wheel speed allows for more control and precision, while a faster wheel will give you a more even shape.
Your throwing technique will improve with practice, so don't be discouraged if some of your pieces don't turn out quite right.
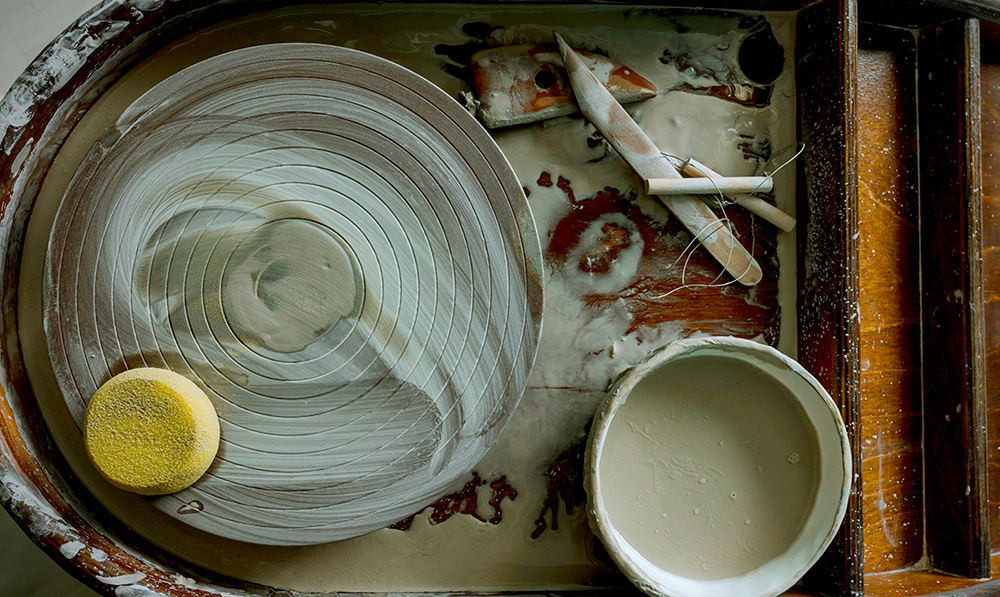
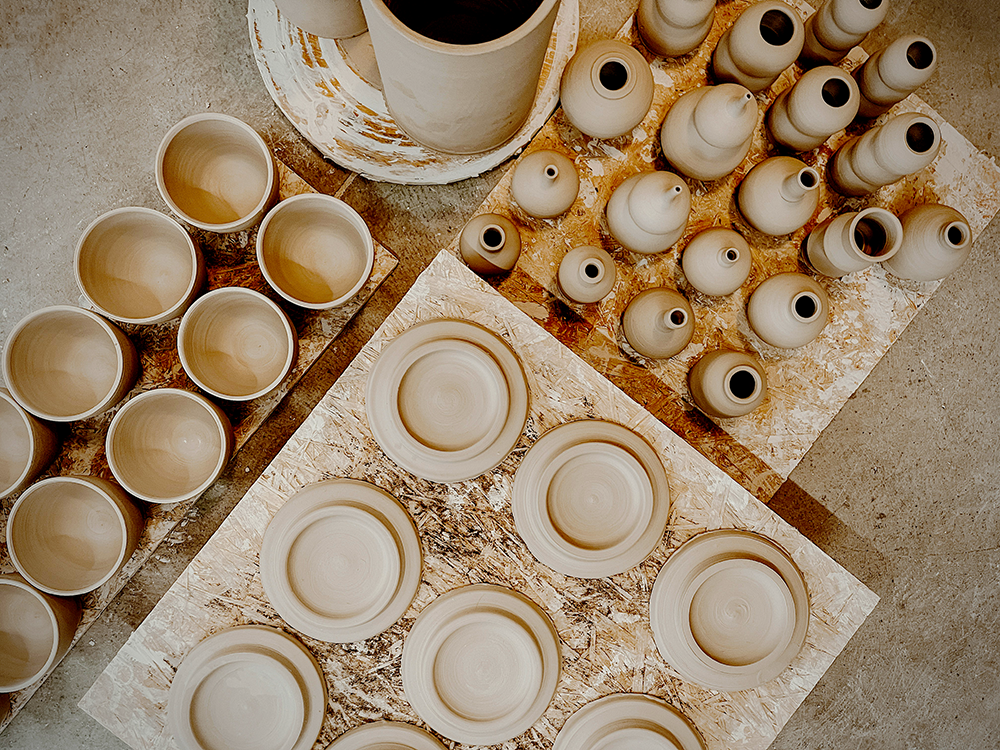
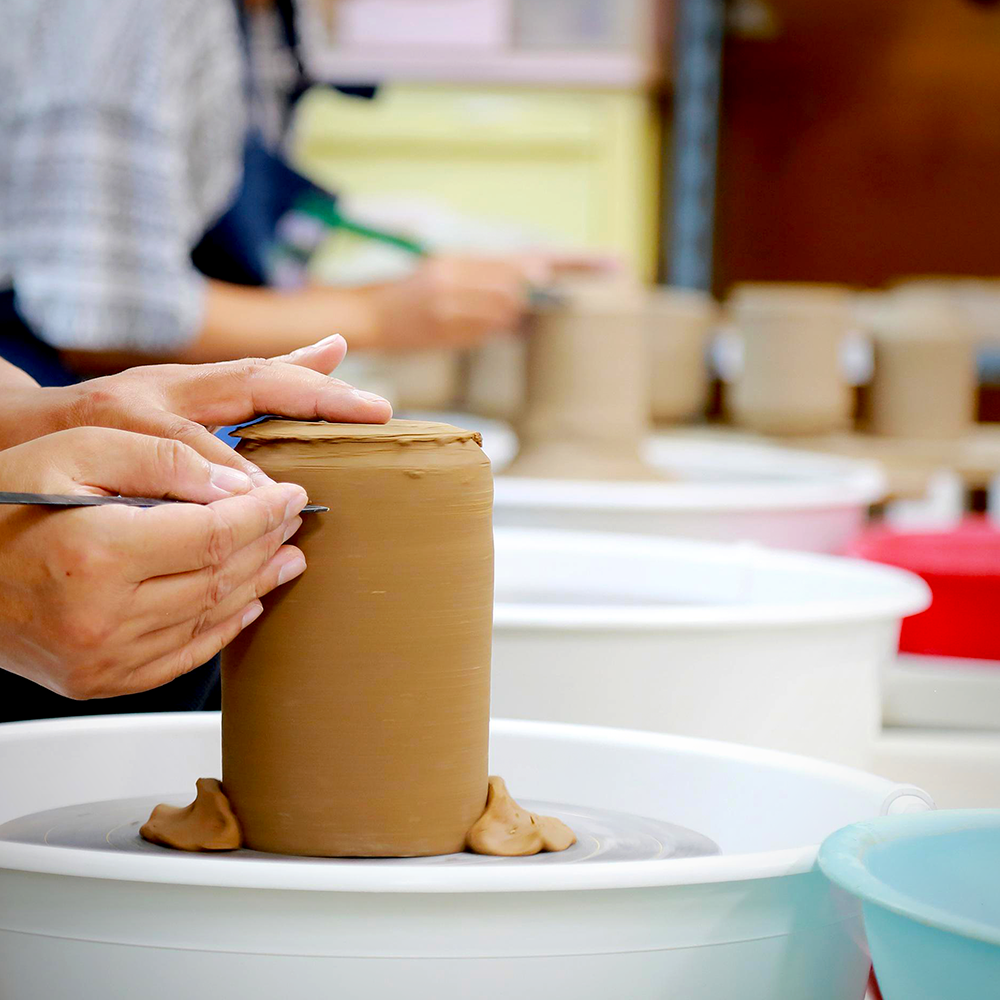
Trim Your Pottery
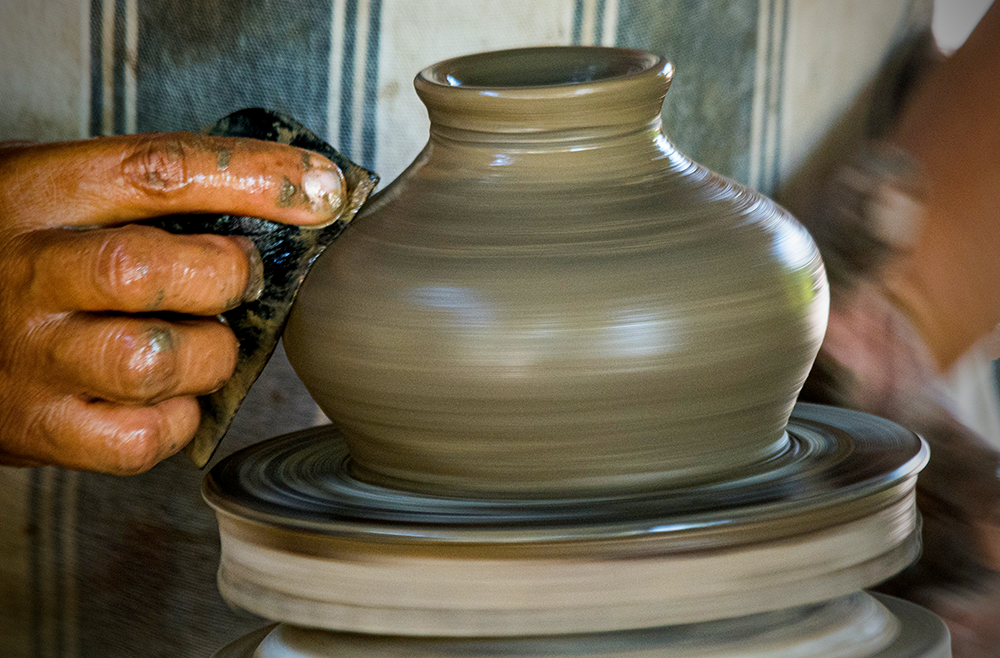
Once your pottery is formed to your liking, it's time to trim the excess clay away.
To do this, use a wire cutter or wooden dowel and carefully remove any uneven edges.
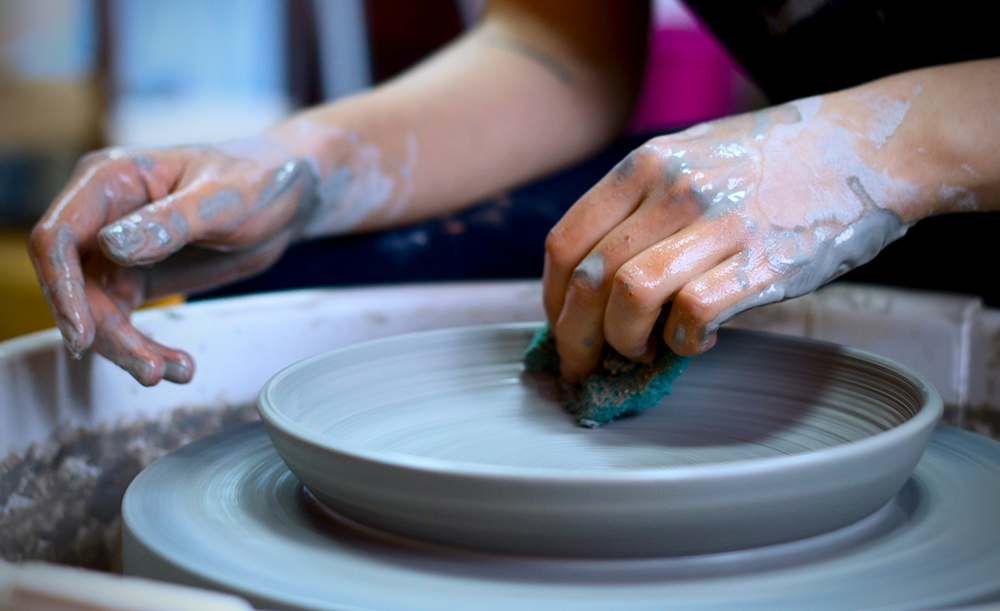
Then, use a sponge to smooth out the clay and give it a nice finish.
Once you're finished throwing your piece, it's time to let it dry before firing and glazing.
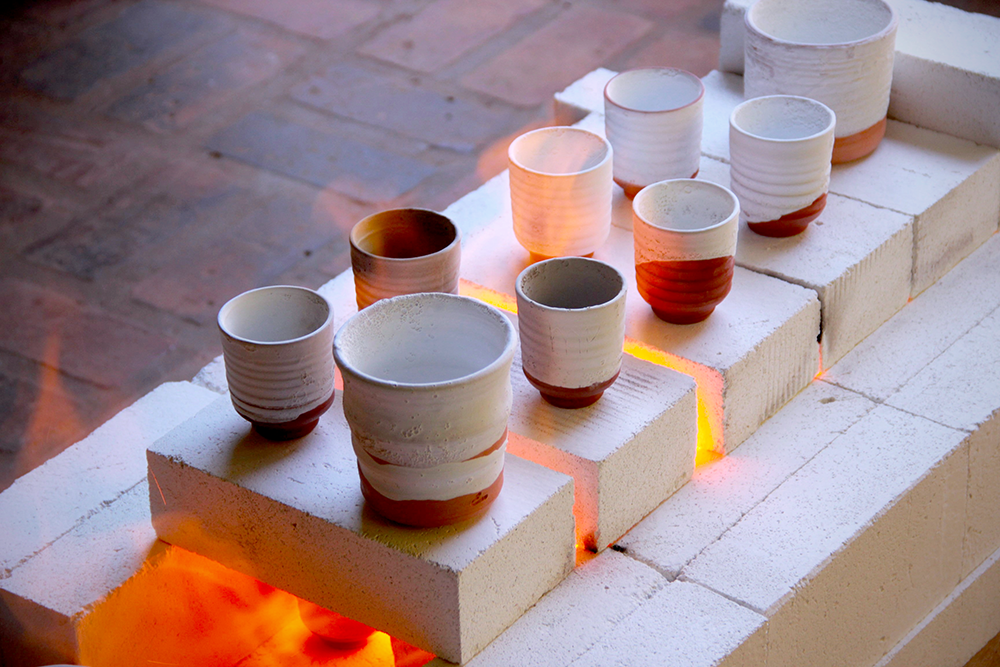
Firing and Glazing
First you will need to bisque fire your pottery.
This is the process of firing your clay in an oven at a low temperature to harden it and make it water-resistant.
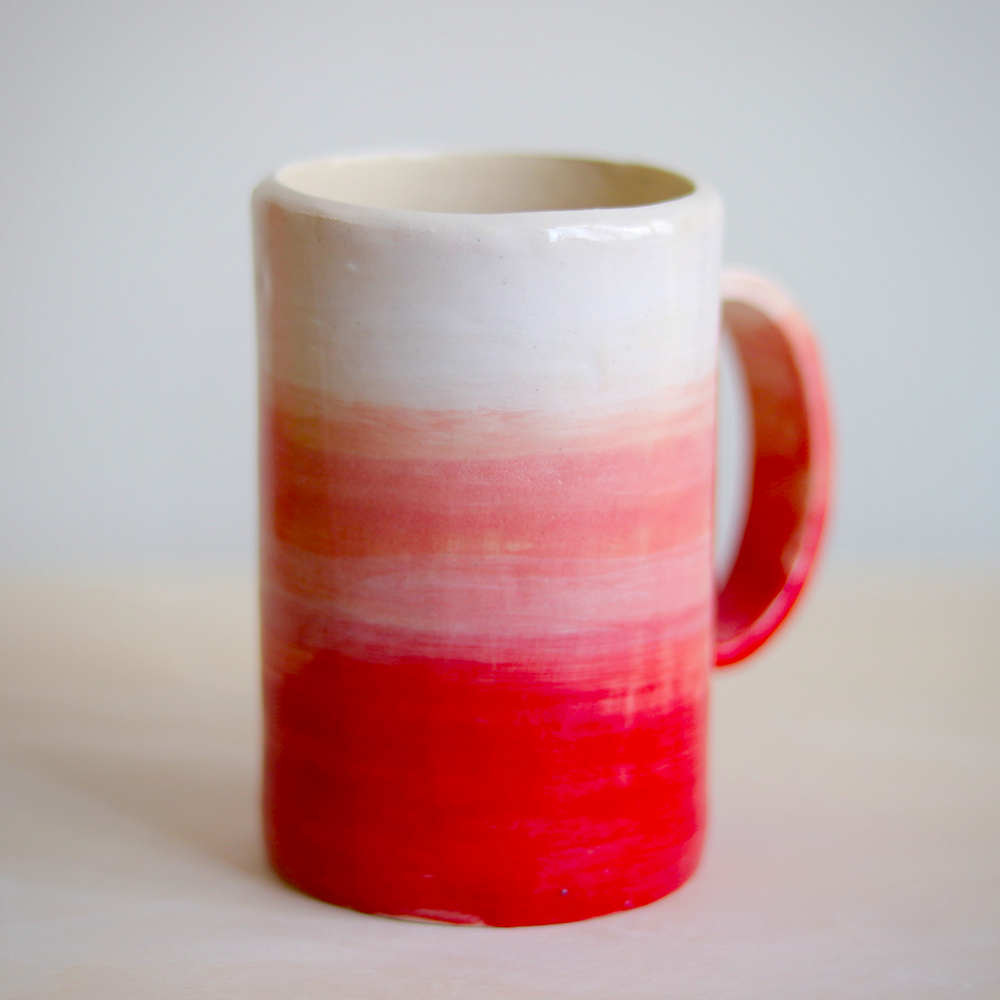
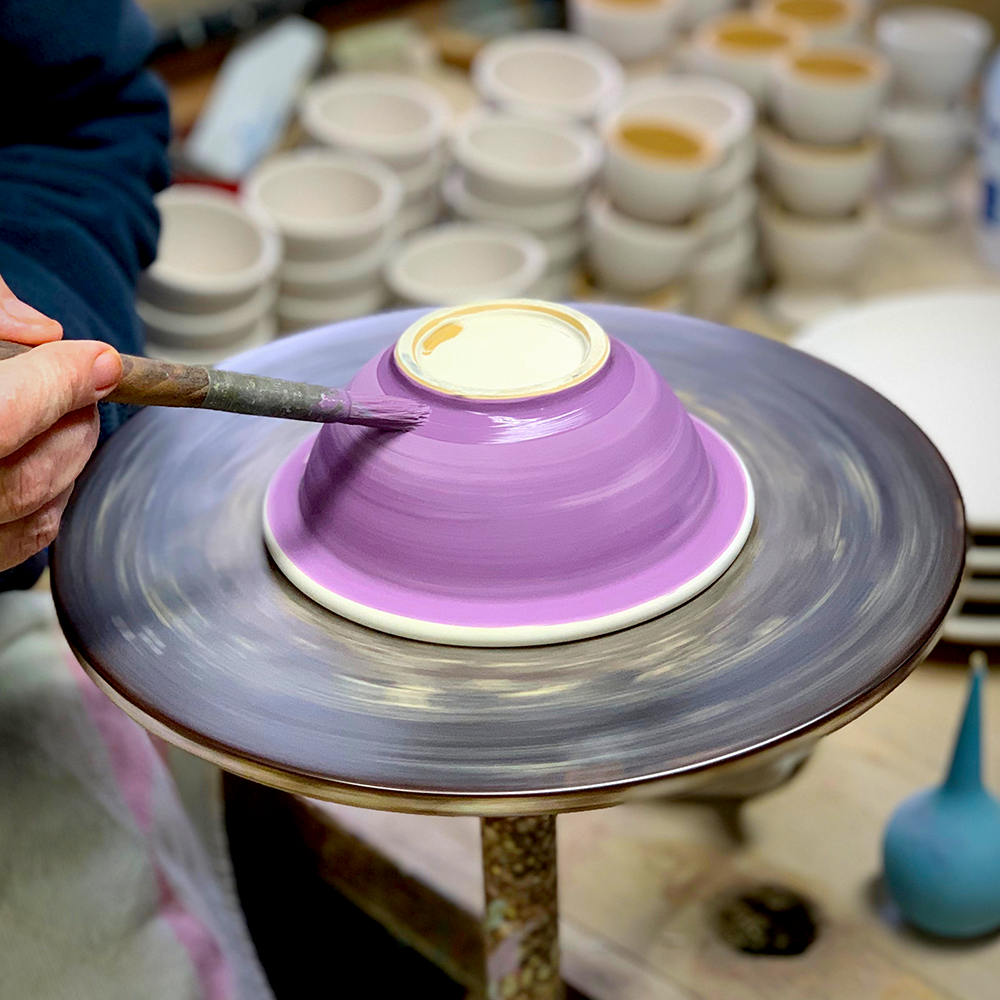
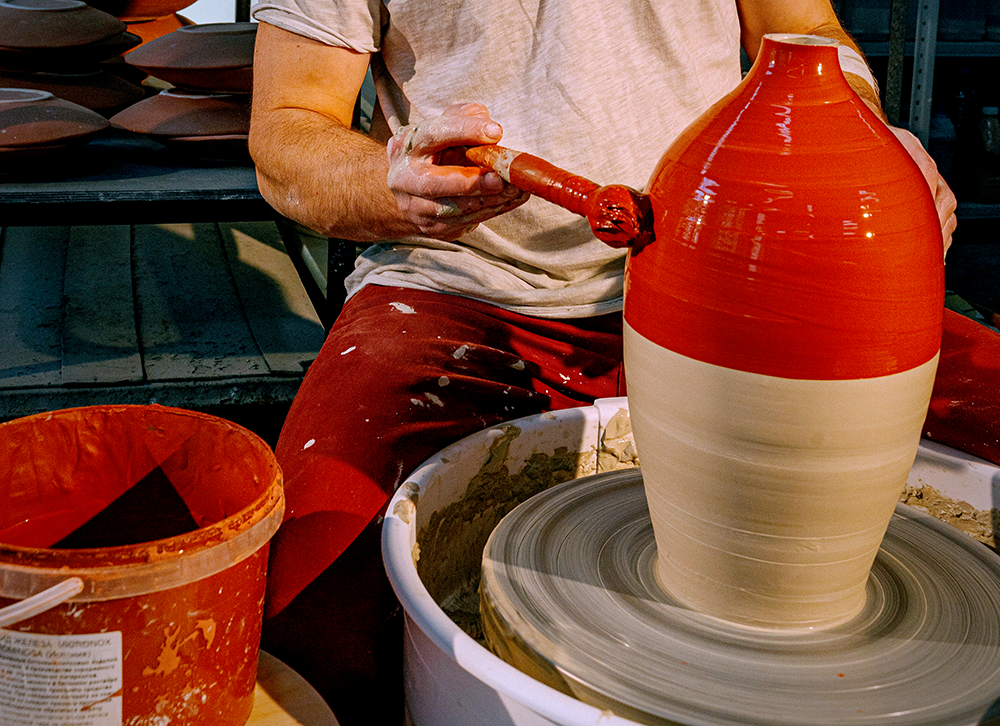
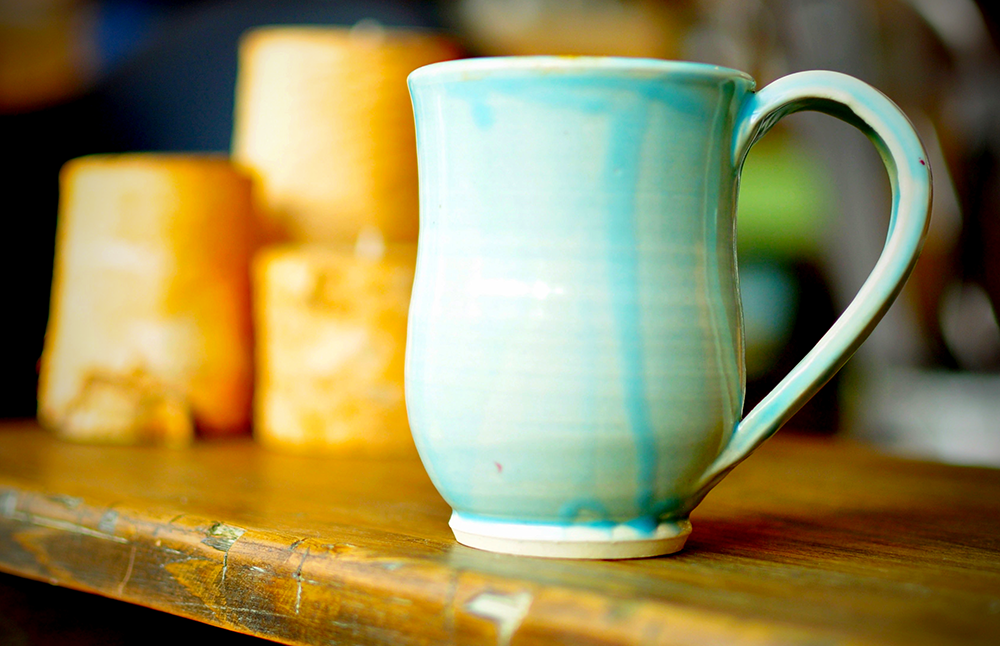
Once your pottery is fired, it's time to glaze it.
Glazing is the process of adding a liquid glass coating to the pottery that will give it a glossy finish and protect it from scratches and water damage.
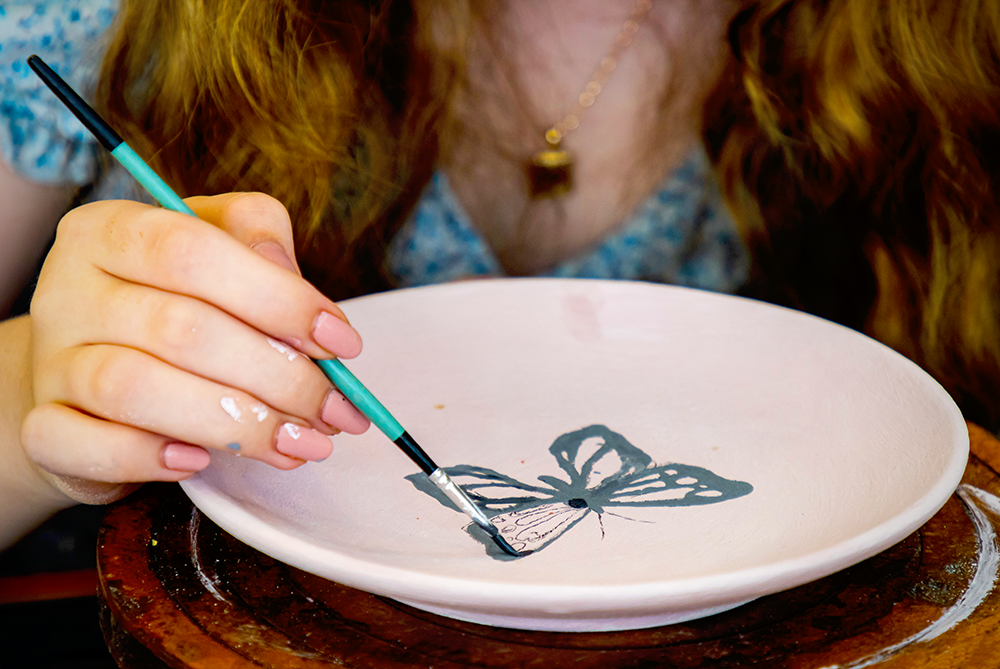
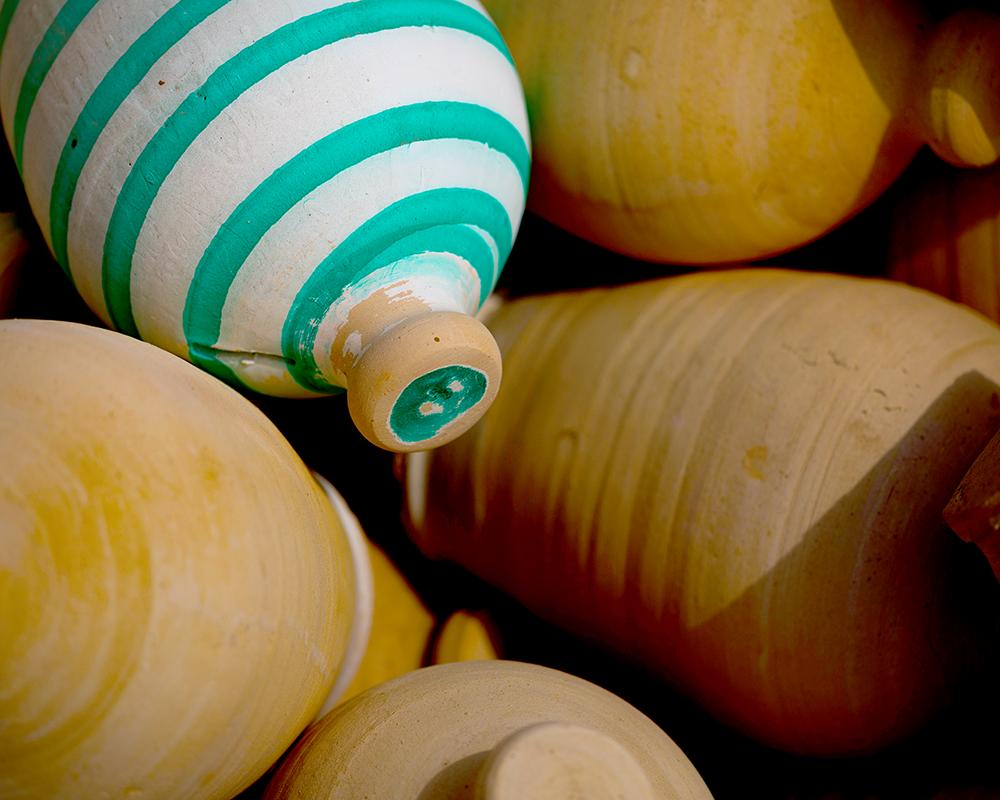
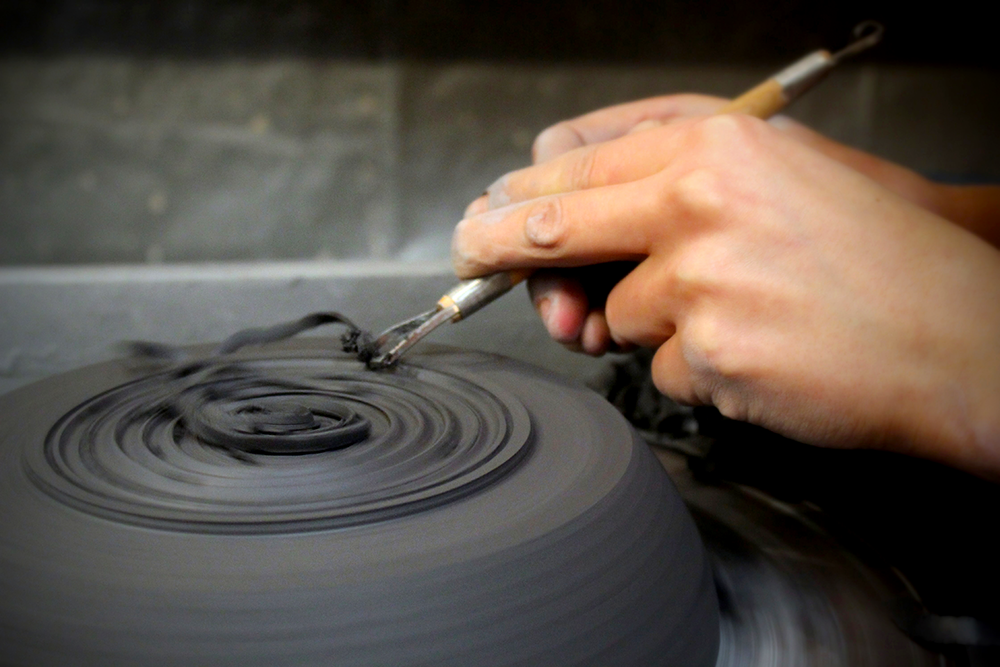
Decorating your pottery is one of the most fun parts of the throwing process!
There are endless possibilities when it comes to decorating thrown pottery.
You can paint it, glaze it, carve it, or even add stamps or other embellishments.
There are many different types of glazes to choose from, so pick the one that best suits your project.
Glazes impact the firing process, so make sure to follow the firing instructions for your glaze.
Get creative and have fun with it!
Once you're finished, it's time to fire your pottery.
Firing is the process of heating the clay until it reaches a certain temperature, which causes it to harden and form a permanent shape.
If you're using a kiln, make sure to follow the instructions carefully.
Finally, all that's left is to admire your work and show it off to friends and family!
Throwing Pottery
Throwing pottery on the wheel is a fun and rewarding experience that anyone can enjoy.
Creating pottery on the wheel or through hand-building takes patience and practice, but with the right supplies, you can create beautiful and functional ceramic pieces that will last a lifetime.
By following these steps, you will be able to throw pottery with confidence.
So, what are you waiting for?
Gather your supplies, prep the clay, center it on the wheel, throw it, trim it, glaze and decorate it, and fire it.
You'll be a pottery master in no time!
Happy throwing!
Want to learn more about wall pulling on the pottery wheel? Check out Florian Gadsby's video!
Want even more content about creativity and art?
Be sure to check out all of our creative chronicles!
Love pottery and working with clay?
Check out some of our other ceramic articles: