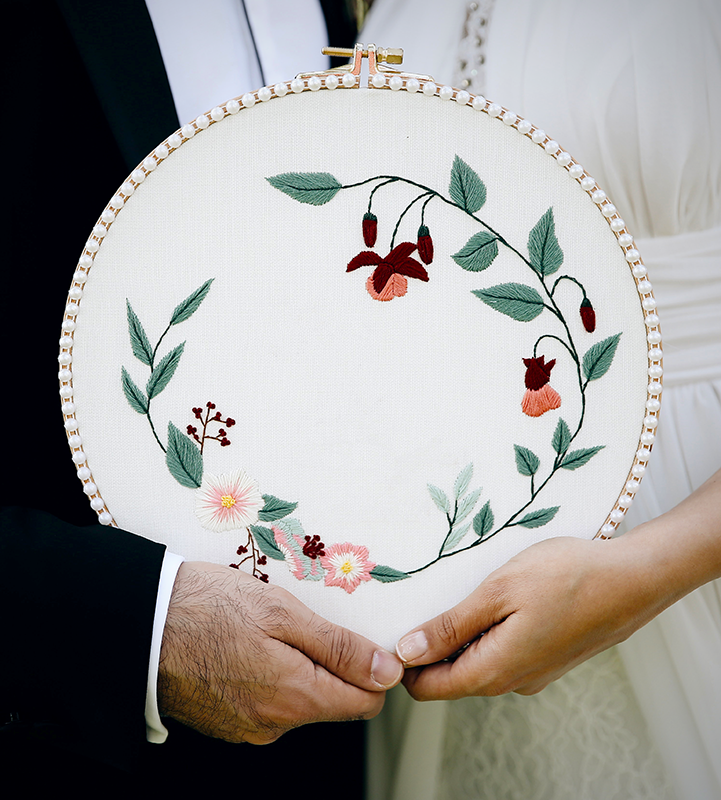
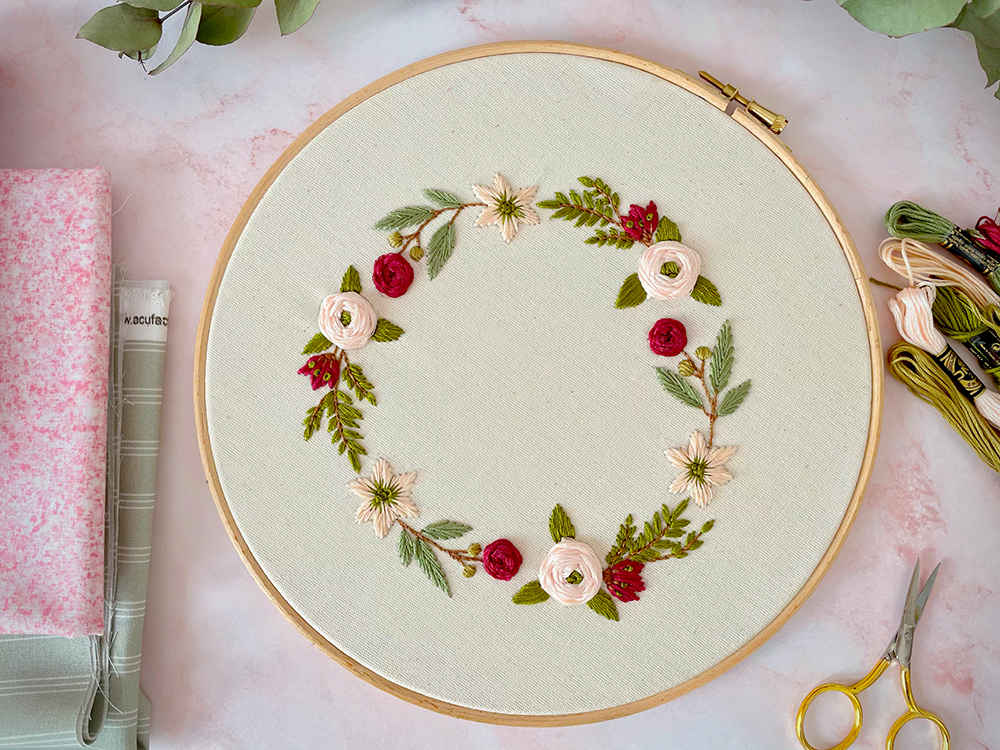
Embroidery can elevate any garment, but sometimes, those stitches need to go.
Whether it's an outdated logo or a design mishap, removing embroidery can be tricky.
This guide will show you how to remove embroidery stitches without harming your fabric, providing detailed steps and tips to ensure you can remove direct embroidery without damaging the fabric underneath.
Ready to reclaim your clothes? Let's dive in!
Key Takeaways:
- Removing direct embroidery is possible but requires precision and the right tools.
- Different techniques are available depending on the type of fabric and embroidery.
- Professional assistance may be necessary for intricate designs or delicate fabrics.

Understanding Direct Embroidery
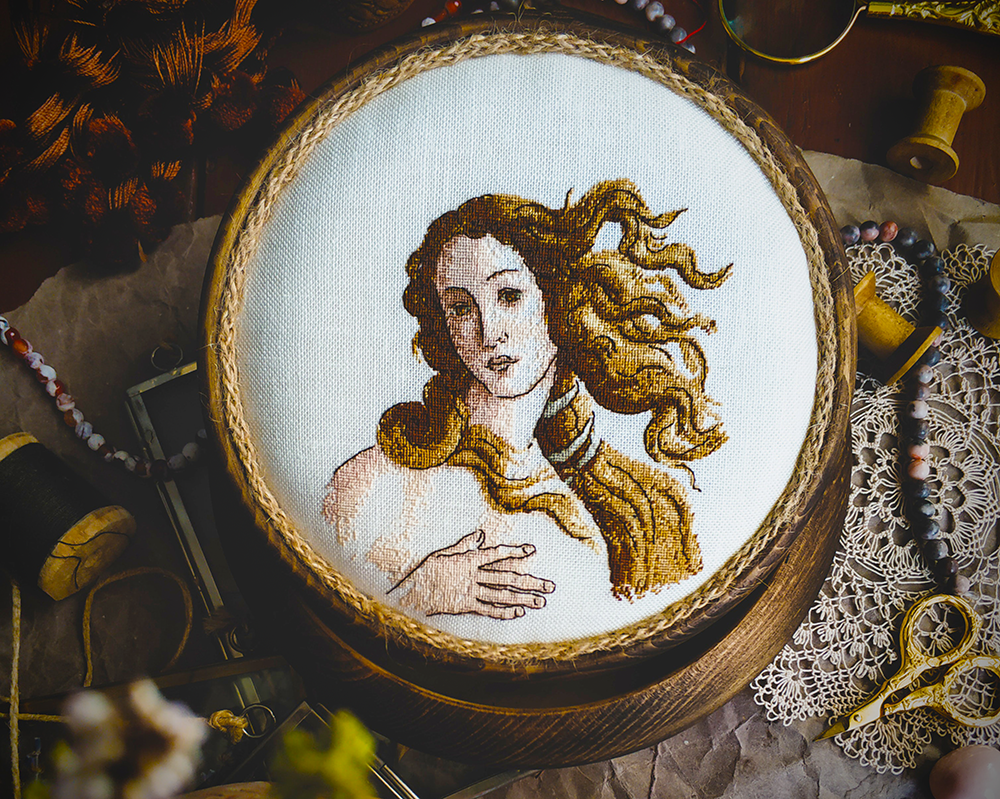
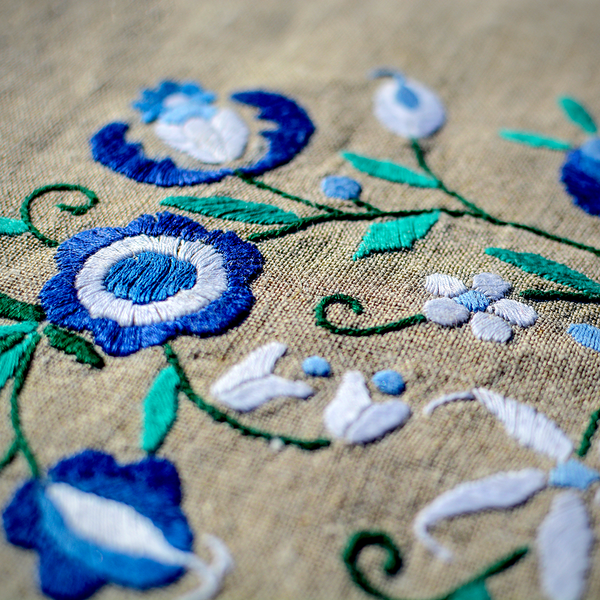
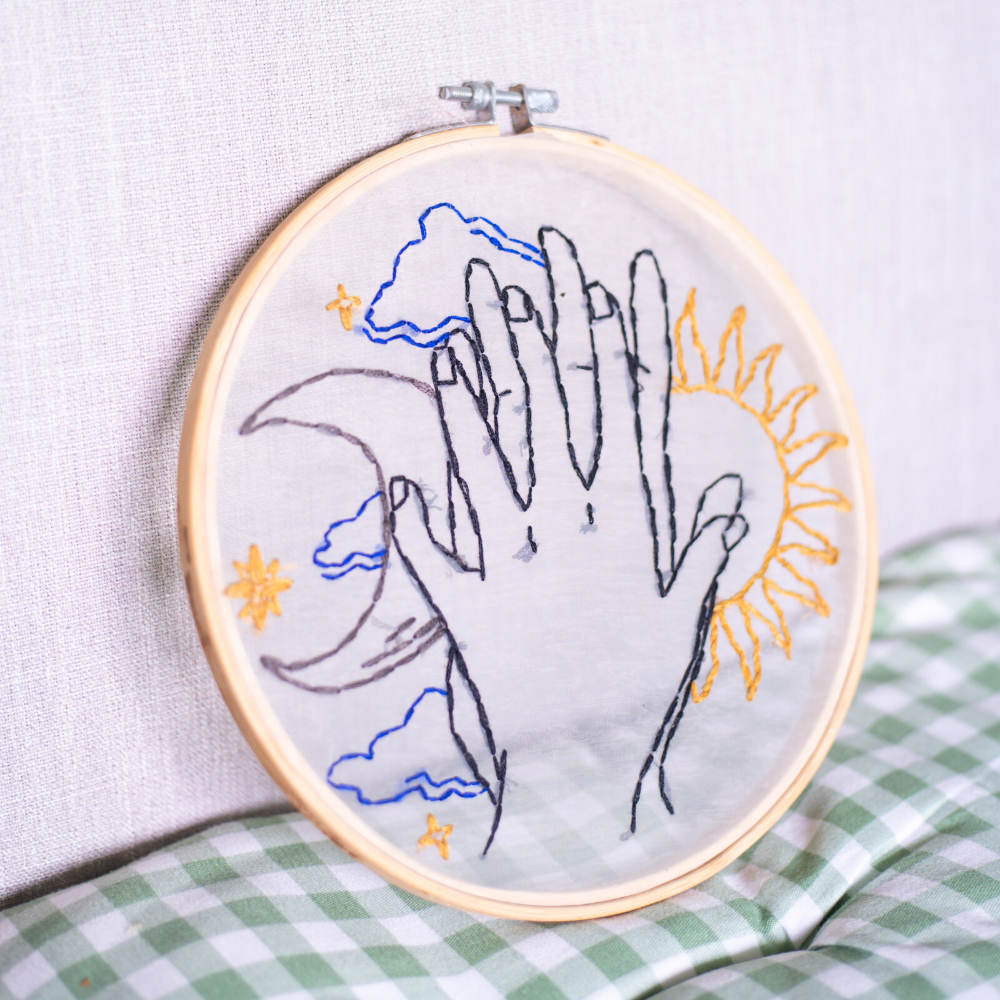
Direct embroidery involves stitching designs directly onto the fabric using an embroidery machine.
This method is popular for adding logos, names, and intricate patterns to clothing and other textiles.
However, removing these stitches can be challenging, especially if the embroidery threads are tightly woven into the fabric.
Tools Needed for Embroidery Removal
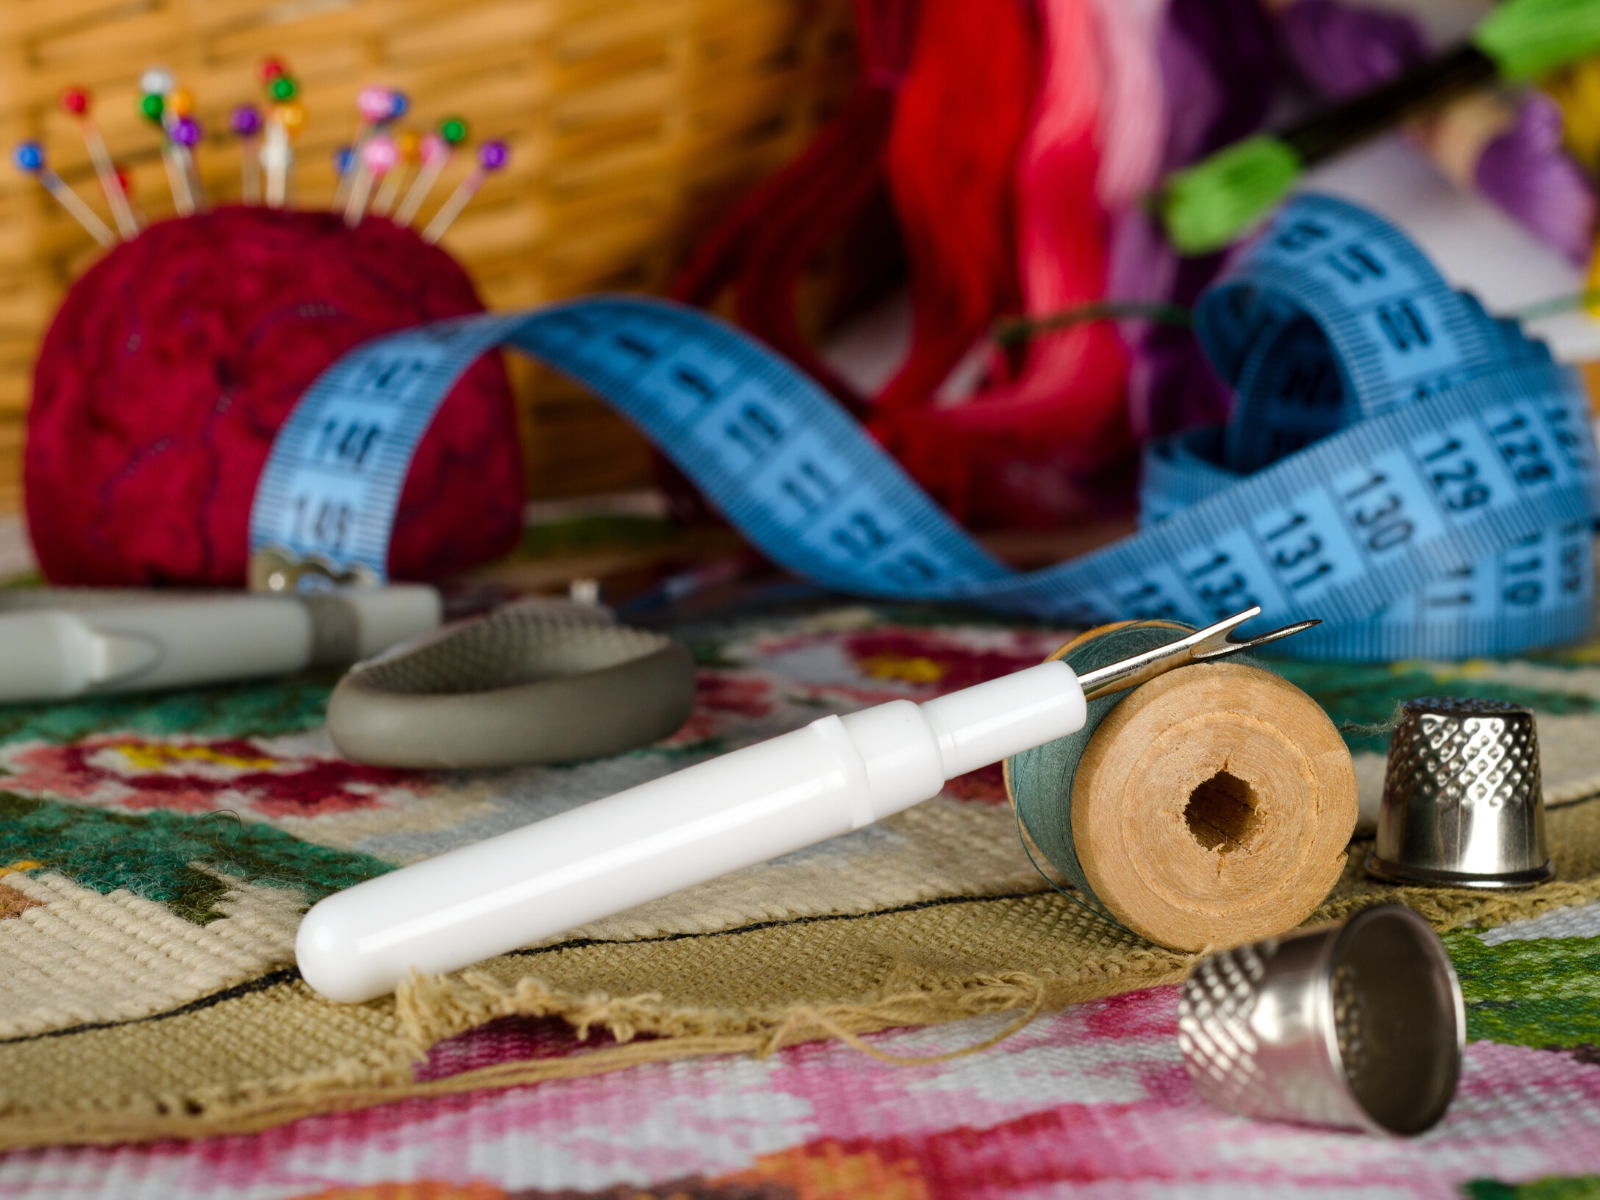
To remove embroidery, you'll need a few specialized tools.
These include a seam ripper, small embroidery scissors, an embroidery eraser, and a magnifying glass.
Each tool serves a specific purpose in the embroidery removal process.
For instance, a seam ripper is excellent for cutting stitches, while small scissors can help trim excess threads.
An embroidery eraser can be used to gently push and pull out the remaining threads.
Removing Embroidery
Embroidery can add a touch of elegance to any garment, but what happens when that design no longer suits your style?
Whether it's an outdated logo or a design mishap, removing embroidery can seem like a daunting task. Fear not!
This step-by-step guide will walk you through the process of removing embroidery stitches without harming your fabric.
From assessing the embroidery to cleaning up the final threads, you're covered.
Ready to reclaim your clothes? Let's dive in!
Step 1: Assess the Embroidery
Before you start, examine the embroidery design closely. Identify the type of stitches used and the density of the embroidery. This will help you determine the best removal techniques to use. For intricate embroidery designs, you may need to work slowly and carefully to avoid damaging the fabric.
Step 2: Prepare the Fabric
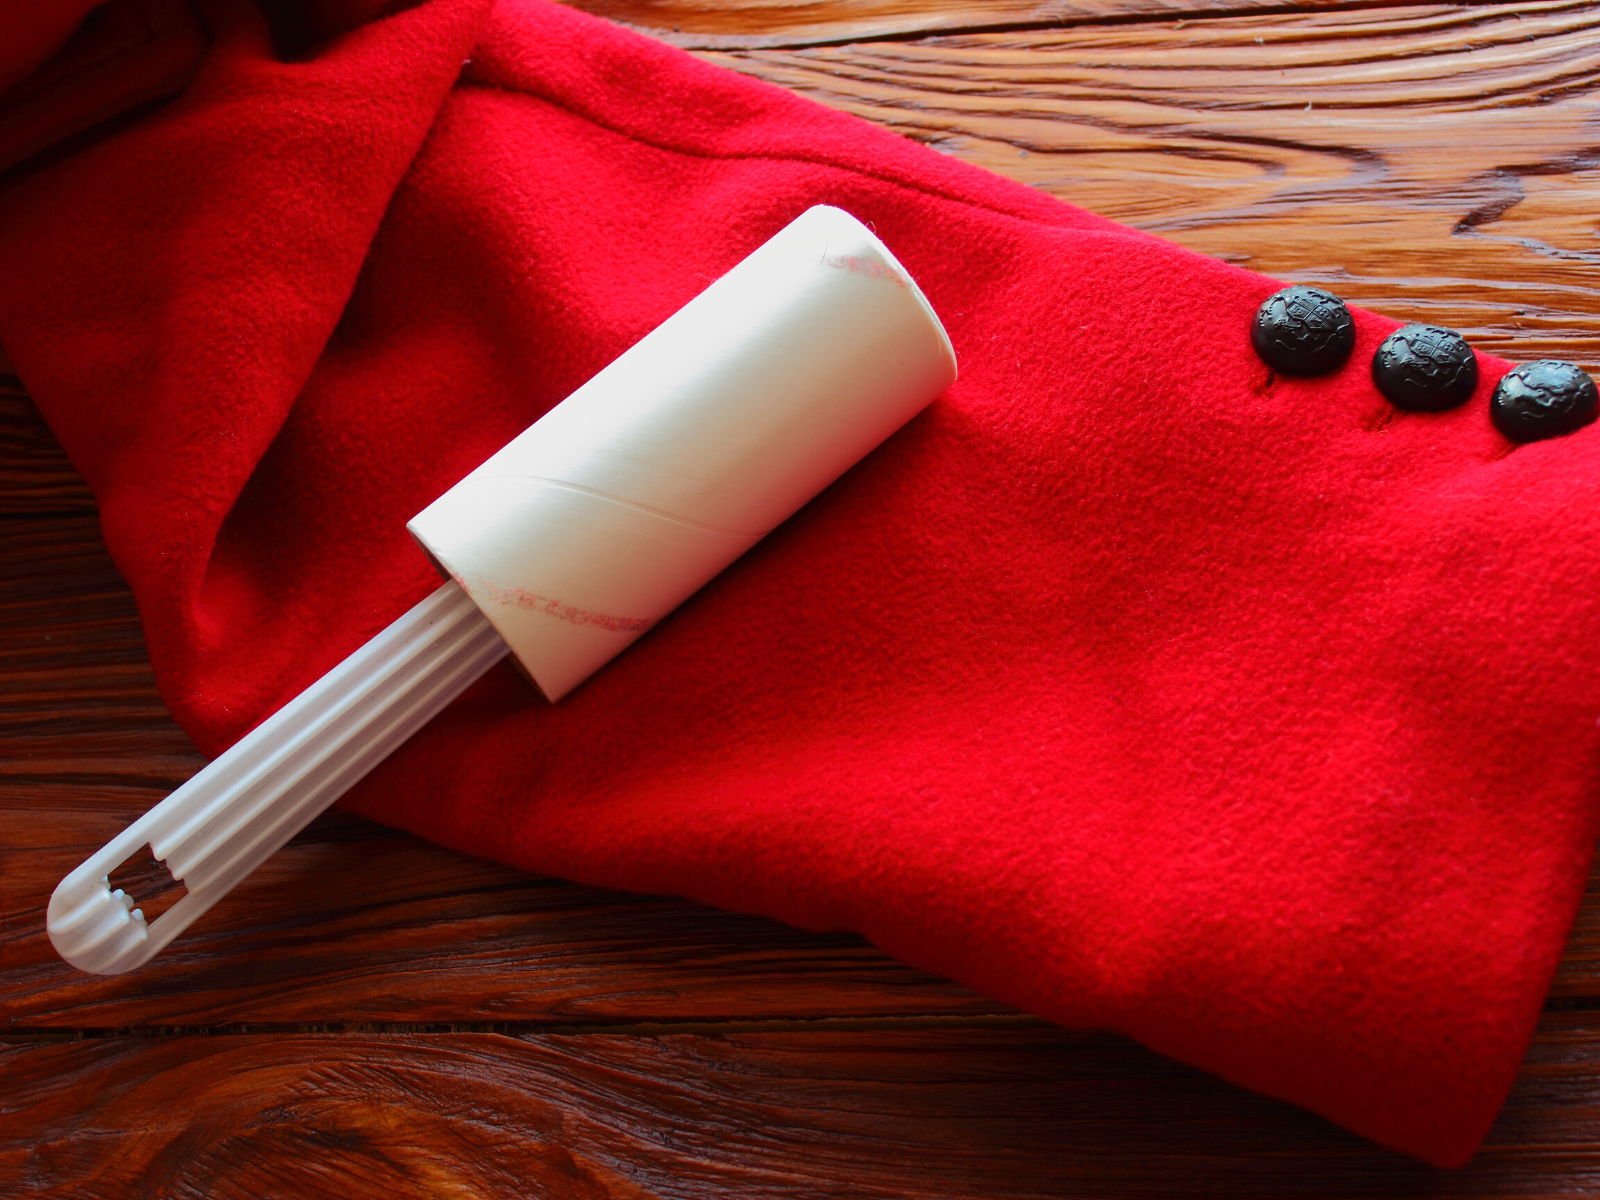
Lay the garment inside out on a flat surface. Use a lint roller to remove any loose threads or debris. Keeping the fabric taut will make it easier to see and cut the stitches. If the fabric is delicate, place a scrap piece of fabric underneath to provide extra support.
Step 3: Using a Seam Ripper
Start by using a seam ripper to cut the stitches on the back of the embroidery. Insert the seam ripper under a stitch and gently push it forward to cut the thread. Work slowly to avoid cutting the fabric. Continue this process until you have cut all the stitches on the back of the embroidery.
Step 4: Removing Excess Threads
Once the stitches are cut, use small scissors to trim any excess threads. Gently pull the embroidery threads from the front of the fabric. If the threads are stubborn, use an embroidery eraser to help loosen them. Be careful not to pull too hard, as this can cause fabric damage.
Step 5: Cleaning Up
After removing the embroidery, there may be leftover threads or adhesive residue on the fabric. Use a clean cloth and adhesive remover to gently clean the area. A magnifying glass can help you spot any remaining threads that need to be removed.
Techniques for Different Fabrics
Removing embroidery can be a tricky endeavor, especially when dealing with different types of fabrics.
Whether you're working with delicate silks or sturdy denim, each material requires a unique approach to ensure a clean removal without causing damage.
Let's make your embroidery removal process a breeze.
Ready to master the art of fabric-specific embroidery removal? Let's get started!
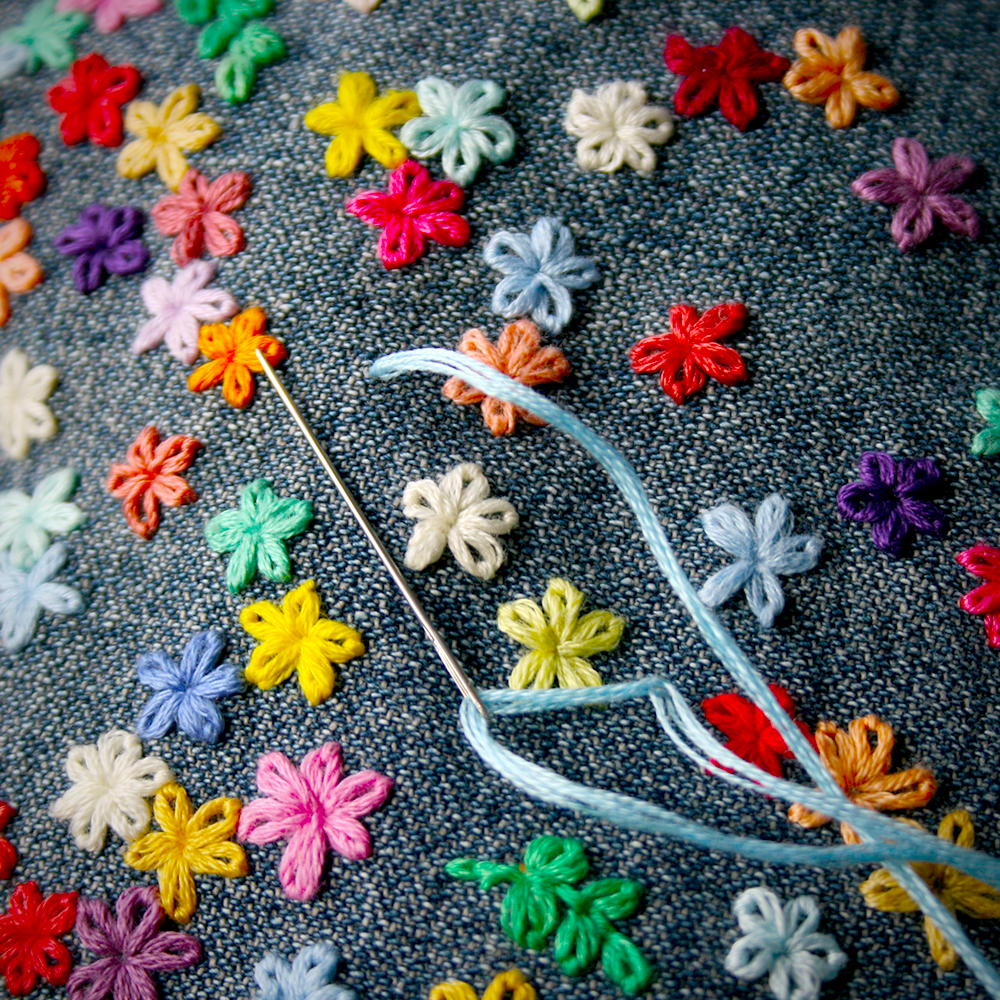
Delicate Fabrics
For delicate fabrics, such as silk or lace, use a light touch and work slowly. A hair trimmer or razor blade can be used to carefully cut the stitches without damaging the fabric. Always test the removal method on an inconspicuous area first to ensure compatibility.
Thick Fabrics
Thick fabrics, like denim or canvas, can withstand more aggressive removal techniques. A stitch eraser or sharp scissors can be used to cut through the embroidery stitches. Be sure to keep the fabric taut to avoid cutting into the garment.
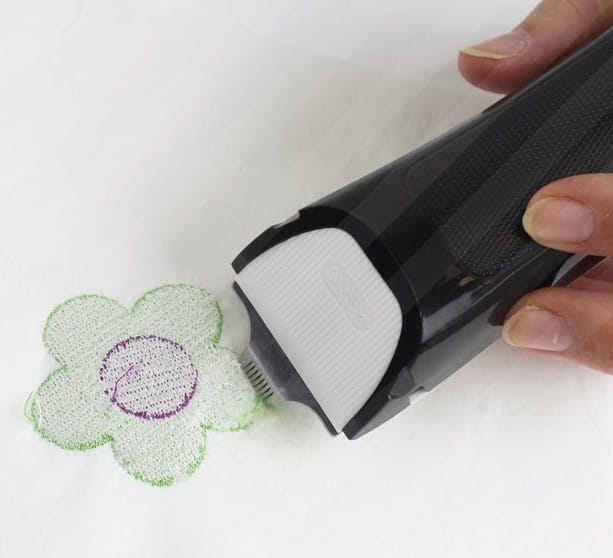
Removing Machine Embroidery
Machine embroidery is often more challenging to remove due to the tightness of the stitches.
Using a seam ripper and embroidery eraser in combination can help.
Start by cutting the stitches on the back of the embroidery, then use the eraser to gently pull out the threads from the front.
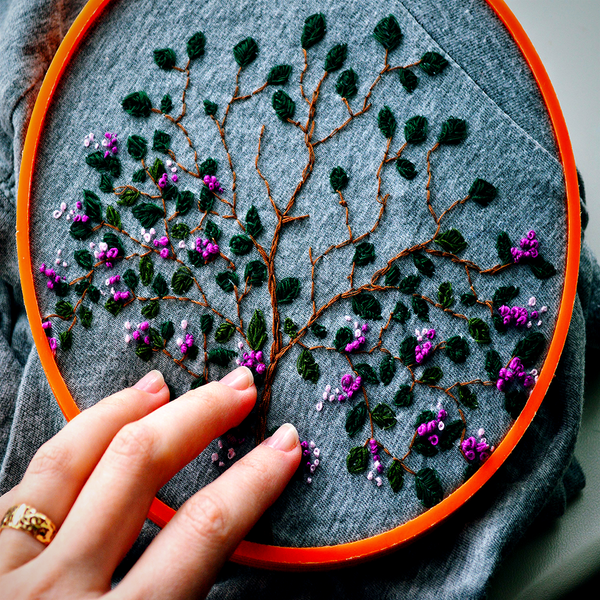
Hand Embroidery Removal
Hand embroidery is typically easier to remove than machine embroidery.
Use small scissors to cut the stitches and gently pull the threads out.
If the embroidery design is intricate, work slowly to avoid damaging the fabric.
Professional Assistance
For complex or valuable garments, seeking professional assistance is advisable.
A professional embroiderer has the experience and tools needed to remove embroidery without causing fabric damage.
This is especially important for intricate designs or delicate fabrics.
Common Mistakes to Avoid
Embroidery removal might seem straightforward, but it's easy to make mistakes that can ruin your fabric or leave unsightly remnants.
Here are some common pitfalls to avoid:
Rushing the Process
One of the most frequent errors is rushing through the embroidery removal process. When you're in a hurry, it's easy to make careless mistakes that can lead to cutting the fabric or leaving behind stubborn threads. Patience is key. Take your time and work methodically to ensure a clean and damage-free removal. Remember, slow and steady wins the race!
Using the Wrong Tools
Another common mistake is using the wrong tools for the job. Each tool has a specific purpose, and using them correctly can make the process much smoother. For instance, a seam ripper is excellent for cutting through stitches without harming the fabric, while small, sharp scissors can help snip away threads in tight spots. An embroidery eraser can be a lifesaver for removing stubborn threads without damaging the material. Make sure you have the right tools on hand before you start, and familiarize yourself with their uses.
Not Testing on an Inconspicuous Area
Before diving into the removal process, it's crucial to test your chosen method on an inconspicuous area of the fabric. This step is often overlooked but can save you from potential disasters. Different fabrics react differently to various tools and techniques, so a quick test can help you determine the best approach without risking visible damage.
Ignoring Fabric Type
Different fabrics require different techniques for embroidery removal. Ignoring this can lead to fabric damage or incomplete removal. For delicate fabrics like silk or lace, a light touch and careful handling are essential. On the other hand, thick fabrics like denim or canvas can withstand more aggressive methods. Tailor your approach to the fabric you're working with to achieve the best results.
Pulling Threads Too Hard
It's tempting to yank out threads quickly, but pulling too hard can stretch or tear the fabric. Instead, gently tease out the threads, working slowly and carefully. This method ensures that you remove the embroidery without compromising the integrity of the fabric.
Neglecting to Clean Up
After removing the embroidery, it's essential to clean up any leftover threads or fuzz. Neglecting this step can leave your fabric looking messy and unfinished. Use a lint roller or a piece of tape to pick up any remaining bits, and consider giving the fabric a gentle wash to restore its appearance.
By avoiding these common mistakes, you can ensure a smooth and successful embroidery removal process, preserving the quality and appearance of your fabric.
Tips for Successful Embroidery Removal
Embroidery removal can be a delicate task, but with the right techniques and tools, you can achieve a clean and professional result.
Here are some essential embroidery tips to ensure your removal process is successful:
Good Lighting is Essential
One of the most critical factors in successful embroidery removal is good lighting. Proper illumination allows you to see the stitches clearly, reducing the risk of cutting the fabric or missing threads. Natural daylight is ideal, but if you're working indoors, consider using a bright, adjustable desk lamp. For intricate or small stitches, a magnifying glass can be a game-changer. It provides a closer look at the embroidery threads, making it easier to identify and cut them accurately.
Keep the Fabric Taut
Maintaining tension in the fabric is crucial for precise stitch removal. When the fabric is taut, the stitches are more accessible, and there's less risk of accidentally cutting the material. Using an embroidery hoop can help keep the fabric stretched and stable. If you don't have a hoop, placing a scrap piece of fabric underneath the area you're working on can provide extra support and prevent the fabric from bunching up.
Use the Right Tools
Having the right tools on hand can make a significant difference in the embroidery removal process. A seam ripper is a must-have for cutting through stitches without damaging the fabric. Small, sharp scissors are perfect for snipping away threads in tight spots. An embroidery eraser can help remove stubborn threads without harming the material. Make sure your tools are clean and in good condition to ensure smooth and efficient removal.
Work in Small Sections
Tackling the entire embroidery at once can be overwhelming and increase the risk of mistakes. Instead, work in small sections, focusing on a few stitches at a time. This approach allows for more control and precision, ensuring that each stitch is carefully removed without damaging the fabric.
Be Patient and Gentle
Patience is key when removing embroidery. Rushing through the process can lead to mistakes and fabric damage. Take your time and work gently, especially with delicate fabrics. Use slow, controlled movements to cut and remove the threads, and avoid pulling too hard to prevent stretching or tearing the material.
Test Your Method
Before diving into the main embroidery, test your chosen removal method on an inconspicuous area of the fabric. This step helps you determine the best approach without risking visible damage. Different fabrics and threads may require different techniques, so a quick test can save you from potential mishaps.
Clean Up Thoroughly
After removing the embroidery, it's essential to clean up any leftover threads or fuzz. Use a lint roller or a piece of tape to pick up any remaining bits, and consider giving the fabric a gentle wash to restore its appearance. A clean, smooth surface will make any subsequent embroidery or repairs look more professional.
By following these tips, you can ensure a successful embroidery removal process, preserving the quality and appearance of your fabric.
Whether you're correcting a mistake or repurposing a garment, these techniques will help you achieve a clean and polished result.

Confidently Wrap Up the Embroidery Journey!
Embarking on the task of removing direct embroidery may seem daunting at first, but armed with the right tools and techniques, you can achieve it without compromising your fabric's integrity.
This guide has provided a step-by-step approach to the embroidery removal process, including tips for different types of fabrics and common mistakes to avoid.
Whether you're dealing with an embroidered logo, intricate patterns, machine embroidery, or hand embroidery, following the steps outlined in this guide will help you remove embroidery stitches without damaging the fabric.
Remember, patience is key—work slowly, choose the appropriate tools, and don't hesitate to seek professional help if needed.
Now, go forth and give your fabric a fresh start with confidence!
Embroidery FAQs
Embroidery can add a touch of elegance and personalization to any fabric, but what happens when you need to remove it?
Whether it's a mistake, a change in design, or simply a desire for a fresh start, removing embroidery can seem daunting.
Fear not!
This FAQ section is here to guide you through the process with ease.
From understanding the best techniques for different fabrics to knowing which tools to use, we’ve got all your questions covered.
Dive in and discover how to remove embroidery like a pro, ensuring your fabric remains pristine and ready for its next creative transformation.
Can you remove direct embroidery from any fabric?
Yes, you can remove direct embroidery from most fabrics, but the process may vary depending on the type of fabric. Delicate fabrics require a light touch and careful handling, while thicker fabrics can withstand more aggressive removal techniques.
What tools are needed to remove embroidery?
The essential tools for removing embroidery include a seam ripper, small scissors, an embroidery eraser, and a magnifying glass. These tools help cut the stitches and remove the threads without damaging the fabric.
Is it possible to remove embroidery without leaving any residue?
Yes, it is possible to remove embroidery without leaving residue. After cutting and pulling out the threads, use a clean cloth and adhesive remover to clean the area. This will help remove any leftover threads or adhesive residue.
How long does it take to remove embroidery?
The time it takes to remove embroidery depends on the size and complexity of the design, as well as the type of fabric. Simple designs on sturdy fabrics can take as little as 15-30 minutes, while intricate designs on delicate fabrics may take several hours.
Can I reuse the fabric after removing embroidery?
Absolutely! Once you've successfully removed the embroidery and cleaned the fabric, it can be reused for new projects. Just make sure to inspect the fabric for any damage or residue before starting your next design.

Looking to fix embroidery mistakes? Check out Boricua Sewing and Crafts' video!
Want even more content about creativity and art?
Be sure to check out all of our creative chronicles!
Interested in embroidery?
You might want to check out some of our other articles:
-What do you do with embroidery after you're finished?
-What's the fastest way to remove embroidery?
-Does removing embroidery leave a mark?