Do you love to customize your wardrobe and home with embroidery, but find yourself frustrated when it's time to remove or change the design?
You don't have to be burdened by your handiwork any longer!
We know how much of a challenge removing intricate embroidery can be and that's why we've rounded up ingenious methods on how you can take those stitches out without ruining your fabric.
Let's explore some clever ways so that you can switch up that look whenever you feel like it!
With a few simple steps and the right tools, you can quickly and easily take off that stubborn embroidery without damaging the fabric, so let's get started!


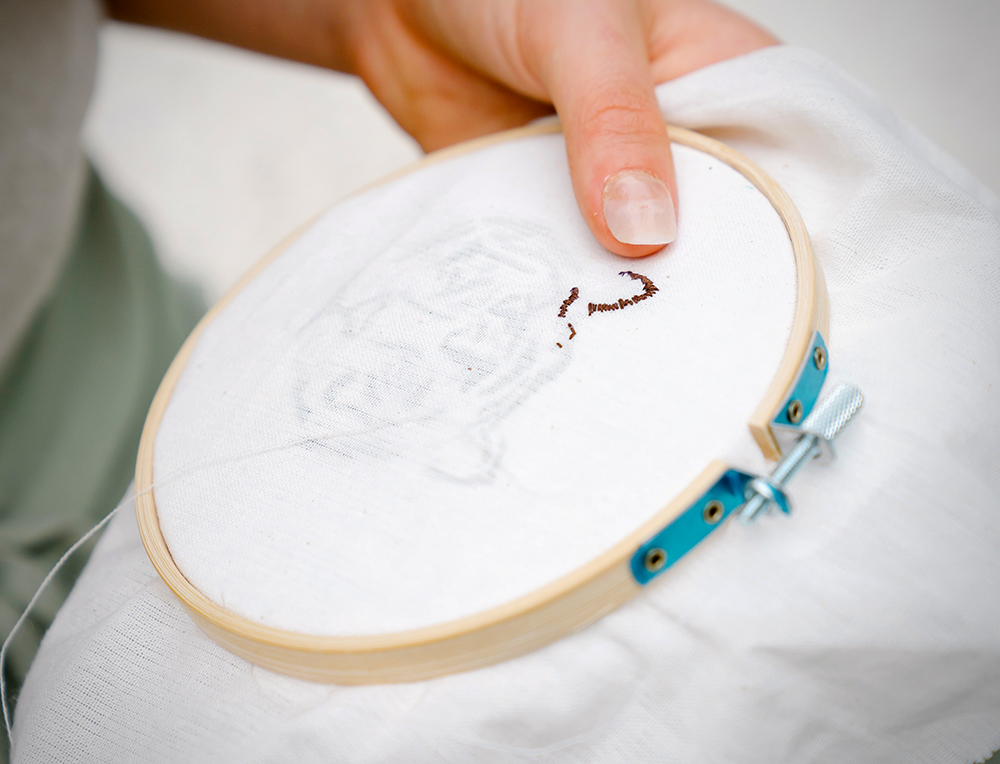
What is Embroidery?
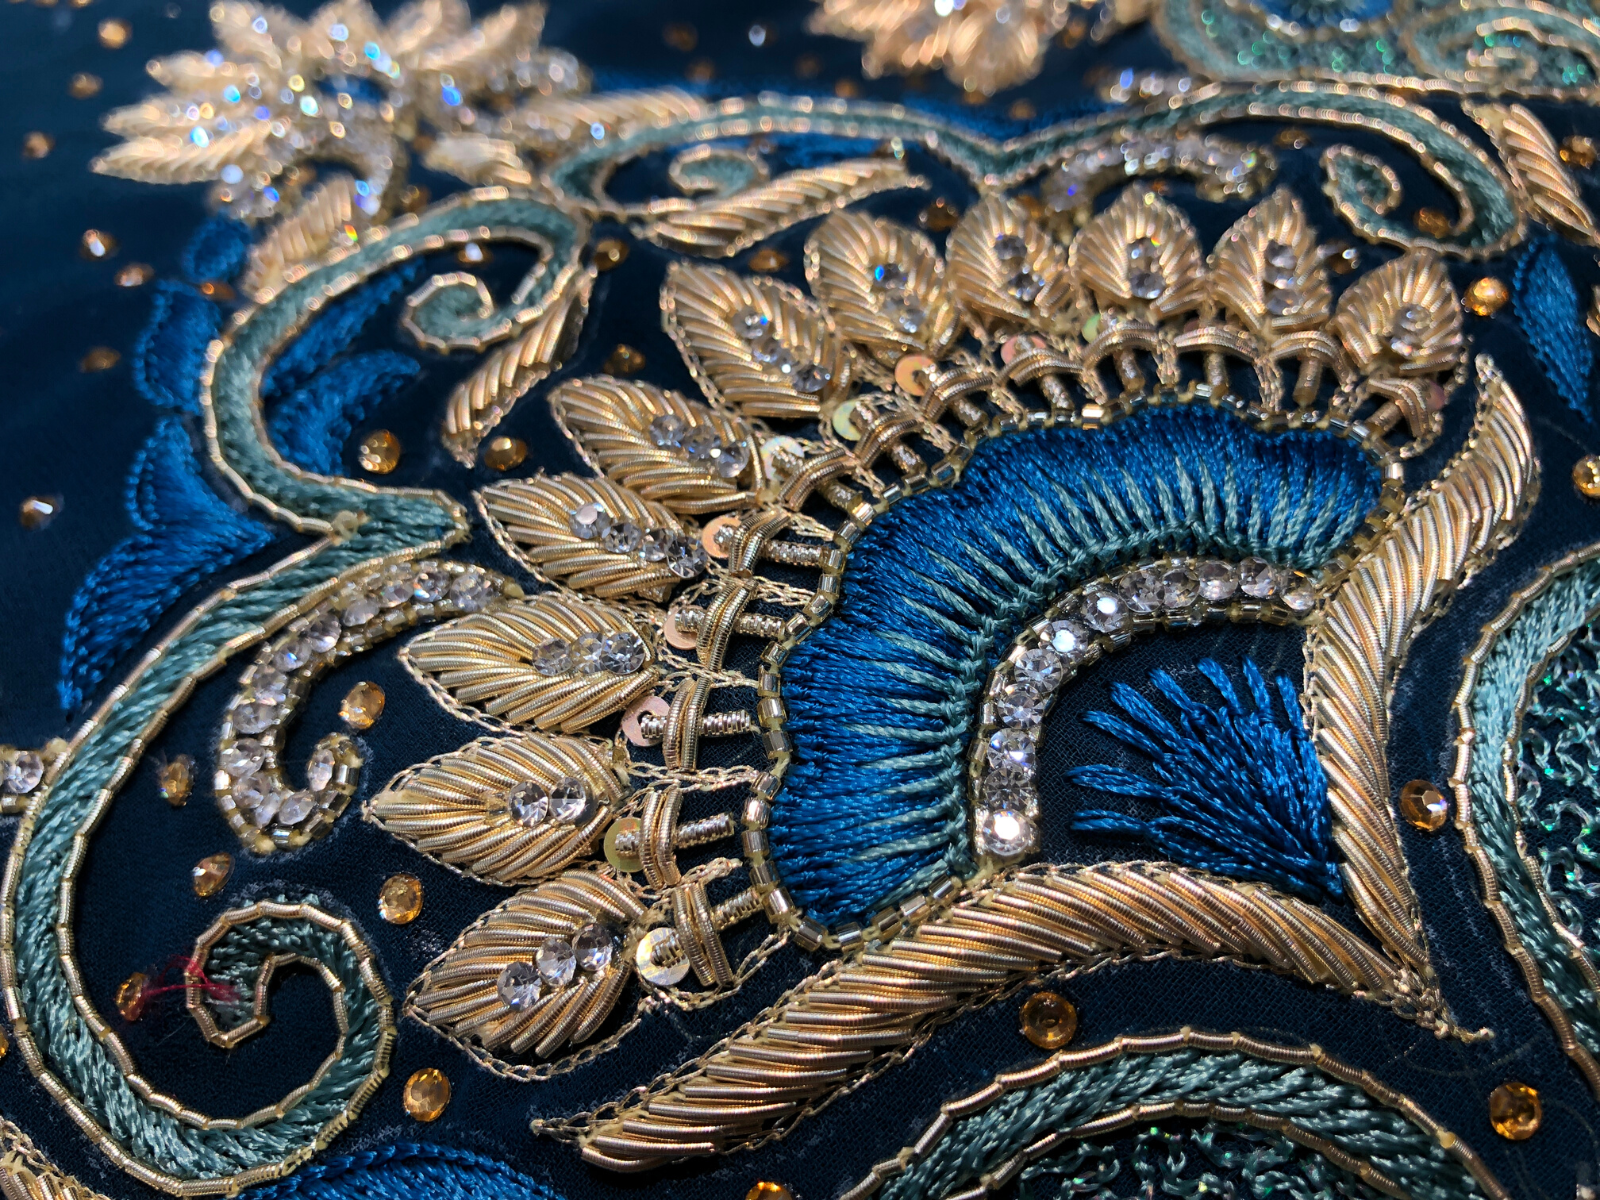
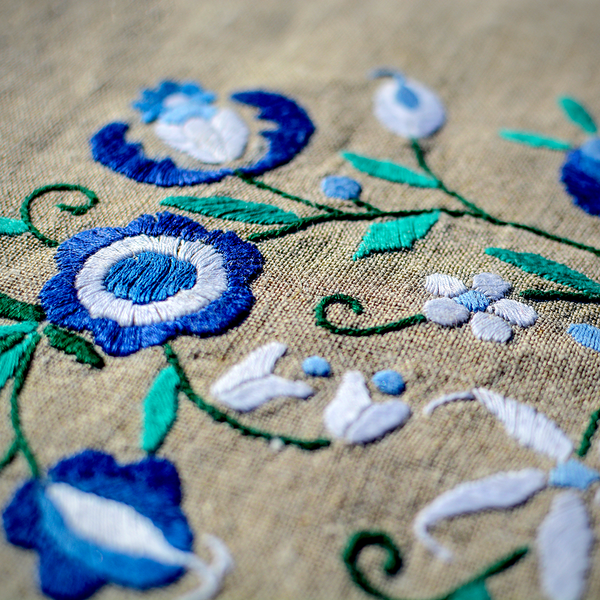
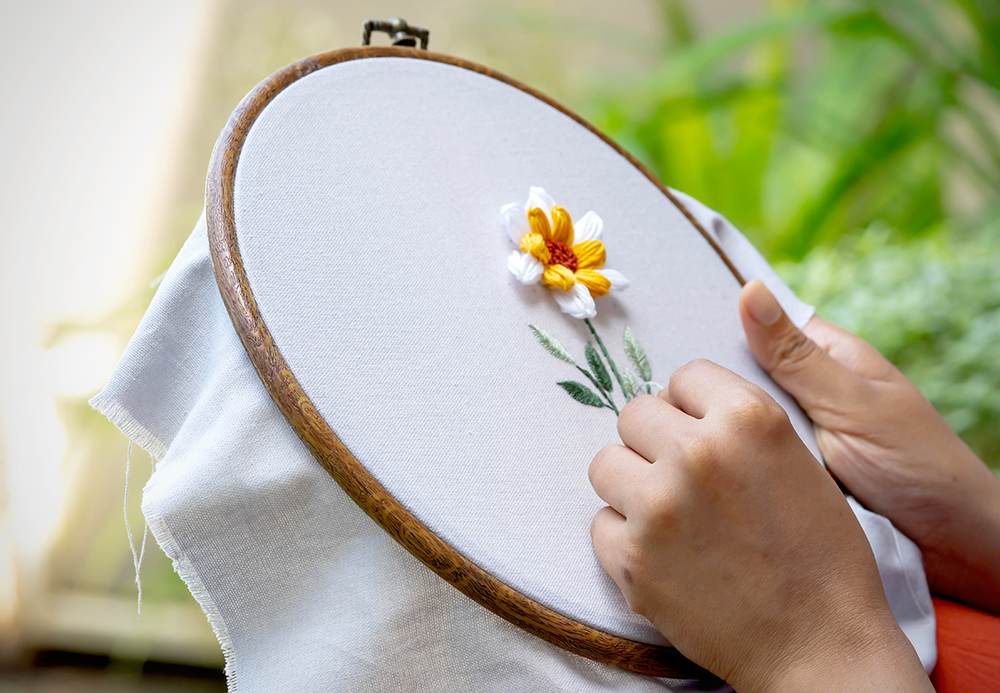
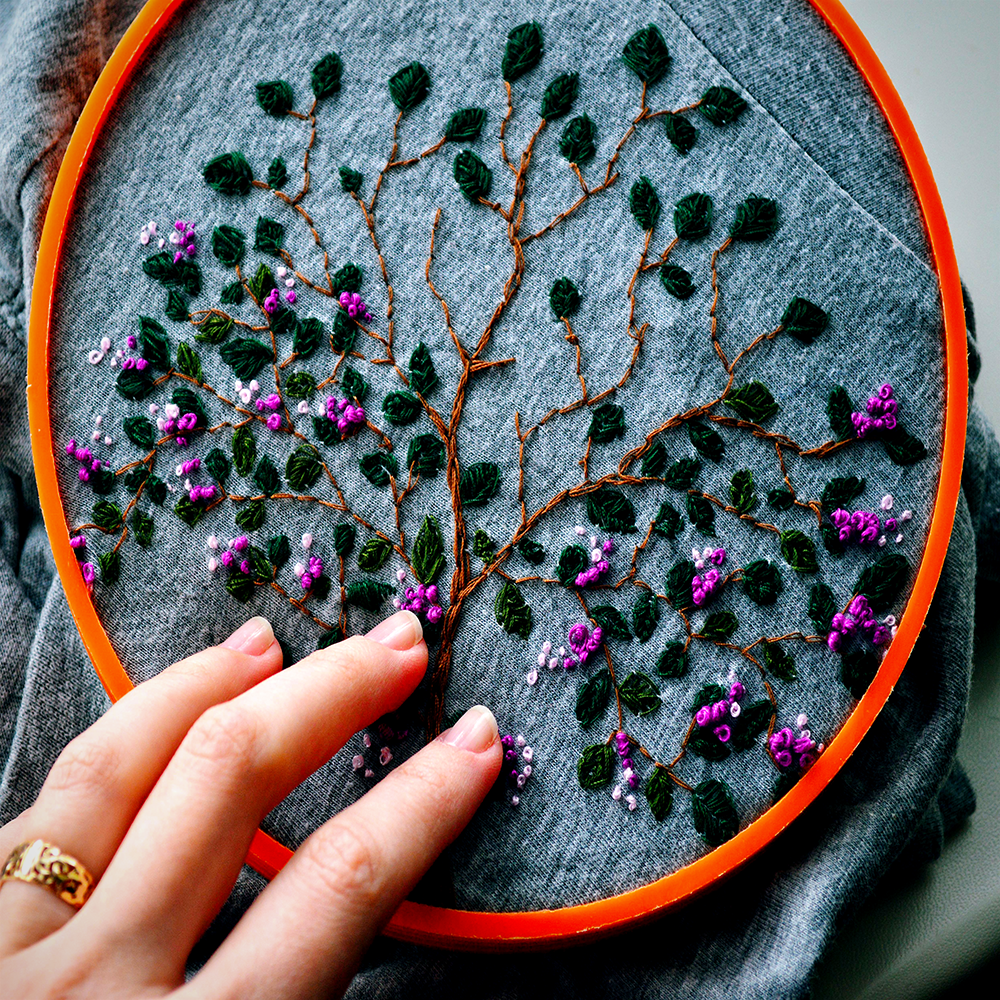
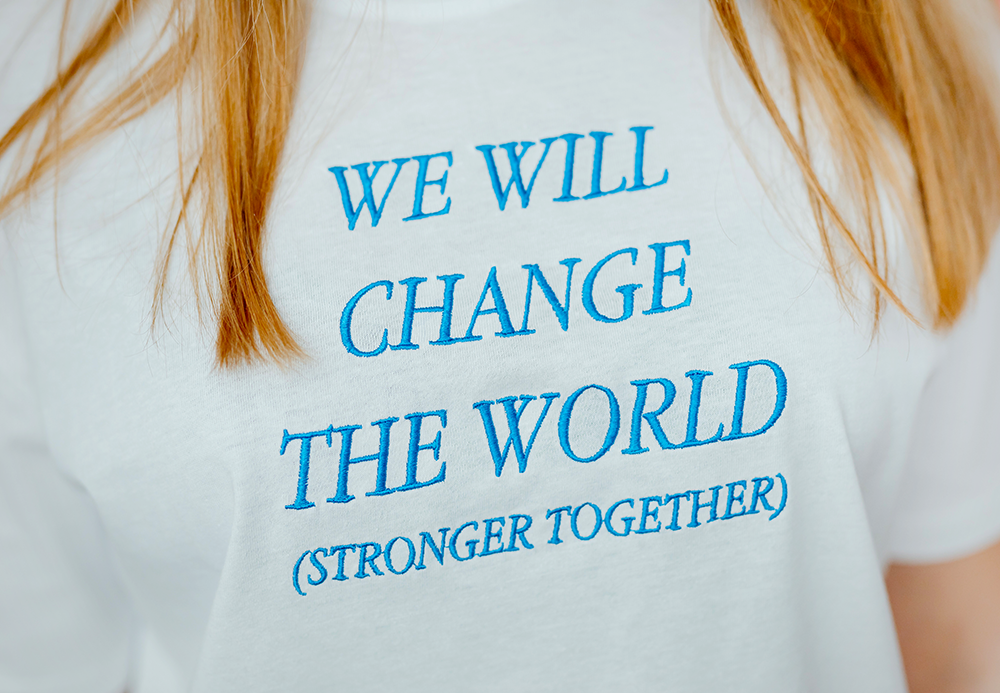
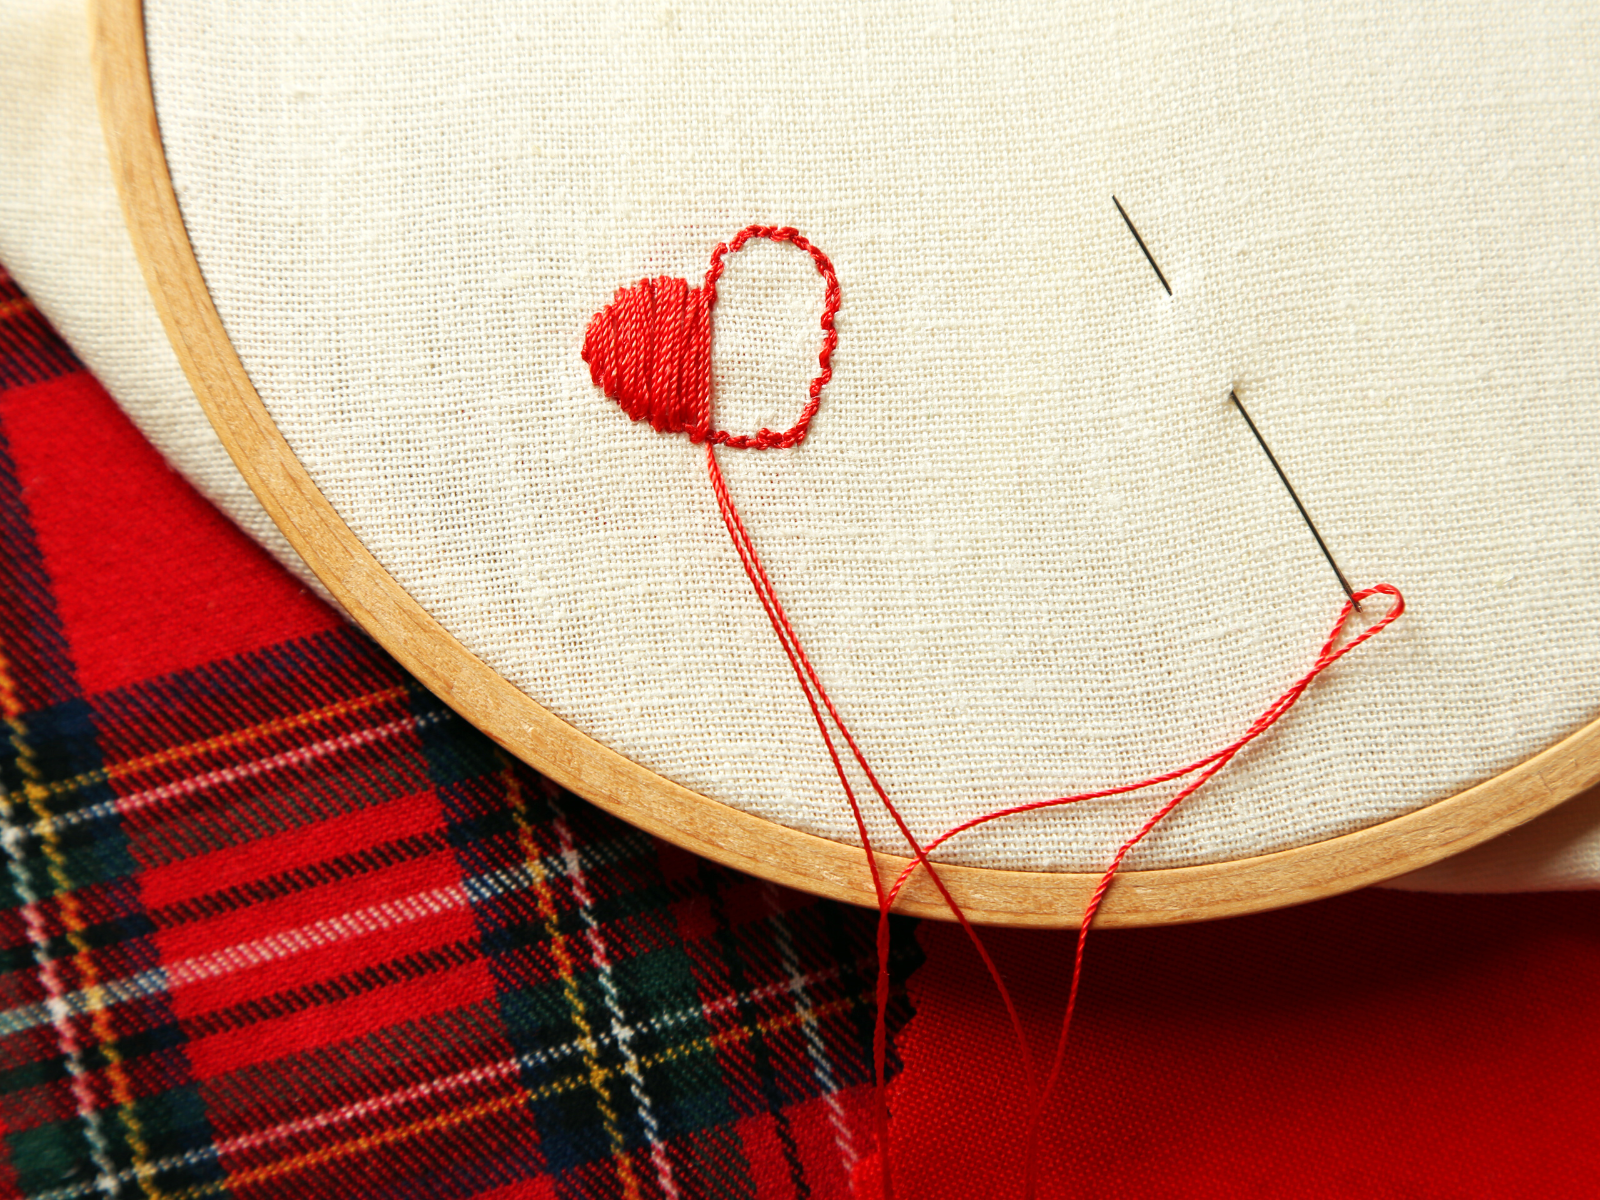
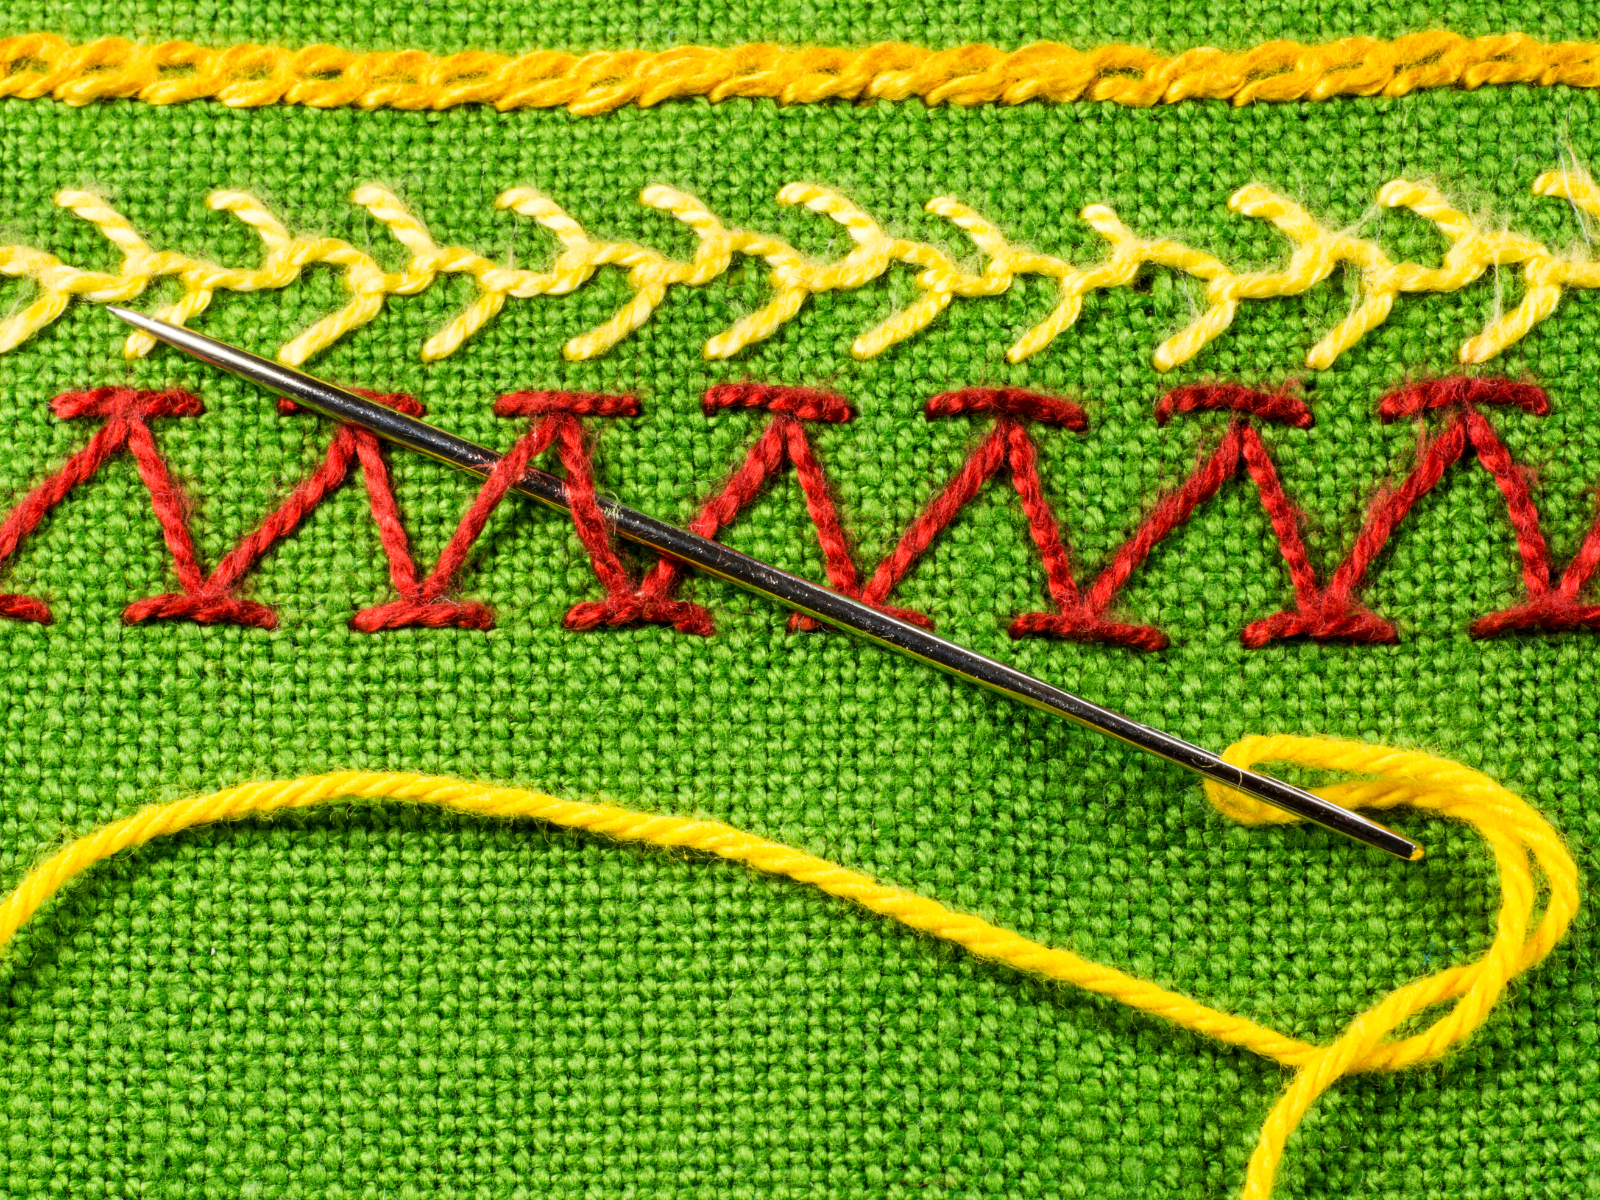
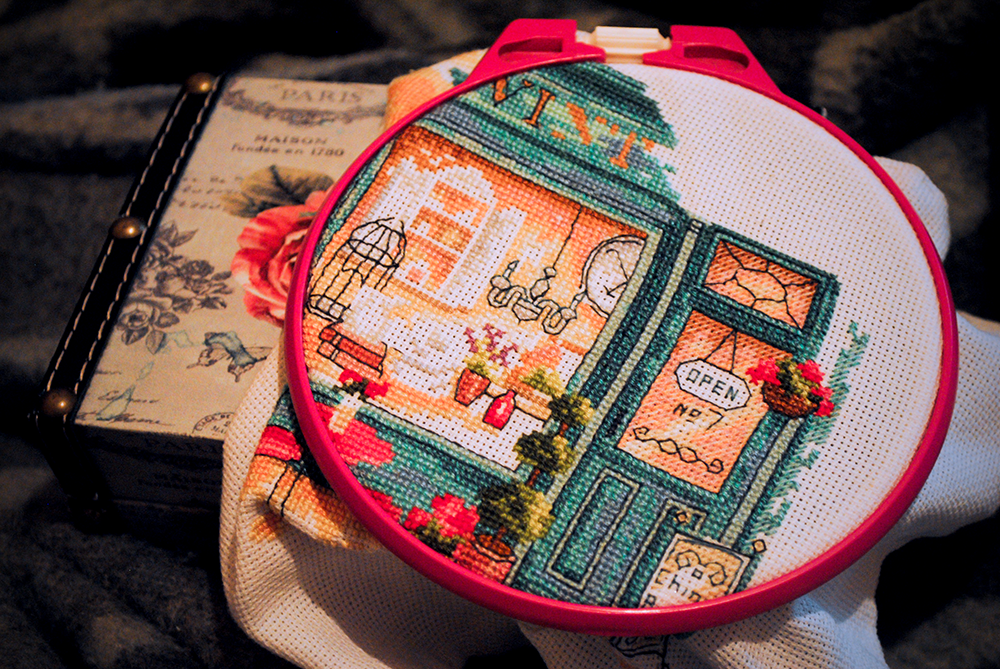
Embroidery is the art of decorating fabric with designs created using a needle and thread.
The process involves stitching yarn or other materials onto a piece of fabric to create detailed pictures, patterns and other designs.
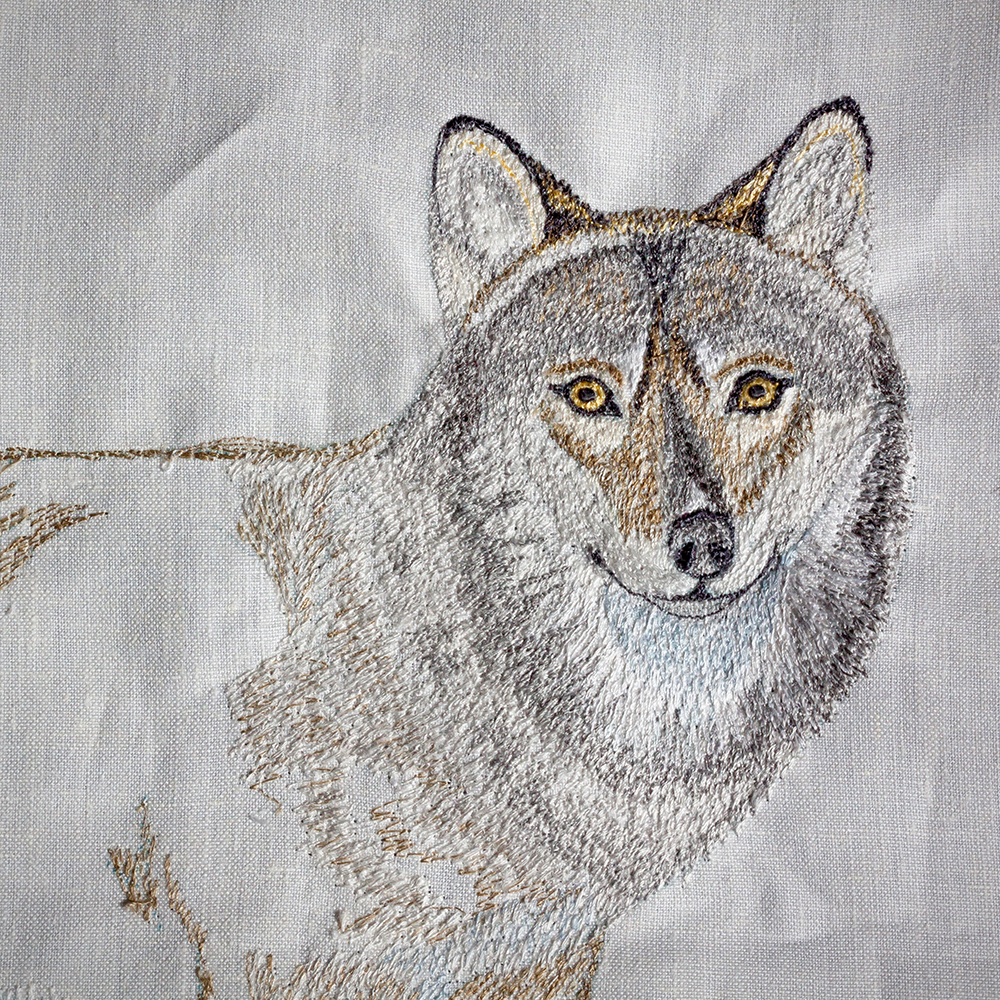
It's been around for centuries, yet the techniques used by artisans today have been refined to create intricate and beautiful works of art.
Types of Embroidery
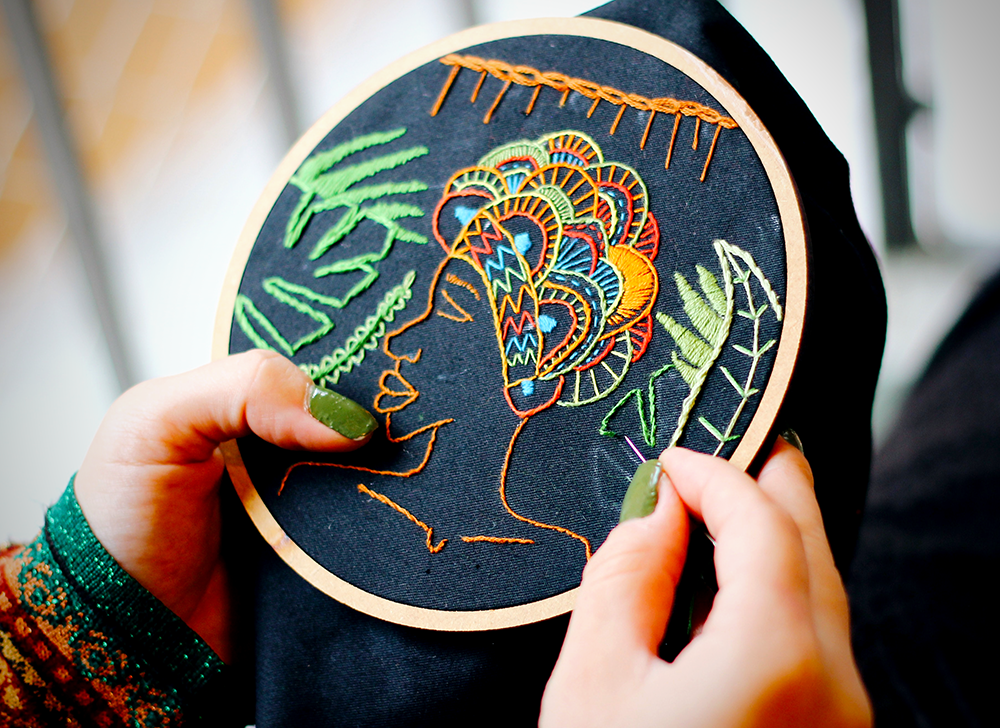
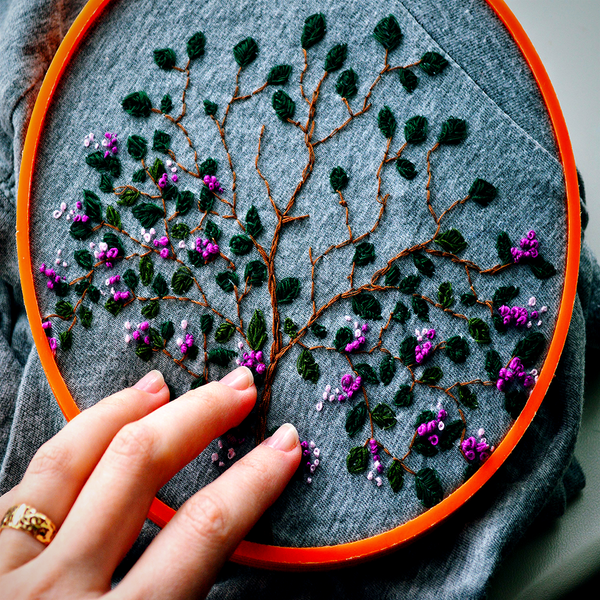
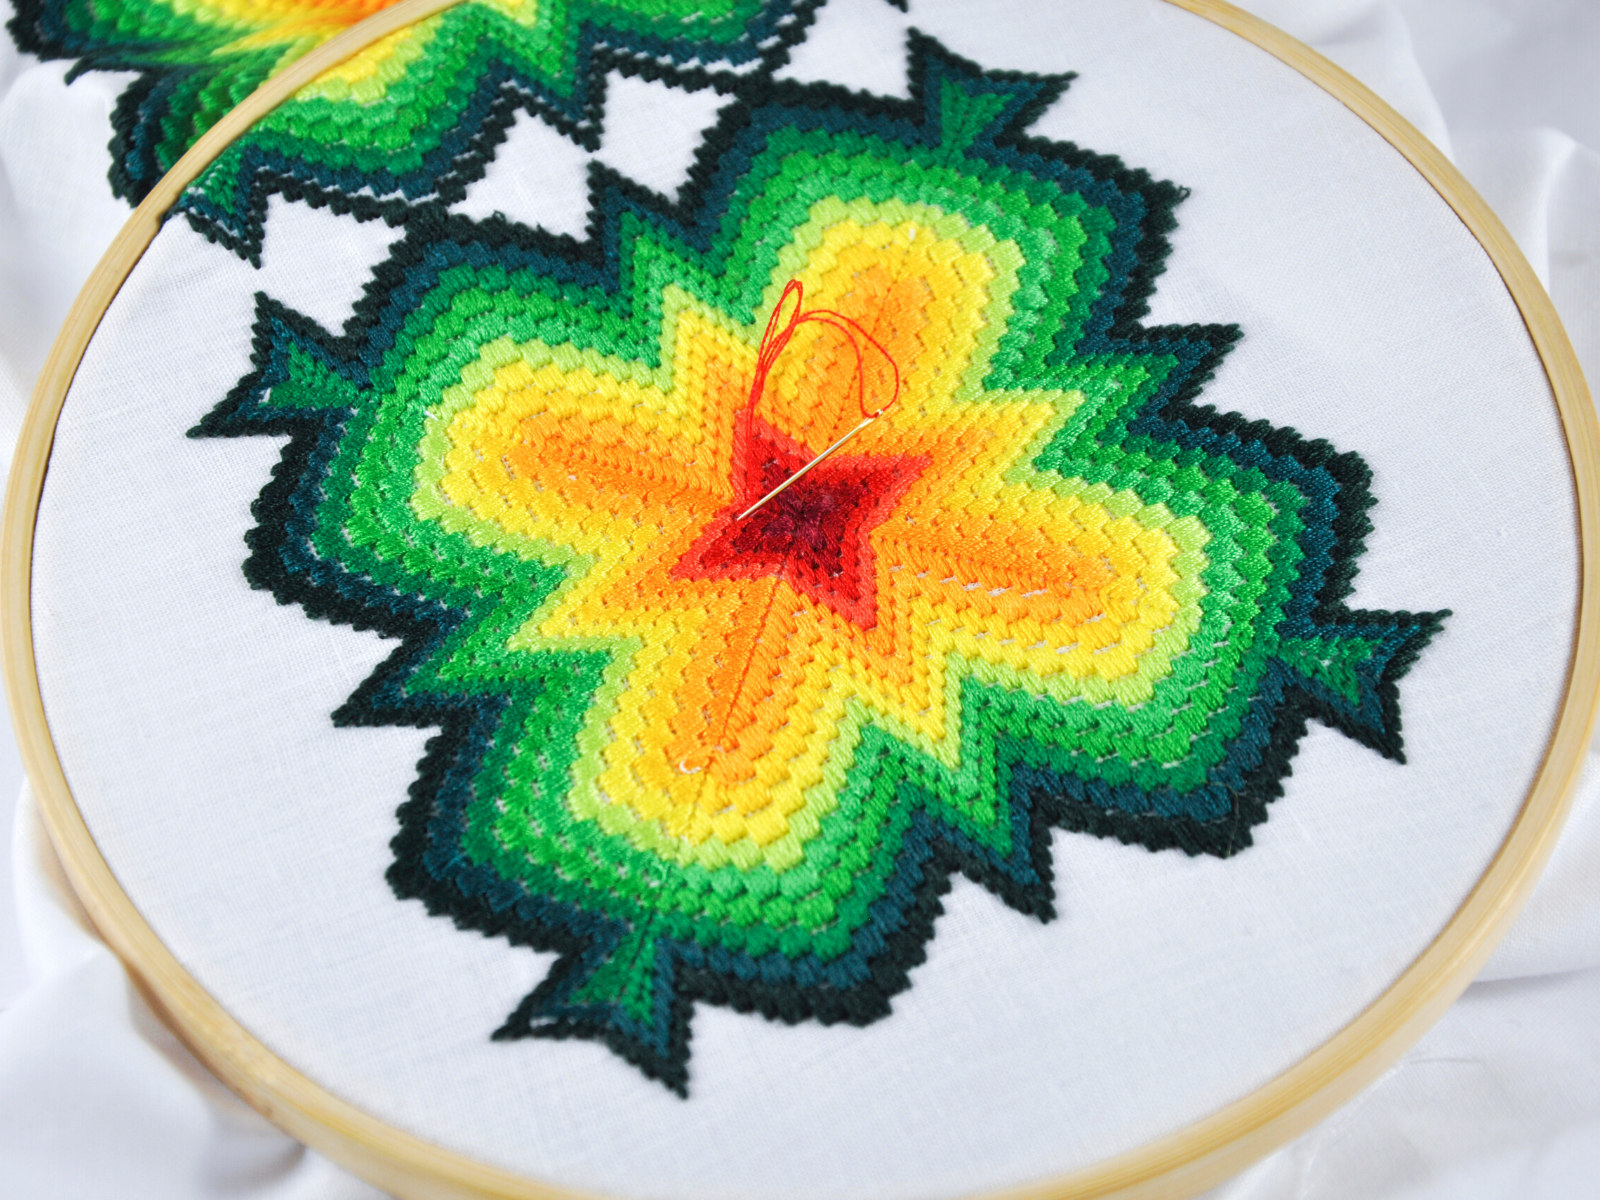
There are three main types of embroidery: hand, machine, and counted thread.
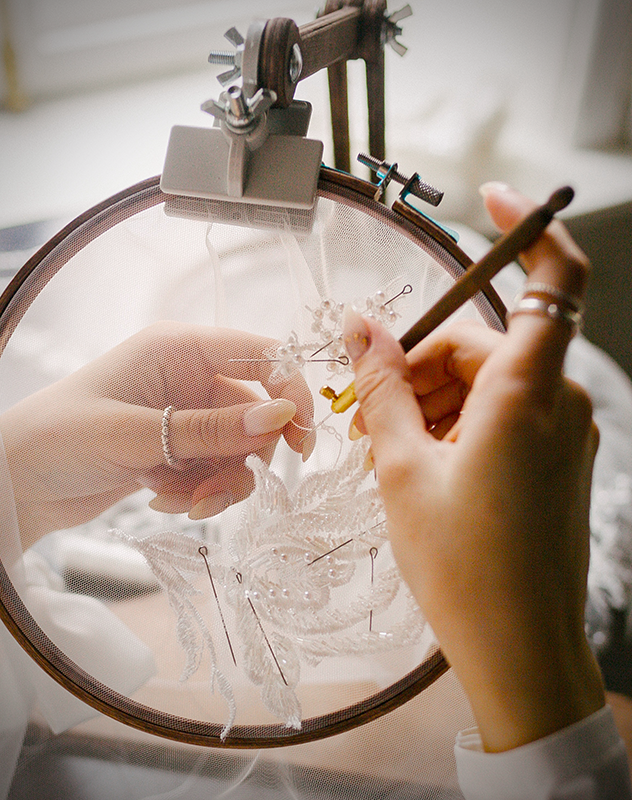
Hand embroidery is the oldest form and involves stitching the design by hand.
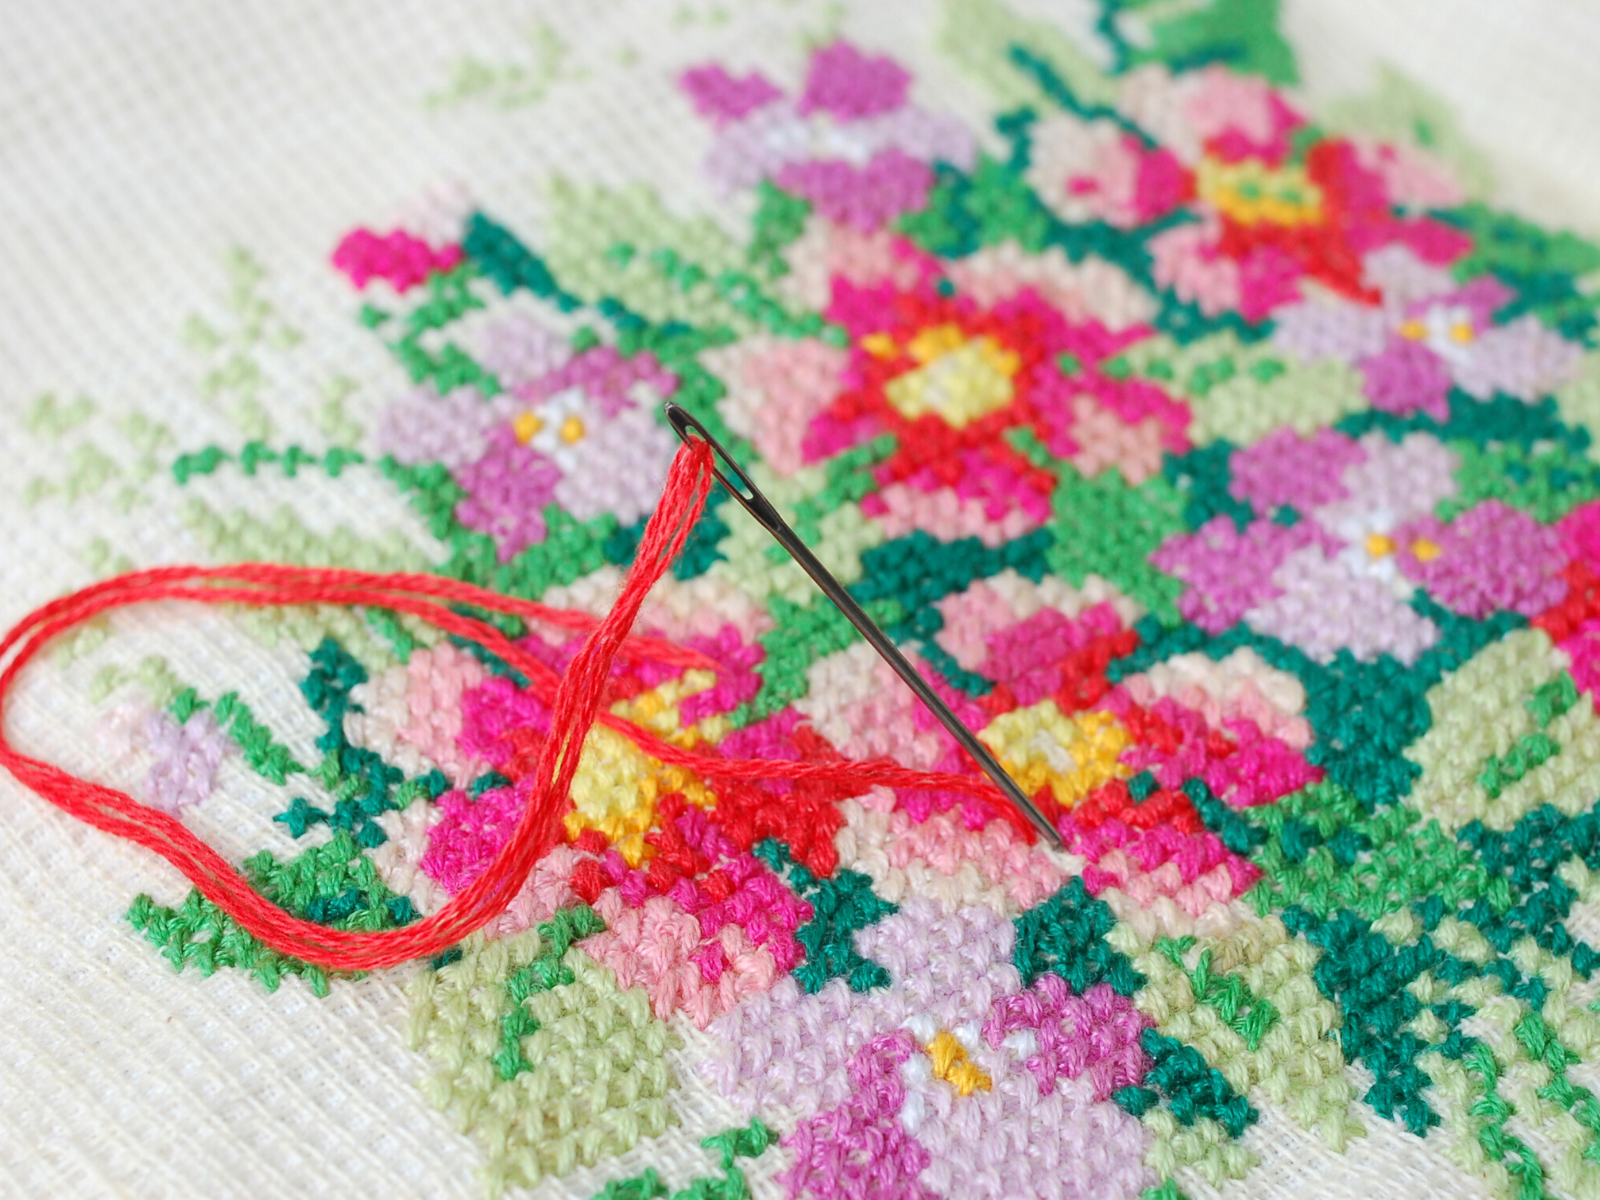
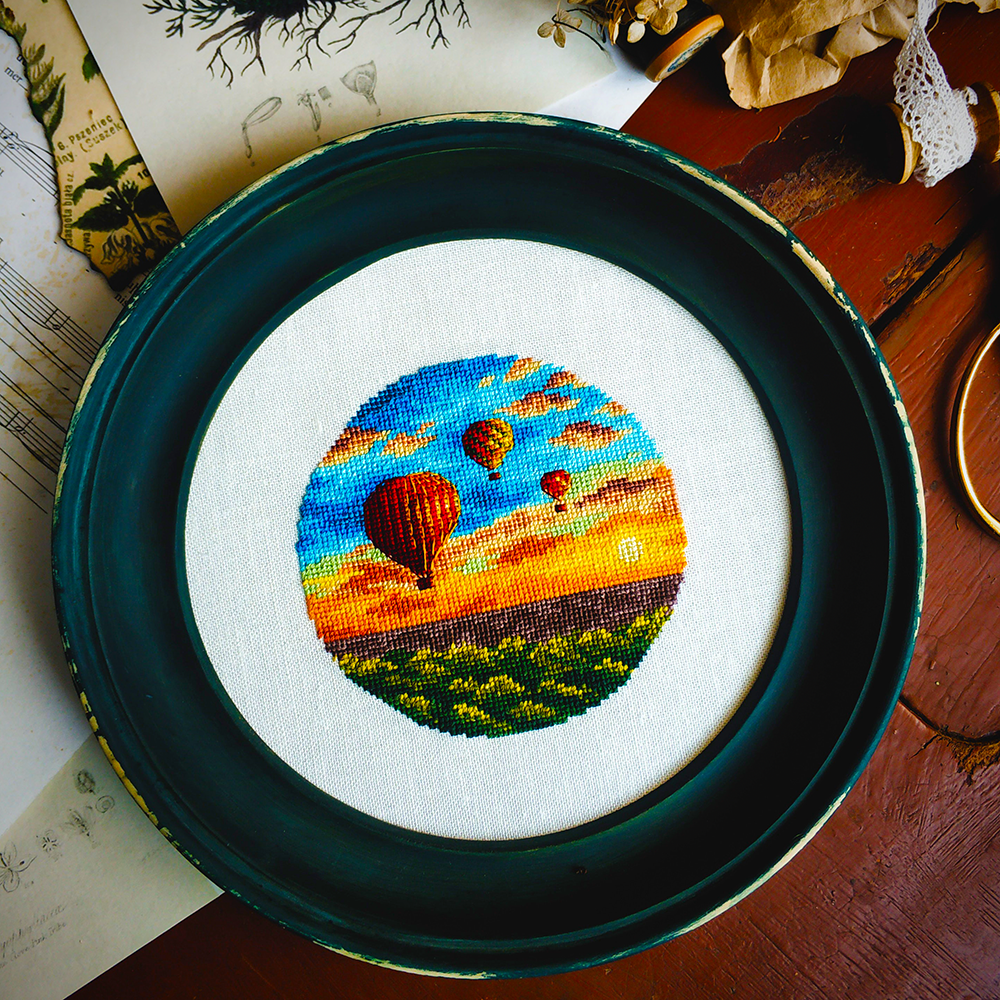
Examples include crewel work, which combines wool and silk threads to create delicate designs, and cross-stitch, which uses a basic X-shaped stitch.
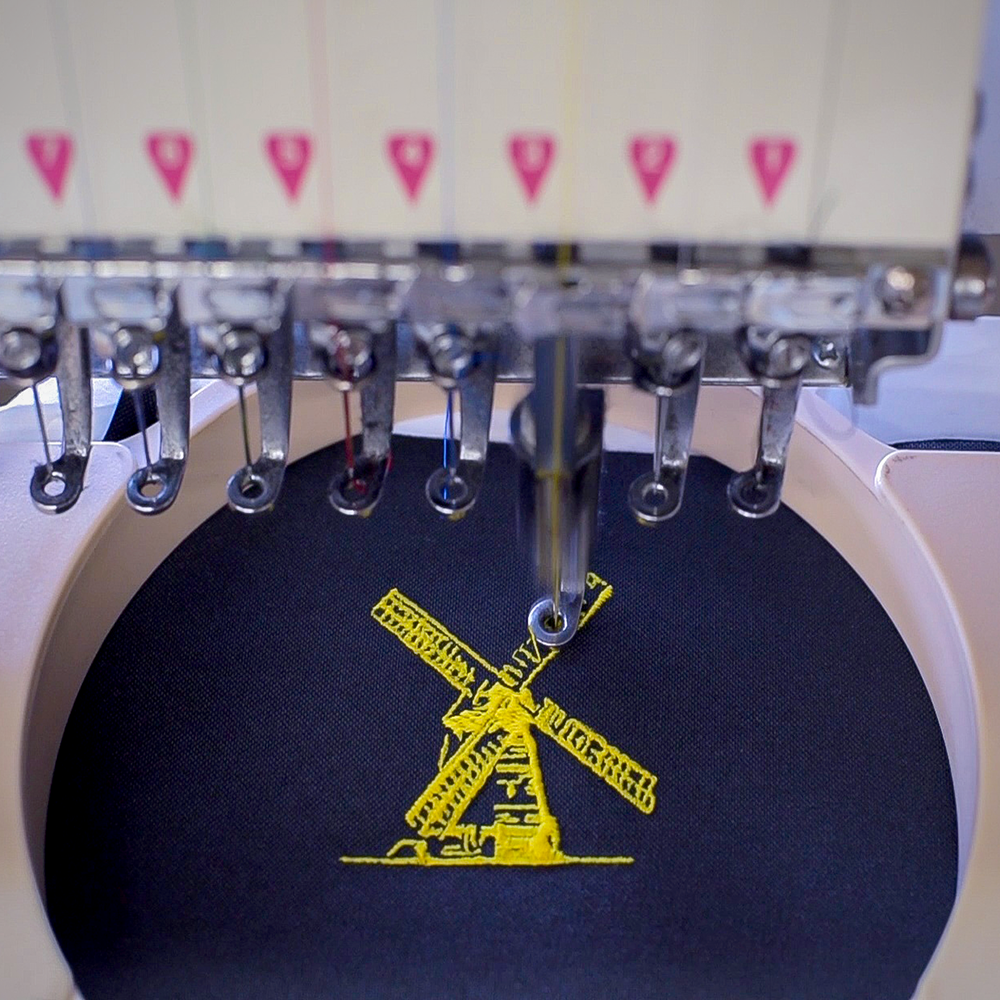
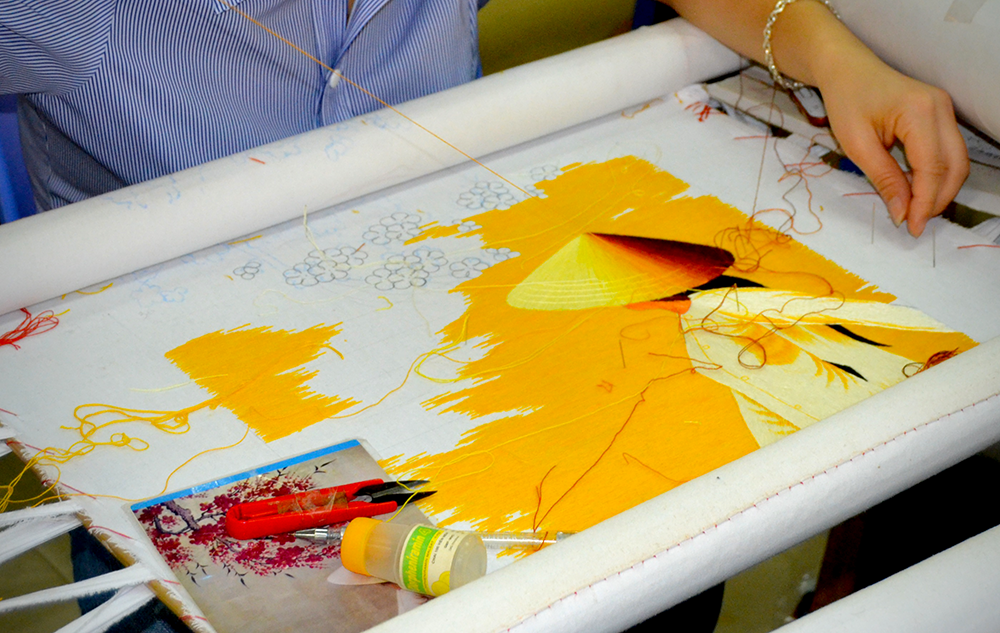
Machine embroidery is done on a special sewing machine with the design programmed into it and then stitched onto the fabric.
This type of embroidery is ideal for creating complex designs quickly and accurately.
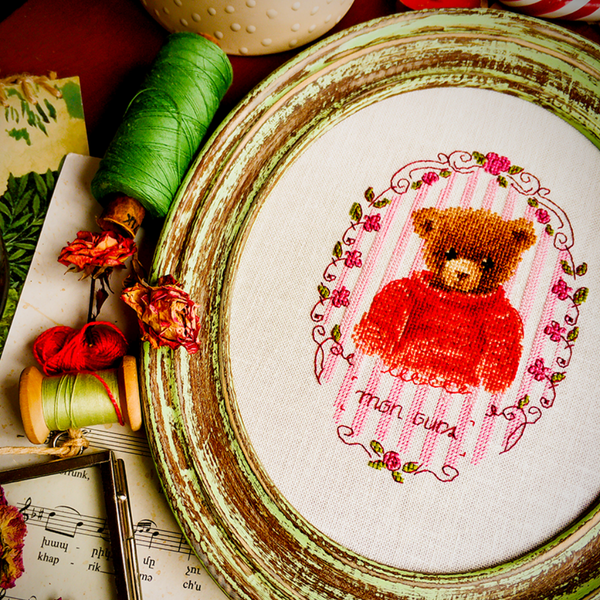
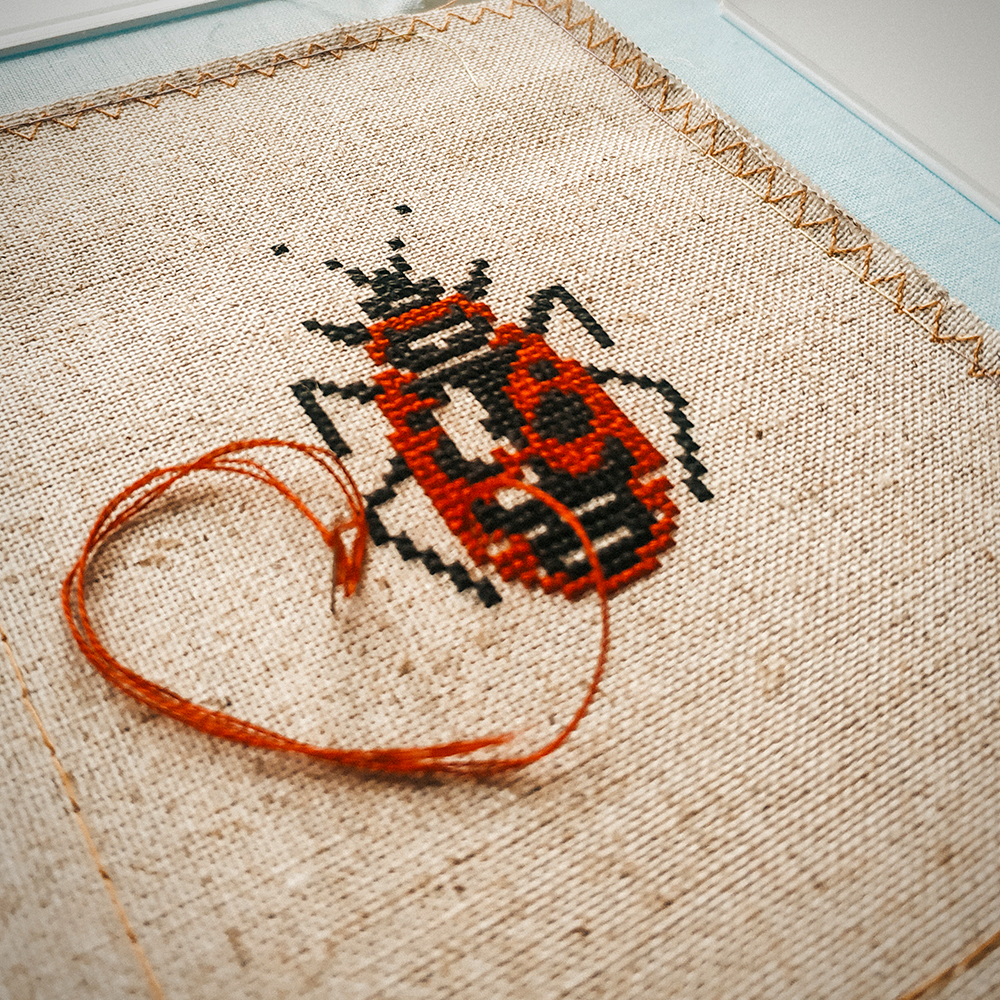
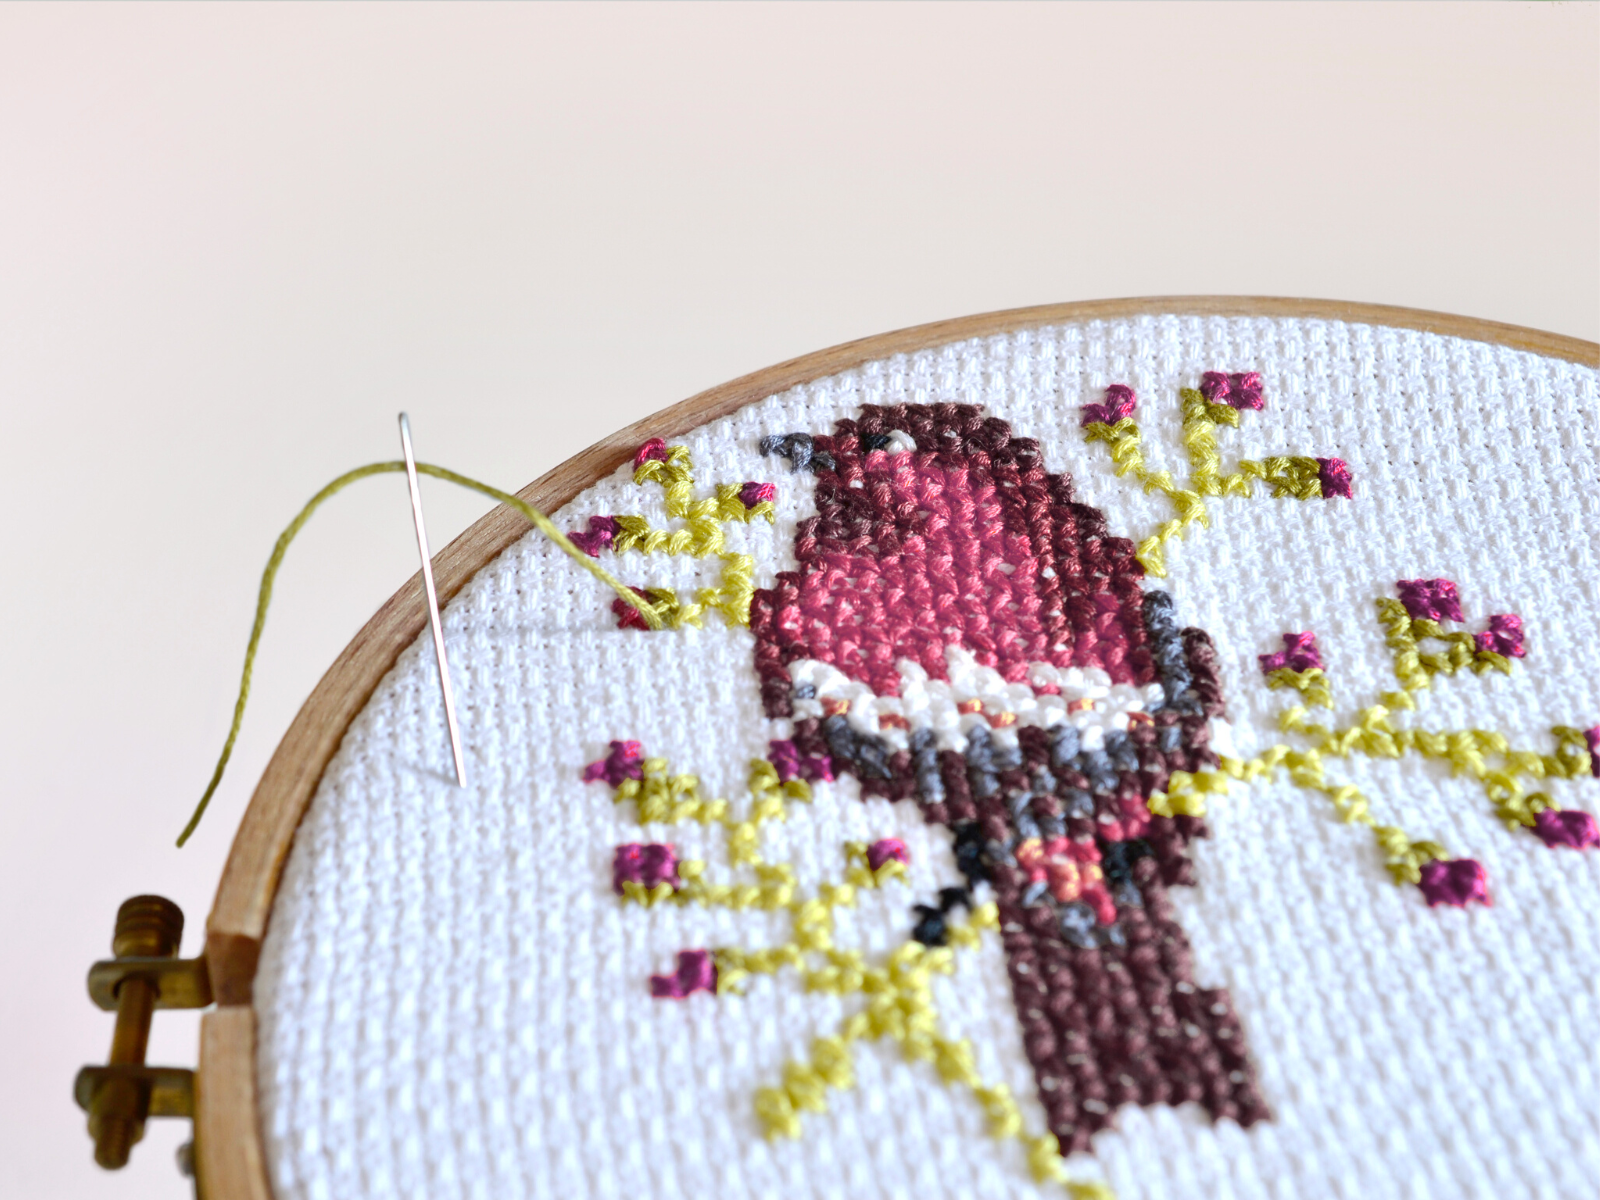
Counted thread embroidery involves counting the threads of fabric and stitching the design in a detailed manner.
This type of embroidery is often used for samplers and needlepoint designs.
Items That Can Be Embroidered
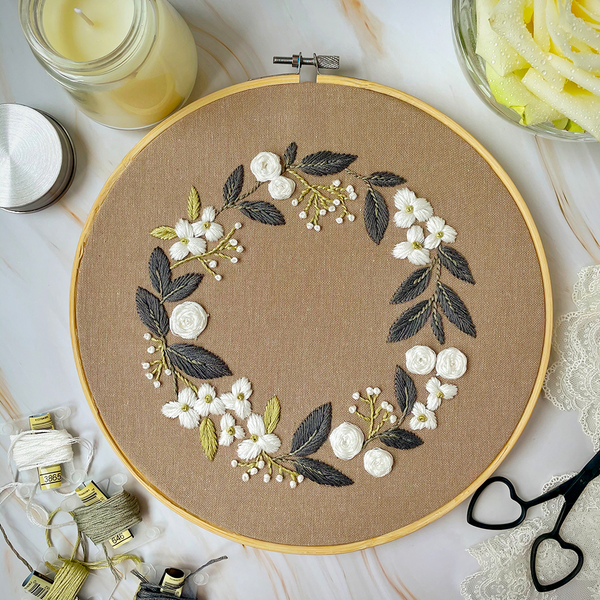
Embroidery can be done on almost any type of fabric, including cotton, linen, wool and synthetic fabrics.
It's also possible to embroider onto leather, though it requires a special type of needle.
You can also use embroidery to customize accessories such as hats, bags, and jackets.
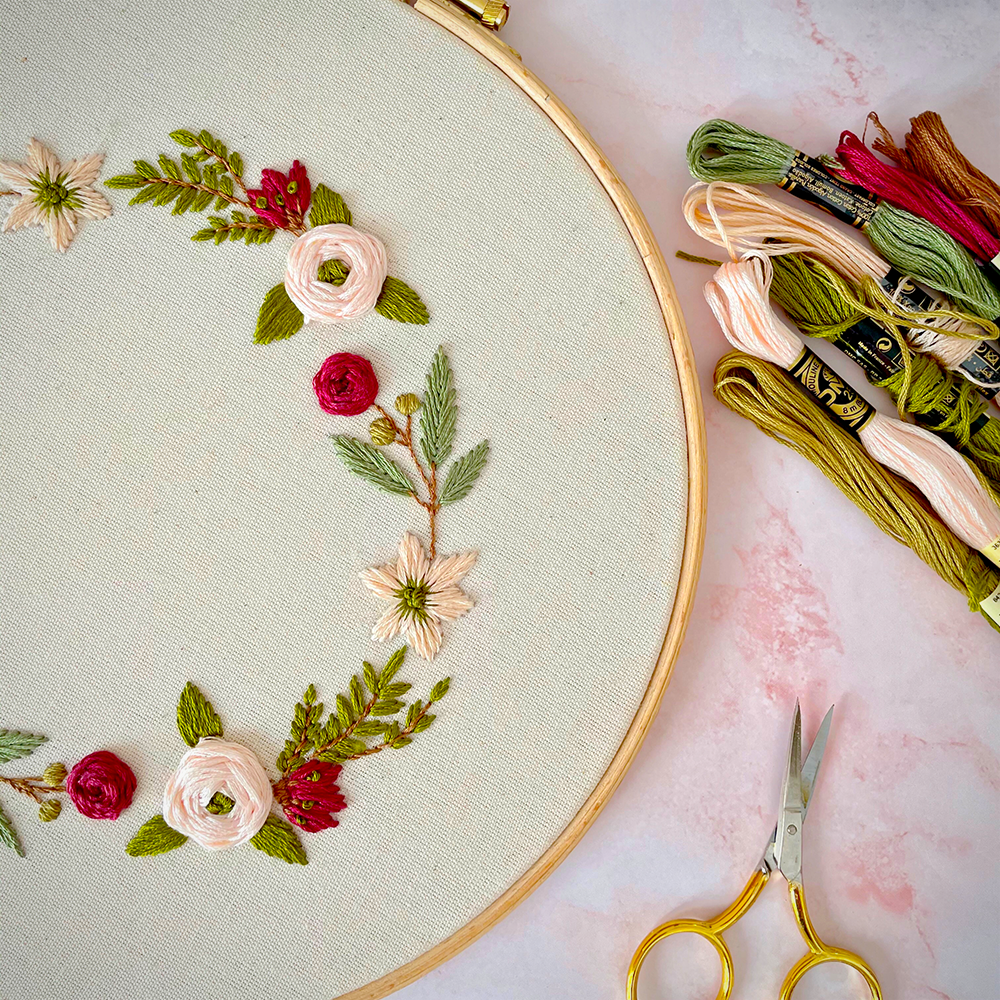
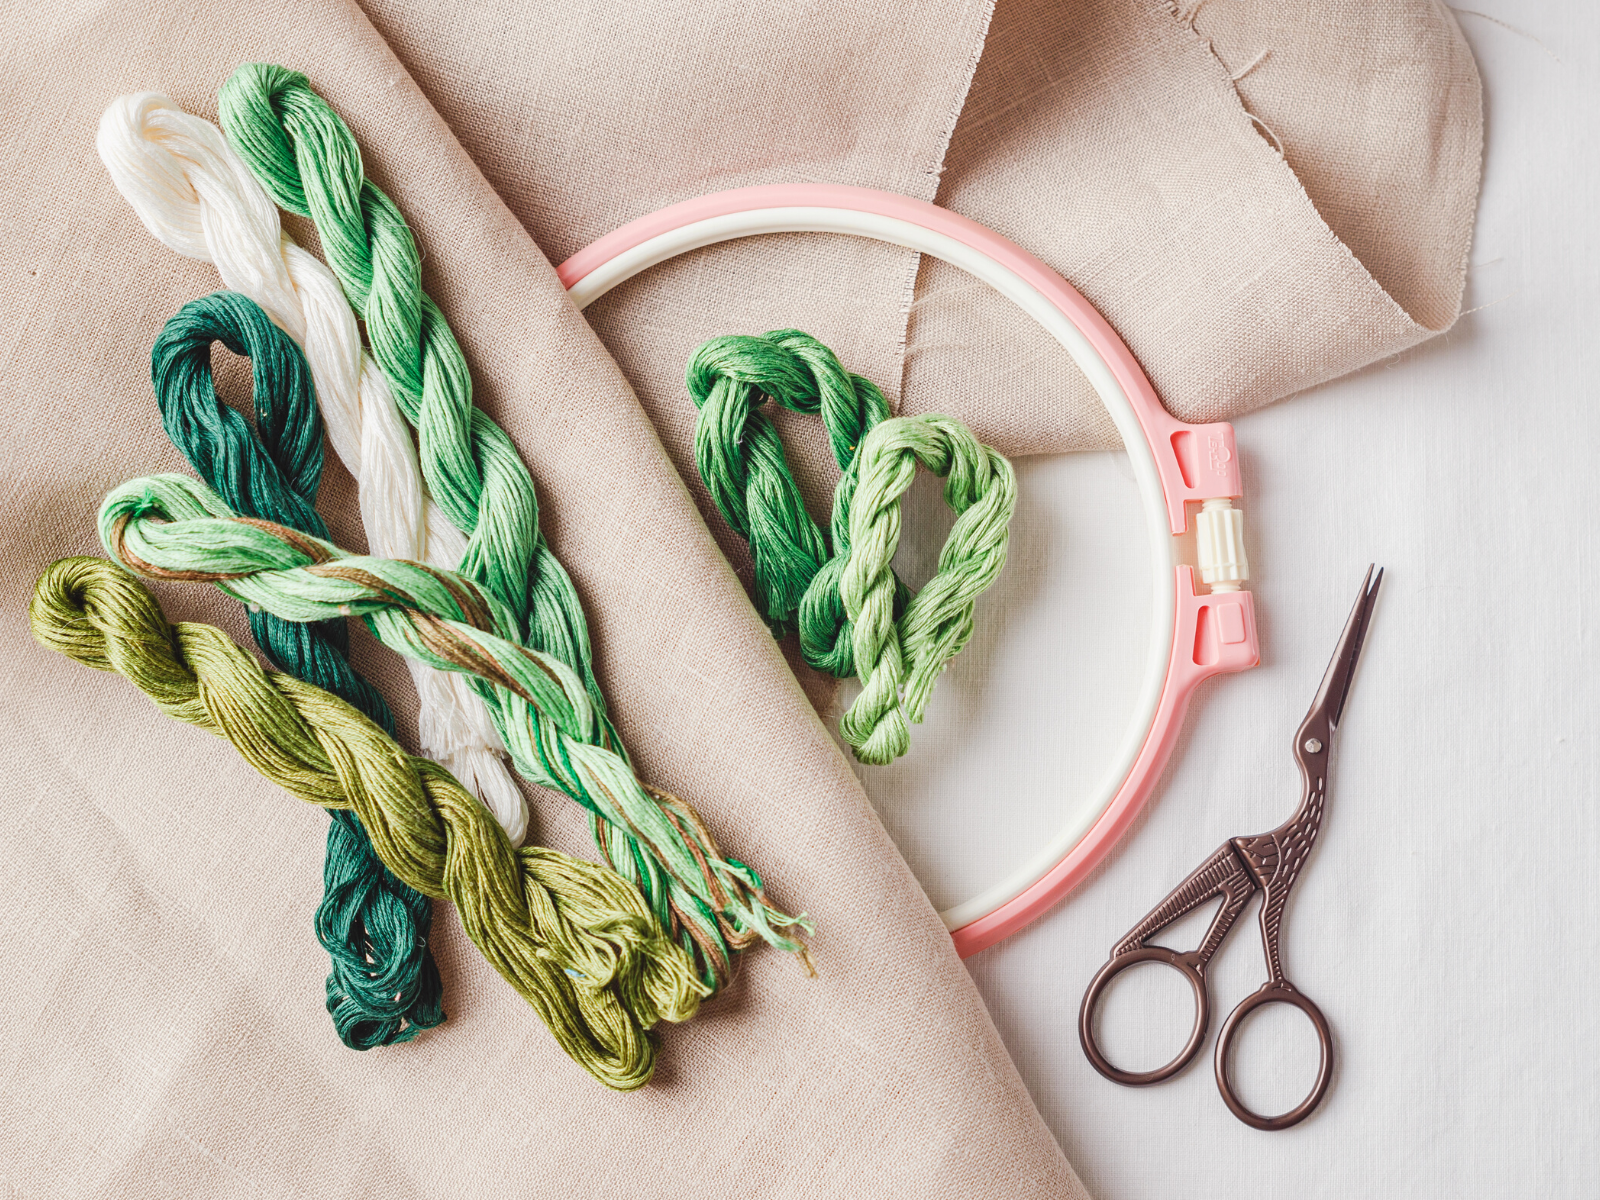
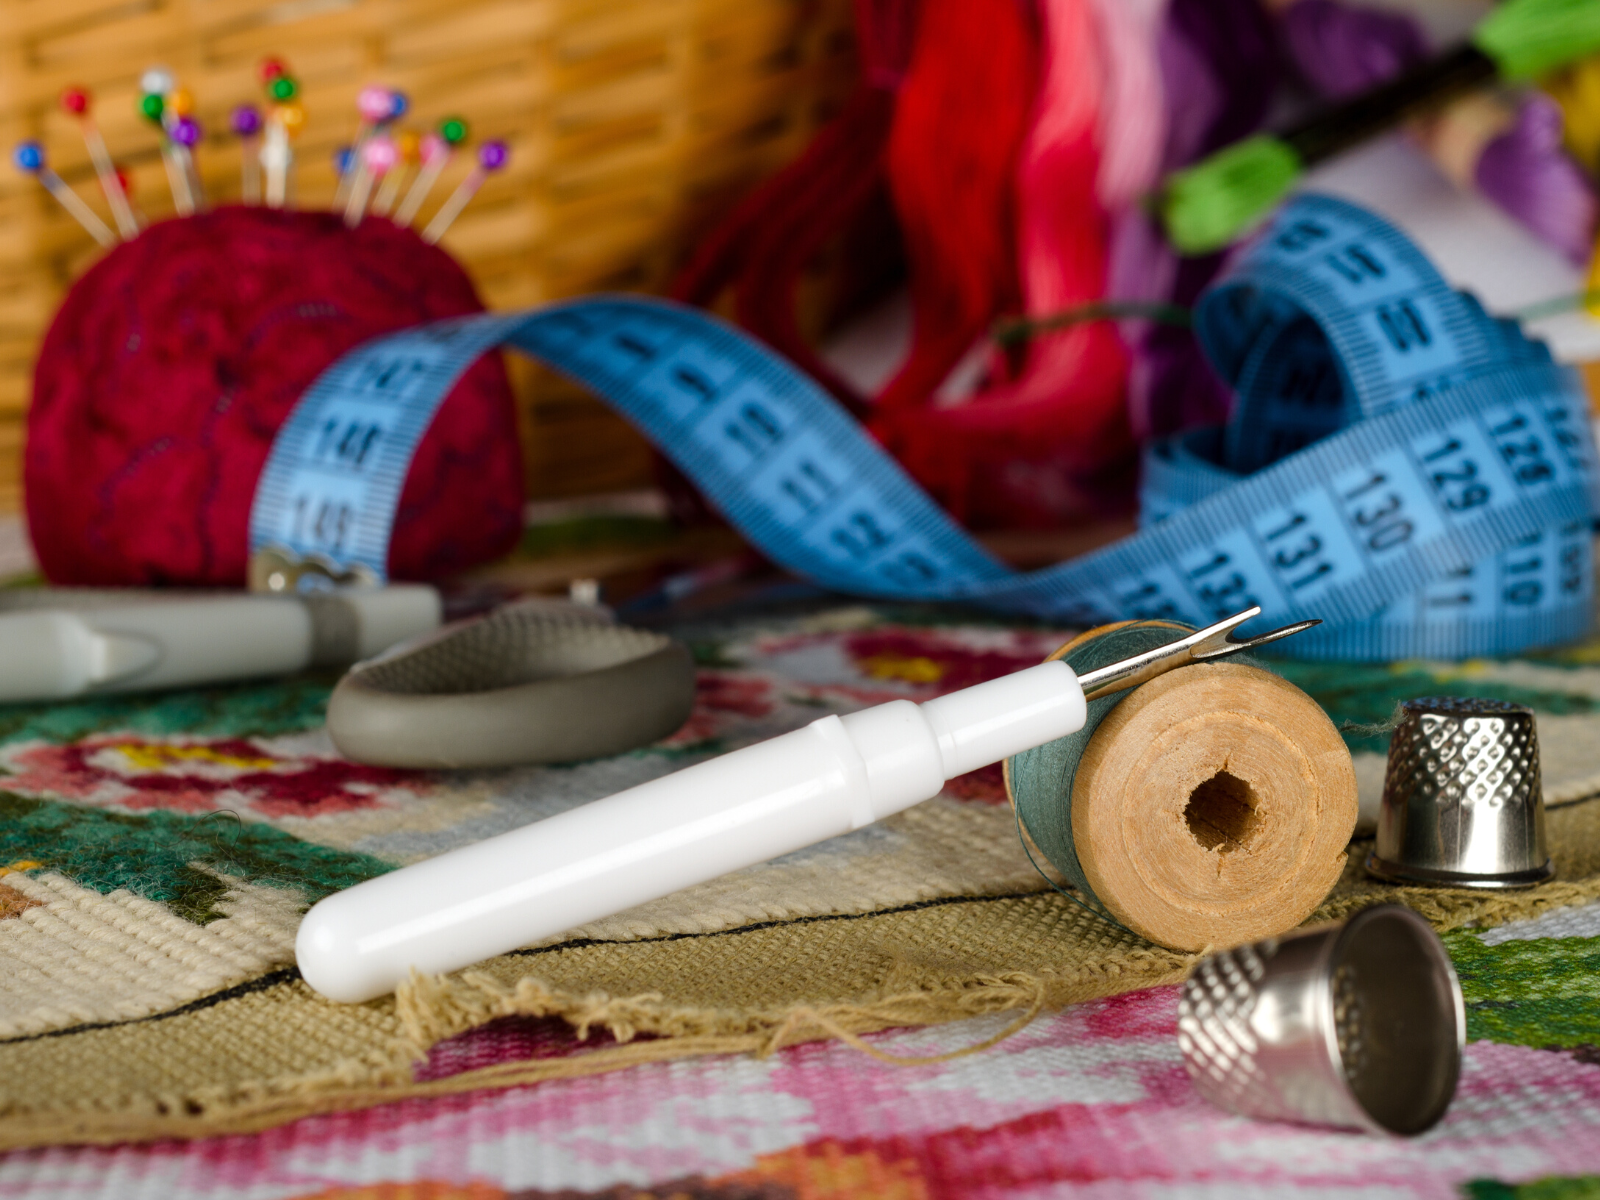
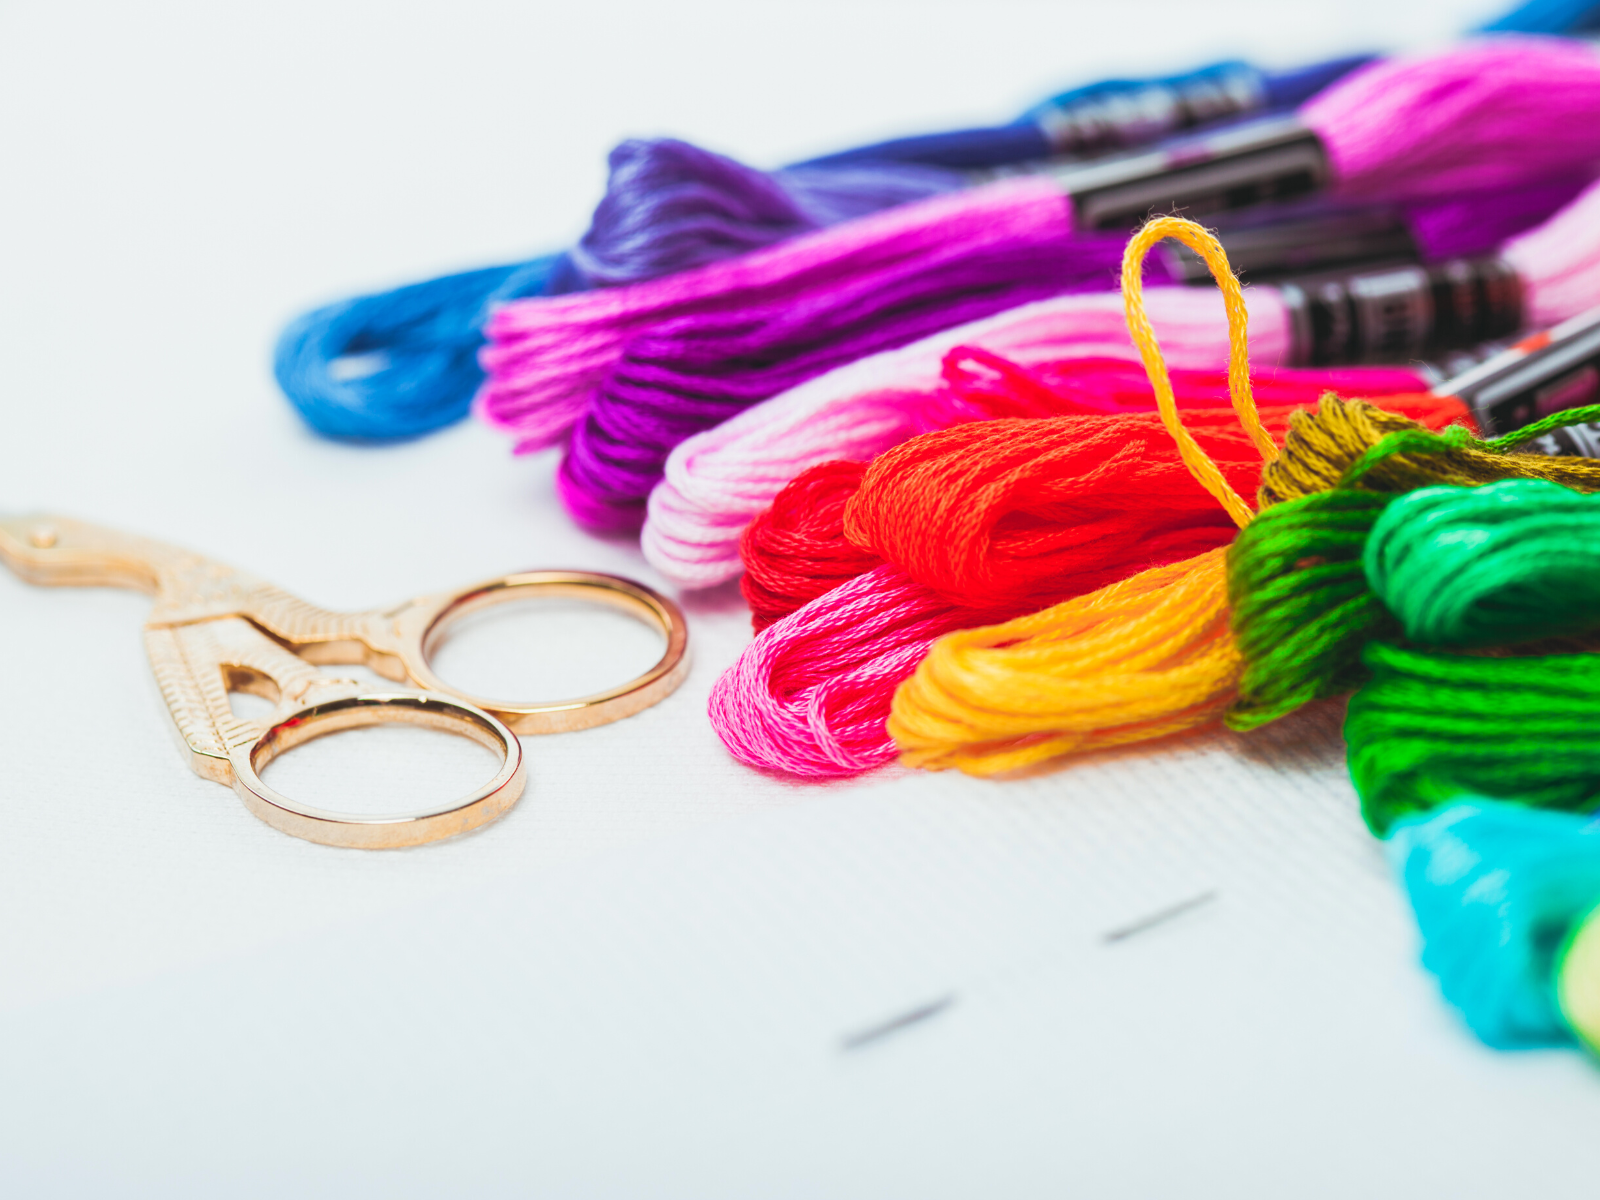
Gather Your Supplies
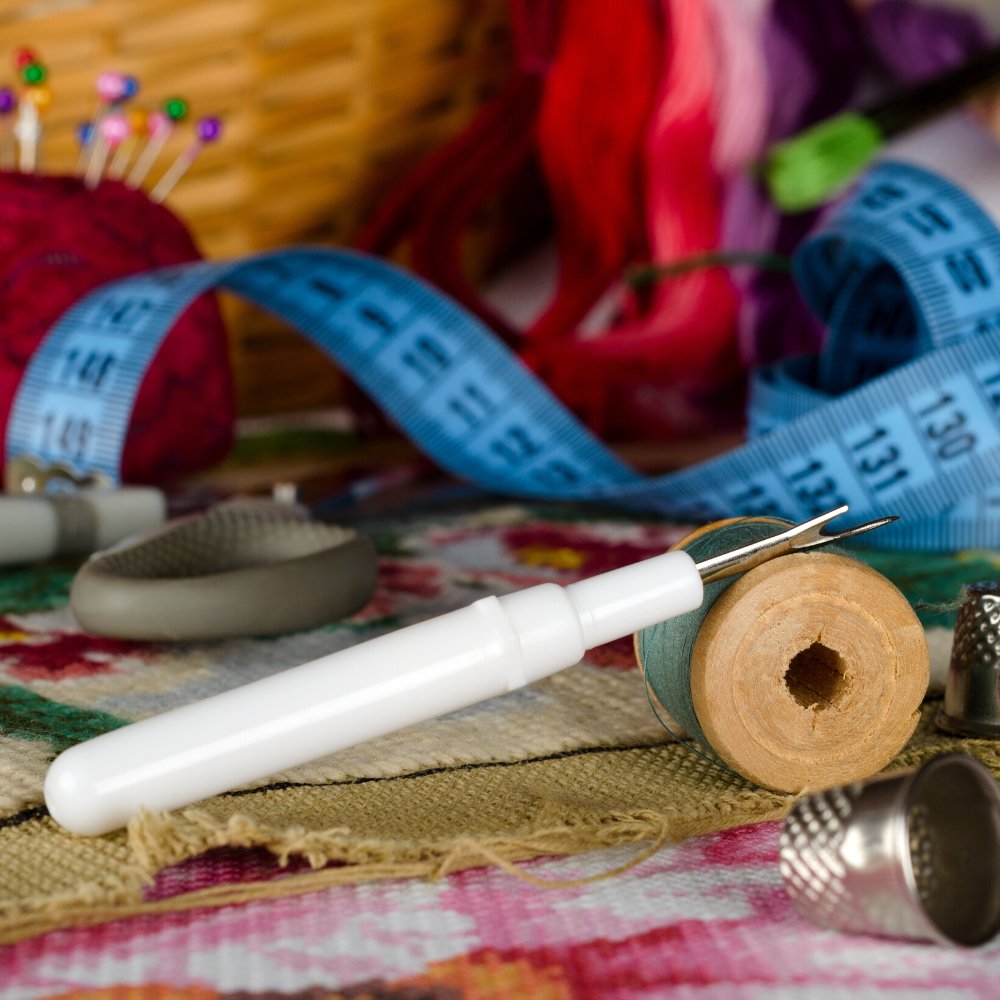
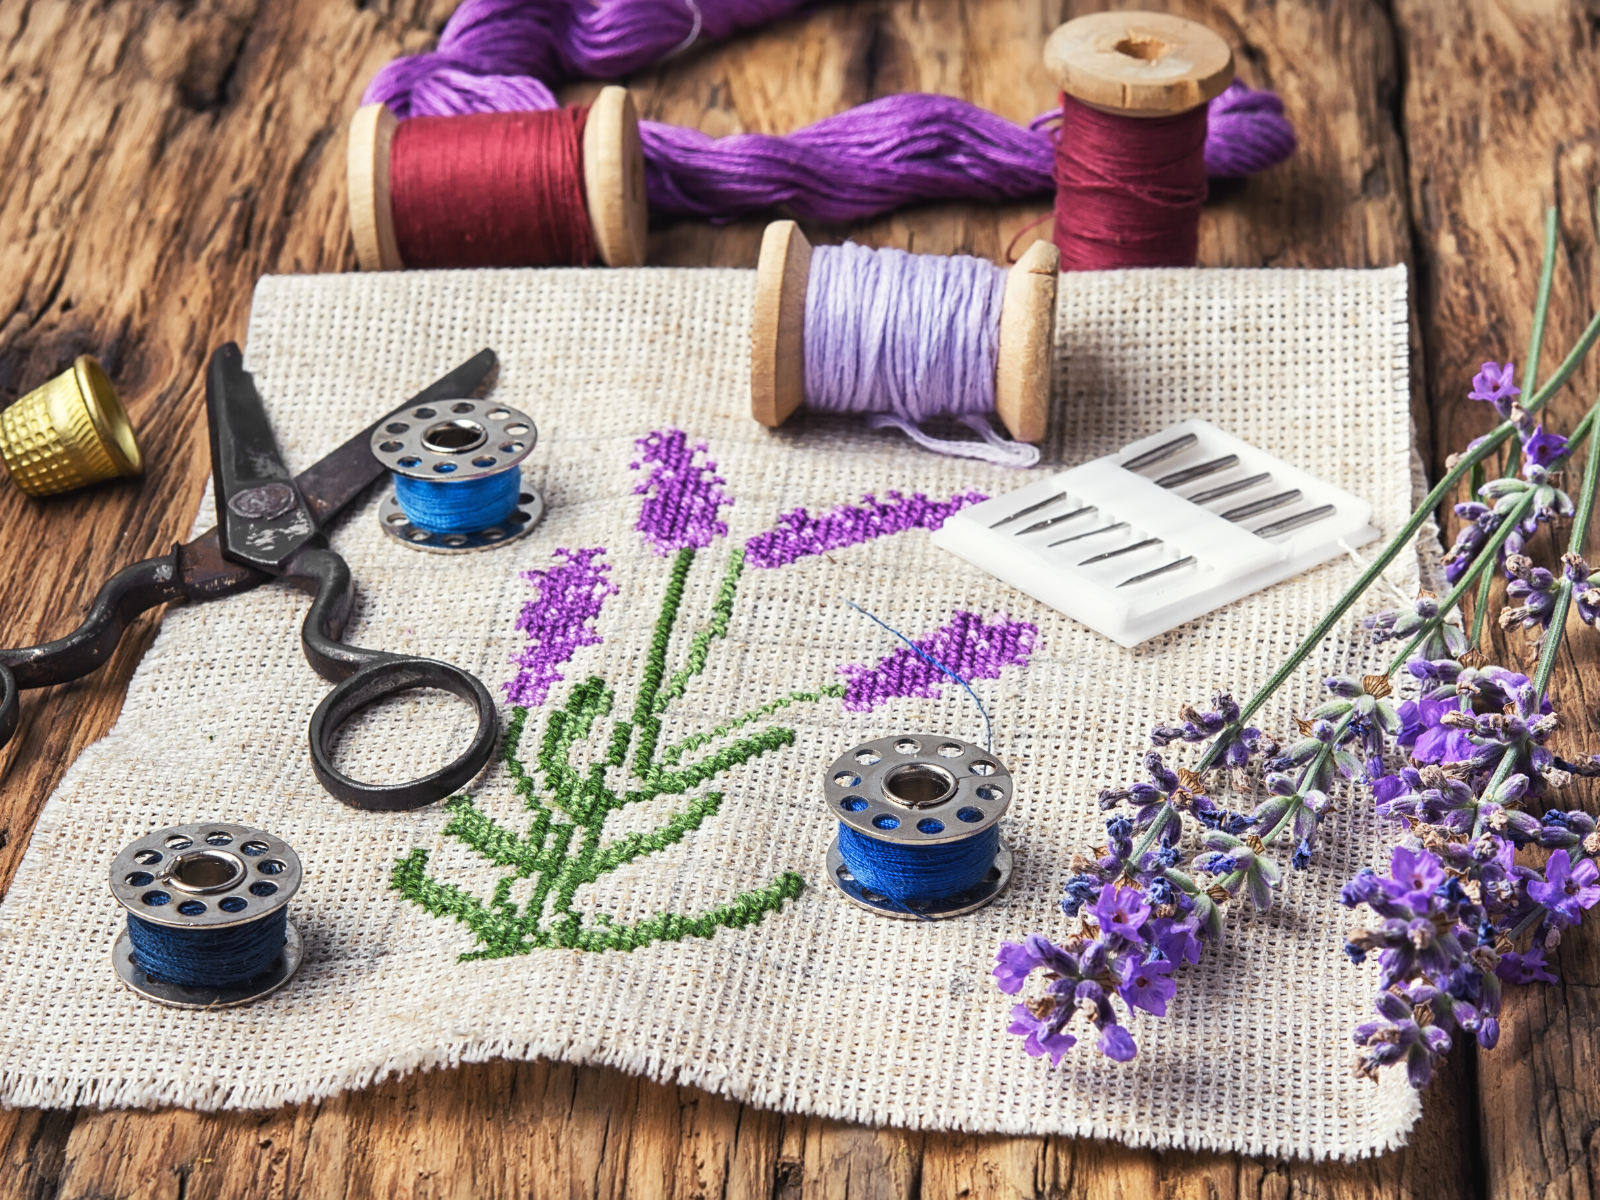
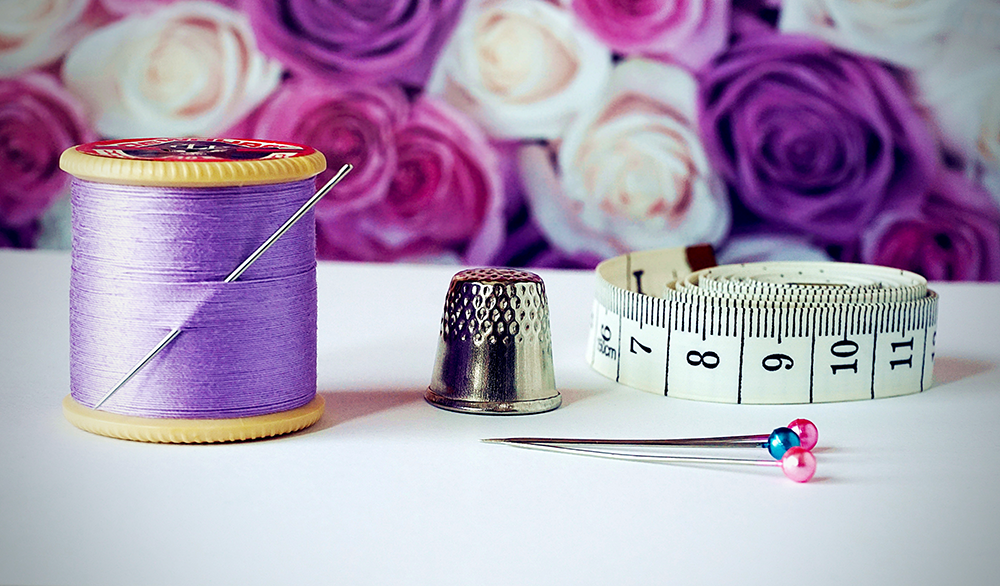
Before you begin, make sure you have all the necessary supplies, as there are a variety of embroidery removal tools you can use for embroidery threads.
You'll likely need an embroidery hoop, a pair of sharp scissors, a seam ripper (a tool used for removing stitches) and a needle threader if you're working with hand embroidery.
Depending on your fabric, you may also need a stabilizer to support the fabric while you remove the stitches.
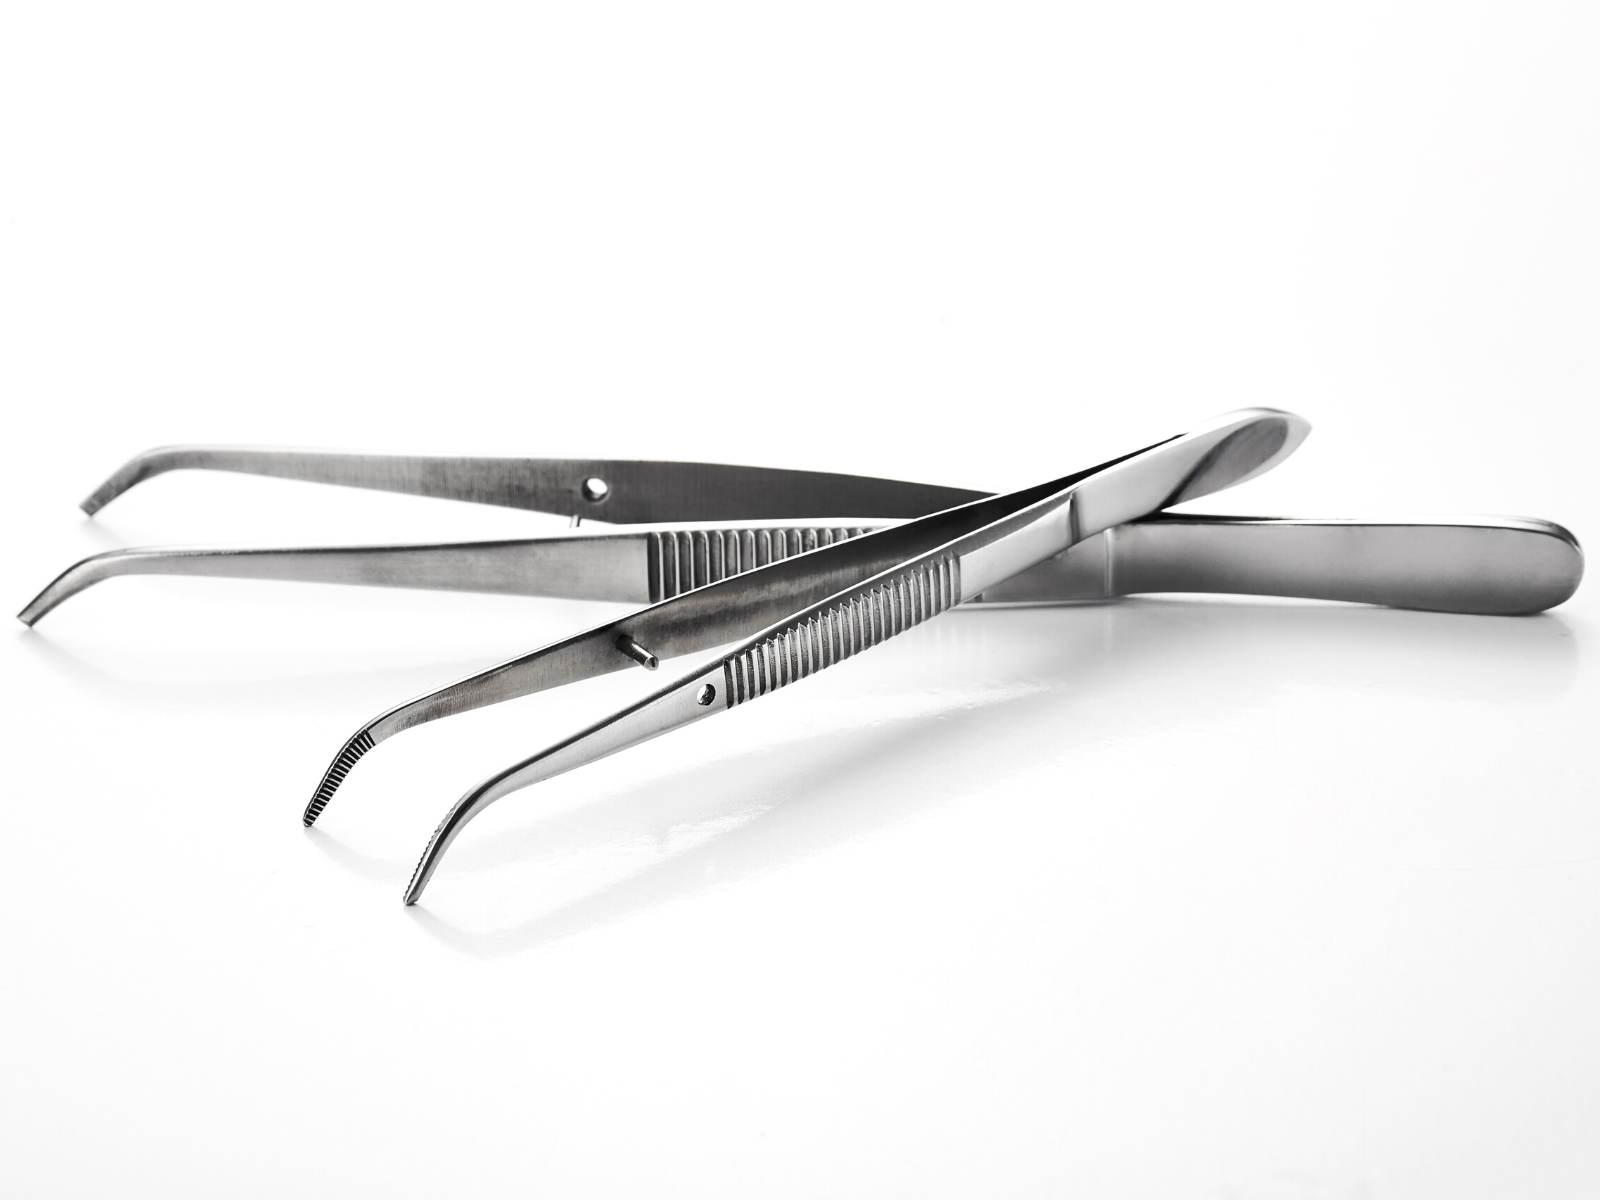
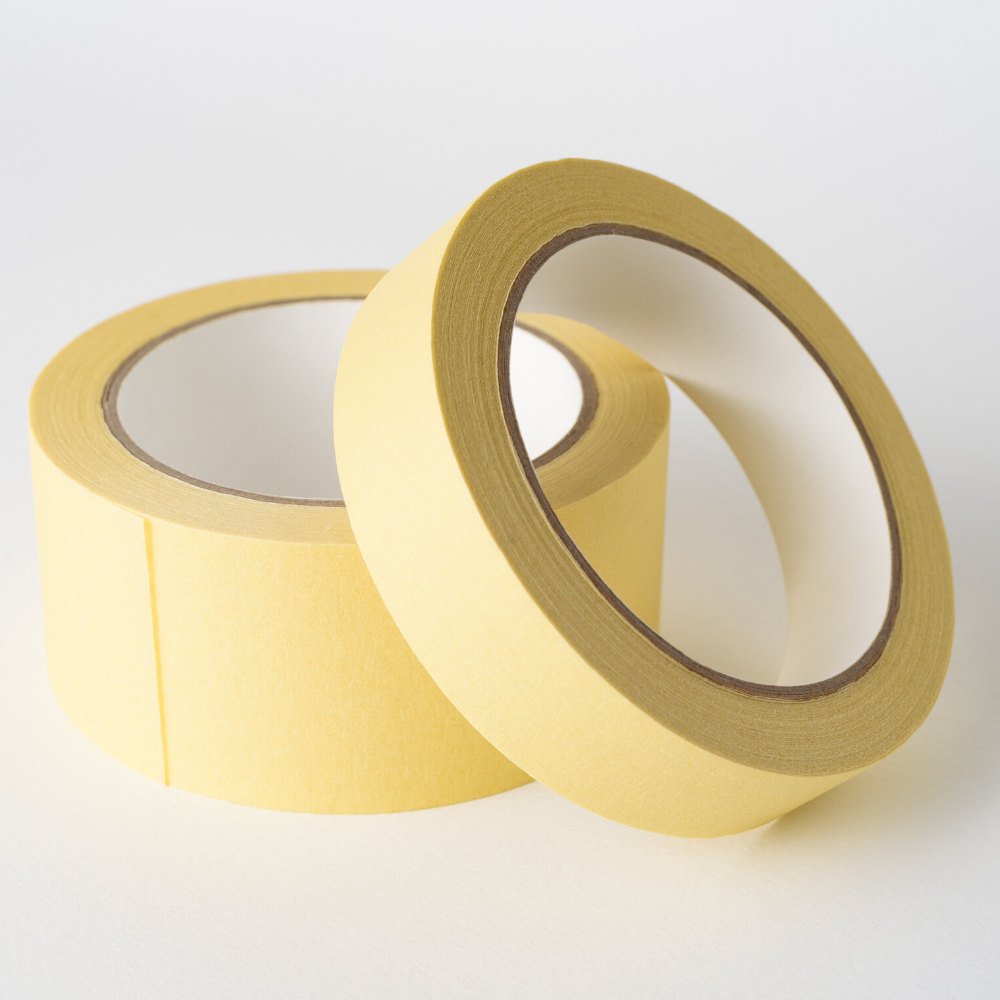
Other supplies you might want include tweezers, tape, and an iron on hand for steaming out stubborn stitches.
Once you’ve gathered all your supplies, you’re ready to start removing that embroidery!
Removing Embroidery By Hand
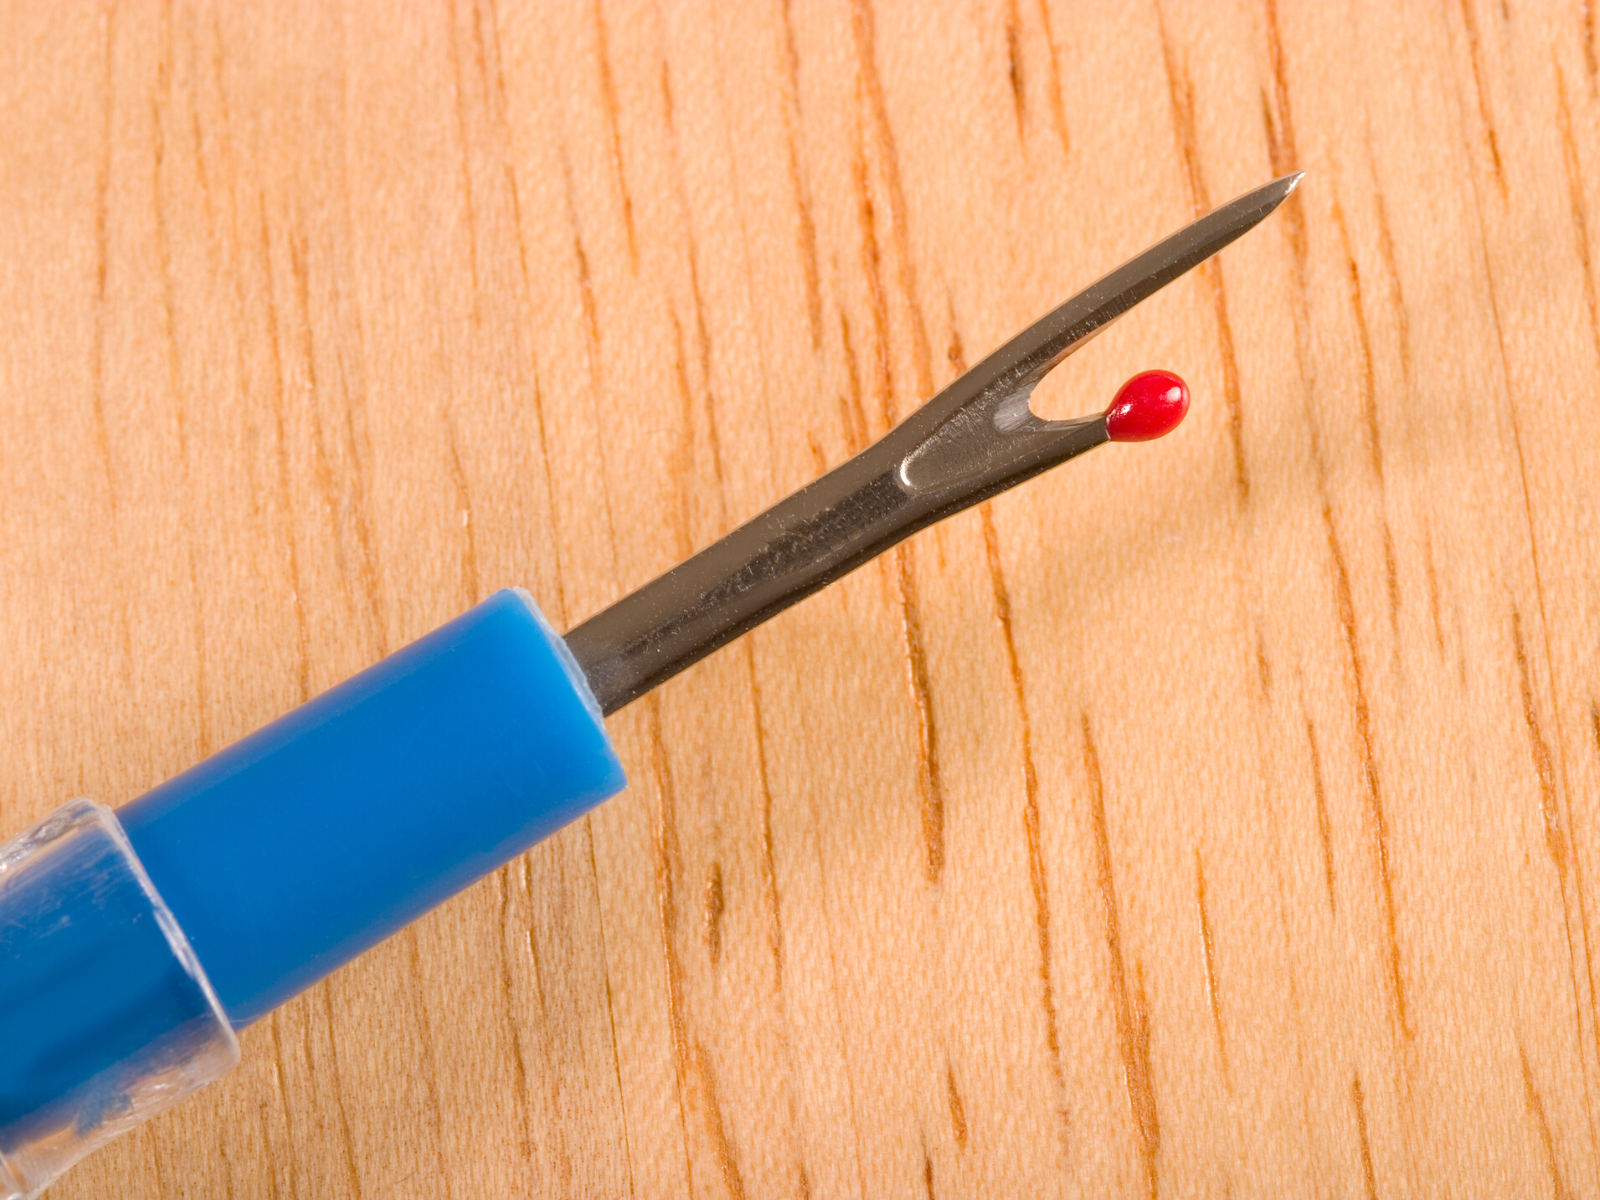
When it comes to removing hand embroidery, the best tool to use is a seam ripper.
This tool has a small blade-like end that can easily snip away stitches without damaging the fabric.
To remove machine embroidery stitches, using a seam ripper or sharp pair of embroidery scissors works best.
Start by cutting the threads at the back of the fabric and gently pulling them away with the ripper.
Continue this process until the entire design has been removed.
If you're having trouble getting the stitches out, use a pair of tweezers to pull away any stubborn stitches.
It’s also helpful to steam the fabric before you start, as this can make it easier to remove the embroidery.
Once you’re done, you can use a needle and embroidery thread to secure any loose threads.
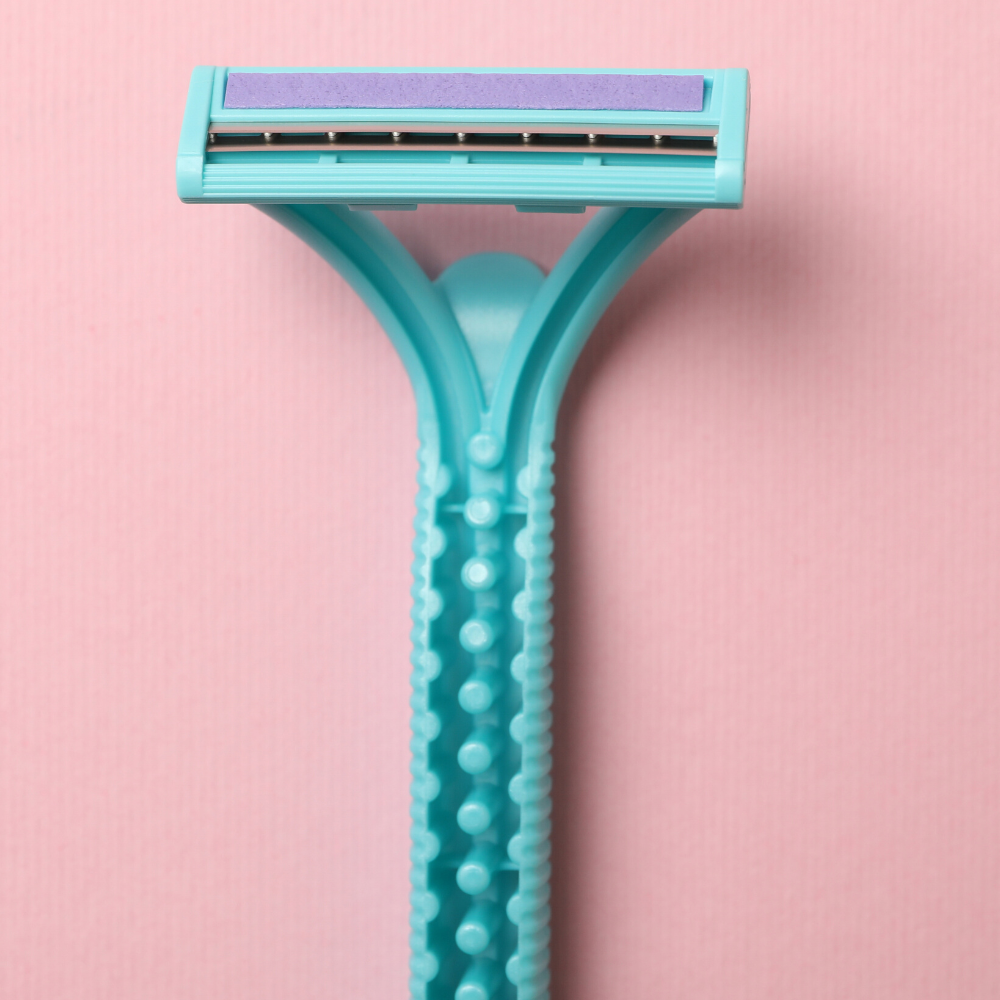
Using Scissors or a Razor
If you’re dealing with a particularly tough design, you can use scissors or a razor to cut away the embroidery.
Start by cutting the thread at the back and gently pulling away any loose threads.
Be careful not to cut the fabric itself, as this can cause it to fray or tear.
If you’re using scissors, use small sharp ones that won’t snag the fabric.
A razor blade is also an option, but be sure to exercise caution when using it!

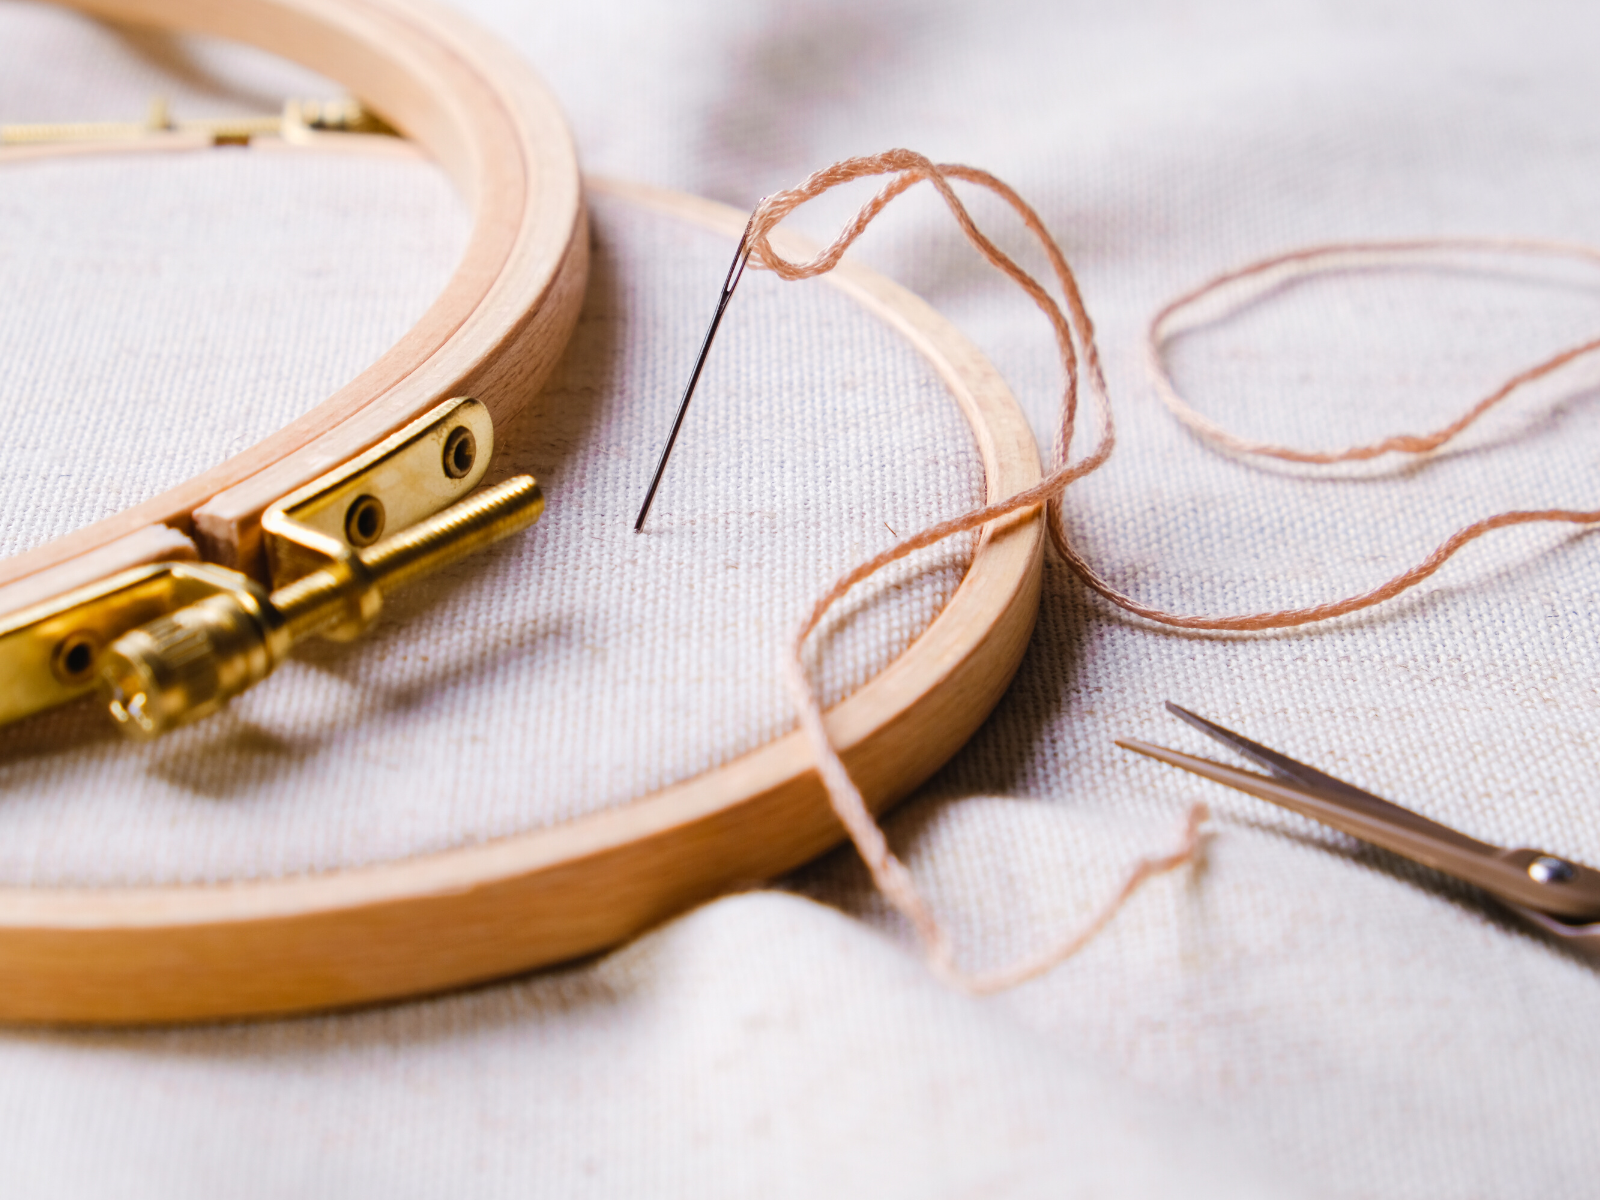
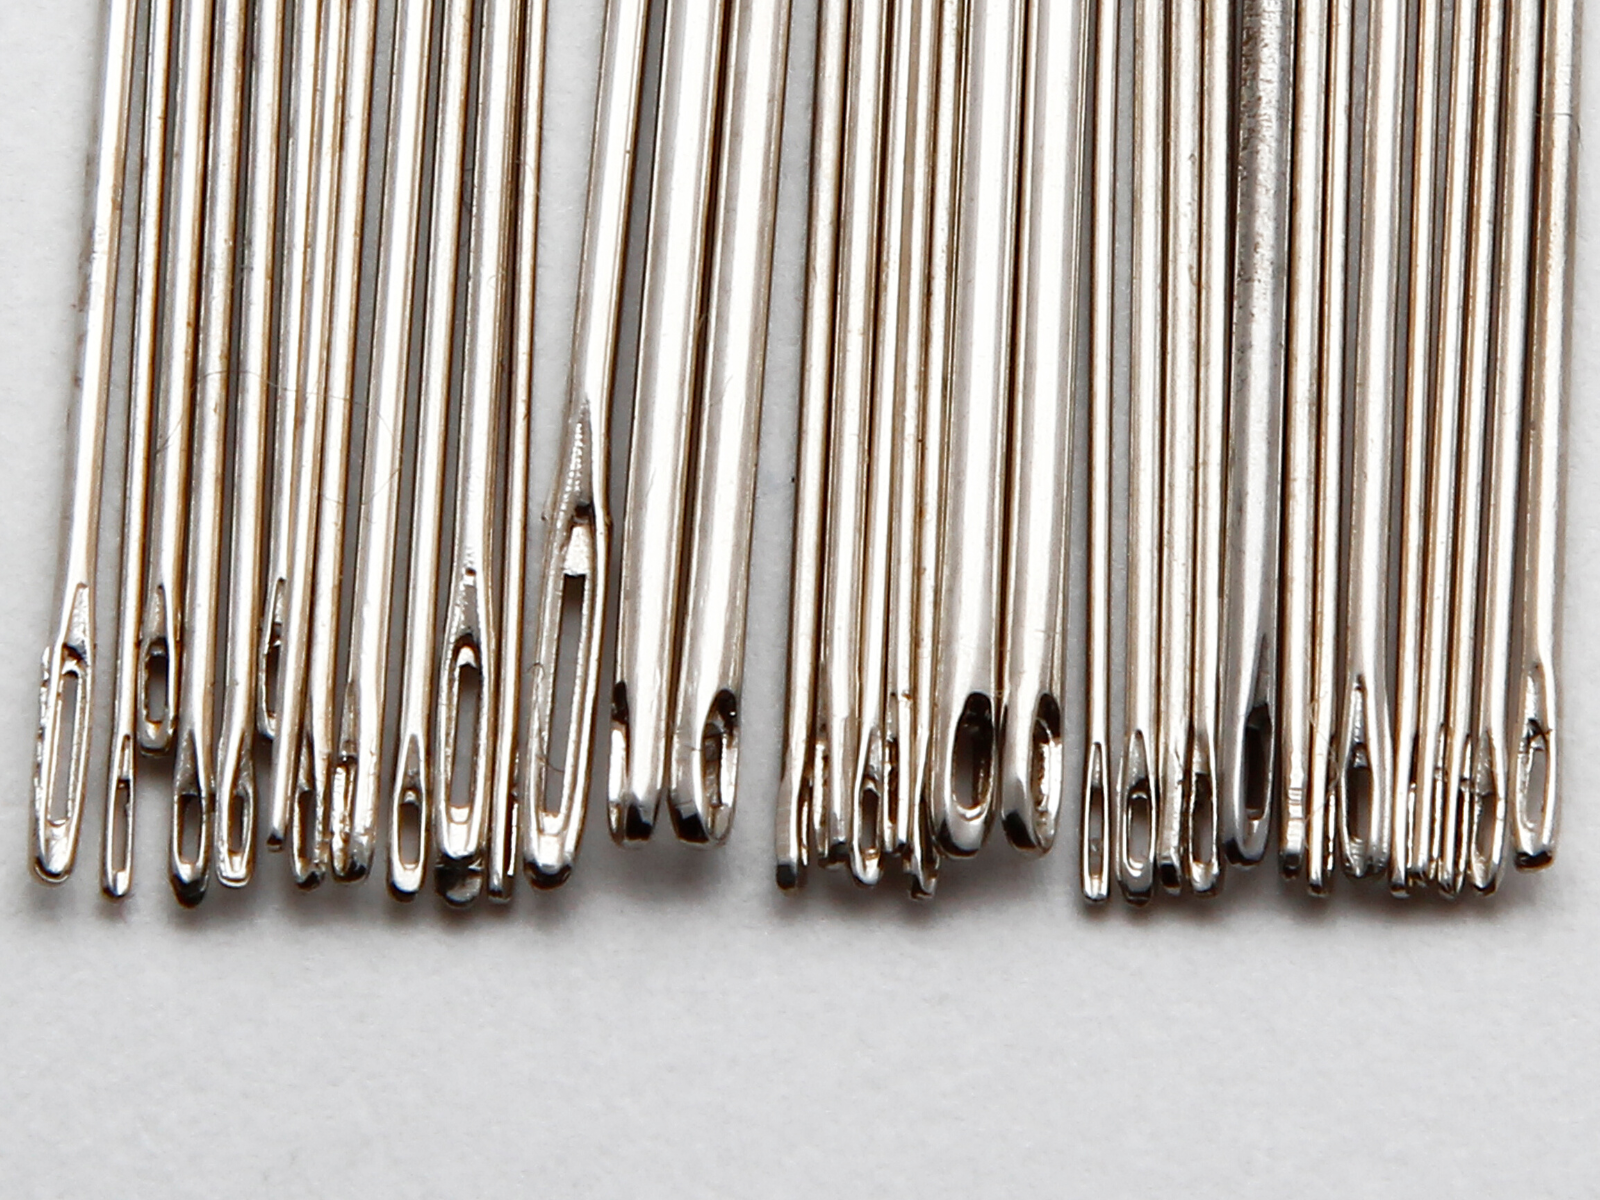
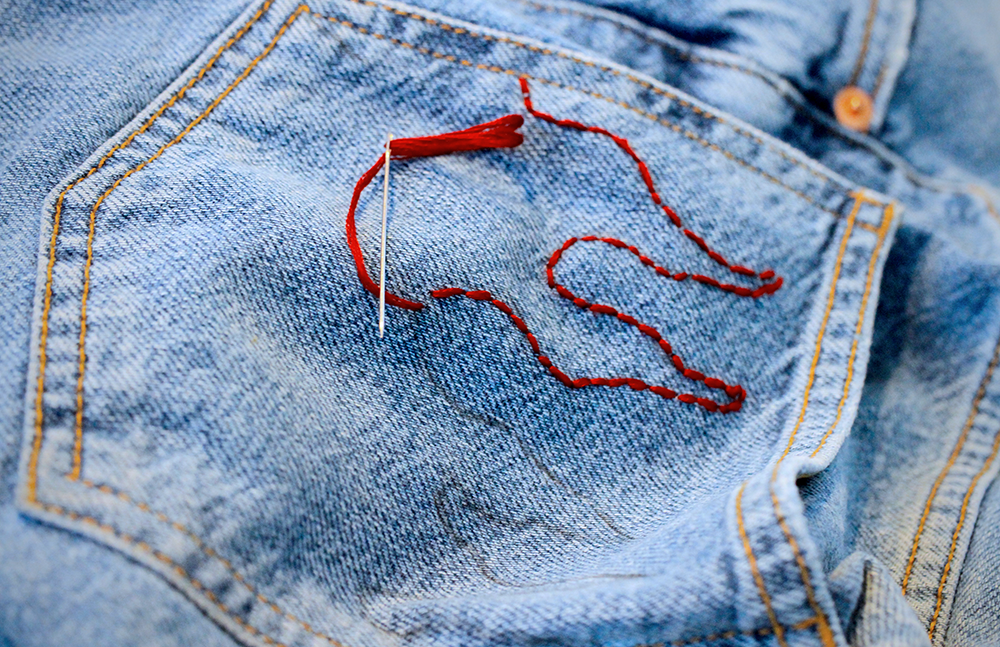
Using a Needle
Needles can also be used to remove embroidery.
Start by threading the needle with a long strand of thread and then insert it under one of the stitches of the embroidery.
Next, gently pull the needle and thread through, removing the stitch as you go.
Continue this process until all the stitches have been removed.

Using Tweezers
Tweezers can be very useful for removing smaller, more intricate embroidery designs.
Start by using the tweezers to grip the thread and pull it away from the fabric.
Continue until all of the stitches have been removed, being careful not to tug too hard or you may damage the fabric.
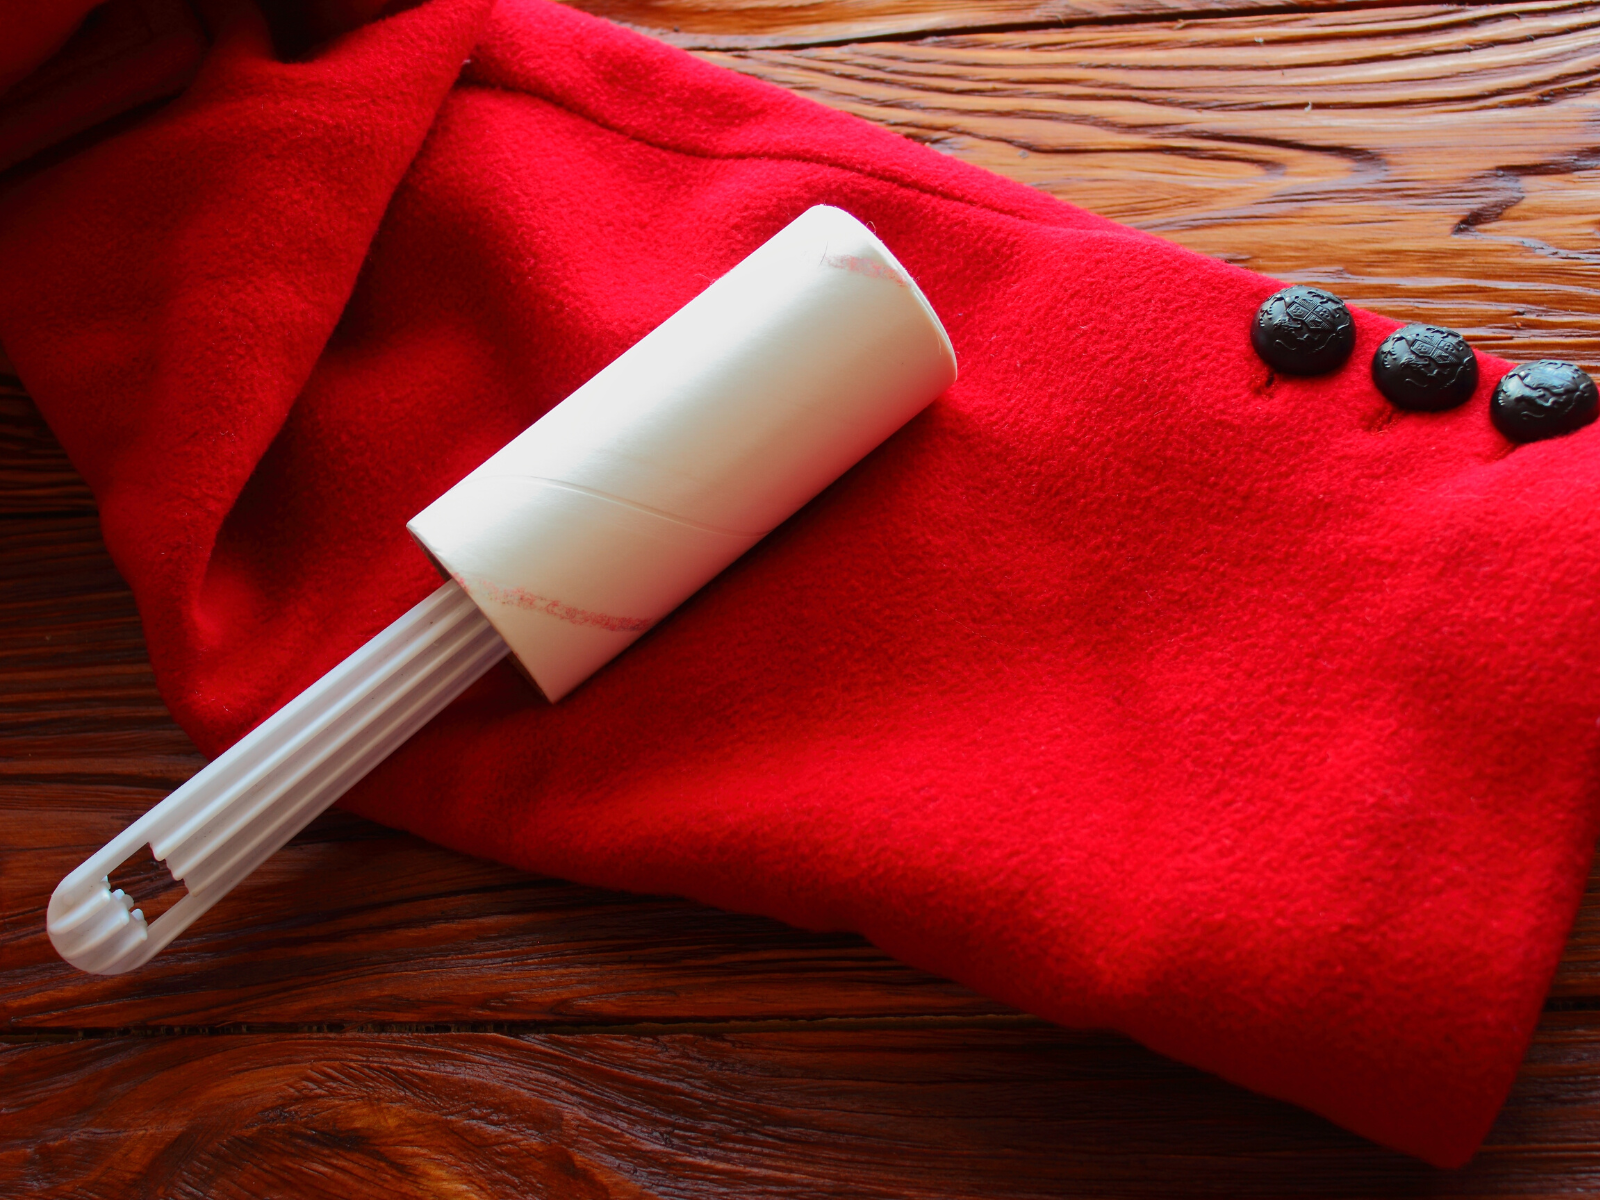
Tape and Lint Rollers
If you’re having trouble getting the stitches out, try using a lint roller or tape to help.
Start by applying the tape directly to the embroidery and then gently pulling it away.
This should help remove any stubborn stitches without damaging the fabric.
Similarly, a lint brush can also be used to help remove the embroidery by brushing the fabric to lift and remove the stitches.
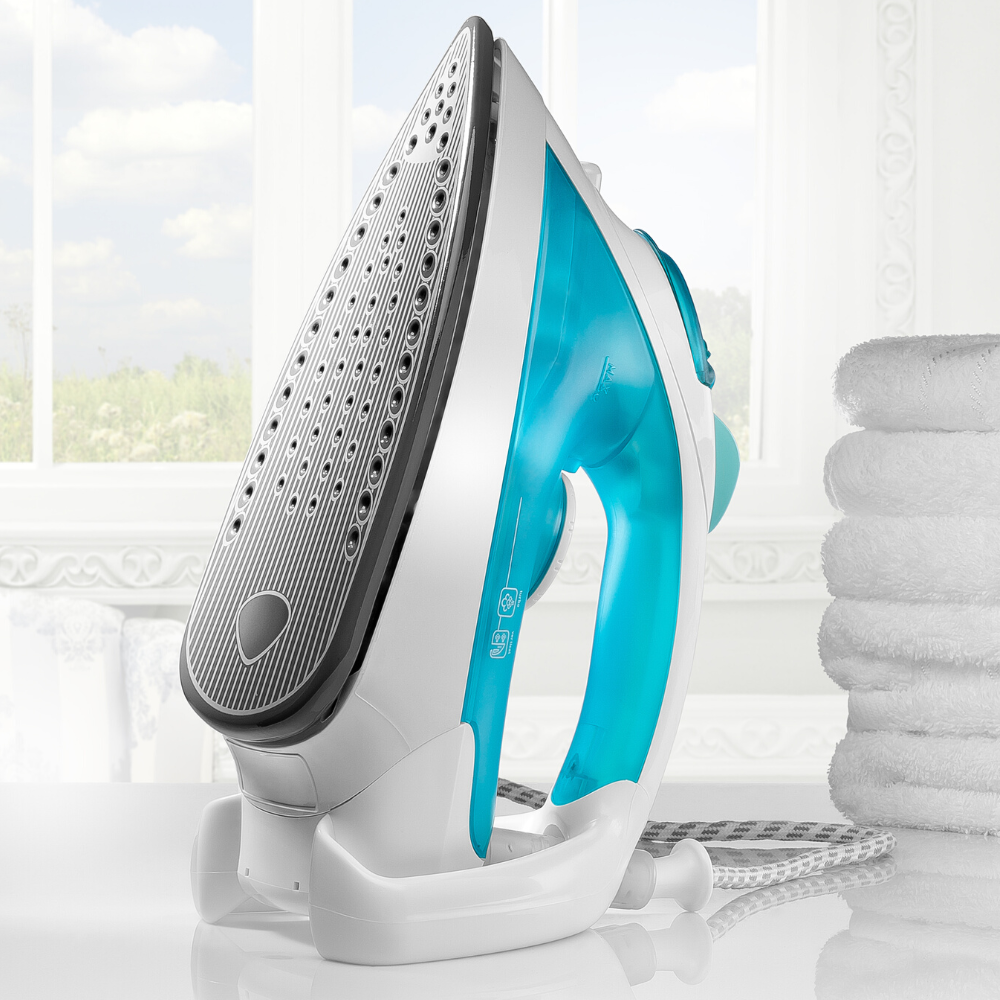
Ironing
Another way to remove embroidery without damaging the fabric is by ironing.
It's also a great way to help stitch marks fade away after the design has been removed.
Start by placing a towel over the embroidery and then set your iron to a cool or warm setting.
Gently press the iron over the embroidery for a few seconds at a time.
This should help loosen and remove any stubborn stitches.
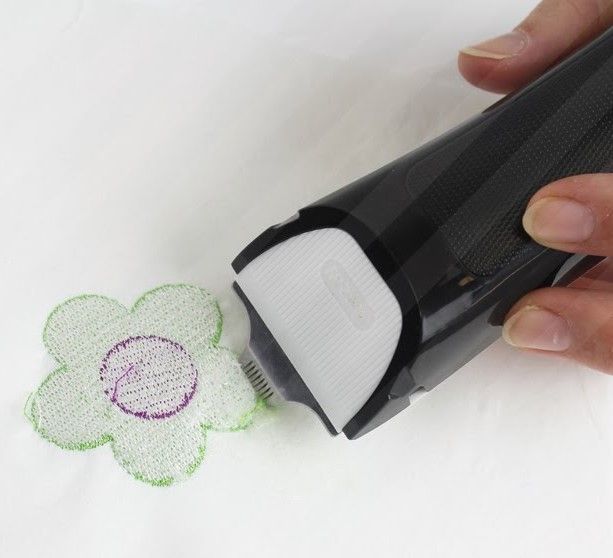
Utilizing an Embroidery Eraser
If all else fails, you can use an embroidery eraser, aka a stitch eraser, to help remove the design.
These erasers are specifically designed for removing the smallest and most delicate of embroidery stitches.
These electric devices somewhat resemble a beard trimmer and are very easy to use.
Simply run the eraser over the fabric to loosen and remove the threads without damaging the fabric.
Consulting the Professionals
If your embroidery is too delicate or intricate for any of the above methods, you may need to consult the experts and bring your item to professional seamstress who can safely remove the embroidered logo without damaging fabric.
They will be able to use special tools and methods that are far more effective than anything you can do at home.
Effortless Embroidery Removal
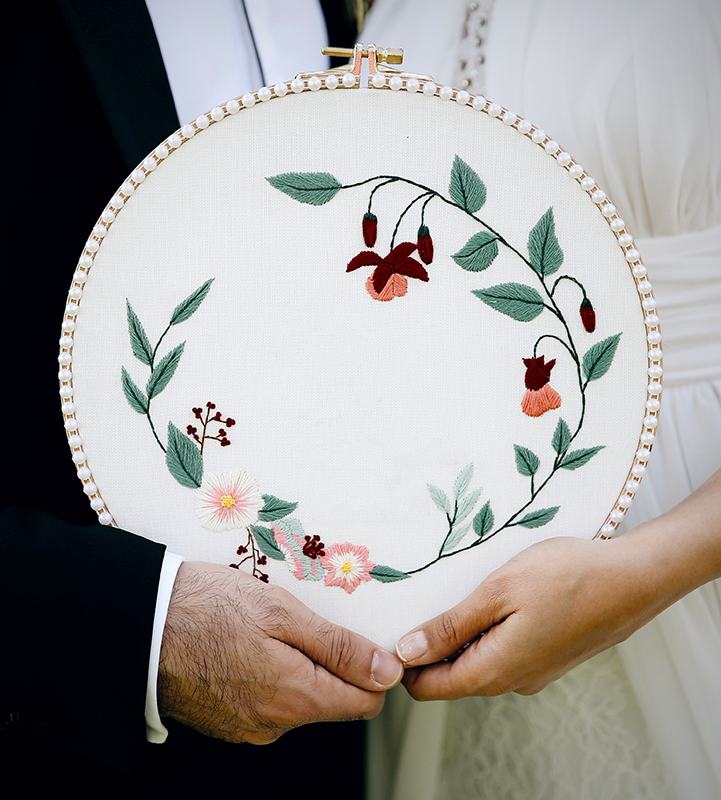
Embroidery can be a beautiful way to customize your wardrobe or home, but sometimes you're unsatisfied with the design and need to change it up.
Not to worry—we've provided a few ingenious methods on how you can remove that embroidery without ruining your fabric.
Removing embroidery can be a tricky process, but it doesn’t have to be!
With the right tools and a bit of patience, you can easily remove that design and create something new!
Whether you decide to use a seam ripper, scissors, tweezers, or an embroidery eraser, you can quickly and easily take those stitches out in no time.
If all else fails, don't hesitate to consult the experts for assistance.
No matter what type of fabric you’re working with or the size and shape of your embroidery, you can remove it without damaging your fabric.
Happy stitching!

Looking to learn more about removing embroidery? Check out Let's Learn to Sew's video!
Want even more content about creativity and art?
Be sure to check out all of our creative chronicles!
Interested in embroidery?
You might want to check out some of our other articles:
-What's the fastest way to remove embroidery?