Are you interested in learning how to create pottery at home?
If so, you've come to the right place!
You don't need a studio or kiln to make beautiful pottery.
With a few simple supplies, you can make your own pottery at home.
In this blog post, we'll teach you everything you need to know about making ceramics.
We'll cover the basics of pottery-making, including how to select the right materials and tools and how to craft your own pieces.
So, whether you're a complete beginner or an experienced potter, read on for some helpful tips and advice.
What is Ceramics?
Ceramics is the art of creating objects and vessels from clay.
The process involves forming, firing, and glazing the clay to create a variety of shapes and textures.
It's an incredibly versatile art form that can be used to create decorative pieces, functional vessels, and more.
How is Pottery Made?
Pottery-making typically follows a few basic steps.
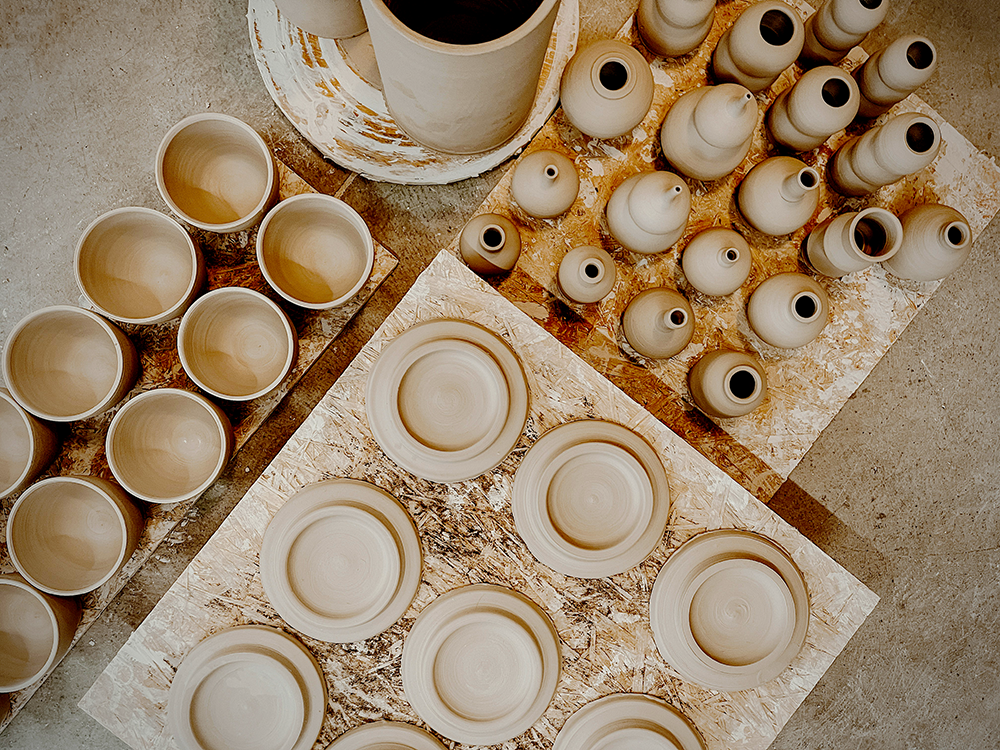
First, the clay is prepared and shaped into the desired object.
It can be molded by hand or formed on a potter's wheel.
Once shaped, the clay is left to dry before it can be fired.
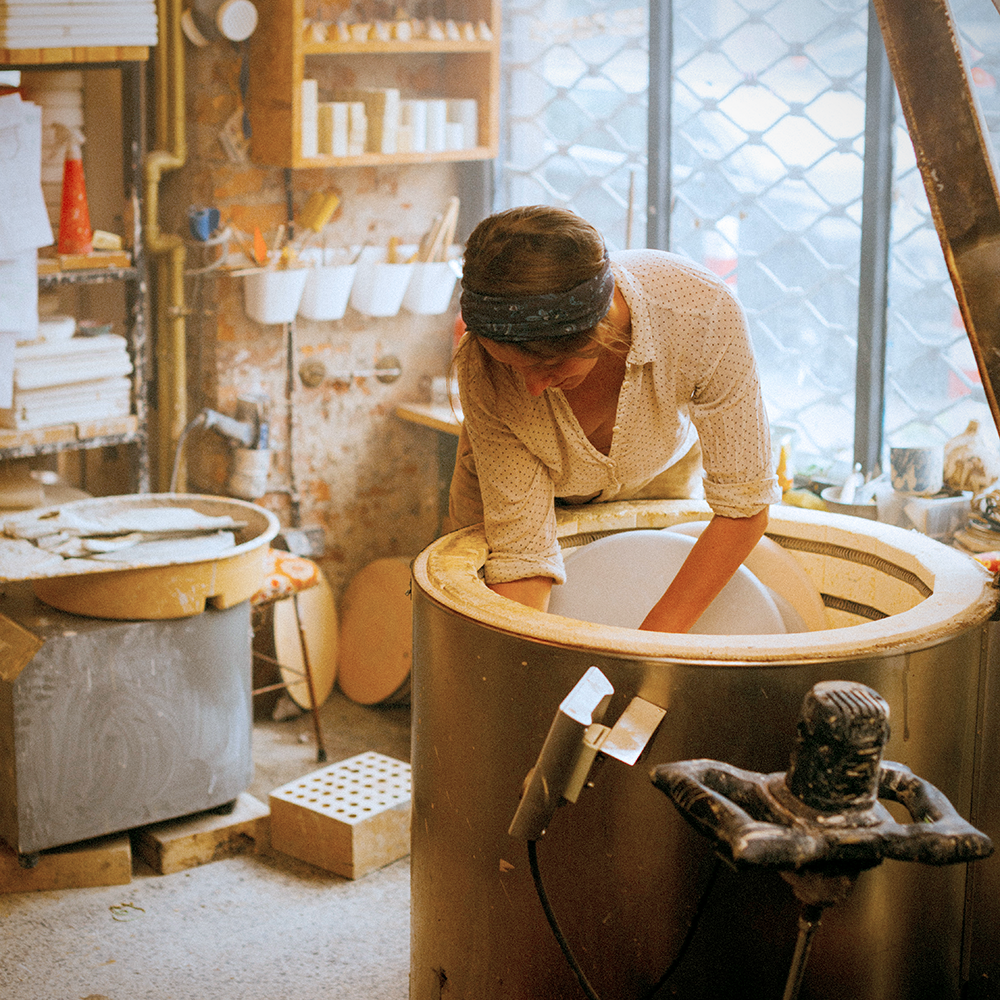
The firing process takes place in a kiln, which is a high-temperature oven that hardens the clay.
Finally, the piece is glazed with a durable coating to prevent moisture from seeping into the clay.
Once glazed, the piece is ready to be used or displayed.
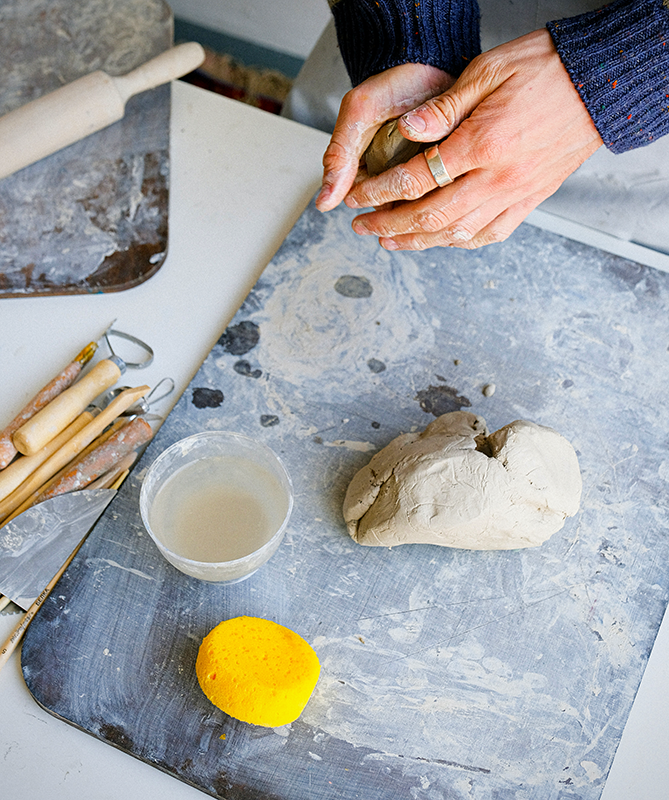
Find Your Pottery Supplies
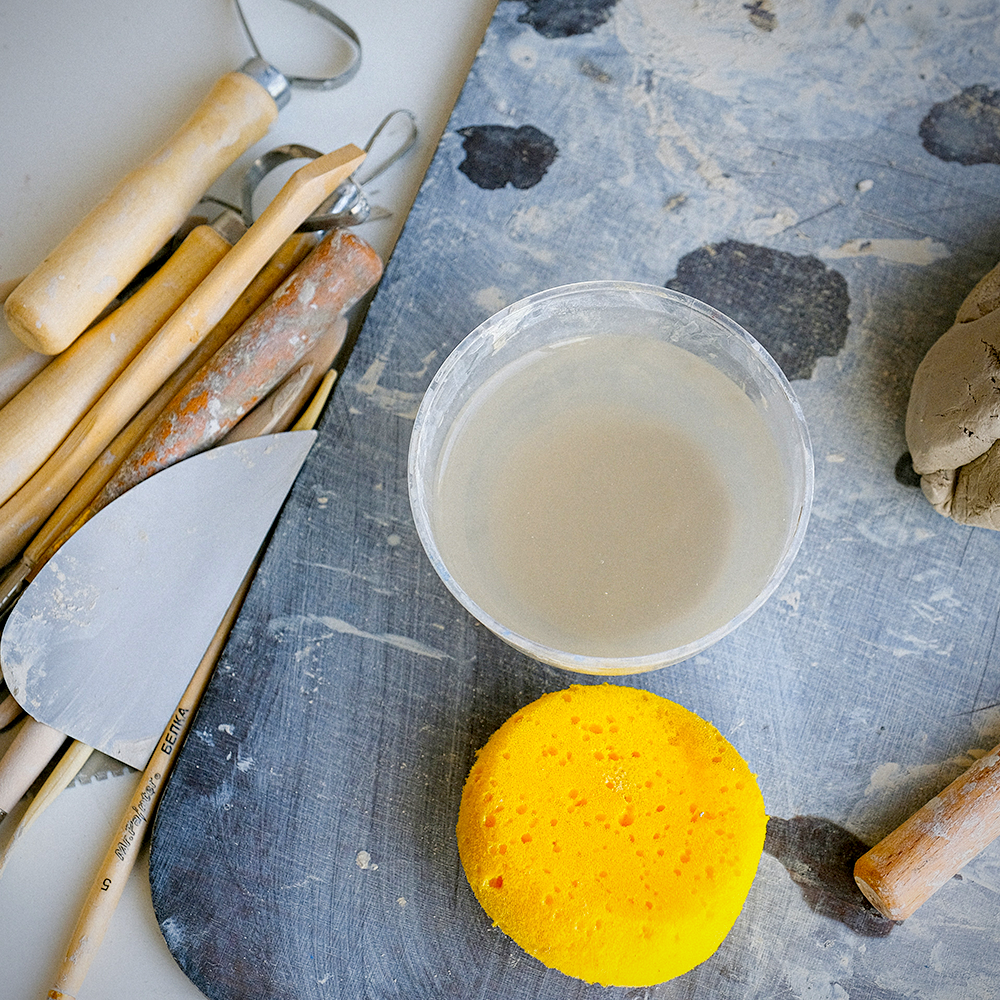
To get started, you need to gather your supplies.
You'll need clay, a plastic bucket or container for water, a sponge, a pottery wheel (optional), and some basic tools for shaping the clay (such as a rolling pin, carving tools, or an old butter knife).
You have a variety of pottery clay you can choose from; you can even choose a simple clay, like air-dry clay, to get you started in making pottery, but you can also choose a clay body like porcelain clay or stoneware clay.
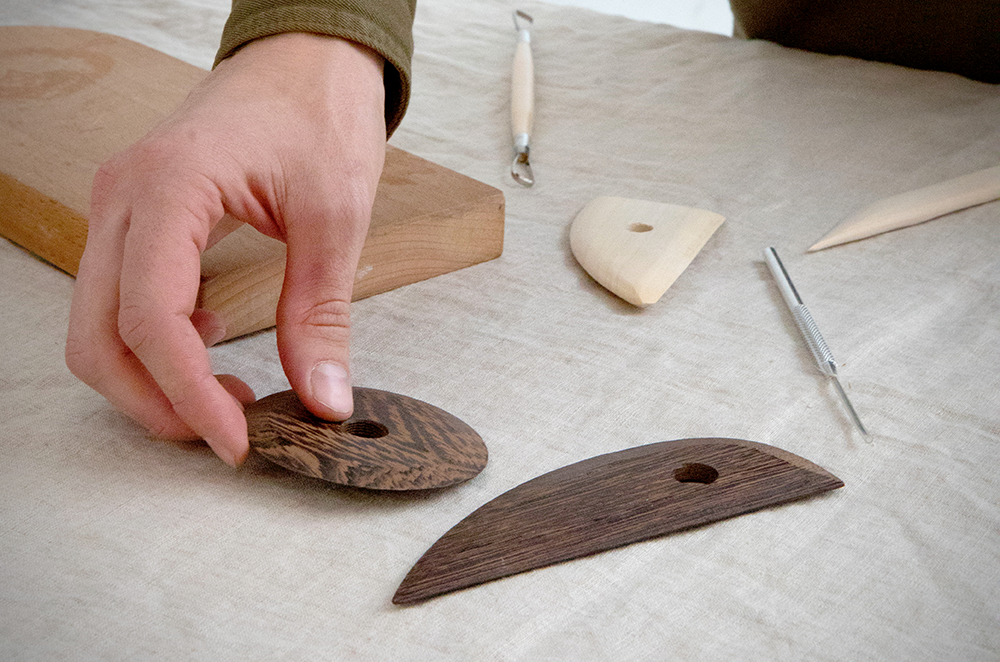
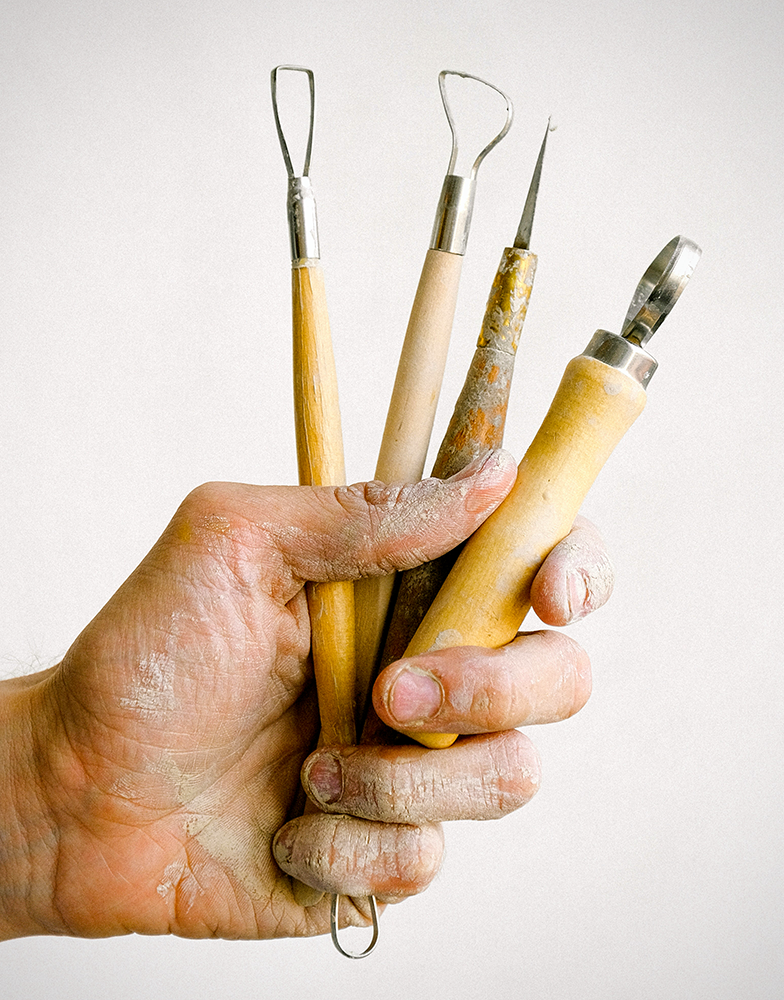
There are a variety of pottery tools you can choose from, so make sure to do your research before making any purchases.
Pottery wheels are great, but you might want to start out with simple pinch pots and hand-building pottery because wheel throwing can be tricking to learn.
If you plan to glaze fire your pottery, you will want to have access to an electric kiln.
You can find clay and pottery supplies at most craft stores or online retailers.
Once you have your supplies, you're ready to get started.
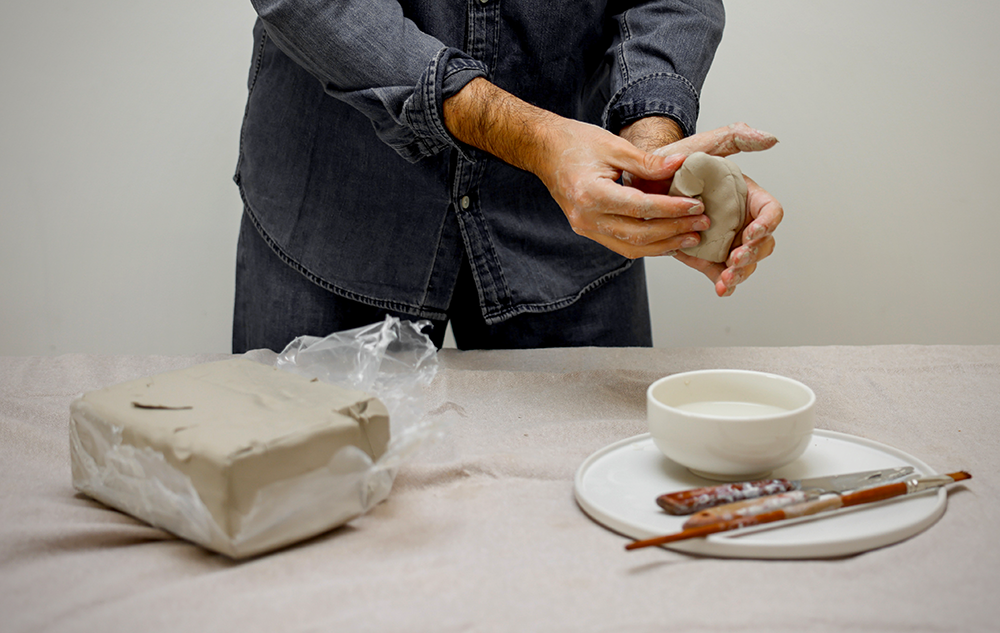
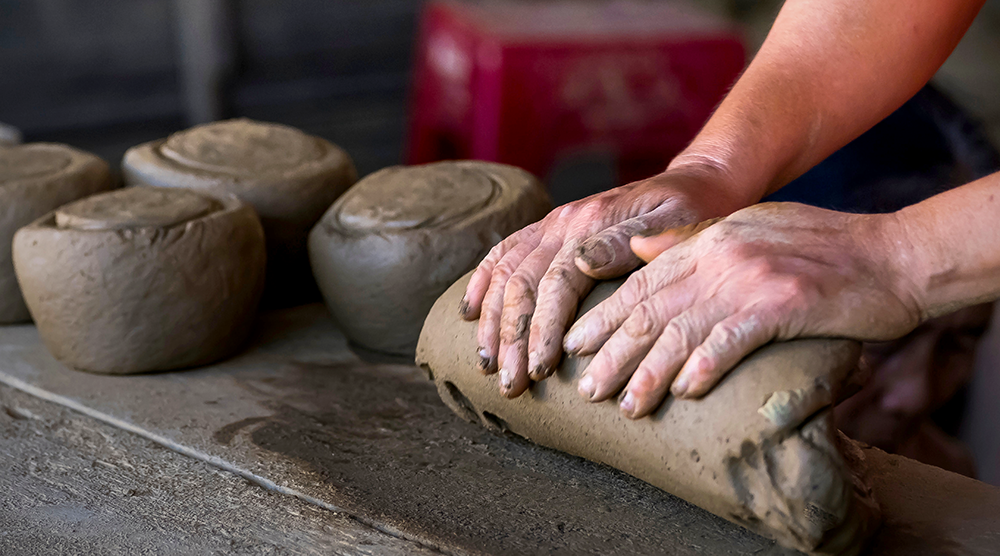
Step 1: Conditioning the Clay
The first step is to condition the clay.
This means wedging and working it until it's soft and pliable.
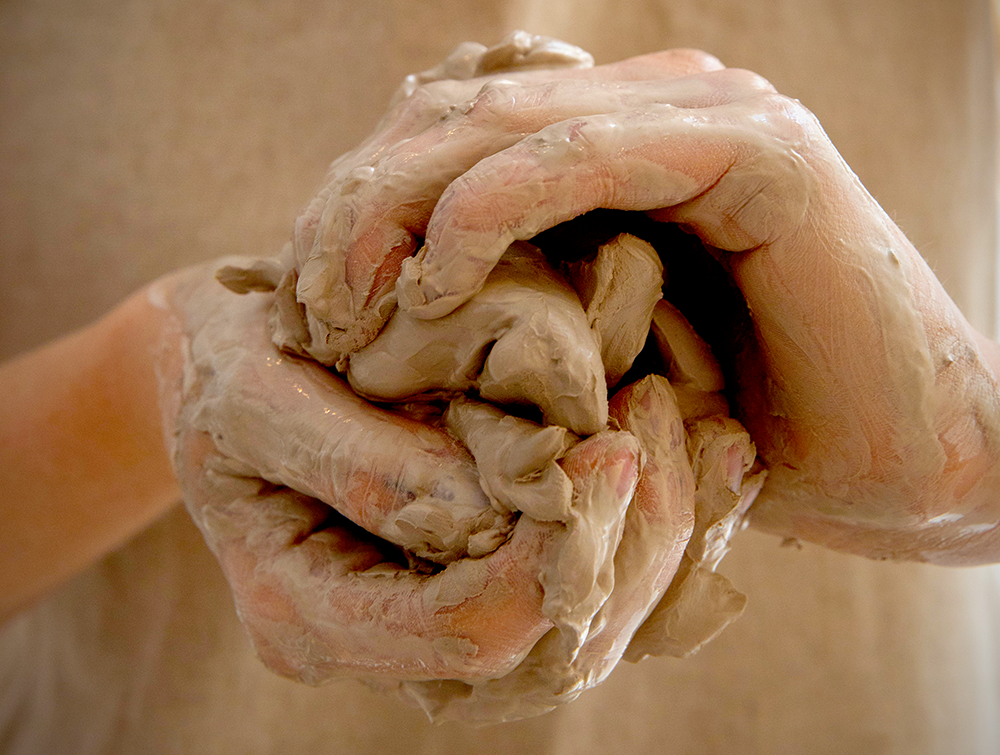
To do this, break the clay into smaller pieces and knead it for several minutes.
Alternatively, you can use a clay mixer or extruder to help break down the chunks and create a uniform consistency.
If the clay gets too dry, you can add some water or slip (a mixture of water and clay) to help soften it.
Wedging and preparing your clay is crucial because this helps to remove any air bubbles that might be in the clay.
Air bubbles can cause your pottery to crack or explode in the kiln.
So, it's important to make sure that you have properly conditioned the clay before moving onto the next step.
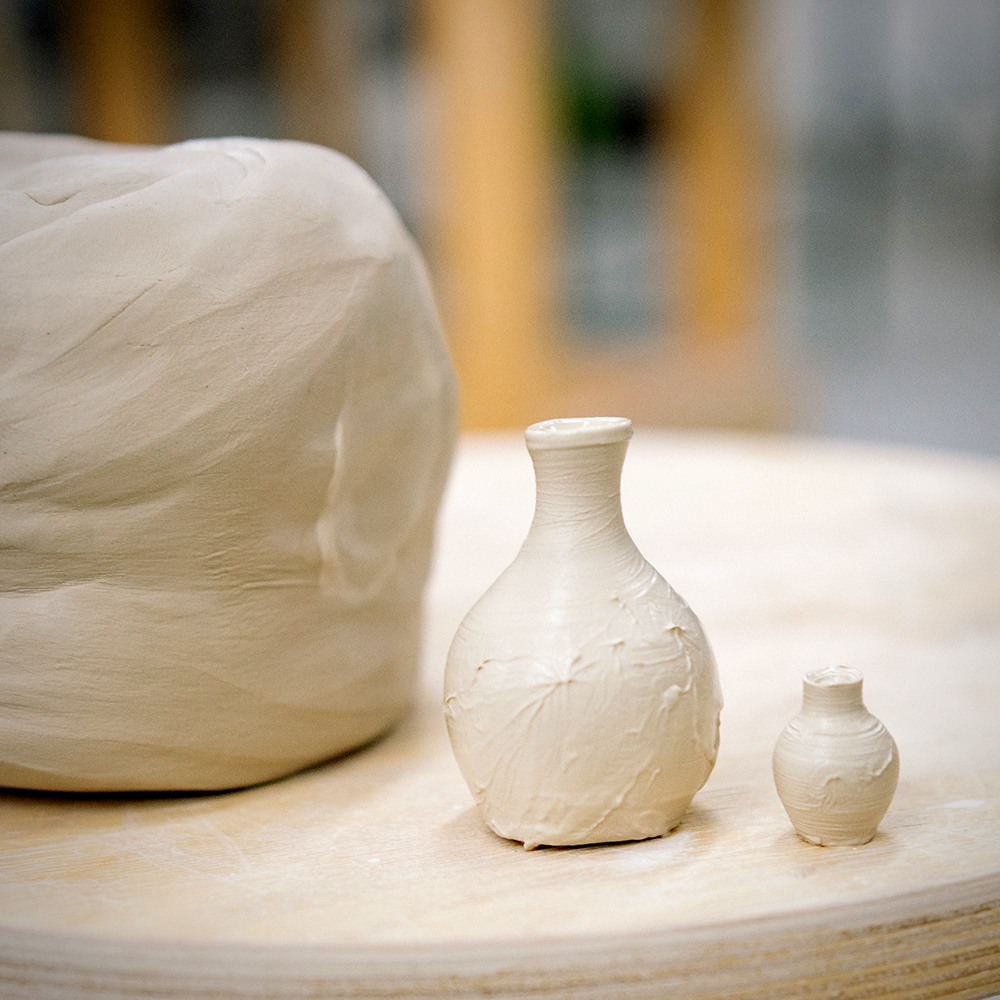
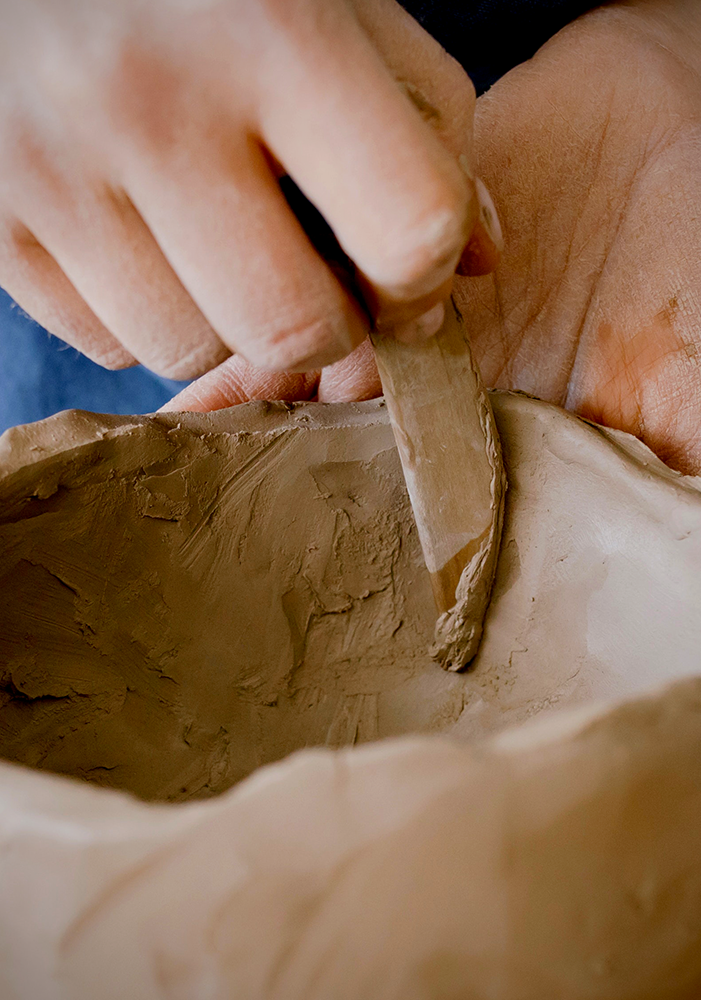
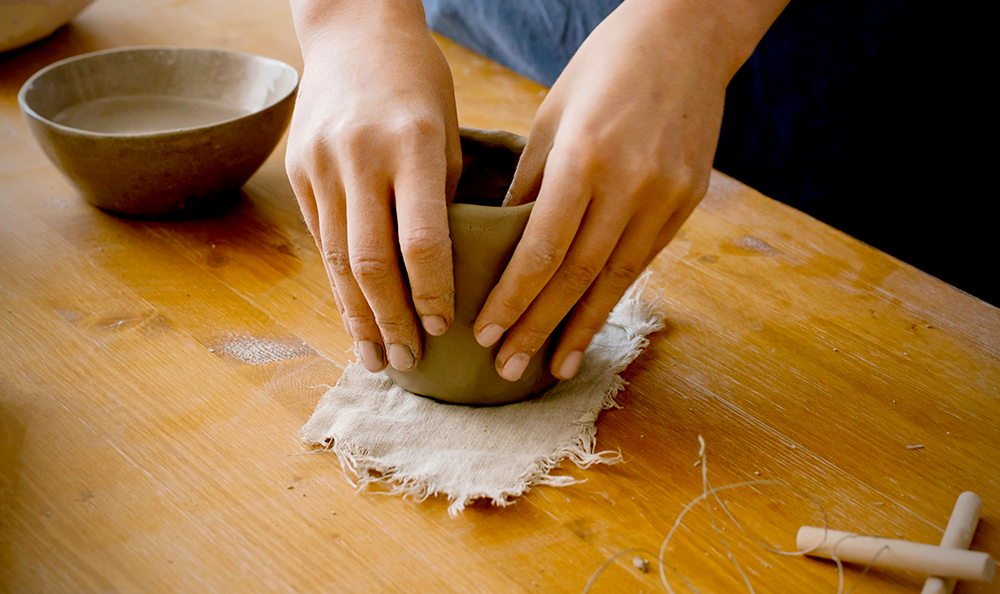
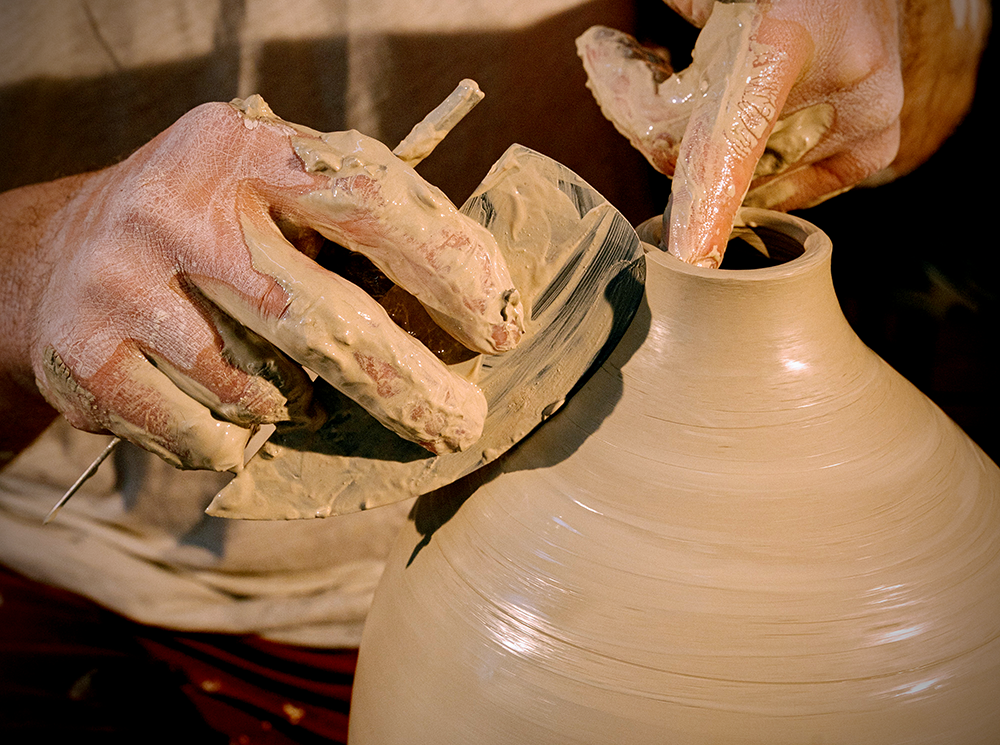
Step 2: Shaping the Clay
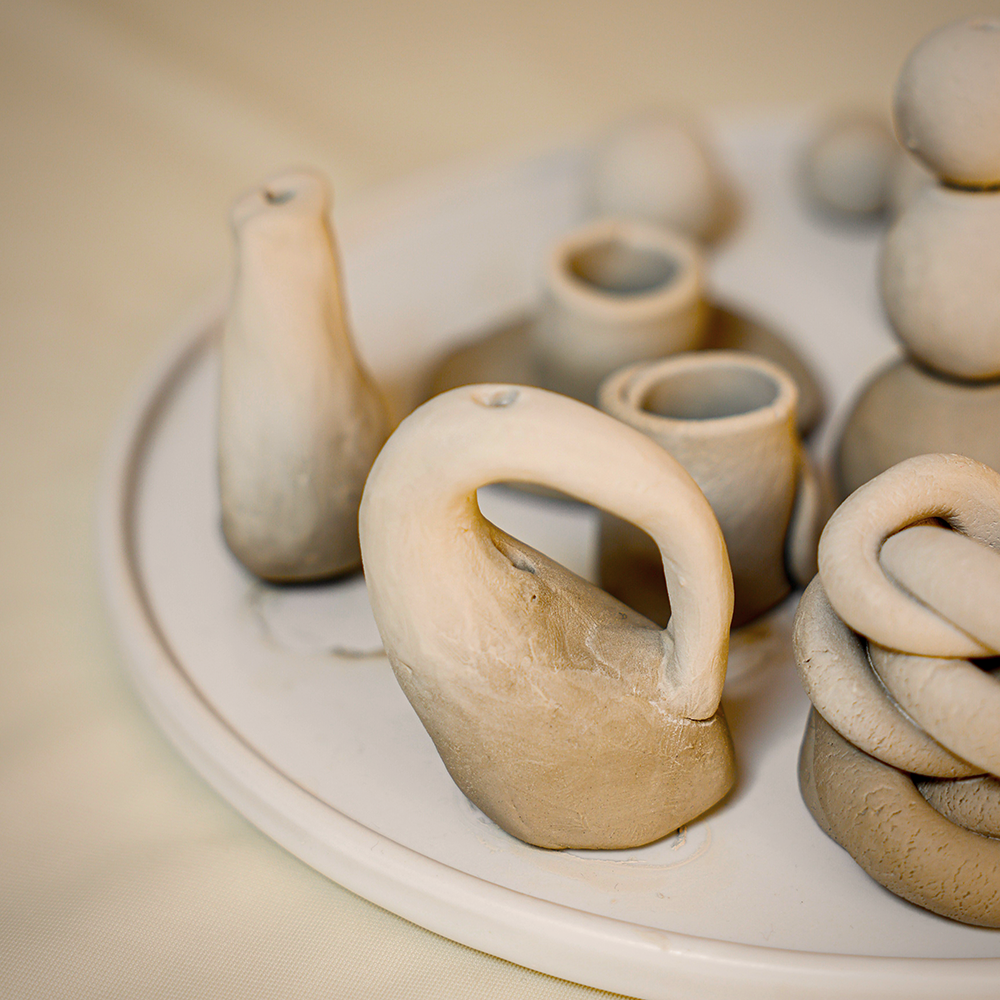
Once the clay is conditioned, it's time to start shaping it into whatever form you desire, such as a clay pot.
If you're using a pottery wheel, you will need to center your clay before using your hands to shape the spinning clay into a bowl or vase shape.
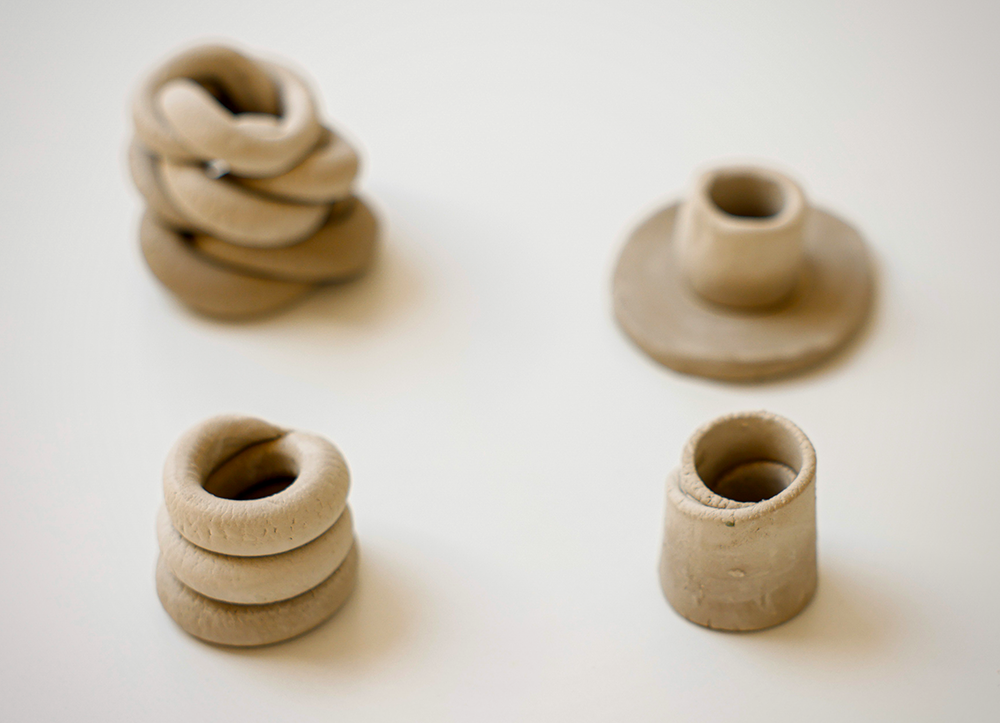
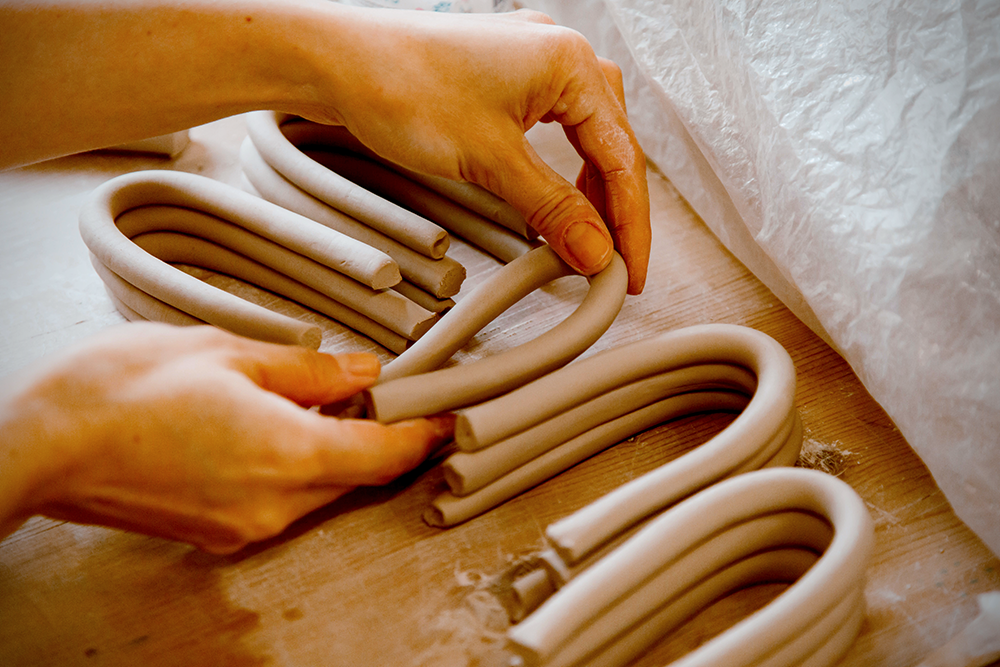
If you're not using a pottery wheel, you can use your hands, sculpting techniques, like hand-building, or any of the shaping tools you have on hand to shape the clay into whatever form you like.
Make sure to remove excess clay and make your pottery hollow as solid clay is more likely to explode during kiln firing.
Remember to keep adding water as needed while you're creating, so that the clay doesn't dry out and become difficult to work with.
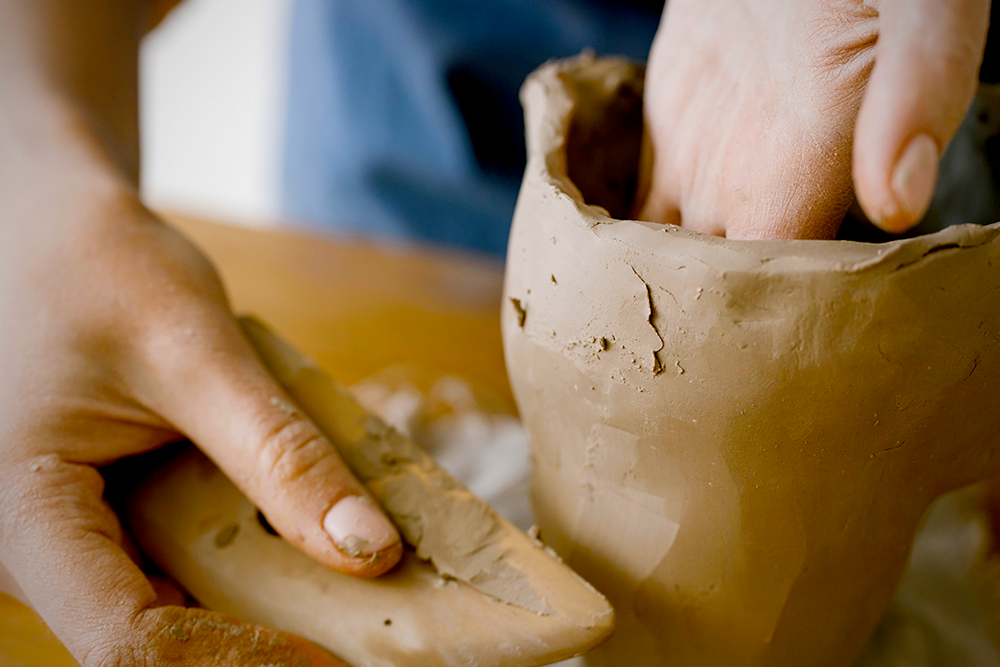
Make sure to smooth out any uneven edges and slip and score clay pieces that you join together.
This step is important because it helps the clay pieces to adhere to one another, creating a strong and sturdy structure.
If you skip slipping and scoring your project together, the pieces may fall apart during the firing process.
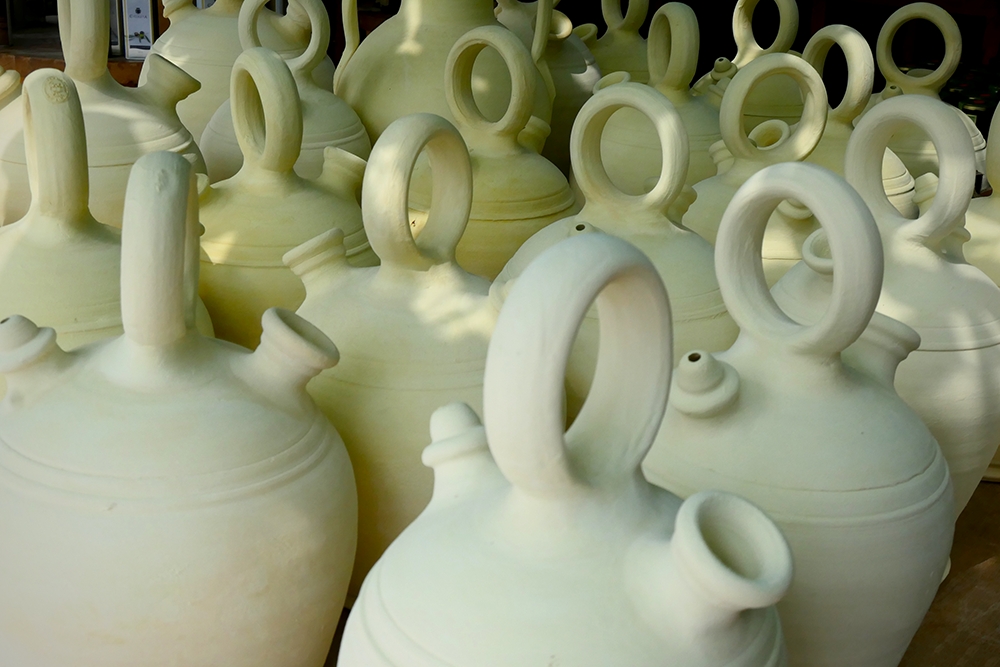
Step 3: Letting the Clay Dry
Once you're done sculpting, let the piece dry before moving onto the next step.
Set your pottery aside in a cool, dry place, so that it can air-dry completely.
This usually takes 24-48 hours depending on how thick your piece is and how humid it is where you live.
When pottery is completely dry, it is known as "bone dry."
Once it's dry, it's ready for the bisque fire.
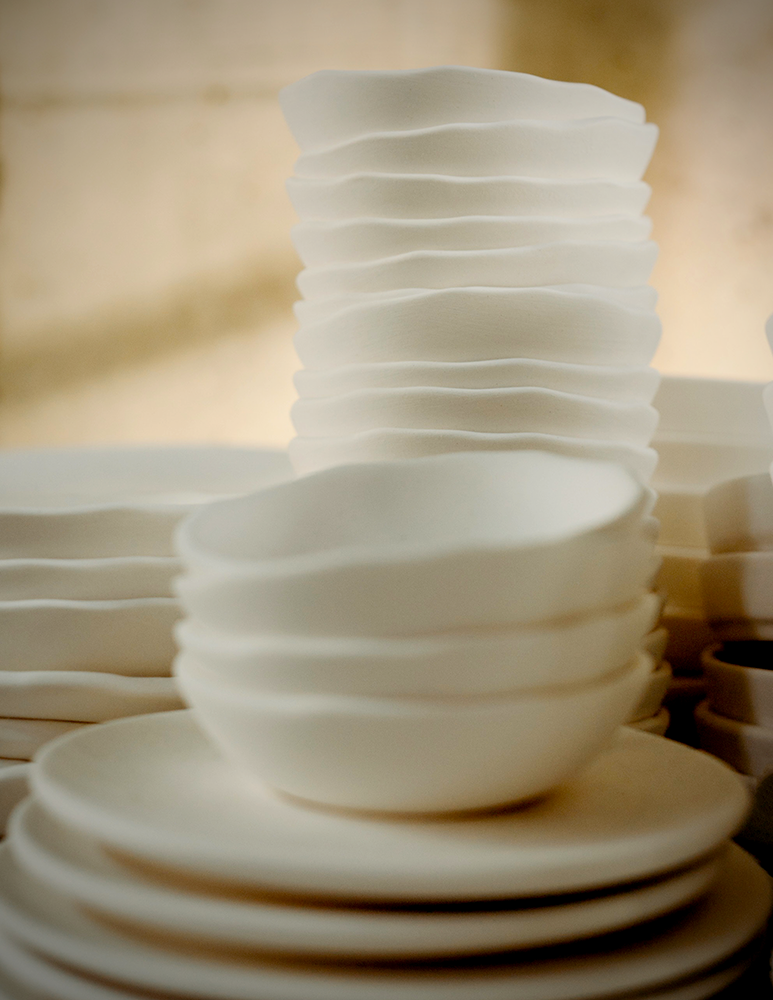
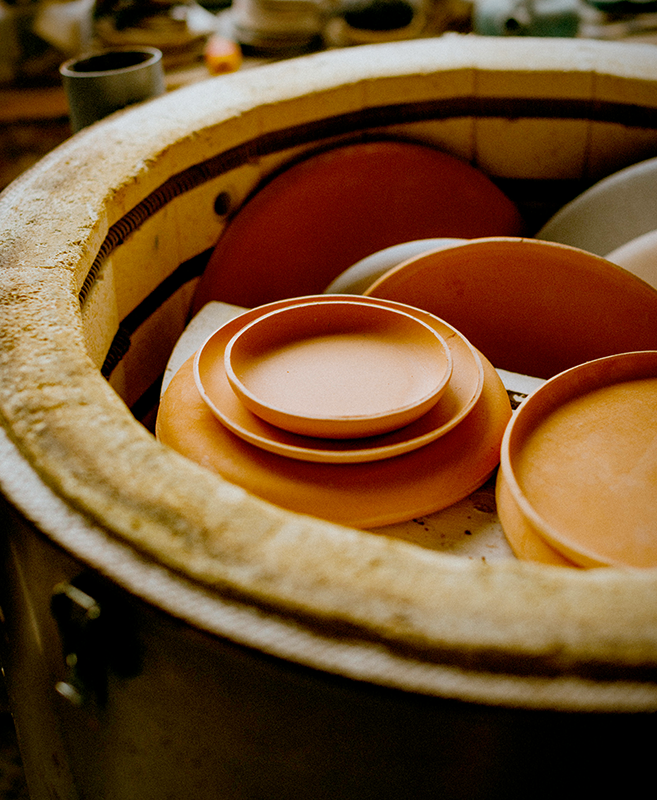
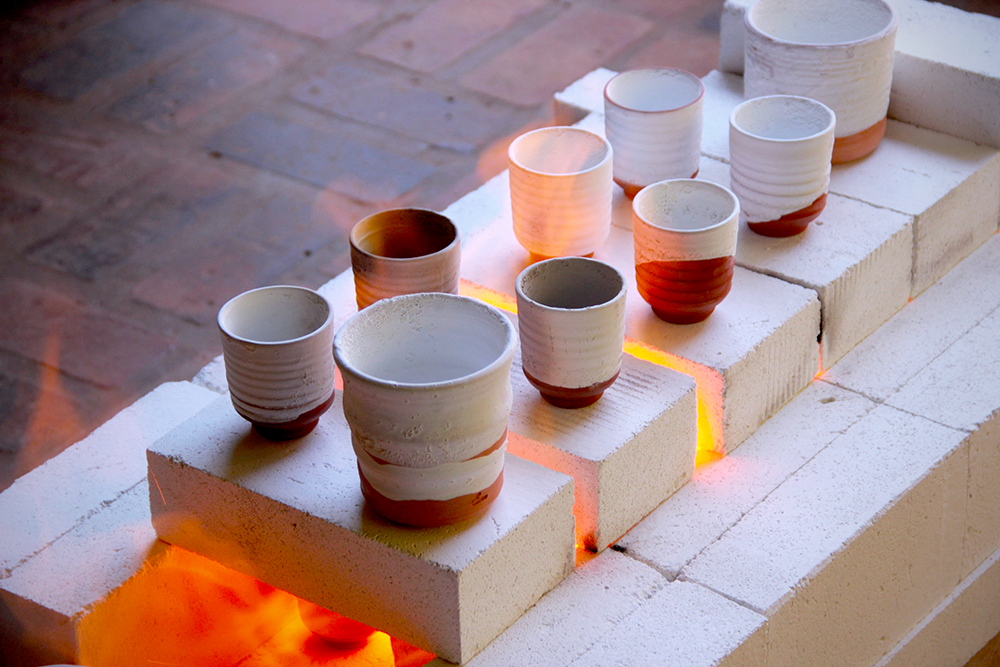
Step 4: Firing the Clay
The firing process takes place in a kiln, which is a high-temperature oven.
Depending on the type of clay and any glazes, the pottery is fired at designated firing temperatures, which causes the clay to become hard and durable.
There are both low-fire and high fire clays and glazes, so make sure to read the directions on your clay and glazes before firing.
If you lack access to a kiln, an alternative clay you can use is oven-bake clays like polymer clay.
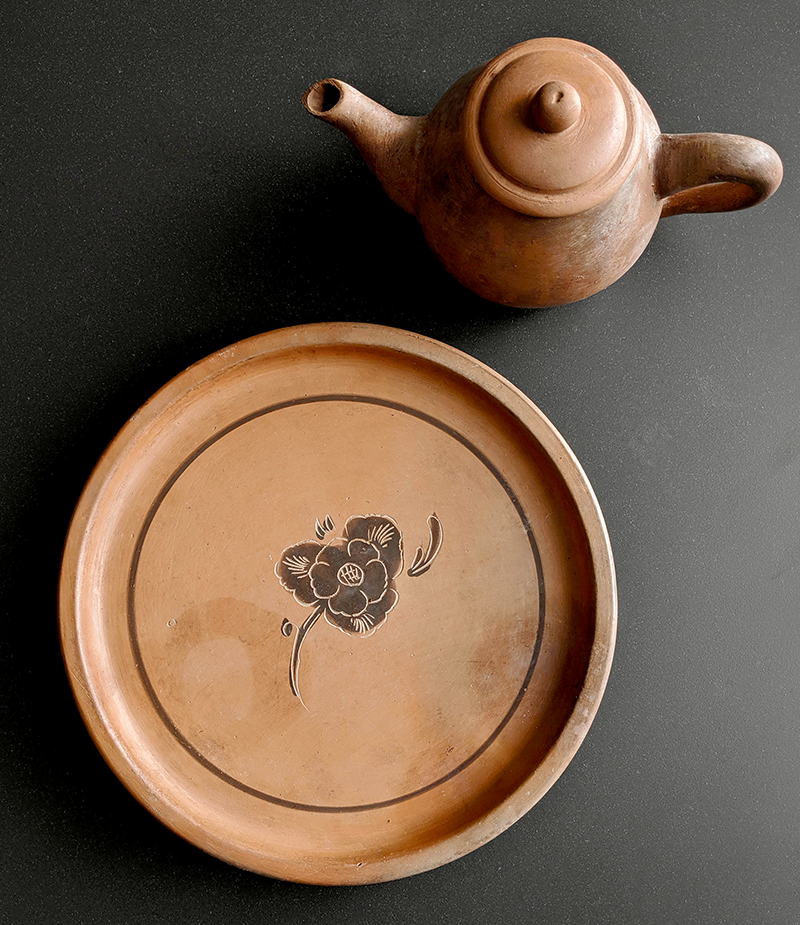
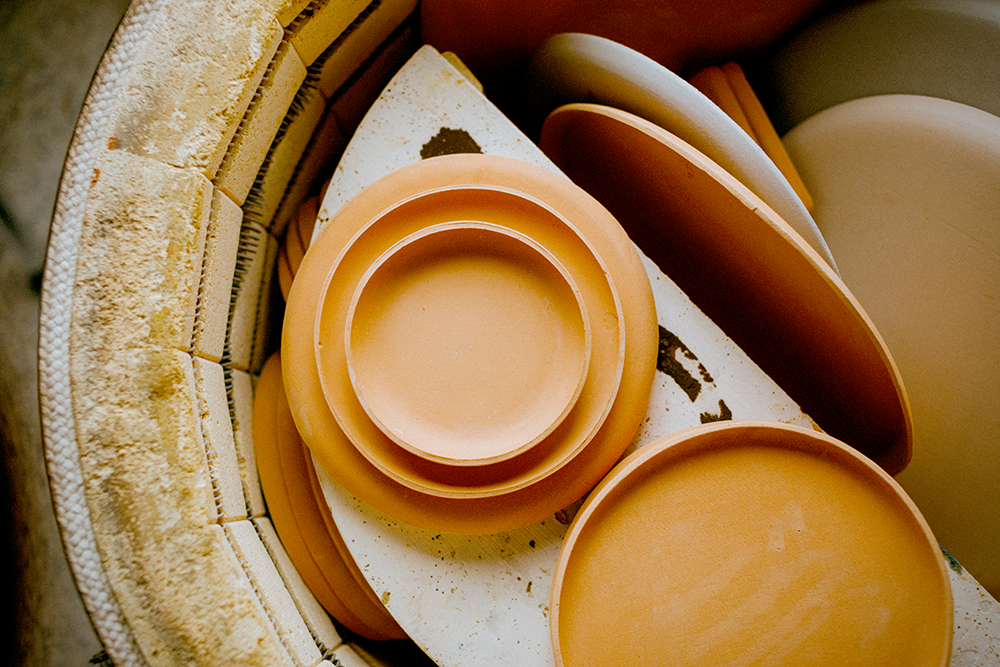
Once your piece is fired, it becomes bisque pottery, and it's ready to be glazed or painted.
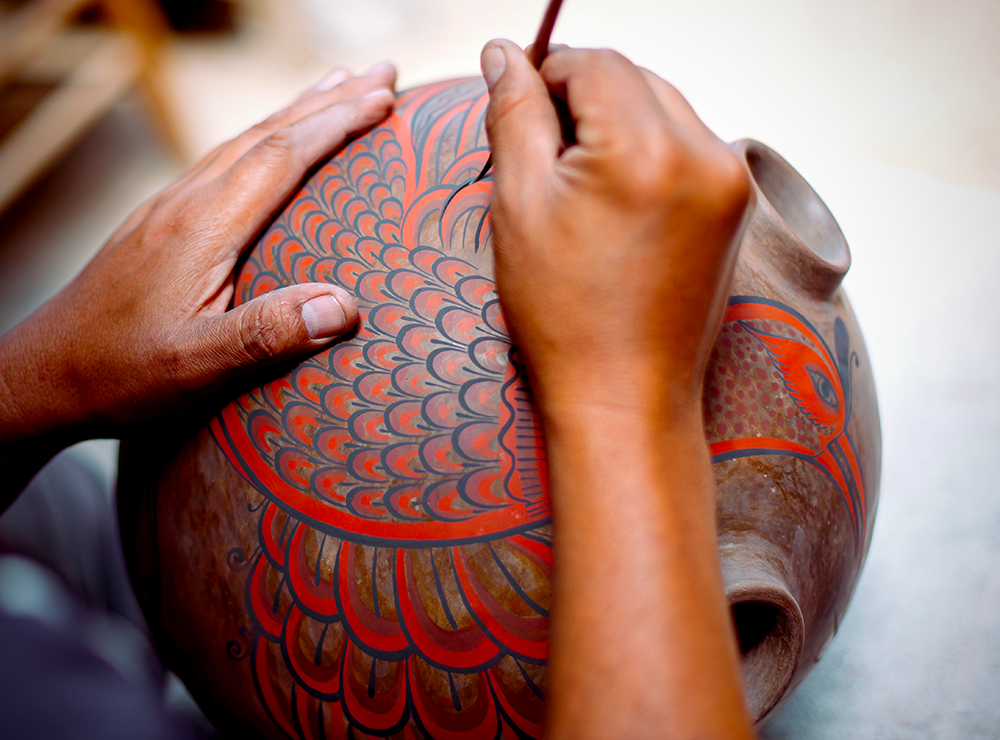
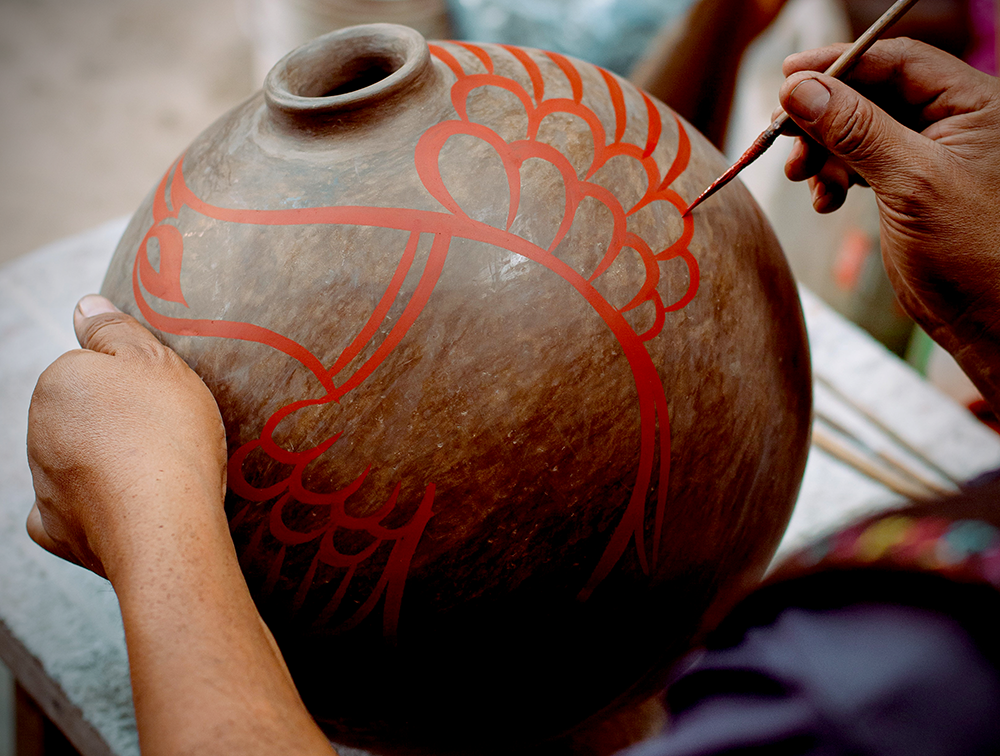
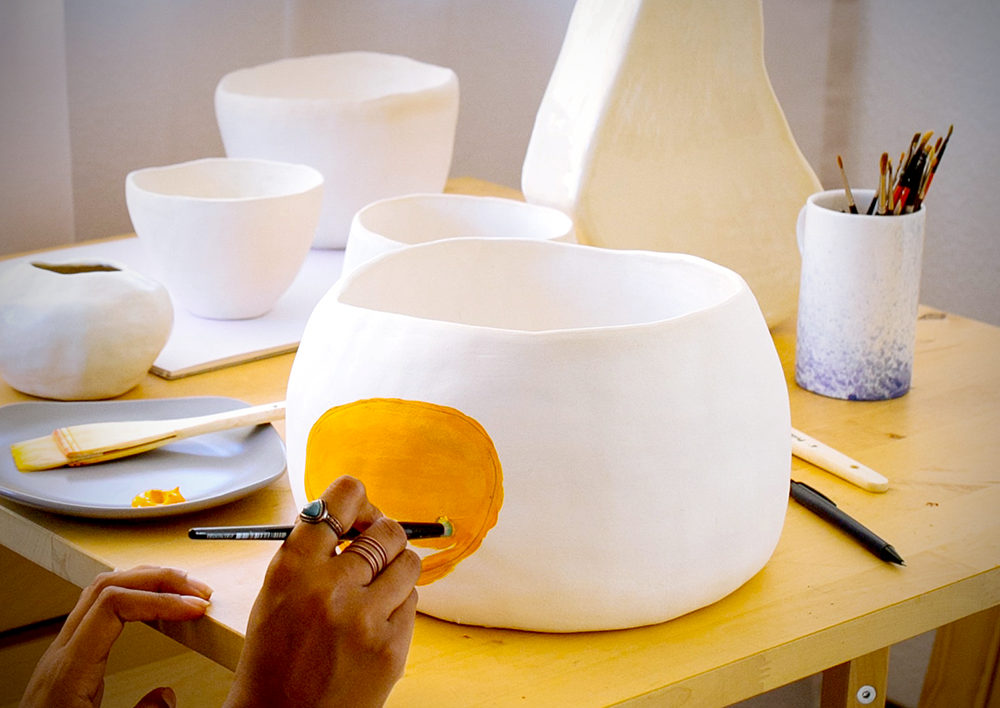
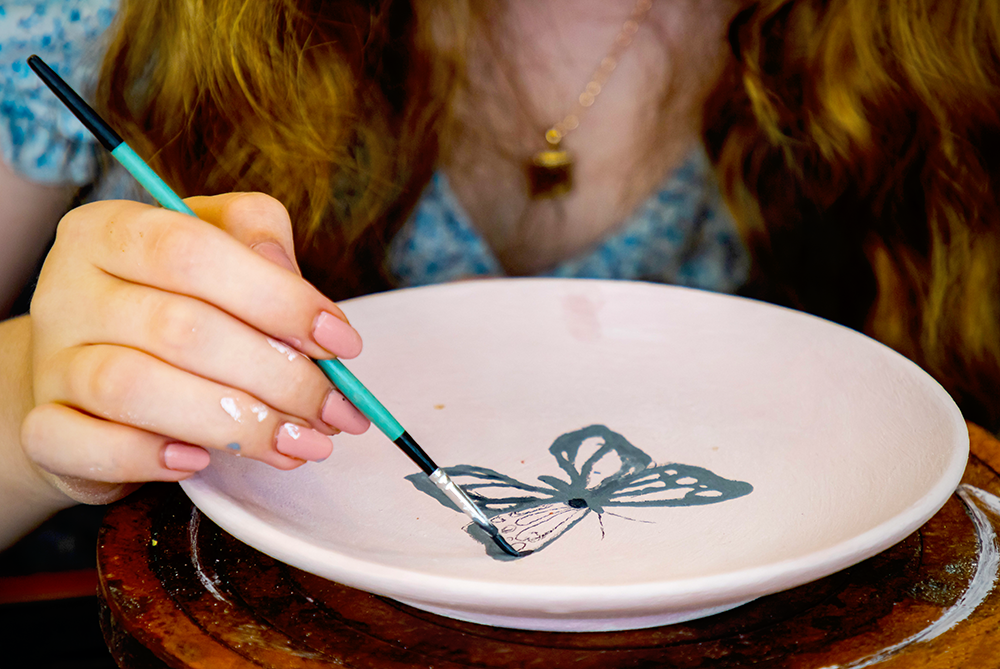
Step 5: Decorating Your Pottery
To add the finishing touches to your pottery projects, you can paint or glaze your pieces.
This can be done with can be done by using paints, ceramic glazes, or underglazes.
Painting with acrylic paints does not require an additional kiln firing, but you will likely want to use a sealant after your paint dries.
The only drawback to painting is that the paint can eventually rub off with use and that it is not dishwasher and food safe, so if you want a more durable finish, then glazing is the better option.
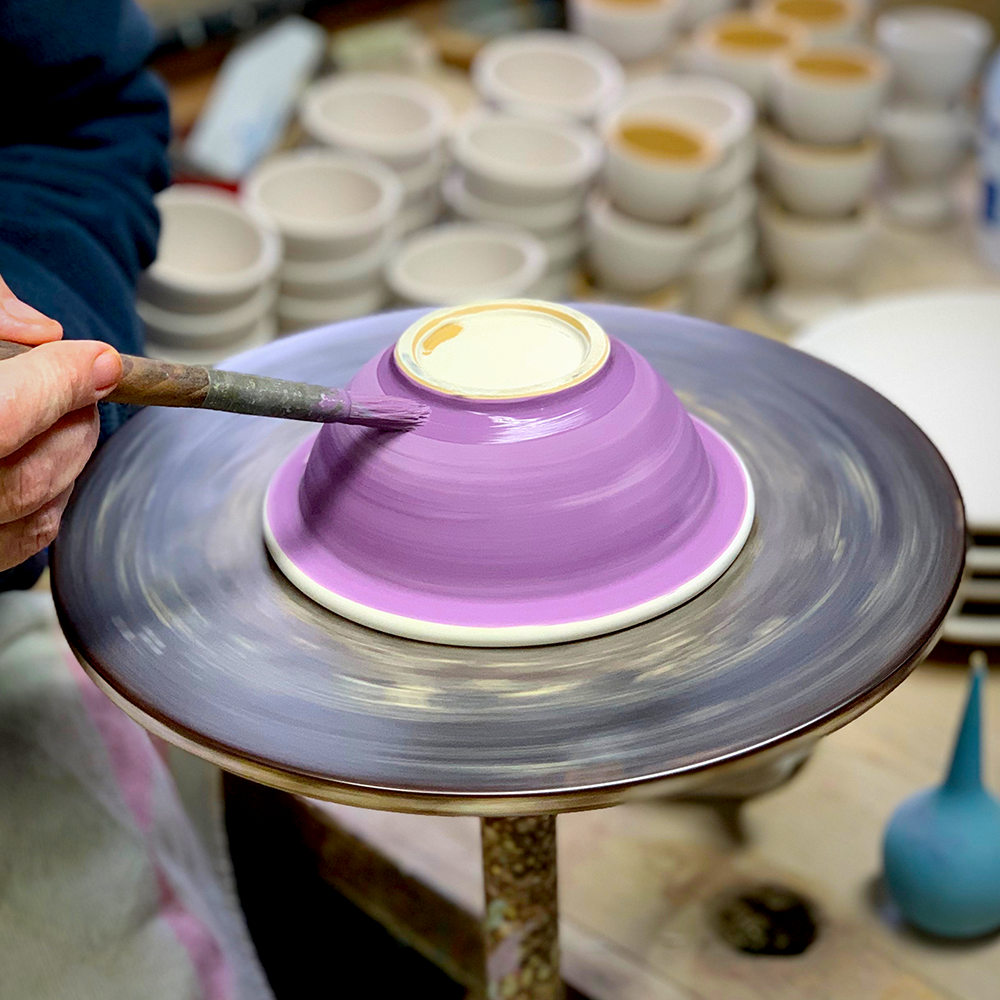
Glazing pottery gives your project
a beautiful and durable finish.
It also requires a second firing that needs to be done in a kiln.
Glazes are made from glass, chemicals, and other materials that melt at a high temperature to create a permanent finish.
To glaze your pottery, you will need to paint the glaze onto the piece and then fire it in the kiln.
It's helpful to have test tile samples of your different glazes because pre-fired glazes often look nothing like the finished, fired glaze.
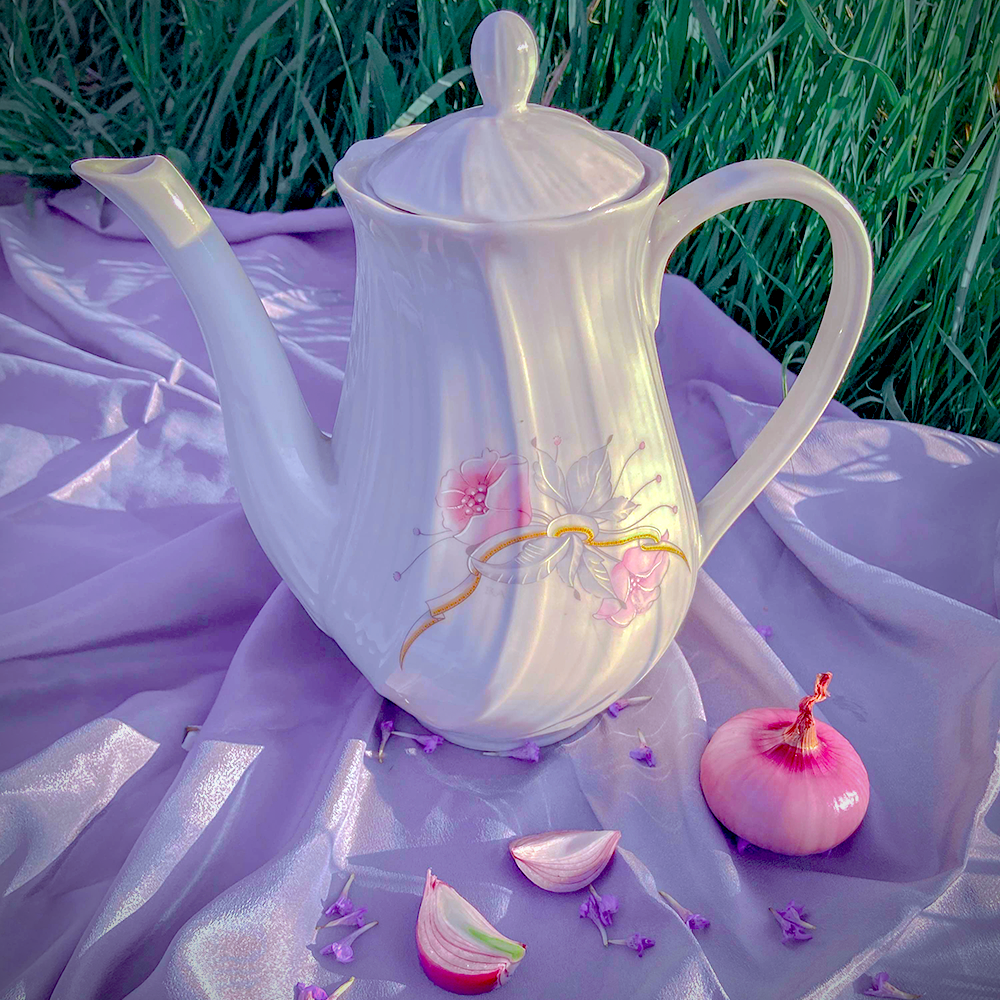
Have fun experimenting with different finishes and techniques to create a unique and beautiful piece of pottery!
Plus, if your pottery ever breaks, you can use the Japanese art of kintsugi to enhance its beauty!
Enjoy your new piece of pottery!
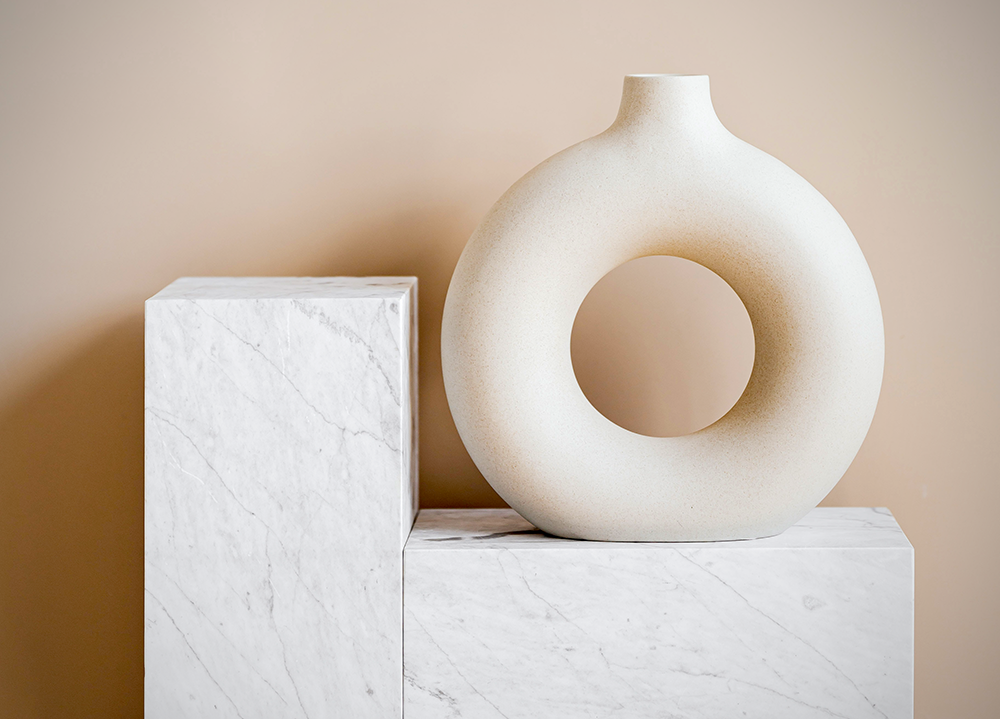
Creating Pottery at Home
Creating pottery is a fun, creative activity that allows you to express yourself through clay.
With just a few supplies and some time, anyone can make their own pottery at home without needing access to a studio.
Following these five steps can help you create a beautiful and durable piece of pottery that will last for years to come.
By conditioning and wedging the clay before shaping and decorating it into whatever form you like, you can create beautiful pieces of art that are unique and personal to you.
So, what are you waiting for?
Grab some clay, get your hands dirty, and get creative!
Happy creating!
Want to learn more about making ceramic pottery at home? Check out Lolita Olympia's video!
Want even more content about creativity and art?
Be sure to check out all of our creative chronicles!
Love pottery and working with clay?
Check out some of our other ceramic articles: