Embroidery adds a touch of elegance and personalization to clothing and fabrics.
But what happens when you need to remove it?
Whether it's due to a mistake, a change in design, or the desire to repurpose the fabric, the burning question remains: does removing embroidery leave a mark?
This guide will delve into the nuances of embroidery removal, exploring the tools, techniques, and factors that influence the outcome.
Get ready to unravel the mystery and discover how to achieve a flawless finish!
Key Takeaways:
- Removing embroidery can leave marks, but the extent depends on various factors such as fabric type and removal technique.
- Proper tools and methods can minimize or even eliminate visible marks.
- Understanding the intricacies of embroidery removal is crucial for preserving the integrity of the fabric.
Understanding Embroidery Stitches
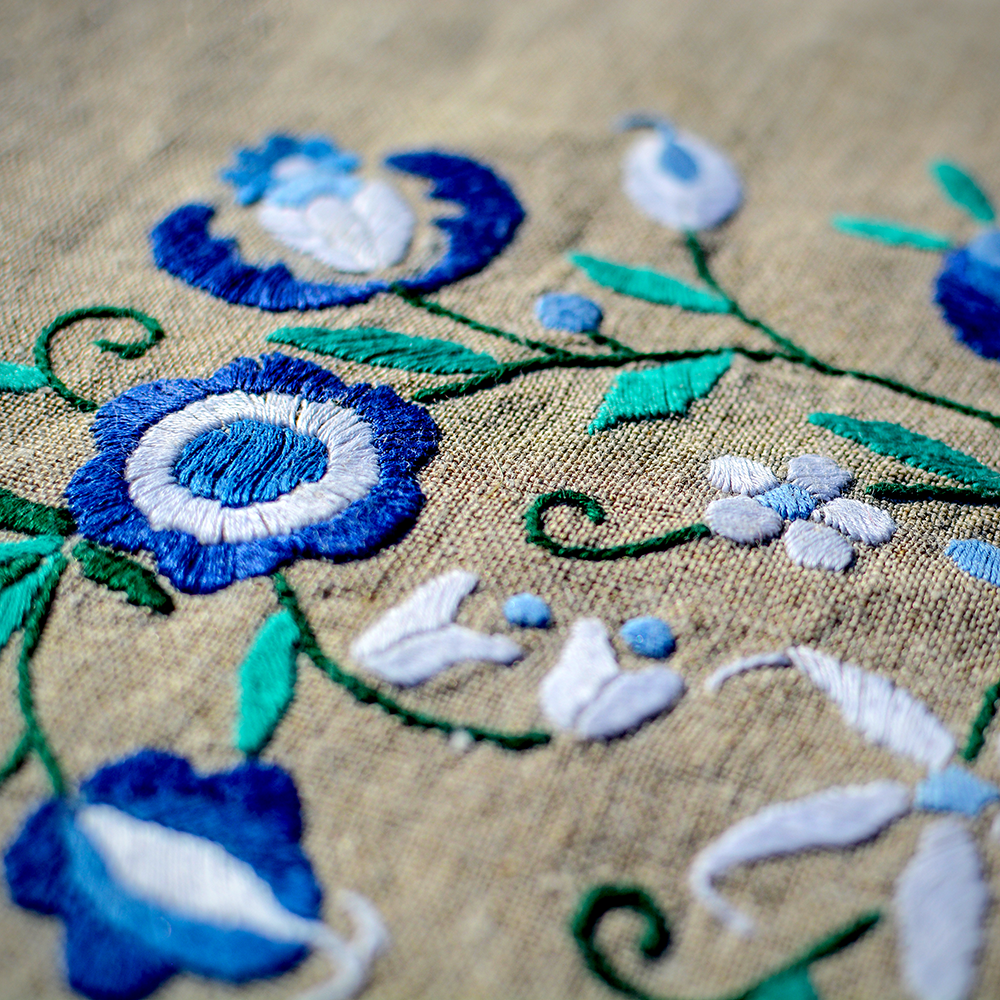
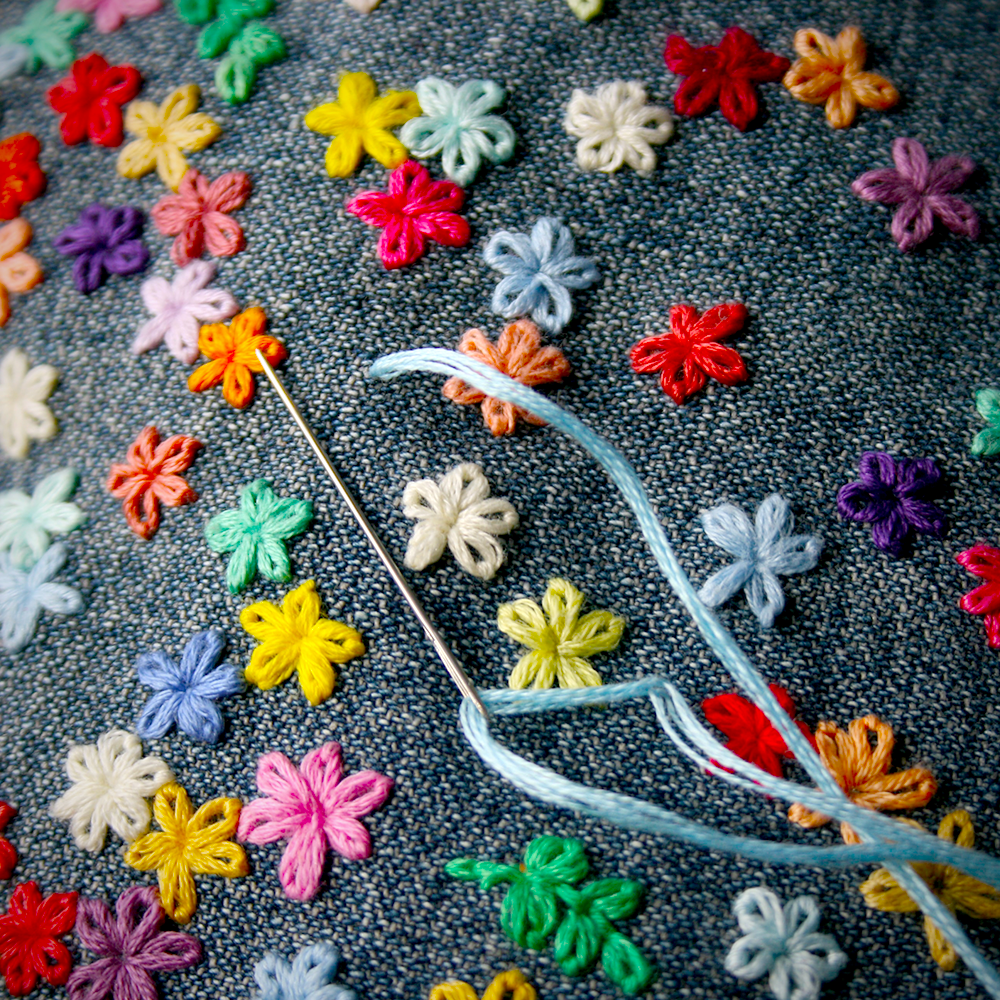
Embroidery stitches come in various forms, each with its unique characteristics.
Common types include backstitch, satin stitch, and cross-stitch.
The complexity and density of these stitches can significantly impact the removal process.
For instance, dense satin stitches are more likely to leave noticeable marks compared to looser backstitches.
Understanding the type of stitches used is the first step in determining the potential for marks.
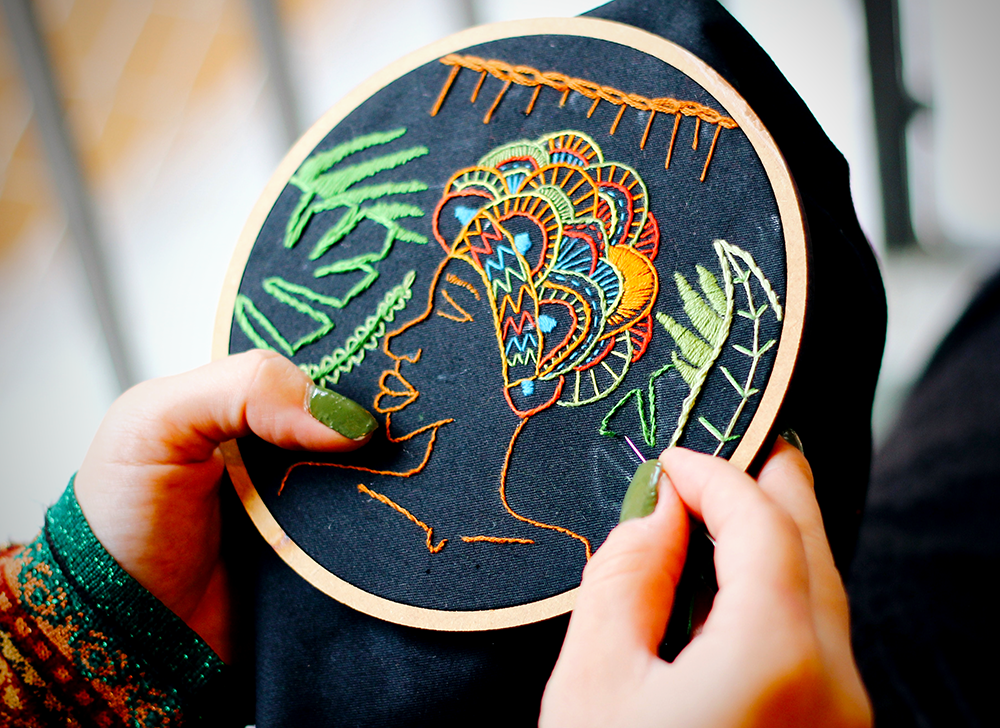
Hand embroidery and machine embroidery also differ in their impact on fabric.
Hand embroidery tends to be less invasive, as it usually involves fewer stitches per inch.
Machine embroidery, often done with a sewing machine or embroidery machine, can be more challenging to remove cleanly due to its high stitch density.
Knowing the type of embroidery you’re dealing with will help you choose the appropriate removal method.
Tools for Removing Embroidery: Stitch Eraser
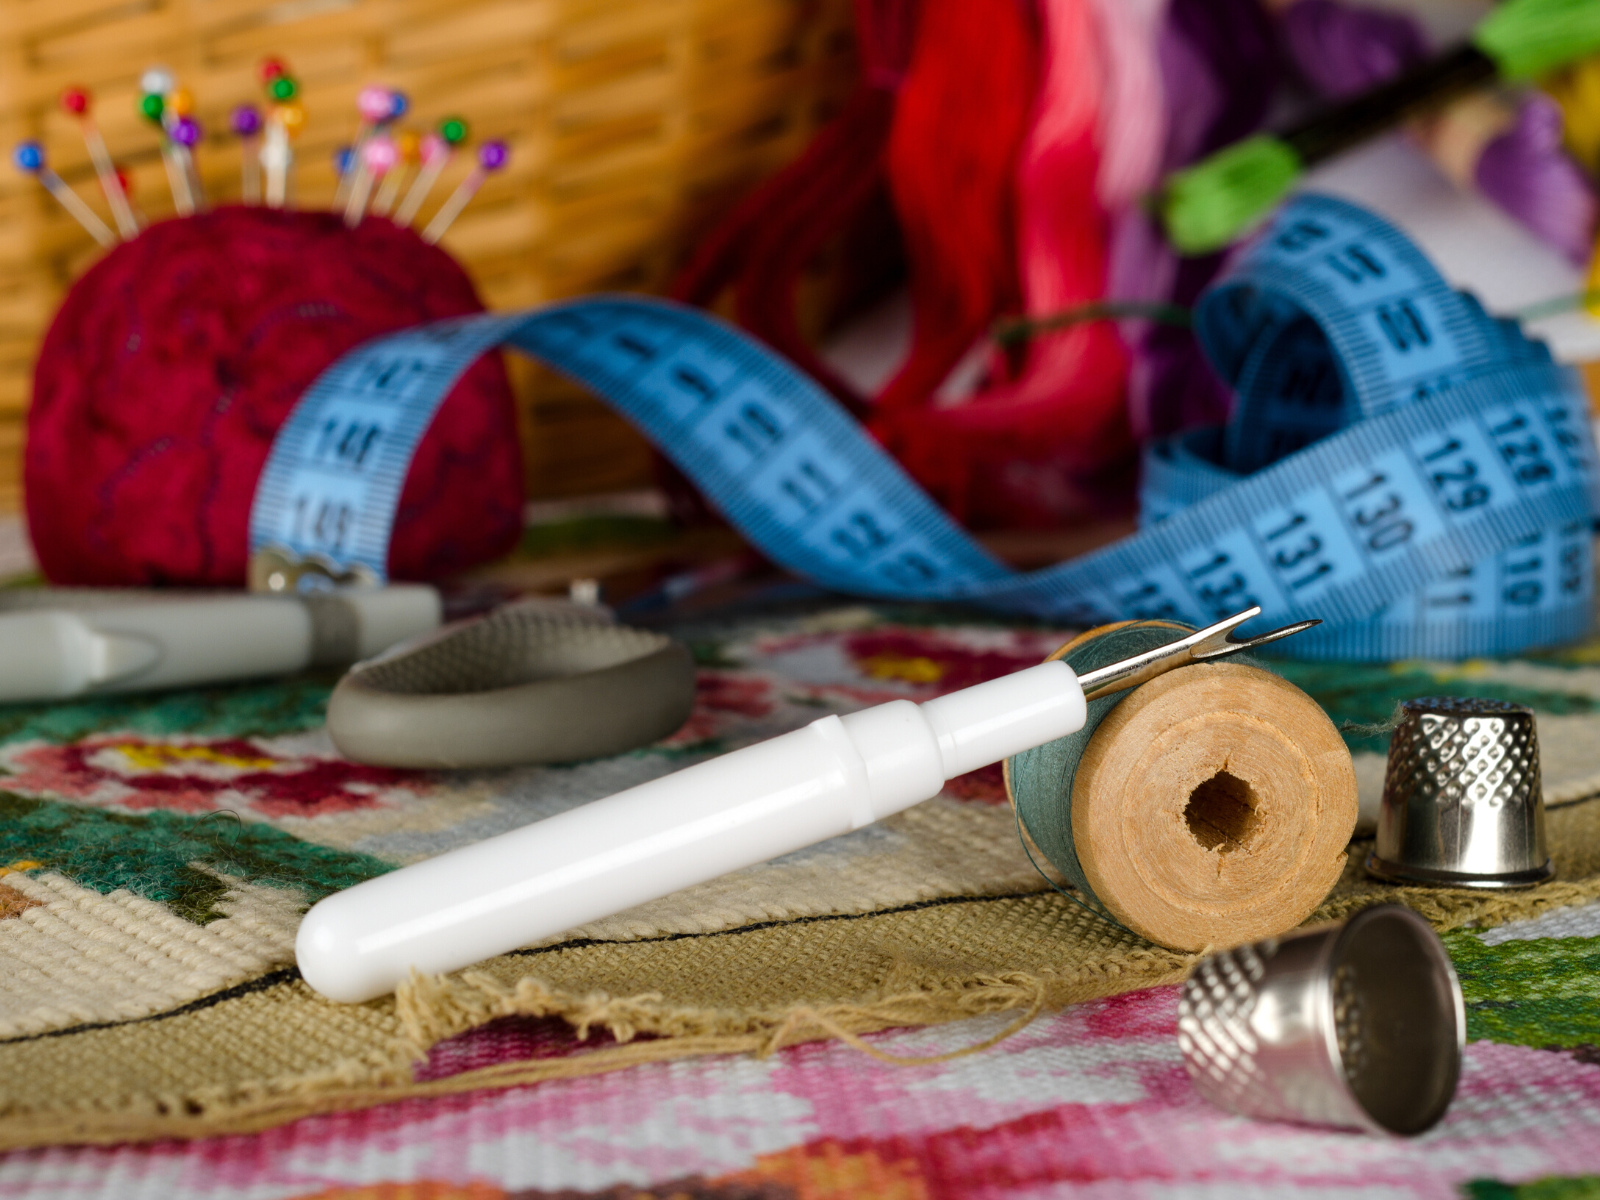
Several tools can aid in the embroidery removal process.
A seam ripper is a common tool used to cut and remove stitches.
It’s particularly effective for hand embroidery and less dense machine embroidery.
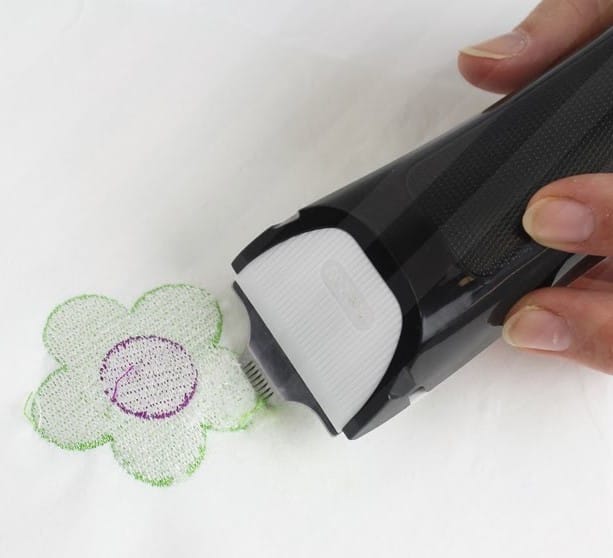
For more intricate or dense embroidery, an embroidery eraser, which resembles a small hair trimmer, can be a great tool. It quickly cuts through stitches without damaging the fabric underneath.
Small embroidery scissors and tweezers are also essential tools.
Small scissors allow for precise cutting of stitches, while tweezers help in pulling out loose threads.
A magnifying glass can be beneficial for seeing small stitches clearly, ensuring you don’t accidentally cut the fabric.
Having these tools at your fingertips can make the removal process more efficient and less likely to leave marks.
The Removal Process
The removal process begins with identifying the type of embroidery and selecting the appropriate tools.
Start by placing the fabric on a flat surface, such as an ironing board, to keep it stable.
Use the seam ripper or stitch eraser to carefully cut the stitches.
For hand embroidery, gently pull the loose threads with tweezers.
For machine embroidery, you may need to cut the stitches from the back of the fabric to avoid damaging the front.
After removing the main stitches, use tweezers to carefully pull out any remaining stitches to ensure a clean finish.
After removing the stitches, use a lint roller to pick up any remaining threads.
This step is crucial for ensuring that no loose threads are left behind, which can create a messy appearance.
Finally, inspect the fabric for any needle marks or holes.
If you find any, gently brush the area with a soft brush to help the fibers relax and reduce the visibility of marks.
Factors Influencing Needle Marks
Several factors influence whether removing embroidery will leave a mark.
The type of fabric plays a significant role.
Cotton and other natural fibers are generally more forgiving and less likely to show marks.
In contrast, delicate fabrics like silk can be more challenging to work with and may show needle marks more readily.
The age of the embroidery also matters.
Older embroidery that has been washed and worn multiple times is more likely to leave marks due to the fabric's wear and tear.
Additionally, the color of the fabric and embroidery threads can affect the visibility of marks.
Darker fabrics and threads tend to hide marks better than lighter ones.
Understanding these factors can help you anticipate and mitigate potential issues.
Techniques to Minimize Marks
To minimize marks, it's essential to use the right techniques.
One effective method is to work slowly and carefully, ensuring you don't pull or stretch the fabric.
Using a rubber tip on your seam ripper can also help prevent accidental snags.
Additionally, flipping the fabric inside out and working from the back can reduce the risk of visible marks on the front.
Another technique is to use a piece of tape to lift loose threads gently.
This method is particularly useful for delicate fabrics that can easily be damaged by tweezers.
After removing the stitches, washing the fabric can help relax the fibers and reduce the visibility of any remaining marks.
Ironing the fabric on a low setting can also help smooth out any needle marks or holes.
Common Mistakes to Avoid
One common mistake is using the wrong tools.
For example, using large scissors instead of small scissors can result in accidental cuts to the fabric.
Another mistake is working too quickly, which can lead to pulling or stretching the fabric.
It's essential to work slowly and carefully to avoid damaging the fabric.
Another mistake is not inspecting the fabric thoroughly after removing the stitches.
Loose threads left behind can create a messy appearance and increase the risk of marks.
Using a lint roller and a magnifying glass can help ensure that all loose threads are removed.
Avoiding these common mistakes can help you achieve a cleaner result.
Tips for Different Types of Fabrics
Different types of fabrics require different approaches.
For cotton and other natural fibers, using a seam ripper and working slowly is usually sufficient.
For delicate fabrics like silk, using a stitch eraser and a piece of tape can help minimize the risk of damage.
For synthetic fabrics, using a rubber tip on your seam ripper can help prevent accidental snags.
For heavily embroidered fabrics, working from the back can help reduce the risk of visible marks on the front.
Additionally, washing and ironing the fabric after removing the stitches can help relax the fibers and reduce the visibility of any remaining marks.
Understanding the specific needs of different types of fabrics can help you achieve the best results.
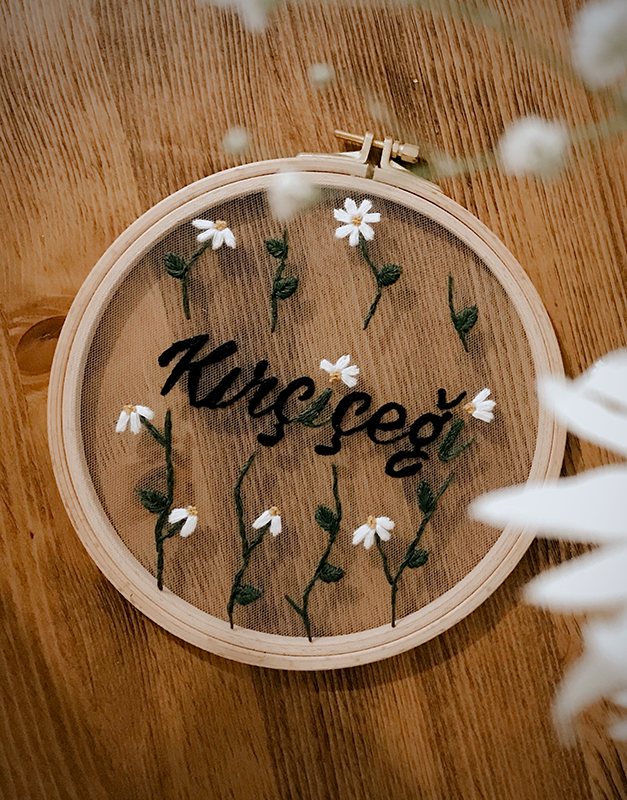
Role of Embroidery Hoops
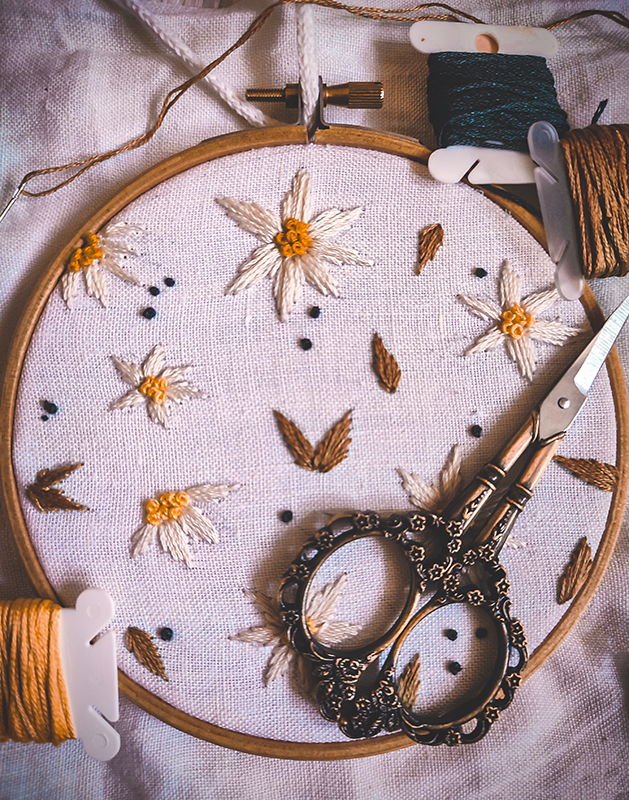
Embroidery hoops play a crucial role in the embroidery process, but they can also impact the removal process.
Using an embroidery hoop keeps the fabric taut, making it easier to create even stitches and maintain tension and clarity in the fabric while working on removing unwanted stitching.
However, they can also leave marks on the fabric, especially if left in place for an extended period.
When removing embroidery, it’s essential to consider the impact of the hoop.
If the hoop has left marks on the fabric, gently brushing the area with a soft brush can help relax the fibers.
Washing and ironing the fabric can also help reduce the visibility of hoop marks.
Understanding the role of embroidery hoops can help you achieve a cleaner result.
Importance of Fabric Preparation
Proper fabric preparation is essential for minimizing marks.
Before starting the removal process, it's crucial to stabilize the fabric.
Placing the fabric on a flat surface, such as an ironing board, can help keep it stable and reduce the risk of accidental snags.
Additionally, using a magnifying glass can help you see small stitches clearly, ensuring you don't accidentally cut the fabric.
Preparing the fabric properly can help you achieve a cleaner result and minimize the risk of marks.
Impact of Thread Type
The type of thread used in embroidery can also impact the removal process.
Embroidery threads come in various materials, including cotton, silk, and synthetic fibers.
The type of thread can affect how easily it can be removed and the risk of leaving marks.
For example, cotton threads are generally easier to remove and less likely to leave marks.
Silk threads, on the other hand, can be more challenging to work with and may leave needle marks.
Understanding the impact of thread type can help you choose the appropriate removal method and minimize the risk of marks.
Role of Washing and Ironing
Washing and ironing play a crucial role in the embroidery removal process.
After removing the stitches, washing the fabric can help relax the fibers and reduce the visibility of any remaining marks.
Using a gentle detergent and washing the fabric by hand can help prevent further damage.
Ironing the fabric on a low setting can also help smooth out any needle marks or holes.
Using a pressing cloth can help protect delicate fabrics from heat damage.
Understanding the role of washing and ironing can help you achieve a cleaner result and minimize the risk of marks.
Benefits of Professional Help
In some cases, seeking professional help may be the best option.
Professional embroiderers have the experience and tools needed to remove embroidery cleanly and efficiently.
They can also provide advice on the best methods for your specific fabric and embroidery type.
While professional help may come at a cost, it can be worth it for delicate or valuable fabrics.
Understanding the benefits of professional help can help you make an informed decision and achieve the best results.
Mastering Embroidery for a Flawless Finish
Embroidery removal doesn't have to be a daunting task.
With the right knowledge and tools, you can effectively minimize or even eliminate any visible marks, preserving the beauty and integrity of your fabric.
By understanding the nuances of fabric types, thread characteristics, and employing the best removal techniques, you can confidently tackle any embroidery mishap or redesign project.
So, embrace the challenge, follow the embroidery tips and techniques shared in this guide, and achieve a pristine, mark-free finish every time.
Happy stitching (and unstitching)!
Embroidery FAQs
Embroidery can add a touch of elegance and personalization to any fabric, but what happens when you need to remove it?
Whether it’s a mistake, a change in design, or simply a desire for a fresh start, removing embroidery can be a delicate task.
This FAQ section is here to guide you through the process with ease and confidence.
Ready to dive into the nitty-gritty of embroidery removal?
These answers to these common questions will equip you with the knowledge and confidence to tackle any embroidery project with finesse.
Can I remove embroidery from any type of fabric?
While it’s possible to remove embroidery from most fabrics, the ease and success of the removal process depend on the fabric type. Natural fibers like cotton are generally more forgiving, while delicate fabrics like silk can be more challenging and may show needle marks more readily.
What tools do I need to remove embroidery?
Essential tools for removing embroidery include a seam ripper, stitch eraser, small scissors, tweezers, and a magnifying glass. A lint roller and a soft brush can also be helpful for picking up loose threads and relaxing the fibers.
How can I minimize marks when removing embroidery?
To minimize marks, work slowly and carefully, use the right tools, and consider the fabric type. Washing and ironing the fabric after removing the stitches can help relax the fibers and reduce the visibility of any remaining marks. For delicate fabrics, using a piece of tape to lift loose threads gently can also help.
What is an embroidery eraser and how do I use it?
An embroidery eraser is a device specifically designed to trim and remove embroidery stitches from fabric without damaging the material. To use it, gently run the eraser over the stitches, being careful to avoid applying too much pressure to prevent damaging the fabric.
What should I do if the fabric is damaged during embroidery removal?
If the fabric is damaged during the removal process, you can try to repair it by using a fabric mending kit or applying a small patch. For minor needle marks, gently massaging the area with a damp cloth can help relax the fibers. If the damage is extensive, you may need to consult a professional tailor or seamstress for repair options.
Can I reuse the fabric after removing embroidery?
Yes, you can reuse the fabric after removing embroidery, provided it is not significantly damaged. Washing and ironing the fabric can help restore its appearance. If there are minor marks or holes, you can cover them with a new embroidery design or a decorative patch.
Is it possible to remove machine embroidery the same way as hand embroidery?
While the basic principles of removing machine and hand embroidery are similar, machine embroidery can be more challenging due to the tighter and more uniform stitches. Using a stitch eraser specifically designed for machine embroidery can make the process easier. Patience and precision are key to avoiding damage to the fabric.
How long does it typically take to remove embroidery?
The time it takes to remove embroidery depends on the size and complexity of the design, as well as the type of fabric and thread used. Simple embroidery designs on forgiving fabrics like cotton can take as little as 15-30 minutes, while more intricate designs on delicate fabrics may take several hours.
Can I remove embroidery without any specialized tools?
While specialized tools like seam rippers and stitch erasers make the process easier and safer, you can remove embroidery with basic household items like small scissors and tweezers. However, using the right tools can significantly reduce the risk of damaging the fabric and make the process more efficient.
What are some common mistakes to avoid when removing embroidery?
Common mistakes include pulling threads too forcefully, using dull or inappropriate tools, and not taking the fabric type into account. Always work slowly and carefully, and take breaks if needed to avoid frustration and mistakes. Testing your technique on a small, inconspicuous area first can also help prevent damage.
Looking to remove some embroidery? Check out Let's Learn to Sew's video!
Want even more content about creativity and art?
Be sure to check out all of our creative chronicles!
Interested in embroidery?
You might want to check out some of our other articles:
-What do you do with embroidery after you're finished?
-What's the fastest way to remove embroidery?