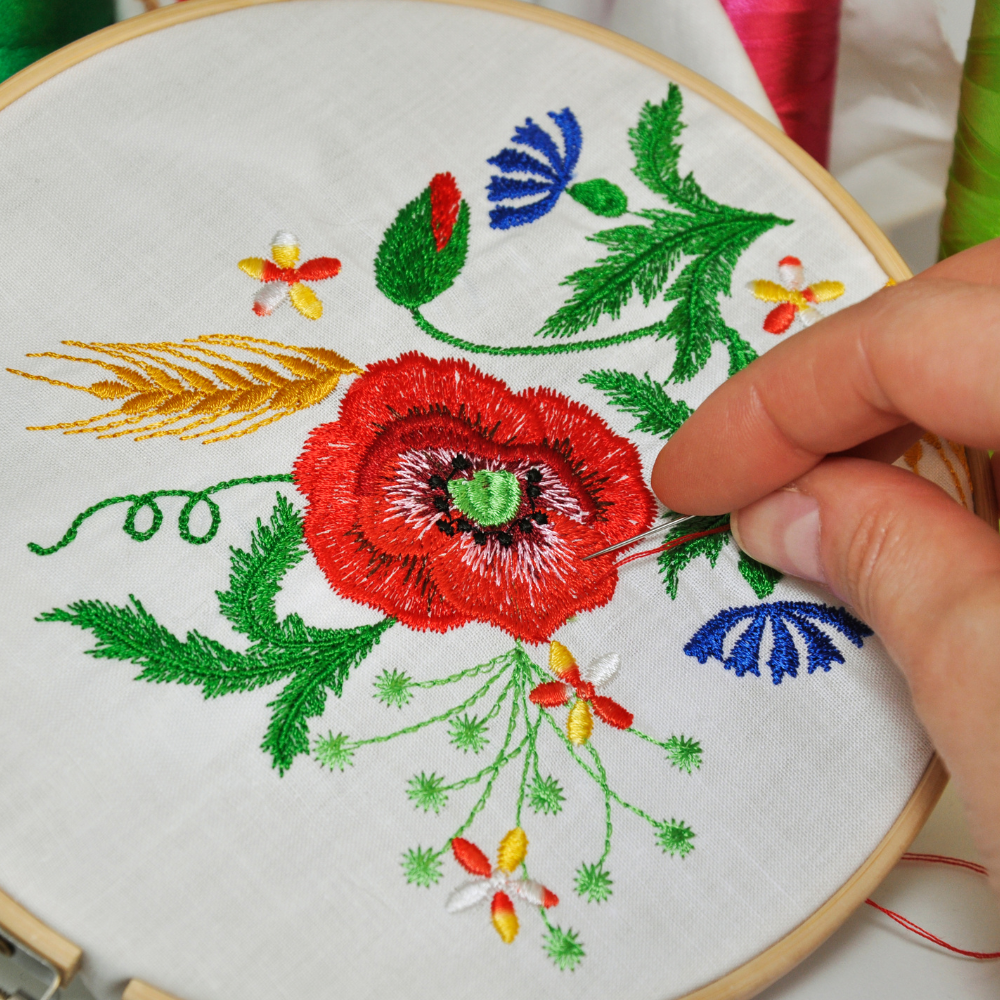
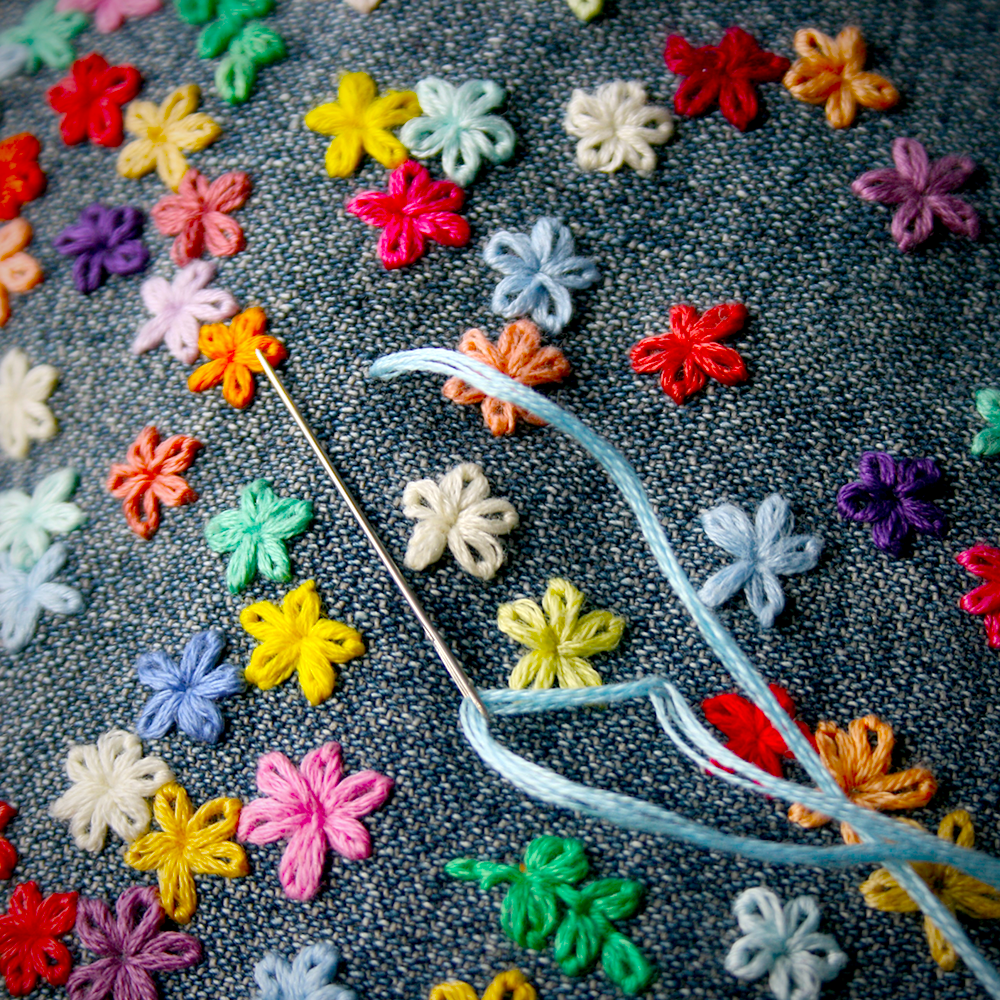
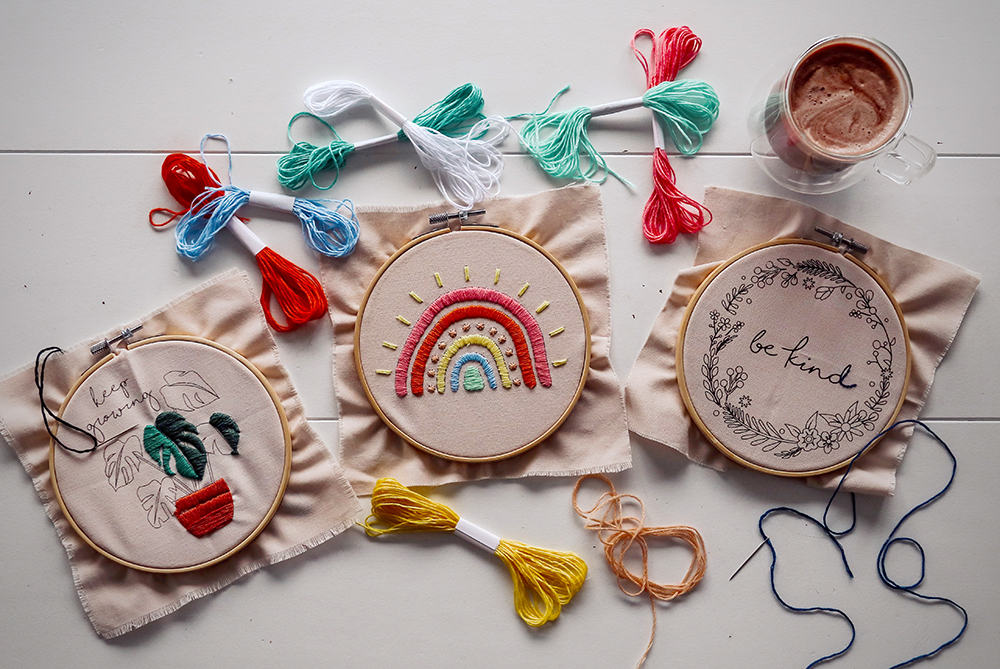
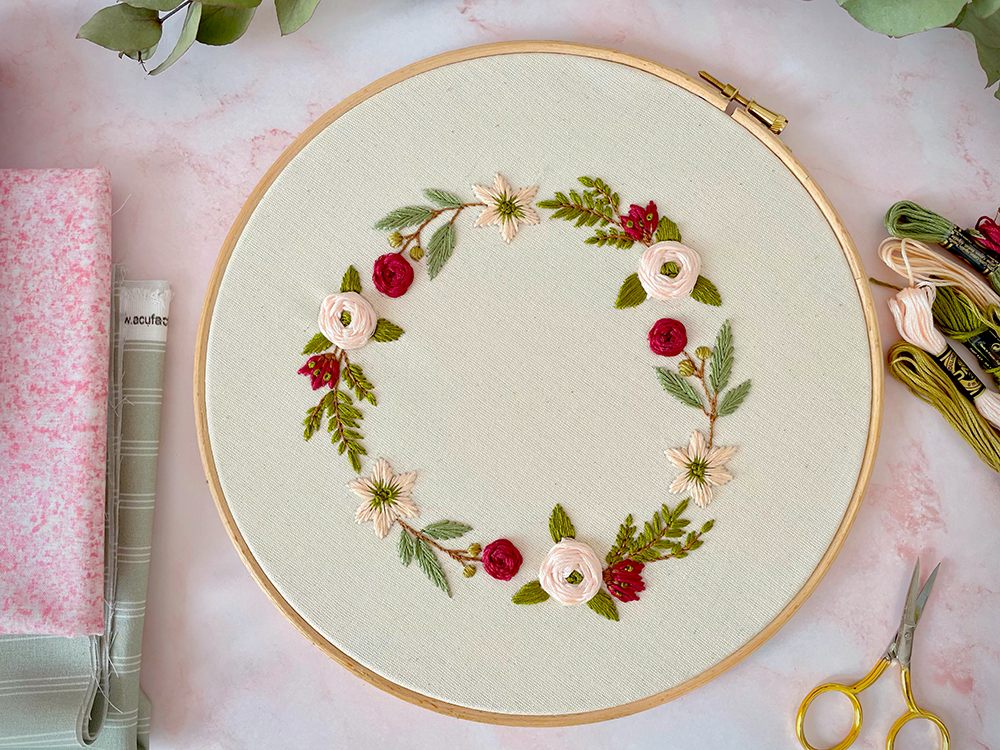
Embroidery is a beautiful art form that adds a personal touch to garments and fabrics.
The intricate designs and vibrant threads can transform a simple piece of cloth into a work of art, making it unique and special.
Whether it's a monogram on a handkerchief, an elaborate pattern on a dress, or a logo on a uniform, embroidery holds a special place in the world of fashion and crafts.
However, there are times when you might need to remove embroidery, whether due to a mistake, a change in design, or simply wanting to repurpose the fabric.
Perhaps the design didn't turn out as expected, or maybe the garment needs to be updated with a new look.
Sometimes, you might find a beautiful piece of fabric with an outdated or unwanted embroidery that you wish to reuse for a new project.
The question arises: is it easy to remove embroidery?
The answer depends on various factors, including the type of fabric, the complexity of the embroidery, and the tools and techniques used.
While it may seem daunting, with the right approach, you can successfully remove embroidery without causing damage to the underlying fabric.
This comprehensive guide will walk you through the process, tools, and techniques to effectively remove embroidery without damaging the fabric.
From understanding the different types of stitches to choosing the right tools, we'll cover everything you need to know to make the process as smooth and efficient as possible.
Whether you're a seasoned crafter or a beginner, this guide will equip you with the knowledge and confidence to tackle any embroidery removal project with ease.
Key Takeaways:
- Removing embroidery requires patience and the right tools to avoid damaging the fabric.
- Different types of stitches and fabrics require specific techniques for effective removal.
- Proper aftercare is essential to restore the fabric's appearance post-embroidery removal.
Understanding Embroidery Stitches
Embroidery stitches come in various forms, each with its unique characteristics.
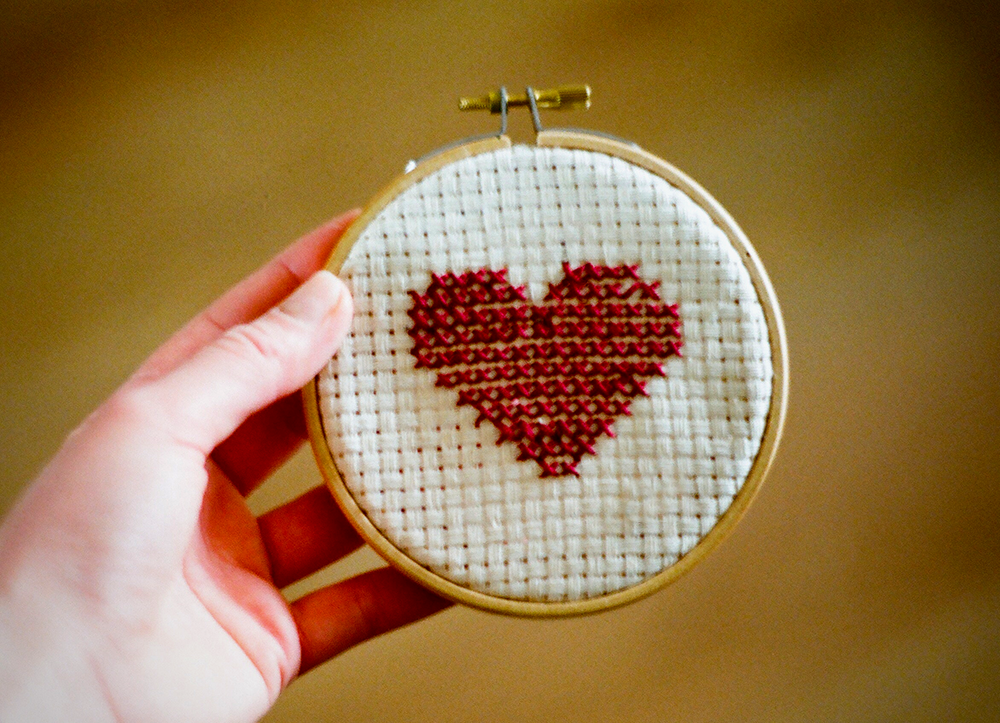
Common types include running stitches, cross stitch, and satin stitches.
Understanding the type of stitch used is crucial for effective removal.
For instance, running stitches are relatively easy to remove, while satin stitches, which cover a larger area, require more precision.
When dealing with machine embroidery, the stitches are often tighter and more uniform, making them slightly more challenging to remove compared to hand embroidery.
Knowing the stitch type helps in selecting the appropriate tools and techniques for the removal process.
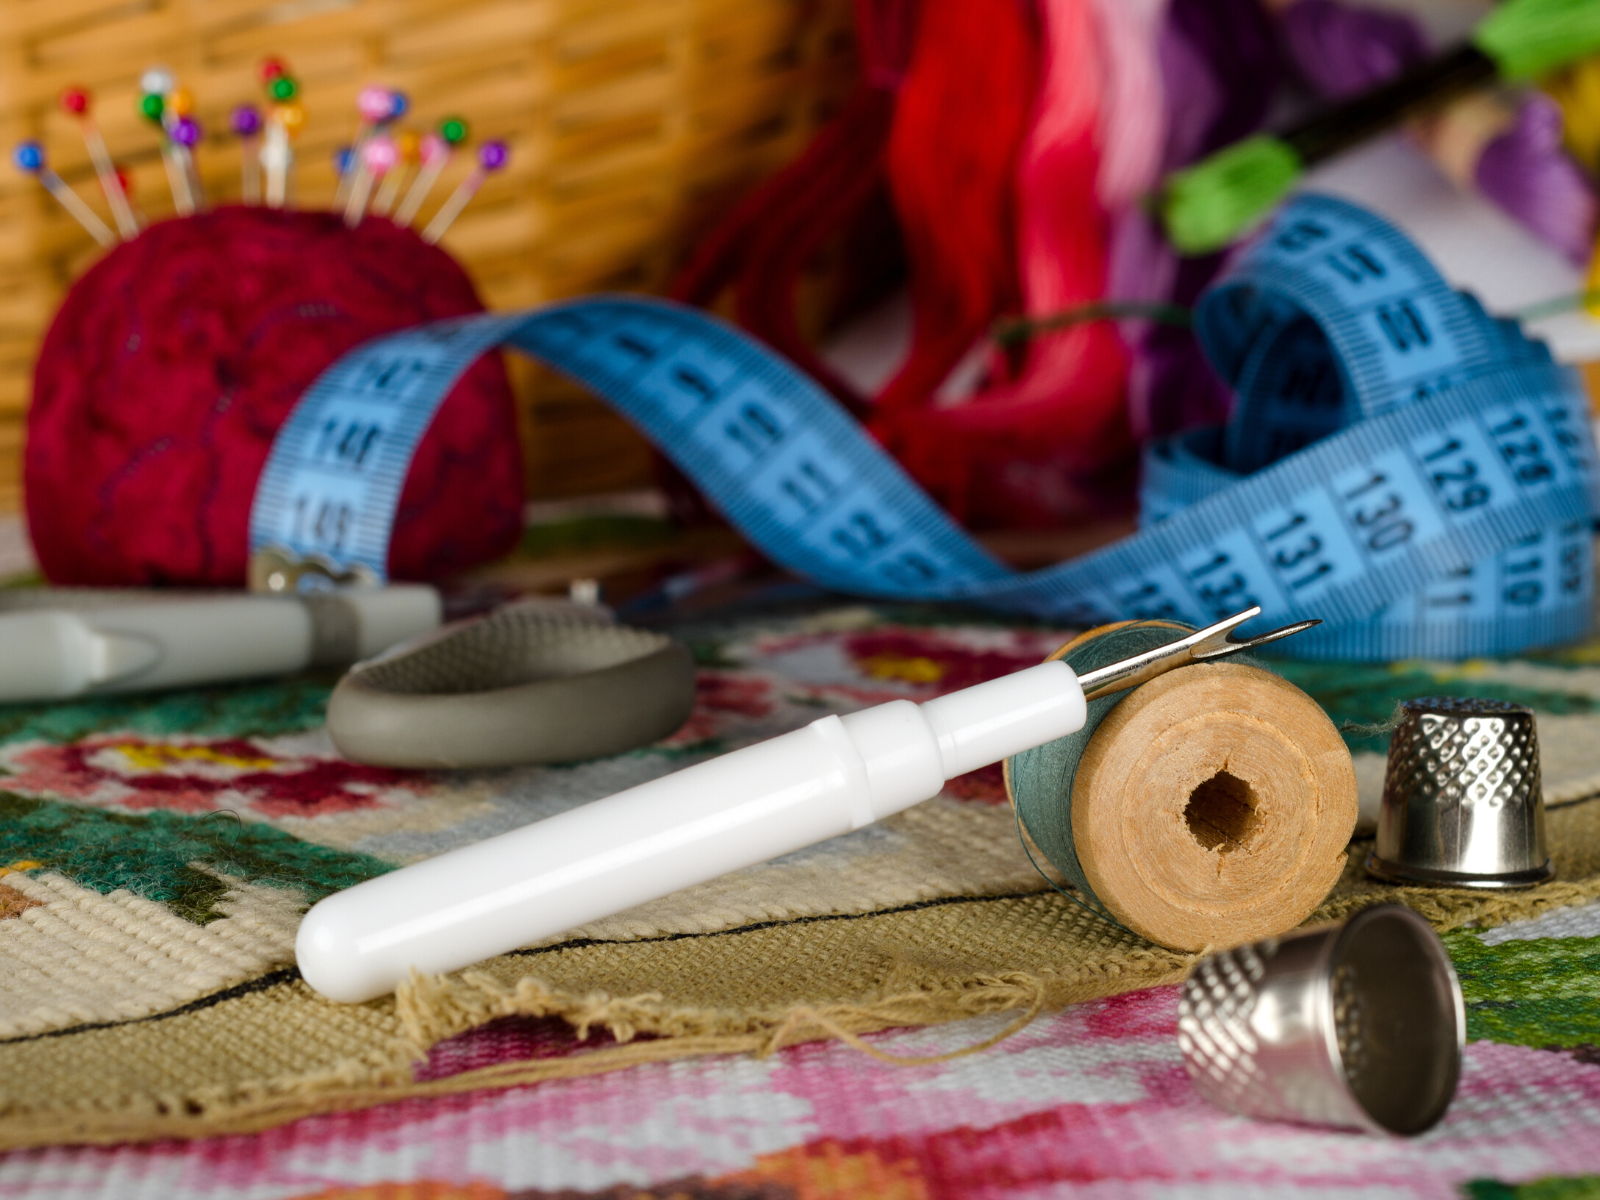
Essential Tools for Removing Embroidery
To remove embroidery efficiently, you need the right tools.
A curved seam ripper is indispensable for cutting through stitches without damaging the fabric.
Embroidery scissors, with their sharp, precise blades, are perfect for snipping threads.
For smaller stitches, manicure scissors or a darning needle can be useful.
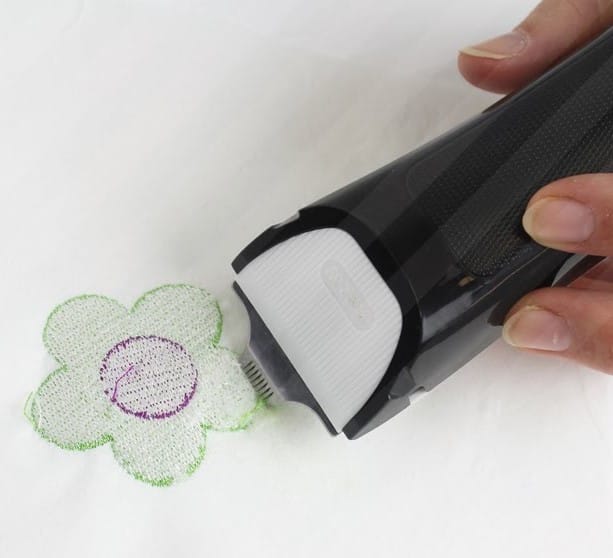
An embroidery eraser or a hair trimmer can help in removing the remaining stitches and thread dust.
Additionally, a lint roller or masking tape can pick up loose embroidery threads, ensuring a clean finish.
Having these tools at hand makes the entire process smoother and more efficient.
Step-by-Step Guide to Removing Embroidery
Ever found yourself staring at a beautifully embroidered piece, only to realize that a mistake has turned your masterpiece into a mess?
Or perhaps you've inherited a lovely fabric with outdated designs that just don't fit your style? Fear not!
Removing embroidery might seem like a daunting task, but with the right approach, it can be a breeze.
Whether you're looking to correct an error, update a design, or repurpose fabric, this guide will walk you through the process with ease and precision.
Get ready to transform your fabric back to its pristine state, all while preserving its integrity and beauty.
Step 1: Assess the Embroidery
Before starting, examine the embroidery design closely.
Identify the type of stitches and the fabric's condition.
This assessment helps in planning the removal process and selecting the right tools.
For instance, if the embroidery consists of just the satin stitches, you might need a different approach than for cross stitch.
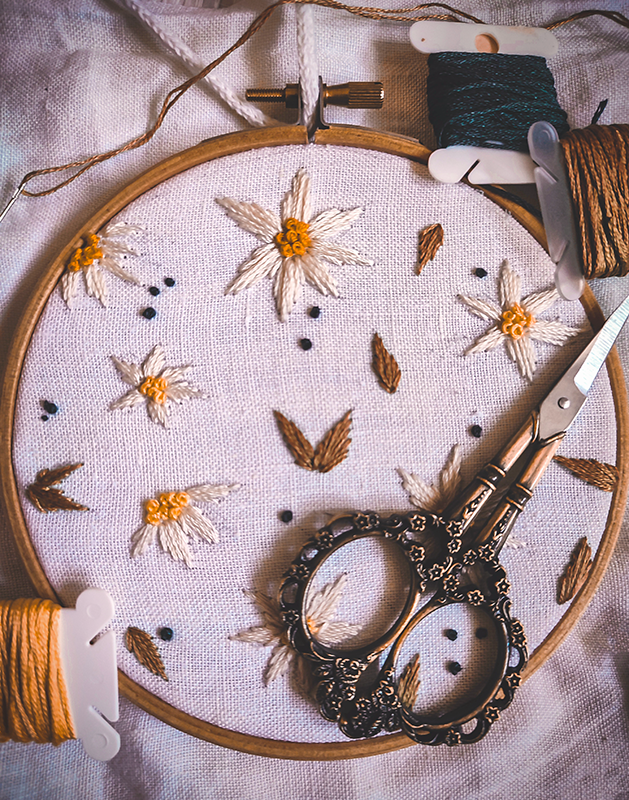
Step 2: Prepare the Fabric
Place the fabric in an embroidery hoop to keep it taut.
This tension makes it easier to access and cut the stitches without damaging the fabric.
If the fabric is delicate, consider placing a piece of masking tape around the embroidery to protect the surrounding area.
Step 3: Cut the Stitches
Using a curved seam ripper or embroidery scissors, carefully cut through the stitches.
Start from the back of the fabric to avoid visible holes on the front.
For machine embroidery, you might need to cut through the horizontal threads first, then the vertical threads.
Be patient and work in small sections to avoid damaging the fabric.
Step 4: Remove Loose Threads
Once the main stitches are cut, use a pair of tweezers to gently pull out the loosened threads.
For smaller stitches, a darning needle can help in picking out the threads.
Use a lint roller or masking tape to pick up any remaining thread dust.
Step 5: Clean the Fabric
After removing all the stitches, the fabric might have visible holes or a fuzzy texture.
Gently press the fabric with a cool or warm setting on your iron to smooth out the stitch marks.
For stubborn marks, steaming and scraping with a razor blade can help restore the fabric's appearance.
Removing Machine Embroidery
Machine embroidery is often more challenging to remove due to the tight, uniform stitches.
Start by cutting the stitches on the back of the fabric using a curved seam ripper.
Work in small sections to avoid damaging the fabric.
Once the stitches are cut, use a lint roller to pick up the loose threads.
For multi-layered pieces, you might need to repeat the process several times to remove all the stitches.
Be patient and take your time to ensure a clean finish.
Using a hair trimmer or embroidery eraser can help in removing the remaining stitches and thread dust.
Role of Stitch Erasers in Embroidery Removal
Stitch erasers are invaluable tools when it comes to removing embroidery threads efficiently.
These devices are designed to cut threads quickly without damaging the fabric.
By gently running the eraser over the unwanted embroidery, you can remove stitches with minimal effort.
This method is particularly effective for machine embroidery, where the stitches are tightly packed.
Using a stitch eraser can save time and reduce the risk of fabric damage, making it a preferred choice for many.
For those dealing with multi-layered pieces, stitch erasers can be a game-changer.
They allow you to target specific layers without affecting the entire width of the fabric.
This precision is crucial when you need to remove only a few stitches from a complex design.
Additionally, stitch erasers are user-friendly and require minimal skill, making them accessible to both beginners and experienced embroiderers.
Whether you're working on a garment inside or out, a stitch eraser can help you achieve a clean finish.
Techniques for Removing Stubborn Threads
Removing stubborn embroidery threads can be challenging, but with the right techniques, it becomes manageable.
One effective method involves using a seam ripper to cut threads from both the front and back of the fabric.
This approach allows for precise removal of stitches without causing undue stress on the material.
For particularly tough threads, a magnifying glass can help you see the stitches clearly, ensuring you don't miss any.
Another technique involves the steaming and scraping process.
By applying steam to the embroidery, you can loosen the threads, making them easier to remove.
Once the threads are softened, gently pulling them with small scissors or a disposable razor can help you remove the embroidery without damaging the fabric.
This method is especially useful for delicate fabrics that require a gentle touch.
Remember, patience is key; rushing the process can lead to fabric tears and other issues.
Removing Hand Embroidery
Hand embroidery, with its varied stitch types and tension, requires a different approach.
Start by identifying the type of stitches used.
For running stitches, gently pull the thread from one end to remove the entire length.
For more complex stitches like cross stitch, use a curved seam ripper to cut through the threads.
Work from the back of the fabric to avoid visible holes on the front.
Use a pair of tweezers to remove the loosened threads and a lint roller to pick up any remaining thread dust.
Gently press the fabric with a cool or warm setting on your iron to smooth out the stitch marks.
Dealing with Embroidered Logos
Removing an embroidered logo can be tricky due to the dense stitching.
Start by cutting the stitches on the back of the fabric using a curved seam ripper.
Work in small sections to avoid damaging the fabric.
Once the stitches are cut, use a lint roller to pick up the loose threads.
For stubborn logos, you might need to use a hair trimmer or embroidery eraser to remove the remaining stitches and thread dust.
Be patient and take your time to ensure a clean finish.
Gently press the fabric with a cool or warm setting on your iron to smooth out the stitch marks.
Tips for Avoiding Fabric Damage
Removing embroidery without damaging the fabric requires patience and precision.
Always work from the back of the fabric to avoid visible holes on the front.
Use sharp tools like embroidery scissors and a curved seam ripper to cut the stitches cleanly.
For delicate fabrics, consider placing a piece of masking tape around the embroidery to protect the surrounding area.
Work in small sections and take your time to avoid damaging the fabric.
Gently press the fabric with a cool or warm setting on your iron to smooth out the stitch marks.
Aftercare for Fabric Post-Embroidery Removal
After removing embroidery, the fabric might have visible holes or a fuzzy texture.
Gently press the fabric with a cool or warm setting on your iron to smooth out the stitch marks.
For stubborn marks, steaming and scraping with a razor blade can help restore the fabric's appearance.
If the fabric has a fuzzy texture, use a lint roller or masking tape to pick up any remaining thread dust.
For delicate fabrics, consider using a lint brush to avoid damaging the fibers.
Proper aftercare ensures the fabric looks as good as new post-embroidery removal.
Common Mistakes to Avoid
One common mistake is rushing the process, which can lead to fabric damage.
Always take your time and work in small sections to avoid mistakes.
Another mistake is using dull tools, which can fray the fabric.
Ensure your embroidery scissors and curved seam ripper are sharp for clean cuts.
Avoid pulling the threads too hard, as this can create visible holes in the fabric.
Instead, gently pull the threads using a pair of tweezers.
Lastly, always work from the back of the fabric to avoid visible holes on the front.
Professional Quality Embroidery Removal
For those seeking a professional finish, consider hiring a specialist for embroidery removal.
Professionals have the experience and tools to remove embroidery without damaging the fabric.
They can handle complex embroidery designs and delicate fabrics with ease.
If you prefer a DIY approach, invest in high-quality tools like embroidery scissors, a curved seam ripper, and an embroidery eraser.
Follow the steps provided and take your time to ensure a clean finish.
With patience and the right tools, you can achieve professional-quality results.
Your Fabric's Fresh Start Awaits!
Removing embroidery doesn't have to be a nerve-wracking ordeal.
With a bit of patience, the right tools, and our step-by-step guide, you can tackle any embroidered design with confidence.
Whether it's a machine-stitched logo or a hand-embroidered pattern, understanding your fabric and stitches is key to a successful removal.
Follow these embroidery tips, take your time, and soon enough, your fabric will be ready for its next creative chapter, looking as good as new.
Happy crafting!
Embroidery FAQs
Embroidery can add a touch of elegance and personalization to any fabric, but what happens when you need to remove it?
Whether it's a mistake or a change of heart, removing embroidery can be a daunting task. Fear not!
This FAQ section is here to guide you through the process with ease.
From the tools you'll need to the techniques that ensure your fabric remains pristine, we've got you covered.
Dive in to discover how to remove embroidery without damaging your fabric, the essential tools for the job, and tips for erasing those pesky visible holes.
Let's make your embroidery journey as smooth as possible!
Can I remove embroidery without damaging the fabric?
Yes, you can remove embroidery without damaging the fabric by using the right tools and techniques. Always work from the back of the fabric, use sharp tools, and take your time to avoid mistakes.
What tools do I need to remove embroidery?
Essential tools for removing embroidery include a curved seam ripper, embroidery scissors, a lint roller, and a pair of tweezers. For stubborn stitches, an embroidery eraser or hair trimmer can be useful.
How do I remove visible holes after removing embroidery?
To remove visible holes, gently press the fabric with a cool or warm setting on your iron. For stubborn marks, steaming and scraping with a razor blade can help restore the fabric's appearance.
Looking for tools to remove embroidery? Check out John Deer's Embroidery Legacy's video!
Want even more content about creativity and art?
Be sure to check out all of our creative chronicles!
Interested in embroidery?
You might want to check out some of our other articles:
-What do you do with embroidery after you're finished?
-What's the fastest way to remove embroidery?
-Does removing embroidery leave a mark?
-Is it ok to remove embroidery backing?
-Can you remove direct embroidery?