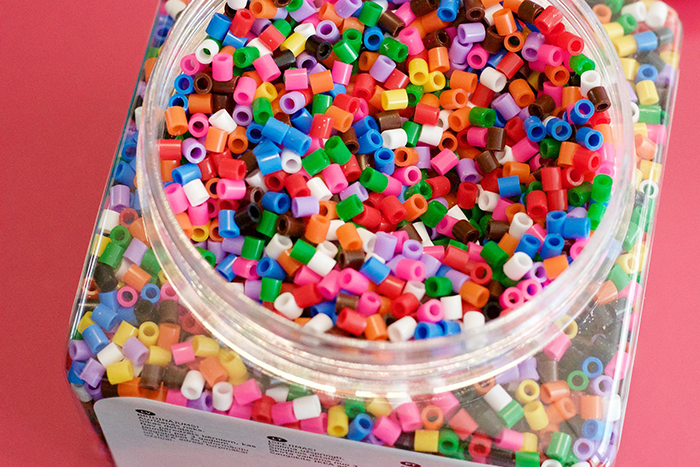
Perler beads are a fun and addictive craft project for all ages.
If you're new to Perler beads, this guide will teach you everything you need to know to get started!
We'll cover the Perler 101 basics of how to use the beads as well as some tips and tricks for creating your own designs.
So, put on your thinking cap and get ready to fuse some colorful beads!
What Are Perler Beads?
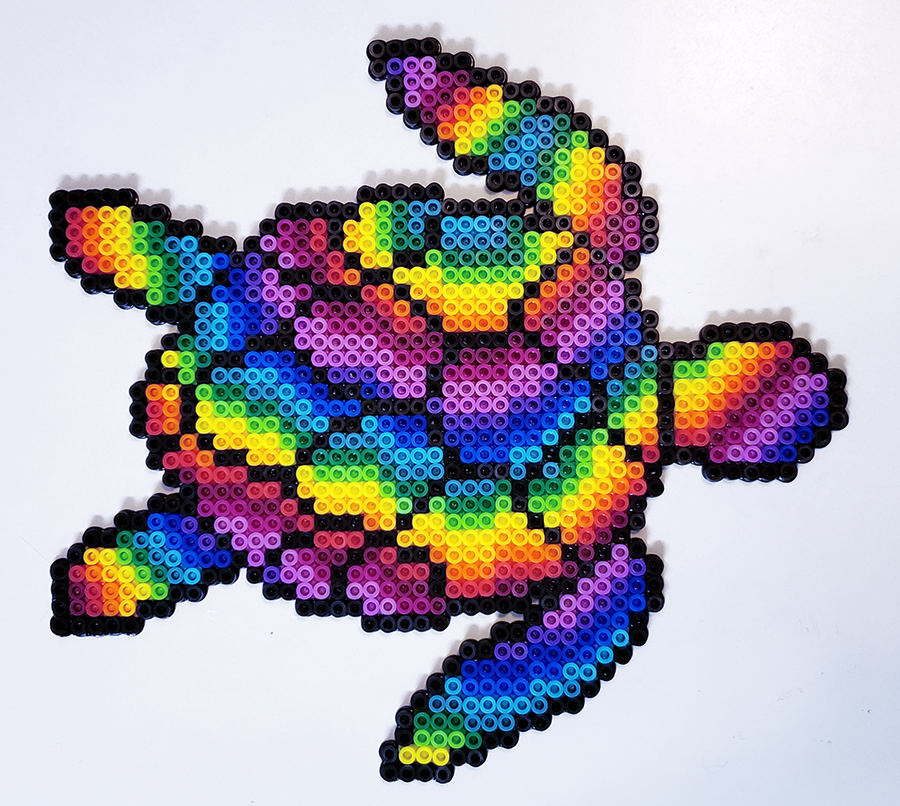
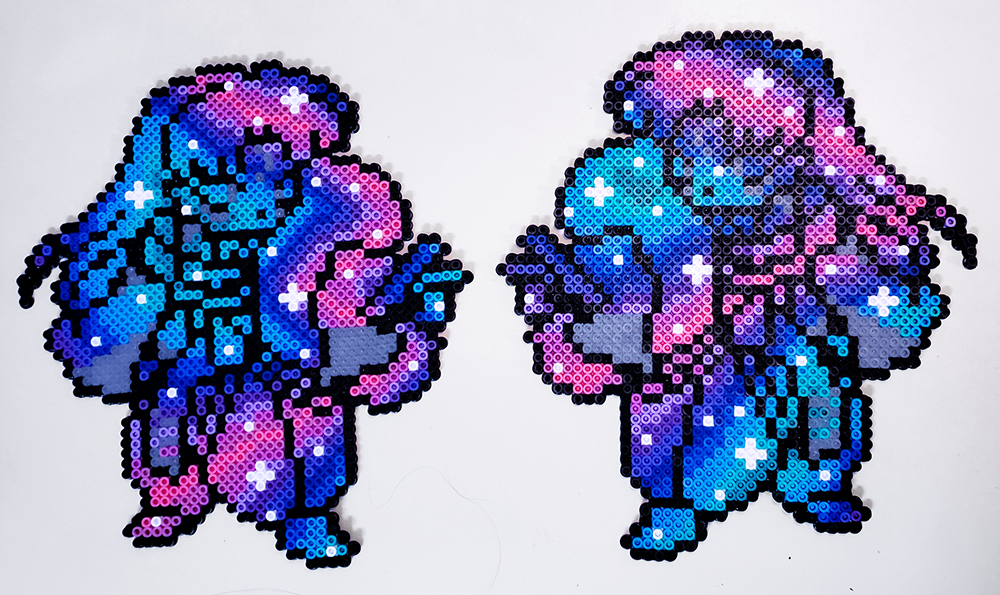
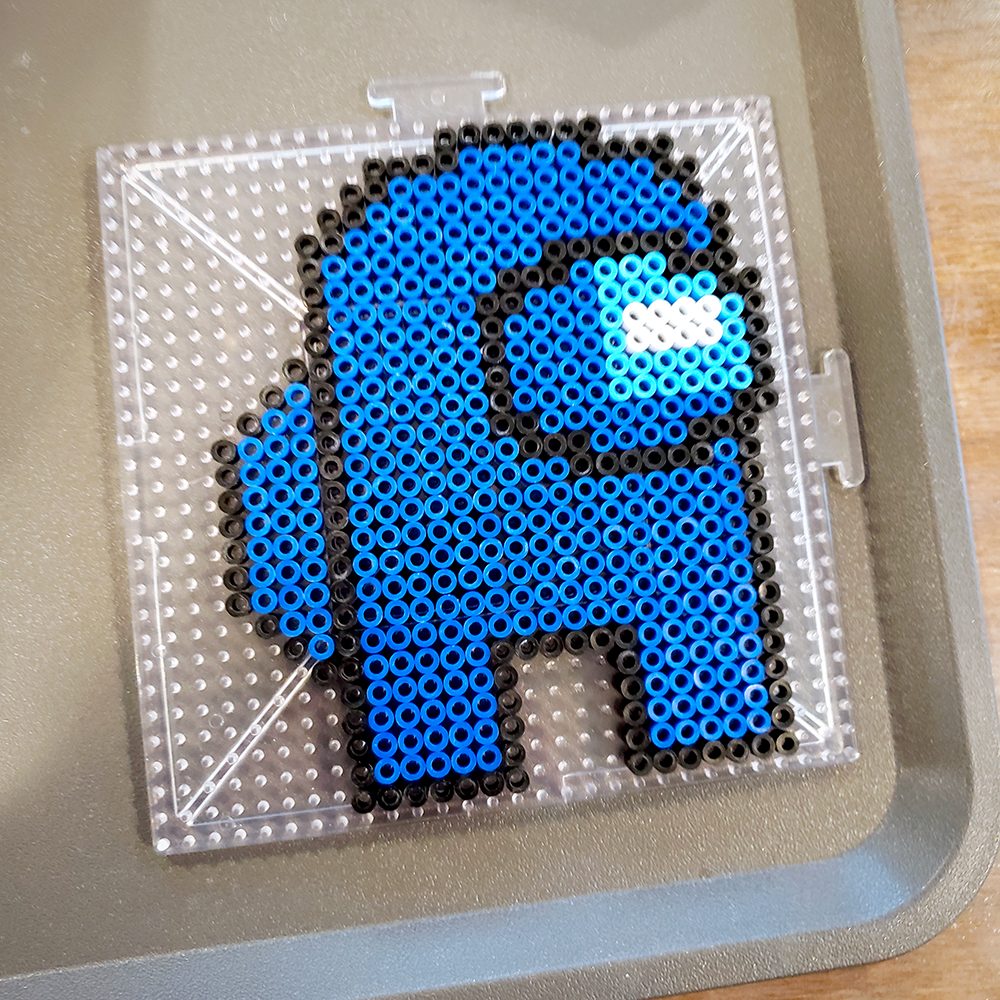
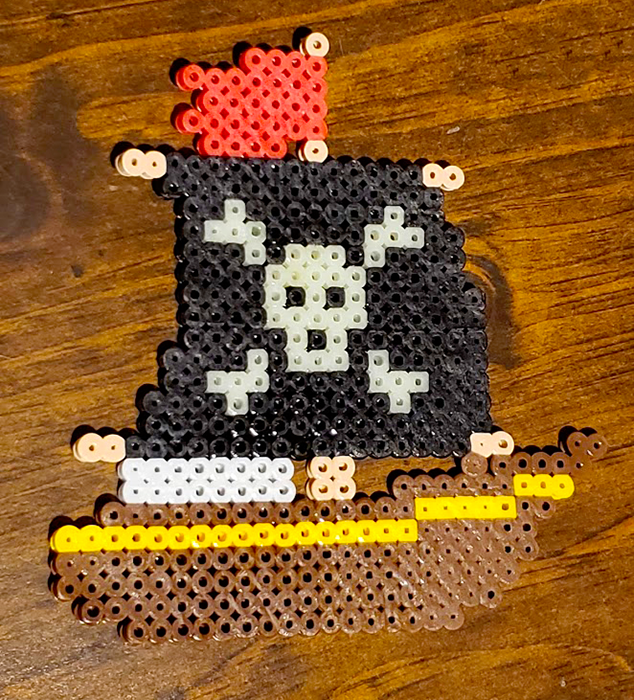
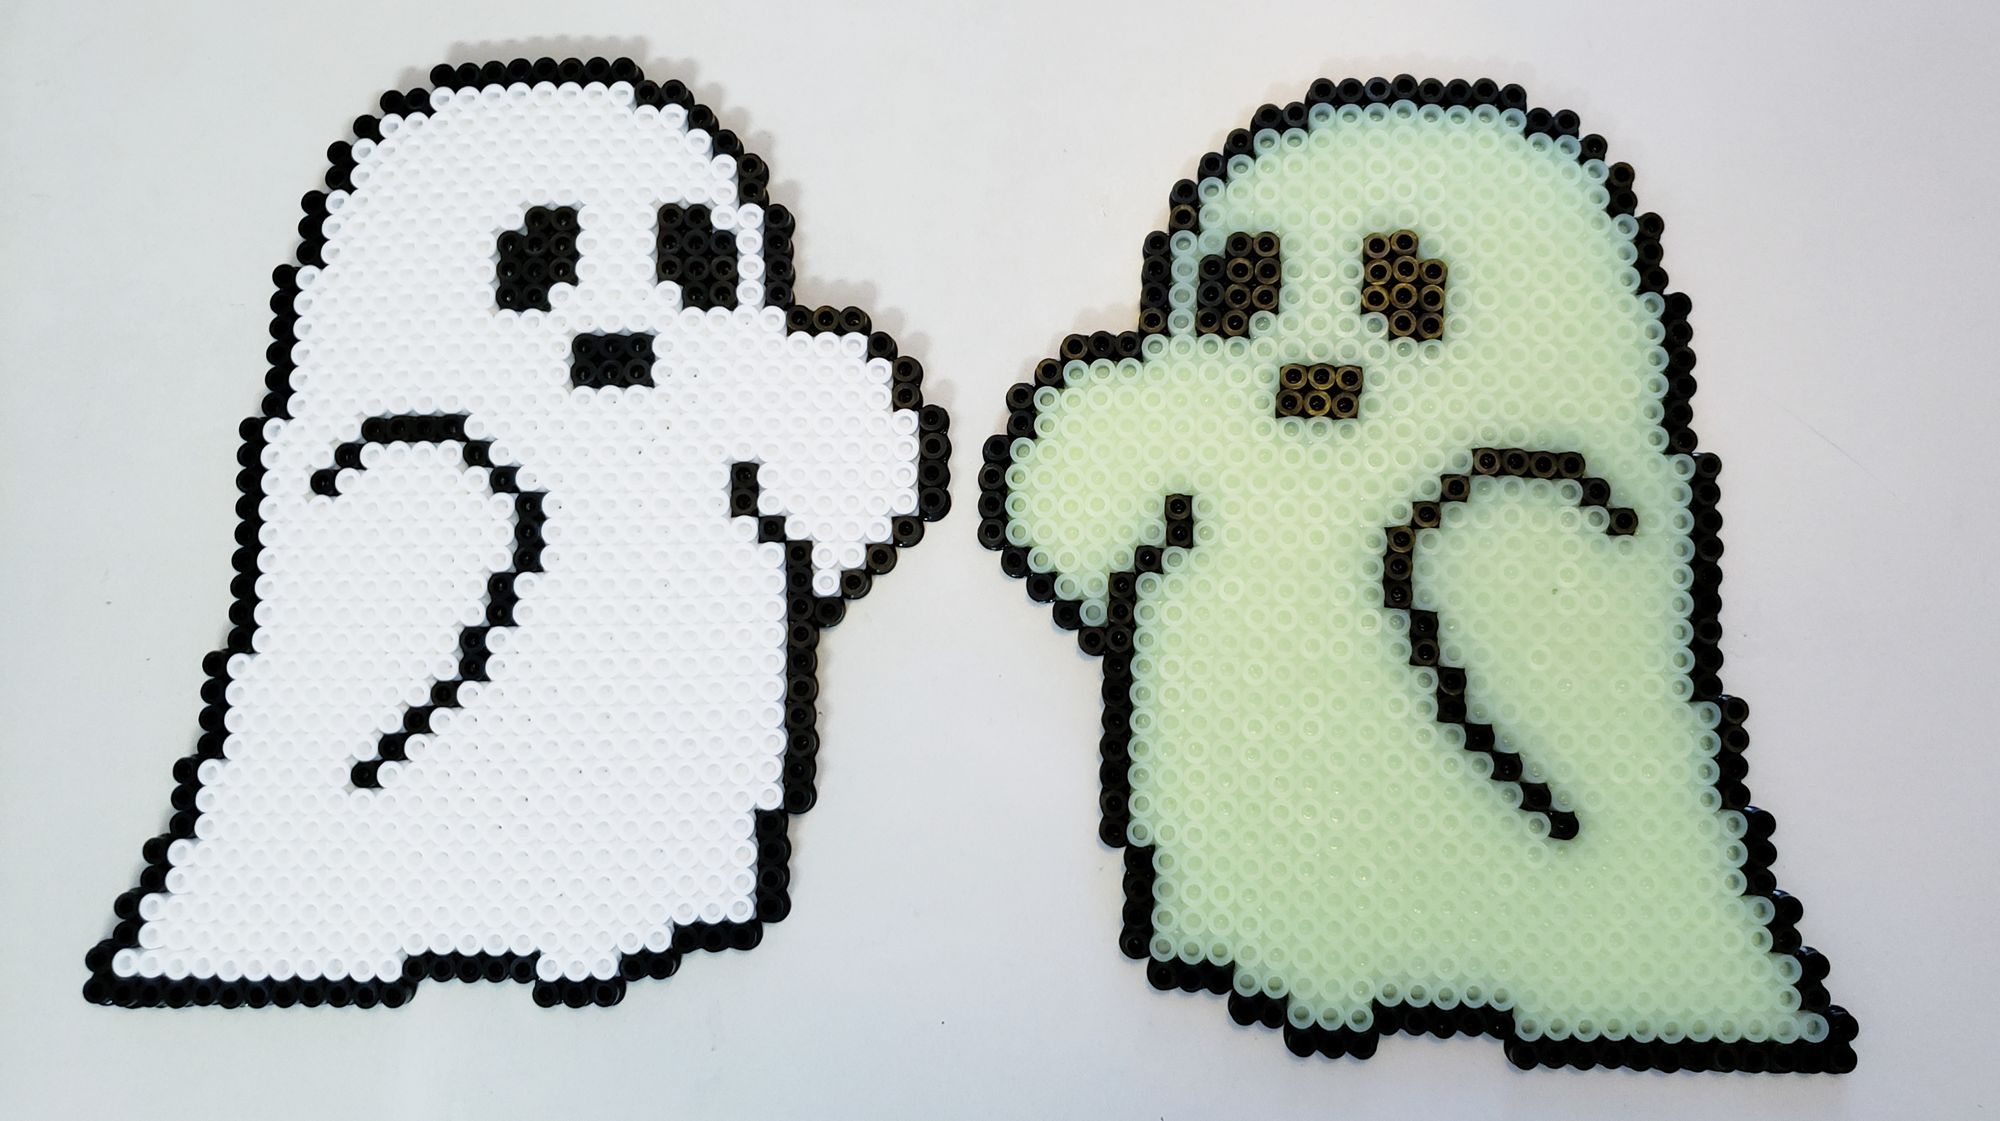
Also known as fuse beads or melty beads, Perler beads are a type of craft bead that can be used to create 2D and 3D designs.
They are often used in children's crafts, but they can also be used to create more intricate and detailed designs.
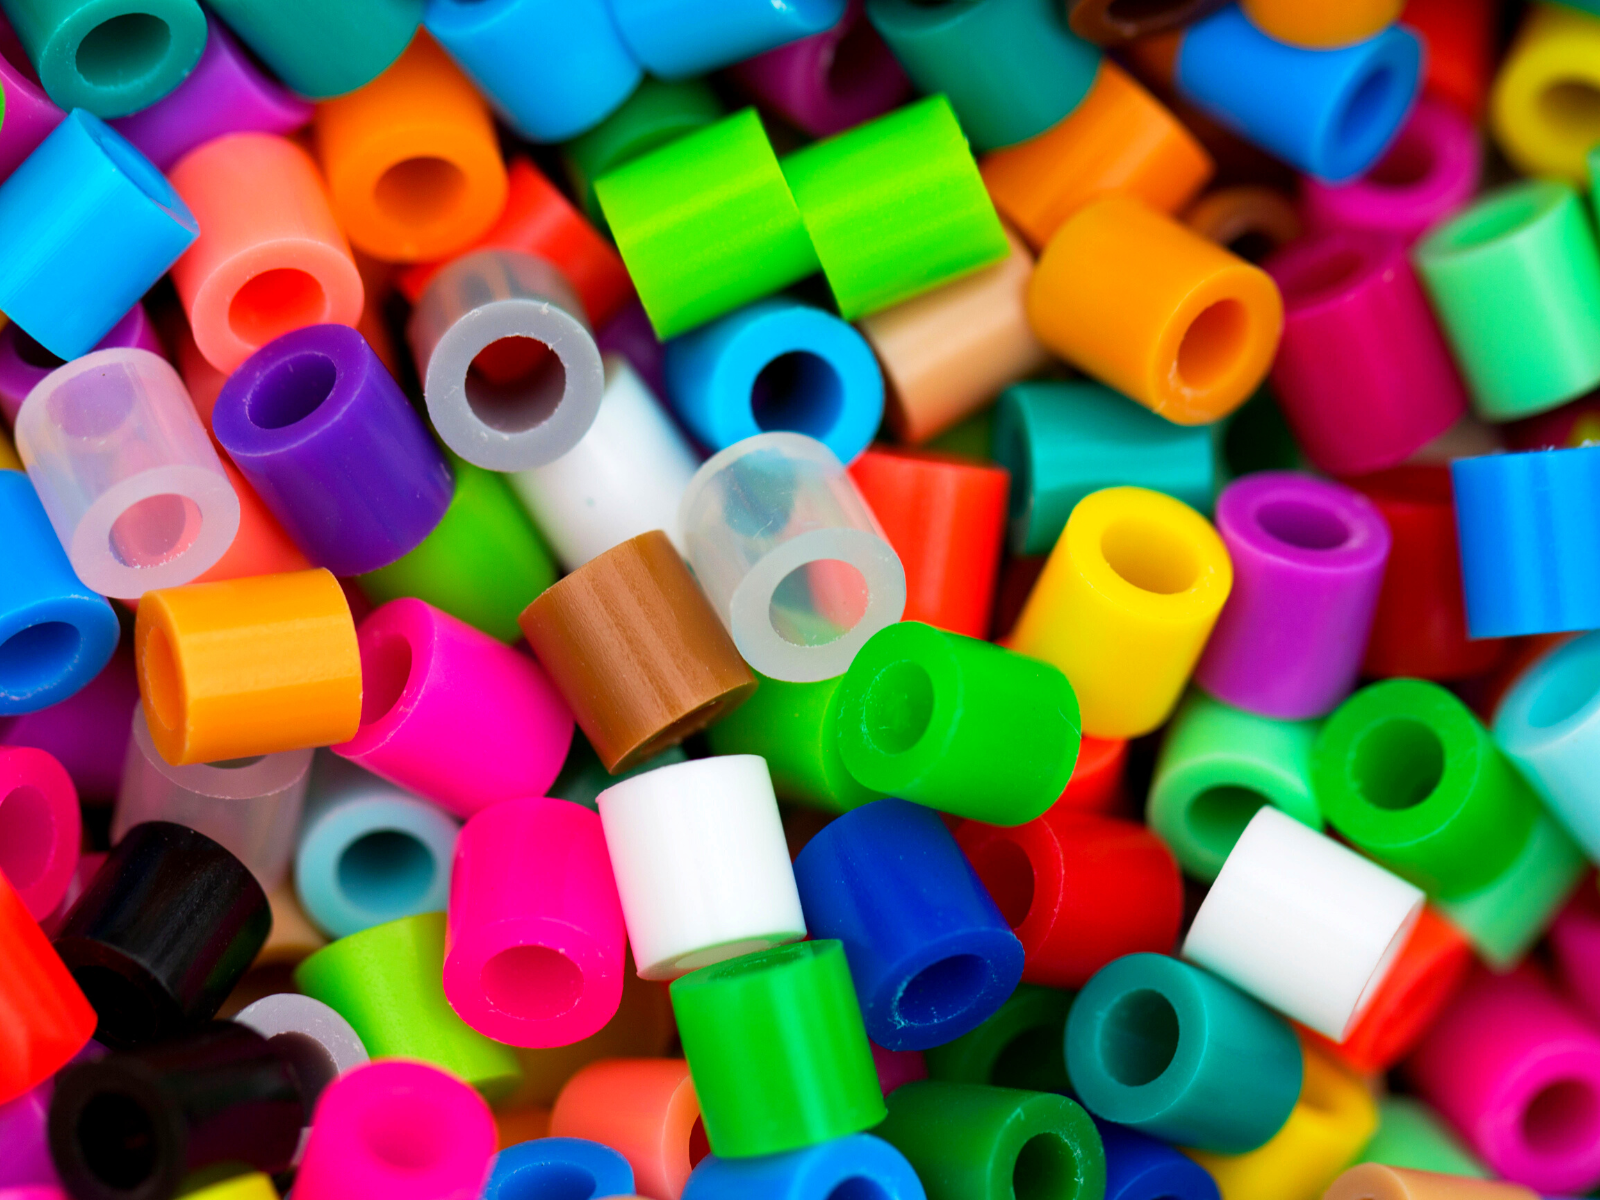
Each bead has a small hole in the center, allowing it to be snapped together with other beads.
When heated, these fused pieces create a permanent bond, forming the shape of your design.
Types of Perler Beads
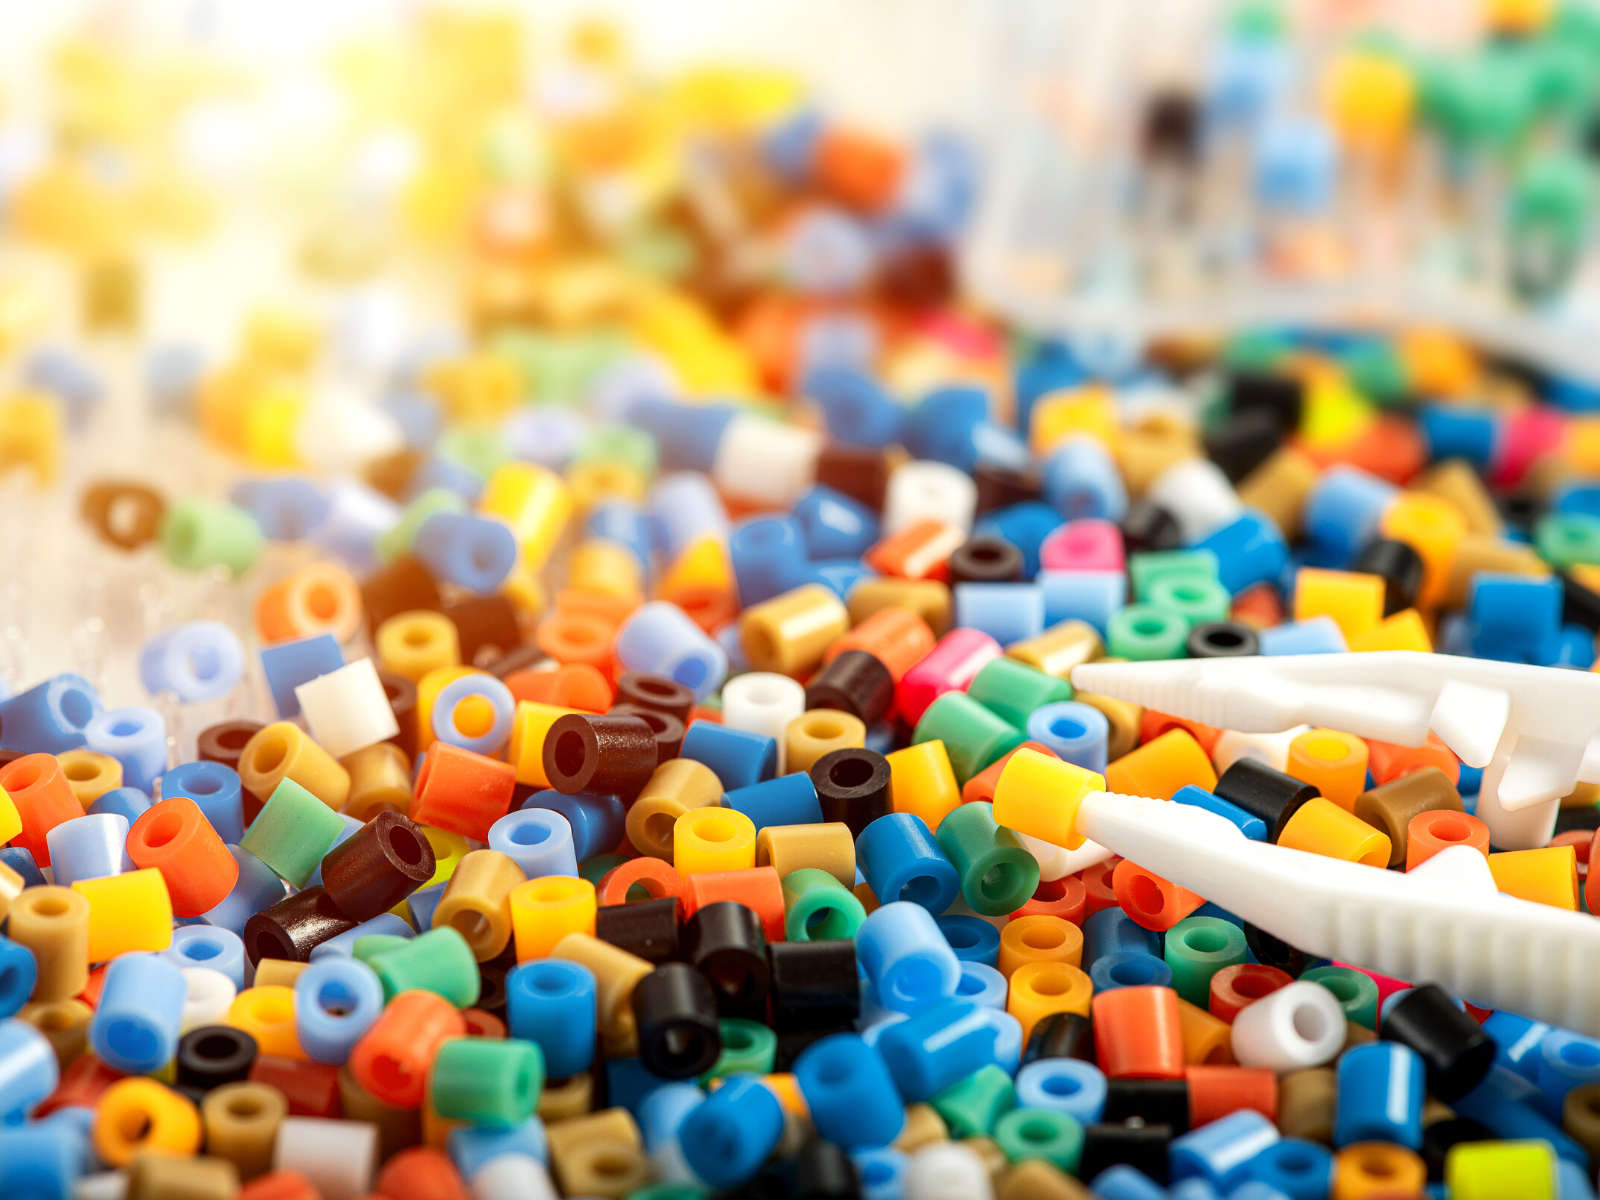
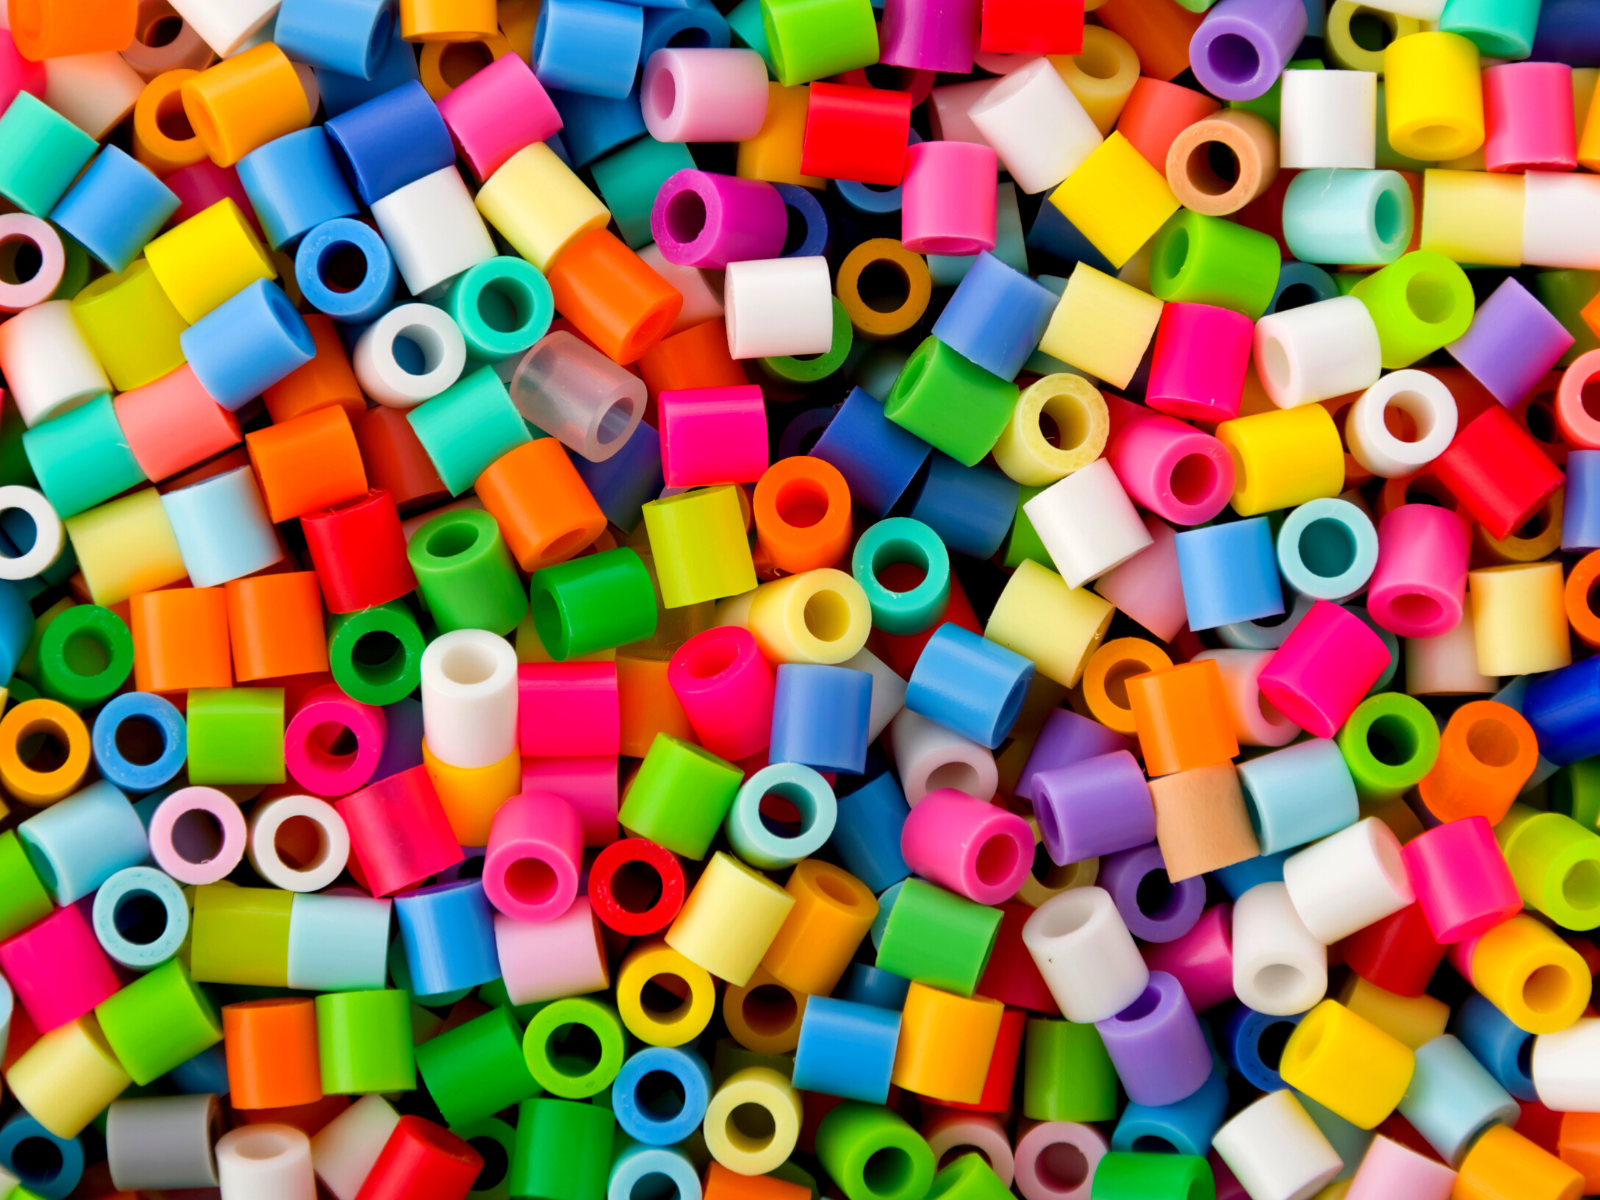
Perler beads come in all sorts of different sets, ranging in colors, styles, and sizes.
The original beads are fairly small, but they also come in mini and large sizes as well as caps.
Mini Perler beads are about 2.5mm, the originals are about 5mm, and the large beads are about 10mm in size.
Perler caps are an alternative to the classic beads; they are open on one end and have a solid top.
They are a great option if you want to give your projects a unique look.
Here are some of the different types you can find:
- Classic Perler beads: These are round and come in assorted colors
- Glow-in-the-dark Perler beads: These glow in the dark and come in assorted colors
- Striped Perler beads: These are round and come in stripes of colors
- Metallic Perler beads: These come in various metallic colors
- Pearlescent Perler beads: These have a pearl sheen to them and come in various colors
- Glitter Perler beads: These come in various colors and have a sparkly, glitter finish
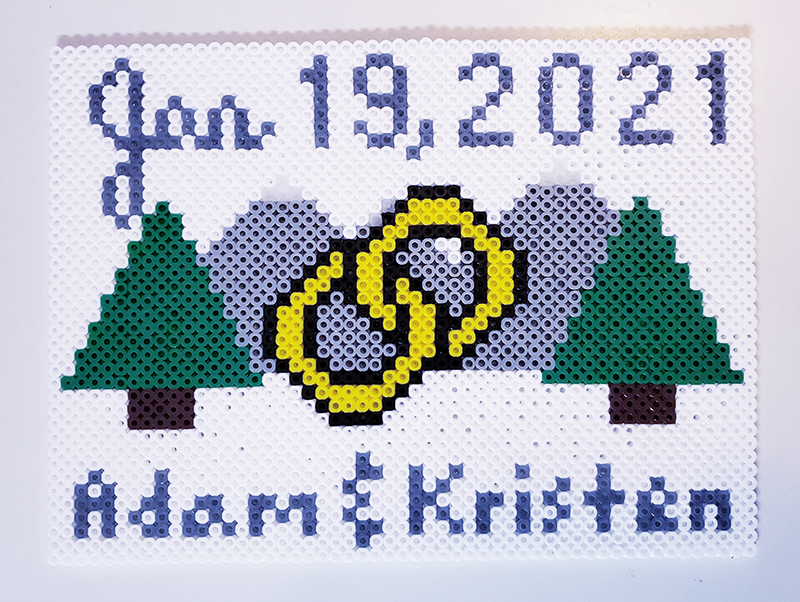
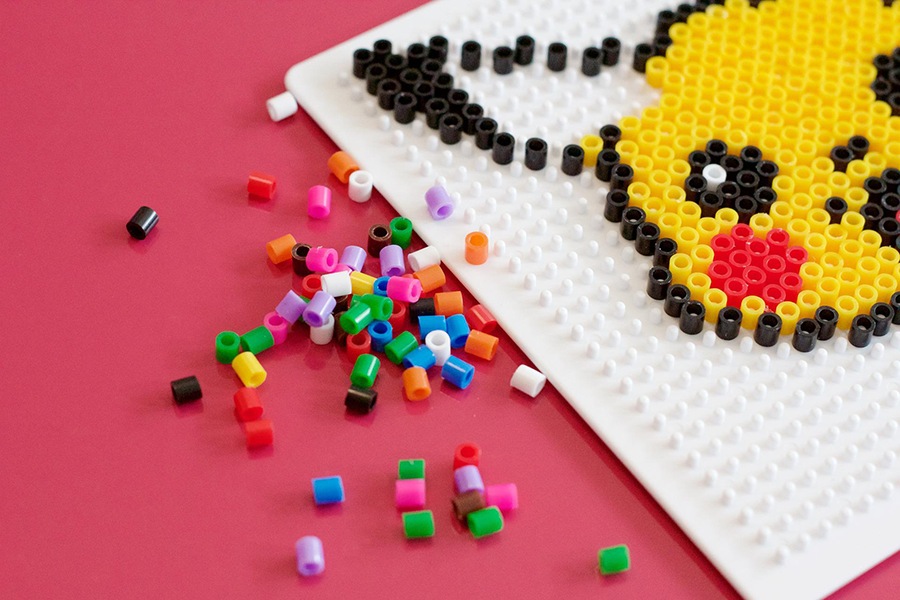
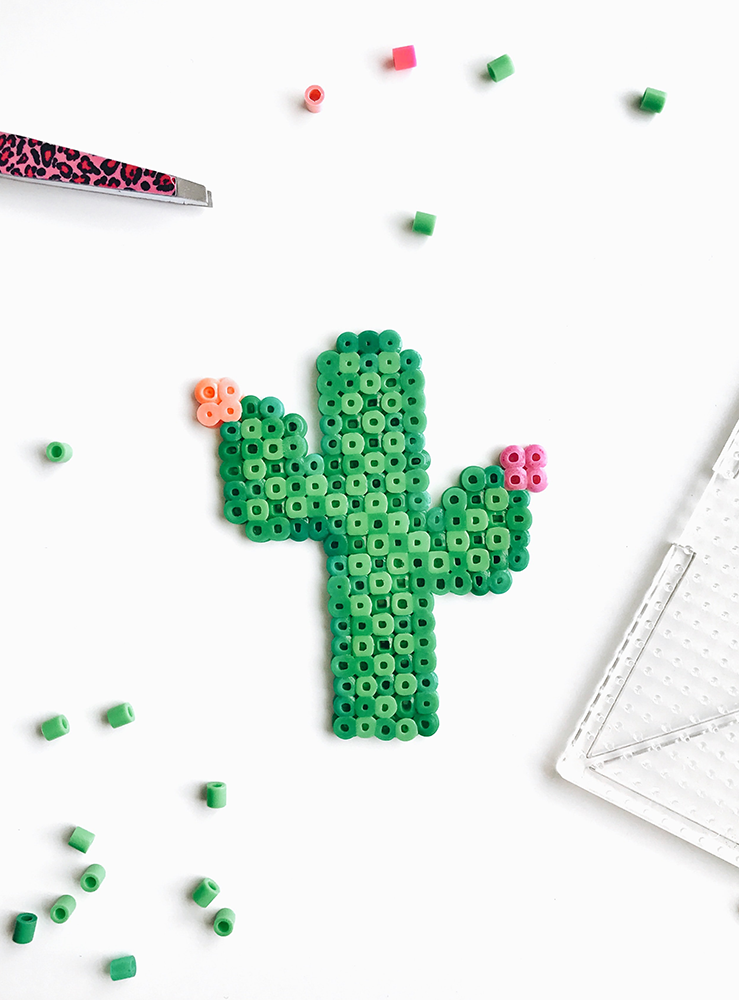
Designing with Perler Beads
There are a variety of different sets, patterns, pegboards, and books that can help you design with Perler beads.
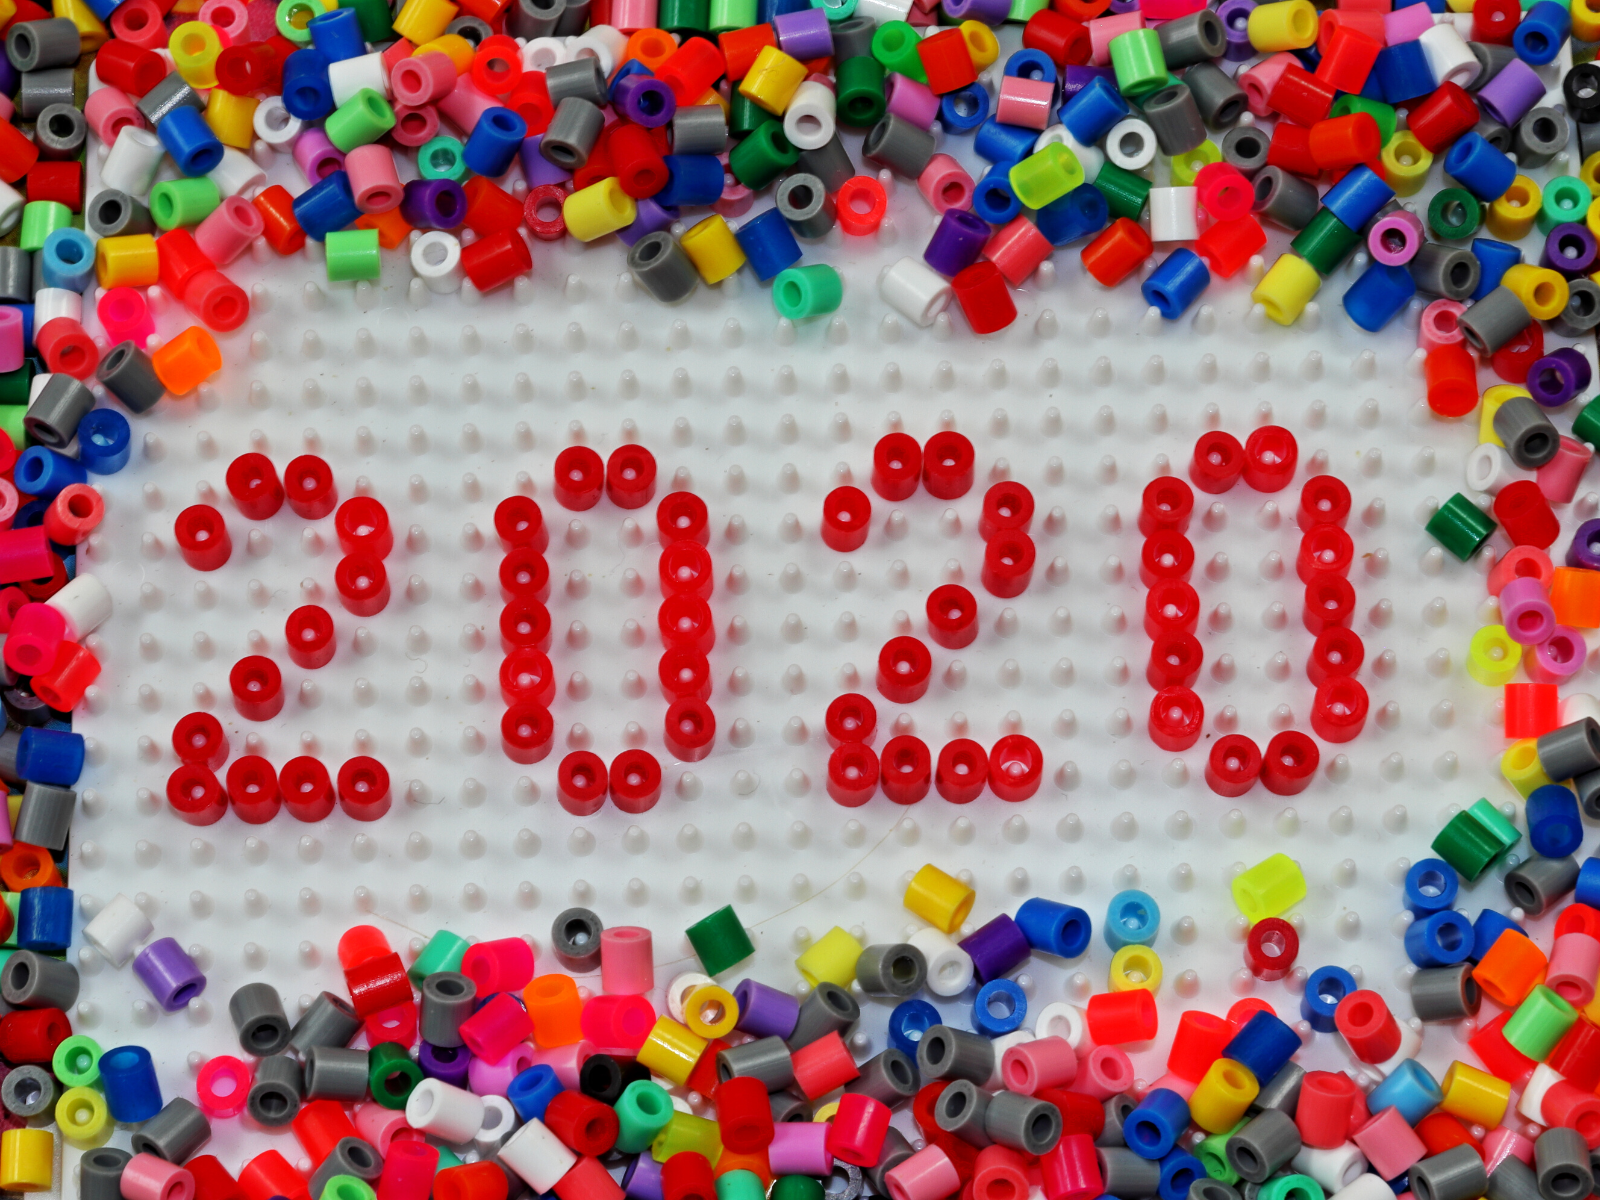
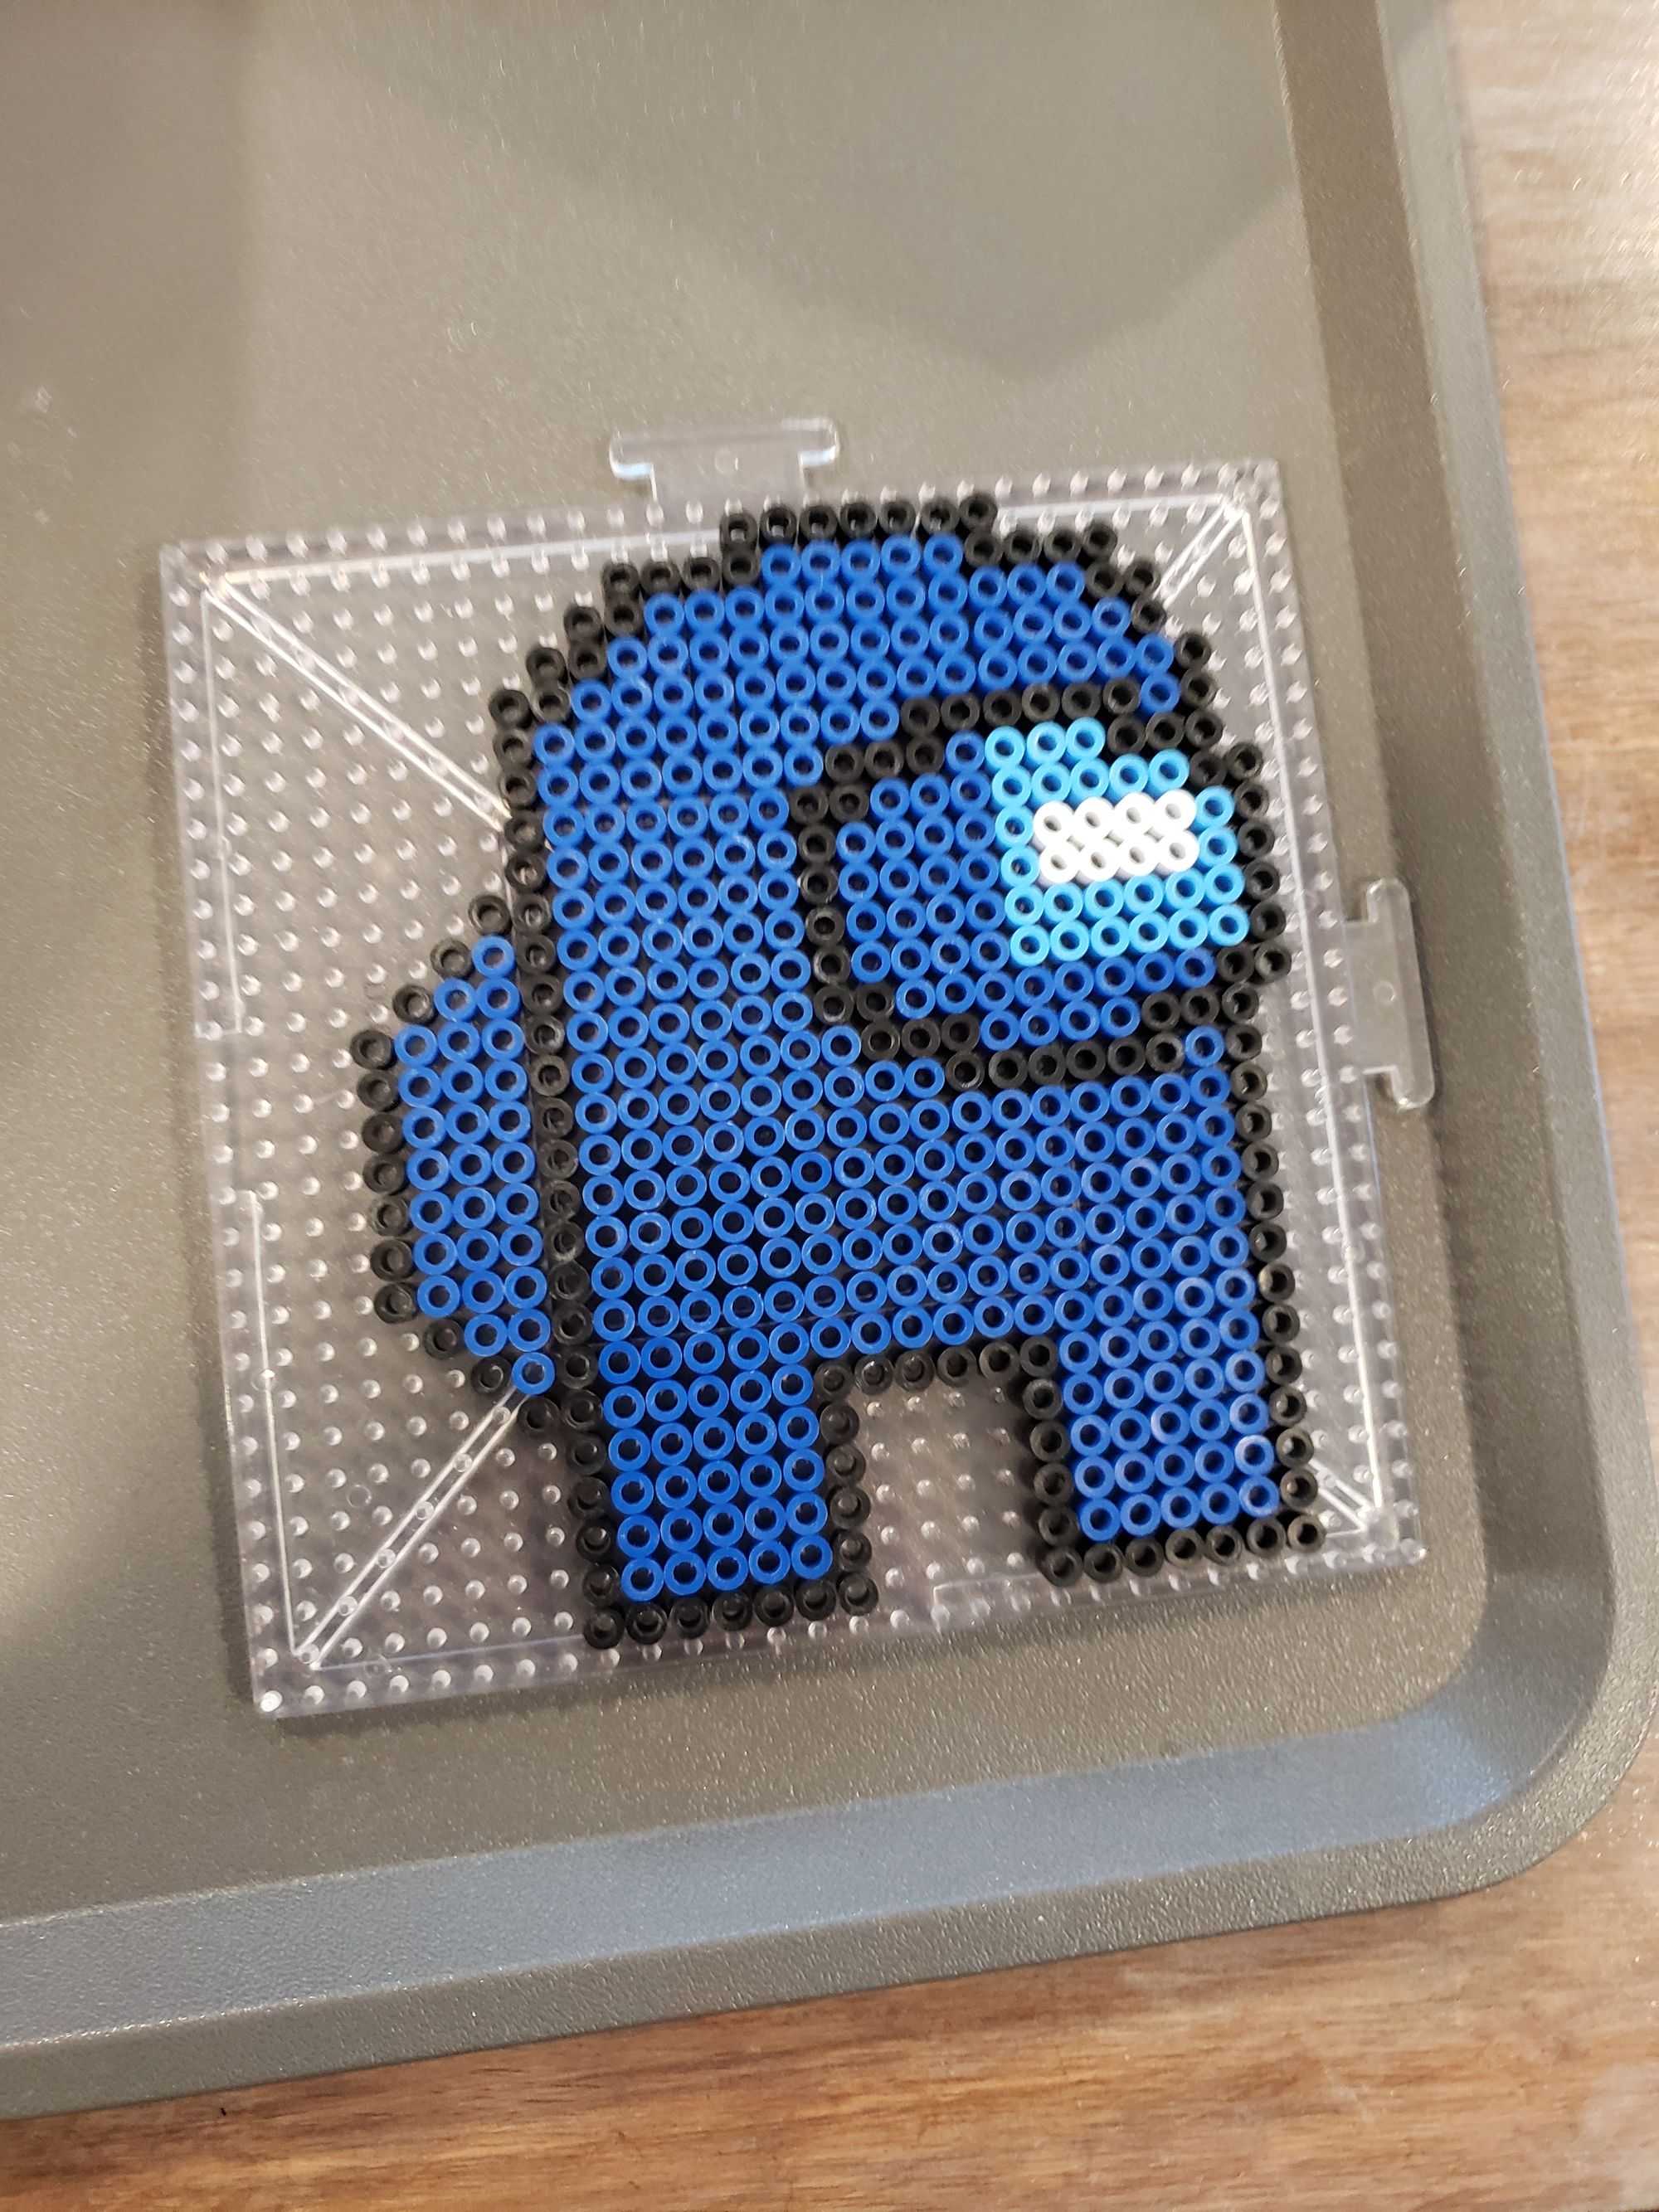
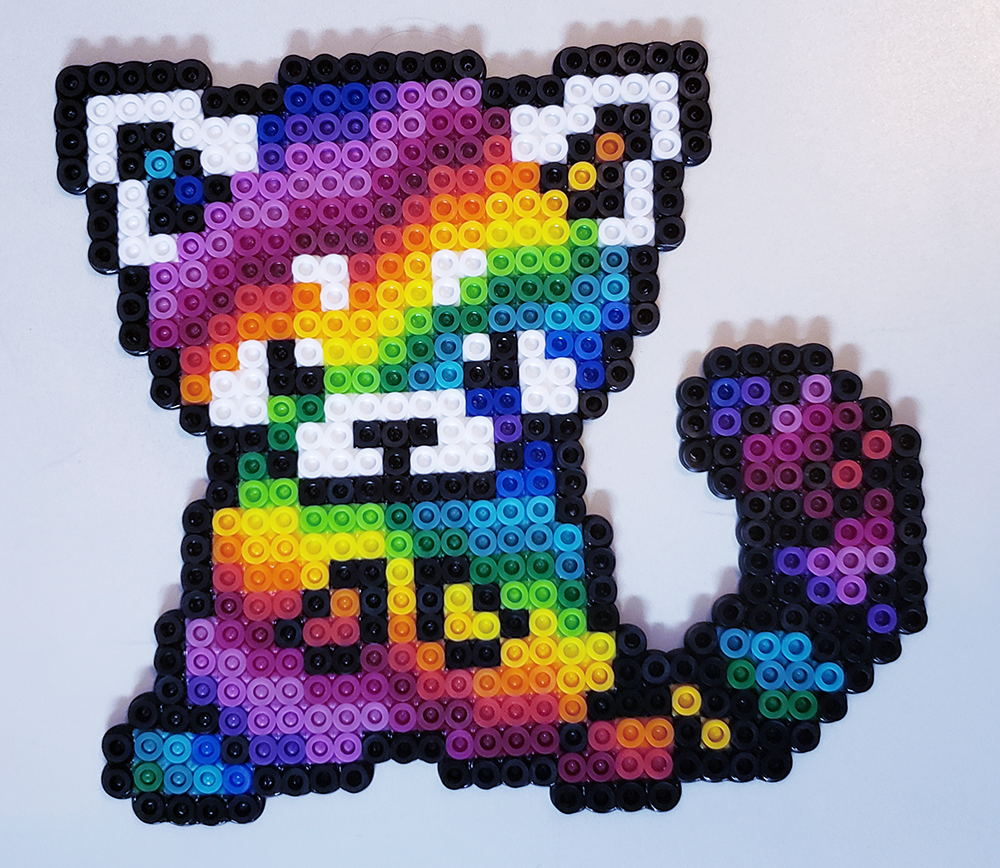
You can create any design you want by arranging the beads on a pegboard and then fusing them together.
You can even use a digital program or app to create your design before you start crafting with the beads.
Or you can go old school and design a pattern on graph paper and use it as a guide.
Either way, creating your own design will be a fun and rewarding experience!
The key to designing with Perler beads is to start with a plan.
Think about what you want your finished product to look like and how you're going to get there.
While you can go in blindly, creating in the flow, it's easier to create a successful project if you plan out your design.
Once you have your design in mind, start arranging the beads on a pegboard.
You can purchase Perler bead pegboards of all shapes and sizes, so make sure you have the right one for your project.
If you need additional guidance or inspiration, there are a wide variety of resources online; a quick search on YouTube will provide a bunch of tutorials and video guides.


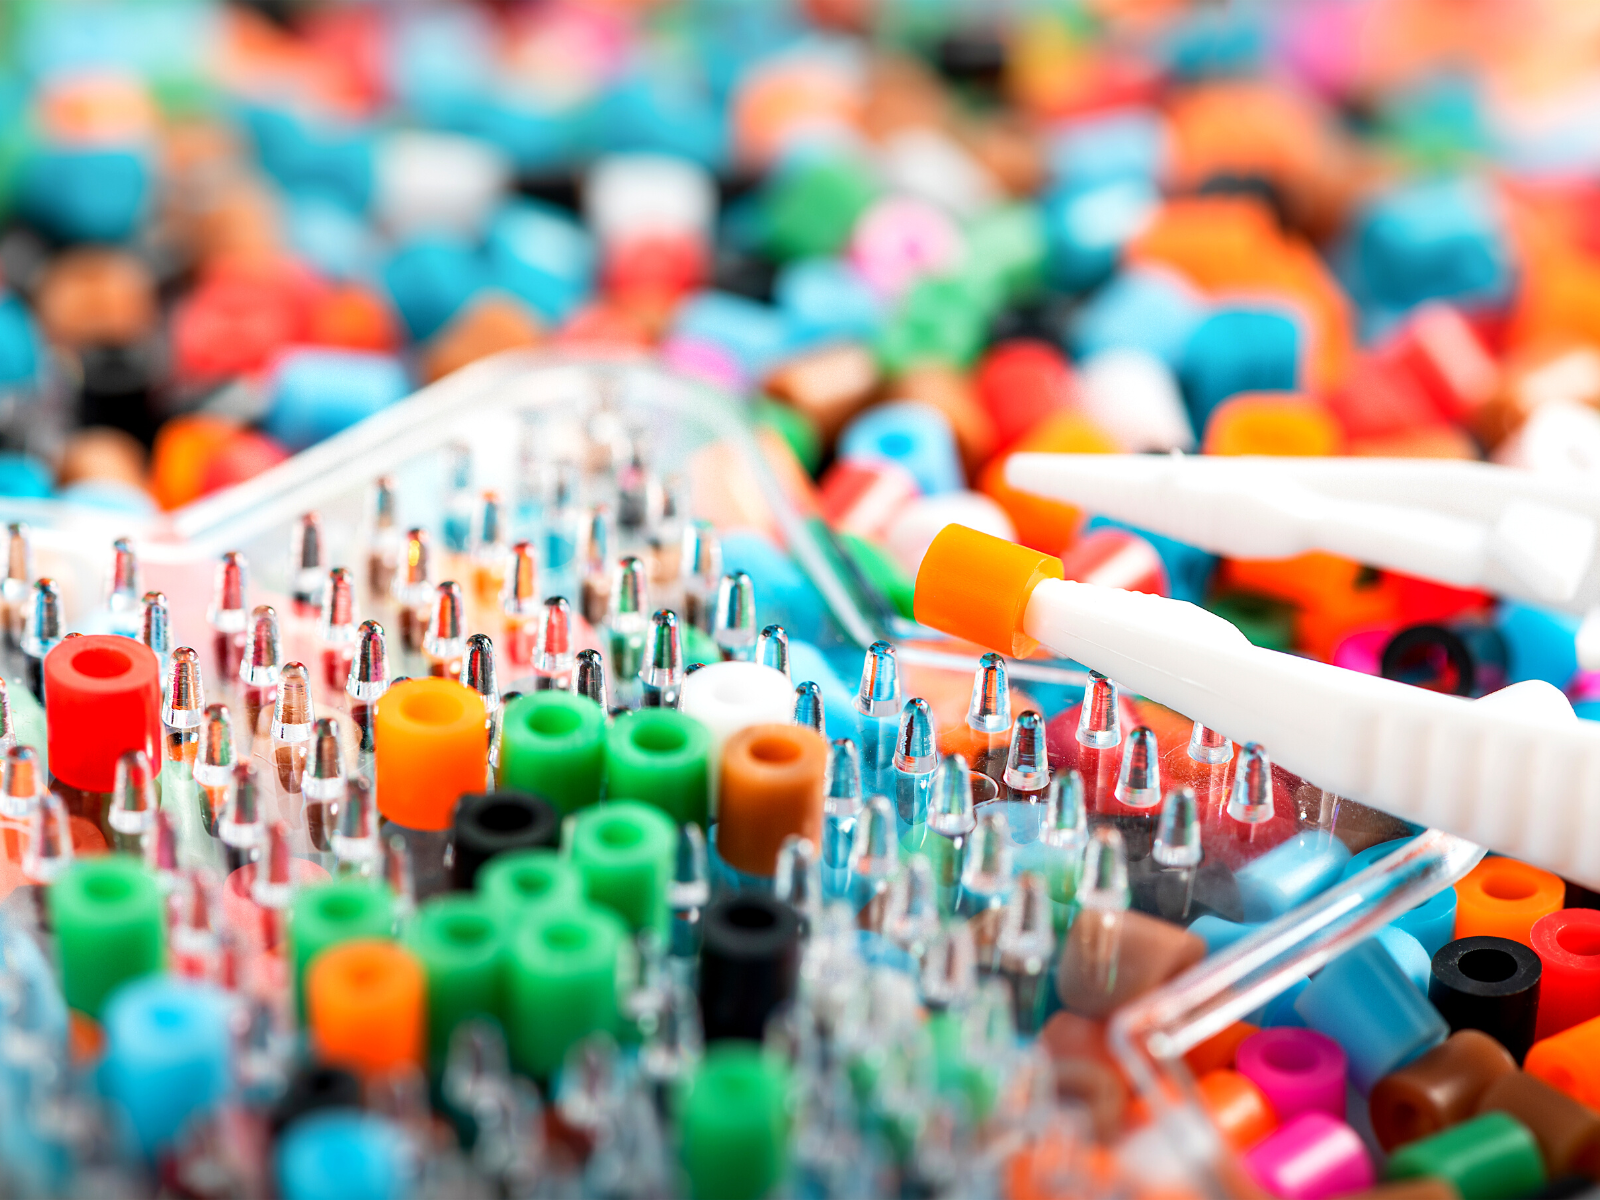
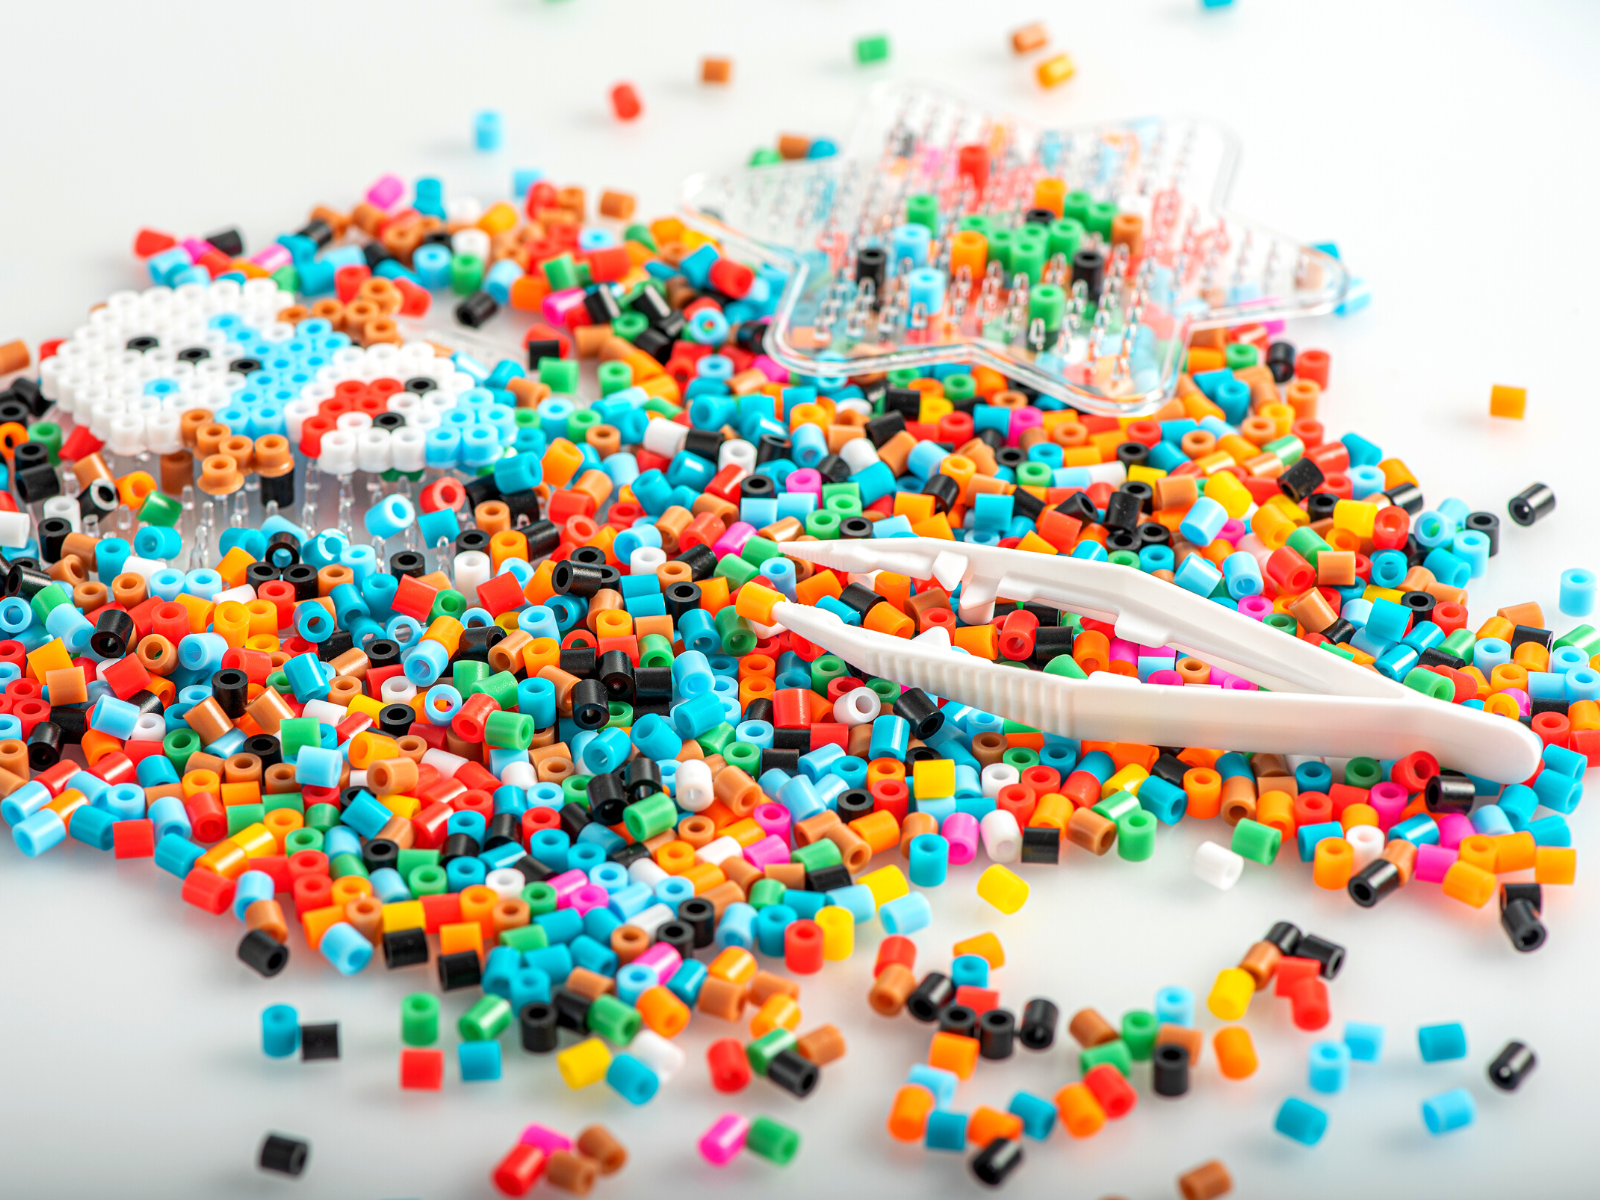
Gathering Your Supplies
To get started with Perler beads, you'll need a few supplies.
First, you'll need a pegboard.
These are typically made of plastic and come in a variety of shapes and sizes, so make sure you choose one that will work for your project.
If you're unsure of what you want, a safe bet is to get the interlocking square pegboards or to get the jumbo interlocking rectangle pegboard.
These pegboards will ensure that you will have enough space for your design, whichever you end up choosing.
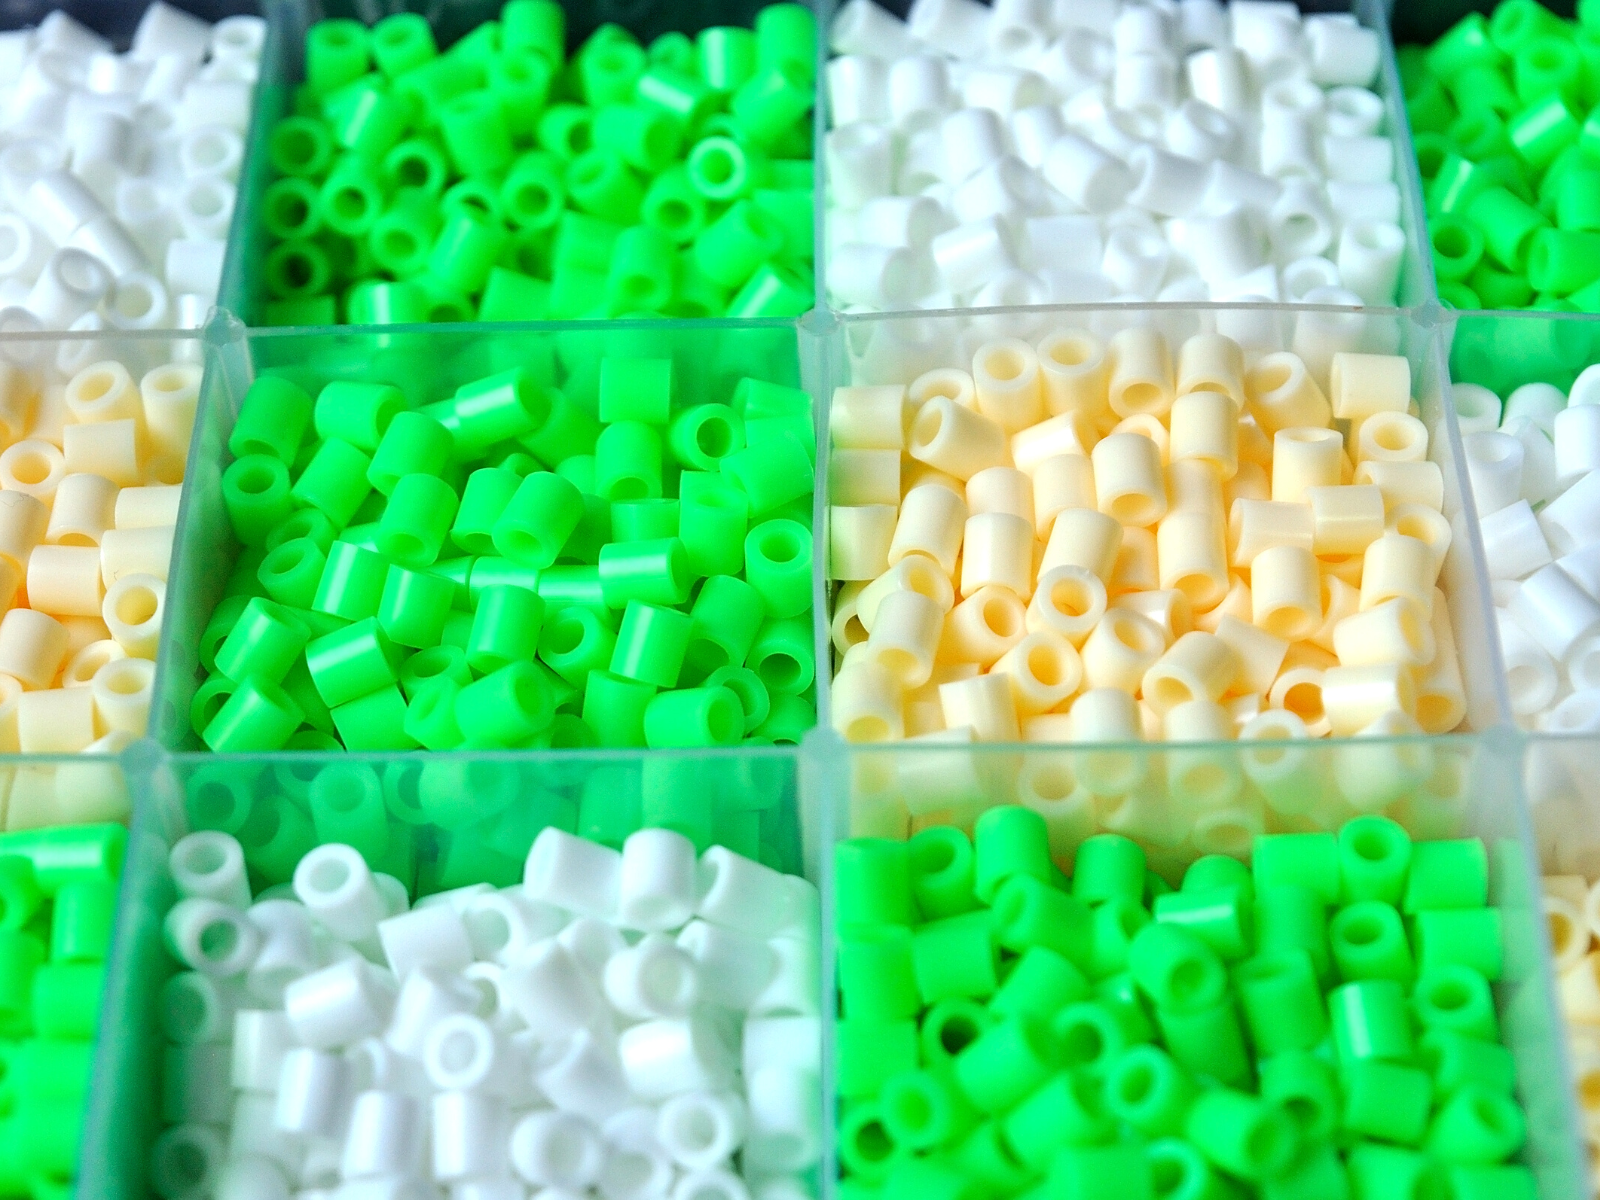
You'll definitely need your Perler beads.
These come in a variety of colors, so make sure you have plenty for your design.
You might want to purchase a Perler pattern book or get a pattern off the internet if you don't feel like designing your own.
Additionally, you might want a pair of tweezers to help place your beads on your pegboard.
Finally, you'll need an iron and ironing paper to fuse your beads together.
You can find all of these supplies at your local craft store or online.
There are even additional accessories and items you can purchase to help simplify the creation process, so be sure to check them out!
Getting Started
Once you have all of your supplies and the design, it's time to start creating!
Begin by selecting the colors of beads you want to use.
Then, start placing them on the pegboard one at a time.
It helps to have an idea of the design you want to create before you start placing beads, but don't worry if it's not perfect.
Perler bead designs are very forgiving, and it's easy to make changes as you go.
If you make a mistake or want to change something, simply remove the beads and then continue working.
When you're happy with your design, it's time to fuse the beads together.
To do this, you'll need to use an iron and some ironing paper.
Make sure you follow the instructions carefully, as too much heat can damage the beads.
Be sure to use a low setting and make sure you move the iron around in circles so that all of your beads are evenly fused together.
Once your design is fused, it's finished and ready to go.
Allow your project to cool before handling it, and then you can display the beauty of your project or give it away as a gift.
Enjoy the results of your hard work and share your designs!
Tips for Using Perler Beads
Now that you know the basics of designing with Perler beads, here are a few tips to make your projects even better.
Use clear pegboards if you have a Perler pattern from a book; these patterns are often designed to slide beneath your pegboard and line up perfectly for easy creating
Use tweezers to help place your beads; this will make it much easier and faster to work with small details
Choose colors that will complement each other or are harmonious; this will make your design look great when finished
Allow your project to cool completely before handling; this will help keep it intact and prevent any damage to you and your project
Use dark-colored pegboards when creating detailed designs; the dark pegboards can make it easier to see the individual beads and help ensure your design is accurate
Take your time and enjoy the process; there's no need to rush, and your design will come together with patience and practice.
And don't forget to have fun! Perler beads are a great way to express your creativity and make unique designs that you can keep or give away as gifts.
These tips will help you make the most out of your Perler bead designs.
With practice, you'll soon be creating amazing designs with Perler beads.
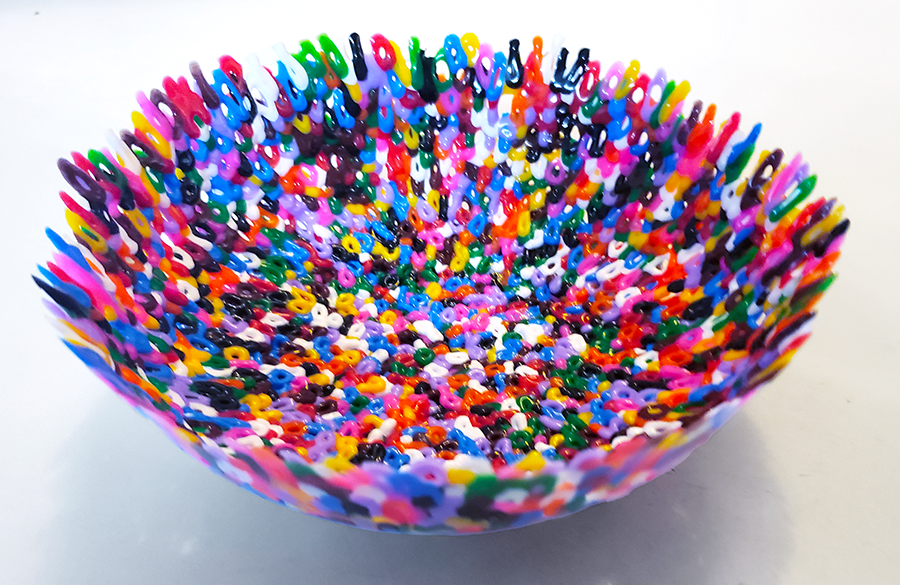
The possibilities are endless--get creative and have fun!
Creating Perler Projects
Perler beads are a fun and easy way to get into crafting.
With the right supplies, a design idea, and a little bit of patience, you can create beautiful projects with Perler beads.
With practice and experimentation, you'll be able to express your creativity and make unique designs that you can keep or give away as gifts.
So, what are you waiting for?
Grab your supplies and start creating!
You never know what beautiful creations you can make; have fun!
Want to learn even more about Perler beads? Check out BigBossRazz's video!
Want even more content about creativity and art?
Be sure to check out all of our creative chronicles!
Looking for more creative fun for all ages?
Check out some of our other articles: