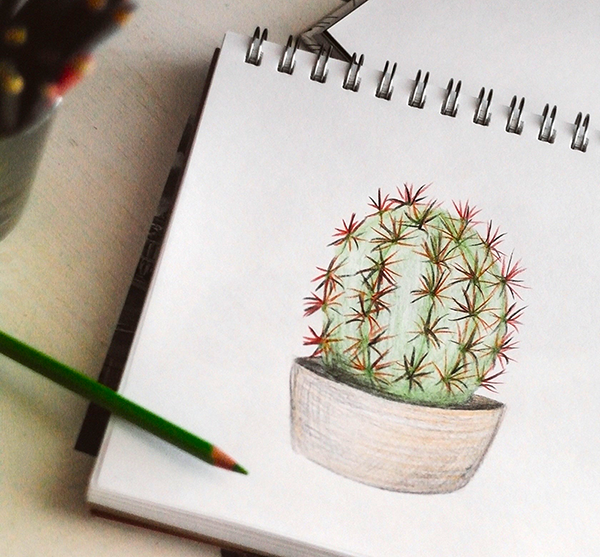
Are you interested in learning how to shade with colored pencils?
If so, you've come to the right place! In this blog post, we'll share some tips and tricks for getting started with colored pencils.
By the end, you'll have all the knowledge you need to produce beautiful works of art.
So, grab your colored pencils and let's get started!

Choosing the Right Pencils
One of the most important things to consider when shading with colored pencils is the type of pencils you use.
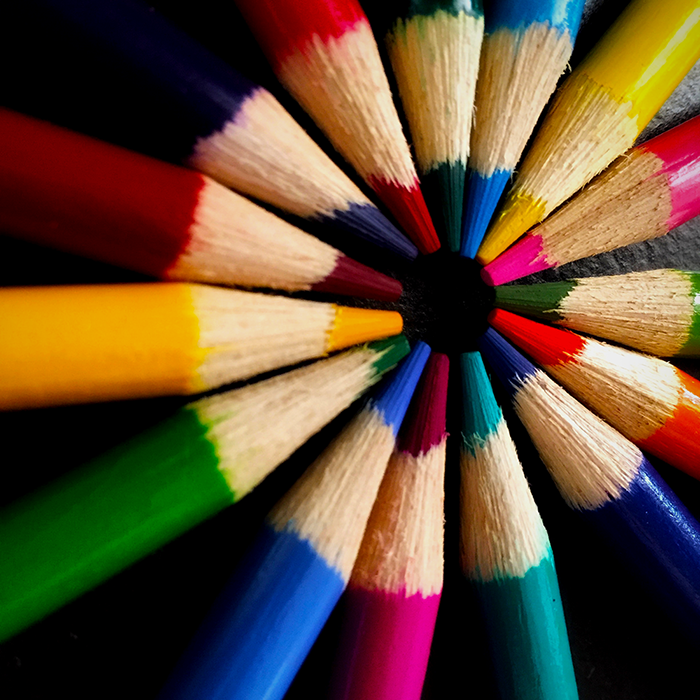
When purchasing colored pencils, there are two main types on the market: oil-based and wax-based pencils.
Wax-based colored pencils are less expensive and easier to find, but they don't produce as rich of a color as oil-based pencils.
Oil-based pencils are more expensive, but they're definitely worth the investment if you're serious about shading with colored pencils.
There are also watercolor pencils, which are lots of fun to use because they are water-soluble yet can be used like traditional colored pencils.
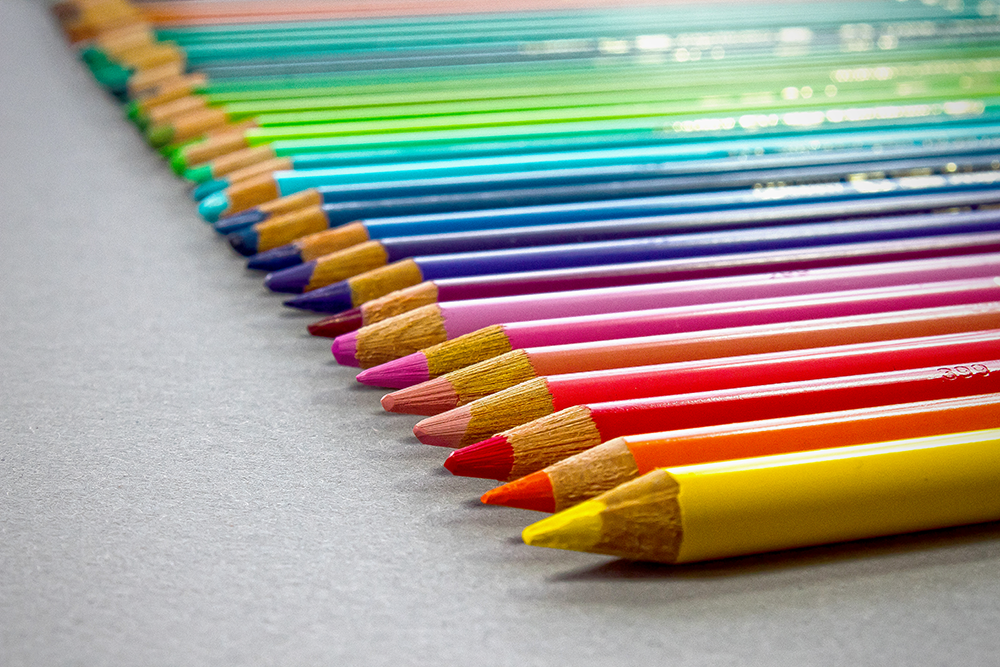
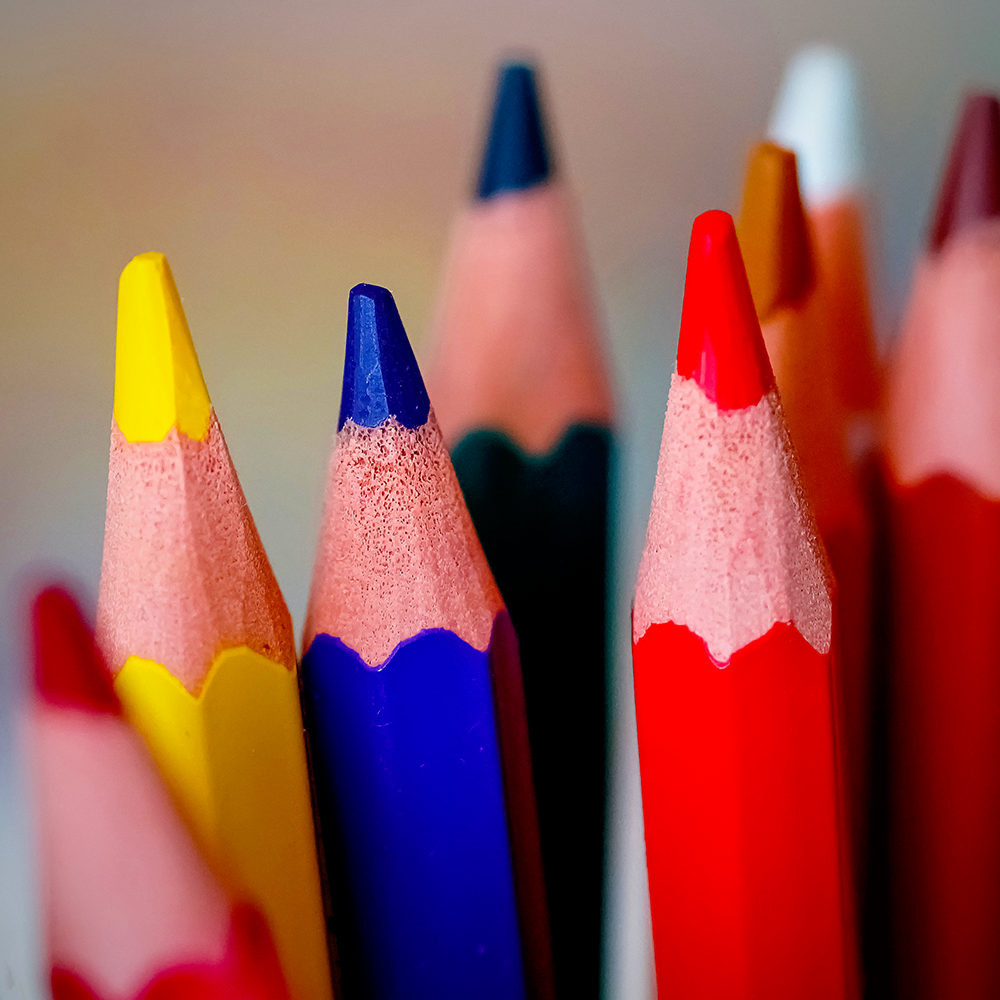
Another important thing to consider is the brand of colored pencils you use.
There are a lot of different brands on the market, and each one produces a slightly different color.
So, if you're looking for a specific color, you may need to experiment with a few different brands before you find the perfect match.
Once you've chosen the right colored pencils, it's time to get ready to create!

Preparing Your Workspace
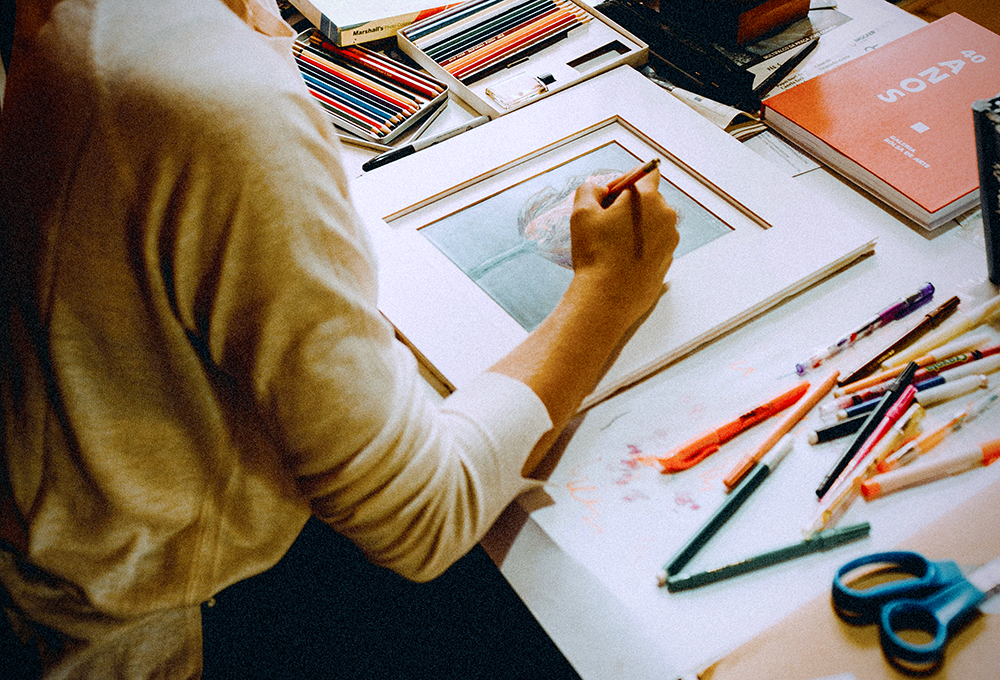
Before you start shading with your colored pencils, it's important to prepare your workspace.
Make sure you have a clean, flat surface to work on.
A cluttered workspace can be distracting, and it can make it difficult to produce a clean, professional-looking final product.
If you're working on a larger project, it might be helpful to tape your paper to the surface to prevent it from slipping.
You might also want to invest in a light box, which will help you see your work more clearly.
Light boxes are especially helpful when you're working on detailed shading.
Once your workspace is set up, you're ready to start shading!

Pencil Pressure
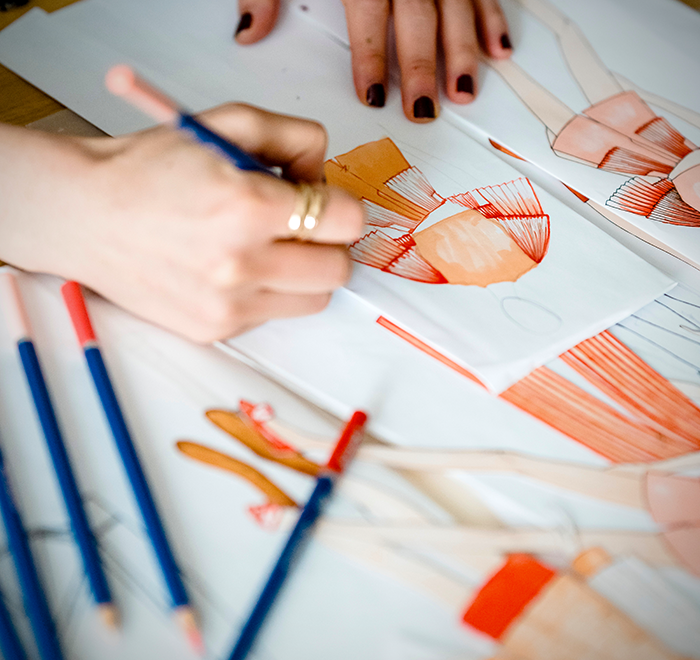
One of the most important things to keep in mind when shading with colored pencils is to vary the pressure you apply to the paper.
If you apply too much pressure, your pencils will break, and they could damage your paper.
On the other hand, if you don't apply enough pressure, your colors will be light and difficult to see.
The best way to find the perfect amount of pressure to create vibrant colored pencil art is to experiment.
Start with light pressure and gradually increase the pressure until you find the perfect balance.
Multiple layers of color works better than pressing harder; build up layers with the right pencil pressure to ensure a smooth texture and your best work.
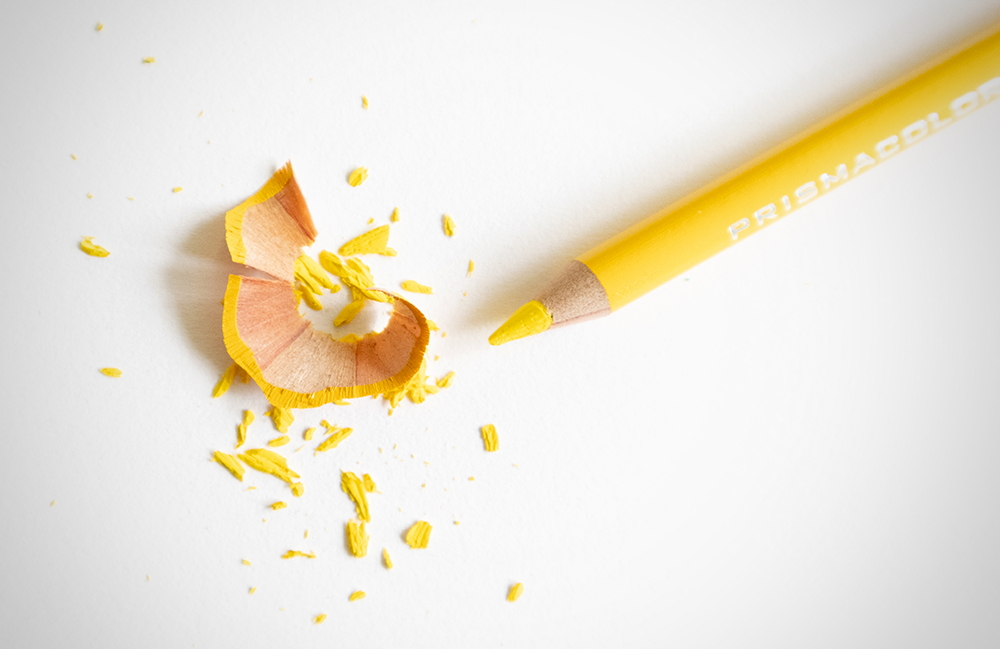
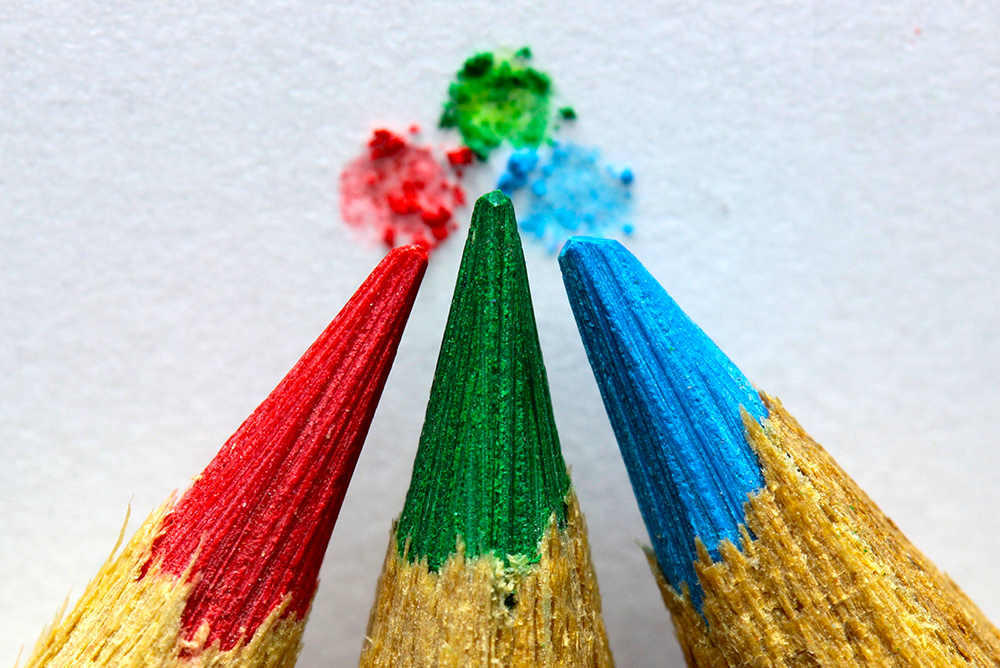
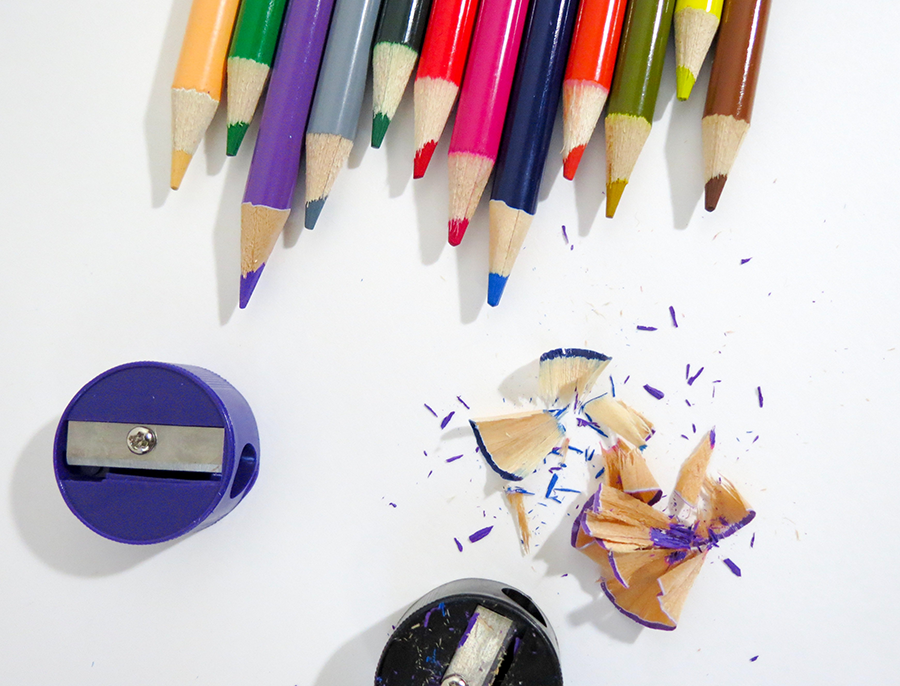
You might also want to invest in a pencil sharpener that can help you achieve a fine point.
This will come in handy when you're working on detailed shading.
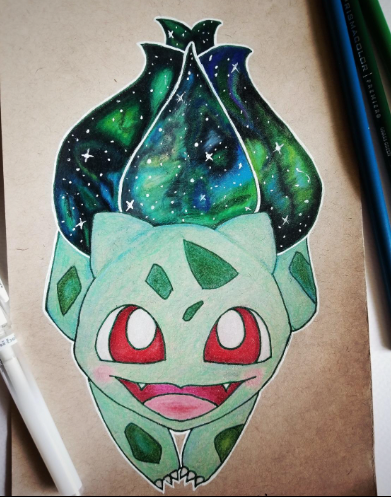
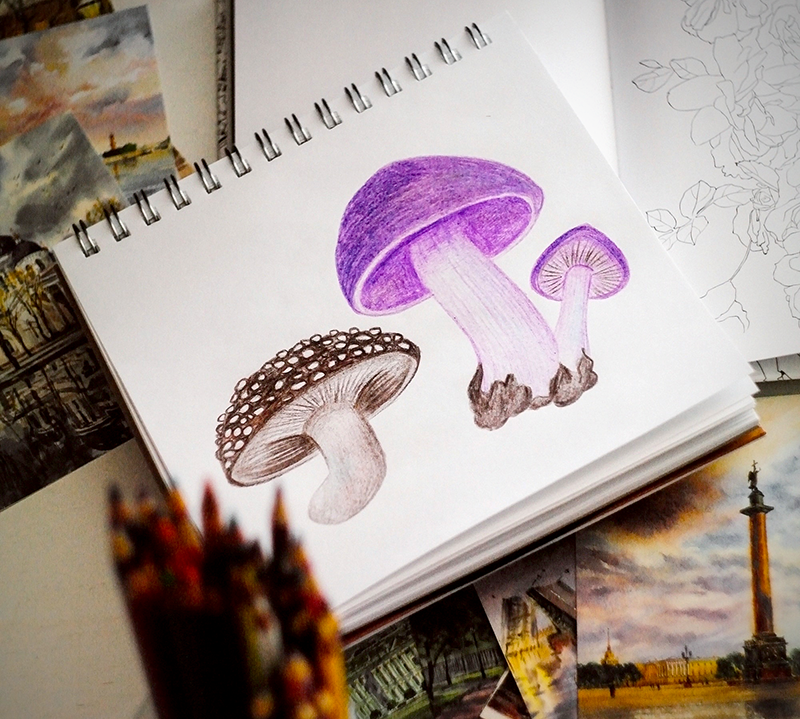
Blending Colors
One of the best things about shading with colored pencils is that you can easily blend colors to create new shades.
This is a great way to add depth and dimension to your work.
There are a few different ways you can blend colors.
The most common way is to layer colors on top of each other.
Start with the lightest color and gradually add layers of darker shades.
Using a colorless blender is another great option!
You can also blend colors by using a blending stump.
A blending stump is a small piece of paper towel or cotton that's been rolled into a point.
To use it, simply color over the area you want to blend with a light color.
Then, use the blending stump to blend the colors together.
You can also use a cotton swab or a Q-tip.
Simply color over the area you want to blend with one color.
Then, use the cotton swab or Q-tip to blend the colors together.

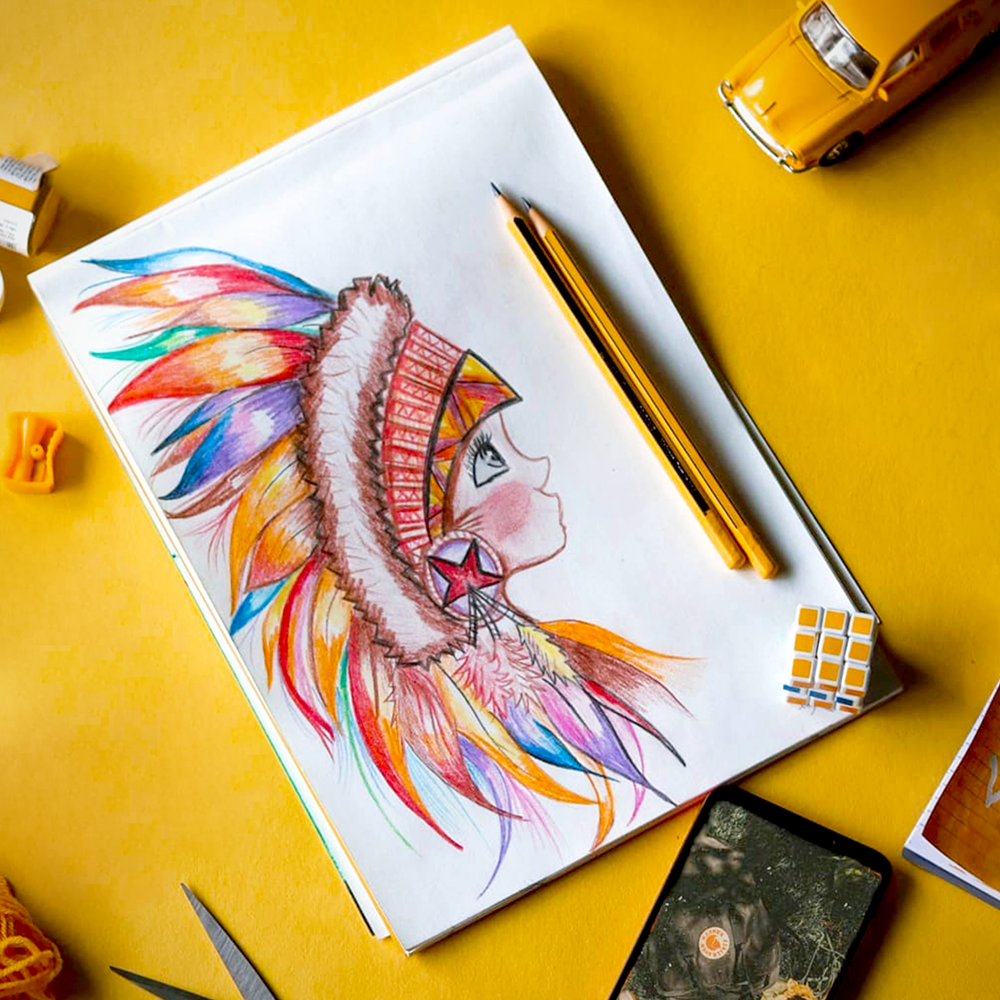
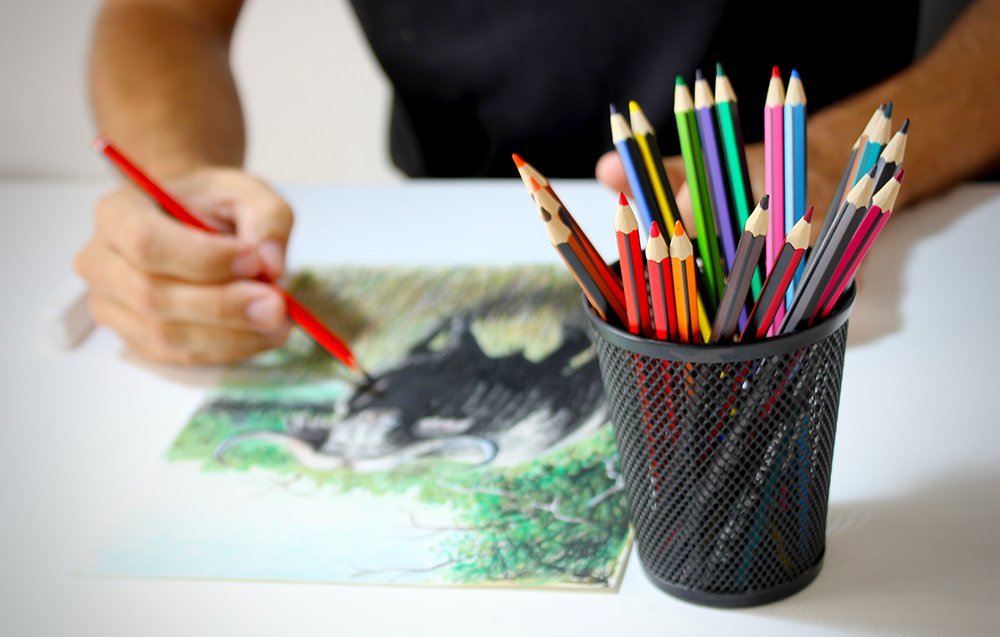
Shading Techniques
There are a variety of different techniques you can use when shading with colored pencils.
One popular technique is hatching, which involves drawing a series of closely spaced parallel lines.
Another technique is crosshatching, which is similar to hatching but involves drawing lines that intersect at angles.
You can also use stippling or pointillism, which is a technique that involves dots instead of lines; they are great in helping create fine details.
All of these techniques will help you create texture in your drawings.
Experiment with different colored pencil techniques until you find one that works best for you.
Feel free to even combine multiple techniques to create a unique look.
There are no rules when it comes to art, so have fun and be creative!
Tips and Tricks
Here are a few final tips and tricks to help you get the most out of your coloured pencils:
- Use a white pencil to add highlights. This will help your colors pop and give your work more dimension.
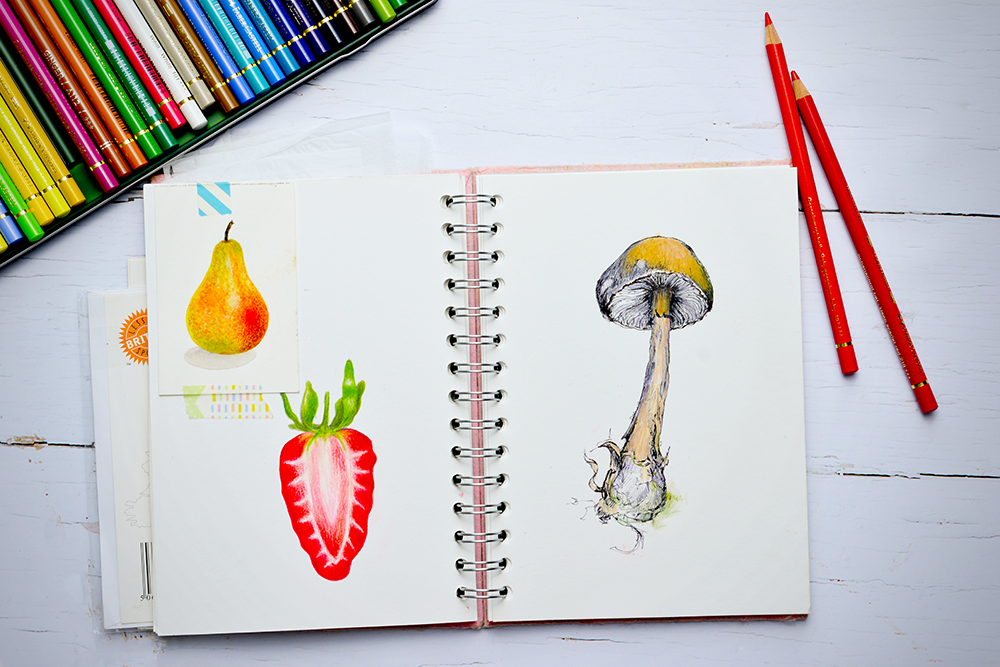
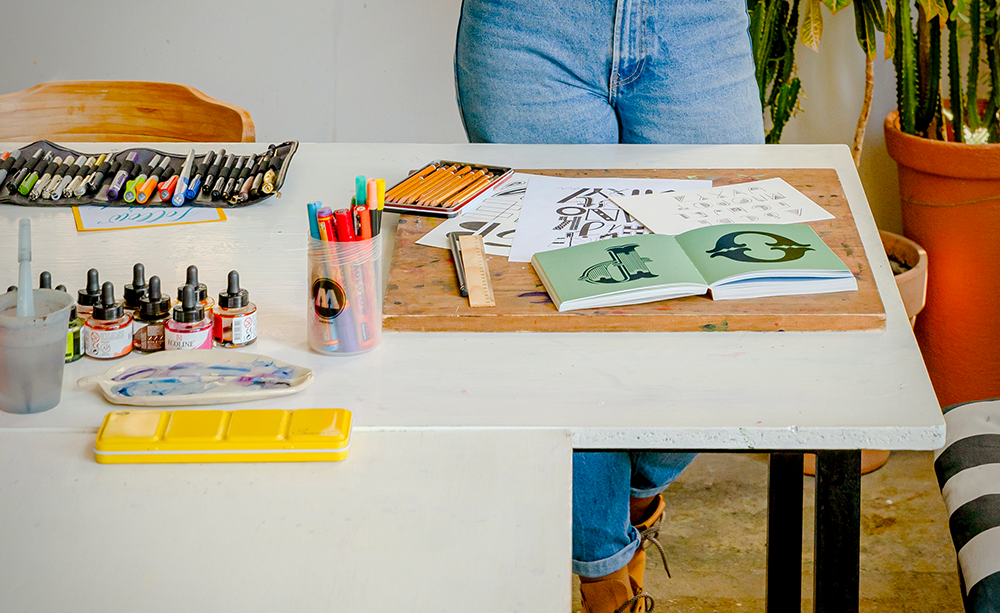
- Experiment with different types of paper. Colored pencils can be used on a variety of different papers, including Bristol board, watercolor paper, and even regular copy paper.
- Don't forget to sharpen your pencils! This will help you achieve a fine pencil tip, and a sharp pencil produces more vibrant colors.
- And most importantly, have fun! Colored pencils are a great way to add a personal touch to any project.

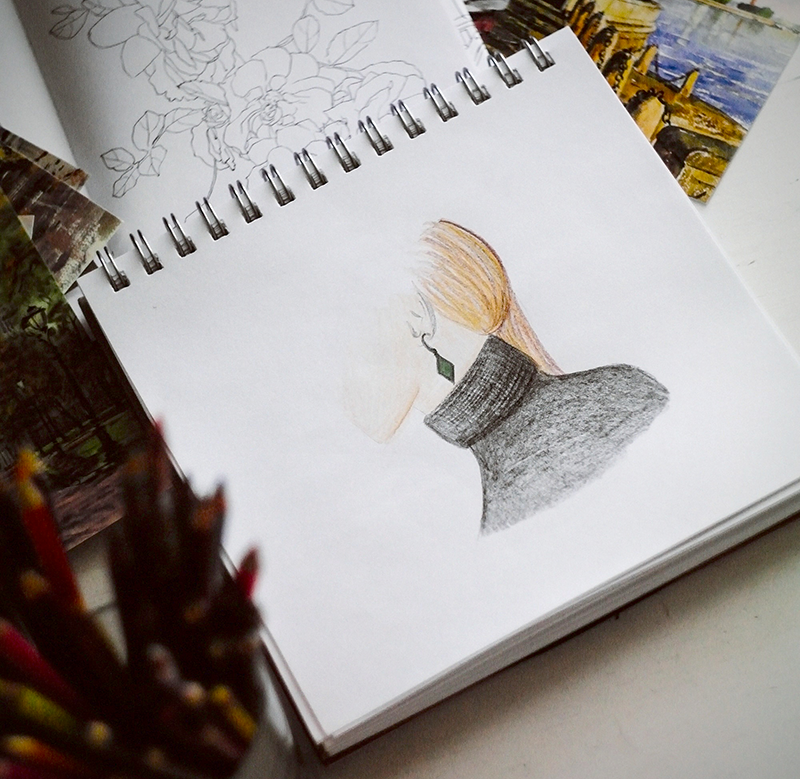
Shading with Colored Pencils
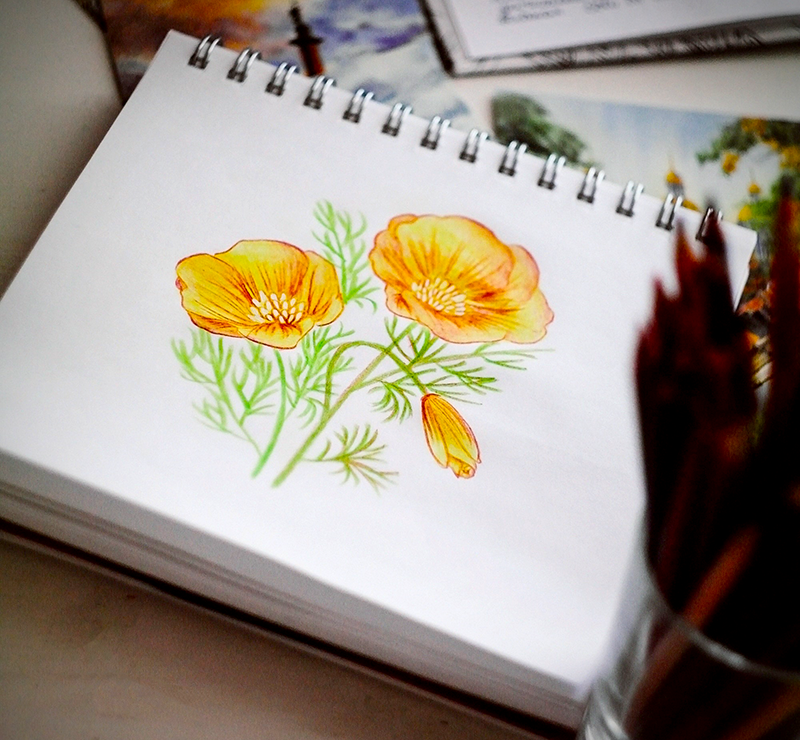
Shading with colored pencil is a great way to use your colored pencil skills by adding detail and depth to your drawings.
Now that you know the basics of shading with colored pencils, it's time to get started!
Experiment with different techniques and paper types to see what works best for you.
By following the tips in this blog post, you'll be well on your way to becoming a master of this art form.
So, what are you waiting for?
Grab some colored pencils and get started!

Want to learn more about blending with your colored pencil set? Check out Unmask Art's video!
Looking for the perfect colored pencil supplies?
Check out some of our other articles: