Have you ever wondered how to add a personal touch to your artistic endeavors or find the perfect activity for a rainy day with the kids?
Look no further!
Making your own crayons at home is not only surprisingly simple but also incredibly satisfying.
Creating your own crayons can be a rewarding and creative endeavor.
Whether you're a parent looking to engage in a fun project with your kids, an artist seeking to craft your own art supplies, or simply someone who enjoys DIY crafts, making crayons is an accessible activity that yields colorful results.
This step-by-step guide is your ticket to creating custom crayons that reflect your unique style and creativity.
With just a few basic ingredients and tools, you'll learn how to transform simple components into vibrant tools of expression.
Plus, we'll dive into the exciting world of crayon-making, exploring various waxes, molds, and the essential safety tips to ensure your crafting adventure is both fun and safe.
Get ready to color your world with a palette of homemade crayons that are uniquely yours!
Key Takeaways:
- Learn the simple process of making your own crayons at home using basic ingredients and tools.
- Discover the versatility of crayon-making, including using different waxes and molds for custom creations.
- Understand the safety precautions necessary for handling hot wax and crafting with heat.
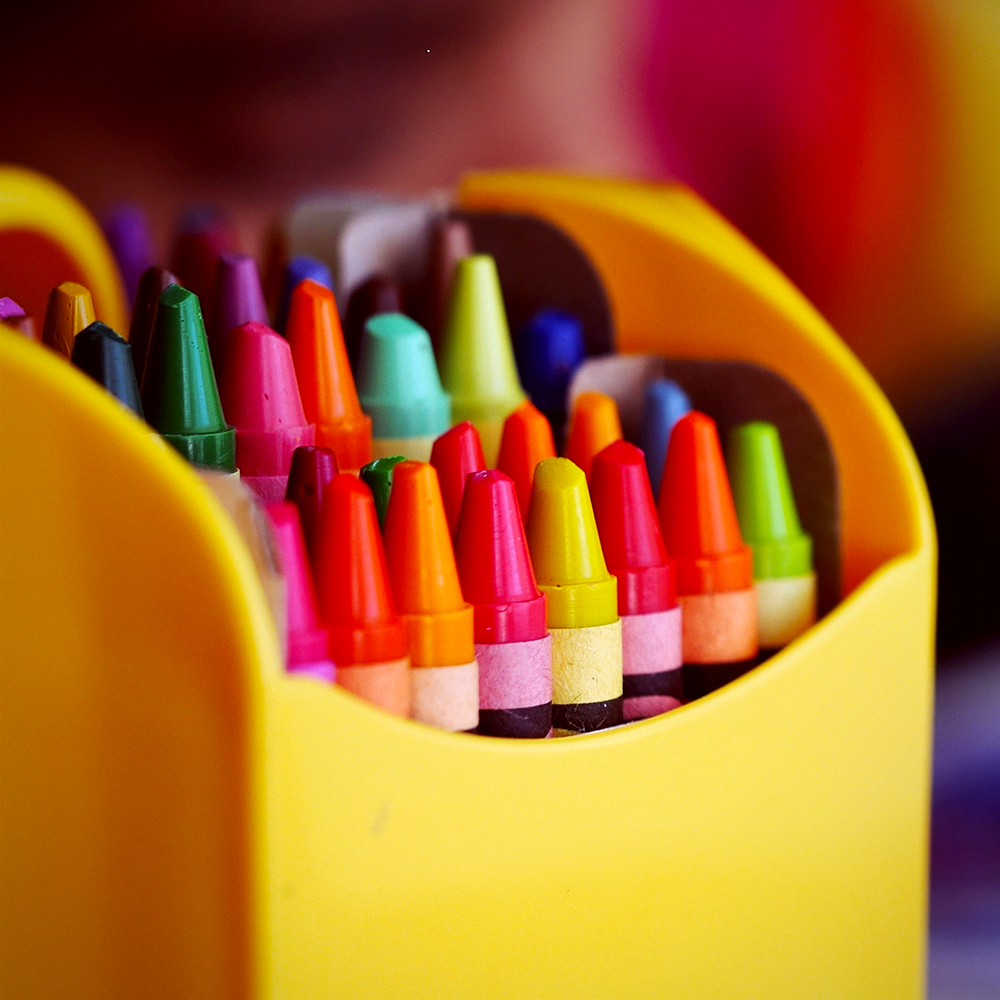
The Basics of Crayon-Making
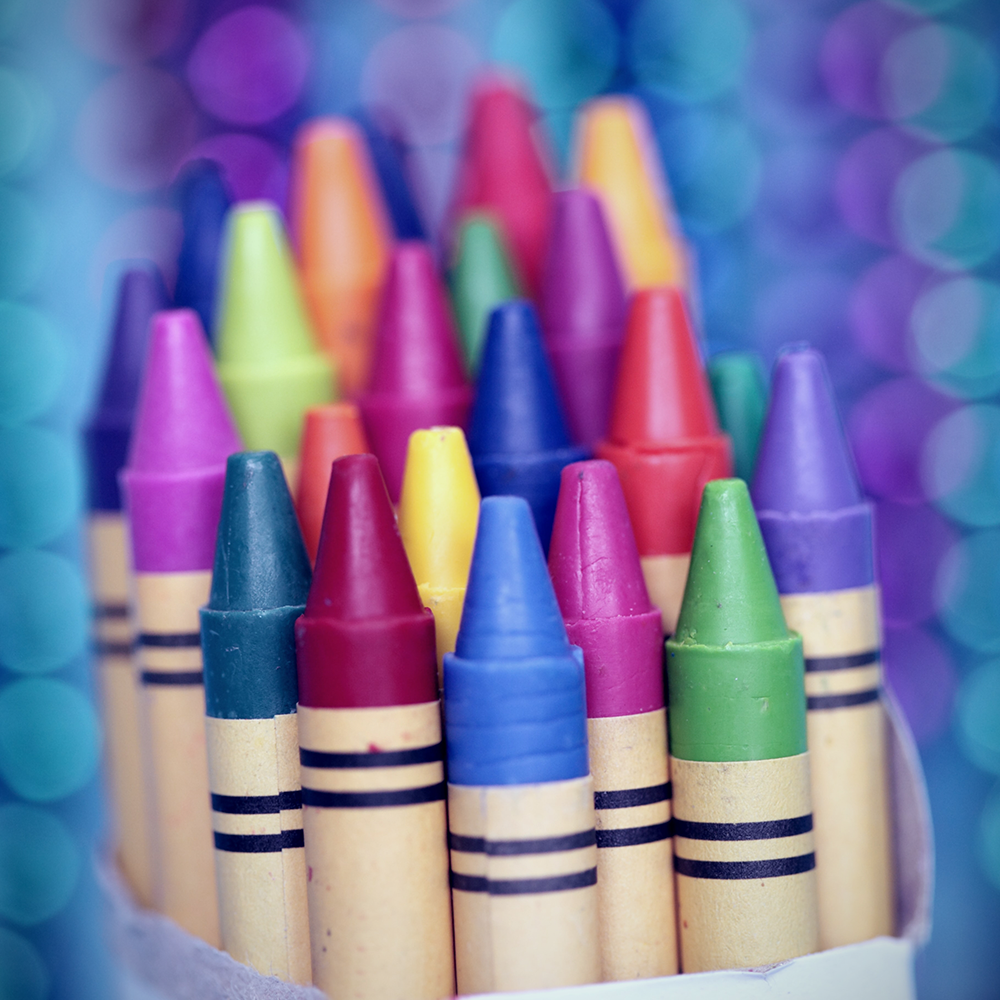
To start making your own crayons, you'll need a few essential ingredients and tools.
The primary component of crayons is wax. Paraffin wax is commonly used in traditional crayons, but for a more natural approach, beeswax, carnauba wax, or even palm wax are excellent alternatives.
These waxes can be found at craft stores or online.
You'll also need coloring agents; while crayon colors are typically achieved with pigments, food coloring or natural pigments like beetroot powder can also be used for homemade crayons.
Preparing Your Materials
Before you begin, gather all necessary materials.
This includes old crayons, which can be a great source of colored wax if you're recycling, or you can start with plain wax and add your own color.
If using old crayons, sort them by color.
You'll also need a double boiler or an old saucepan for melting the wax, crayon molds or silicone ice cube trays for shaping, and a baking sheet to protect your work surface.
Melting the Wax
The process of making crayons starts with melting the wax.
If you're using old crayons, remove any paper wrappers and break them into small pieces.
For new wax, measure how much wax you'll need based on the size of your molds.
Melt the wax in a double boiler or an old saucepan over low heat. Stir the wax mixture occasionally until it is completely melted.
If you're adding color, now is the time to mix in a few tablespoons of pigment or a few drops of food coloring until the wax is evenly colored.
Adding Extras
For those who want to add a twist to their homemade crayons, consider mixing in a bit of cocoa butter for a smoother texture or a few drops of essential oils for scent.
These additions should be mixed into the melted wax until well incorporated.
Remember that adding too much of any extra ingredient can affect how the crayons harden, so use these sparingly.
Pouring the Wax into Molds
Once the wax is melted and colored to your liking, carefully pour it into your crayon molds or silicone ice cube trays.
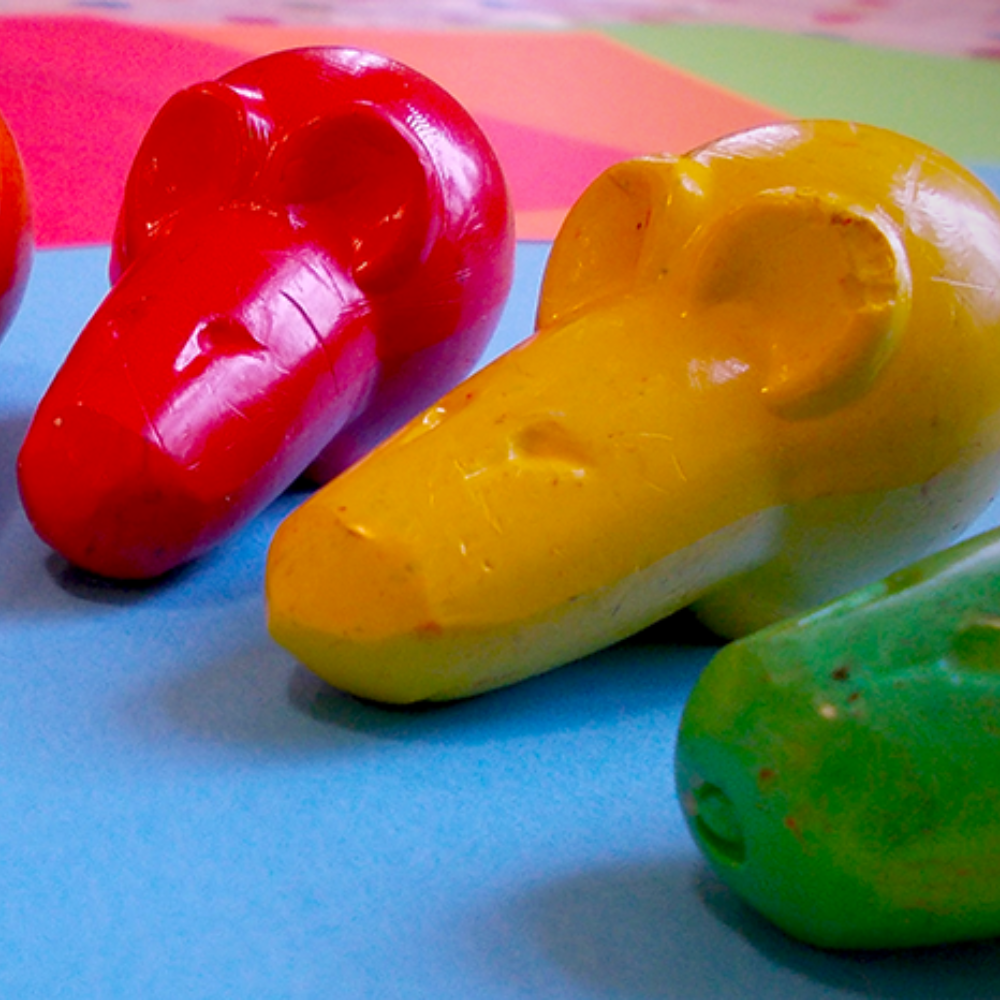
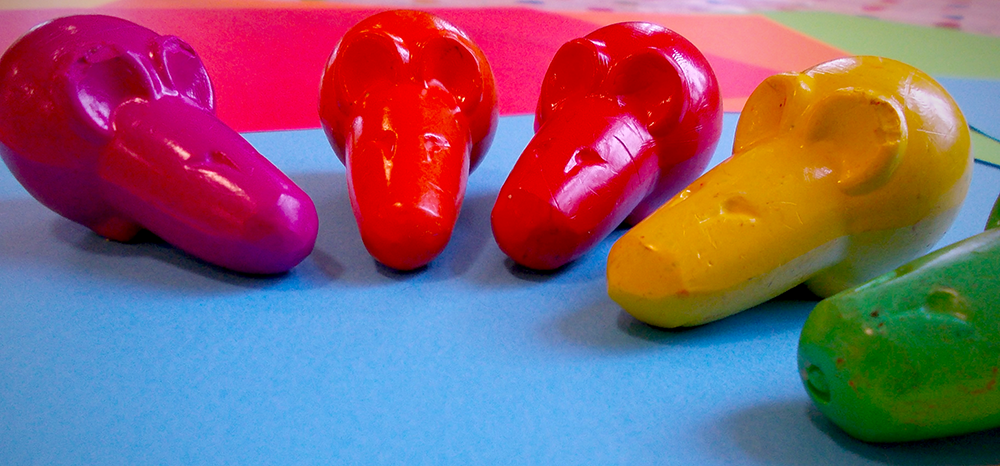
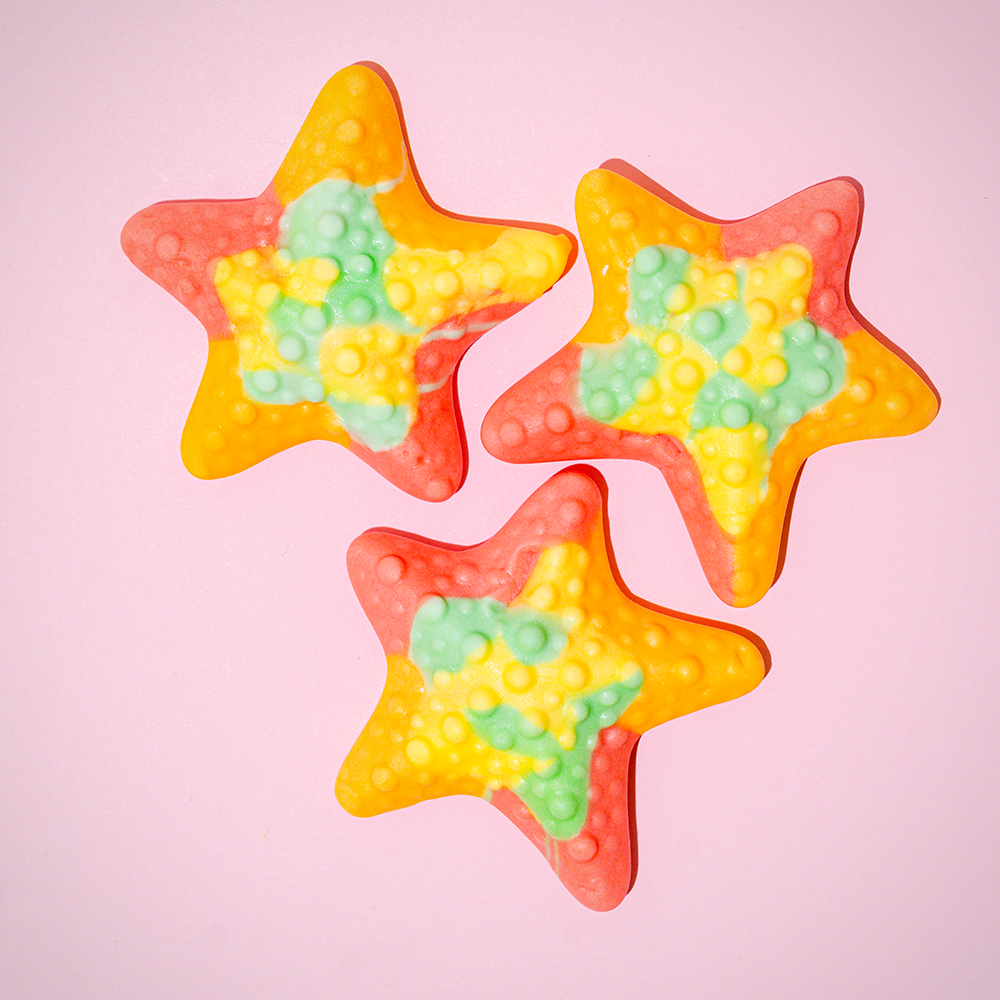
Silicone molds come in fun shapes and sizes, allowing you to create crayons in designs like stars, hearts, or even animals.
If you're using a mold with intricate designs, make sure the wax is poured slowly to fill all the crevices for a well-defined shape.
Cooling and Unmolding
After filling the molds, let the crayons cool completely.
This can take several hours, depending on the size of the crayons.
To speed up the process, you can place the molds in the refrigerator.
Once the crayons harden, gently pop them out of the molds. If you encounter any resistance, let them sit for a bit longer to ensure they are fully set.
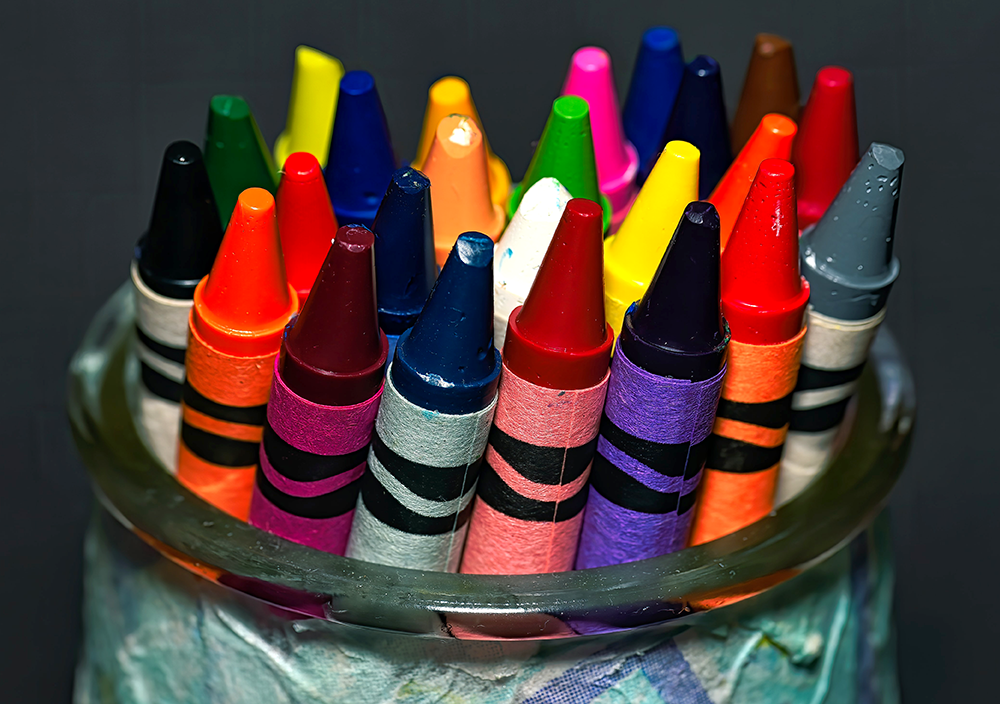
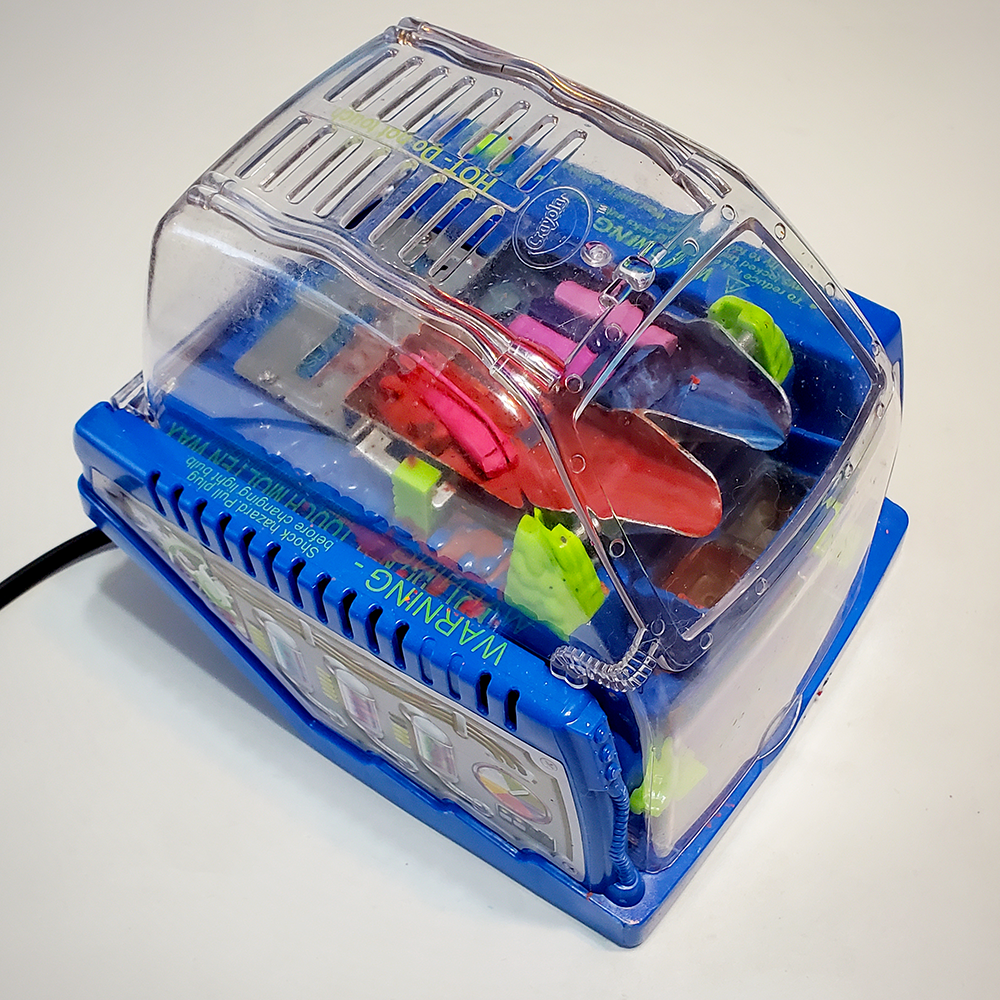
Exploring Ingredients: Beeswax to Pigments
When embarking on the journey of homemade crayon creation, understanding the variety of ingredients available is crucial.
Beeswax crayons are a popular choice for those seeking a natural alternative to traditional options.
Beeswax, often sourced from the honeycomb of bees, provides a smooth, non-toxic base that is safe for children.
Additionally, incorporating earth pigments can give your crayons a burst of natural color.
These pigments are derived from minerals and provide a rich, vibrant hue that is both eco-friendly and conducive to a wide range of kids crafts.
In contrast to the natural approach, Crayola crayons and other brands often utilize a paraffin wax base, derived from petroleum.
While this can be more time-consuming to work with due to its higher melting point, the end result is a familiar, consistent texture that many have come to associate with commercial crayons.
Whether you opt for the natural essence of beeswax and earth pigments or the classic feel of paraffin, the choice of ingredients will significantly influence the crafting experience and the final product.
The Evolution of Crayons
The color pink has always held a special place in the spectrum of crayon colors, and the evolution of pink crayons is a testament to the industry's commitment to diversity and inclusion.
Initially, pink crayons were derived from a limited range of pigments, but today, they encompass a wide array of shades, from soft pastels to vibrant neon.
The development of these hues has been driven by both artistic demand and the desire to accurately represent the diversity of the world around us.
In the realm of natural crayons, the quest for the perfect pink has led to the exploration of various organic and mineral sources.
These sources ensure that the crayons are not only visually appealing but also non-toxic and safe for children.
As consumers become more environmentally conscious, the popularity of pink crayons made from sustainable materials, such as Brazilian palm tree wax and food-grade pigments, continues to rise.
This shift reflects a broader trend towards eco-friendly and health-conscious products in the art supply market.
Mastering the Silicone Mold Technique
Silicone molds have revolutionized the crayon-making process, offering unparalleled flexibility and ease of use.
When you melt crayons to repurpose them into new shapes, using a silicone mold is a game-changer.
These molds come in various designs, including the ever-popular heart mold, which is perfect for creating themed crayons for occasions like Valentine's Day.
The non-stick nature of silicone ensures that the melted wax can be removed effortlessly once it has cooled and solidified, making the process less time-consuming and more enjoyable.
However, to achieve the best results when using silicone molds, it is crucial to ensure that the wax is melted completely before pouring.
This will prevent any unevenness or air bubbles in the final product.
Additionally, opting for food-grade silicone molds is a wise choice, as they are designed to withstand high temperatures and are free from harmful chemicals.
This consideration is particularly important when making natural crayons, as it aligns with the non-toxic ethos of the product.
Importance of Non-Toxic Materials
The selection of non-toxic materials is paramount in the creation of safe crayons, especially when they are intended for use by children.
Non-toxic crayons ensure that even if a child were to ingest some of the crayon material, there would be no harmful effects.
Manufacturers often use food-grade pigments and waxes, which meet stringent safety standards and are deemed safe for consumption.
This commitment to safety is not only ethical but also a strong selling point for discerning parents who prioritize the health and well-being of their children.
In addition to safety, non-toxic crayons often provide a higher quality of color and usability.
By utilizing food-grade materials, crayon makers can offer a product that is not only safe but also performs exceptionally well on various paper types.
These crayons tend to have a smoother application and a more vibrant color payoff, which enhances the overall drawing experience.
The peace of mind that comes with using non-toxic, food-grade crayons is invaluable, making them a preferred choice for schools, daycares, and households around the world.
When embarking on the journey of homemade crayon creation, the significance of using non-toxic materials cannot be overstated.
By selecting ingredients like food-grade soy wax or beeswax, and natural pigments, you are prioritizing the health and safety of the end-users.
These materials are free from harmful chemicals and allergens, making them an excellent choice for parents and educators who are conscious of the materials their children come into contact with.
Moreover, the use of non-toxic, food-grade materials is not only a health-conscious decision but also an environmentally friendly one.
These sustainable options contribute to a greener production process and a safer product lifecycle.
By choosing non-toxic crayons, you are also teaching children the importance of eco-conscious living.
It's a win-win situation where safety meets responsibility, and the crayons you produce can be a testament to that commitment.
The Role of Food-Grade Ingredients in Crayon Safety
The inclusion of food-grade ingredients in crayon production is a critical aspect that cannot be overstated.
Food-grade materials are those that are safe for human consumption, which means they are non-toxic and free from harmful chemicals.
When it comes to crafting crayons, especially those that will be used by children, the use of food-grade ingredients ensures that the final product is as safe as possible.
Parents and educators can rest assured that crayons made with food-grade components are safe for kids to handle and, in the case of accidental ingestion, are not harmful.
Moreover, the use of food-grade pigments and waxes in crayons contributes to the overall quality and sustainability of the product.
These ingredients are often derived from natural sources, such as soy, beeswax, or other vegetable-based waxes, which are renewable and biodegradable.
By opting for food-grade materials, crayon makers are not only prioritizing safety but also embracing eco-friendly practices.
This commitment to safety and sustainability is what sets apart high-quality, artisanal crayon brands from their mass-produced counterparts.
Time-Consuming Nature of Crayon-Making
The process of making crayons can be quite time-consuming, particularly when striving for a high-quality, non-toxic product.
The meticulous selection of materials, careful melting and mixing of waxes and pigments, and the precise pouring into molds all require a significant investment of time and attention to detail.
This dedication to the craft ensures that the final product meets the maker's standards for safety and performance.
For those who appreciate the art of crayon-making, the time invested is a testament to their commitment to creating a superior product.
However, the time-consuming aspect of crayon-making should not deter enthusiasts from engaging in this creative endeavor.
Many find the process to be a therapeutic and rewarding experience.
The act of crafting something tangible with one's own hands can be incredibly satisfying, and the end result—a set of beautiful, handmade crayons—is often worth the effort.
For those looking to streamline the process, there are various techniques and tools available that can help reduce the time required, without compromising on the quality and safety of the crayons
The process requires patience and attention to detail, from carefully selecting the right materials to the meticulous melting and molding stages.
Each step must be executed with precision to ensure the final crayons are of high quality and durability.
This time investment, however, pays off by providing a unique opportunity for creativity and personalization that is not available with store-bought crayons.
Additionally, the time spent making crayons can be a therapeutic and meditative experience, offering a break from the hustle and bustle of daily life.
The act of creating something tangible with your hands provides a fulfilling counterbalance to our increasingly digital world, making the time commitment a worthwhile investment in both the product and the experience.
Creative Molding Techniques for Unique Crayons
The magic of making crayons at home lies in the ability to shape them into unique and playful forms. Utilizing silicone molds is a game-changer in this process.
These molds come in a variety of shapes, from simple geometric figures to intricate designs like heart molds.
They are oven safe and flexible, making the unmolding of crayons so much fun for both adults and children.
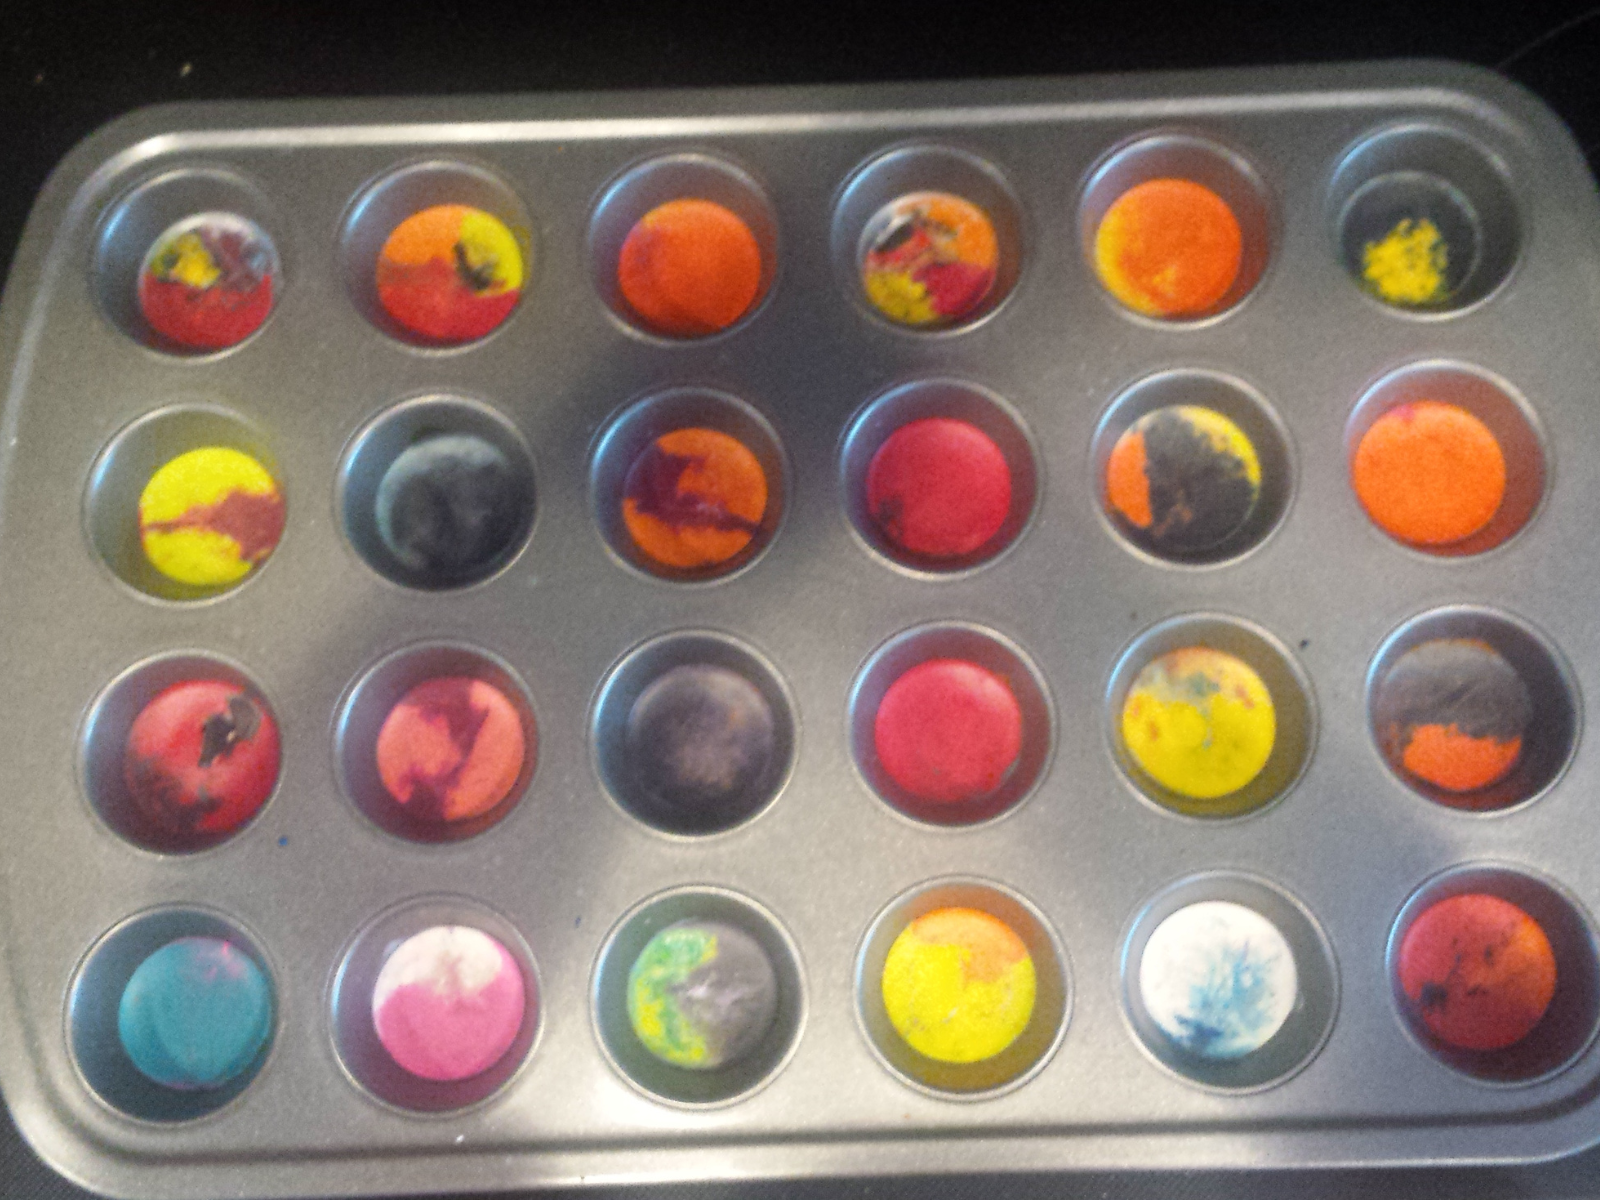
For those looking to repurpose household items, mini muffin tins can also serve as a practical mold, perfect for crafting mini crayons that are just the right size for little hands.
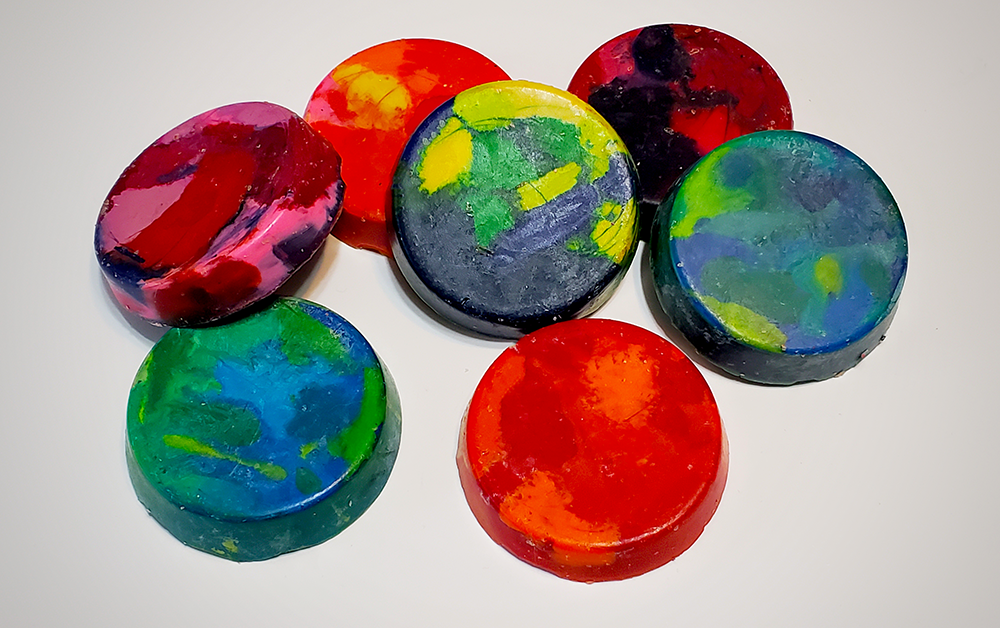
Another creative approach is to combine broken crayon pieces or leftover crayons of the same color or different colors to create multicolored or marbled effects.
This not only recycles old materials but also adds an element of surprise to the crafting process.
Whether you're using a one crayon approach or mixing several hues, the act of melting down and reshaping these waxy bits transforms them into new, exciting creations.
With the right tools and a dash of creativity, the possibilities for personalized crayons are endless.
Customizing Your Crayons
Making crayons allows for a lot of creativity.
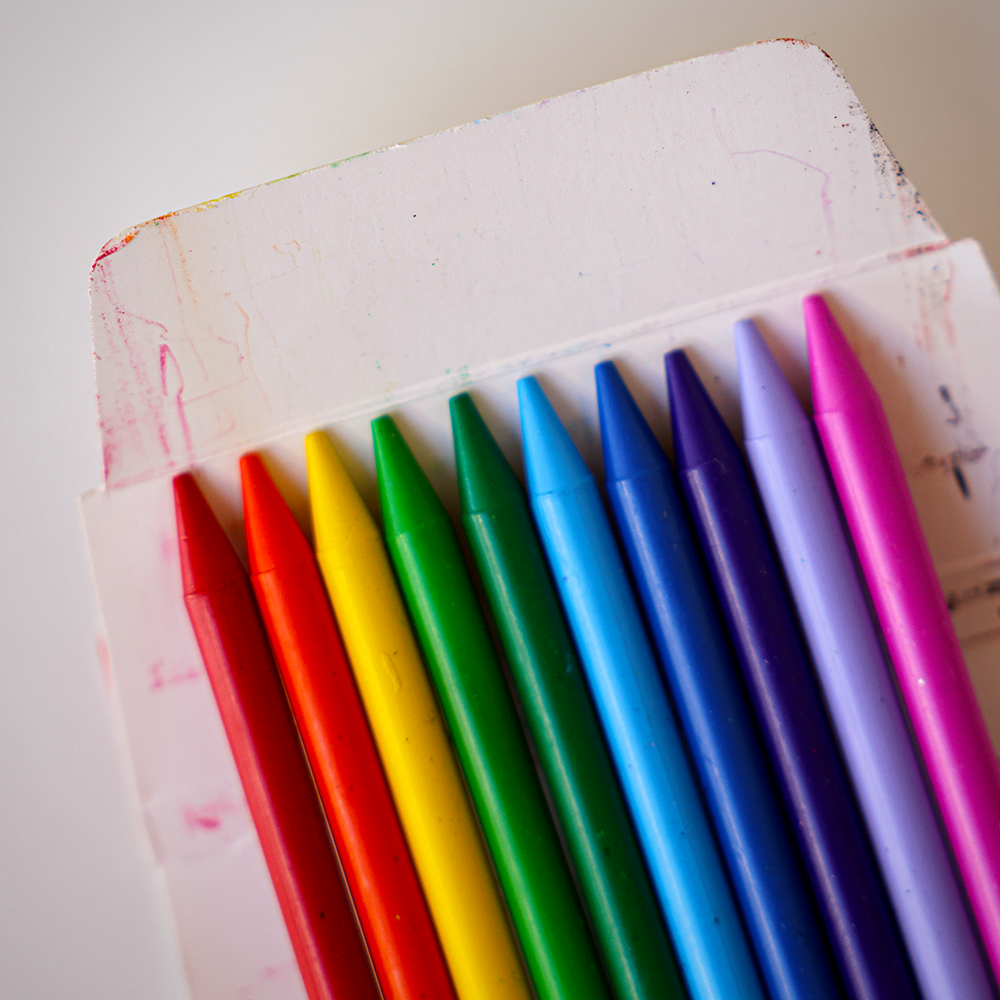
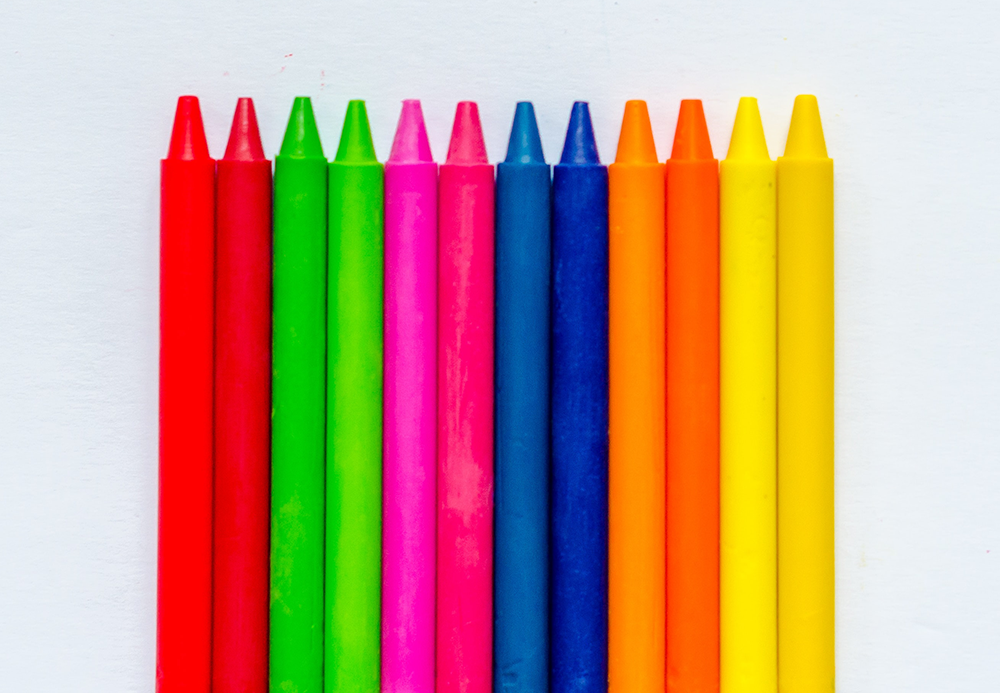
You can mix different colors in the same mold to create rainbow colors or layer colors for a marbled effect.
Experiment with adding natural pigments or food-grade dyes to achieve the exact shades you desire.
The beauty of DIY crayons is that each batch can be unique.
Crafting with Your New Crayons
Once your new crayons are ready, it's time to put them to use.
Homemade crayons work just as well as store-bought ones and can be used on a variety of paper types.
They're perfect for coloring books, craft ideas, or freehand drawing.
Plus, they make excellent party favors or gifts.
Safety Precautions
When working with hot wax, it's important to exercise caution.
Use oven-safe gloves when handling the double boiler or saucepan, and keep a baking sheet under your molds to catch any spills.
Always supervise children during the crayon-making process, especially when the wax is being melted and poured.
Benefits of Homemade Crayons
Creating your own crayons is not just a fun project; it's also an opportunity to make non-toxic, eco-friendly art supplies.
By choosing natural waxes and pigments, you can ensure that your crayons are safe for all ages.
Additionally, making crayons can be cost-effective, especially if you're recycling old crayon pieces.
Troubleshooting Common Issues
Sometimes, homemade crayons may not turn out as expected.
If your crayons are too brittle, it could be due to too much additional ingredient or not enough wax.
If they don't color well, you may need to adjust the amount of pigment.
It's all about finding the right balance and may require a bit of trial and error.
Rainbow of Possibilities: Homemade Adventure
In the kaleidoscope of crafting, making your own crayons stands out as a delightfully simple yet infinitely creative journey.
Making easy crayons at home is a straightforward and enjoyable process that allows for endless creativity.
With the guidance you've received, you're now equipped to bring a burst of color into your life and the lives of those around you.
Embrace the freedom to choose from a spectrum of waxes, to play with a rainbow of hues, and to shape your crayons into forms that spark joy.
Remember to prioritize safety when handling hot wax and to have fun making crayons that are unique to you.
As you embark on this vibrant adventure, remember that each crayon you create is more than just a tool for drawing—it's a reflection of your imagination and a symbol of the fun you had crafting it.
So, melt, mold, and marvel at the masterpieces you and your loved ones will draw with your very own handmade crayons.
The canvas of creativity is vast, and your homemade crayons are the perfect way to color it with your personal touch!
Crayon FAQs
Crayons have been a staple in the world of art and creativity, especially for children, for generations.
They're the first encounter many of us have with expressing our imagination on paper.
But as simple as they may seem, there's a rainbow of questions that often come up regarding their use, safety, and even how to make them at home.
Whether you're a parent, teacher, or a DIY enthusiast, understanding the ins and outs of these colorful tools can enhance your creative experience.
So, let's dive into some of the most frequently asked questions about crayons and shed some light on these colorful wonders.
Can I use crayons made with beeswax or carnauba wax the same way as traditional crayons?
Yes, crayons made with beeswax or carnauba wax can be used just like traditional paraffin wax crayons. They may have a slightly different texture but should work well on most paper surfaces.
How can I make my homemade crayons more vibrant?
To make your crayons more vibrant, ensure you're using a sufficient amount of pigment or coloring agent. Natural pigments and food-grade dyes can provide rich colors, but you may need to experiment with quantities to achieve the desired vibrancy.
Is it safe to make crayons with children?
Making crayons can be a fun activity to do with children, but it's important to supervise them closely, especially during the melting and pouring stages. Ensure that safety precautions are followed and that children understand the risks of handling hot wax.
Eager to make your own DIY crayons? Check out Juli Rox Art's video!
Want even more content about creativity and art?
Be sure to check out all of our creative chronicles!
Love crayons?
Check out some of our other articles:
-What crayons do professionals use?
