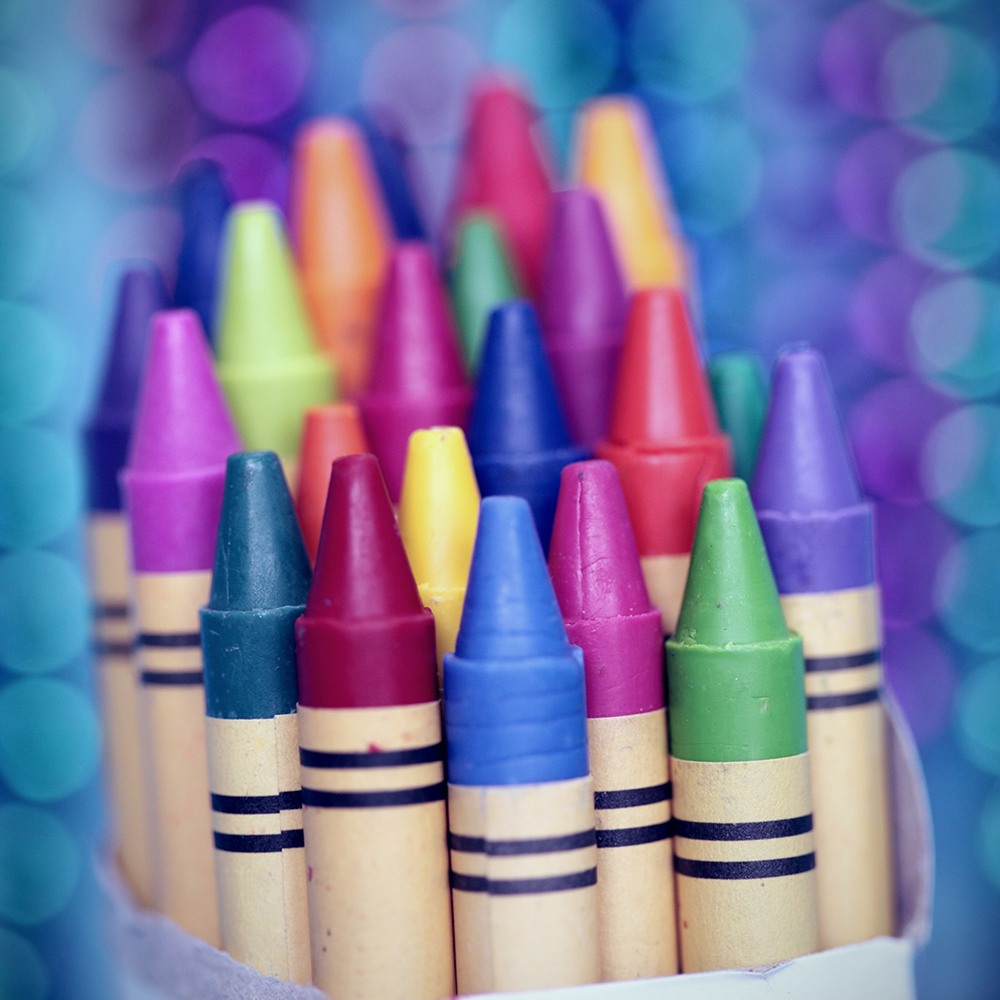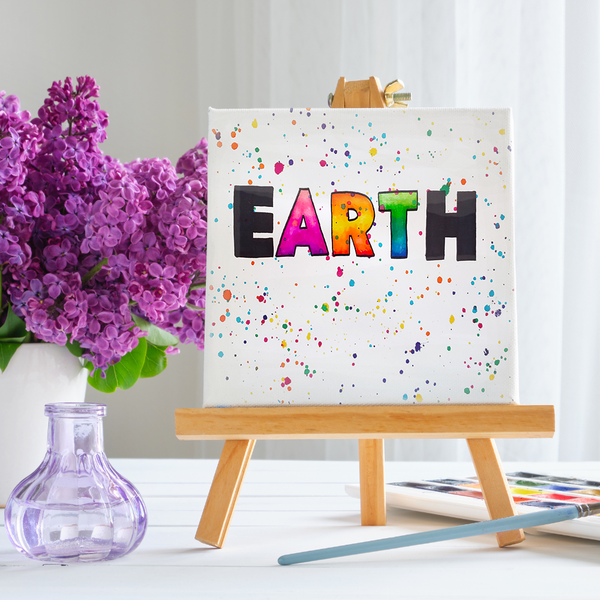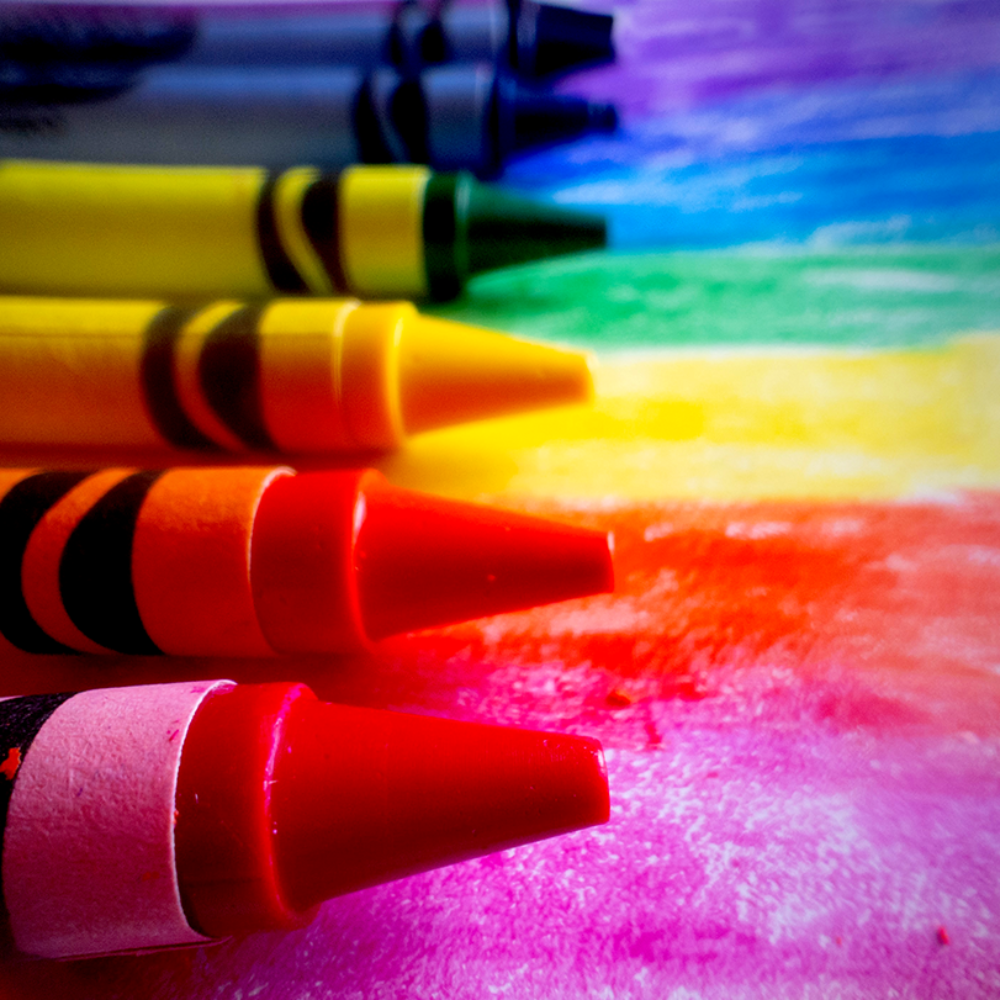
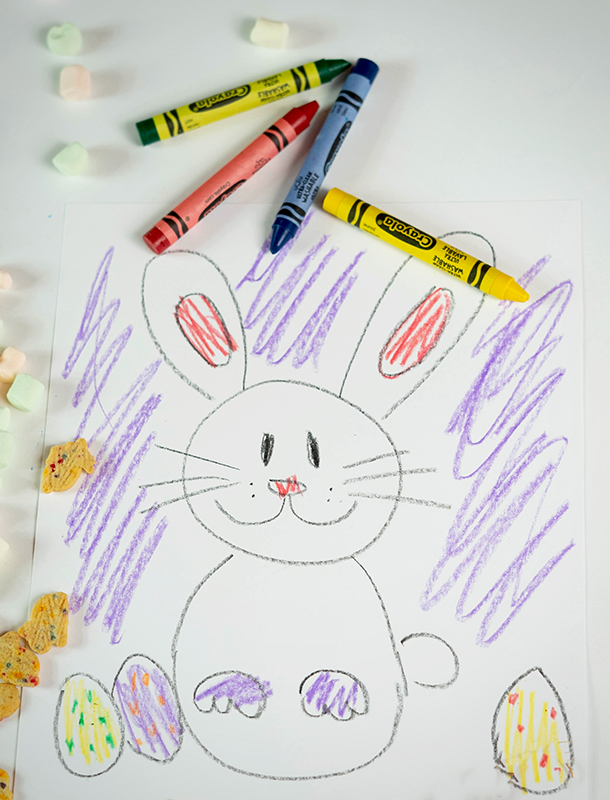
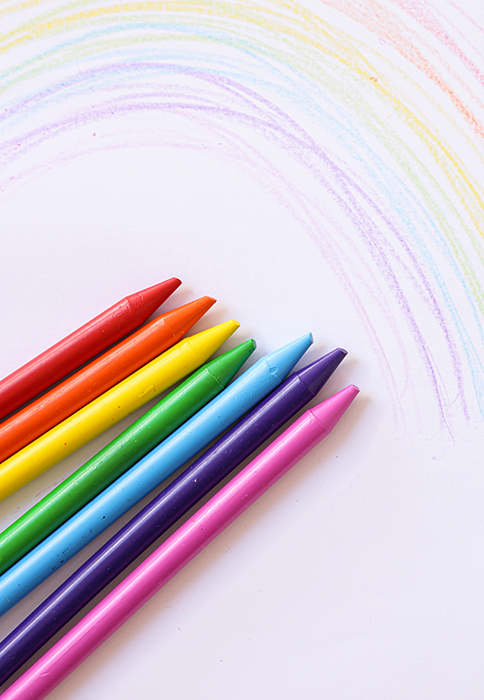
Remember the joy of opening a fresh box of crayons as a child?
The array of colors, the endless possibilities, the simple pleasure of creating something beautiful.
Well, it's time to reignite that spark because crayon art is making a colorful splash in the world of DIY and fine art!
It's not just for kids anymore; crayon art has evolved into a sophisticated and expressive medium that artists of all ages are exploring.
This is your ticket to a vibrant creative journey.
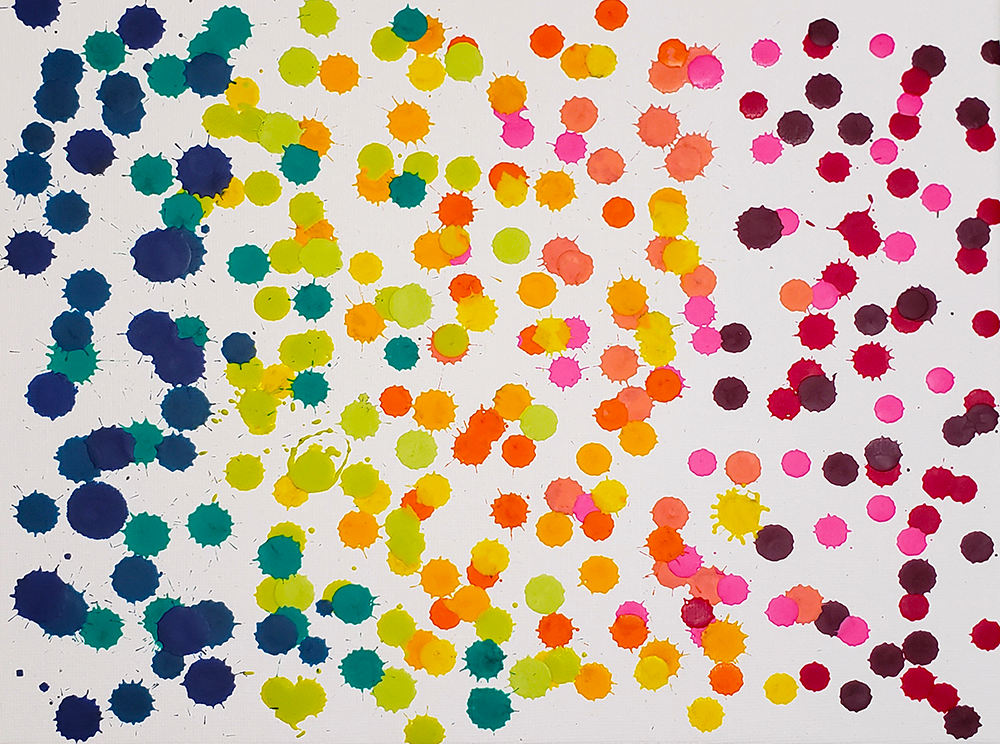
Crayon art is not just a childhood pastime; it's an expressive and vibrant art form that has gained popularity among artists and hobbyists alike.
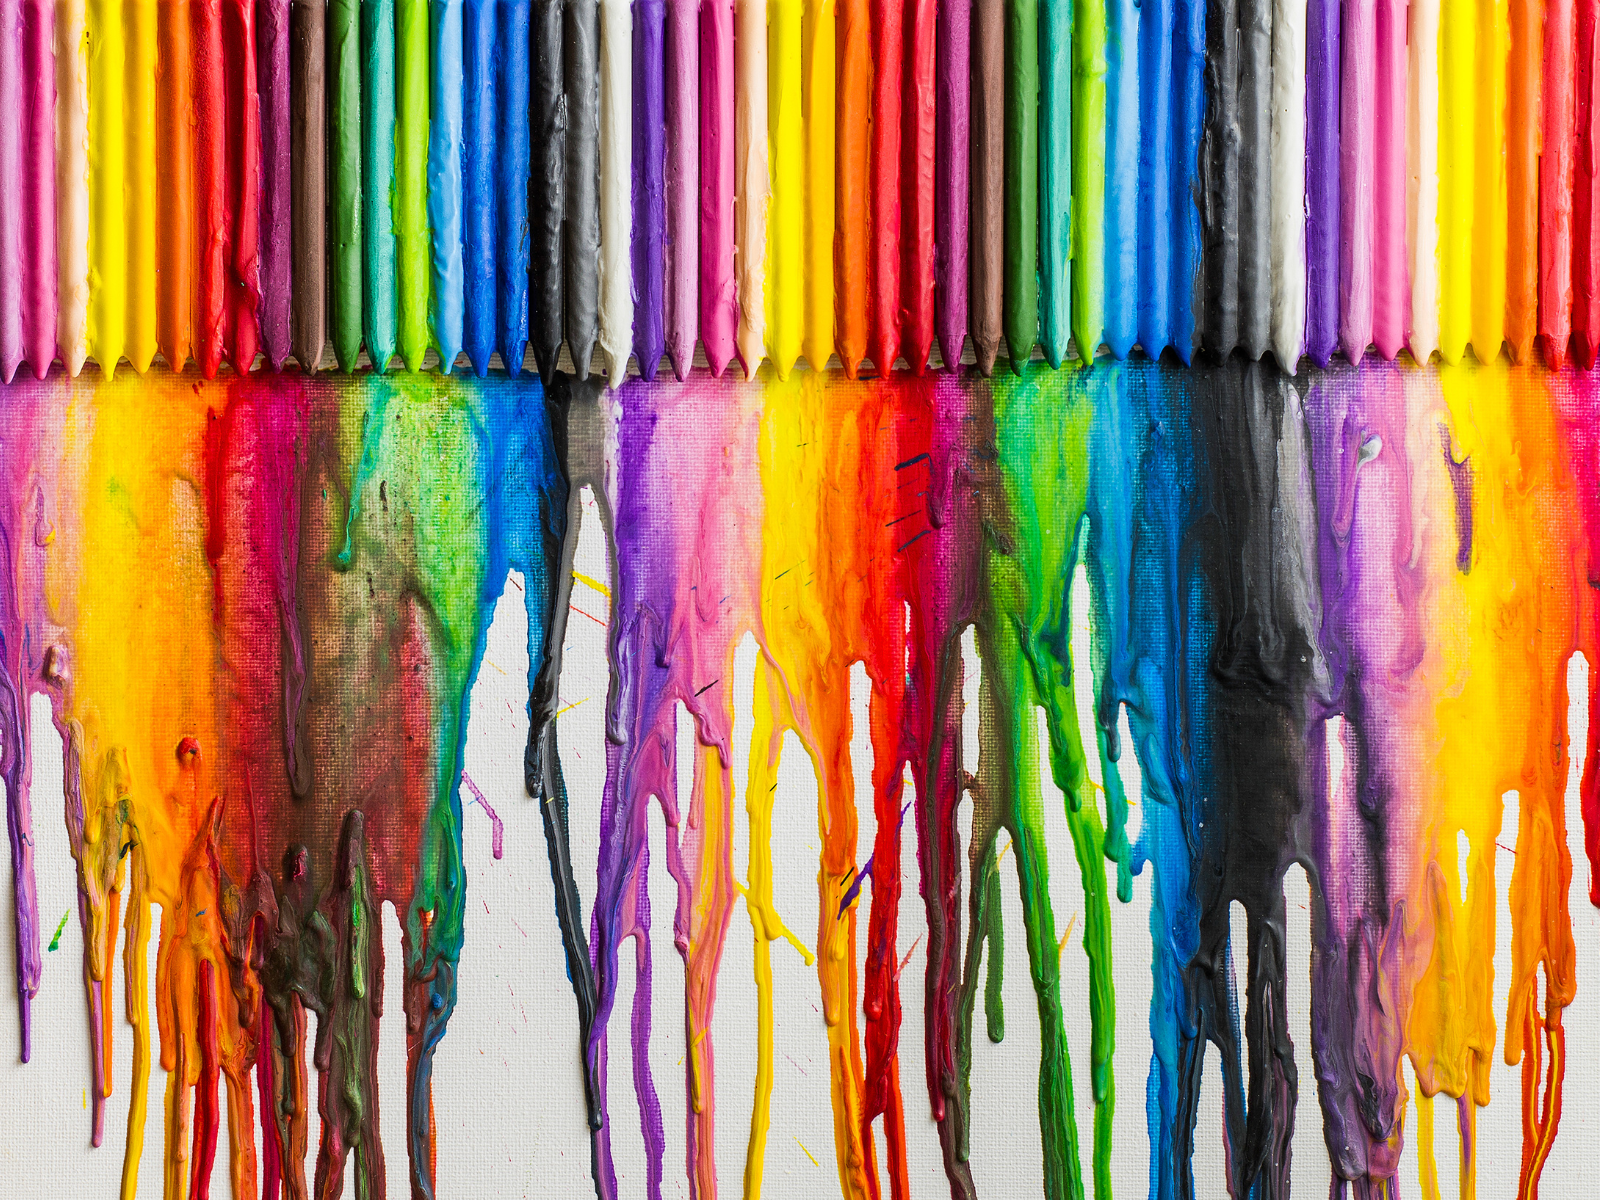
From melted crayon canvas art to intricate crayon sculptures, the possibilities are endless.
This comprehensive guide will walk you through the steps and techniques to create your own crayon masterpieces.
Whether you're looking to craft a melted crayon canvas that drips with color or sculpt a waxy masterpiece that defies expectations, we've got you covered.
Get ready to unleash your creativity and add a burst of color to your life with techniques that will transform the humble crayon into something truly extraordinary!
Key Takeaways:
- Learn the basics of making melted crayon art projects, including necessary supplies and safety tips.
- Discover various techniques for melting crayons to create different effects and textures.
- Explore creative ideas for using crayon art in home decor, gifts, and educational activities.
Understanding the Basics of Crayon Art
Crayon art is a versatile and accessible form of art that allows for a wide range of creative expression.
Whether you're a seasoned artist or a beginner, understanding the materials and methods is crucial for successful crayon artwork.
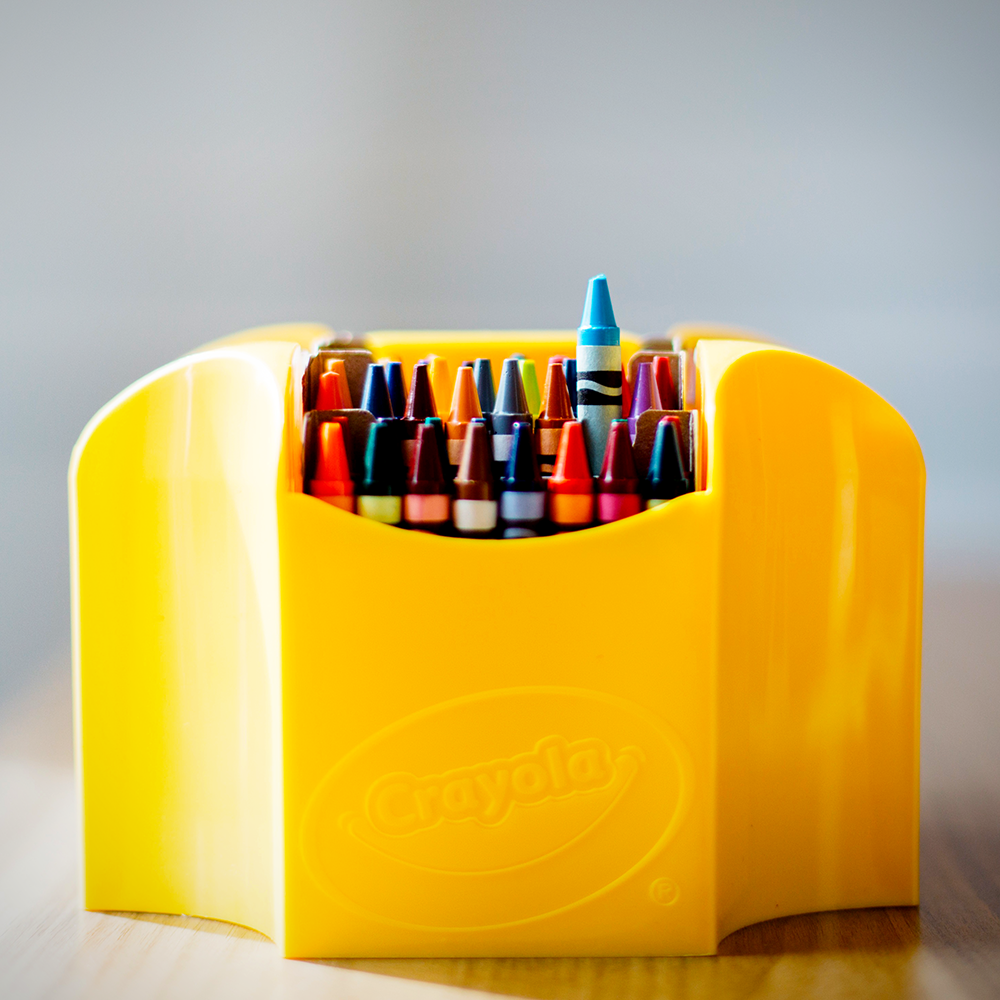
Crayola crayons are a popular choice due to their wide range of colors and consistent melting properties.
The Right Supplies for Your Crayon Project
Before you begin, gather all the necessary supplies.
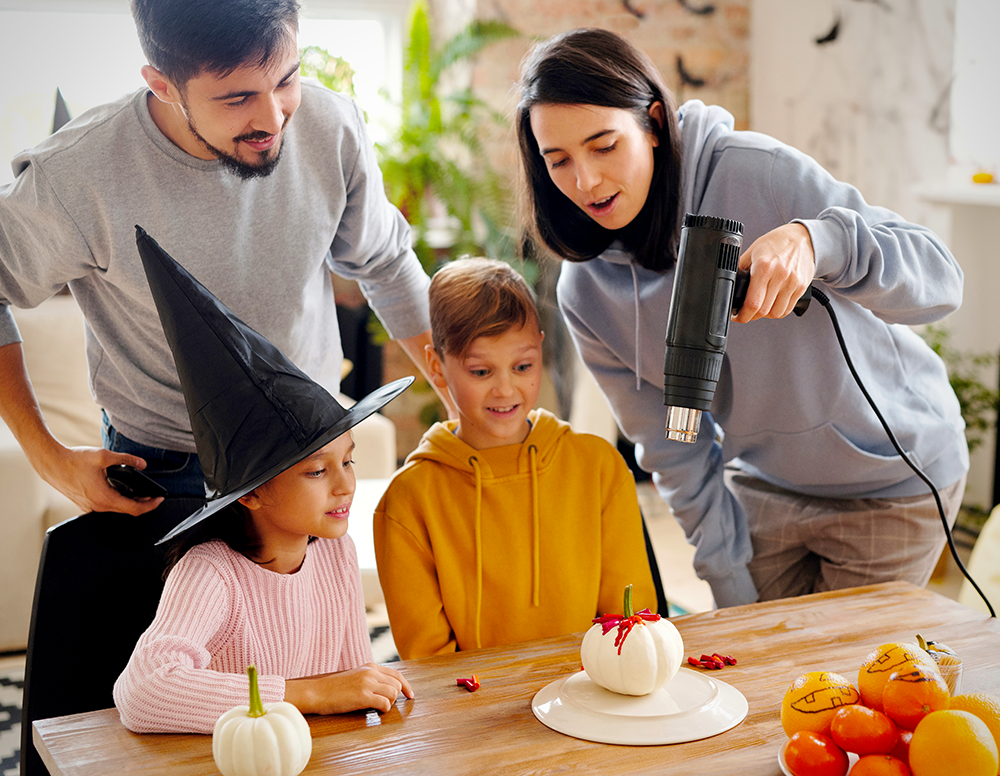
You'll need a variety of crayons, a canvas or heavy paper, a heat tool such as a hair dryer or heat gun, and additional items like painter's tape, paper towels, and a baking sheet to protect your work area.
Personal preference plays a role in selecting colors and tools, so feel free to experiment.
Preparing Your Workspace
Creating melted crayon art can be messy, so it's important to prepare your workspace.
Cover the area with paper towels or a drop cloth, and use a baking sheet to catch any wax drips.
Make sure you have a well-ventilated space to work in, as melting wax can release fumes.
Safety First: Melting Crayons with Care
When working with melted wax and high heat, safety should be your top priority.
Always use a heat tool on a low setting to start, and never leave it unattended.
It's also helpful to keep a fire extinguisher nearby, and be cautious of hot wax splatters.
Sorting and Peeling Crayons
Before you can melt crayons, you'll need to sort them by color and remove the wrappers.
This can be a time-consuming process, but it's a great way to involve kids or family members.
Some artists prefer to leave the wrappers on for a different texture and look.
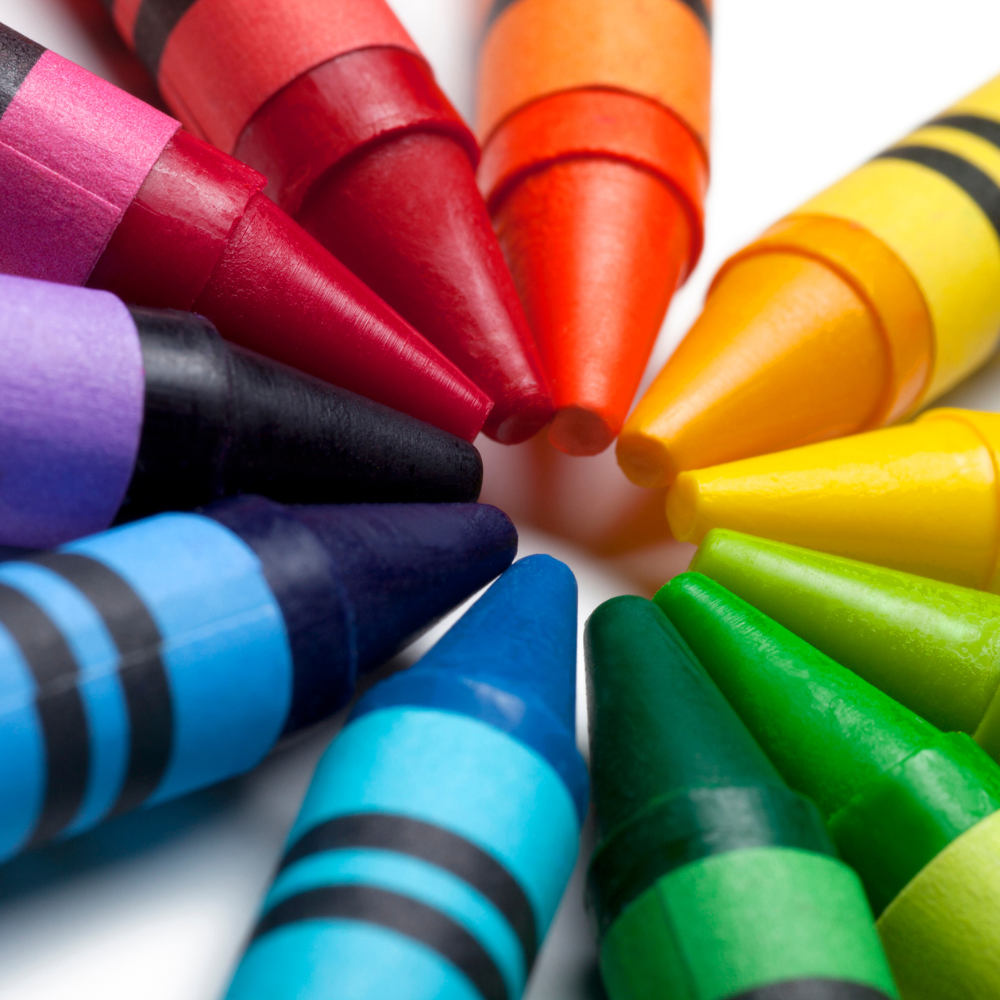
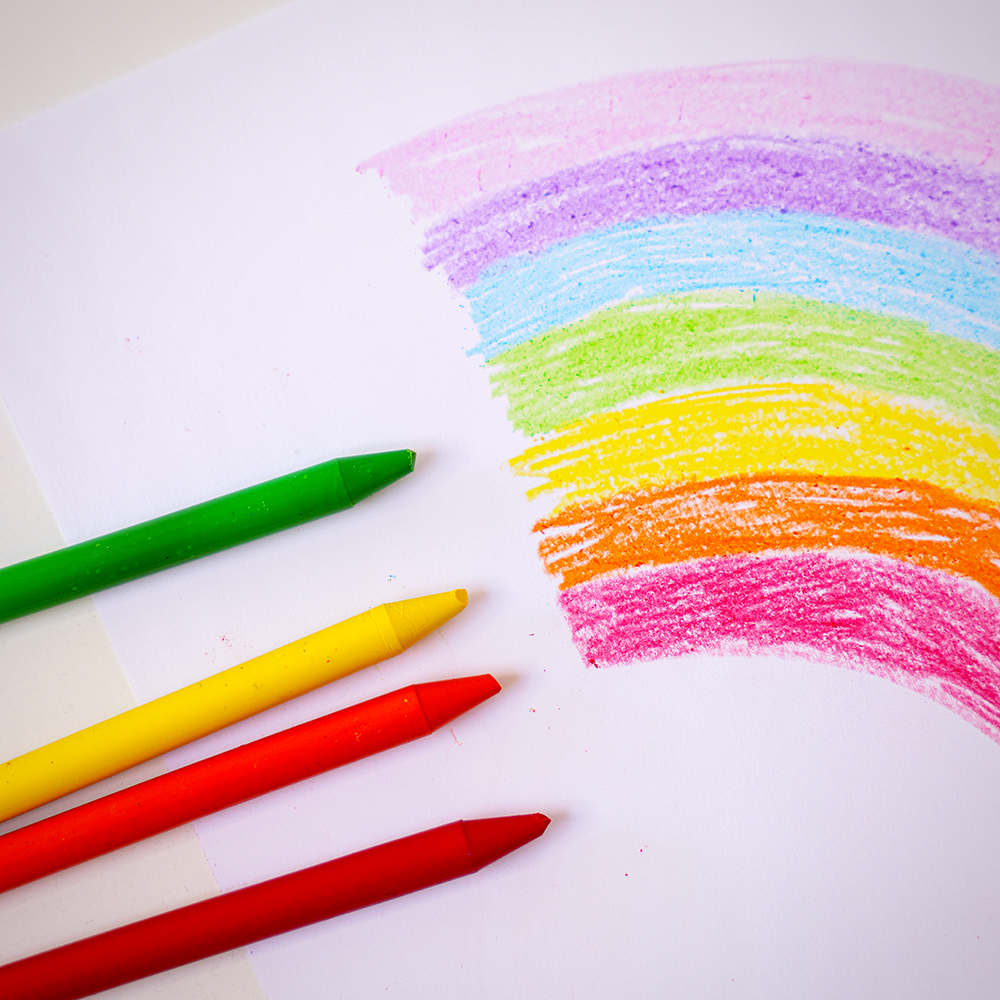
Choosing Your Colors and Design
Selecting the right colors for your art work is a fun and creative step.
You might choose a rainbow order, stick to the same color family, or create shapes with contrasting hues.
Consider the mood and atmosphere you want to convey with your color choices.
Attaching Crayons to the Canvas
To start your melted crayon canvas art, you'll need to attach the crayons onto the -canvas.
Hot glue guns are commonly used for this purpose.
Arrange the crayons in your desired pattern, and use the glue gun to secure them in place.
Be sure to let the glue cool completely before proceeding.
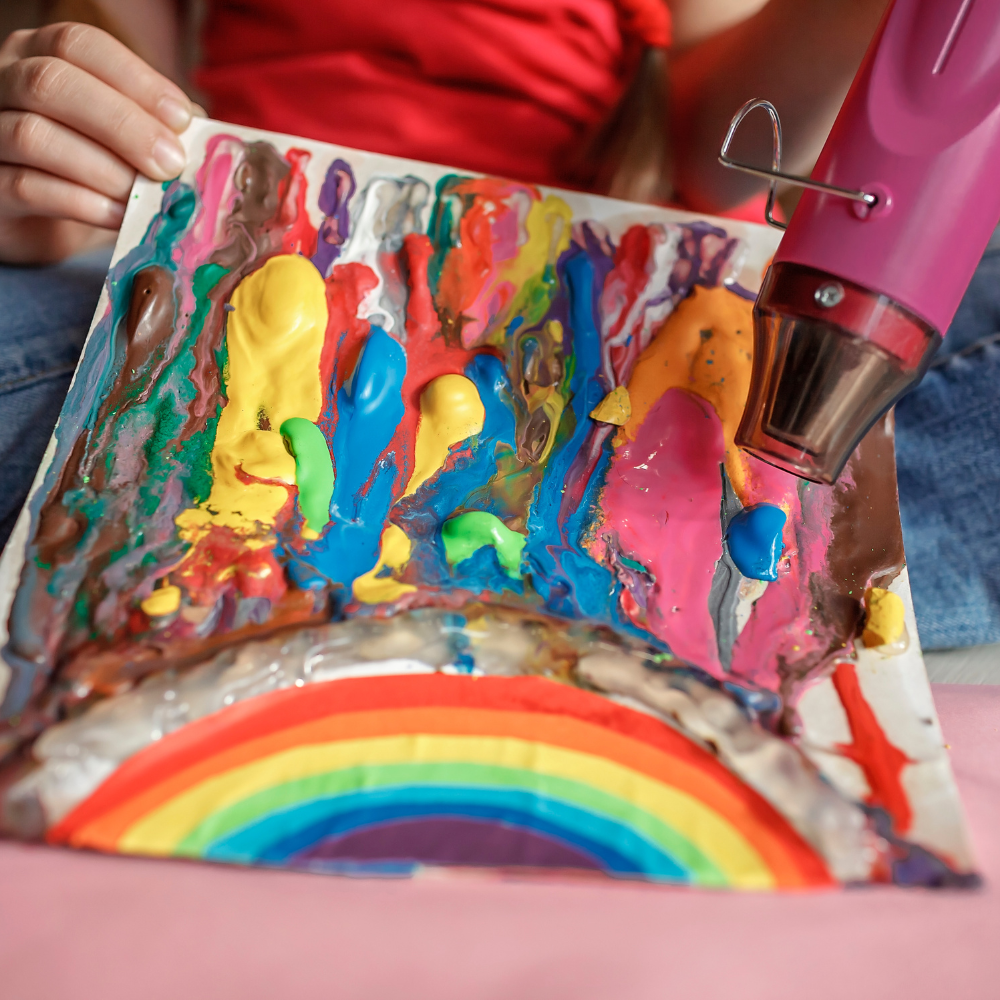
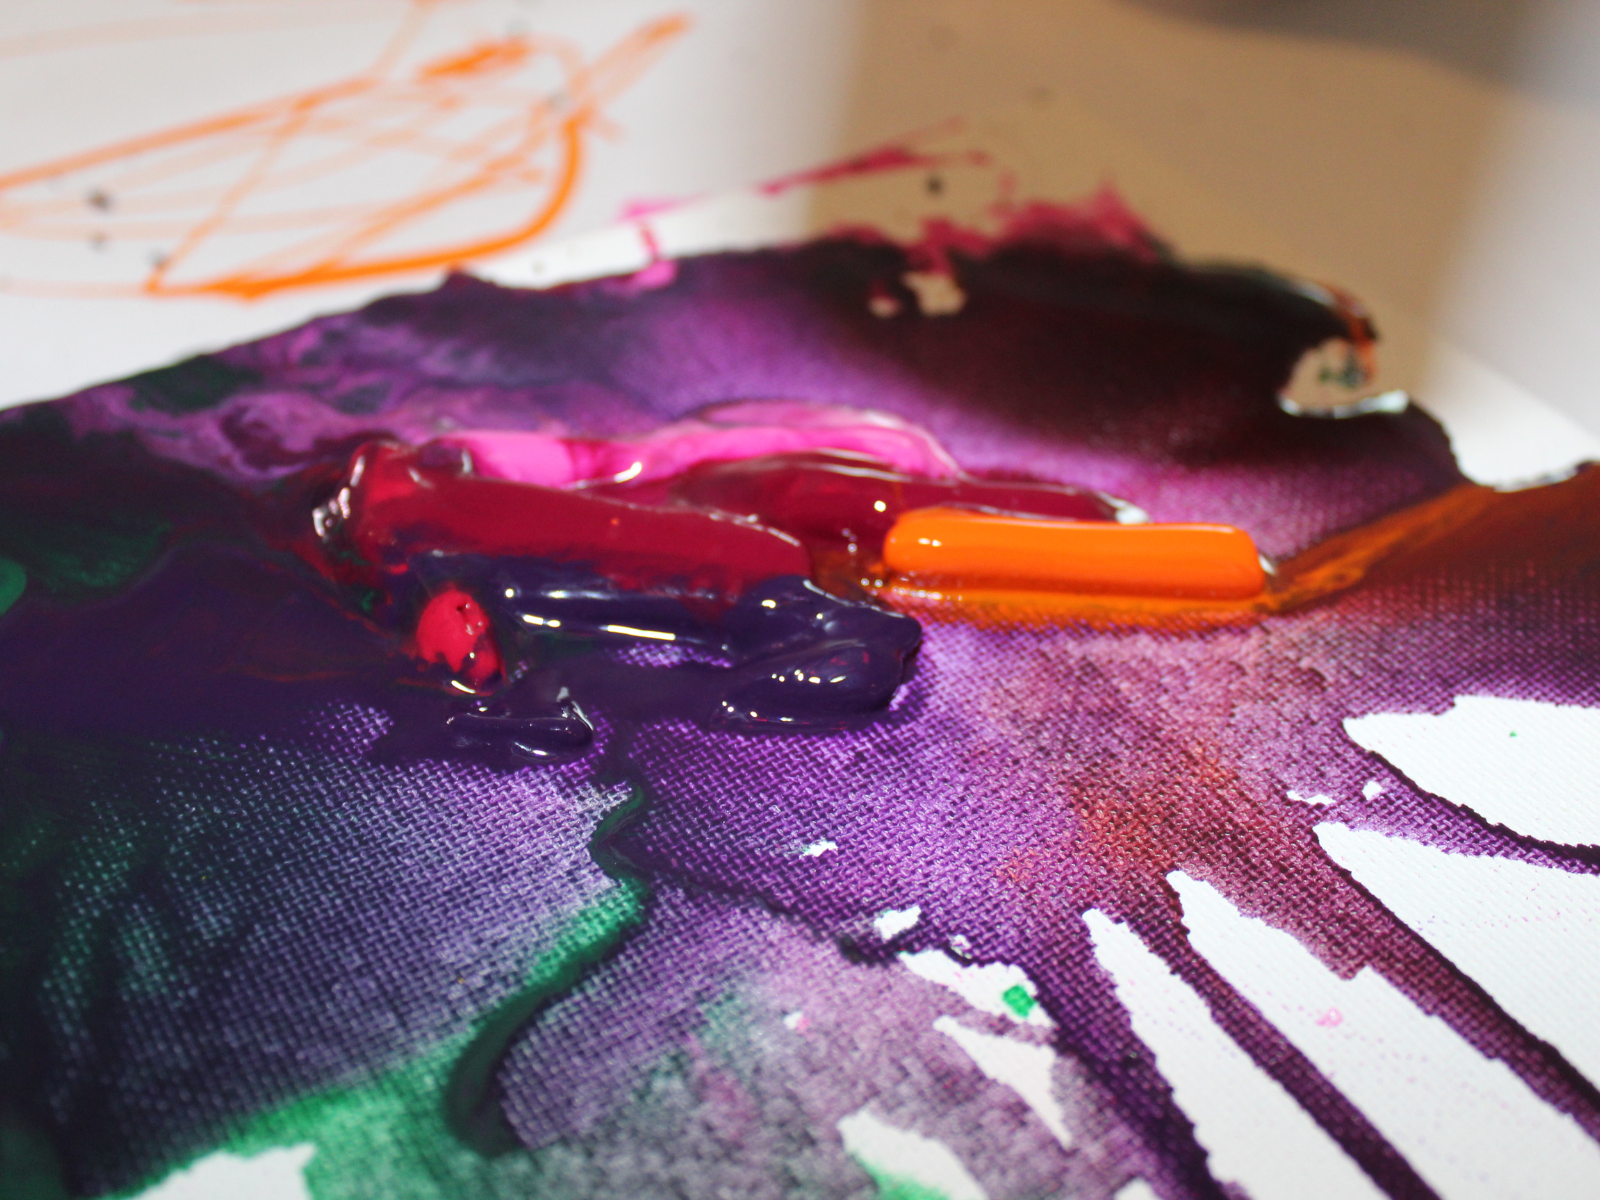
Creating Textures with Melted Wax
Experimenting with the distance and angle of your heat tool can result in various textures.
A closer heat source will create a smoother finish, while holding it further away can create interesting patterns.
The speed at which you move the tool also affects the texture.
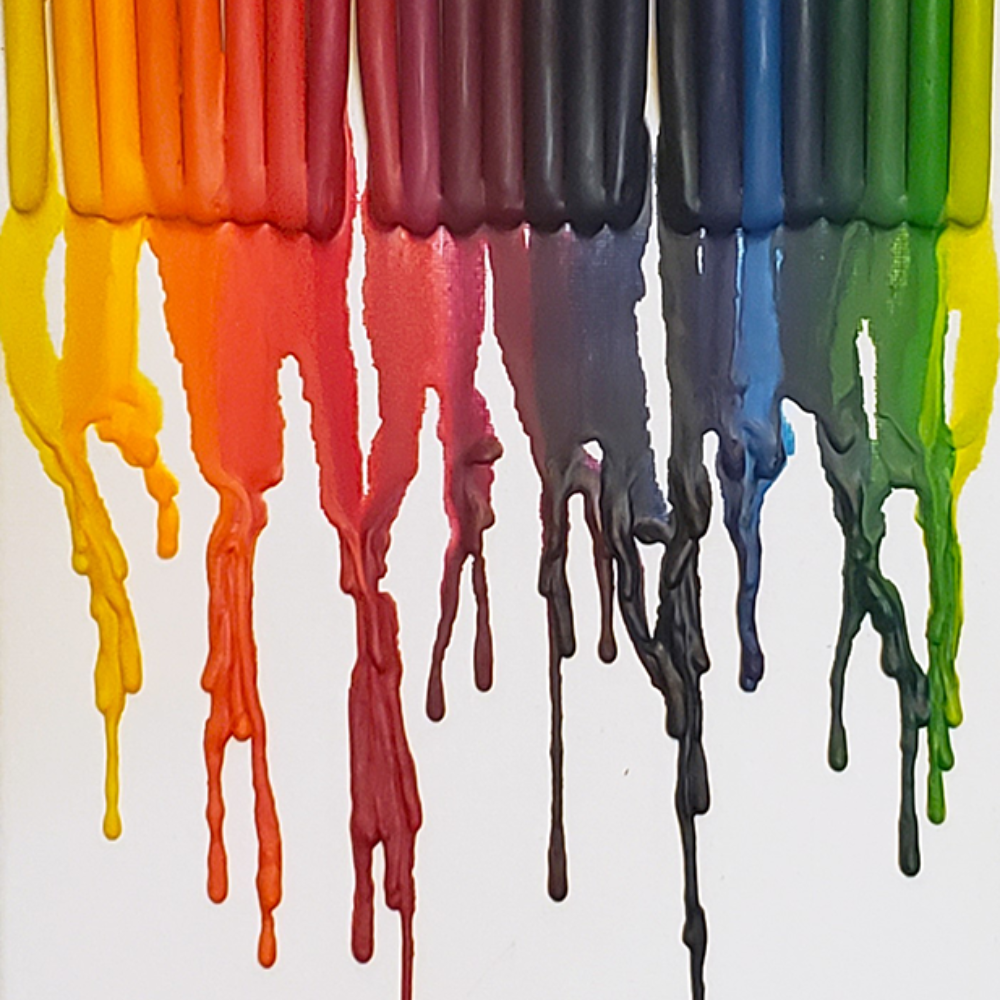
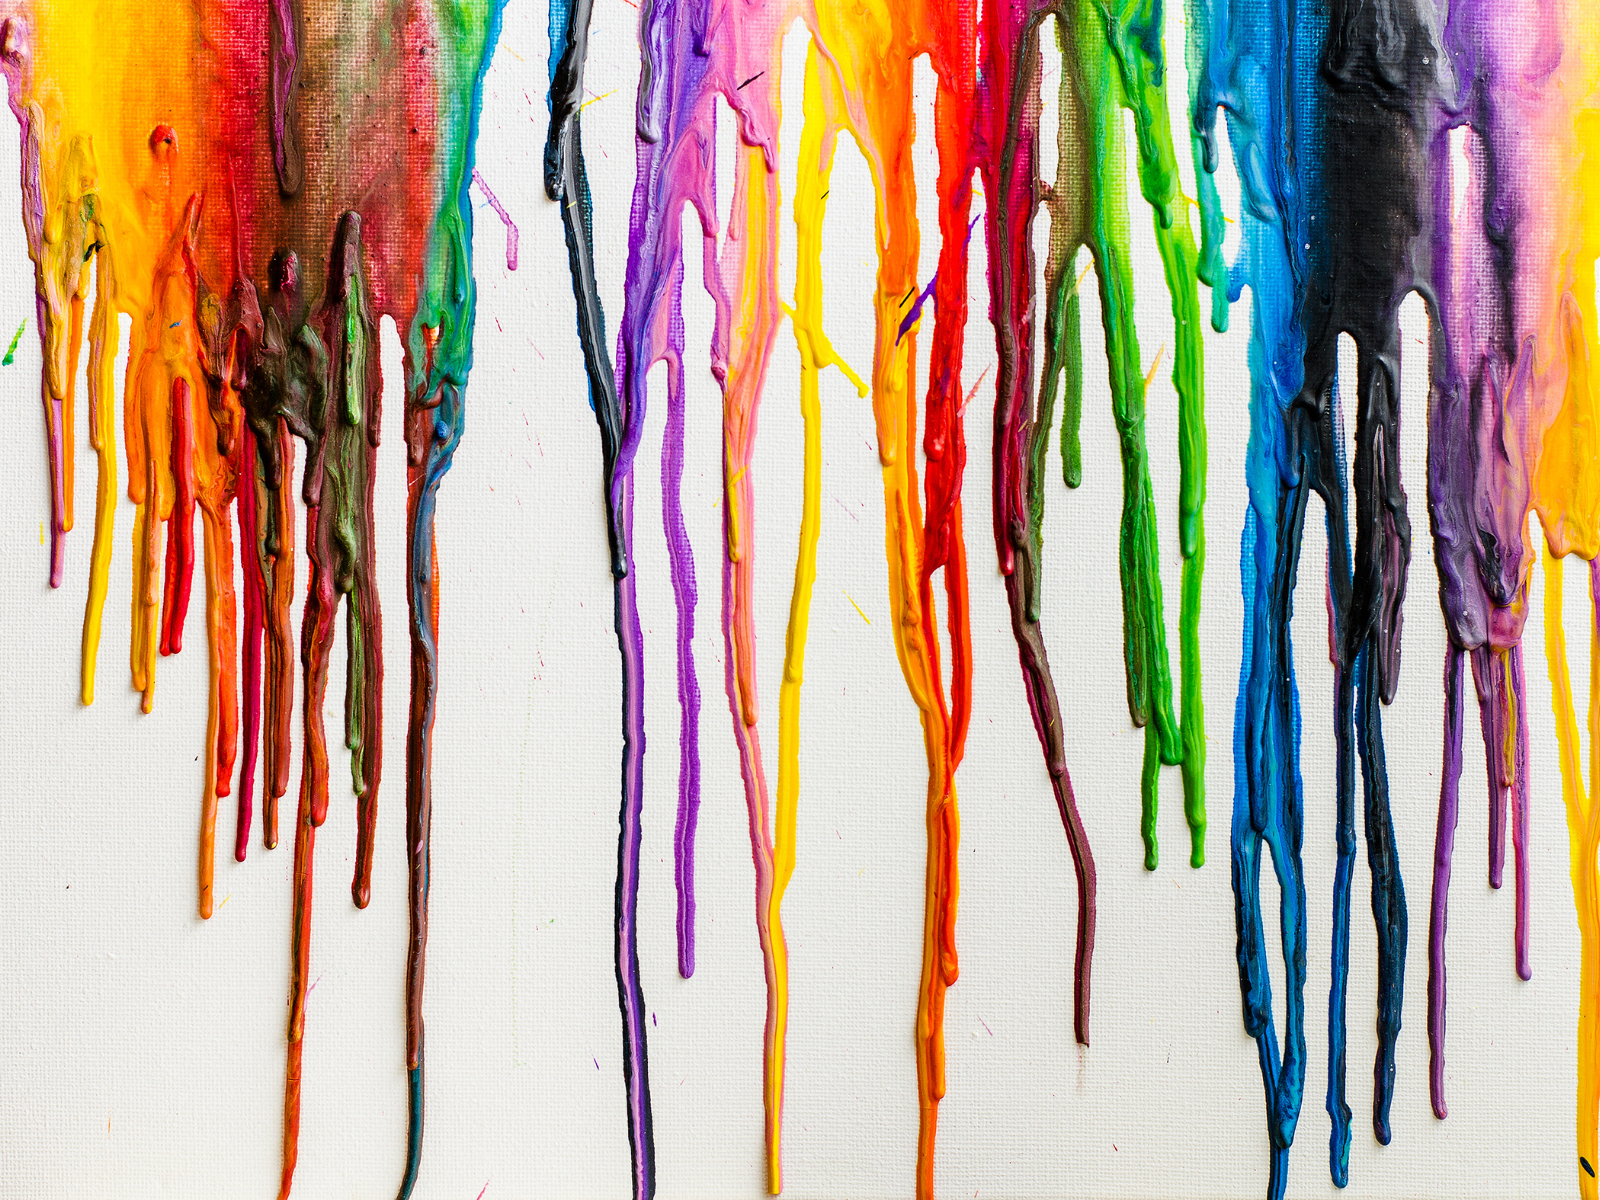
Melting the Crayons: Techniques and Tips
Melting crayons is an art form that requires a delicate balance of heat and timing.
The tools of the trade? A hair dryer, heat gun, or your trusty oven.
Each of these heat sources can be harnessed to transform solid crayons into a fluid medium that's perfect for creating eye-catching art.
Let's break down the methods!
Hair Dryer Method:
The hair dryer is the perfect tool for beginners.
It's easy to handle, and most people already have one at home.
When using a hair dryer, you can expect a more spontaneous and organic outcome.
The less focused heat allows the wax to spread out in dynamic splatters, creating a lively, textured effect that's full of movement.
It's ideal for abstract pieces where you want the colors to dance across the canvas.
Exclusive Insights:
- Start with a low heat setting to prevent the wax from splattering too wildly.
- Angle the hair dryer to direct the flow of melting wax.
- Use the cool shot button to quickly solidify the wax in place once you've achieved the desired effect.
Heat Gun Method:
For those who crave precision and control, the heat gun is your best friend.
Unlike the hair dryer, a heat gun produces a concentrated blast of heat that can melt crayons quickly and with pinpoint accuracy.
This means you can create smooth, intentional drips of wax that cascade down your canvas with a satisfying uniformity.
It's perfect for artists who have a specific vision in mind or want to create a more refined piece.
Exclusive Insights:
- Keep the heat gun moving to avoid burning the wax or canvas.
- Experiment with distance and angle to control the size and direction of the wax drips.
- Use a lower temperature setting for a slower melt, giving you more time to manipulate the wax.
Oven Method:
If you're looking to create a large-scale piece or want to melt multiple crayons at once, the oven might be your method of choice.
By placing crayons on a canvas and letting the gentle heat of the oven do its work, you can achieve an even, all-over melt that's perfect for backgrounds or filling in large areas with color.
Exclusive Insights:
- Preheat your oven to a low temperature to avoid overheating the crayons.
- Place the canvas on a flat baking sheet to catch any wax drips.
- Monitor the melting process closely, as oven temperatures can vary.
Each of these methods has its own charm and can be used to achieve different artistic effects.
Whether you're looking for controlled precision or wild, expressive splatters, there's a melting technique that fits your vision.
So, grab your crayons, choose your heat source, and let the colors flow!
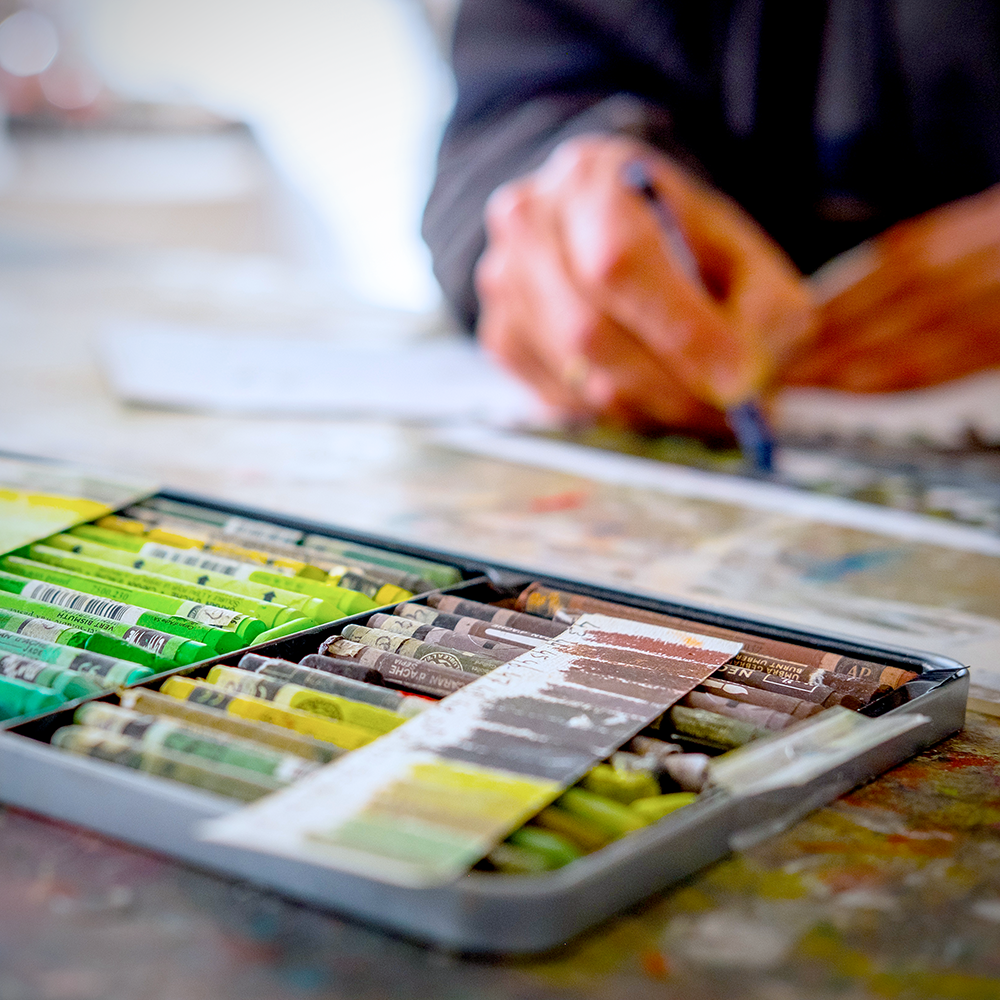
Expanding Your Crayon Art Palette
Years ago, crayon selections were limited, but today, you can buy crayons in a vast array of shades and hues.
To create a piece that truly pops, consider blending colors by layering melted crayon wax.
This technique allows for a gradient effect, which can add depth and dimension to your artwork.
Moreover, don't shy away from mixing different brands or types of crayons.
Each brand may have a unique melting point and pigment concentration, which can contribute to an interesting final texture.
Experimenting with these variables can lead to unexpected and delightful results.
Remember, the key to a successful crayon art project is to embrace the process of discovery and let your creativity flow through the vibrant colors you choose.
Personalizing Crayon Art for Gifts
Creating personalized crayon art can be a heartfelt way to show appreciation for a family member or friend.
By selecting colors and designs that resonate with the recipient's personality or interests, you can craft a unique piece that's all the rage in thoughtful gifting.
Utilize a hot glue gun to affix crayons in a pattern that spells out a name or forms a meaningful shape.
This not only adds a personal touch but also ensures the crayons are securely attached before the melting process begins.
In addition to the aesthetic appeal, incorporating elements that reflect a family member's favorite colors, hobbies, or even a special date can transform a simple crayon artwork into a cherished keepsake.
For example, you could create a series of crayon art pieces that depict important milestones or memories shared.
This level of personalization elevates crayon art from a fun project to a bespoke gift that captures the essence of a relationship or a special moment in time.
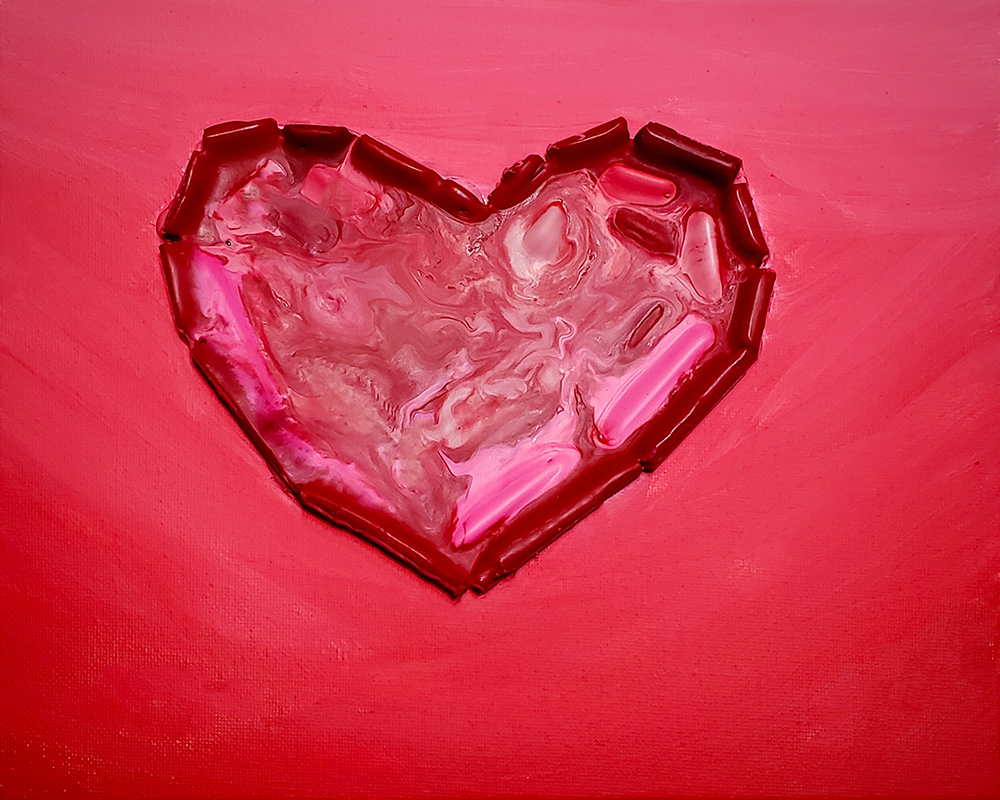
Innovative Framing Techniques for Crayon Art
Once your crayon masterpiece is complete, choosing the right framing technique can enhance its visual impact and ensure its longevity.
For a sleek, modern look, consider using painter's tape to create a clean border around your artwork before you begin the melting process.
This not only results in a neat edge but also protects the surrounding area from any wax splatters.
After the crayon wax has dried and the tape is removed, you'll be left with a crisp, professional-looking border that's ready for framing.
For those looking to add an extra layer of creativity to their display, think outside the traditional frame.
A shadow box, for instance, can add depth to your crayon art and turn it into a three-dimensional piece that stands out on any wall.
You can also experiment with different background materials, such as fabric or wood, to complement the texture and colors of the melted crayons.
By combining your crayon art with an innovative framing approach, you create a visually striking piece that's sure to draw attention and spark conversations.
Combining Crayon and Mixed Media Techniques
Crayon art need not be a standalone medium; it can be combined with various mixed media techniques to create truly unique pieces.
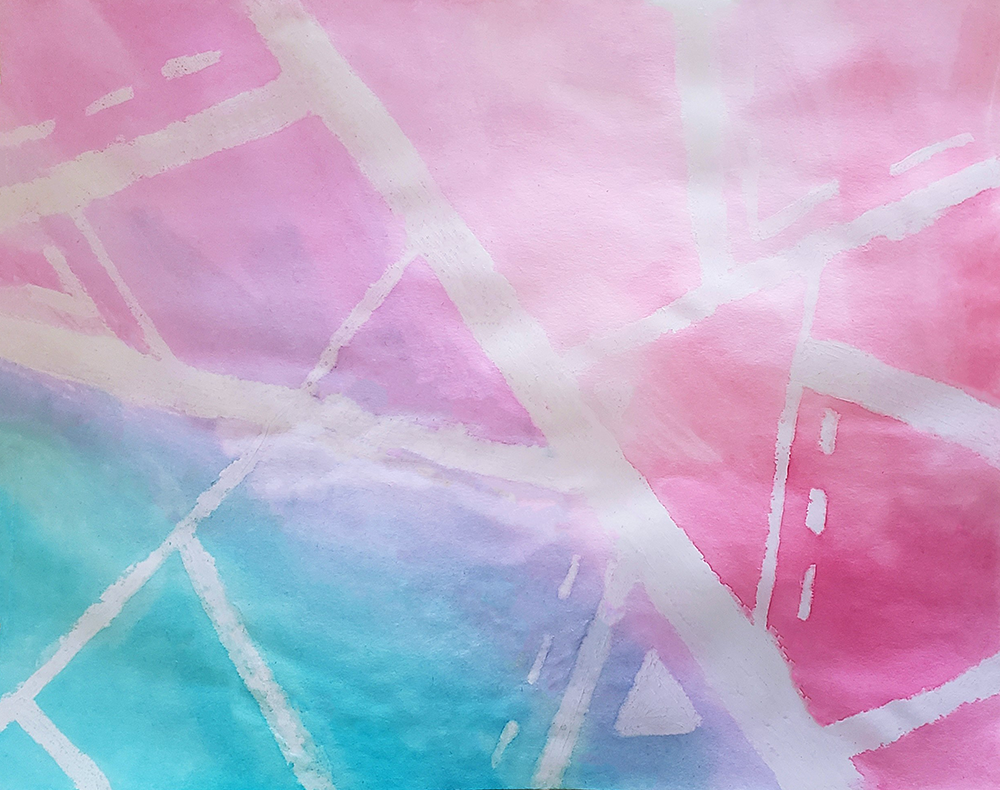
One such method involves incorporating painter's tape to mask off areas of the canvas before adding other media like acrylics, watercolors, or ink.
This approach can add depth and texture to your crayon art, as the wax's translucency interacts with the underlying layers in visually captivating ways.
By experimenting with different media, artists can discover new possibilities and push the boundaries of traditional crayon art.
For instance, a mixed media crayon artwork might begin with a watercolor wash, followed by the application of painter's tape in a geometric pattern.
After melting crayons over the taped area, the tape is removed to reveal the watercolor's delicate hues beneath the bold wax colors.
The juxtaposition of the two mediums can create a stunning visual effect, with the watercolor providing a soft background to the vibrant crayon wax.
This technique requires some trial and error to master the timing and interaction between mediums, but the results can be truly extraordinary.
Enhancing Crayon Art with Painter's Tape
Crayon art can be elevated to new levels of precision and creativity by incorporating painter's tape into your projects.
Painter's tape, known for its clean lines and easy removal, can be used to create sharp borders, geometric shapes, and intricate patterns.
By strategically placing the tape on your canvas before you begin melting your crayons, you can control where the wax flows and sets.
This technique allows for the creation of stunning, multi-colored backgrounds with crisp, defined foregrounds, adding depth and complexity to your artwork.
Using painter's tape is not only about creating straight lines; it's also an excellent tool for experimenting with negative space.
By applying tape in various shapes and peeling it off after the crayon wax has cooled, you can reveal the untouched canvas beneath, creating a striking contrast.
This method is particularly effective for artists looking to incorporate lettering or silhouette designs into their crayon art.
The tape acts as a resist, ensuring that the areas covered by it remain pristine and wax-free, showcasing the original hue and texture of the canvas.
Role of Painter's Tape in Layering Crayon Colors
Layering colors is a fundamental technique in crayon art, and painter's tape can play a crucial role in achieving depth and dimension.
When aiming to layer colors without blending them into one another, painter's tape can be used to isolate sections of your canvas.
By melting one color at a time and allowing it to dry before moving on to the next, you can create distinct layers that maintain their individuality.
This approach is particularly useful when working on landscapes or abstract pieces where color separation contributes to the overall visual impact.
Moreover, painter's tape can be used to protect already completed sections of your artwork from splatters or drips when adding new layers.
This is especially important when working with lighter colors that can easily be overshadowed by darker, more dominant hues.
By carefully applying and removing the tape, you can preserve the brightness and clarity of your colors, ensuring that each layer contributes to the vibrancy of the final piece.
This meticulous process highlights the transformative power of painter's tape in crafting visually compelling crayon art with rich, layered colors.
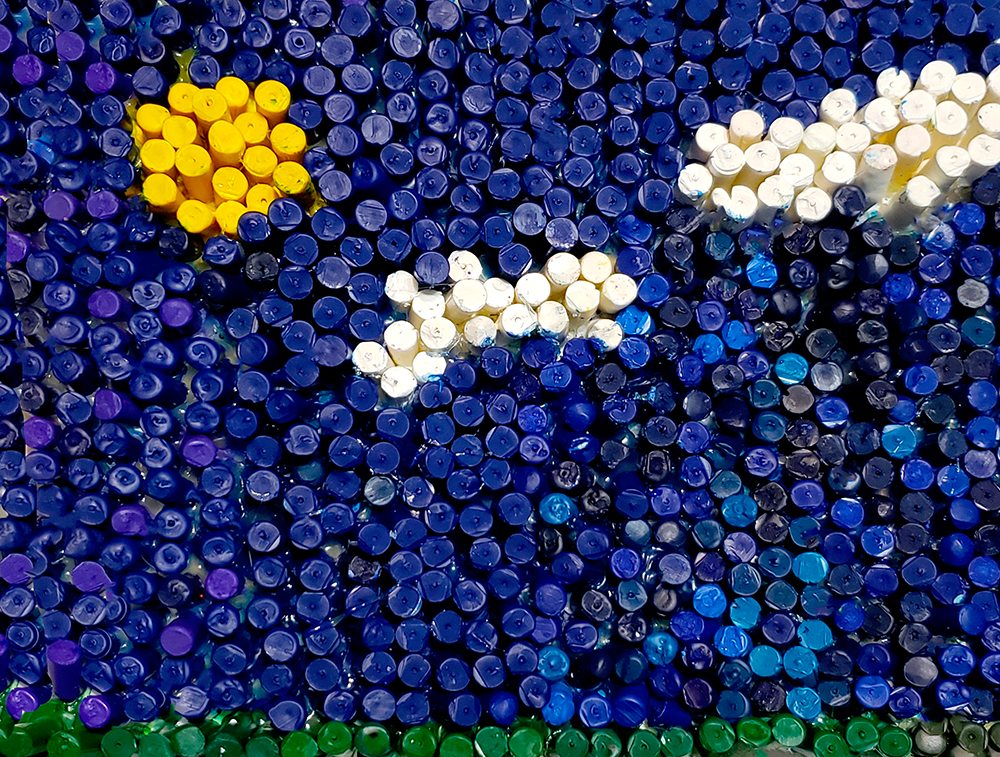
Crafting with Crayon Shavings
Crayon shavings are often overlooked, but they can be the star of your next crayon art project.
To create delicate shavings, simply use a sharpener or a knife (with safety precautions in place) to shave off thin layers of crayon pieces.
These shavings can then be strategically placed on one edge of your canvas or throughout, depending on your design.
Using a hot air gun, you can gently melt these shavings, causing them to spread and blend into beautiful, wispy patterns.
This technique is particularly effective for creating textured backgrounds or for adding intricate details to larger pieces.
The use of painter's tape can help to control where the melted crayon wax flows, allowing for sharp lines and clean edges.
Whether you're looking to add a subtle touch or make a bold statement, crayon shavings offer a unique medium to explore within your crayon art repertoire.
Finishing Touches: Refining Your Artwork
Once the wax has cooled, you can add finishing touches to your crayon artwork.
This might include additional layers of crayon, painting details, or even incorporating other media.
The final steps are where your personal style really shines through.
Sealing and Protecting Your Crayon Art
To ensure the longevity of your crayon art, consider sealing it with a clear finish.
This will protect the wax from dust and damage.
Be sure to use a sealant that is compatible with wax and apply it according to the manufacturer's instructions.
Displaying Your Melted Crayon Art
When your piece is complete, it's time to show it off.
Choose a spot in your home that gets plenty of light to highlight the vibrant colors.
If you plan to hang your artwork, make sure the frame or mounting method can support the weight of the canvas and wax.
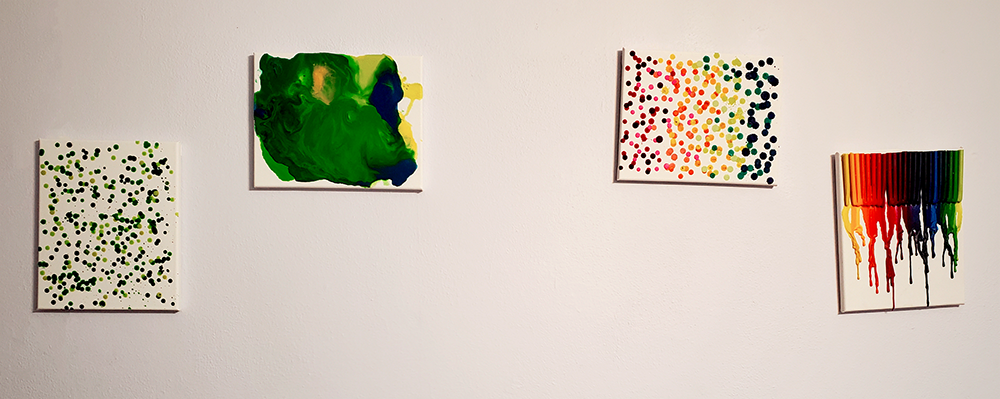
Creative Uses for Crayon Art
Crayon art isn't just for hanging on the wall.
It can be used to create unique gifts, party favors, or educational tools.
The versatility of crayon art makes it a great idea for personalizing items for friends and family.
Incorporating Crayon Art into Home Decor
Melted crayon art projects can add a pop of color and personality to any room.
Consider creating a series of pieces to display as a gallery wall, or use crayon art as an accent piece in a child's bedroom or play area.
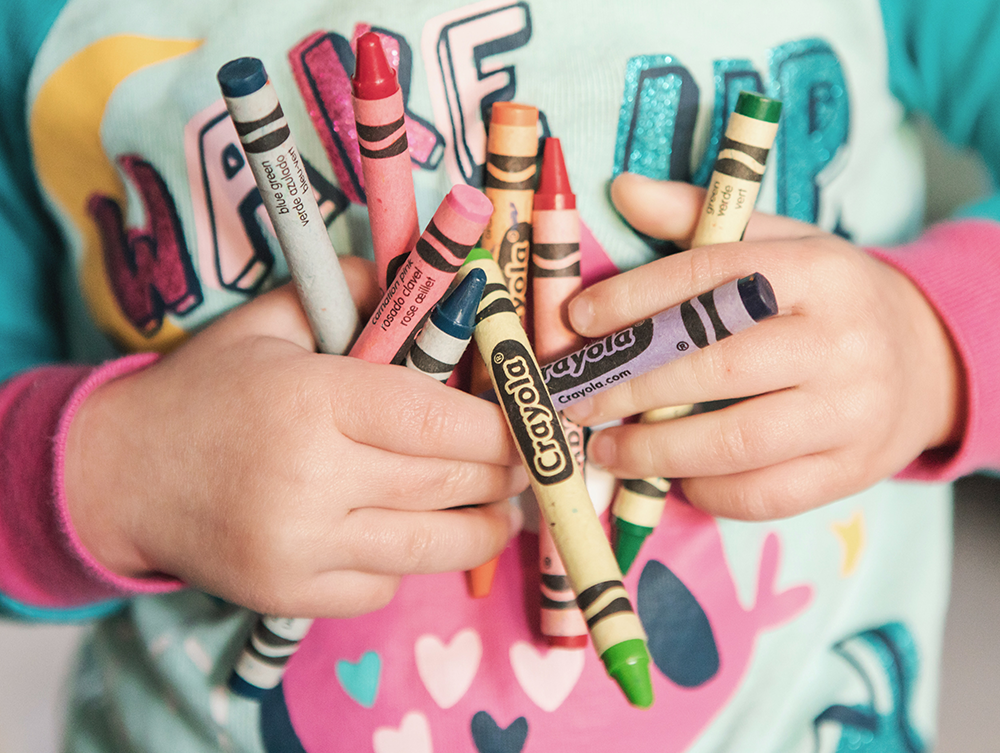
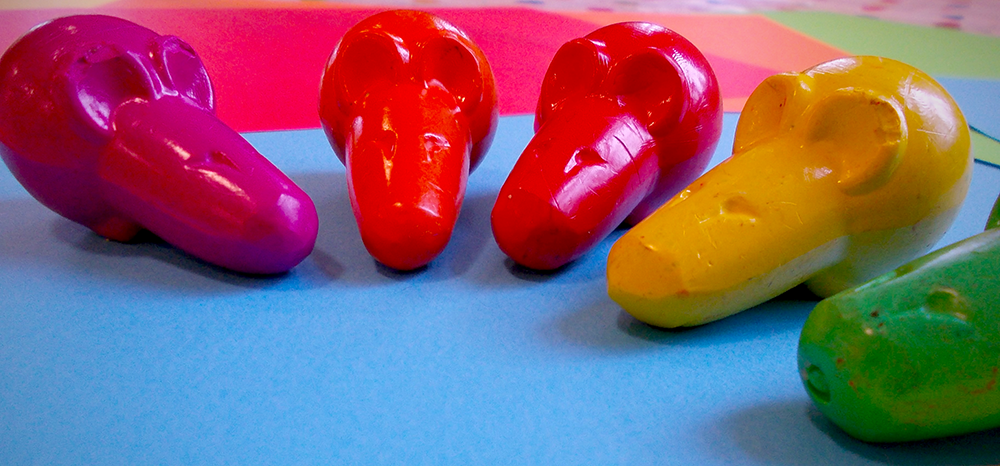
Crafting with Old Crayons
Don't throw away those old crayons!
Melted crayon crafts are a fun way to recycle and repurpose them.
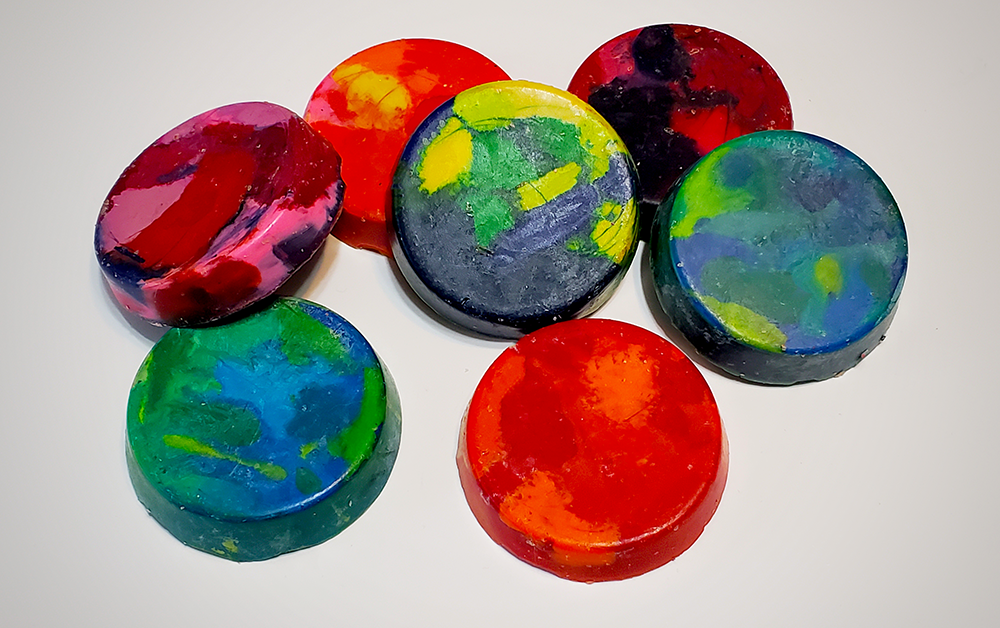
You can create shapes, blend colors, or even make new crayons by melting down the old ones and pouring them into molds.
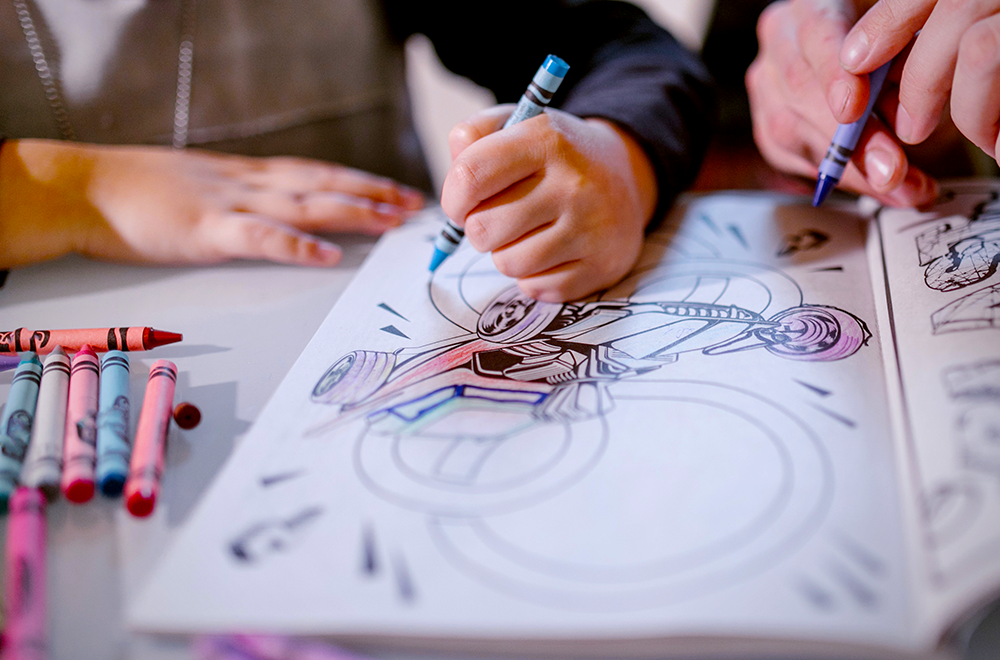
Hosting a Crayon Art Party
Gather friends and family for a crayon art party.
It's a great way to share the experience and see how different people approach the same project.
Provide supplies and let everyone's creativity take the lead.
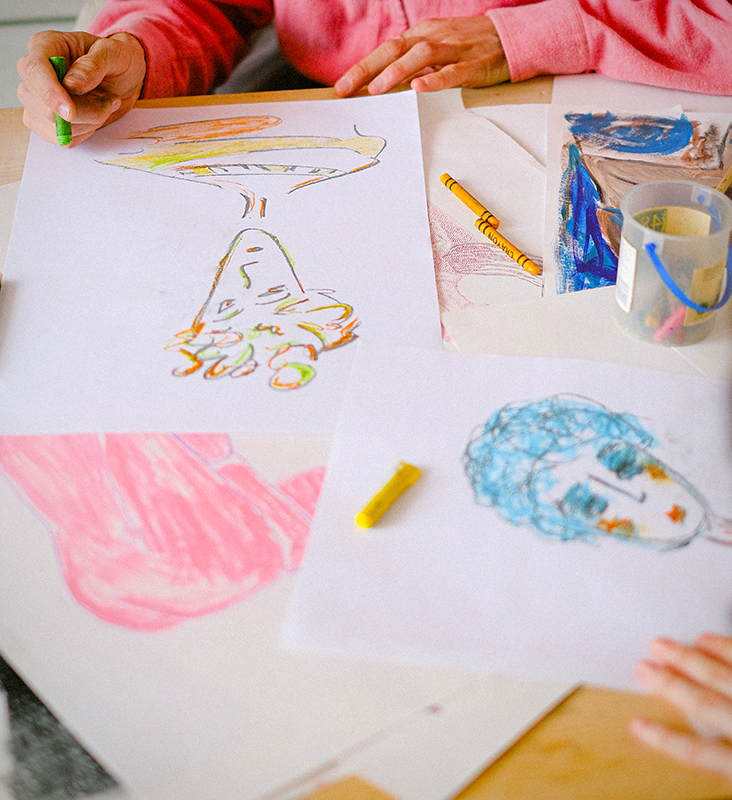
Educational Opportunities with Crayon Art
Crayon art can be a valuable educational tool, teaching children about color theory, heat and melting points, and artistic expression.
Incorporate crayon projects into lessons or use them as a hands-on activity to reinforce learning.
Advanced Techniques for Experienced Artists
If you're looking to take your crayon art to the next level, explore advanced techniques like layering melted wax, carving into the wax once it's cooled, or using stencils to create intricate designs.
The more you experiment, the more unique your art will become.
Troubleshooting Common Crayon Art Issues
Art is an adventure, a journey through creativity where every mishap is a potential masterpiece waiting to be discovered.
When it comes to crayon art, the vibrant waxy colors can sometimes have a mind of their own, leading to a few common issues that can turn your tranquil art session into a frantic puzzle.
Sometimes things don't go as planned.
If you encounter issues like uneven melting or unwanted color mixing, don't worry.
There's rarely a wrong way to create art, and these "mistakes" can lead to unexpected and beautiful results.
So, let's dive into the colorful world of crayon art and troubleshoot those pesky problems, transforming them into unique features that will make your artwork stand out.
With these tips and tricks, you'll not only salvage your creation but also add a touch of unexpected beauty to it.
- Uneven Melting Madness
When you're aiming for that smooth, melted crayon look and end up with a lumpy mess, it can be frustrating. The key to even melting is consistent heat distribution.
If you're using a hairdryer, keep it moving in a sweeping motion rather than focusing on one spot.
For oven-based melting, make sure your crayons are similar in size and brand, as different compositions melt at varying rates.
Also, preheat crayons on a warming tray to start the melting process evenly.
- Great Color Mix-Up
Accidental color mixing can lead to muddy hues that weren't part of your vision.
To prevent this, organize your crayons by color groups before melting.
Use barriers like tape or cardboard to separate areas where you don't want colors to blend.
If colors do mix, embrace it and add a swirl or marbling effect to incorporate the new shade creatively.
- Wax Buildup Woes
Thick layers of wax can flake off or overshadow finer details.
To combat this, scrape away excess wax with a craft knife or use a heat source to gently re-melt and smooth out the buildup.
Layering thin applications of crayon and melting them incrementally can also prevent this issue.
- Stubborn Crayon Marks
If you're finding it hard to get vibrant, solid crayon marks, the culprit might be low-quality crayons or a surface that's too slick.
Opt for higher-quality crayons with a higher wax content for better coverage.
Roughening the surface with fine-grit sandpaper can also help the crayon transfer more pigment.
Layer crayon over a base of similar-colored acrylic paint for intensified color, and try a solvent like turpentine to dissolve and spread the crayon for a painterly effect.
- Fading Features
Over time, crayon colors can fade, especially if exposed to sunlight.
To preserve the vibrancy of your crayon art, display it away from direct sunlight or use a UV-protective frame.
You can also apply a UV-resistant sealant spray to the artwork itself.
Choose crayons with high-quality pigments known for their lightfastness, and incorporate fading into your art concept, allowing the piece to evolve over time.
Remember, every "mistake" in crayon art is just a step towards a unique creation.
With these troubleshooting tips, you'll not only solve common crayon art issues but also discover new techniques to enhance your artwork.
So, grab those crayons and let the colors flow—your next masterpiece is just a happy accident away.
Colorful Crayon Creativity
As we wrap up our colorful journey through the whimsical world of crayon art, it's clear that this medium is much more than child's play.
Crayon art is a vibrant and accessible medium that offers endless possibilities for creativity.
By embracing the tips and techniques from this guide, you're well on your way to creating melted crayon masterpieces that sparkle with originality and charm.
Safety comes first, of course, but once that's covered, the only limit is your imagination.
Dive into the rainbow of possibilities, play with the wax and heat to discover new effects, and watch as your art becomes a beacon of brightness and creativity.
Whether it's a personal project, a heartfelt gift, or an educational experience, crayon art promises to infuse your world with a spectrum of joy.
So, go ahead, let those colors run wild, and remember: every stroke, every melt, every blend is a step towards something truly beautiful!
Crayon FAQs
Crayons are the quintessential childhood art supply, sparking joy and creativity in people of all ages.
But as simple as they are to use, questions often arise about their care, customization, and even removal.
Whether you're a parent, teacher, or an artist looking to explore the vibrant world of crayon art, you've likely encountered a few crayon conundrums along the way.
Fear not, for we've compiled some frequently asked questions to address your most pressing inquiries.
From unwrapping techniques to melting methods, we're here to ensure your colorful creations come to life with ease and your crafting sessions remain as mess-free as possible.
Let's dive into some of the most common questions and provide you with the knowledge to make your crayon experience as smooth and enjoyable as the waxy wonders themselves.
What is the best way to remove crayon wrappers?
Soaking crayons in warm water for a few minutes can help loosen the wrappers, making them easier to peel off. Alternatively, you can use a craft knife to carefully slit the wrapper and remove it.
Can I use a blow dryer instead of a heat gun for melting crayons?
Yes, a blow dryer can be used to melt crayons. It typically has a lower setting than a heat gun, which gives you more control and reduces the risk of overheating the wax.
How do I prevent wax from splattering everywhere when melting crayons?
To minimize wax splatters, start with a low heat setting and gradually increase as needed. Use a shield, like a piece of cardboard, to direct the wax onto the canvas and protect your surroundings.
Eager to see and create some crayon art? Check out BlackBean CMS' video!
Want even more content about creativity and art?
Be sure to check out all of our creative chronicles!
Love crayons?
Check out some of our other articles:
-How do you make easy crayons?
-What are the two main ingredients to make a crayon?
-What crayons do professionals use?
-Who is the most famous crayon artist?