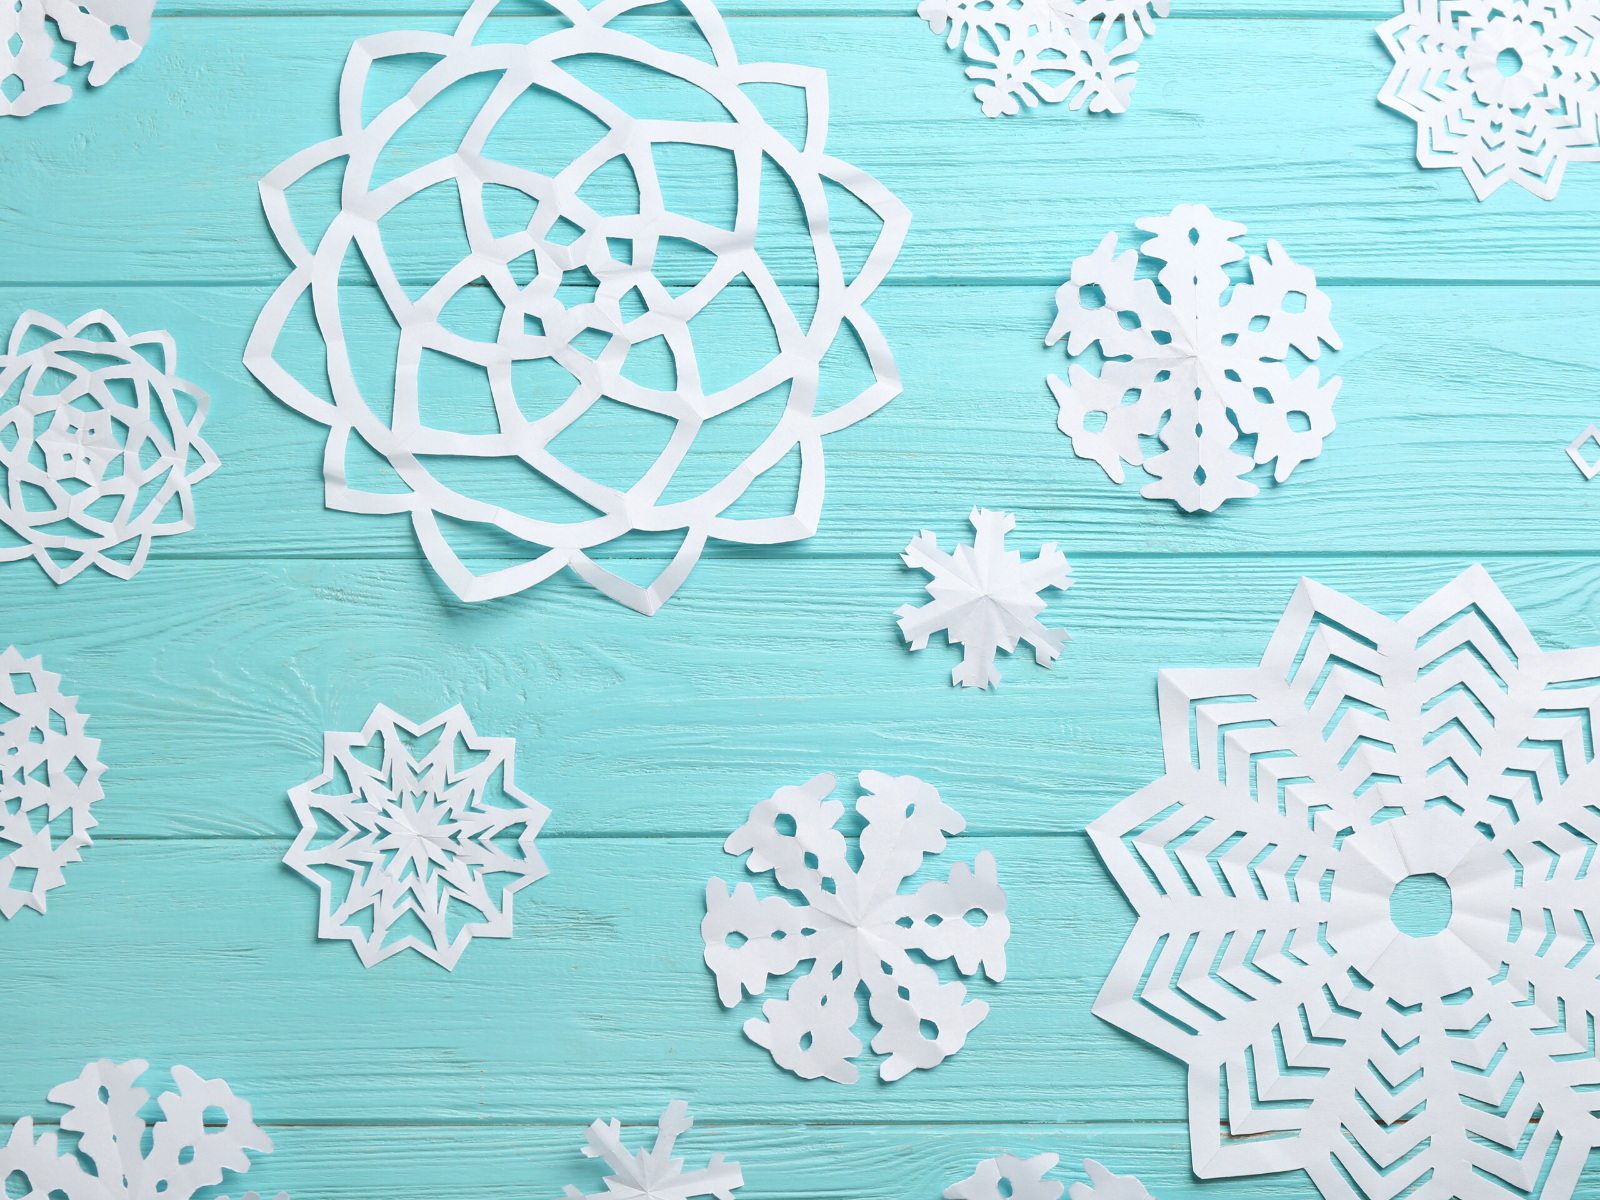
Snowflakes are one of the most beautiful things in nature, and paper snowflakes are the perfect way to get into the holiday spirit!
Every snowflake is different, and they come in all shapes and sizes.
Some people think that making paper snowflakes is difficult, but it's actually quite easy!
This simple tutorial will show you how to make beautiful paper snowflakes that will add a touch of festive charm to any room.
Whether you're decorating for Christmas, Hanukkah, or winter solstice, these paper snowflakes are sure to brighten up your home.
With this beginner's guide, you'll be churning out beautiful paper snowflakes in no time.
So, grab some paper and get ready to celebrate!

What Are Paper Snowflakes?
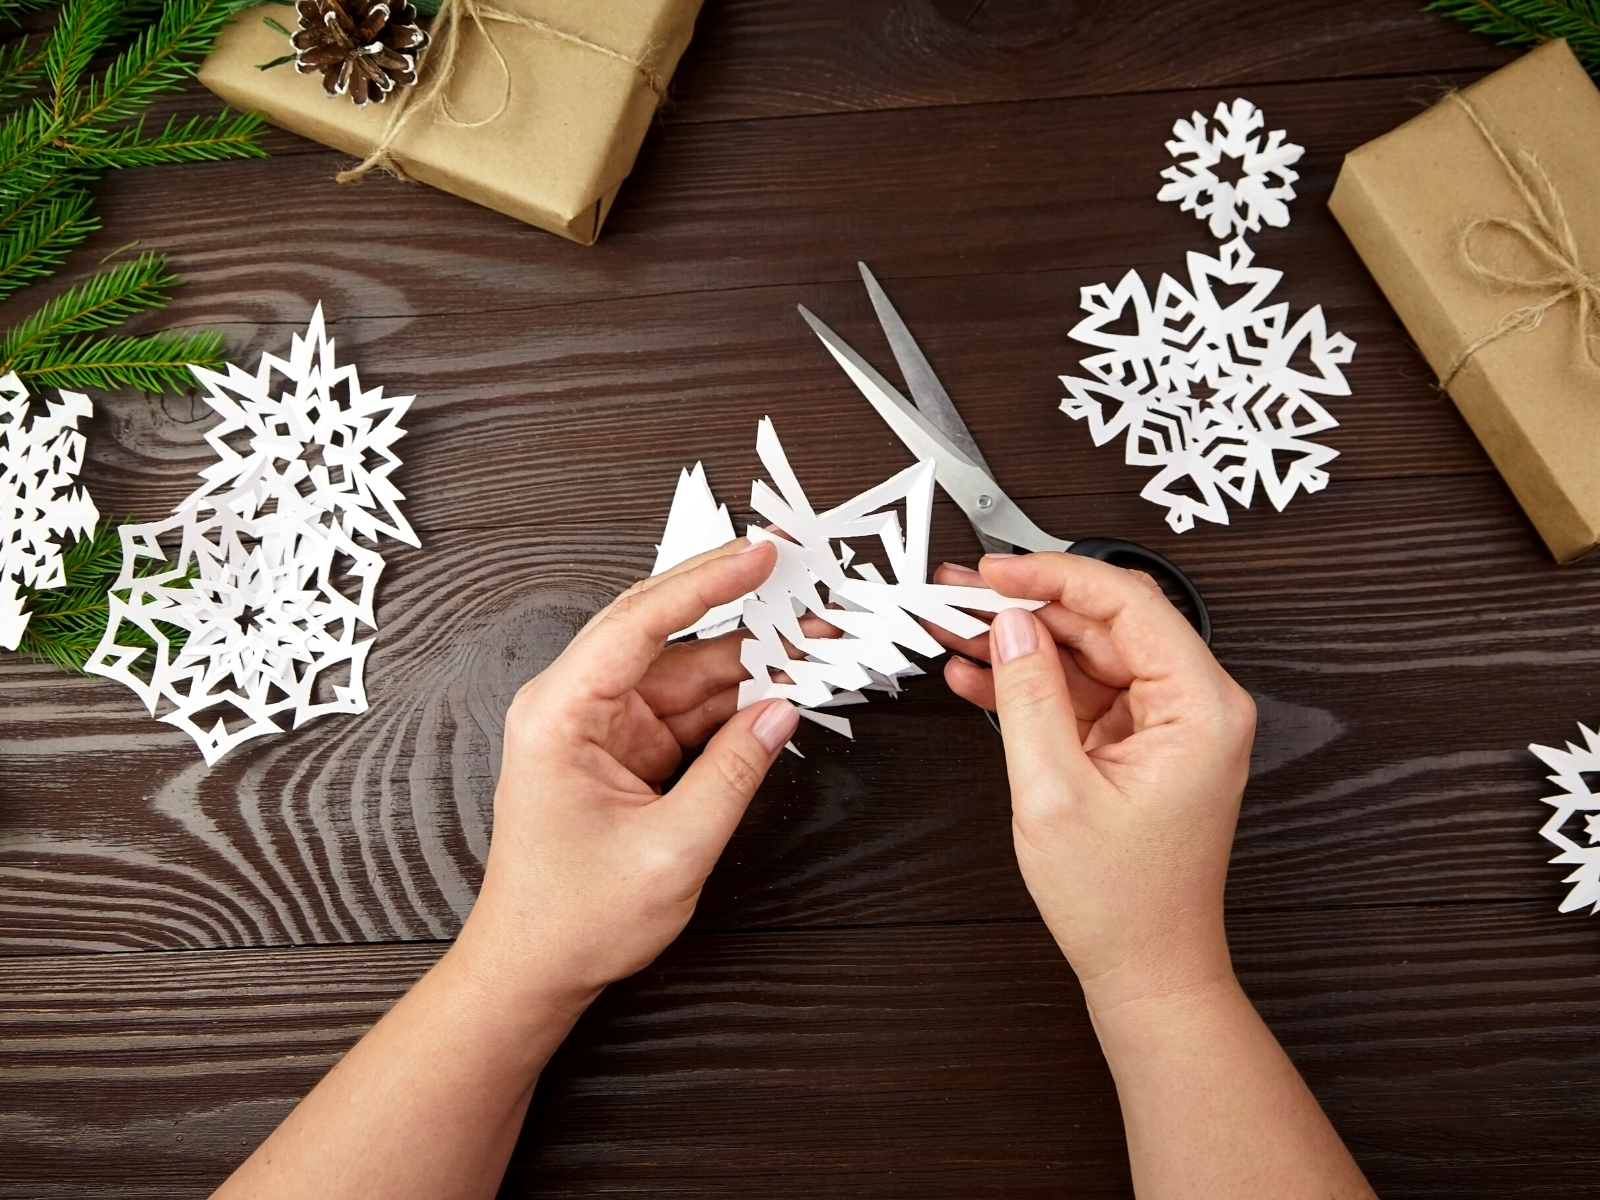
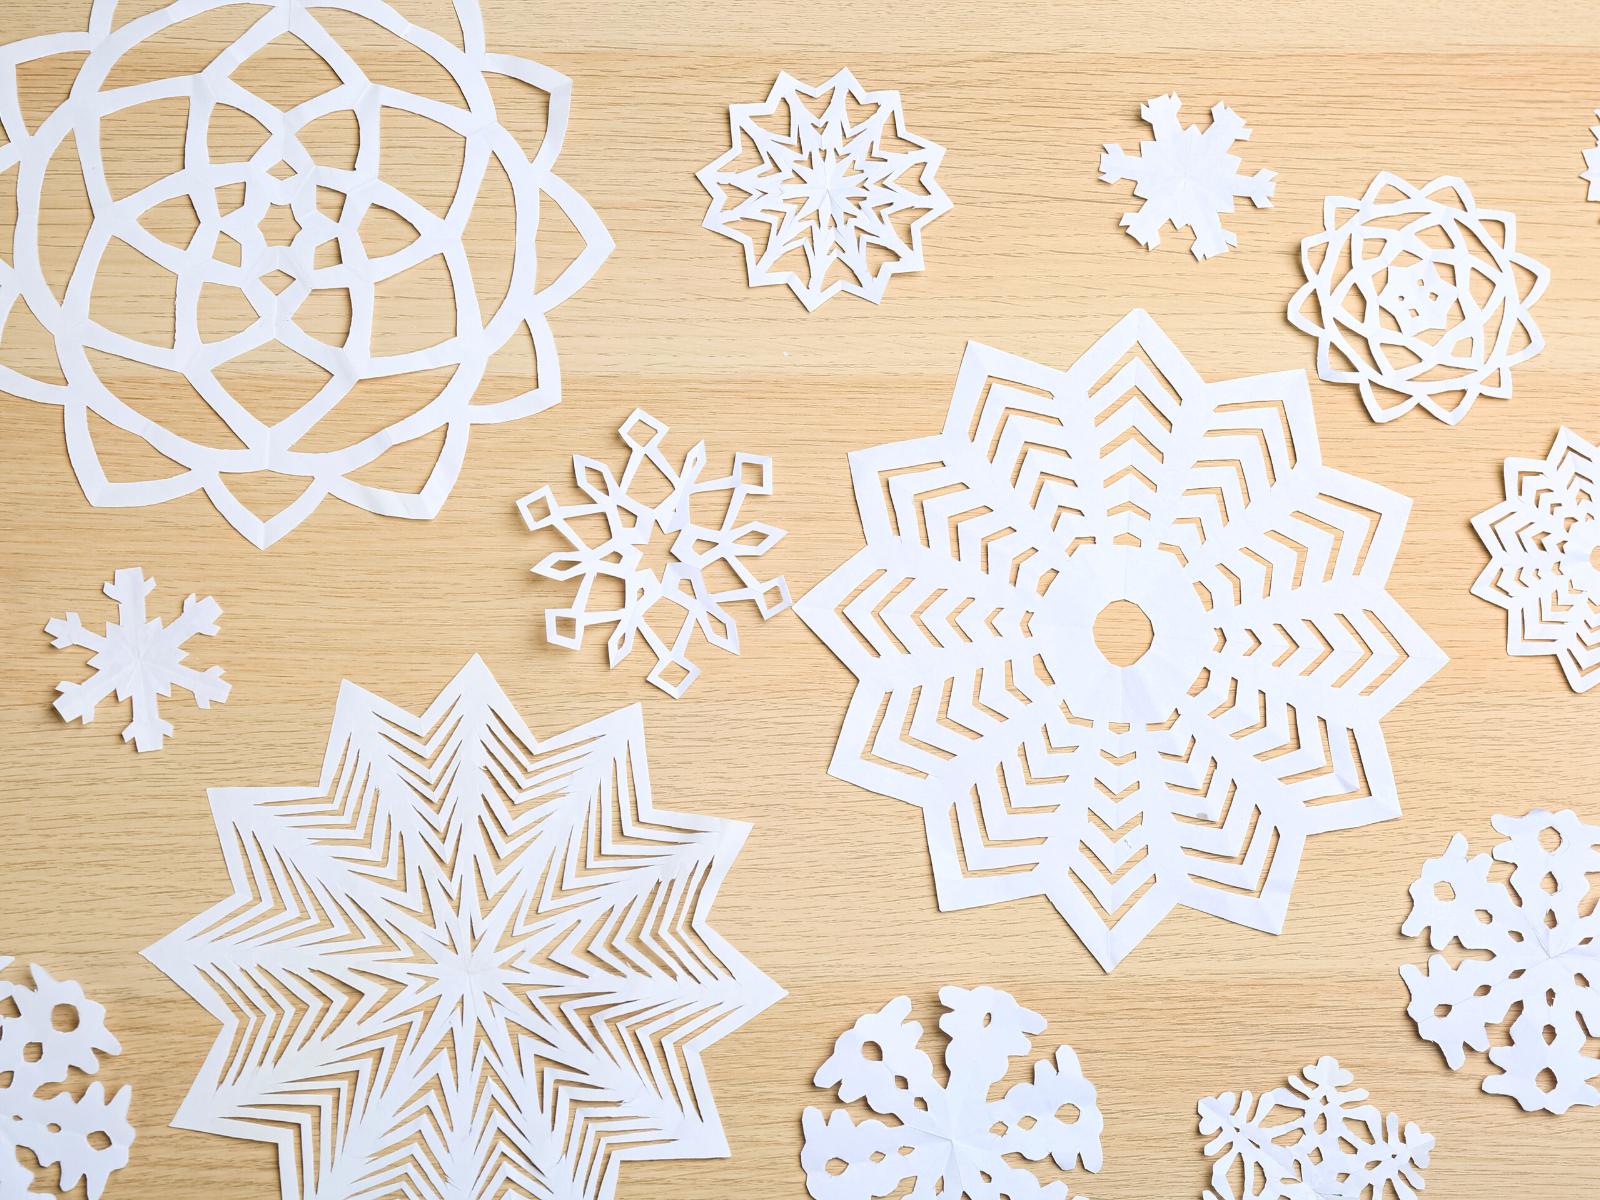
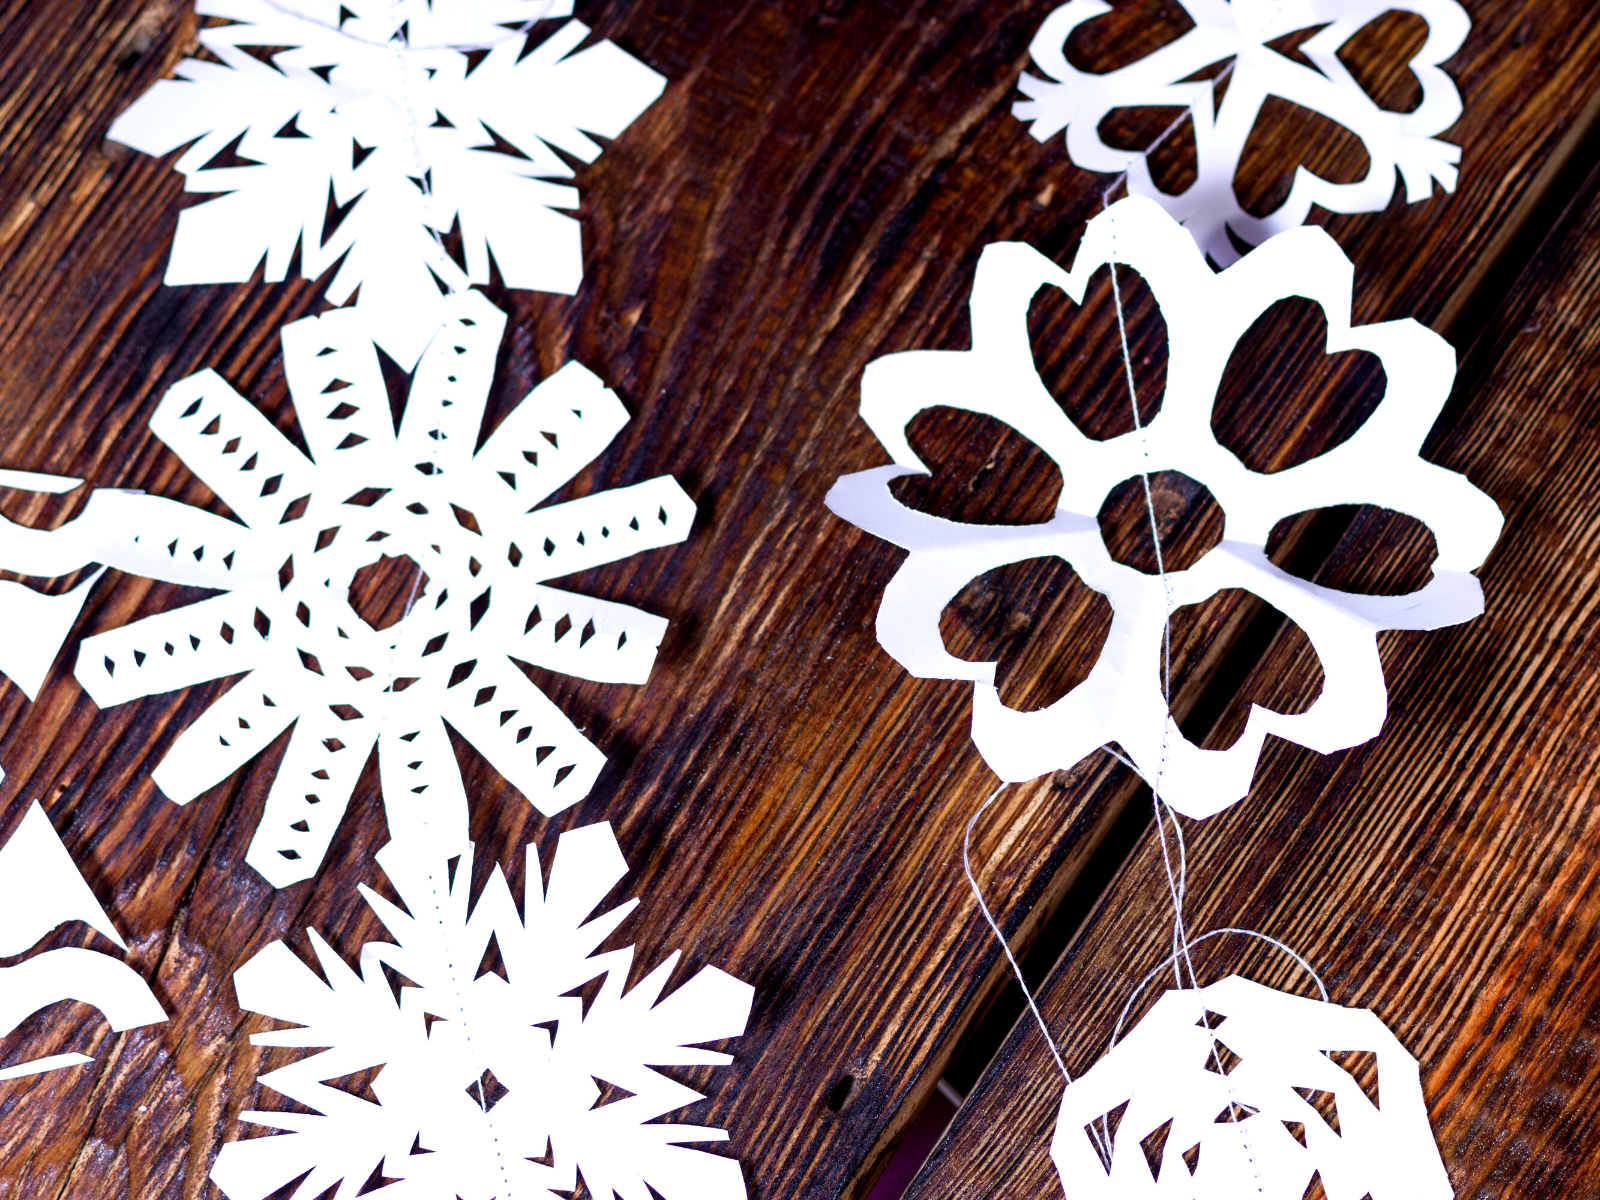
Paper snowflakes are a simple paper craft that involves simply folding pieces of paper that are then cut into intricate shapes and designs.
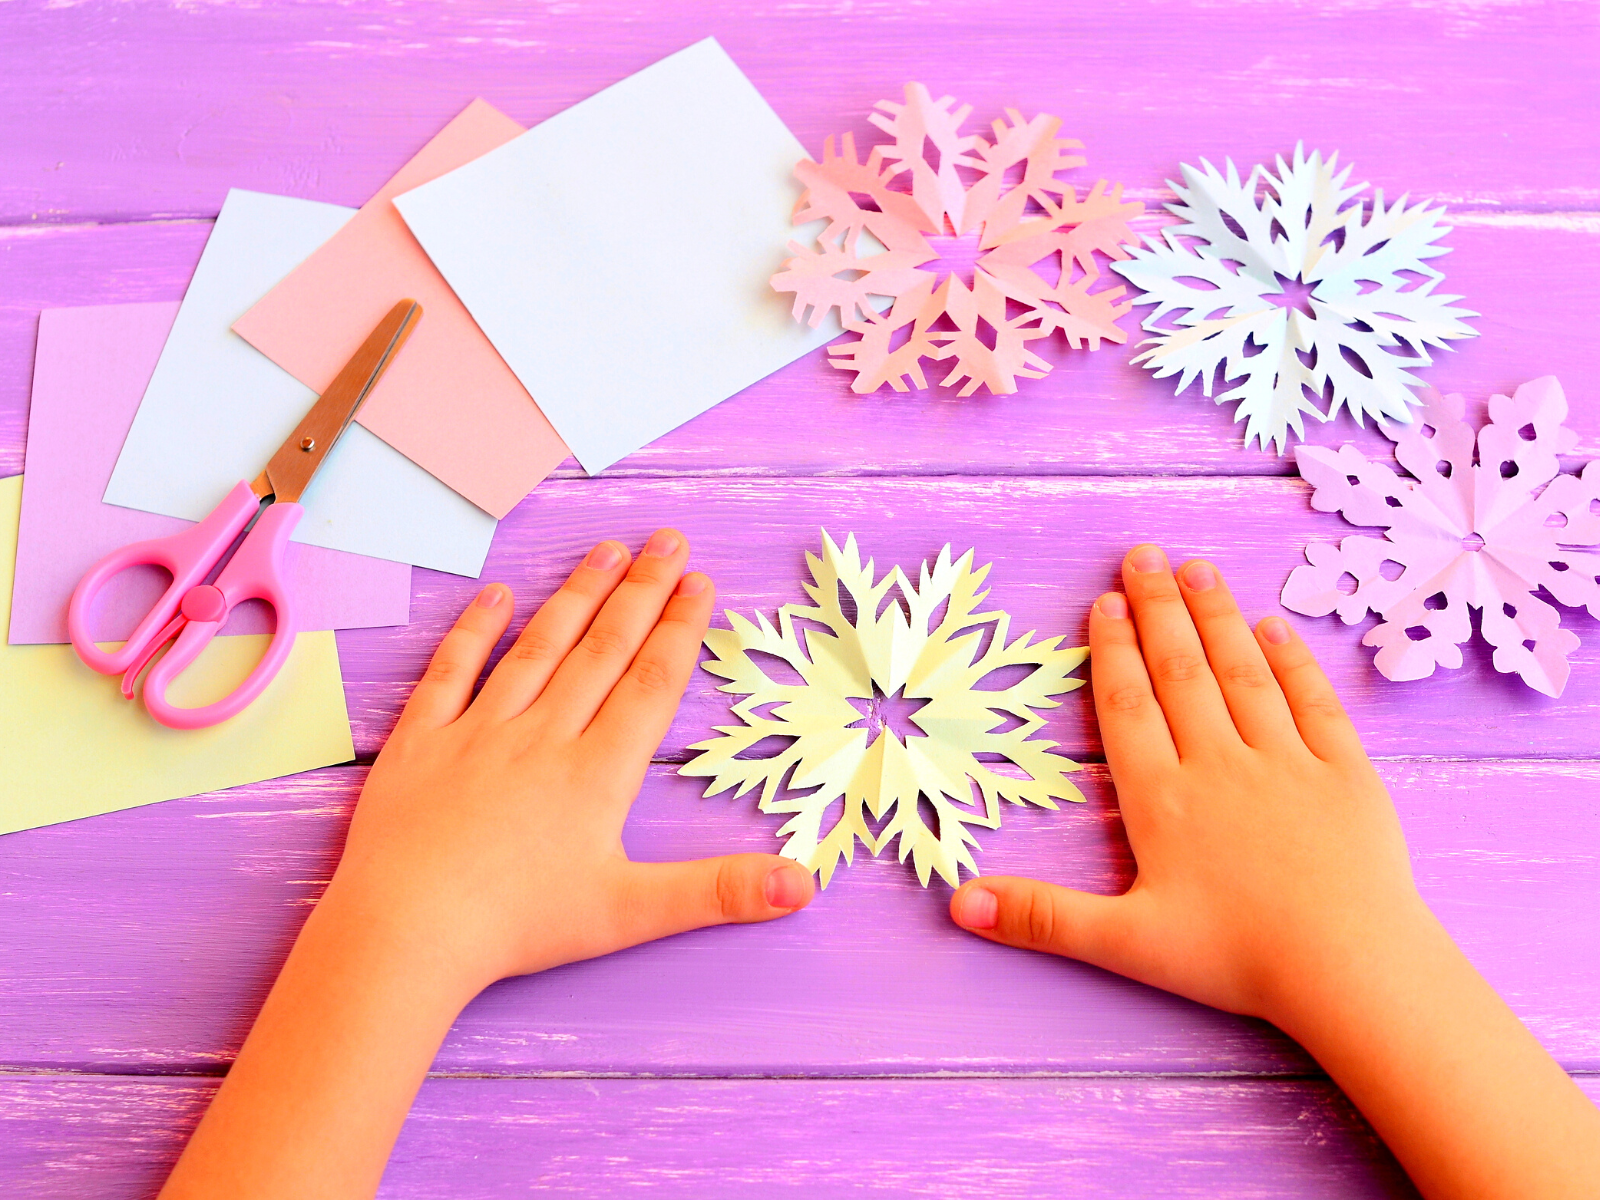
They are usually white, but you can use different colors or even patterned paper.
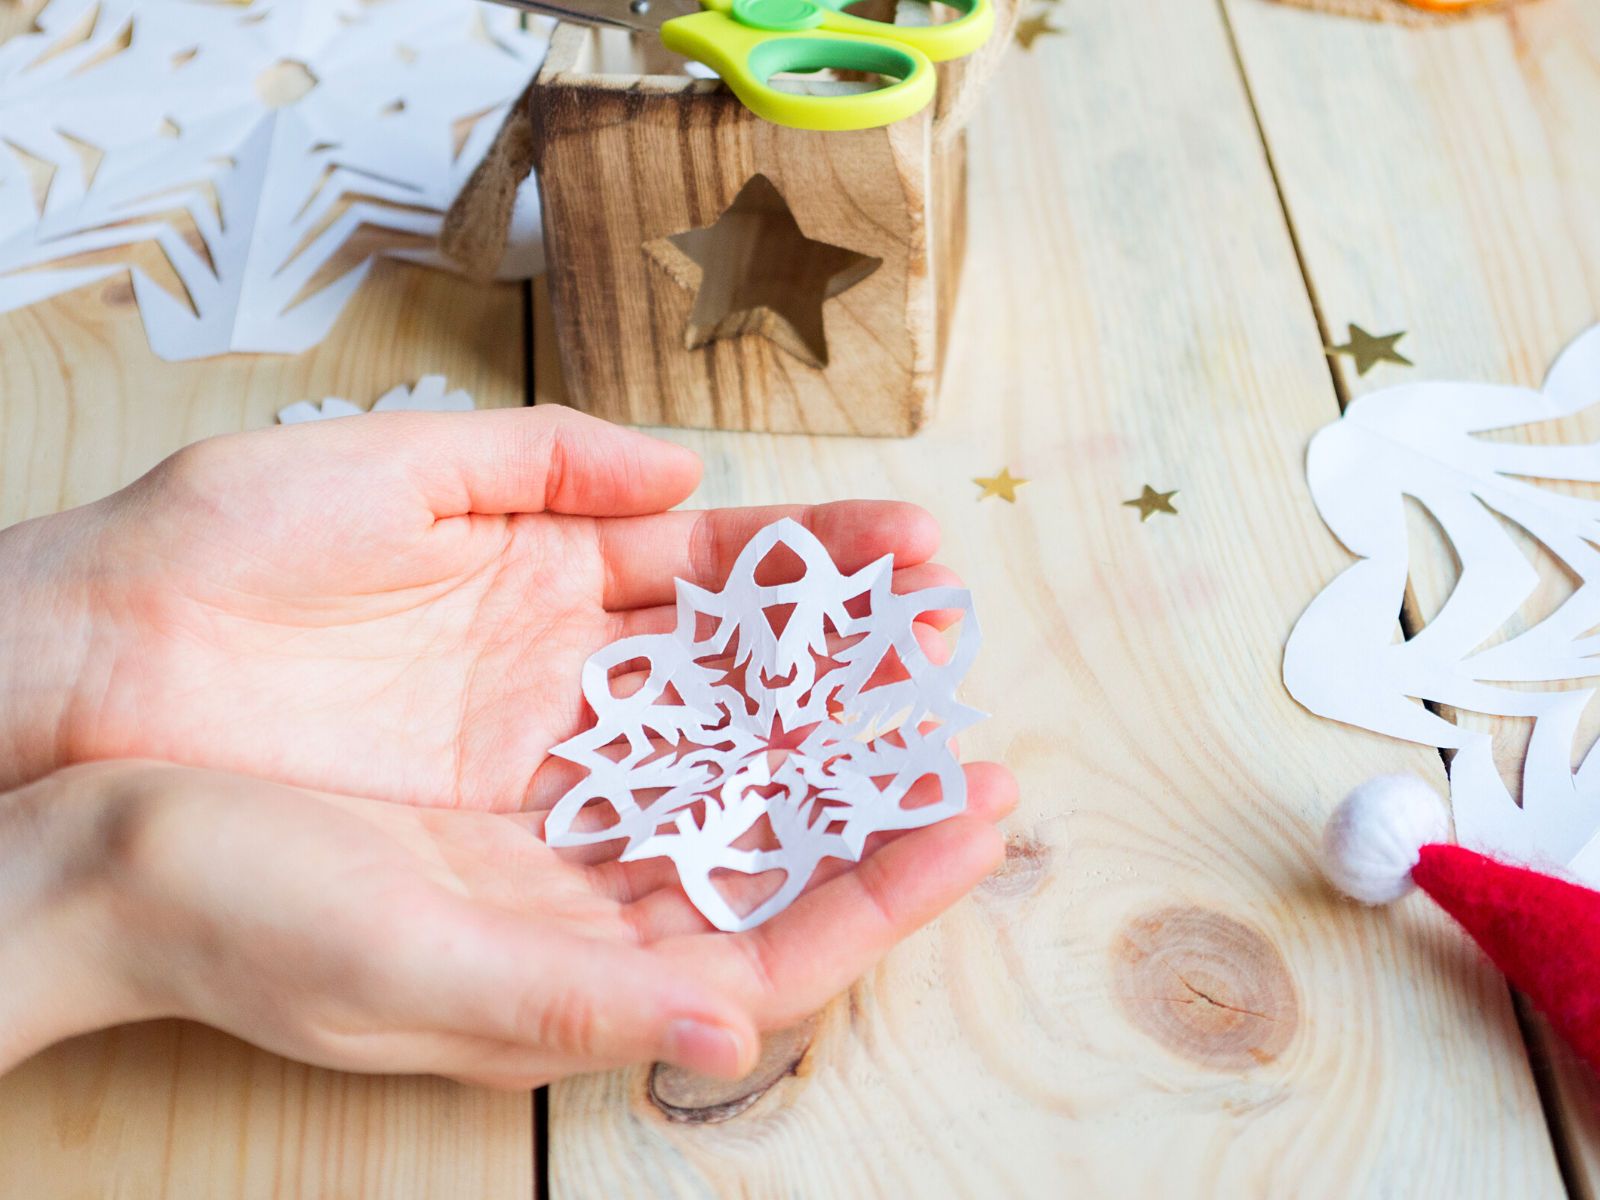
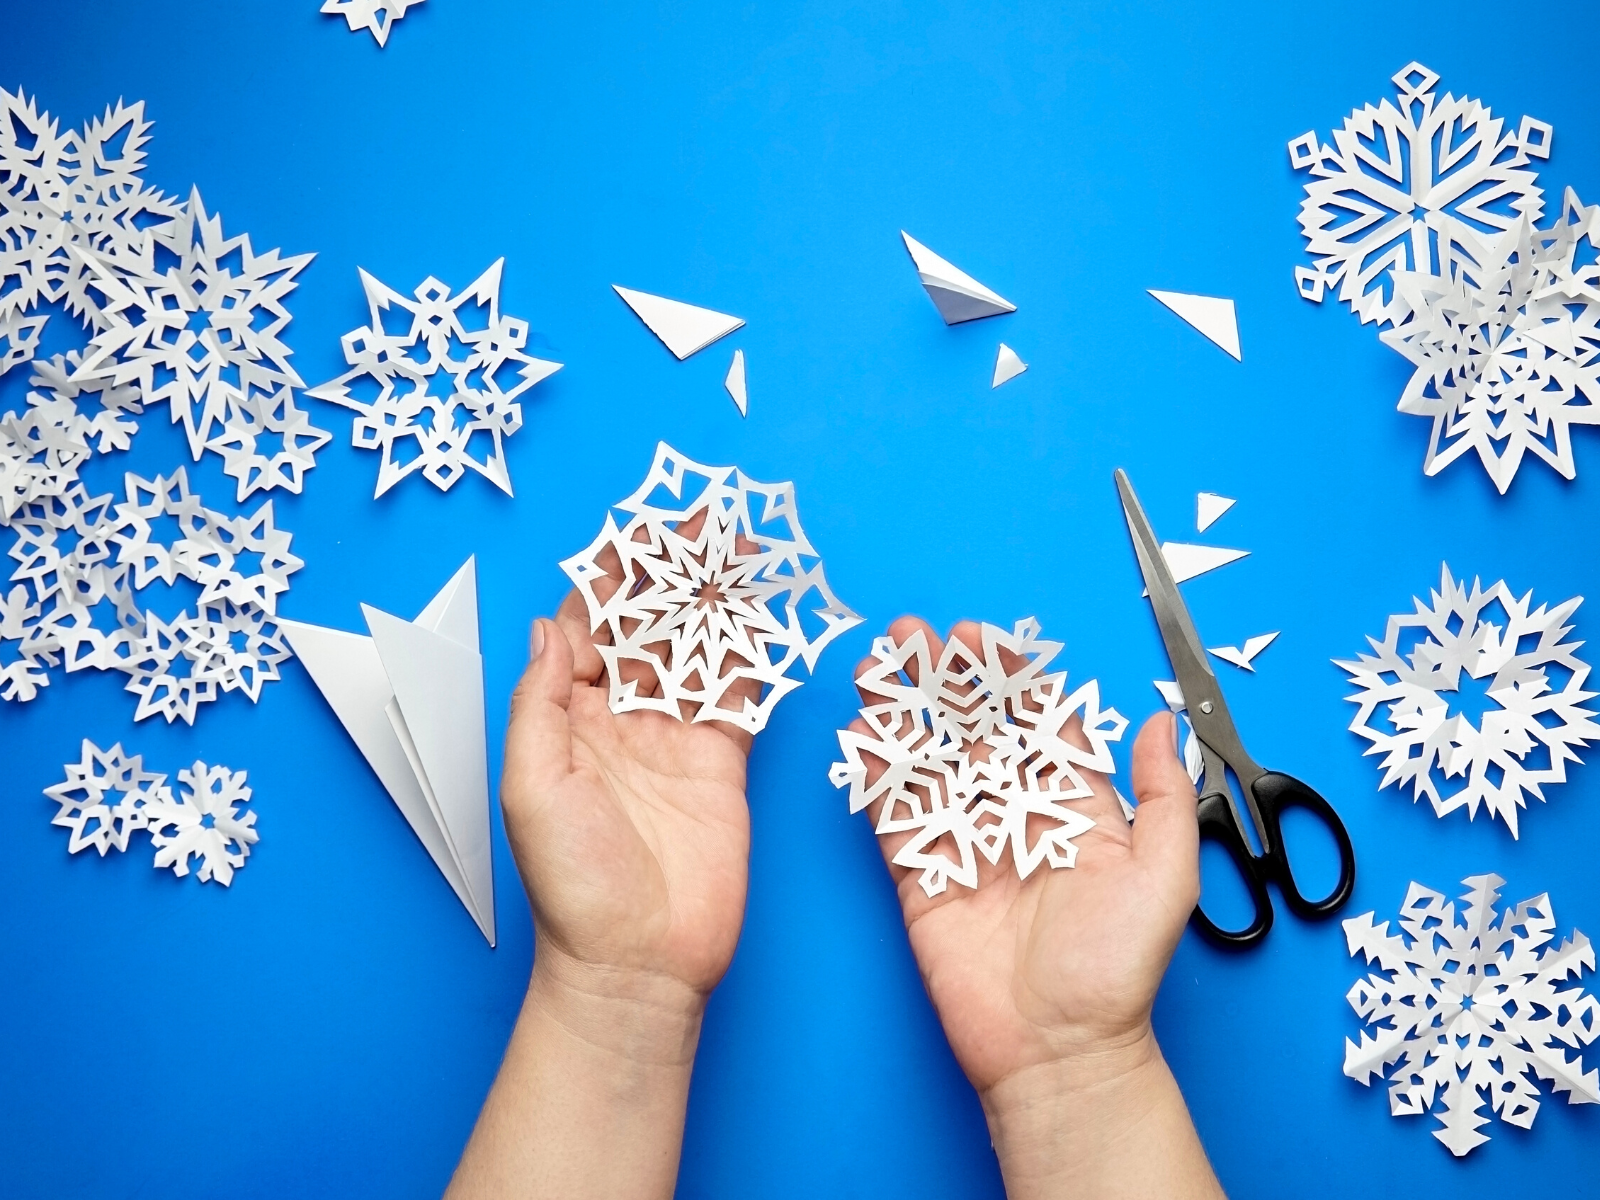
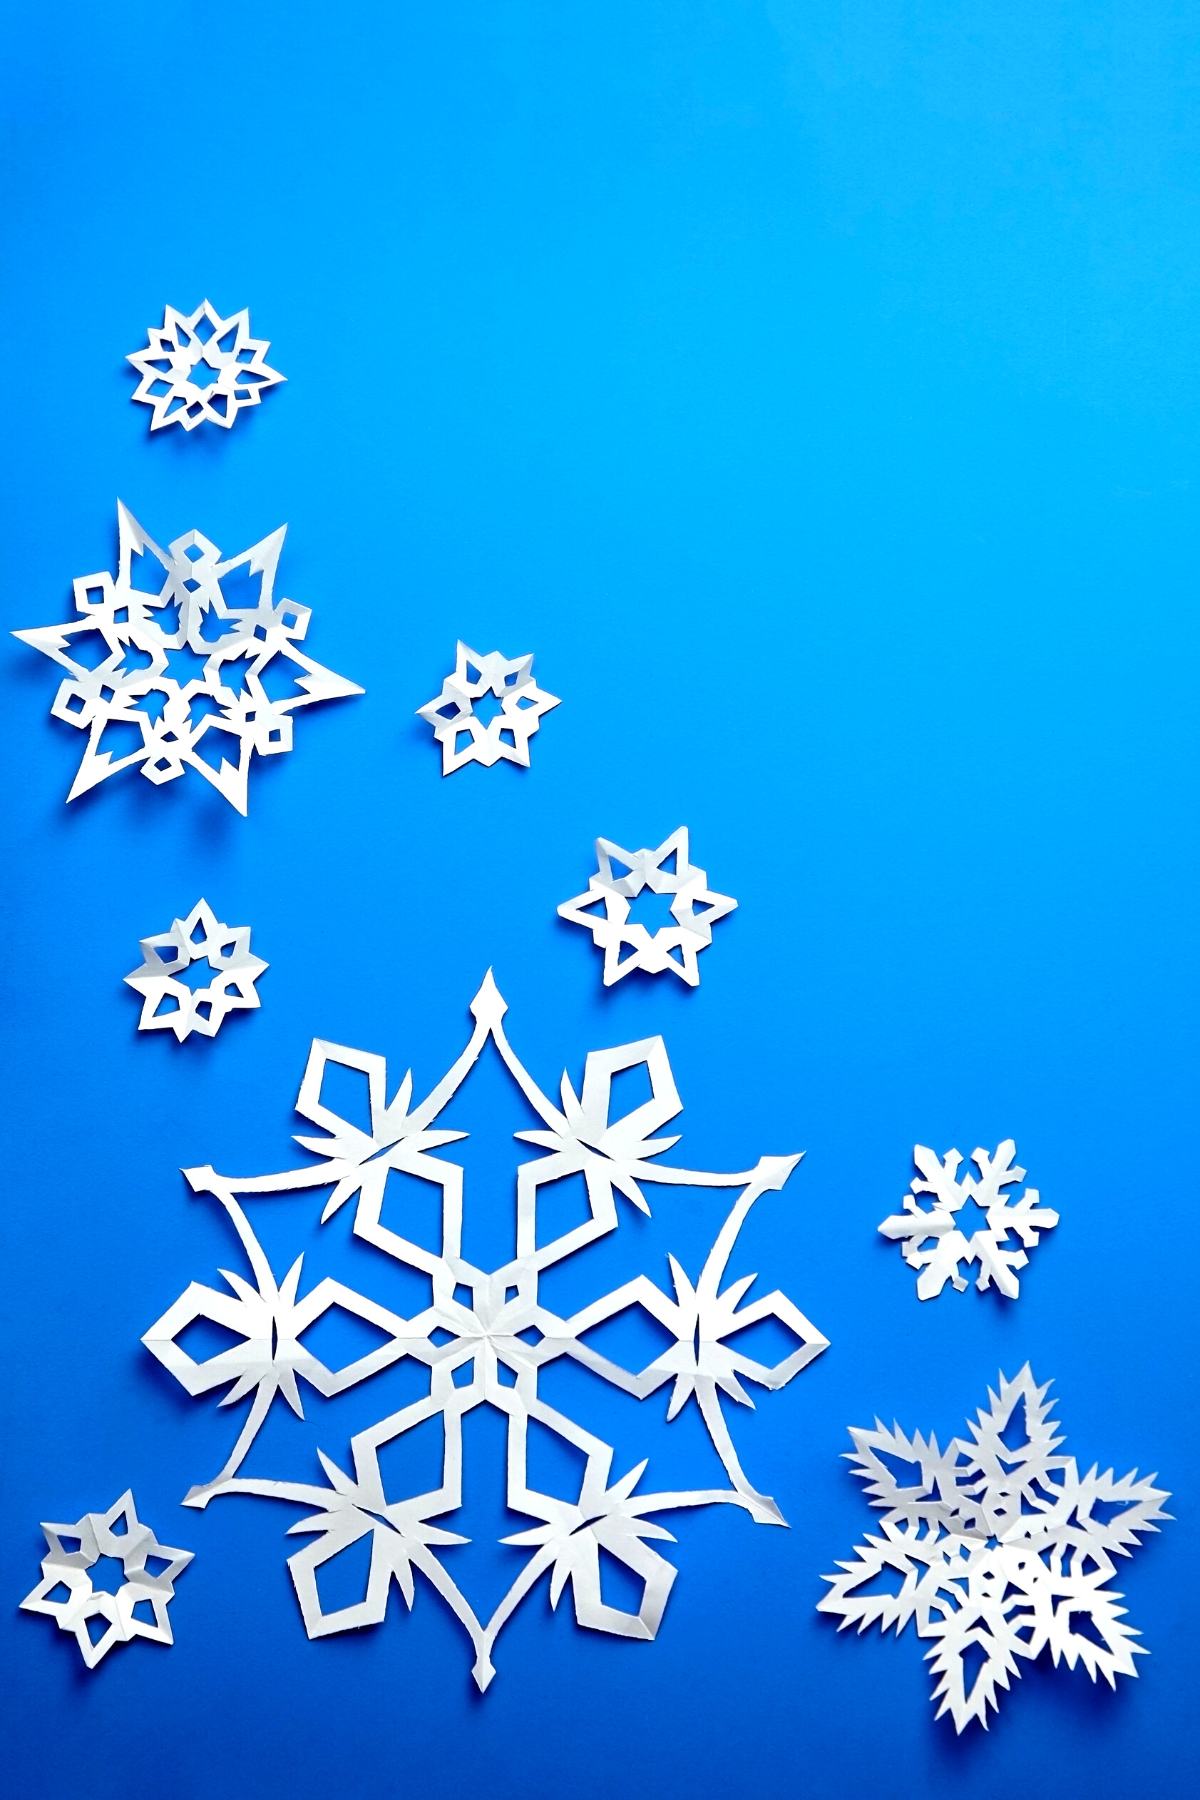
The beauty of paper snowflakes is that each one will be unique with no two snowflakes being the same, just like real snowflakes!
Making Paper Snowflakes
Paper snowflakes are surprisingly easy to make, even for beginners.
Similar to origami, paper airplanes, and paper sculptures, these snowflakes are a great activity to get you started!
All you need is a few simple materials and a bit of patience.
Once you get the basic technique down, you'll be able to create beautiful snowflakes in no time.
What You'll Need
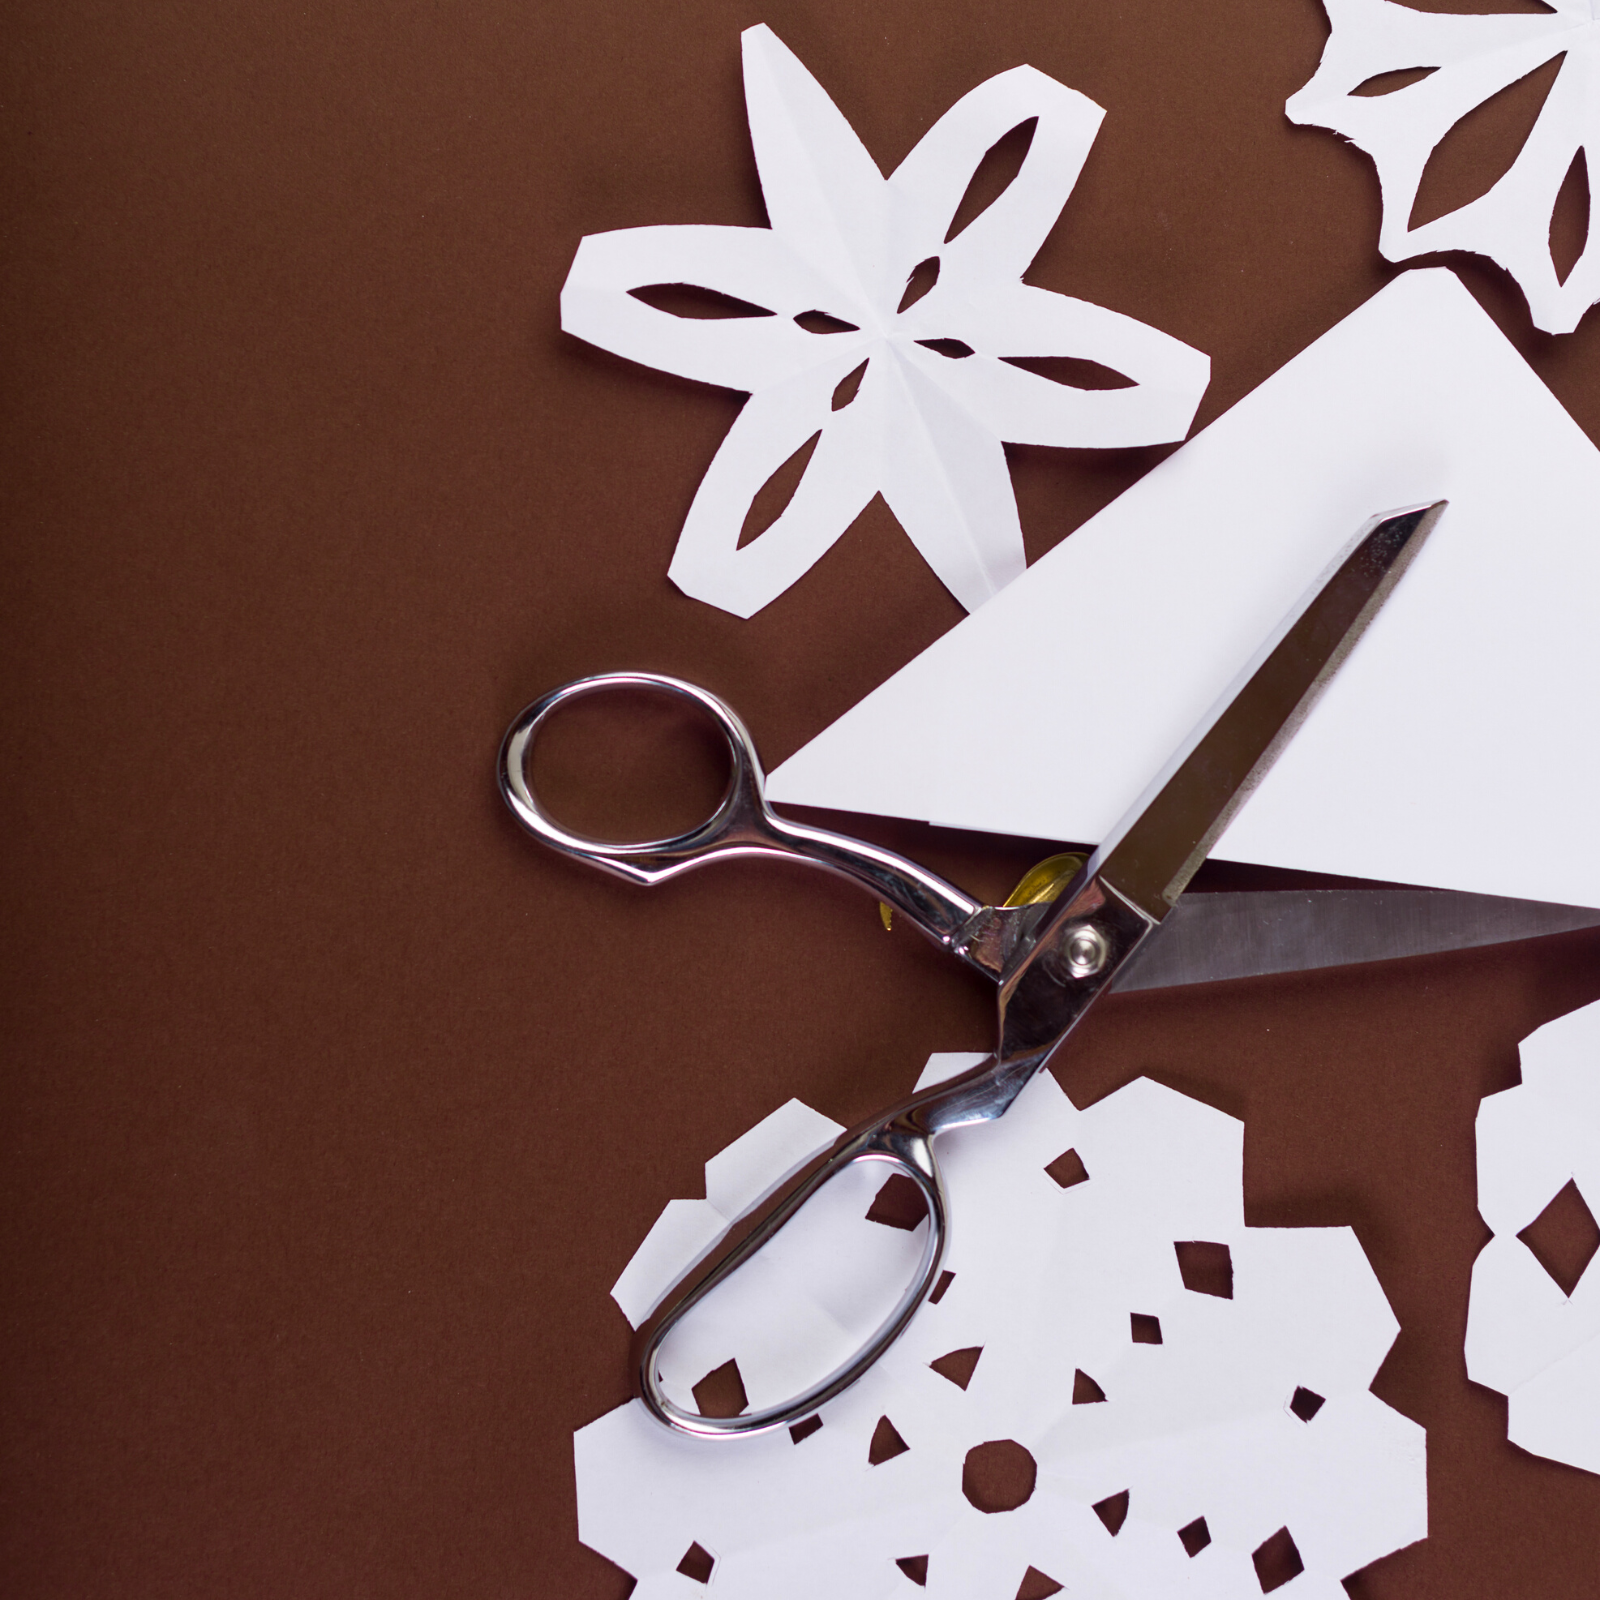
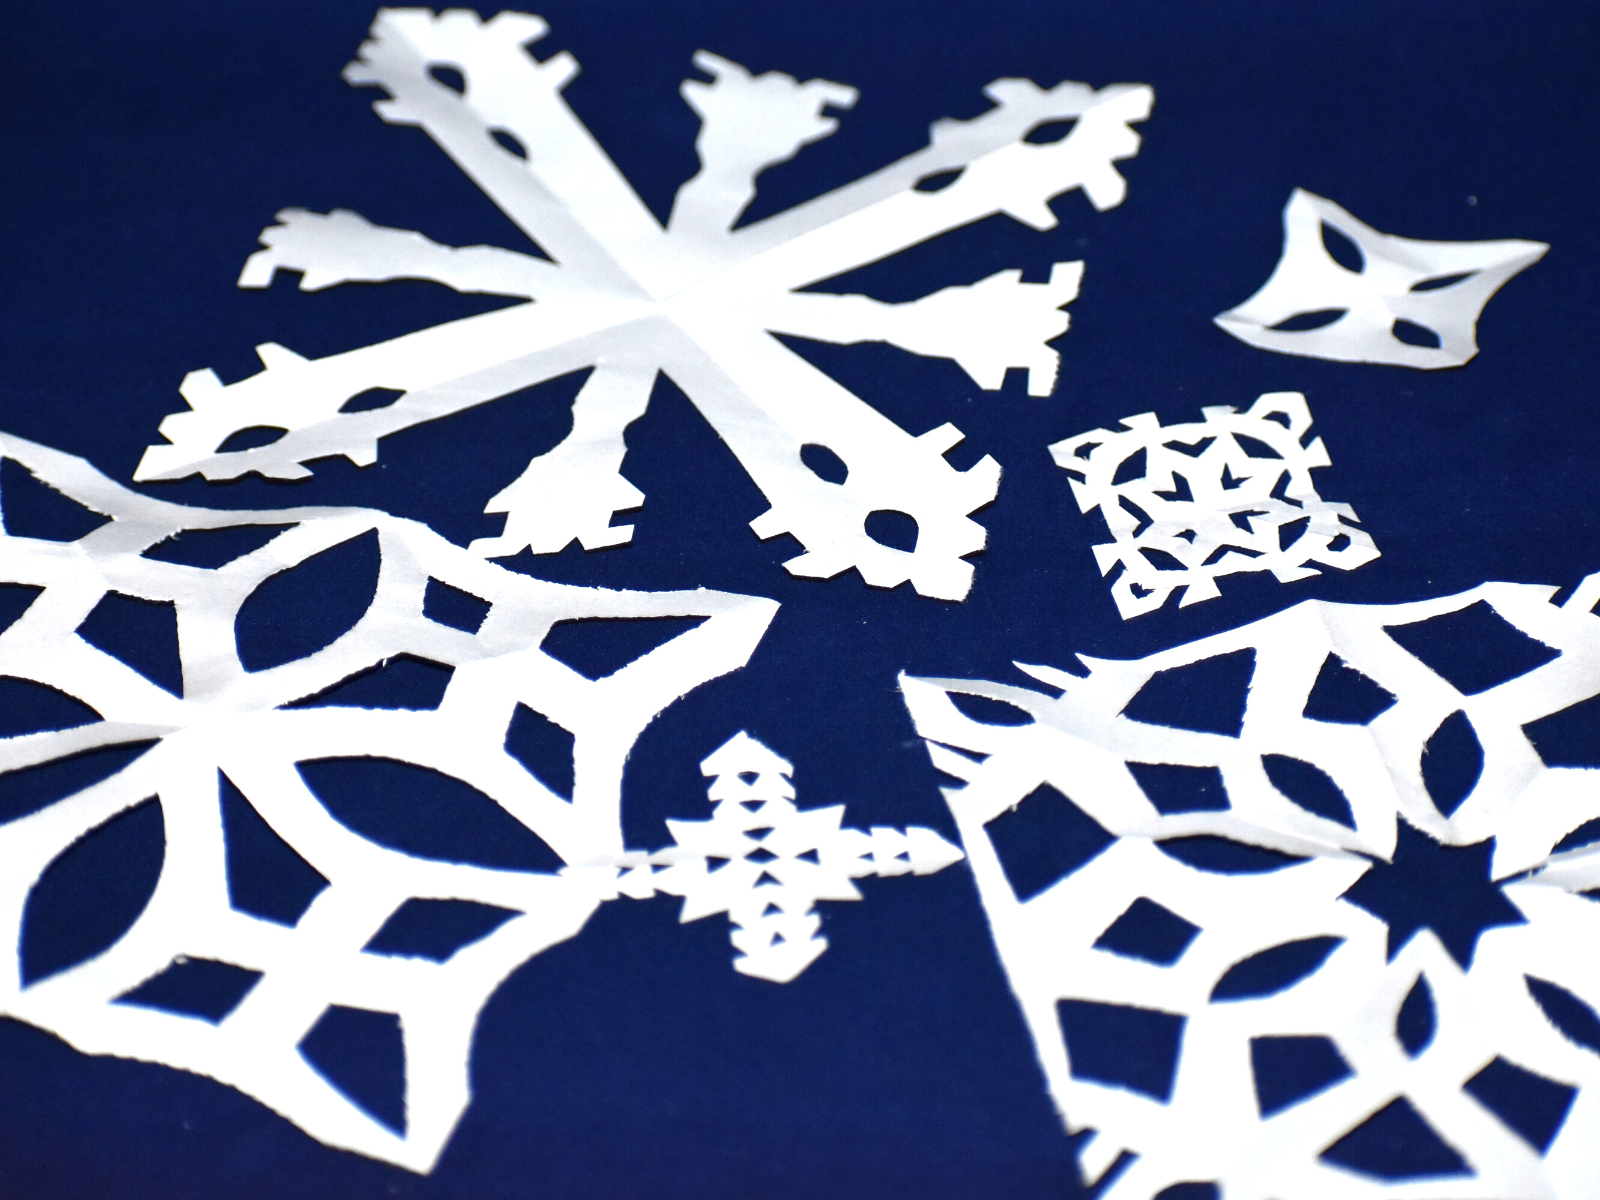
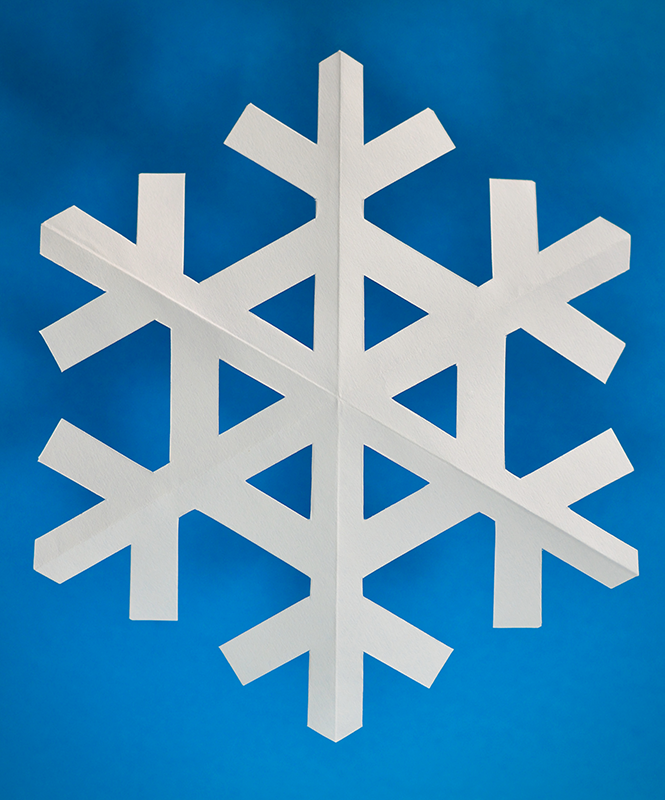
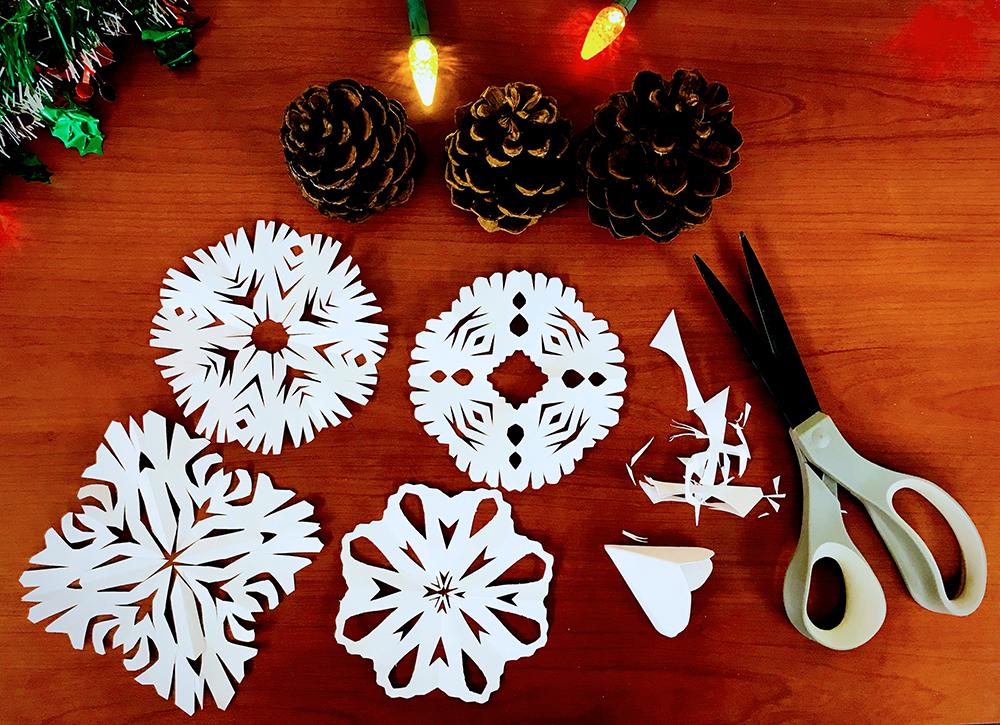
All you need to make paper snowflakes is a pair of scissors and some paper.
You can use any type of paper you like, but printer paper, construction paper, scrapbook paper, and tissue paper can work best.
You can even find snowflake pattern templates online if you want to create a specific design.
If you want your snowflakes to be different colors, grab some crayons or markers too!
You can even add embellishments like glitter, sequins, and buttons to make your snowflake extra special.
The best part about this simple paper craft is that you can make them completely your own.
Let your imagination run wild and create unique snowflakes that will wow your guests!
How To Make Paper Snowflakes
There are many ways to create paper snowflakes, but the most common way is to start with a square piece of paper and start folding.
Whether you purchase paper already in a square shape or cut off the excess paper using the horizontal edge to create a square for a rectangular piece of paper, the foundation of cutting paper snowflakes is the same with a perfect square.
Feel free to experiment with different ways to create paper snowflakes.
You can sketch out your snowflake design on your folded paper if desired, or you can simply start cutting.
Remember that each snowflake will be unique, so don't worry too much about making them perfect!
Also, keep in mind that the more you fold your paper, the more difficult it will be to cut the intricate shapes.
Once you've finished cutting, carefully unfold your paper snowflake and enjoy the beauty of your creation!
Here's a simple way to create your own easy paper snowflakes.

Step-by-Step Instructions
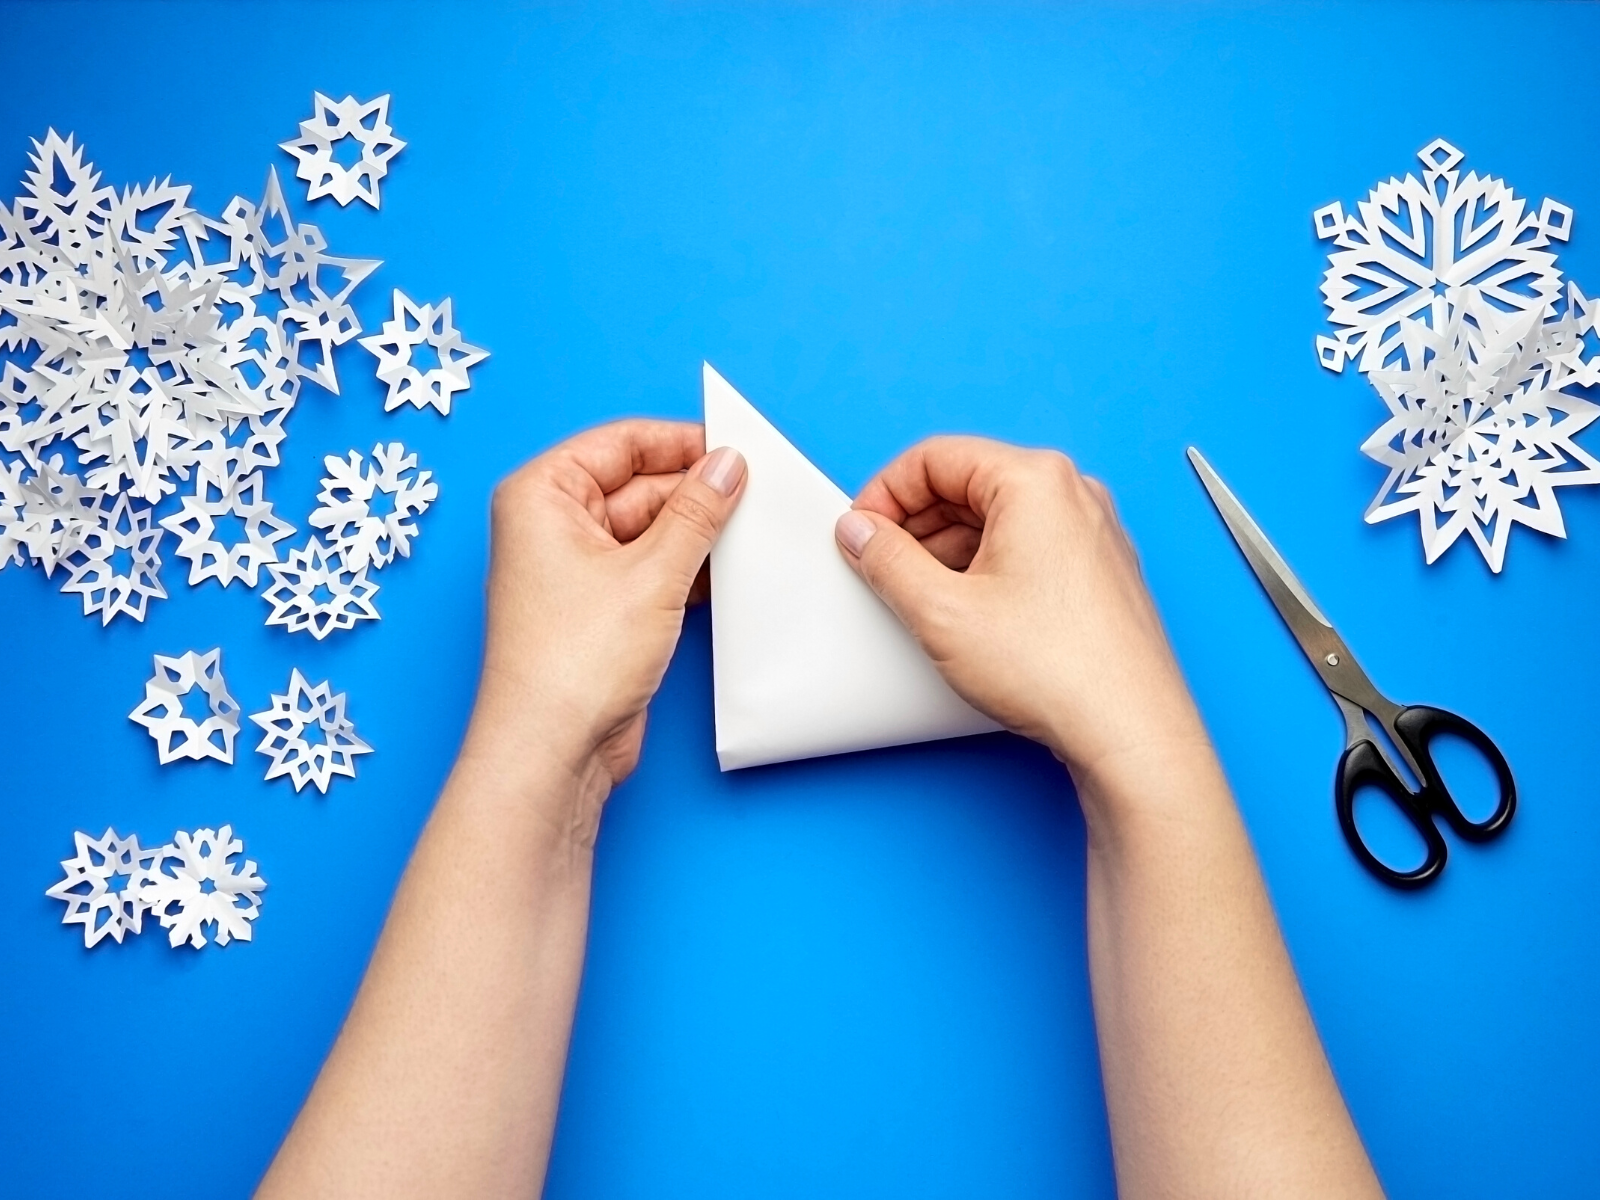
1. Start by folding your paper square in half diagonally, lining up the opposite edge and corners to ensure that your snowflake will be symmetrical.
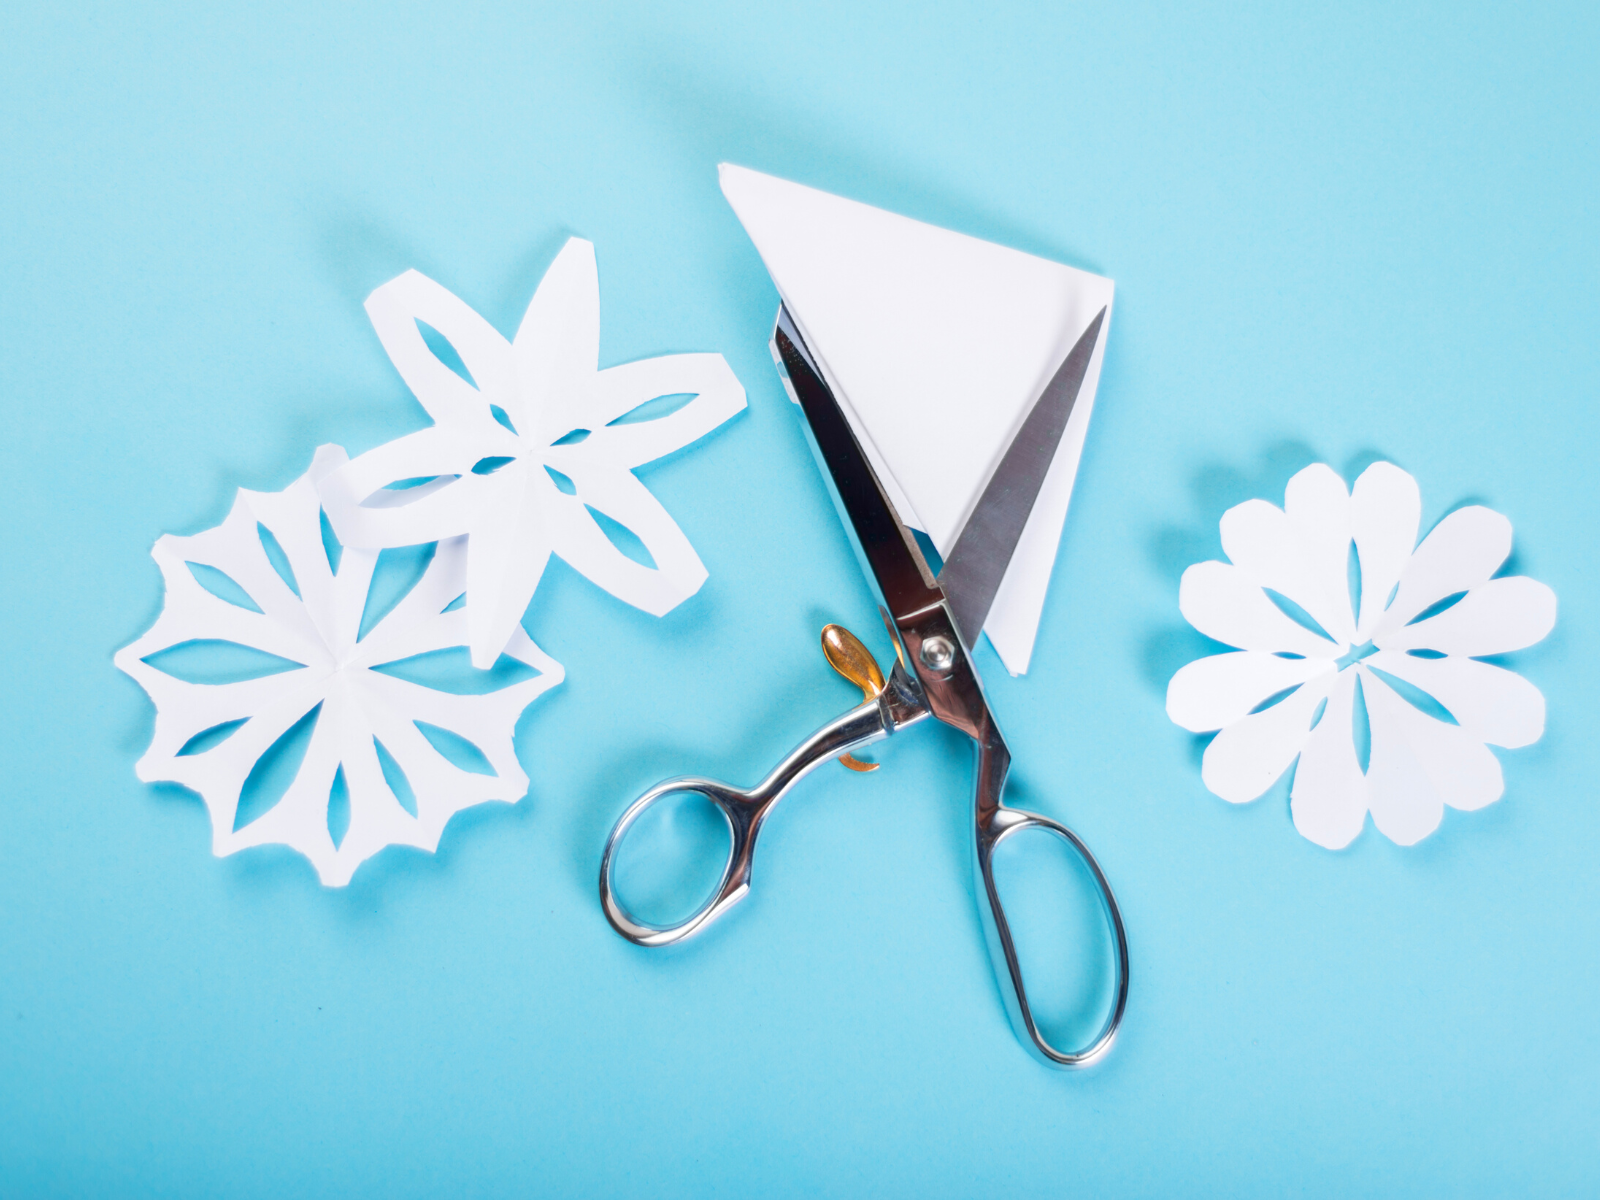
2. Fold the paper diagonally again, creating a smaller triangle shape.
3. You can stop here if you'd like, but you might want to make a couple more folds in the same way, creating smaller and smaller triangles.
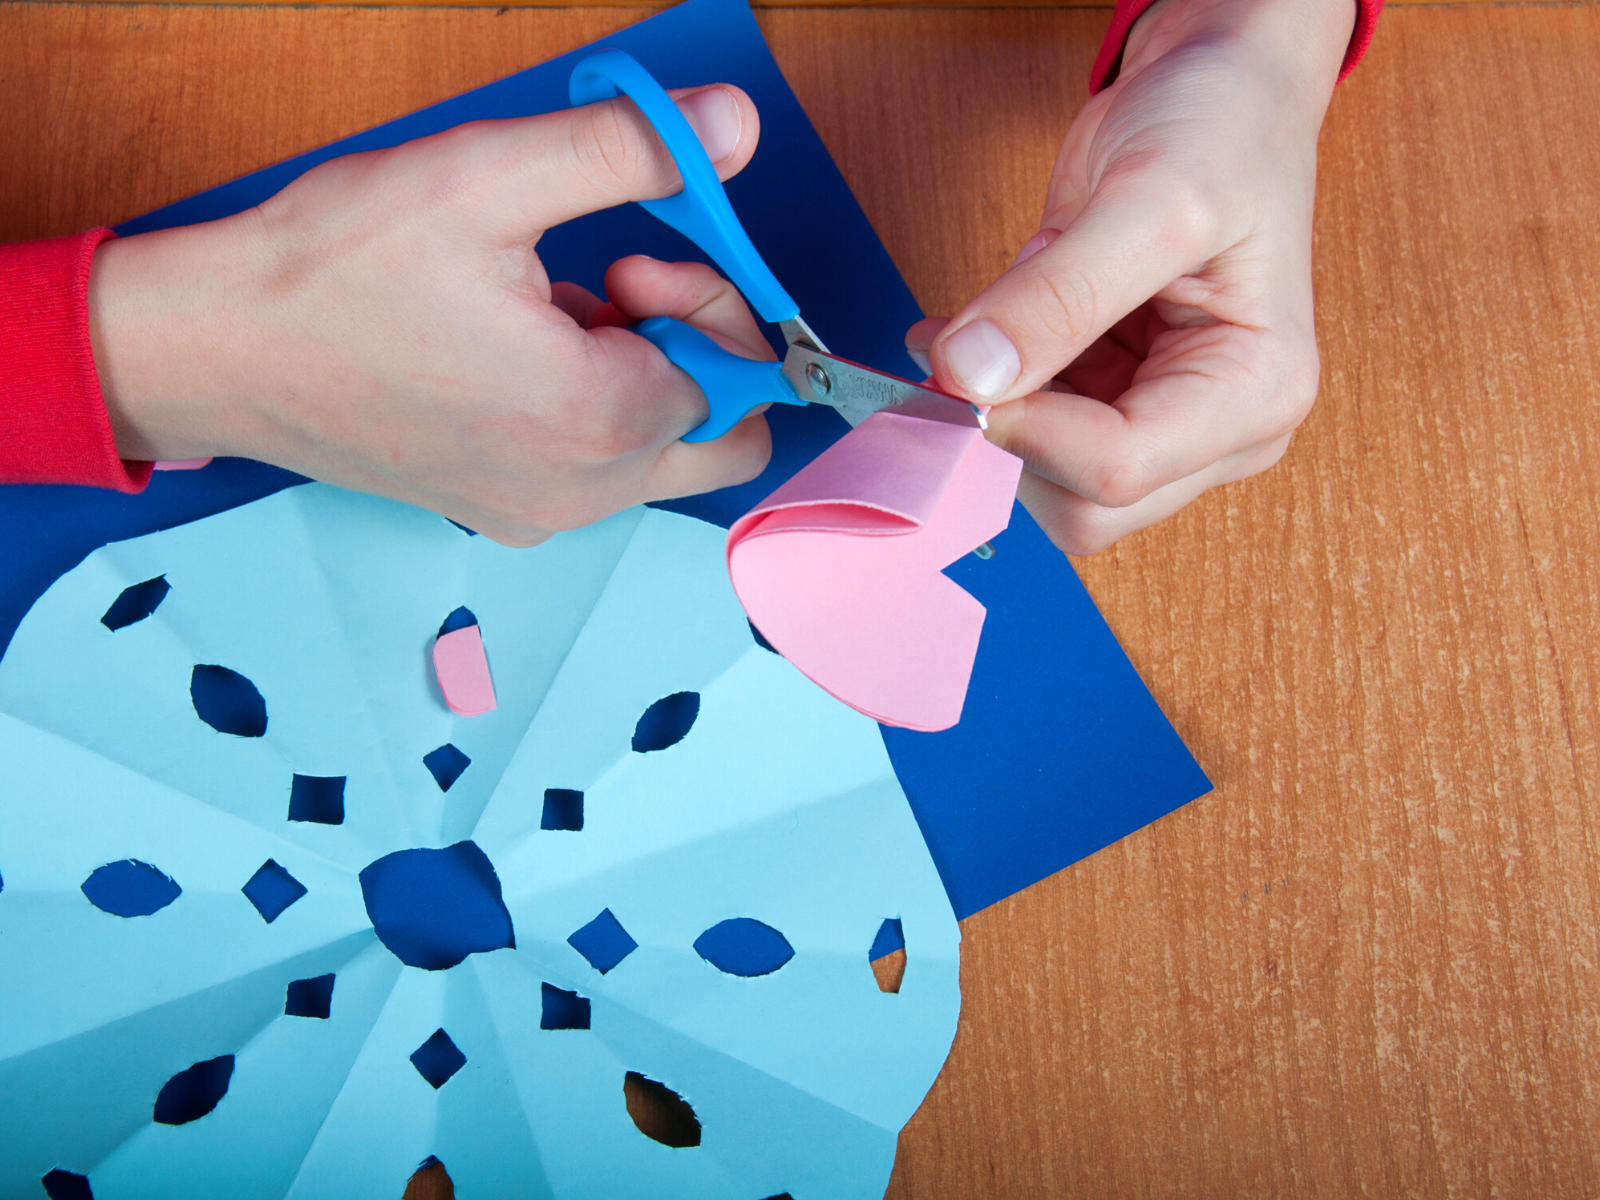
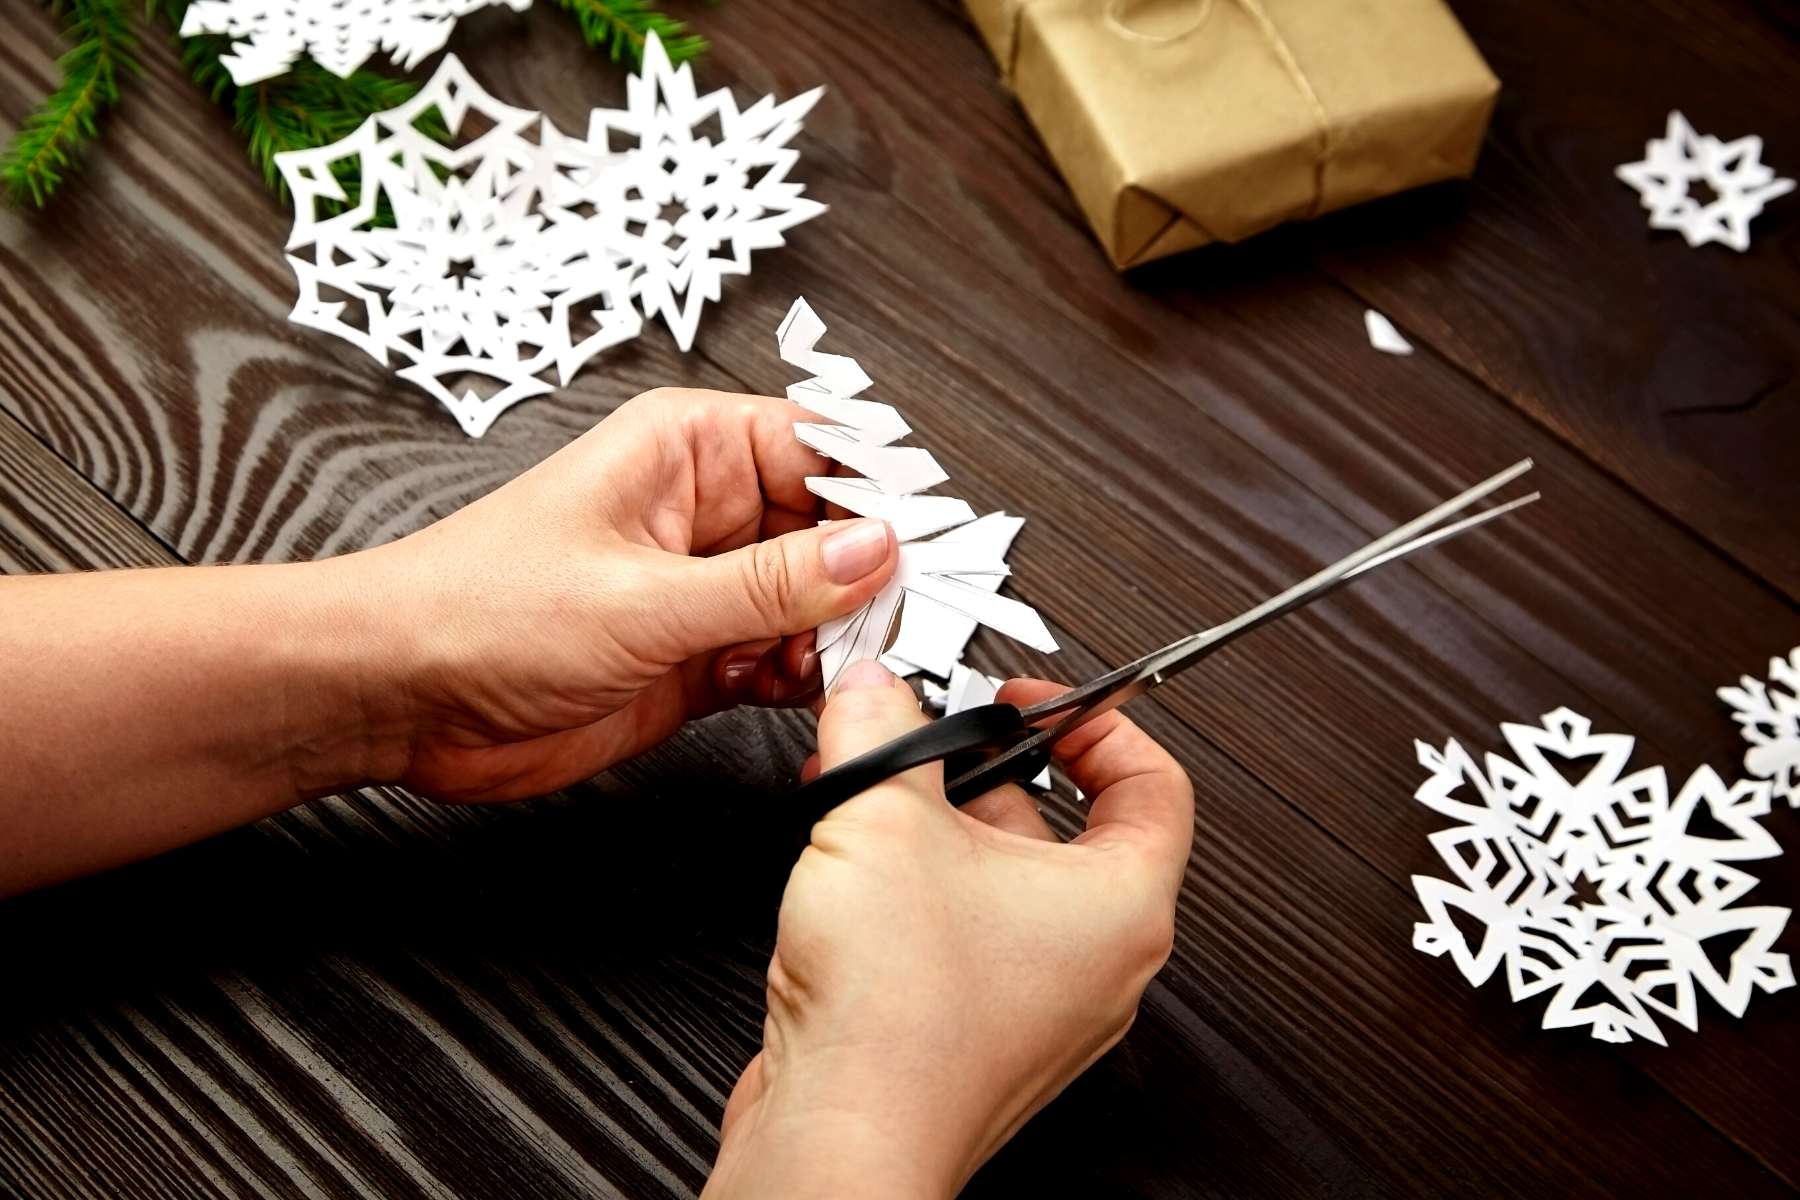
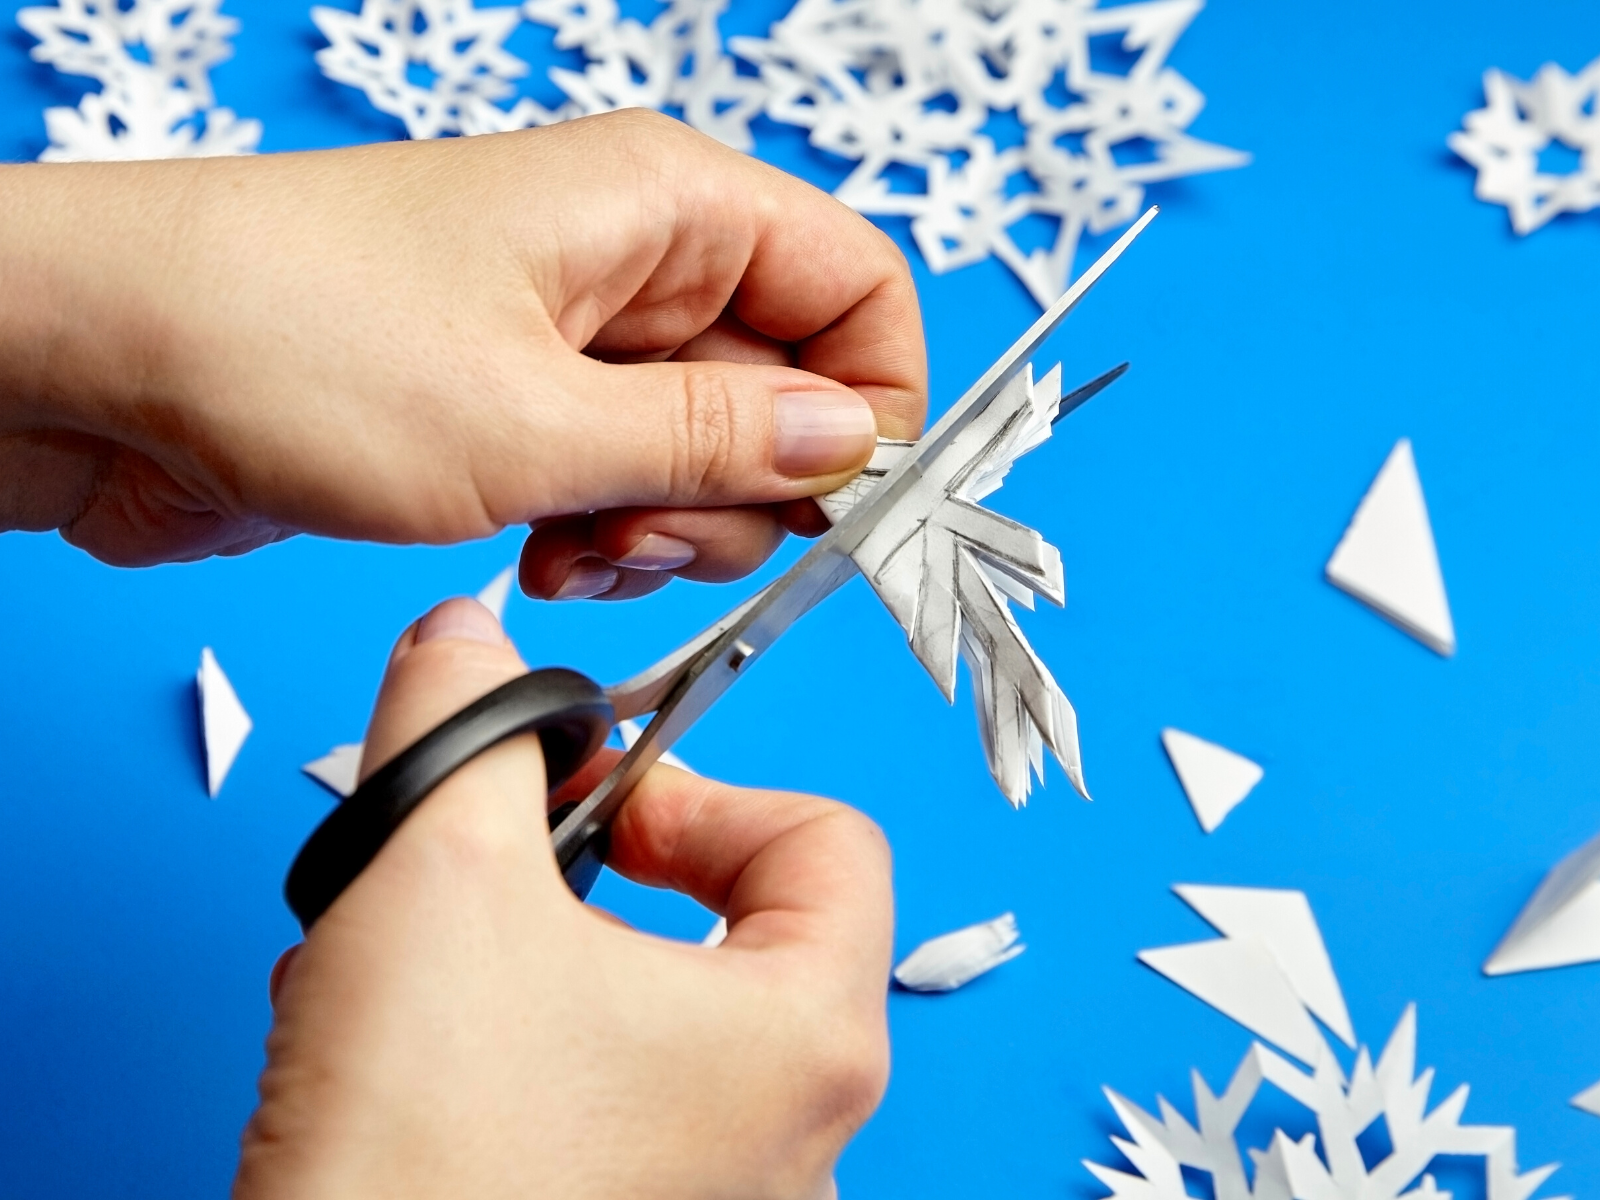
4. Once you're satisfied, cut shapes and patterns into the paper while it is still folded.
You can make curved lines, zigzags, or whatever you like, even random shapes!
For a more traditional snowflake shape, cut out triangle shapes.
You can also experiment with how much you cut off of your paper folded snowflake.
The sky's the limit! Just remember that the more complex your shapes are, the harder they will be to cut out.
While cutting, be careful not to sever the paper folds; it's fine to cut some of your folds, but if you cut them off completely, your snowflake will fall apart and no longer be a snowflake.
6. Unfold your paper and you should have a beautiful snowflake, ready to hang and enjoy!
7. If desired, you can color and embellish your snowflake with markers or crayons.
You can also add other decorations like glitter, sequins, and buttons to make it even more festive before hanging it up for all to see.
8. Now you can hang your paper snowflakes in a window, on the wall, or wherever else you'd like!
Feel free to use fishing line to hang your new snowflake from the ceiling!

Creating Paper Snowflakes
Making paper snowflakes is a fun, easy, and inexpensive way to bring some winter cheer into your home.
This fun activity is great for people of all ages, making it perfect for family fun!
All you need is some white paper or a printable template and a pair of scissors, and you can make snowflakes in any shape or size that you like.
With just a few simple folds and some creative cuts, you can transform a plain piece of paper into something truly special.
Follow our instructional guide above if you need help getting started, and then get creative and experiment with different shapes, sizes, and patterns!
Now that you know how to make paper snowflakes, it's time to get started.
Grab some paper and scissors, and get ready to make some beautiful snowflakes!
Happy crafting!
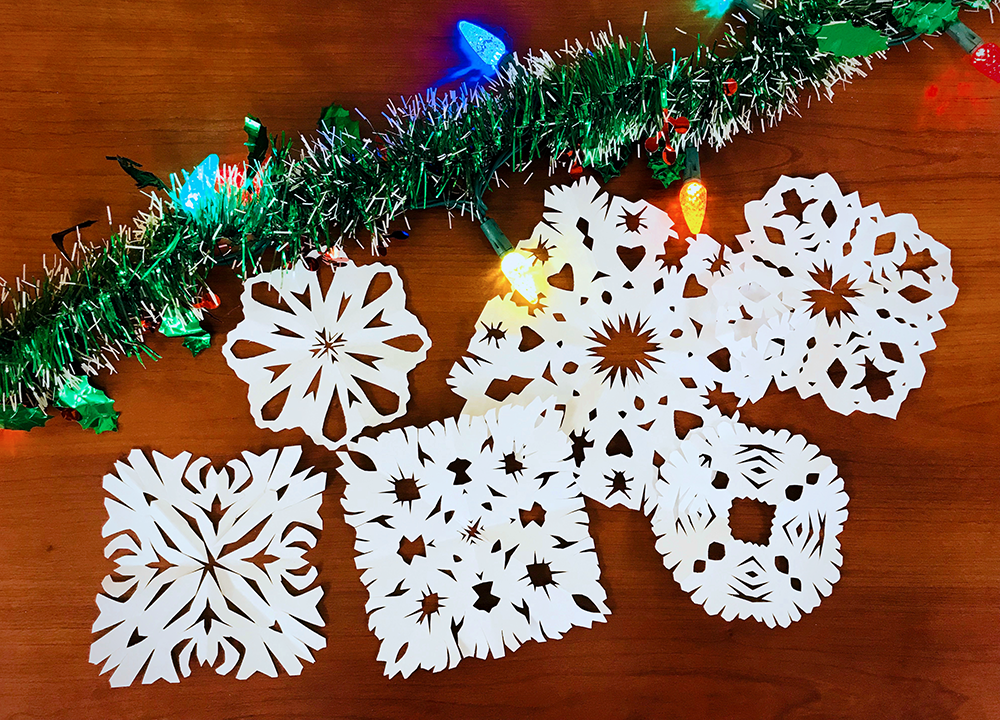

Eager to see how to create more paper snowflakes? Check out Easy Origami - Yakomoga's video!
Want even more content about creativity and art?
Be sure to check out all of our creative chronicles!
Interested in creating paper art?
Check out some of our other articles:

