If you're looking for a fun and creative way to unwind, why not try rock painting?
Painting rocks is a simple but satisfying hobby that anyone can do, and it's perfect for people who love the outdoors.
It's super fun and easy to do, no matter what your skill level may be!
In this tutorial, we'll give you some tips on how to get started with the popular hobby of rock painting.
So, grab some rocks, brushes, and paint, and let's get started!
Find Your Rocks
Before you start painting, you'll need to gather a few supplies.
You'll need some rocks, of course!
Try to find rocks that are smooth and have a nice, even surface.
You can find rocks almost anywhere - in your backyard, at the park, or even at the beach.
Once you have your rocks, give them a thorough wash with soapy water and let them dry completely.
This will help the paint to adhere better.
Now that your rocks are prepped, you can start gathering your other art supplies!

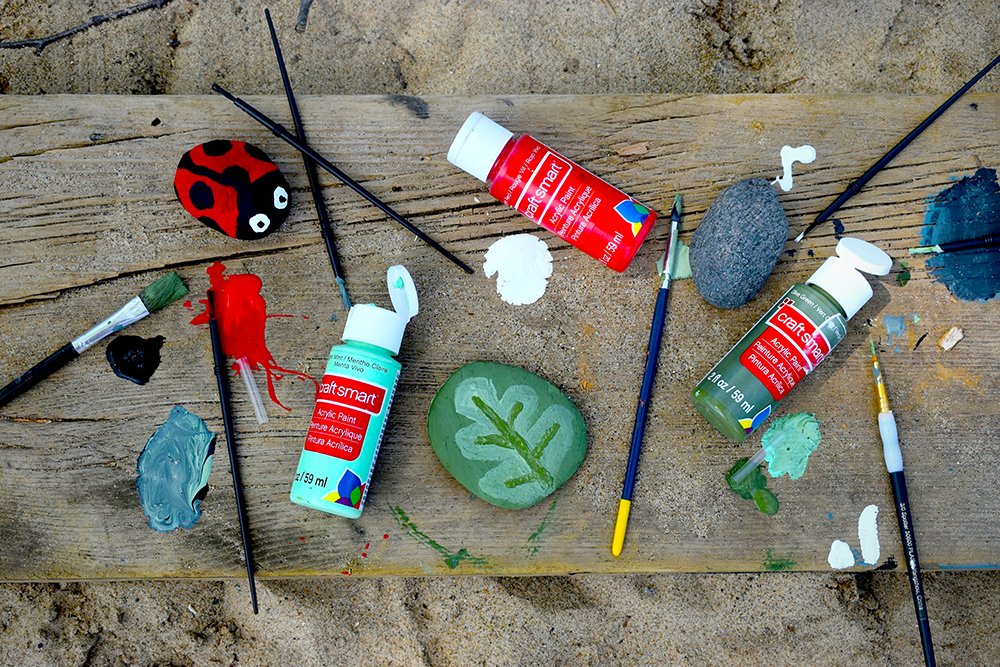
Selecting Paints
Now, it's time to choose your paint, so you can get started creating fun rock paintings!
Acrylic paint is a good option for beginners, as it's easy to use and is readily available at most craft stores.
Paint pens work great for creating rock painting designs, too!
Paint markers are to control and come in a variety of colors.
Tempera paint can also be used because if you're painting rocks with kids, washable paint is always a good option!
You can also use watercolor or oil paints, but keep in mind that these can be more difficult to work with.
Once you've chosen your paint type, decide on the paint colors you want to use.
For a more natural look, try to stick with earth tones.
If you want your rocks to have a pop of color, go for bright colors.
The sky's the limit!
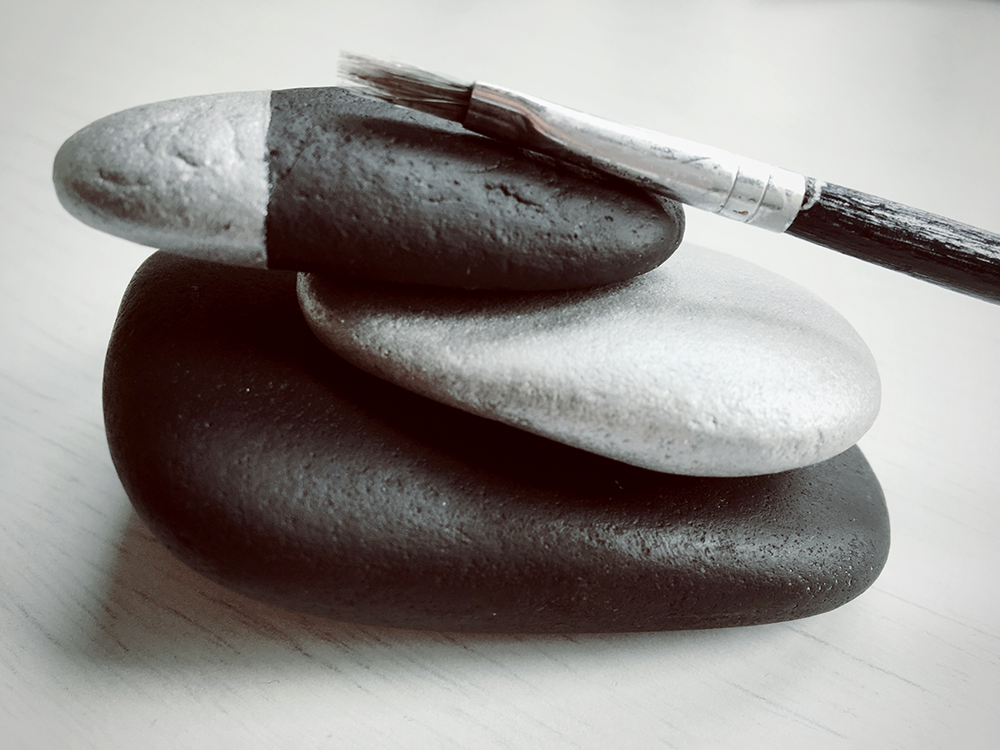
Now that you've selected your colors, make sure to grab your paint brushes and then it's time to paint rocks!

Beginners Tips
When you're first starting out, painting rocks can seem daunting.
But don't worry; we've got some tips to help you get started on your new painted rocks projects.
One thing to keep in mind is that rocks are not perfectly smooth, so don't expect your paint job to be perfect.
Embrace the imperfections and have fun with it!
Another tip is to start with a light coat of paint and then build up to a darker color.
This will help to prevent any paint from seeping under the edges of your rocks.
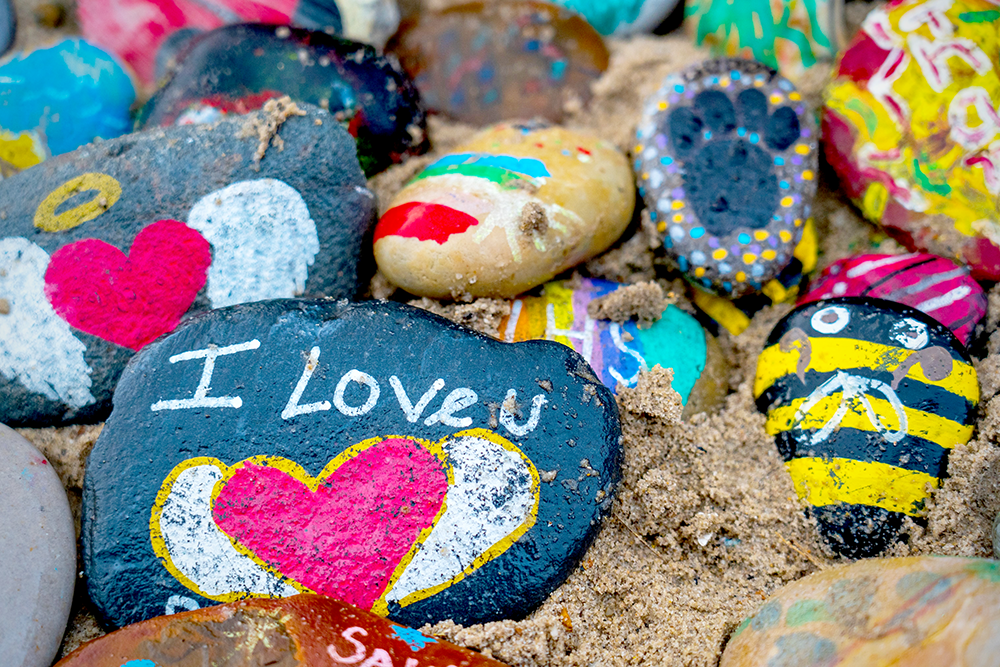
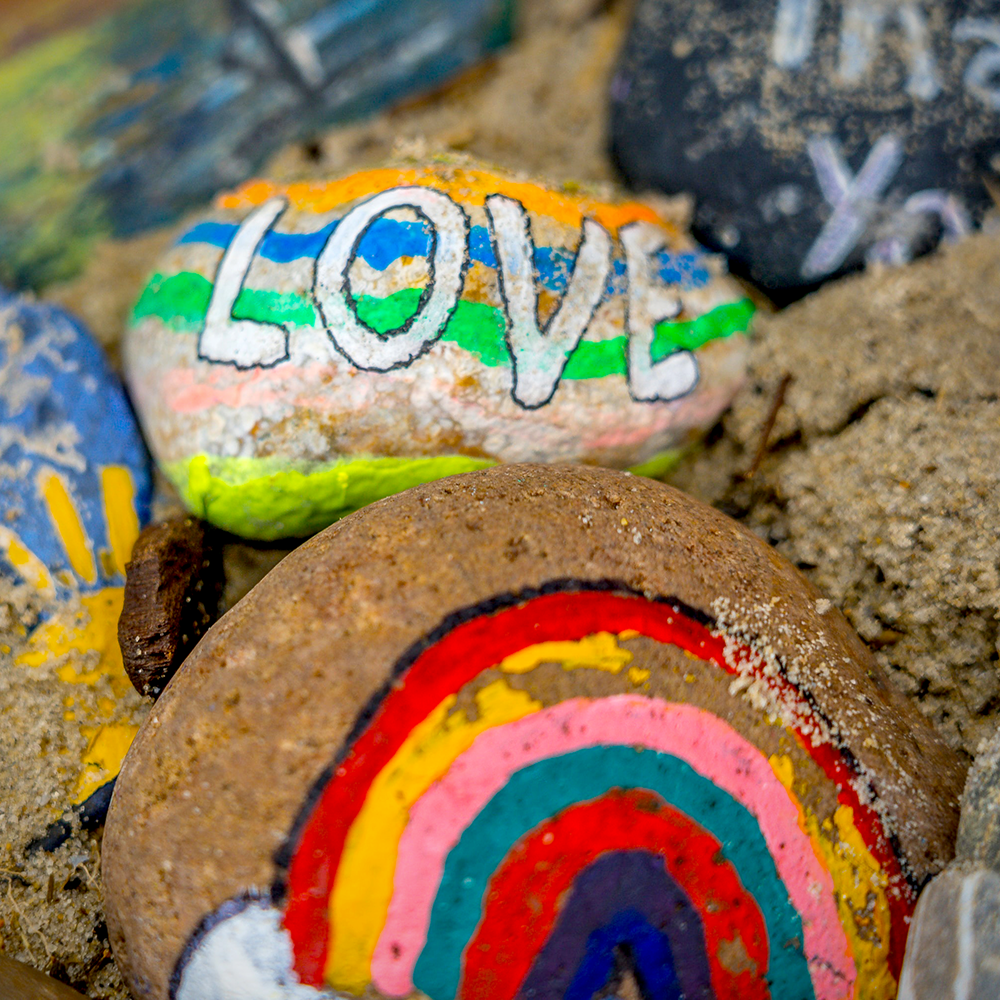
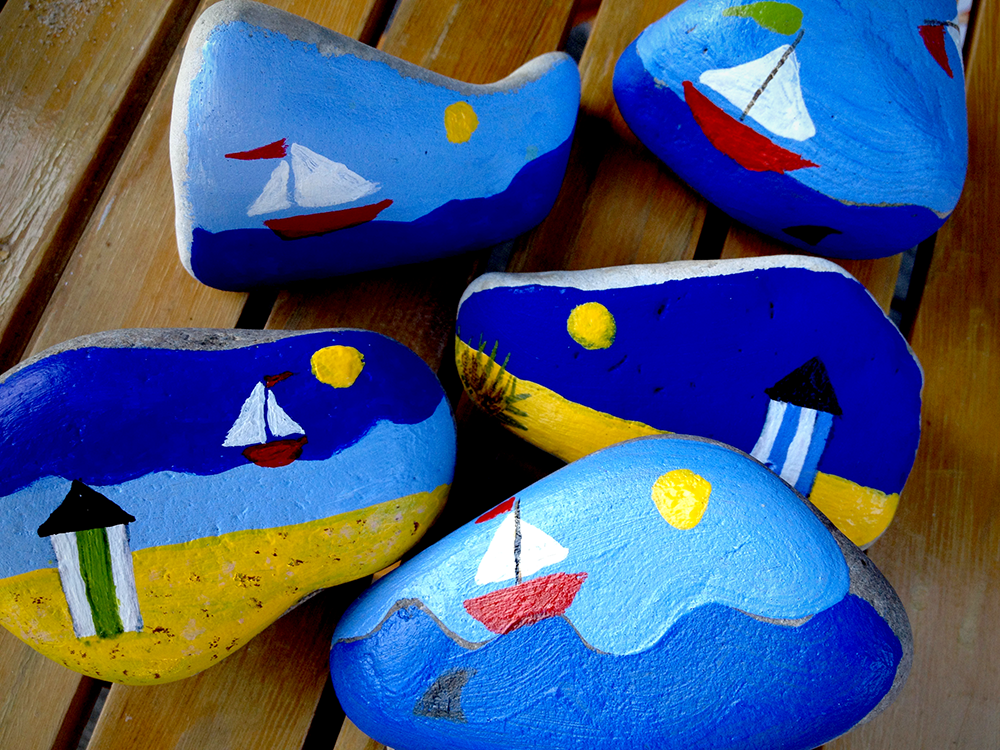
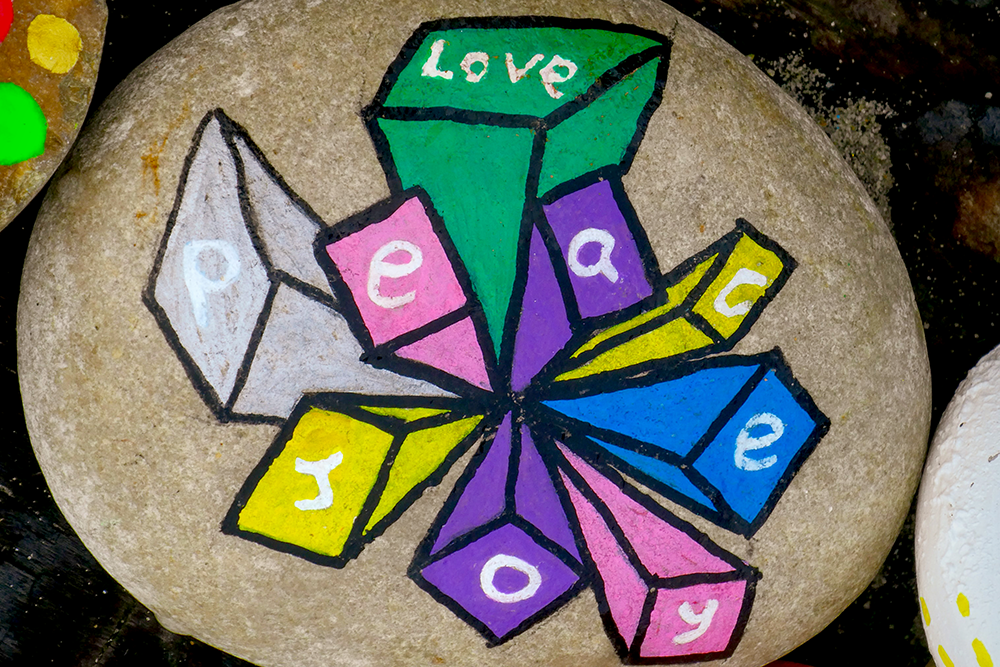
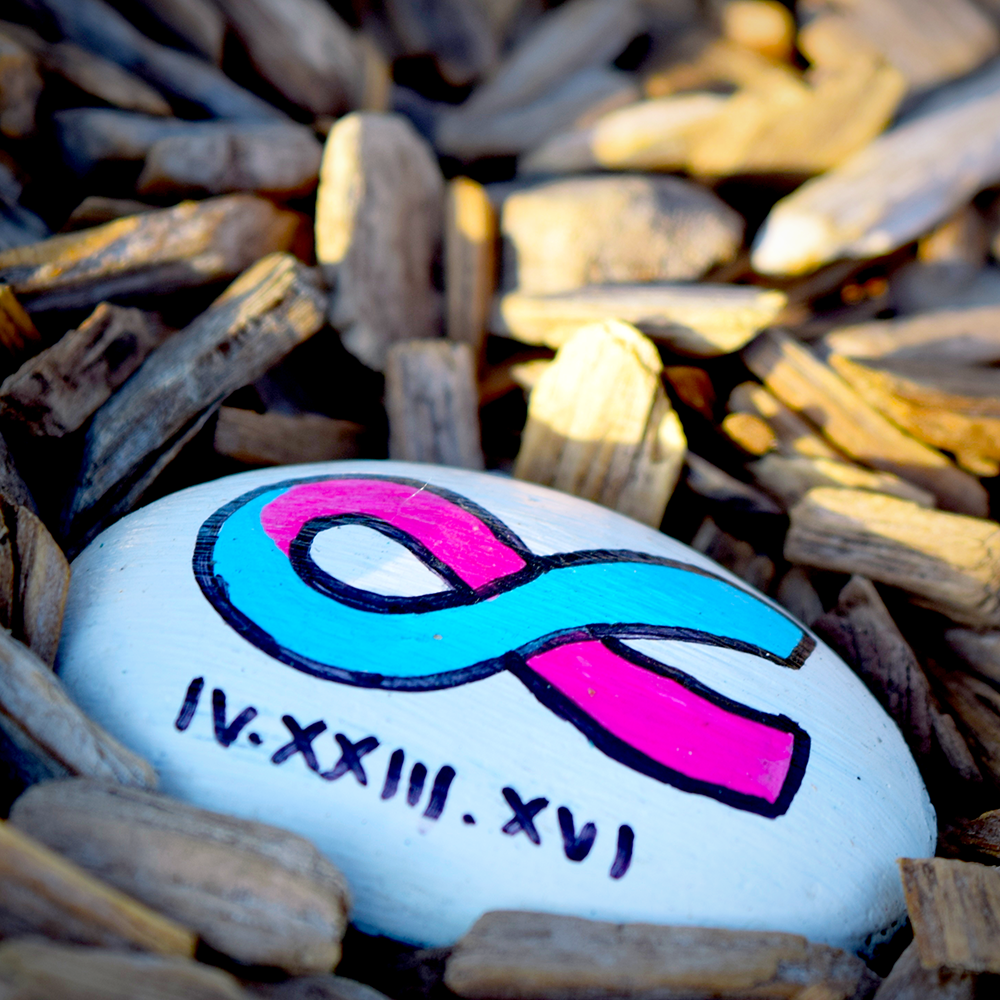
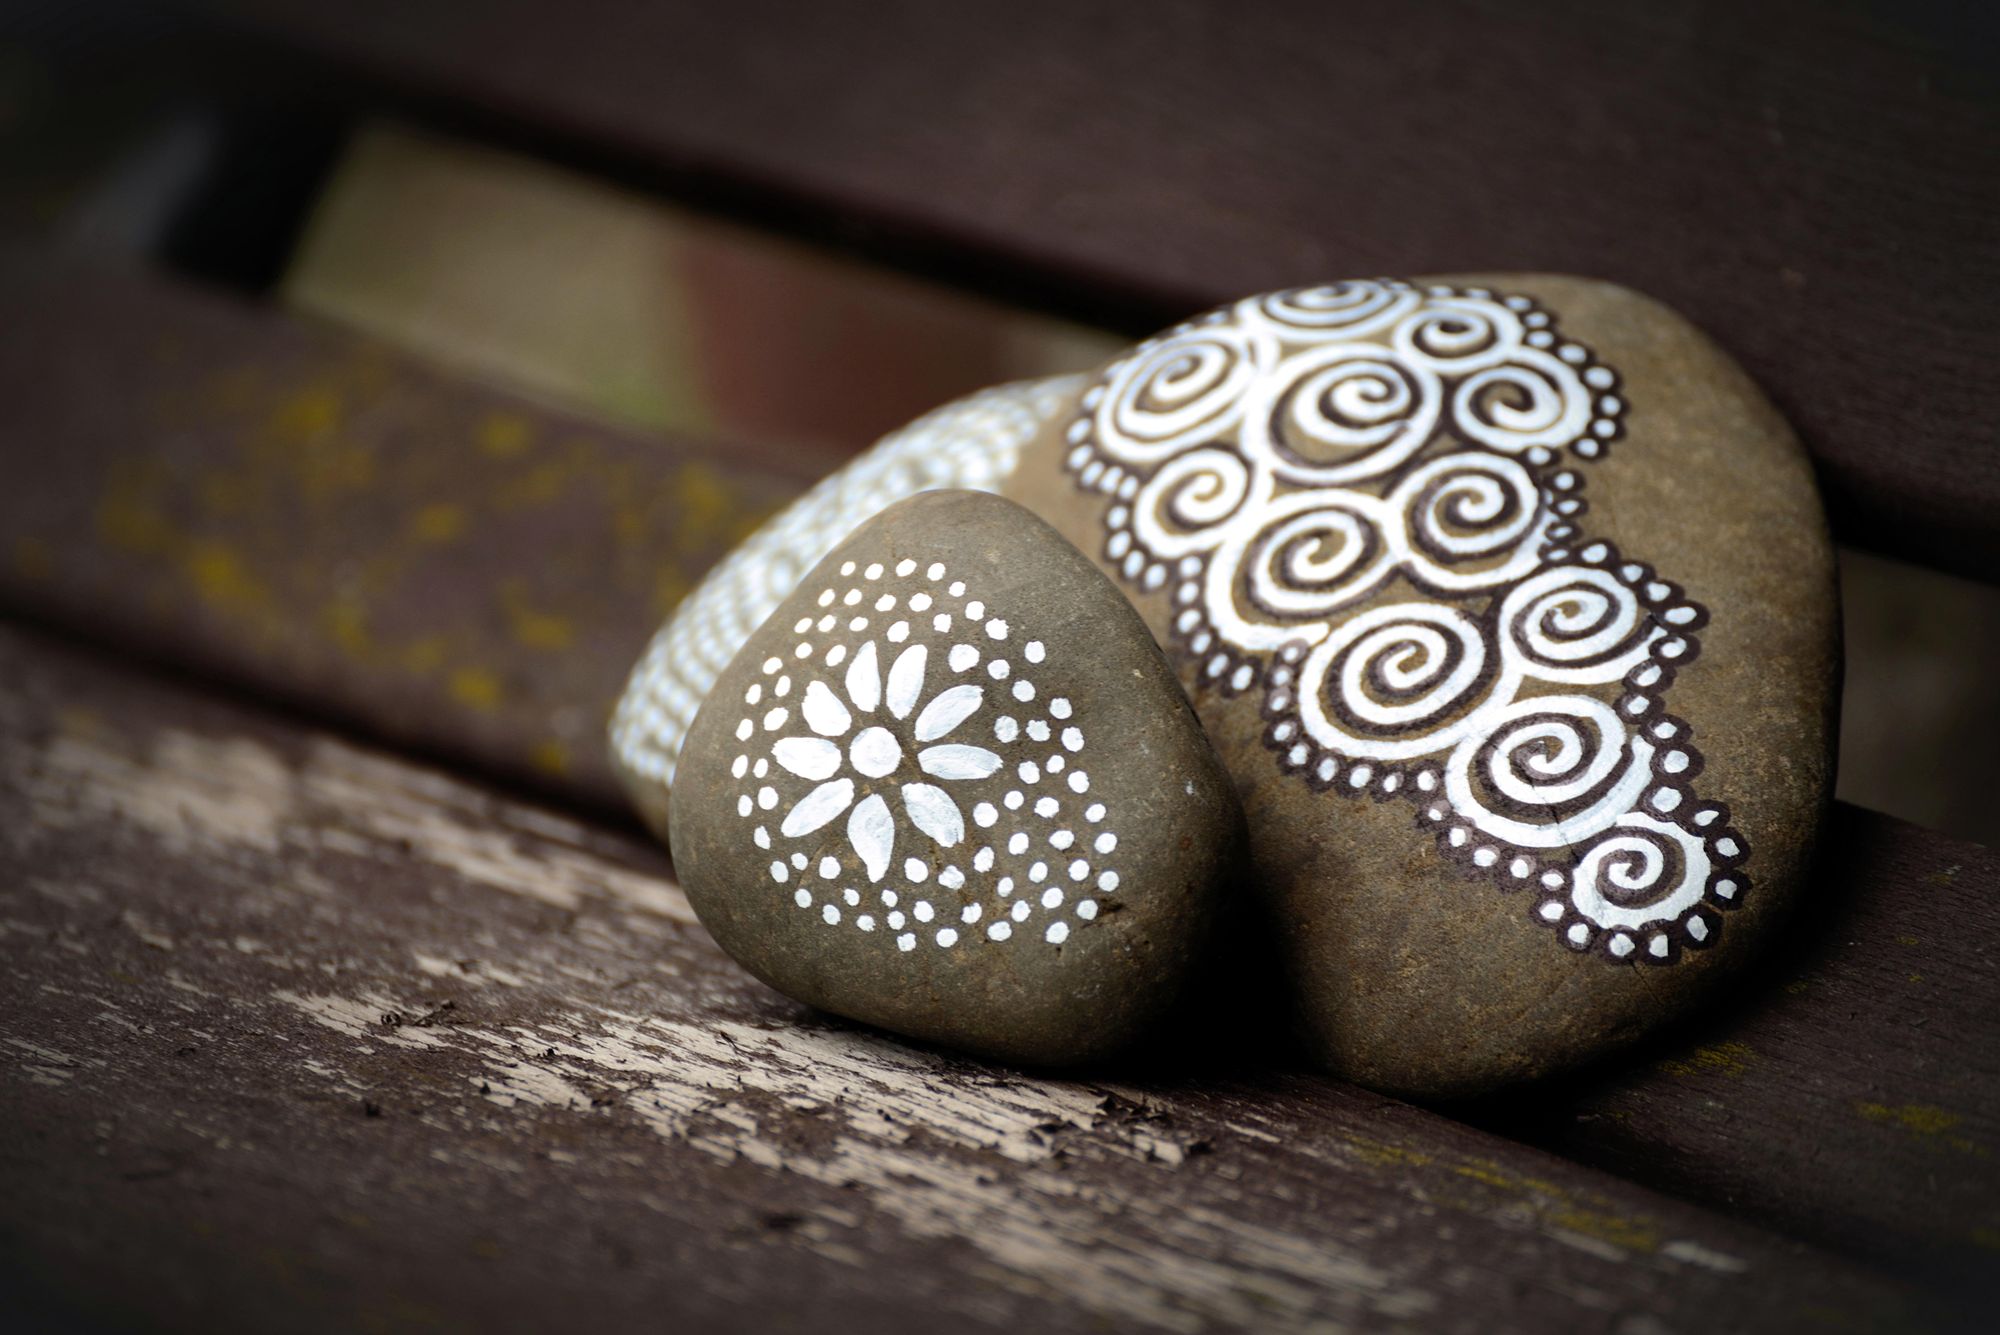
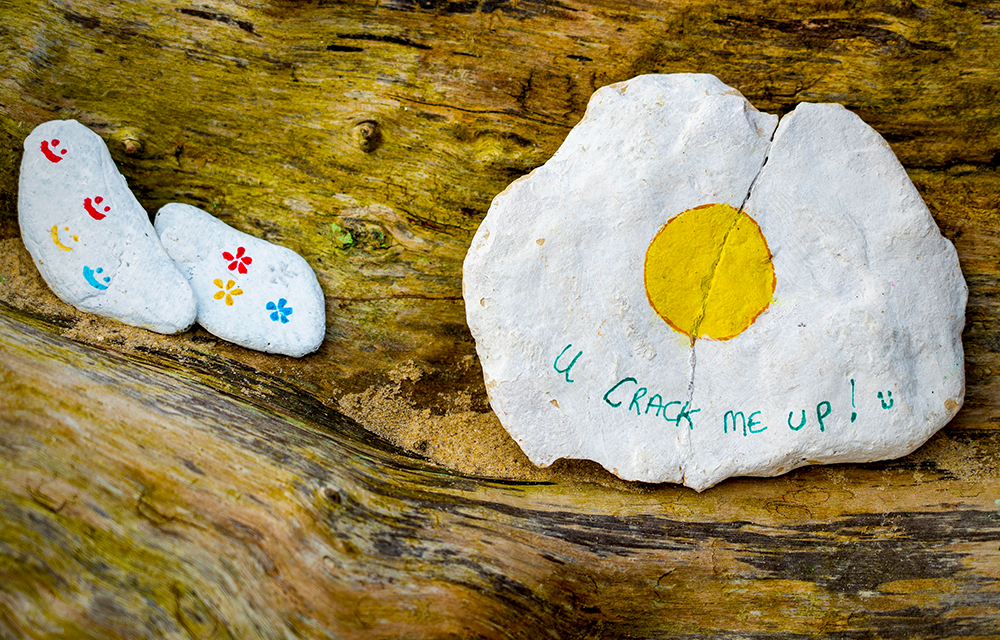
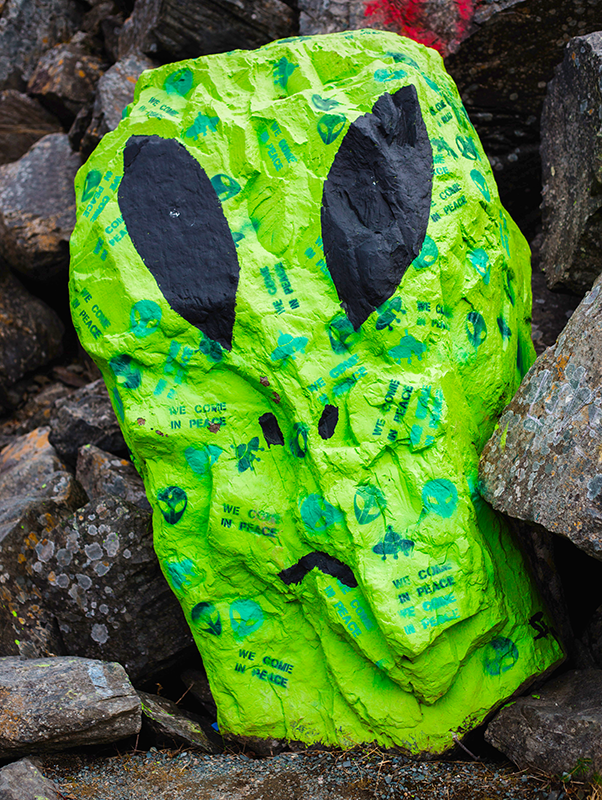
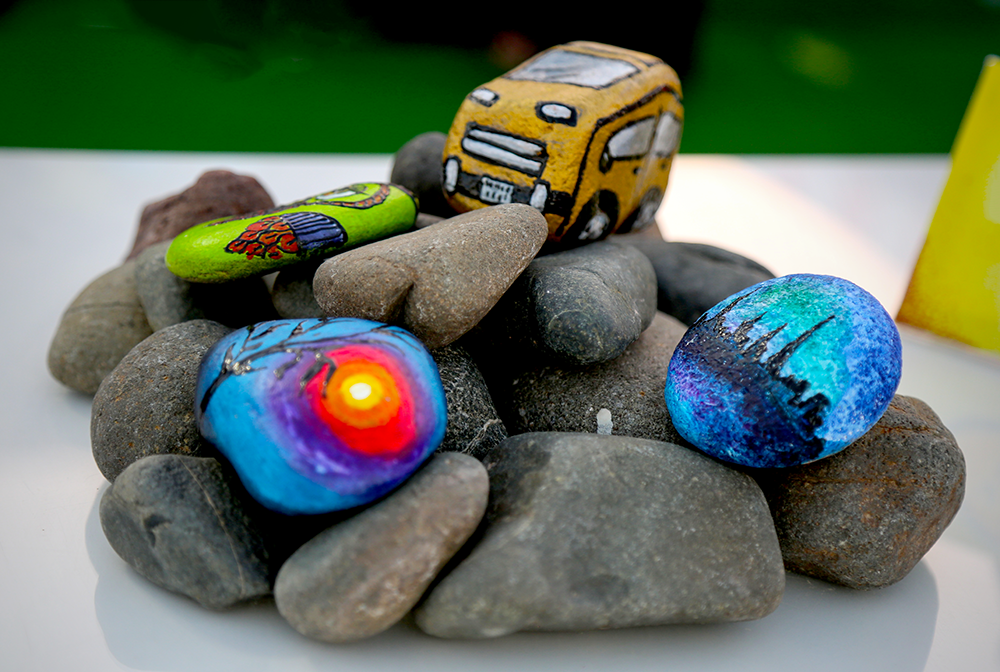
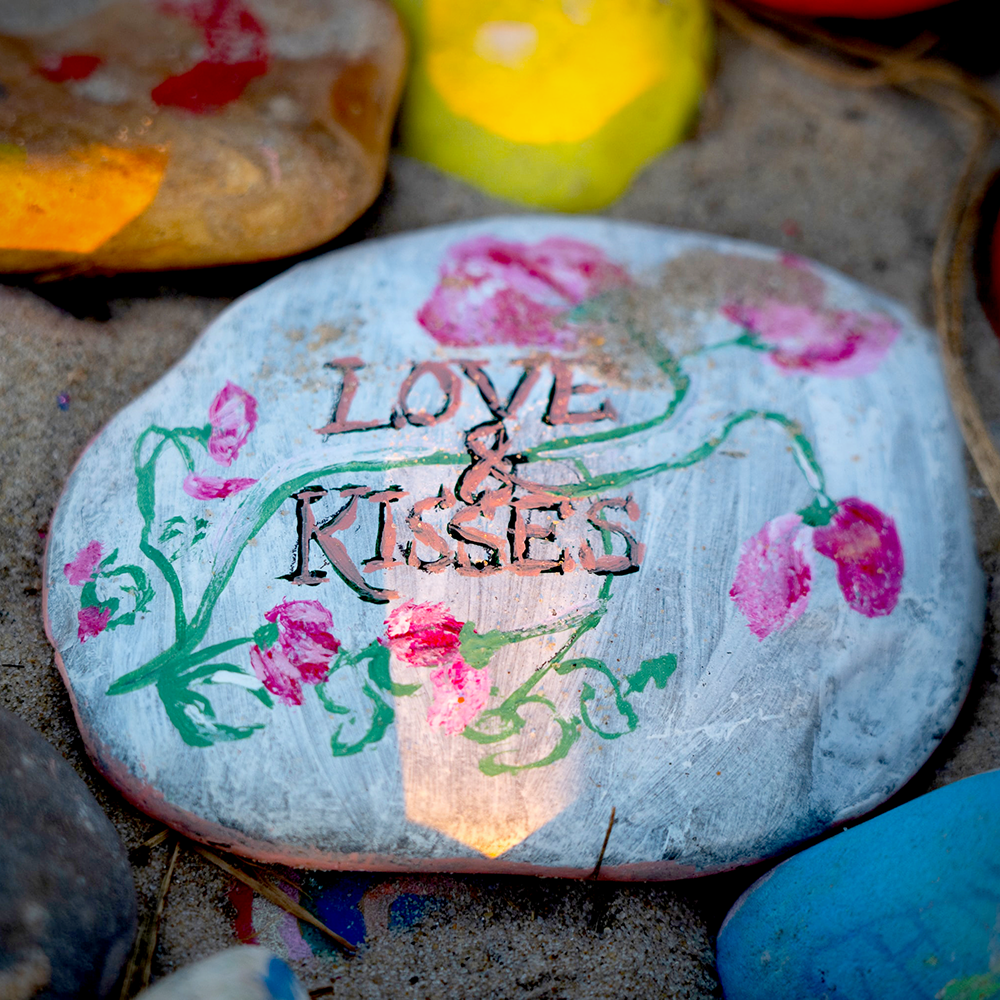
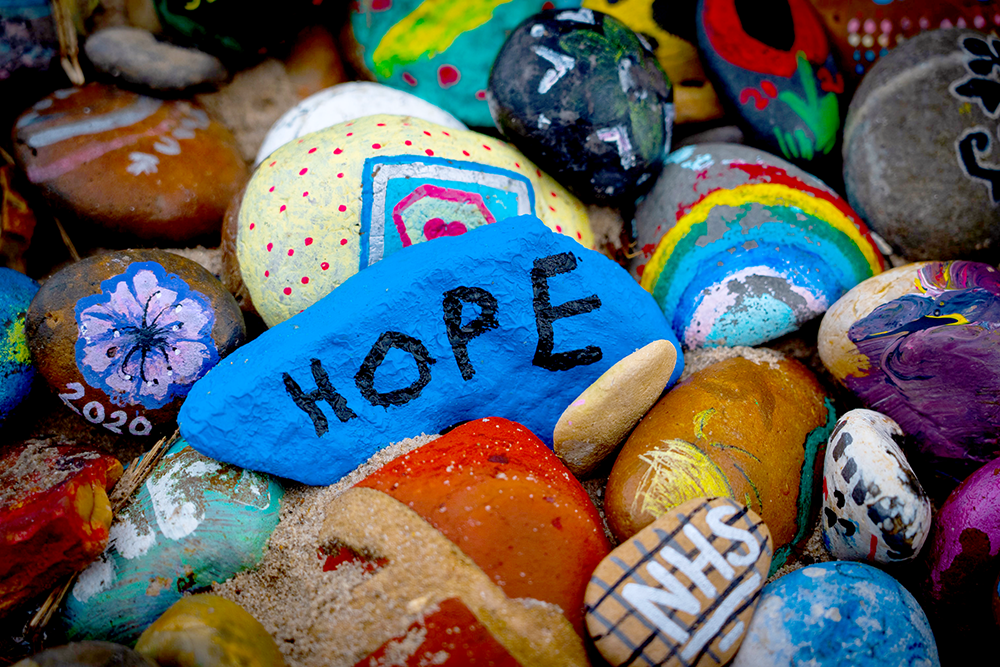
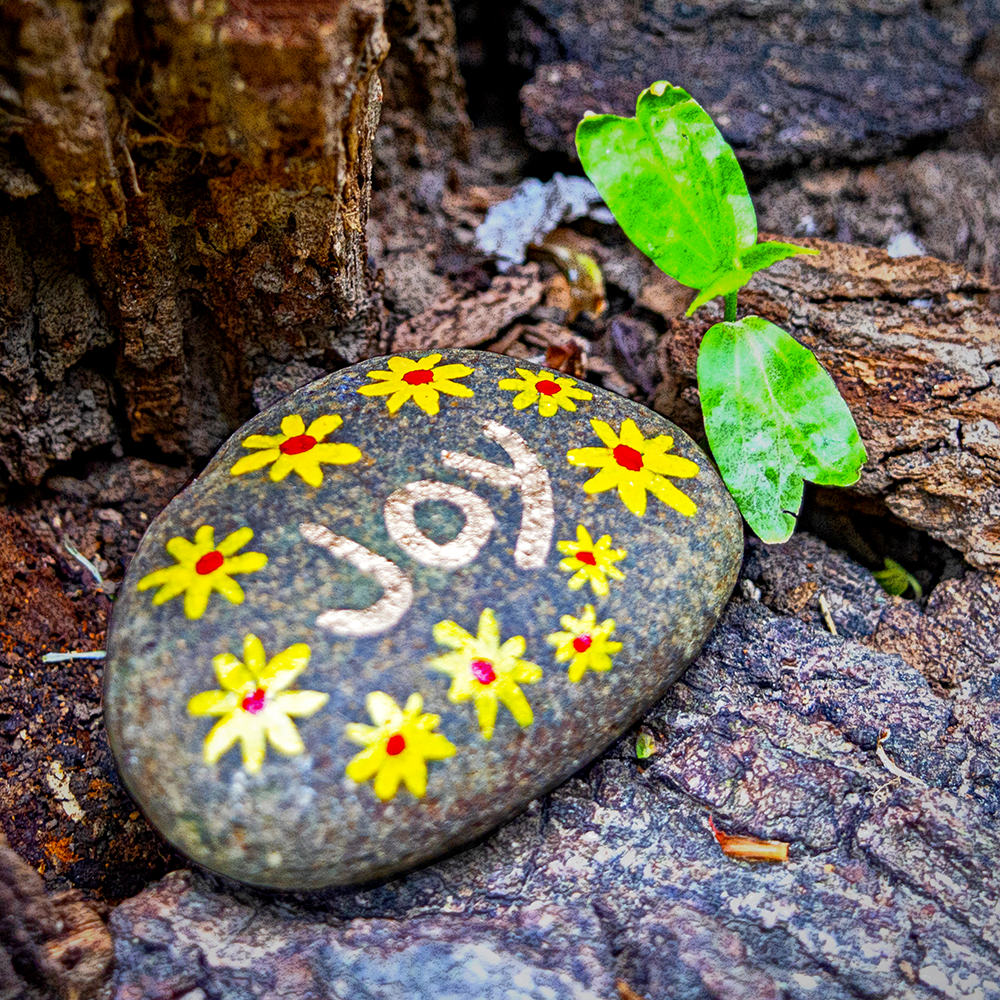
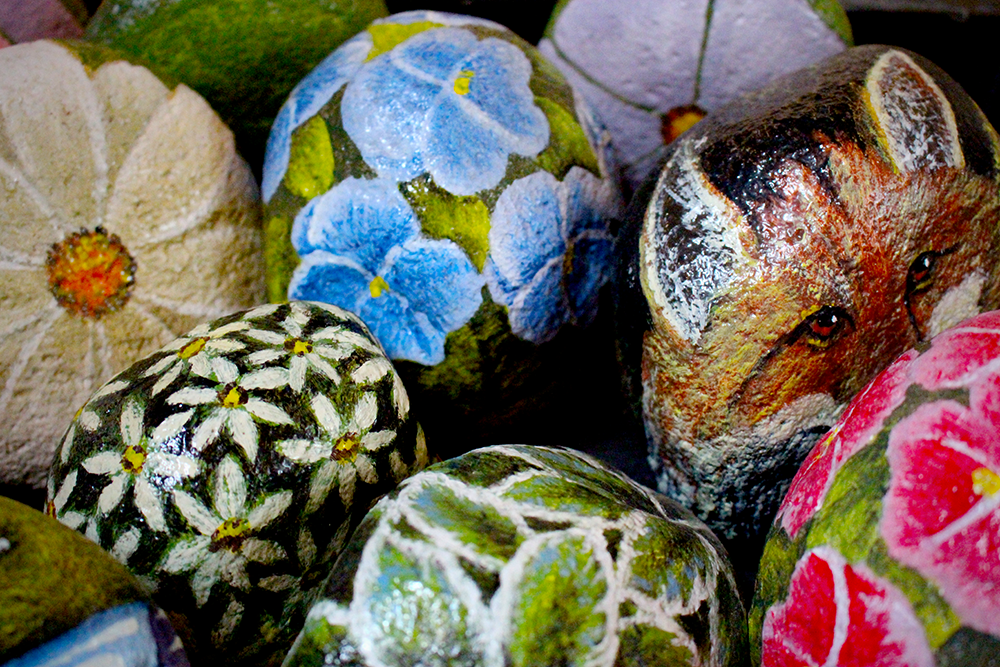
If you're a beginner, start with simple designs.
You can try painting flowers, leaves, polka dots, or other easy painted rocks ideas.
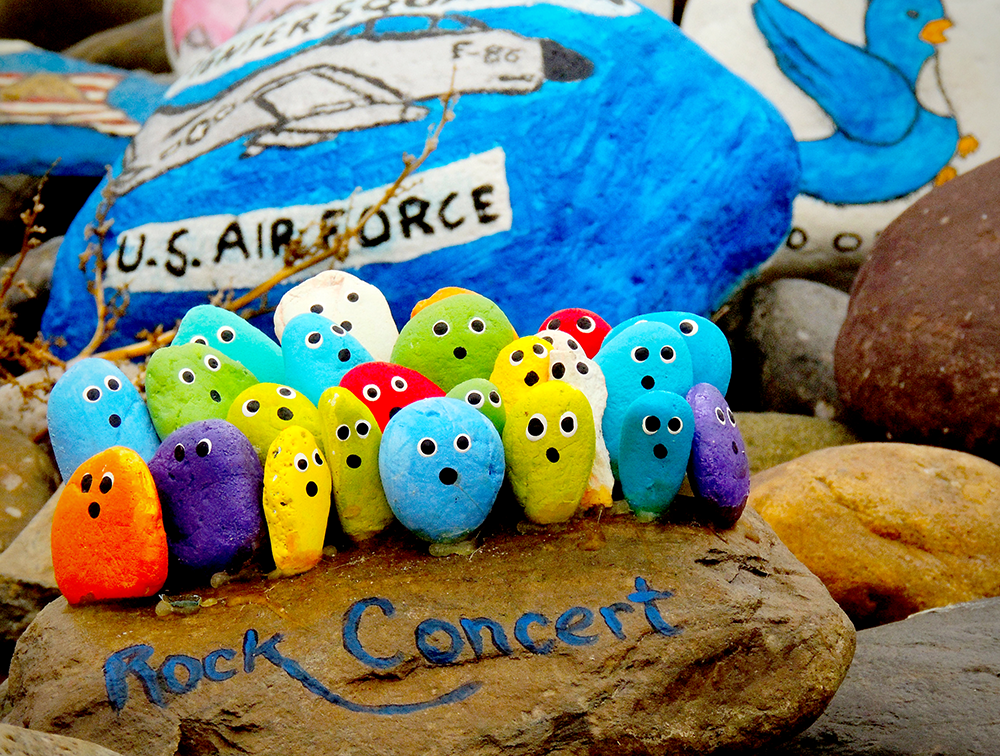
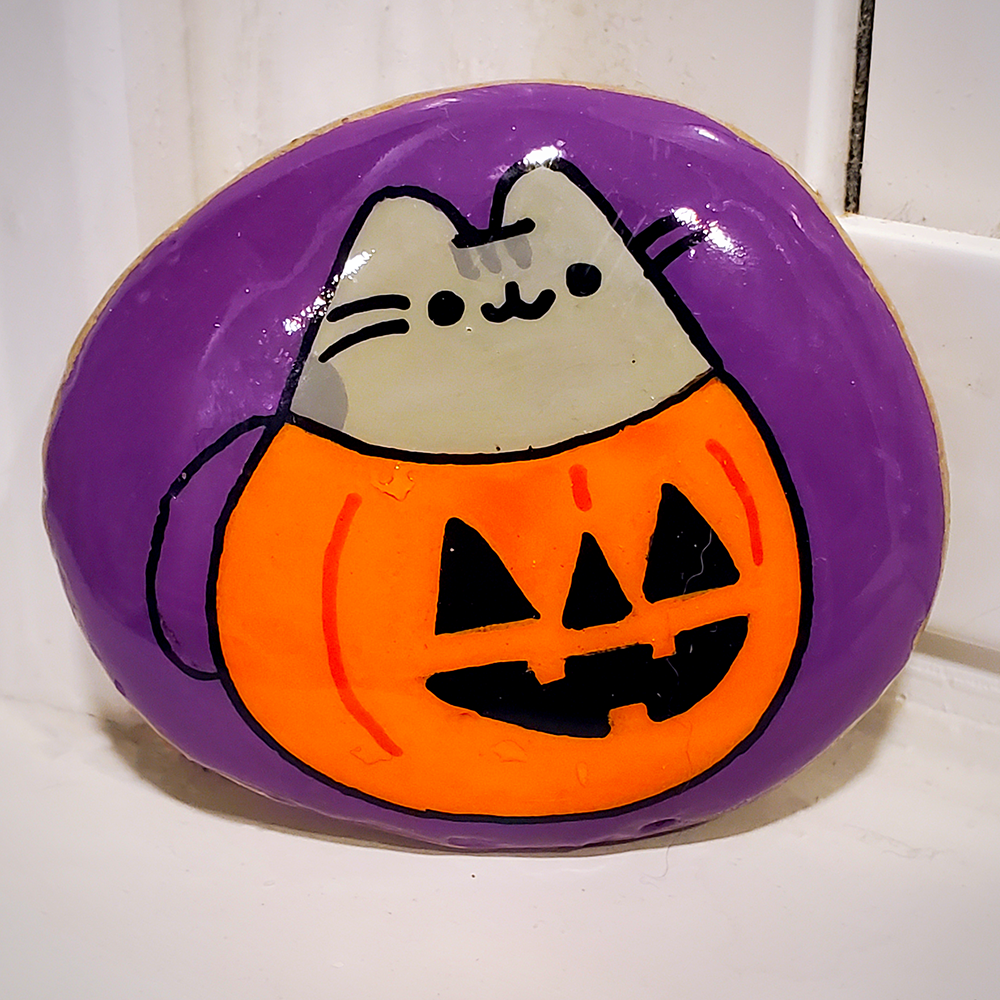
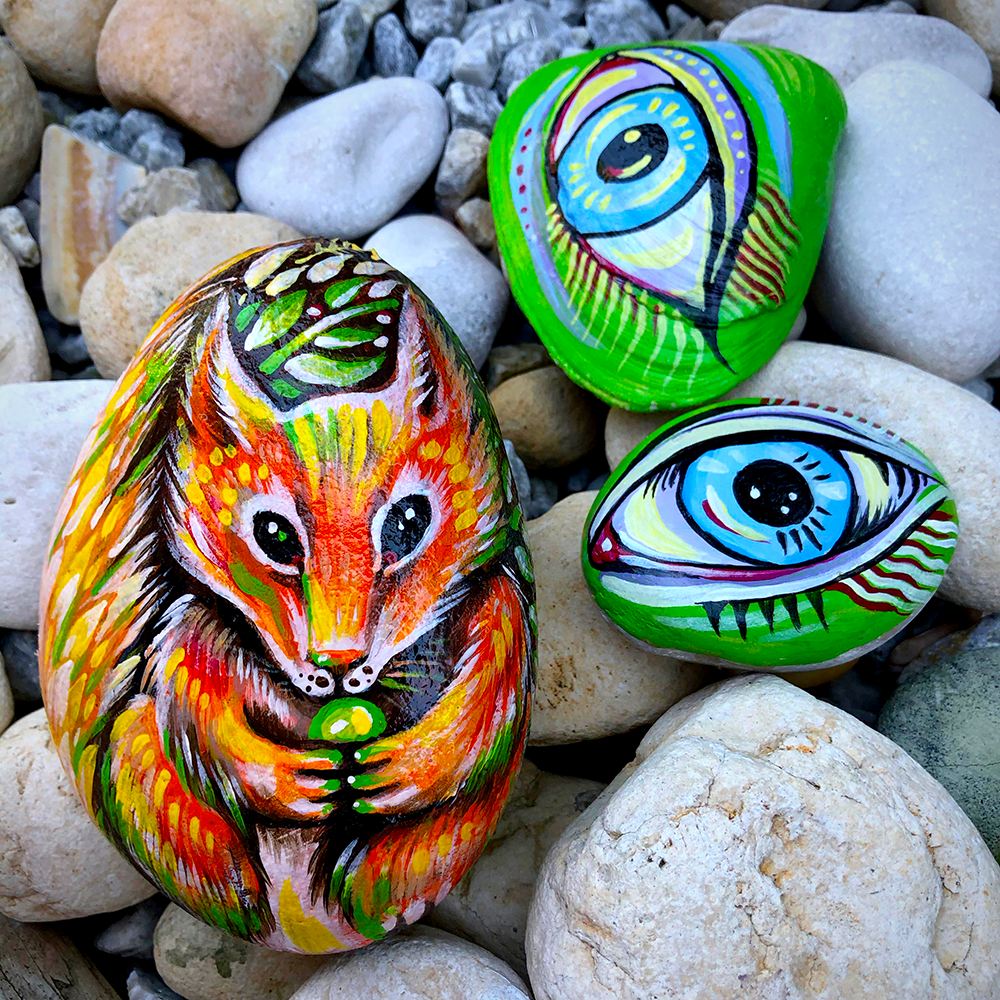
Once you're comfortable with basic designs, you can start to experiment with more complex patterns and images, like a mandala rock painting.
If you need some inspiration, there are plenty of books and online tutorials available that provide lots of rock painting ideas.
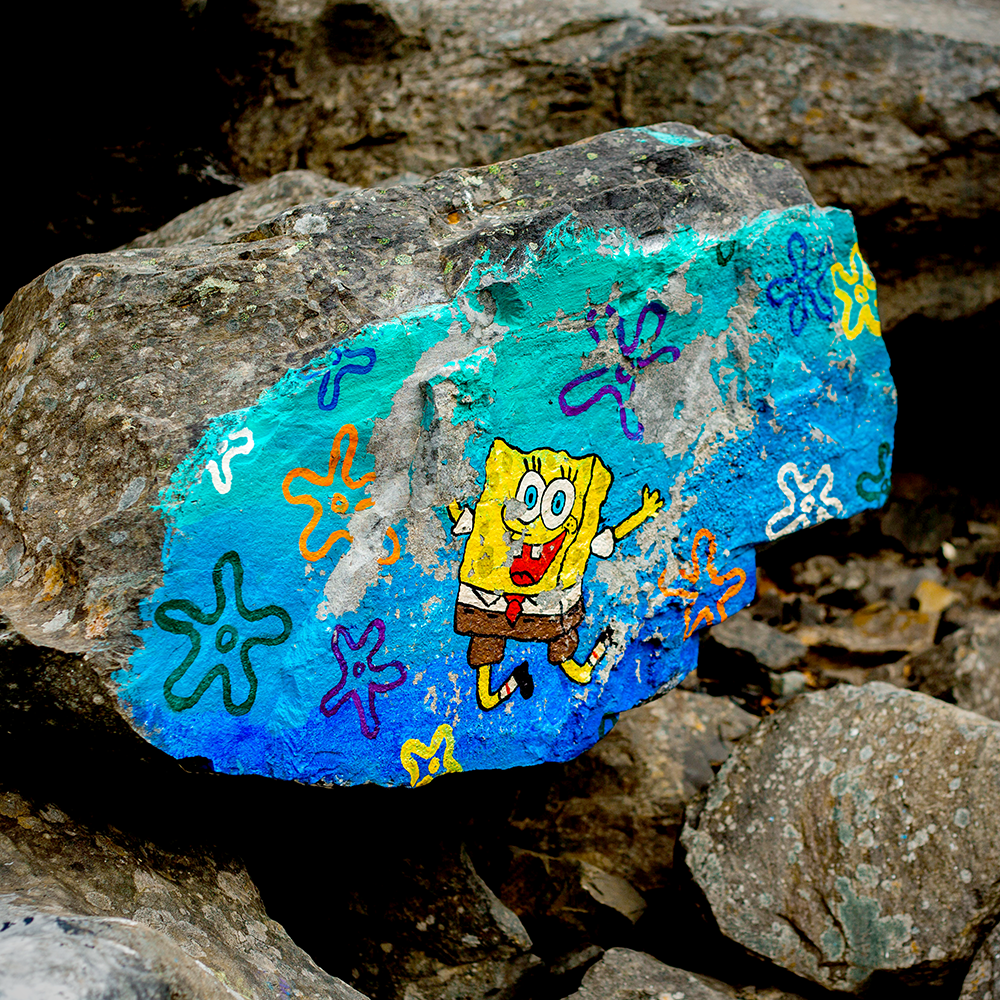
Just do a quick search and you'll find tons of rock ideas; there are even special occasion rock art designs, like Easter and Christmas rock painting ideas!
Finally, don't be afraid to experiment when creating rock art.
Rock painting is all about having fun and being creative, so go wild!
Painting Your Design
Once you've chosen your design, it's time to start painting!
If you're painting a complex design, it's a good idea to sketch it out first with a pencil.
This will help to prevent any mistakes.
Begin by painting the background color of your design.
When you're ready to start painting, dip your brush in the paint and then start to apply it to the rock.
Remember to go slowly and take your time.
Then, add in the details until your design is complete.
If you make a mistake, no worries!
Just grab a cotton swab, Q-tip, or wet paper towel and carefully remove the paint.
Once you're finished painting, set your rocks aside to dry.
You can speed up the drying process by using a hair dryer on a low setting.
When you're finished painting your rocks, using a clear sealant will help to protect your designs.
You can find sealants at most craft stores.
Just apply a thin layer with a paint brush or spray can and let it dry.
After your rocks are dry, they're ready to be displayed!
You can put them in your garden, give them away as gifts, or even use them as paperweights.
It's up to you!
Remember to have fun and experiment; there are no rules when it comes to rock painting!
Now that you know the basics of rock painting, go out and give it a try!
We guarantee you'll have a blast.
Painting Rocks
Now that you know the basics of rock painting, go out and give it a try!
We guarantee you'll have a blast.
We hope this blog post has inspired you to try rock painting for yourself.
It's a fun activity that anyone can do, regardless of skill level; so, get creative!
Just remember to have fun and experiment; there are no rules when it comes to rock painting!
Go grab some rocks and paint and enjoy your new hobby!

Want to learn more about painting rocks? Check out Rock Painting 101's video!
Interested in learning more about painting?
Check out some of our other painting articles:
Eager to try out some other painting projects? C
Check out these articles: