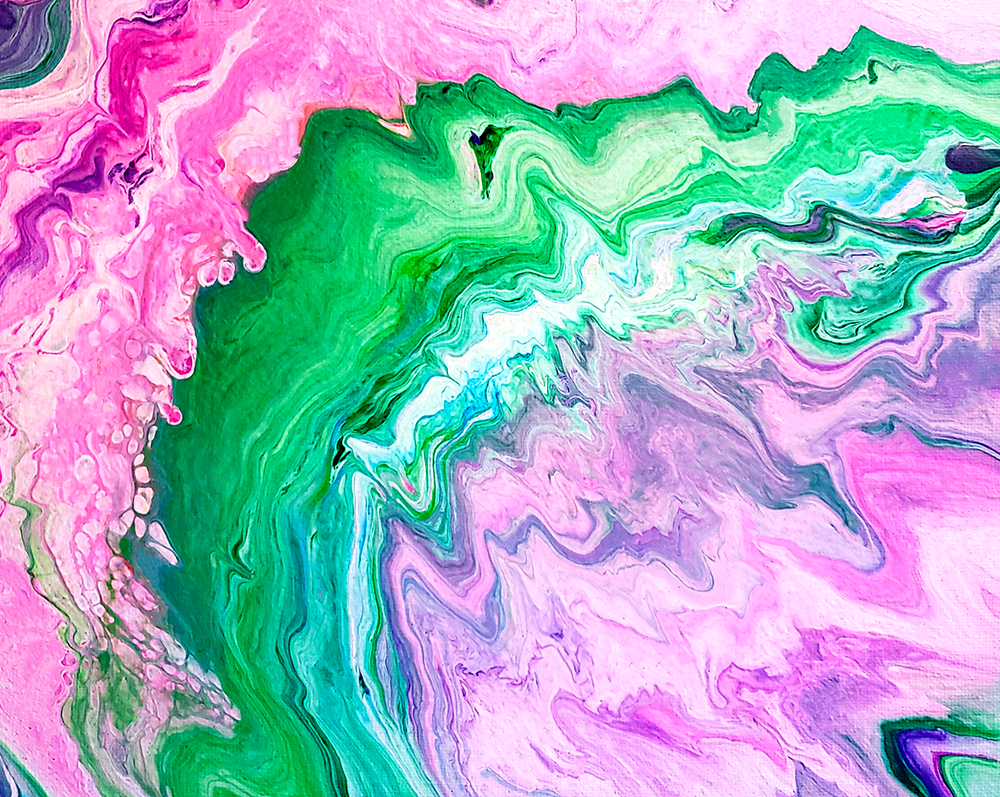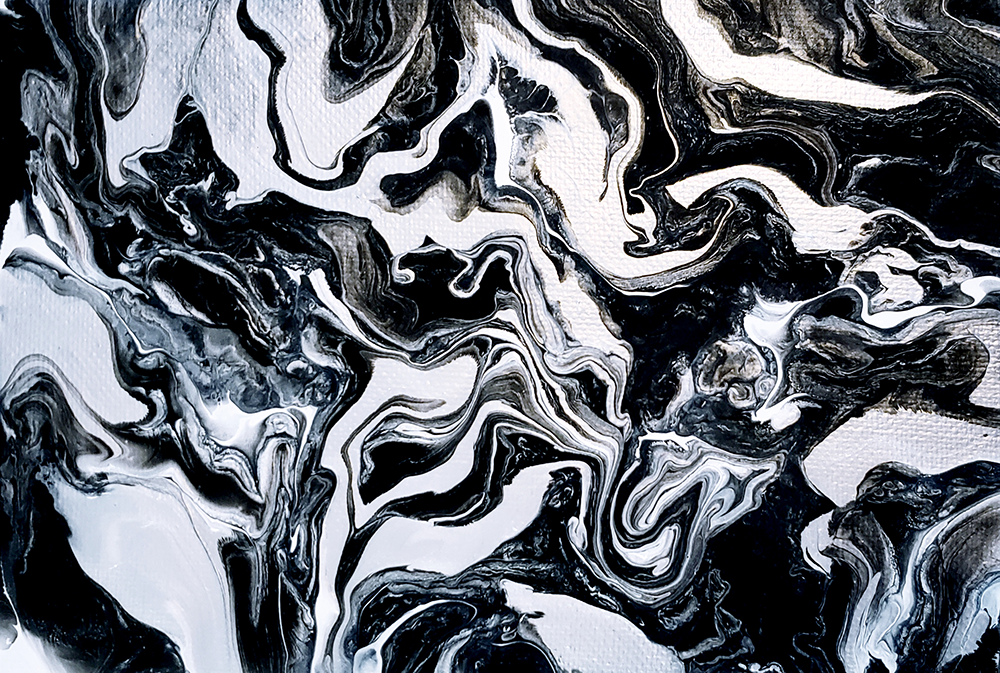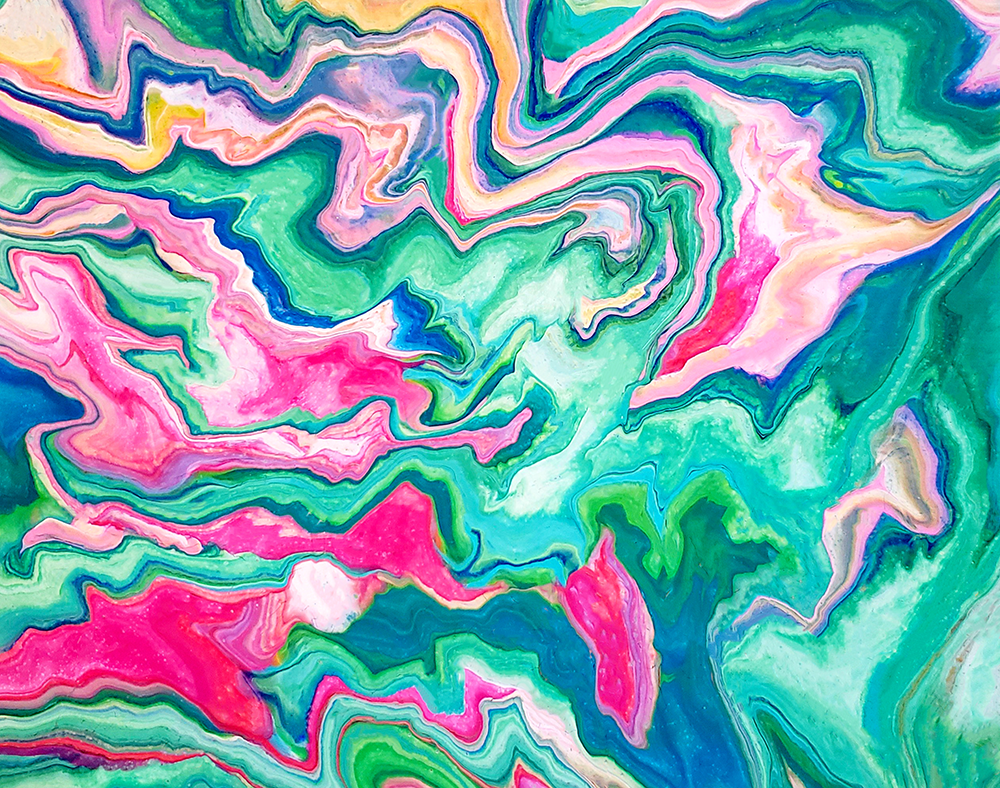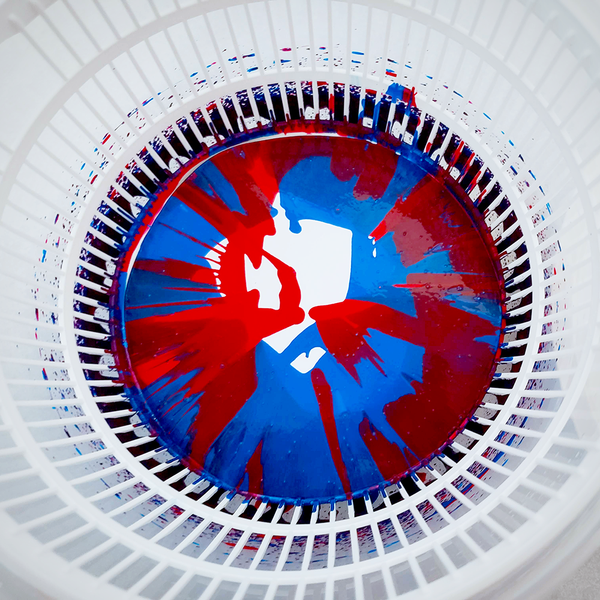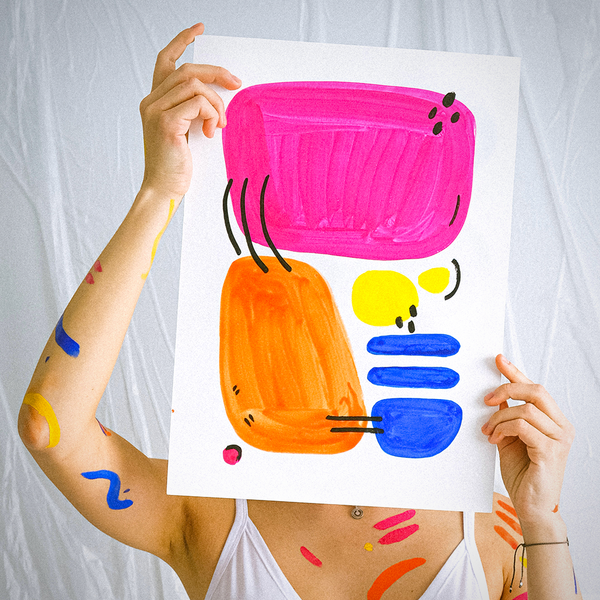
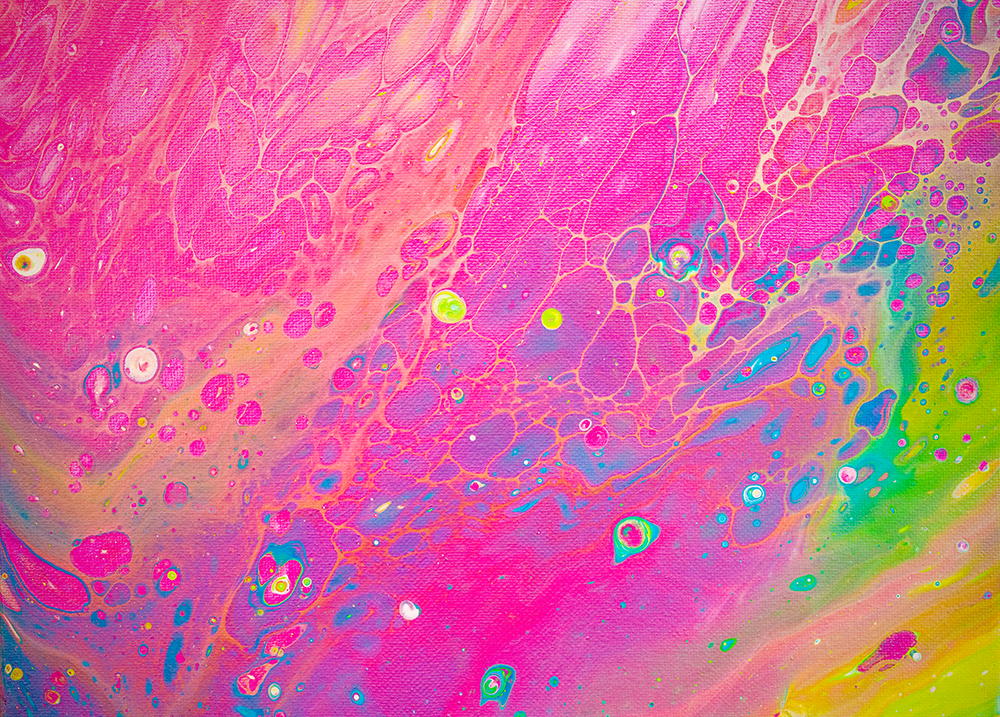
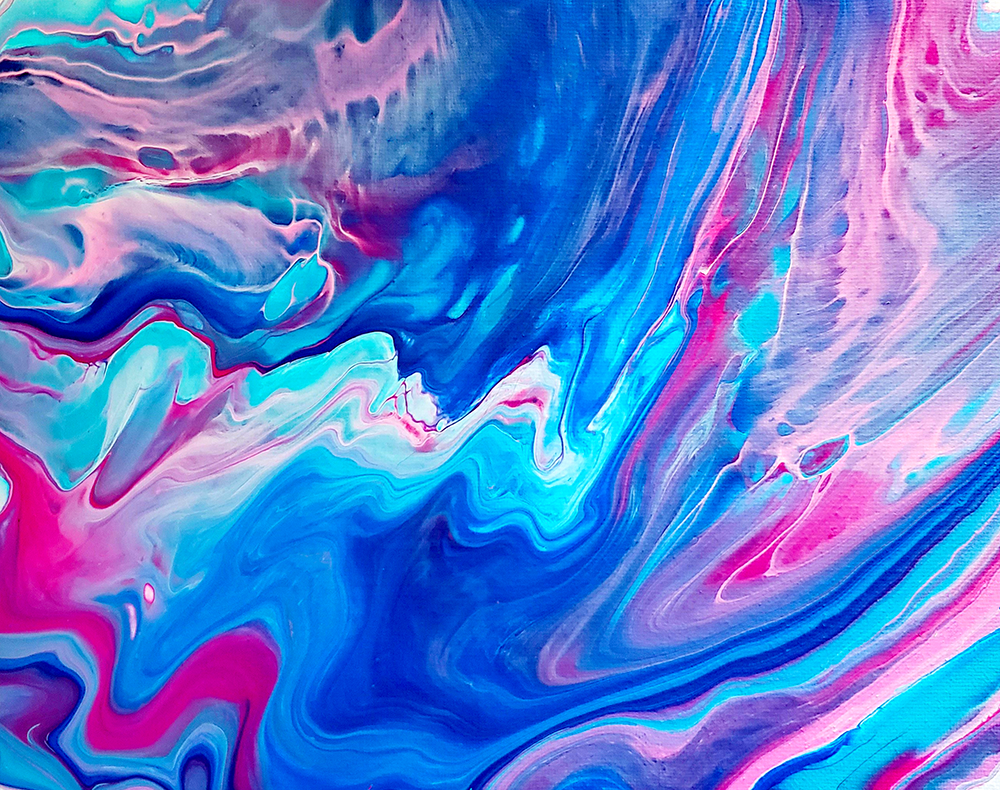
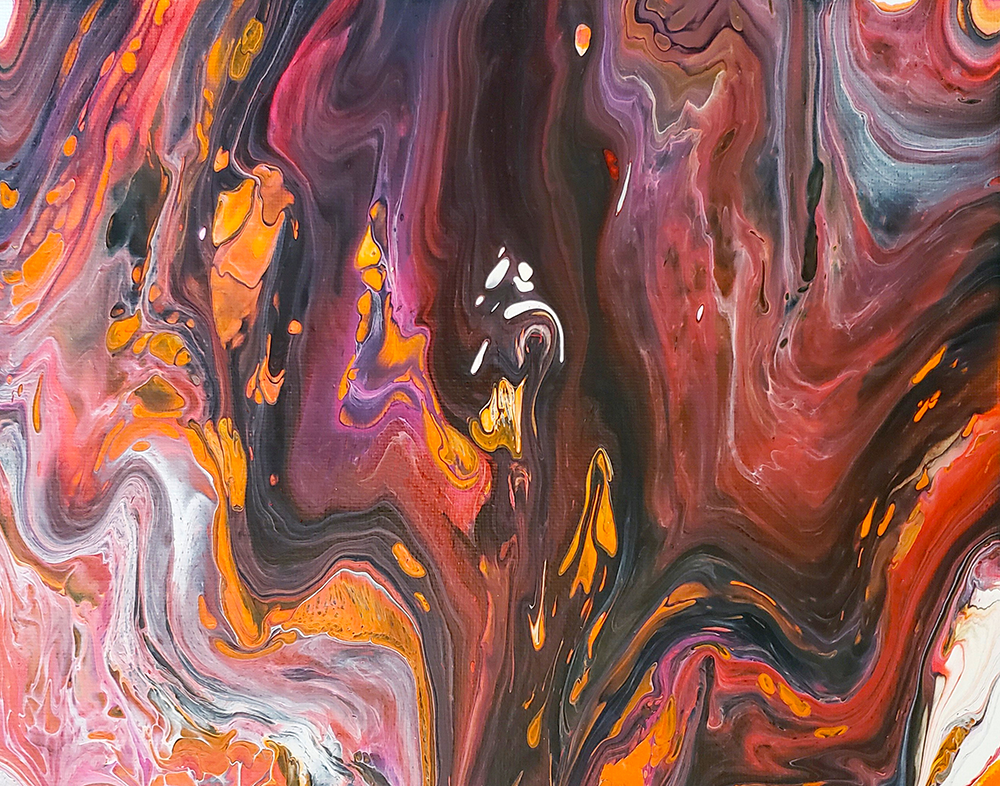
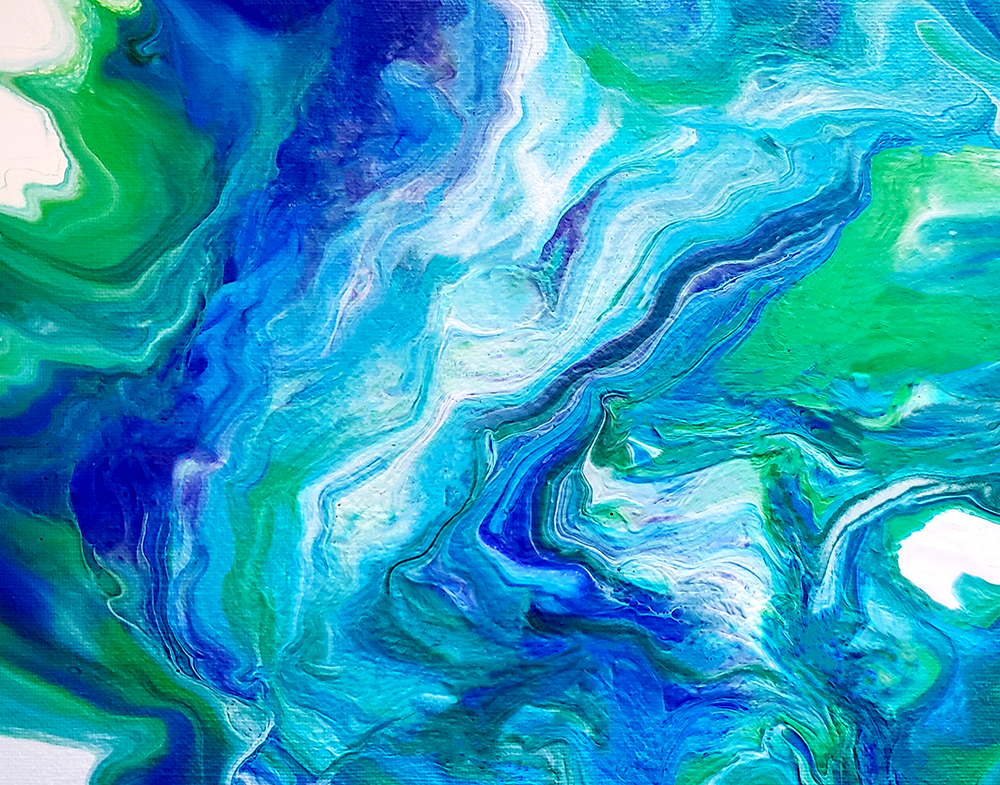
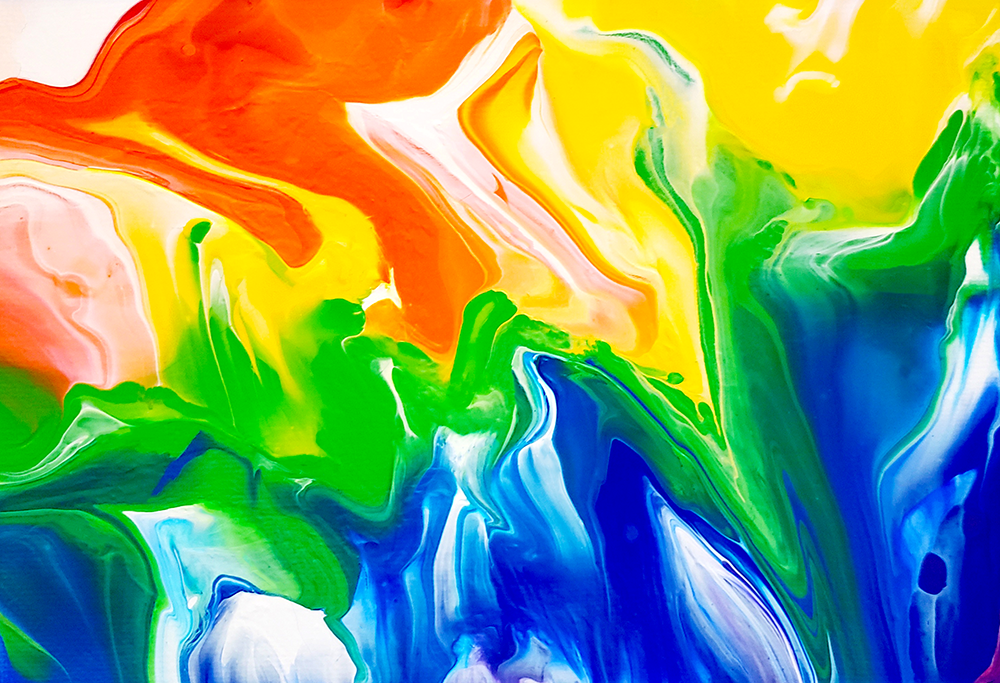
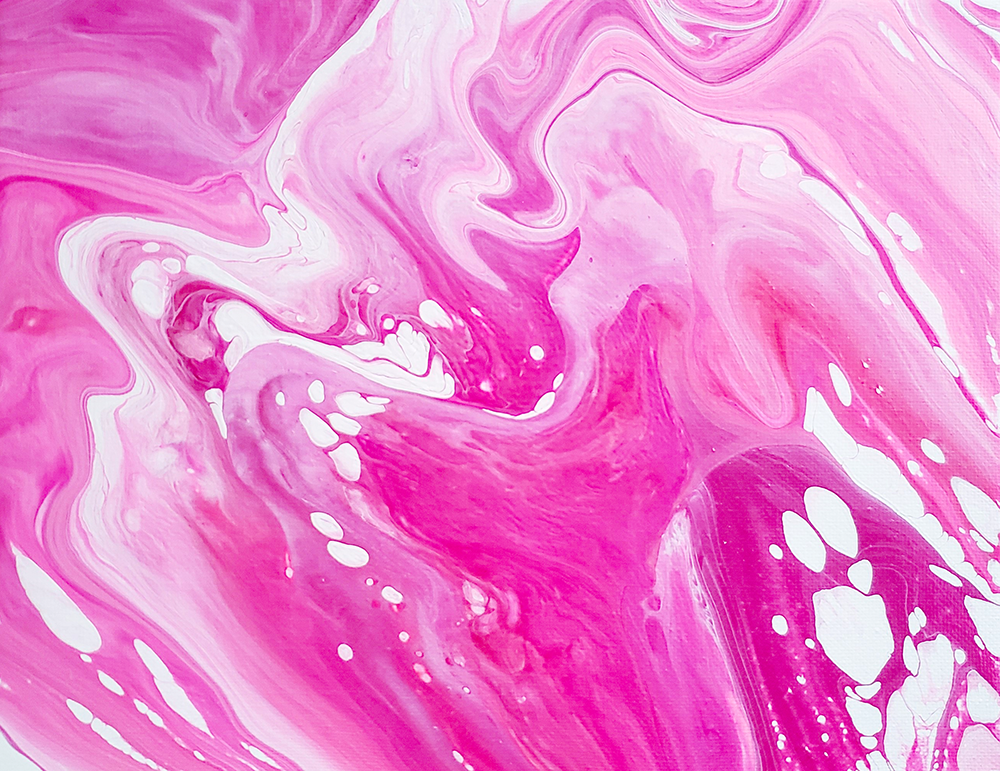
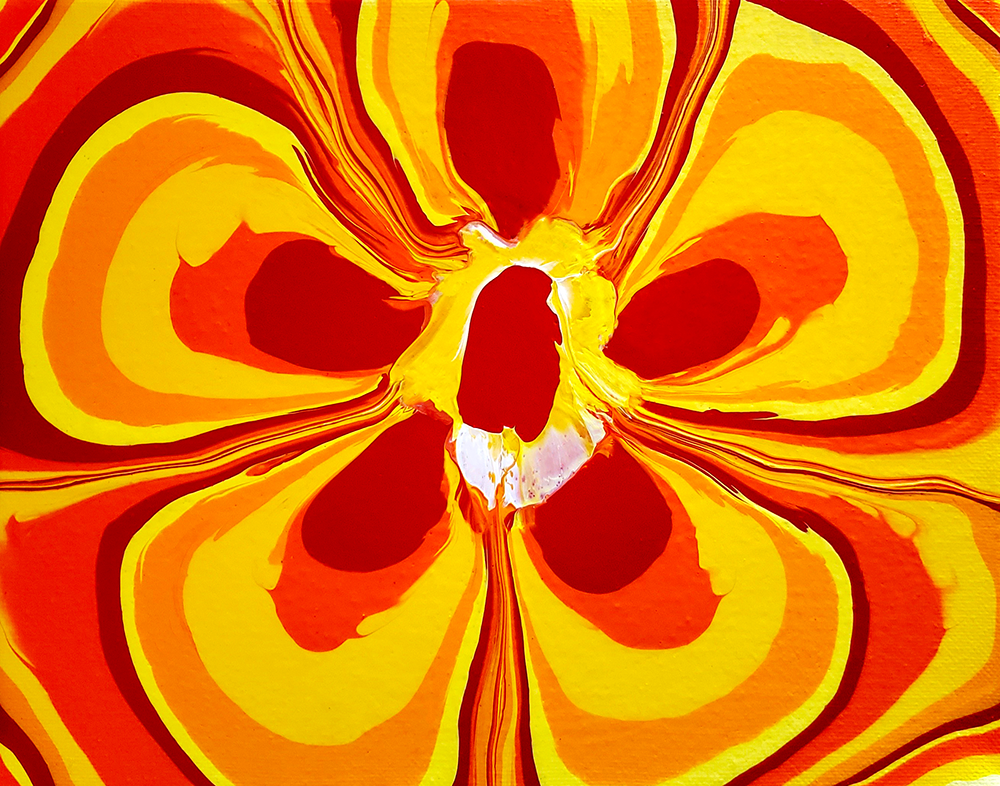
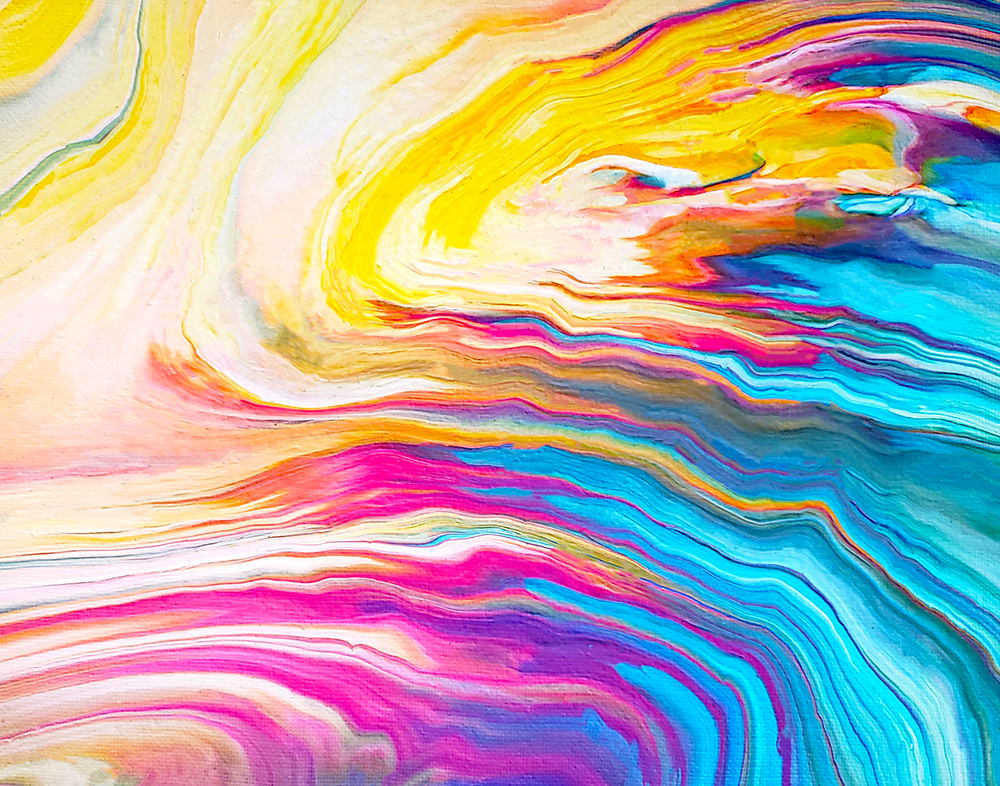
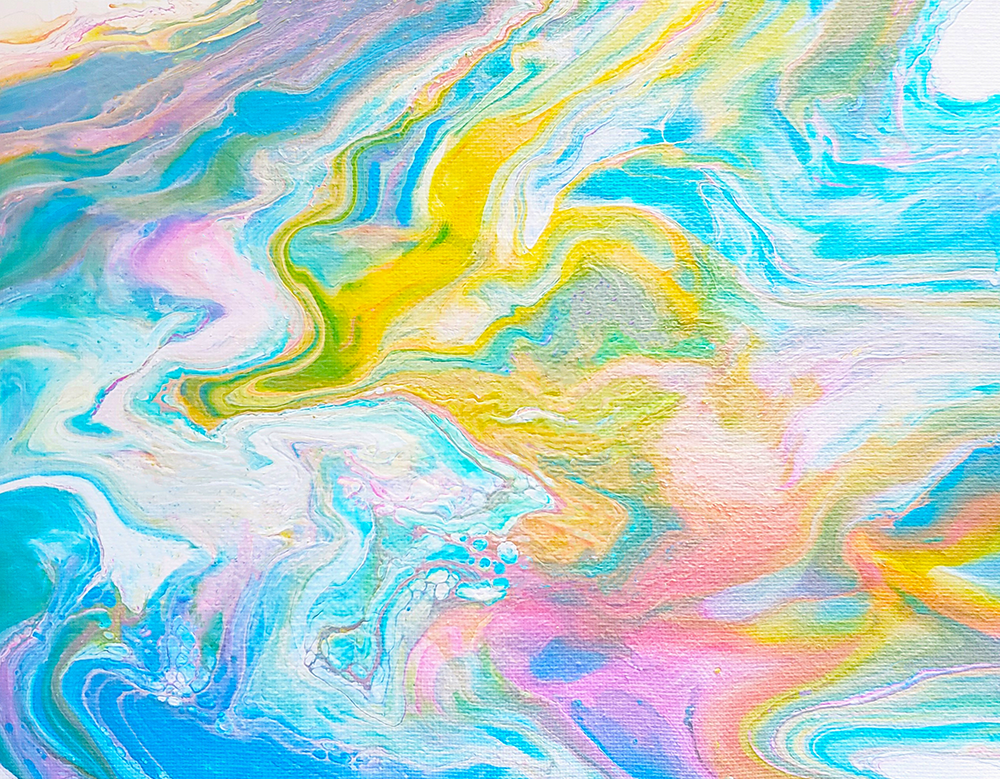
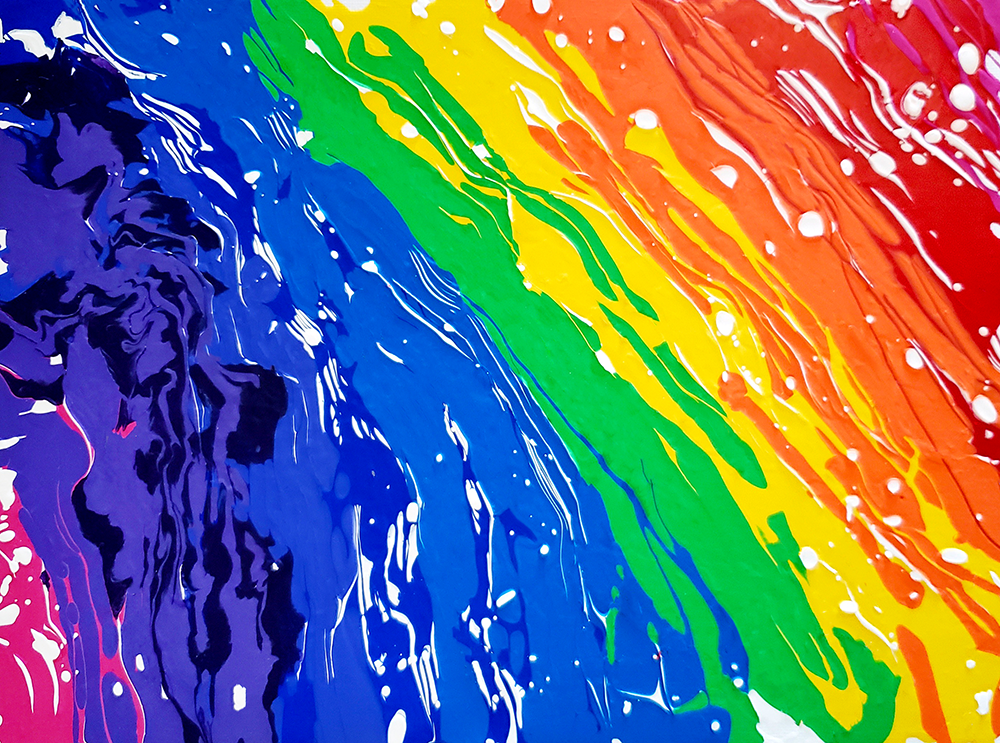
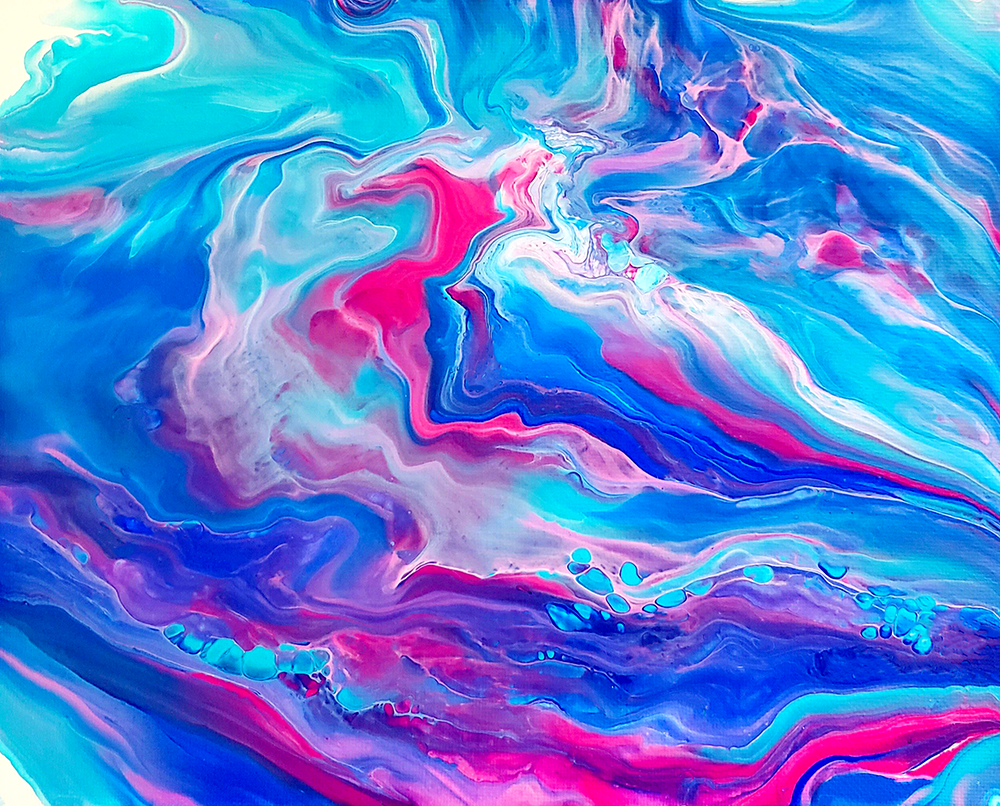
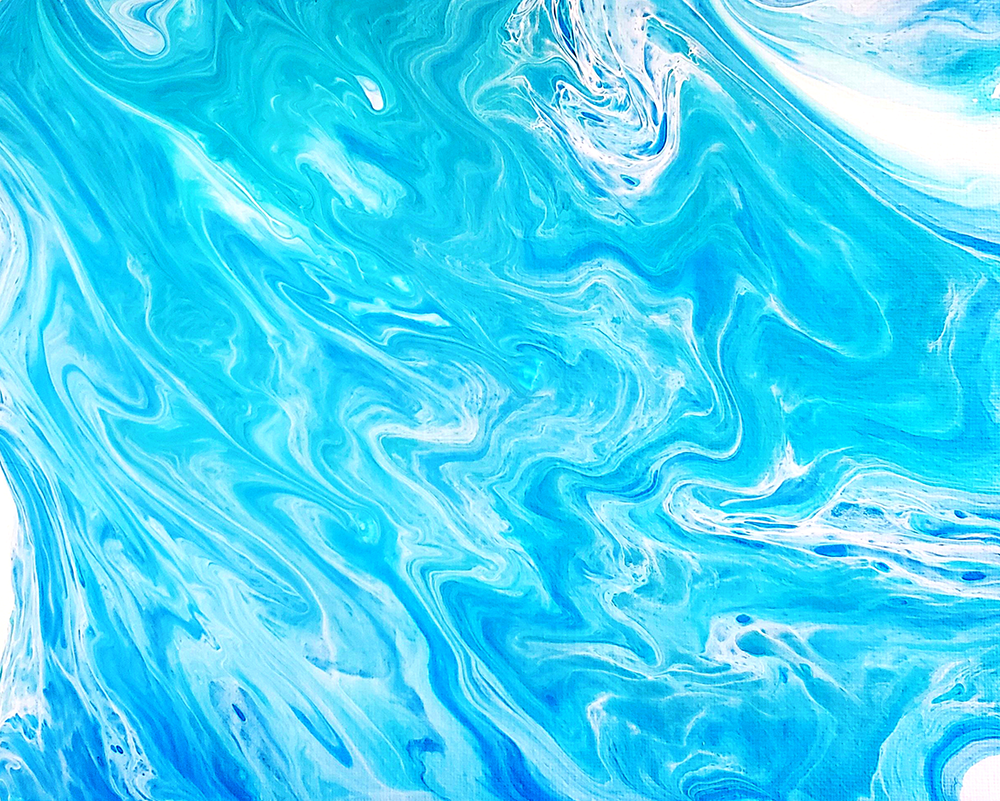
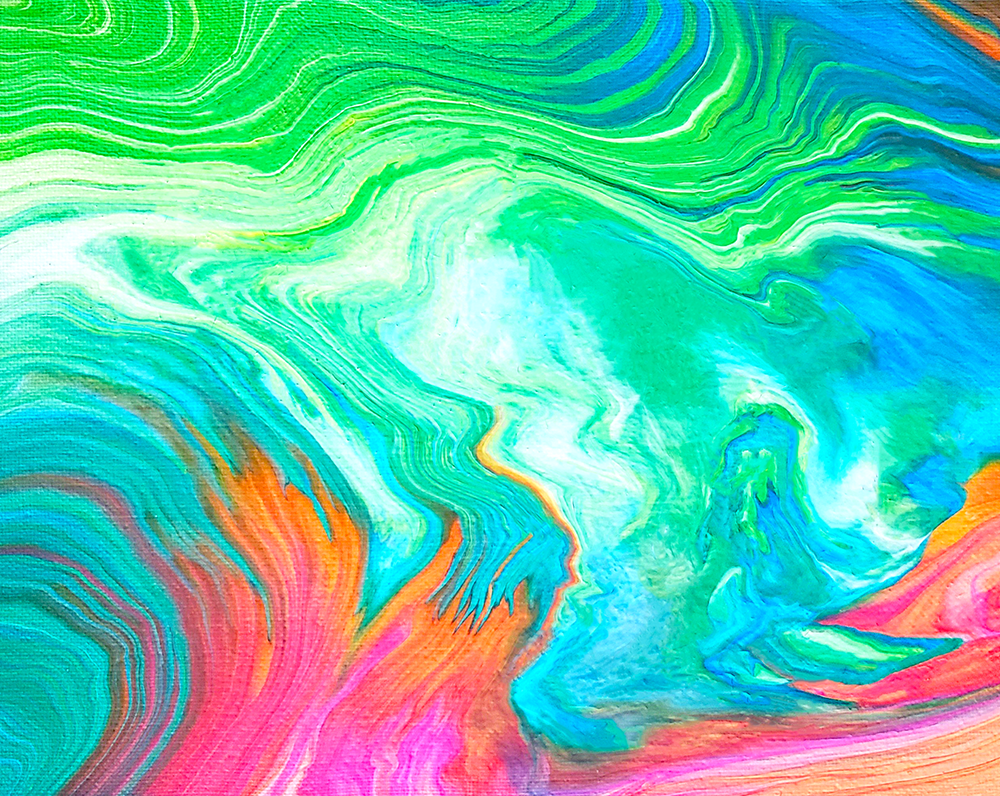
Have you seen those beautiful, marbled paintings and wondered how they were made?
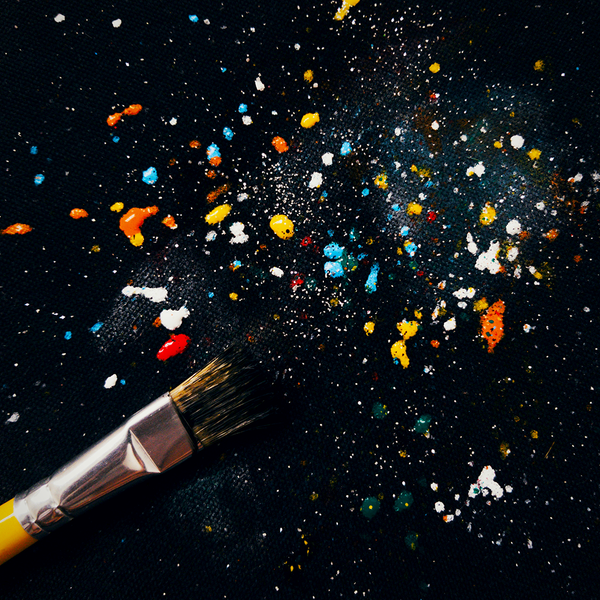
If you're looking for a fun and easy way to create beautiful works of art, you need to try acrylic pour painting!
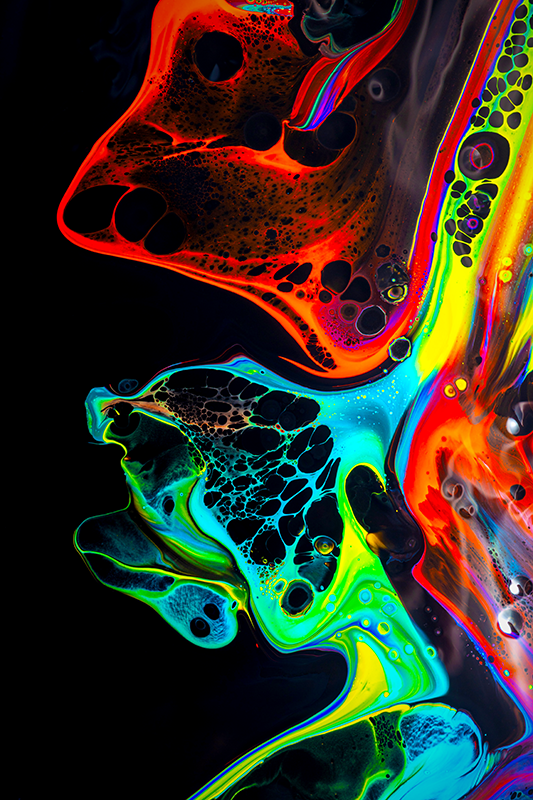
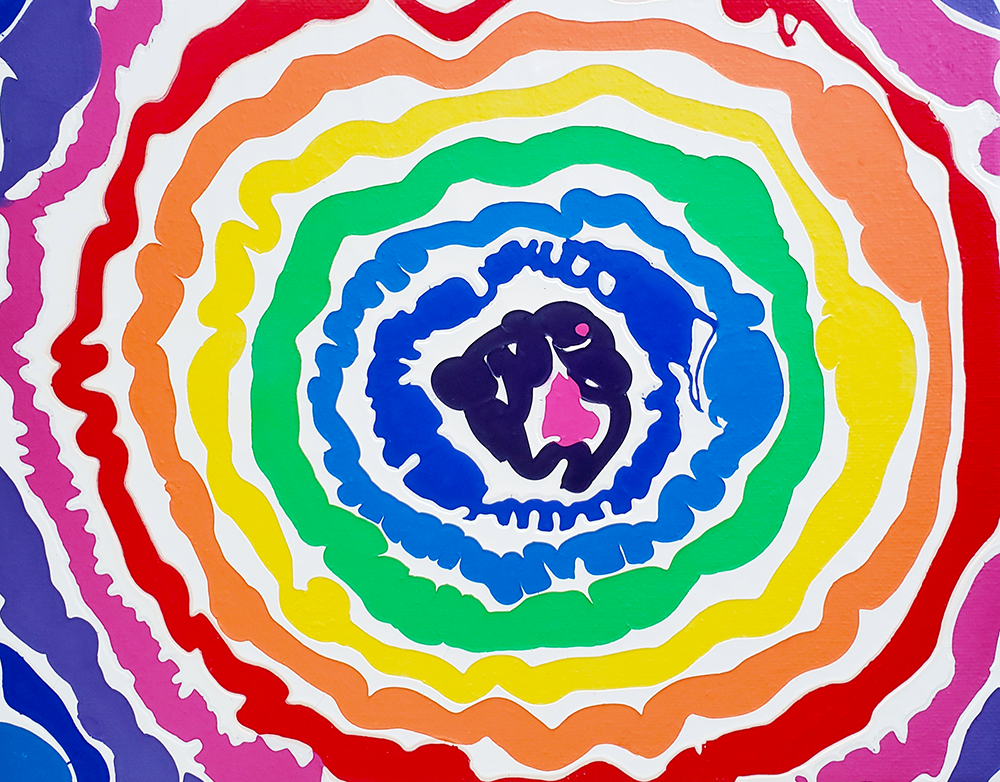
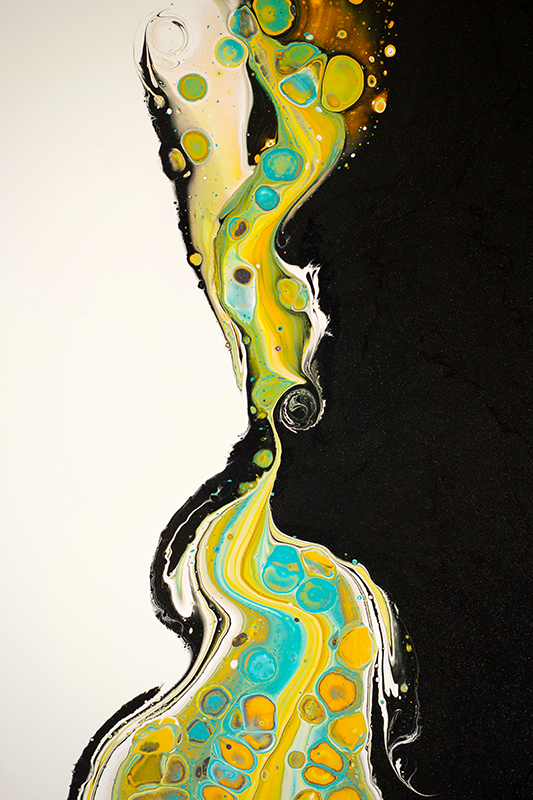
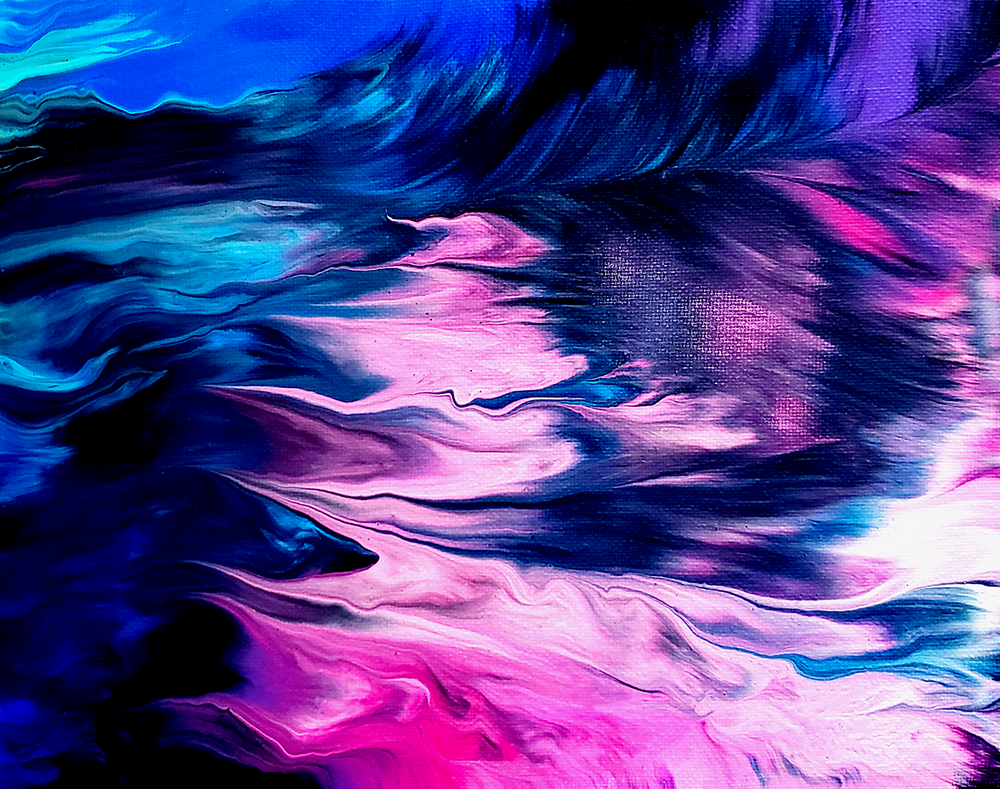
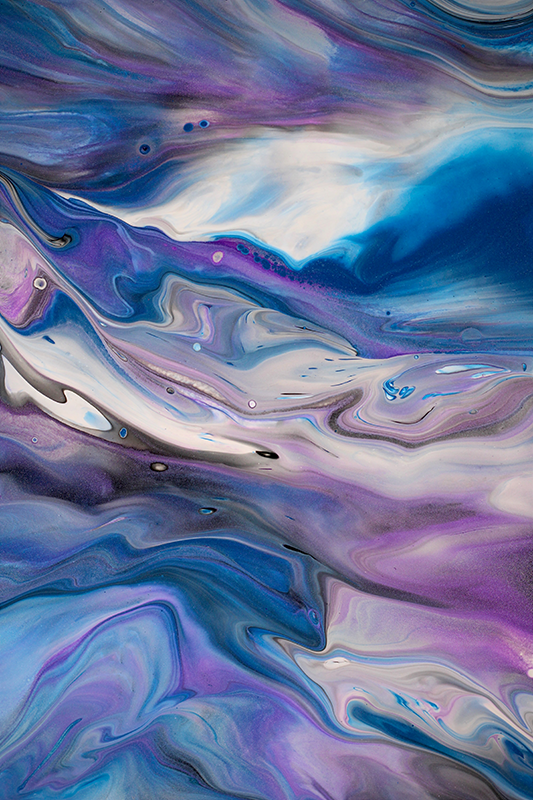
Acrylic pour paintings are a type of abstract art that use acrylic paint and pouring techniques to create unique pieces.
This technique is perfect for artists of all skill levels because it's relatively easy to do, and it produces stunning results every time.
In this blog post, we'll walk you through how to create your own acrylic pour painting.
All you need is a few supplies and some creativity!
Needed Supplies
This simple acrylic pouring technique is easy to do, but it's important to have the right supplies prepared.
To get started, gather your acrylic paint pouring supplies:
- Acrylic paint in various colors (it's recommended to start off using around 3 colors for your first pour painting)
- Pouring medium (this helps the paint flow and prevents it from drying too quickly)
- Stir sticks or craft sticks
- Cups for mixing the paint and pouring medium together
- Canvas or other surface on which to pour the paint
- Large, flat surface (we recommend covering your workspace with newspaper, a drop cloth, plastic table cloth, or trash bag for easier clean up)
- Paper towels or rags (for cleanup)
- Gloves (optional, but recommended)
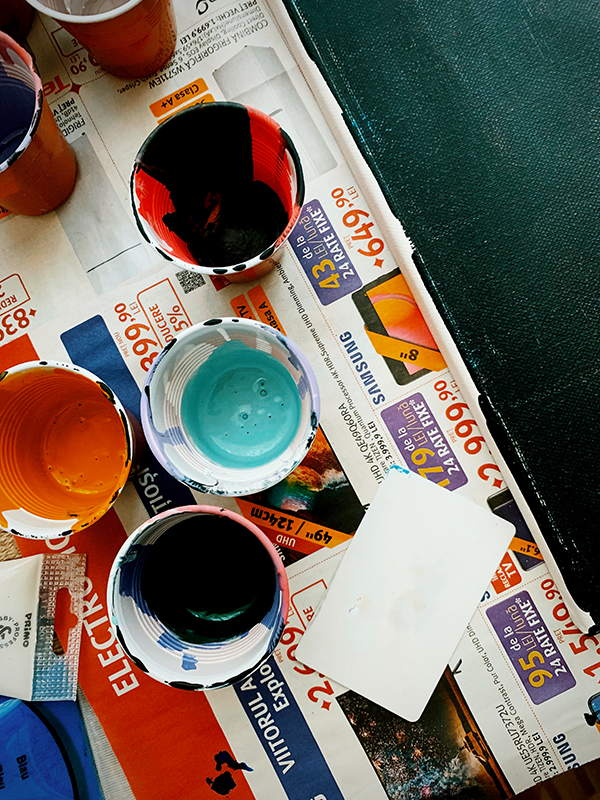
Prepare Your Workspace
Before you start pouring, it's important to prepare your workspace.
Make sure your work space is flat and large enough to create your painting.
Cover your work surface with a protective covering, such as newspaper, a drop cloth, trash bag, or plastic table cloth to protect it from spills from the acrylic paints.
Once your work surface is covered, make sure you have all of your acrylic pouring paint supplies within easy reach.

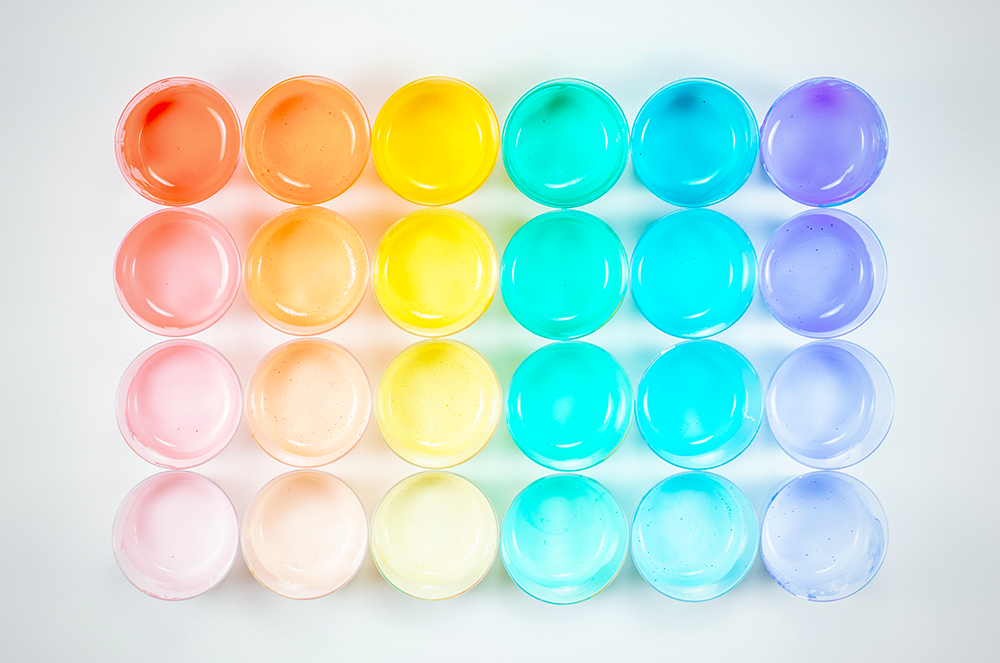
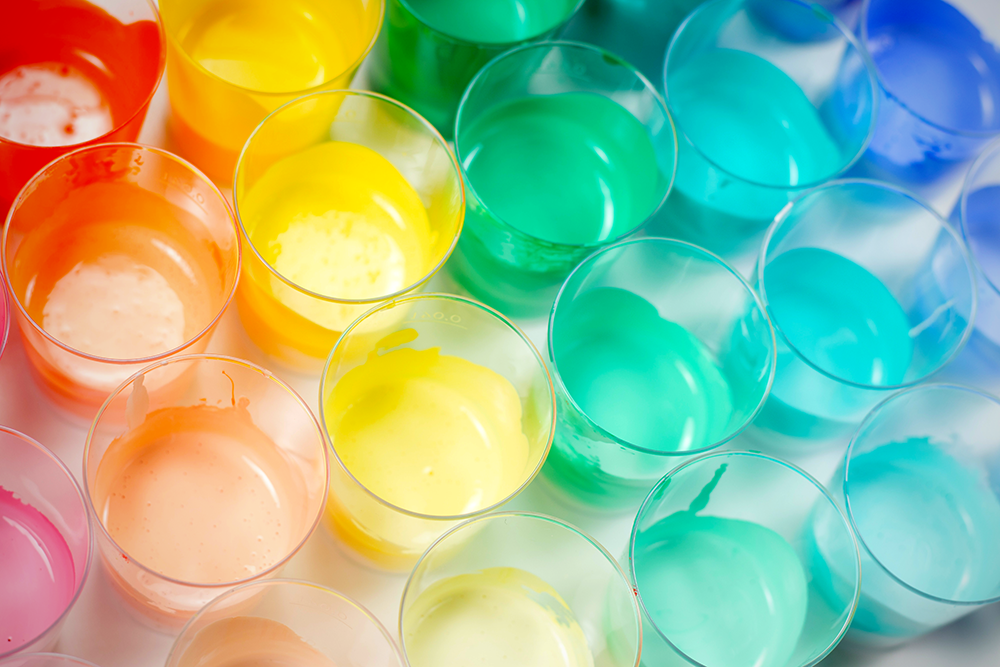
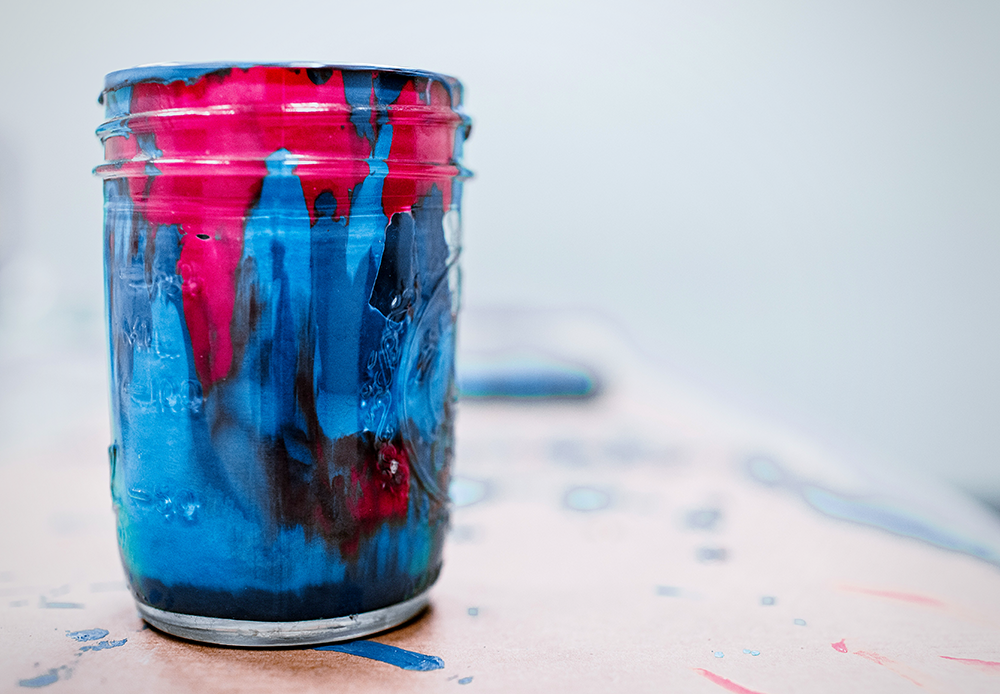
Choose Your Paint Colors
Paint selection is one of the most important parts of creating a successful acrylic pour painting.
It's important to consider the type of paint and the paint's actual colors.
If a paint is too thick, it will not spread well across your painting surface, so soft body acrylic paints usually work the best for pour paintings.
As for paint colors, you can use any colors you like; you'll just want to make sure that the colors you choose will work well together.
When choosing colors, it's important to keep in mind both the color wheel and the rules of color theory.
For a beginner-friendly pour painting, we recommend using go-to color schemes that are harmonious and stick to acrylic paint colors that are next to each other on the color wheel (e.g., red and orange, blue and green, which are examples of analogous colors).
Complementary colors (colors that are opposite each other on the color wheel) can also be used, but they should be used sparingly so as not to create too much contrast.
When pouring acrylic paint, complementary colors can also make muddled browns and grays when mixed.
This can result in a dirty pour, so you should keep this in mind if you plan to use them.
Once you've selected your colors, it's time to move on to mix them.

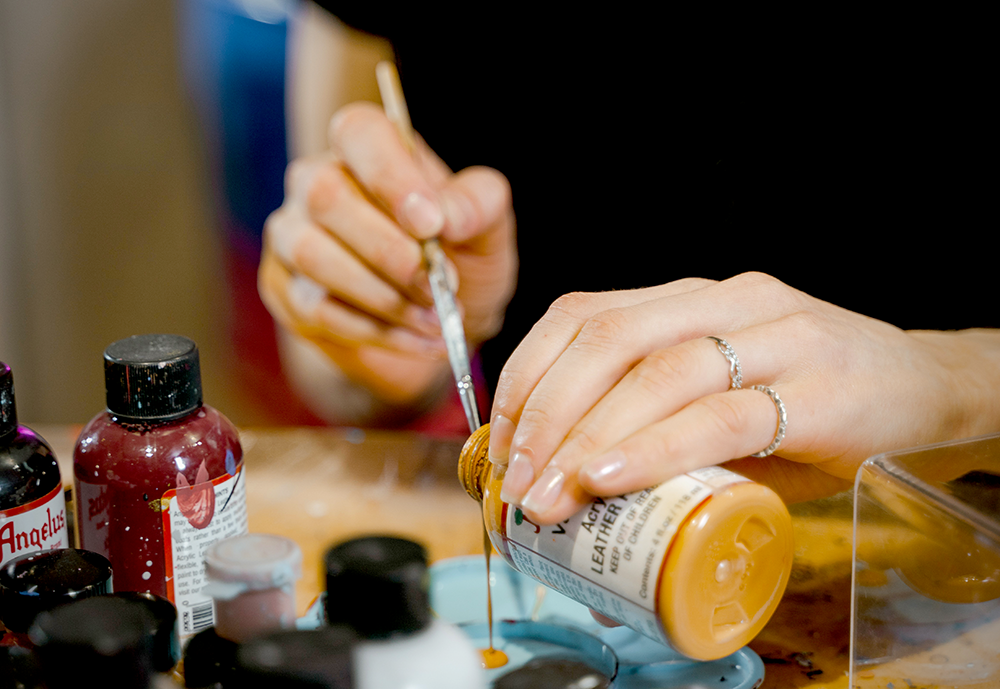
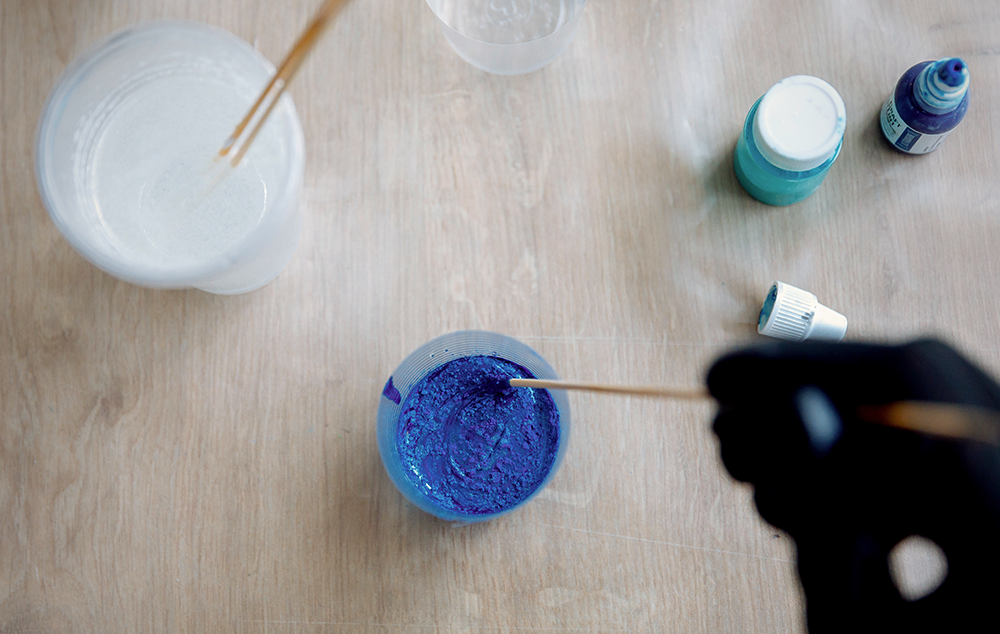
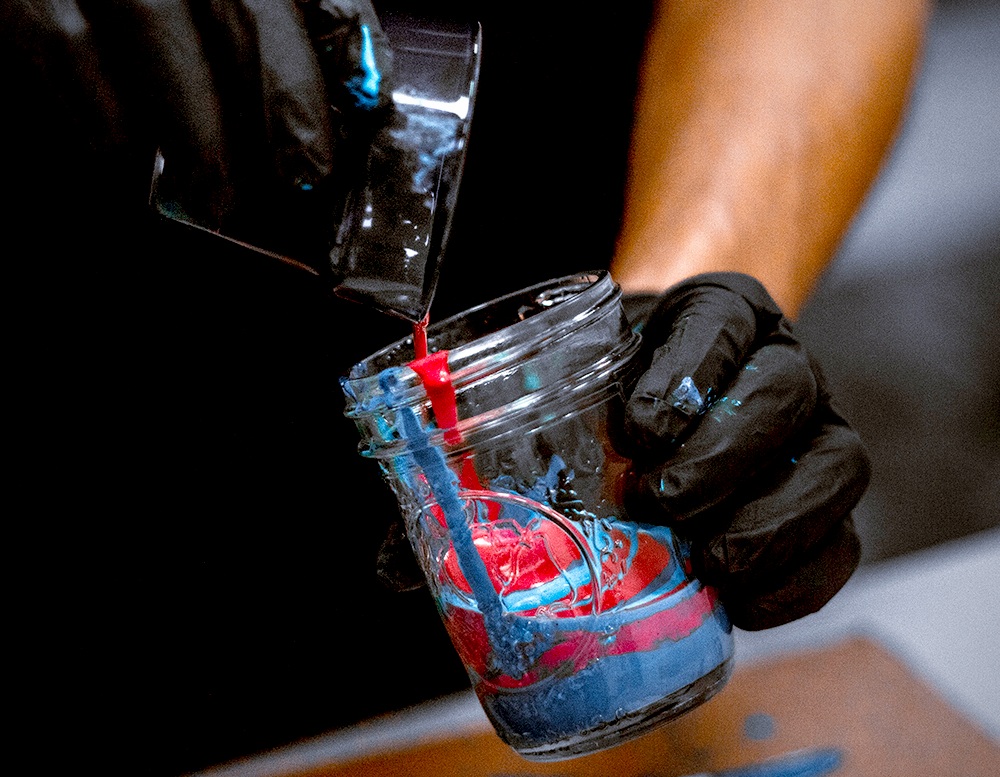
Mix Your Colors
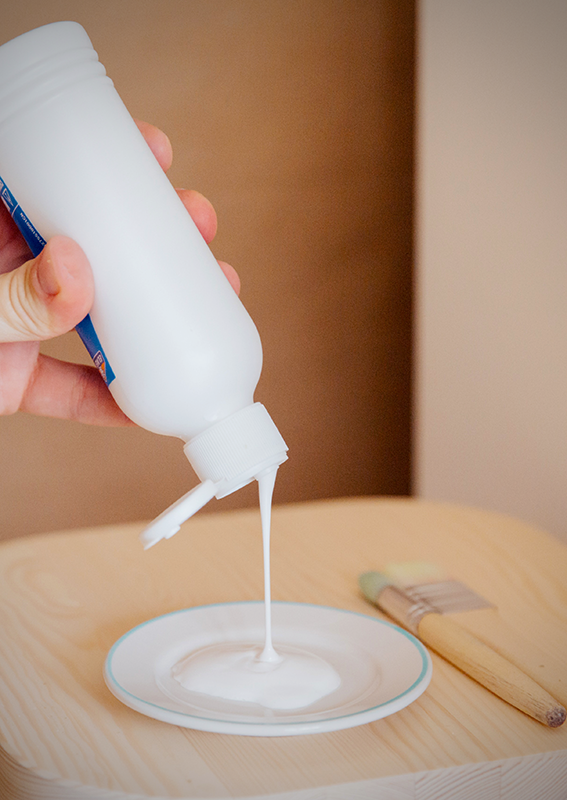
To create an acrylic pour painting, it's best to mix your paint with a pouring medium.
Pouring mediums are used to thin the paint so that it flows more easily when poured onto the canvas.
Adding some water to give your paints a thinner consistency can also be used in a pinch.
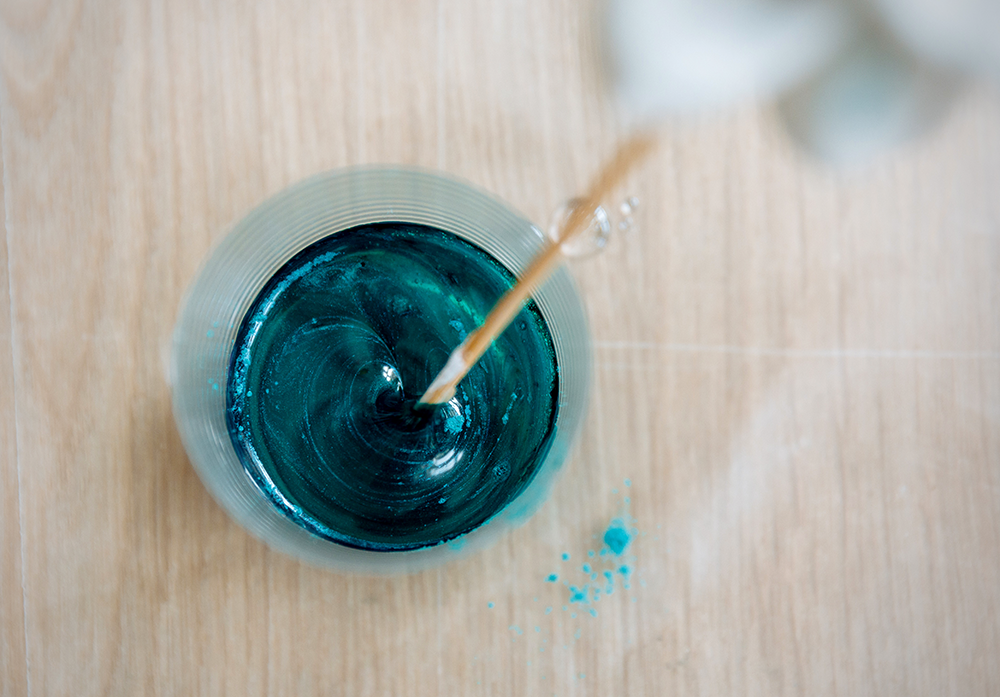
To mix your colors, pour a small amount of each color of paint into its own cup.
Add an equal amount of pouring medium to each color and mix well with a stir stick.
The ratio of paint to pouring medium should be about 2:1.
Repeat this process until all of your colors are mixed.
If you want to create cells in your acrylic pouring, you can use dish soap or silicone oil.
Just add a few drops to your paint mixture and stir it in.
Be careful not to add too much, as this can change the consistency of your paint and affect the final result.
Once your colors are mixed and ready to go, it's time to start pouring!
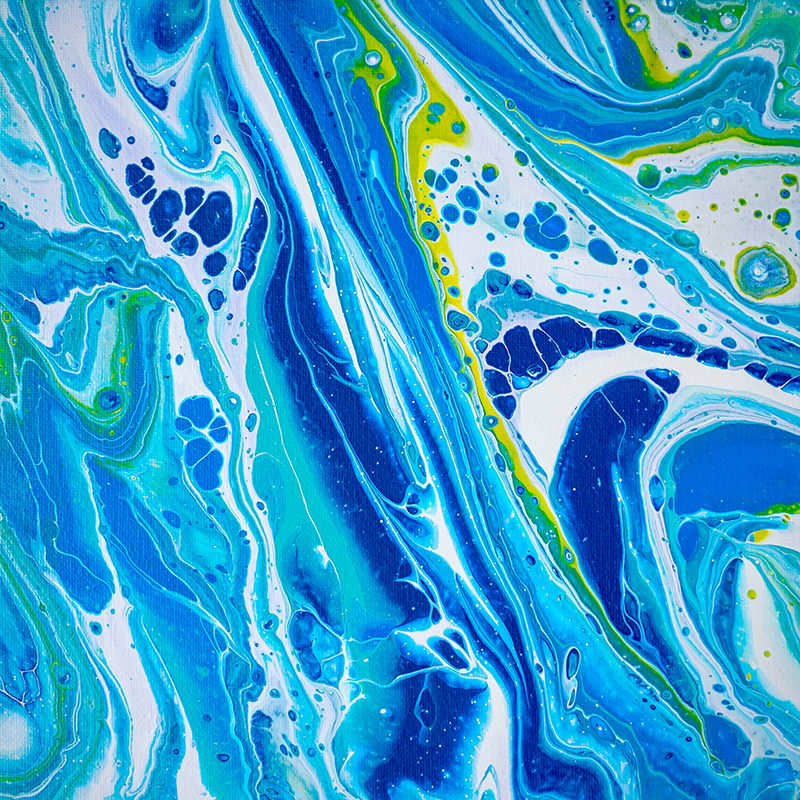
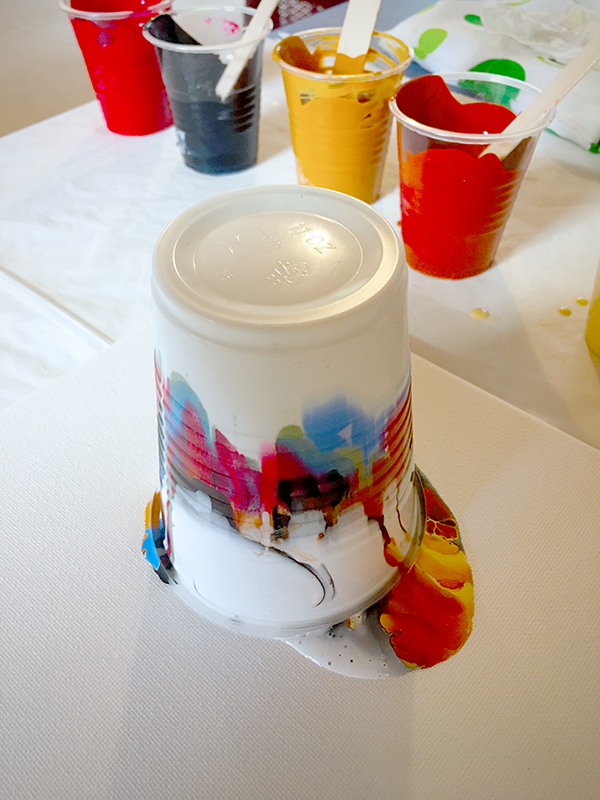
Begin Pouring
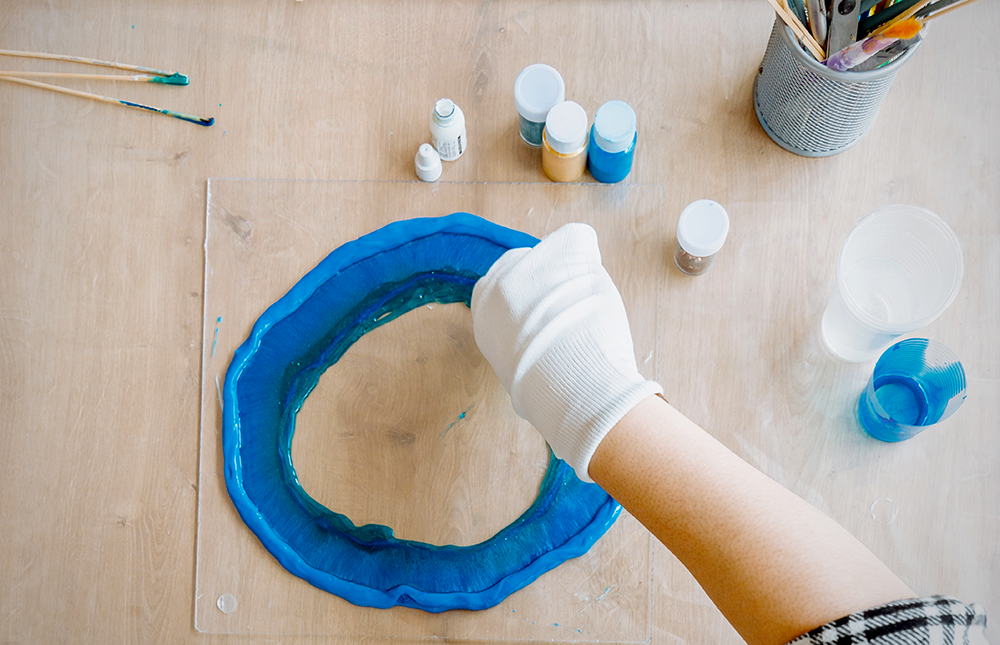
Begin by pouring one color of paint onto your canvas in any area you like.
You can tilt the canvas around to help the paint spread out.
Once all the colors are on the canvas, tilt the canvas around until you are happy with the results.
You can also start by tilting your canvas so that one corner is pointing towards you.
Then, start pouring your paint from that corner, slowly moving across the canvas as you go.
As you pour, tilt the canvas in different directions so that the paint flows evenly across the surface.
Once you're happy with the way your painting looks, set the canvas aside to dry completely.
If you want, you can even make a series of painting panels using this fluid painting technique.
This generally can take anywhere from 24 hours to a few days depending on the climate you're in and how thickly or thickly the paint was applied.
Once the paint is dry, your beautiful acrylic pour painting is complete!
Finish Your Painting
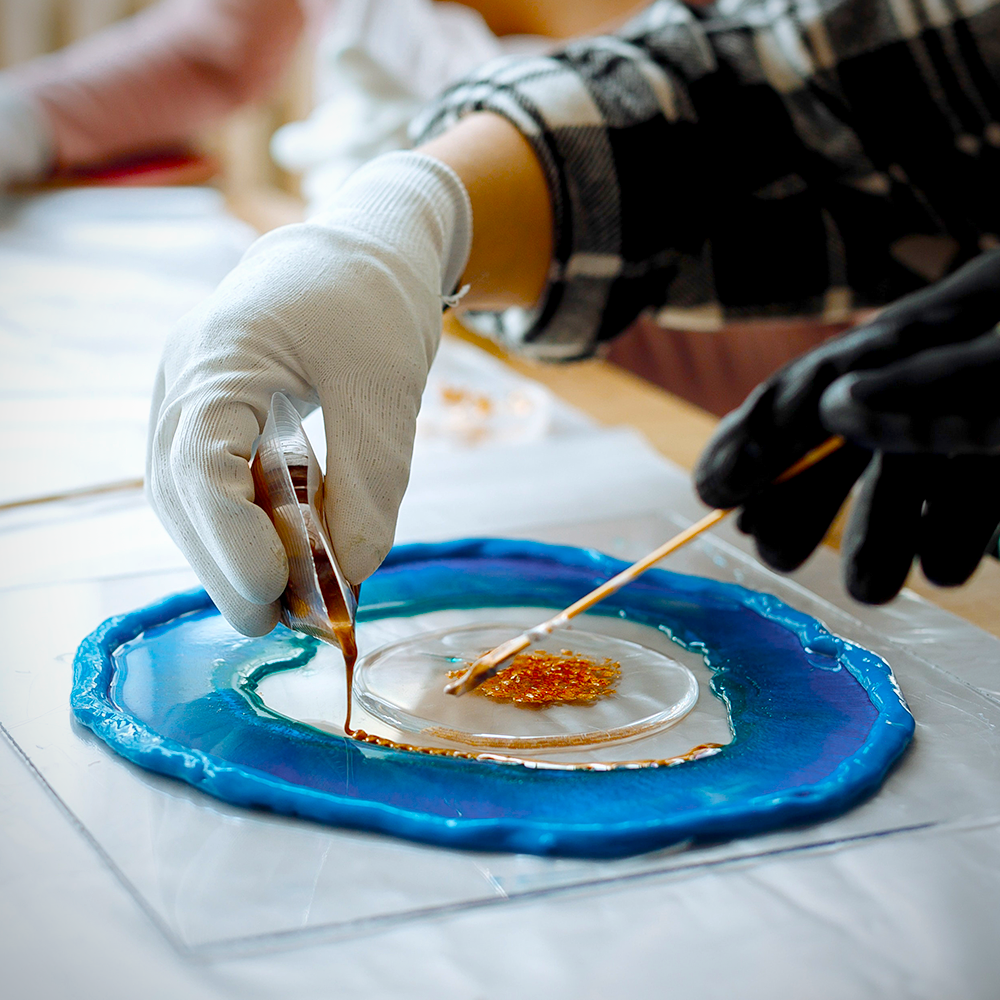
The final step is optional, but we recommend adding a layer of varnish or resin once your painting is dry.
Varnish or resin will help protect your painting from damage and fading over time.
It will also give it a beautiful glossy finish!
To apply varnish or resin, simply pour a small amount onto the center of your painting and use a palette knife or brush to spread it evenly over the surface.
There are also finish sprays you can use.
Then, set the painting aside and let the varnish or resin dry completely before displaying or packaging your finished work of art.

Conclusion
Congratulations—you've just created your very own DIY acrylic pour painting!
Acrylic pour painting is a fun and easy way to create beautiful abstract paintings.
By following the steps outlined above, you'll be well on your way to creating your own masterpiece with basic acrylic pouring techniques!
We hope you enjoyed this acrylic pours tutorial and that you'll give this fun, acrylic painting technique a try.
Have fun and stay creative!
If you want a step-by-step visual tutorial for how to create a fluid art painting, check out Kristen//k.becca 's video for beginners!
Interested in learning more about different acrylic pouring techniques? Check out Life is Kumquat's video because it showcases 20 different pour painting techniques!
Need help finding inspiration and motivation for your next art project?
Our guide on how to find inspiration and article on the best crystals for motivation will help!
I've experimented with a variety of paint pour techniques over the years and have a lot of fun with it!
If you want to learn more about paint, check out our article on types of paint.
Want to learn more about abstract art?
Check out some of our art guides: