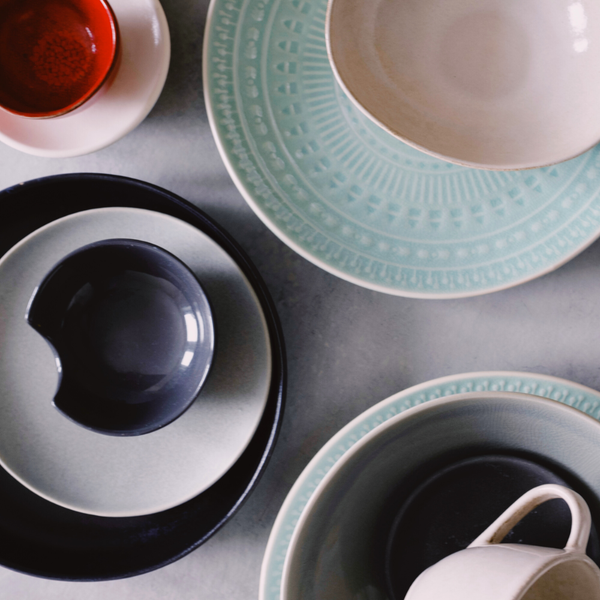
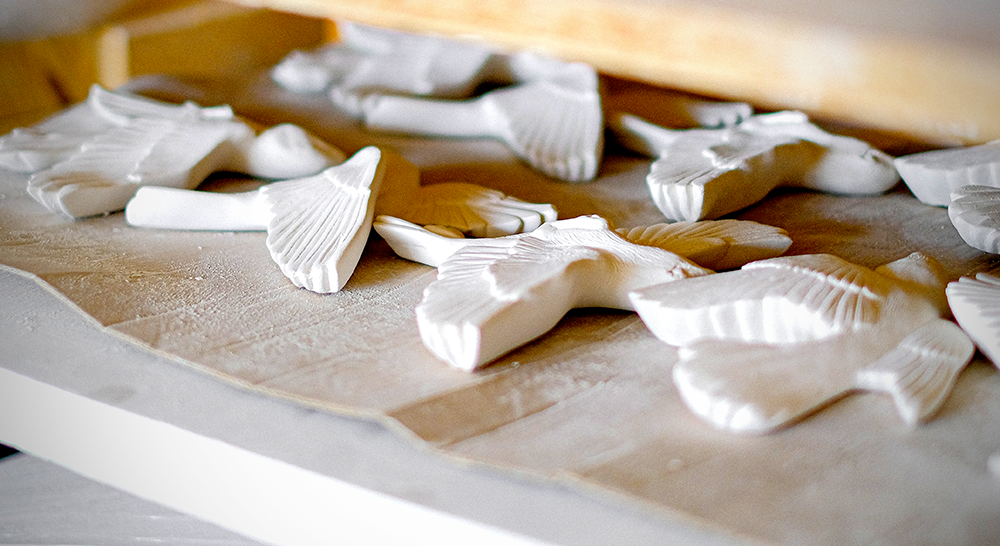
In the world of ceramics, hand building techniques are an essential part of creating unique and beautiful pieces.
Hand building is a method of working with clay by using only your hands and simple tools, rather than relying on a potter's wheel.
This allows for a more personal touch in the creation process and results in one-of-a-kind pieces that cannot be replicated on a wheel.
This guide will take you through each one, highlighting how they form the basics for countless creative expressions in clay.
There are four main hand building techniques that every ceramic artist should know: pinch, coil, slab, and mold.
Each technique requires different skills and produces distinct results, allowing for endless possibilities and creativity in the world of ceramics.
When you’re ready to dive into pottery without a wheel, it’s essential to understand these four hand building techniques and how to use them effectively.!
Key Takeaways
- Hand building with clay involves four primary techniques: pinch pottery, coil building, slab construction, and mold-assisted hand building, each offering unique characteristics and finishes suitable for various creative expressions.
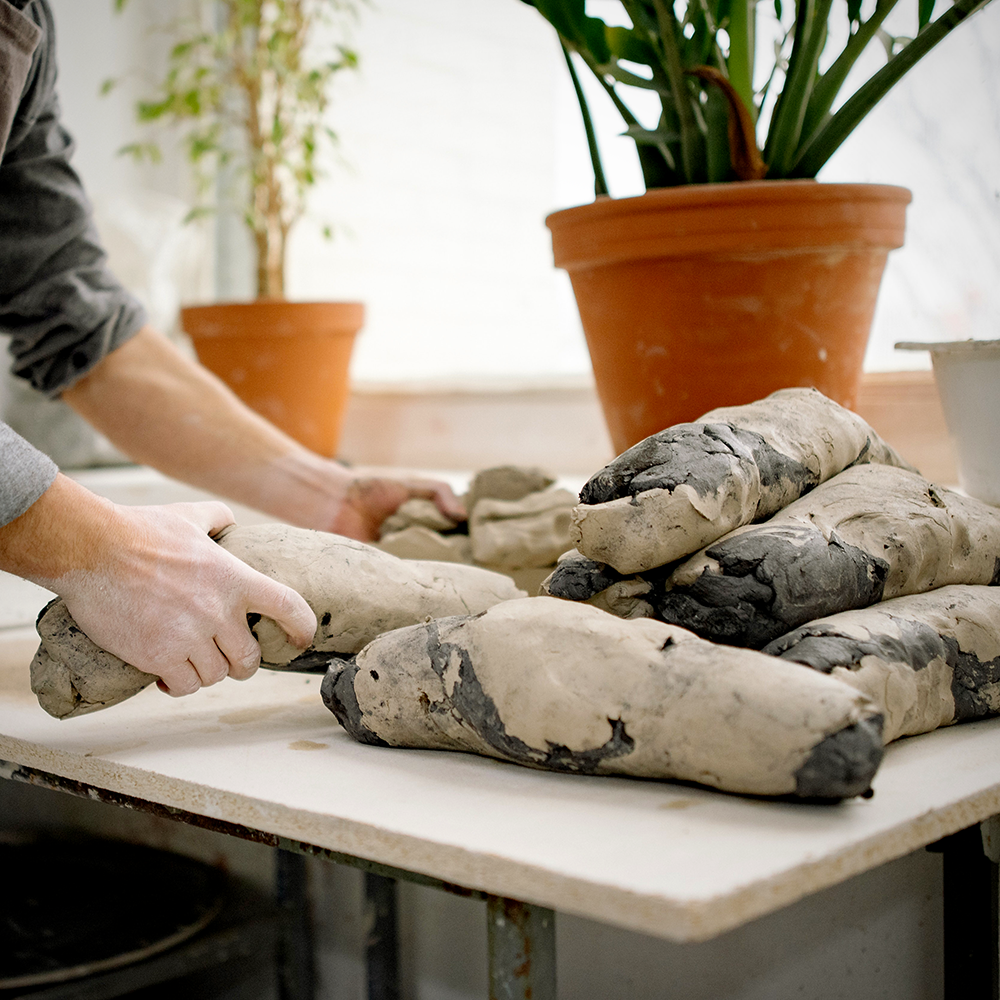
- The selection of clay is crucial for hand building techniques, with stoneware and earthenware with added grog often recommended for their plasticity and strength. Proper wedging and clay preparation are essential to ensure even moisture and remove air bubbles.
- To achieve success in pottery, maintaining uniform clay thickness, smoothing surfaces and edges, and securely joining clay pieces are important factors, along with using the correct tools and the ‘score and slip’ bonding method for added strength.
Exploring the Four Hand Building Techniques
We kickstart our pottery journey by delving into the primary hand building techniques:
- Pinch pottery
- Coil building
- Slab construction
- Mold-assisted hand building
Each technique is a unique expression of the potter’s creativity, using only simple tools to shape clay into a variety of forms.
By mastering basic techniques, potters can create an array of beautiful and functional pieces.
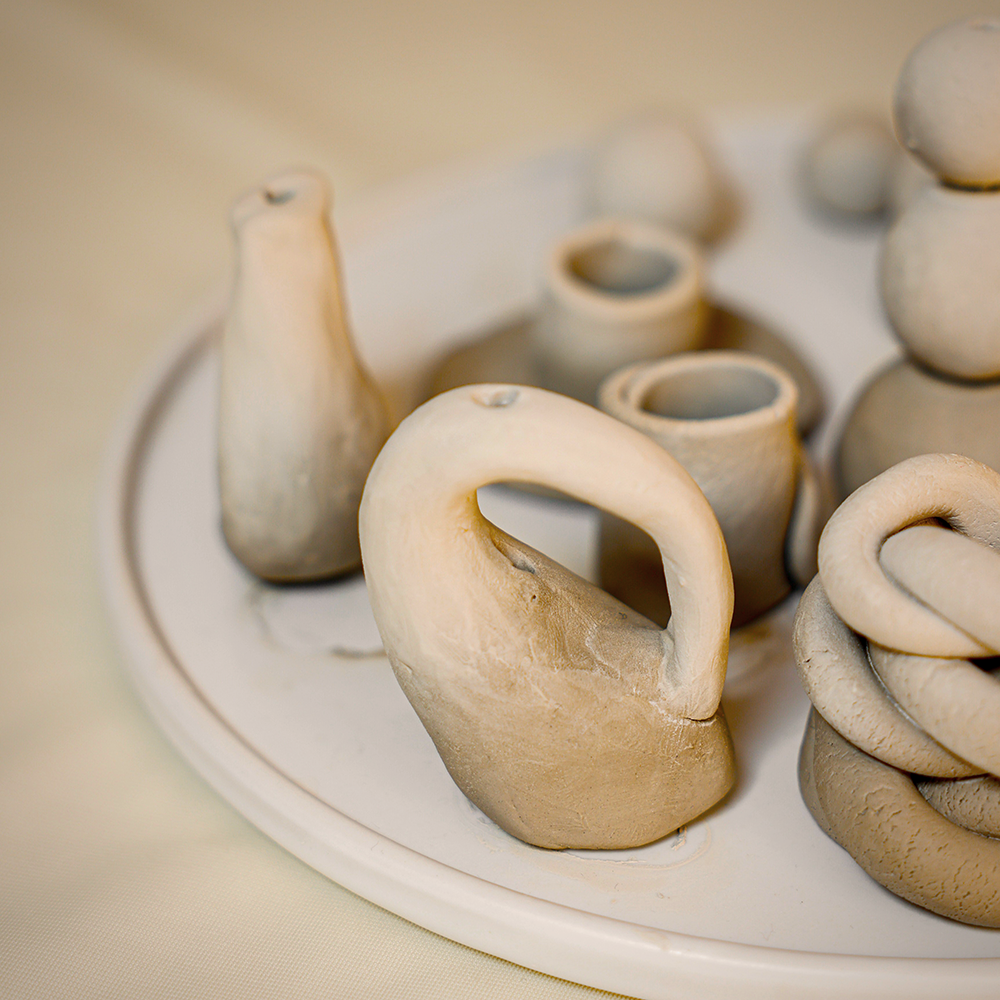
Pinch pottery, as the name suggests, involves shaping clay using your hands, and is ideal for creating simple pots and sculptural pieces.
Coil building, on the other hand, is a technique where clay coils are stacked and joined to form a variety of shapes and textures.
For those who like precision and angular shapes, slab construction offers a way to build pottery using flat slabs of clay.
Lastly, mold-assisted hand building uses molds to shape clay, making it easier to create consistent and intricate shapes.
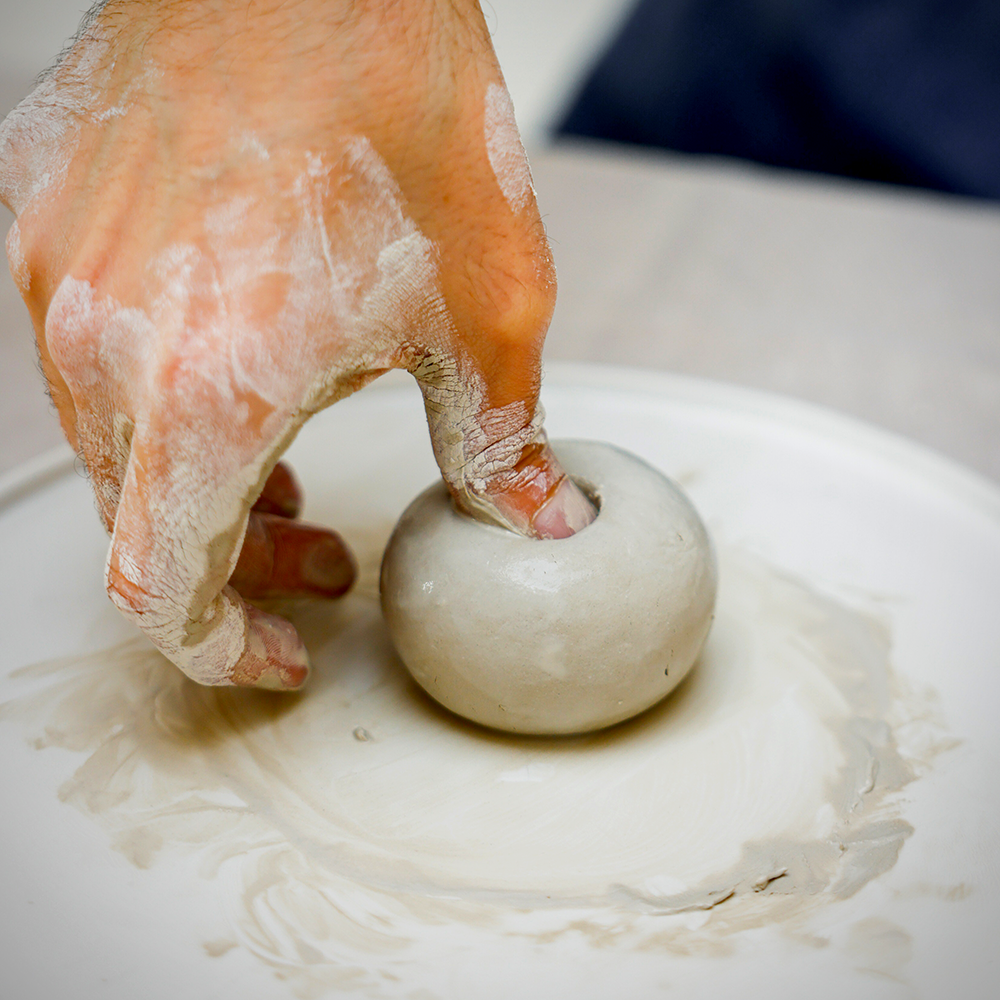
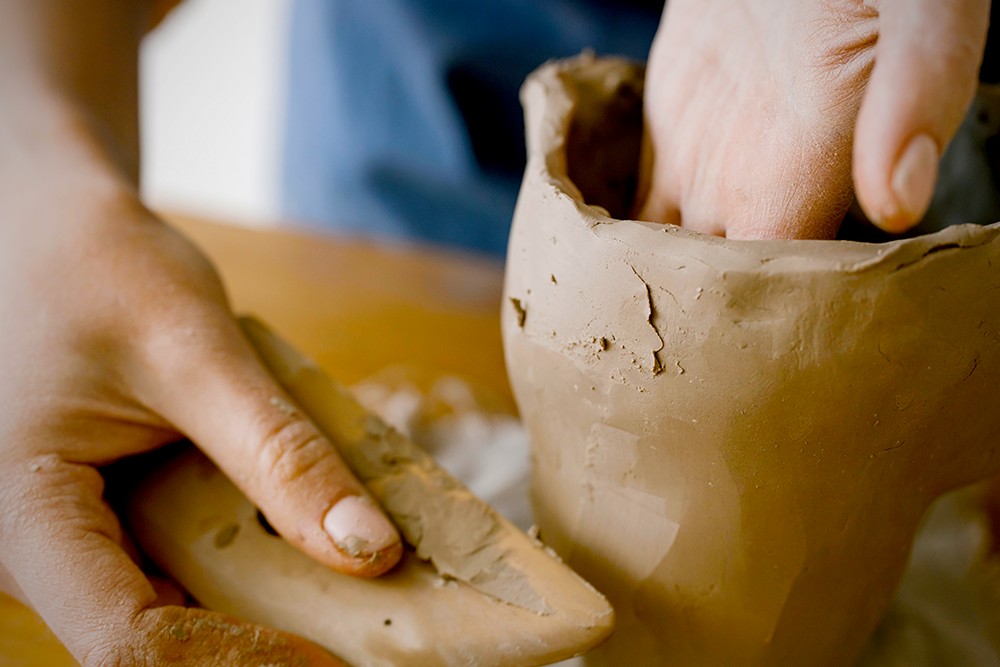
Pinch Pottery Technique
The pinch pottery technique, one of the oldest forms of pottery making, is a testament to the timeless nature of this art.
Historical traces of pinch pottery can be found as far back as 20,000 years ago in China, marking the emergence of pottery in human civilization.
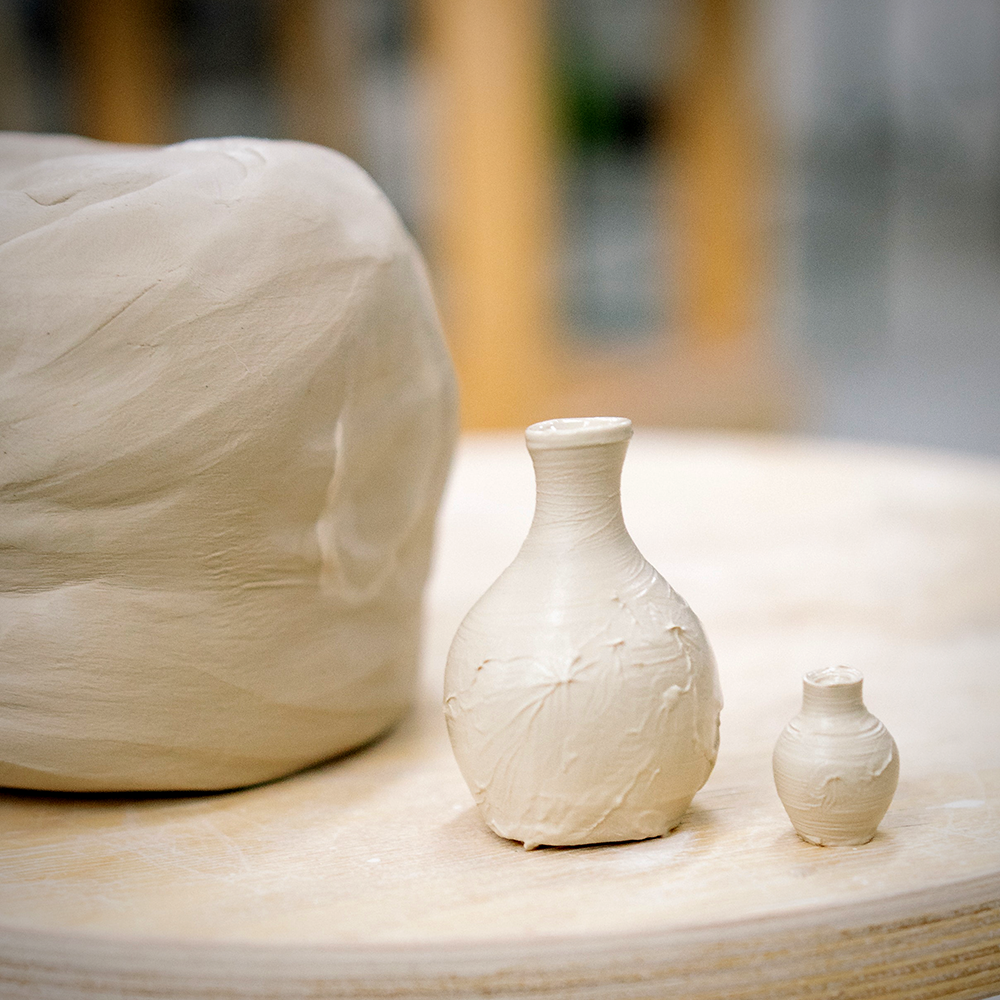
Creating a pinch pot begins with a ball of clay that is subsequently shaped by applying pressure with your fingers and thumb.
The simplicity and adaptability of the pinch pot method make it a favorite among beginners, allowing for the creation of diverse forms such as pinch pots, cups, coffee mugs, pitchers, and bowls.
The recommended clay for this technique is stoneware or earthenware with added grog due to its strength and reduced susceptibility to cracking.
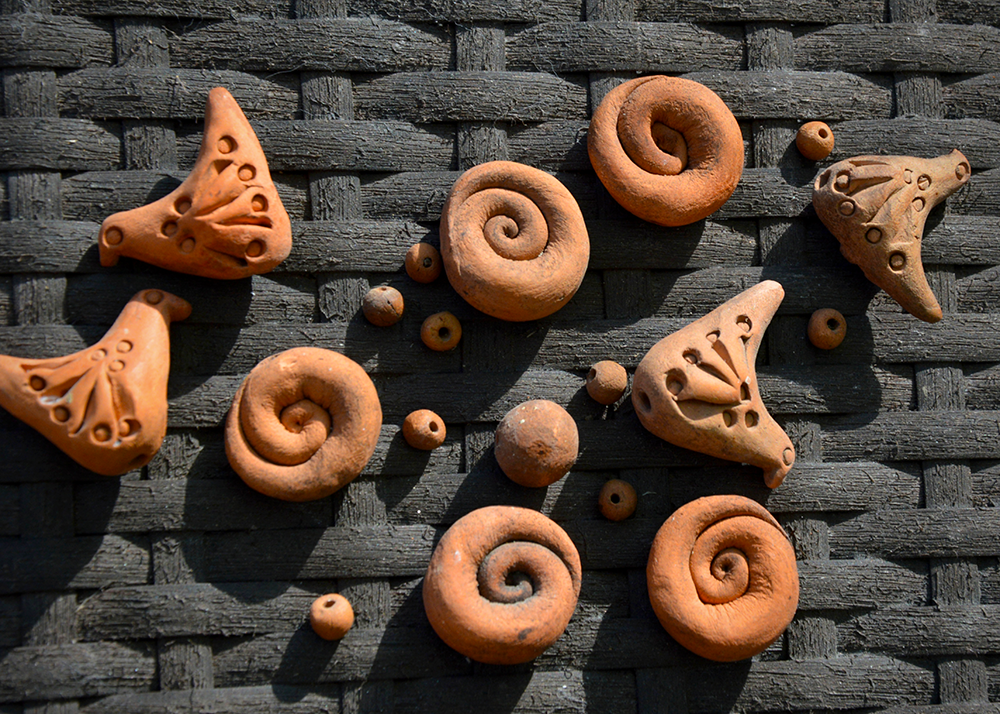
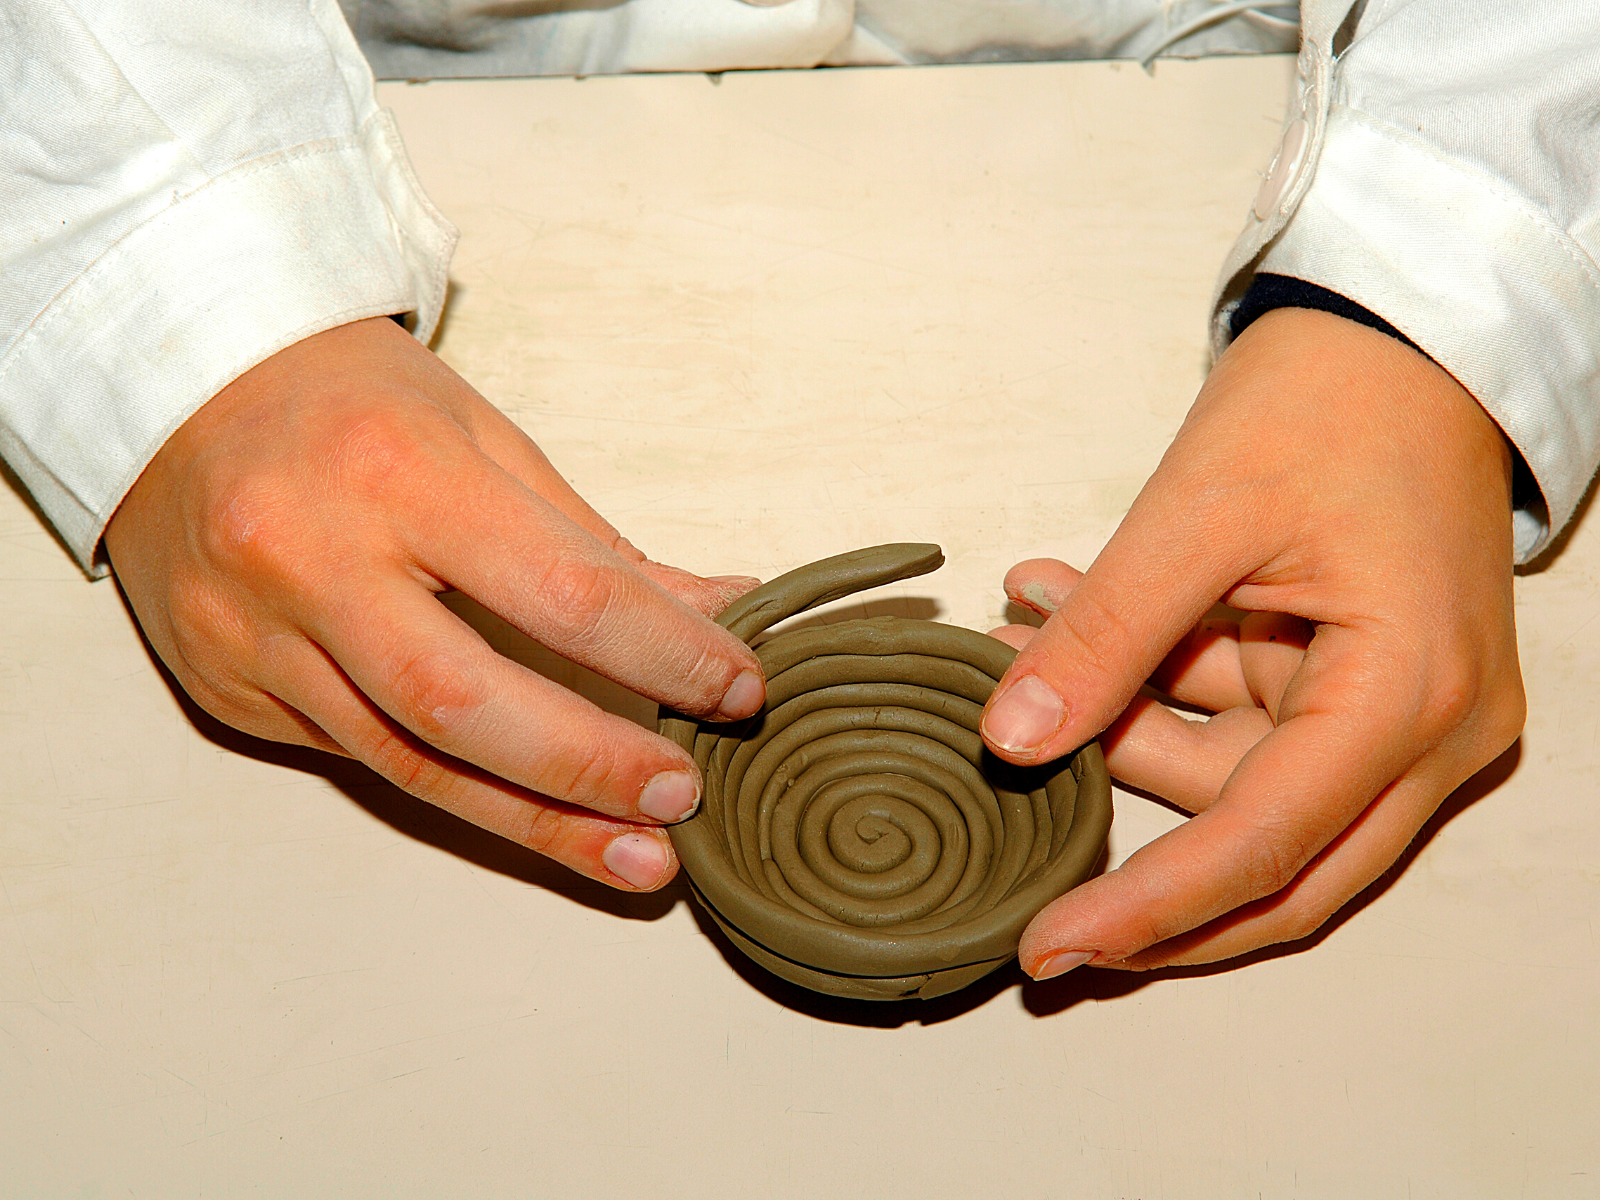
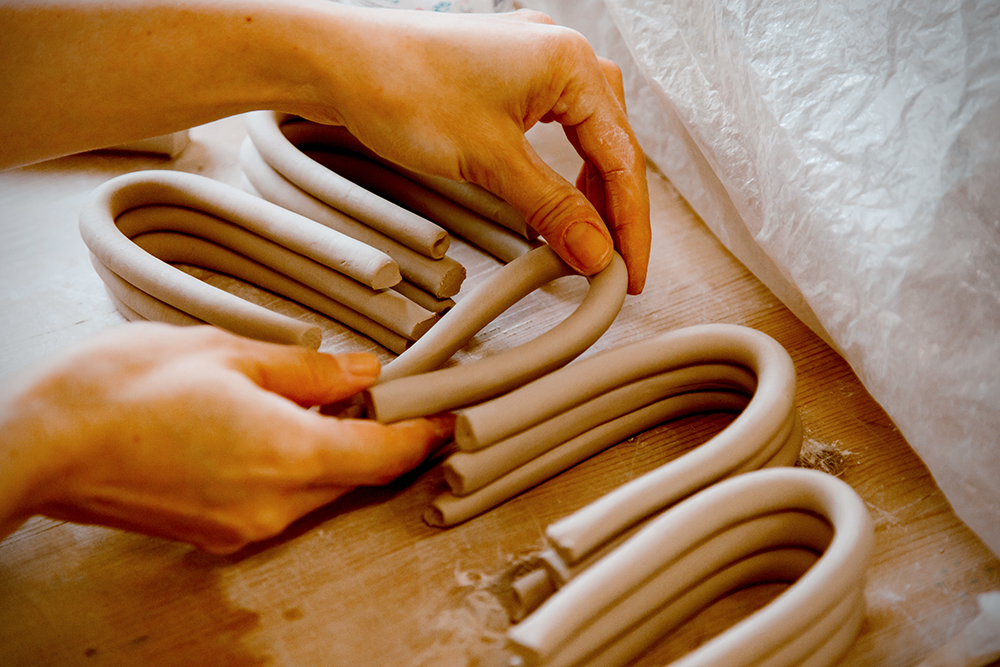
Coil Building Technique
The coil building technique, often referred to as coil pottery, is a more intricate form of pottery making that involves the stacking and joining of clay coils to create larger, more complex designs.
This technique allows for a wider range of designs, including:
- Custom shapes
- Pots
- Sculptures
- Large-scale brick sculptures
In the coil building process, we start by:
- Rolling out a clay coil and placing it on top of a base.
- Affixing the coil to the base by bonding pinch.
- Stacking and interconnecting additional coils to construct the pot walls.
It’s recommended to use stoneware or earthenware clay with added grog for this technique, as it provides the necessary plasticity and strength to maintain the structure’s shape.
To refine the technique, start with gentle pressure when shaping the coils, and as the coil lengthens, allow your hands to move outward while rolling.
Depending on the desired outcome, the coils can be left visible or smoothed to achieve a uniform surface.
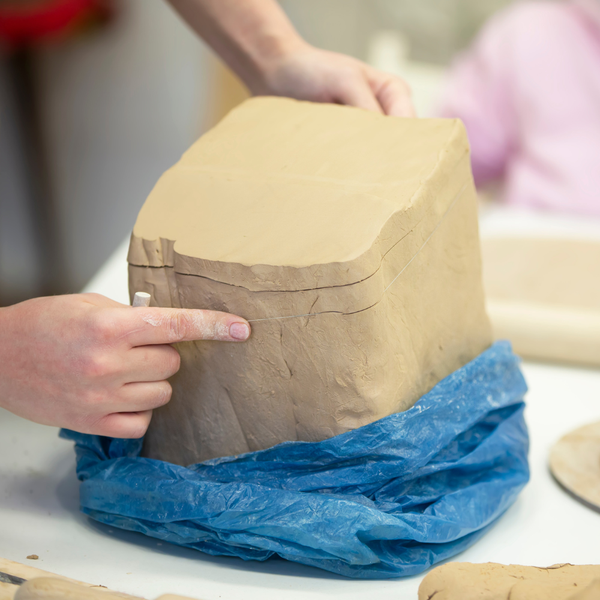
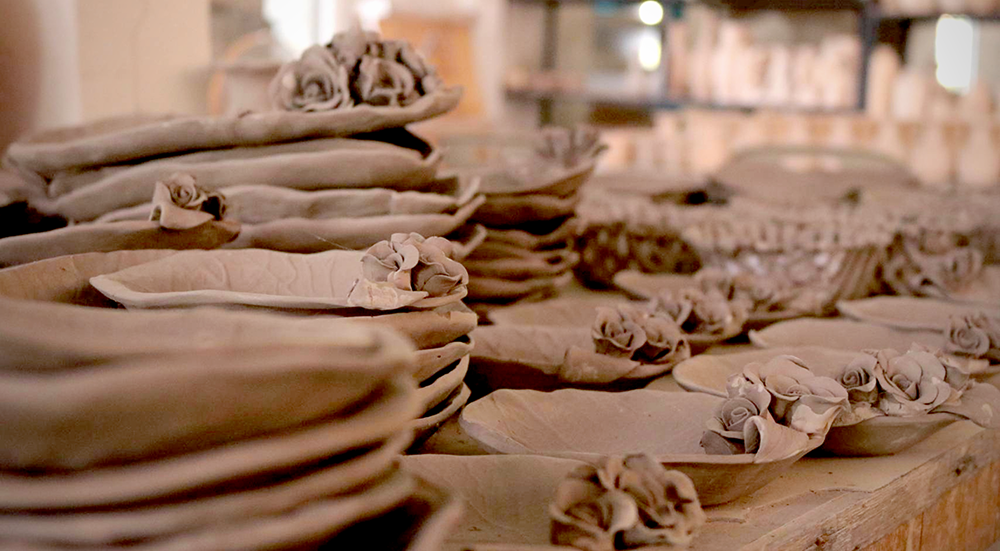
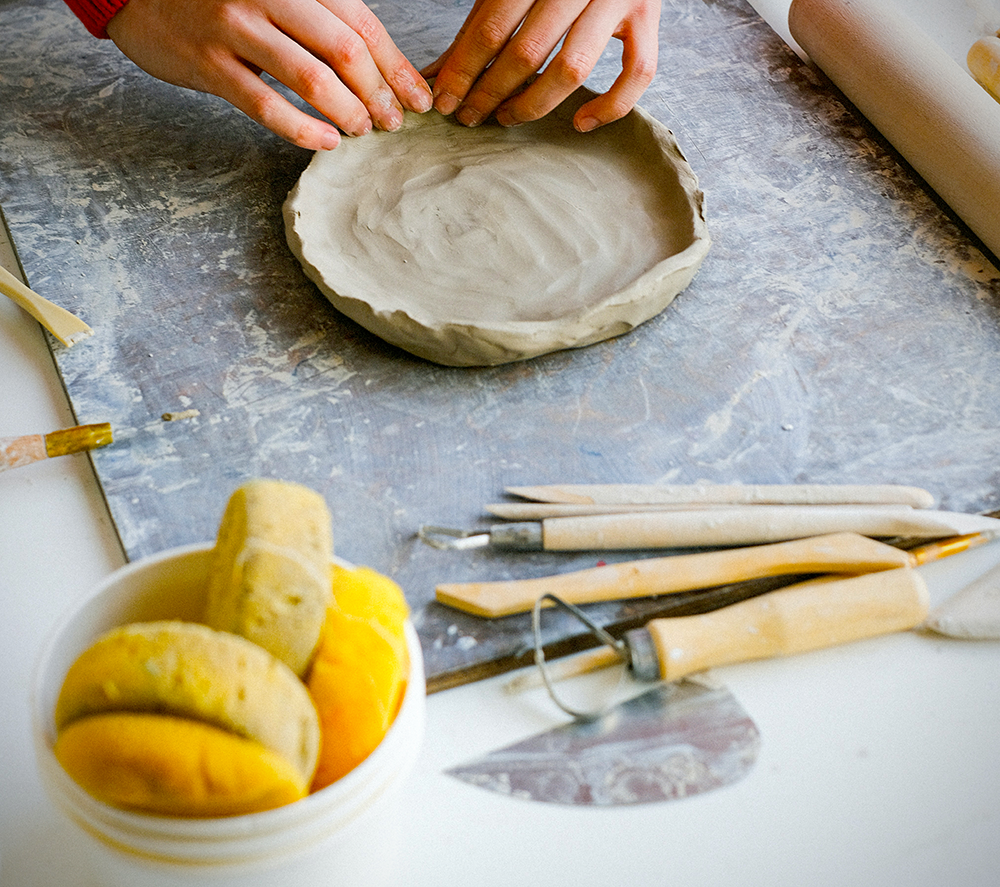
Slab Construction Technique
Slab building is a hand building technique that uses flat clay slabs to create angular or square slab pots, plates, and other functional or decorative items.
The clay slabs are cut into the desired shape and size, then joined together using the “score and slip” method, which is one of the many slab building techniques.
In slab construction, maintaining a uniform thickness holds utmost importance.
The clay slab should not exceed three or four times the desired thickness, with the recommended thickness being between 1/4” to 3/8”.
To prevent common challenges like warping, it’s important to adequately compress the slab after rolling it out.
This can be achieved by thoroughly compressing one side of the slab with a rib or a wooden tool.
Also, maintaining the clay’s flatness by wedging it to ensure even moisture content and avoiding excessive handling and bending of the clay can aid in preventing warping.
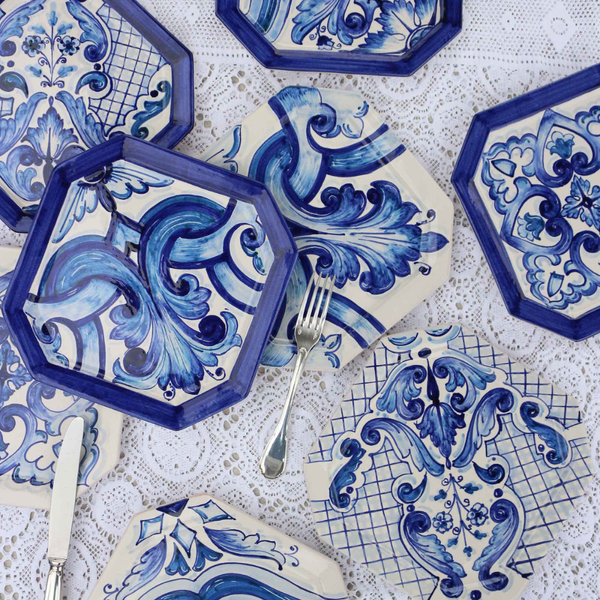
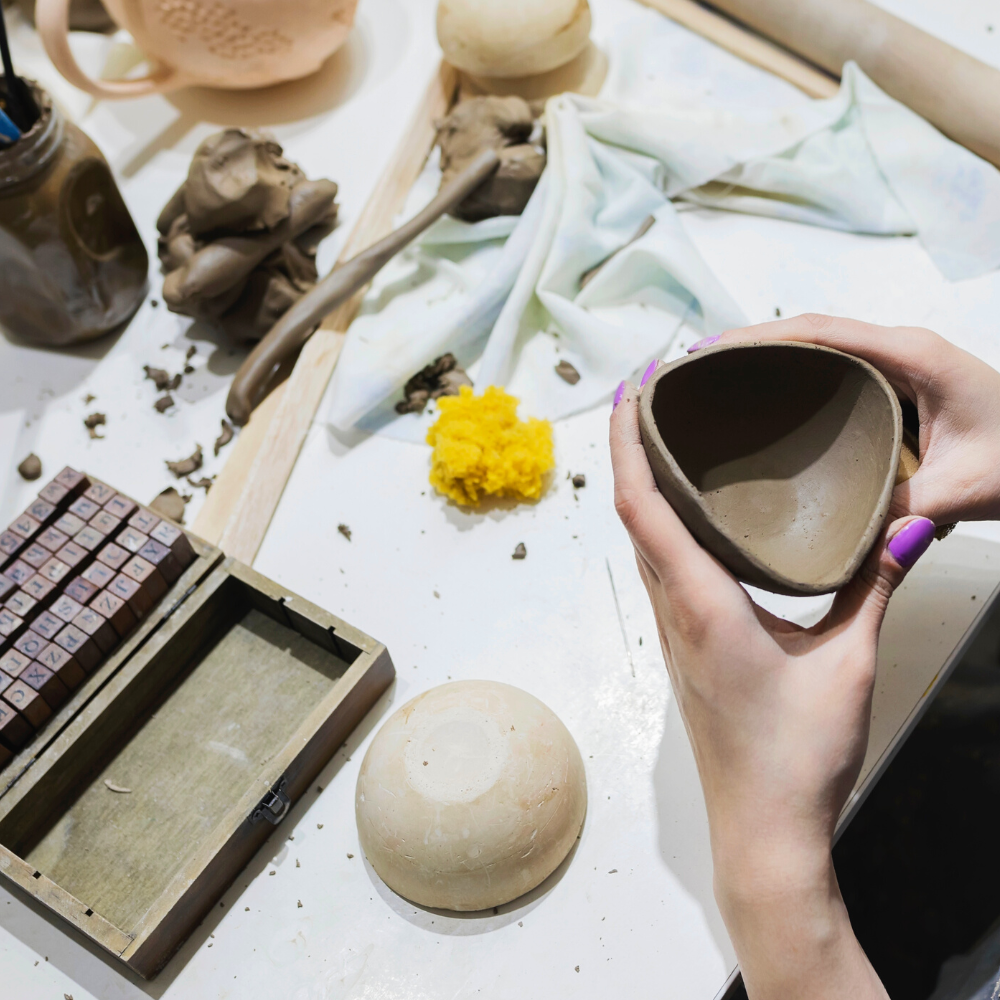
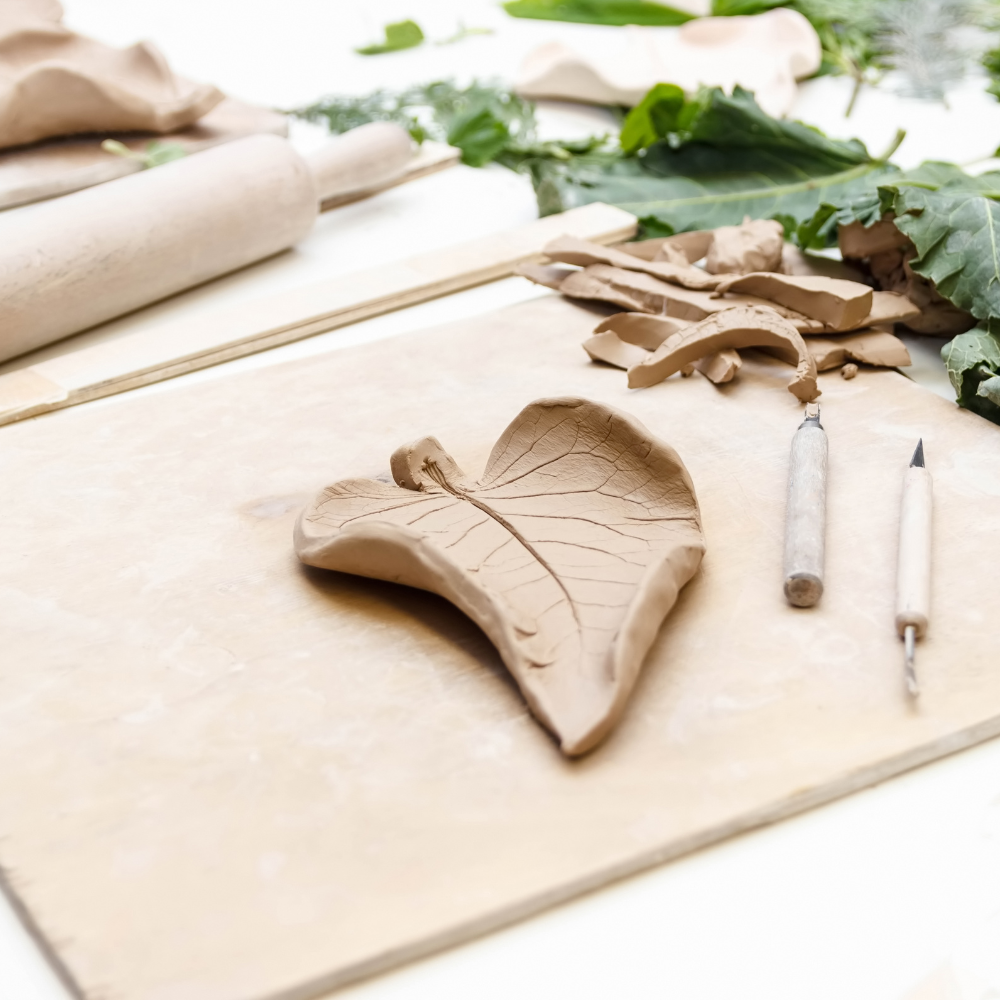
Mold-Assisted Hand Building
Mold-assisted hand building, as the name suggests, utilizes molds to shape the clay.
This technique allows for the creation of uniform and intricate shapes, making it easier for beginners to achieve consistency in their pottery pieces.
There are different types of molds used in mold-assisted pottery hand building, such as:
- Slump/hump molds: These expose the inside surface of a pot.
- Drape molds: These are in contact with the interior side of the pot.
- Press molds: These are used to create uniform shapes, make use of excess clay scraps, and create larger and more stable pieces.
The choice of mold depends on the desired shape and form.
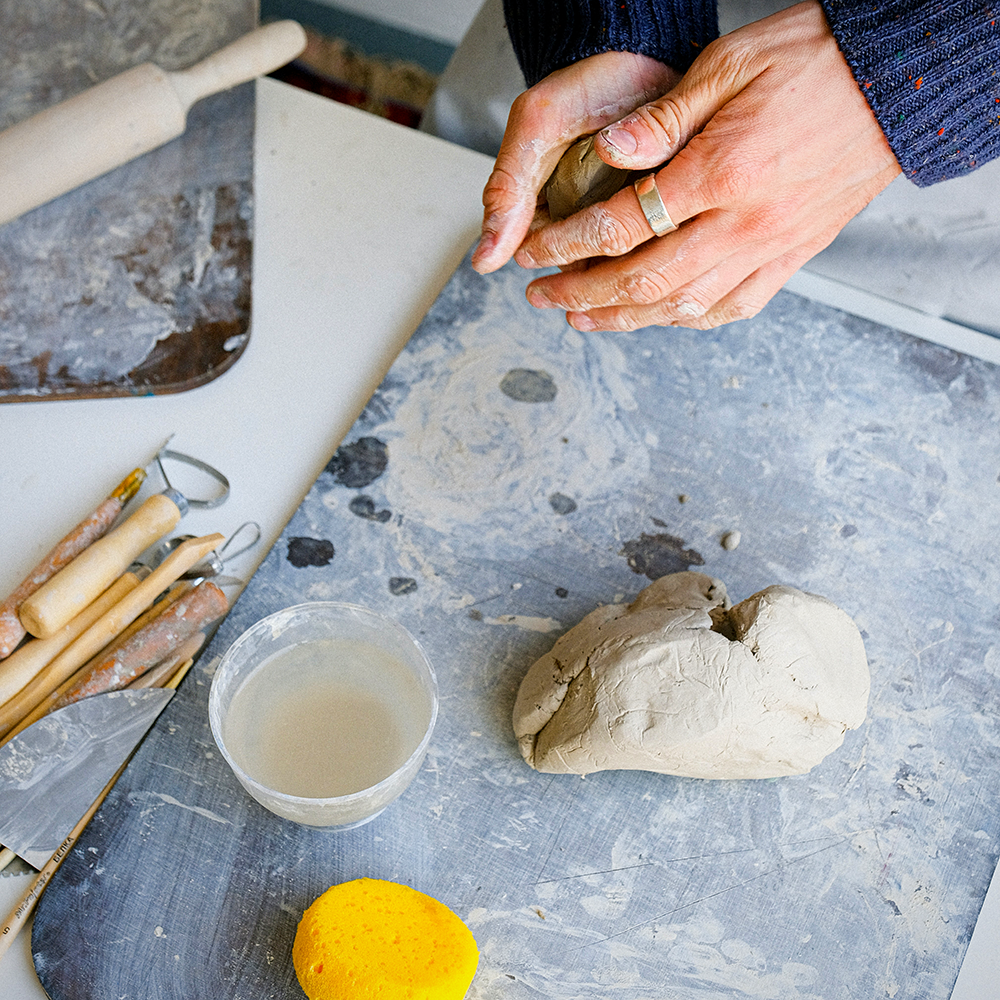
Essential Tools for Hand Building Pottery
As we journey further into the world of hand building pottery, acquainting ourselves with the indispensable tools for this craft becomes necessary.
These pottery tools, ranging from modeling tools to rolling pins and hole cutters, can enhance your pottery-making experience and help you create more intricate and detailed designs.
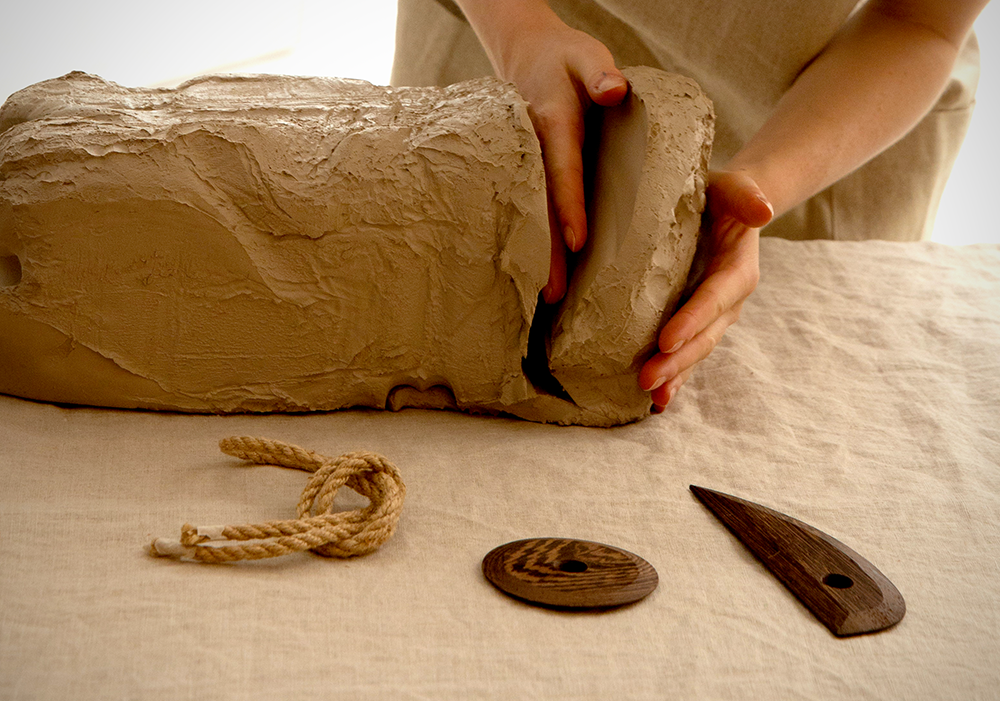
Selecting an appropriate type of clay holds significant importance.
Stoneware or earthenware clay with added grog are the most suitable types for hand building due to their plasticity and strength.
The clay needs to be properly wedged and prepared, ensuring even moisture distribution and eliminating air bubbles.
Tools such as wire cutters and pin tools are necessary for cutting and shaping clay, while a wire cutter is used to separate smaller pieces of clay from a larger piece.
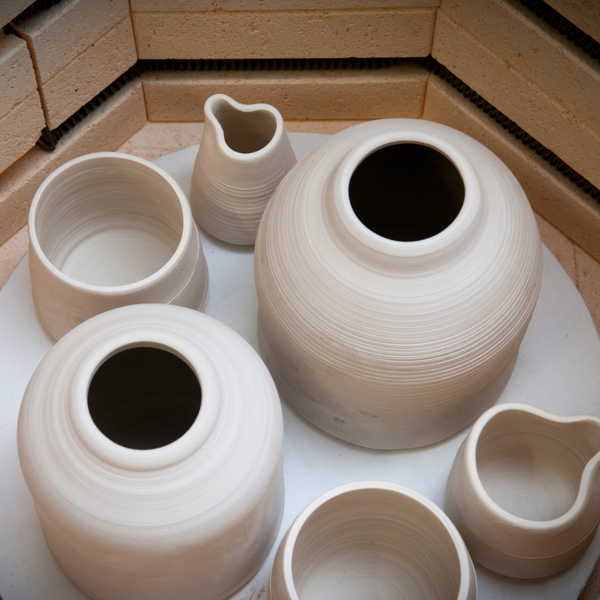
Basic Clay Types
Let us further investigate the various types of clay compatible with hand building.
The most common types include earthenware clay, stoneware clay, and porcelain clay.
Each variety has unique properties that make it suitable for different types of pottery.
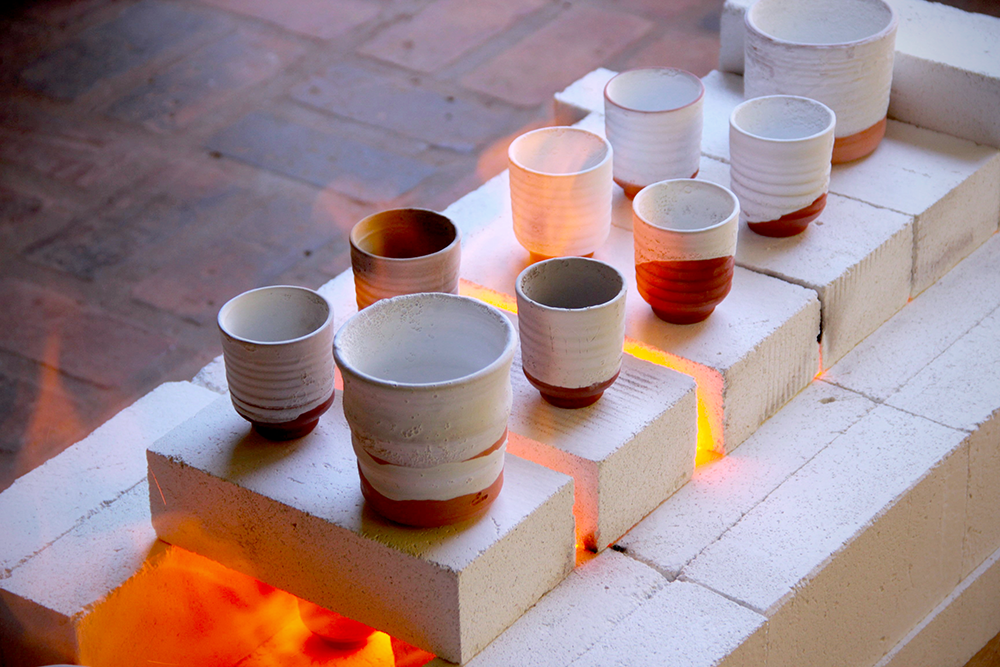
Earthenware clay, for instance, is known for its ease of use, making it particularly suitable for individuals who are new to pottery work.
It is typically fired at temperatures below 1,200 °C (2,190 °F) to produce glazed or unglazed nonvitreous pottery.
The type of clay used can significantly impact the hand building techniques.
For instance, clays with high plasticity like porcelain can present difficulties in achieving consistent thickness across the pottery item.
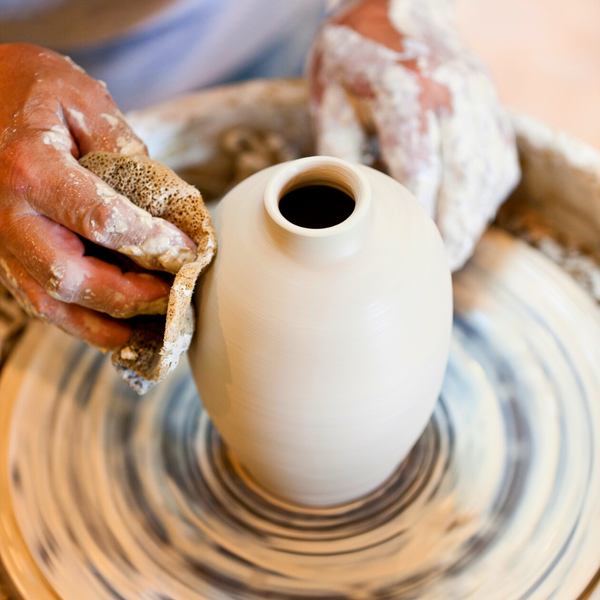
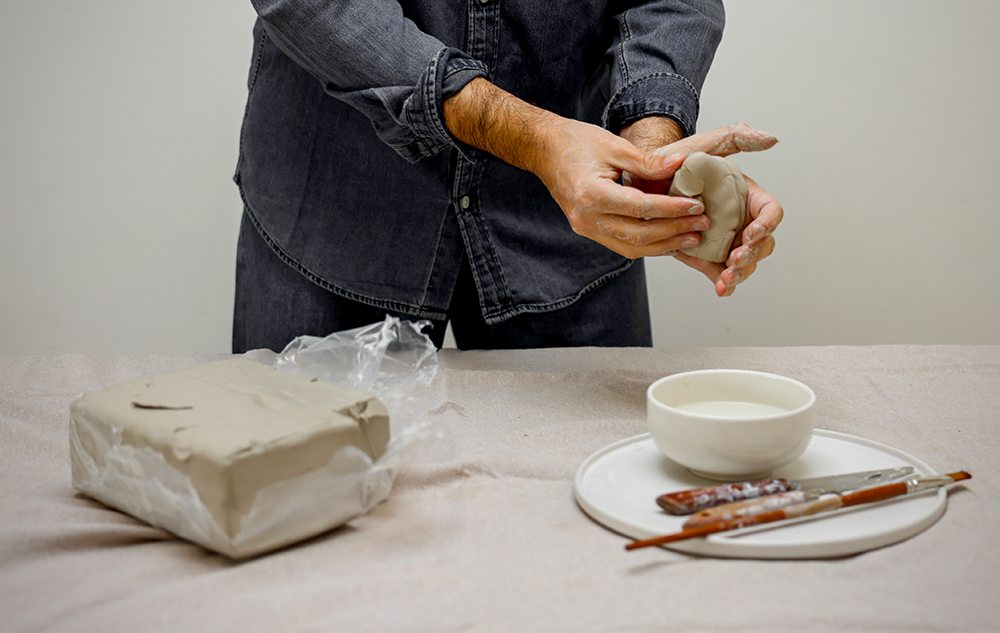
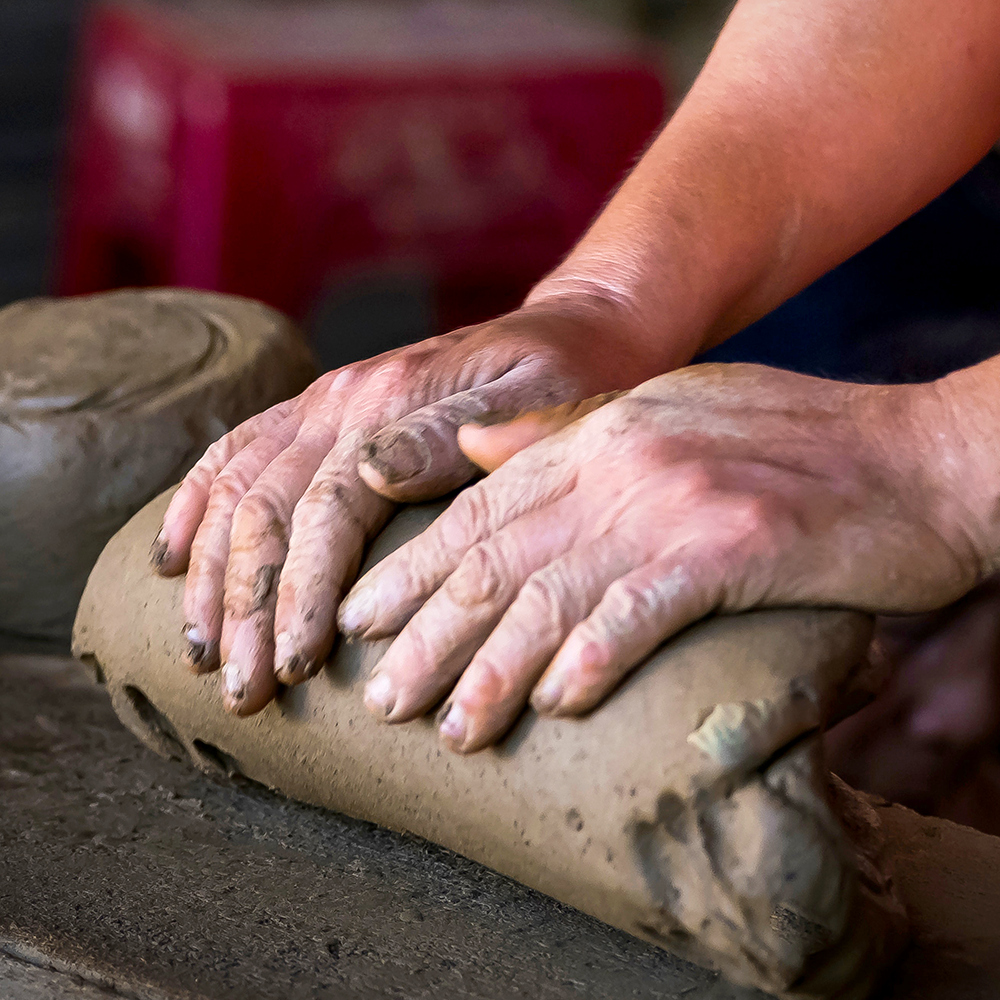
Wedging and Preparing Clay
Effectively wedging and preparing your clay is a requisite step in hand building pottery.
This process involves kneading the clay to remove air bubbles and ensure a malleable consistency.
To prepare wet clay for hand building, ensure the clay is at an optimal moisture level, avoiding excessive wetness or stickiness.
Be meticulous in removing any air pockets to prevent potential defects in the final product. By following these clay hand building techniques, you can achieve desired results.
The process of wedging clay involves kneading by throwing it down and rolling it into a tight spiral, which aids in eliminating air bubbles and ensuring the clay is a uniform and homogeneous mass for hand building.
Common Hand Building Tools
After selecting your clay and preparing it appropriately, the next step is to mold it into your preferred form.
For this, you’ll need a variety of tools, each designed to assist in a specific aspect of the process of creating clay forms.
Wire cutters and pin tools are necessary for cutting and shaping clay.
Wire cutters are utilized for cutting clay into smaller pieces and from large blocks, while pin tools are utilized to cut, pierce, and incise designs on the clay surface.
Another tool that comes in handy, especially for slab construction technique, is a slab roller.
It helps to efficiently and rapidly produce clay slabs, particularly for creating larger items such as vases and platters.
And then there’s the banding wheel, which provides a stable and rotatable platform, facilitating tasks such as:
- decorating
- sculpting
- carving
- joining pieces
The pottery wheel, also known as a banding wheel, allows easy access to all sides of the pottery piece.
Hand Building Pottery Project Ideas
With your familiarity with the techniques and tools, it’s time to apply your newly acquired knowledge.
Whether you’re a beginner looking to develop your skills or an experienced potter seeking to explore new project ideas, we’ve got you covered.
Creating a pinch pot bowl, designing a coil built planter, or crafting a slab built mug are all fantastic ceramics projects to start with.
Each clay project presents an opportunity to practice the techniques you’ve learned and create a functional and personalized piece that you can use in your everyday life or gift to someone special.
Creating a Pinch Pot Bowl
Crafting a pinch pot bowl serves as an excellent exercise for the pinch pottery technique.
This simple project involves shaping a clay ball with your hands to create a bowl suitable for holding small items or serving condiments.
To create a pinch pot bowl, you start with a ball of clay, which is then shaped by the pressure of your fingers and thumb.
The simplicity and adaptability of this technique make it a favorite among beginners, allowing for the creation of diverse forms such as:
- cups
- coffee mugs
- pitchers
- vases
And more.
The recommended clay for this technique is stoneware or earthenware with added grog due to its strength and reduced susceptibility to cracking.
Designing a Coil Built Planter
Another worthwhile project for beginners is a coil built planter.
This project involves stacking and joining clay coils to form a planter, perfect for adding a unique touch to your garden or home décor.
In the coil building process, we start by:
- Rolling out a clay coil and placing it on top of a base.
- Affixing the coil to the base by bonding pinch.
- Stacking and interconnecting additional coils to construct the pot walls.
It’s recommended to use stoneware or earthenware clay with added grog for this technique, as it provides the necessary plasticity and strength to maintain the structure’s shape.
Crafting a Slab Built Mug
Crafting a slab built mug is a fulfilling project offering an opportunity to practice the slab construction technique while resulting in a usable piece for daily life.
Imagine sipping your morning coffee from a mug you crafted yourself!
The process of making a clay mug involves the following steps:
- Roll a clay slab to the desired thickness.
- Use a template to cut out the shape of the mug.
- Join the pieces using the “score and slip” method.
- Apply pressure to fix the handle, ensuring a firm bond.
The recommended clay for this project includes porcelain clay, such as Laguna WC-617 #16 Porcelain, as well as lowfire handbuilding clays like Seward Terracotta and X-Tra White.
Tips and Tricks for Hand Building Success
In pottery, success is predominantly determined by careful attention to detail, patience, and regular practice.
But a few ceramics tips and tricks can certainly enhance your learning curve and help you achieve better results.
Let's explore some practical tips for achieving uniform thickness, smoothing surfaces and edges, and securely joining clay pieces together.
Whether you’re a novice crafter or an experienced artist, these tips will help you refine your techniques and create high-quality pottery pieces.
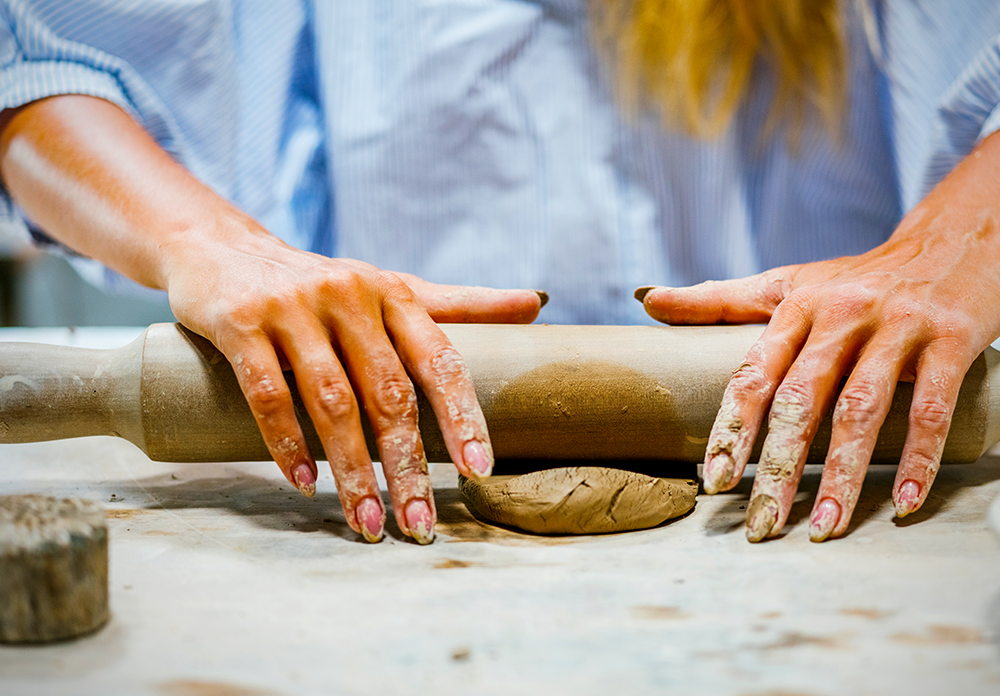
Achieving Uniform Thickness
Maintaining uniform thickness in your pottery pieces is essential to avoid cracks and breaks during the firing process.
Inconsistencies in thickness can lead to uneven drying and firing, causing the piece to crack or warp.
To ensure uniform thickness, use a rolling pin with consistent pressure or a slab roller equipped with thickness guides.
This practice ensures evenness throughout the clay piece and prevents common issues such as uneven rims and clay shearing.
Particular types of clay, especially those with elevated plasticity such as porcelain, can exhibit greater memory and present difficulties in achieving consistent thickness across the pottery item.
This is especially true when working with plastic clay, which requires extra attention to detail during the shaping process.
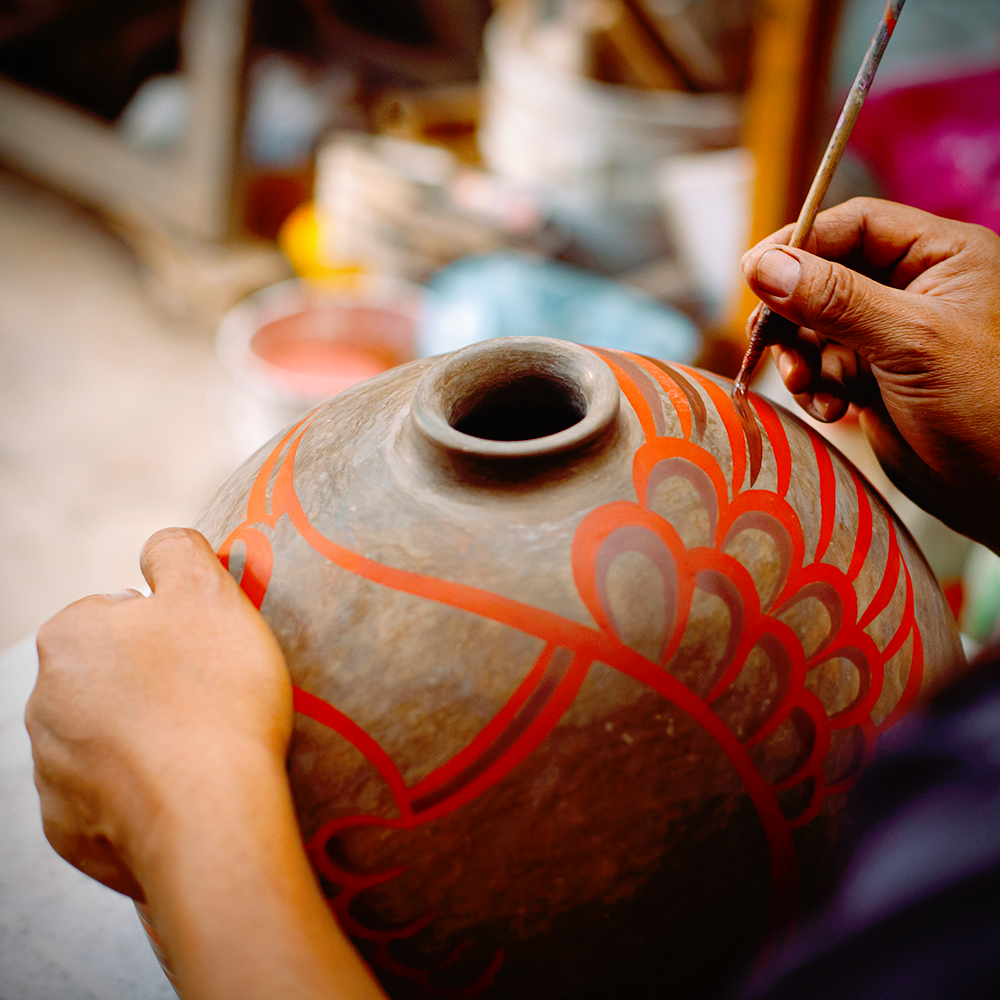
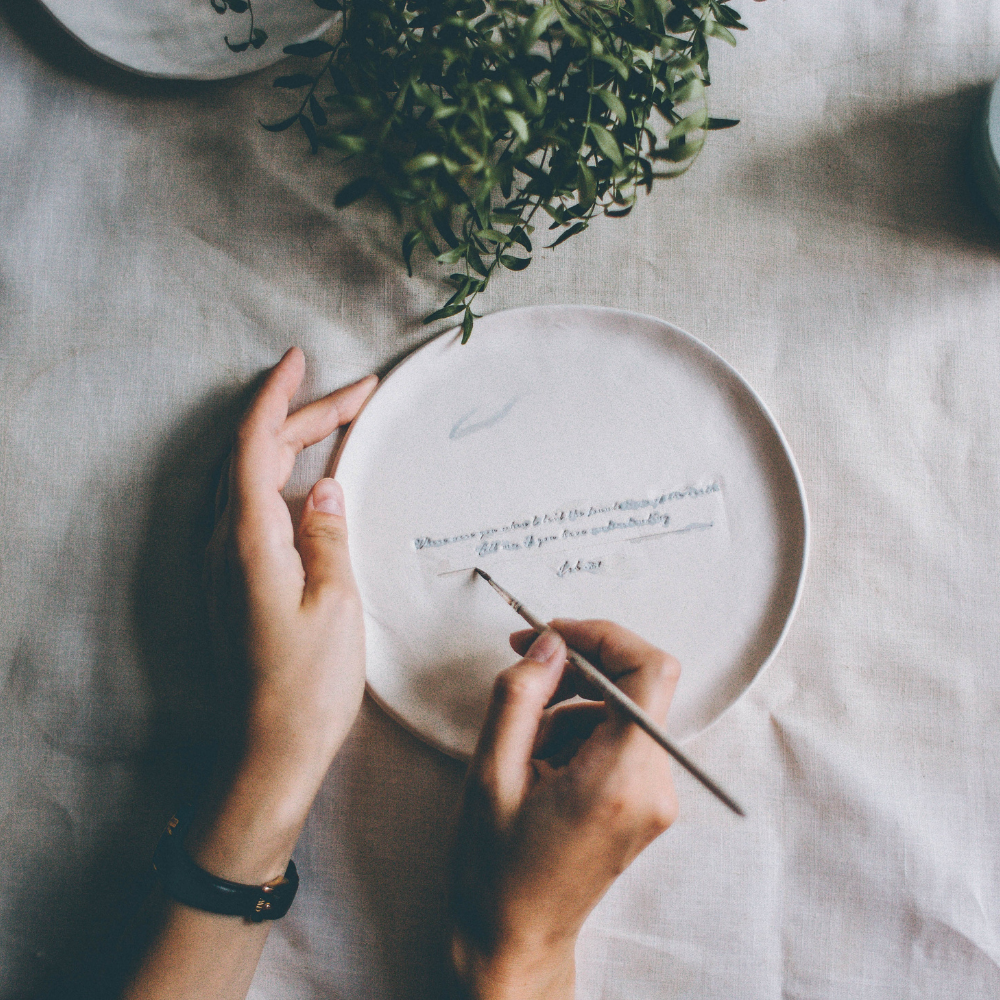
Smoothing Surfaces and Edges
The finish of your pottery piece is just as important as its form.
Smoothing surfaces and edges can give your pottery a polished and professional look.
To smooth surfaces and edges, you can use a variety of tools and techniques, such as:
- Rubber ribs, which can straighten or curve vessel walls and smooth out the clay’s surface
- A damp sponge, which can maintain a wet surface, aiding in smoothing out minor cracks
- Carving away thin layers to help define edges
- Stone smoothing and polishing techniques to create a gloss and shine.
Joining Clay Pieces Securely
Ensuring a secure connection between clay pieces is vital for the structural stability of your pottery.
This is where the “score and slip” method comes in handy.
Scoring involves making small scratches on the clay’s surface, while slipping involves applying a clay and water mixture to serve as a bonding agent.
This method ensures the structural integrity of joined pieces and minimizes the risk of separation during the drying and firing phases.
Using a small clay coil as reinforcement can enhance the joint’s strength and guarantee long-lasting durability in your pottery.
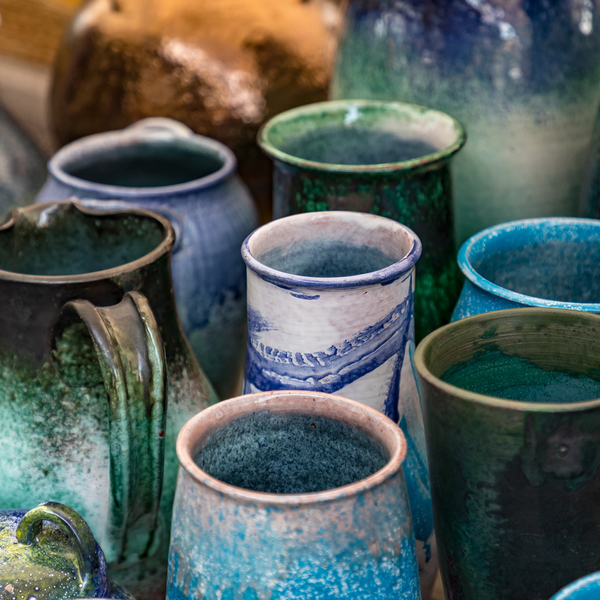
Explore the Possibilities of Hand Building Pottery
Hand building pottery offers endless possibilities for creativity and self-expression.
Whether you’re new to this craft or a seasoned potter, there’s always something new to learn and explore.
In this guide, we’ve covered some essential hand building techniques, tools, project ideas, and tips for achieving success in your pottery endeavors.
We’ve explored the wonderful world of hand building pottery, delving into its primary techniques, tools, and tips for success.
We hope these insights inspire you to explore your creativity and craft your unique pottery pieces.
Remember, pottery is not just about shaping clay, but shaping your creativity.
So, go forth, shape your clay, and let your imagination take flight!

Handbuilding FAQs
Looking to expand your knowledge on hand building and throwing pottery?
Here are some frequently asked questions and their answers to help you along your journey.
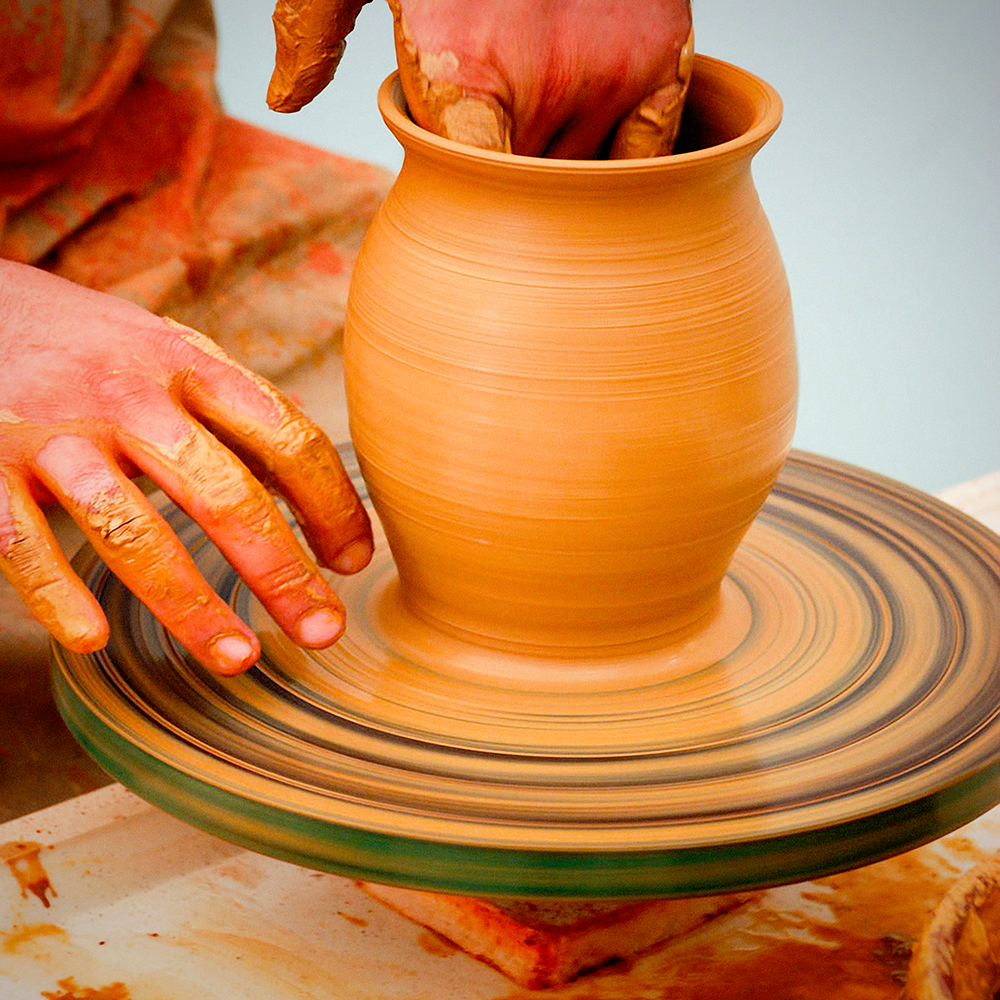
What are the 4 basic techniques for forming clay?
The 4 basic techniques for forming clay are hand-building, slab building, coiling, and throwing. These techniques involve using your hands to form an object, creating with flat sheets of clay, shaping with coil or rope-like pieces of clay, and using a potter's wheel.
What are the 4 main types of clay?
The four main types of clay used for pottery are earthenware, stoneware, porcelain, and ball clay. Each type has its own characteristics and suitability for different purposes.
What are the techniques of hand crafting?
Handcrafting techniques include embroidery, decoupage, and pottery, which involve sewing patterns, fancy gluing and decorating, and shaping clay into various objects. These techniques allow for the creation of unique handmade items.
What tools are essential for hand building pottery?
To hand build pottery, it's essential to have tools such as modeling tools, paddles, rolling pins, hole cutters, fettling knives, sponges, and scrapers. These tools will help you create and shape your pottery effectively.
What type of clay is suitable for hand building?
Stoneware or earthenware clay with added grog are most suitable for hand building due to their plasticity and strength. Choose these types to create your hand-built pottery.
Eager to start hand building? Check out Little Street Pottery's video!
Want even more content about creativity and art?
Be sure to check out all of our creative chronicles!
Love pottery and working with clay?
Check out some of our other ceramic articles:
-What are the 5 methods of working with clay?