Are you a ceramic artist feeling stuck at the pottery wheel?
Ready to throw your hands up and give up on clay altogether?
Take a deep breath, because we've got the cure for your creative block!
For centuries, humans have been crafting one-of-a-kind pieces of art with pottery - forming stunningly beautiful and functional items from clay.
Potters can create their works either by hand or on the wheel, making it a captivating form of artistic expression.
With our insider ceramics tips for successful spinning on the pottery wheel, you'll be crafting masterpieces in no time.
Whether you're an experienced potter or a newbie, the pottery wheel can be both fun and frustrating to use.
Luckily, we have compiled a list of must-know tips and tricks that will make your pottery wheel experience a breeze.
So, turn that piece of clay into something beautiful with these spin-tastic tricks and transform yourself from beginner to pro!
Getting Started
First things first, make sure your workspace is clean and organized.
This will help you stay focused on the task at hand and avoid unnecessary distractions.
Your pottery wheel should be at the right height and electrically connected unless you are using a manually powered wheel.
Additionally, it's important to make sure that your wheel is running smoothly and safely.
This means ensuring that the wheel head is solid, sturdy, and well-balanced; it should also be properly lubricated.
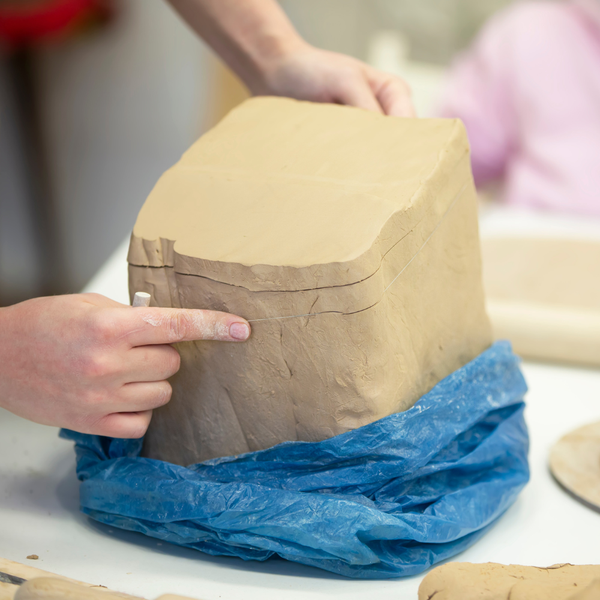
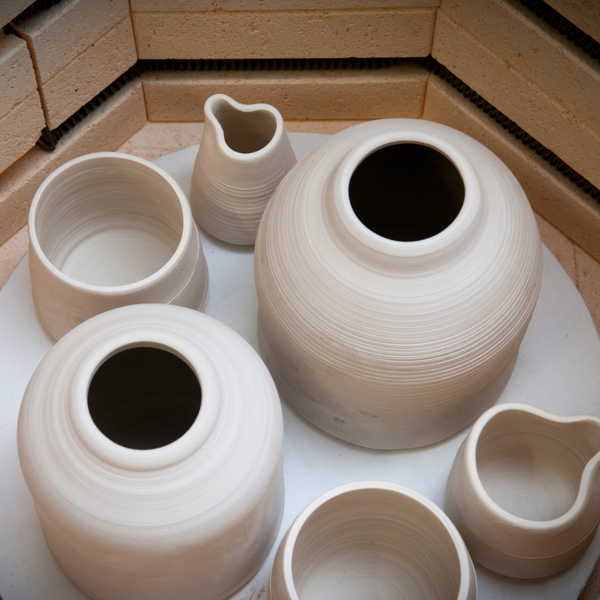
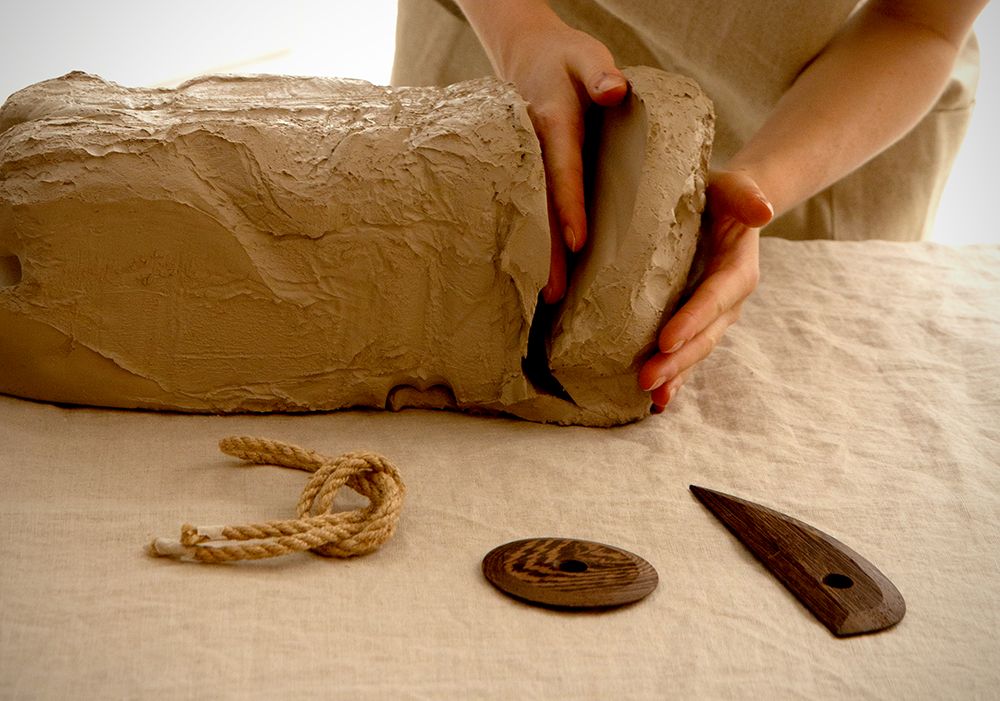
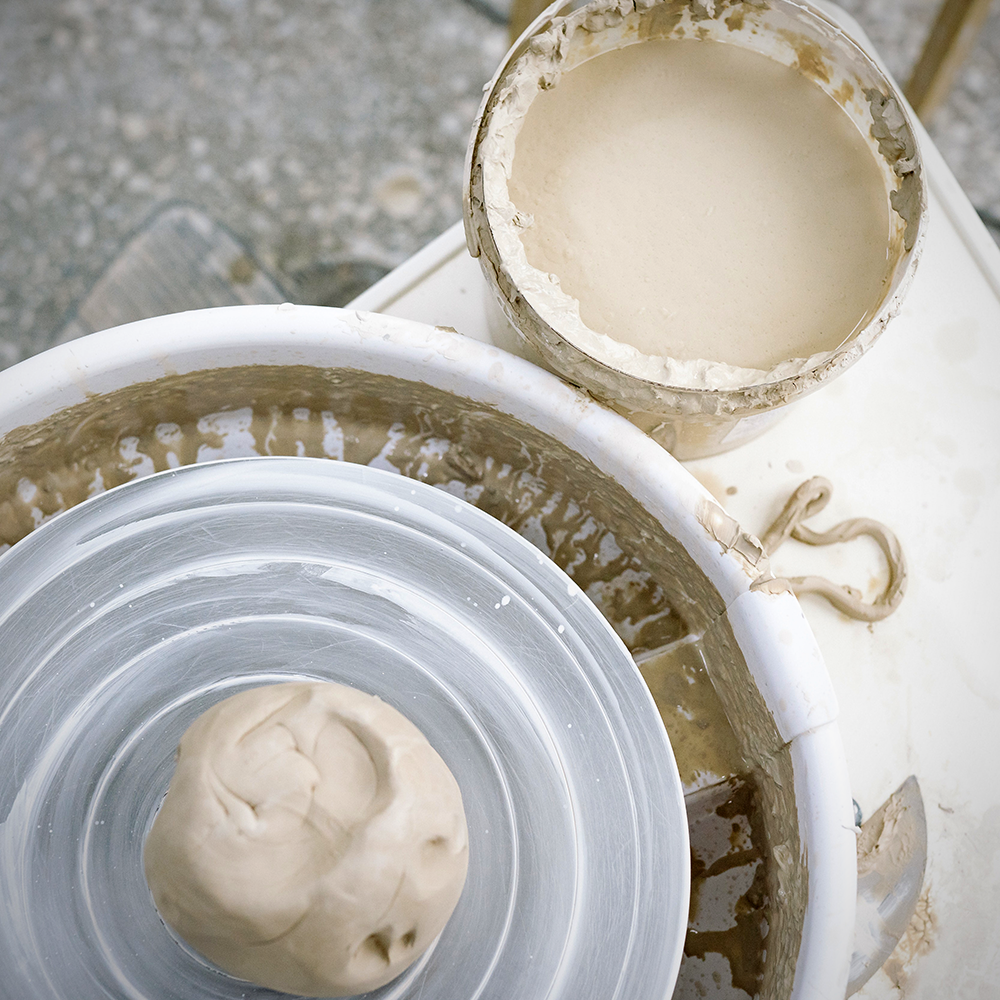
Consider the type of clay you want to use, so you can prepare to start your next pottery project.
Get your clay ready - knead and wedge it to remove any air pockets, or buy pre-prepared clay.
You want the clay to be moist without being too wet or too dry, so fill a small container with water to keep the clay moist.
Once you’re set up and ready to go, you’re ready to spin!
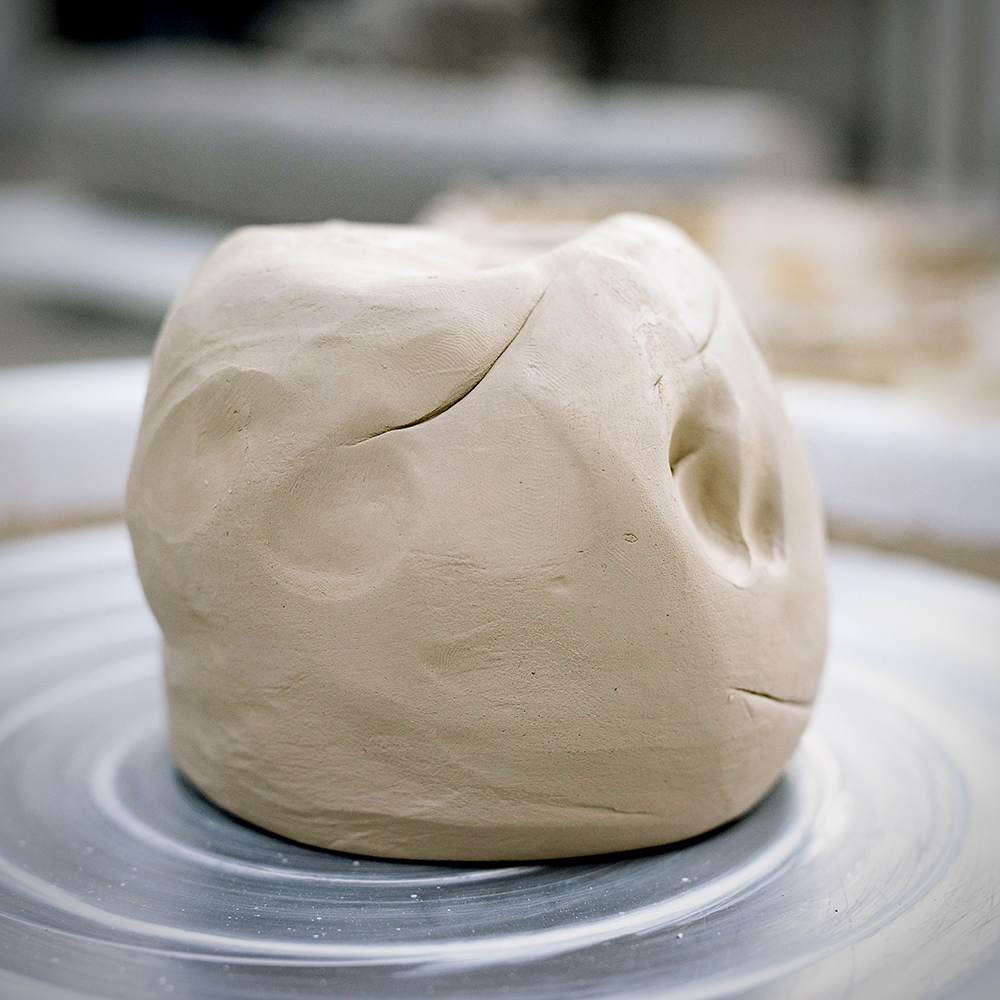
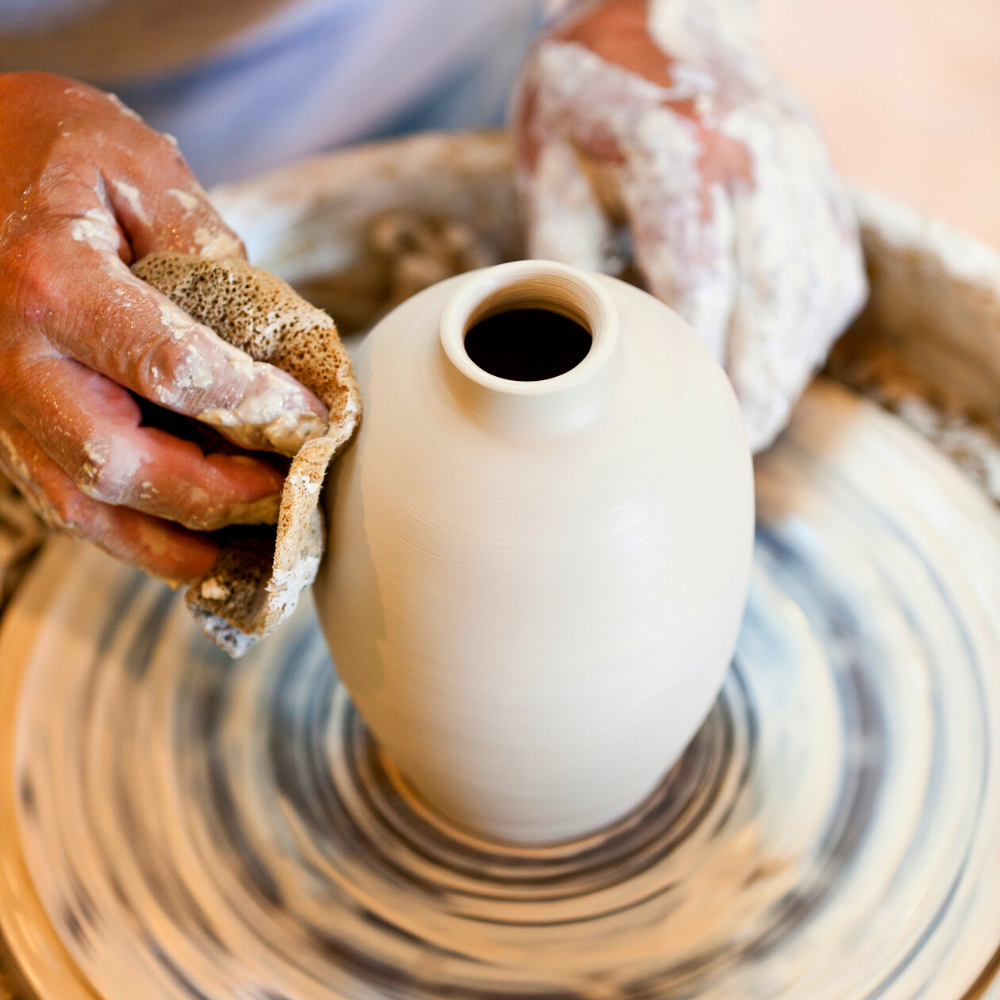
Keep Your Clay Moist
One of the most important things to keep in mind when working with a pottery wheel is to keep your clay moist.
Dry clay will cause cracks and make it difficult to shape on the wheel.
To keep your unused clay moist, wrap it in a damp cloth or use a spray bottle to mist it periodically.
When you’re spinning on the wheel, have a small container of water handy to add moisture as needed.
This will help you keep your clay from drying out as you work.
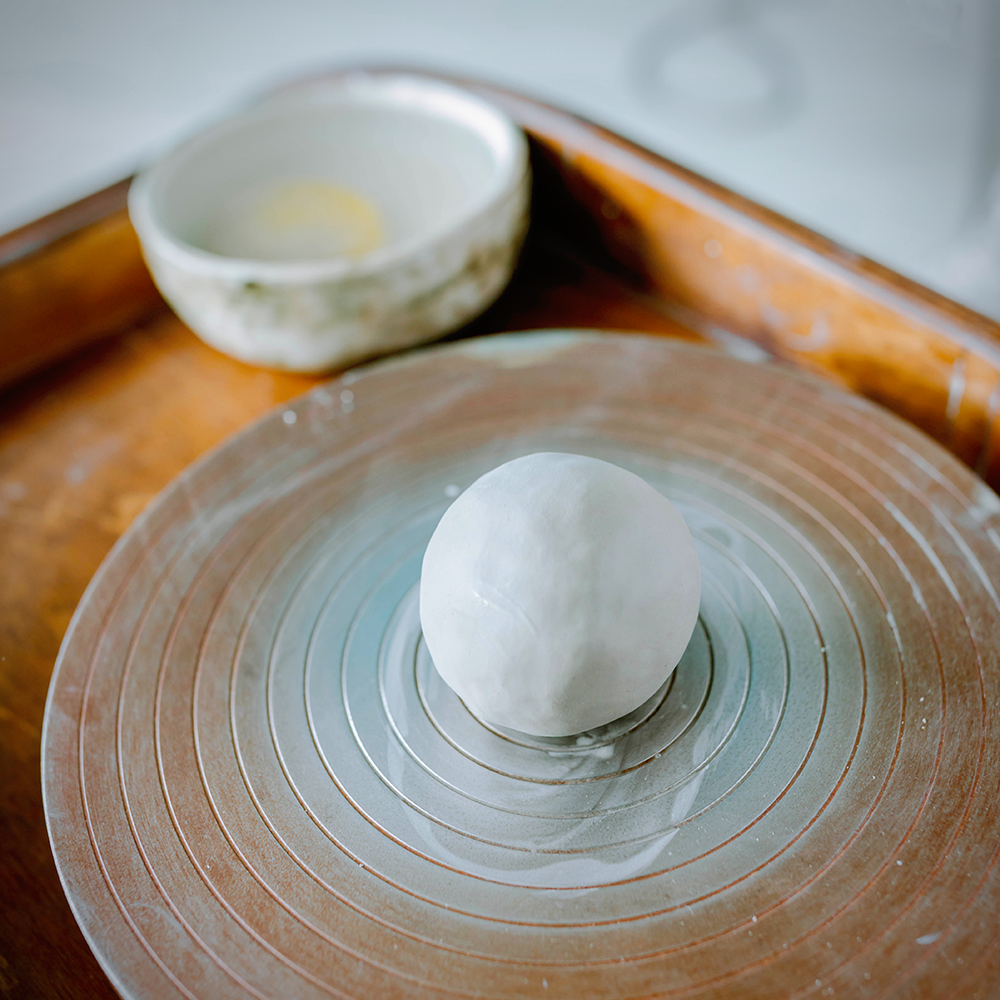
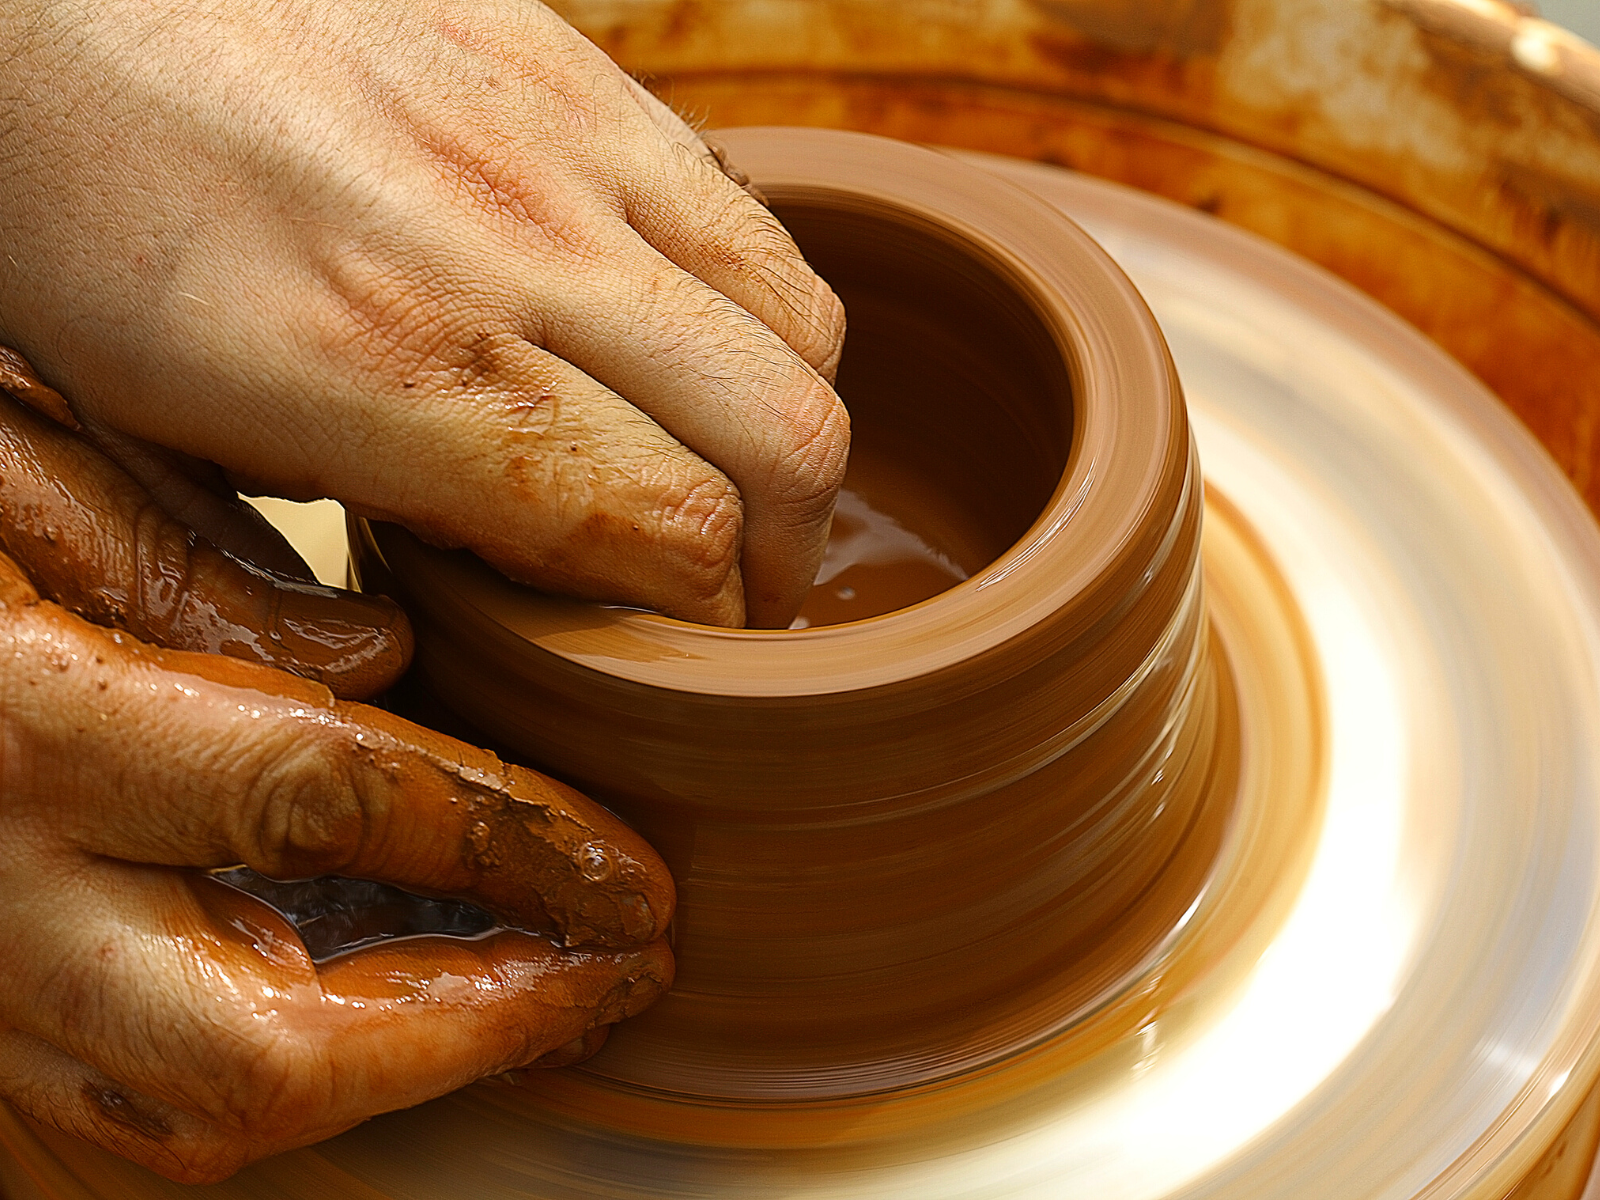
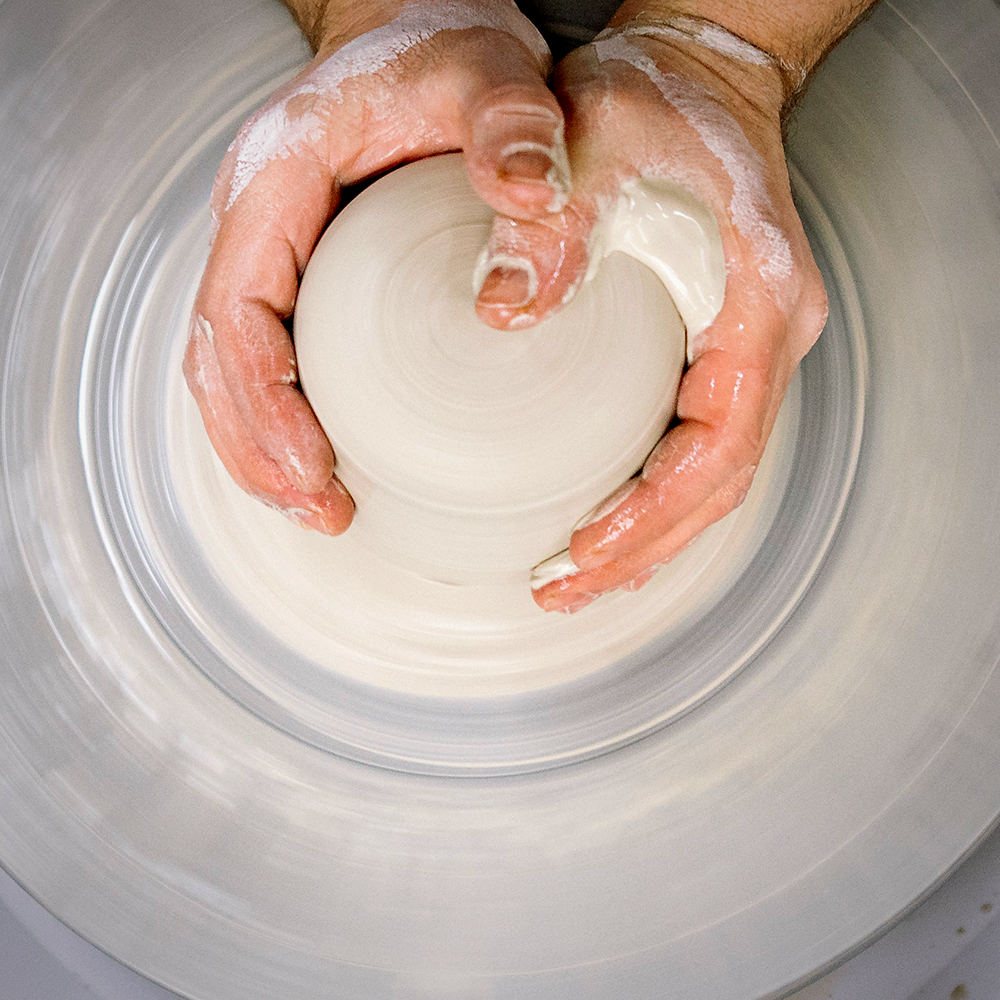
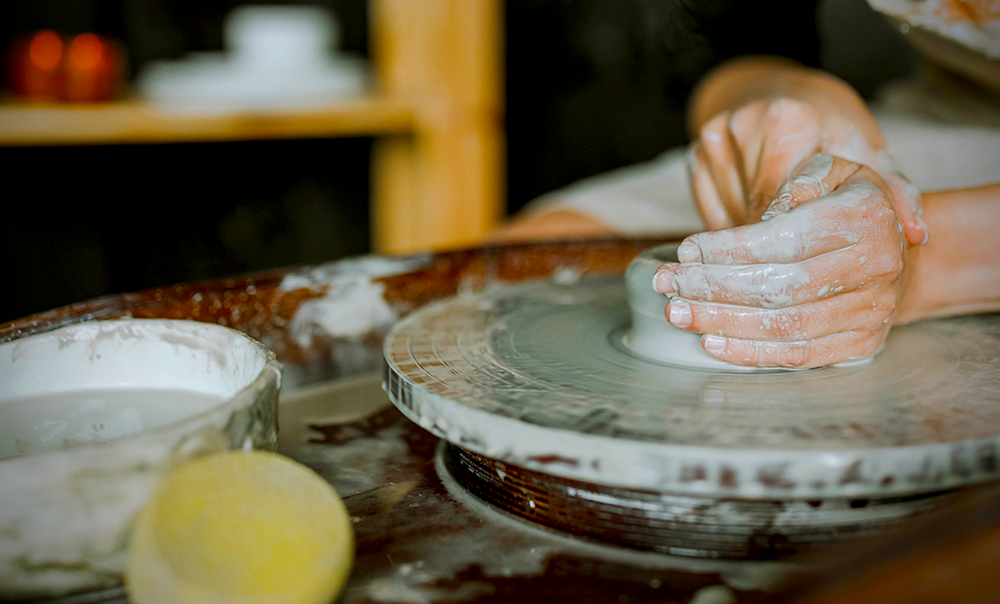
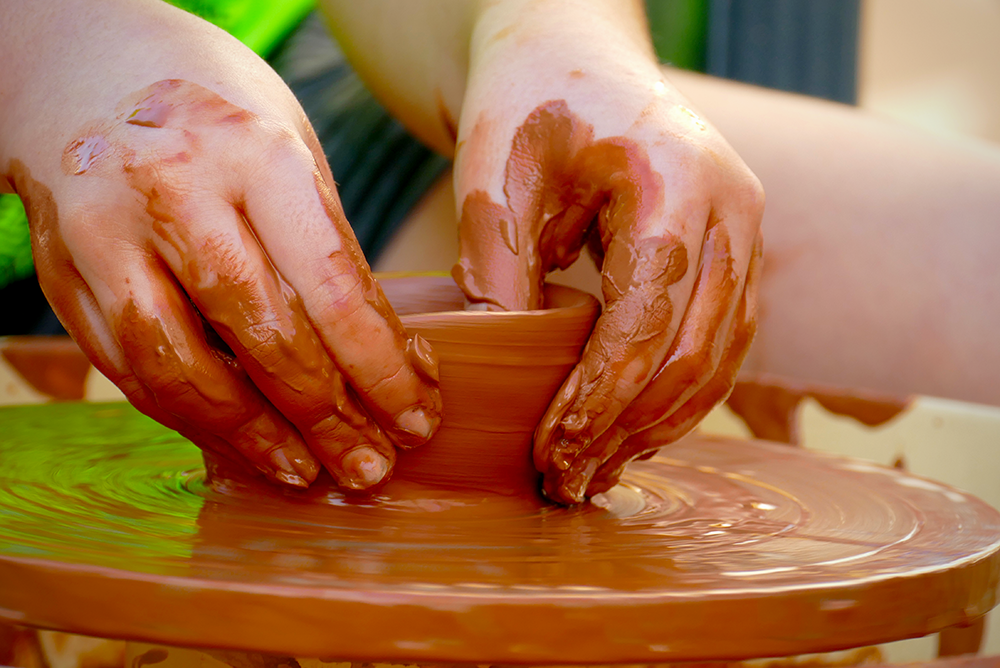
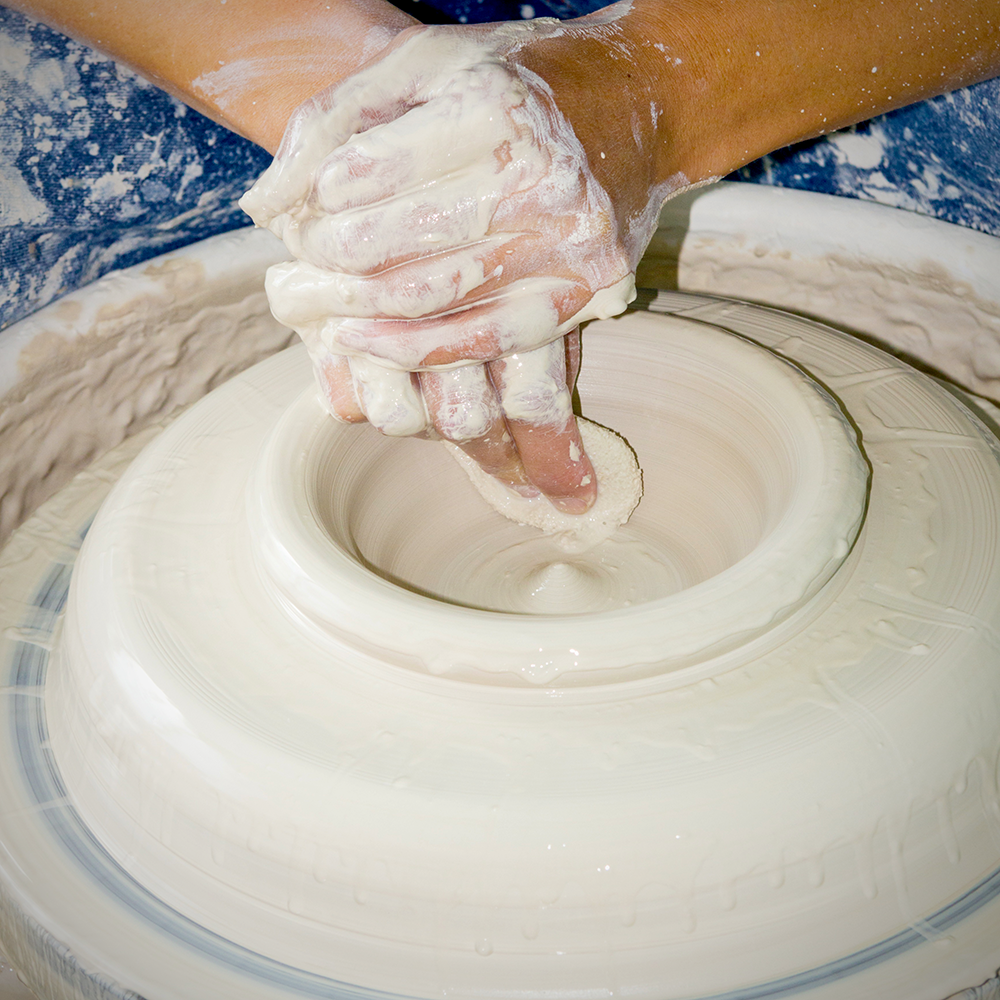
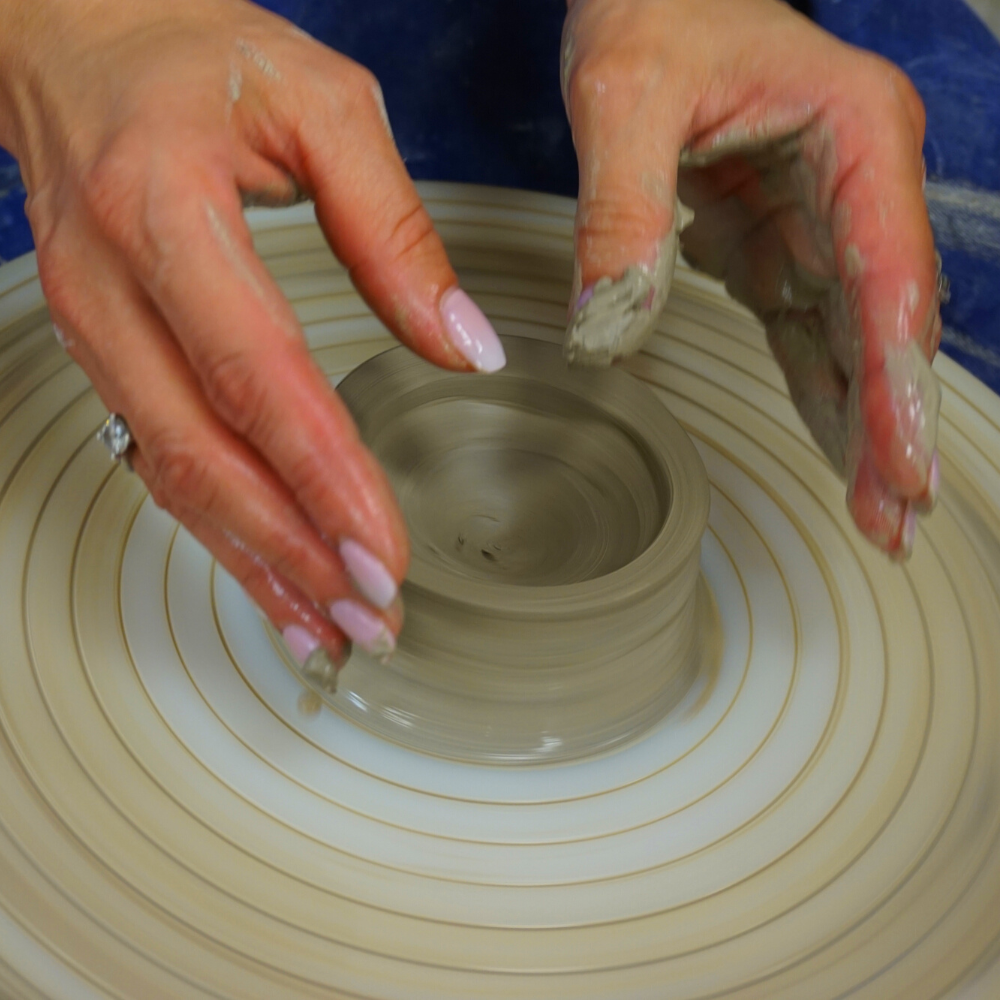
Centering the Clay
Without a doubt, the most important skill you'll need to master is centering clay.
Centering your clay is the first step to creating beautiful pottery on the wheel because it involves making sure that your clay is evenly distributed on the wheel head.
It is the process of getting the clay spinning in the center of the wheel, allowing you to shape evenly.
When starting, use both hands to guide the clay onto the center of the wheel.
Keep your hands wet to prevent the clay from sticking, keep your elbows close to your sides, and use your body weight to press your hands against the clay.
Once the clay is centered, begin adding water to make it softer and easier to shape.
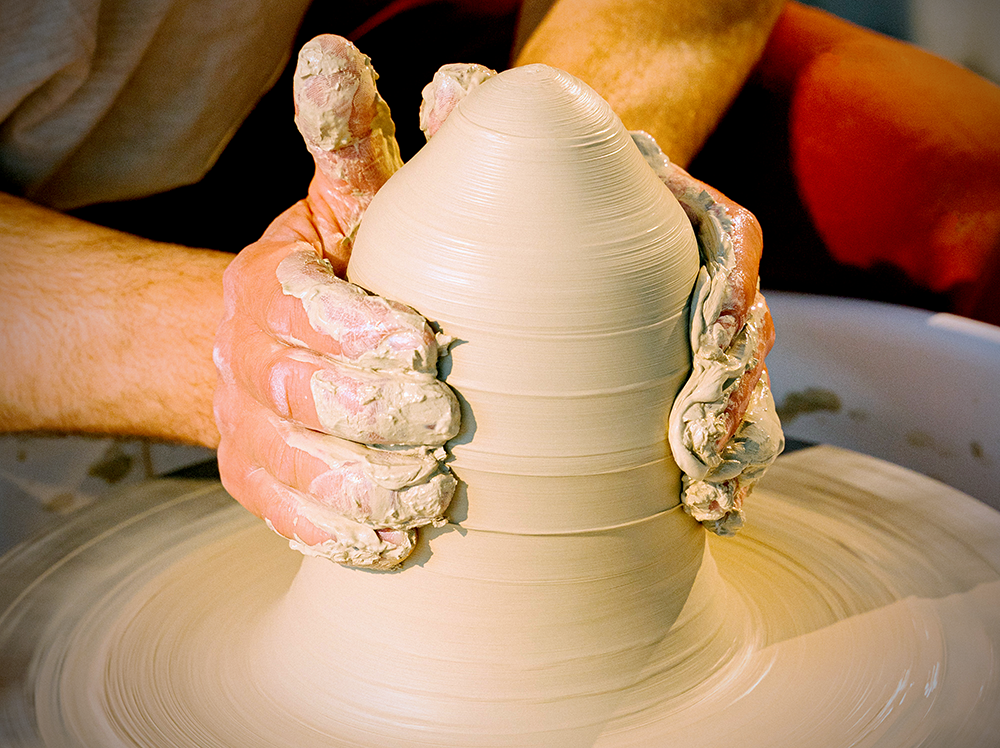
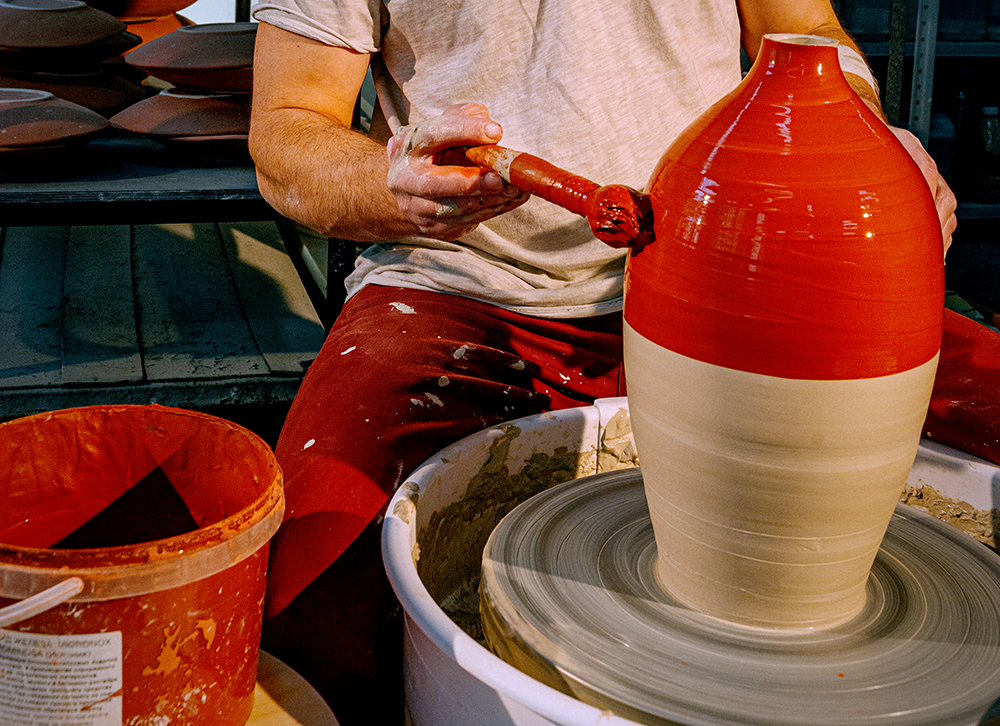
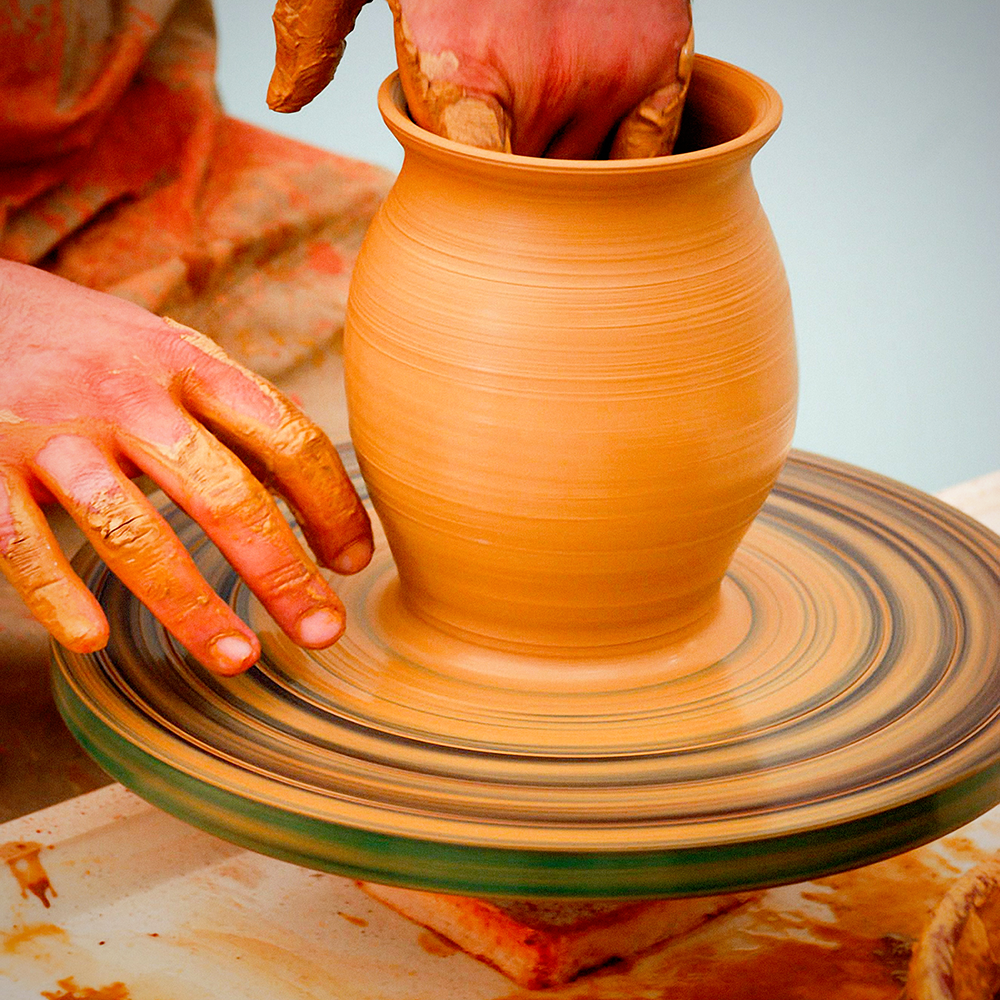
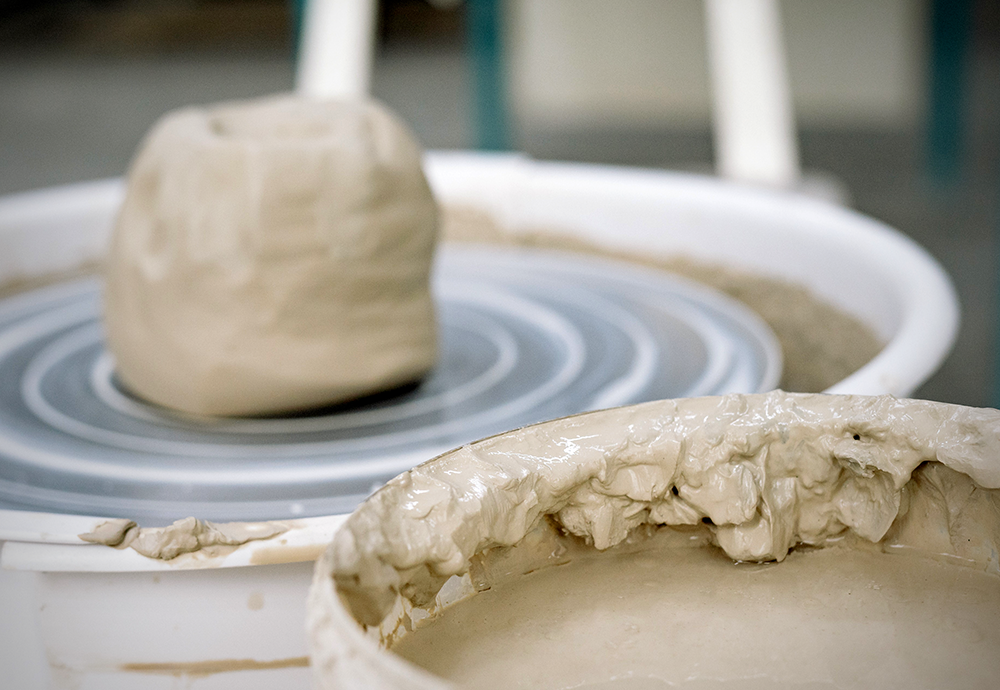
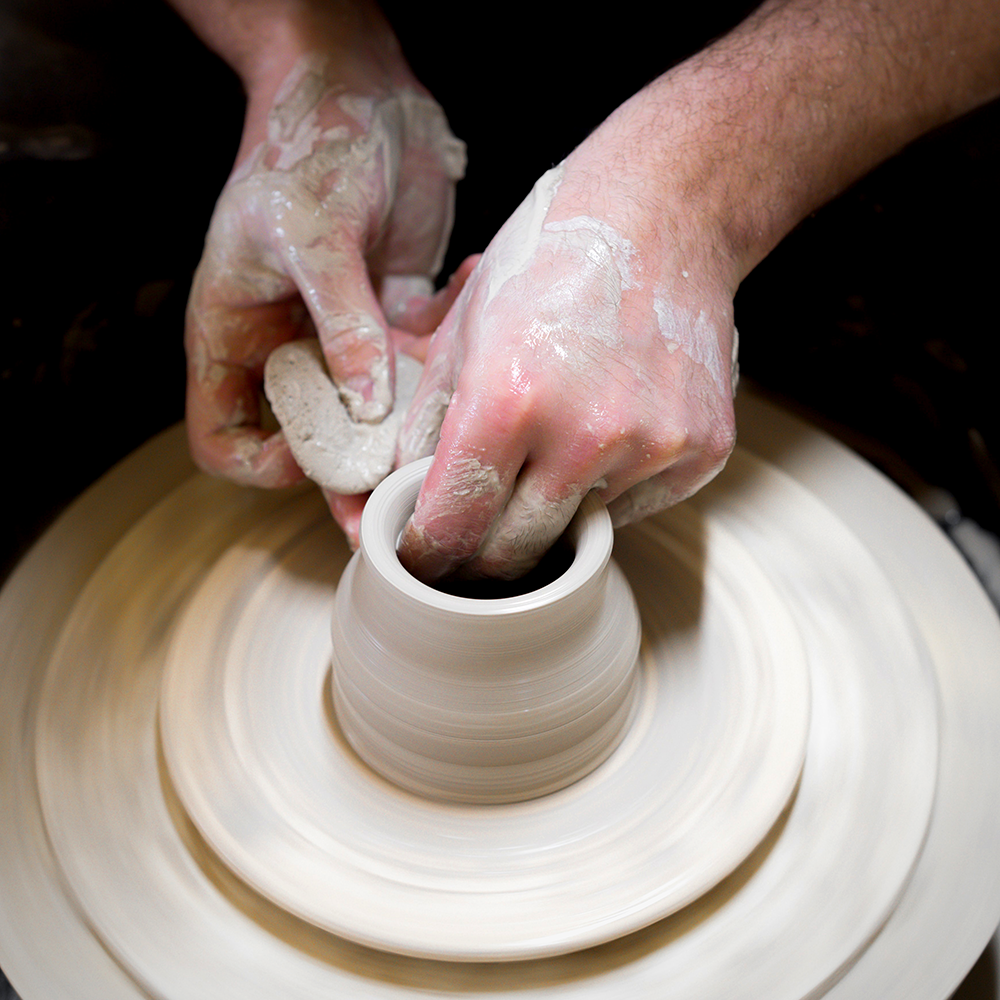
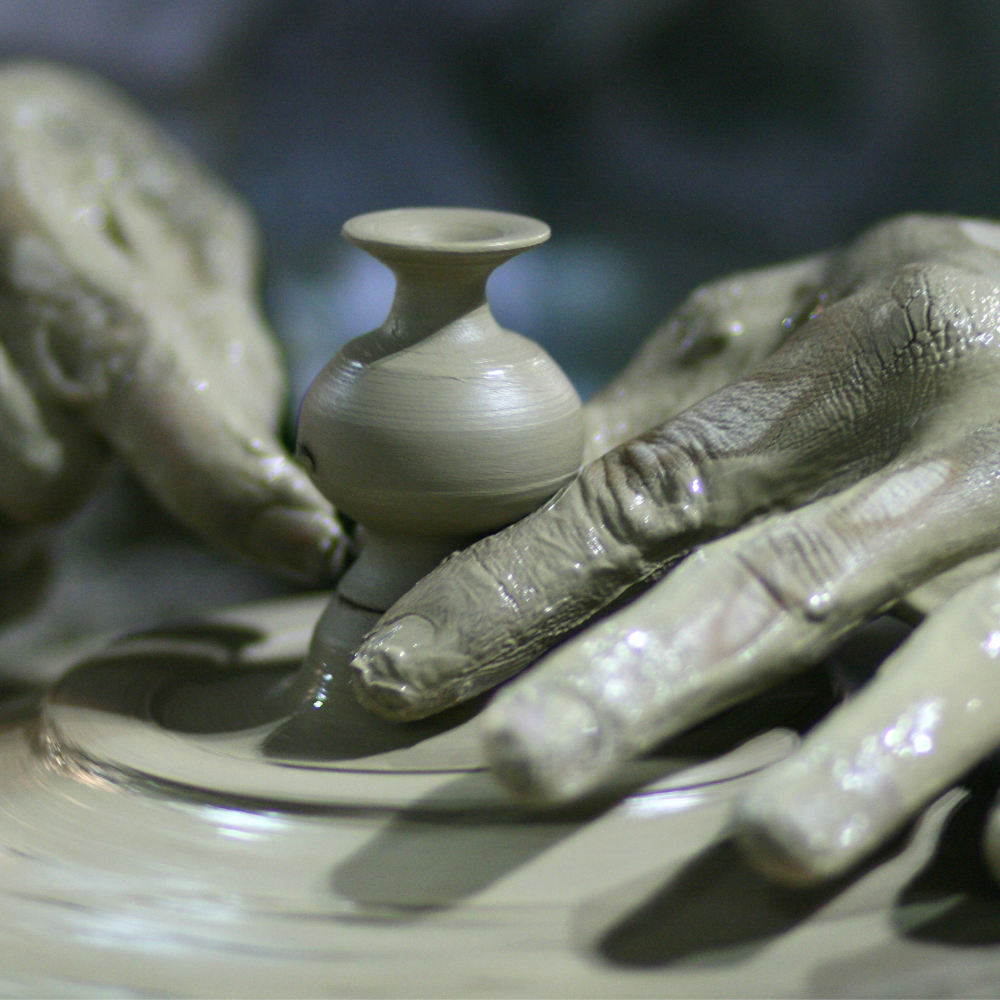
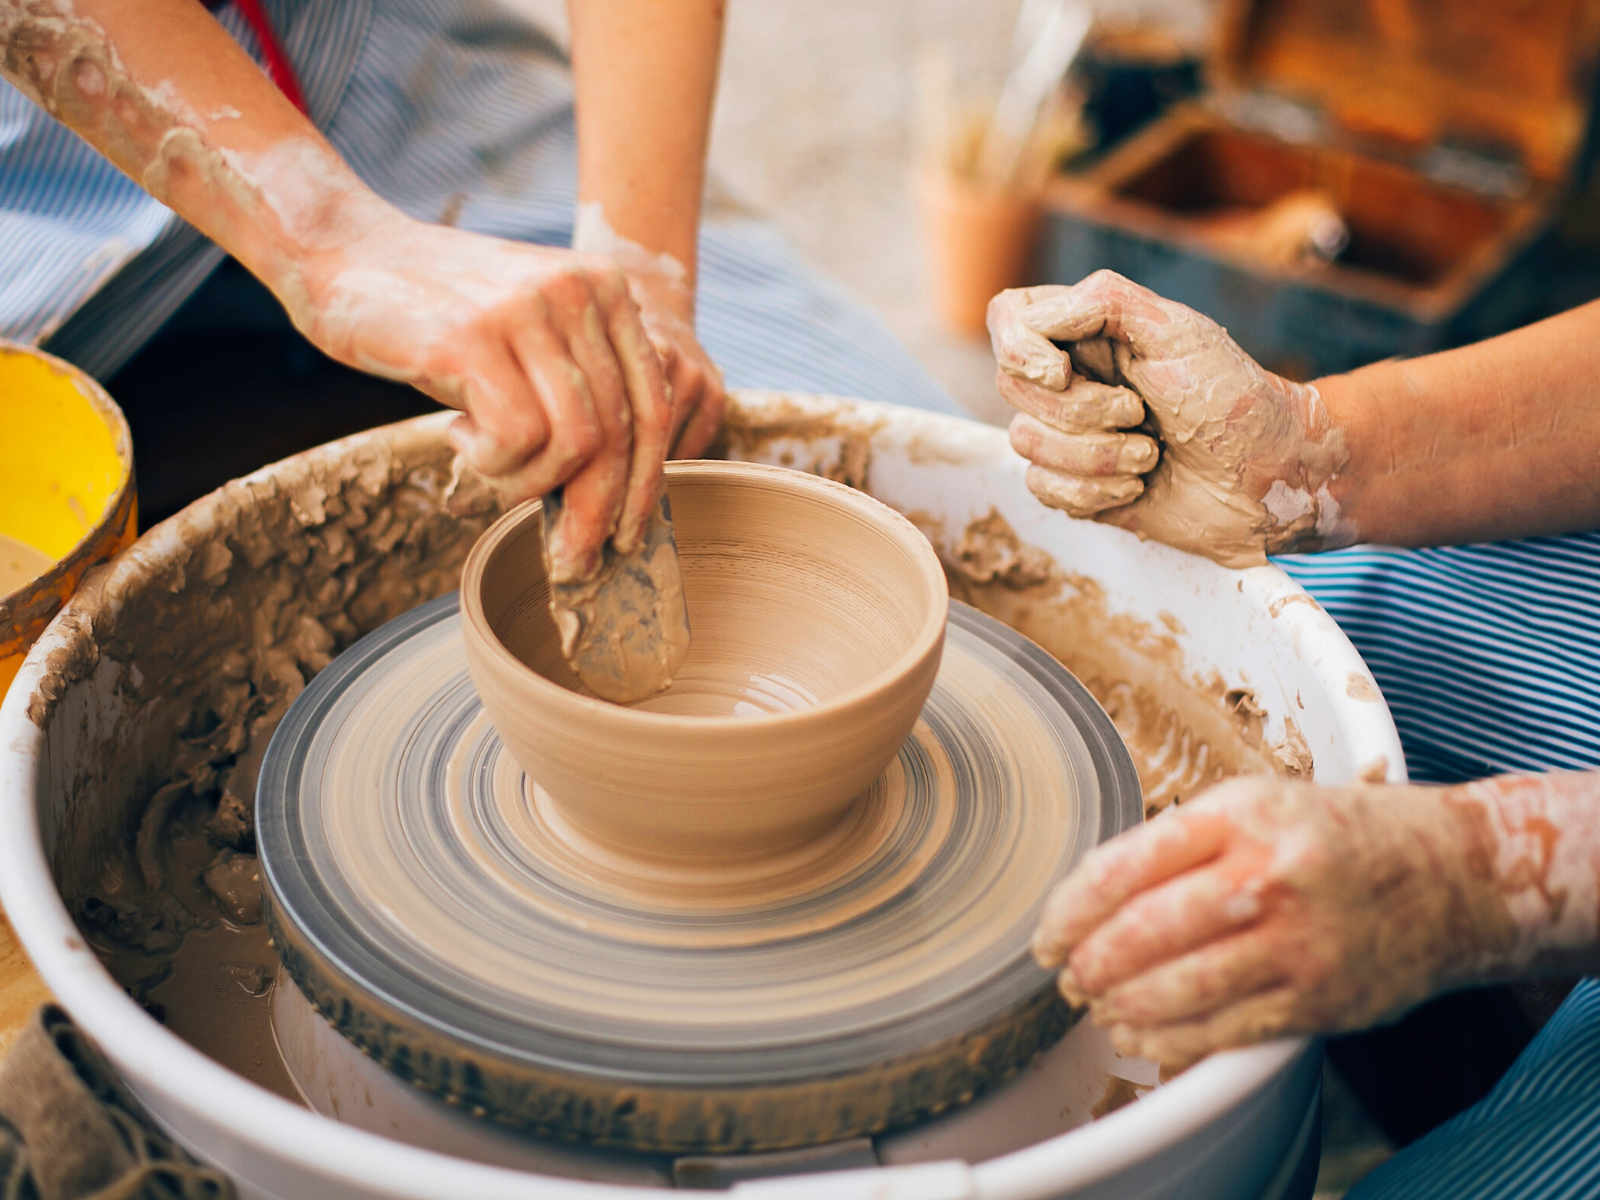
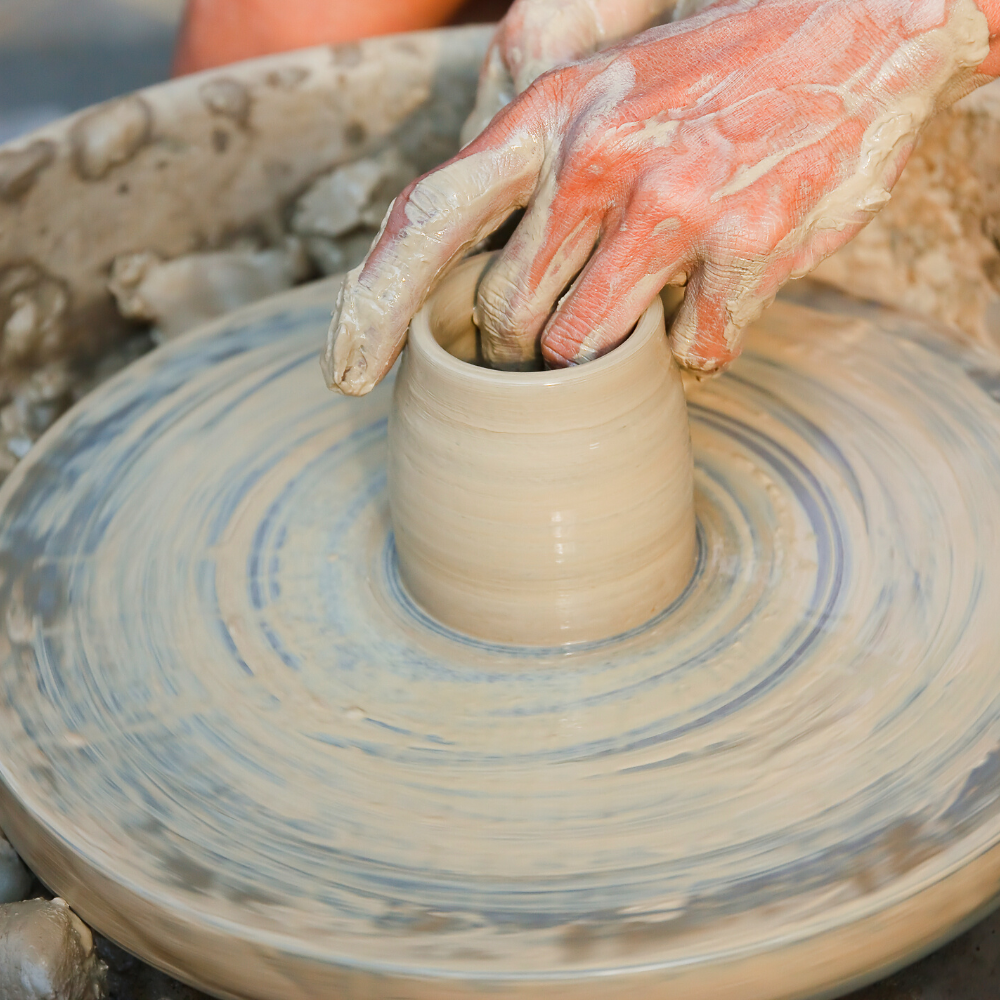
Start Slowly When Shaping Clay
When working on the pottery wheel, start at a slow speed and gradually increase it as you get more comfortable with the process.
Starting too quickly can cause your clay to fly off the potter's wheel and create a mess.
The wheel speed should be adjusted according to your needs and comfort level.
You can adjust the speed by using the foot pedal, so wheel throwing pottery pieces becomes familiar and instinctive.
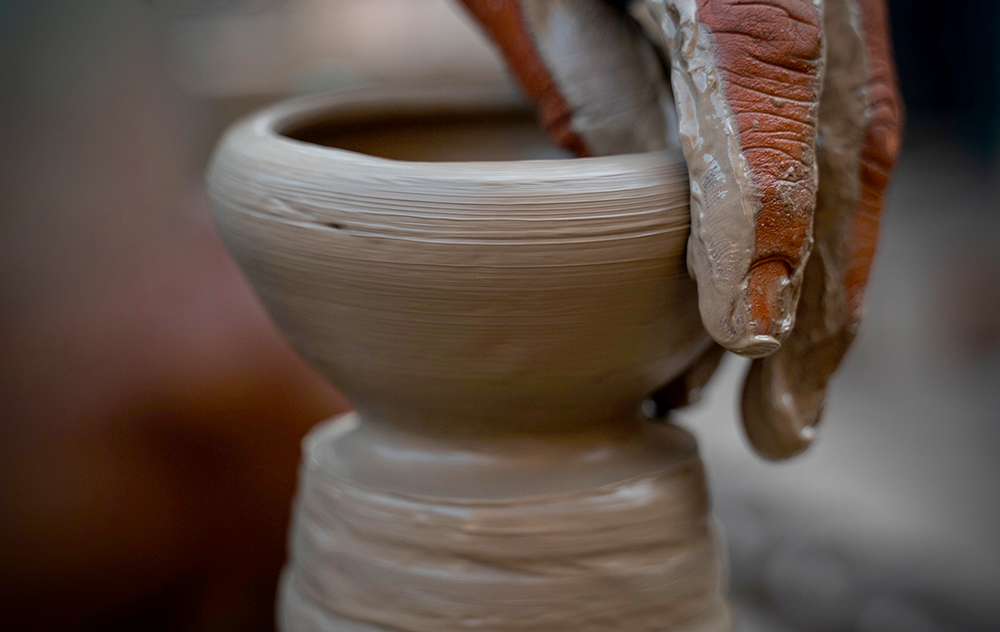
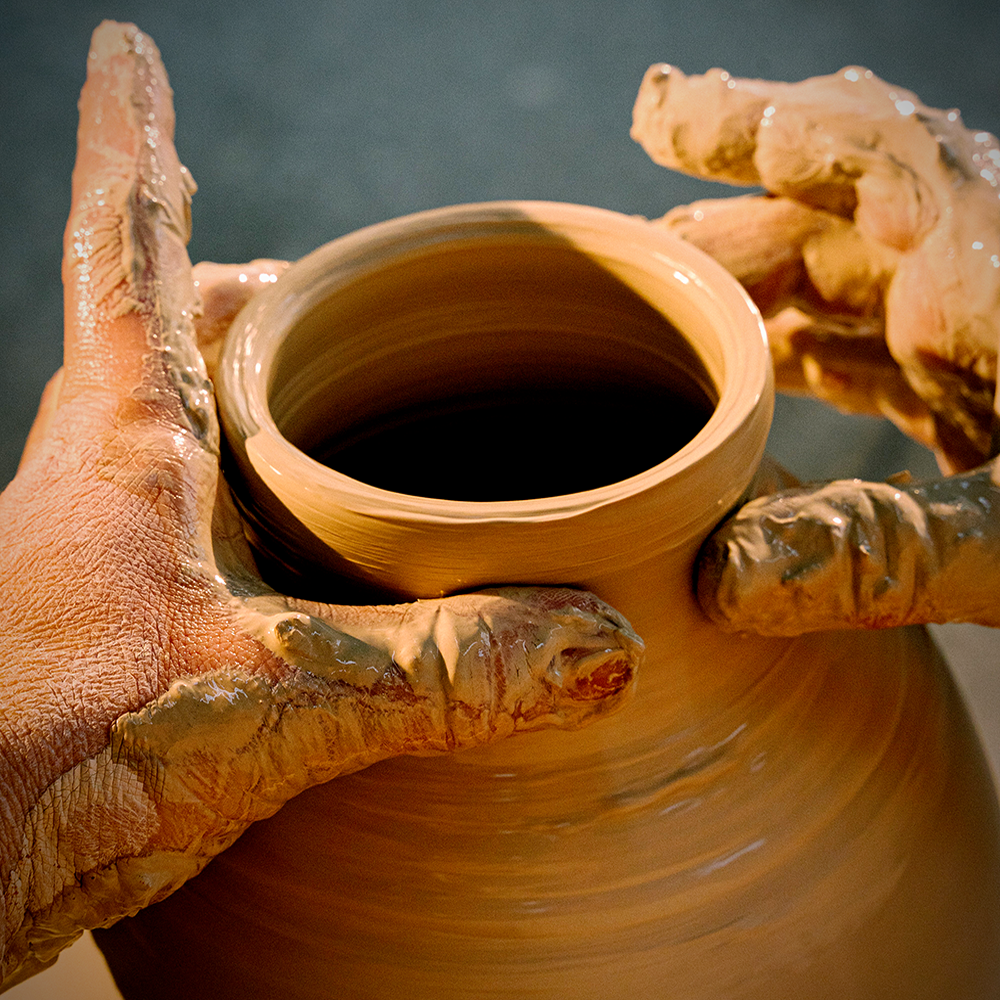
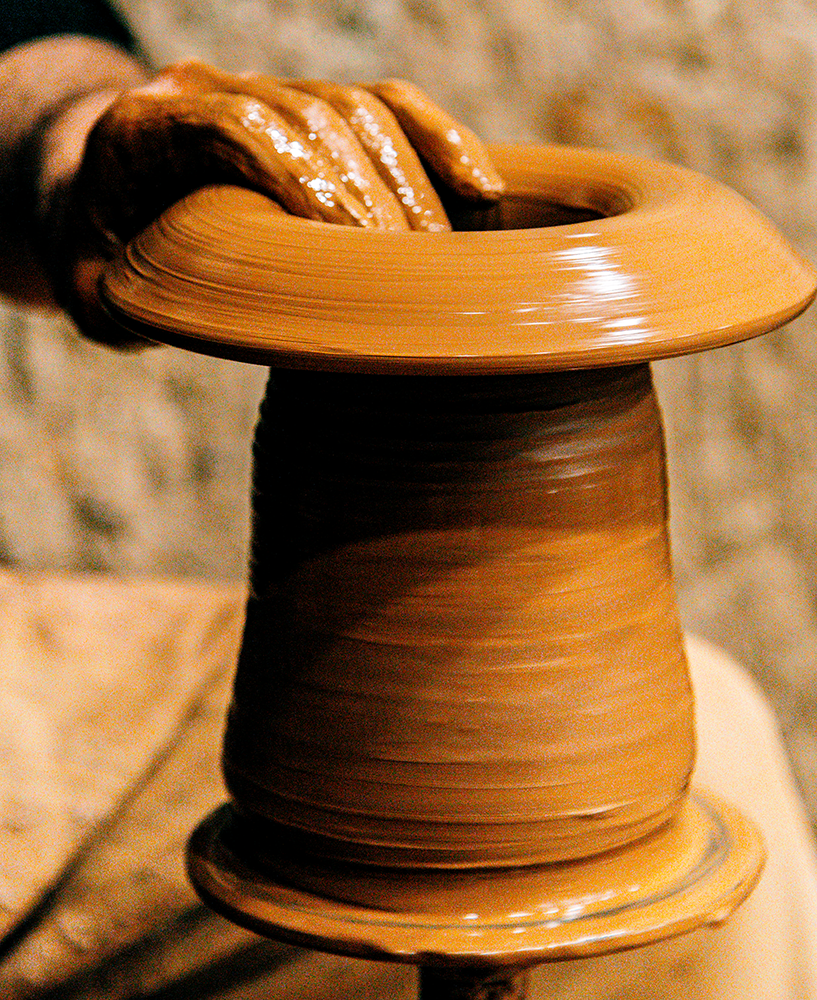
Applying pressure is how you shape the clay on the pottery wheel.
Keep your hands wet and your elbows near your stomach.
Use your thumbs and fingers to apply pressure to the clay, squeezing, pulling the clay upwards, forming it into the shape you desire.
A slow and steady pace will help you maintain control over the wheel.
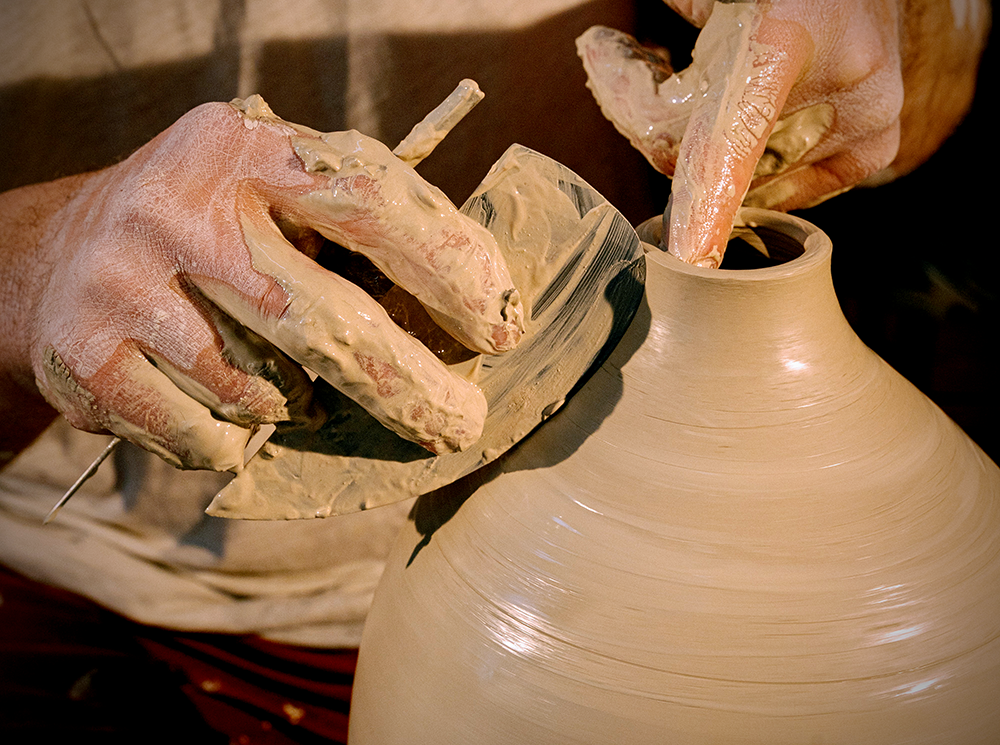
You can also use pottery tools to help shape clay more easily.
Ribs, sponges, and shaping tools will help you create intricate designs quickly and easily.
Remember to keep your tools moist so that the clay doesn’t stick while throwing pottery.

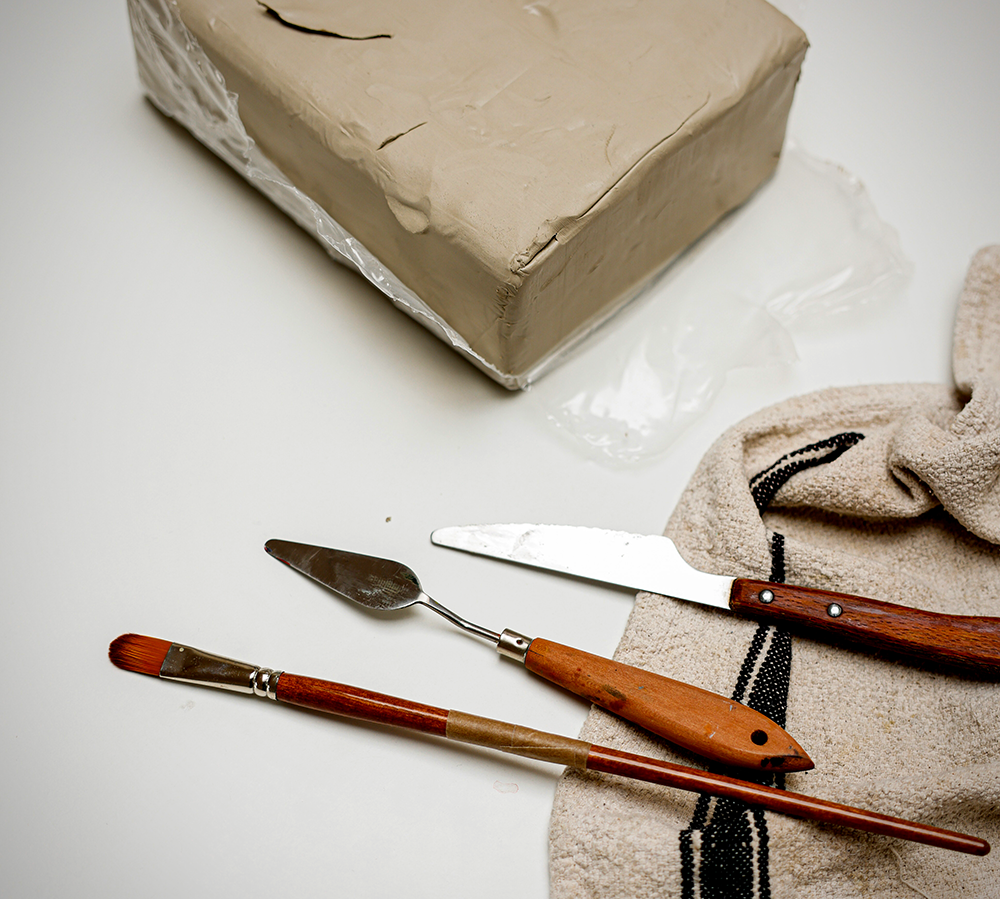
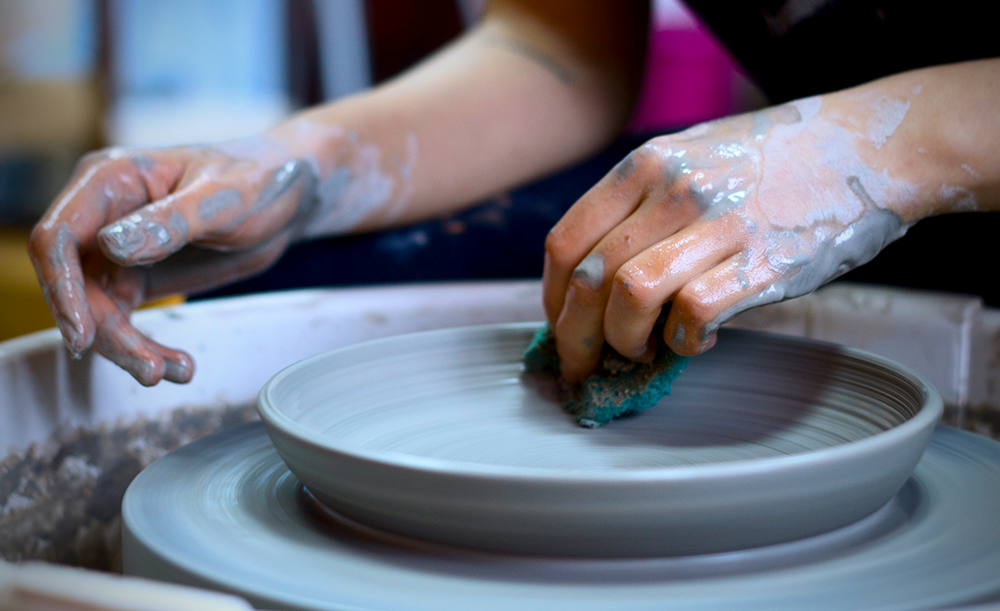
Use the Right Tools
Using the right tools is essential when working with a pottery wheel.
Some of the tools you may need include a sponge, wire tool, rib, and needle tool.
Each tool has a different purpose and can help you create unique shapes and designs.
A sponge is great for smoothing out your pieces, while the wire tool can help you easily cut and break apart sections of your clay.
The rib is great for making lines in your clay, while the needle tool is perfect for creating intricate details.
A trimming tool can help you refine the edges of your piece and give it that professional look.
Make sure to keep your tools clean and well-maintained to avoid any unwanted scratches or marks on your clay.
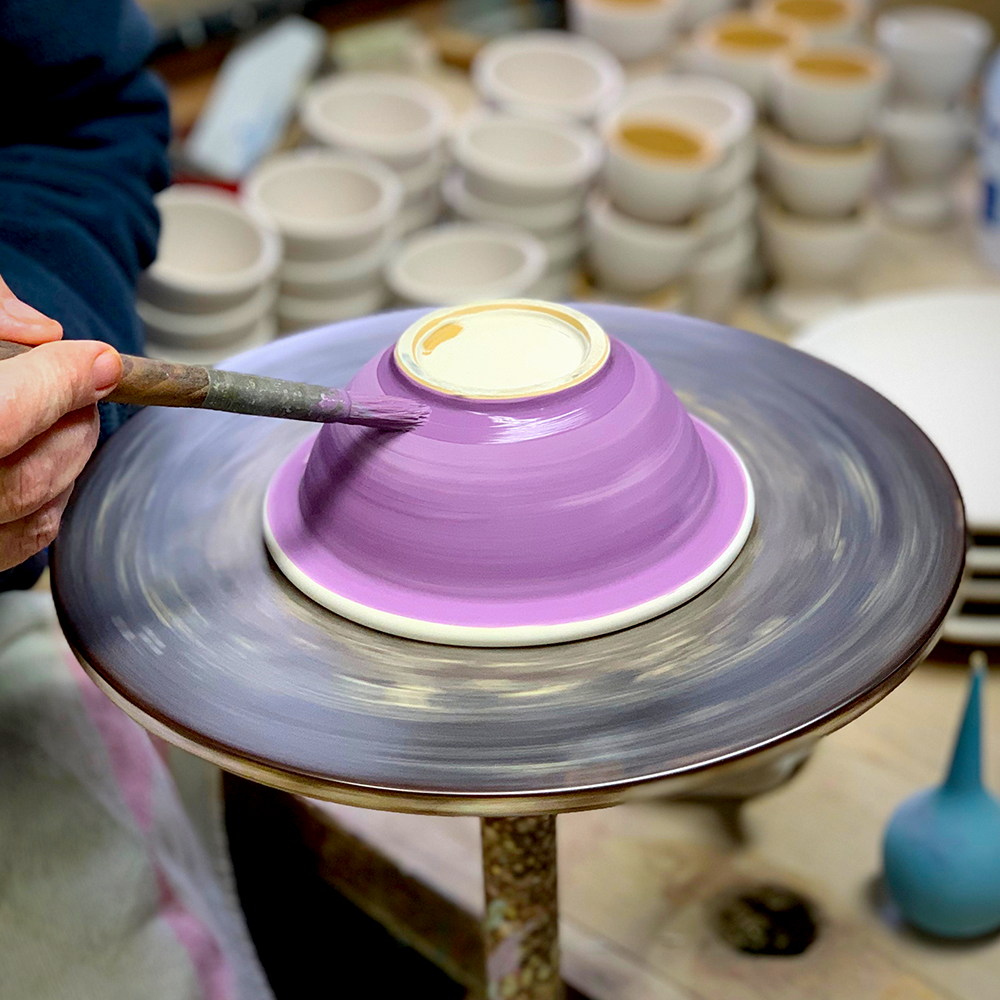
Add Texture and Experiment with New Materials
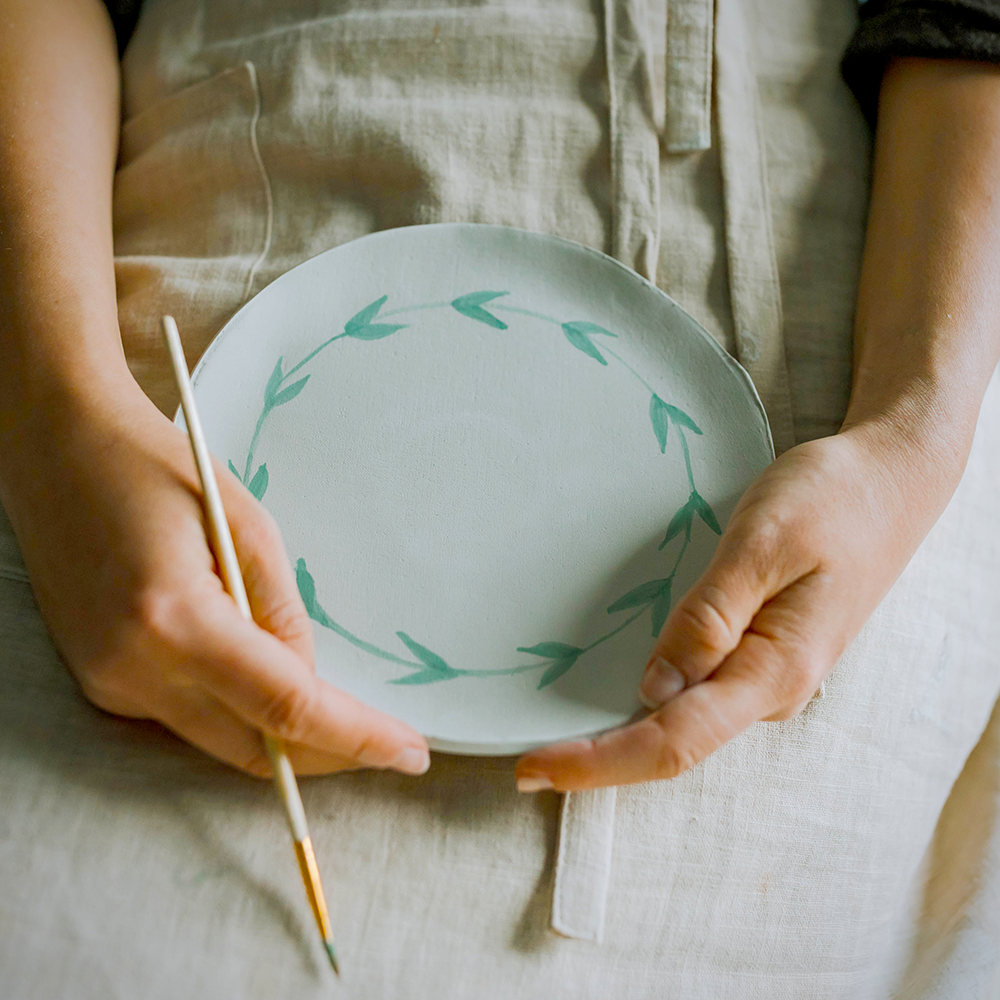
Adding texture to your pottery is a fun and creative way to make it stand out.
Use tools such as forks, wire brushes, and sponges to make unique patterns and designs.
Experiment with different techniques and see what works best for your piece.
A slab roller is a great tool for creating larger pieces with intricate textures.
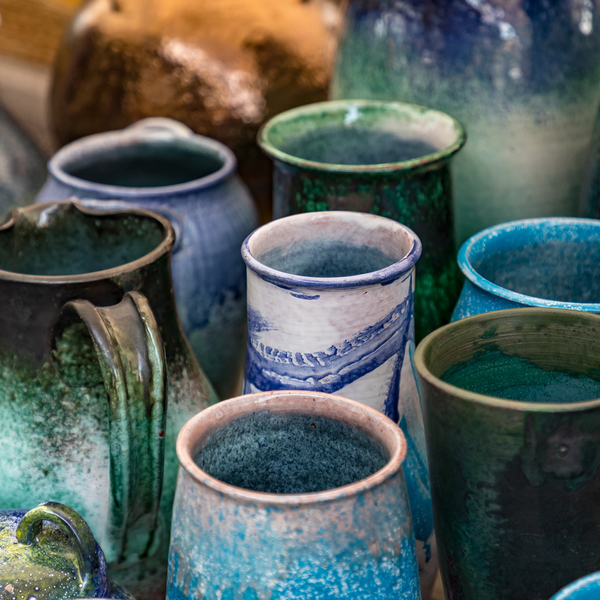
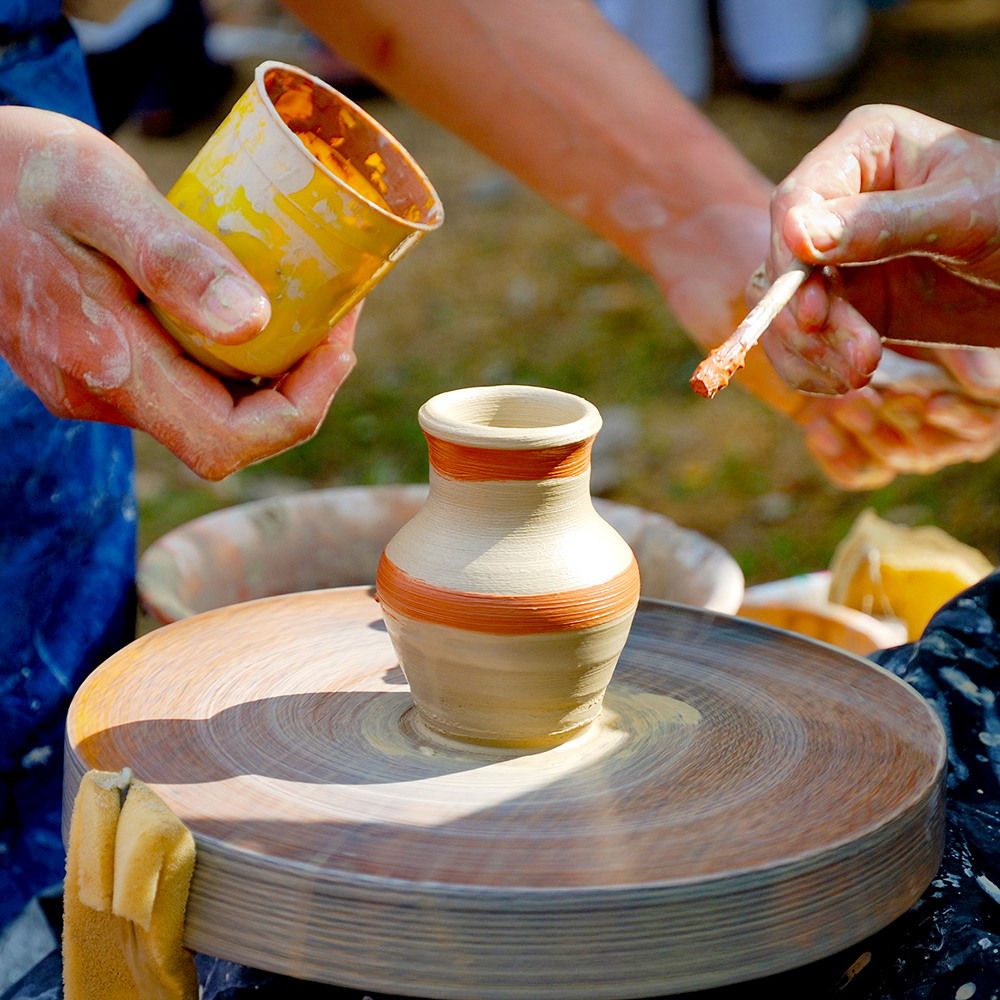
You can also use different materials such as colored slips, glazes, paints, and inlays to make your pottery more interesting.
While clay is the traditional pottery material, there are other materials you can try, like concrete, resin, or even wood.
Experimenting with different materials can help you find new ways to express yourself and create beautiful, one-of-a-kind pieces.
Experimenting shows you a new world of shapes and colors to incorporate into your pottery.
Try to find what works best for you and your style!
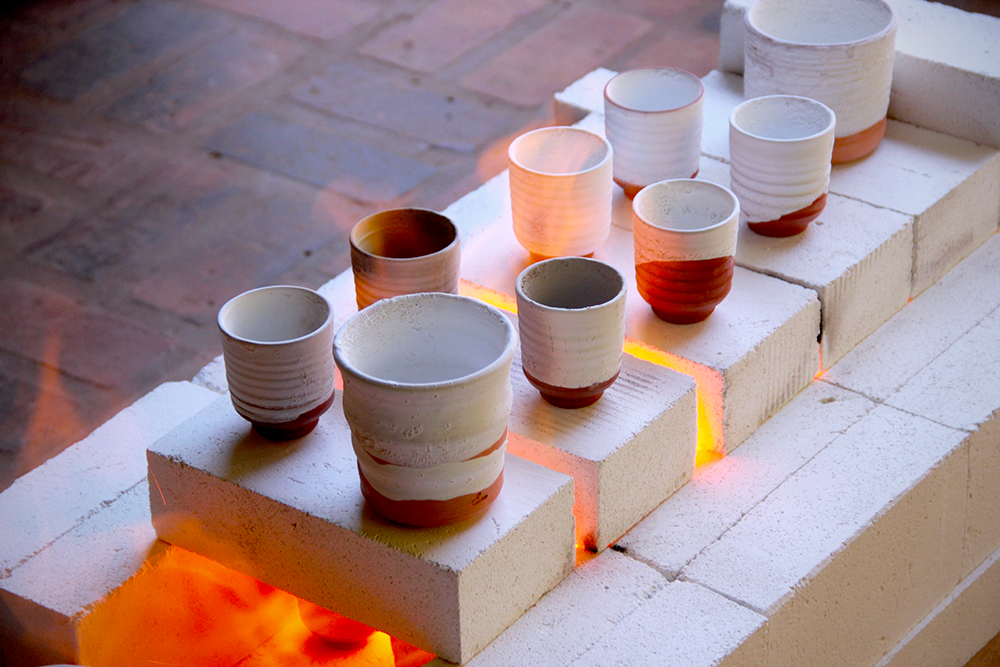
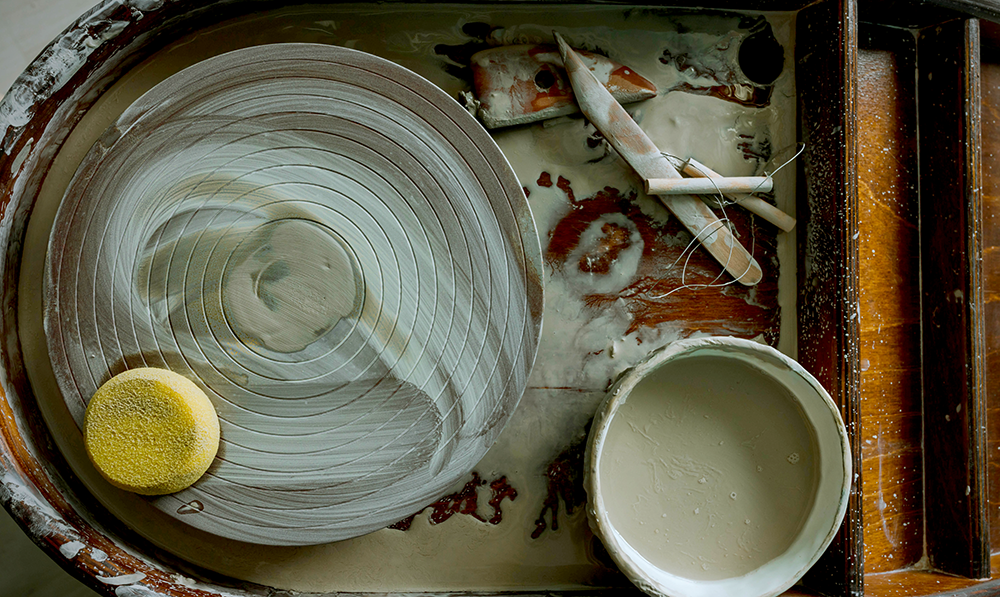
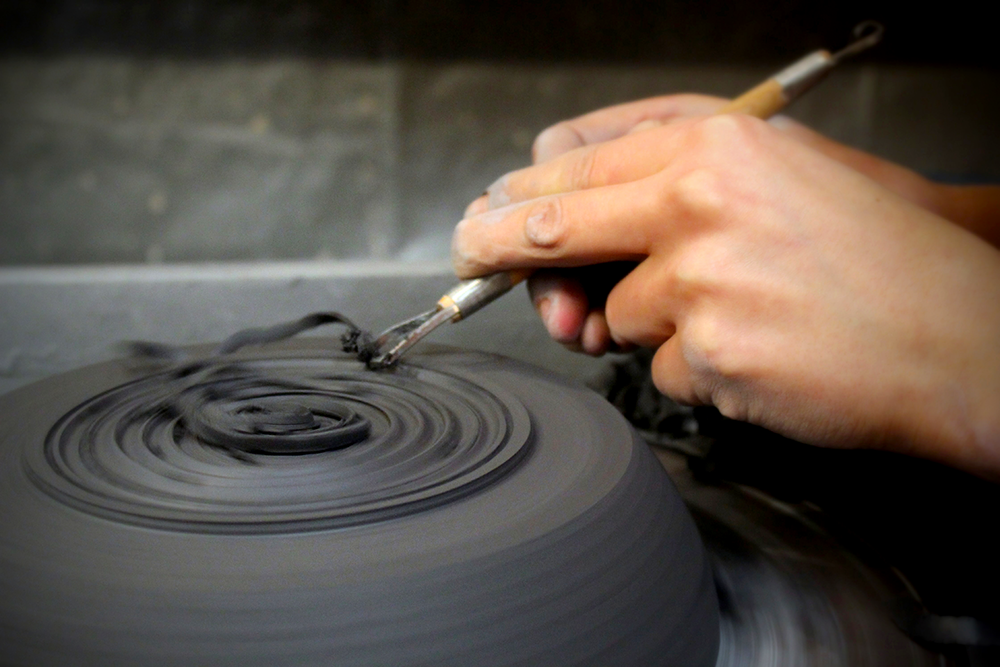
Trim Your Pottery
The next step in the pottery-making process is trimming.
Trimming your pieces will help refine the edges and make them look more professional.
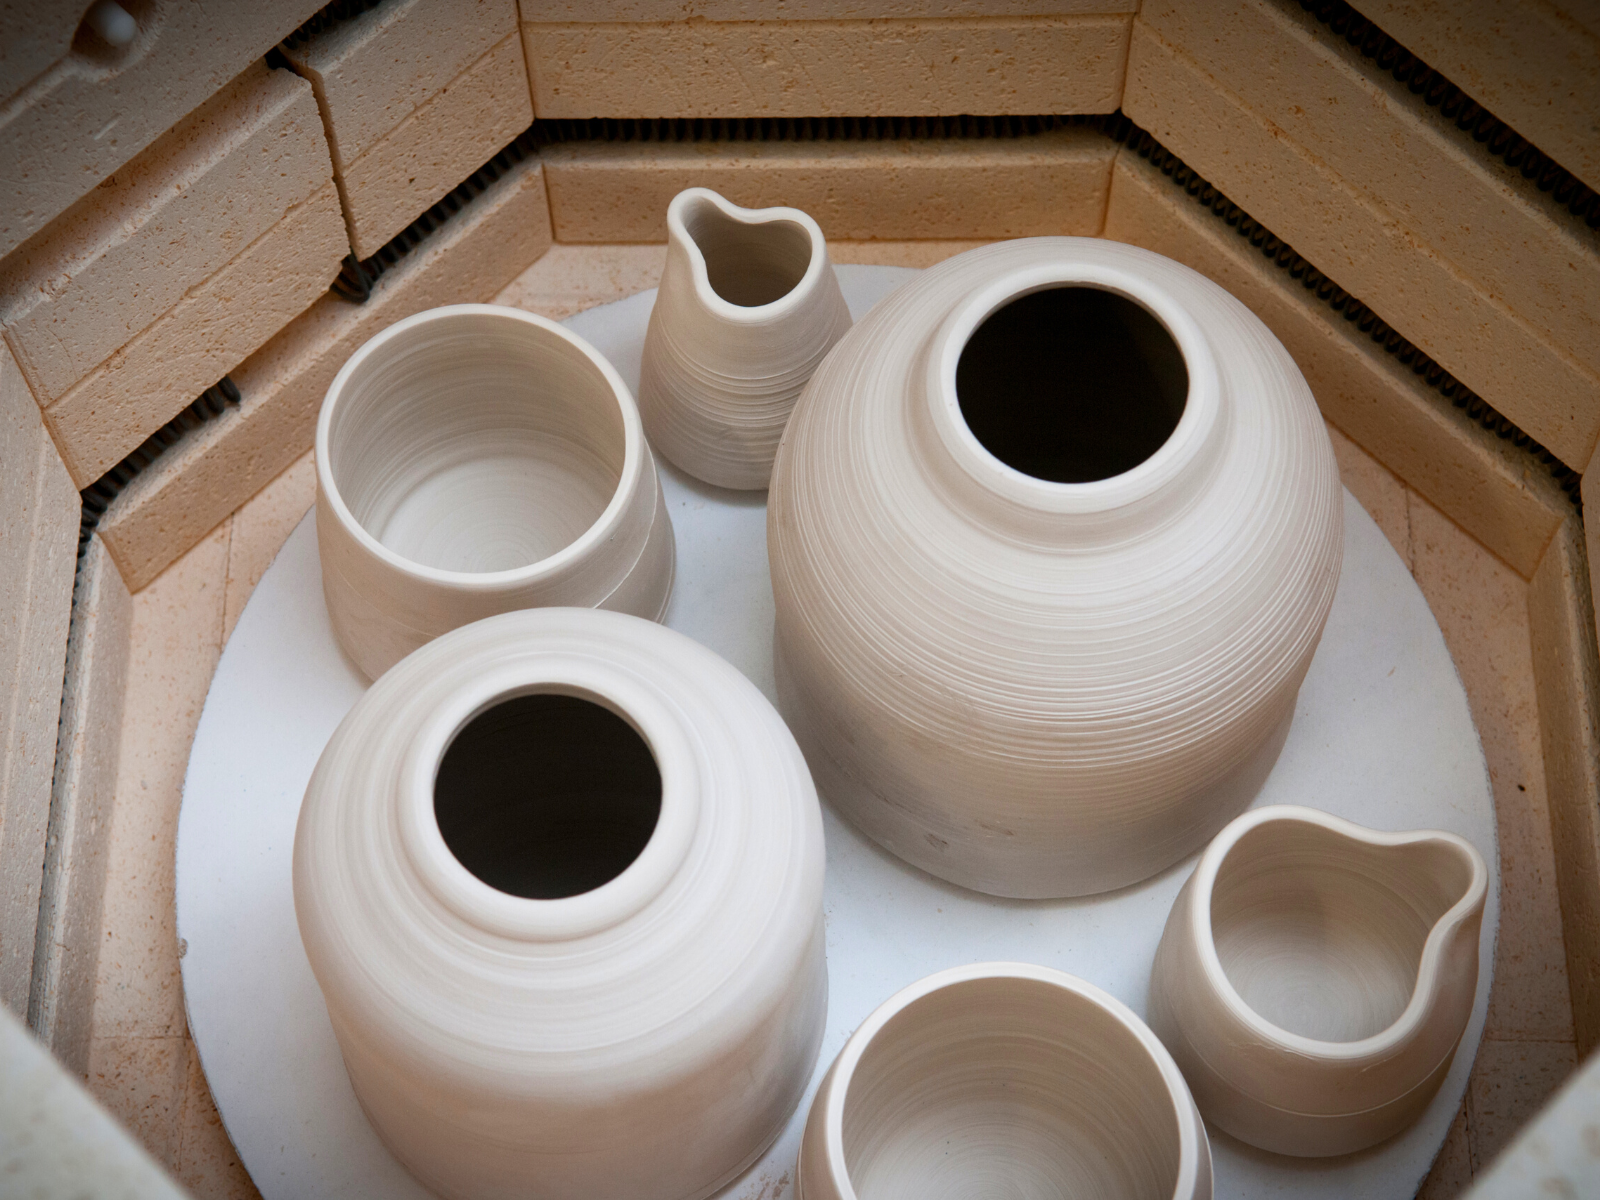
It also removes excess clay from the bottom of your piece, to prepare it for firing.
Use a wire tool to cleanly detach your pottery from the pottery wheel and then use a trimming tool to remove any excess clay and create a clean and smooth finish.
Make sure to leave enough of the clay on your piece so that it doesn't collapse when drying.
You can also use a damp sponge to clean up any sharp edges or imperfections.
Take your time and be patient with this step to ensure that your pottery looks beautiful and professional.
Practice and Don't Be Afraid to Ask for Help
No one becomes a pro on their first try.
The only way to improve your pottery wheel skills is through practice.
Make sure to set aside time regularly to work on your craft.
Don't give up if a piece doesn't turn out exactly as planned - use it as a learning experience!
Pottery can be a solitary activity, but that doesn't mean you can't seek advice or ask for help.
Join a group class or workshop at a pottery studio where you can meet experienced potters who would be more than happy to help.
Pottery classes or wheel throwing classes are the perfect way to gain the confidence, ideas, and knowledge you need to become a pro at the wheel.
You can even schedule a private session with a ceramic wheel throwing instructor to get personalized tips and advice.
Share your work on social media, and ask for the opinion of others; artists all over the globe have great insight on making pottery, so don’t be afraid to ask.
Feedback can be vital to improving your techniques and taking your pottery to the next level.
The best way to learn is by watching and engaging with others who share a passion for pottery.
With the right guidance and practice, you can create your own pots with ease.

Take Breaks and Have Fun!
Pottery wheel work can be physically demanding.
Remember to take frequent breaks to stretch your muscles.
If you get frustrated, take a deep breath and walk away for a few minutes.
When you return, you will feel refreshed and ready to tackle your clay project again.
Take the time to appreciate your progress and find joy in the creative process.
After all, pottery is an art form - a way to express yourself and have fun!
With these tips in mind, you'll be spinning your clay like a pro in no time.
Mastering the Pottery Wheel
Wheel throwing is a beautiful and satisfying craft that requires patience, skill, and practice.
Creating pottery may seem like an intimidating activity, but with these pottery throwing tips and tricks, you'll be making beautiful creations in no time!
Remember to practice, experiment, and most importantly, have fun, and, you'll be on your way to becoming a skilled pottery wheel artist!
So, what are you waiting for?
Get spinning and create something beautiful!
Still struggling with centering your clay? Check out Florian Gadsby's video!
Want even more content about creativity and art?
Be sure to check out all of our creative chronicles!
Love pottery and working with clay?
Check out some of our other ceramic articles: