Are you ready to turn your crayon box into a canvas of cascading hues?
Melted crayon art is not just a craft; it's an adventure in color and creativity that brings out the artist in everyone.
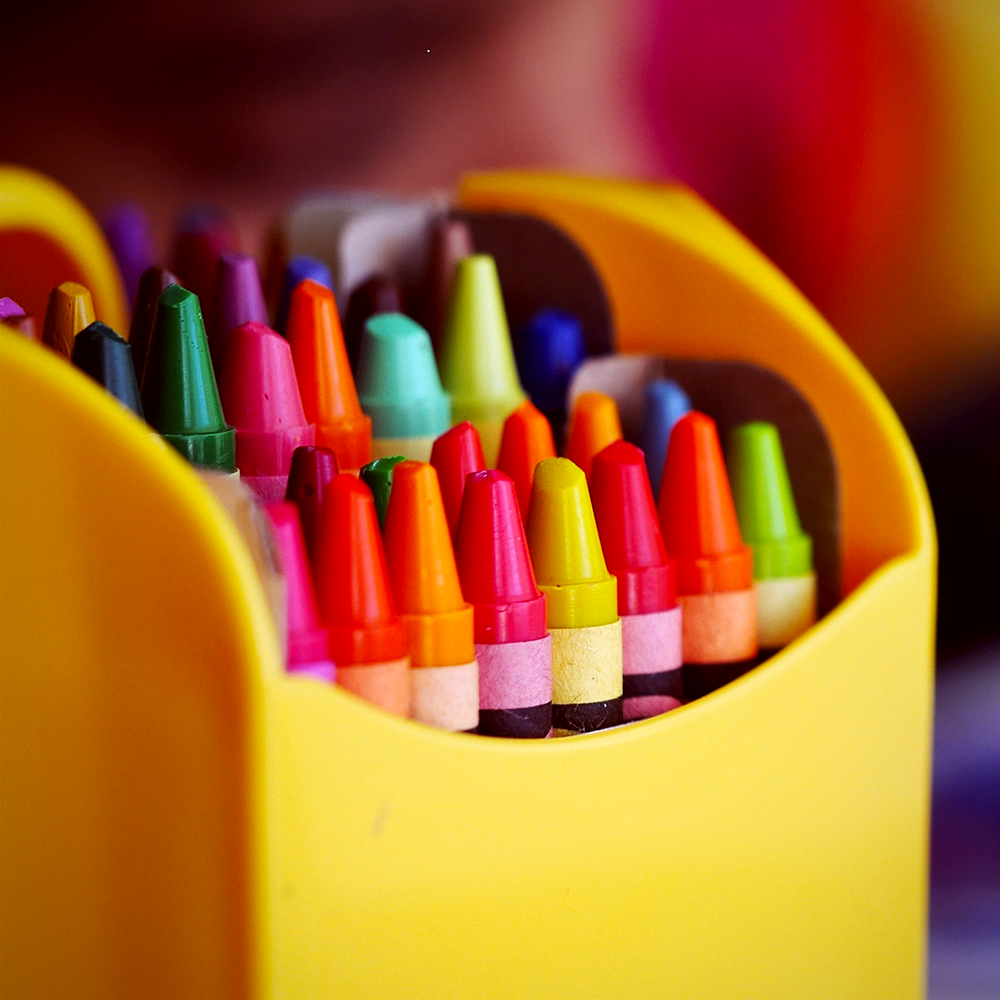
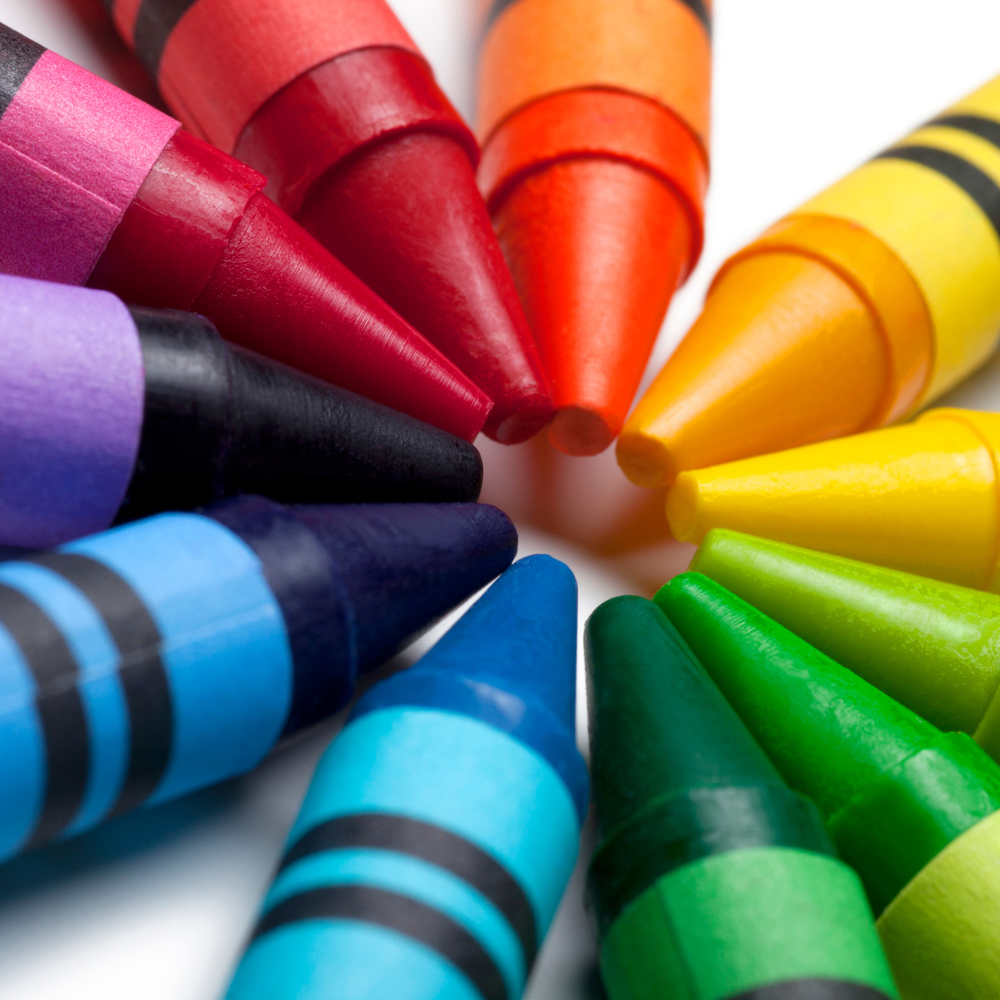
Creating art with melted crayons is a colorful and enjoyable way to repurpose old Crayola crayons and transform them into vibrant masterpieces.
This guide is your ticket to mastering the mesmerizing technique of dripping crayons, turning ordinary wax sticks into extraordinary works of art.
Whether you're looking to upcycle those old crayons or simply want to add a splash of color to your walls, we'll guide you through each sizzling, melting step.
So, grab your crayons, and let's get ready to drip our way to vibrant, eye-catching creations that will leave everyone in awe!
Key Takeaways:
- Learn the step-by-step process of creating DIY melted crayon art.
- Discover the necessary materials and safety tips for melting crayons.
- Explore creative variations and techniques for personalized crayon drip projects.

Preparing Your Workspace and Materials
Before you begin your crayon project, it's essential to prepare your workspace and gather all the necessary materials.
You'll need a canvas or a sturdy piece of cardboard as your surface, a selection of crayons (broken crayons are perfect for this), a hot glue gun or strong adhesive, and a heat tool such as a hair dryer or heat gun.
Cover your work area with wax paper or parchment paper to protect it from wax splatters, and keep paper towels handy for any spills.
Safety First: Melting Crayons with Care
When melting crayons, safety should be your top priority.
Ensure adult supervision if kids are involved in the craft.
Always use a heat tool on a low setting to start, and never touch the melted wax as it can cause burns.
Keep a stick or another tool nearby to manipulate the wax if needed, and avoid using high heat which can cause the wax to splatter or smoke.
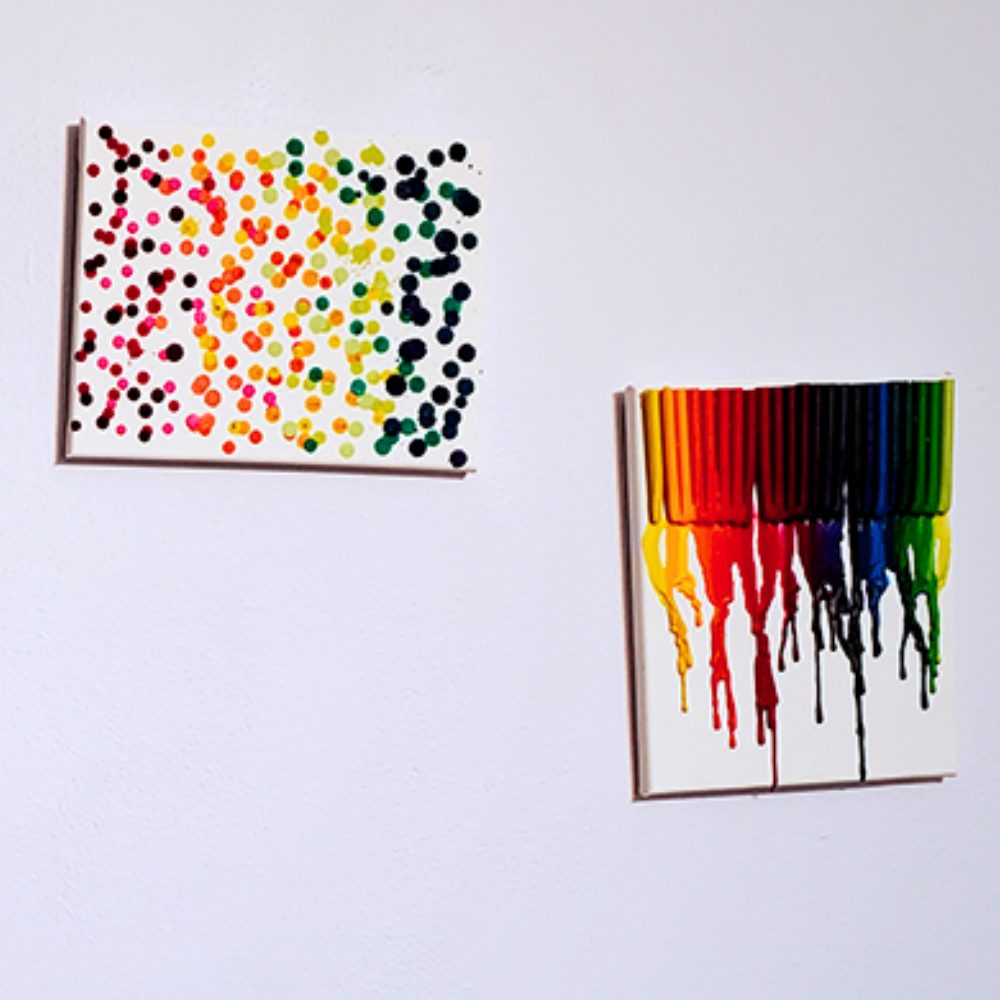
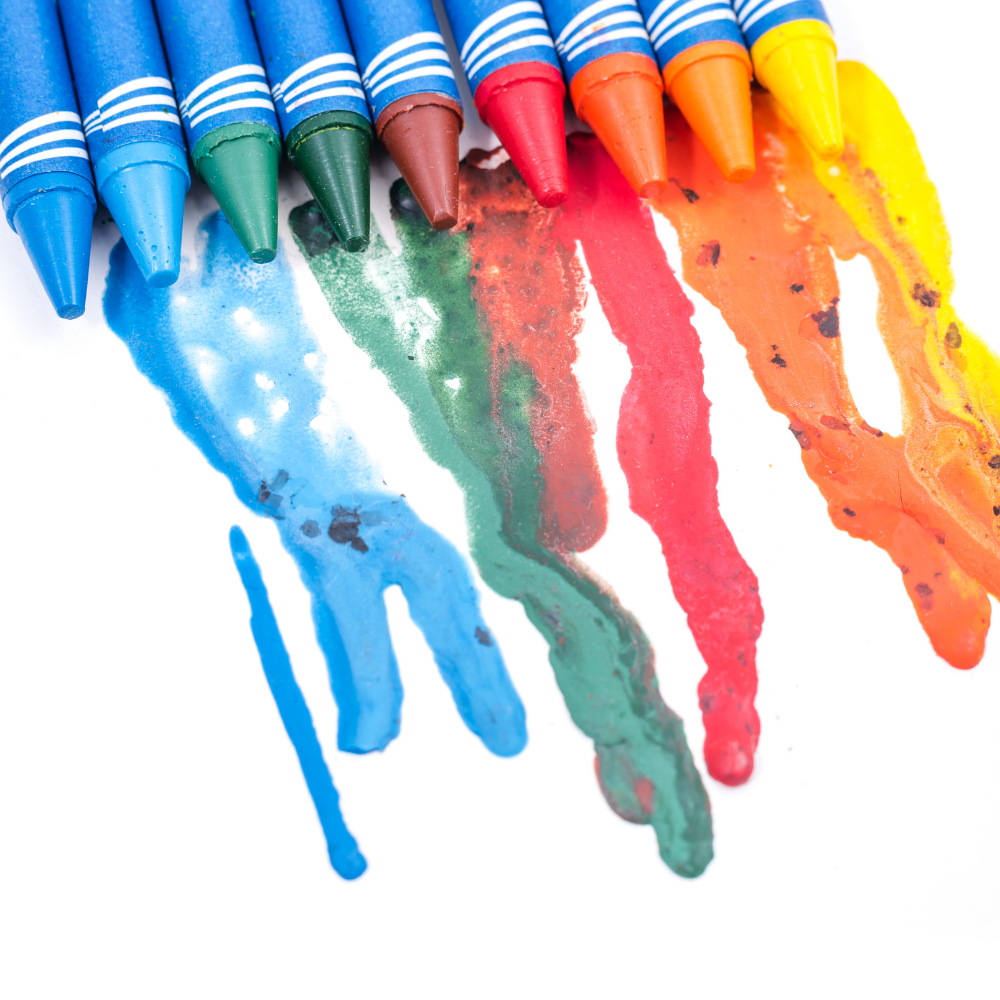
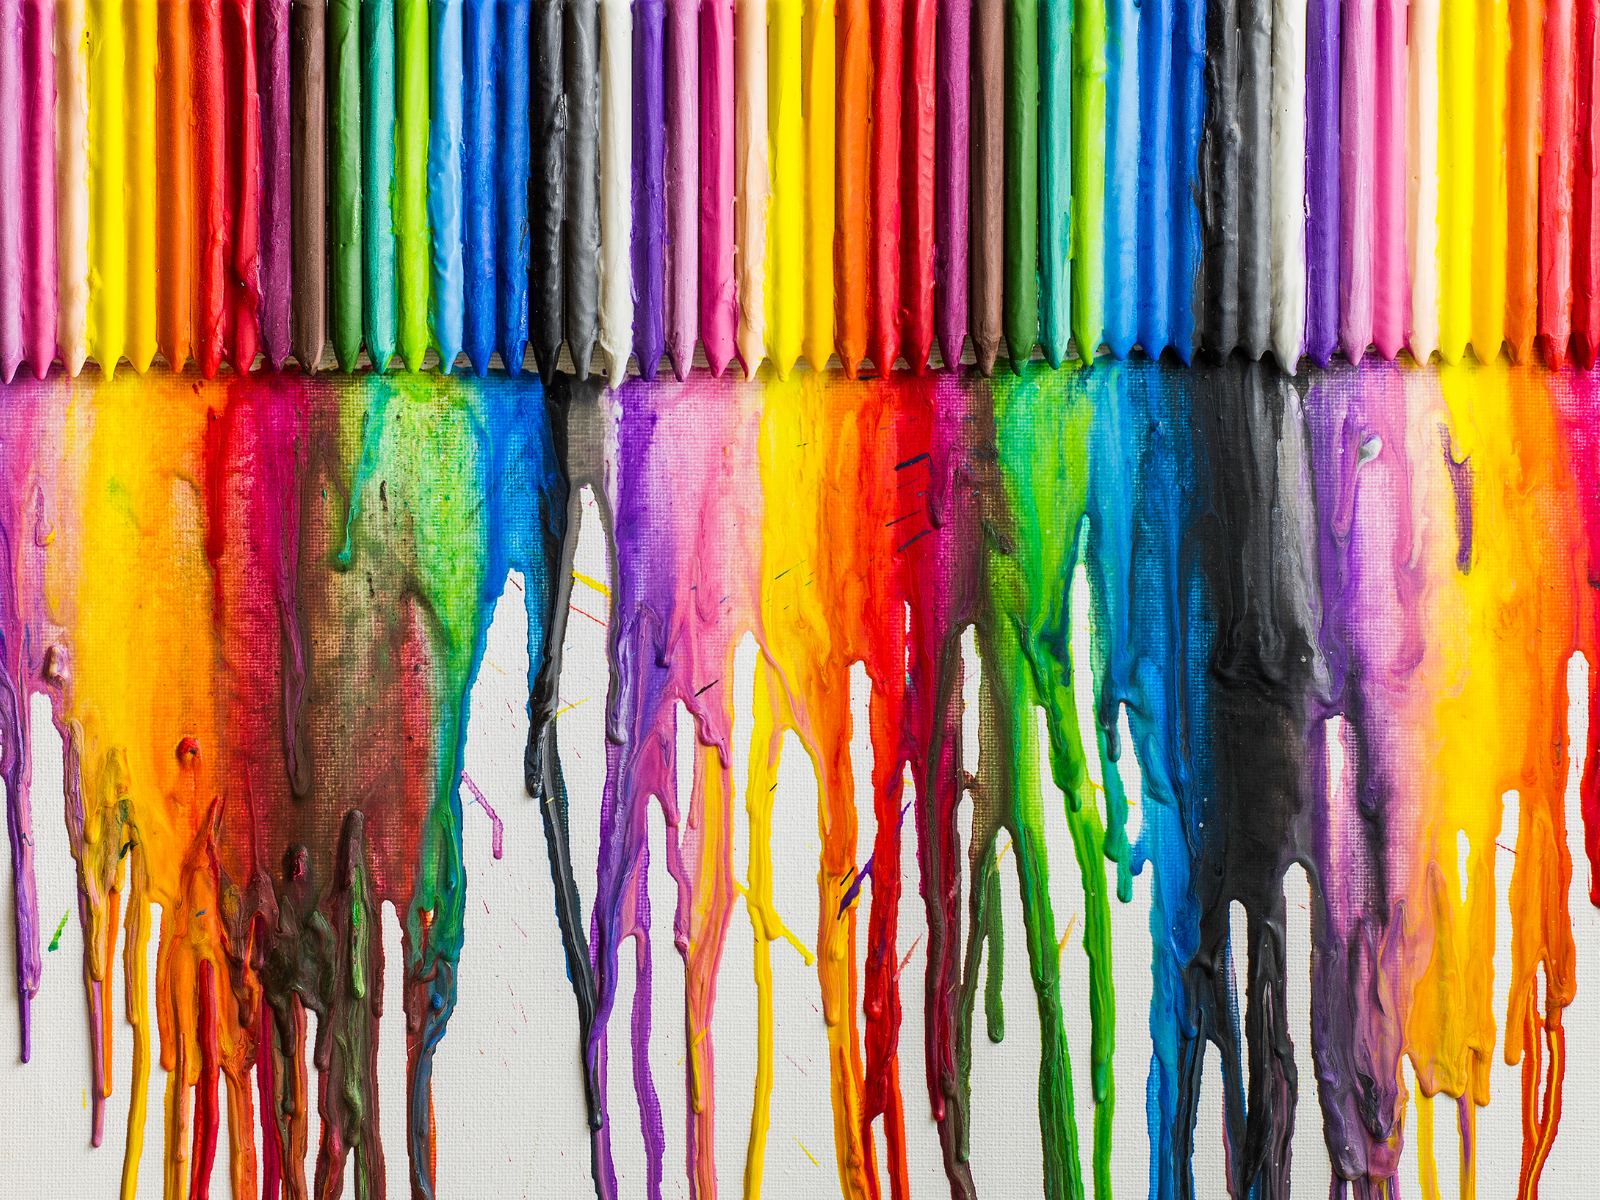
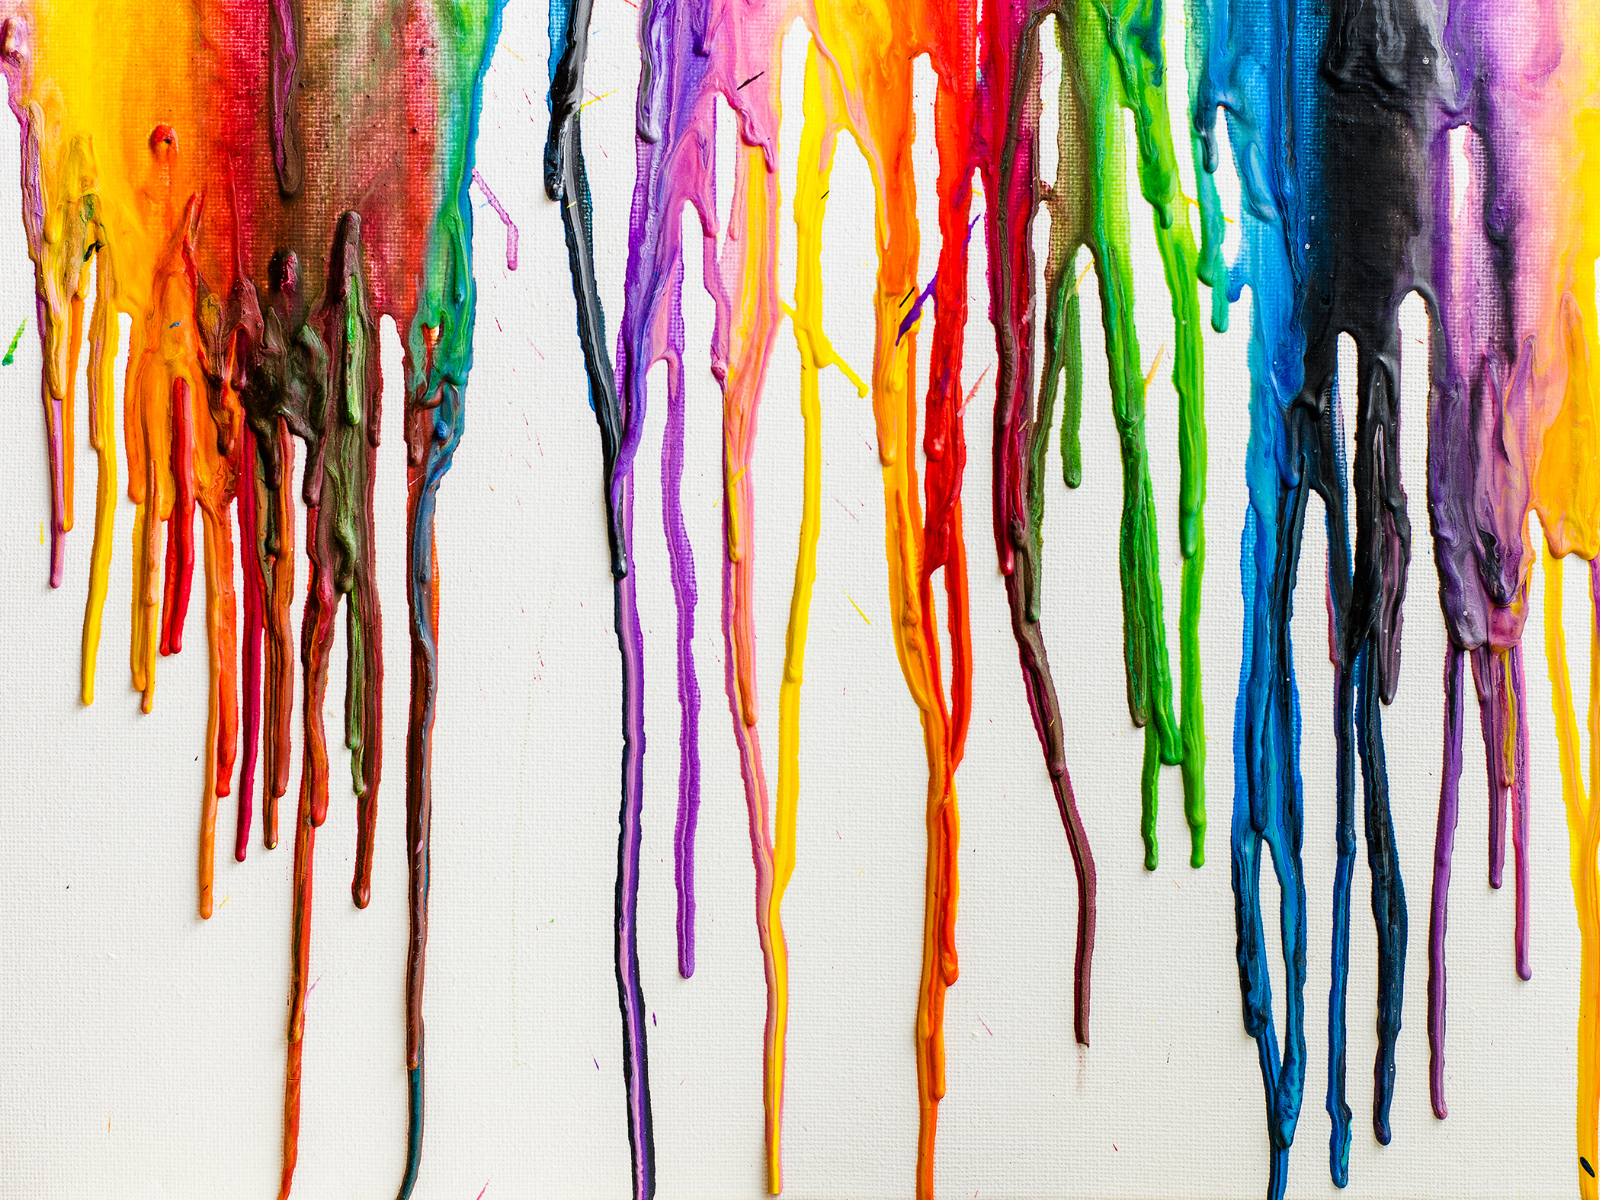
Melting Process: How to Heat Crayons Correctly
To melt crayons, you can use a hair dryer, heat gun, or even an oven.
If using a hair dryer or heat gun, start by gluing the crayons to the top edge of your canvas in your desired order, often rainbow order is a popular choice.
Then, tilt the canvas and apply hot air, moving the tool back and forth until the crayons begin to melt and drip down the canvas.
The key is to heat the crayons evenly to create a smooth drip effect.

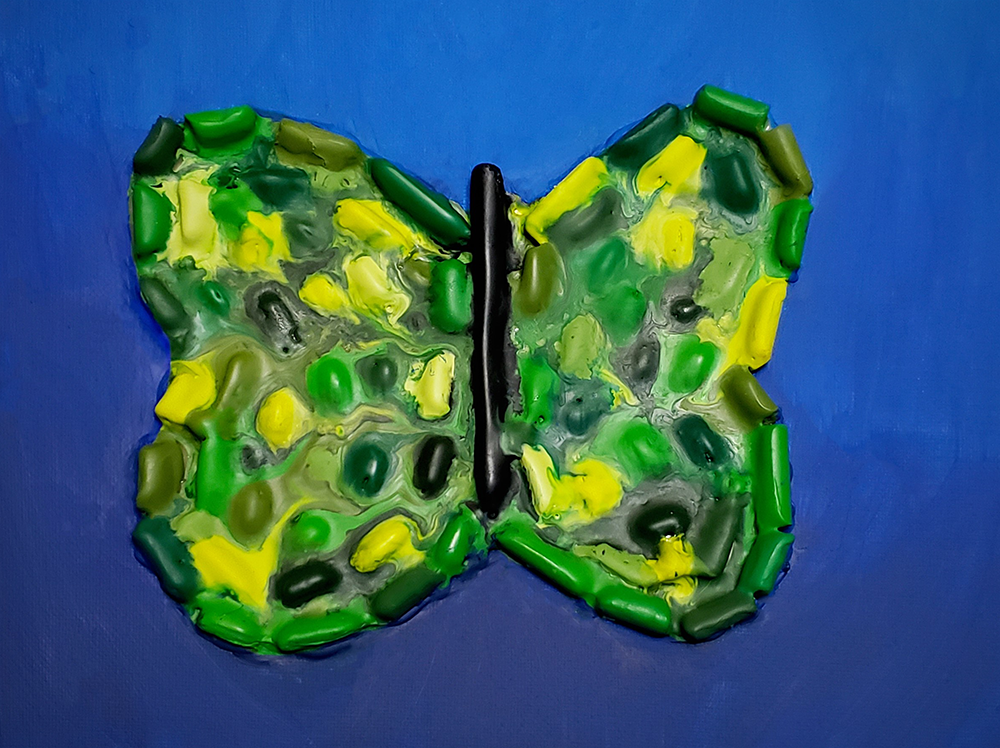
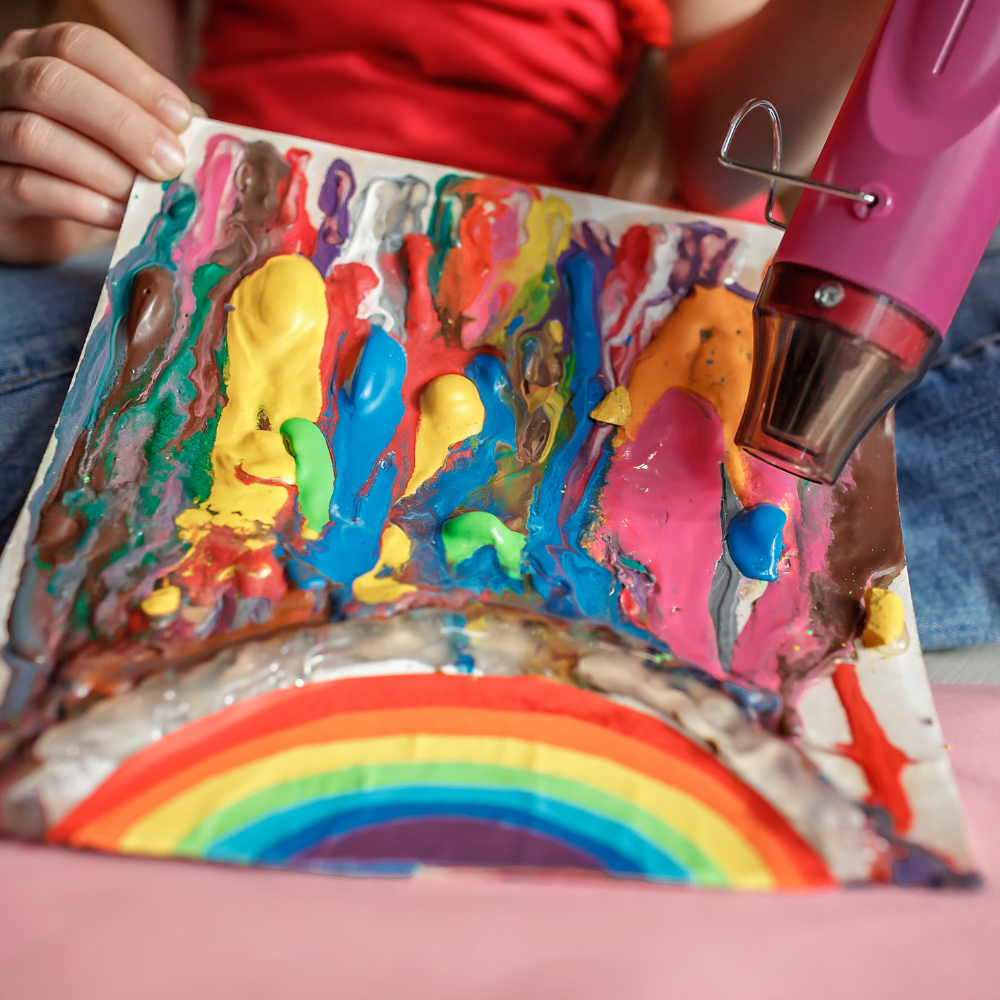
Creating Textures and Patterns
Once you've mastered the basic drip, you can experiment with different textures and patterns.
Use a blow dryer to manipulate the direction of the melted crayon wax, creating waves or splatter effects.
You can also sprinkle crayon shavings onto the canvas and heat them for a textured look.
Personal preference plays a big role in this step, as each artist will have their own idea of what texture or pattern they want to achieve.
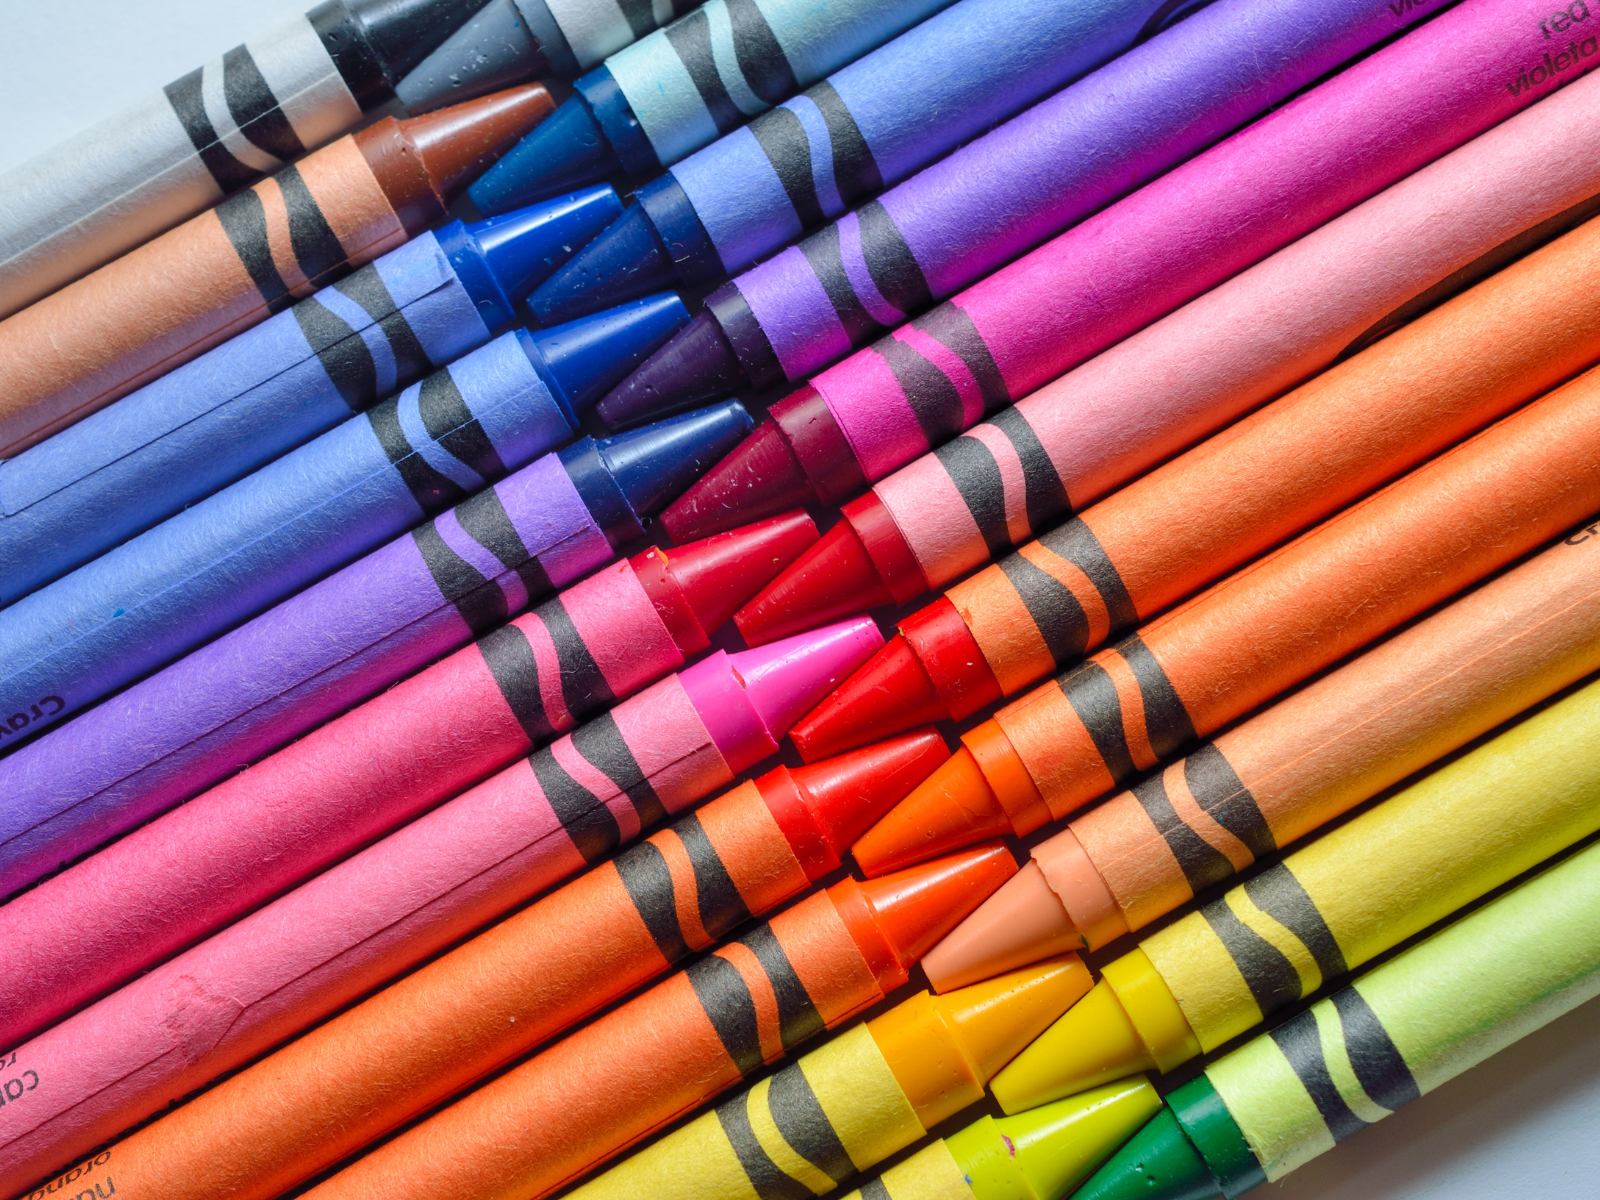
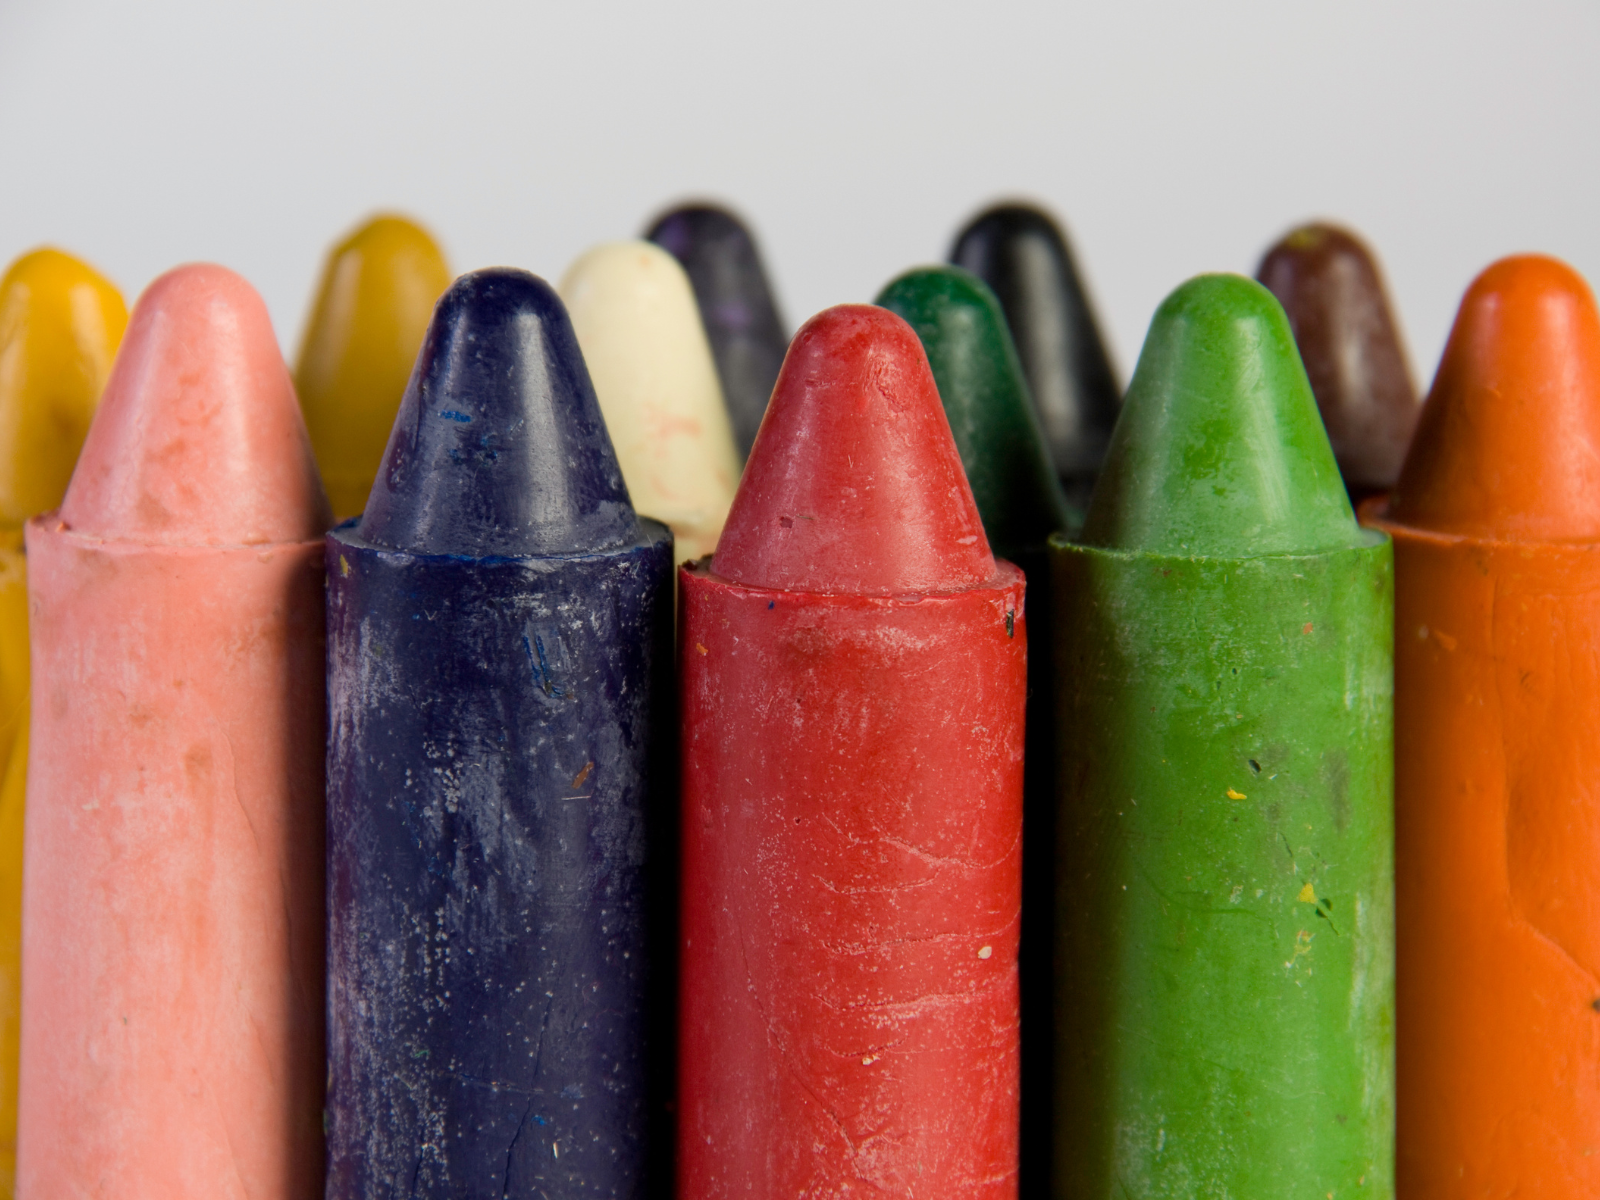
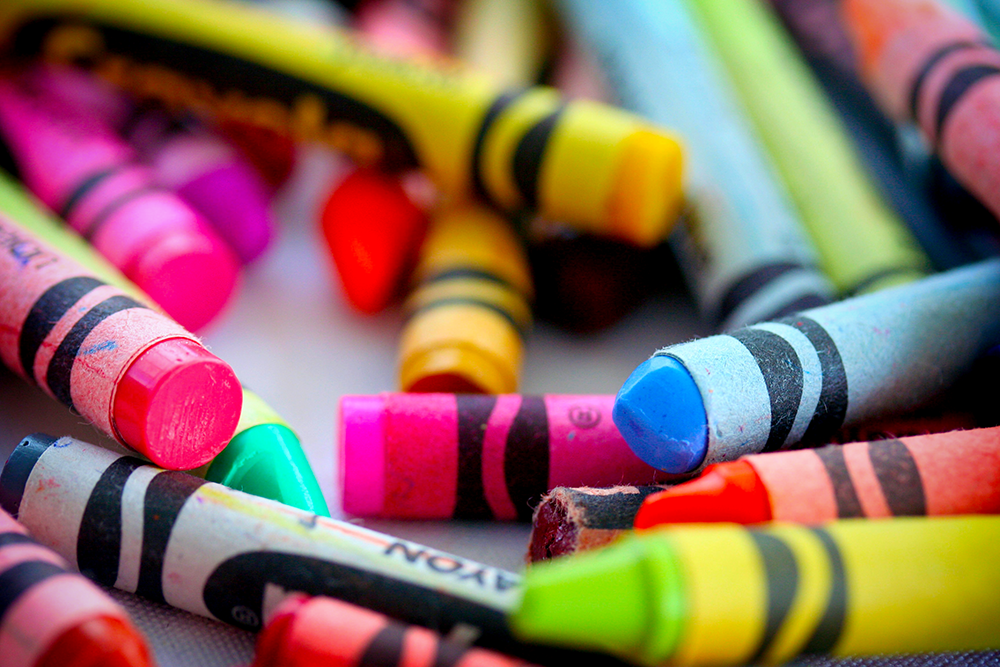
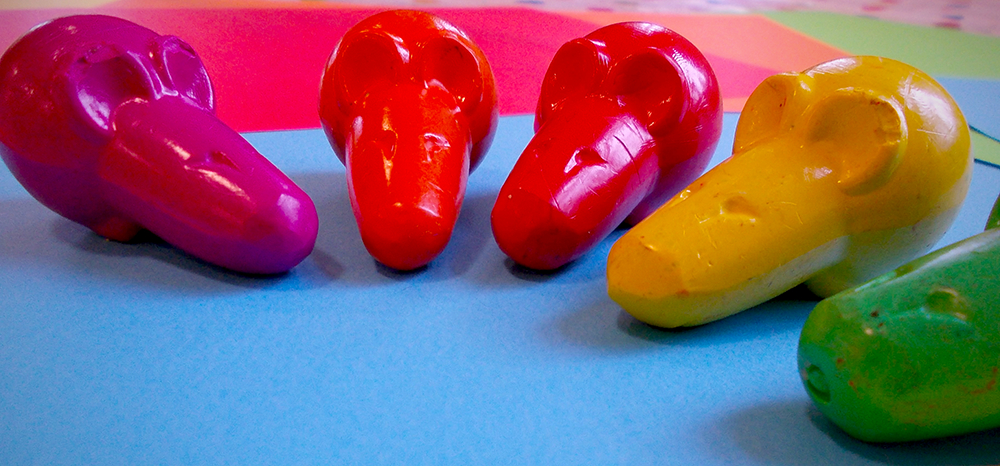
Choosing the Right Crayons for Your Project
When embarking on a melted crayon art project, selecting the right crayons is crucial.
Not all crayons are created equal; some may melt unevenly or produce lackluster colors.
For best results, opt for high-quality crayons that are known for their rich pigmentation and smooth melting properties.
A pro tip is to test a few crayons on a scrap piece of paper to see how they perform when heated.
This preliminary step can save you from disappointment and ensure your final artwork is vibrant and evenly textured.
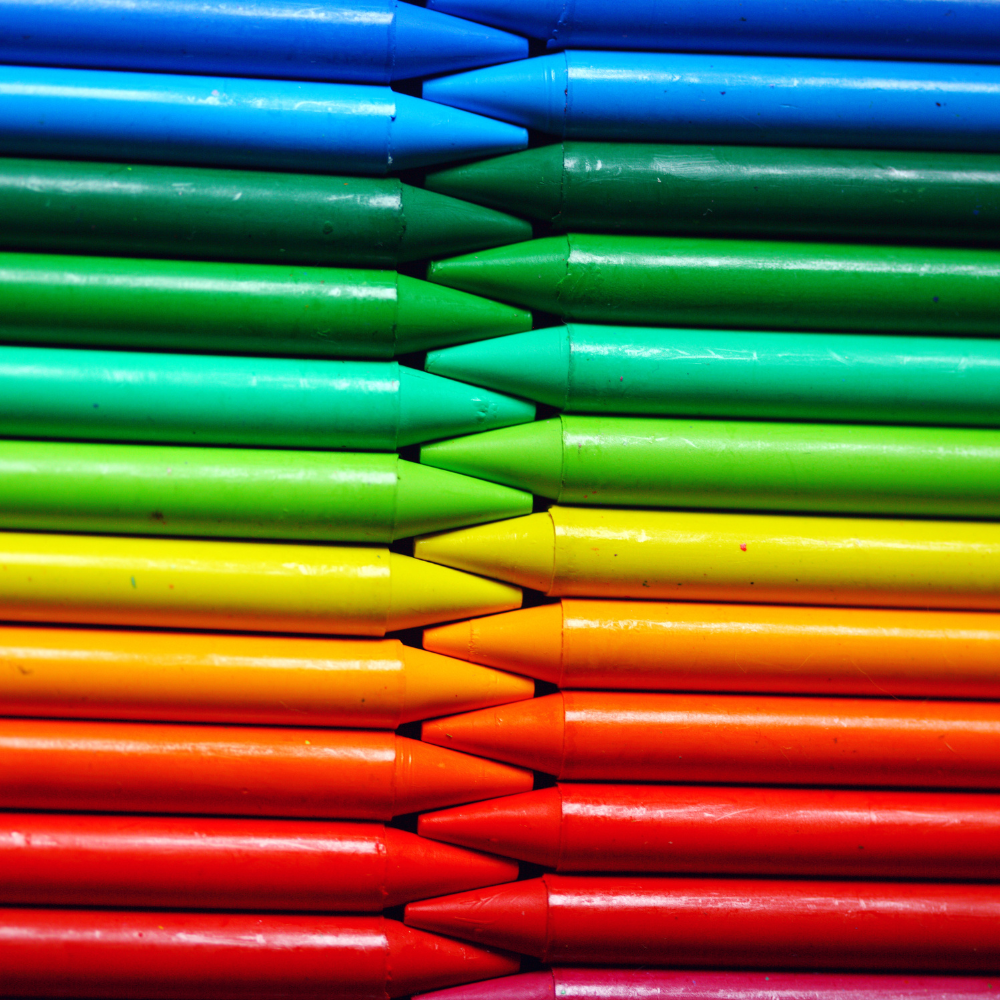
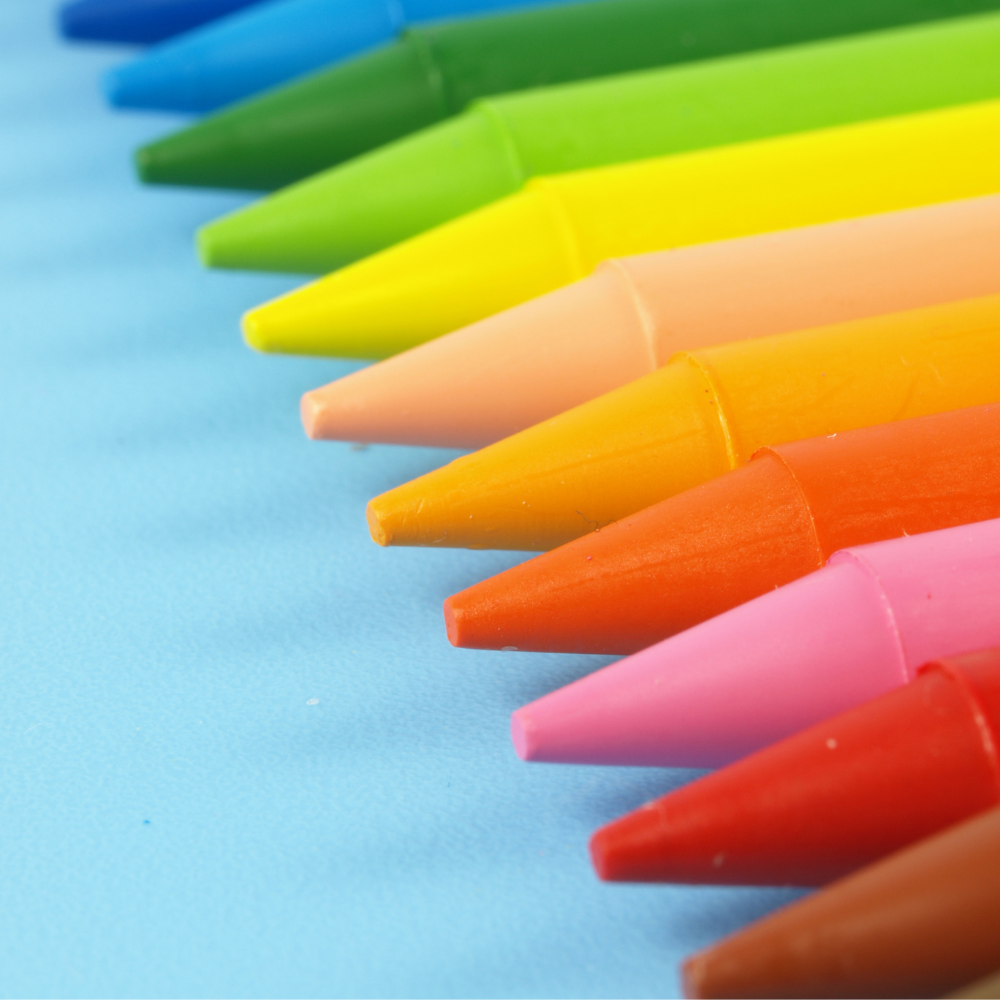
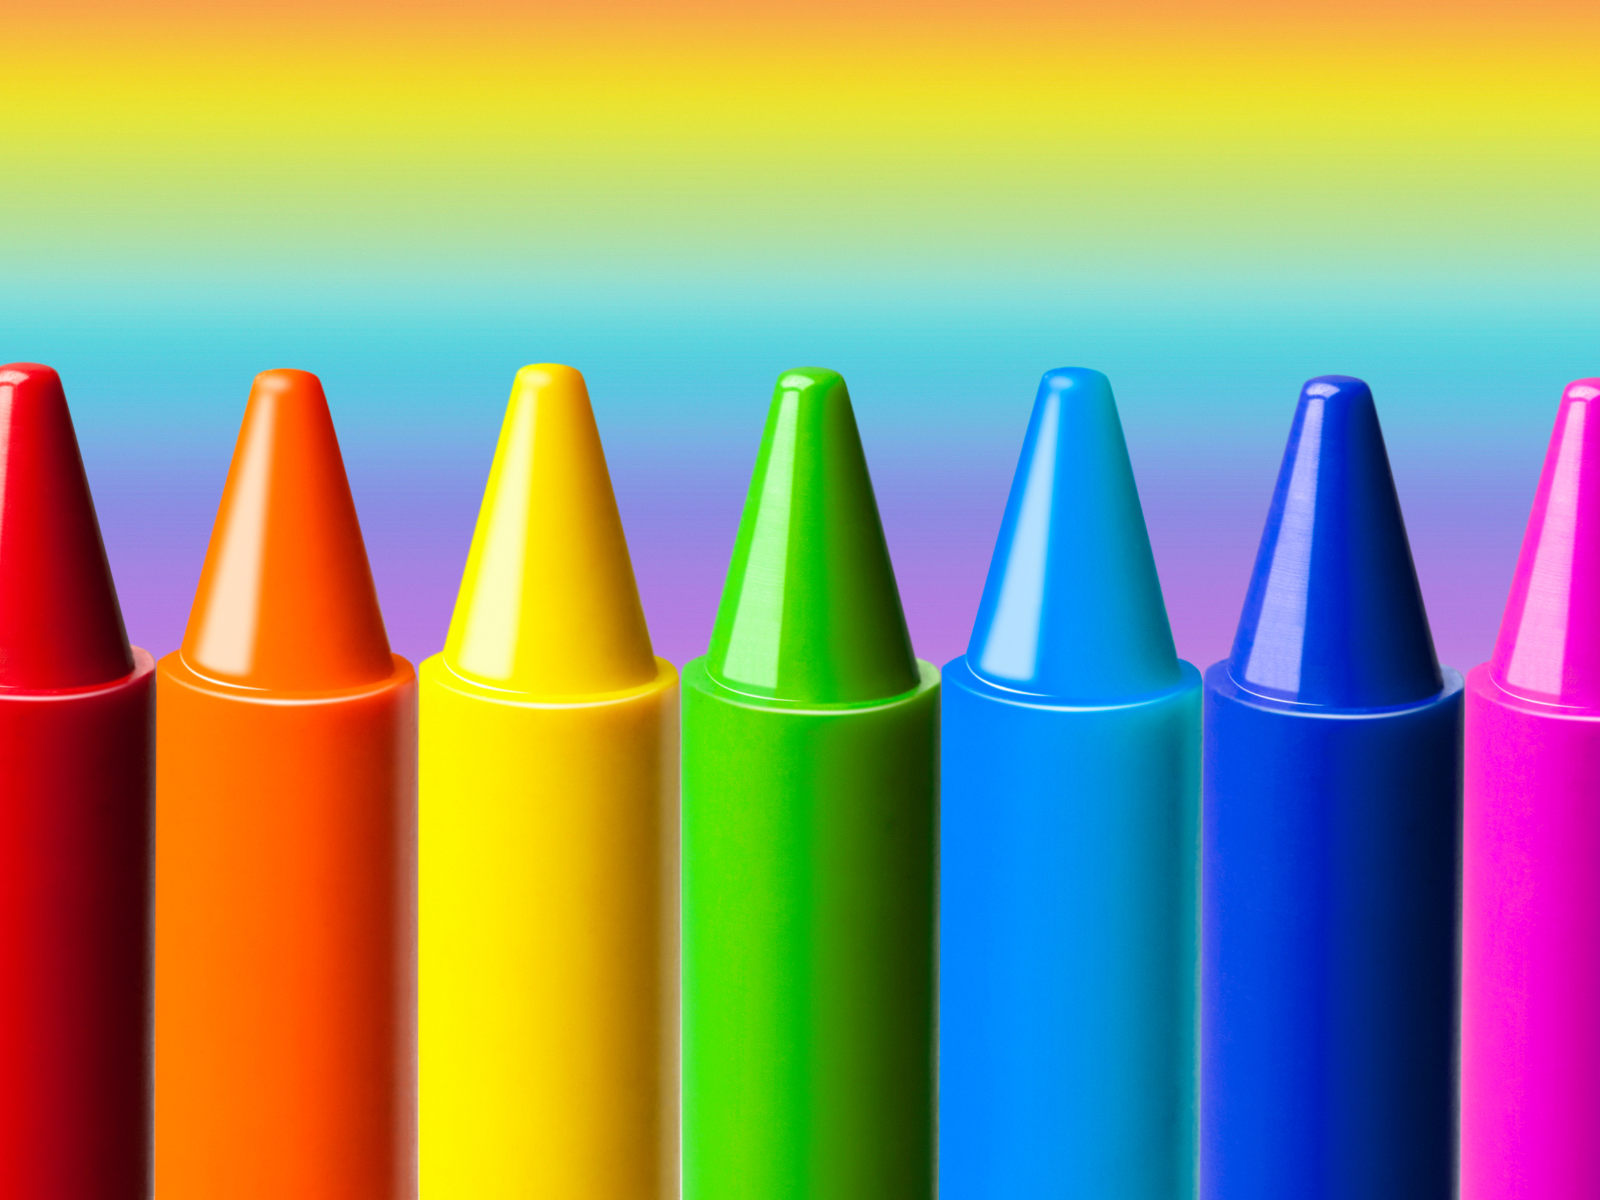
Moreover, consider the color scheme of your project.
If you're aiming for a gradient effect, choose crayons that transition well from one shade to the next.
For a more dynamic piece, contrasting colors can make your image pop.
Remember to peel off the paper wrappers, as they can interfere with the melting process.
If you're working on a large-scale piece, you might want to cut your crayons in half to ensure you have enough of each color to complete your design.
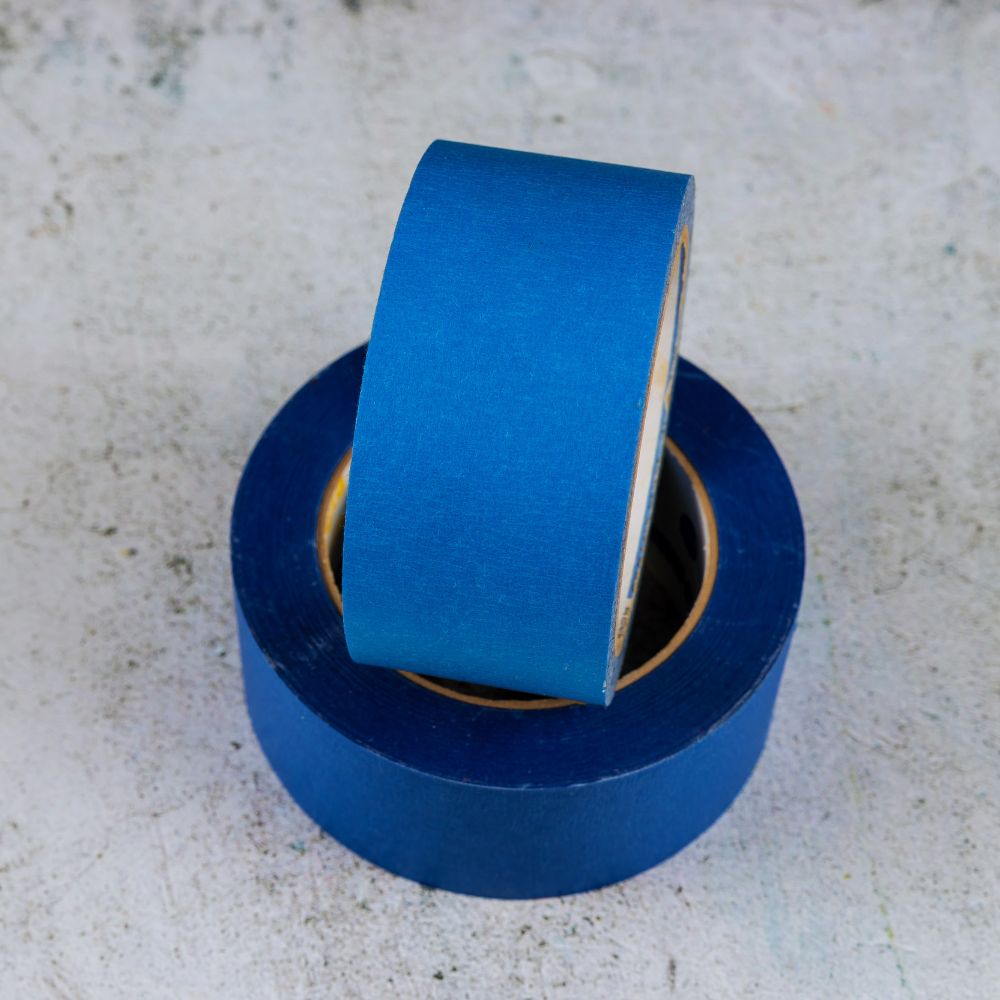
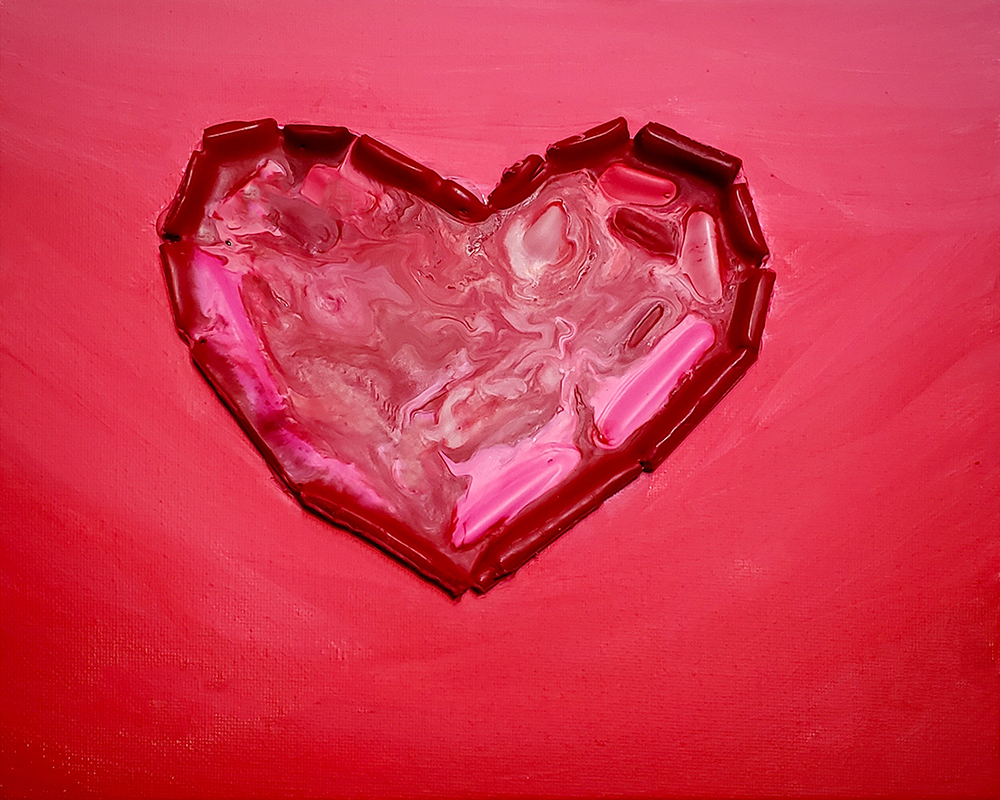
Mastering the Drip Technique with Painter's Tape
The drip technique is a popular method in melted crayon art, creating an effect that resembles rain streaking down a window.
To achieve this, you'll need to use painter's tape to your advantage.
Begin by deciding where you want the drips to appear on your canvas.
Then, apply the painter's tape in a straight line across the area where you want the drips to start.
This line acts as a barrier, ensuring that the melted wax only flows where you intend it to, creating a clean, sharp edge that enhances the overall look of your craft.
When applying the tape, make sure it adheres well to the canvas to prevent any wax from seeping underneath.
However, be cautious not to press too hard, as this could make the tape difficult to remove later and potentially damage your artwork.
Once your crayons are melted and dripped to your satisfaction, gently peel off the tape while the wax is still a bit warm but not completely liquid.
This timing is crucial; removing the tape the wrong way could disrupt the crisp lines you've worked so hard to achieve.
Incorporating Additional Elements
For those looking to add an extra dimension to their artwork, consider incorporating additional elements into your melted crayon art.
This can include using a pencil sharpener to create fine crayon shavings that can be melted into intricate designs, or layering pieces of wax paper to add depth.
You can also use painter's tape to create sharp lines or geometric shapes within your piece.
Finishing Touches: Ensuring Artwork is Set
After you've finished melting and shaping your crayon wax, it's crucial to let your artwork completely set.
Allow the wax to cool and harden before moving your canvas.
This can take several hours, depending on the amount of wax and the temperature of the room.
Once set, you can remove any tape or additional coverings and prepare to display your new piece of art.
Displaying Your Melted Crayon Art
When your crayon drip art is completely set, it's time to think about how you want to display it.
If you've used a canvas, you can simply hang it on a wall as you would with any other painting.
For artwork created on cardboard or another surface, you may need to frame it or attach a hanging mechanism.
The bright colors and unique textures of melted crayon art make it a conversation piece in any room.
Cleaning Up: Tips for a Tidy Workspace
After the fun of creating your crayon art, cleaning up is the next step.
While the wax is still slightly warm (but not hot), use a plastic scraper or credit card to remove any large drips from your workspace.
Any remaining residue can be wiped away with a paper towel.
Remember to properly dispose of any used materials and to clean your heat tool according to the manufacturer's instructions.
Creating Colorful Melted Crayon Masterpieces!
Melted crayon art is a versatile and accessible craft that allows for endless creativity.
It's clear that this whimsical craft is more than just melting wax; it's a celebration of imagination and self-expression.
You've been equipped with the know-how to breathe new life into every crayon and create art that is as unique as you are.
By following the steps outlined in this guide, from preparing your materials to applying heat correctly, you can create stunning artwork that showcases your personal style.
Safety, creativity, and fun have been our trusty companions, guiding each stroke of molten color.
Remember to prioritize safety, experiment with different techniques, and have so much fun in the process.
Now, as your final piece sets and takes its rightful place as a centerpiece of your creative collection, take a moment to appreciate the masterpiece you've created.
It's a testament to your artistic spirit and a burst of inspiration for all who lay eyes on it.
Remember, the world is your canvas, and your crayons are the paint.
What colorful adventure will you embark on next?
Crayon FAQs
Diving into the world of crayon art can be as colorful and exciting as the masterpieces you're aiming to create.
But, as with any artistic endeavor, there are always those little questions that pop up along the way, the ones that can make the difference between a vibrant work of art and a sticky mess.
Fear not, creative souls! We've gathered some of the most common head-scratchers and provided clear, concise answers to help keep your creative flow as smooth as your crayons.
Whether you're a seasoned crayon aficionado or just starting to explore the waxy wonders of these childhood staples, these FAQs are your trusty guide to navigating the whimsical world of crayon crafting.
What is the best way to glue crayons to the canvas?
The best way to glue crayons to the canvas is by using a hot glue gun. Apply a small amount of glue to the crayon and press it onto the canvas, making sure it's securely attached. Allow the glue to dry completely before beginning the melting process.
Can I use a cheese grater to create crayon shavings?
Yes, a cheese grater is an excellent tool for creating crayon shavings. Simply grate the crayon over a piece of parchment paper to collect the shavings. Be careful as the grater can be sharp, and it's best to use adult supervision if kids are participating.
How long does it take for melted crayon wax to set?
The time it takes for melted crayon wax to set can vary depending on the thickness of the wax and the room temperature. Generally, it takes a few hours for the wax to harden completely. It's important to let the wax set undisturbed for the best results.
Interested in creating crayon art? Check out My Modern Met's video!
Want even more content about creativity and art?
Be sure to check out all of our creative chronicles!
Love crayons?
Check out some of our other articles:
-How do you make easy crayons?
-What are the two main ingredients to make a crayon?
-What crayons do professionals use?
-Who is the most famous crayon artist?