Who said crayons are just child's play?
In the hands of a creative soul, these colorful sticks of wax transcend their humble beginnings, becoming the medium for stunning, vibrant art that's taking the DIY world by storm.
Melted crayon art is not just a craft; it's a statement that is all the rage, and you're about to make yours!
This comprehensive guide is your artistic ally, walking you through the mesmerizing process of adhering wax crayons to canvas.
It's time to elevate the ordinary into the extraordinary.
Whether you're an art aficionado or a novice with a vision, this guide is your ticket to a gallery-worthy creation that's as unique as you are.
Let's melt away the mundane and craft a canvas that truly sticks out!
Key Takeaways:
- Learn the step-by-step process of creating melted crayon canvas art.
- Discover the tools and techniques for effectively sticking crayon wax to canvas.
- Explore creative variations and tips for perfecting your crayon art projects.
Preparing Your Canvas
Before you begin your melted crayon project, it's essential to prepare your canvas.
Choose a small canvas for your first project to get a feel for the technique.
Ensure the surface is clean and dry. You may want to sketch your design lightly with a pencil, especially if you plan to create shapes or specific images with the wax.
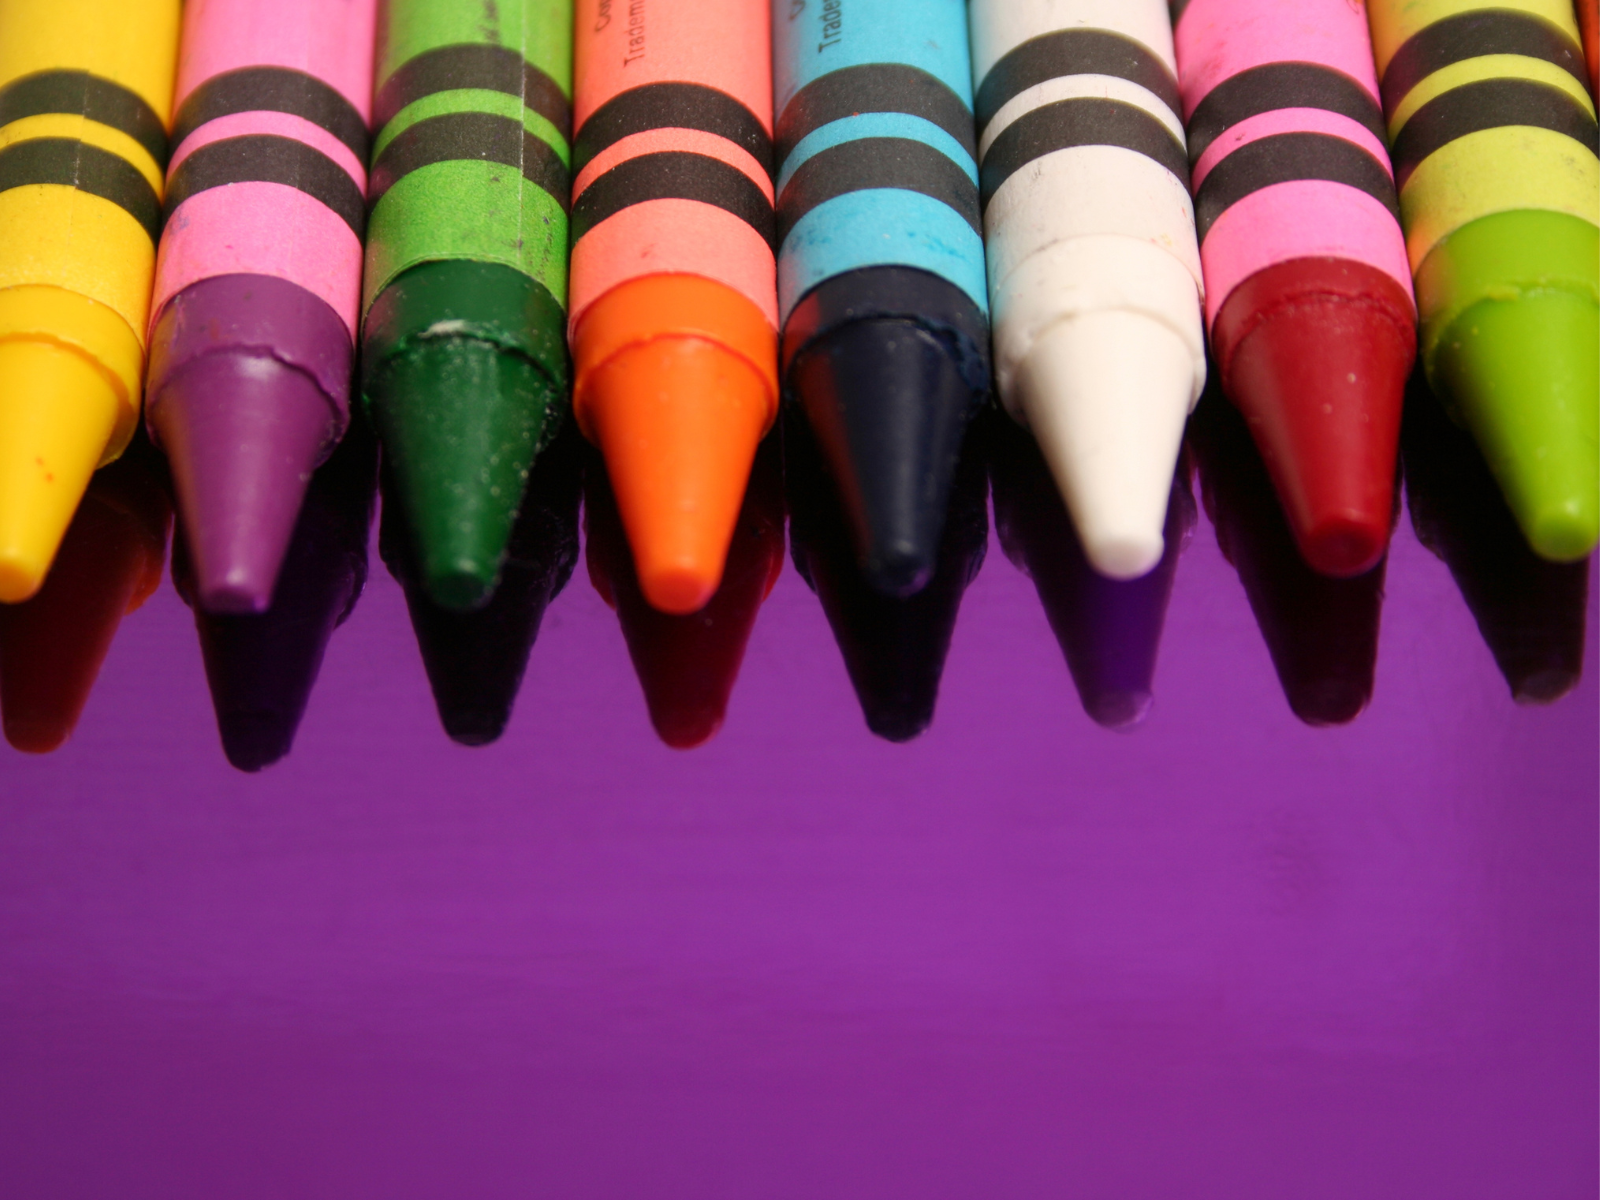
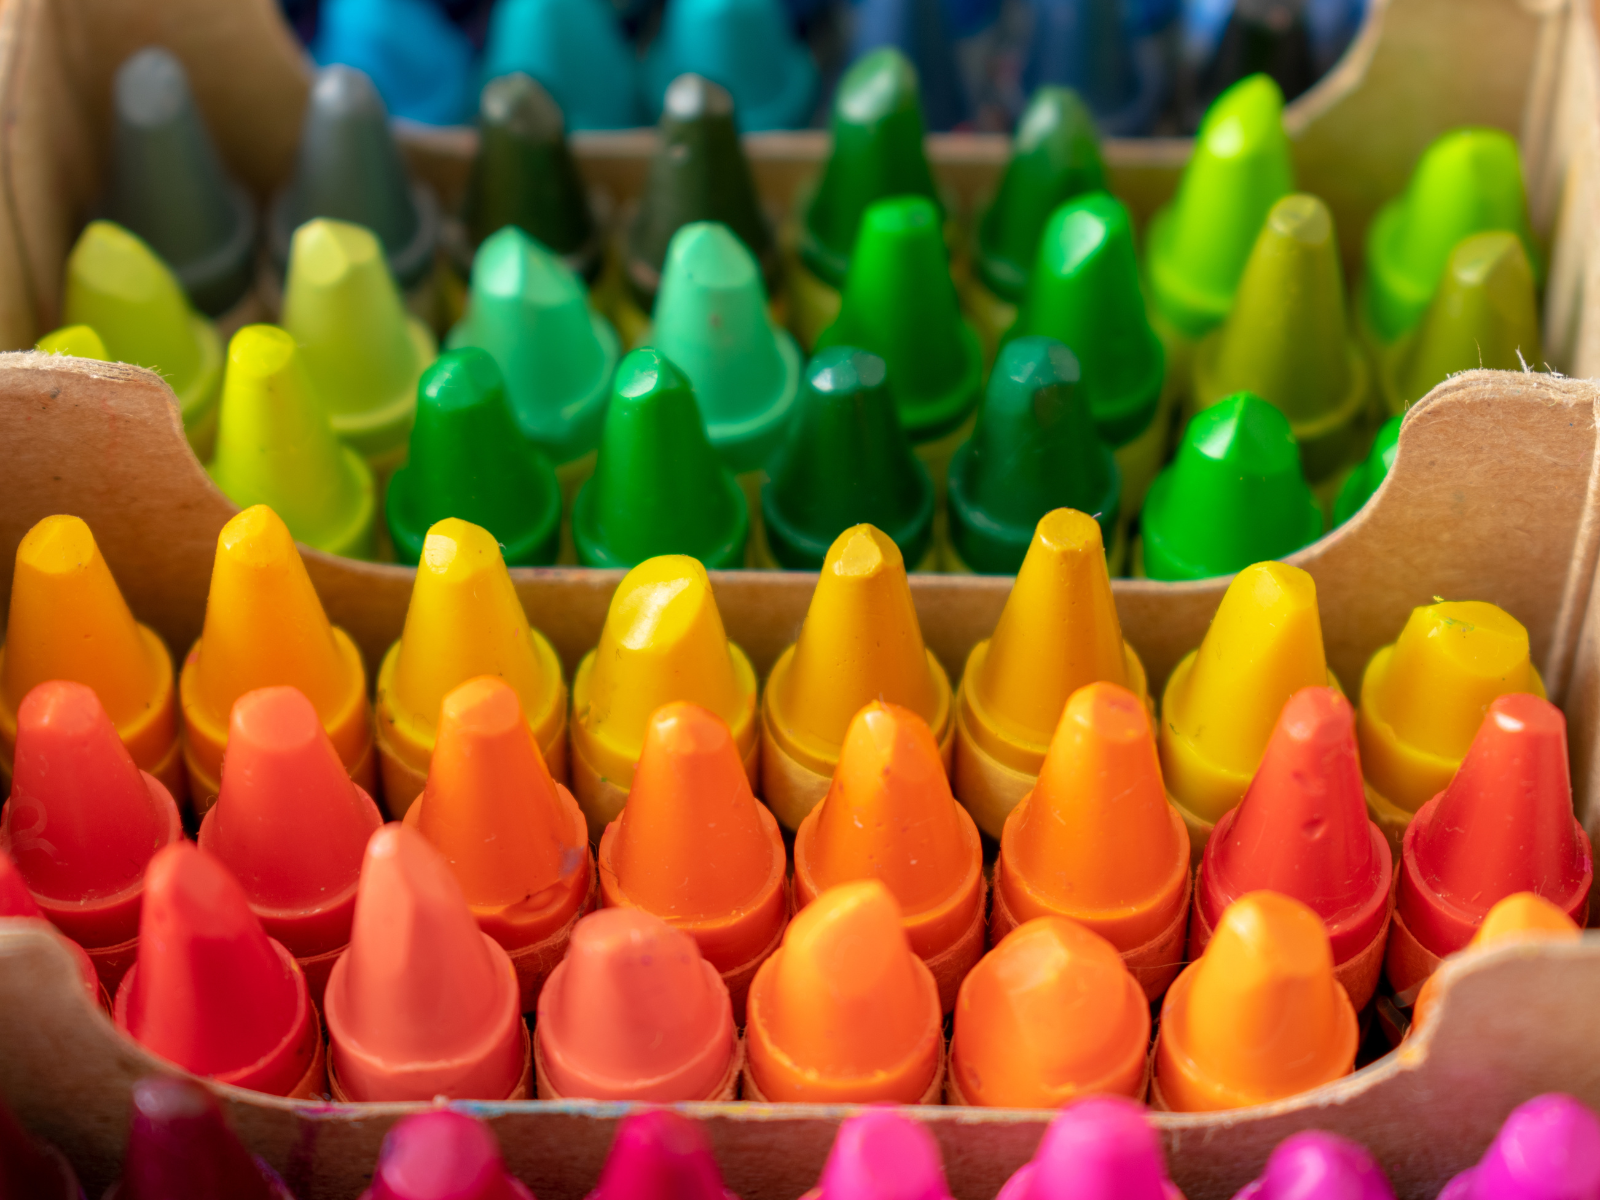
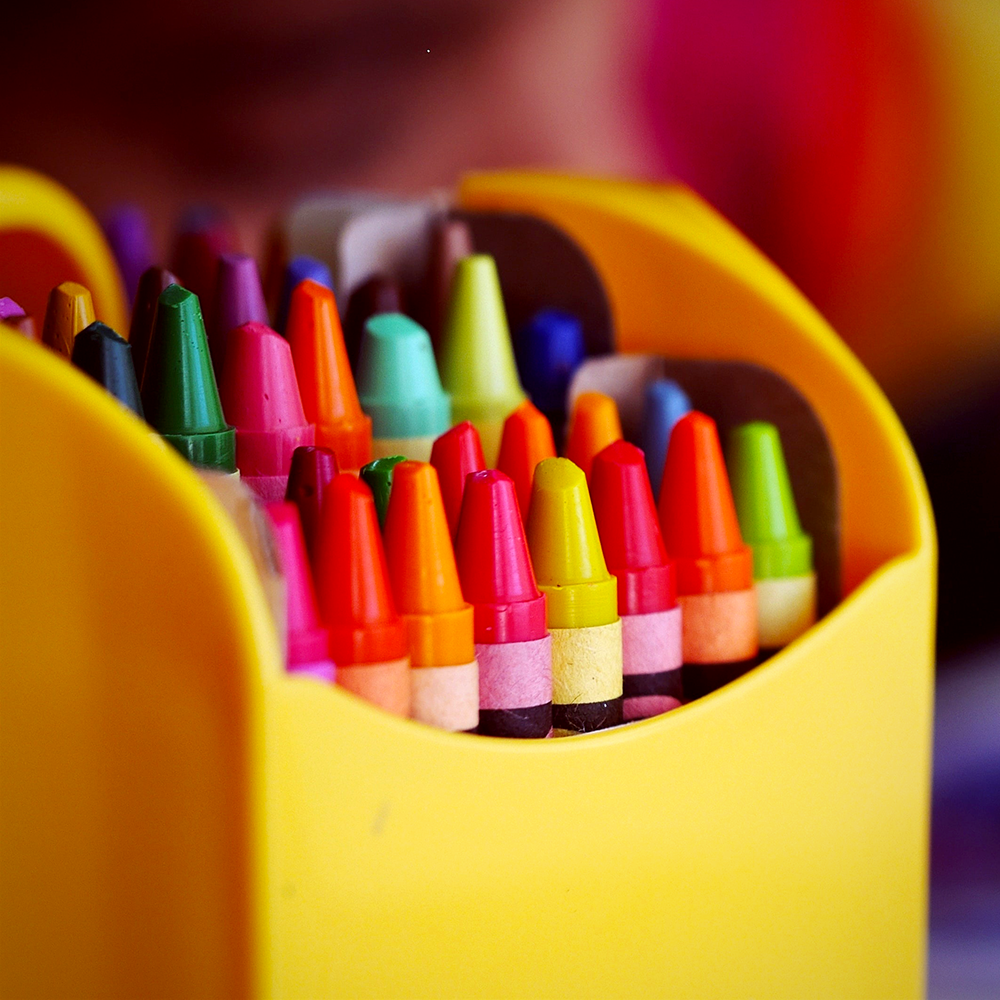
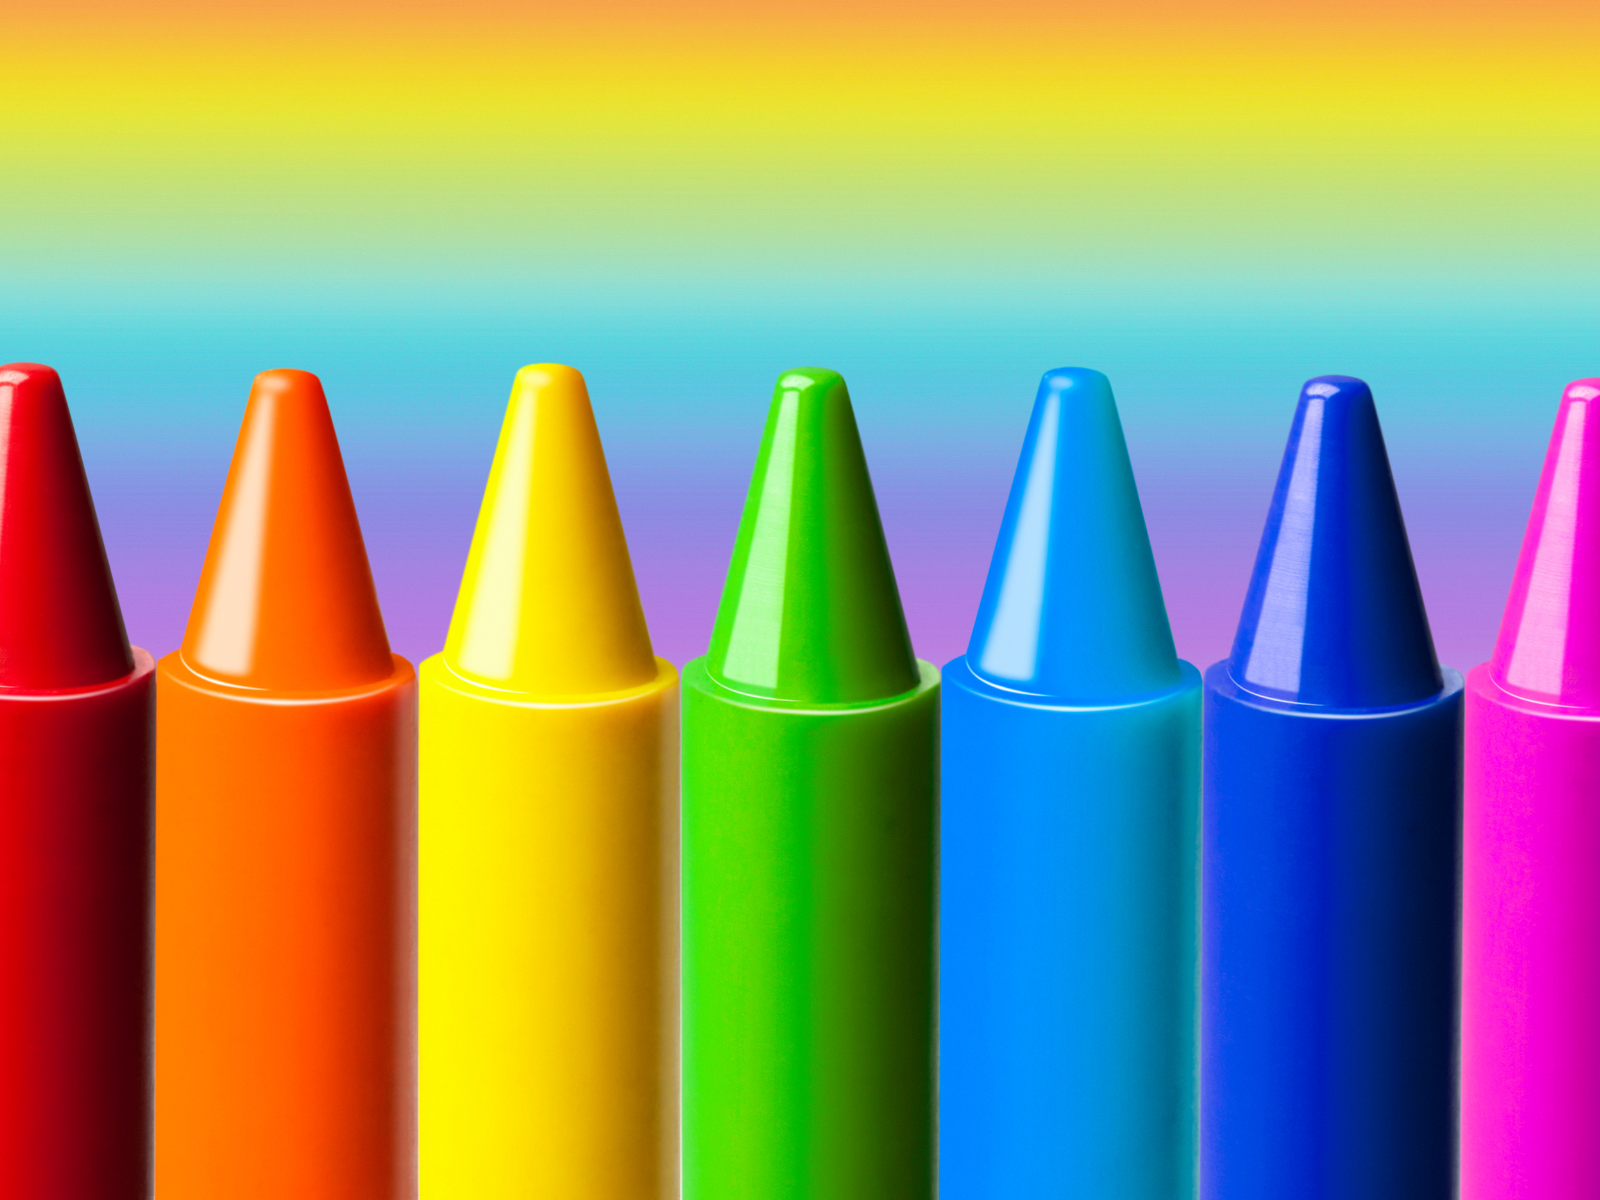
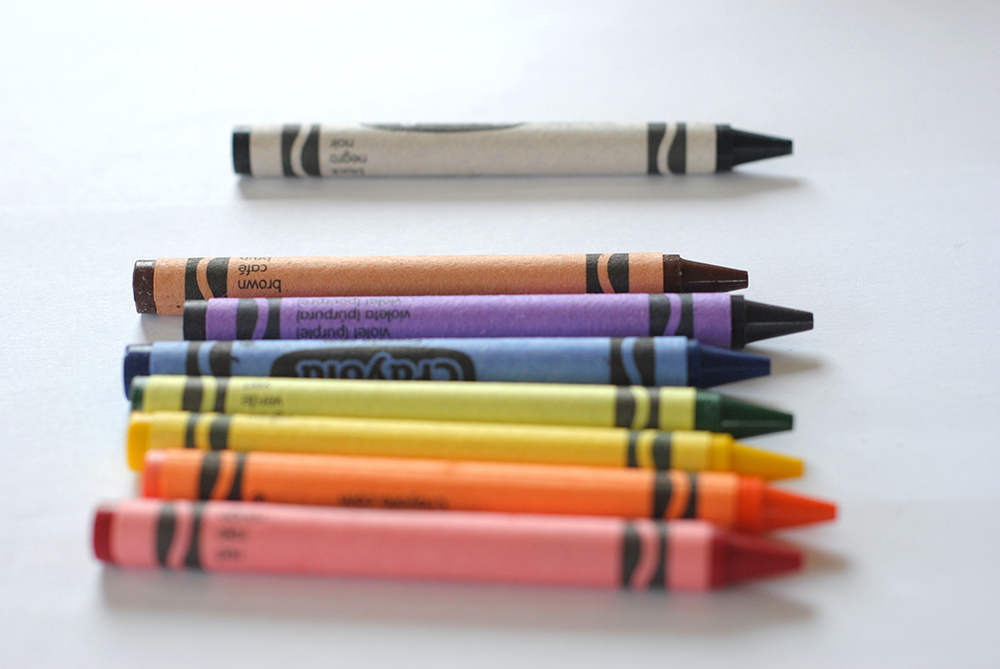
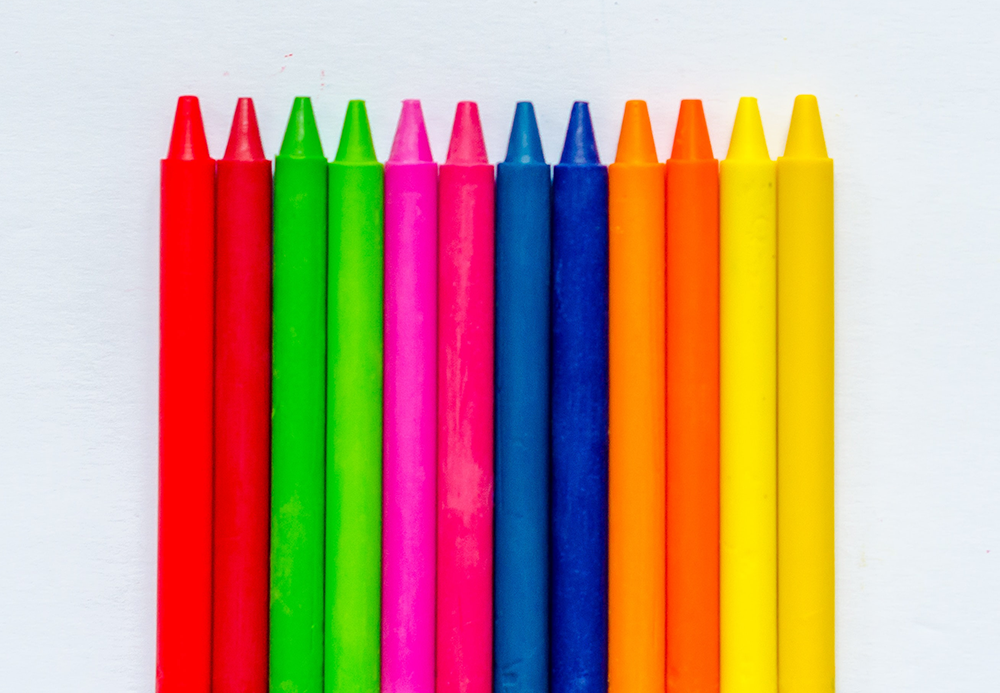
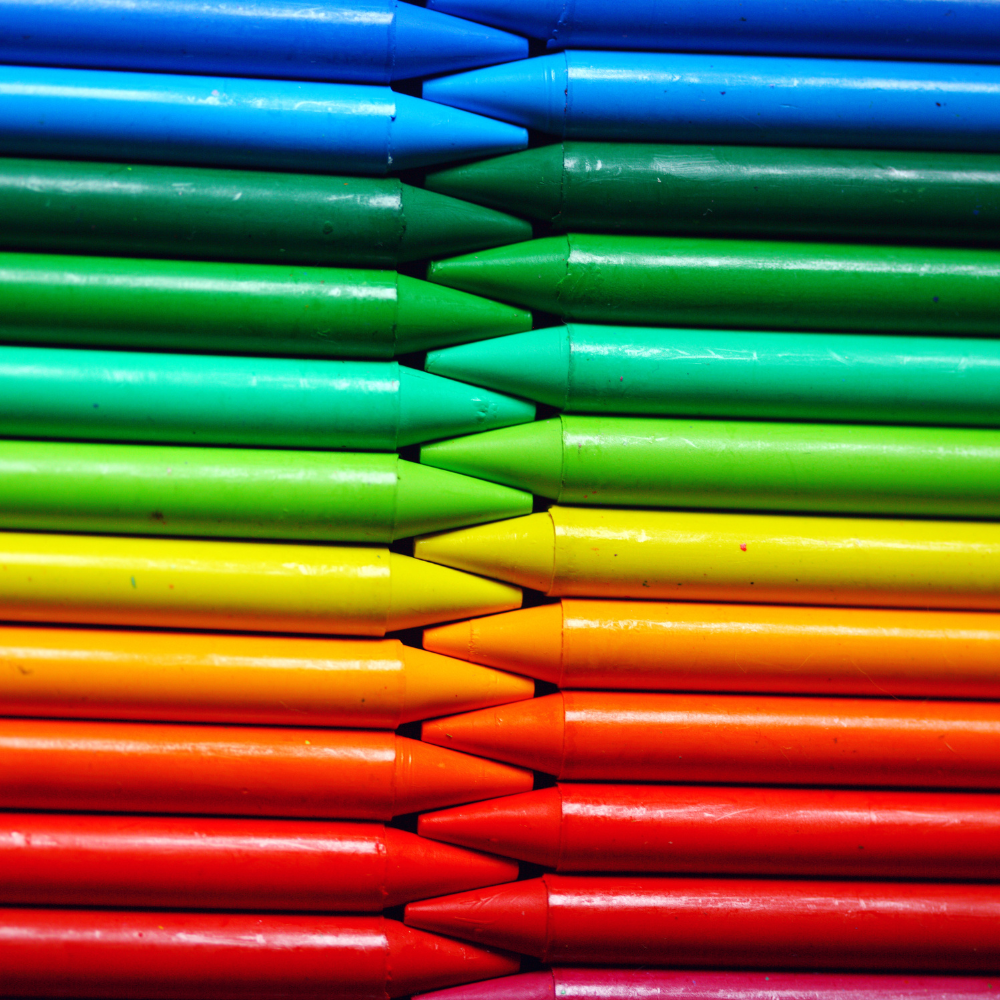
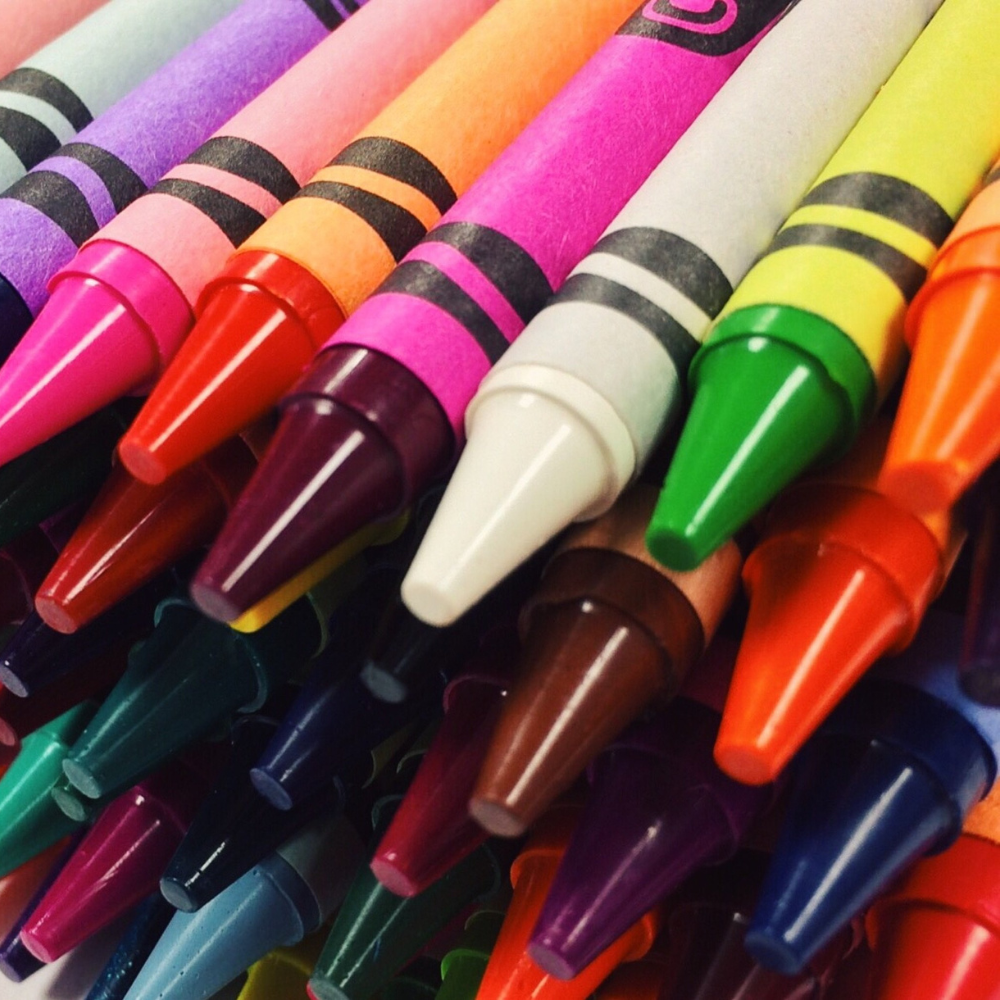
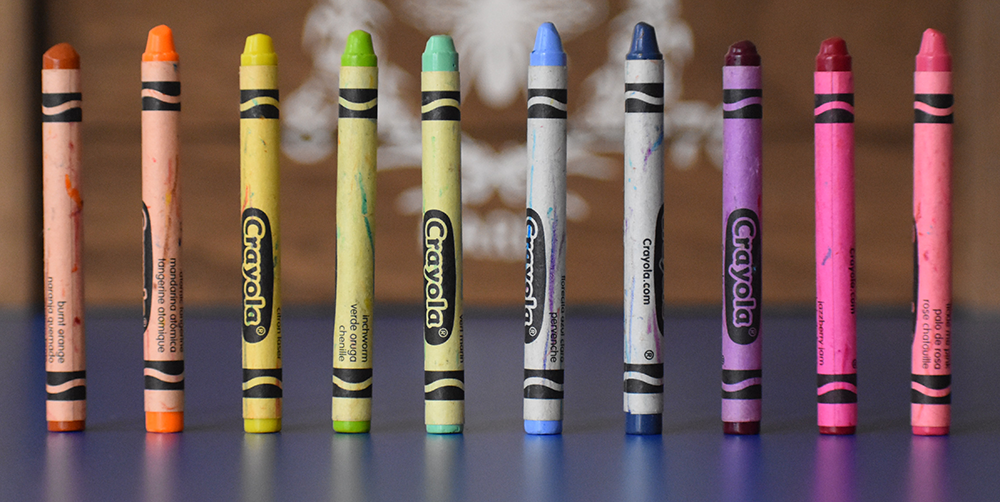
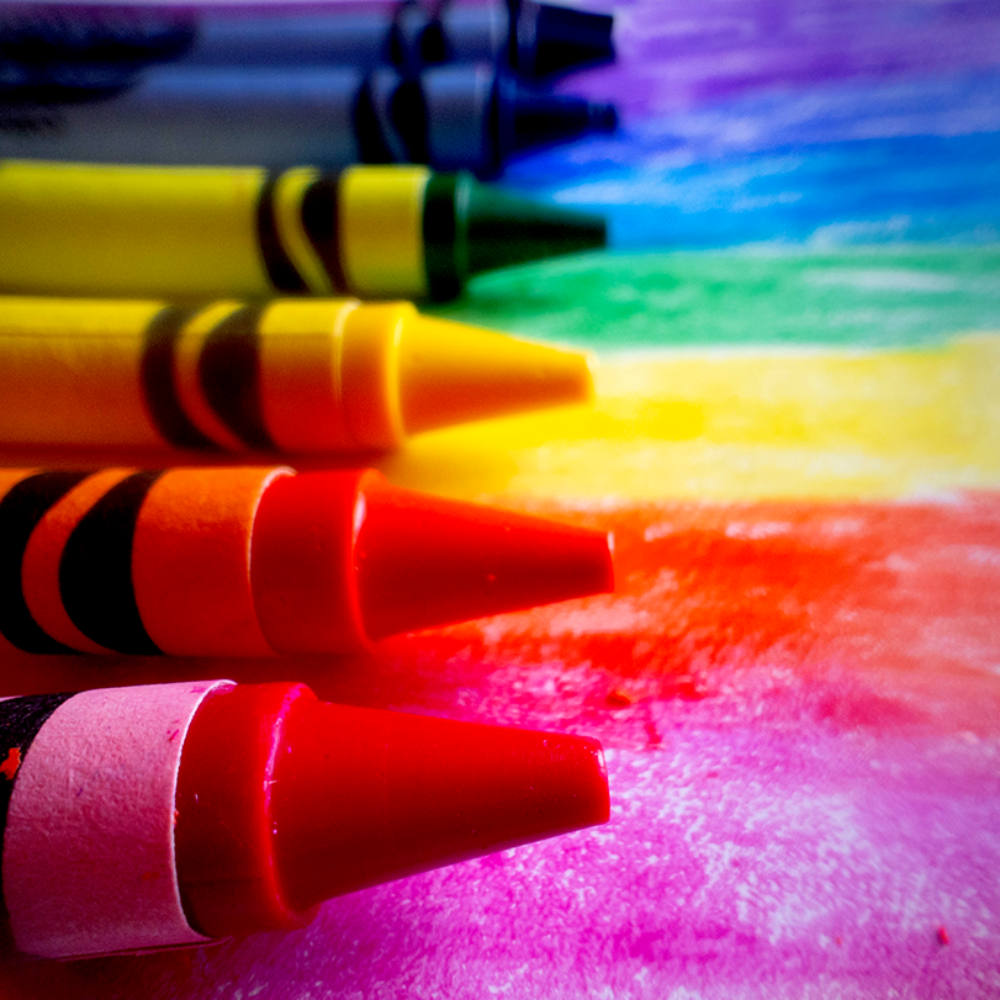
Selecting Your Crayons
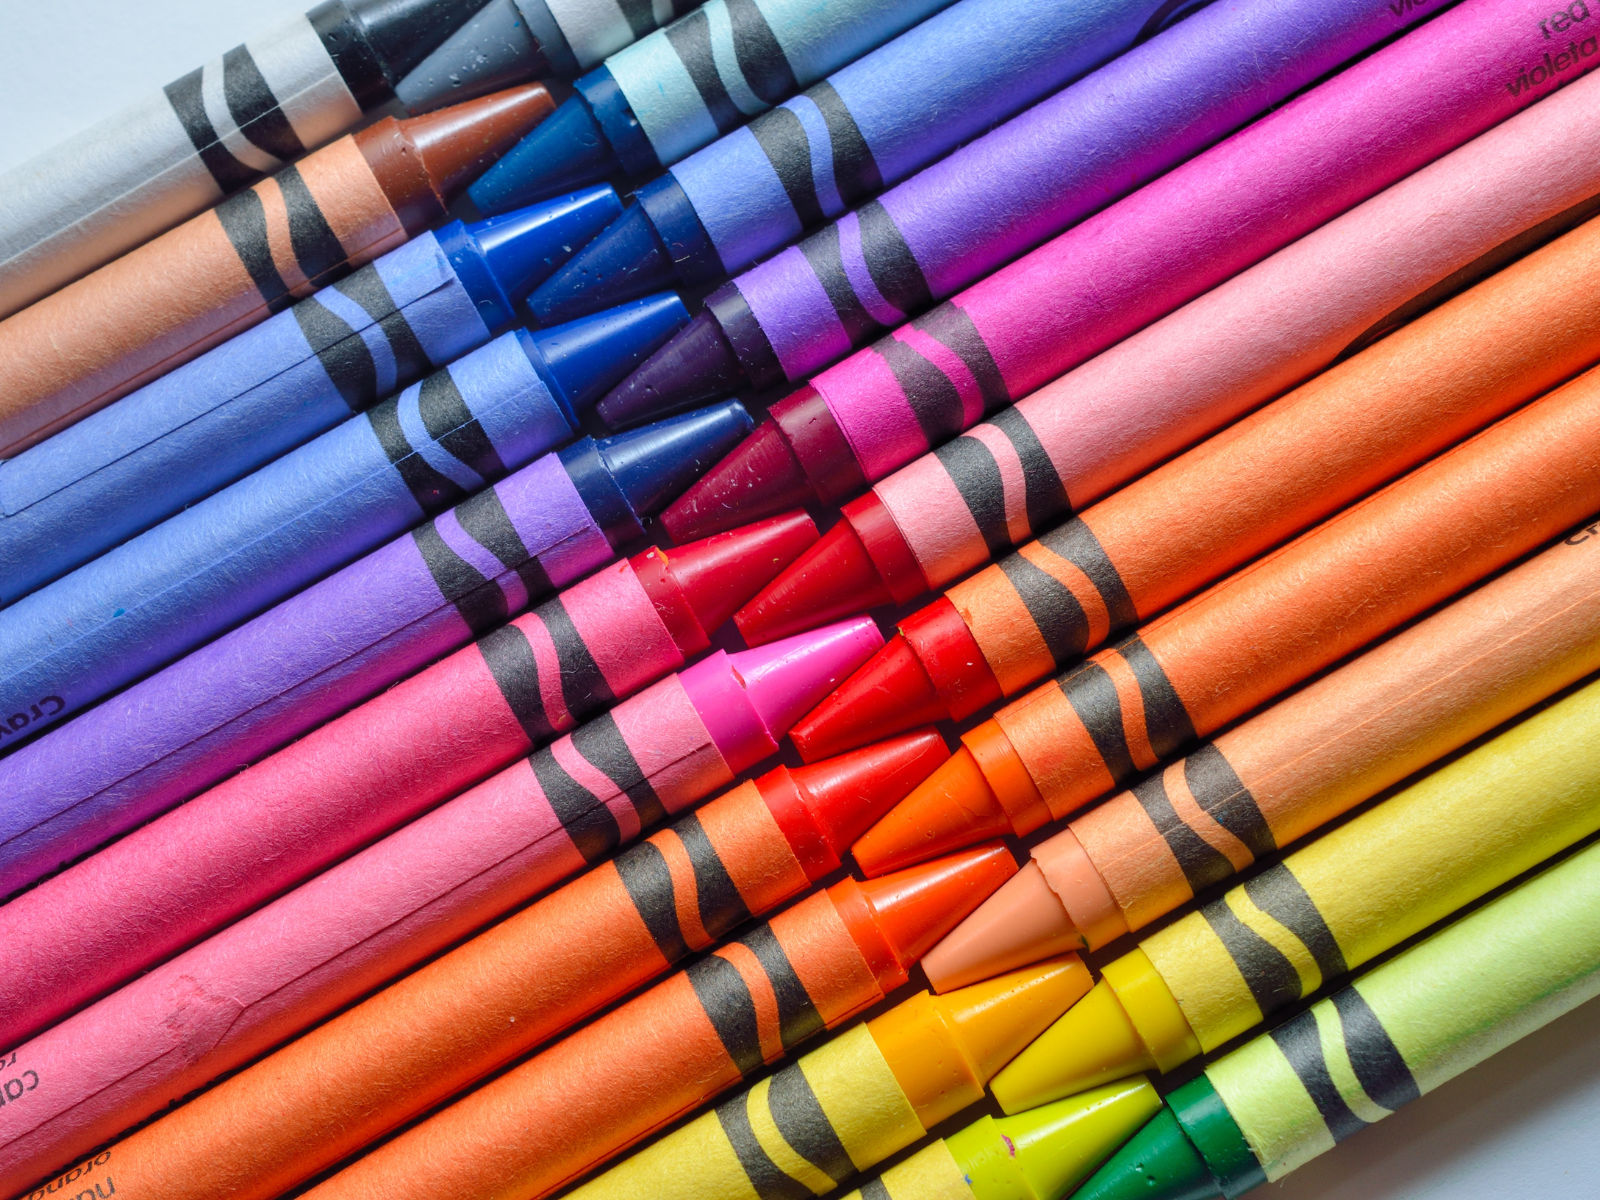
Crayola crayons are a popular choice for melted crayon art due to their wide range of vibrant colors. Select different colors that complement each other.
Some artists prefer to arrange them in rainbow order, while others may choose shades of the same color for a monochromatic effect.
Personal preference plays a significant role in this step.
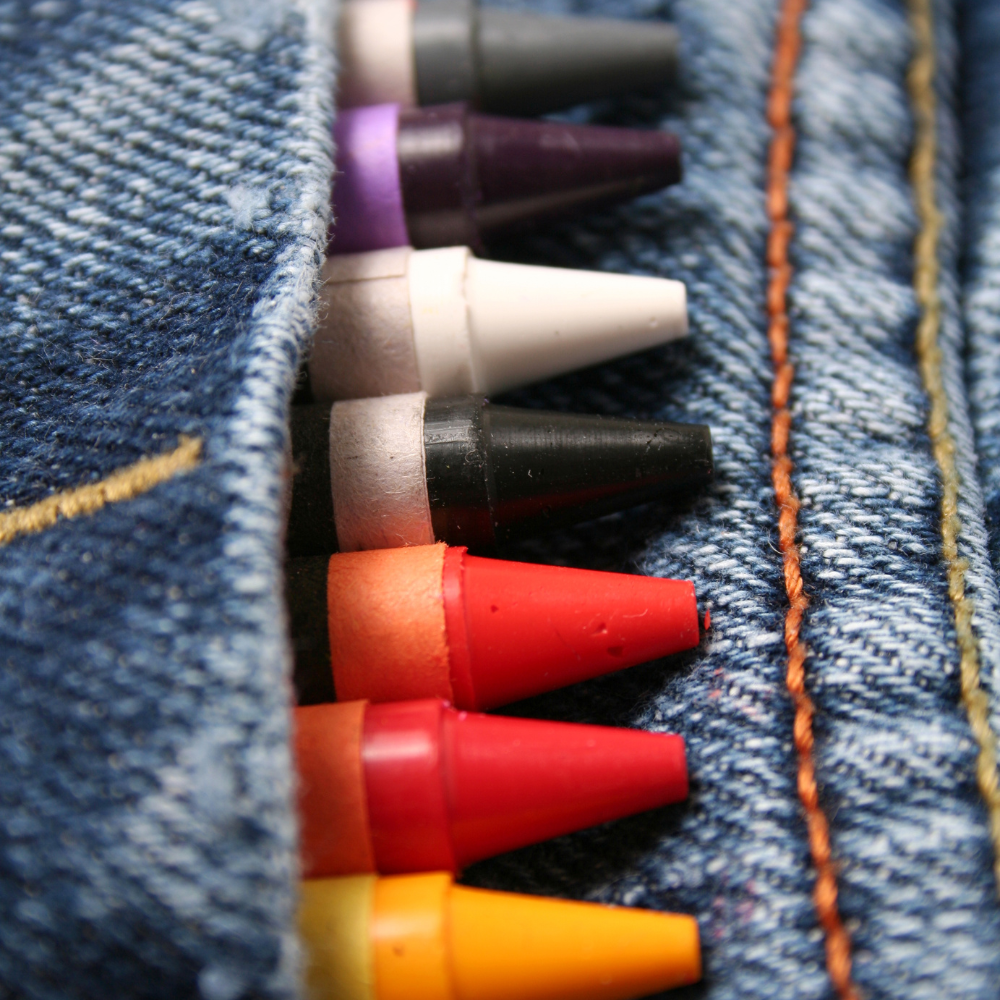
Attaching Crayons to the Canvas
To stick crayons to your canvas, a hot glue gun is your best friend.
Carefully glue the crayons, tip-side down, along one edge of the canvas.
Ensure they are securely attached to prevent them from falling off when they begin to melt.
You can experiment with different arrangements, such as fanning out the crayons or grouping them by color.
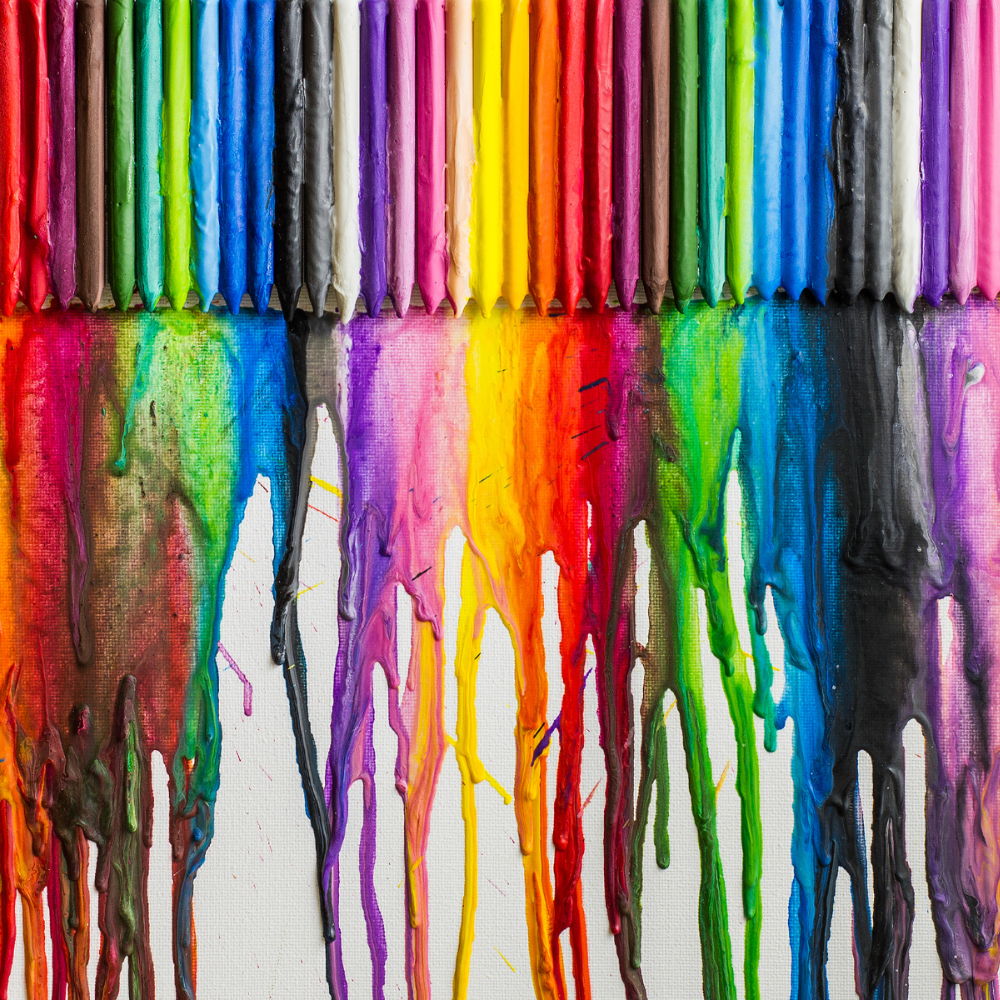
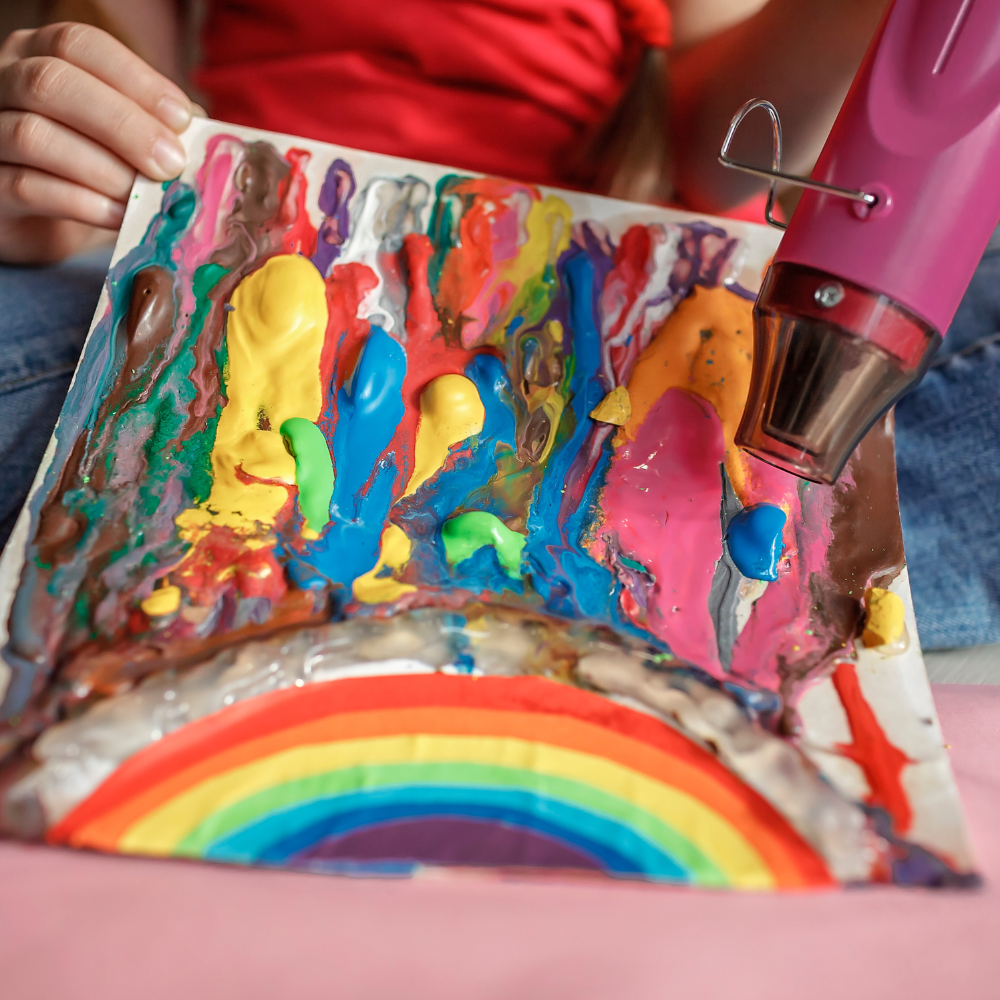
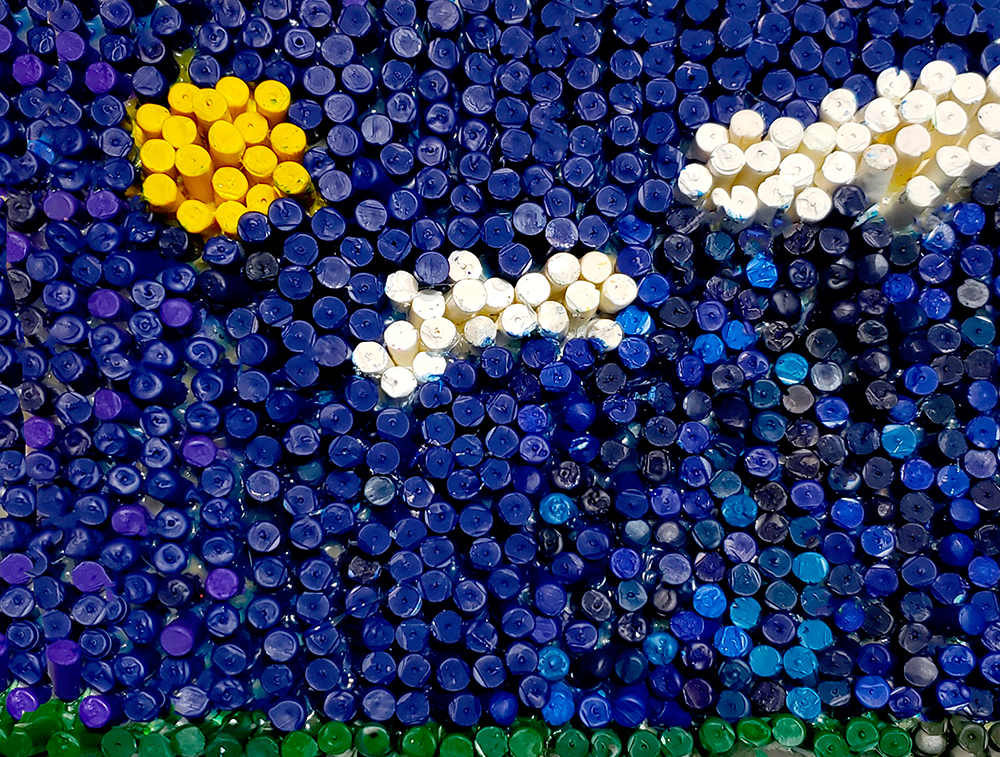
Melting the Crayons
Once your crayons are in place, it's time to melt them.
A hair dryer or heat gun on a high heat setting will do the trick.
Aim the hot air at the crayons and watch as the wax begins to melt and drip down the canvas. Use paper towels to protect your work area from wax splatters.
For more control, use a lower setting on your heat tool.
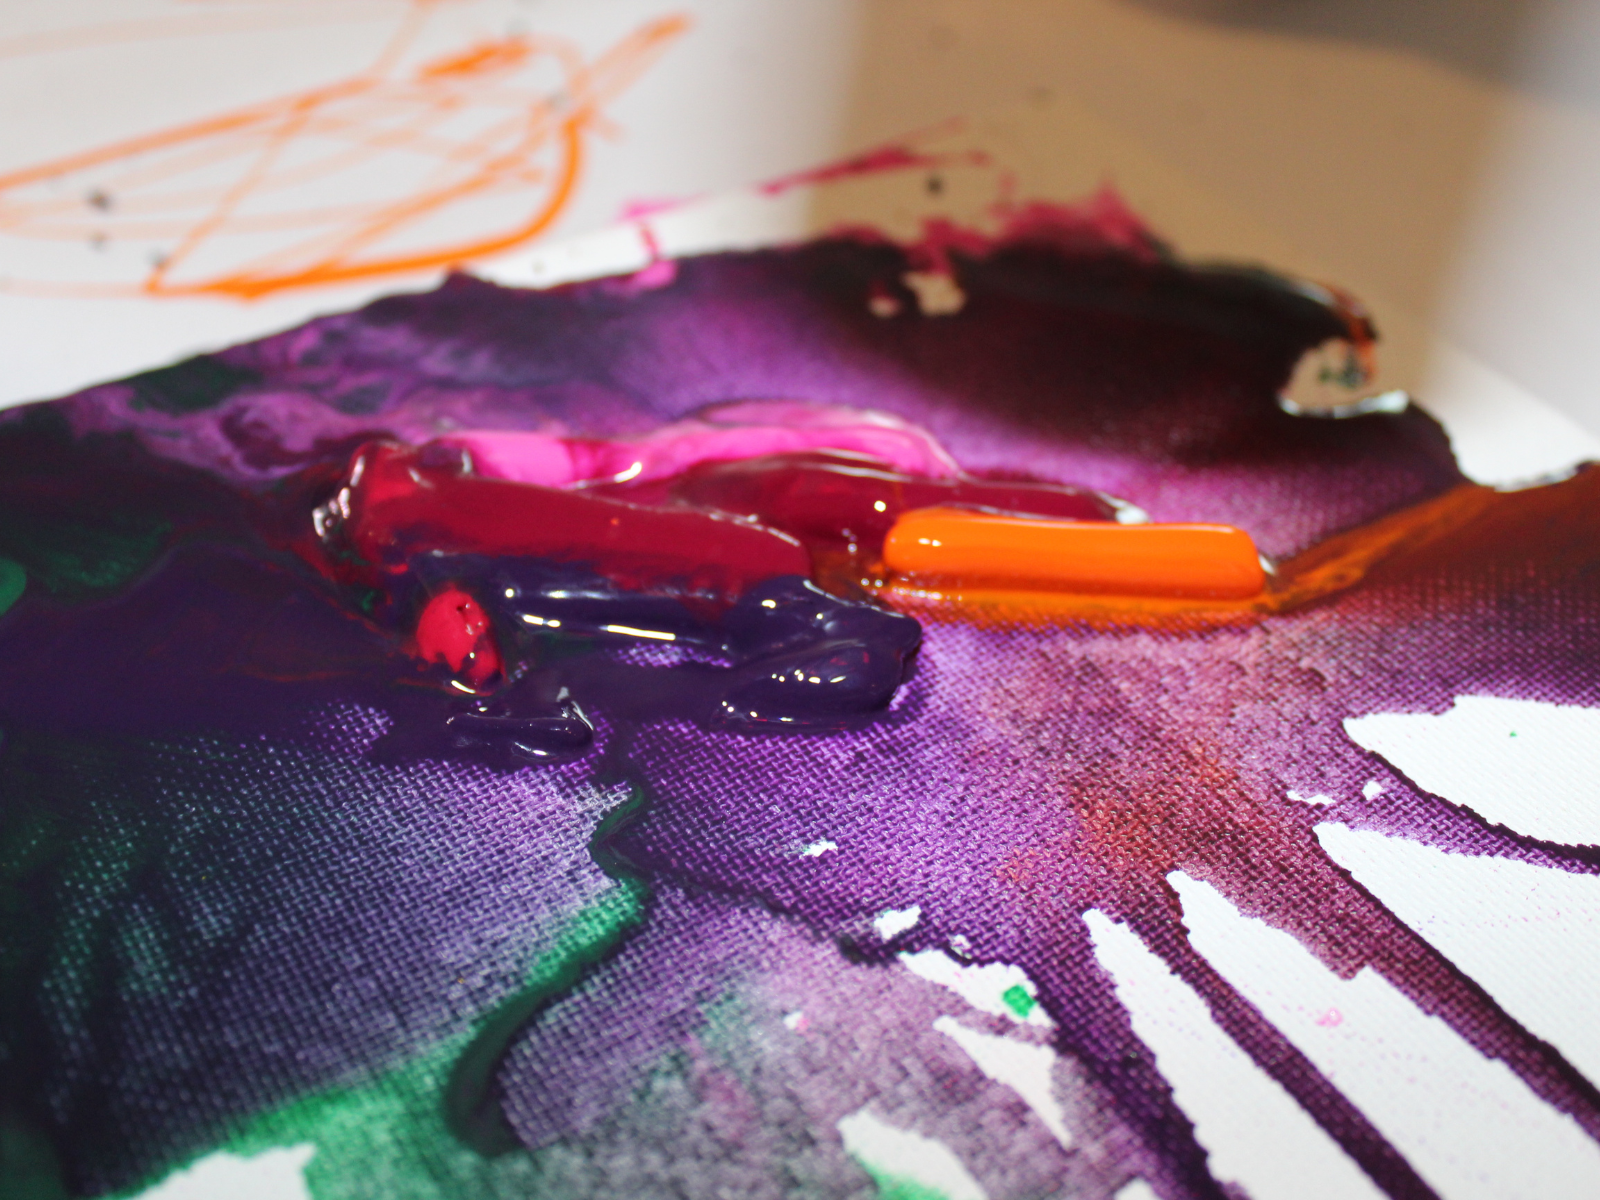
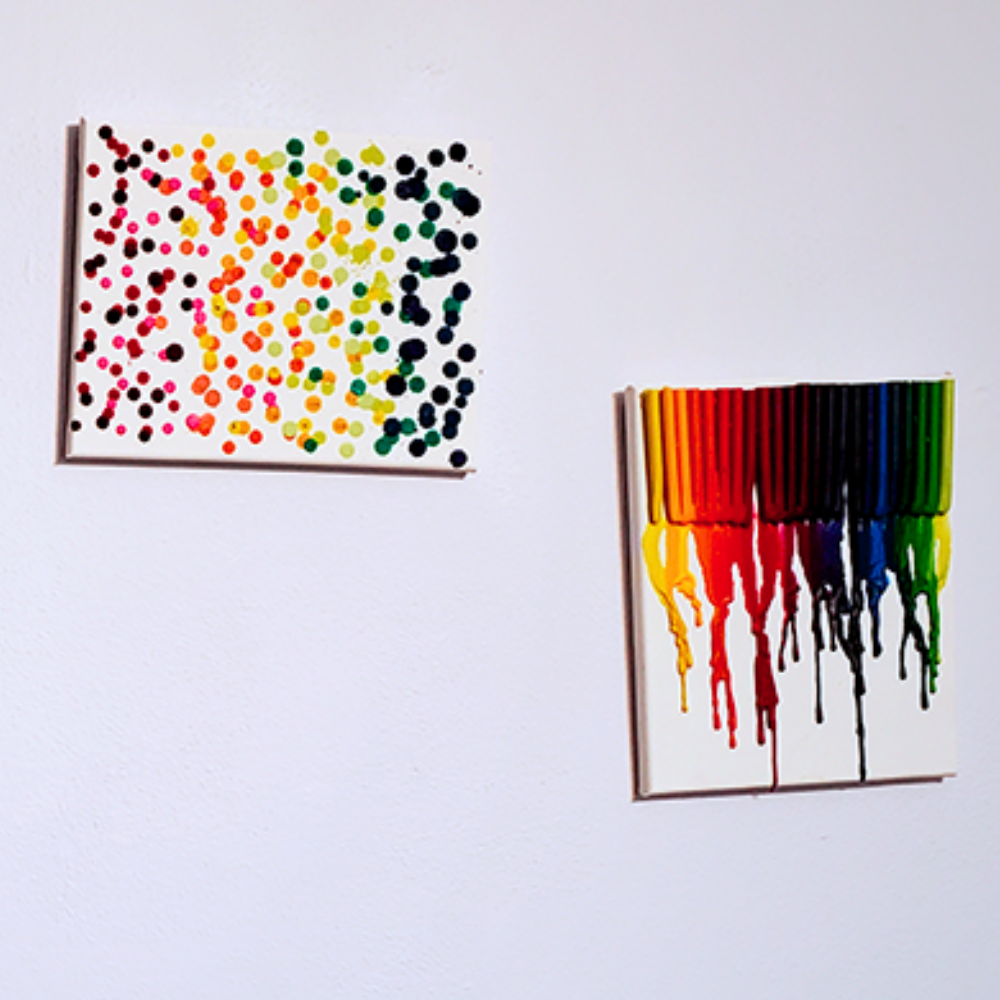
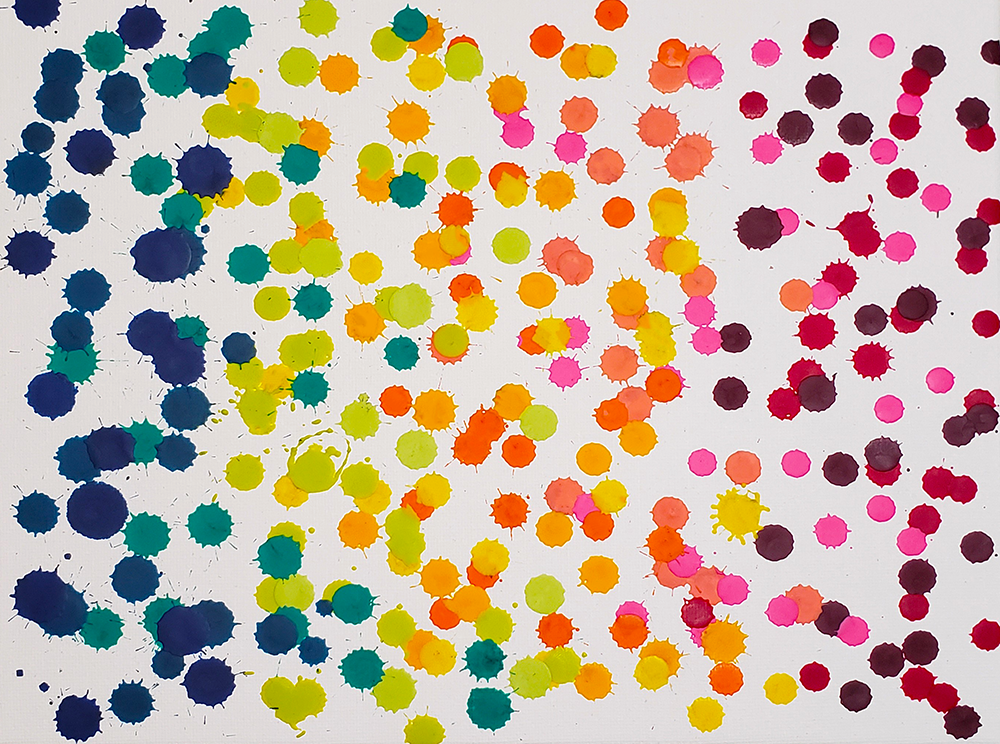
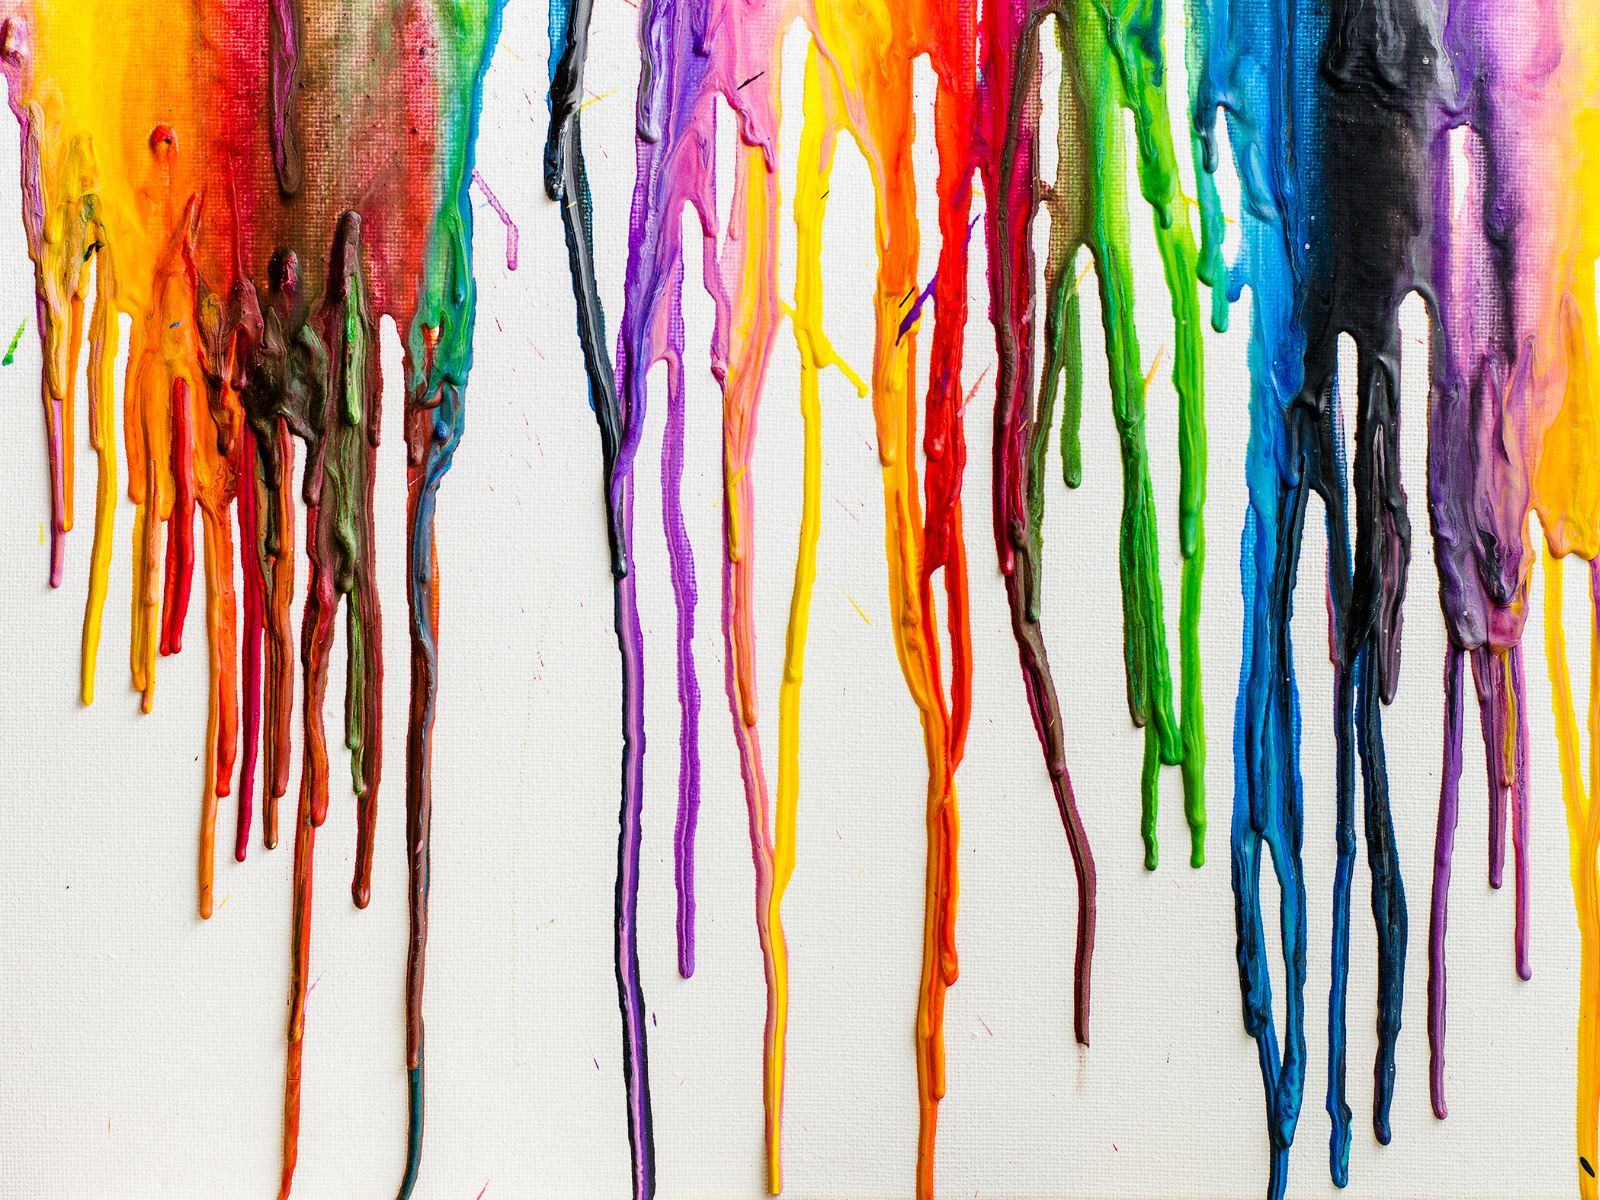
Creating Wax Drip Effects
The beauty of melted crayon wax is in the unique wax drip effects you can create.
By adjusting the angle of the canvas and the heat source, you can direct the flow of the melted wax.
Use a blow dryer to spread the wax for a splattered look, or let the wax drip straight down for a rain-like effect.
Remember, there's no wrong way to do this—it's all about personal expression.
Adding Textures and Layers
For a more textured look, consider adding layers of melted crayon wax.
Allow the first layer to cool slightly before applying more heat.
This technique can add depth to your artwork and create interesting patterns.
Be patient and build up the layers gradually for the best results.
Incorporating Other Mediums
Melted crayon art doesn't have to be limited to wax.
You can incorporate other mediums like oil paints or pencil drawings to add detail and complexity to your piece.
This is a great way to experiment and make your artwork truly one-of-a-kind.

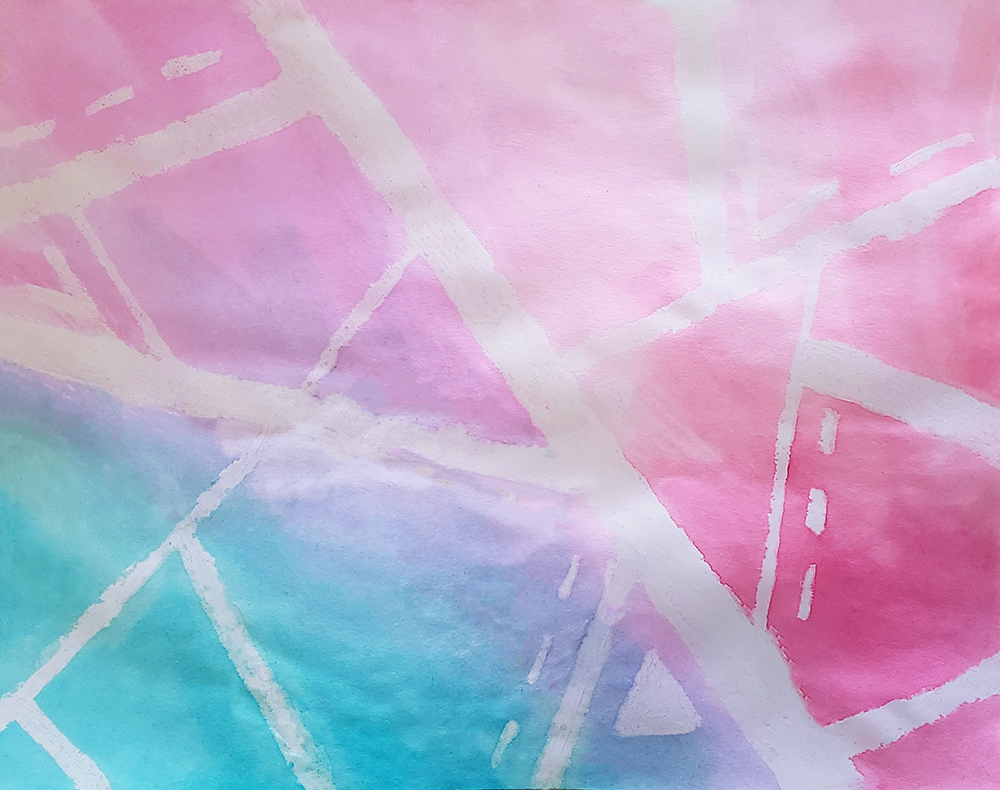
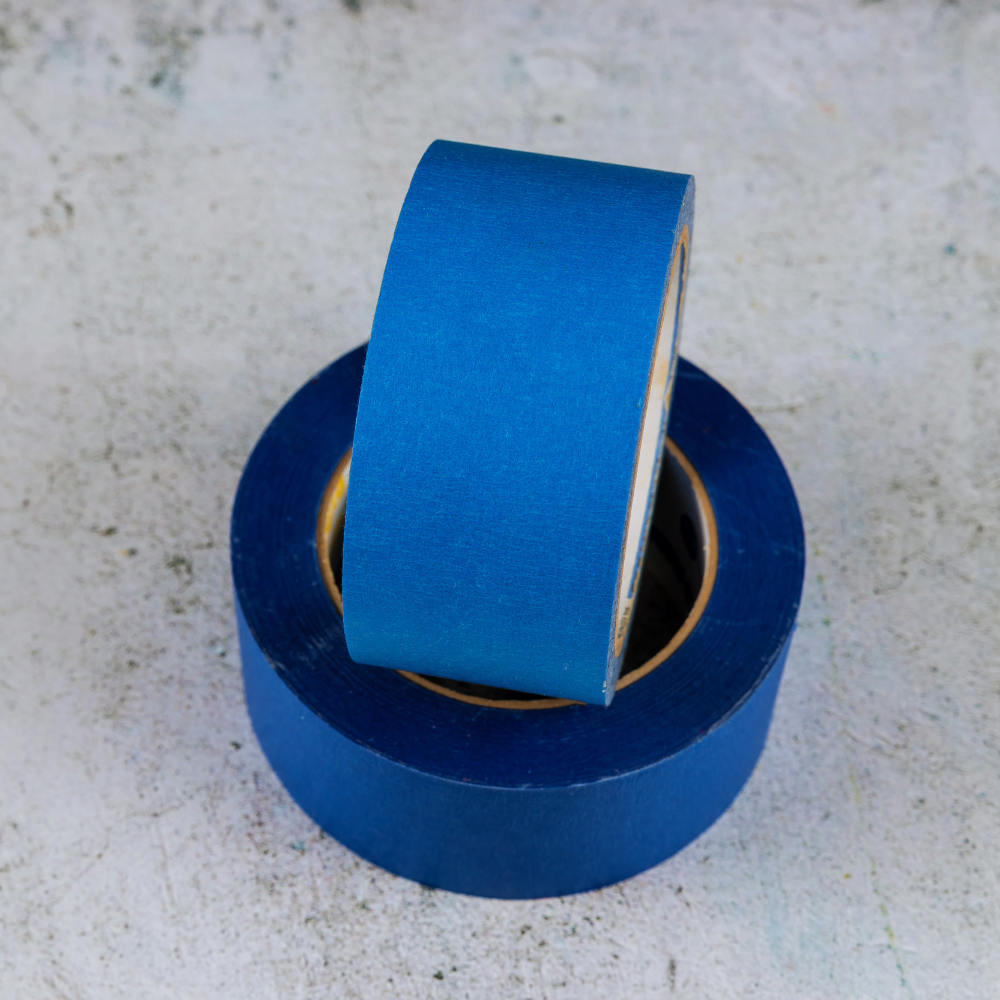
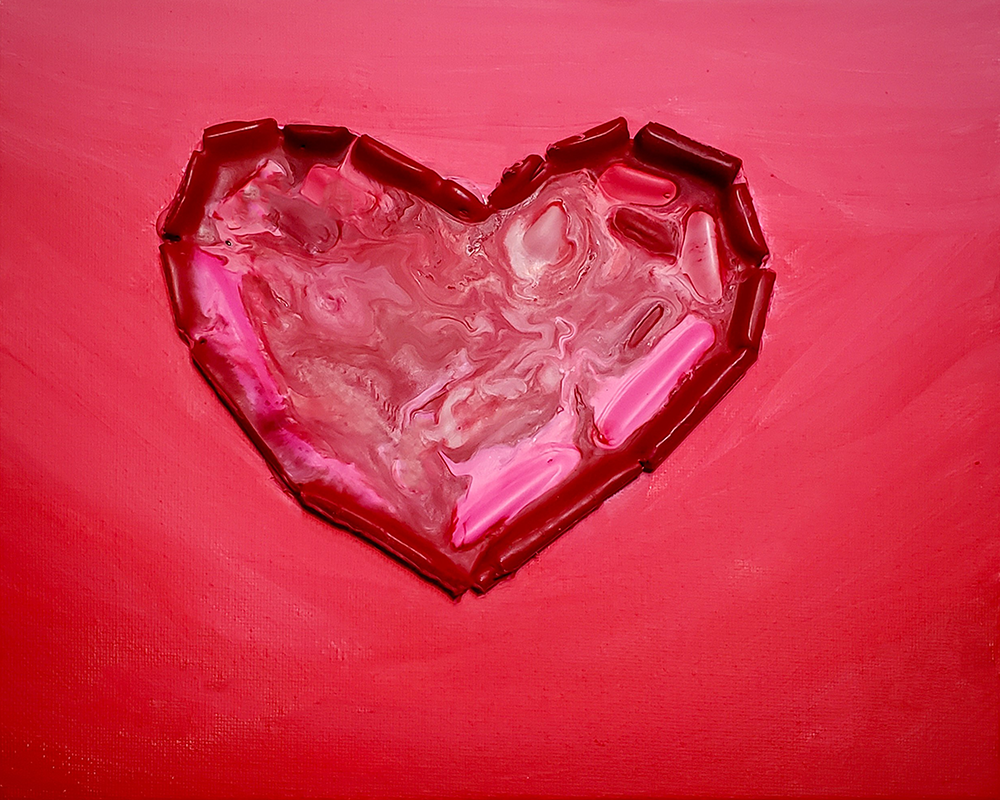
Utilizing Painter's Tape in Crayon Art
Painter's tape is an essential tool for artists looking to create sharp, clean lines and patterns in their crayon canvas art.
By strategically placing painter's tape on the canvas, you can control where the crayon wax flows when melted, allowing for the creation of geometric designs or crisp borders that enhance the painting's overall appearance.
This technique is particularly useful when incorporating multiple colors, as it prevents them from blending unintentionally and helps maintain the integrity of your design.
In practice, applying painter's tape requires precision.
Ensure the tape is firmly adhered to the canvas to prevent wax from seeping underneath.
Once your crayons are in place and melted, the tape can be carefully removed, revealing the untouched canvas beneath and creating a striking contrast.
This method can be combined with other techniques, such as tilting the canvas to direct the wax flow, to achieve dynamic and intricate effects that add depth to your image.
Experimenting with Painter's Tape for Crisp Lines
Painter's tape isn't just for keeping paint off your trim; it's a vital tool in the crayon artist's arsenal.
When applied to canvas, painter's tape acts as a barrier, creating sharp, clean lines that define areas where the crayon wax will or will not go.
This technique is particularly useful for artists who want to incorporate geometric designs or text within their melted crayon art.
By strategically placing the tape on the canvas before melting the crayons, you can control the flow of the wax and maintain the pristine areas that contribute to the overall design.
The use of painter's tape in crayon art requires a bit of planning.
Before you begin melting your crayons, envision the final piece and decide where you want those crisp lines to appear.
Apply the tape firmly to the canvas to prevent wax from seeping underneath.
Once your crayons are melted and the wax has cooled, gently peel away the tape to reveal your masterpiece's clean edges.
This method can be particularly striking when contrasting the chaotic, free-flowing wax with the controlled, untainted canvas areas, adding a level of sophistication to your artwork.
Enhancing Textural Contrast with Painter's Tape
Incorporating painter's tape into your crayon art can also be a means to play with texture.
By using the tape to mask off sections of the canvas, you can create a juxtaposition between the smooth, bare canvas and the textured, layered wax.
This contrast not only adds visual interest but also invites the viewer to experience the piece through touch.
The tactile quality of crayon art is one of its unique attributes, and emphasizing this through the use of painter's tape can elevate your work from a simple craft to a sensory experience.
To achieve this textural contrast, consider applying the painter's tape in patterns or shapes across the canvas.
Once your crayons are melted and the wax has settled, the removal of the tape will leave behind areas untouched by wax.
These smooth sections will stand out against the raised, textured wax, creating a dynamic surface that begs to be touched.
The key is to ensure that the tape is securely adhered to the canvas to prevent wax from bleeding into the taped areas, which would diminish the impact of the textural contrast.
Innovative Techniques with Painter's Tape
The use of painter's tape in crayon art is not just for creating sharp lines and patterns; it's a gateway to innovative techniques that can transform a simple project into a masterpiece.
By strategically placing painter's tape on the canvas before the melting process, artists can control the flow of wax, creating dynamic negative spaces that add depth and interest to the artwork.
This method allows for the creation of geometric designs, silhouettes, and even intricate landscapes, showcasing the versatility of crayon art when combined with the precision of painter's tape.
Moreover, painter's tape can be utilized to mask off areas of the canvas to preserve the original background or to apply different colors in stages.
This technique is particularly useful when working with a color gradient or when attempting to achieve a layered look.
By peeling off the tape after the crayons have melted, crisp lines emerge, giving the piece a polished and professional appearance.
The adhesive quality of painter's tape ensures it can be removed cleanly without damaging the underlying layers, making it an essential tool for artists looking to push the boundaries of melted crayon art.
Plus, painter's tape can be employed to add texture to a piece.
By folding, twisting, or crumpling the tape before applying it to the canvas, artists can create a textured barrier.
When crayons are melted and run over these textured areas, the wax cools at varying rates, resulting in a unique tactile surface.
This technique can be particularly effective when used in conjunction with other mediums or to highlight specific elements within the crayon art, offering a fresh perspective on the traditional melted crayon art aesthetic.
In addition to creating shapes, painter's tape can also be used to produce gradients and ombre effects with crayon wax.
By layering the tape and exposing small increments of the canvas at a time, artists can melt crayons in stages, each with a slightly different shade.
This technique requires patience and a steady hand, but the outcome is a smooth transition of colors that can add depth and movement to the artwork.
Whether aiming for sharp geometric lines or soft color transitions, mastering the use of painter's tape is essential for artists looking to push the boundaries of melted crayon art.
Role of Painter's Tape in Preserving Artwork Integrity
Painter's tape plays a crucial role in preserving the integrity of crayon artwork during the creation process.
Its low-tack adhesive is strong enough to stay in place during the melting phase but gentle enough to peel away without tearing the canvas or leaving a sticky residue.
This characteristic is particularly important when working on complex pieces where precision is key.
Artists can apply multiple layers of crayon and tape, melting and removing them in sequences to build up a rich tapestry of colors and textures without compromising the canvas's surface.
In addition to its functional benefits, painter's tape can also be used as a creative element in the final presentation of the artwork.
By leaving certain areas covered, artists can introduce a modern, abstract element to their pieces, playing with the concepts of reveal and concealment.
This technique can lead to thought-provoking compositions that challenge the viewer's perception and invite them to consider the interplay between the raw canvas and the vibrant crayon wax.
Painter's tape, therefore, is not just a tool for preparation but a medium that can contribute significantly to the aesthetic and conceptual value of crayon art.
Crafting with Glue Guns for Enhanced Adhesion
Glue guns are not just for bonding materials; they can be a crayon artist's ally in affixing crayons securely to the canvas before the melting process begins.
The hot glue dispensed from glue guns provides a strong, quick-drying adhesive that is ideal for ensuring the crayons stay in place, even when the canvas is positioned vertically for melting.
This is particularly important when creating large-scale pieces or working with unconventional canvas shapes where traditional adhesives might fail.
When using a glue gun, it's important to work quickly and carefully to avoid unwanted drips or strings of glue that could mar the surface of your painting.
Apply a small amount of glue to the crayon and press it firmly onto the canvas, holding it in place for a few seconds to ensure a strong bond.
This method not only streamlines the preparation process but also allows for greater control over the placement and orientation of the crayons, enabling artists to execute their vision with precision and confidence.
Finishing Touches
Once you're satisfied with your melted crayon canvas art, it's time to add the finishing touches.
Remove any painter's tape you may have used to create shapes or borders.
If you've worked on a cardboard surface, consider mounting it on a sturdier backing before you hang it on the wall.
Protecting Your Artwork
To protect your melted crayon art, you can seal it with a clear finishing spray.
This will help prevent the wax from chipping or melting if exposed to heat in the future.
Make sure the wax is completely cool before applying any sealant.
Displaying Your Melted Crayon Canvas Art
Your melted crayon canvas art is now ready to be displayed.
Choose a spot on your wall that doesn't receive direct sunlight or high heat to prevent any damage.
Hanging your artwork is a fun way to show off your creativity and add a splash of color to any room.
Conquer Crayon Conundrums & Common Issues
Even the most seasoned artists can face challenges when venturing into the whimsical world of melted crayon canvas art.
It's a journey filled with vibrant possibilities, but sometimes, you may hit a bump in the road.
Uneven melting or crayons that seem to have a mind of their own, stubbornly detaching from the canvas, can turn your art project into a frustrating puzzle.
But fear not!
These are just opportunities for you to flex your problem-solving muscles and add a few tricks to your artistic repertoire.
When you notice your crayons are not melting uniformly, it could be a sign that your heat tool is playing favorites.
To rectify this, ensure that you're moving the tool slowly and evenly across the crayons.
Patience is your ally here.
If the heat is too intense, it can cause the wax to run amok, leaving you with a splattery chaos rather than the smooth, controlled rivers of color you're aiming for.
In this case, dialing down the heat setting can give you the finesse you need.
A lower temperature allows the crayons to melt at a more gradual pace, giving you the power to guide the wax with precision.
Now, let's talk about those rebellious crayons that seem to leap from the canvas at the slightest provocation.
It's a common hiccup in the melting process, but it's nothing a trusty hot glue gun can't fix.
If a crayon pops off, simply reattach it with a dab of hot glue and hold it in place for a few seconds to ensure a strong bond.
Remember, the canvas can get quite warm, so be cautious and use tools to press the crayon if necessary to avoid any singed fingertips.
Embrace these moments of troubleshooting as part of the artistic adventure.
Each challenge is a lesson in disguise, teaching you more about the materials and techniques that will help you refine your craft.
And when you finally stand back to admire your completed masterpiece, every hurdle you overcame will add to the sense of accomplishment.
So, wield your hot glue gun with confidence, adjust your heat tool with wisdom, and remember that every great artist was once a beginner who simply refused to give up.

Melted Crayon Crafts for Kids
Melted crayon canvas art is also a great idea for kids' crafts.
Supervise the melting process closely and opt for a hair dryer on a low setting for safety.
Kids will love watching the crayons melt and can even help with arranging the colors and creating designs.
Personalizing Your Project
Personalize your melted crayon artwork by adding elements that have special meaning to you.
Whether it's a silhouette of a family member or a pattern that resonates with you, these personal touches make your art work unique and sentimental.
Hosting a Crayon Art Party
Hosting a crayon art party is a fantastic way to share this fun activity with friends and family.
Set up supplies for everyone and let their creativity run wild.
It's a great way to bond and create lasting memories, along with beautiful art pieces.
Evolution of Melted Crayon Art
Melted crayon art has come a long way since it first became popular years ago.
Artists have pushed the boundaries, creating intricate and large-scale pieces that challenge the traditional notions of what can be done with crayons.
Take inspiration from these pioneers and don't be afraid to experiment with your own techniques.
Joy of Melted Crayon Mastery
As you stand back and gaze upon the kaleidoscope of colors that now dance across your canvas, you can't help but feel a surge of pride.
Melted crayon canvas art isn't just a craft; it's a vibrant expression of creativity, a joyful exploration of color and texture that's as fun to make as it is to behold.
You've journeyed through the steps, from the blank canvas to the mesmerizing swirls of wax, and emerged as a true crayon alchemist.
Each drip and blend of color is a testament to your personal touch, your unique flair.
Remember, in the world of melted crayon art, there are no mistakes, only discoveries.
Each piece is a reflection of your willingness to experiment and your courage to embrace the unexpected.
So, hang your artwork with pride, let it inspire your space, and may it remind you of the sheer delight that comes from creating something truly one-of-a-kind.
Now, with your newfound skills and confidence, the canvas of possibility is endless; what will you dream up next?

Crayon Art FAQs
Are you ready to dive into the vibrant world of crayon art, where every stroke ignites a burst of color and imagination?
Whether you're a seasoned artist or a curious beginner, crayon art offers a playful and accessible way to express your creativity.
But as you embark on this colorful journey, questions may arise.
Fear not, for we've compiled the most frequently asked questions to help you master the art of melting crayons on canvas and beyond.
From achieving the perfect drip to preserving your masterpiece, these answers will guide you through the process, ensuring your crayon art remains as vivid and captivating as the day you created it.
Let's explore the melting pot of tips, tricks, and techniques that will transform your artistic vision into a wax wonderland!
What is the best way to melt crayons on canvas?
The best way to melt crayons on canvas is by using a hair dryer or heat gun. Apply heat evenly across the crayons until they begin to melt and drip. Adjust the angle of the canvas and the heat source to control the wax flow.
Can I mix other mediums with melted crayon wax?
Yes, you can mix other mediums like oil paints or pencil drawings with melted crayon wax to add detail and complexity to your artwork. This can create unique textures and layers in your piece.
How do I prevent melted crayon wax from chipping off the canvas?
To prevent melted crayon wax from chipping off, you can seal your artwork with a clear finishing spray after the wax has completely cooled. This will help protect the wax from heat and preserve your art.
Interested in creating crayon canvas art? Check out Wigglz' Art's video!
Want even more content about creativity and art?
Be sure to check out all of our creative chronicles!
Love crayons?
Check out some of our other articles:
-How do you make easy crayons?
-What are the two main ingredients to make a crayon?
-What crayons do professionals use?
-Who is the most famous crayon artist?