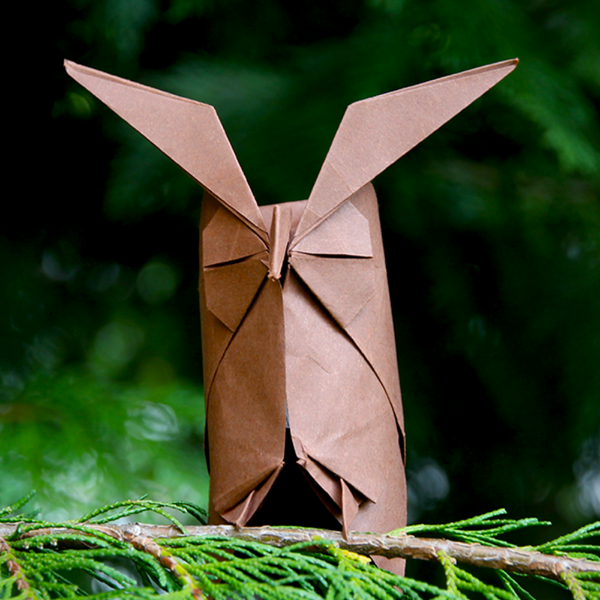
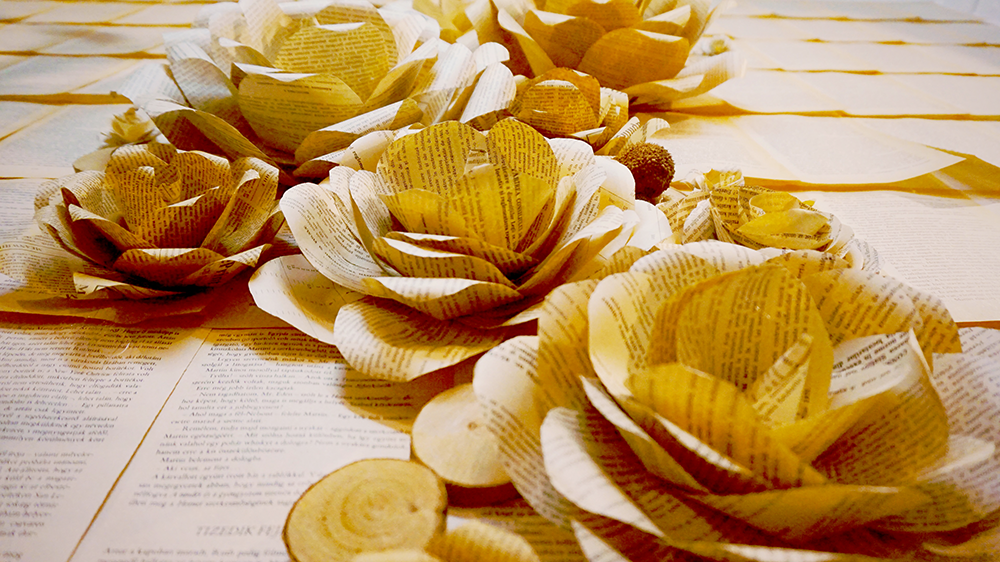
Delicacy meets durability in the enchanting world of paper sculpture, where the ephemeral beauty of paper is crafted into enduring art.
Paper sculptures are a delicate form of art that require precision and care, not only in their creation but also in their preservation.
But how do you ensure that your intricate designs stand the test of time?
The secret lies in the hardening process—a vital step that turns your fragile paper creations into robust masterpieces.
Whether you're weaving dreams into reality for a living or crafting for the sheer joy of it, this ultimate guide is your key to unlocking the mysteries of paper sculpture preservation.
This article will guide you through the various methods and materials you can use to stiffen paper and transform your delicate creations into sturdy works of art.
Let's embark on a journey to explore the best methods and materials to harden your paper sculptures, ensuring they captivate admirers for years to come.
Key Takeaways:
- Learn the various techniques to harden paper sculptures for increased durability and longevity.
- Discover the importance of using the right materials and methods to achieve the desired hardness.
- Understand the step-by-step process of hardening paper crafts to ensure professional results.

Choosing the Right Materials
When it comes to hardening paper sculptures, selecting the appropriate materials is paramount.
You'll need a hardening medium such as Mod Podge, PVA primer, or resin.
These mediums provide a protective shield over the paper, making it more resistant to damage.
For application, a paint brush or sponge will be necessary to spread the medium evenly across the surface.
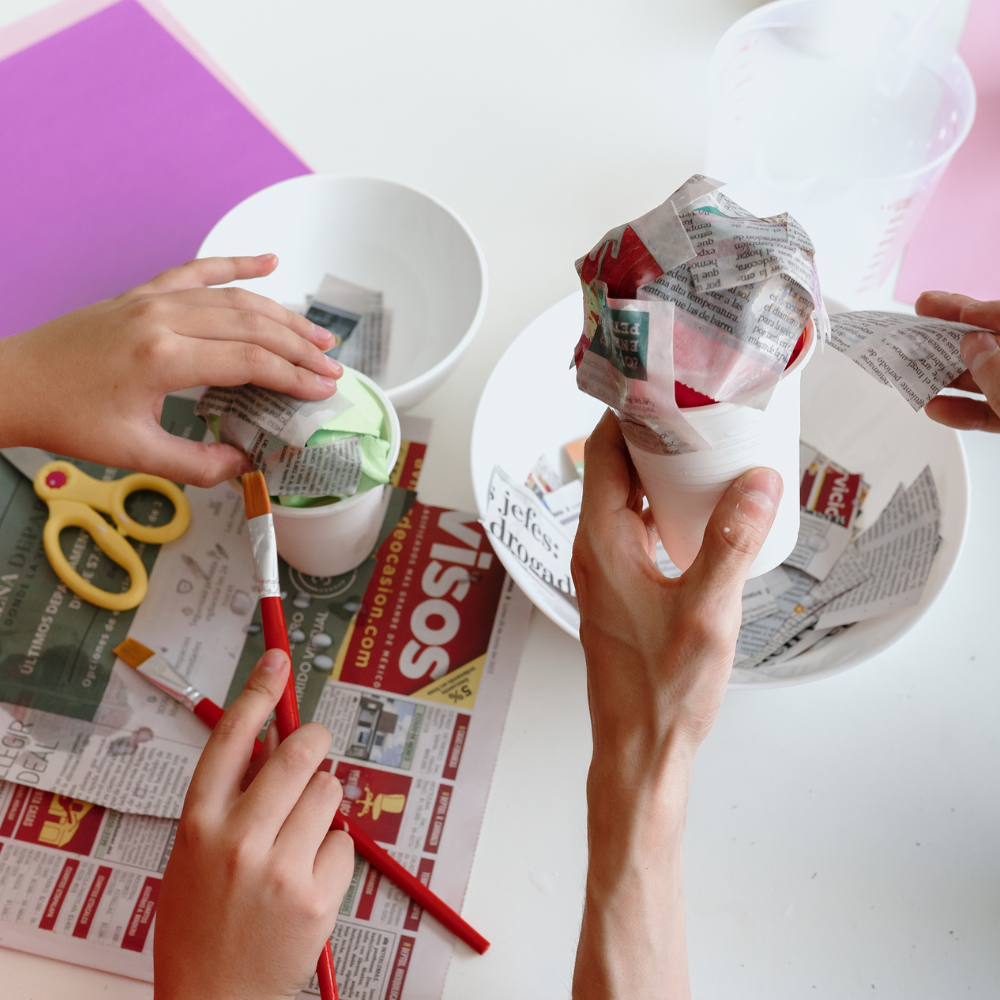
Preparing the Work Area
Before you begin the hardening process, it's important to prepare a well-ventilated area to work in.
This ensures that any fumes from the hardening mediums are dispersed and don't pose a health risk.
Cover your work surface with plastic or newspaper to protect it from spills and drips.
Make sure the sculpture is placed on a hard surface that won't be damaged by moisture or heat.
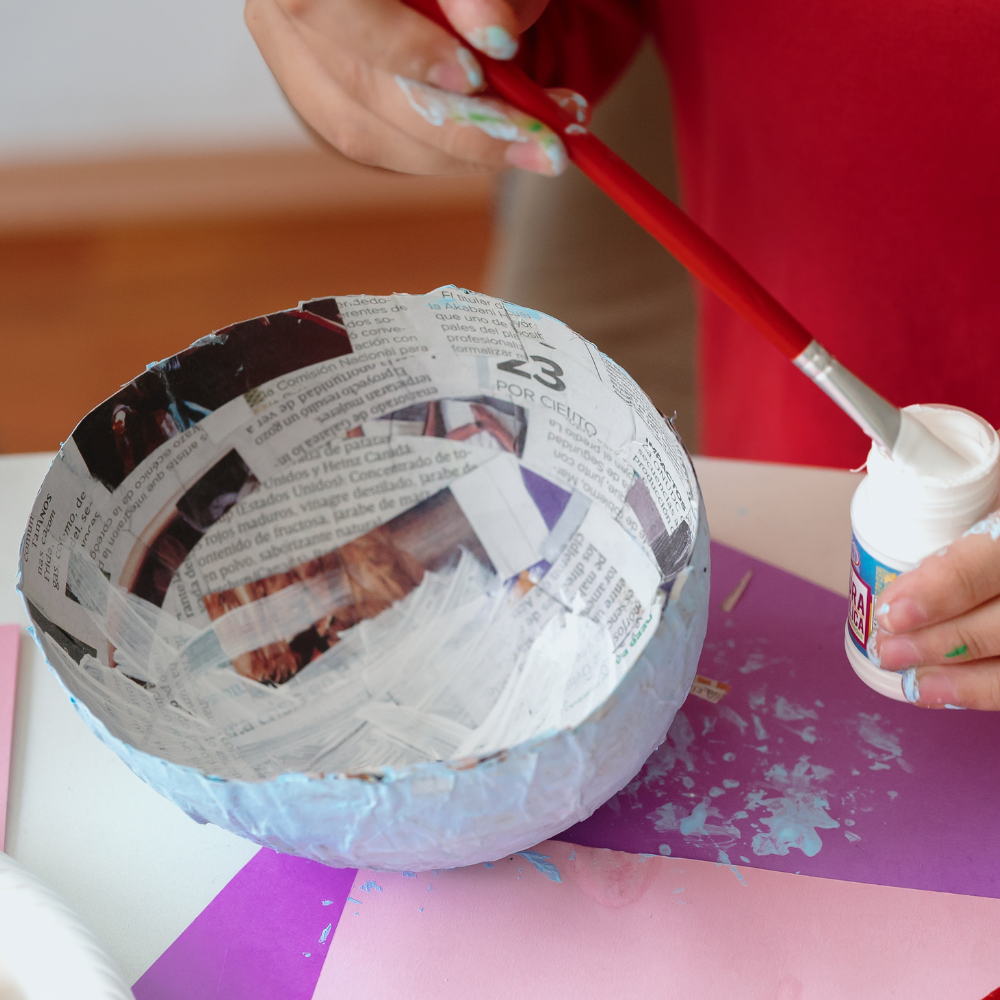
Applying the Hardening Medium
The application of the hardening medium is a critical step.
Whether you're using Mod Podge, liquid starch, or another adhesive, it's important to apply it in thin layers.
Use a paint brush or sponge to apply the medium in even brush strokes, covering all surfaces of the sculpture.
If you're using a spray version, such as acrylic varnish or spray starch, hold the bottle at the recommended distance and spray in a light, even coat.
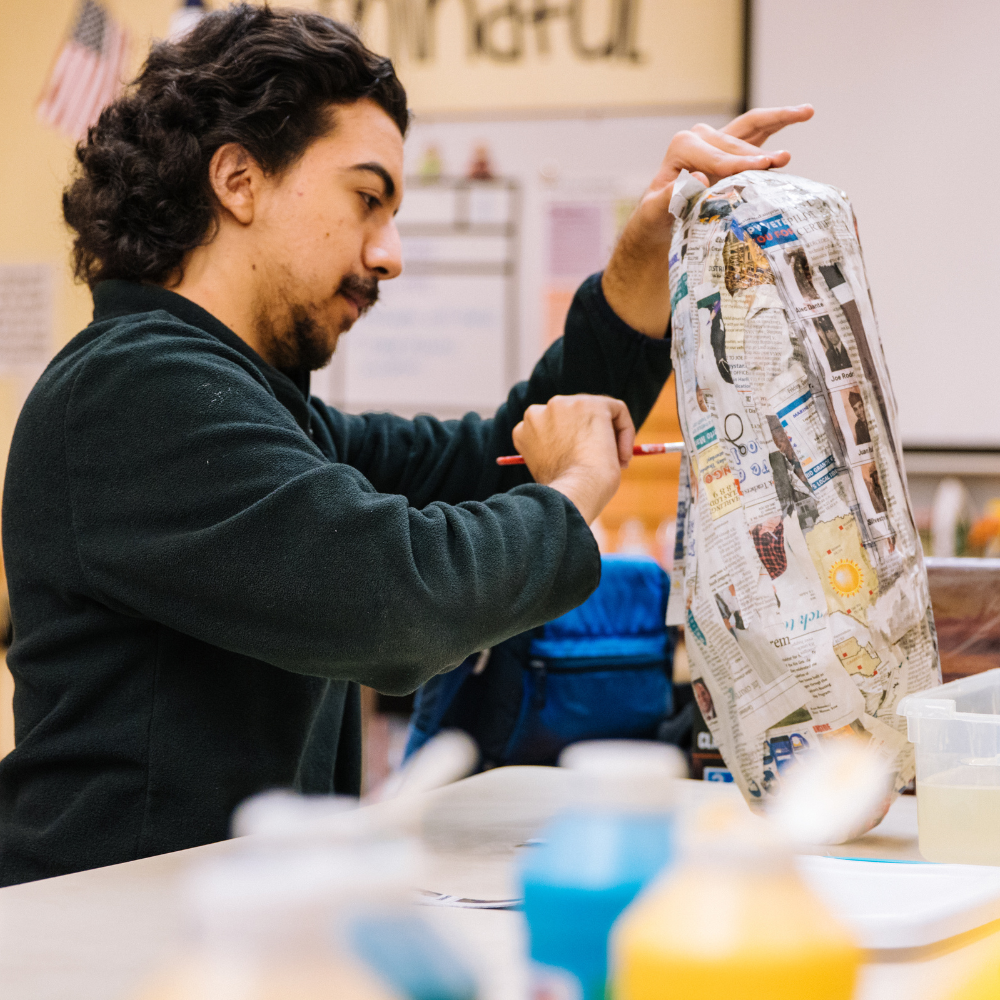
Drying and Curing
After applying the first coat, you'll need to wait for it to dry completely before adding additional layers.
A hair dryer set on a low heat can speed up the process, but be careful not to overheat the paper.
Once the first layer is dry, apply a few more coats, allowing each one to dry thoroughly.
This process creates multiple layers that build up a hard, protective shell around the sculpture.
Sealants and Protective Coatings
When it comes to preserving the integrity of your paper craft, applying sealants and protective coatings can be a game-changer.
These substances add a layer of durability that can protect your sculpture from moisture, dust, and fading.
A popular choice is a liquid version of a sealant that can be brushed or sprayed onto the surface.
Ensure that you apply the sealant in a well-ventilated area to avoid inhaling fumes.
It's important to cover every inch of the sculpture, including the other side that might not be immediately visible, to create an even coat that will shield the paper from environmental factors.
The great thing about using sealants is that they often come with additional benefits, such as UV protection to prevent colors from fading due to sunlight exposure.
For paper crafts that incorporate ink or other coloring mediums, this can be particularly beneficial.
When applying the sealant, use a soft brush to avoid leaving streaks and ensure that the paper does not become overly stiff.
If the sealant is quick drying, work in sections to prevent it from setting before you've had a chance to spread it evenly.
Always follow the manufacturer's instructions for the best results and allow ample drying time before handling the sculpture again.
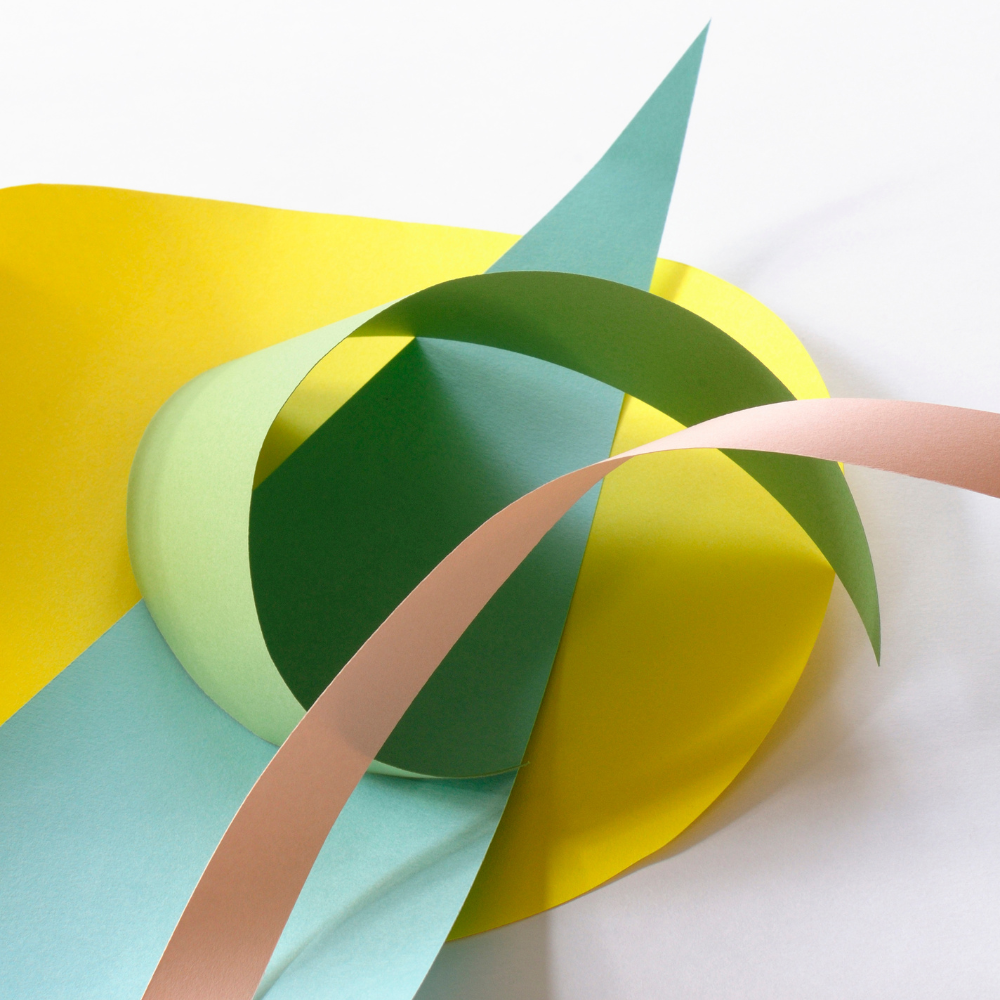
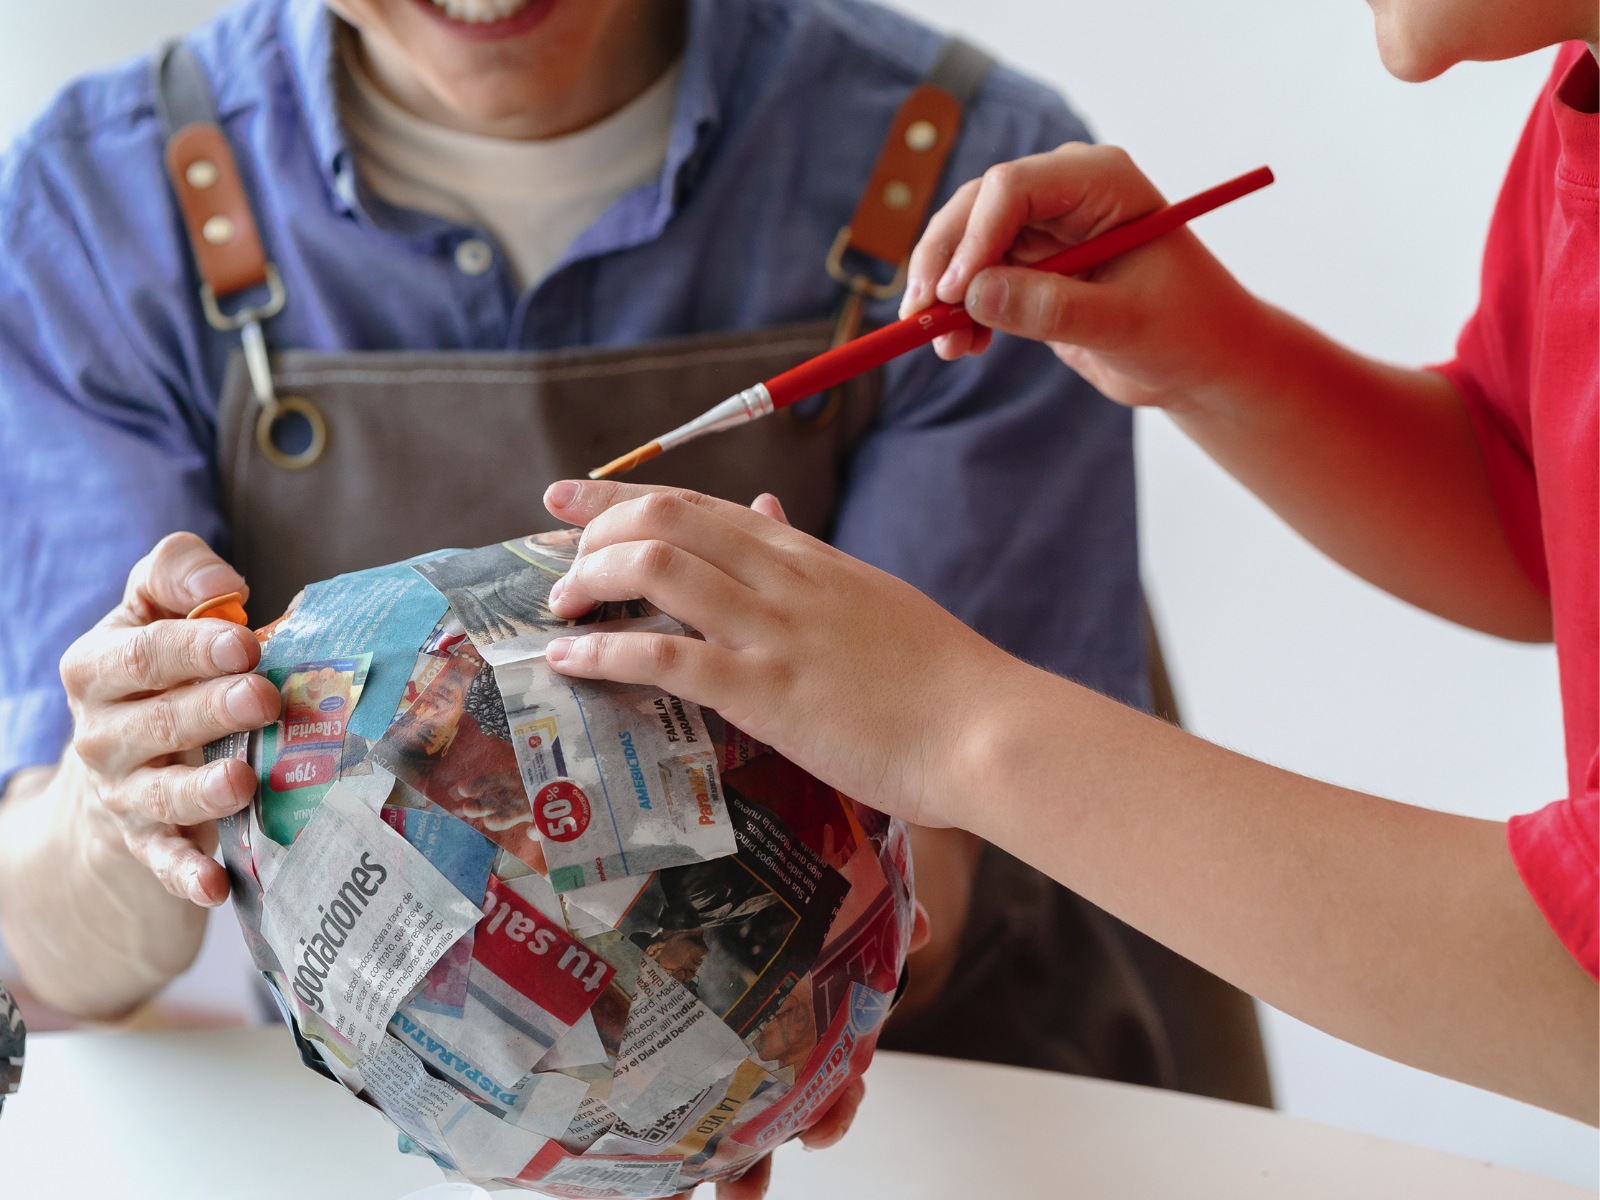
Enhancing Durability: Layering Techniques
Layering techniques can significantly enhance the durability of your papercraft projects.
One effective method is to alternate layers of paper with a textile hardener, which is designed to penetrate the fibers and solidify them.
Start by applying a thin layer of the hardener on one side of the sheet, then place another sheet on top, and repeat the process.
This creates a laminated effect that not only makes the sculpture more water-resistant but also adds to its structural integrity.
Be mindful of the amount of hardener used; too much can make the paper too stiff, while too little may not provide enough strength.
Another tip for layering is to incorporate materials like thin cardboard or foam sheets between layers of paper.
This can be particularly useful for larger sculptures or those with parts that need to stand upright without bending.
The cardboard or foam acts as a skeleton that provides support from the inside, preventing the sculpture from collapsing under its own weight.
When using this technique, be sure to seal any holes or gaps where the support material is inserted to maintain a smooth exterior.
With careful application, these layering methods can greatly extend the lifespan of your paper craft creations, allowing them to be admired for many reasons to come.
Reinforcing with Other Materials
For added strength, you can incorporate other materials into your paper projects.
Fabric, thin sheets of plastic, or even thin wood can be adhered to the paper using white glue or another adhesive.
This creates a composite material that is much sturdier than paper alone.
Be sure to apply less glue on thinner materials and more glue on thicker ones to ensure a strong bond.
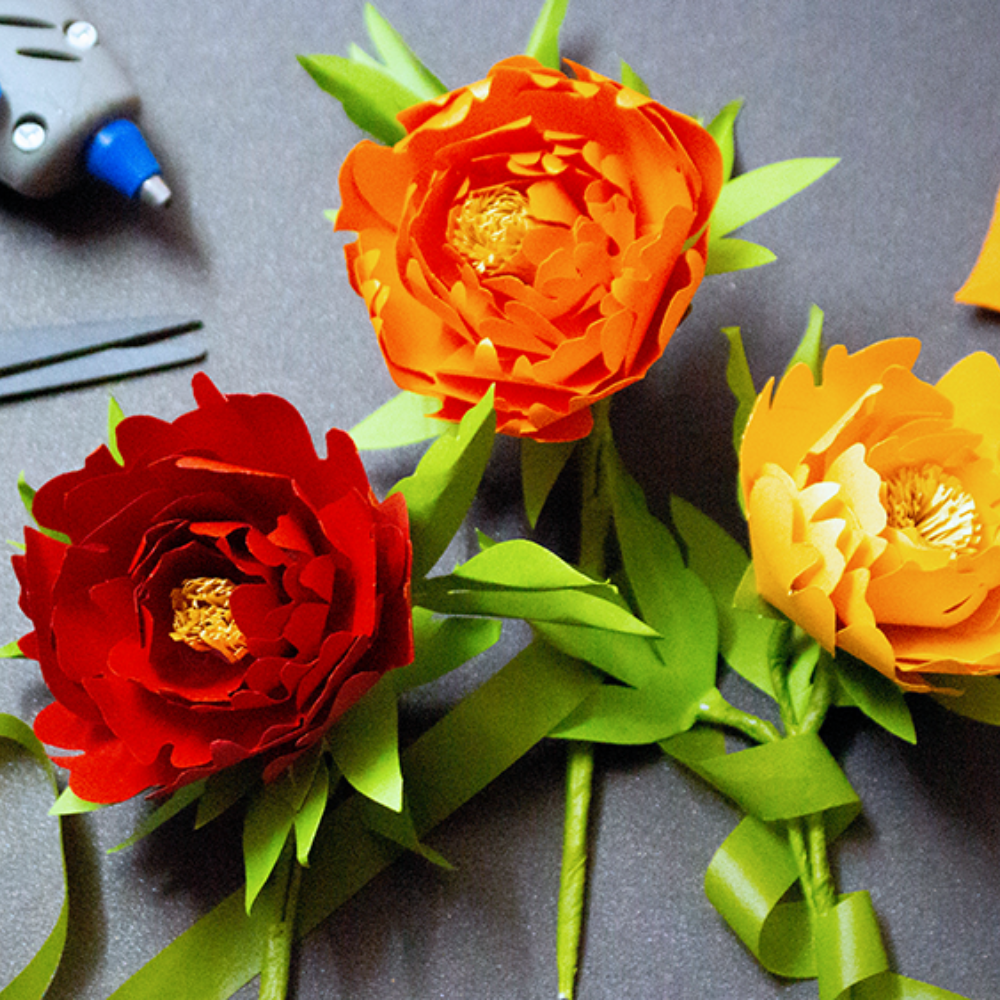
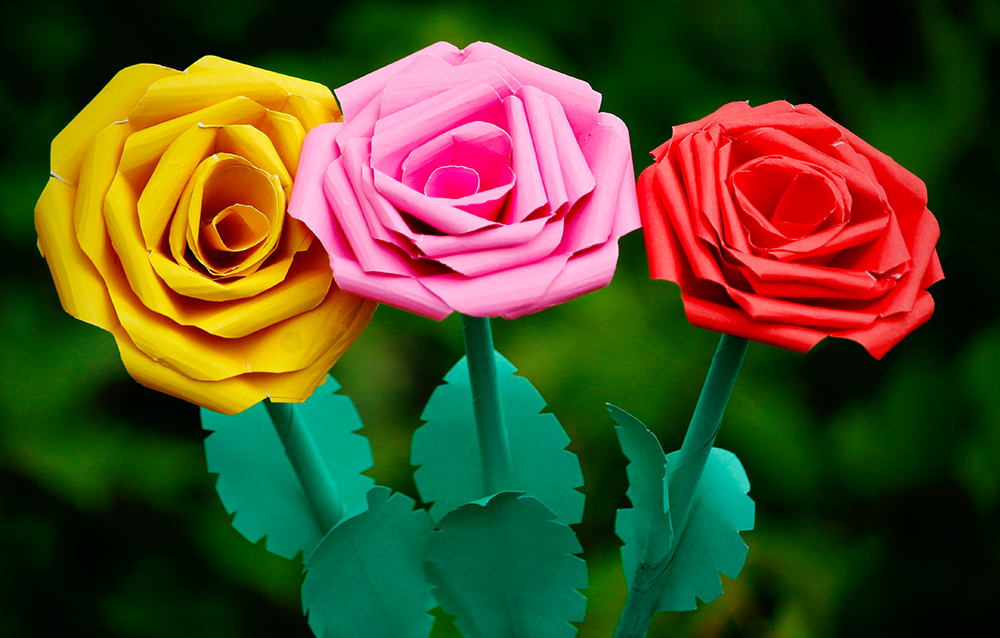
Finishing Touches
Once your sculpture is fully hardened, you can add finishing touches such as paint or varnish.
A glossy varnish can enhance the appearance of the sculpture and provide an additional layer of protection.
If you're using paint, make sure it's compatible with the hardening medium you've chosen and apply it in a thin layer to preserve the details of your sculpture.
Troubleshooting Common Issues
Sometimes, despite your best efforts, you may encounter issues such as bubbles, brush strokes, or uneven coatings.
To prevent these problems, make sure to apply the medium in thin, even layers and use a sponge or brush with soft bristles.
If you do find imperfections, you can usually sand them down gently once the medium is fully cured.
Alternative Hardening Methods
If you're looking for a quick-drying solution, spray versions of hardening mediums can be a good option.
They're easy to apply and dry faster than their liquid counterparts.
However, they may not provide as thick of a coating, so multiple applications may be necessary.
Always use these products in a well-ventilated area to avoid inhaling fumes.
Creative Techniques for Texture
Hardening your paper sculpture doesn't mean you have to sacrifice texture.
Techniques such as decoupage can add interesting patterns and textures to your piece.
By layering papers with different thicknesses and applying the hardening medium, you can create a unique surface that's both visually appealing and durable.
Seal the Deal: Standing the Test of Time
In the delicate dance of paper sculpting, hardening is the grand finale that ensures your creation's longevity and resilience.
It's the meticulous process that transforms a fragile idea into a steadfast statement piece.
By choosing the appropriate materials and applying them with precision, you're not just preserving art; you're setting the stage for it to inspire awe for years to come.
Reinforcement and finishing are the cherries on top that not only strengthen but also refine your sculpture's presence.
Embrace the journey of patience and meticulous care, and watch as your paper sculptures rise to the occasion, ready to withstand the gaze of time and admiration.
With patience and attention to detail, you can transform your delicate paper projects into resilient works of art, so let's get crafting!
Paper Sculpture FAQs
Embarking on the delicate art of paper sculpture can be as thrilling as it is intricate.
With each fold, cut, and curve, your creation comes to life, but it's the final touches that transform it from a fragile piece to a sturdy work of art.
Questions about the hardening process are common, and rightly so, as it's the critical step that ensures the longevity and resilience of your masterpiece.
Whether you're a seasoned paper sculptor or a curious beginner, we're here to guide you through the nuances of hardening mediums, glue choices, and troubleshooting tips to keep your sculpture in perfect form.
Let's dive into the most pressing questions artists like you have, ensuring your next project not only impresses but endures.
How many coats of hardening medium should I apply to my paper sculpture?
It's recommended to apply a few coats of hardening medium, allowing each coat to dry completely before applying the next. The exact number of coats will depend on the type of medium used and the desired level of hardness.
Can I use regular white glue to harden my paper sculpture?
Yes, white glue can be used to stiffen paper, but it may not provide as much durability as specialized hardening mediums like Mod Podge or resin. It's best to use white glue in combination with other materials or for less demanding craft projects.
What should I do if my paper sculpture starts to warp during the hardening process?
Warping can occur if the paper becomes too wet or if it dries unevenly. To prevent this, apply the hardening medium in thin layers and ensure each layer is completely dry before adding the next. If warping does occur, you can try gently reshaping the sculpture while it's still slightly damp and then allowing it to dry on a flat, hard surface.
Eager to see cool paper art? Check out VICE's video!
Want even more content about creativity and art?
Be sure to check out all of our creative chronicles!
Ready to get creative with paper?
Check out our other art paper articles:
-What kind of paper do you use for paper sculptures?