Do you have a thirst for creativity and the desire to make your projects stand out?
You're in luck - decoupage is the perfect way to add that wow factor to any DIY project or artistic piece.
Decoupage is not just a fancy word for gluing things together, it's an art form that can bring your craft ideas to life.
If you are looking to add some dimension and texture to your art, then decoupage is the way to go.
With just a few tools, some paper, and a little bit of know-how, you can inject color and life into anything from furniture pieces to canvas artwork.
Read on for our tips on how you can start bringing those DIY dreams to life!
Get ready to transform your old furniture into stunning and unique conversation starters with these essential decoupage tips.
Say goodbye to mundane and hello to fabulous with decoupage.
Level up your style game with decoupage and make all your design dreams come true!
Decoupage 101
The word "decoupage" comes from the French verb "decouper," which means to cut out.
Decoupage is basically a process of gluing paper or fabric onto any surface and sealing it with a protective coating.
The best part about decoupage is that you can customize it however you want and add your own personal touch any item.
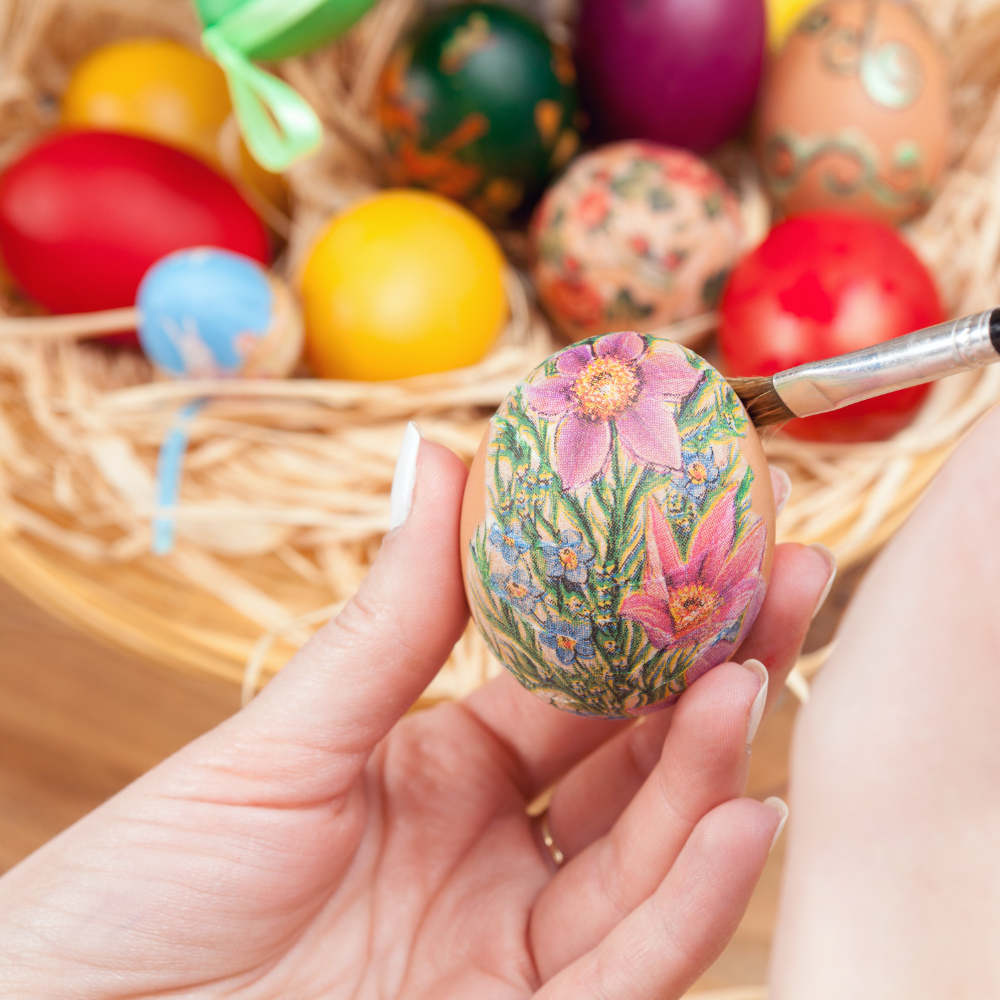
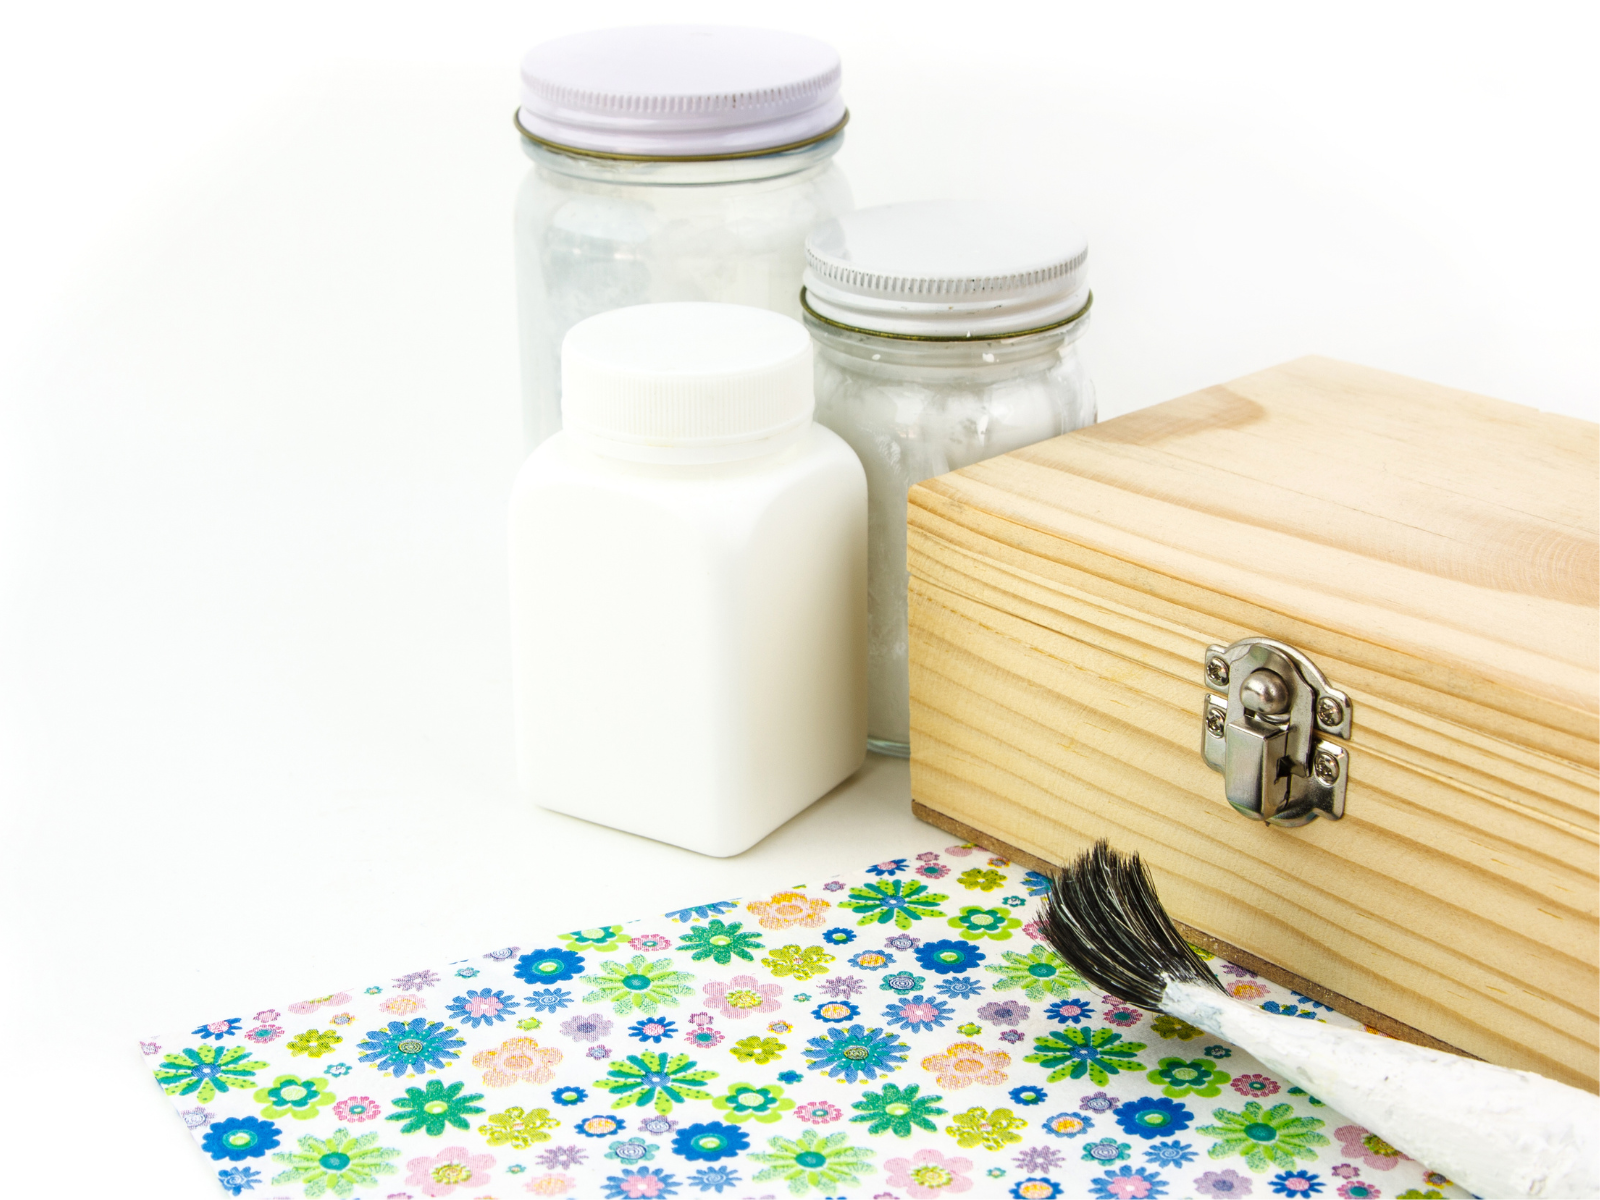
To get started, you'll need some basic art supplies, like a paint brush, decoupage glue, and your desired paper.
Once you have all your supplies, the fun begins.
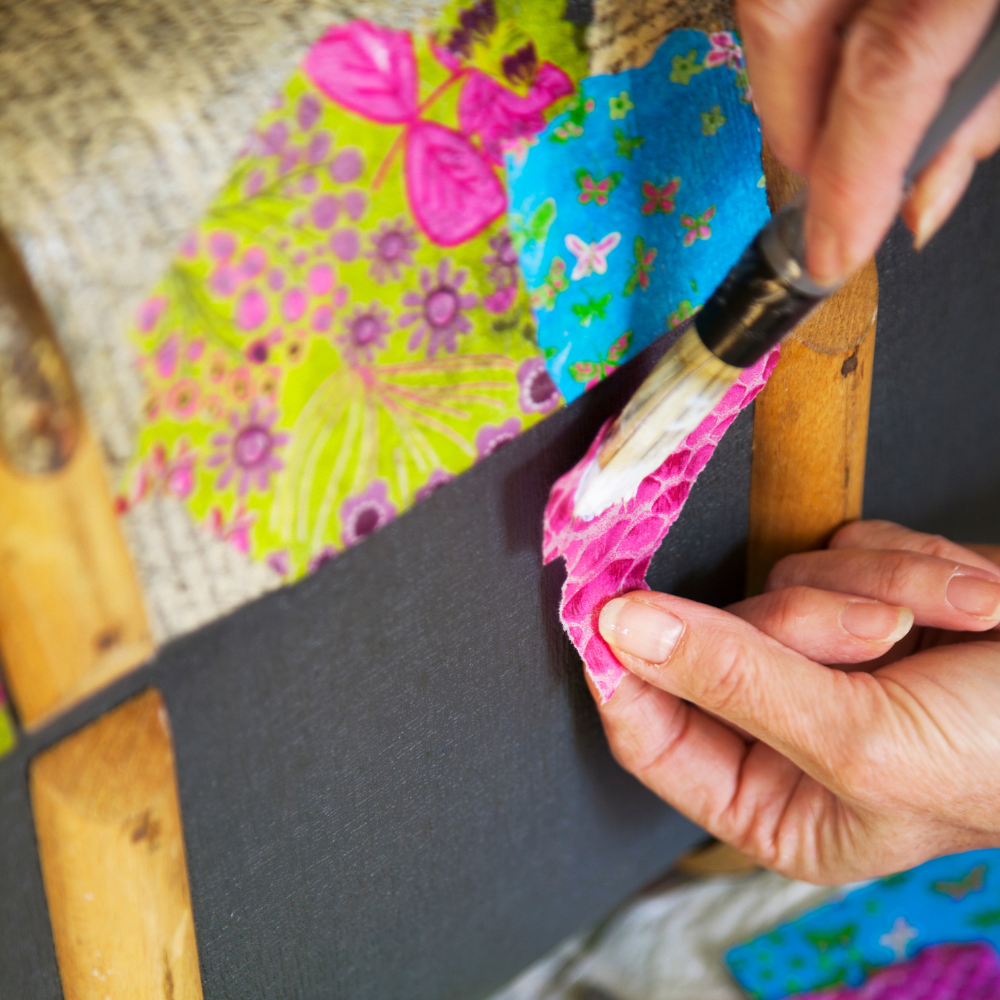
To decoupage properly, it is best to apply each layer of paper or fabric separately and allow it to dry before adding the next layer.
This will help ensure that everything is securely in place and looks great.
For the best results, make sure to use decoupage glue that is specifically designed for this purpose.
Once all your layers are dry, it's time to seal everything in with a coat of glue or varnish.
This will help ensure that your decoupage masterpiece is protected and will last for years to come.

Mastering Decoupage
Decoupage is all about creativity and experimentation, so don't be afraid to try out different techniques.
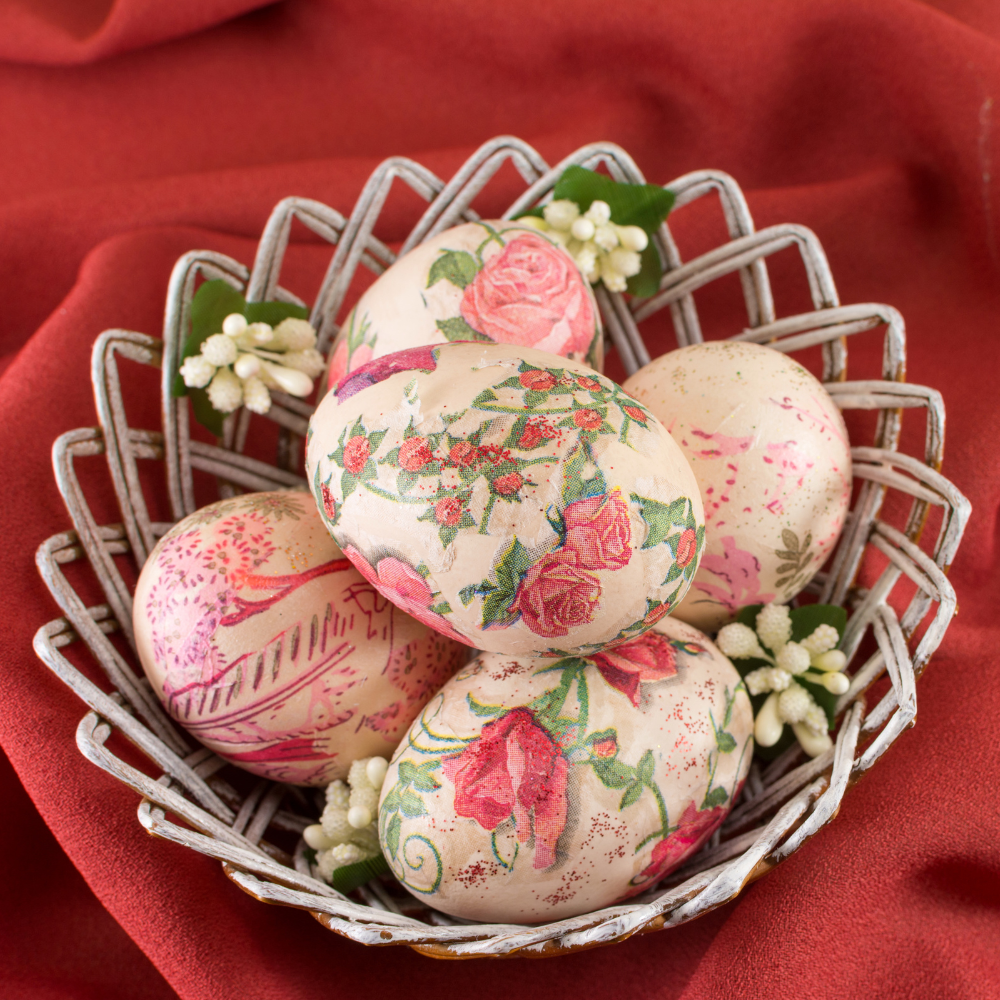
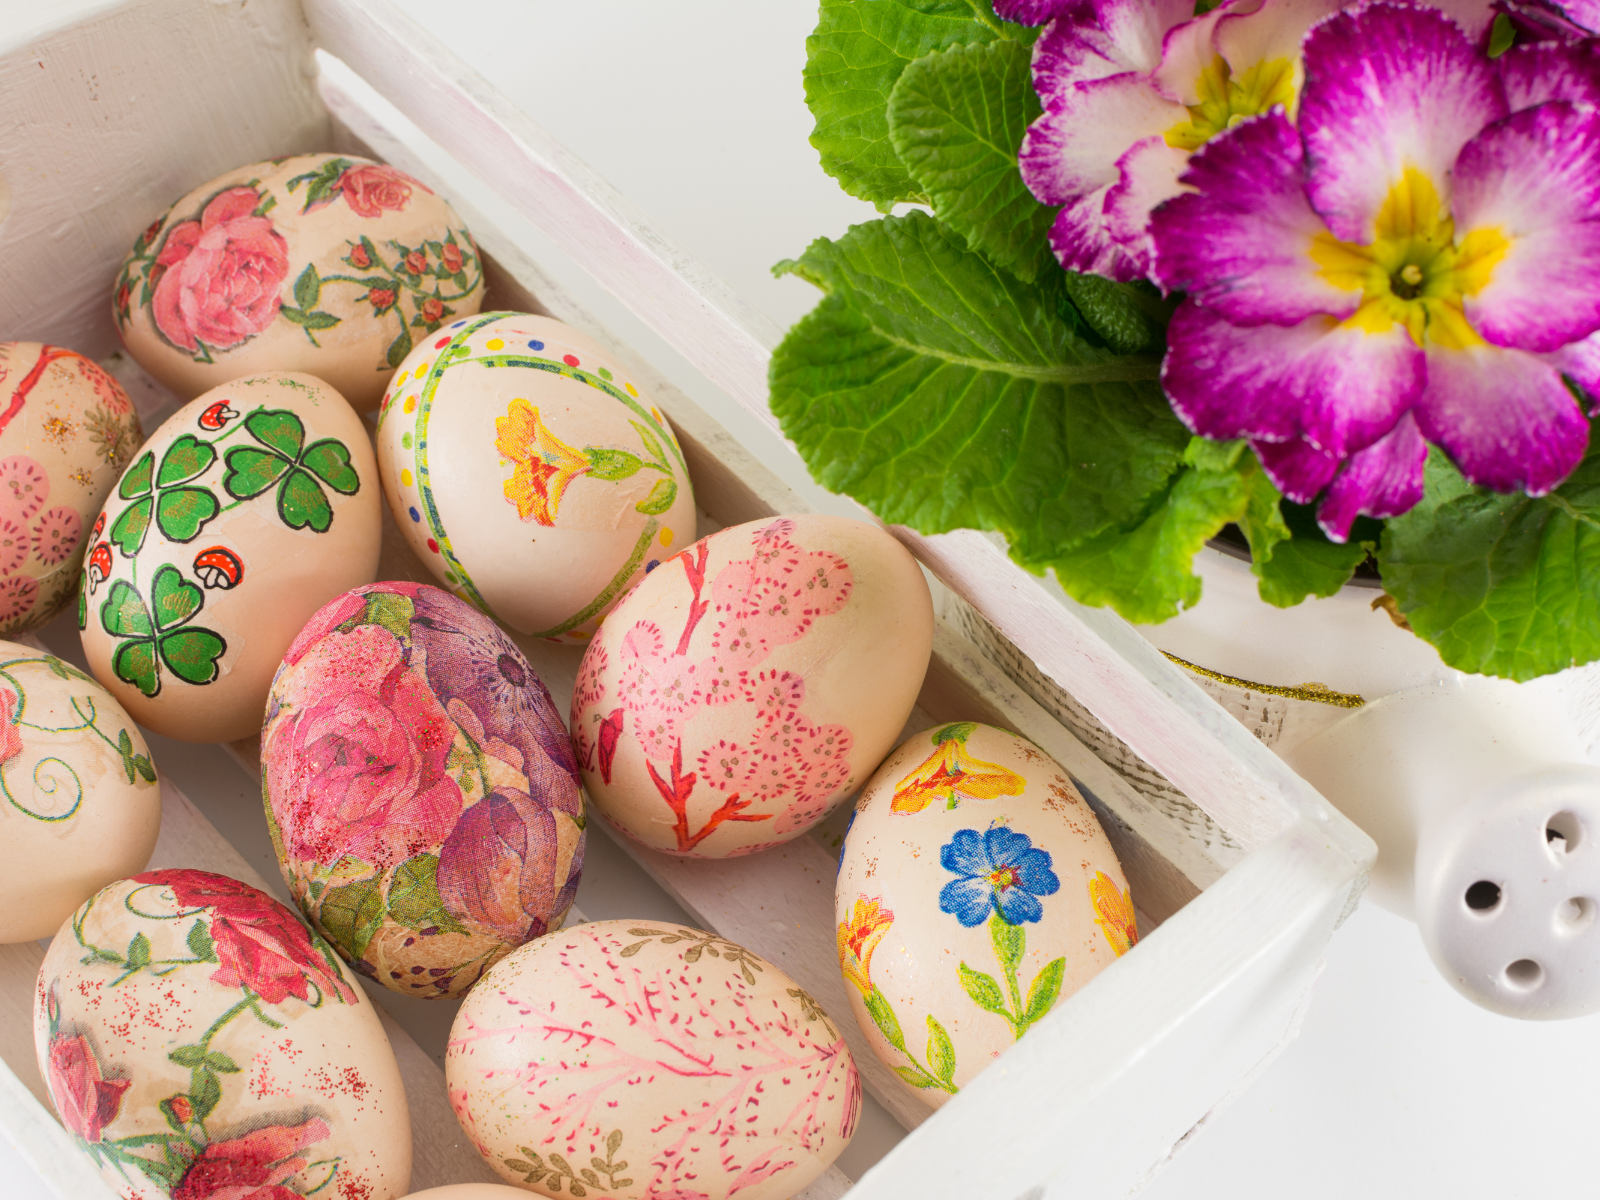
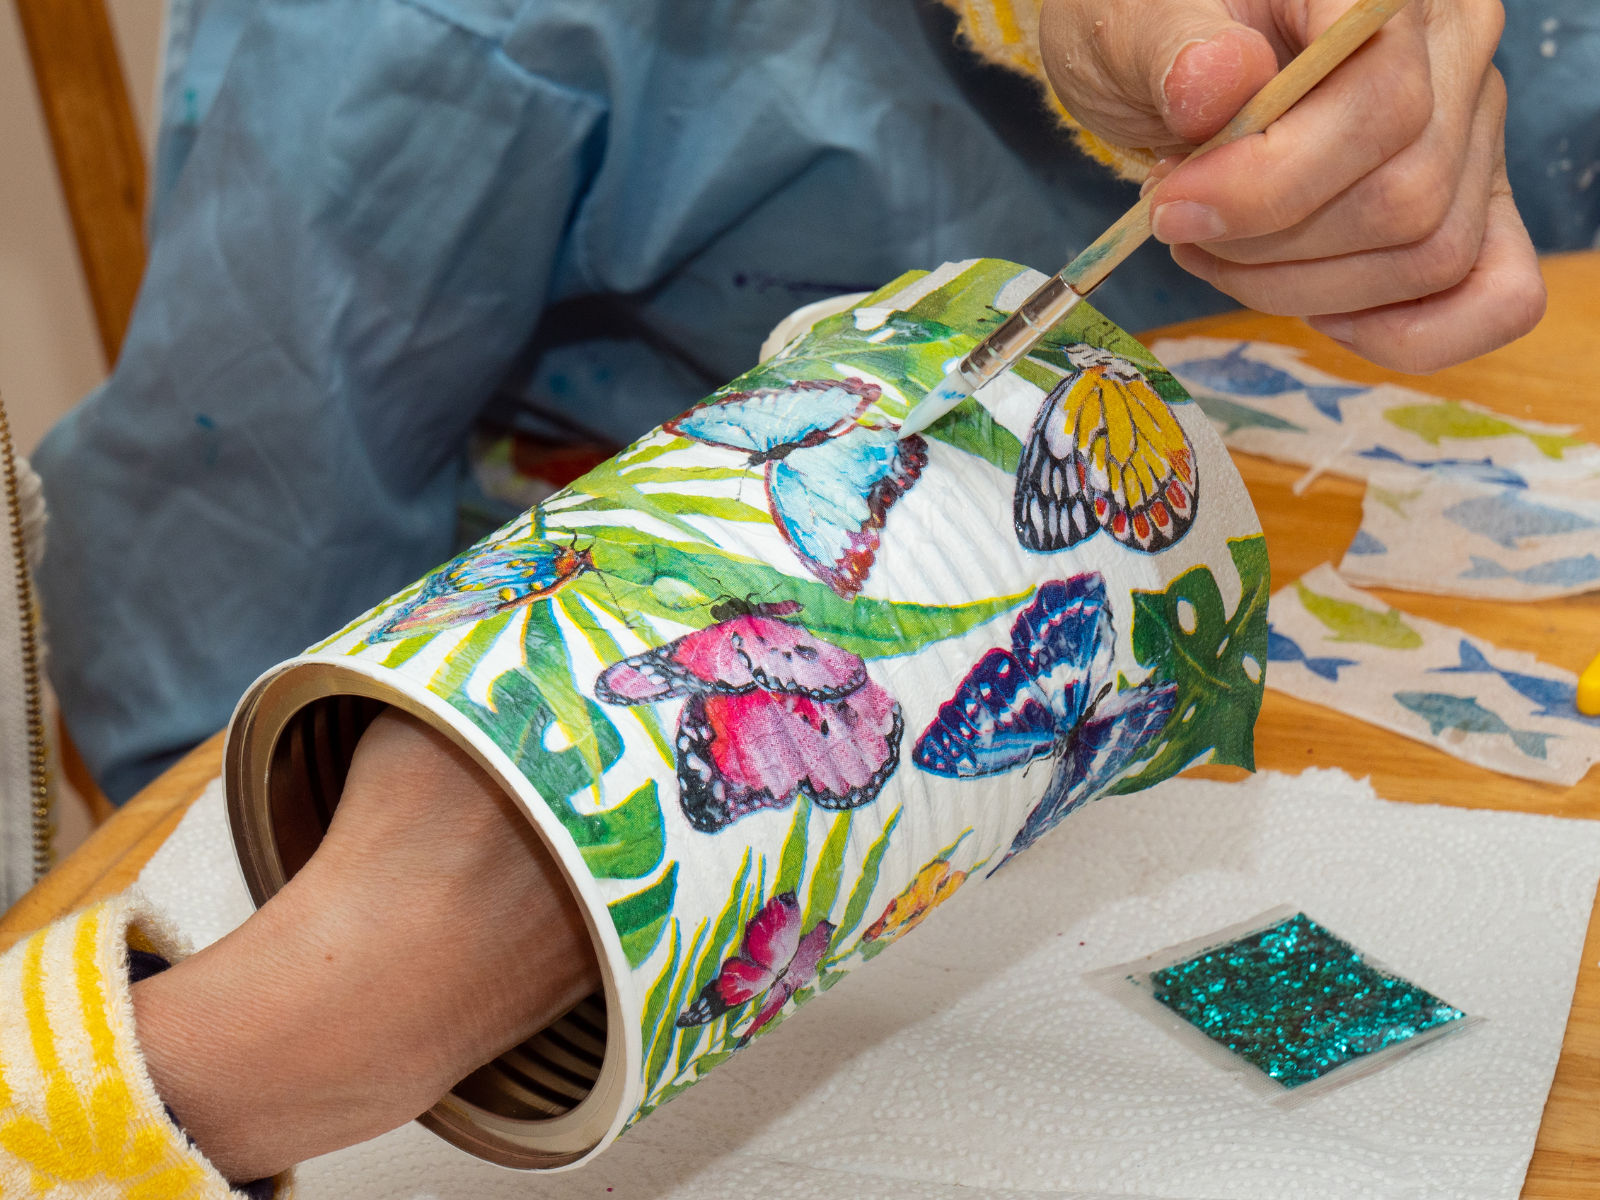
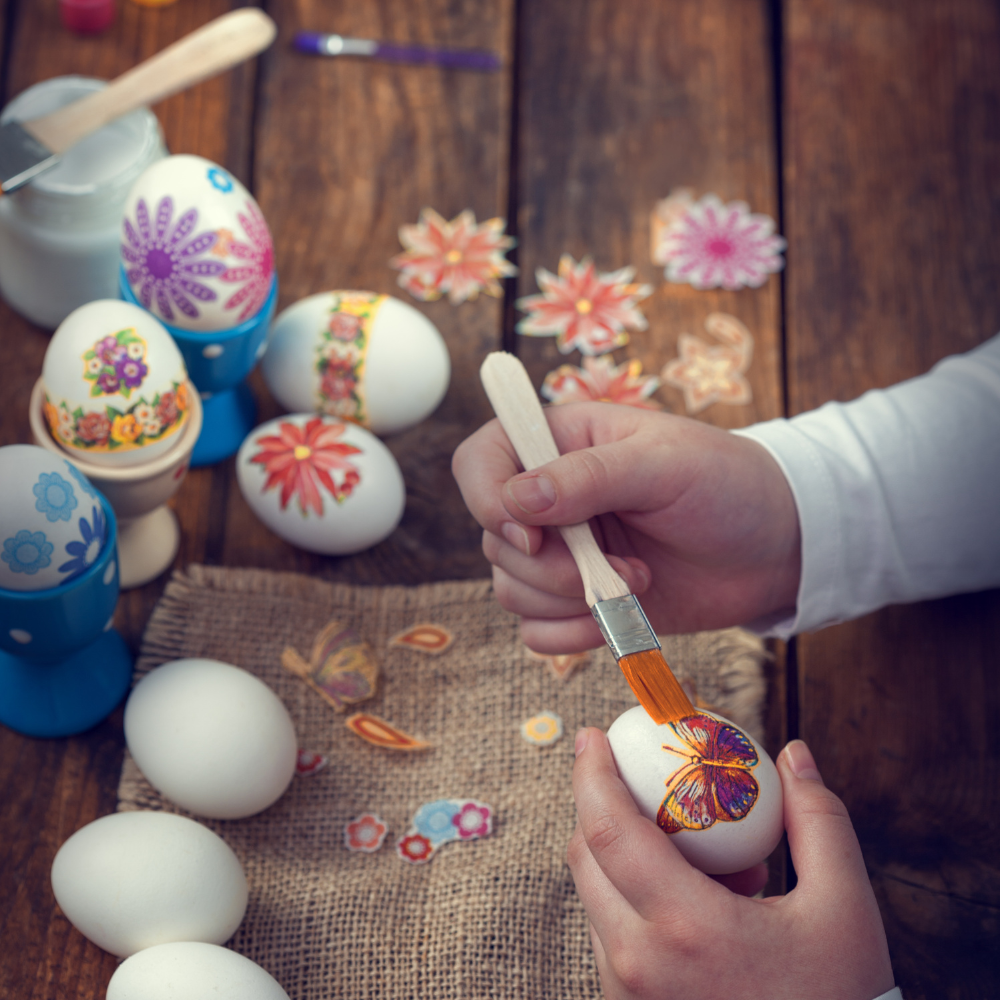
You can use tissue paper, fabric, or even newspaper to create interesting patterns and textures on your project.
You can also use stencils and stamps to add a unique touch to your masterpiece.
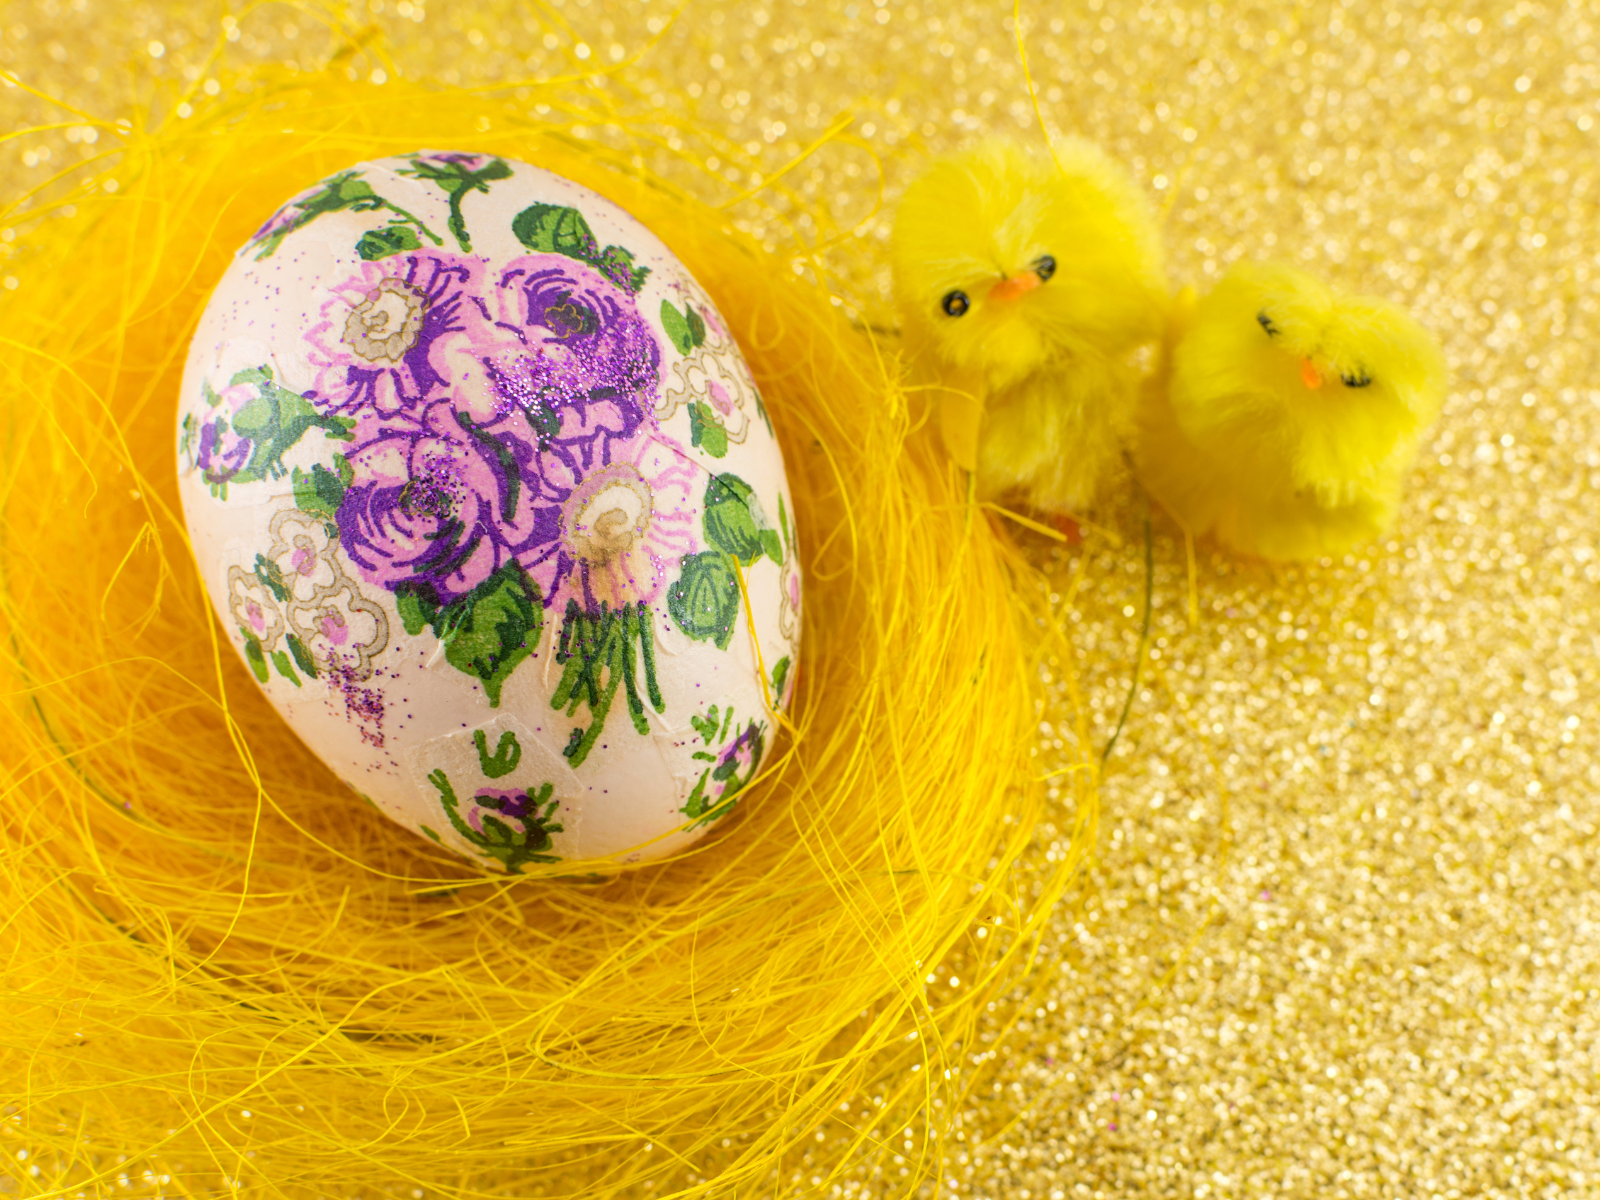
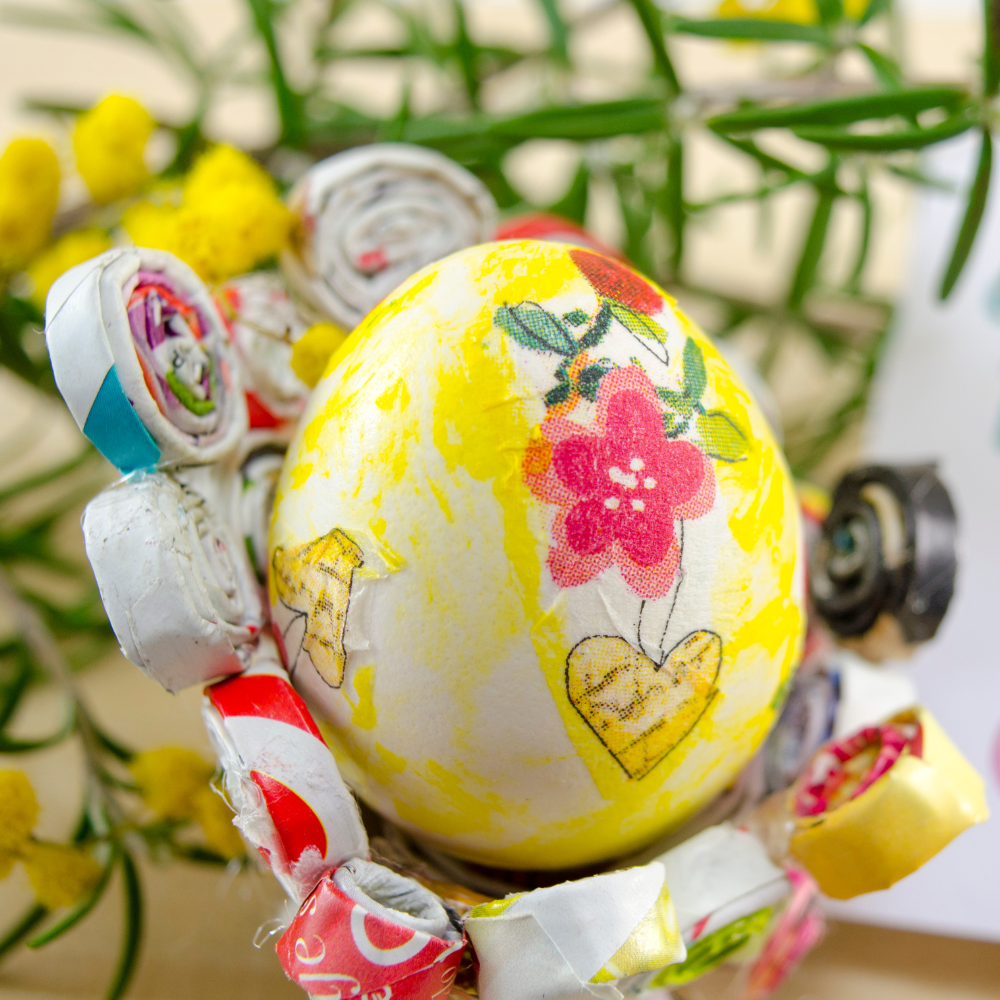
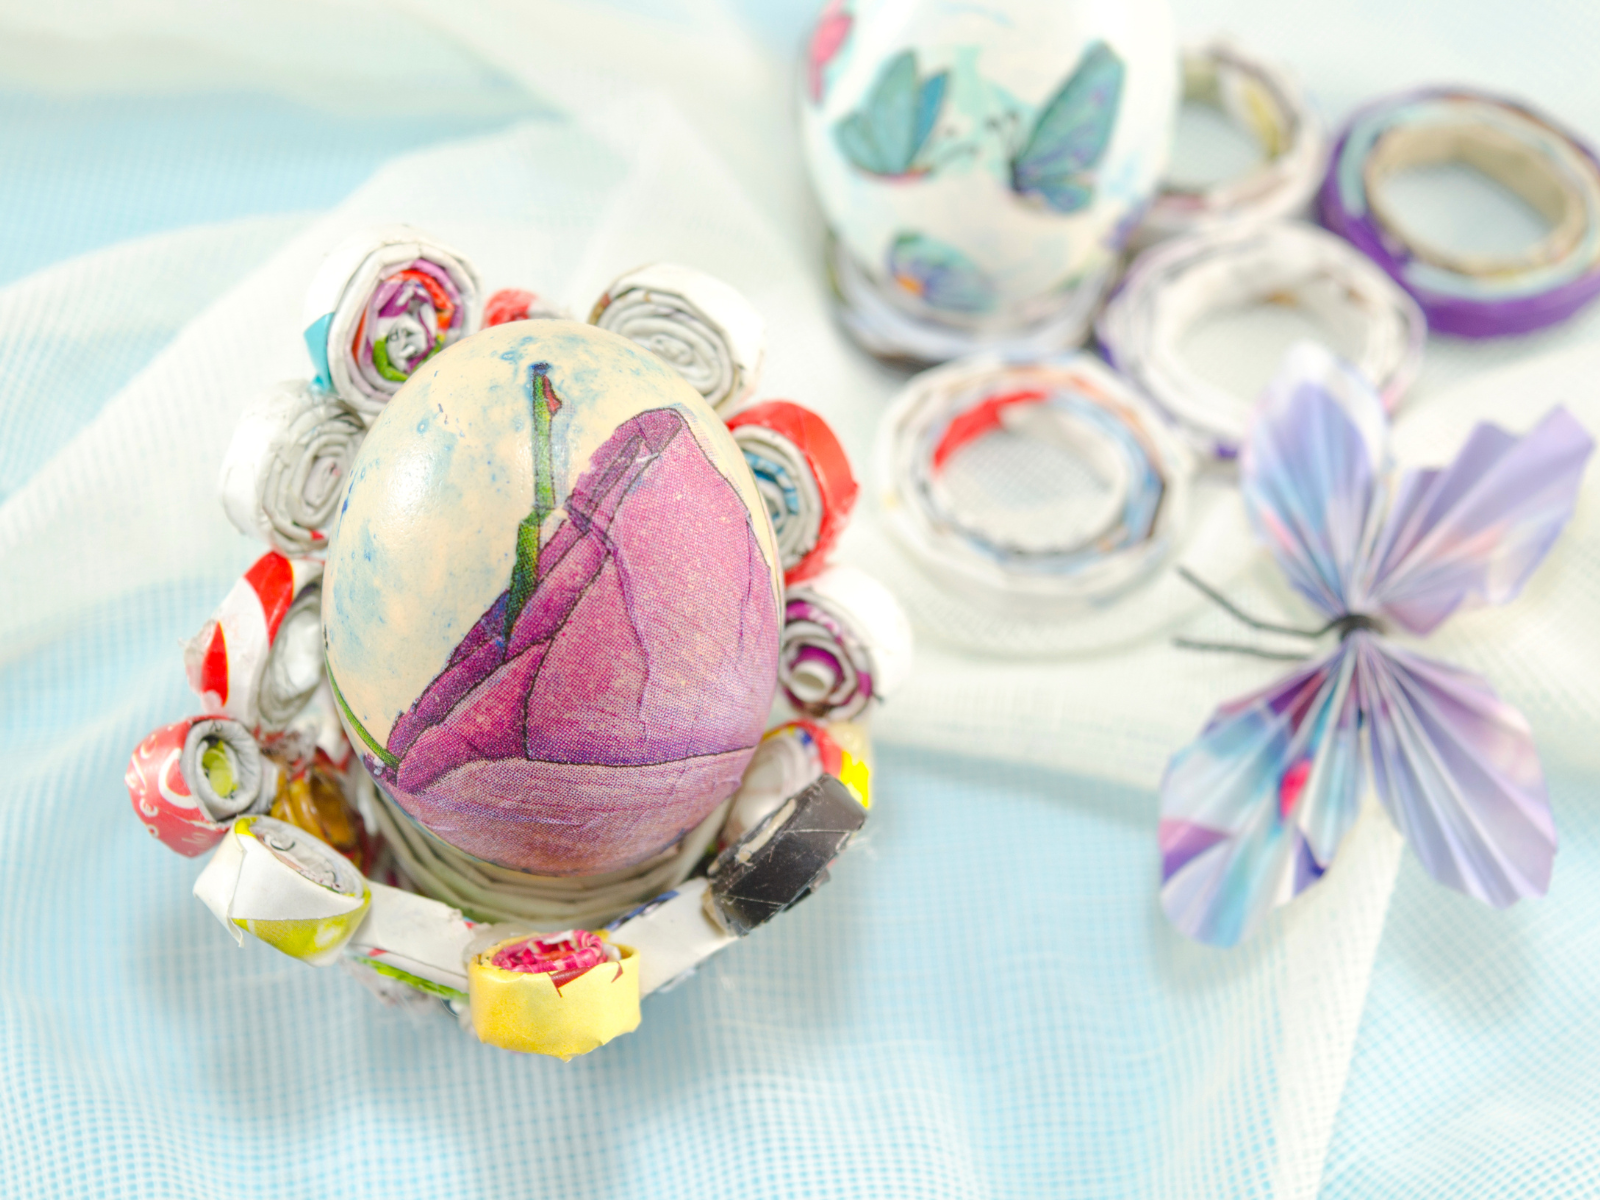
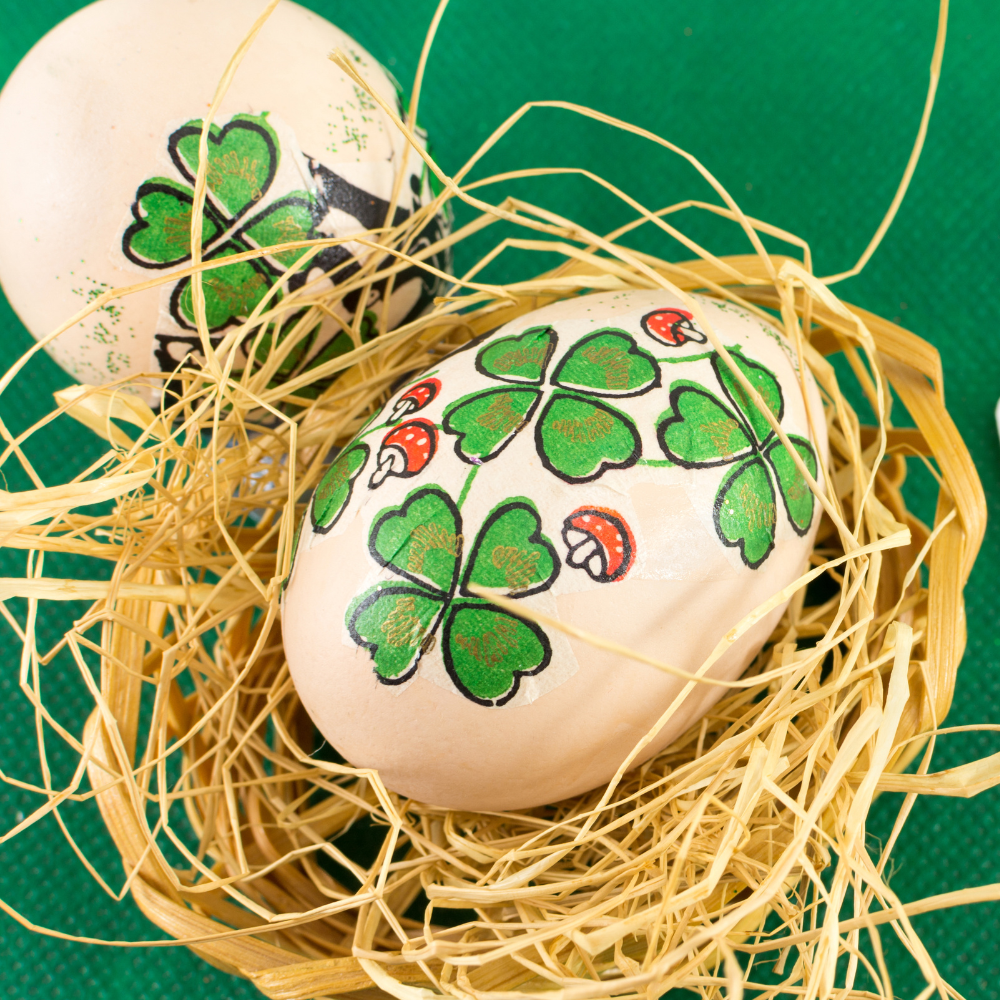
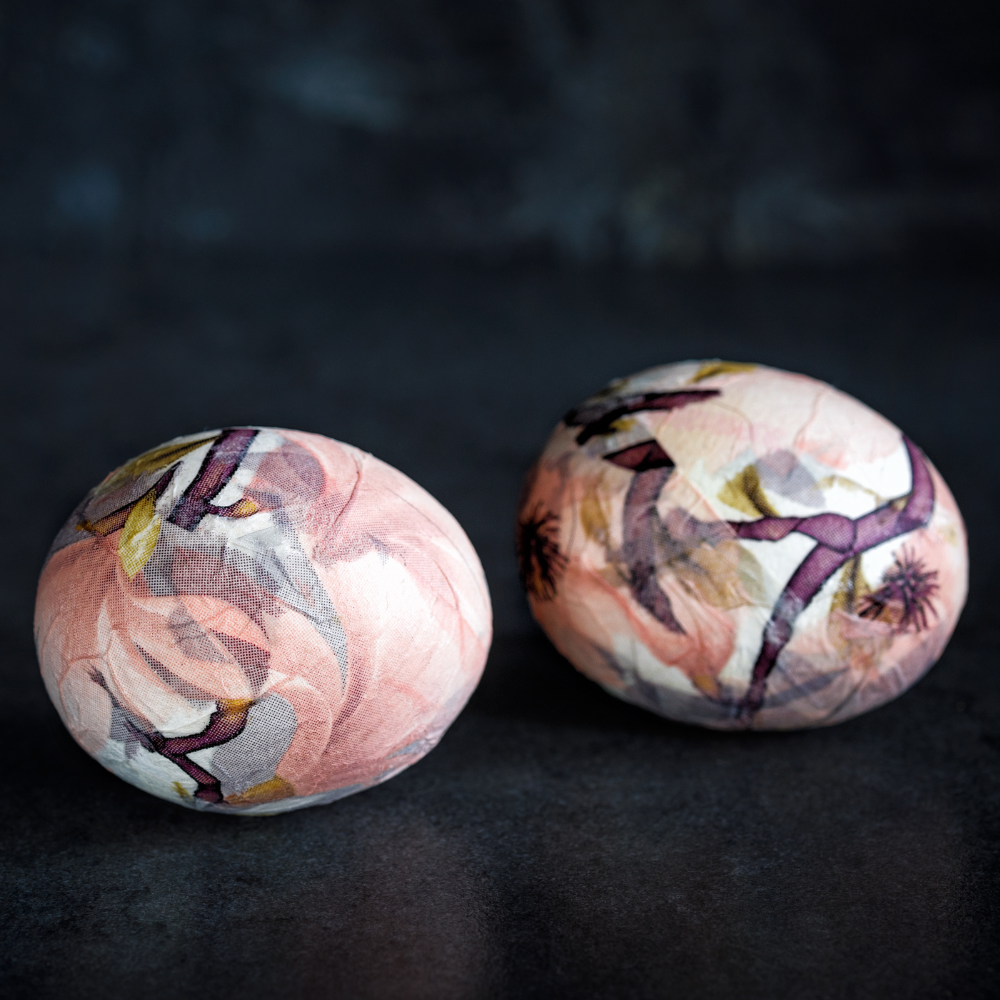
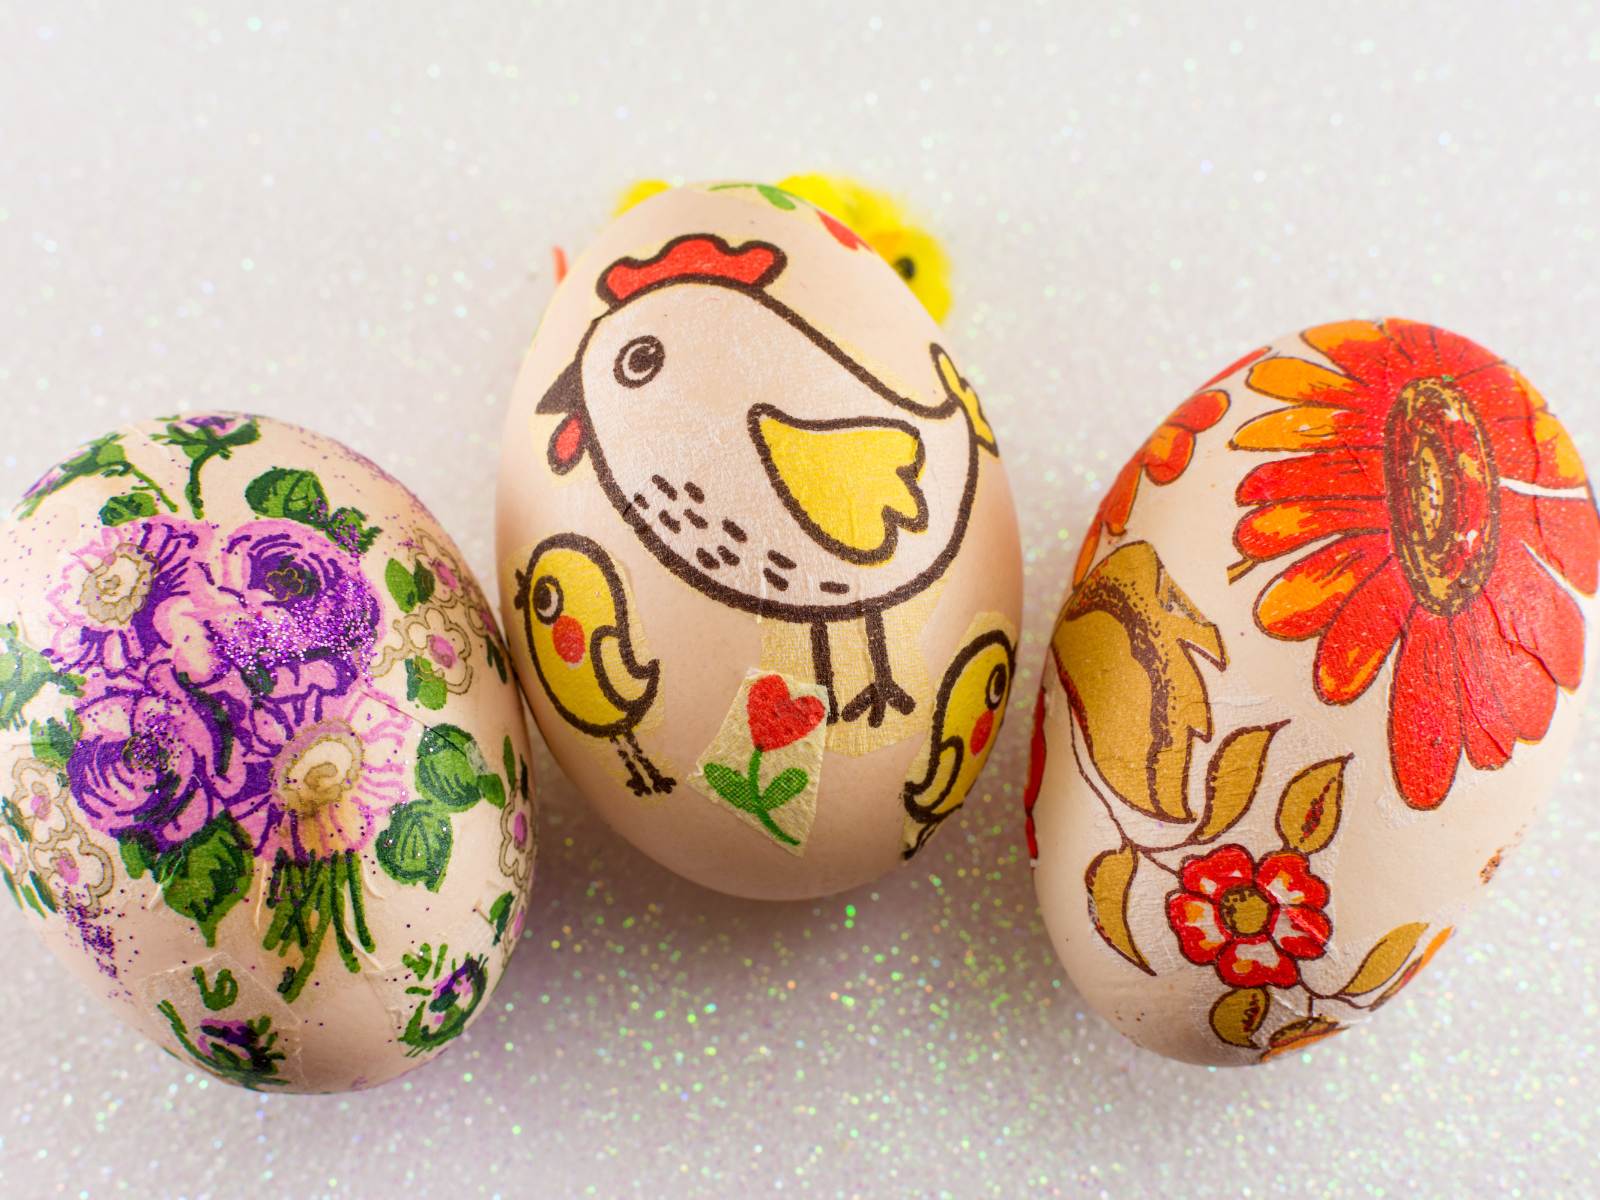
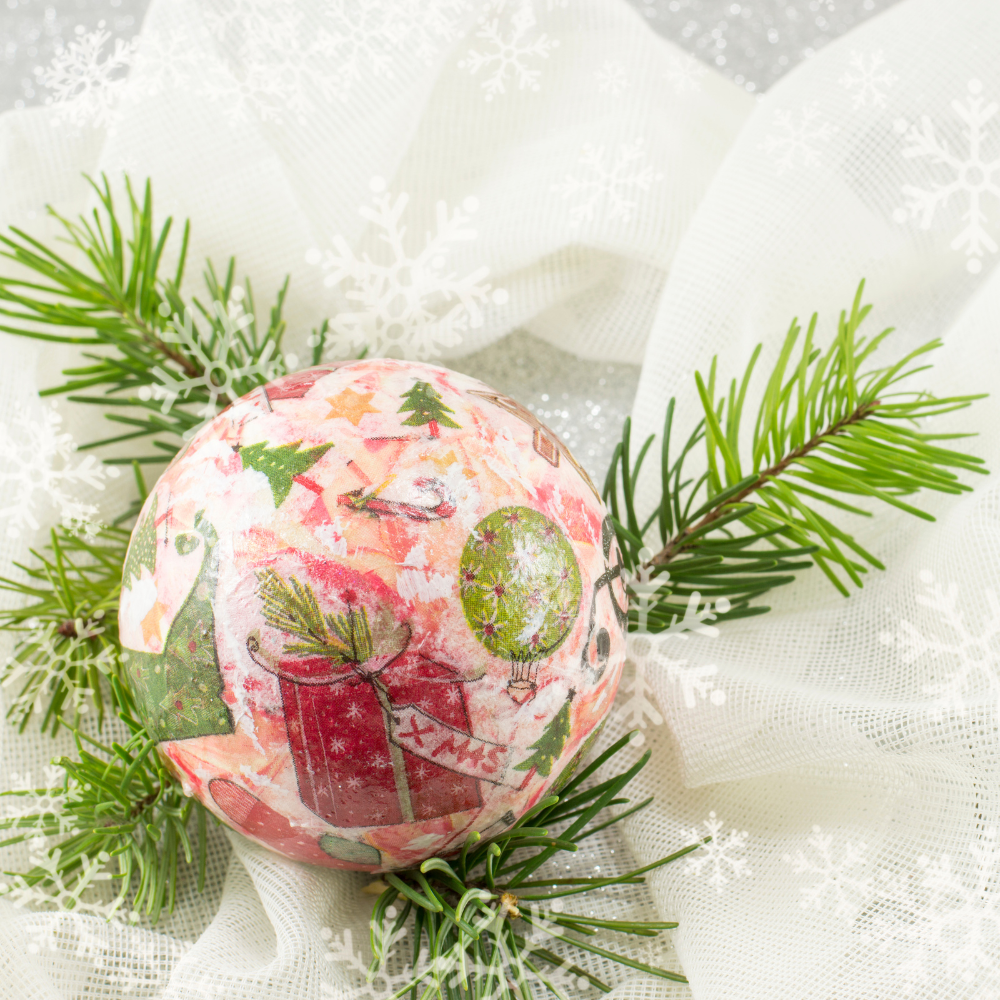
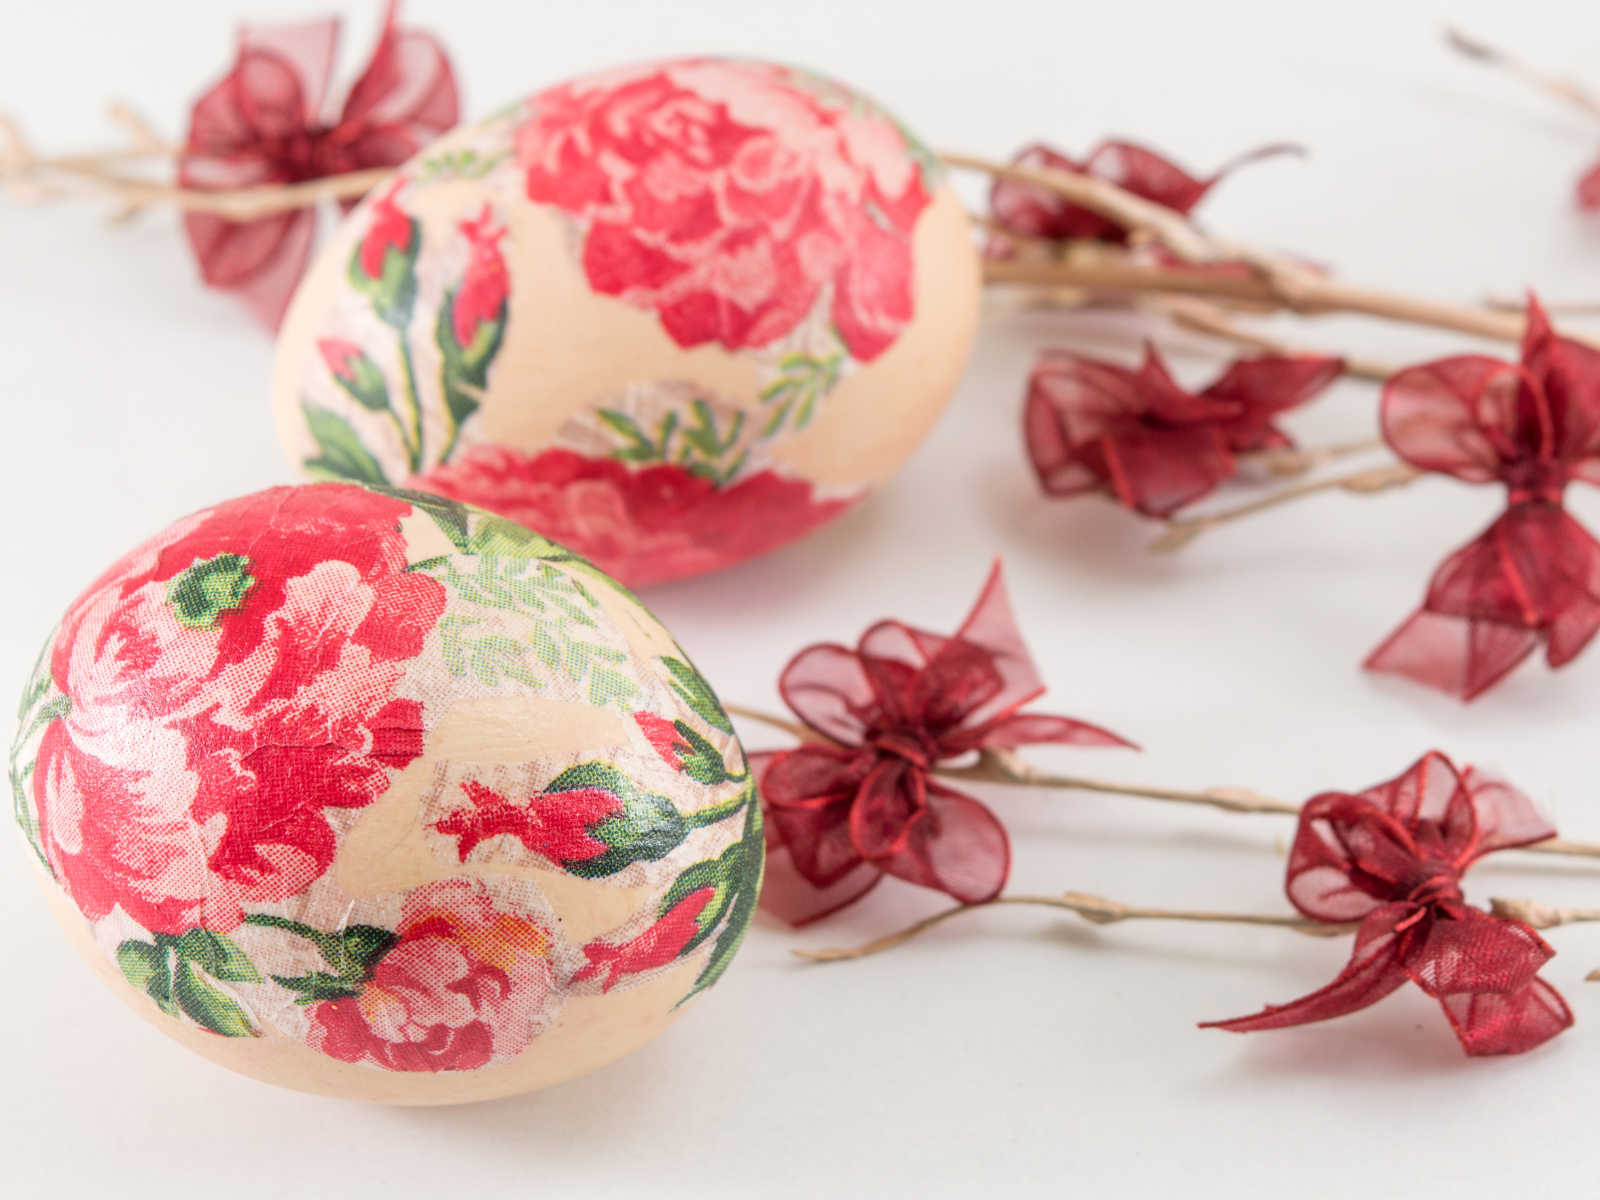
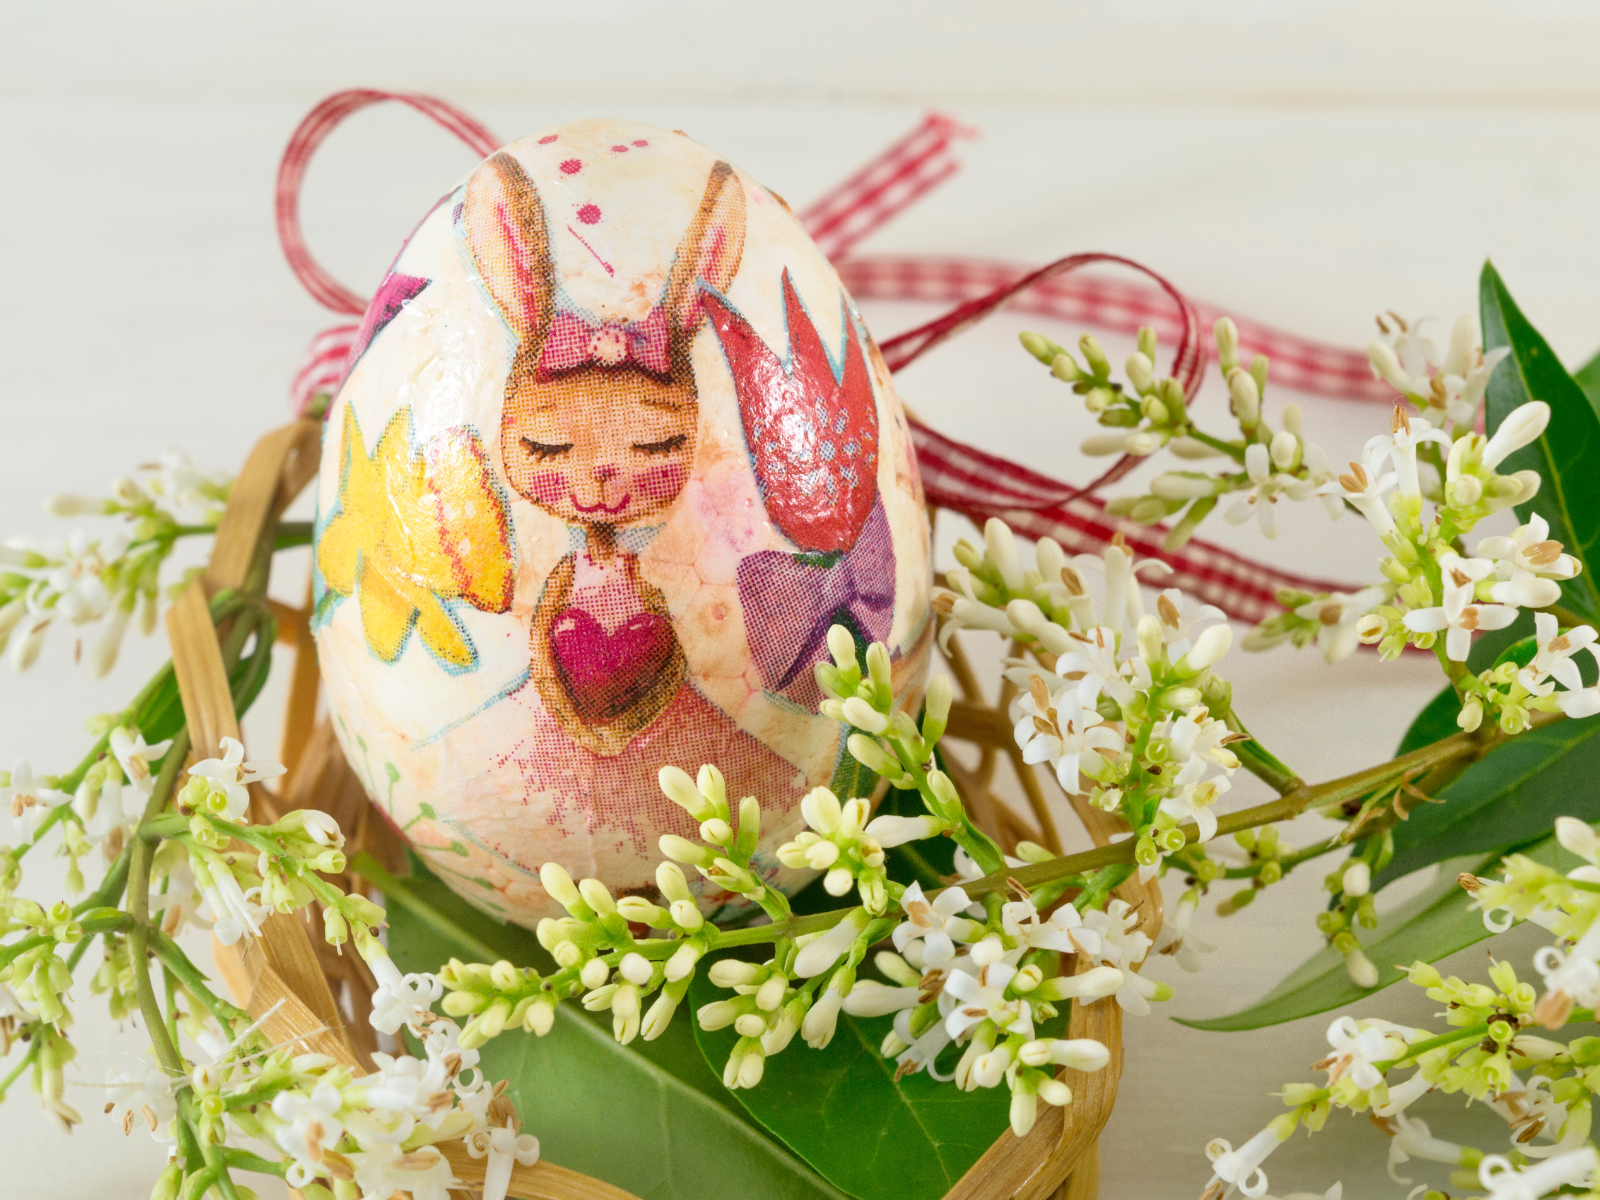
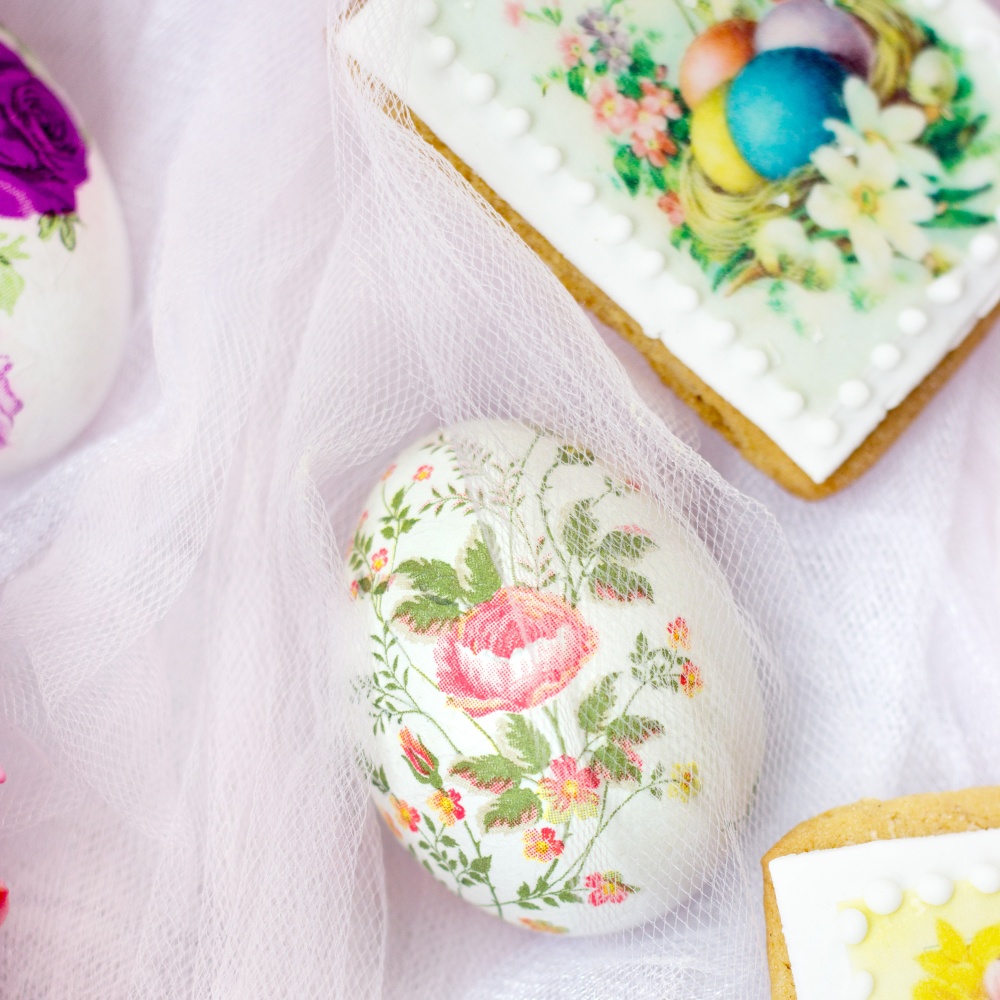
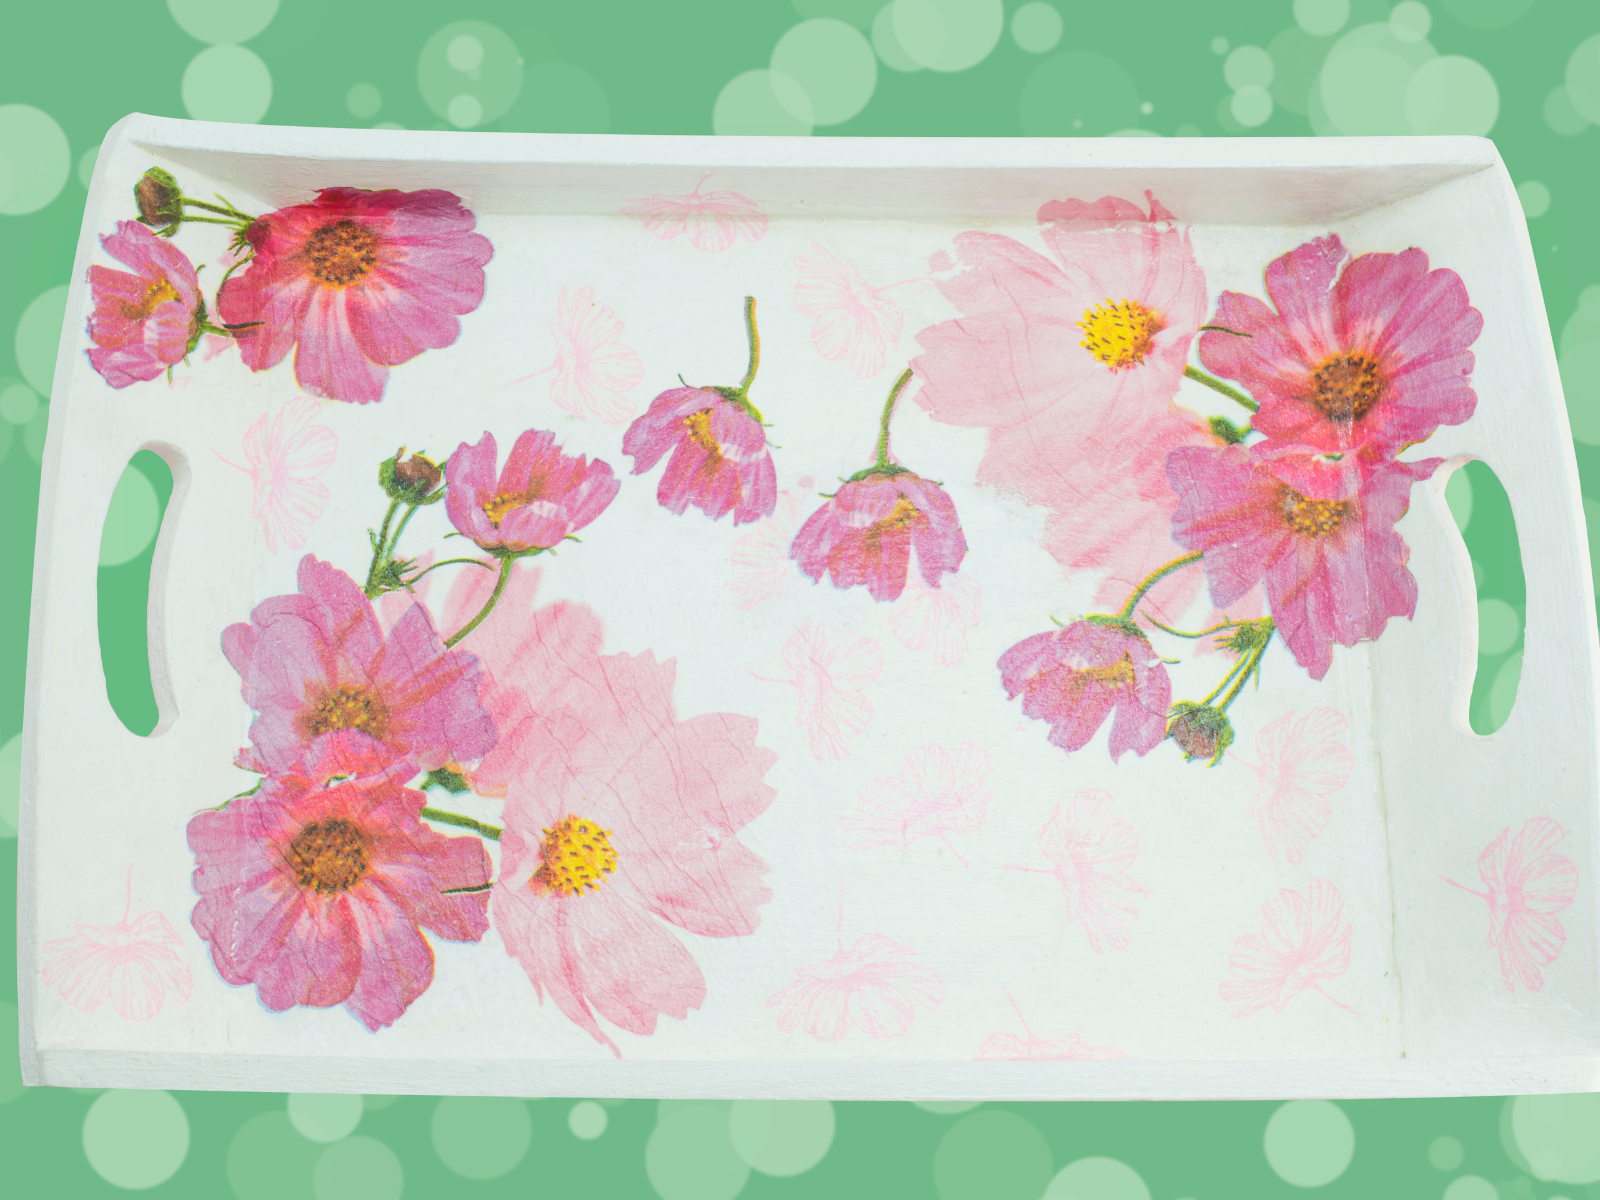
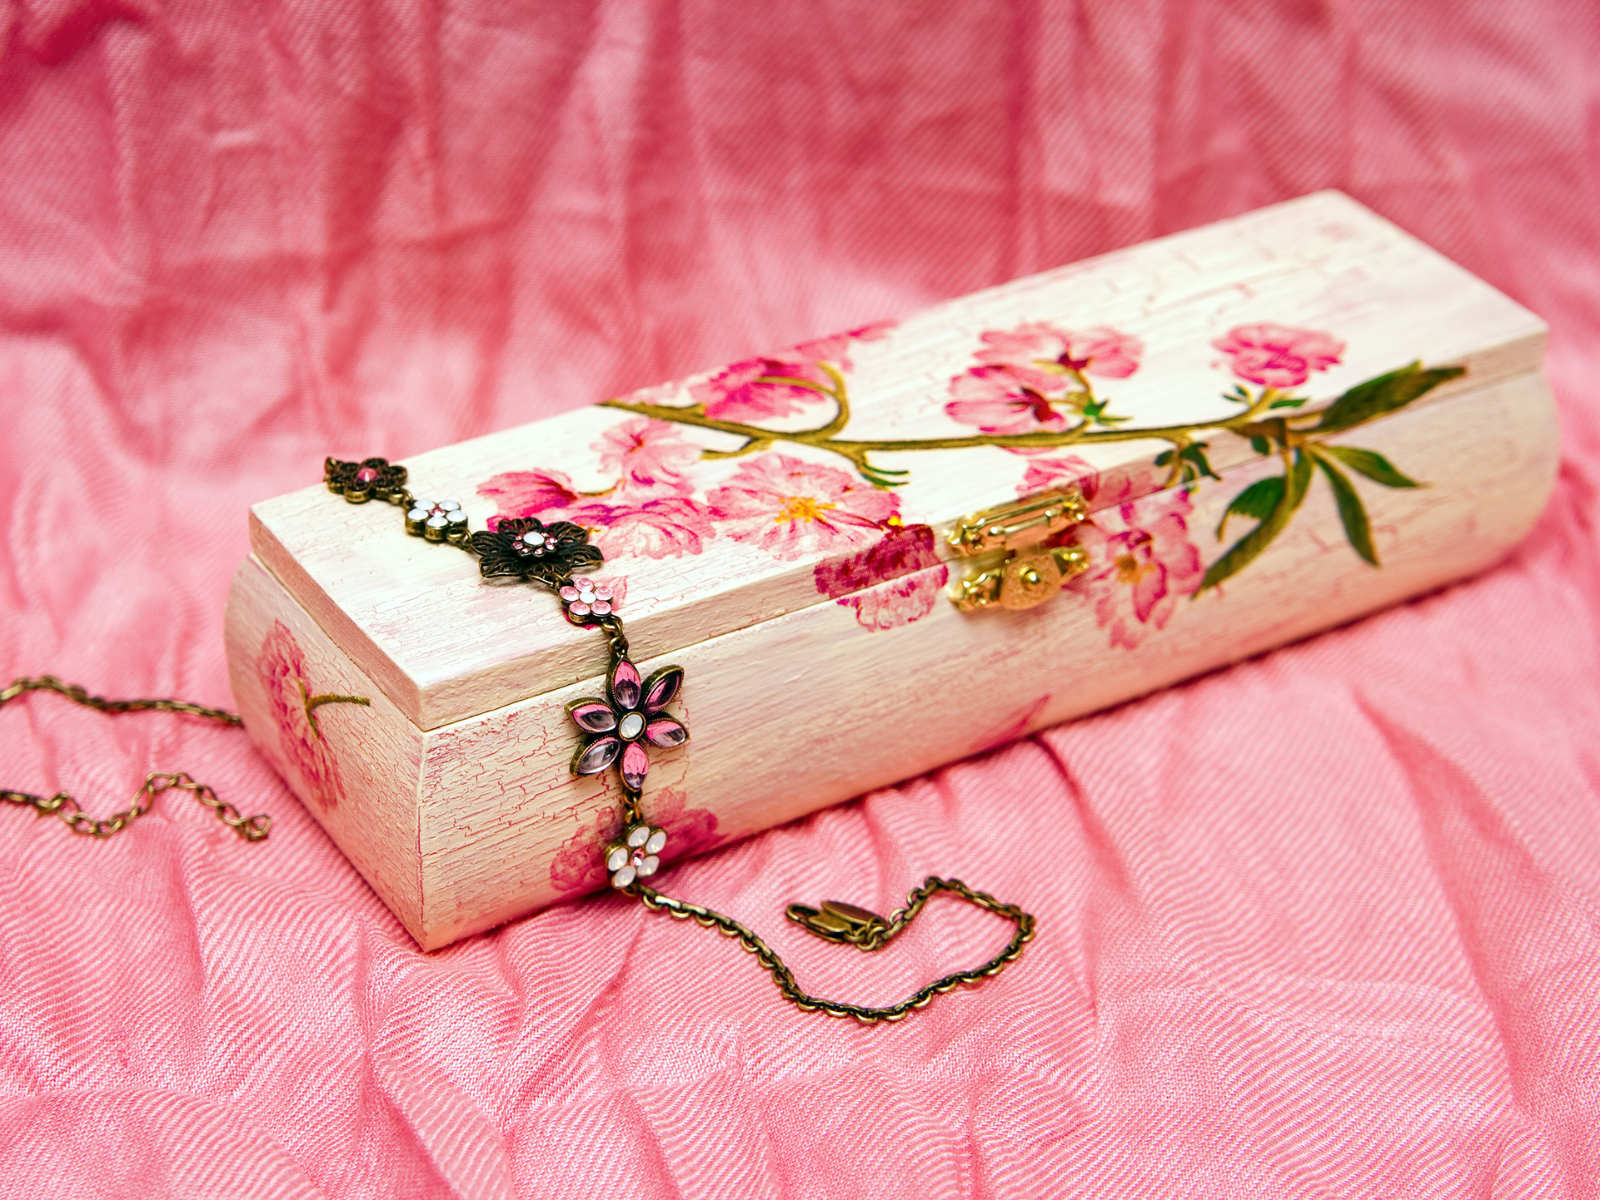
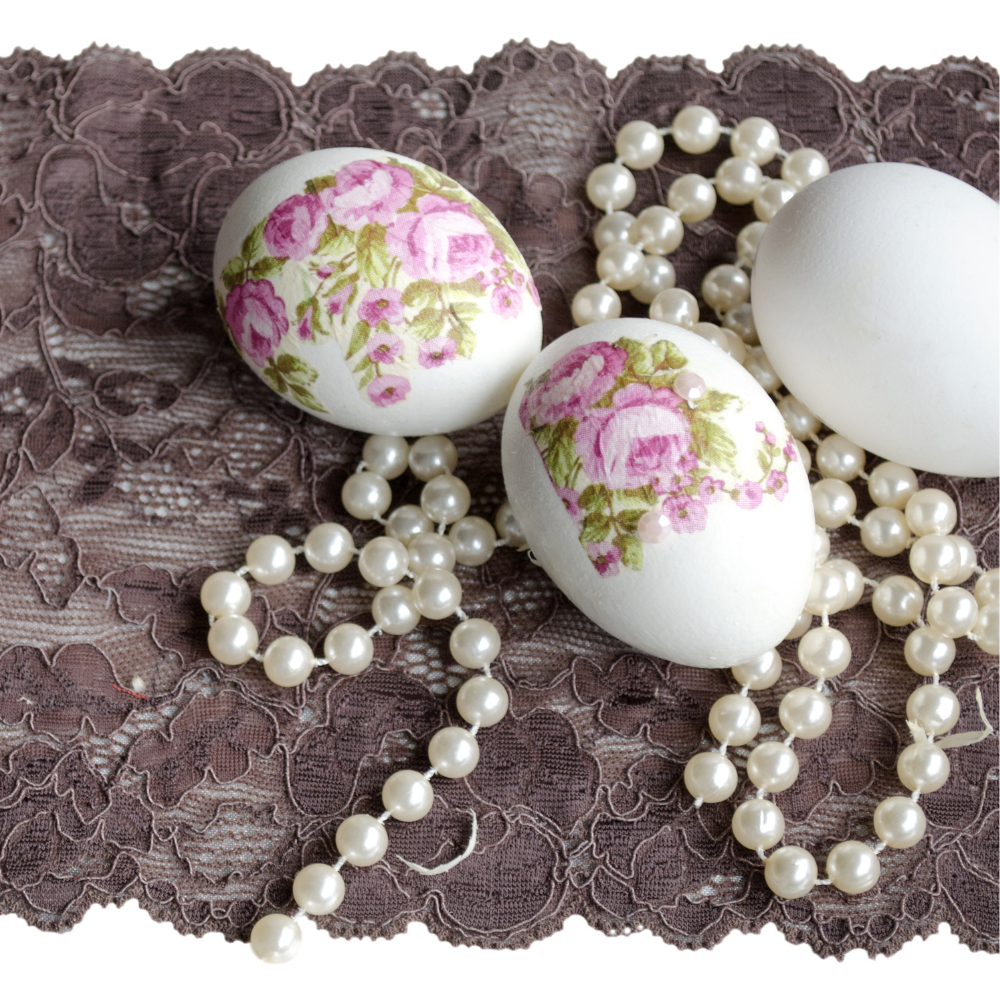
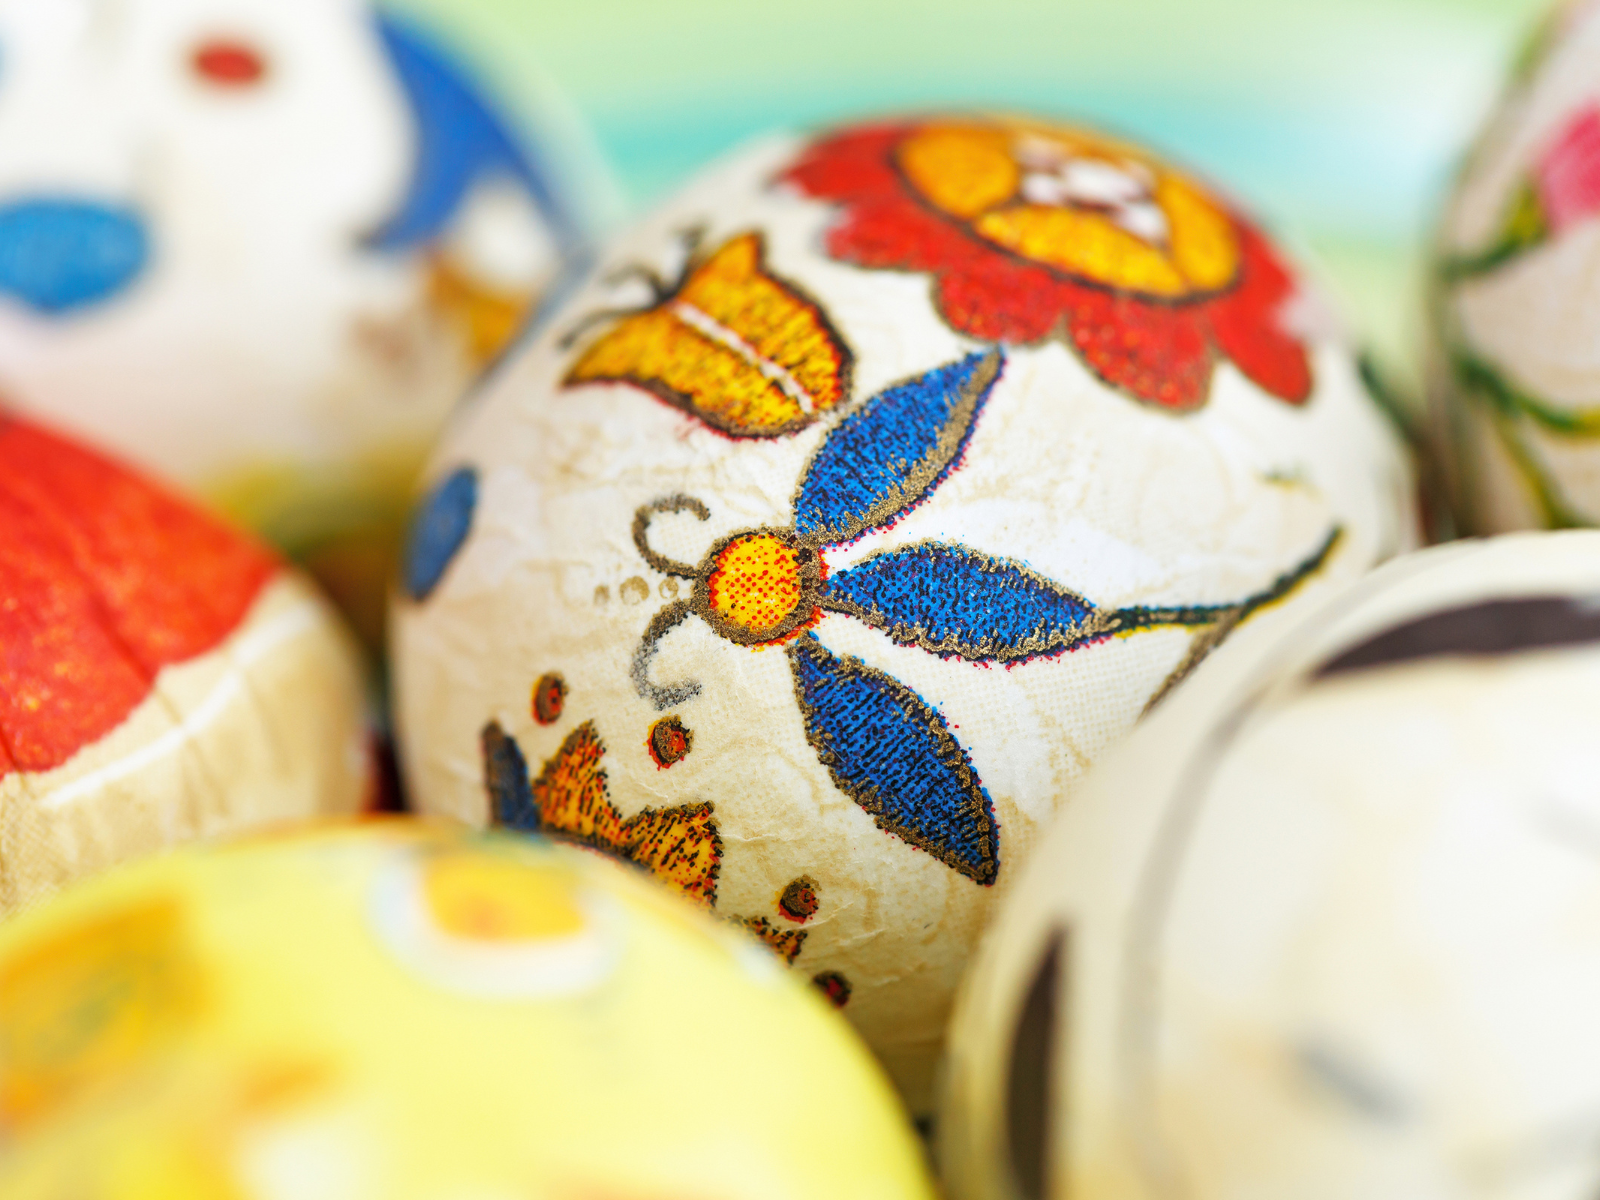
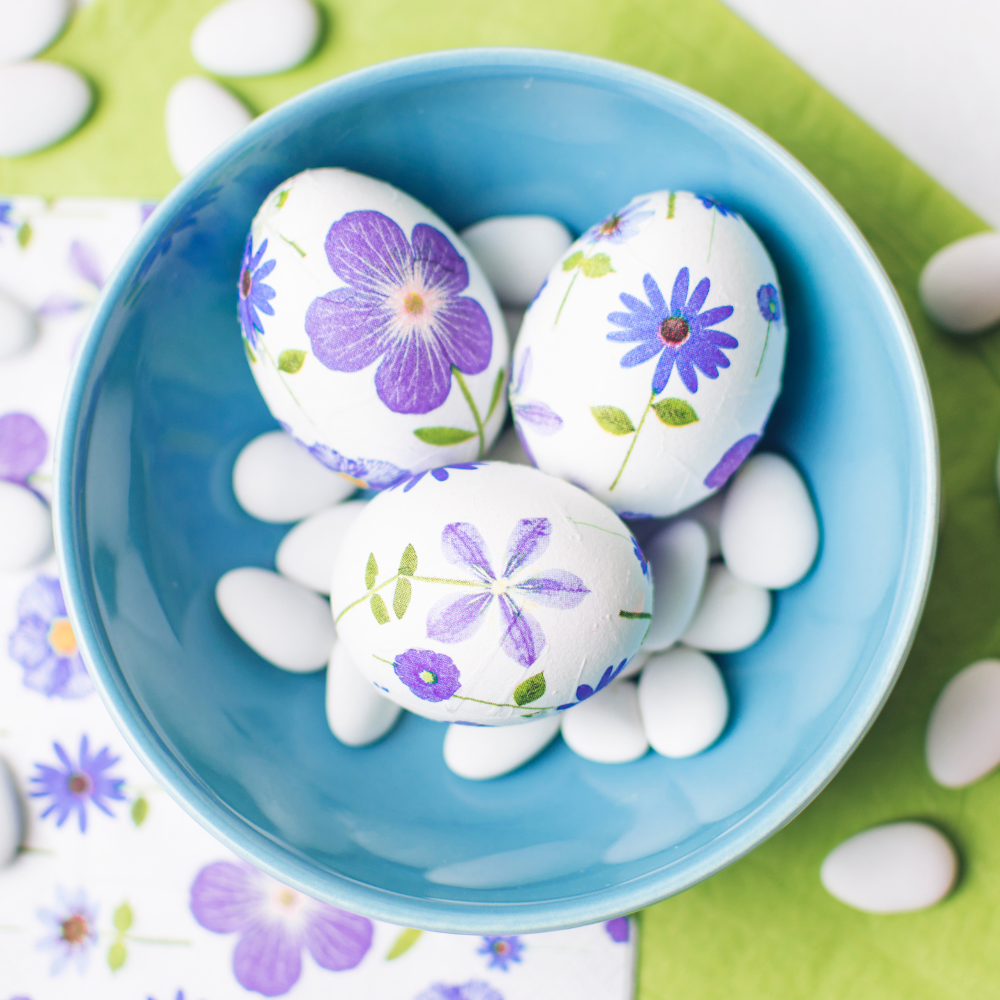
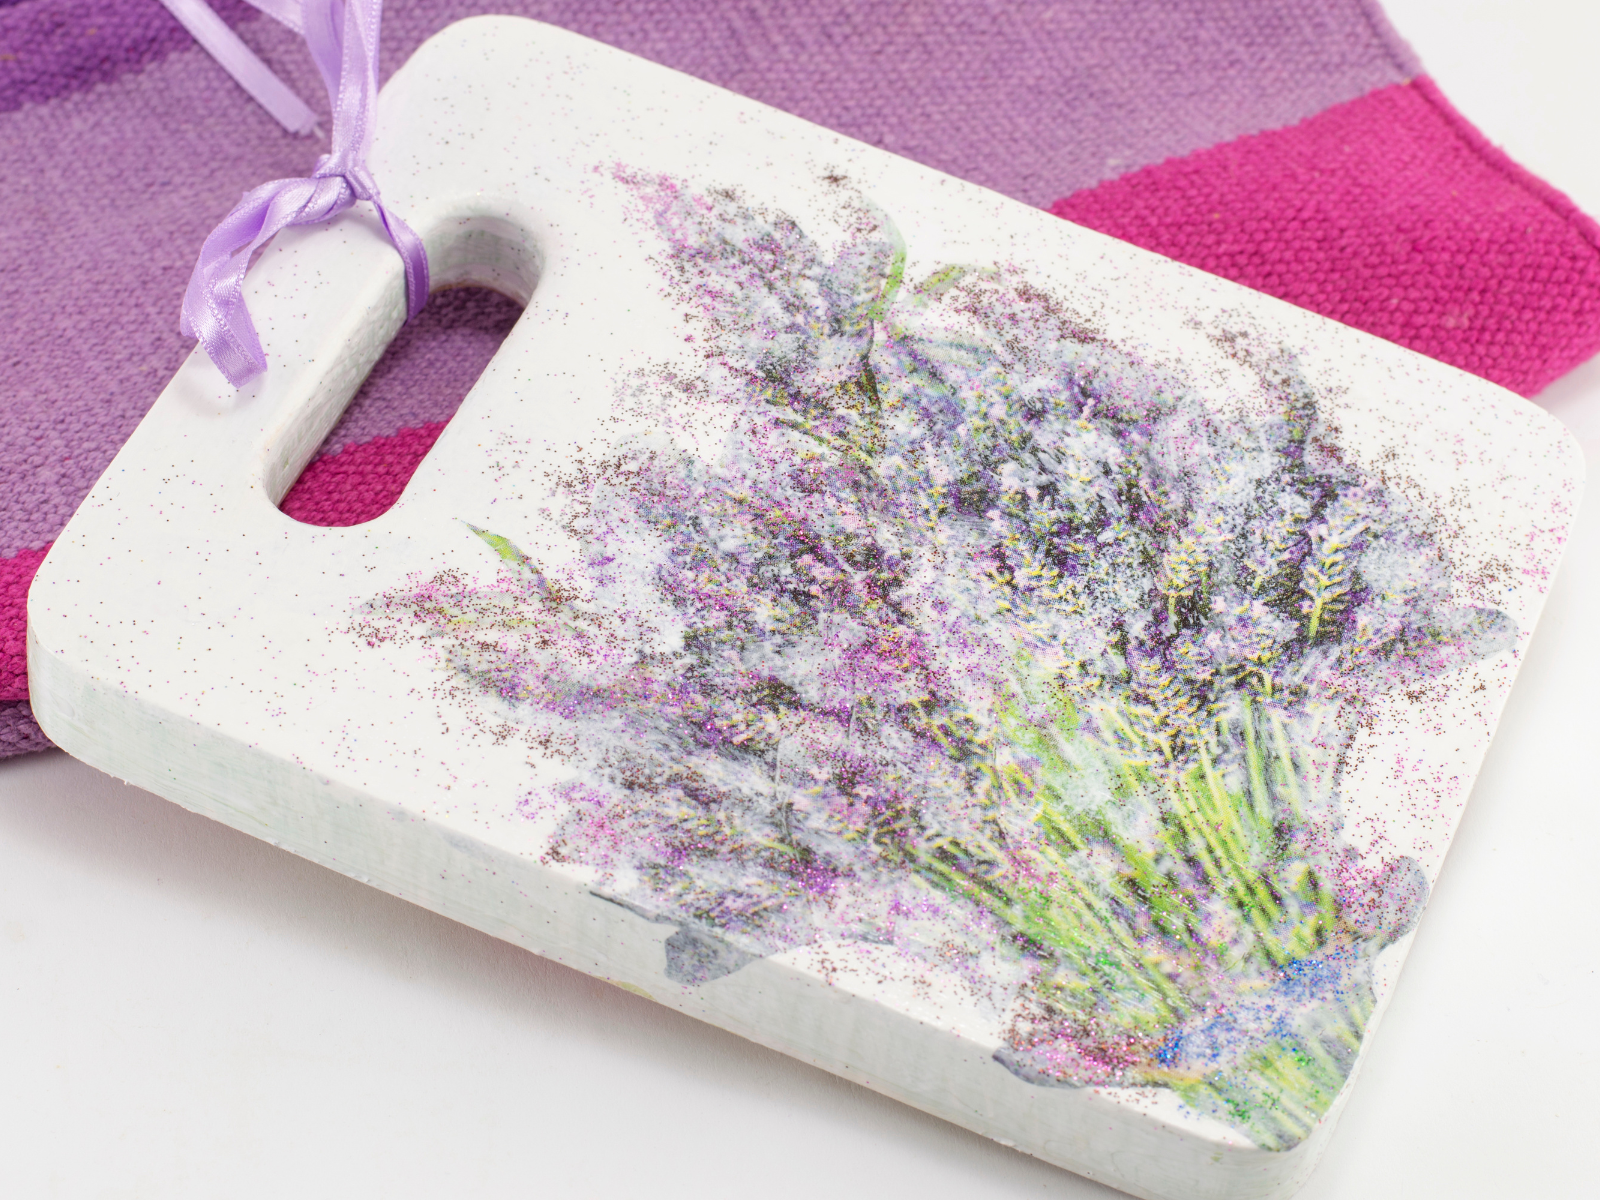
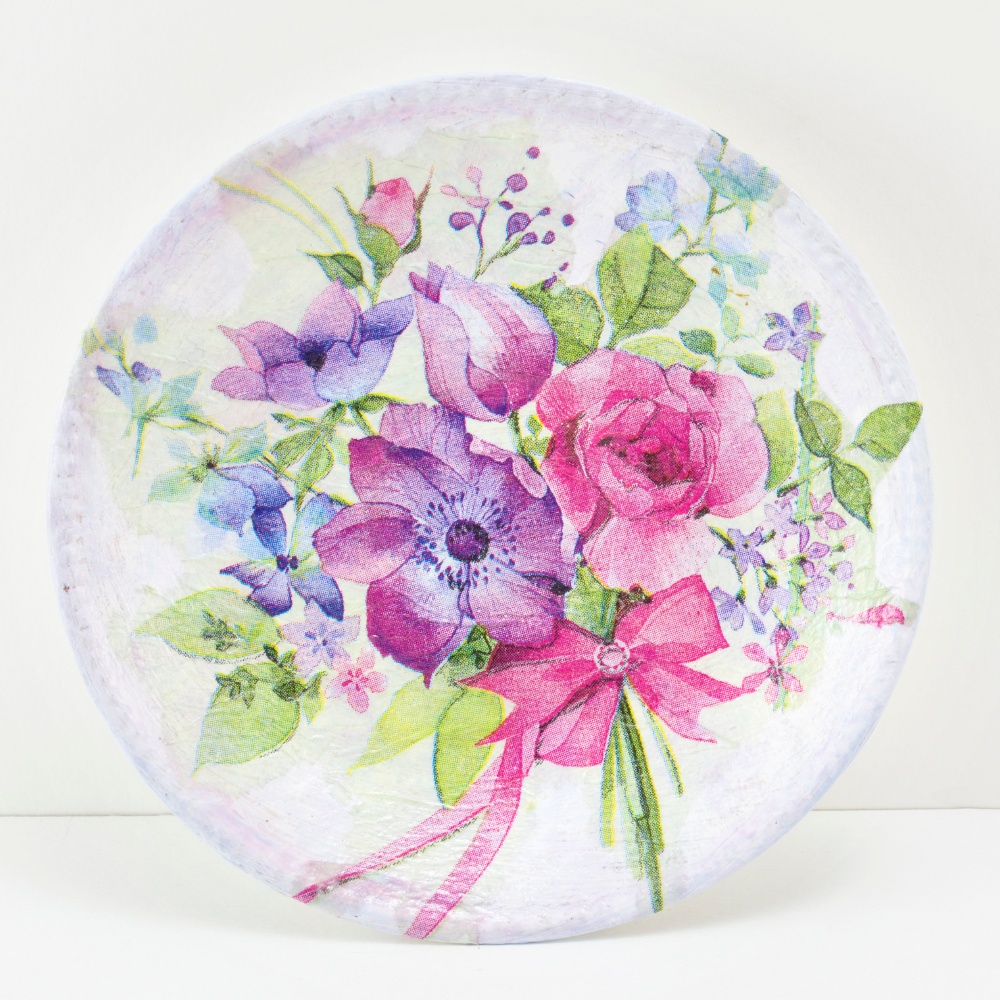
Decoupage can be used on everything from furniture to jewelry boxes and even artwork, so have fun with it and create something one-of-a-kind.
There are a variety of tips and tricks out there to help you master the art of decoupage, so don't be afraid to do some research and get creative.
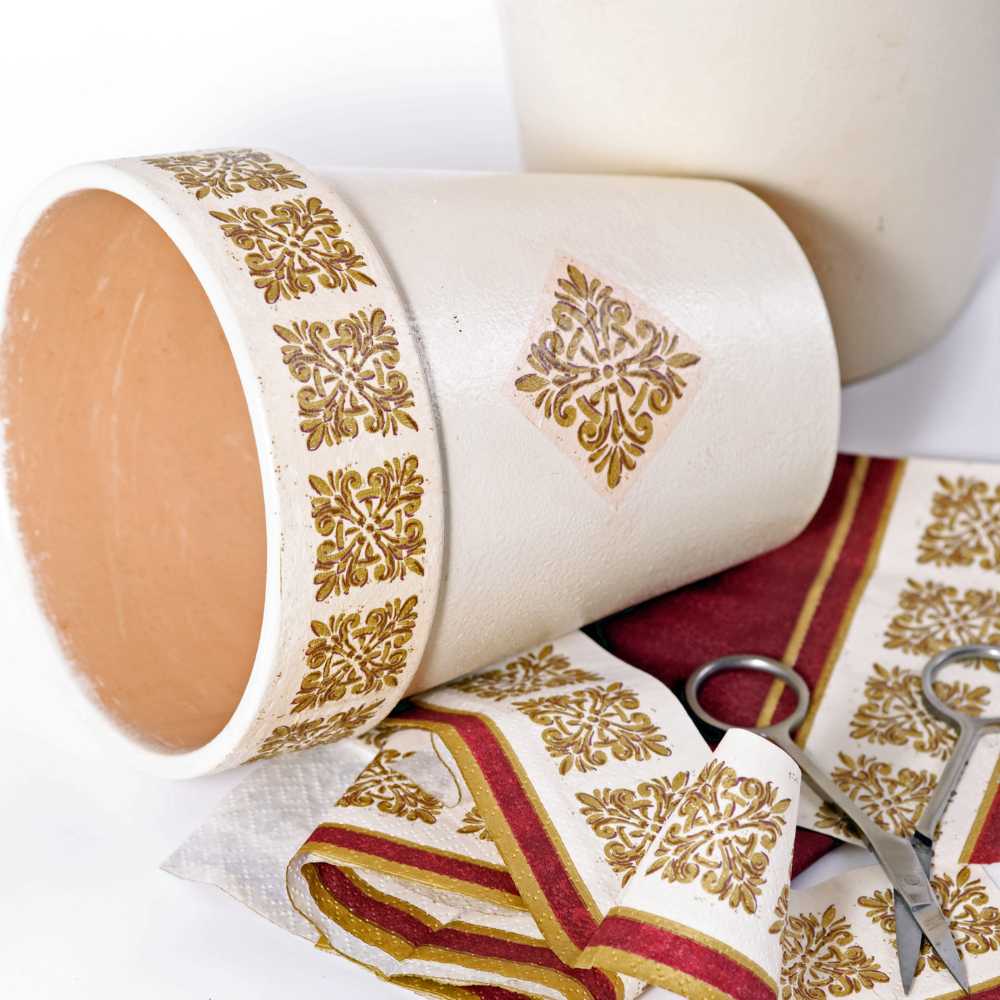
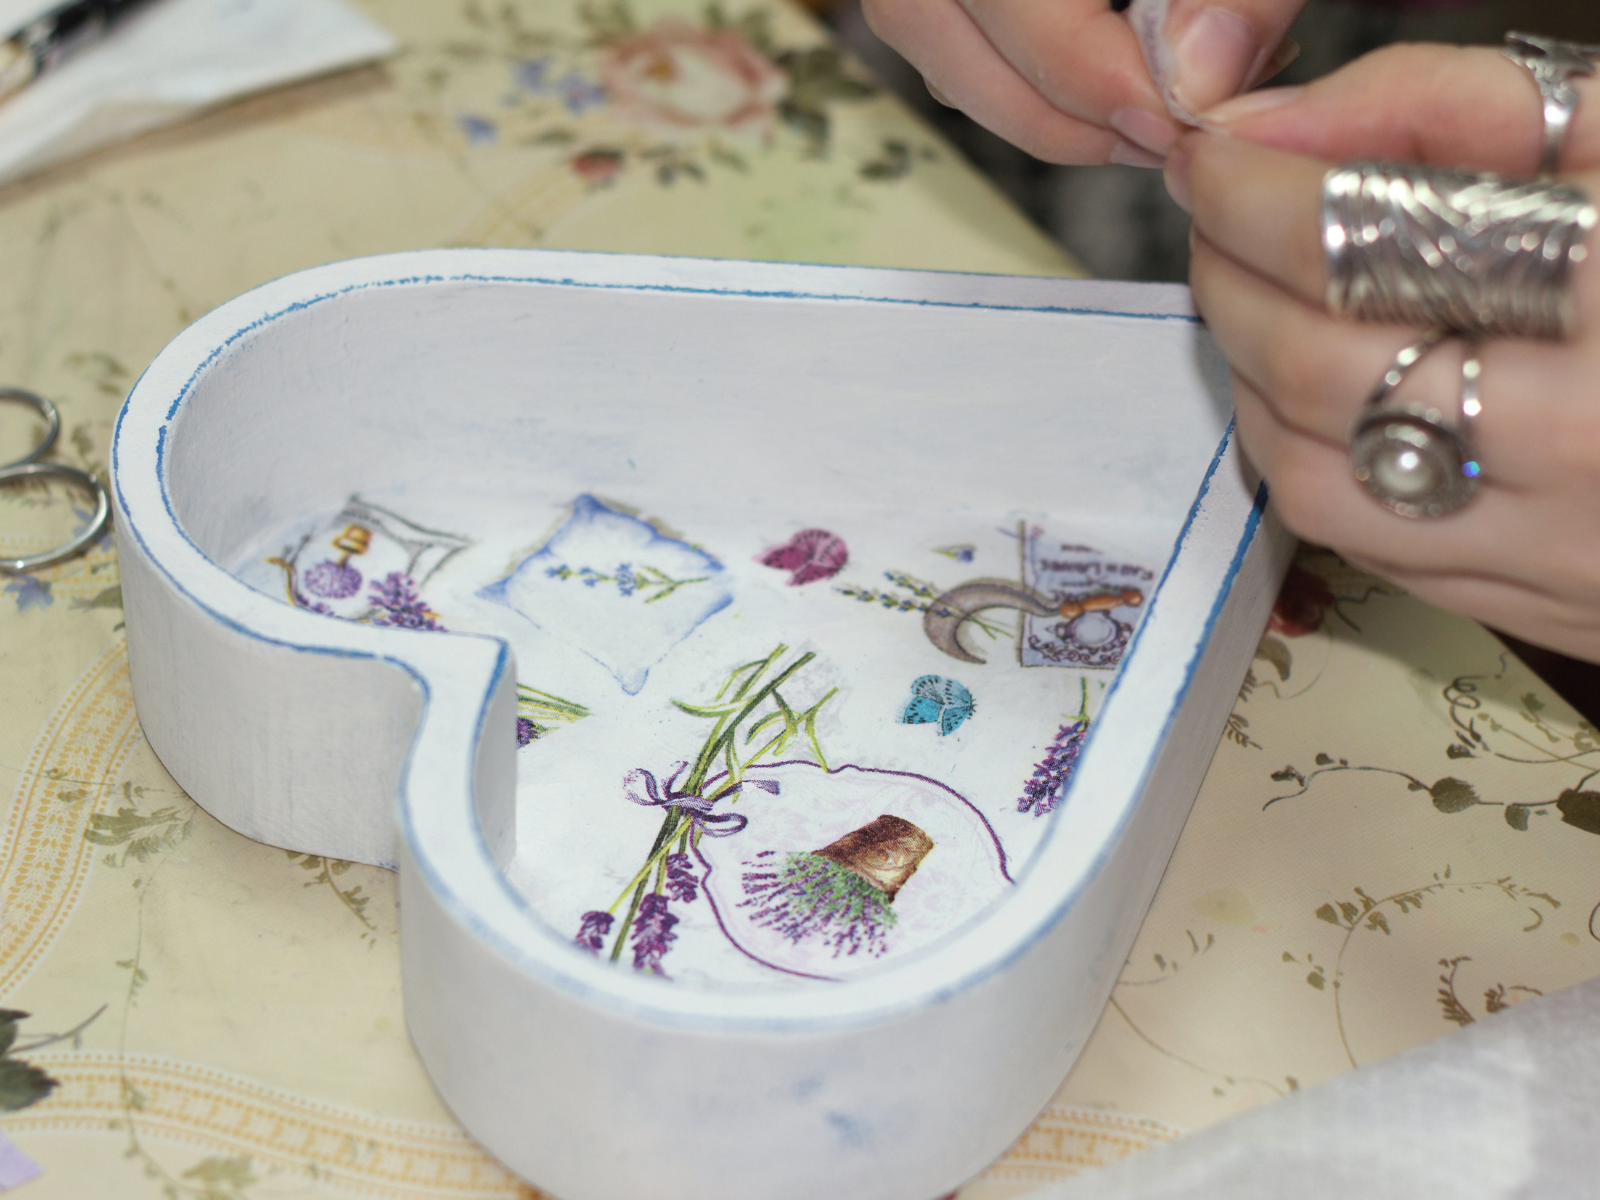
Choosing the Right Surface and Paper
The first step in any decoupage project is choosing the right surface.
Whether you are working on a canvas, a wooden box, or a glass jar, picking the right base will make the difference between a successful project or a disaster.
Make sure to consider the size and shape of your object as well as any textures you may want to achieve.
The paper you use for decoupage can make or break your project.
Pick paper that complements your surface and colors that work well together.
Keep in mind that thinner paper is easier to work with than thicker paper.
Plus, thinner paper will give your project a more delicate and subtle look.
Decoupage paper can be found at most craft stores, but you can also try using wrapping paper, paper doilies, paper napkins, or even your own photographs.
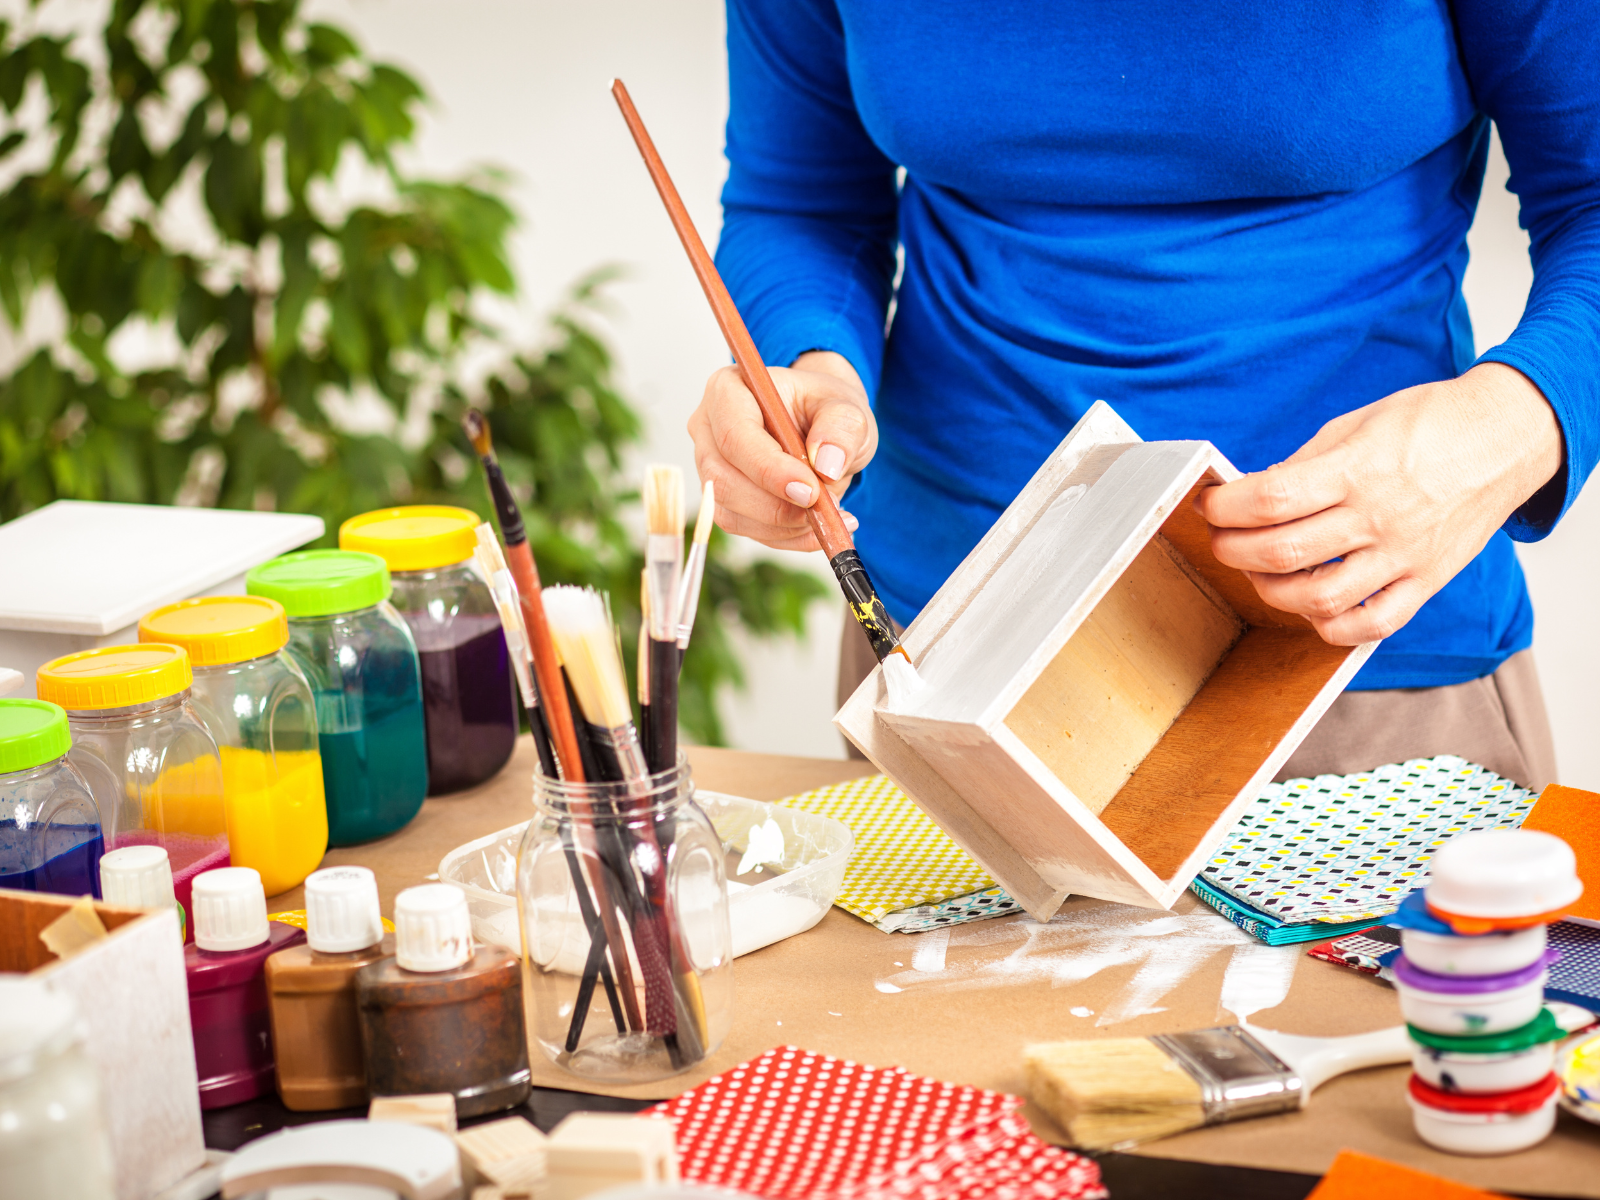
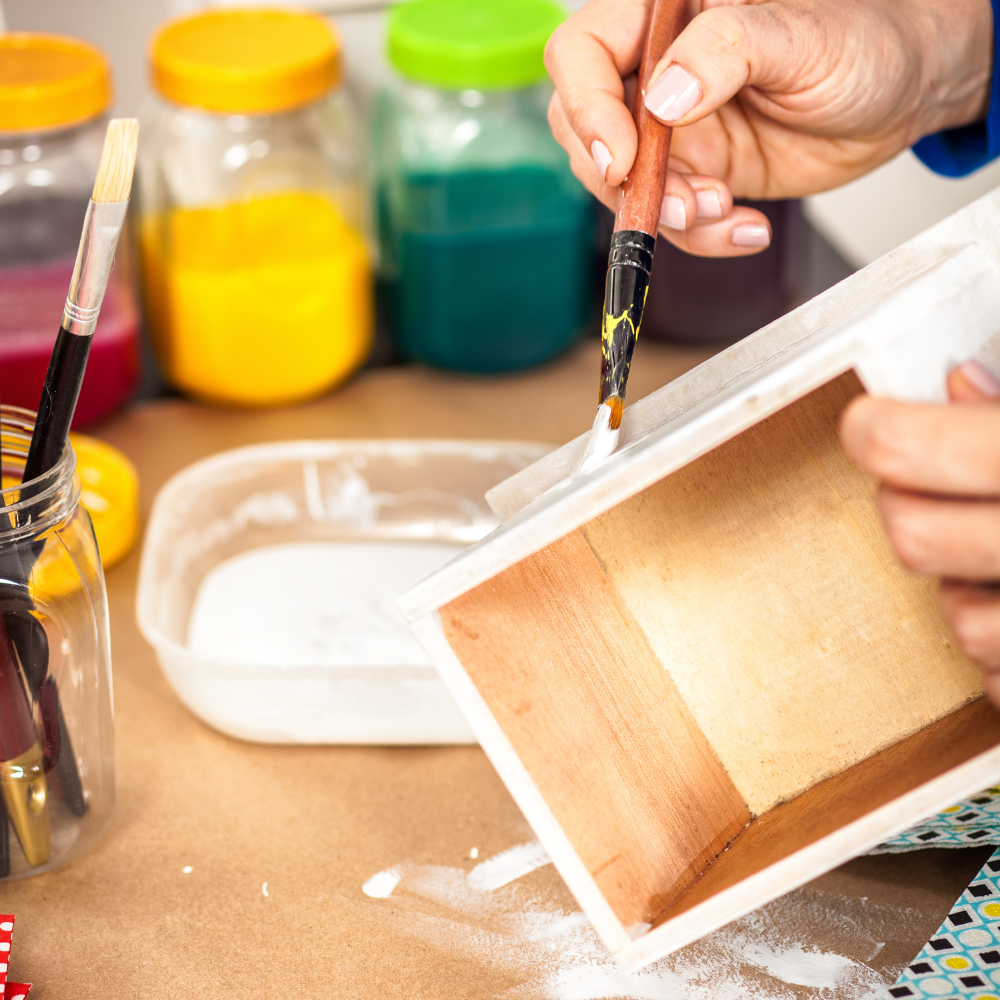
Sand It Smooth and Paint to Match
Sanding your surface is critical because it will make sure the decoupage sticks properly.
When you sand your material, you create a rough surface for the glue to adhere to.
A rough surface equals better adhesive, and better adhesion translates to a longer-lasting project.
Be sure to use the right type of sandpaper for your surface and always work in small, circular motions.
Start a rough grit of sandpaper gradually move to finer grits.
This will help create a smooth surface for easier decoupage.
Sometimes, it may be hard to find paper that matches your base material exactly.
In cases like this, paint is your best friend because it can help you get the perfect match.
Paint your surface base color before adding the paper decoupage pieces.
This will help bring everything together cohesively, while also giving you a chance to fix any imperfections in the base material before adding the paper.
Use a small brush and acrylic paint to apply details or complementary colors to your project.
Be sure to let each layer of paint dry before adding the next one and be mindful of brush strokes.
Get the Right Glue
Not all adhesives are equal when it comes to decoupage as decoupage mediums are designed specifically for this purpose.
These glues come in liquid or paste form and will help ensure that your project is securely put together.
Choose a glue that's fit for your surface and paper types and is waterproof.
This will help ensure that your project is durable and looks great for years to come.
Pick a quality glue with a thicker consistency for the best results.
Avoid using regular white glue, as it can buckle and wrinkle your paper.
Go with a decoupage medium or varnish that is specially designed for this purpose, such as Mod Podge.
Mod Podged pieces will stay put and last longer, so it's worth investing in quality material.
A foam brush can also be a great tool to help create the perfect finish on your project.
If there is excess glue, excess decoupage medium, or excess Mod Podge, make sure to wipe it off with a damp cloth before it has the chance to dry.
Otherwise, you will be left with unsightly glue marks on your finished project.

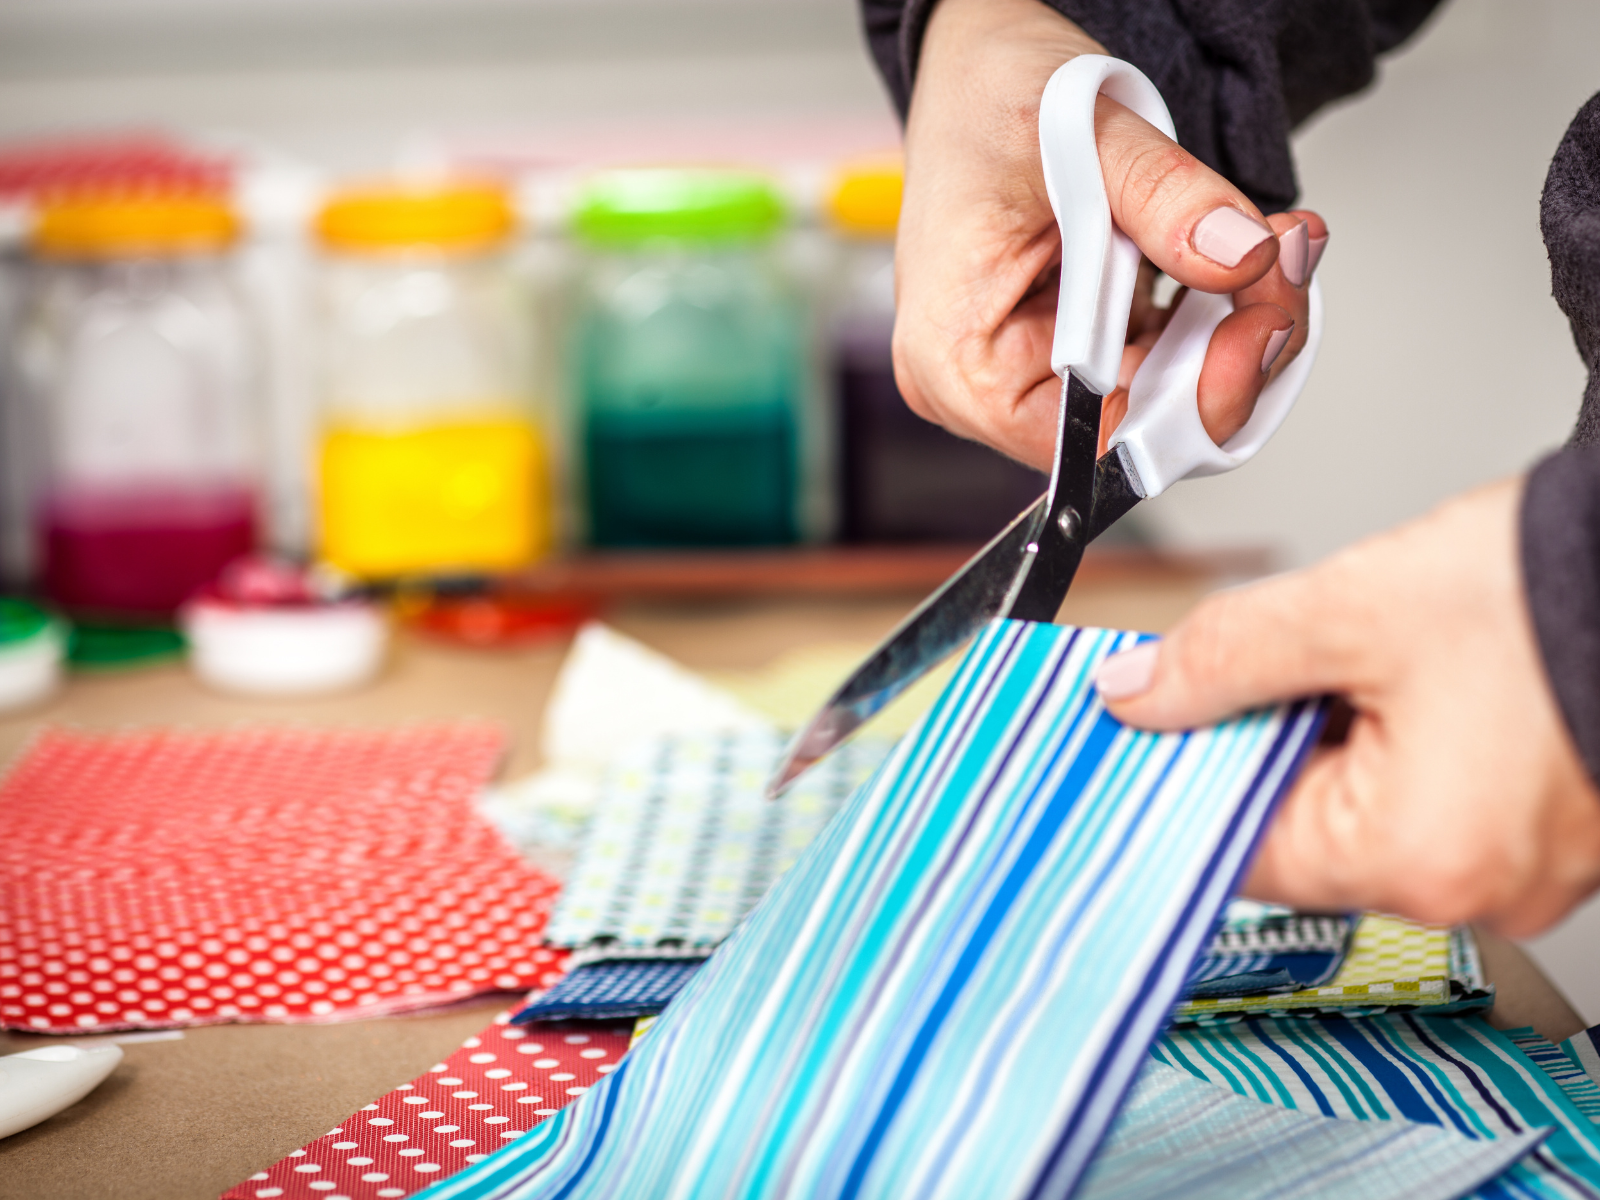
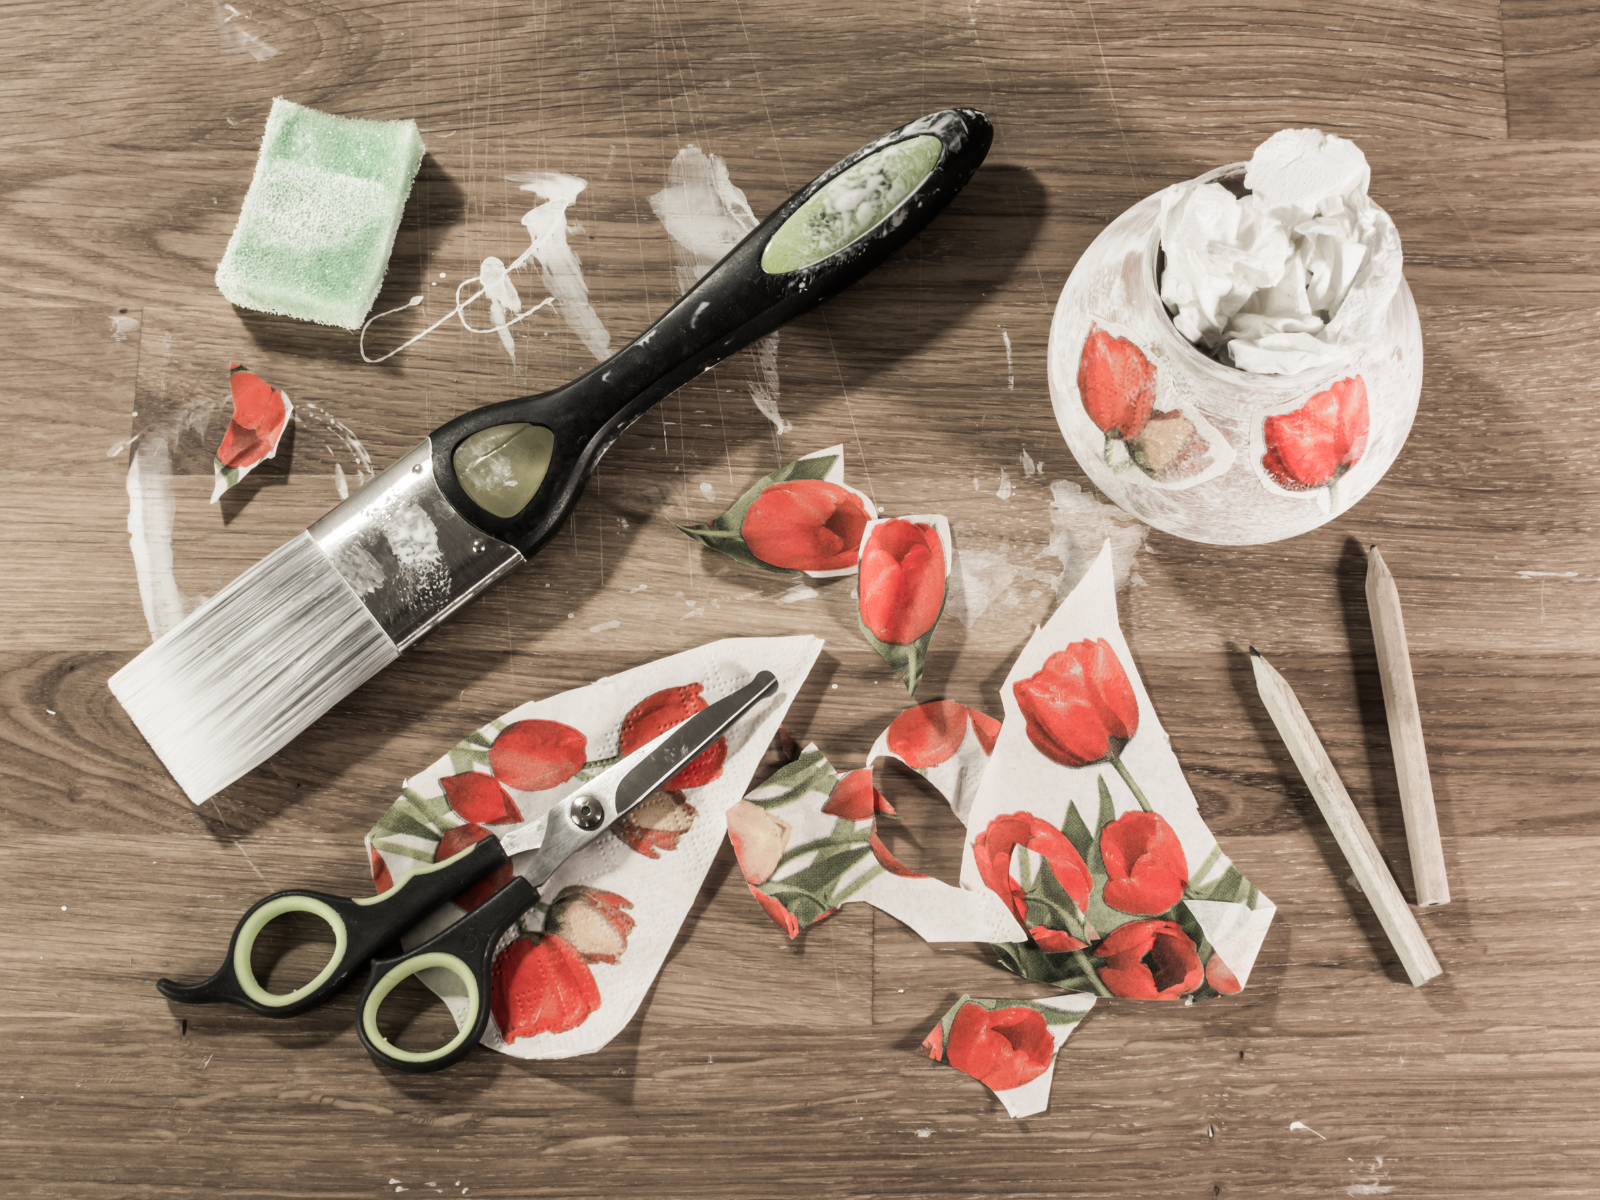
Cut With Precision and Avoid Air Bubbles
Always use sharp, clean scissors or a craft knife while cutting your decoupage pieces.
Sharp scissors will give you the most accurate and detailed cuts while also reducing the risk of paper tearing or fraying.
Avoid using jagged edges, as they will cause unwanted lines and wrinkles in the final project.
It's also important to make sure you have a good fit for each piece by trimming off any excess edges.
When applying paper to your surface, use a firm pressure and make sure there are no air bubbles.
Air bubbles can ruin your project.
To avoid them, place your paper on your adhesive and lightly brush it with your fingertips outwards.
Press down gently all over the surface, using a soft cloth to smooth out any potential areas where there are bubbles.
If you notice any air bubbles after applying the paper, pop them with a pin and push the glue back into place.
This will help ensure that your project looks perfect in the end.

Experiment with Layers and Practice
Don't be afraid to experiment with layers of decoupage, trying different paper patterns and textures.
The result will be a unique piece that looks great and reflects your personality.
Decoupage requires patience and practice; it takes practice to get the hang of it.
Don't get discouraged if your first couple of projects aren't perfect, keep on practicing and trying new designs until you feel like a pro.
Start with simpler projects so you can get a feel for the process, and once you have mastered it, move on to more complex ones.
You'll be surprised at what you can create, so don't be afraid to unleash your inner artist!
Finish It Off with Sealer
Sealing your decoupage project is key for making it last and look great.
A sealant will protect your artwork from dirt, dust, moisture and other elements.
Look for varnish or sealant that's easy to apply and doesn't yellow over time.
You can use a clear acrylic sealer or a decoupage glue as your sealant.
Before applying the sealant, make sure your project is completely dry.
Use a brush to apply an even coat of sealant, making sure to cover every corner.
Let the sealant dry for a few hours before showing off your masterpiece.
Dreamy Decoupage Creations
Decoupage is a fantastic way to add interest and personality to your art by combining paper and fabric to create something truly unique.
By following these tips, you will be able to make your decoupage projects look amazing and bring them to life.
From choosing the right supplies to mastering the technique, decoupage can be a fun and rewarding activity for anyone looking to add dimension and texture to their artwork.
Armed with this insight, you're firm on the road to creating beautiful and unique pieces that bring a smile to your face every time.
So go ahead, get creative, have fun, and make all your DIY dreams come true!
Happy crafting!
Interested in learning more about decoupage? Check out The DIY Struggle's video!
Want even more content about creativity and art?
Be sure to check out all of our creative chronicles!
Eager to get crafty?
Check out some of our other articles:
-Creativity is intelligence having fun