Have you ever wanted to create art with a unique, iridescent look?
If so, you're in luck!
You don't need paint, a bunch of experience as an artist, or even any special materials.
Iridescence is beautiful and mysterious, and it's easy to create using clear nail polish.
Just follow the steps below and you'll be on your way to making amazing iridescent art in no time.
Grab a few simply supplies, and you're good to go!
Keep reading to learn how to make your own glamorous iridescent art!
What is Iridescence?
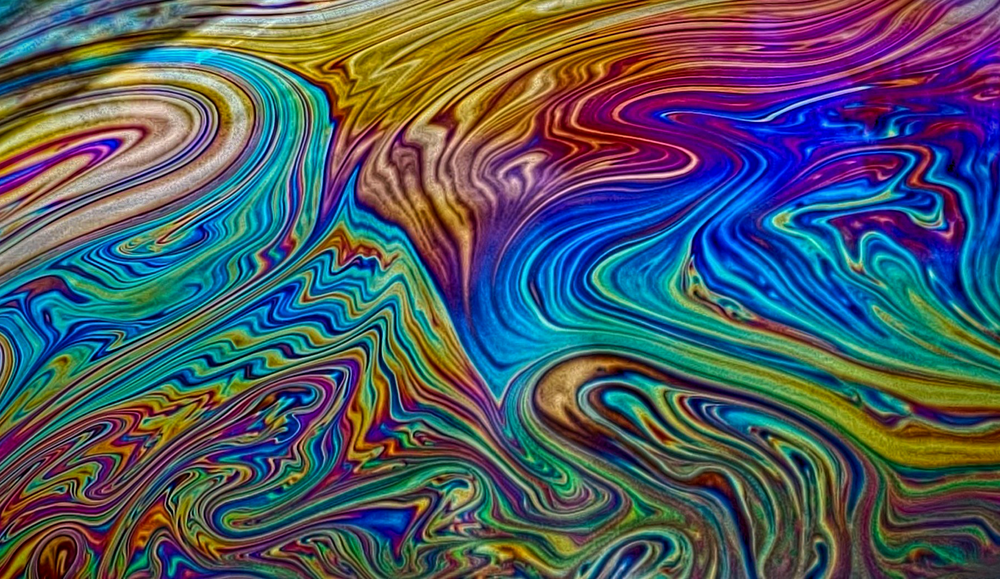
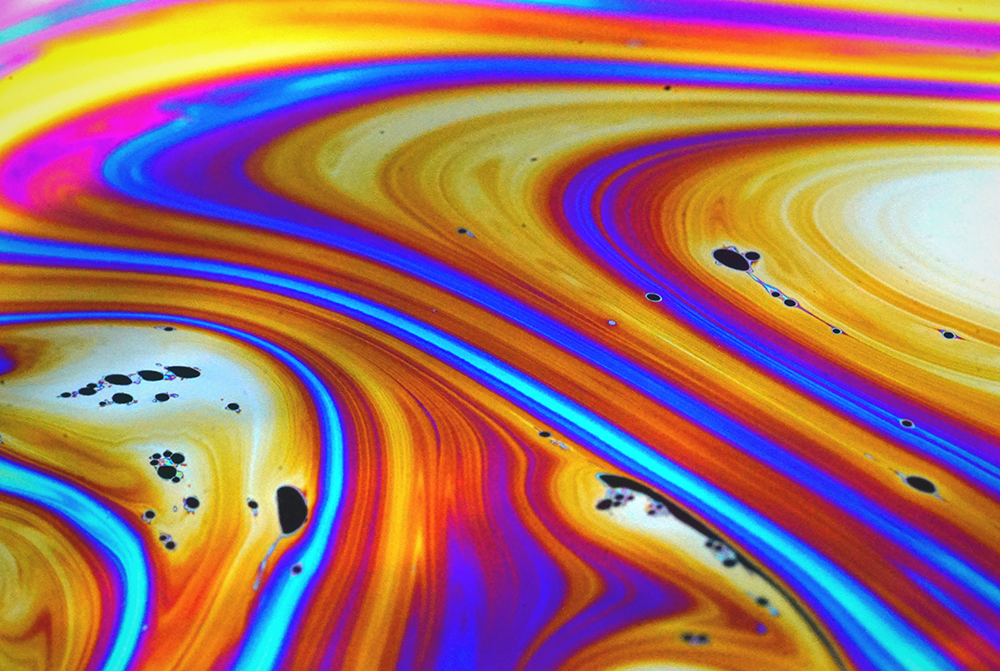
Iridescence is a type of optical phenomenon in which light is scattered in a spectrum of colors.
The word "iridescence" comes from the Latin word "iris," meaning rainbow.
Iridescence is often confused with "rainbow effects" or "color shifting," but there is a difference.
Rainbow effects are created by refraction, while color shifting is caused by light interference.

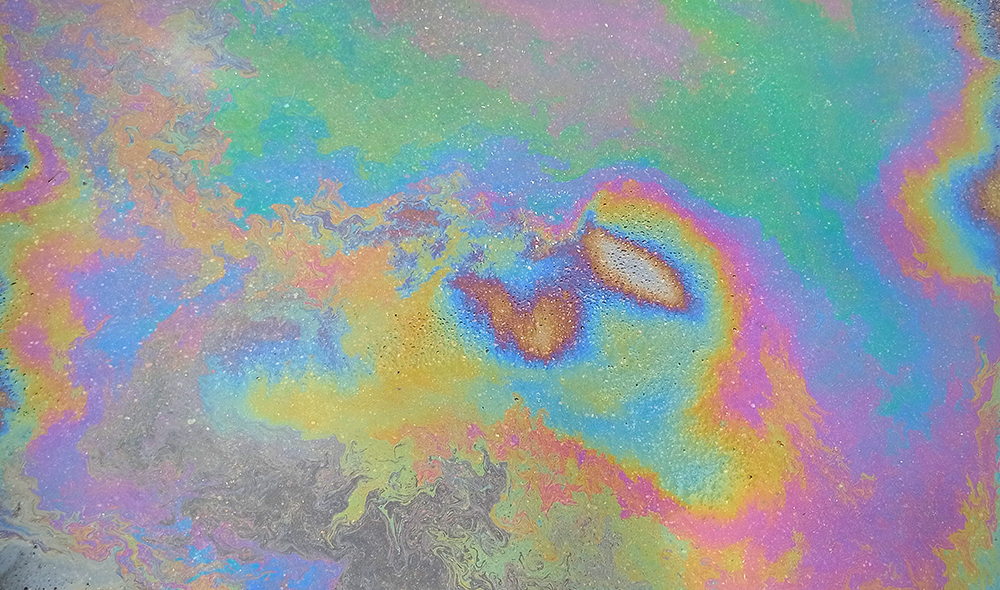
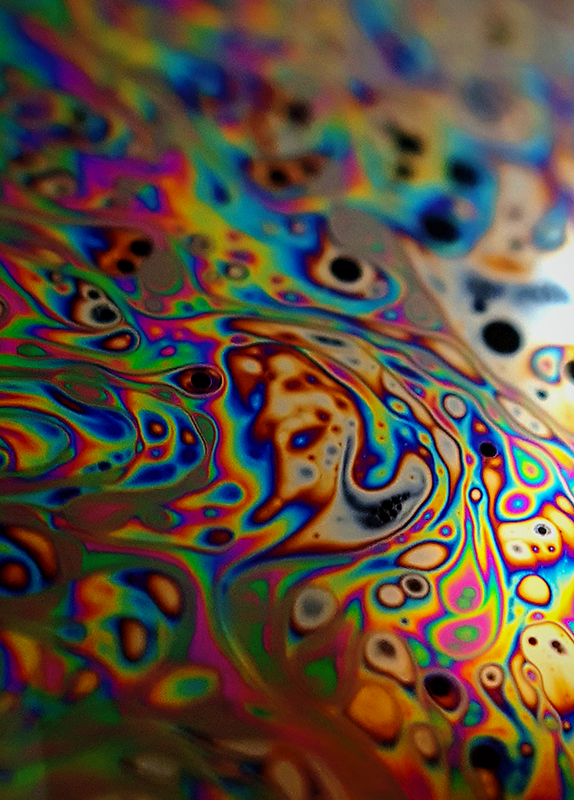
How Does Iridescence Work?
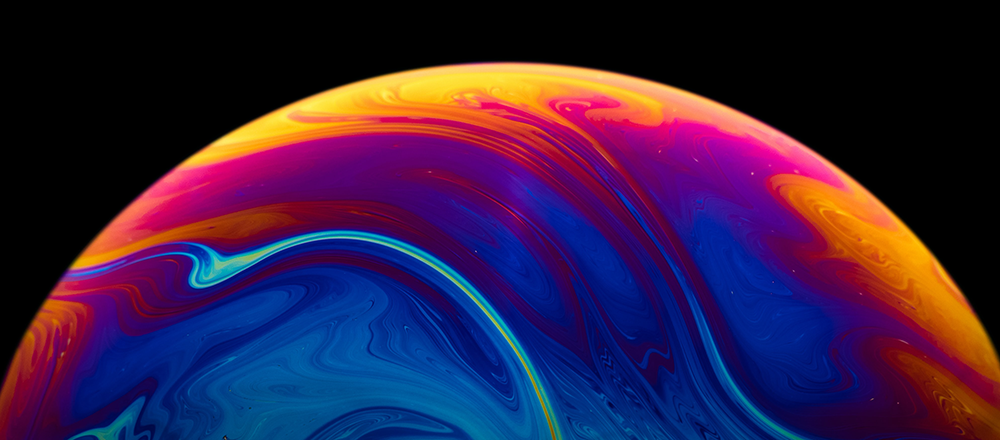
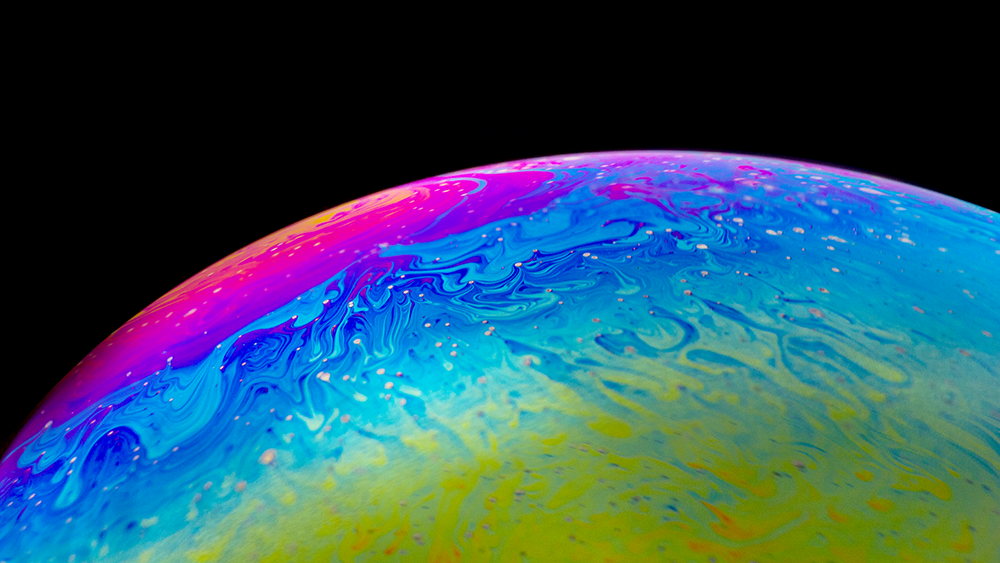
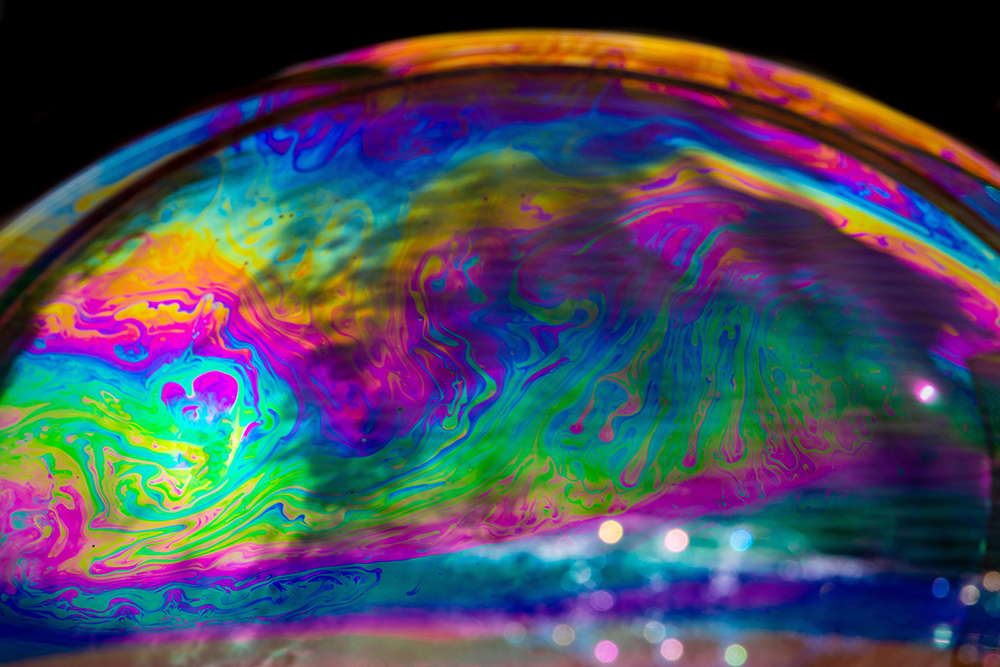
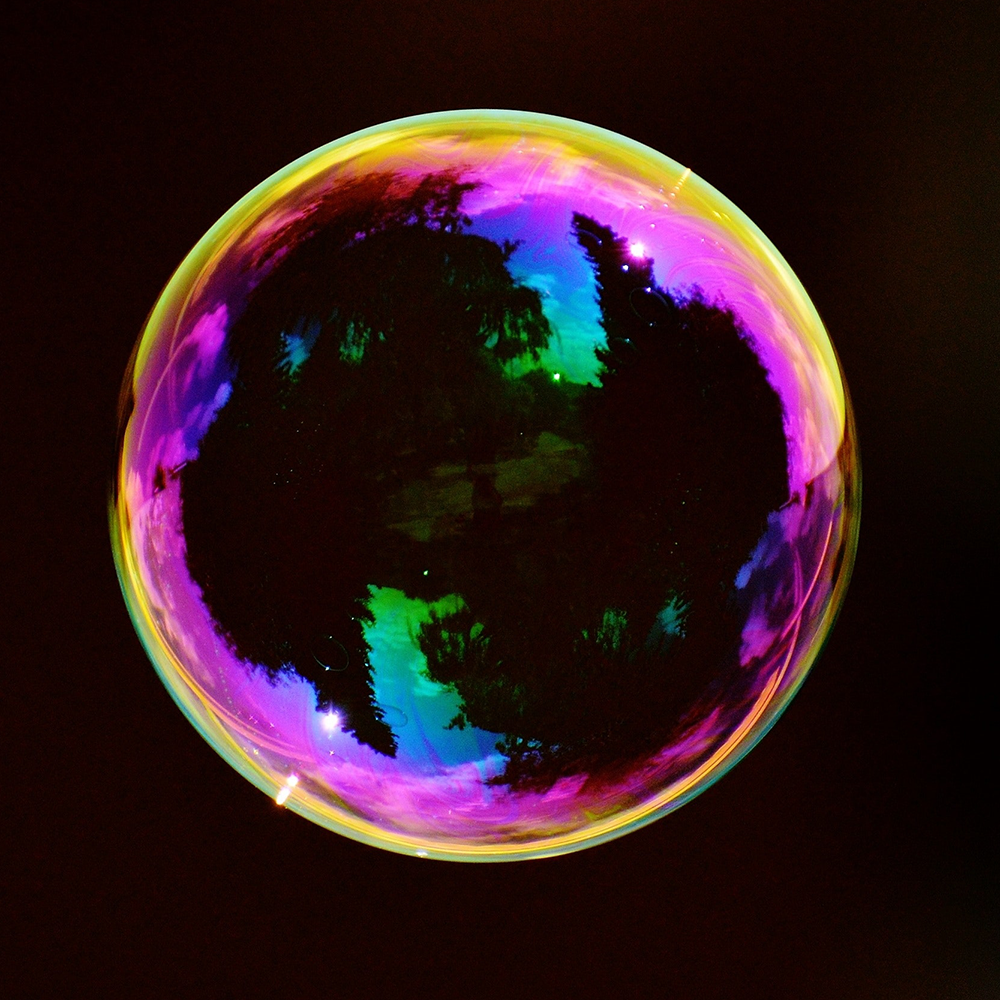
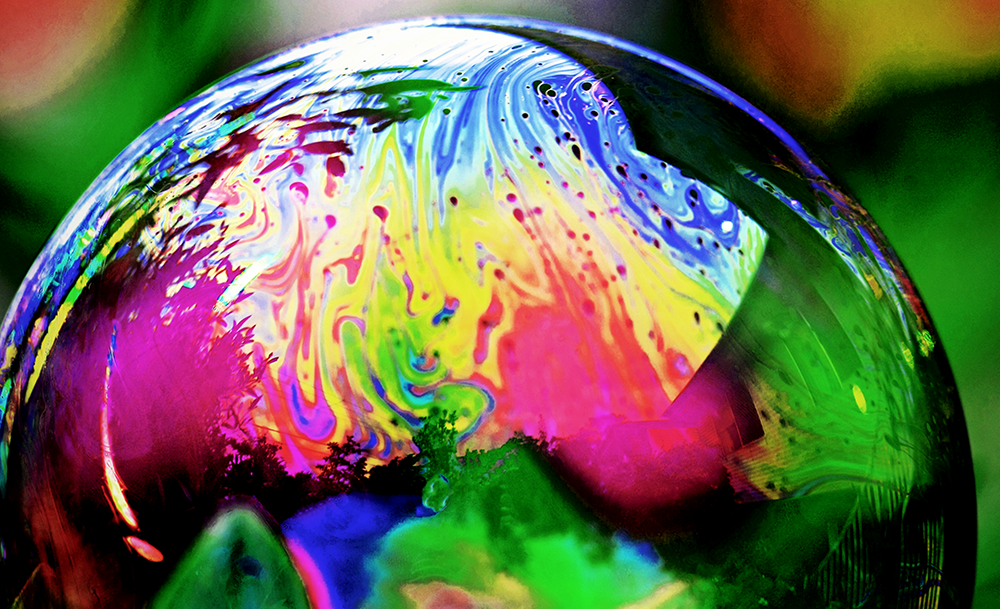
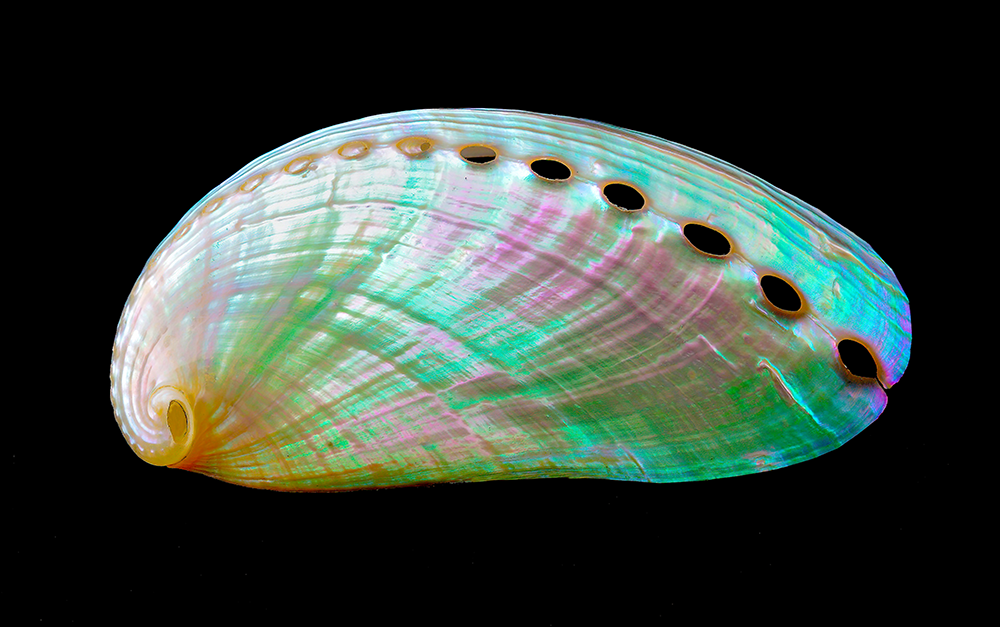
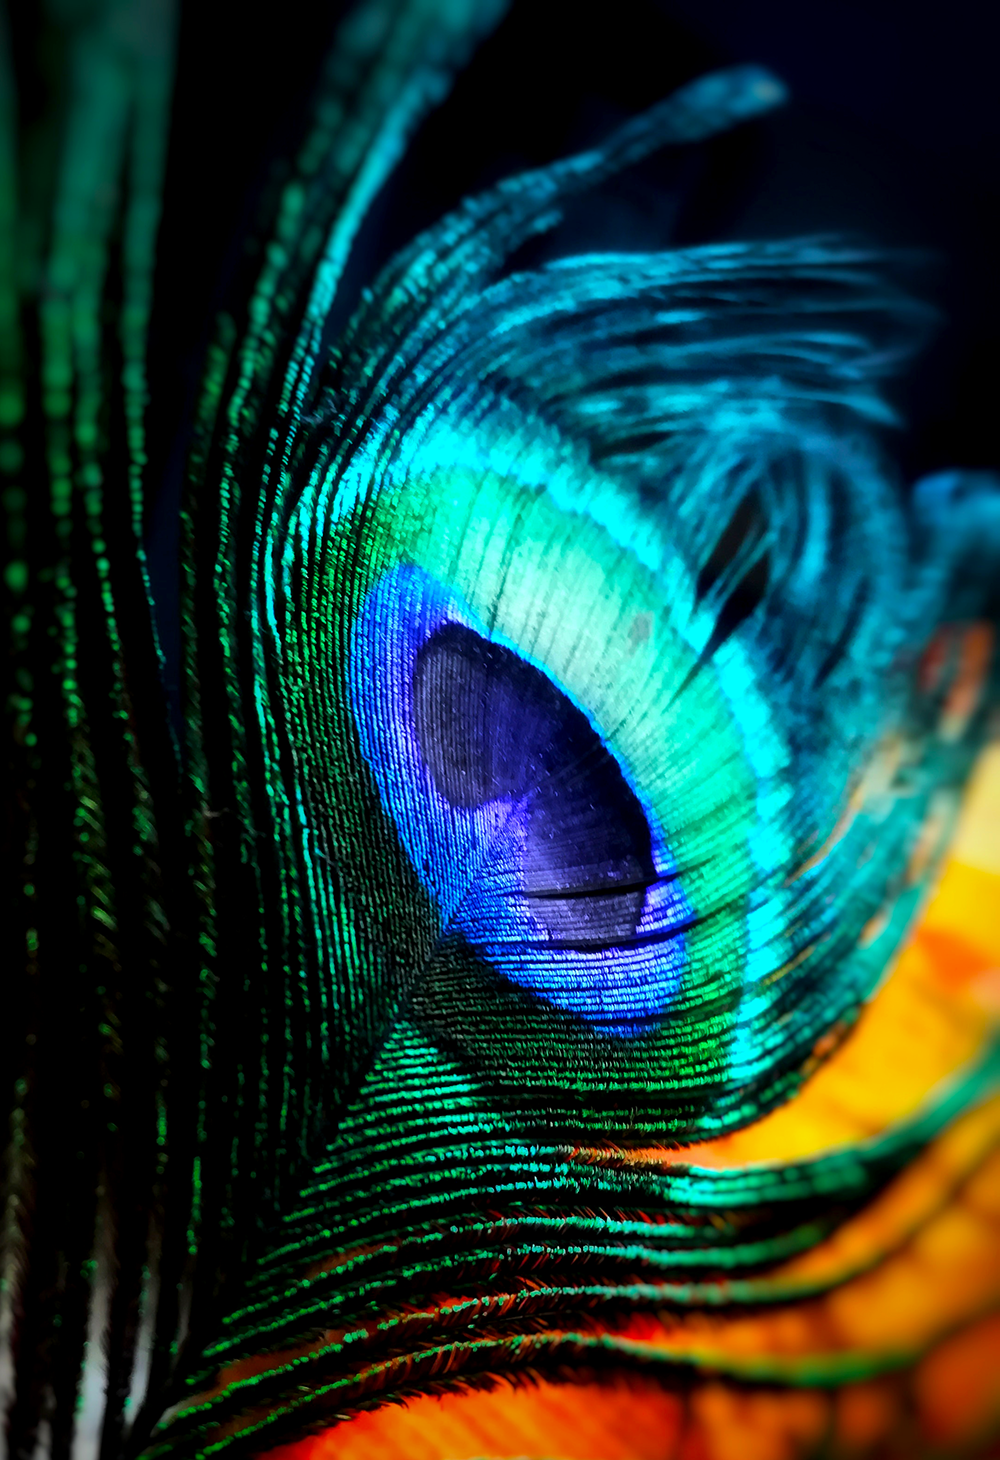
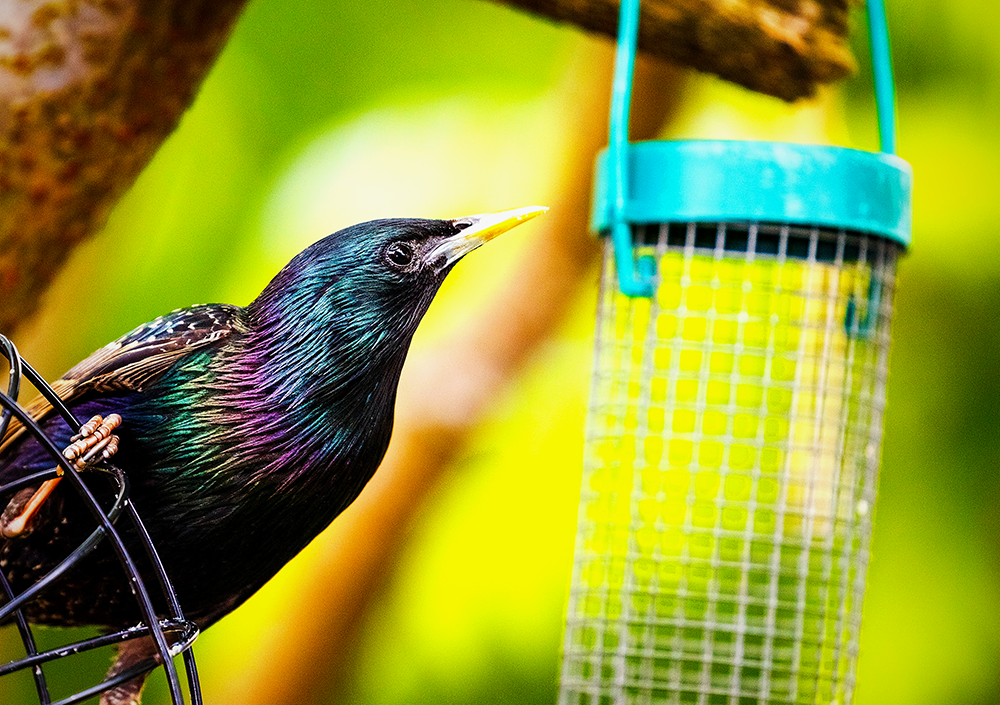
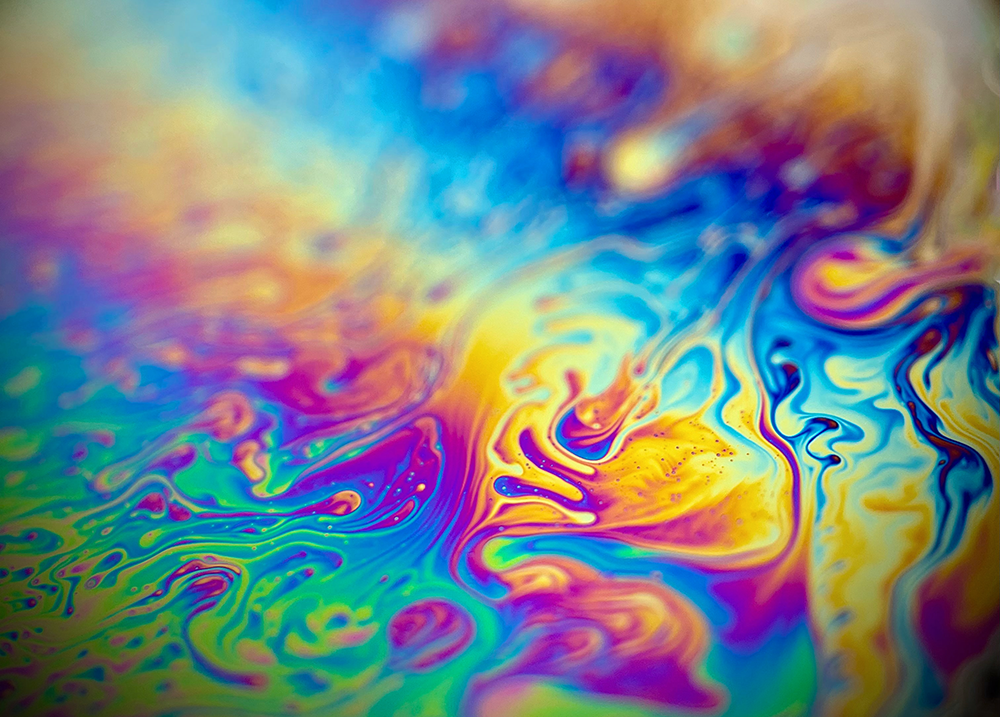
Iridescence is caused by the interference of light waves and can be seen in many different natural phenomena found in nature, such as soap bubbles, peacock feathers, and the wings of butterflies.
It is created when light waves reflect off of a surface and interfere with each other.
The result is a spectrum of colors that appear to change as you look at them from different angles.
When light waves reflect off of a surface, they can scatter in many different directions.
The way the waves scatter depends on the surface's texture.
For example, when light waves reflect off of a smooth surface, they scatter evenly in all directions.
This is why polished metal surfaces have a uniform shine.
On the other hand, when light waves reflect off of a rough surface, they scatter in random directions.
This is why we see sparkles in glitter.
Now, here's where iridescence comes in.
Iridescence occurs when light waves reflect off of a surface with a regular, repeating pattern.
This could be a row of evenly-spaced ridges, like those on a CD, or a series of interlocking hexagons, like those on a butterfly's wing.
When light waves reflect off of this type of surface, they interfere with each other.
How to Make Iridescent Art
Now that you know a little bit about iridescence, you're probably wondering how to make your own iridescent print or painting.
Luckily, it's easy to do with just a few supplies!
Here's what you'll need:
- Clear nail polish
- Water
- Tub/bucket
- Black construction paper or cardstock
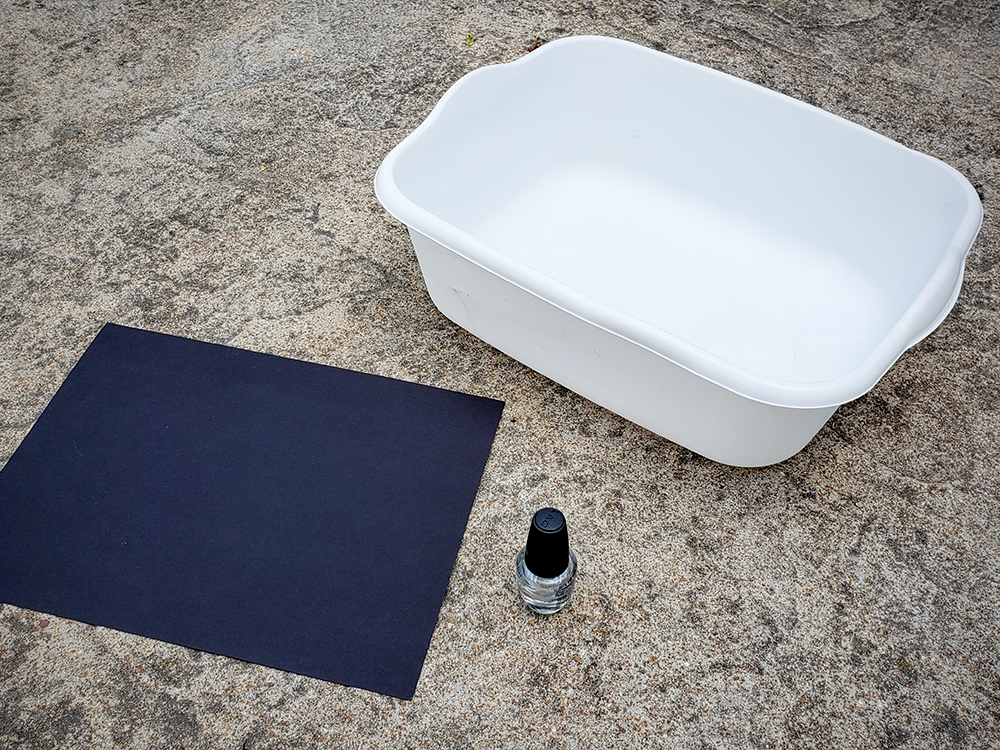
Get Your Supplies
First, you'll need to gather your supplies.
While you can use other colors of paper and nail polish, black paper (preferably cardstock because thicker paper holds up better) and clear nail polish will give you the best iridescent art.
This is because the black paper creates a nice contrast with the colors.
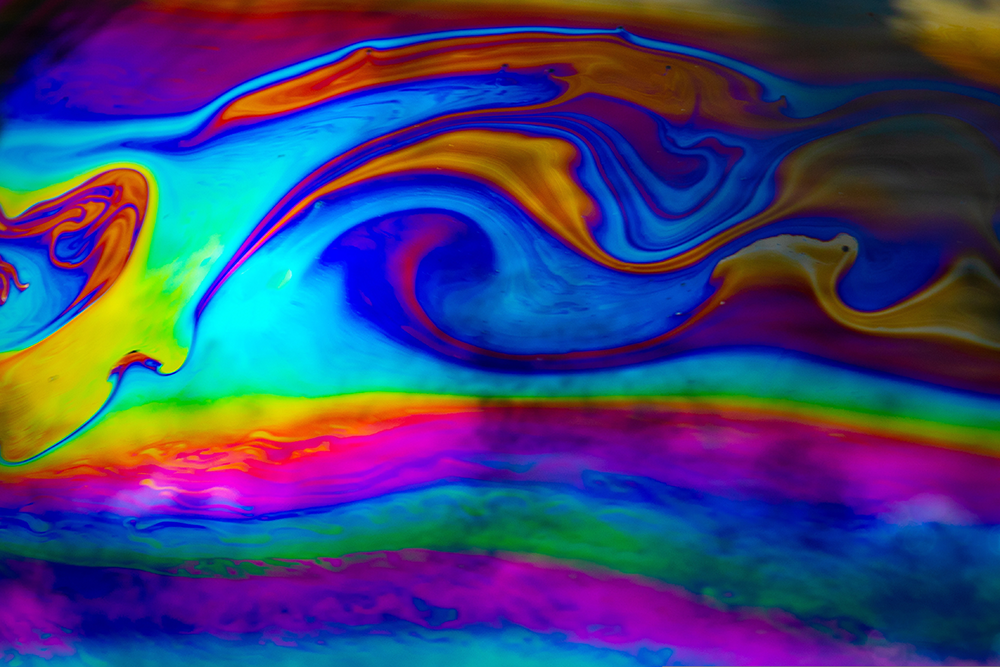
The clear nail polish spreading out across the water will create the iridescent light reflections you're looking for.
You can find these supplies at a local store or online, and feel free to experiment with different colors and types of paper.
Prepare Your Workspace
Once you have your supplies, it's time to prepare your workspace.
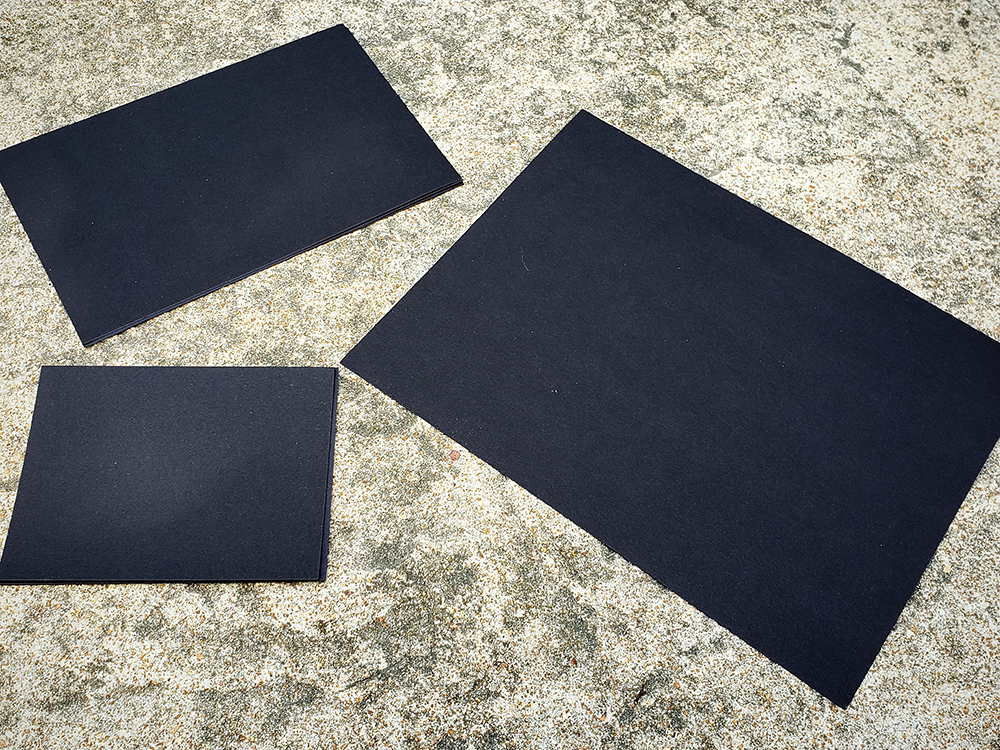
Decide the size of your paper.
You can use whatever size you want, but make sure that the paper will fit inside of your water container nicely.
You'll also probably want to put down a protective covering in case of any accidental nail polish spills or work outside.
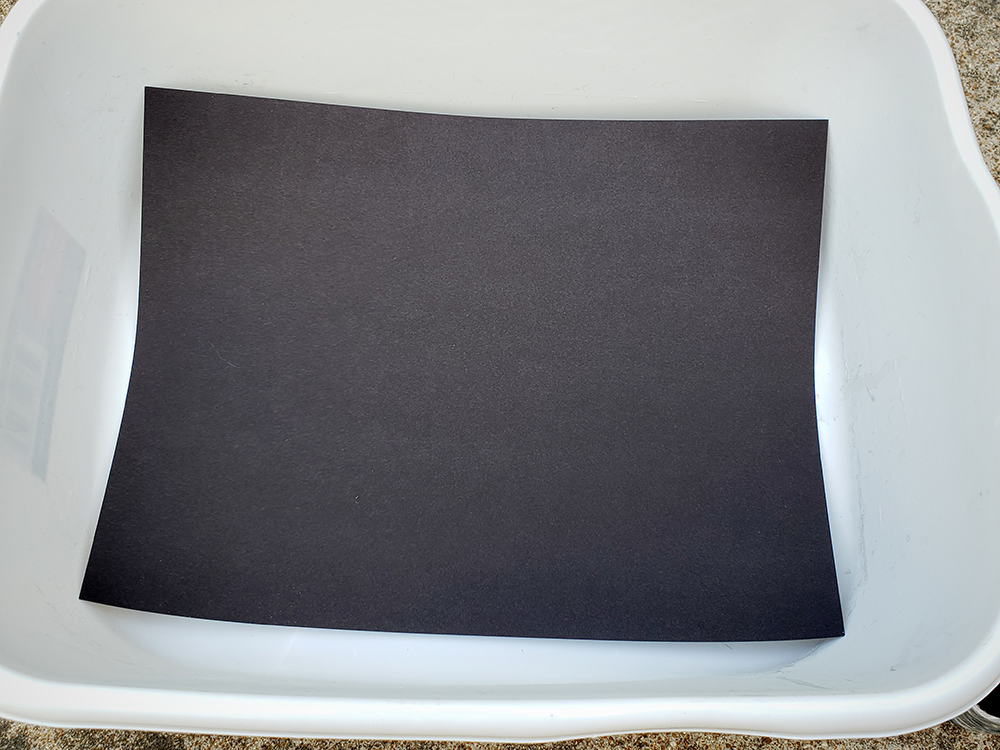
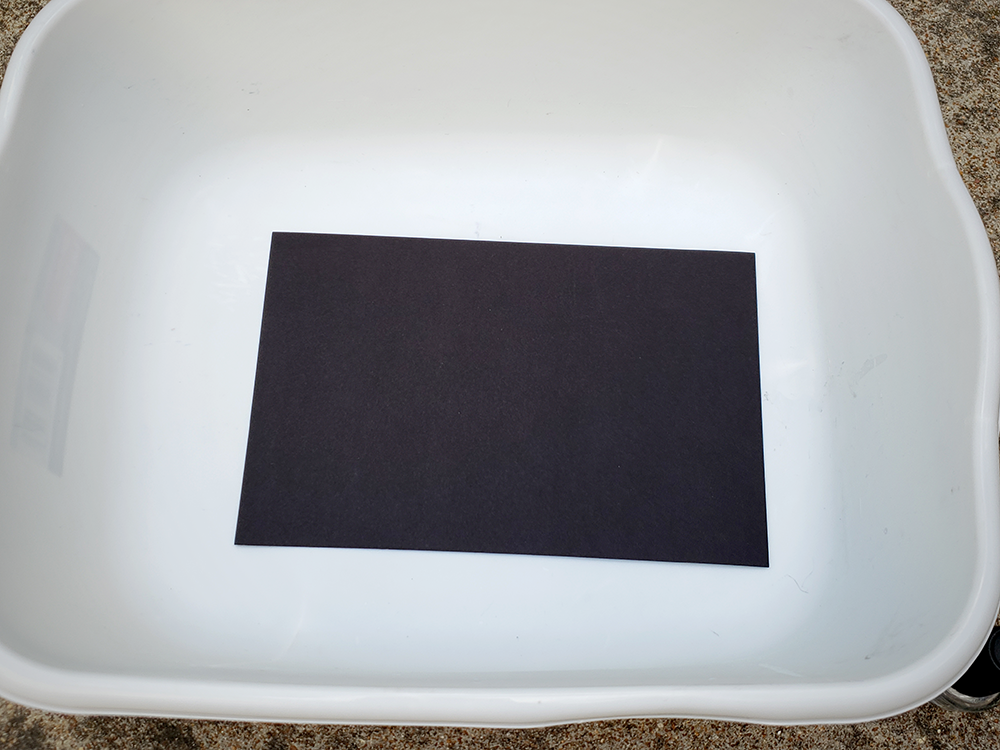
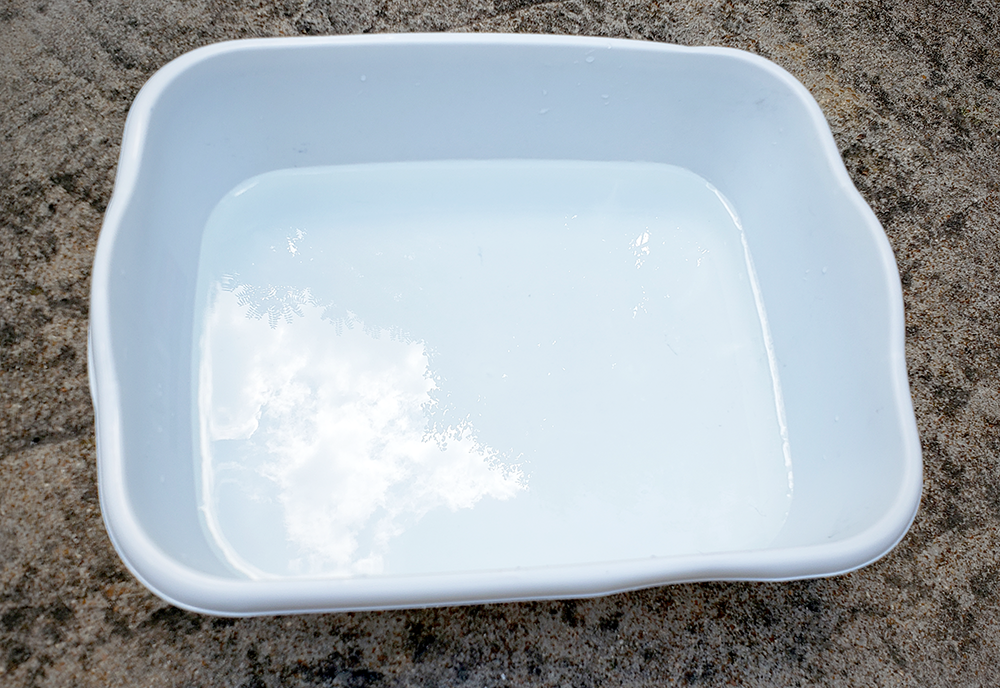
Fill Your Container
Next, fill your tub or bucket with water and add your paper to the bottom.
You'll want to use a decent amount of water, creating enough distance between the paper and the water surface; this way you can line up the nail polish as desired.
The depth of the water is up to you, but we recommend filling it to at least 3 inches.
Add Your Nail Polish
Next, add some clear nail polish.
A little bit of nail polish goes a long way because it will spread out thinly across the water's surface.
Start with a small amount and add more a drop at a time if needed.
Watch as the nail polish spreads out and creates interesting patterns.
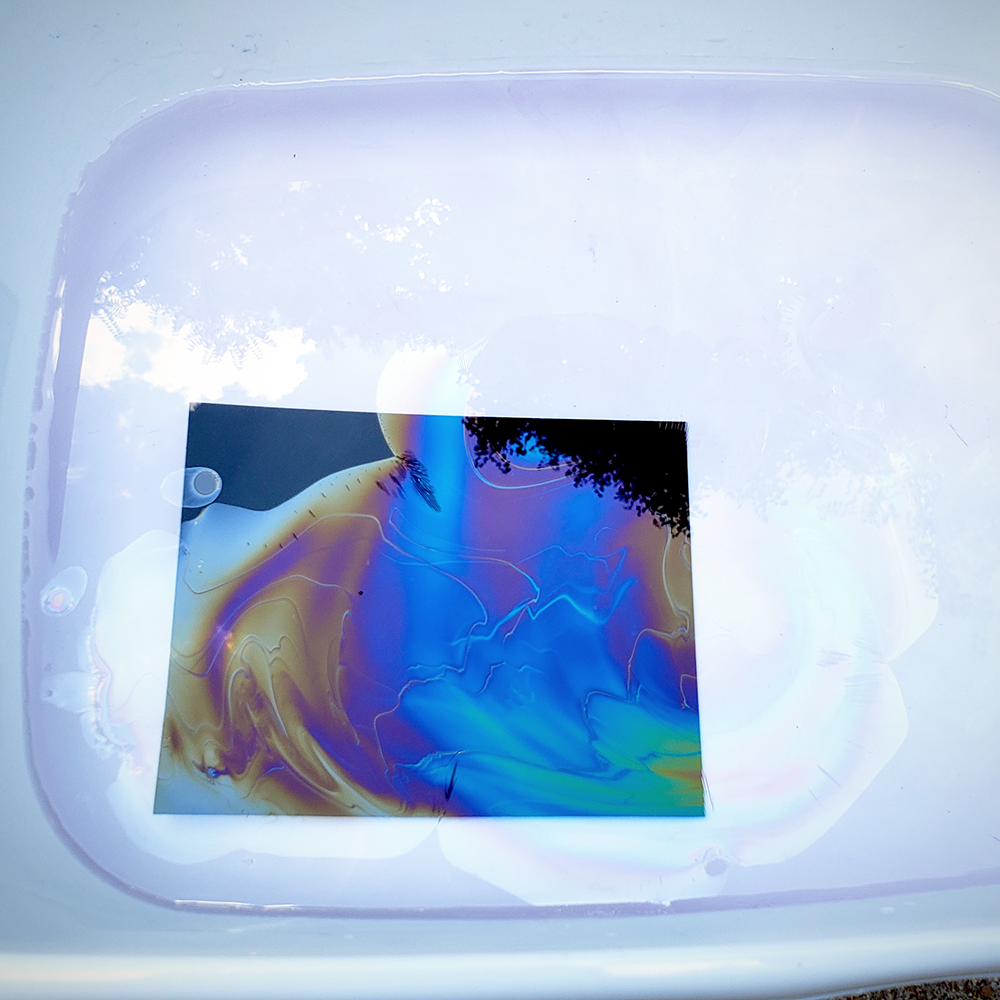
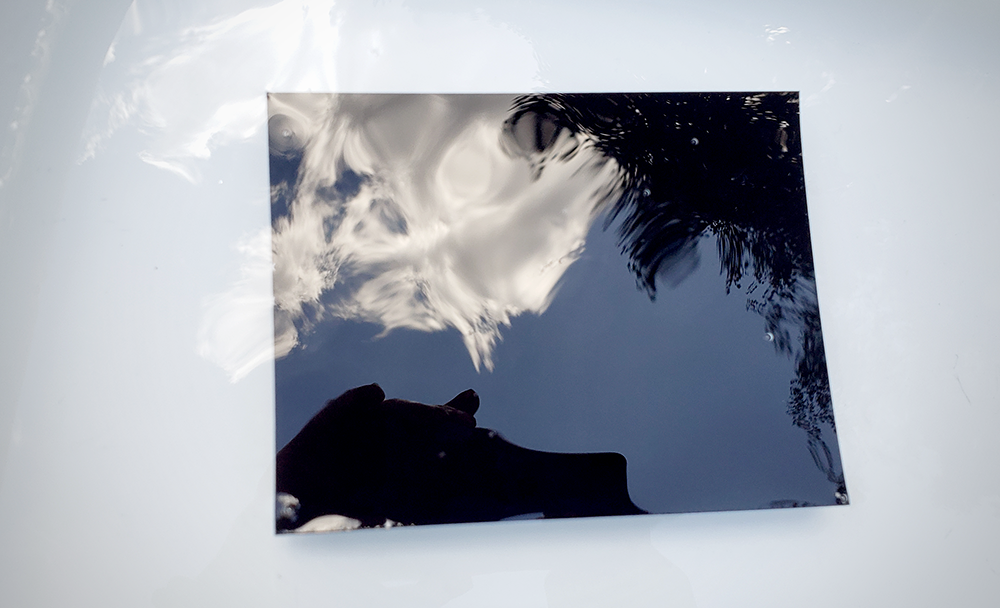
Creating Your Art Piece
Once you've added the nail polish, it's time to lift your paper from the submerged water.
Do this slowly and carefully to avoid any tearing.
You can use your fingers, lining up the nail polish patterns as you go.
Let Your Art Dry
Now that your paper is lined up with the nail polish, set it aside to dry.
It's best to allow your new iridescent art to dry lying flat, so place it on a table, drying rack, or another level surface.
Let your art dry completely before moving on to the next step.
Display Your Iridescent Art
Once your art is dry, you can frame it.
You can use a pre-made frame or get creative and make your own!
If you're using a pre-made frame, make sure the glass is clean so that it doesn't interfere with the iridescence.
You can also display your art without framing it.
For example, you could use magnets to attach it to your fridge or hang it on a string as a mobile.
You can also incorporate your new piece into other art projects.
Get creative and have fun!
Caring for Your Art
Iridescent art is delicate, so it's important to take care of it.
Avoid hanging your art in direct sunlight, as this can cause the colors to fade.
Be mindful that the layer of nail polish is thin and can be scratched or peeled off if not handled carefully.
With proper care, your iridescent art will last for many years!
Creating Iridescent Art
Iridescent art prints made from clear nail polish is a fun and easy way to add a touch of beauty to your home.
With just a few supplies, you can create a stunning piece of art that is sure to impress.
Follow the steps above to get started, and be sure to take care of your art to keep it looking its best.
It doesn't have to be difficult creating stunning artwork!
With a little imagination and effort, you can create an iridescent masterpiece!
Now get out there and start creating!
Want to see this process in action? Check out Art Opportunity's video!
Need some clear nail polish to use for your next project? Check out our article on dip top coats!
Want to learn more about different types of art?
Check out some of our other art guides: