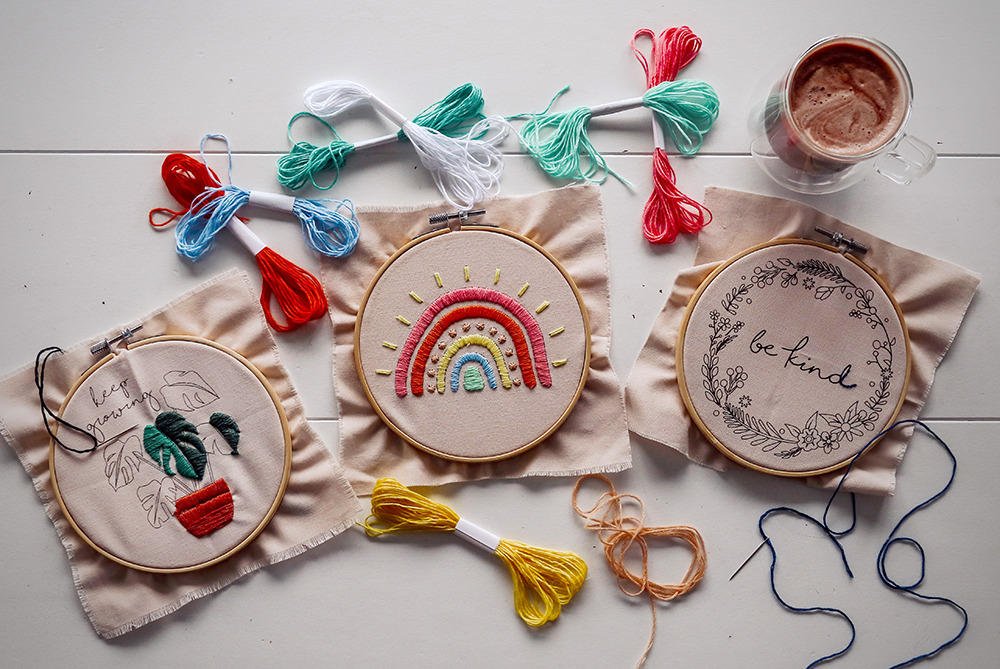
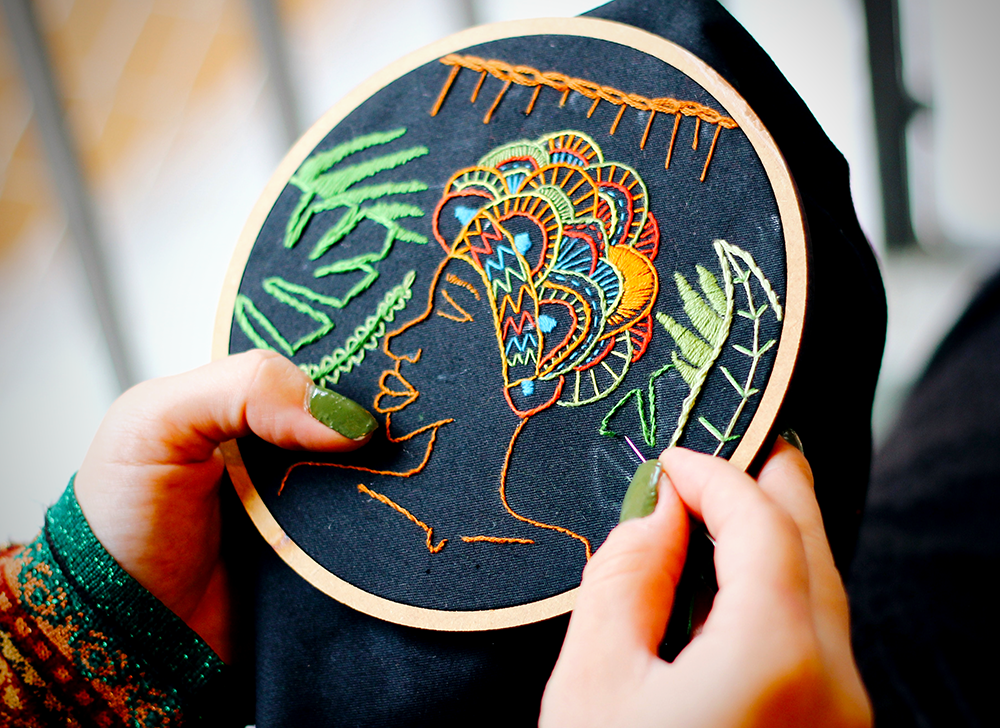
Embroidery is a great way to express your creativity through different textile-based projects.
From handkerchiefs and pillowcases to denim jackets, you can use it in so many creative ways!
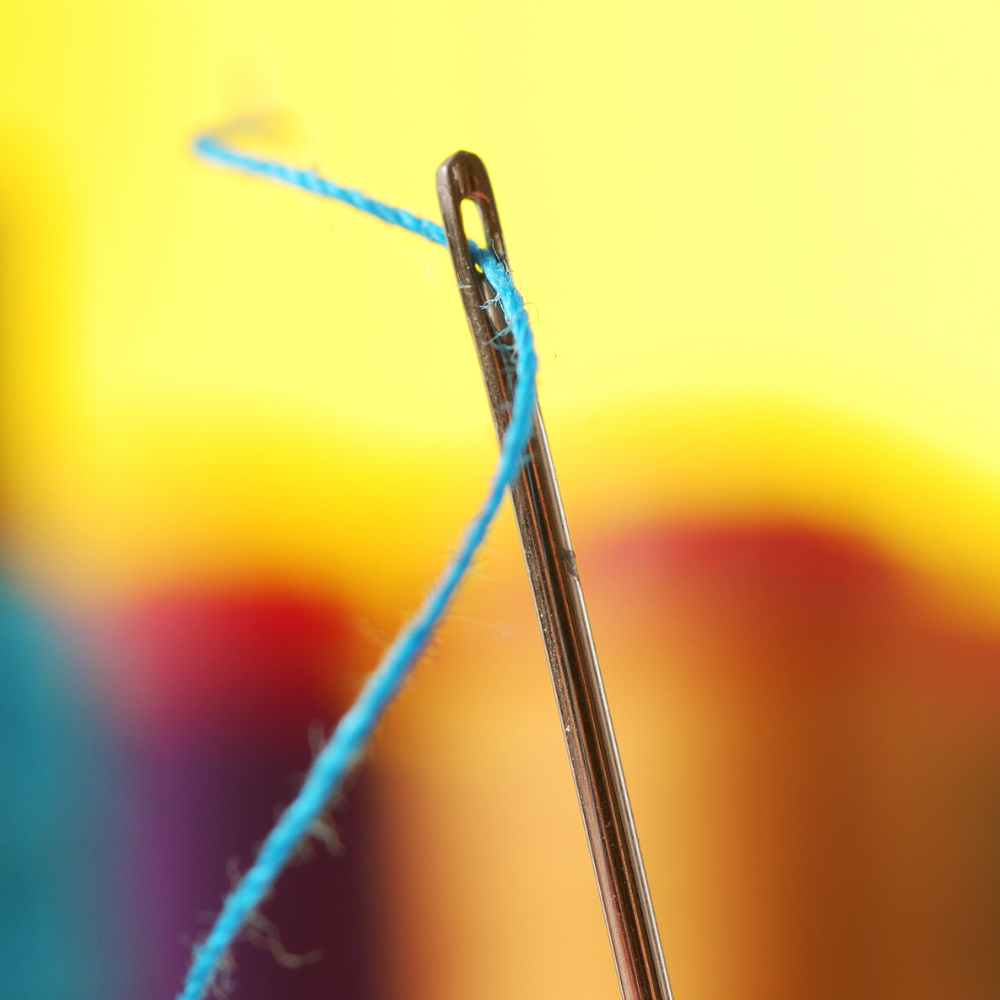
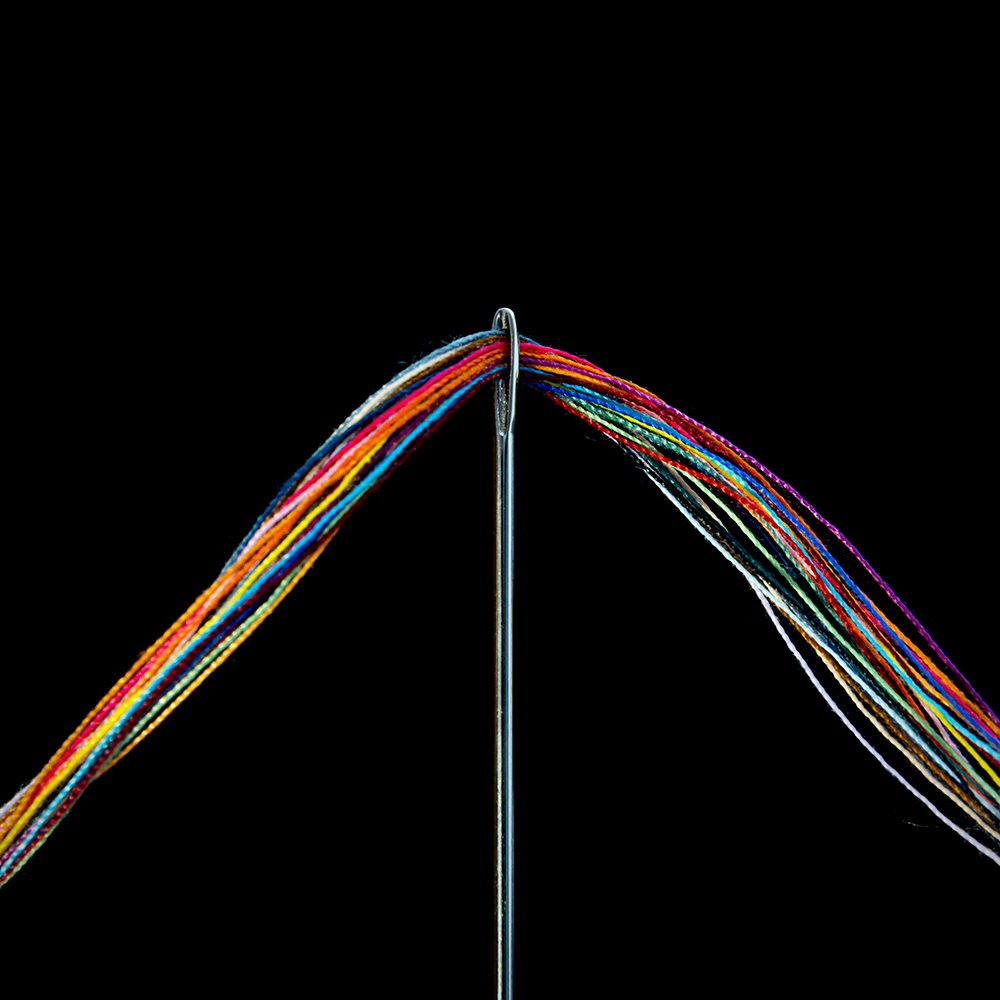
Whether you’re a beginner or a seasoned pro, threading an embroidery needle can be tricky.
Whether you're a beginner or an experienced artist looking for something new, this post will teach you the basics of embroidery from selecting needles and getting started threading them, to mastering some basic stitches!
We'll also share helpful tips for those of you who are ready to explore more advanced techniques.
So, grab your supplies and let's get started on this whimsical journey into the world of embroidery!
What is Embroidery?
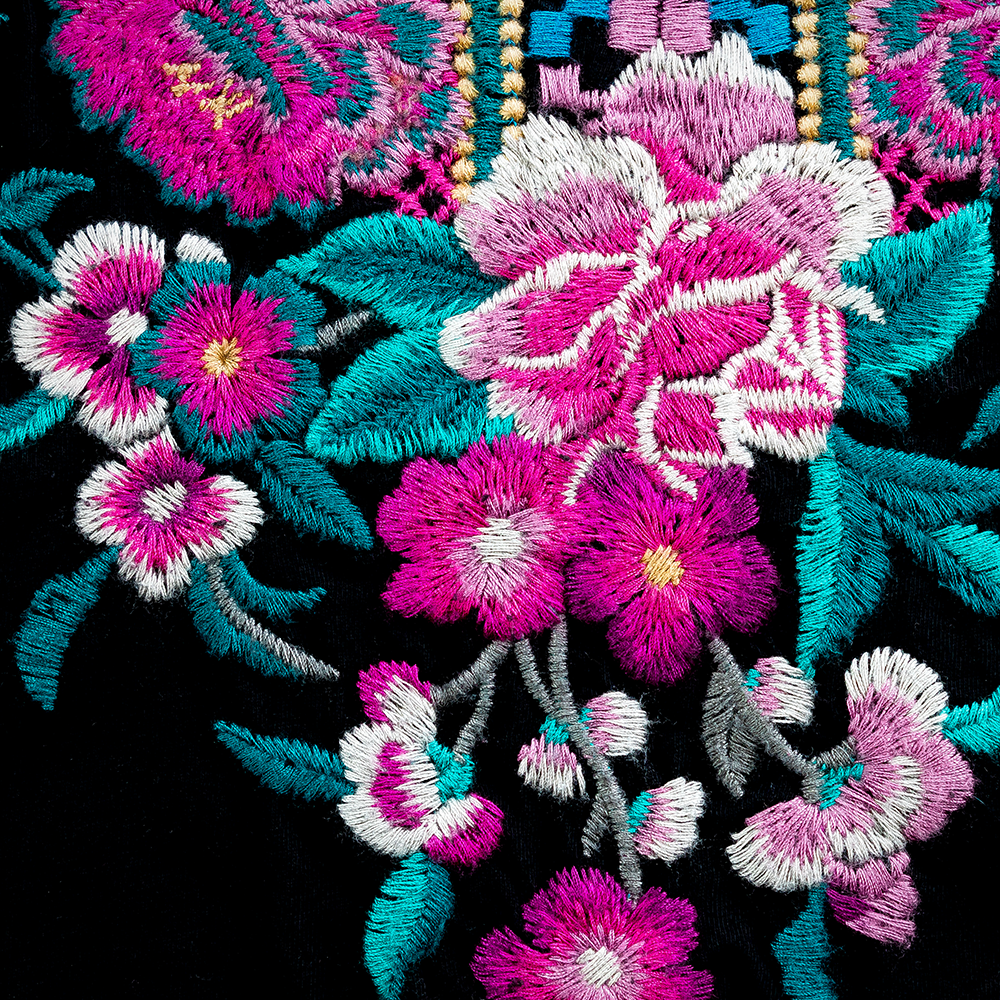
Embroidery is a form of decorative needlework that involves stitching fabric with a variety of colored threads to create intricate and beautiful designs.
It has been used for centuries in many different cultures, and today it’s commonly used for home décor, fashion accessories, quilts, and more!
Whether simple or complex, embroidery is a great way to add a personalized touch to any project.
Types of Embroidery
Before you start embroidery, it’s important to understand the different types of embroidery and how they work.
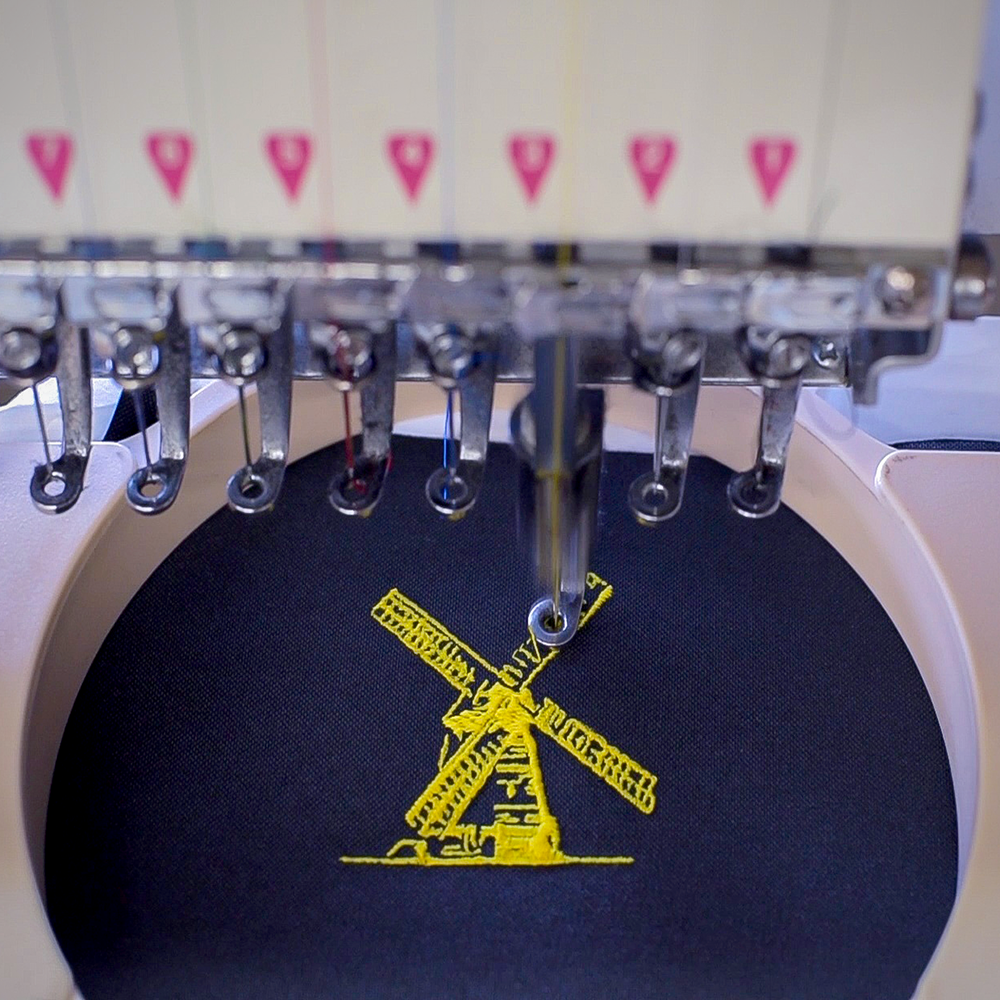
At the most basic level, you'll need to choose between traditional hand embroidery and machine embroidery.
Hand embroidery is the most common and involves using a needle and thread to create designs on fabric.
Machine embroidery, on the other hand, is a bit more complex and uses an embroidery machine to create designs with thread.
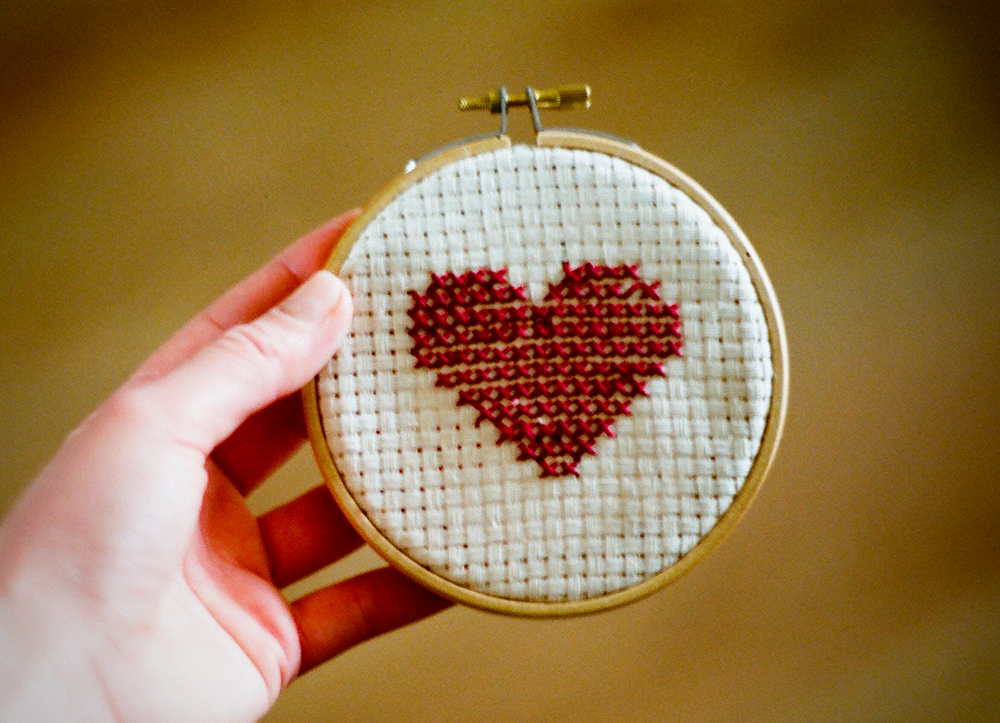
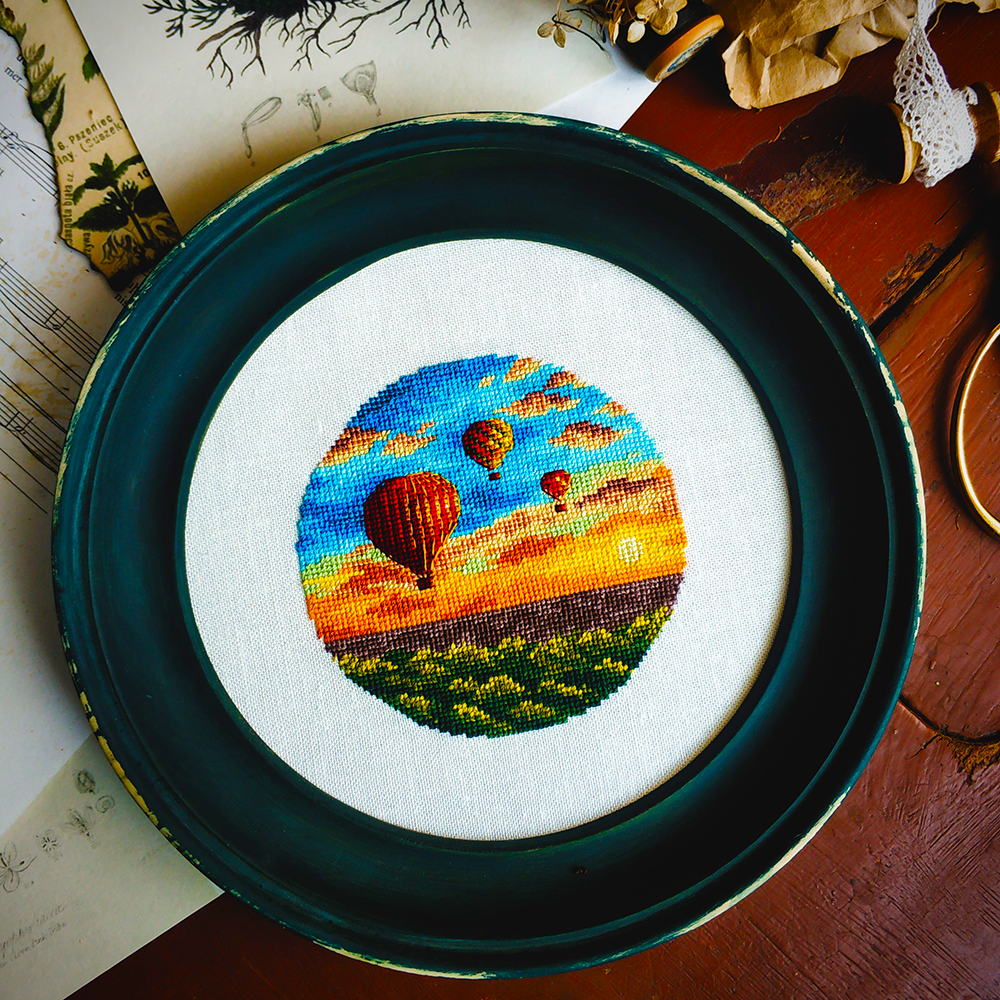
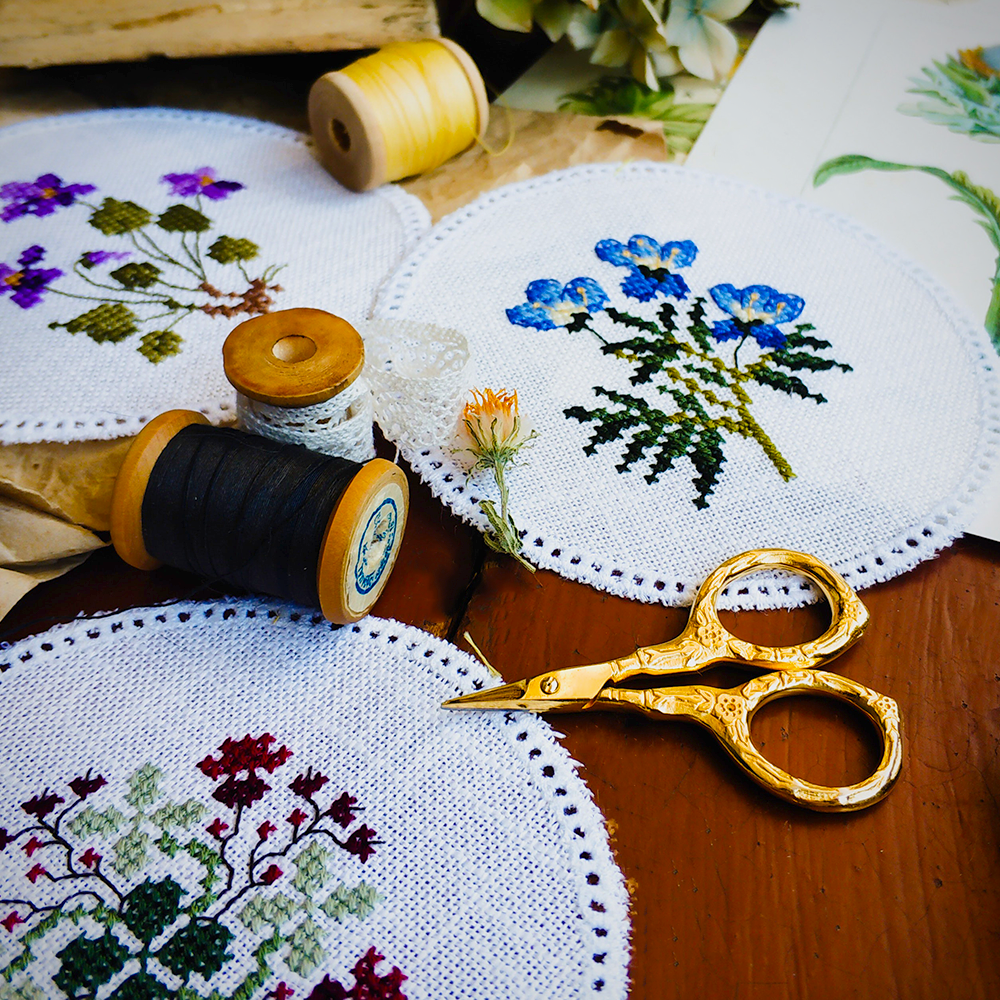
Cross stitch embroidery is a popular form of embroidery that uses a basic X-shaped stitch to create beautiful patterns.
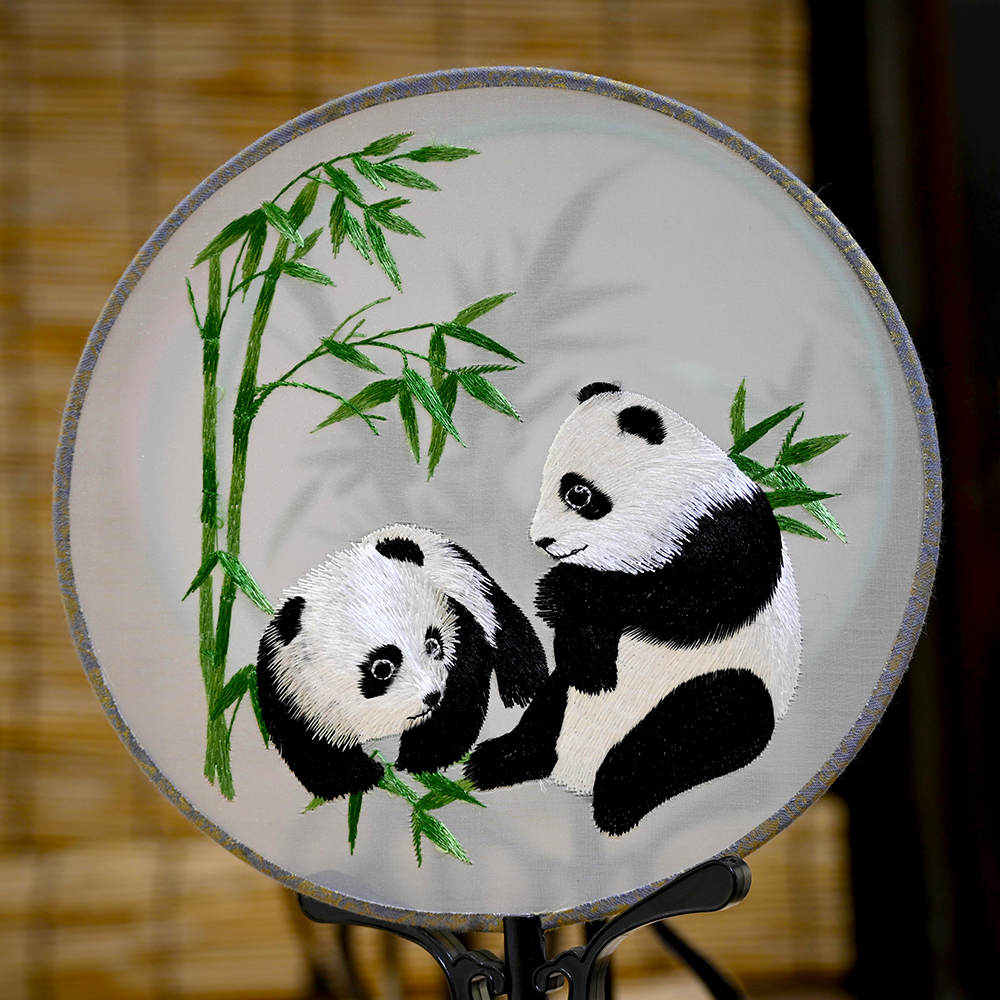
Crewel embroidery is another popular form of embroidery that uses thicker yarns and is often used for more intricate designs.
Ribbon embroidery utilizes a variety of colorful ribbons to create unique designs.
Freestyle embroidery is a more modern form of the craft that allows you to create abstract designs without following a particular pattern.
No matter what type of embroidery you choose, it’s important to understand the basics before getting started on your embroidery design.
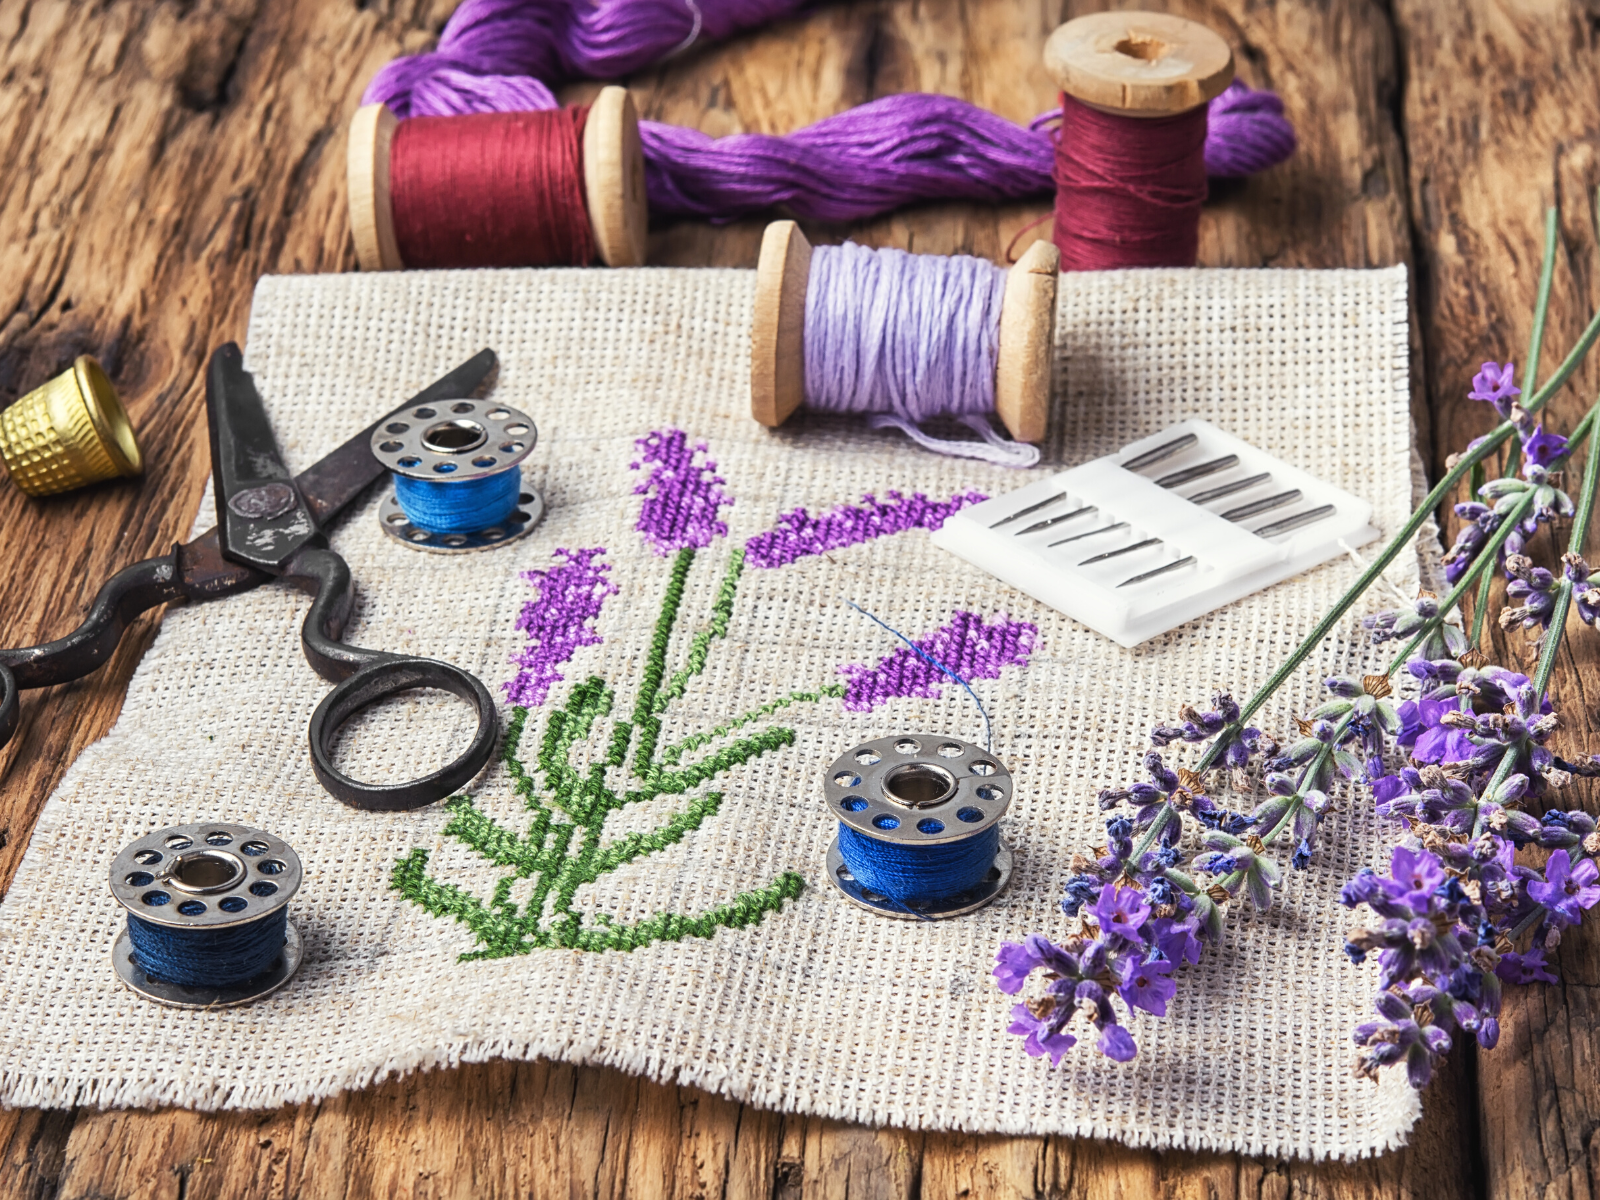
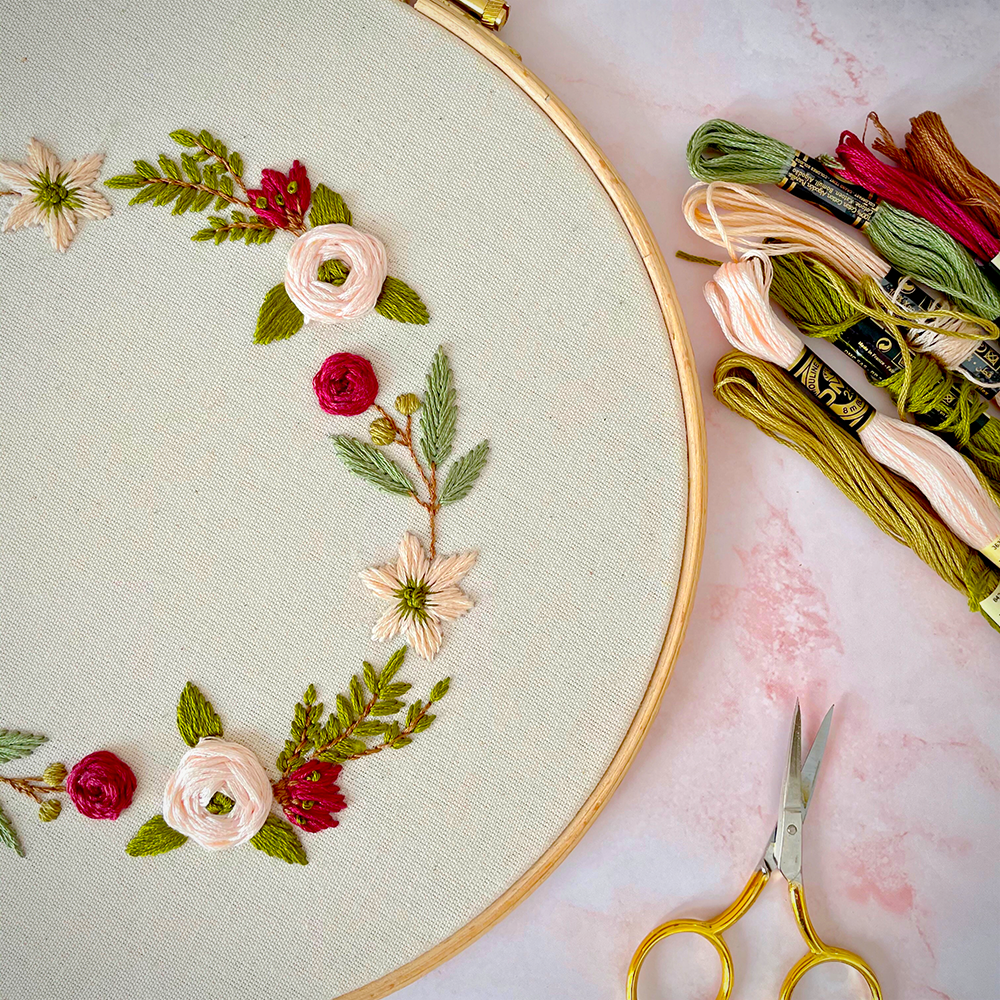
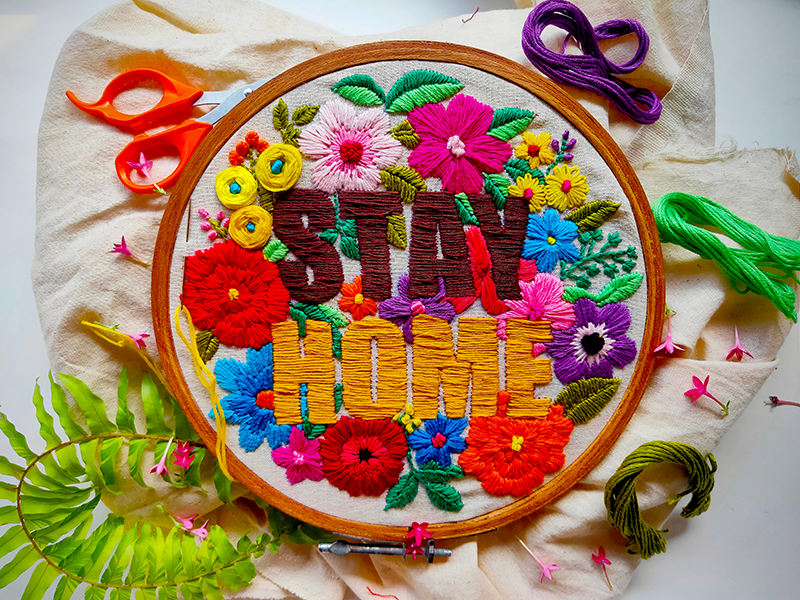
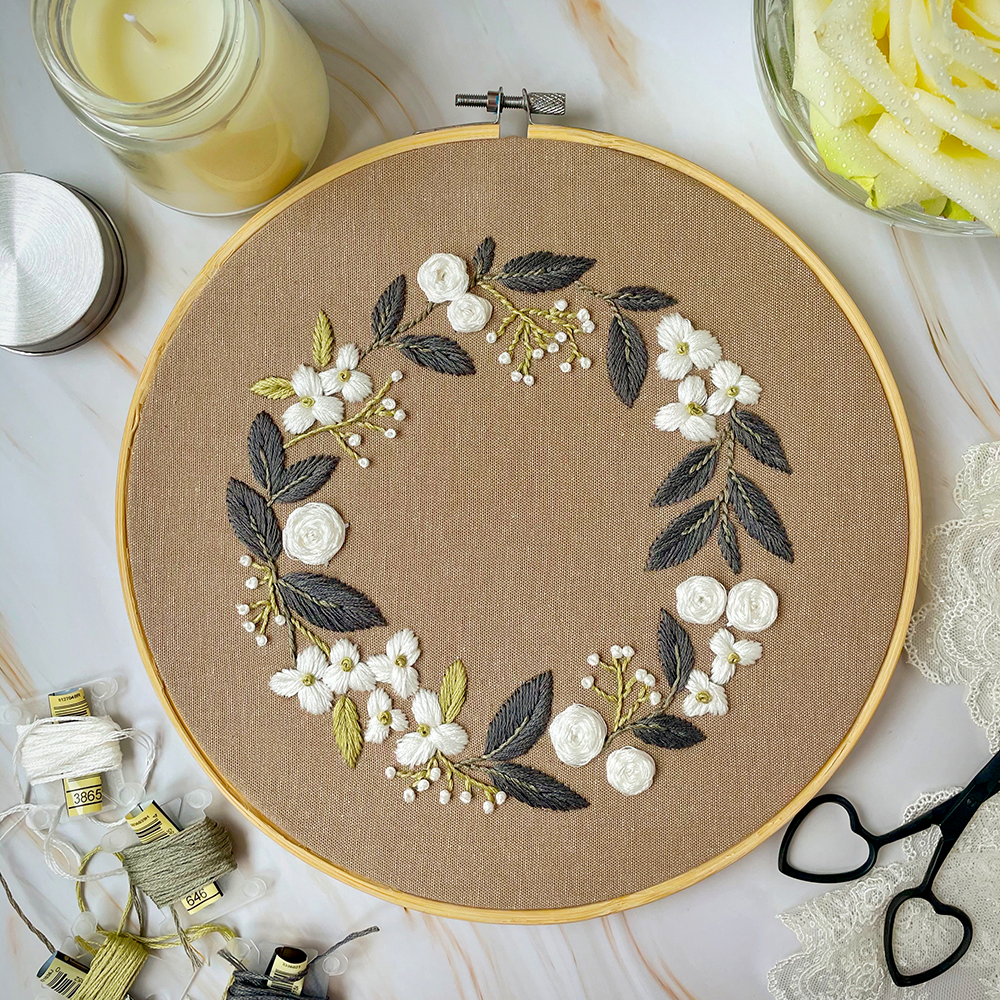
Optional Supplies
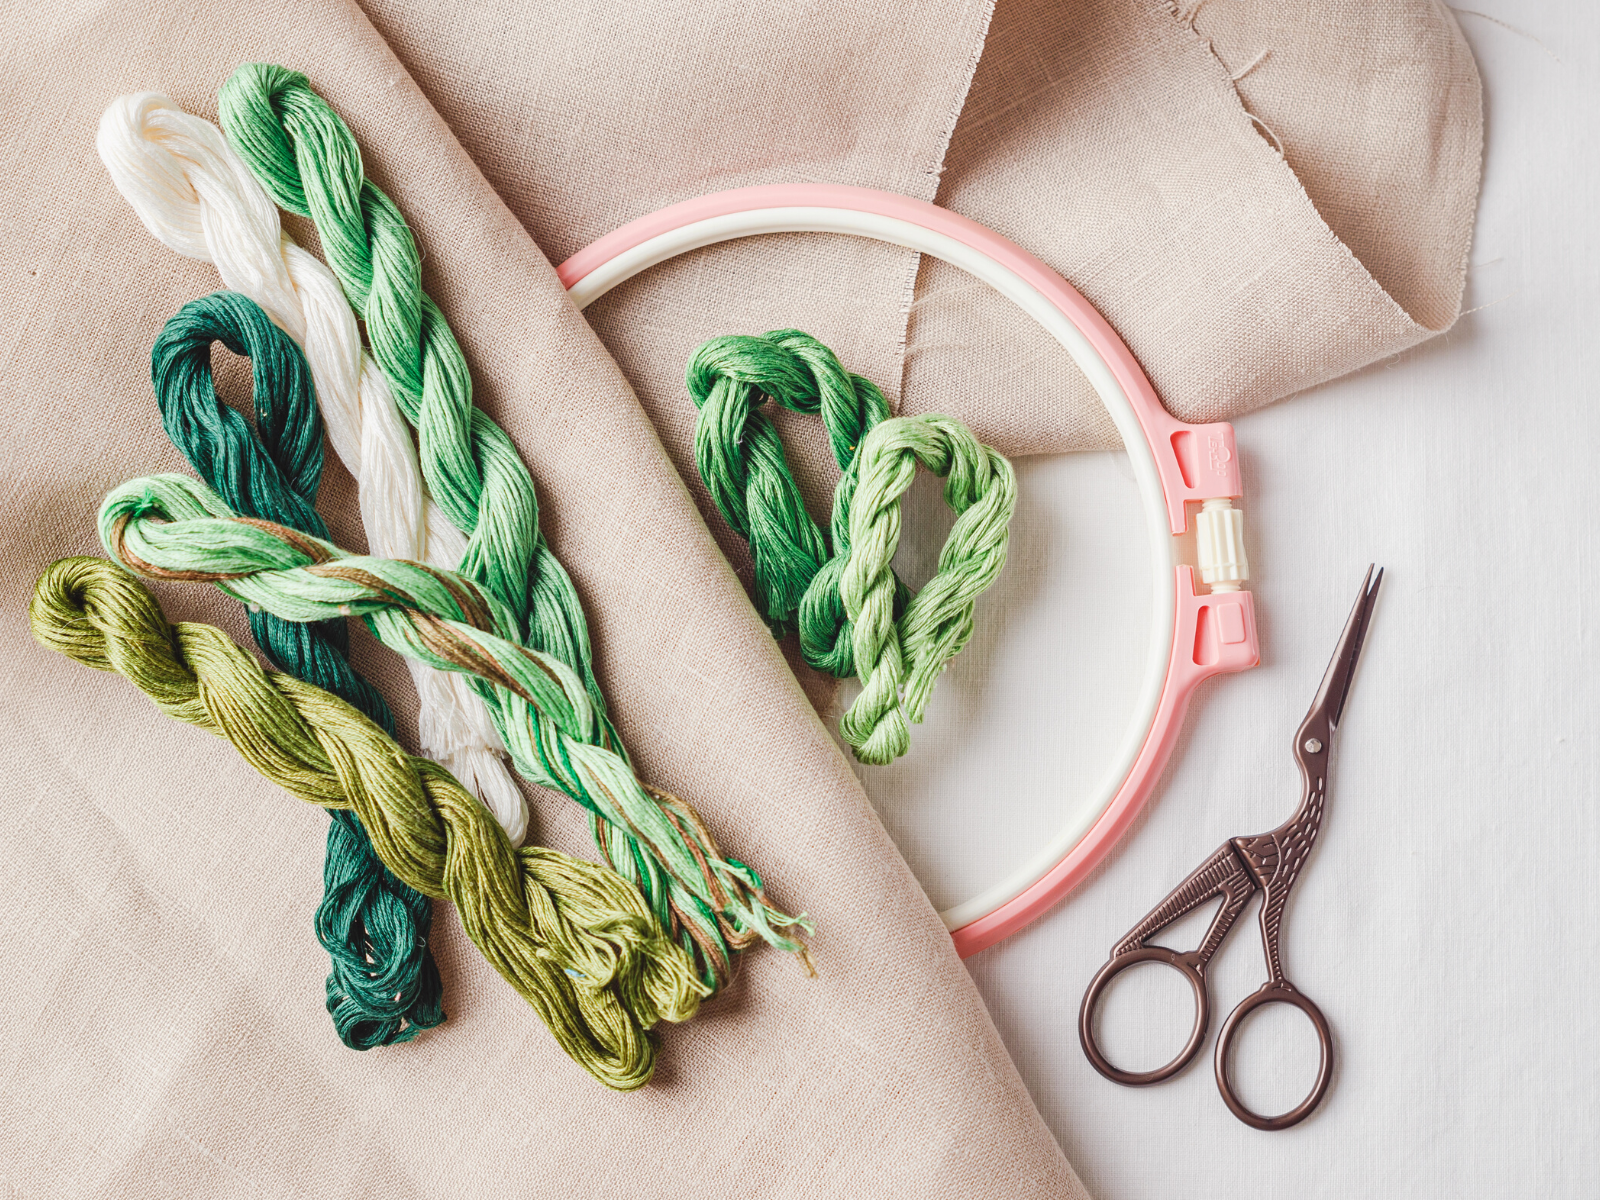
If you're getting started with embroidery, you'll definitely need supplies like fabric, embroidery thread, and a needle.
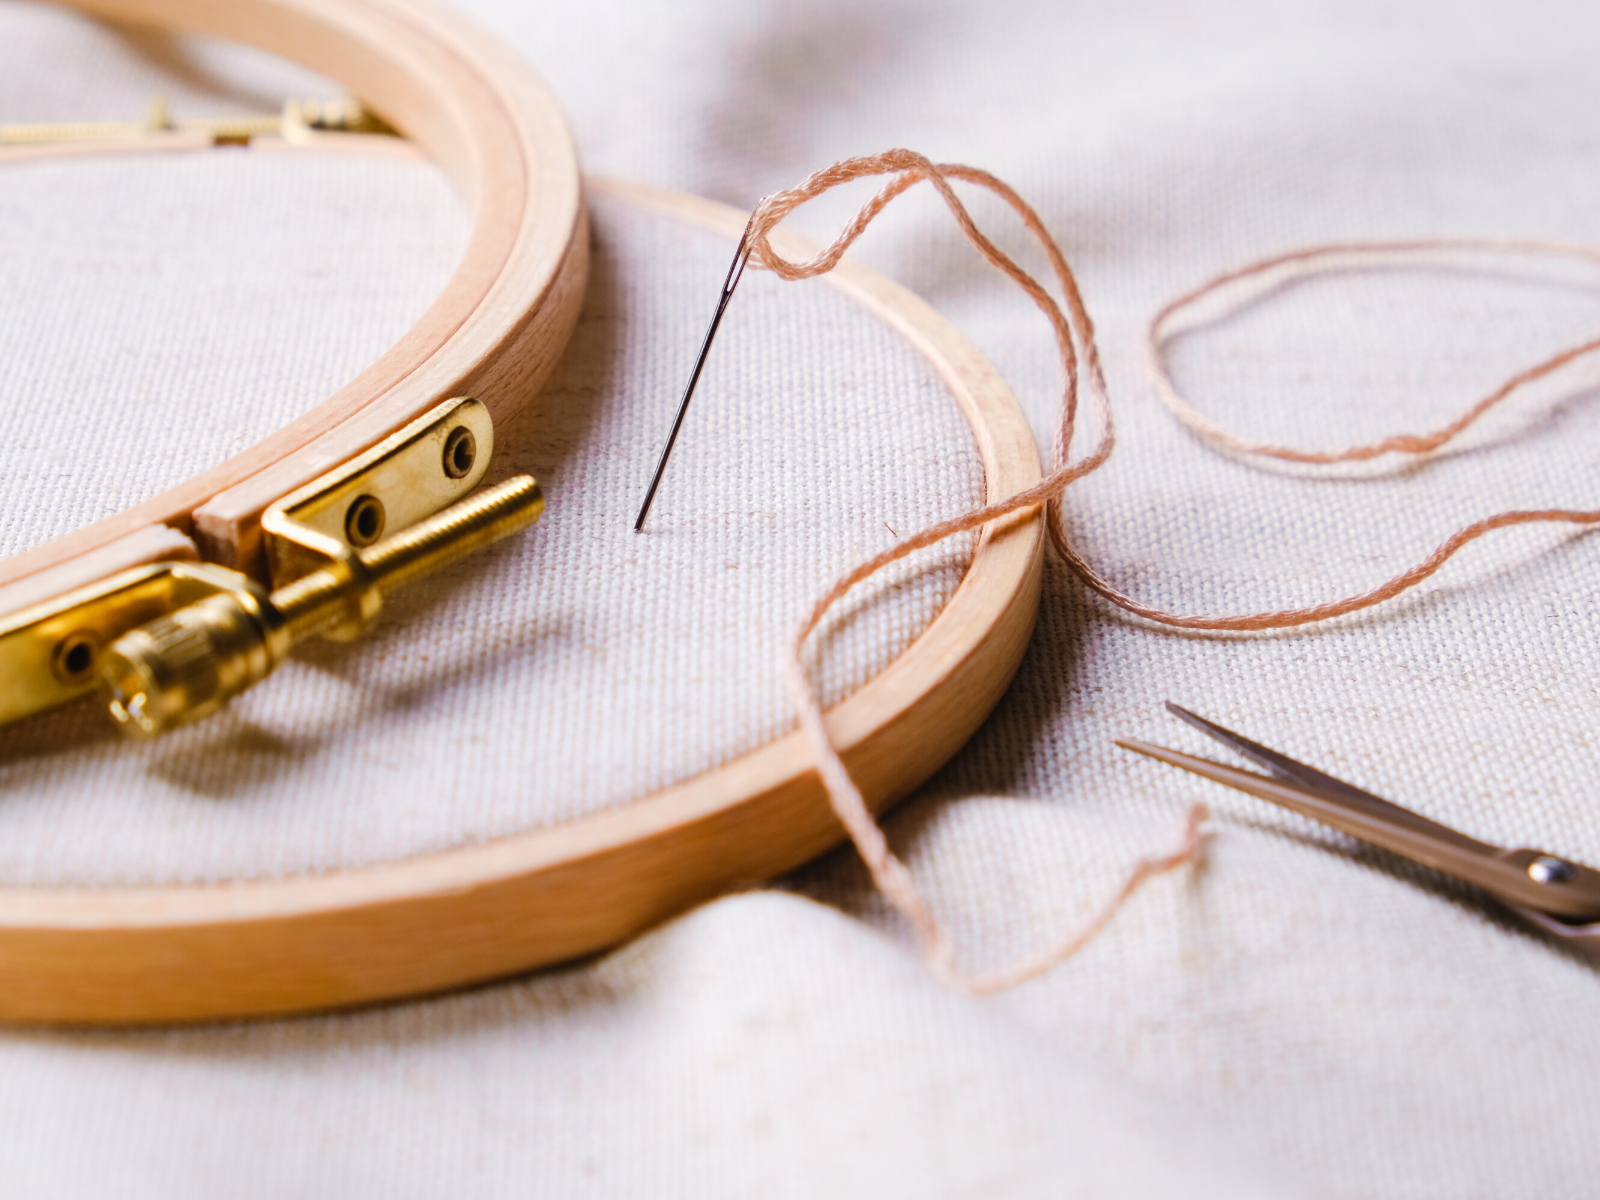
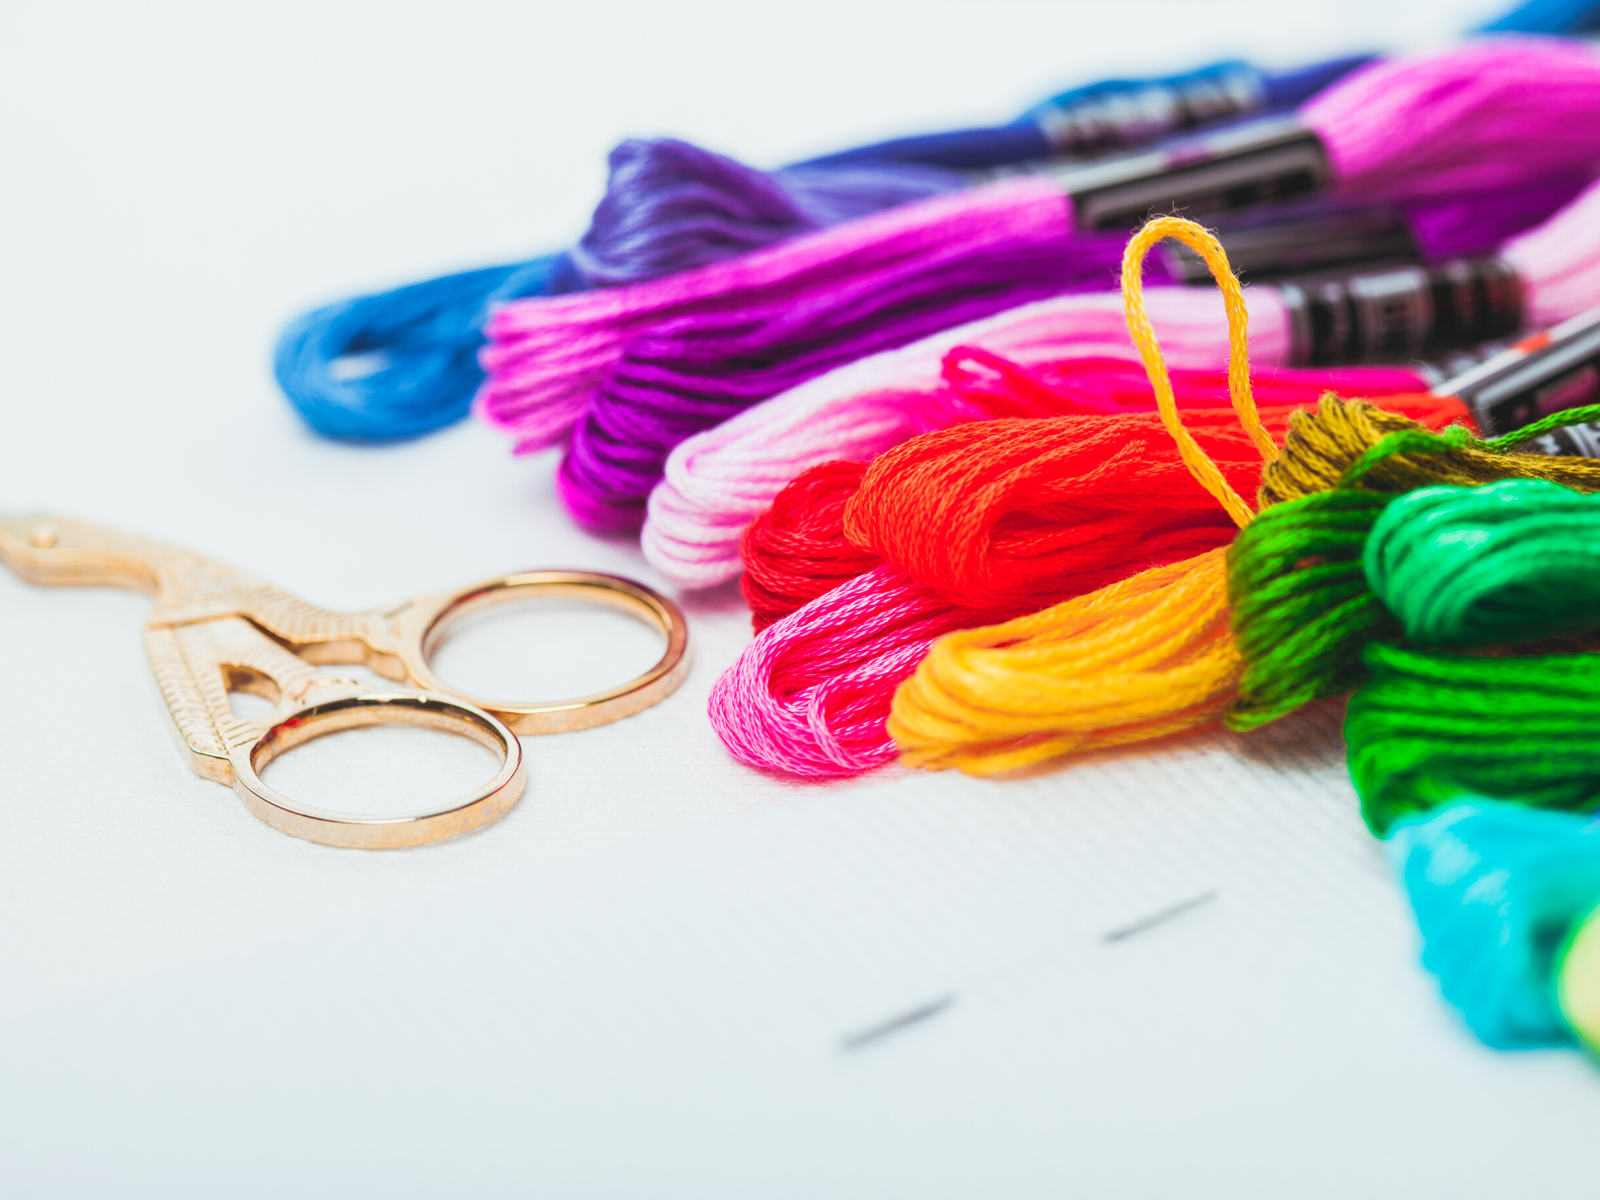
You can also purchase additional supplies, like an embroidery hoop or frame to keep your fabric taut and make it easier to work with, as well as additional tools such as a pair of scissors, thimble, a needle threader, wire loop, and a fabric marker.
These tools can make your stitching process easier and help you create more intricate designs.
When creating embroidery projects, it’s also important to select the right fabric; you can even create your own colored designs using fabric paint.
Cotton is one of the most popular fabrics for embroidery projects, but others like linen, wool, and silk are also great options.
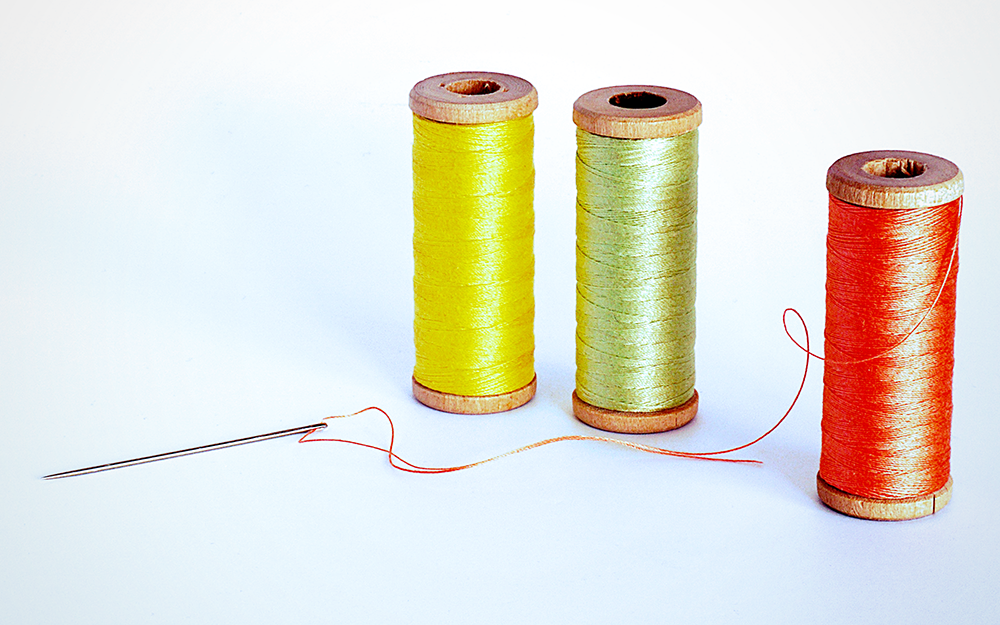
Selecting Embroidery Needles and Thread
Before you begin embroidery, you’ll need to select the right materials for your project.
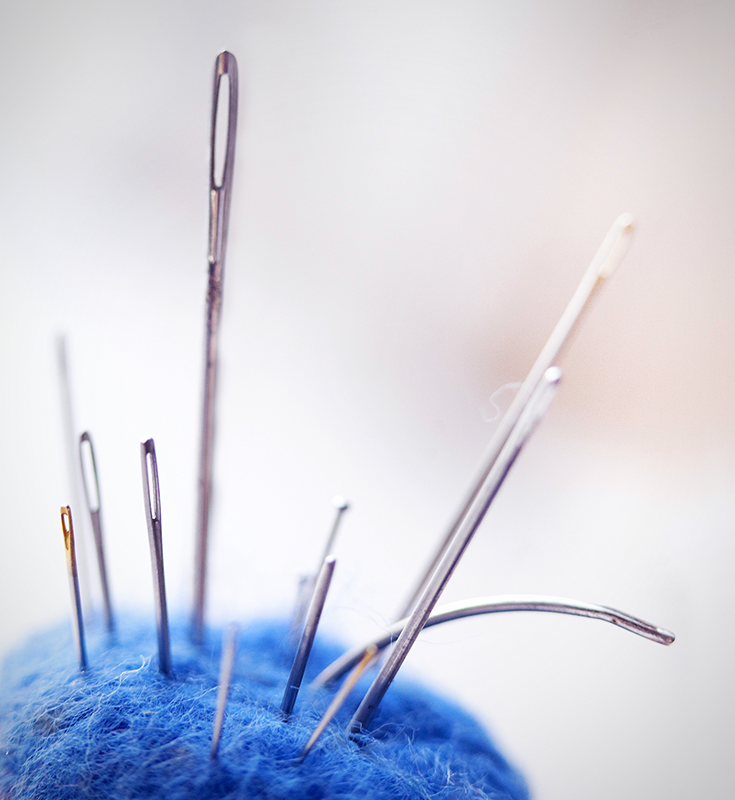
Embroidery needles come in different sizes, so you’ll want to pick the one that works best for your project.
Needles with larger eyes are best for heavier threads, while needles with smaller eyes are better for finer threads.
Also, needles come in a variety of types and styles, such as tapestry needles and crewel needles.
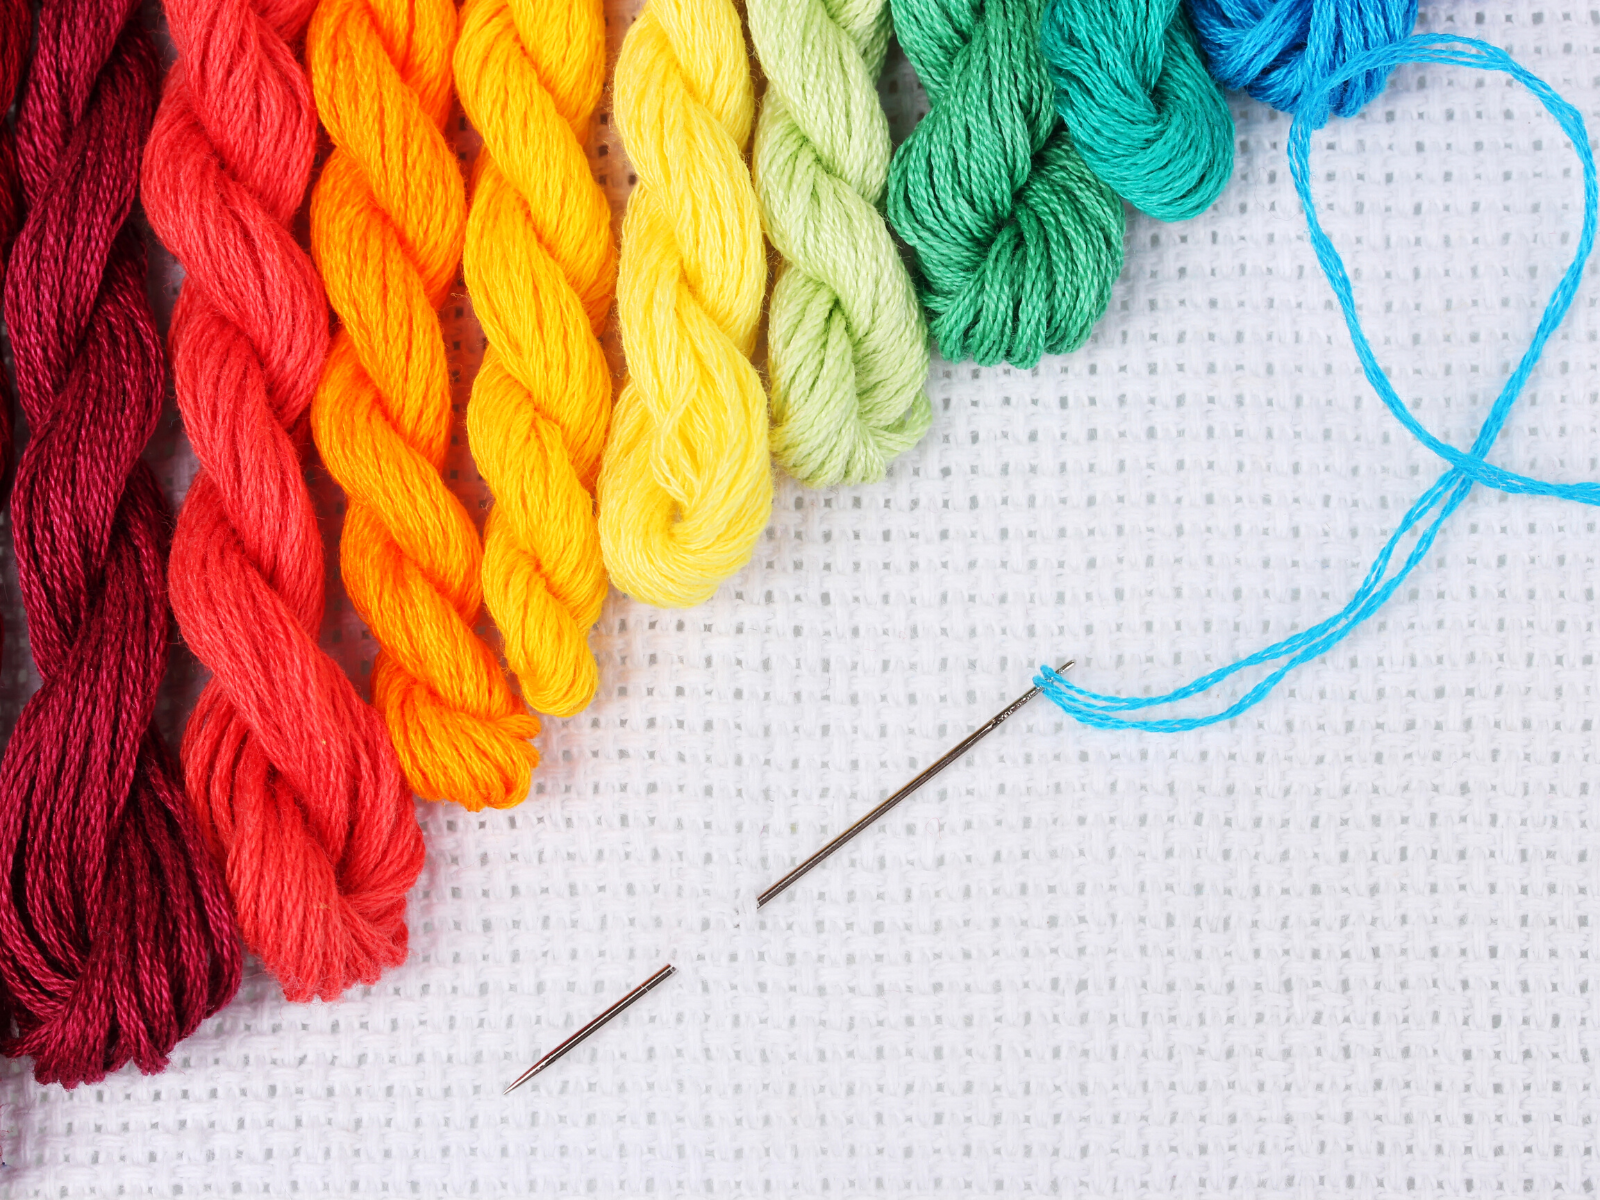
In terms of embroidery thread, there is a wide variety of colors and materials to choose from, including cotton, wool, silk, and even novelty thread.
For instance, stranded cotton floss is a popular choice for cross stitch embroidery.
Embroidery floss comes in multiple strands, such as 6-strand or 8-strand varieties, so you’ll need to determine how many strands of embroidery floss you want to use.
You can find a variety of embroidery floss colors and materials at your local craft store.
Consider the color scheme of your project when selecting the thread, and make sure you have enough for your entire project.
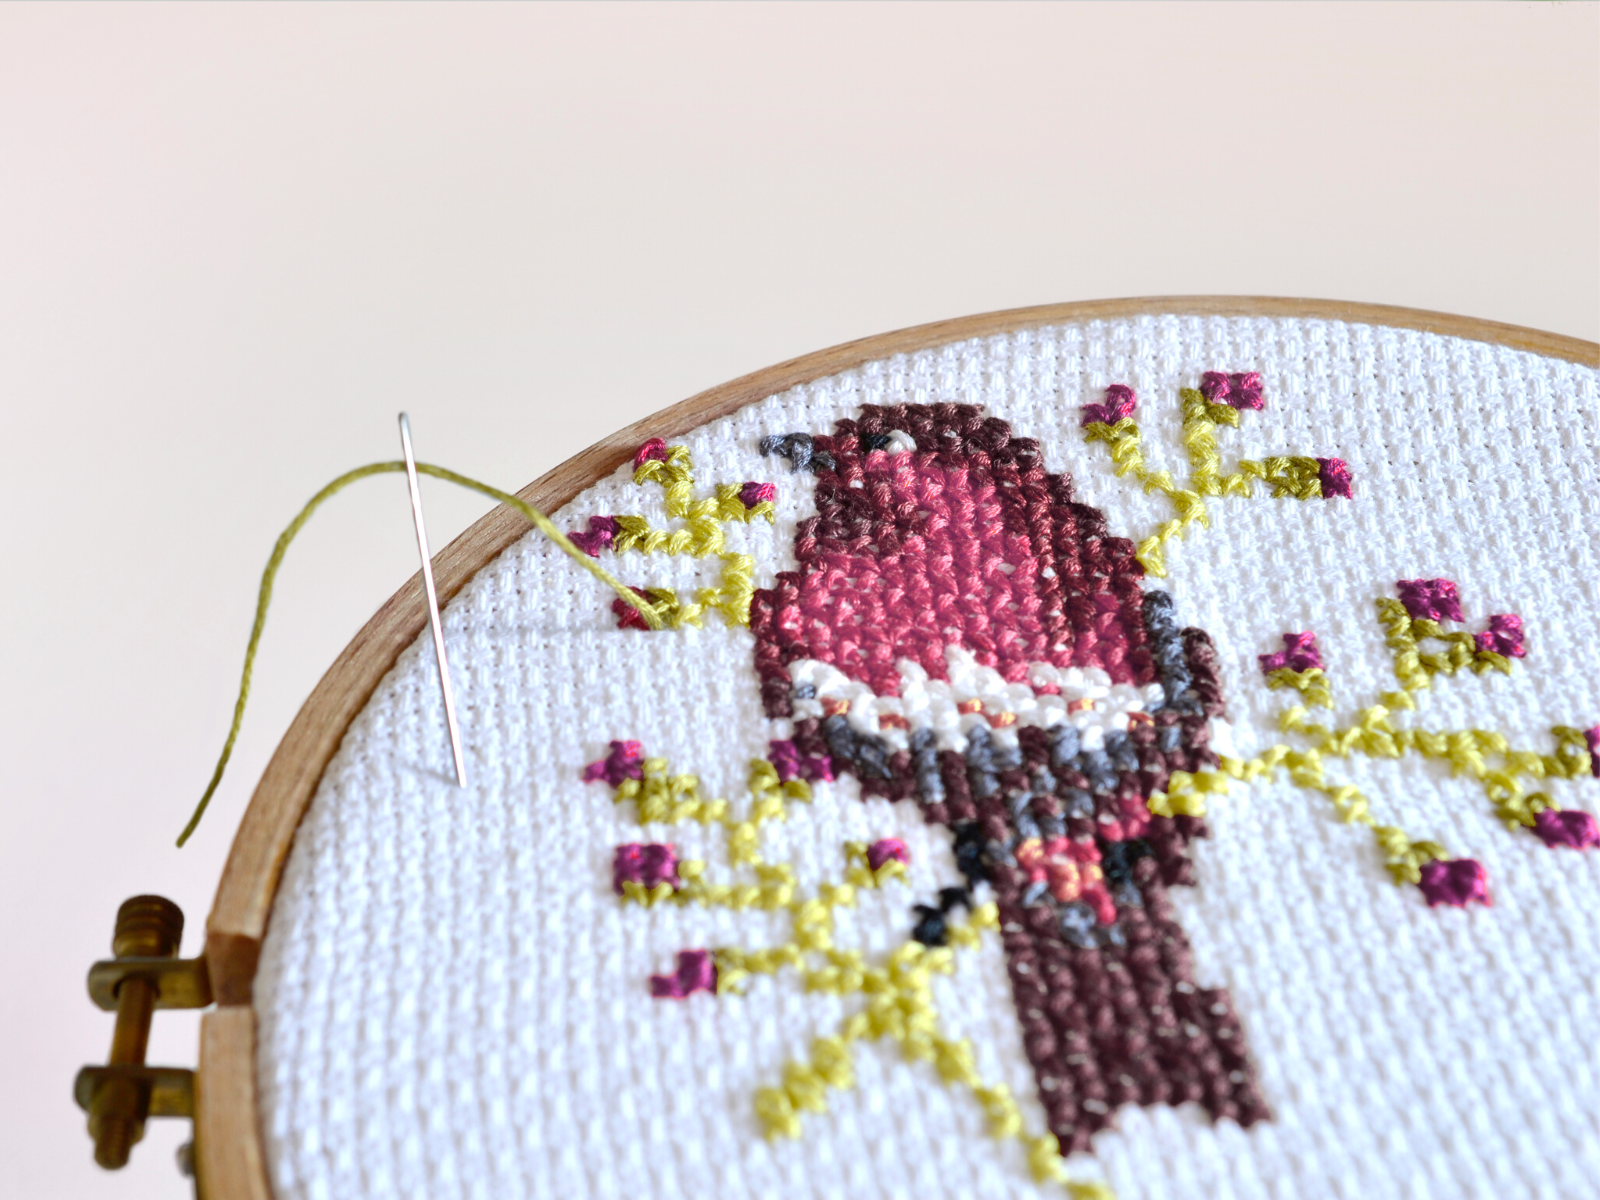
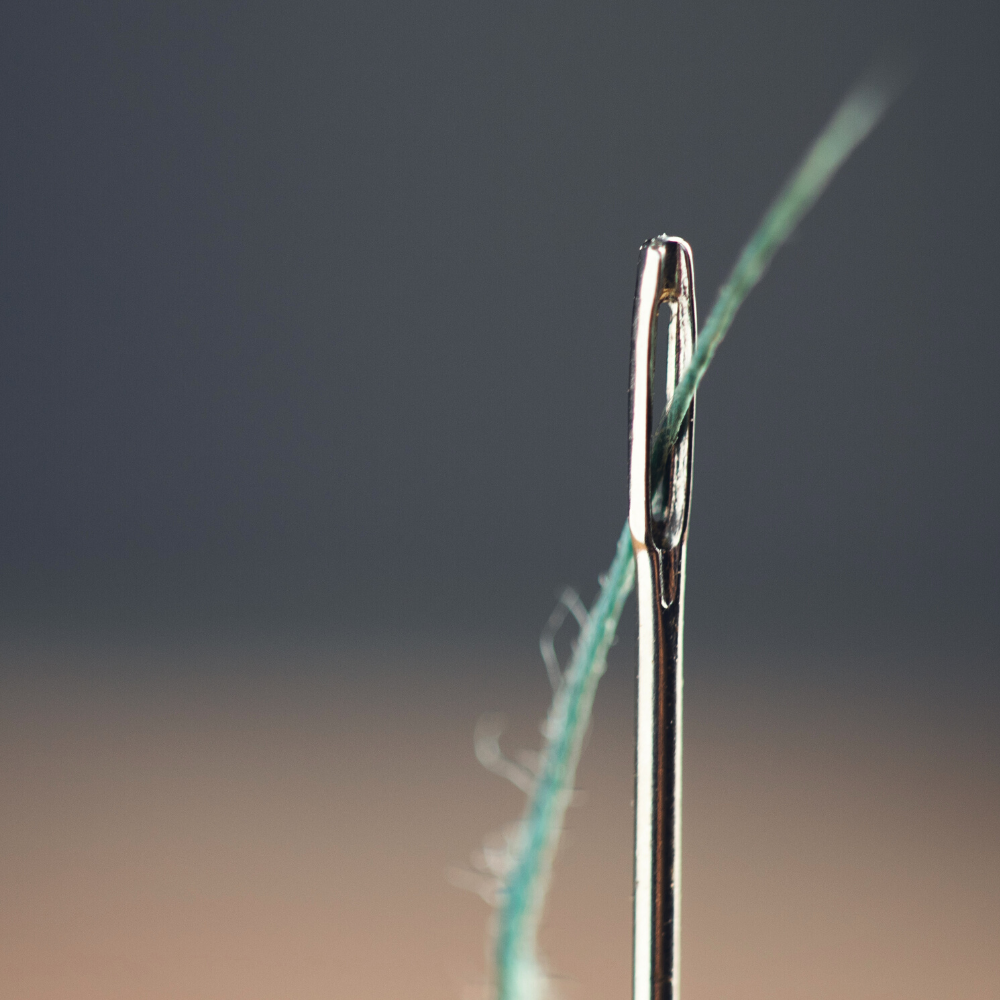
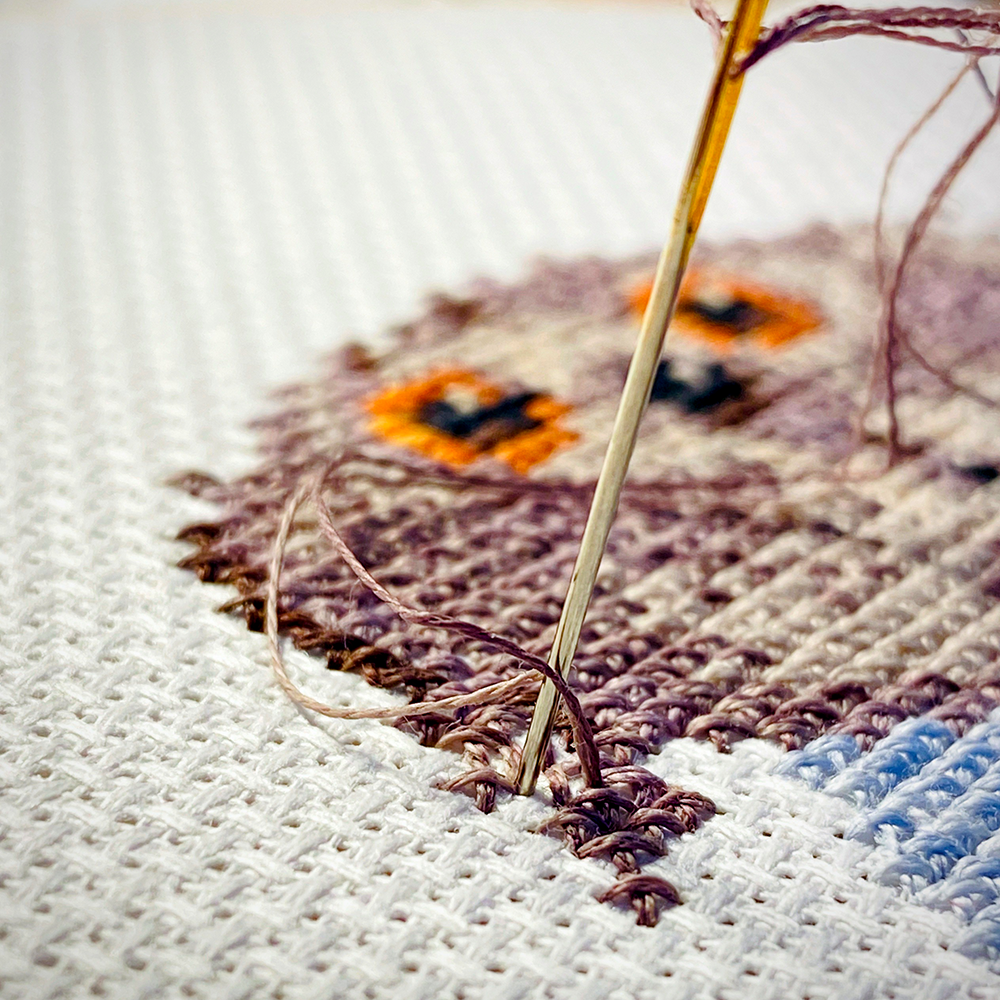
Threading an Embroidery Needle
Once you’ve selected the right needle and thread, it’s time to get started!
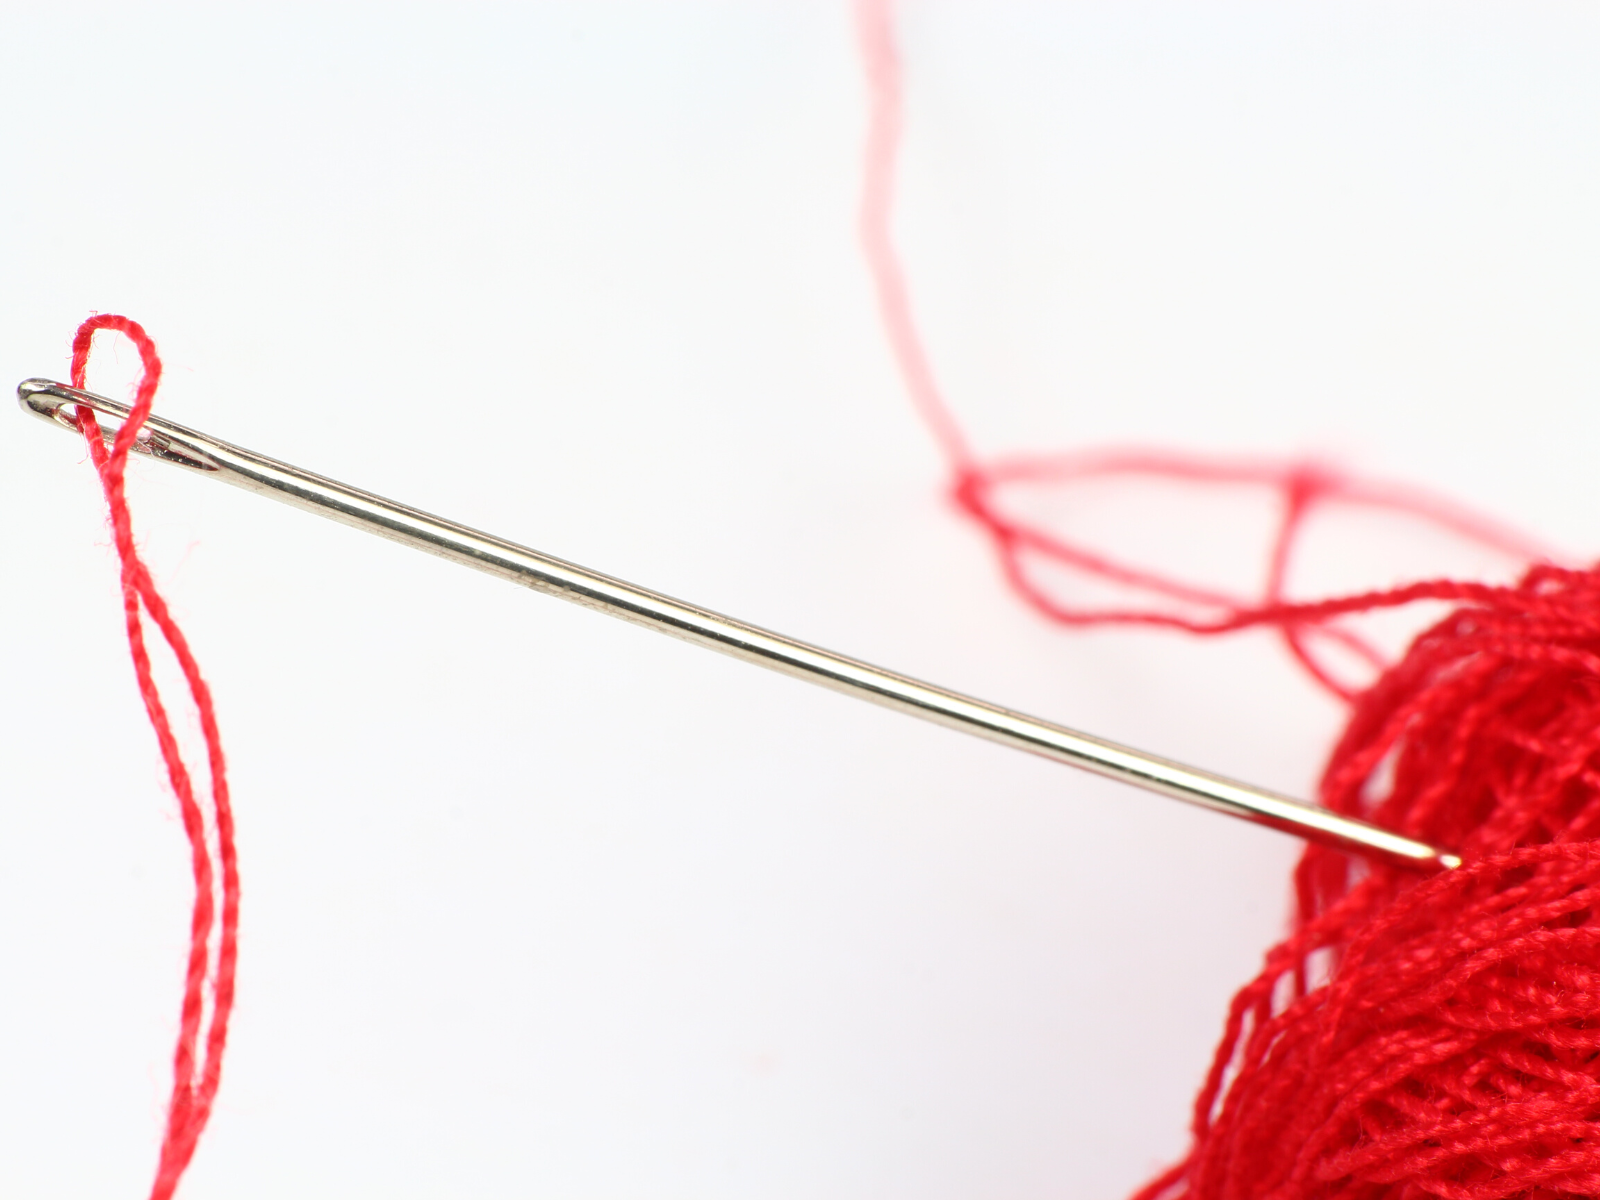
Hold the end of the freshly snipped thread cut by sharp embroidery scissors between your thumb and index finger, then pull it gently but firmly to separate it into two strands.
This will make it easier to fit into the eye of your needle.
Place the needle between your thumb and index finger, and you will thread embroidery floss into the needle.
You may have to maneuver it slightly so that both ends are the same length.
You'll want to separate stranded cotton floss into the number of strands indicated for your project, then thread them individually into the needle.
Twisted threads, like silk and rayon, can be more difficult to thread through the eye of the needle.
If you’re having trouble, try using a needle threader to help you.
Also, separate stranded threads designed for metallic projects, such as gold and silver, into three strands so that you can use the thread in different ways.
Once you have your threaded needle, you’re ready to start stitching!
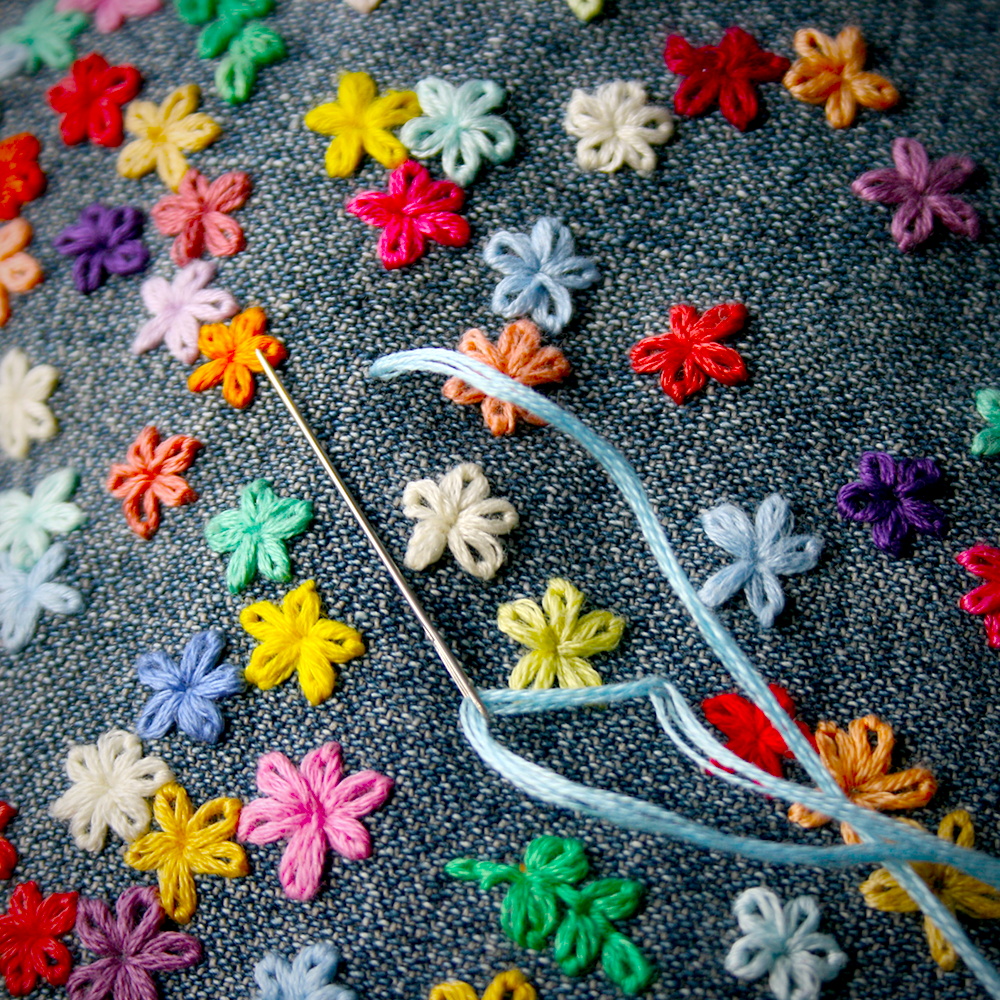
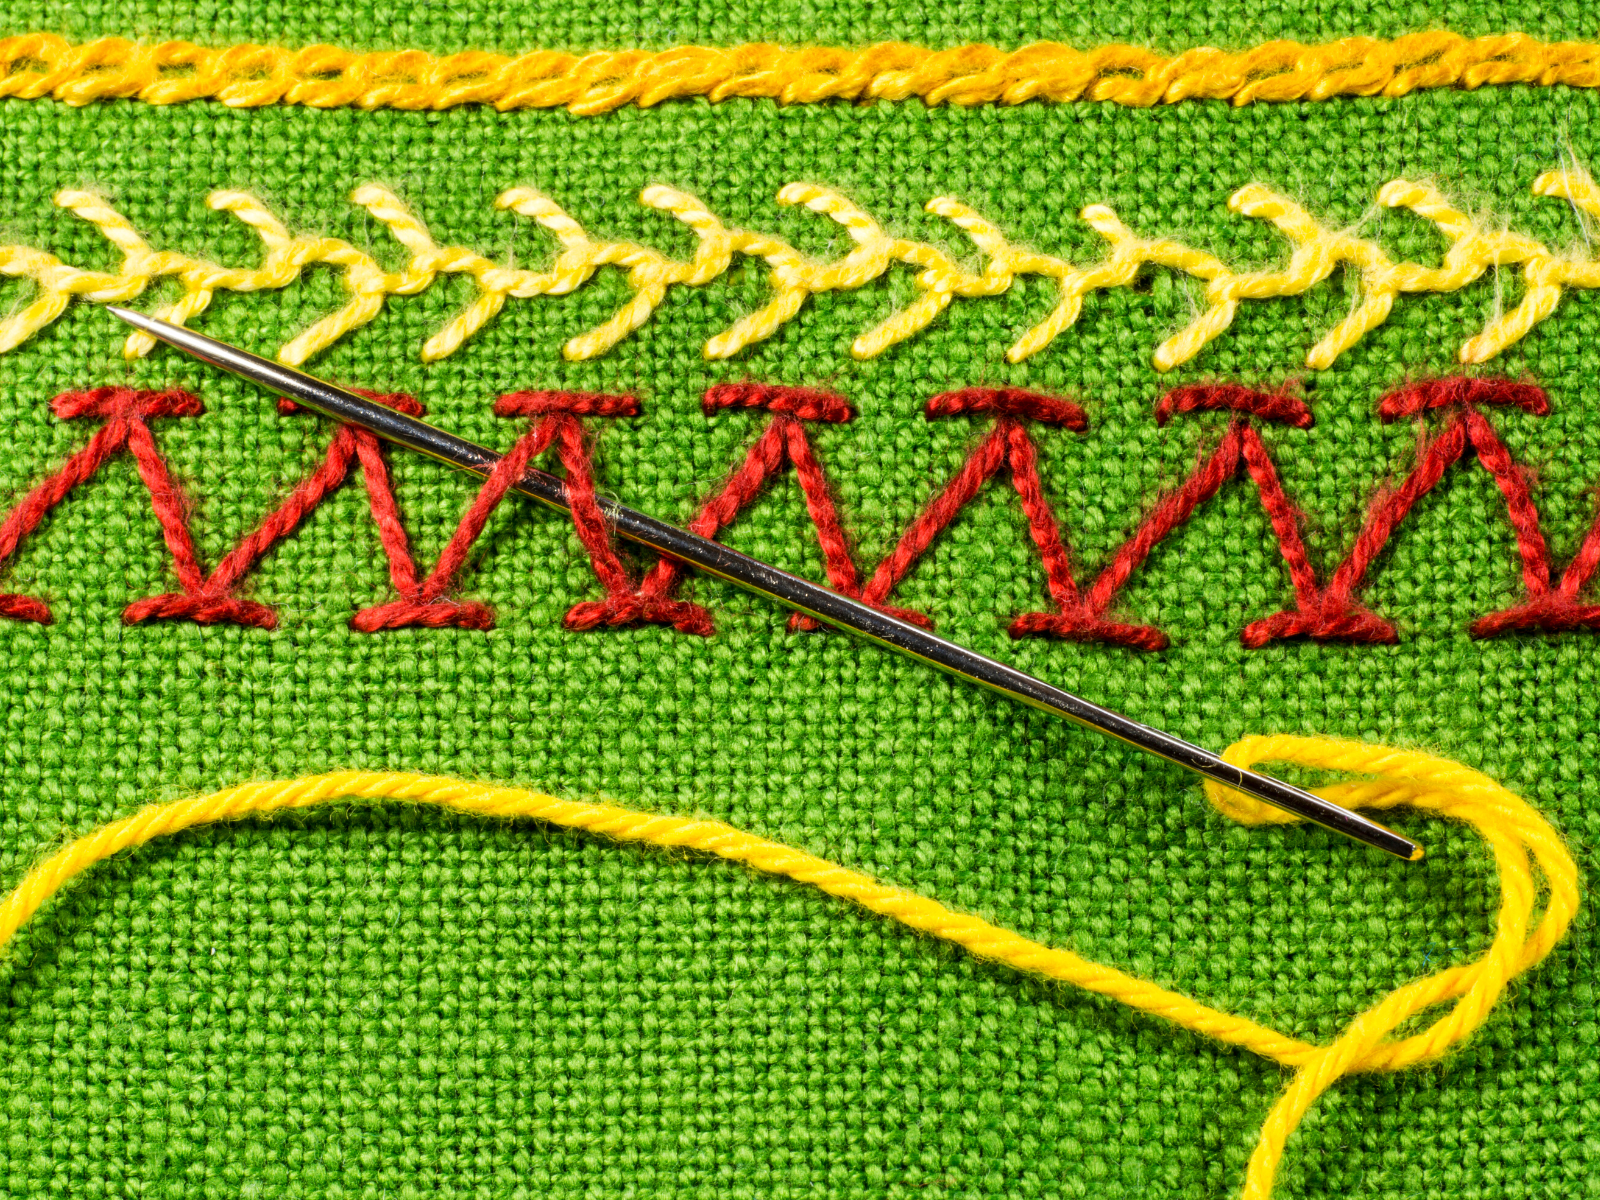
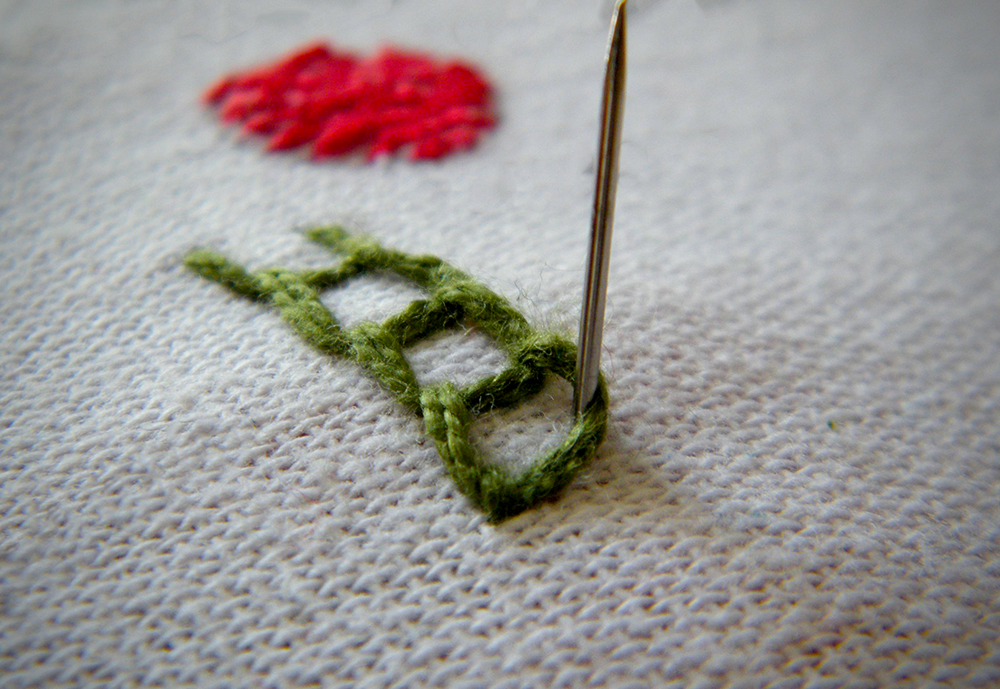
Mastering Basic Embroidery Stitches
Now that you’re all set up, it’s time to start stitching!
The most common embroidery stitches are backstitch, running stitch, and chain stitch.
Backstitch is a great stitch to use for outlining and creating sharp edges.
To make a backstitch, insert your needle into the fabric at the starting point of your design.
Bring the needle back up a few millimeters away from the starting point and pull it through, creating a small loop of thread.
Insert the needle back into the fabric at the starting point and pull it through, creating a small stitch.
Continue in this way until your design is finished.
Running stitch and chain stitch are also great for creating outlines, but they can also be used to fill in larger areas.
To make a running stitch, simply bring your needle up through the fabric and then back down to create small, even stitches.
Chain stitch is similar but slightly more complicated, as you will need to loop the thread around the needle before bringing it up through the fabric.
Practice these stitches to get comfortable with them before attempting more complex designs.
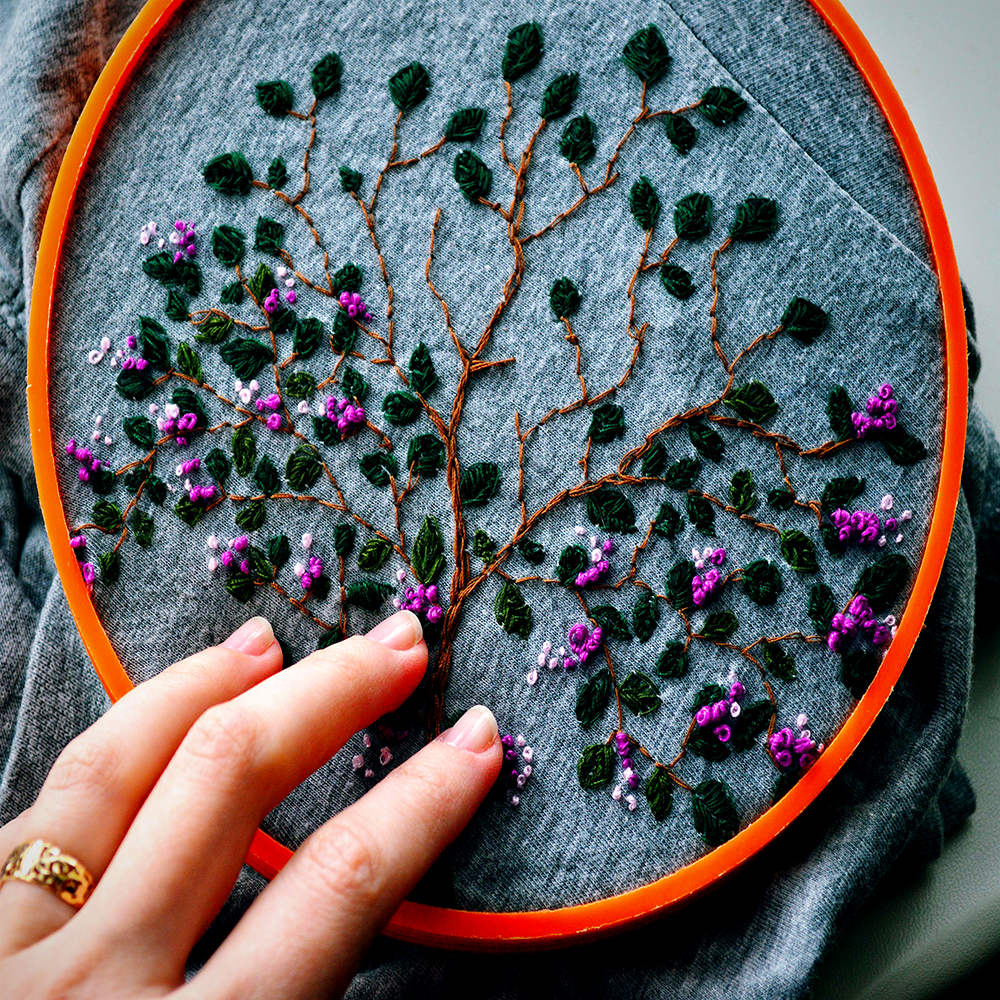
Exploring Advanced Embroidery Techniques
Once you feel comfortable with the basics, it’s time to start exploring more advanced techniques!
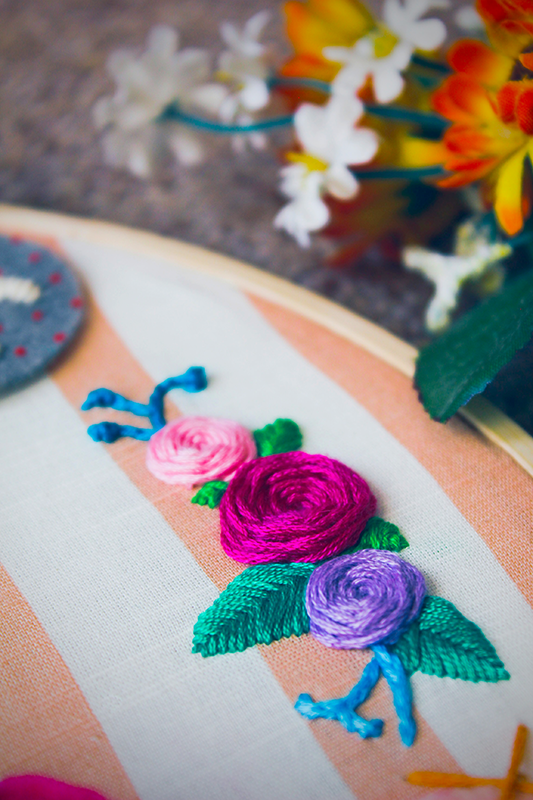
Embroidery can be used to create detailed patterns, 3D elements, and even words or phrases.
You can also experiment with color blocking or thread painting for a truly unique look.
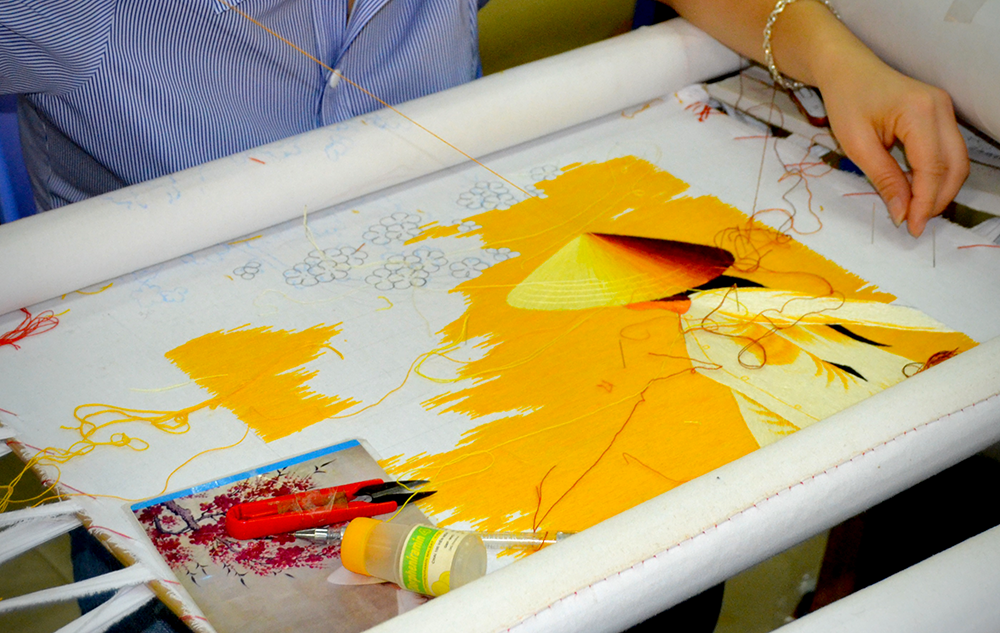
You can even explore machine embroidery using embroidery machines, which allow you to create detailed designs with ease.
No matter what type of embroidery you choose, the possibilities are endless!
So get inspired and start stitching!
Embroidery Tips and Tricks
Embroidery is a fun and creative way to express yourself, but it can be intimidating if you’re just starting out.
Here are some helpful tips to get you started:
- Start with simple designs and basic stitches so that you can get used to the process before attempting more complex projects.
- Use a hoop to keep your fabric taut while stitching.
- Don’t be afraid to experiment with different thread types and styles.
- Choose threads in coordinating colors that will look good together.
- Don’t be afraid to make mistakes! Embroidery is all about experimentation and learning from your mistakes.
- Take your time and don't rush, as embroidery requires patience and practice to master.
- And lastly, have fun!
Embroidery is a great way to create something unique and beautiful.
So, don't be afraid to experiment and explore different techniques as you create wonderful artwork!
Enjoying Embroidery
As you can see, learning how to properly thread an embroidery needle doesn't have to be intimidating or time consuming!
With these simple steps, anyone can learn how to do it quickly and easily – even beginners!
We hope this post has been helpful in teaching you the basics of embroidery and getting you started on your next project.
Remember, with practice and patience, you'll master it in no time!
Now that you know how to thread an embroidery needle and some basic stitches, get out there and start exploring the wonderful world of embroidery!
So, next time you need to pick up some new supplies for an upcoming project, remember this guide so that you can confidently pick out needles and threads that work best for your needs!
Happy stitching!
Want to learn more about threading embroidery needles? Check out Sarah Homfray Embroidery's video!
Want even more content about creativity and art?
Be sure to check out all of our creative chronicles!
Interested in embroidery?
You might want to check out some of our other articles: