When you think of mosaic art, you might conjure up images of ancient Greek and Roman buildings adorned with intricate patterns or geometric shapes.
Mosaic art is a beautiful and unique way to add personal flair to your home décor.
Although it may seem daunting, creating your own mosaic art piece is actually a relatively simple process that can be enjoyed by artists of all skill levels.
In this article, we will walk you through the steps necessary to create your very own mosaic art piece.
Create fun mosaic artwork doesn't have to be difficult.
With a little planning and the right supplies, anyone can create a beautiful mosaic design.
Mosaic Art Form
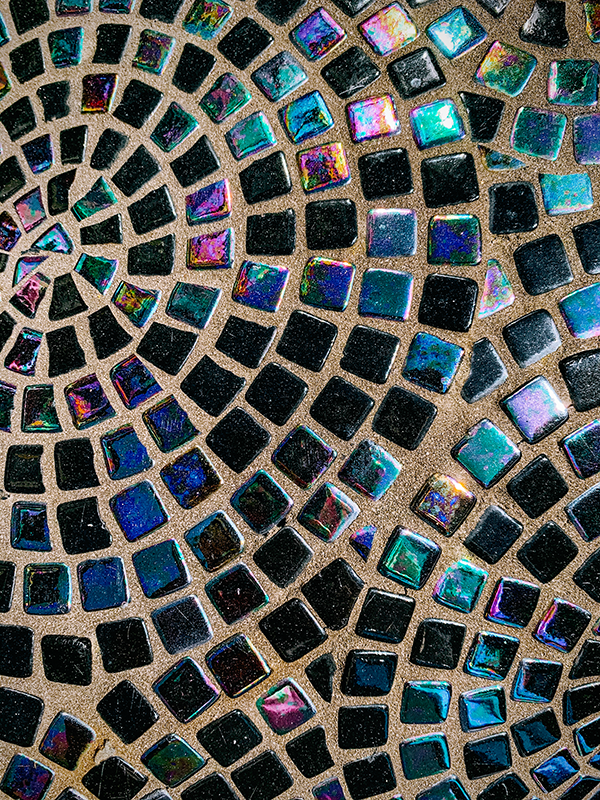
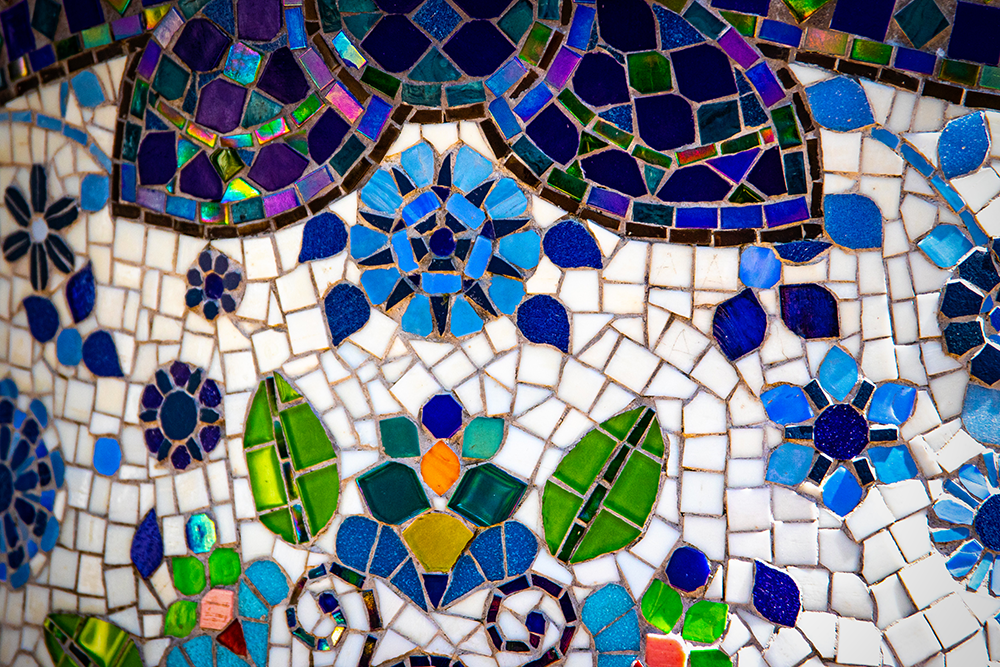
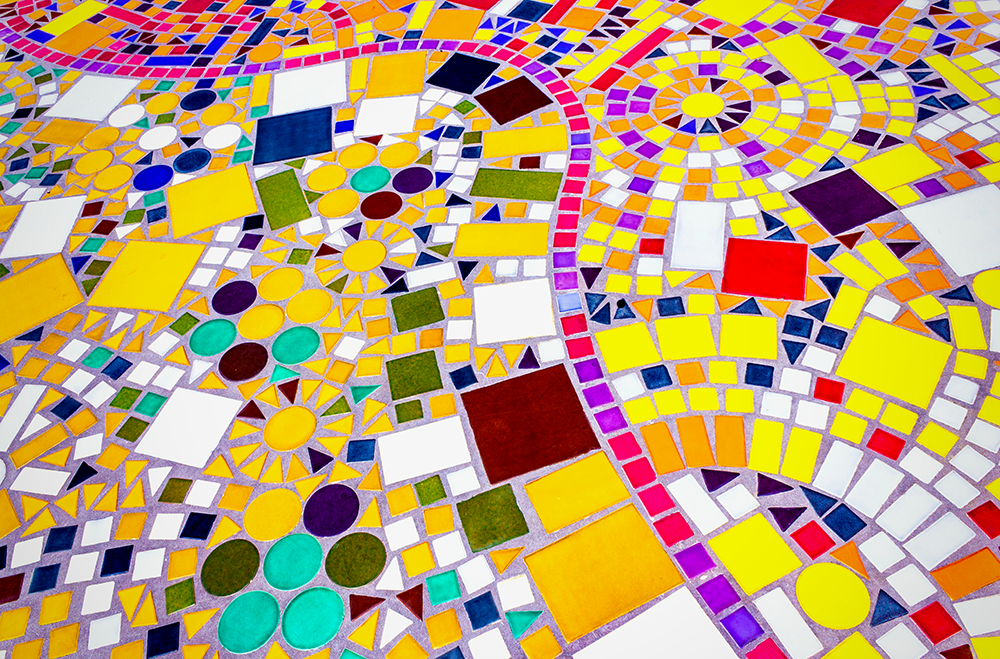
Mosaic art is created by arranging small pieces of colored glass, stone, minerals, tiles, shells, or other materials to form a pattern or image.
The word "mosaic" means a pattern of pieces, and it comes from the Latin musa, meaning “a Muse."
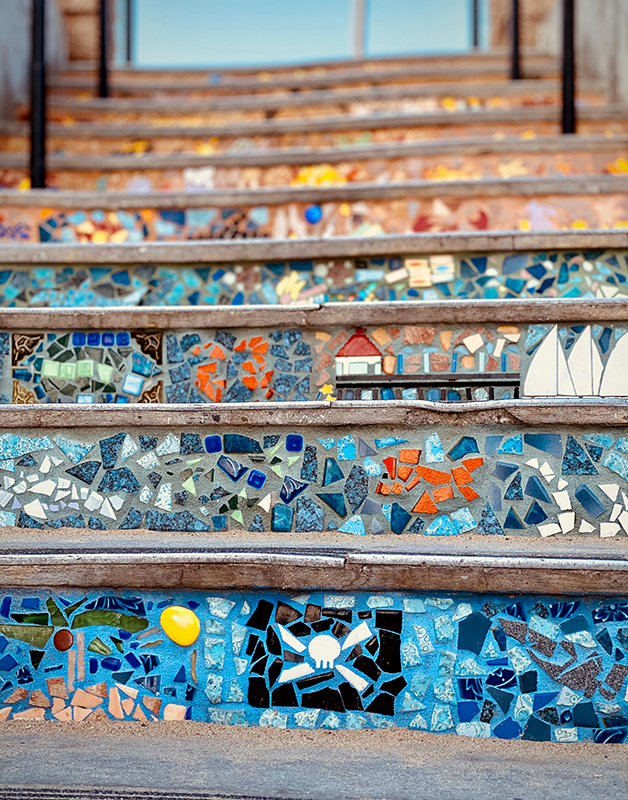
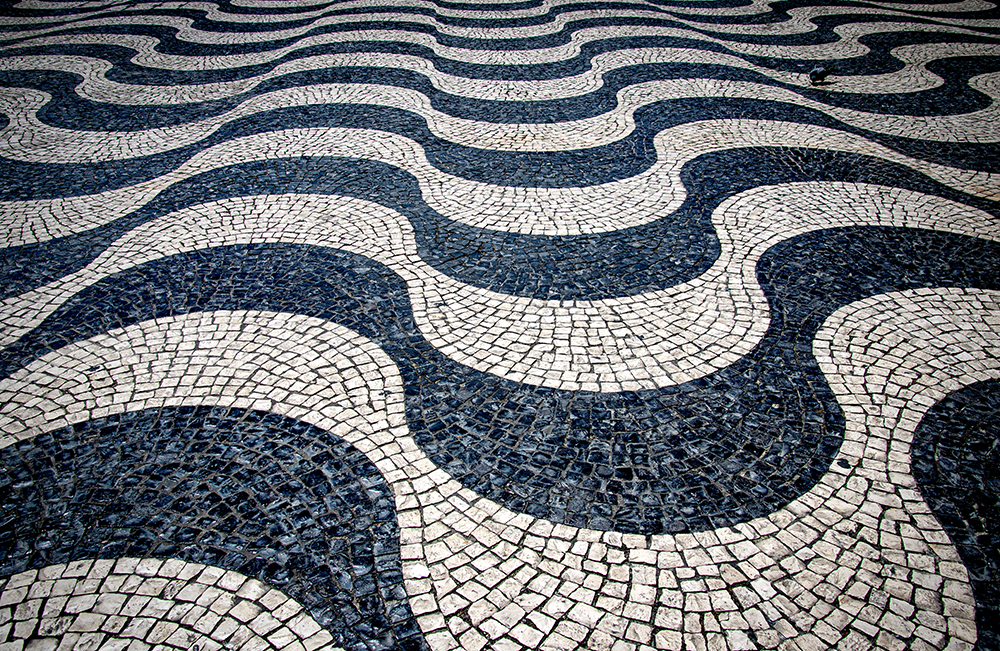
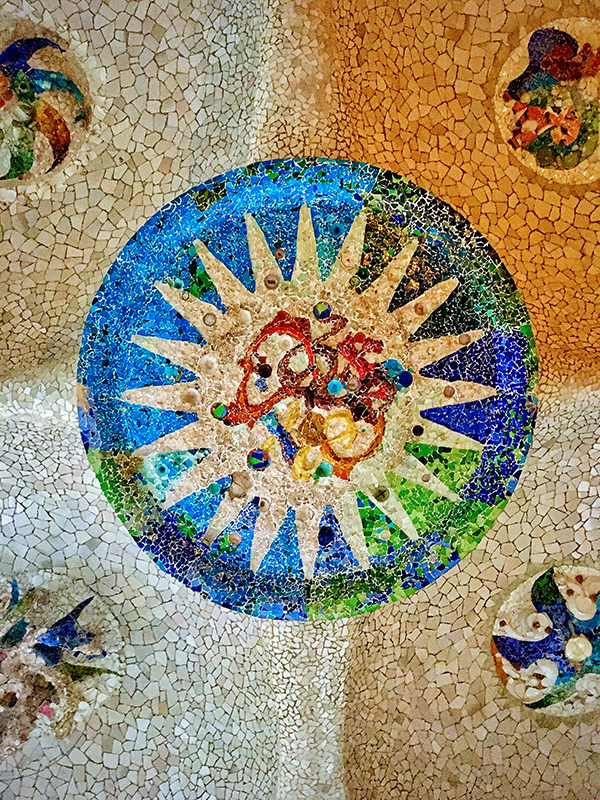
From floor mosaics, wall mosaics, mosaic panels, and more, mosaic art dates back centuries, and its history is as varied and colorful as the pieces that are used to create it.
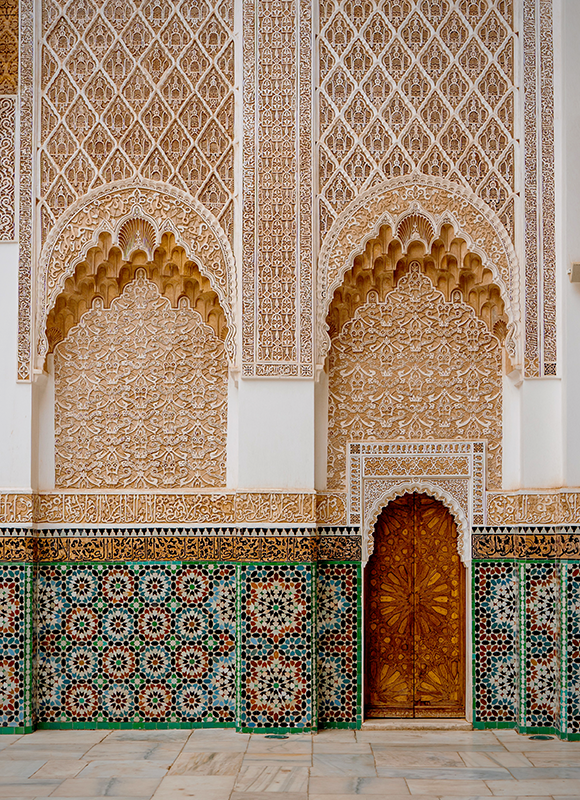
Early examples of mosaic art can be found in the ruins of ancient civilizations like Greece, Rome and the Byzantine Empire, where intricate patterns were created using tiny pieces of stone or glass.
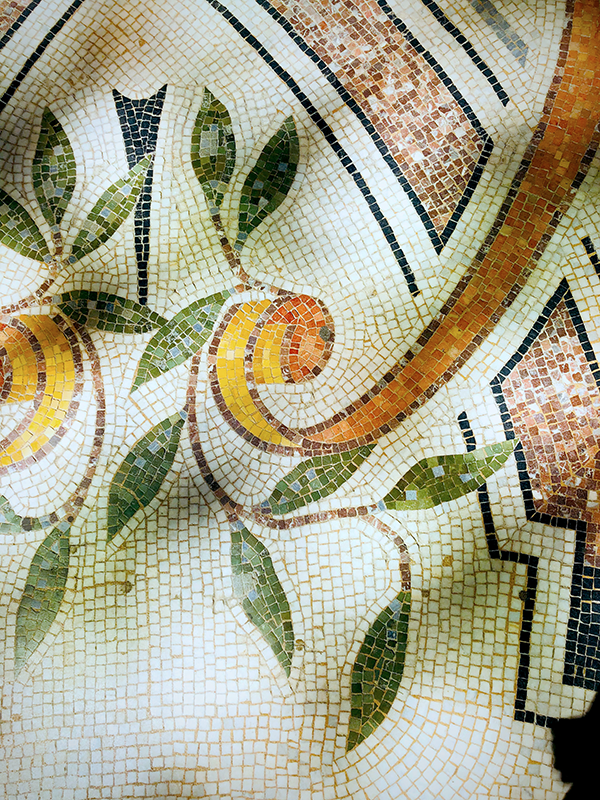
Roman mosaic art often depicted scenes from mythology or everyday life, and was used to decorate both public and private spaces.
Byzantine mosaics, on the other hand, were often religious in nature, and these Christian mosaics used to adorn the walls and ceilings of churches and cathedrals.
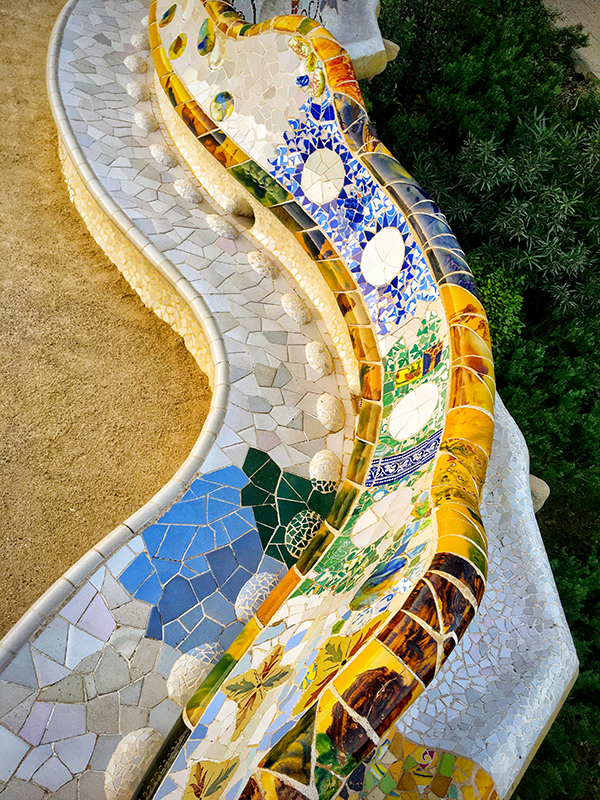
Today, mosaic art is enjoying a renaissance of sorts, thanks in part to advances in technology that have made it easier than ever for artists to create mosaics using everything from ceramic tiles to bits of broken china.
New mosaics are being created every day, and can be found in everything from public parks and fountains to private residences and wall decoration.
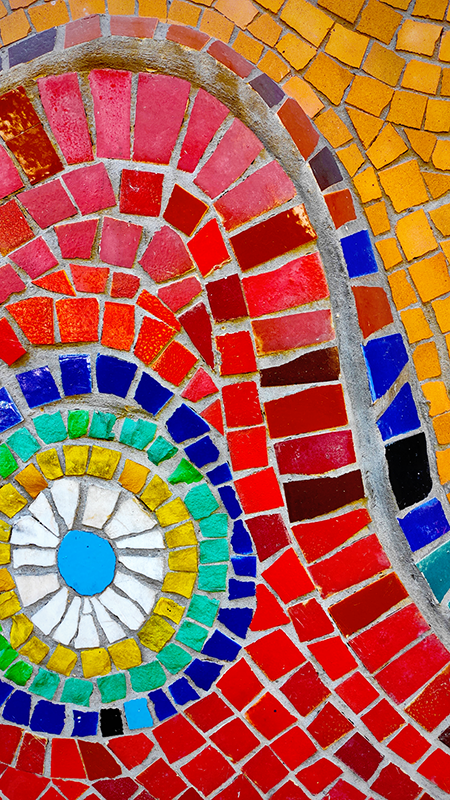
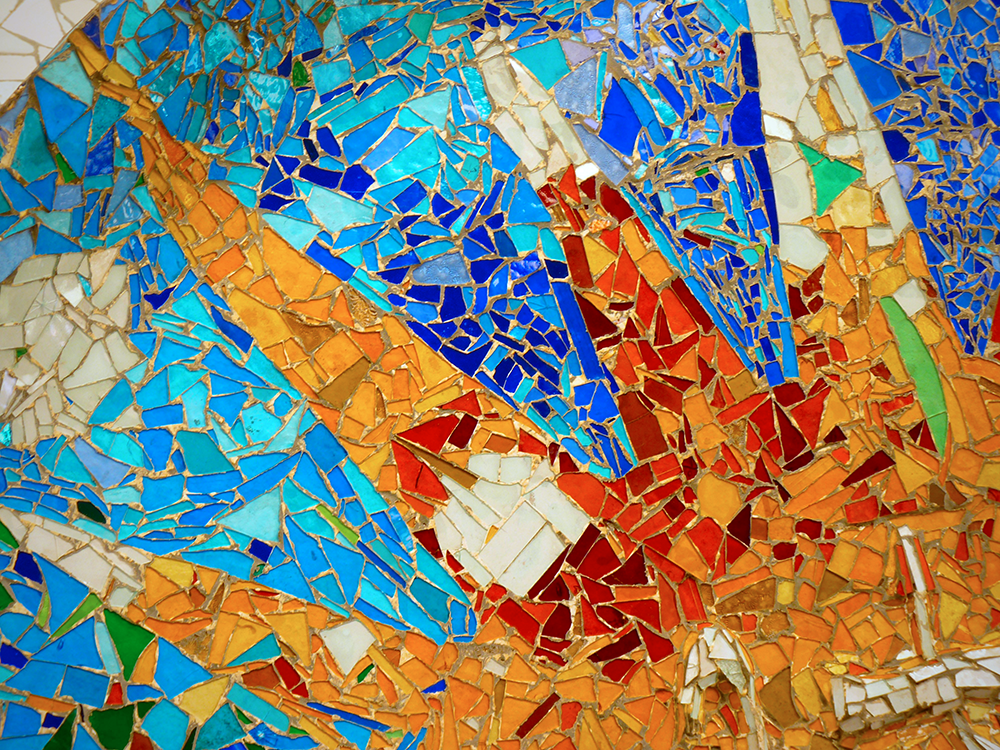
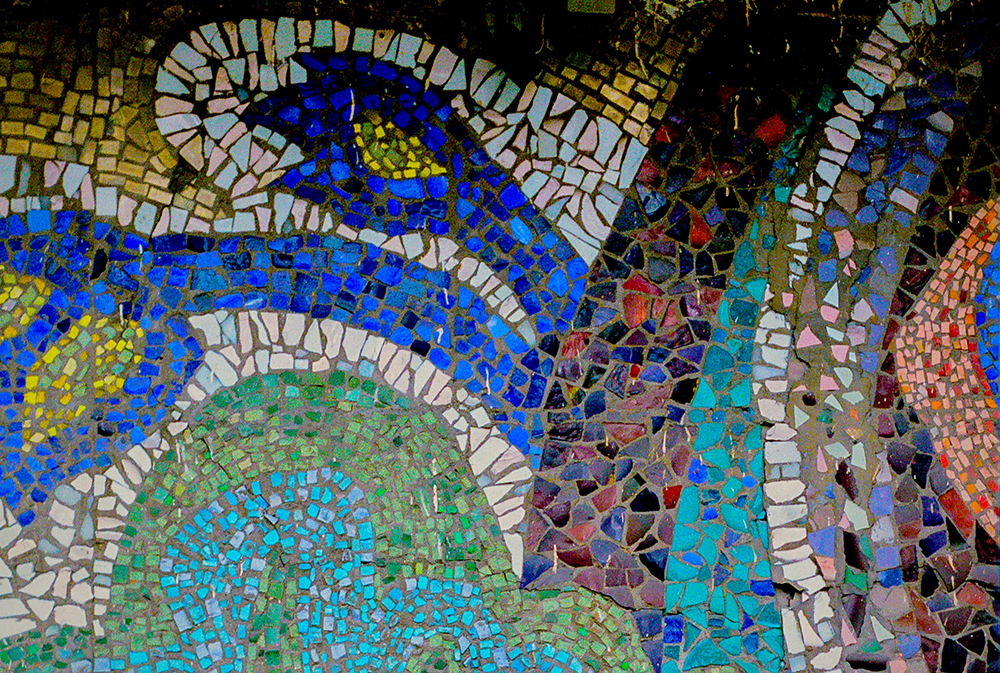
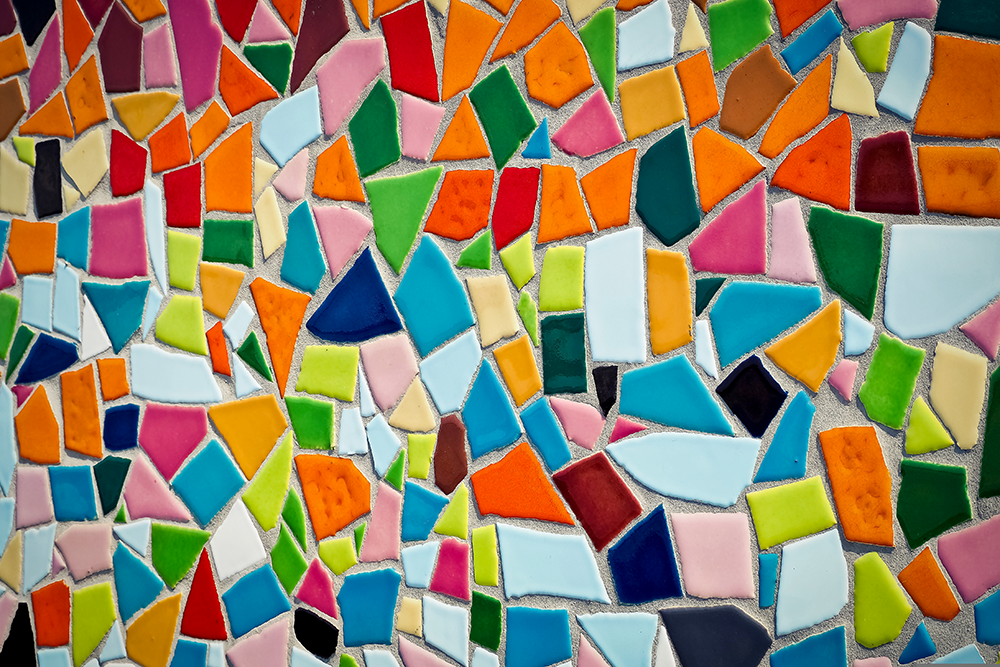
Modern mosaics often incorporate bright colors, and they are often used to create everything from home decor accents to statement pieces.
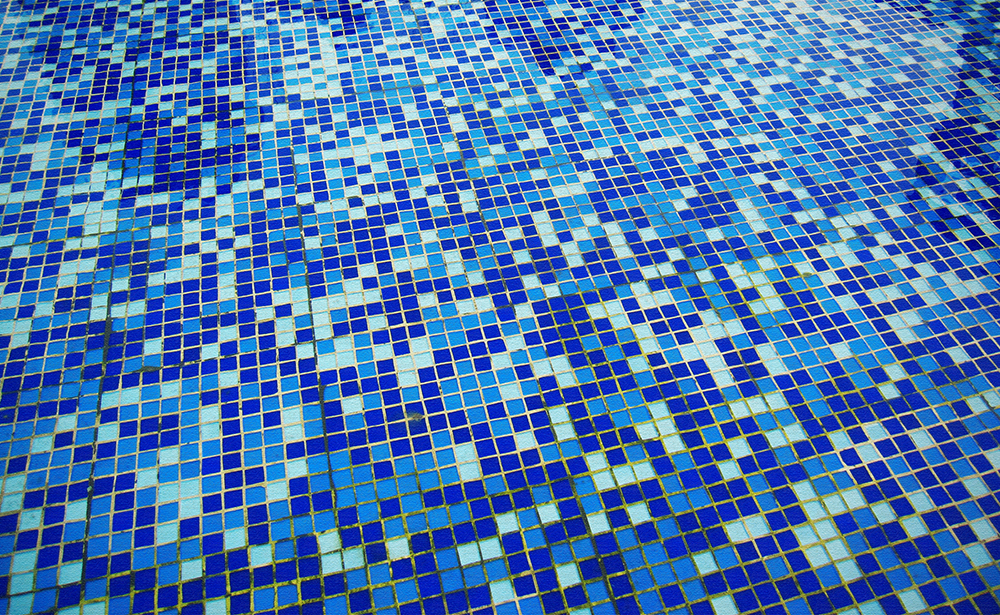
While the materials and methods have changed over the years, the basic process remains the same: small pieces are arranged to form a larger design.
As a result, mosaic art is truly unique, and it has the power to transform any space.
Whether you’re looking for a traditional or modern design, there’s a mosaic art piece out there that is perfect for you.

Starting a Mosaic: Decide on a Design and Supplies
Working with mosaic tiles can be a fun and rewarding experience.
The first step is to decide what kind of design you want to create and gather your supplies.
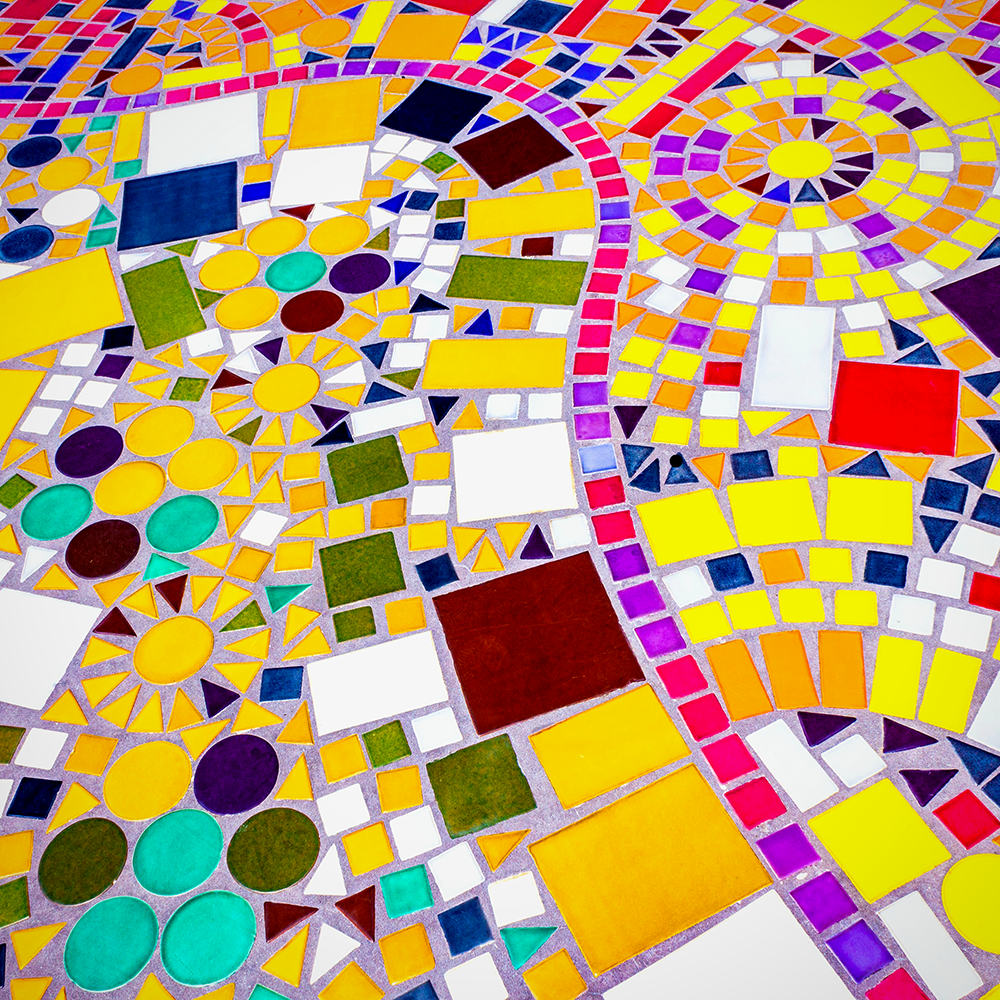
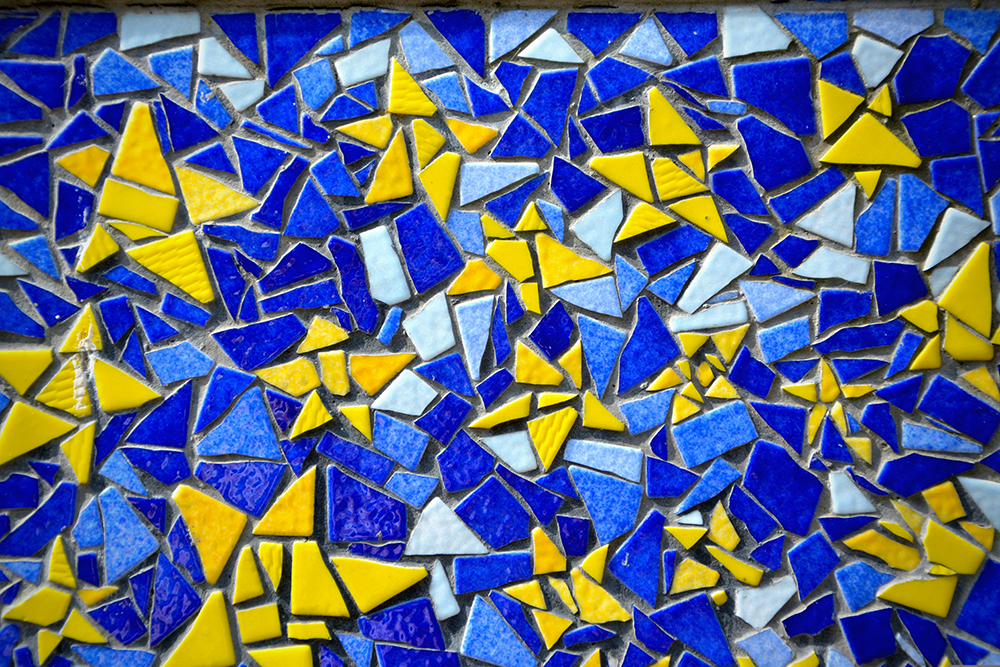
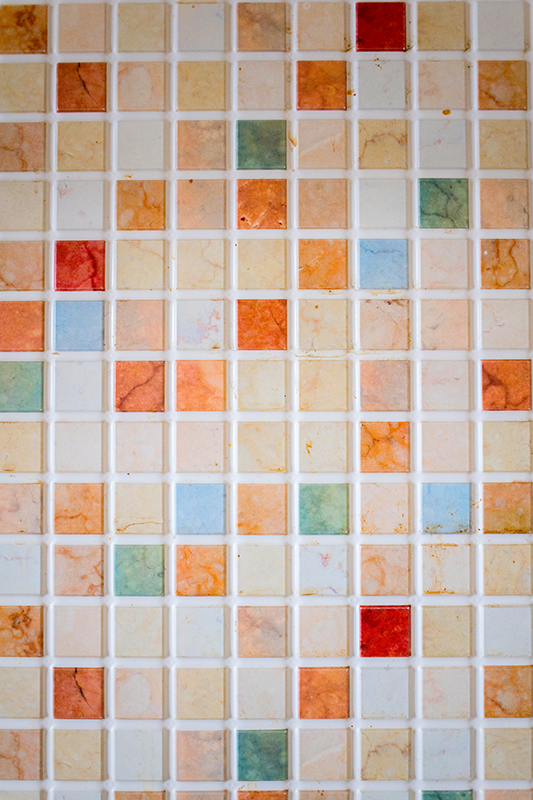
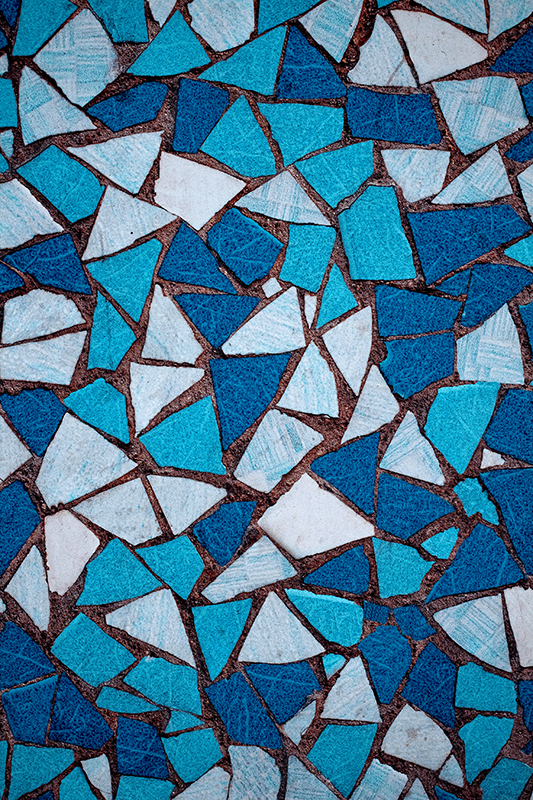
There are a wide variety of mosaic designs, and it can be something as simple as a geometric shape or a floral pattern.
Consider whether you want to produce a wall mosaic, floor mosaic, decorative piece, or something else entirely.
No matter what you choose, it’s important to have a clear idea of your design before you get started.
Once you have a design in mind, it’s time to choose your materials.
There are many different types of mosaic tiles and materials on the market, so it’s important to do your research and find the right ones for your project.
Glass tesserae, stone, ceramic tesserae, and shells are all popular choices, and each has its own unique look and feel.
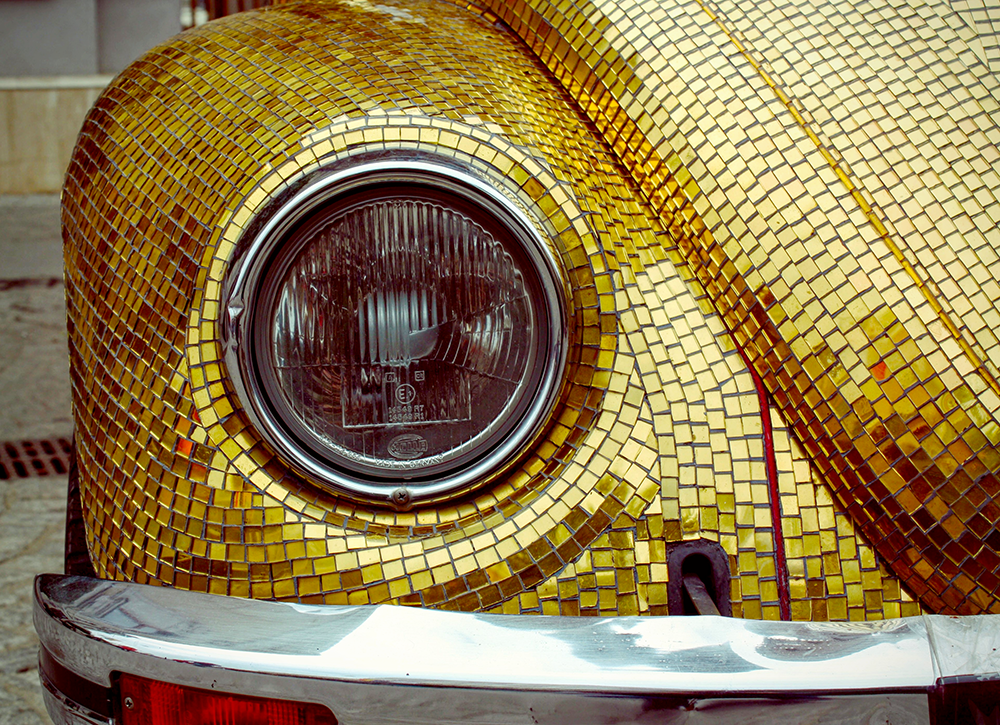
You can even purchase materials like gold tesserae for a project with a high artistic quality.
Supplies Needed:
-Pieces of tile, glass, or other material pieces in various colors and sizes (purchased pre-cut or break them yourself using gloves, safety goggles, and a hammer)
-Grout (You can find this at any hardware store)
-Sponge
-Bucket
-Tile adhesive (You can find this at any hardware store)
-Notched trowel (You can find this at any hardware store)
-Plywood or ceramic tile base
-Pencil or marker
Producing a Mosaic: Applying Adhesive
Once you’ve selected your materials and design, it’s time to get started!
The first step is to create a template of your design on a piece of paper or cardboard.
This will help you plan the placement of your pieces and make sure that your design is symmetrical.
Once you’re happy with your template, it’s time to transfer it to your tile base.
If you’re using a plywood base, use a pencil or marker to trace your design onto the wood.
If you’re using a ceramic tile, you can use adhesive stencils to create your design.
Once your design is transferred to the base, it’s time to start placing your pieces.
Start by applying a thin layer of tile adhesive to the area where you want to place your first piece.
Then, using a notched trowel, spread the adhesive evenly over the surface.
It's best to start in one corner and work your way across the surface, using even strokes as you go.
Once the entire surface is covered, allow the adhesive to dry for 30 minutes or according to the manufacturer's instructions.
Applying Tiles or Mosaic Materials
After the adhesive has dried, it's time to begin applying your pieces!
Start in one corner and work your way across the surface, pressing each tile gently into place.
Again, you will want to use even strokes as you go in order to avoid any unevenness in your final product.
Depending on the size and shape of your tiles or materials, you may need to make some cuts in order to fit them into place around the edges.
Use gloves and safety goggles when breaking tiles by hand.
Once all of the tiles are in place, you will need to allow the adhesive to dry completely before grouting, so follow the manufacturers instructions for the exact dry time.
Grouting
After the adhesive has dried completely, it's time to mix your grout according to the manufacturer's instructions.
Once mixed, begin spreading it over the surface of your mosaic with a sponge, working it into all of the crevices between each tile, using a rubber spatula, other tool, or your fingers.
Be sure to wipe away any excess grout that might be sitting on top of the tiles or mosaic pieces.
After the grout has dried, you can finish up by wiping away any excess grout from the surface of the tiles using a damp sponge.
Finishing Touches
Once everything is dried, you can add finishing touches like paint or sealing agents if desired.
If you created a small mosaic piece, you can even choose to frame or hang it on the wall!
And there you have it; your very own mosaic masterpiece!
Creating Mosaic Art
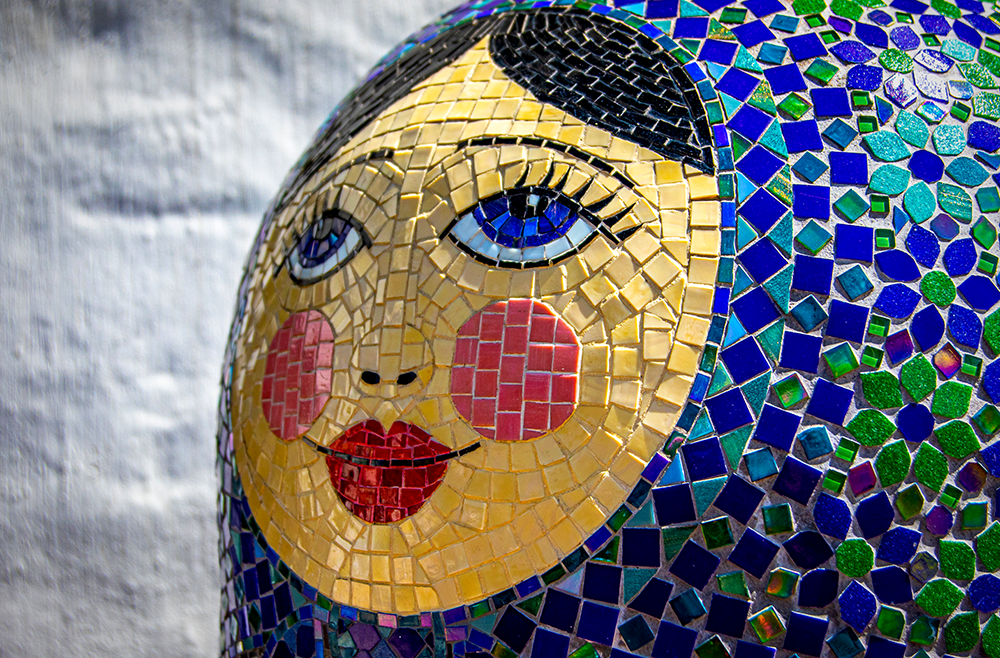
As you can see, mosaic art is an incredibly diverse and fascinating medium with a fun history.
Creating mosaic art is not as difficult as it may seem!
By following these simple steps, you can create beautiful pieces that are truly one-of-a-kind.
Whether you’re a seasoned artist or a complete novice, why not give mosaic-making a try?
You might just find yourself hooked!
So, what are you waiting for?
Get creative and start your own mosaic!

Interested in learning more about creating mosaics? Check out Helen Miles Mosaics' video!
Interested in learning more about different kinds of art?
Check out some of our art guides:
-What materials can you use for mosaics?