Ready to give your creative projects a fresh start?
Step away from the same old art creations you've been working on and take a courageous dive into uncharted waters!
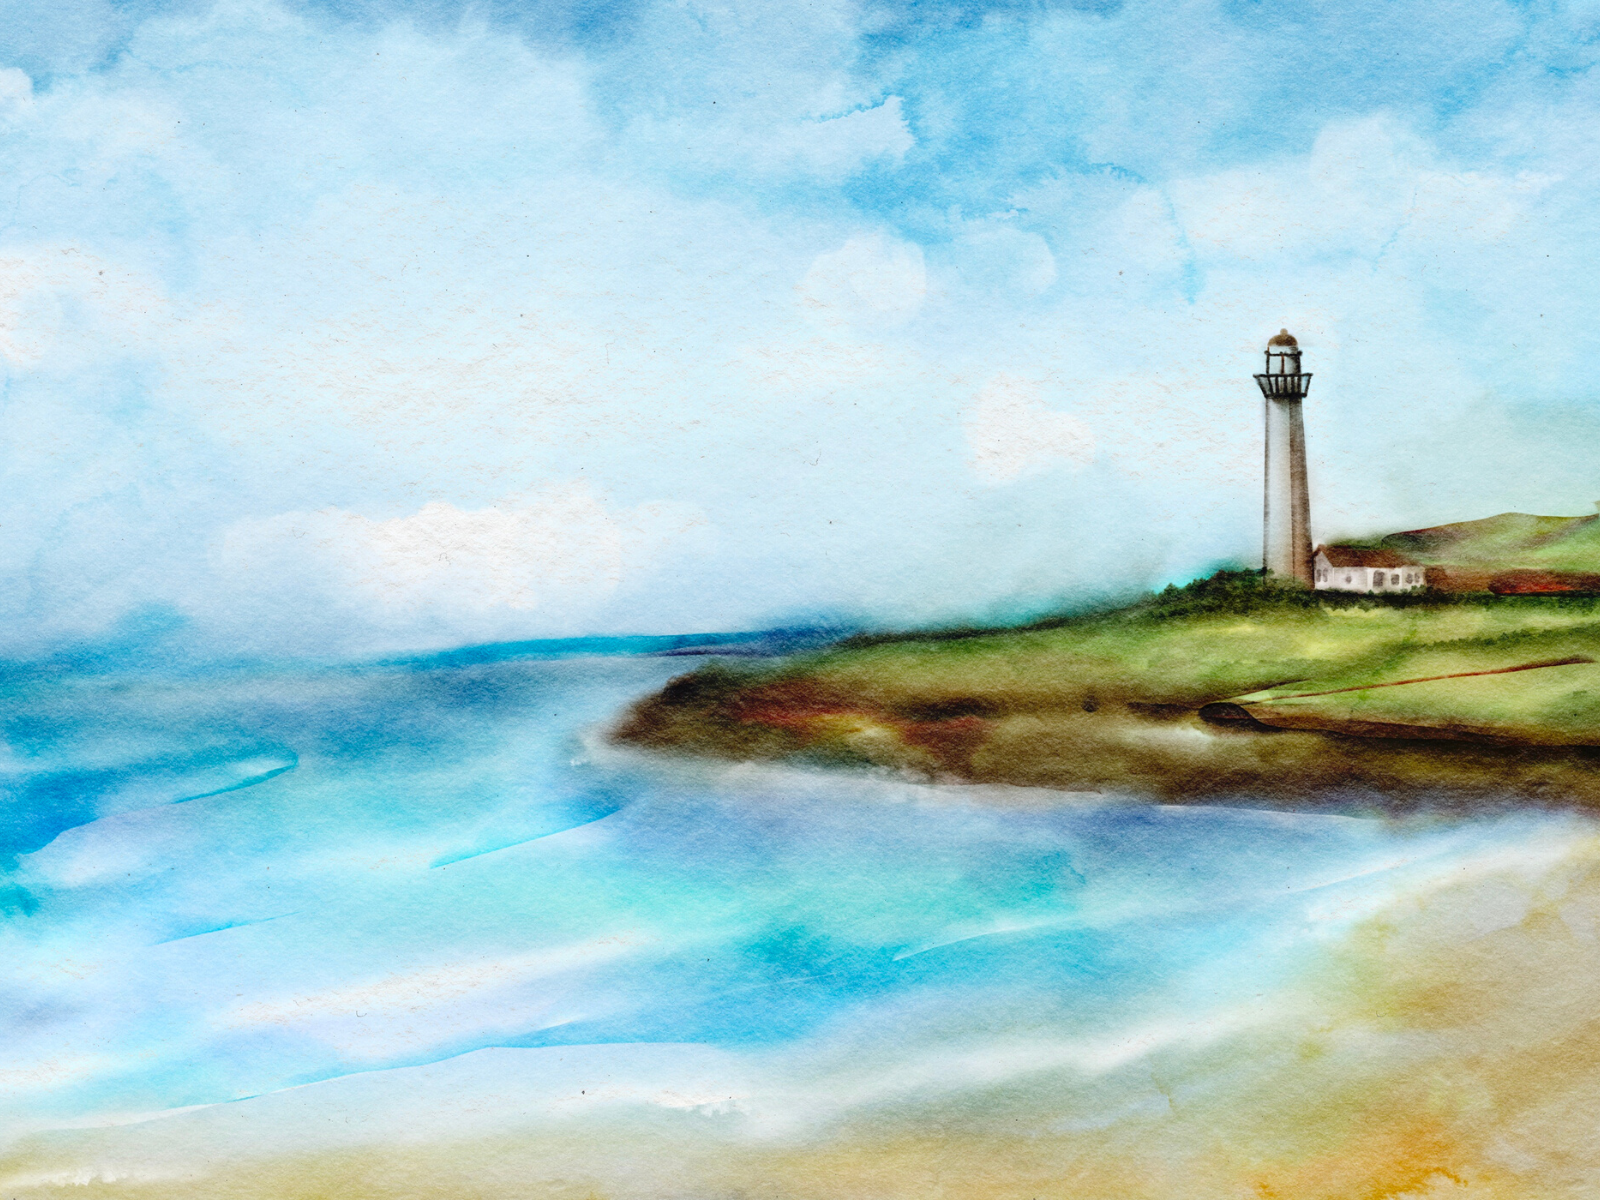
If you want to create a gorgeous painting of the ocean, it’s easier than you think!
With the right supplies and a bit of guidance, you can make a professional-looking painting that will take your breath away.
Designing an ocean inspired painting can open new pathways in your artistic journey, with its beautiful array of blues and greens that bring tranquility to any work of art.
Whether you’re an experienced artist or picking up a paint brush for the first time, discover how creating an ocean themed painting can have rewarding results as you learn tips and techniques along the way.
Here’s everything needed to help you wave goodbye to old projects — let's get started!
Finding Your Inspiration
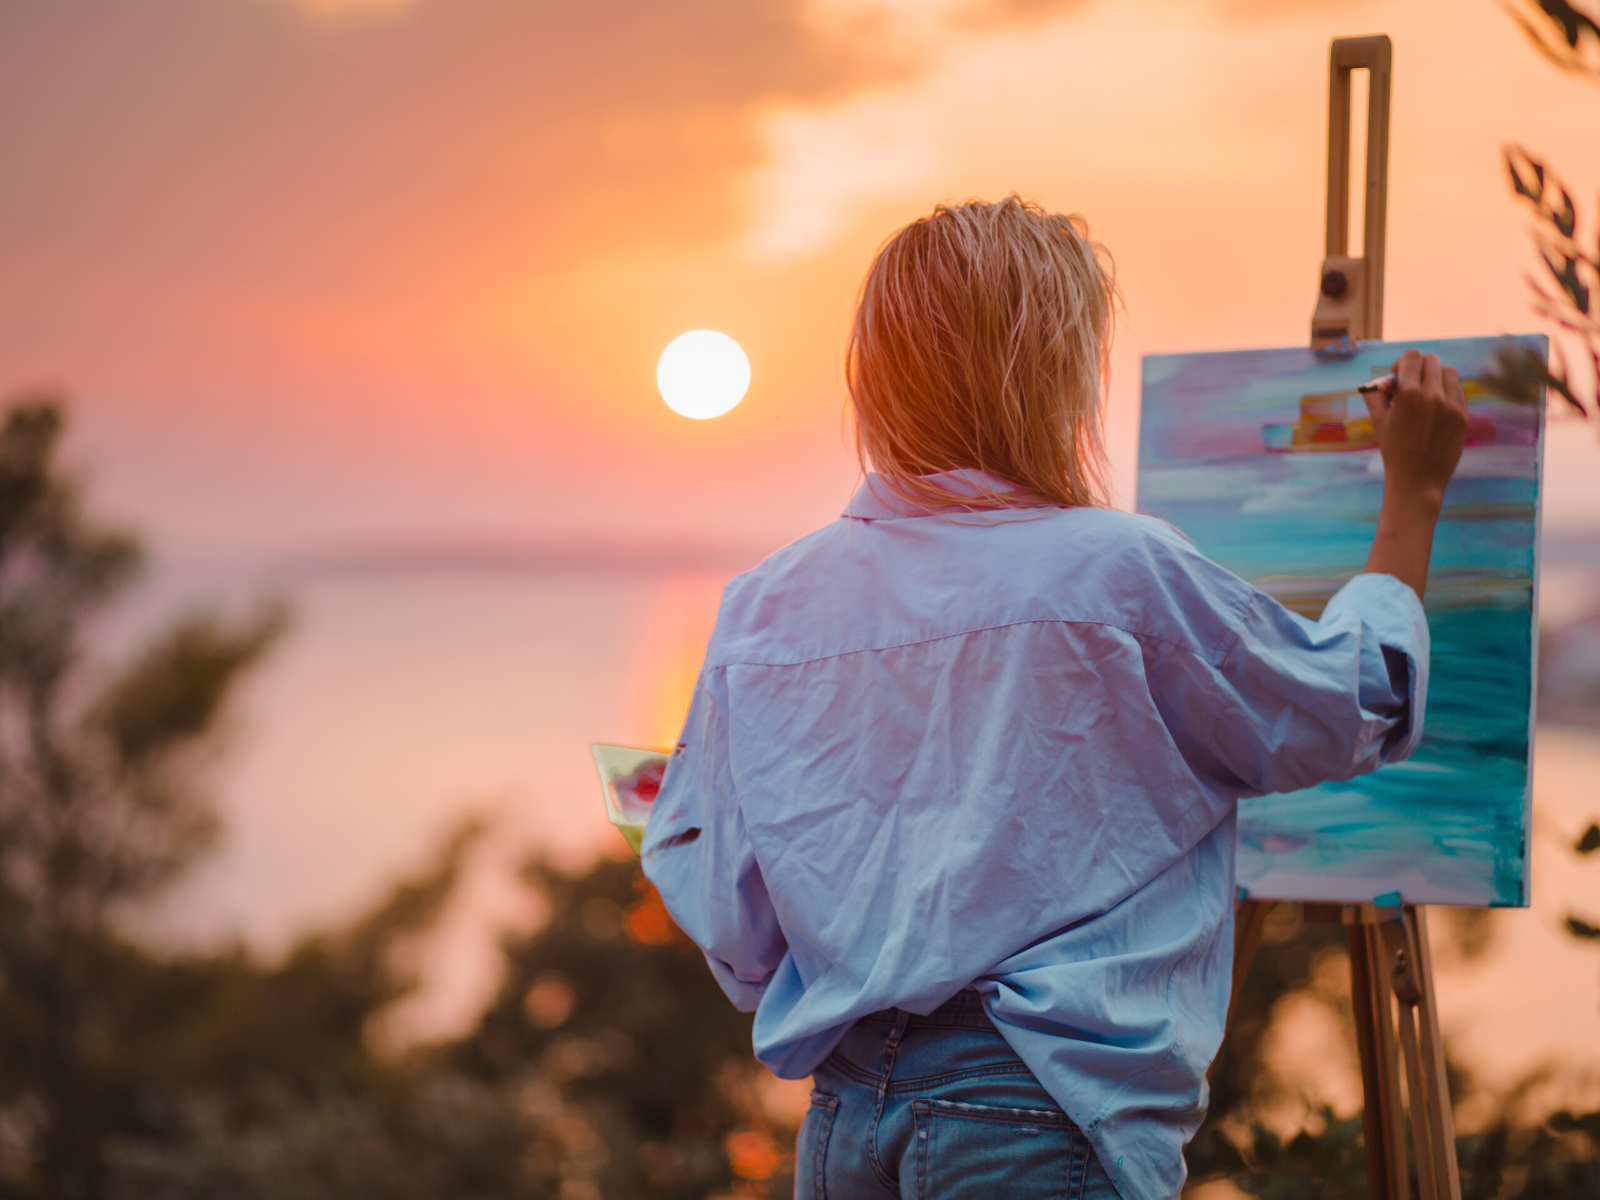
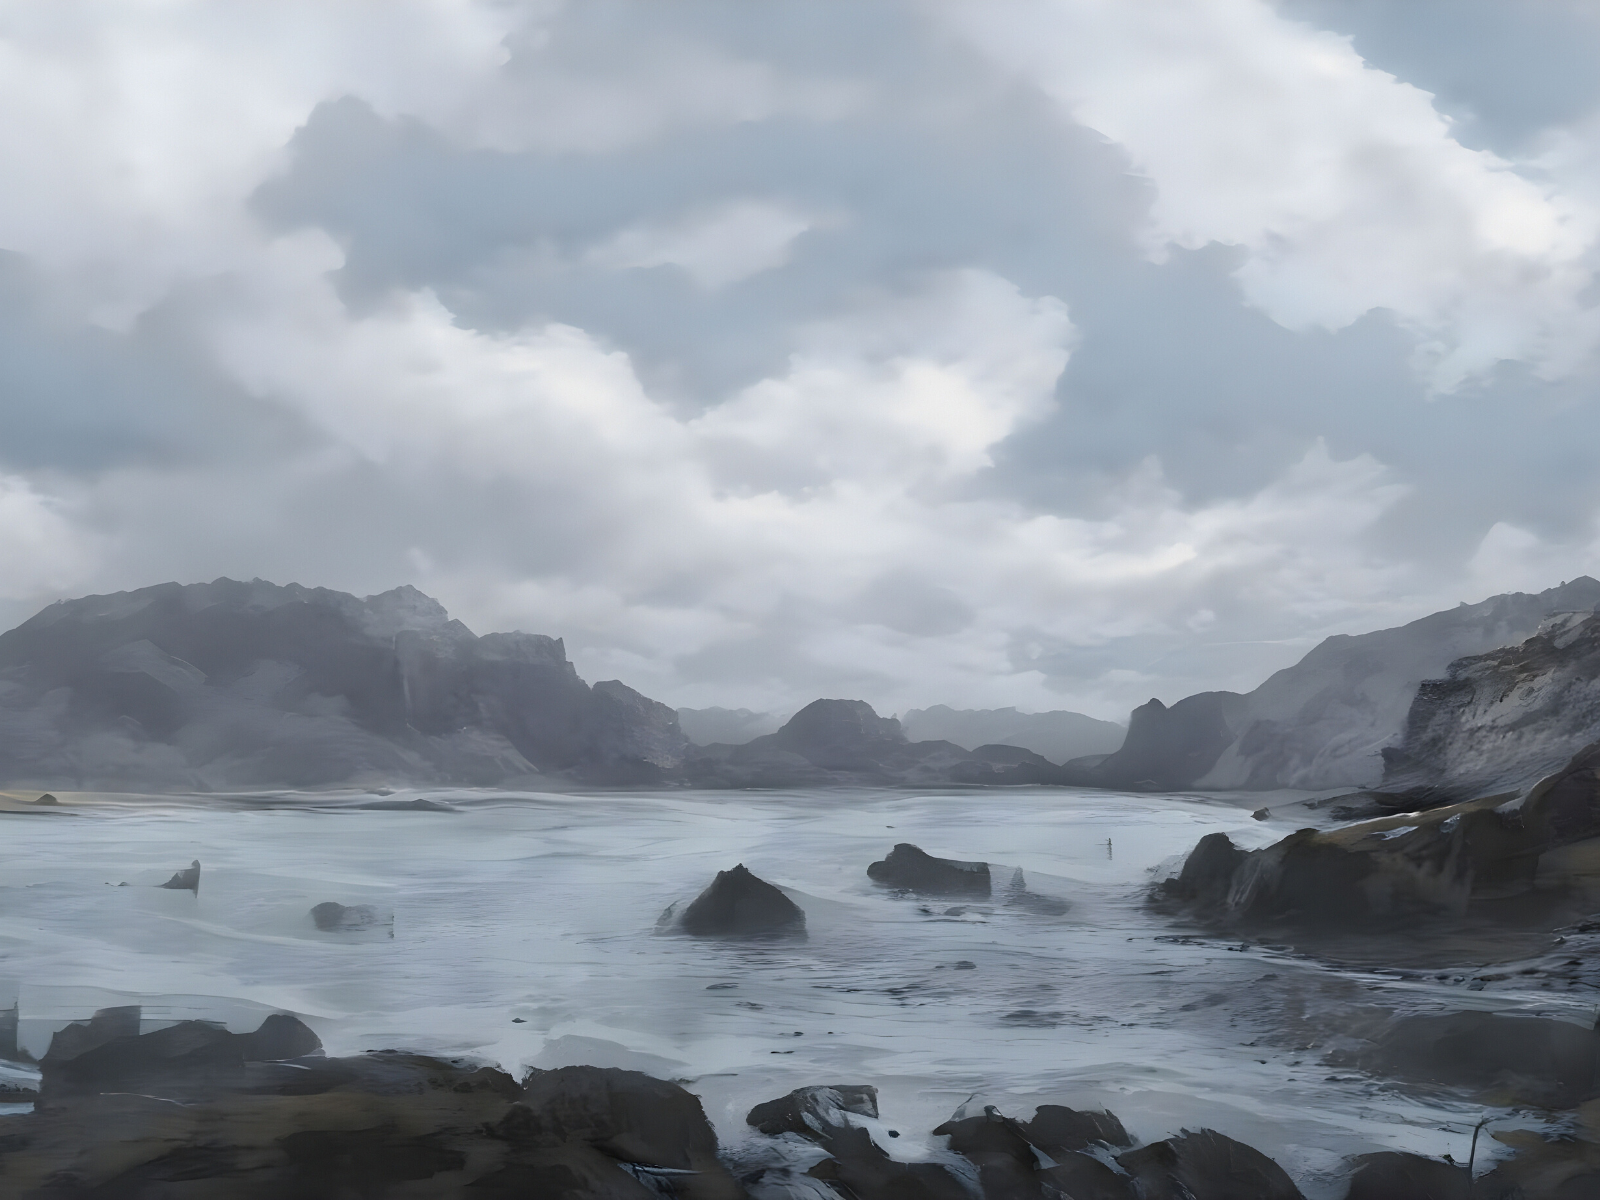
The most important part of any painting is finding the right inspiration.
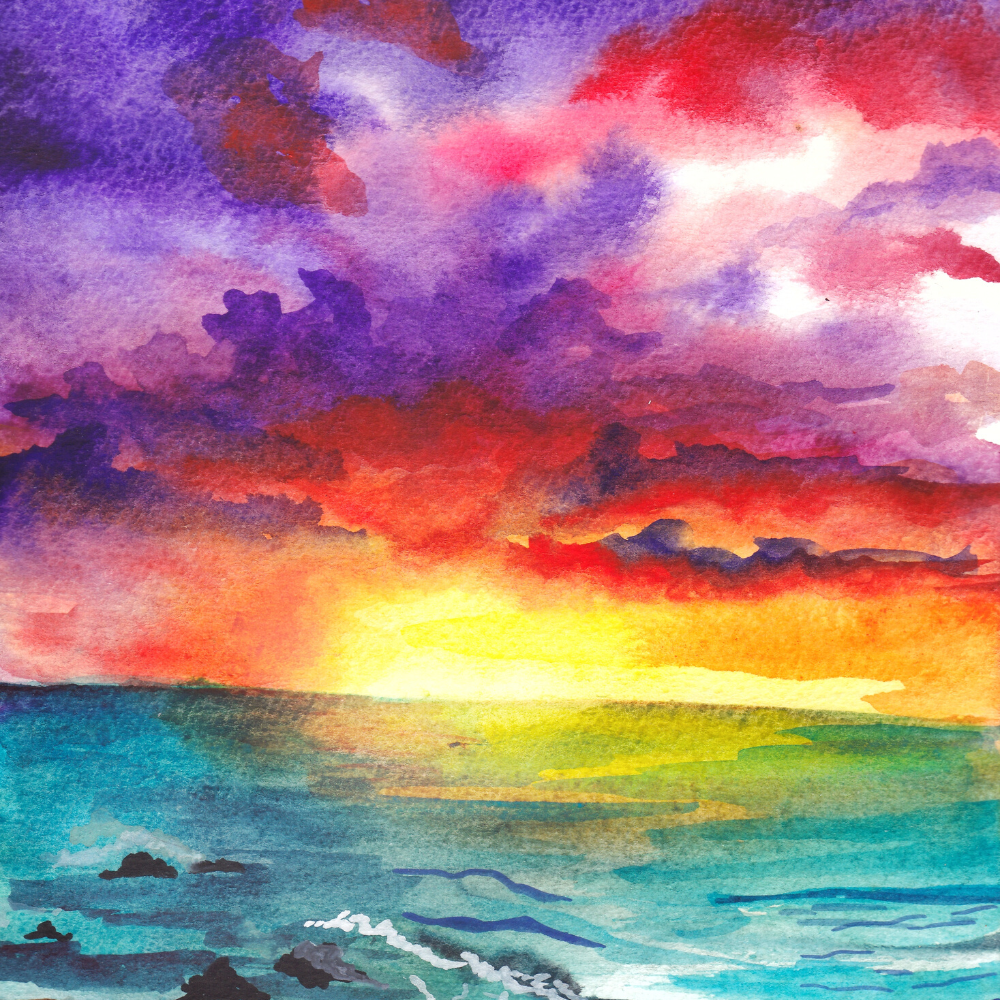
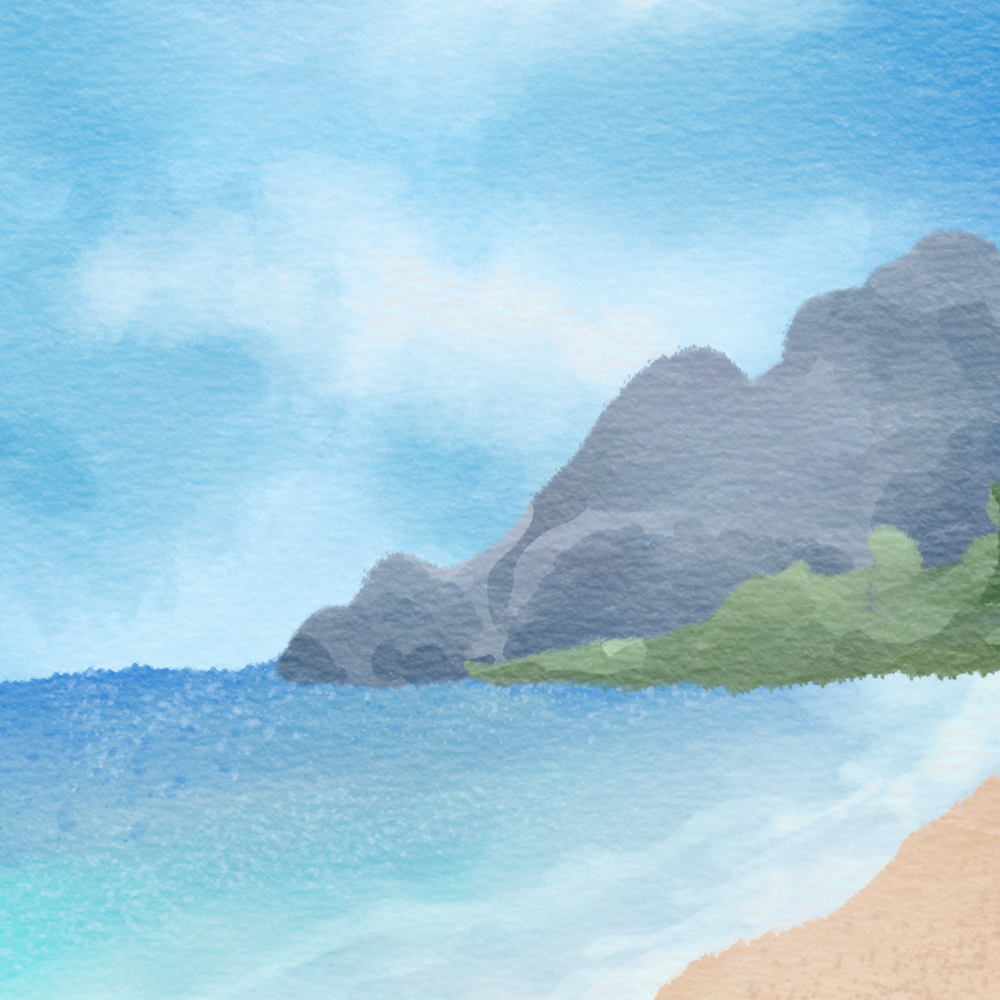
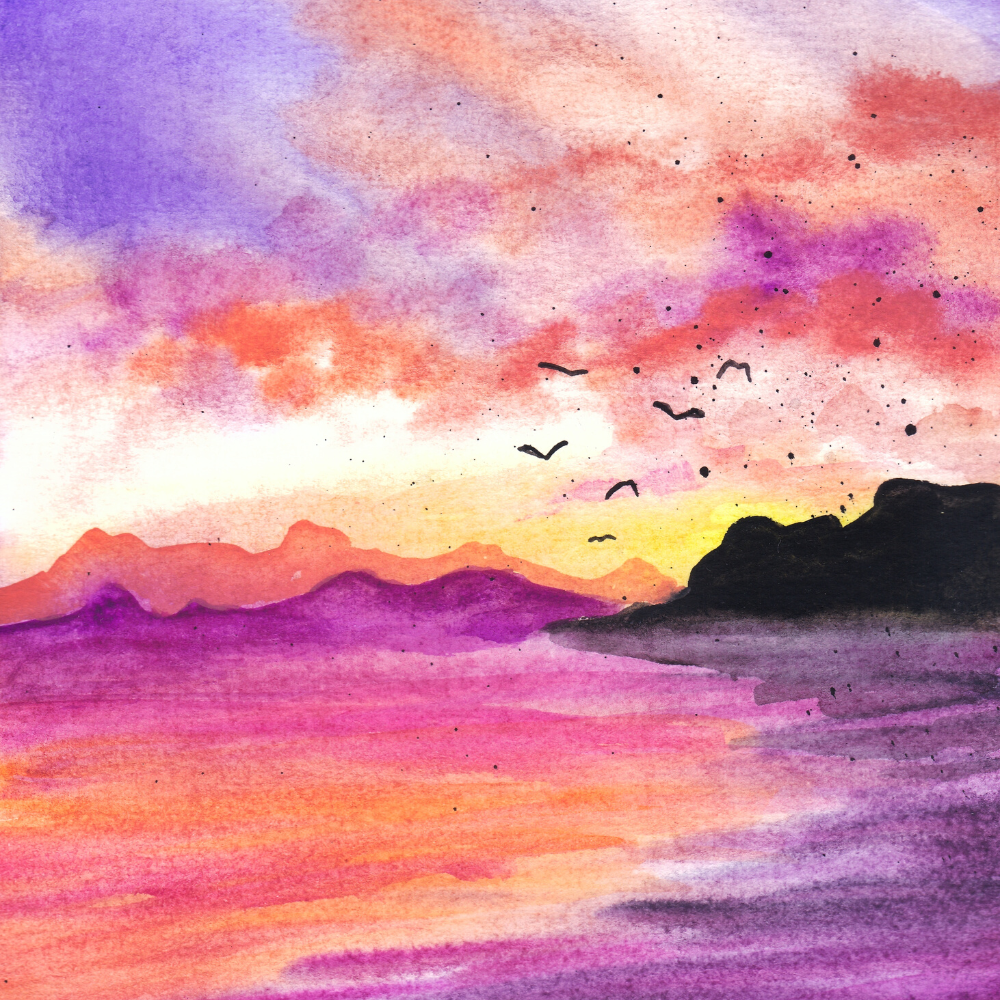
When it comes to creating an ocean-themed artwork, look no further than the sea for your muse!
Gather photos and images of the beach, oceanic scenes, or a specific body of water that you’re particularly drawn to.
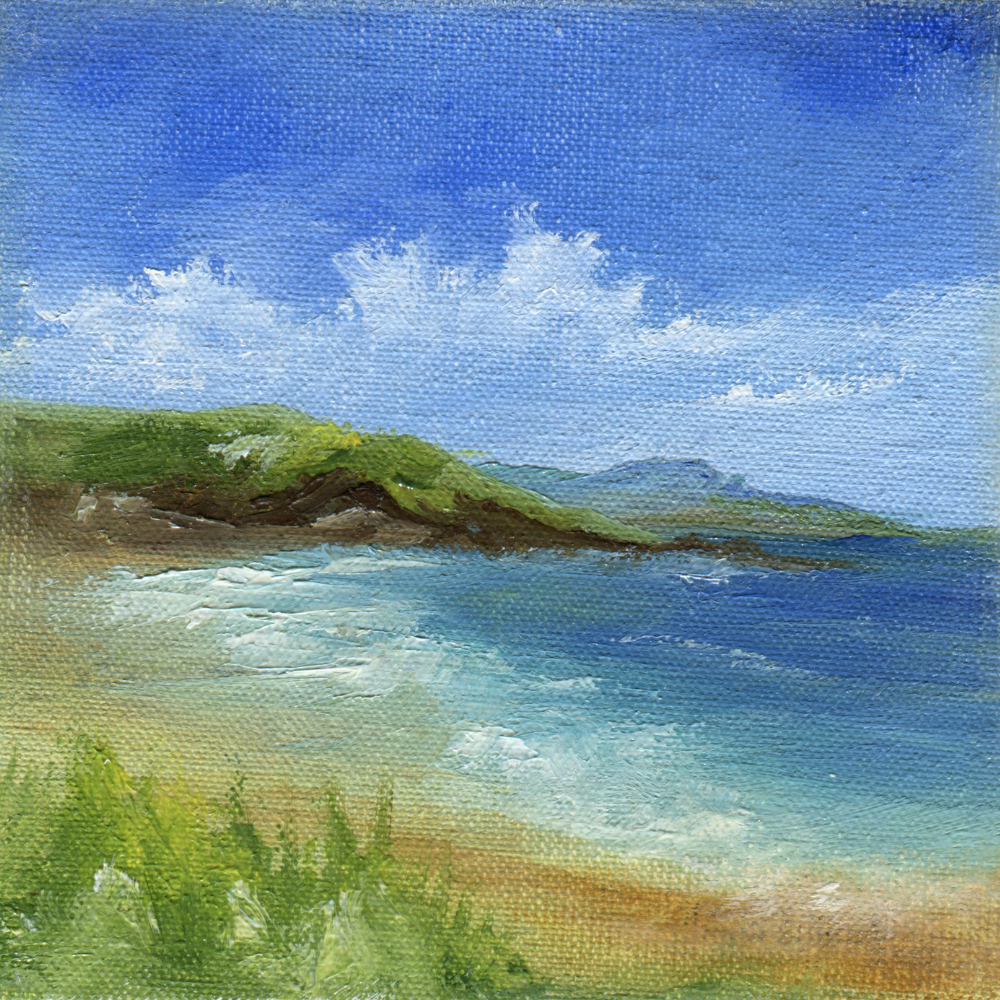
Observe the different shades of blue and green, as well as the shapes created in the water.
You could even travel and take a trip to the beach or lake and look for inspiration in person — no matter which route you choose, make sure you’re taking note of all the details that capture your attention.
Having the right inspiration makes creating ocean paintings more enjoyable and allows you to visualize the finished product before putting brush to canvas.
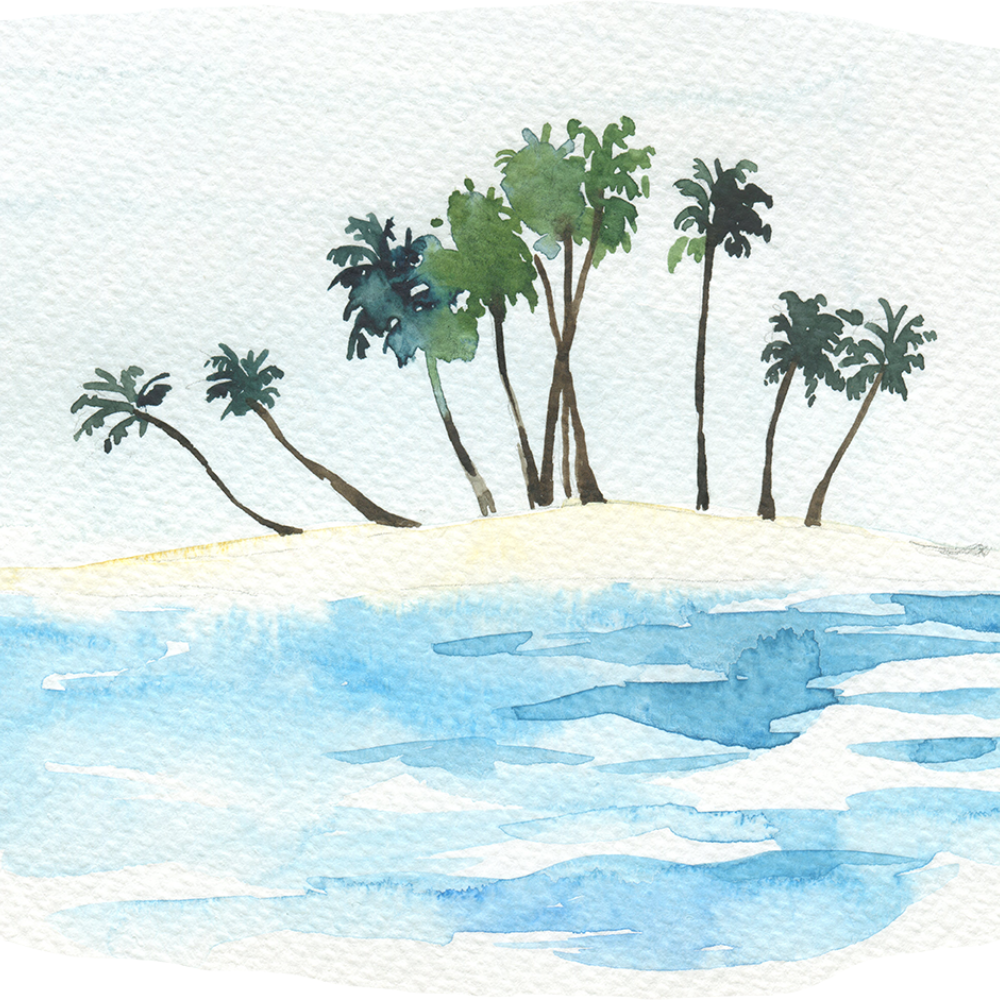
Whether tapping into fond memories, depicting the calm sea, the scenic coast land, fun beach activities, or the crashing waves, start collecting inspiring images and feel free to think outside of the box.
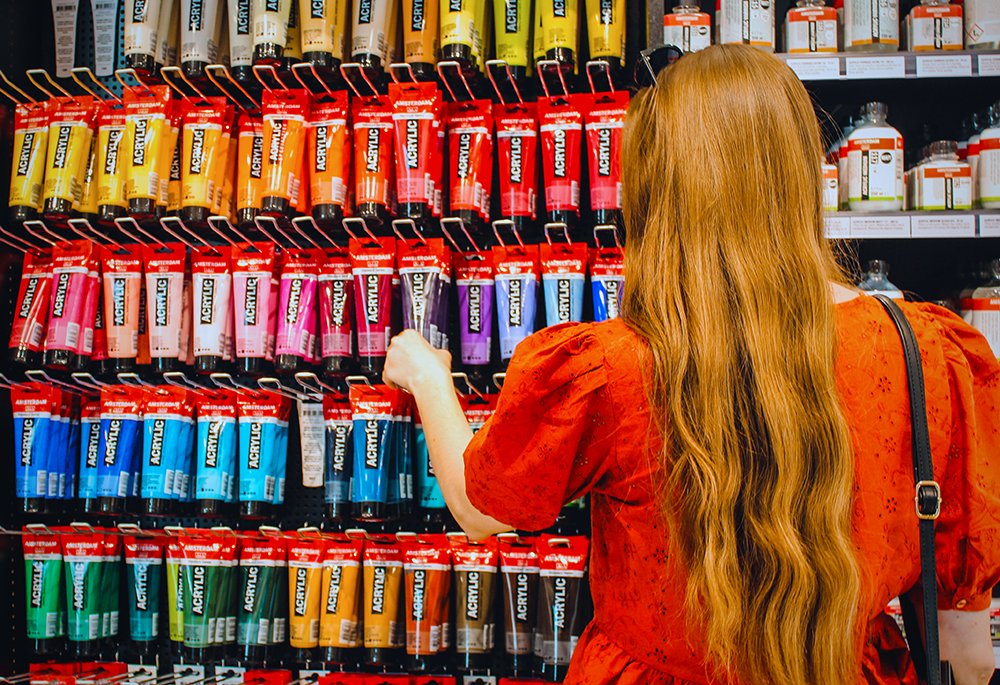
Types of Paint
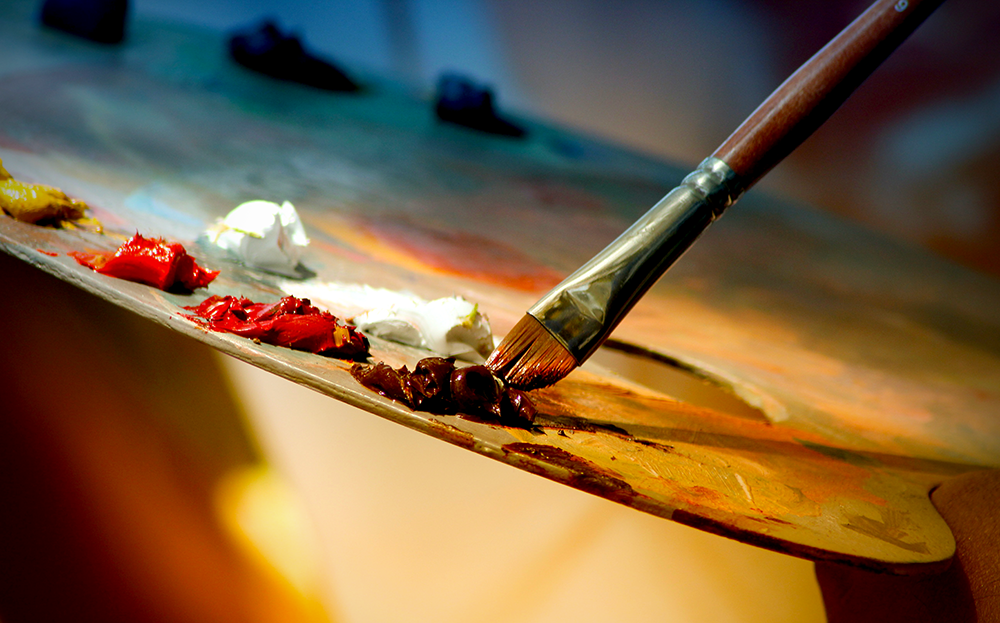
Before you can begin your painting, it’s essential to gather the right supplies.
You don’t need an extensive collection of paints and brushes, but having the correct type of paint is key.
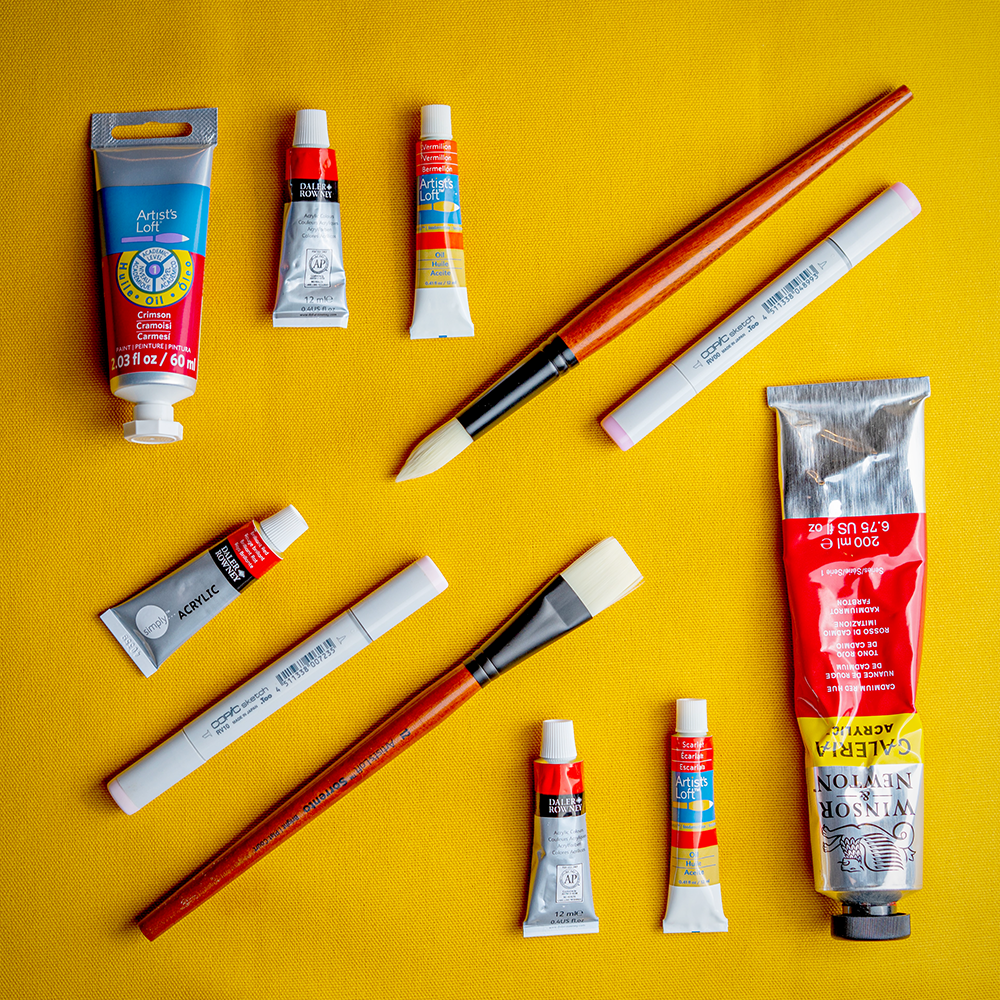
Acrylic paints are water-based, making them a great choice for creating an ocean painting because they have the ability to blend together.
They’re also the most popular among artists due to their vibrancy and affordability.
Oil paints are another option, as they create a smooth finish and blend effortlessly.
The downside is that oil paints take longer to dry and are more expensive.
Tempera paints are also a great option, as they provide vivid colors and require fewer layers.
These paints are made of powdered pigments mixed with a water-soluble binder, making them easier to clean up when you’re done painting.
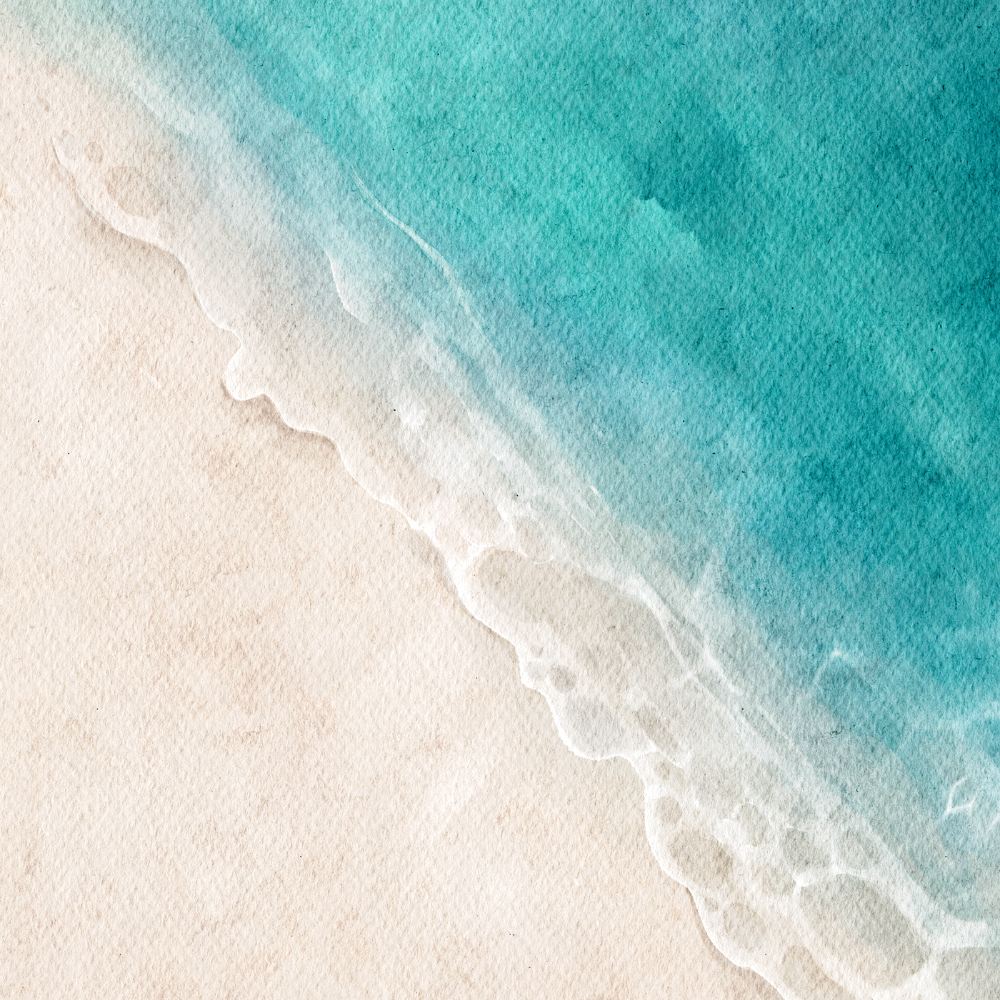
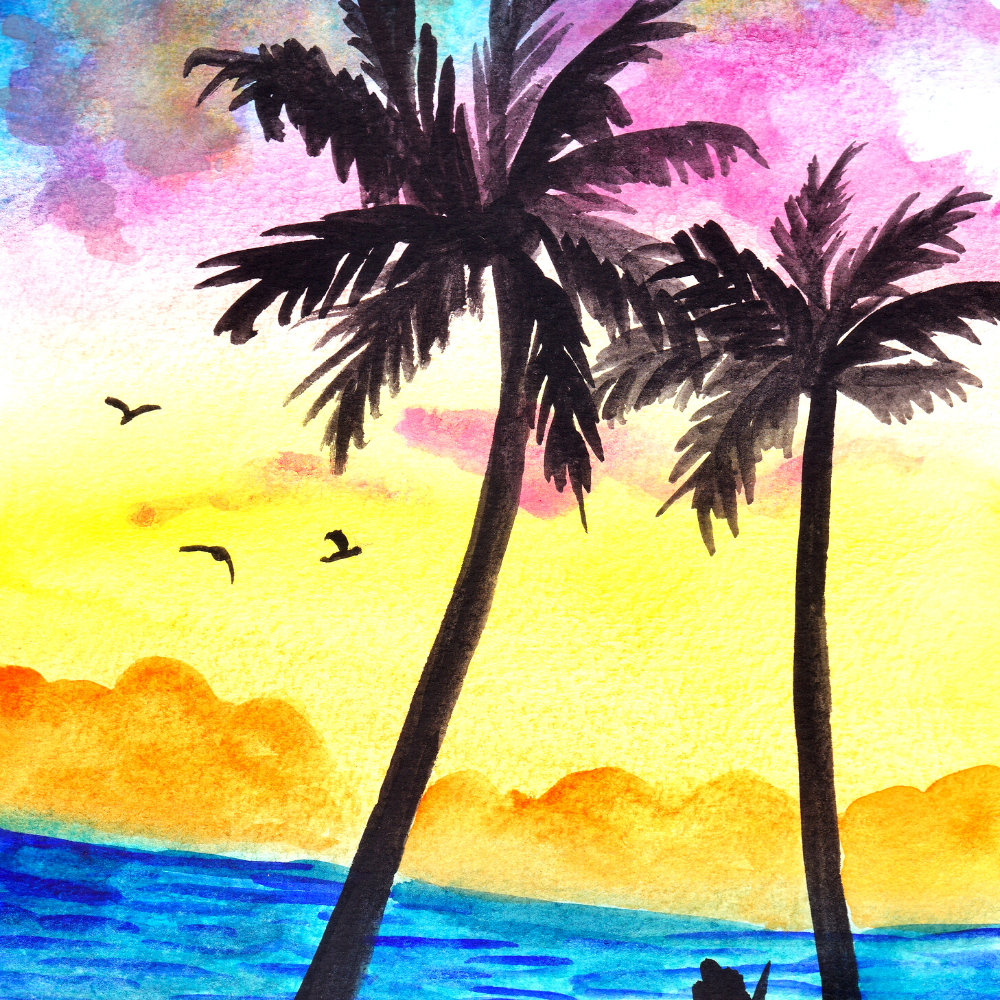
Watercolor paints are another excellent choice, as they provide vibrant colors and can be used to create dreamy ocean scenes.
The best part?
Watercolors are very easy to clean up and can be used for intricate details.
Gouache paints are similar to watercolors, but with a heavier consistency.
This makes them great for layering and blending colors together — perfect for creating an ocean painting.
Spray paints and airbrush paints are a great option if you want to create an abstract ocean painting.
Using a spray paint can help you cover larger sections faster and creates a unique effect.
You can also use a combination of different paints to create the perfect ocean painting that expresses your creative vision.
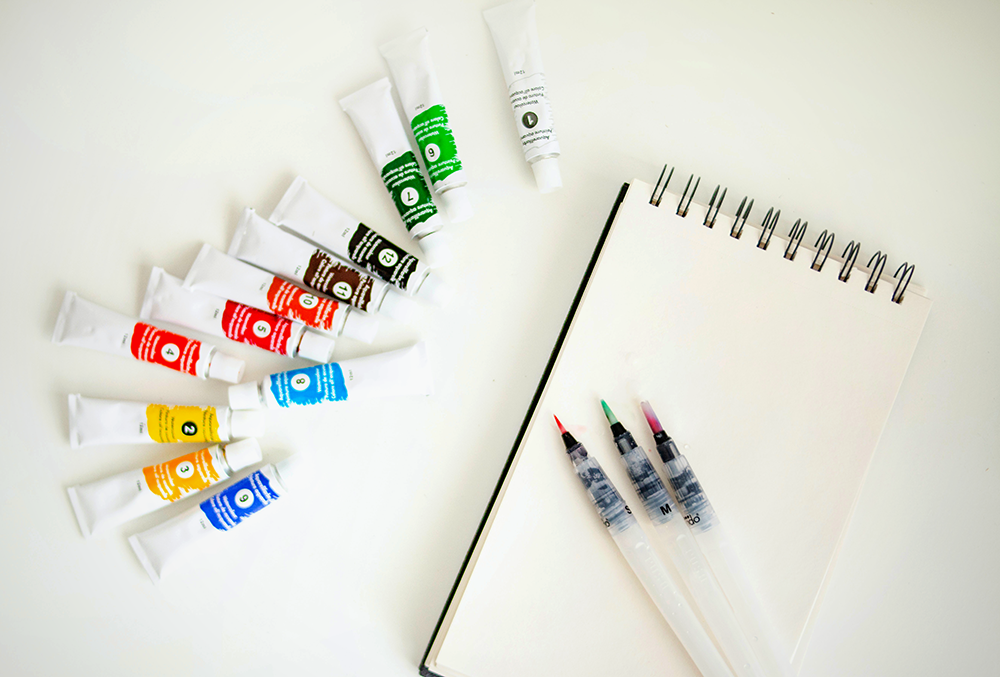
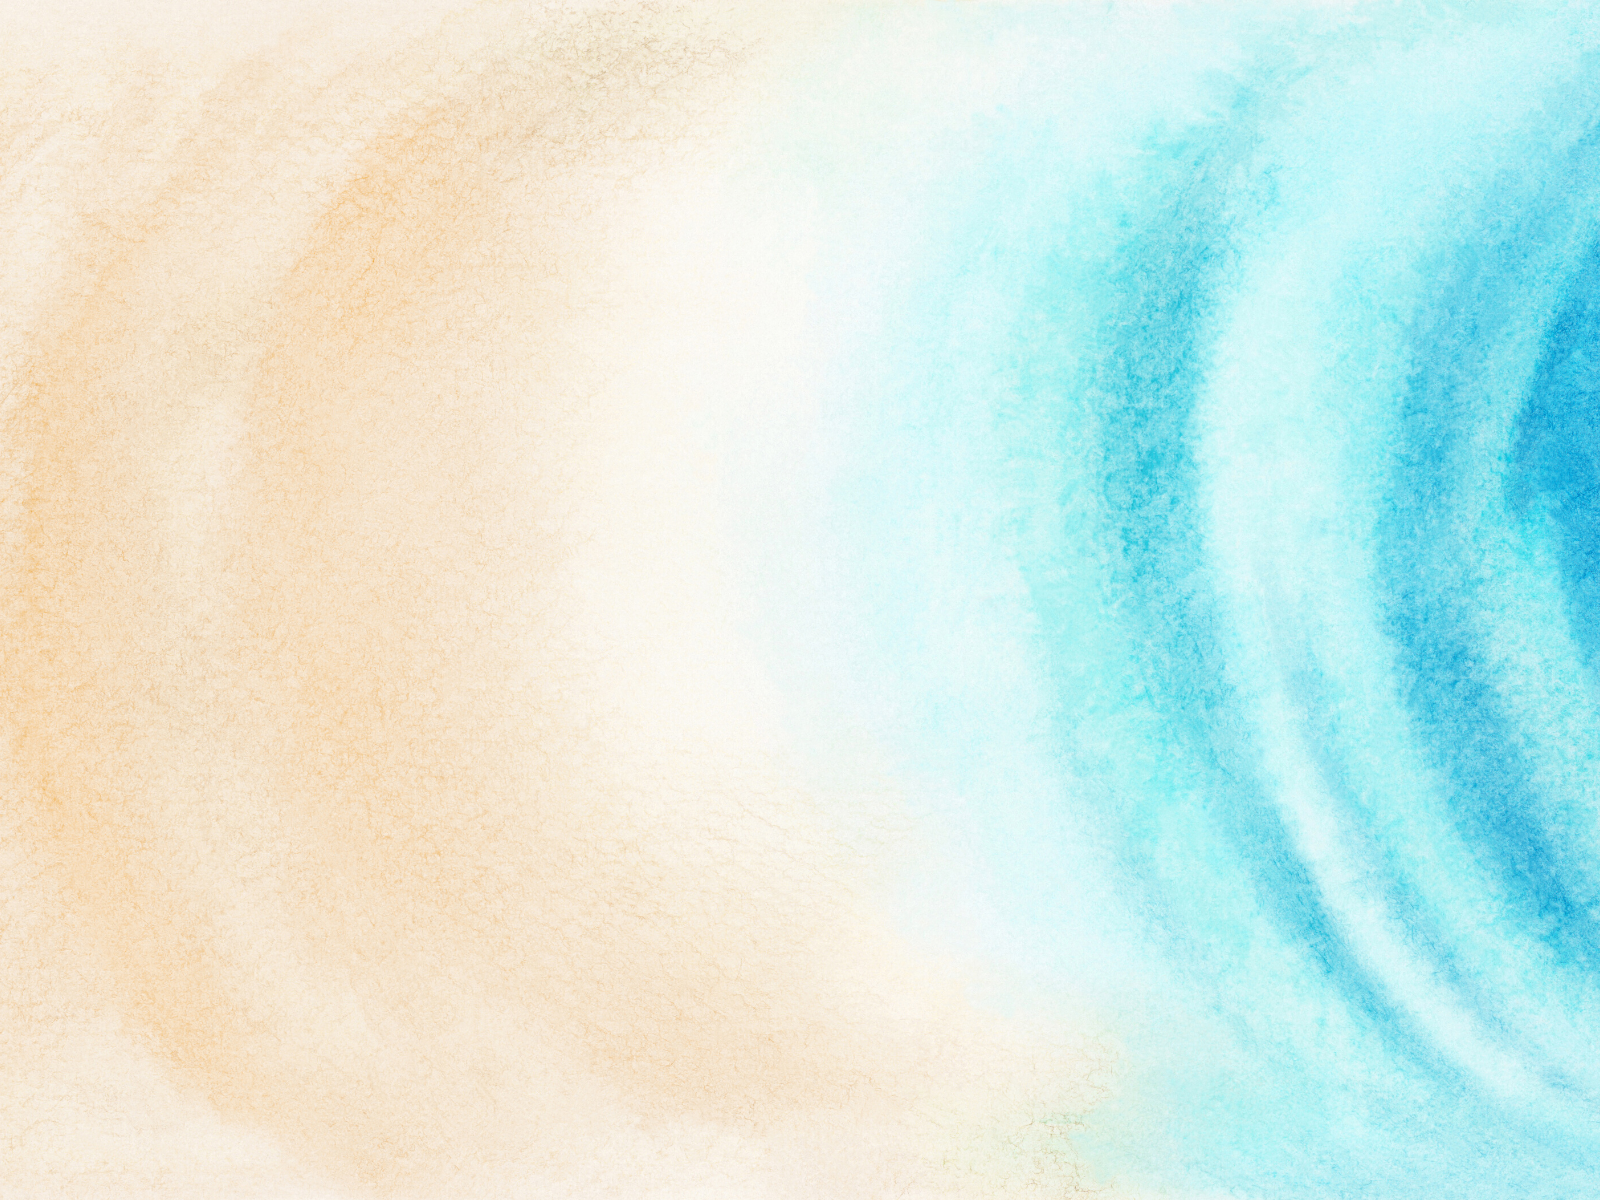
No matter which type of paint you use, make sure to have plenty of shades of blue and green on hand so you can recreate the beautiful hues found in nature.
In addition, you’ll need to have paint brushes or brush pens of different sizes for detailing and larger strokes.
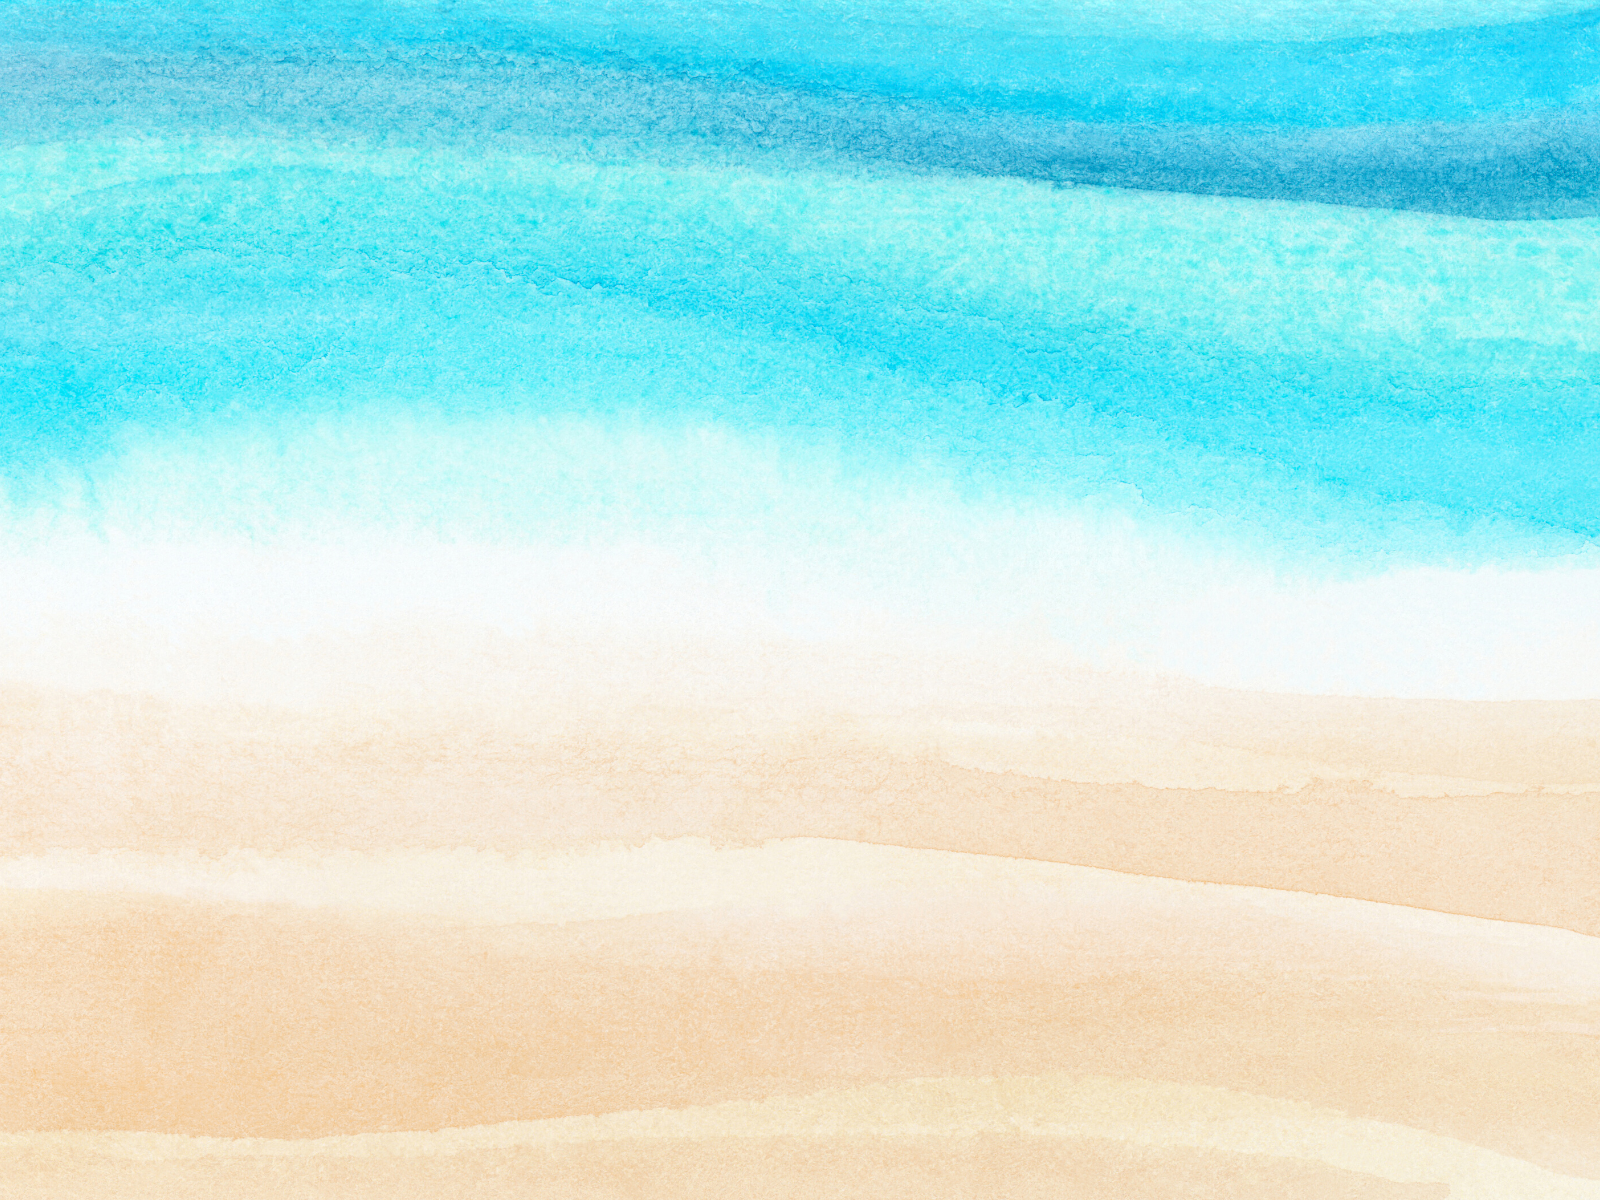
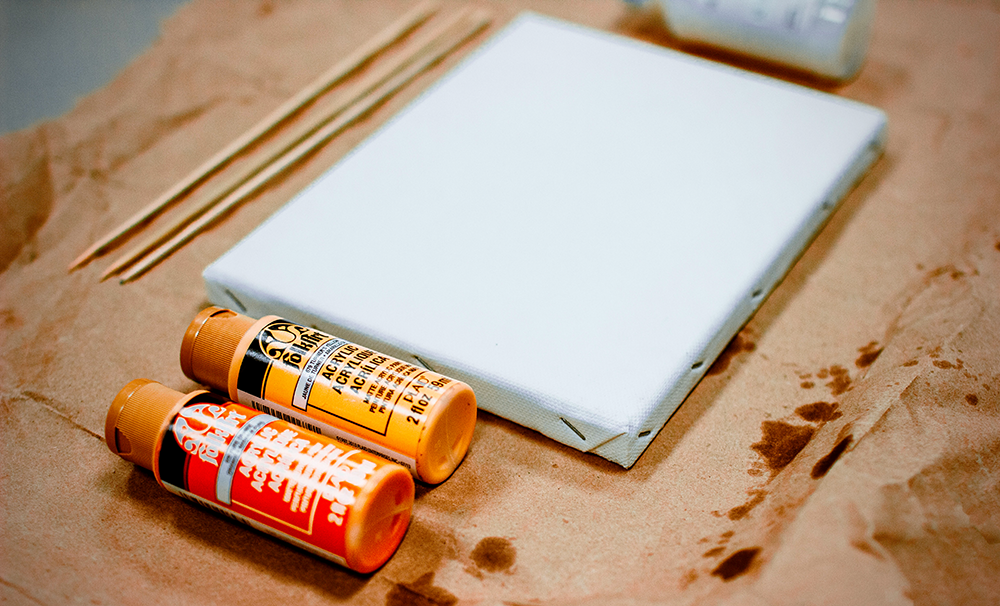
Choose Your Canvas
The perfect painting begins with the right canvas.
You can use a traditional stretched canvas or an artist board.
Stretched canvases are lightweight and easy to transport, while artist boards provide a smooth surface for painting on and come in different sizes.
You can also use papers like watercolor paper, tempera paper, or drawing paper to create your painting.
These papers are different weights and sizes, so you can find the perfect one for your artwork.
When selecting a canvas, remember that the thicker it is, the more layers of paint you can add — perfect for creating an ocean painting!
No matter which type of canvas you choose, make sure it’s primed and ready for painting.
Painting Techniques
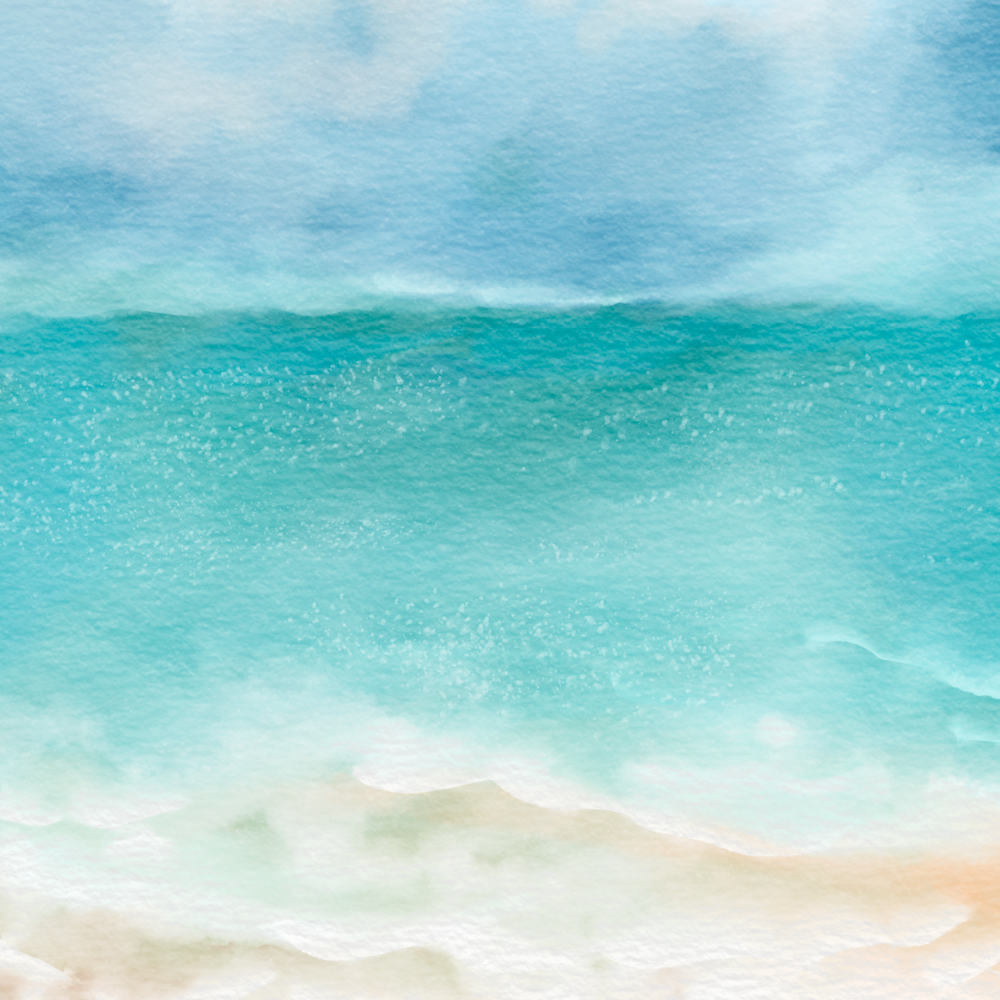
There are a few techniques you can use to make your ocean painting look realistic and beautiful.
Blending the paint colors together and adding soft edges with a light touch will give your painting a pleasant look.
This will create the illusion that the water is moving, which creates a more realistic and peaceful painting.
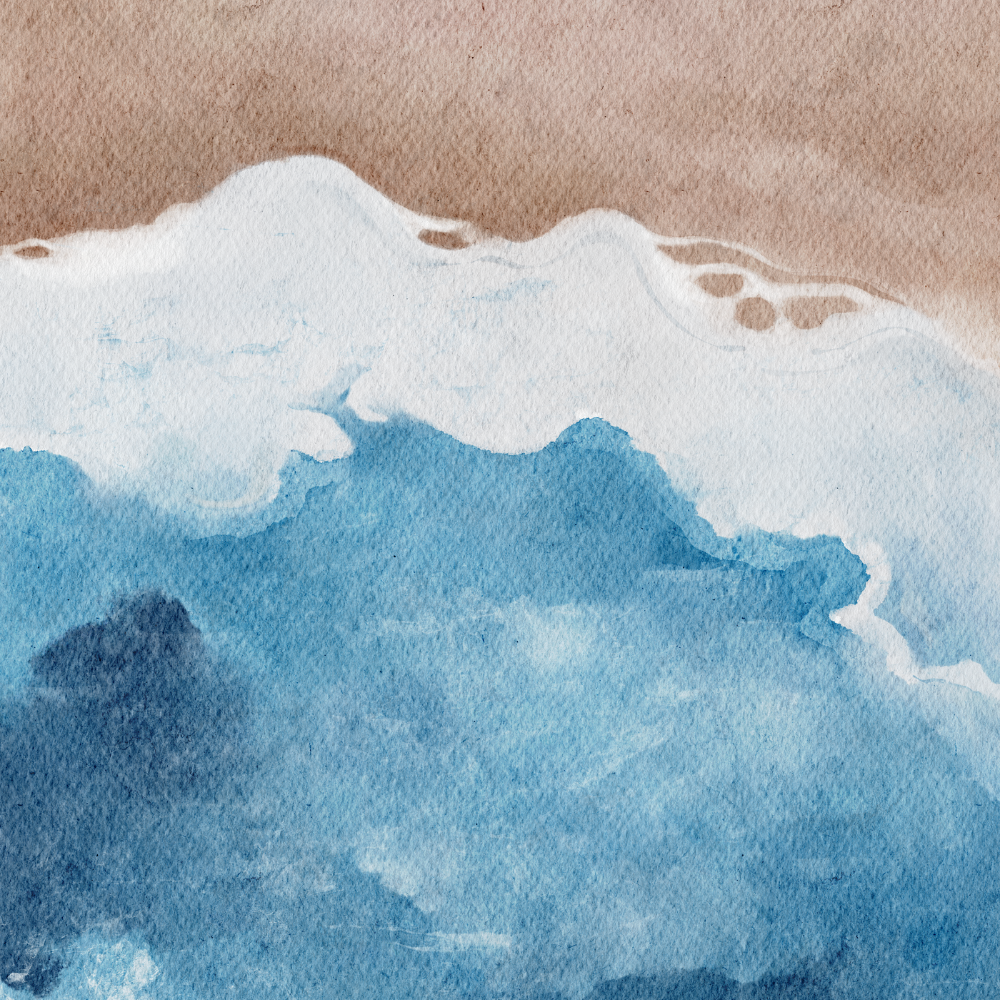
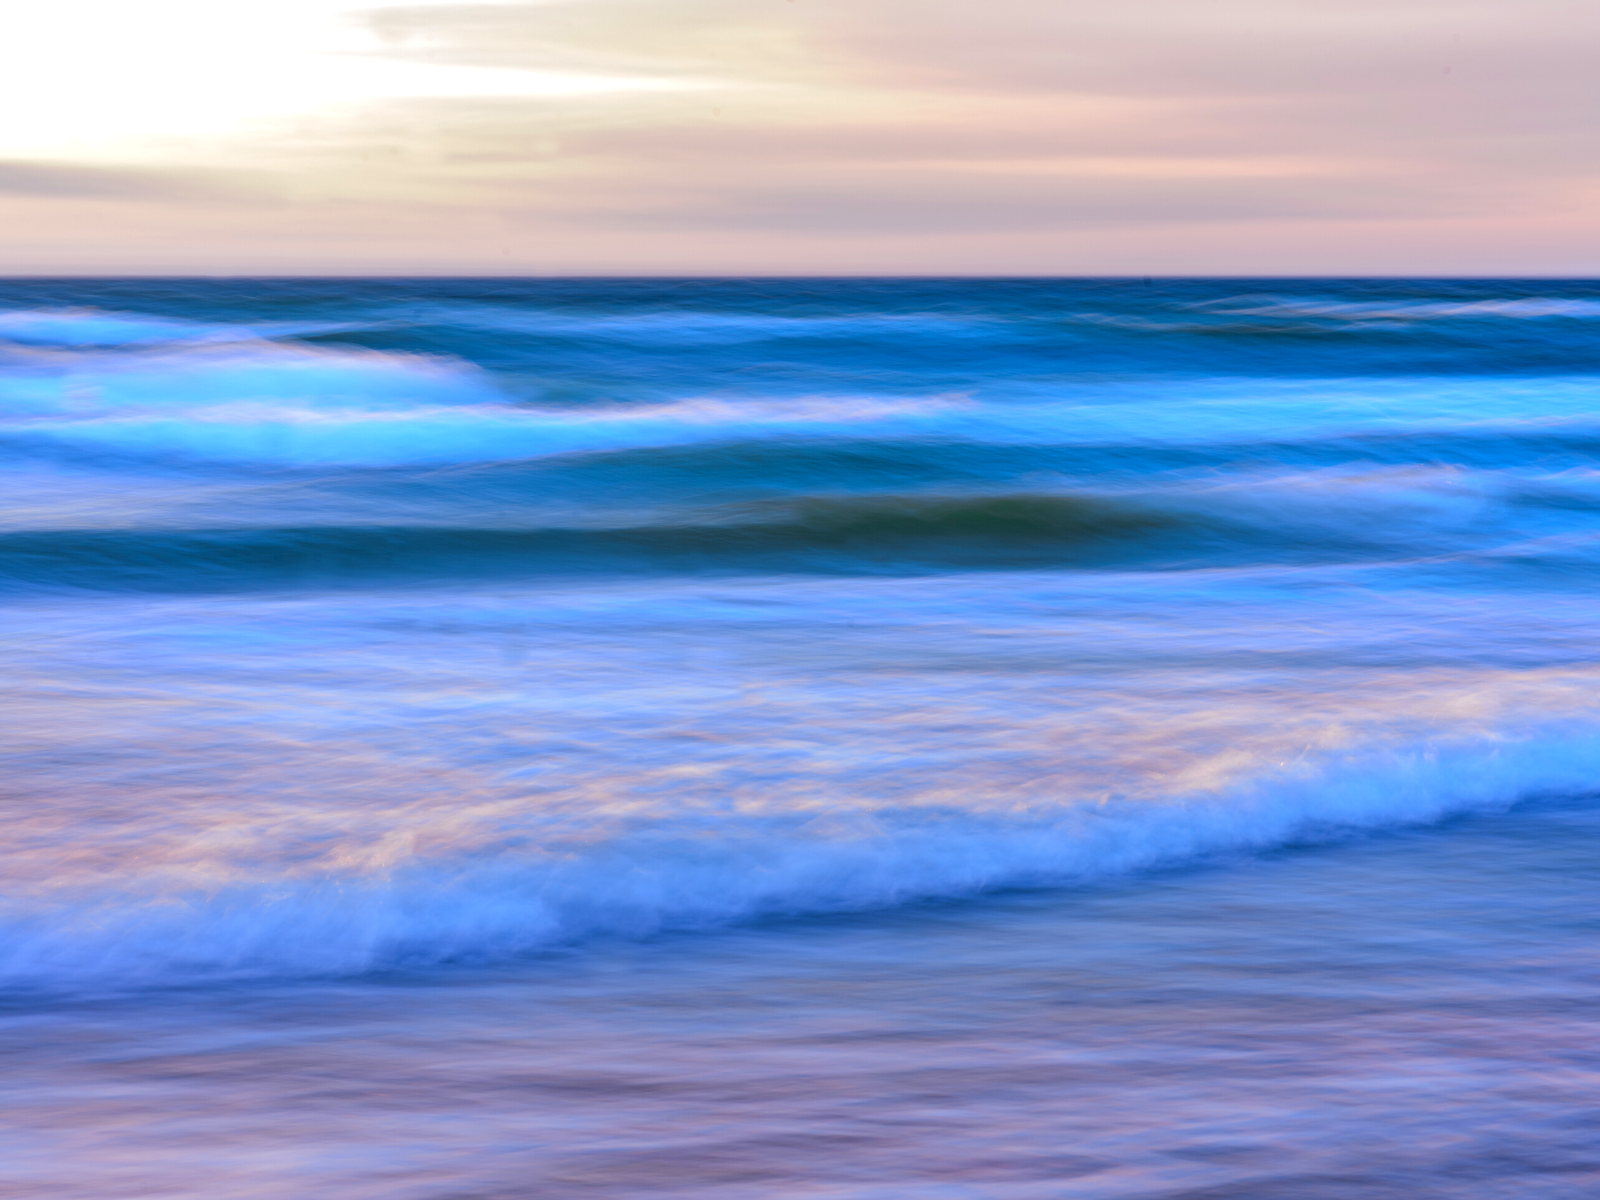
When it comes to the waves, use a combination of short strokes and curved lines that mimic the natural movements of the sea.
For larger waves, use a flat brush to apply even layers of paint and make sure to keep some areas blank.
This will make it look like the waves are crashing against each other and add depth to your painting.
Use a detailing brush for creating smaller waves, and use lighter shades of paint for the crest of each wave to create a light and airy effect.
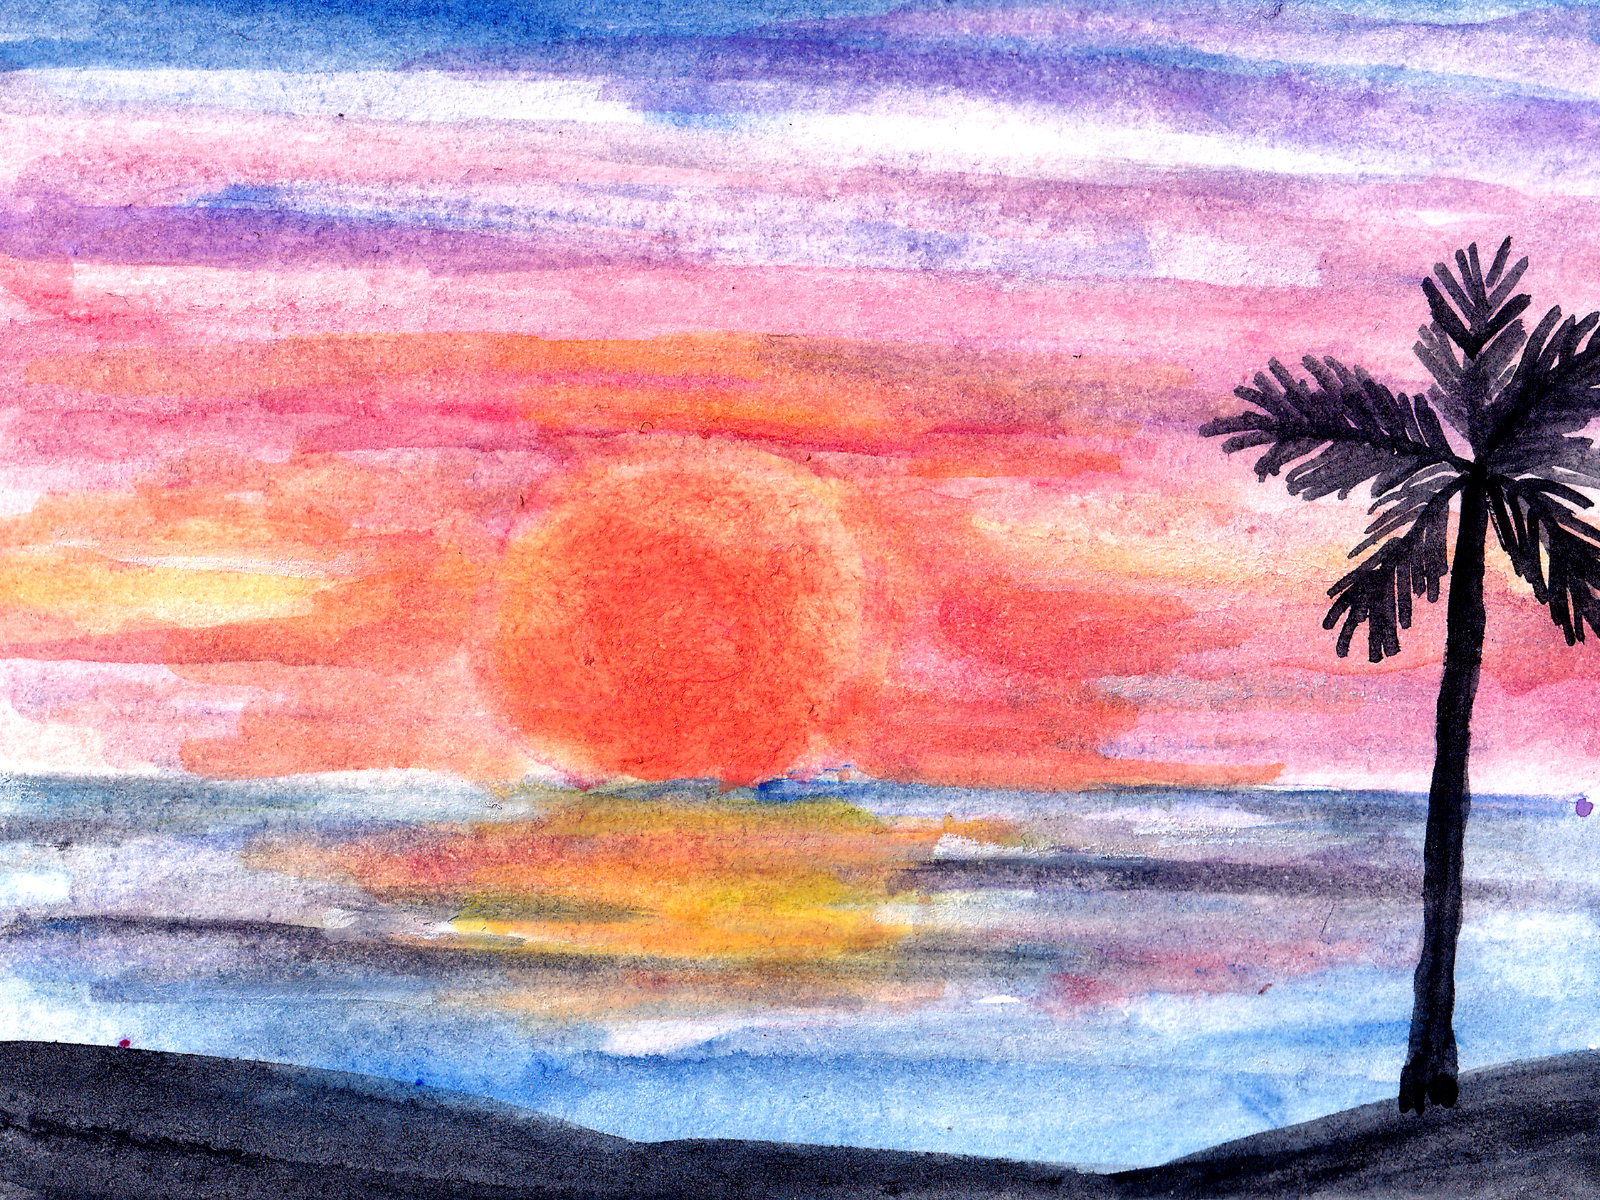
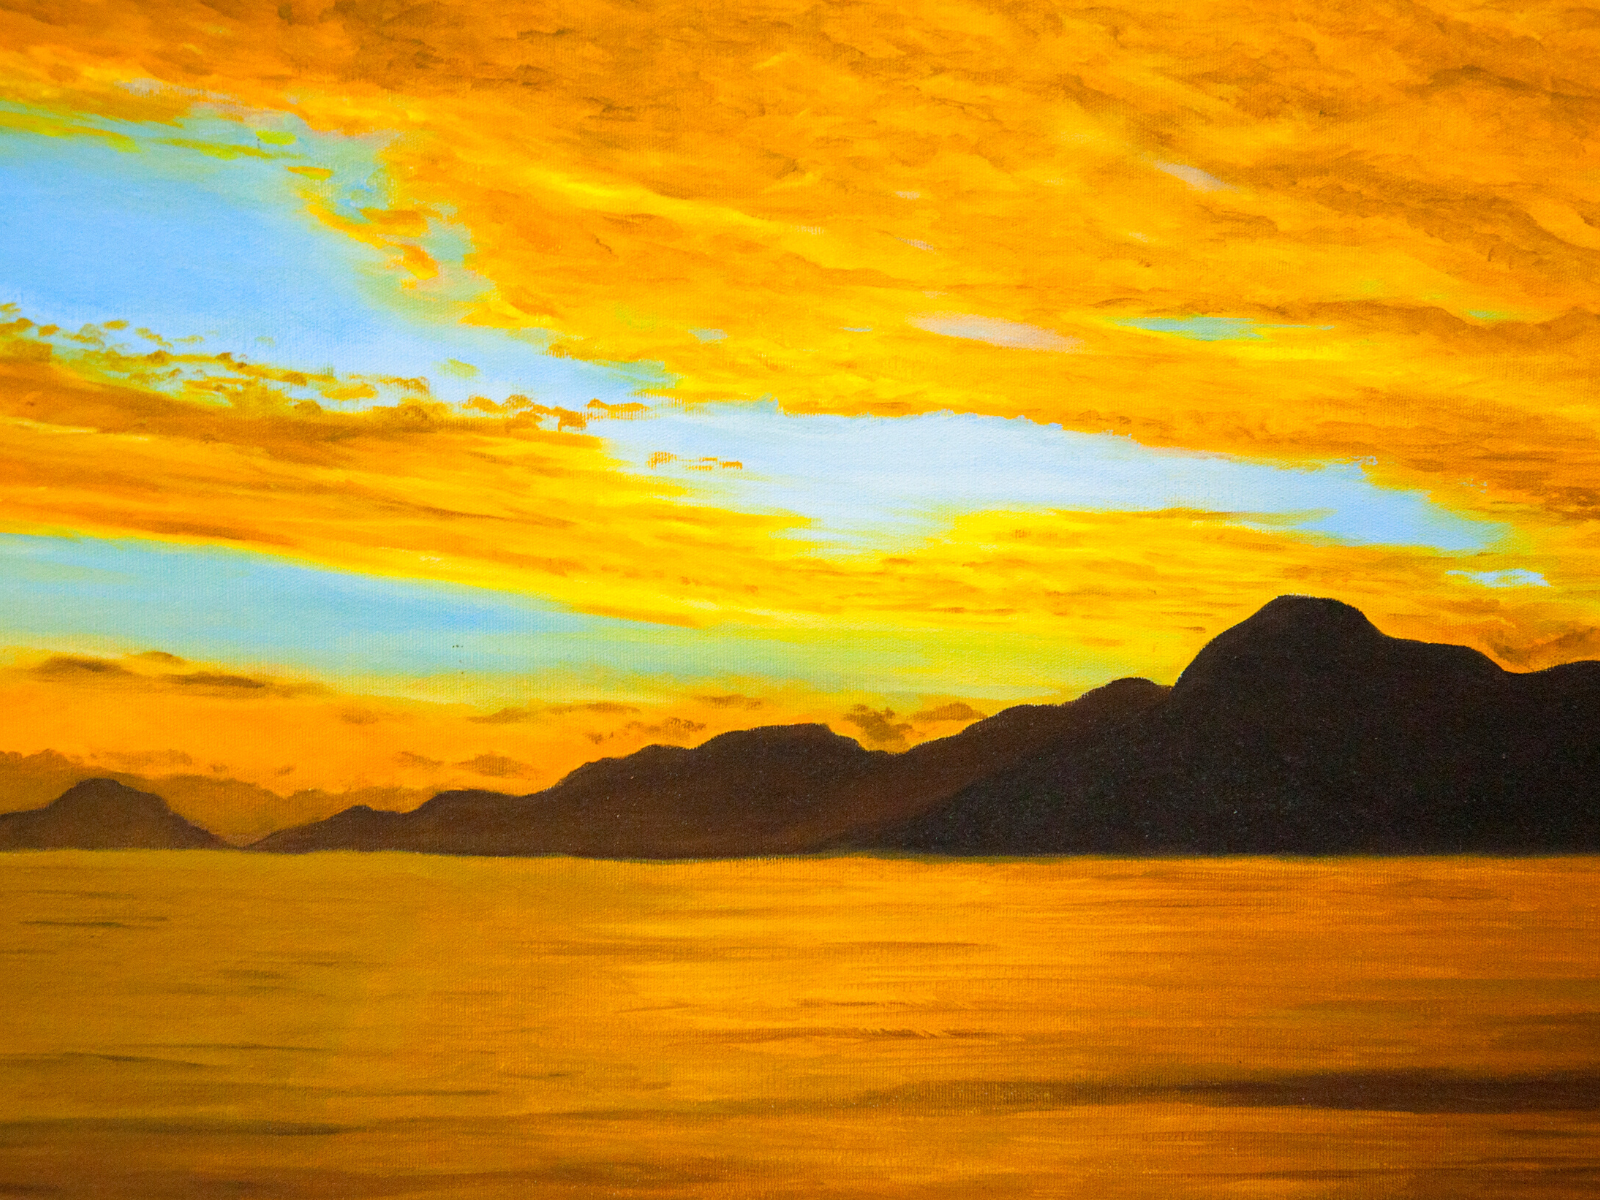
When it comes to the sky, use lighter shades of blue and add some white highlights to represent the reflection of light from the sun.
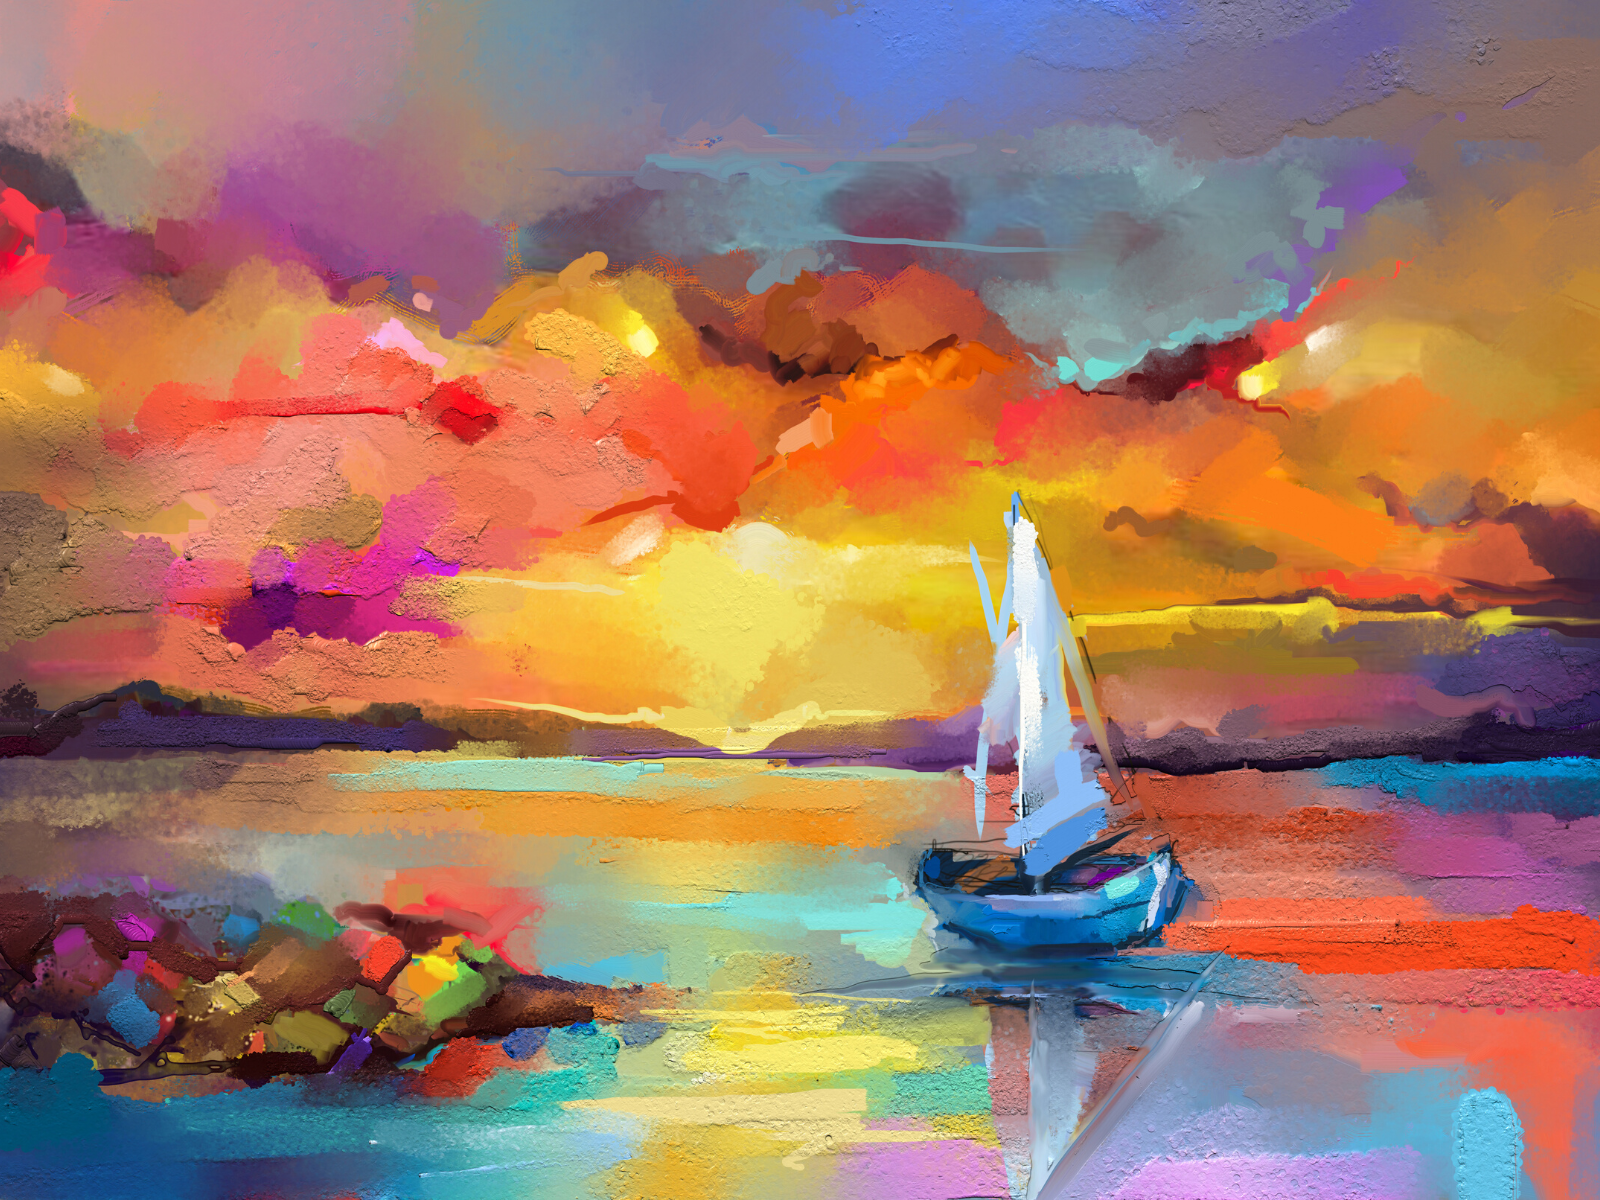
For a more abstract painting, you can use bright colors and unique brushstrokes to create a more whimsical look.
The possibilities are endless!
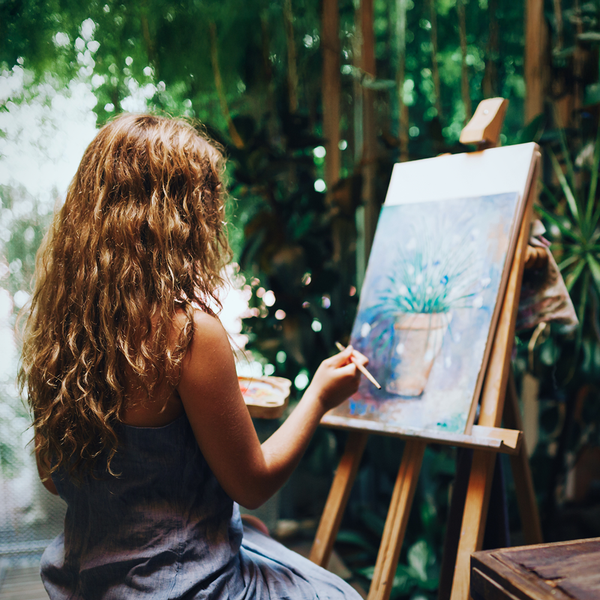
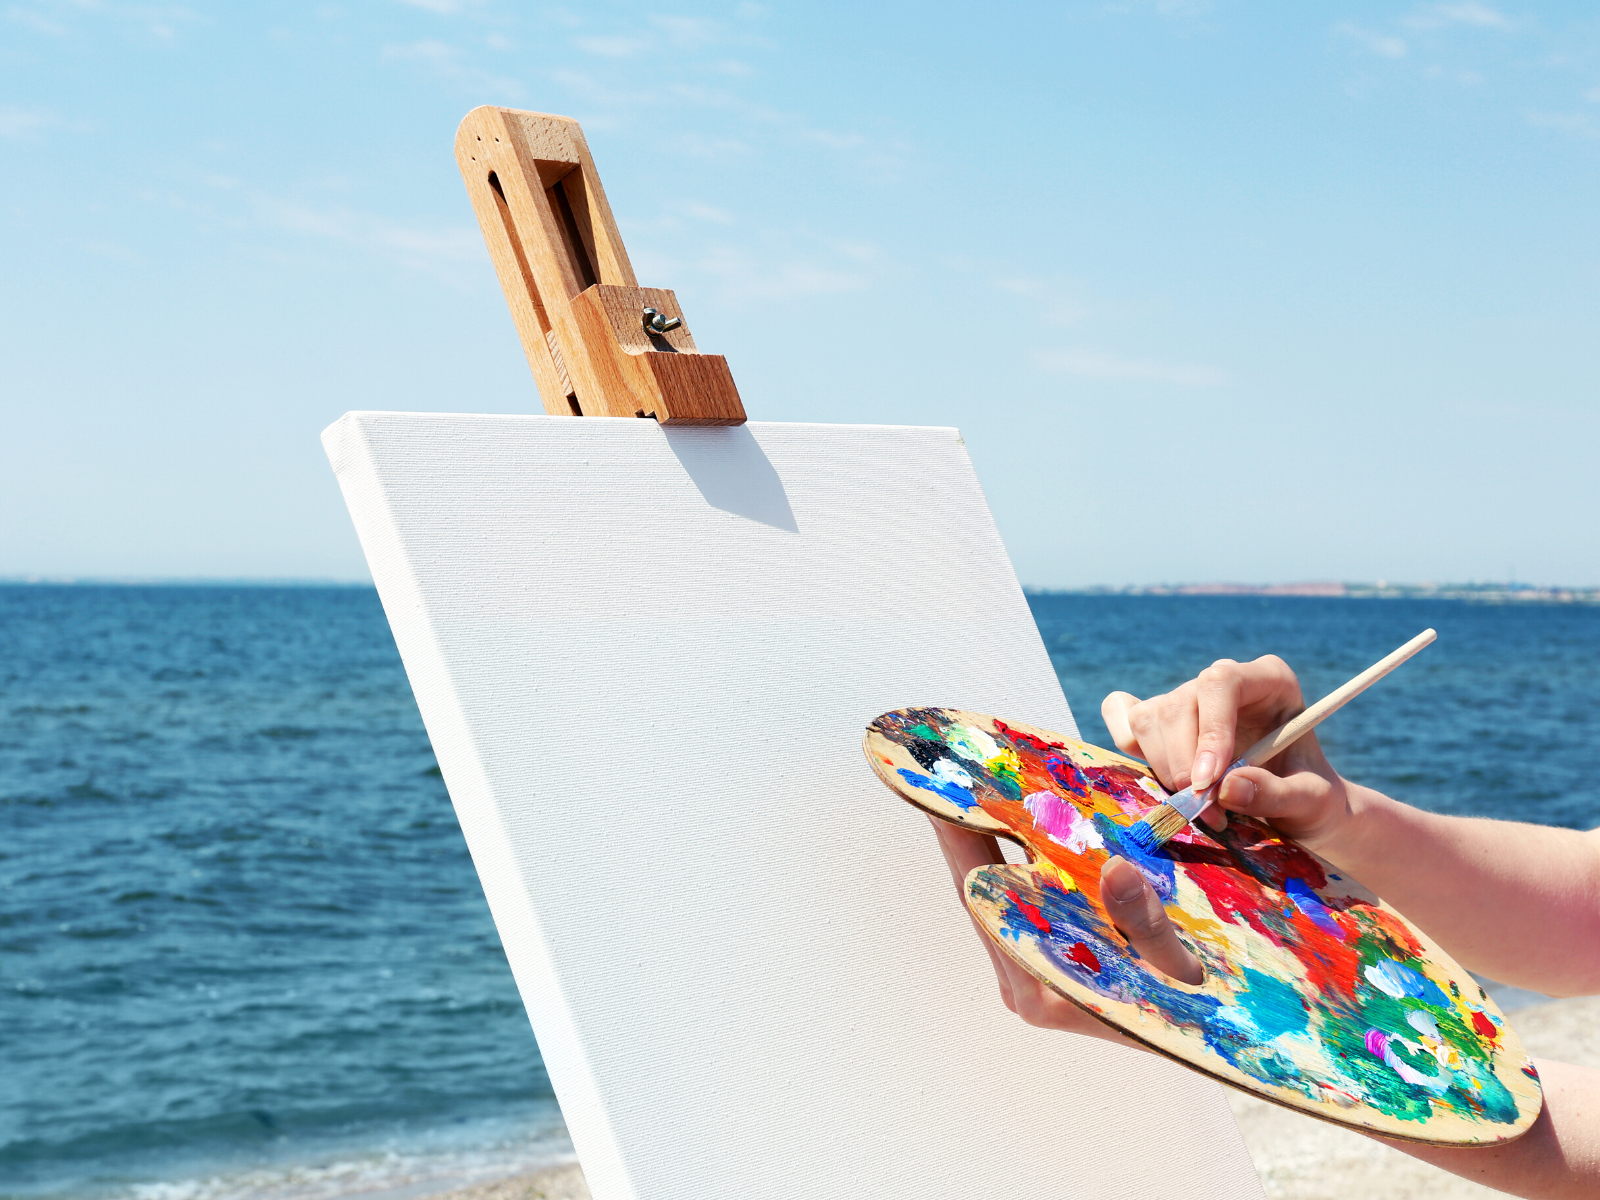
Starting Your Painting
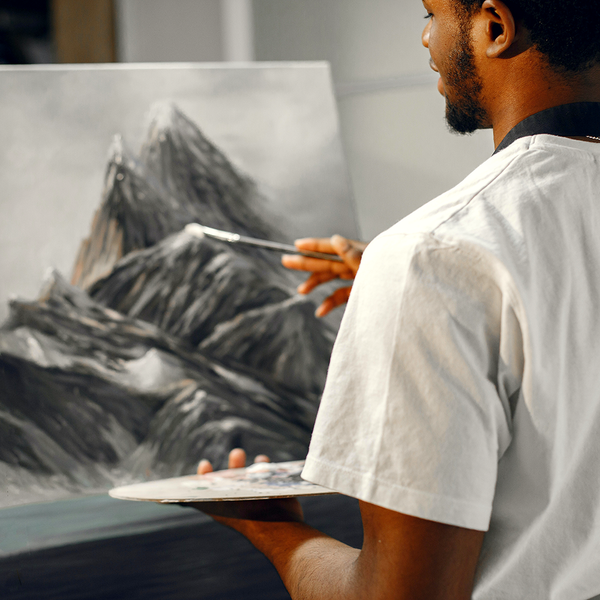
Now that you have all the supplies and techniques down, it’s time to get started on your painting.
Begin by sketching a general outline of the painting, including the basic shapes and forms that you would like to incorporate.
This will help you create a rough sketch of the painting and ensure that you have all the elements in place.
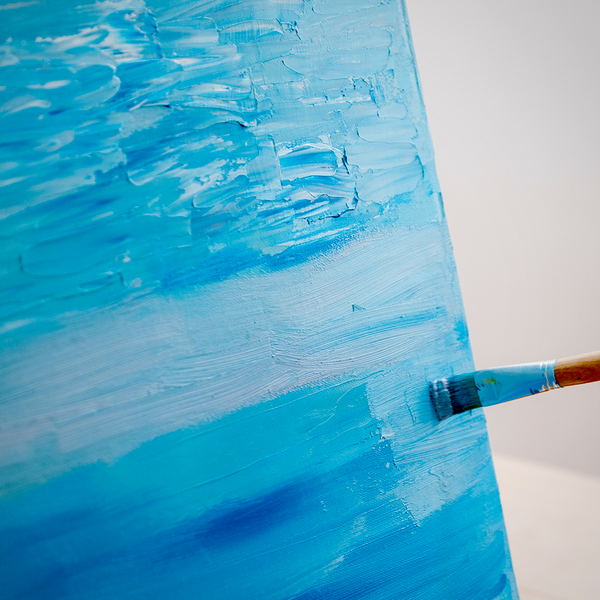
To begin your ocean painting, use a large brush and mix various blues with white until you achieve your desired color.
You may want to do some research on different types of sea colors if you are unsure which shade of blue is best for your piece.
Once your base layer is complete and dry (this may take several hours), use a smaller brush to add details like waves and crests.
Be sure to use lighter shades of blue for these elements as they will give your painting dimension and depth.
You can also add hints of green here if desired; just be sure not to overdo it.
When using different colors and shades, remember to keep your brushstrokes loose and light.
This will help create the illusion of movement and make your painting look more realistic.
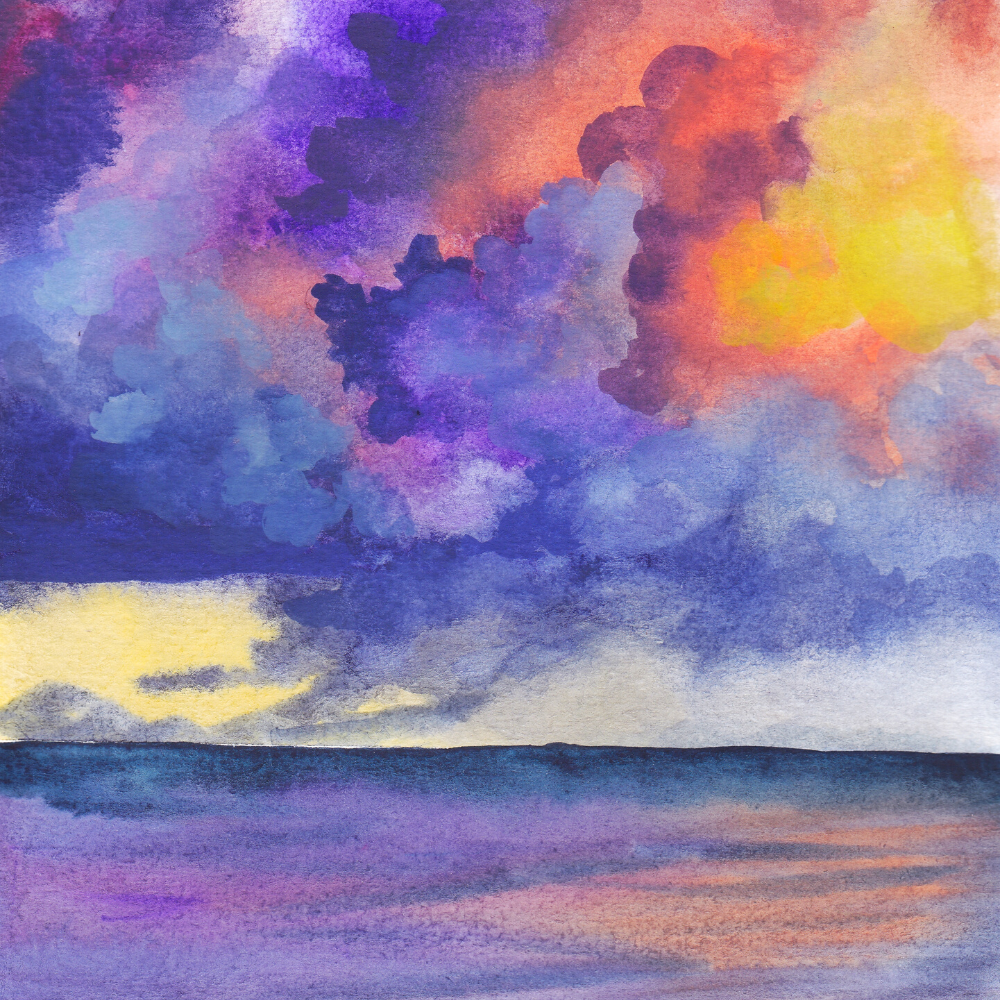
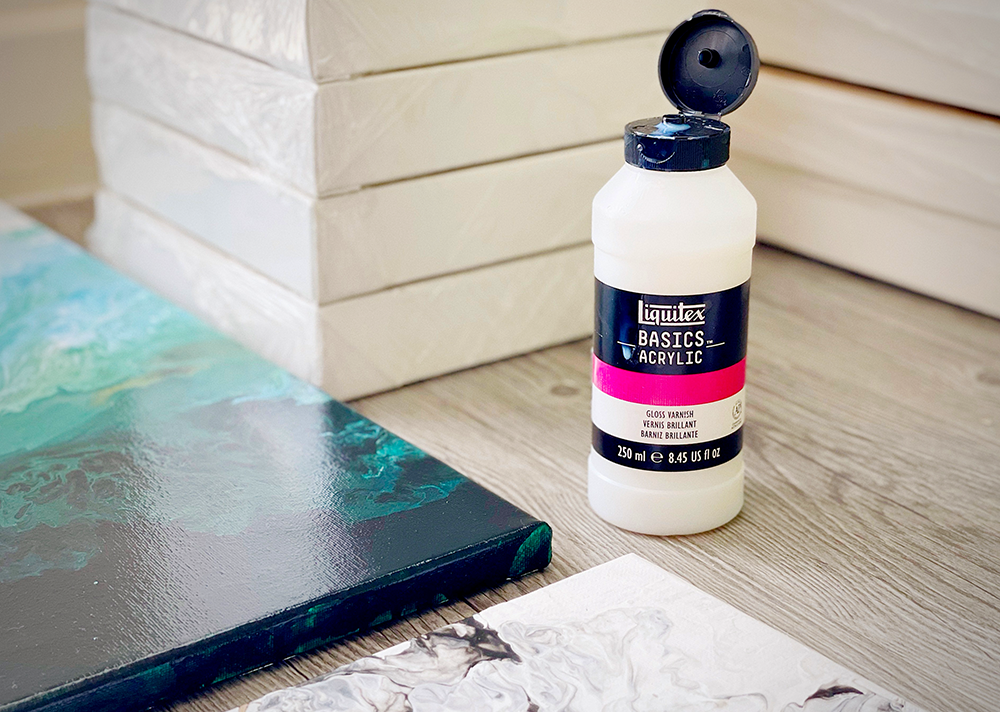
Adding Final Touches
Once you’re finished with the main elements of your painting, it’s time to add the finishing touches.
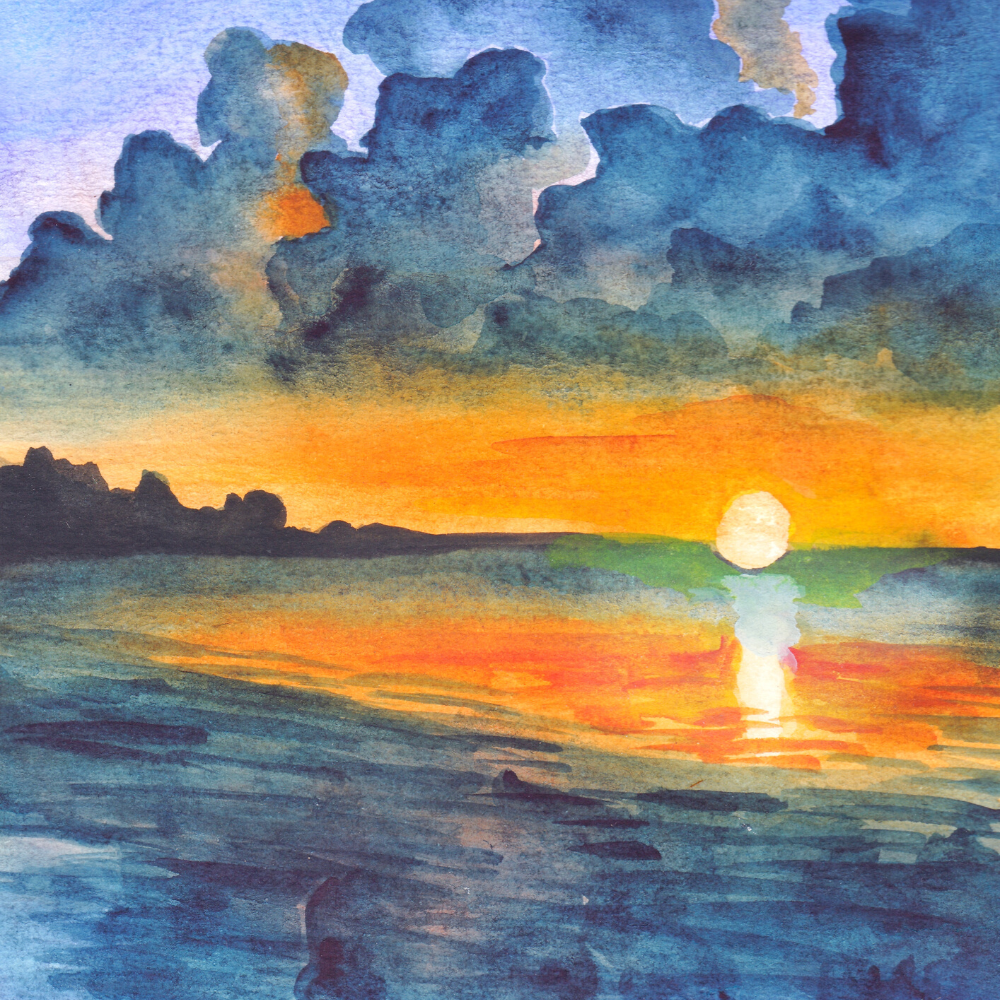
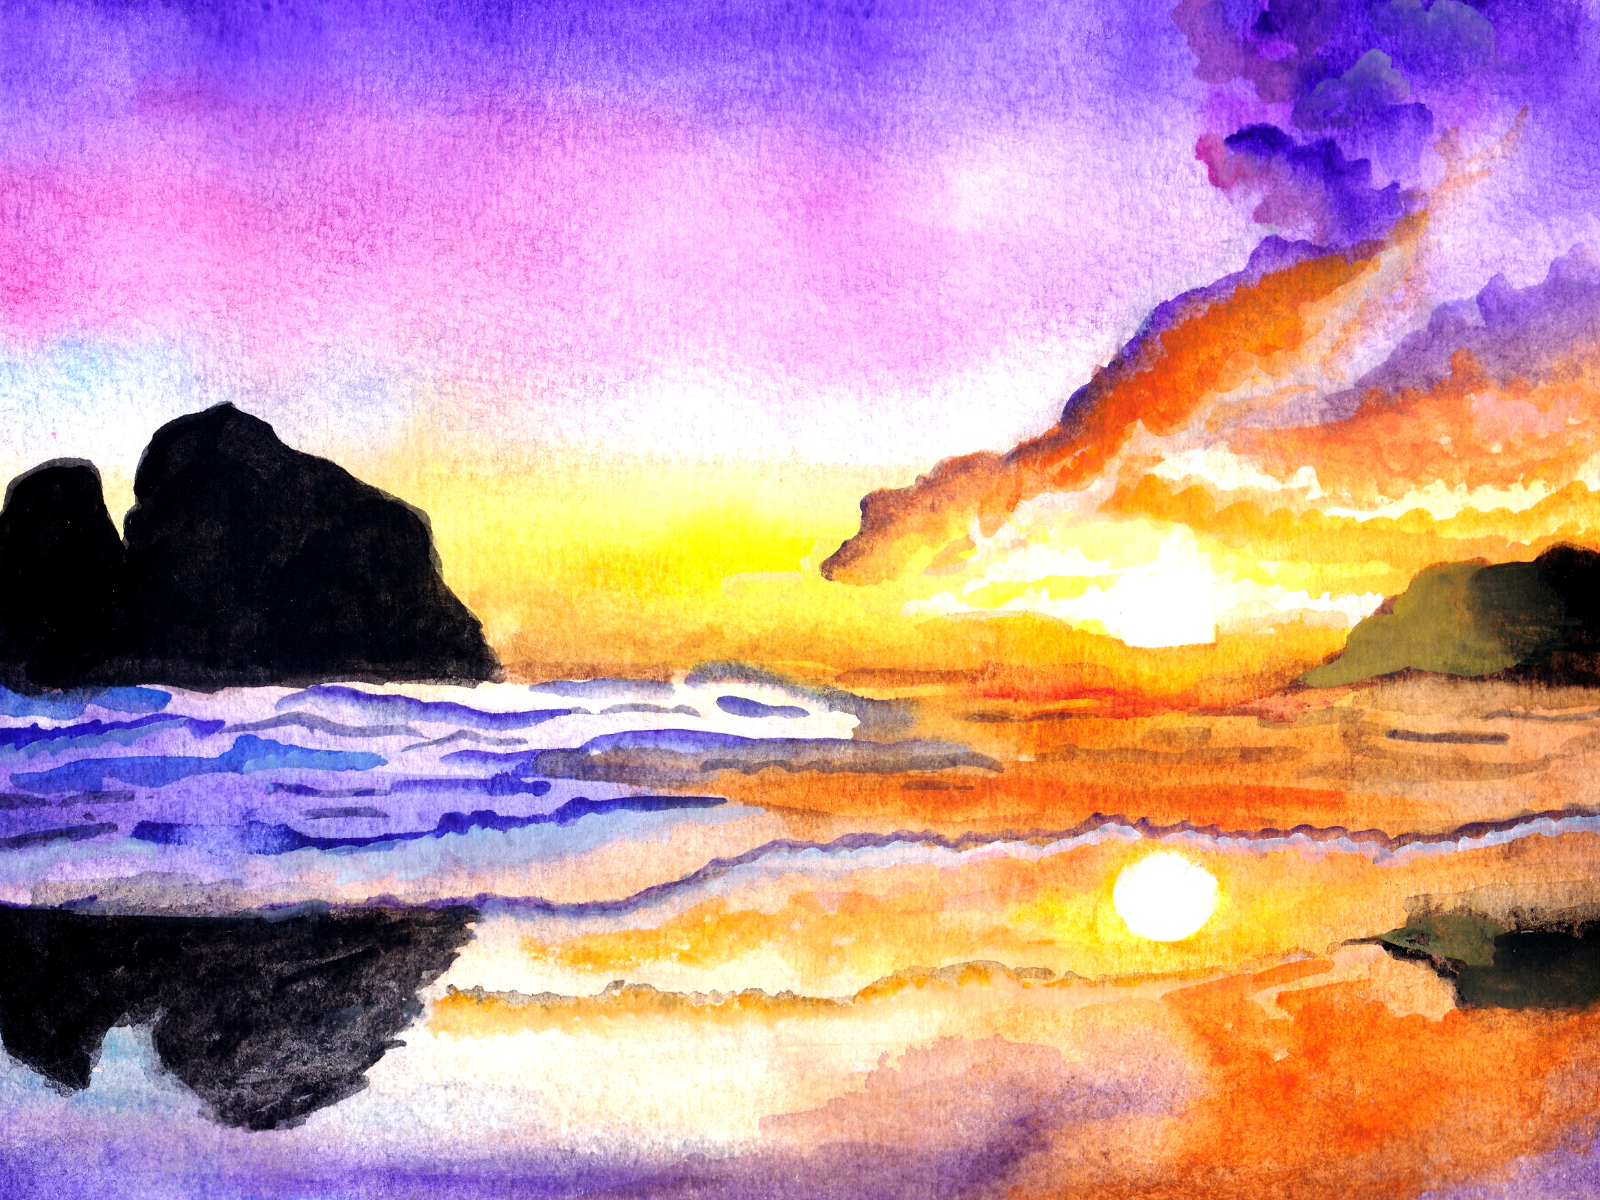
You can use light blues and lavenders for a dreamy effect, or dark blues and greens for a more dramatic look.
If you’re looking to add a bit of sparkle, you can use white highlights to represent the reflection of the sun.
Add small white dots with a tiny brush for “whitecaps” that give life and movement to your piece.
You can also add small parts of light green to represent sea foam and other elements that you might find at the beach.
Don’t forget to add any final details that you think would give your painting the perfect finishing touch!
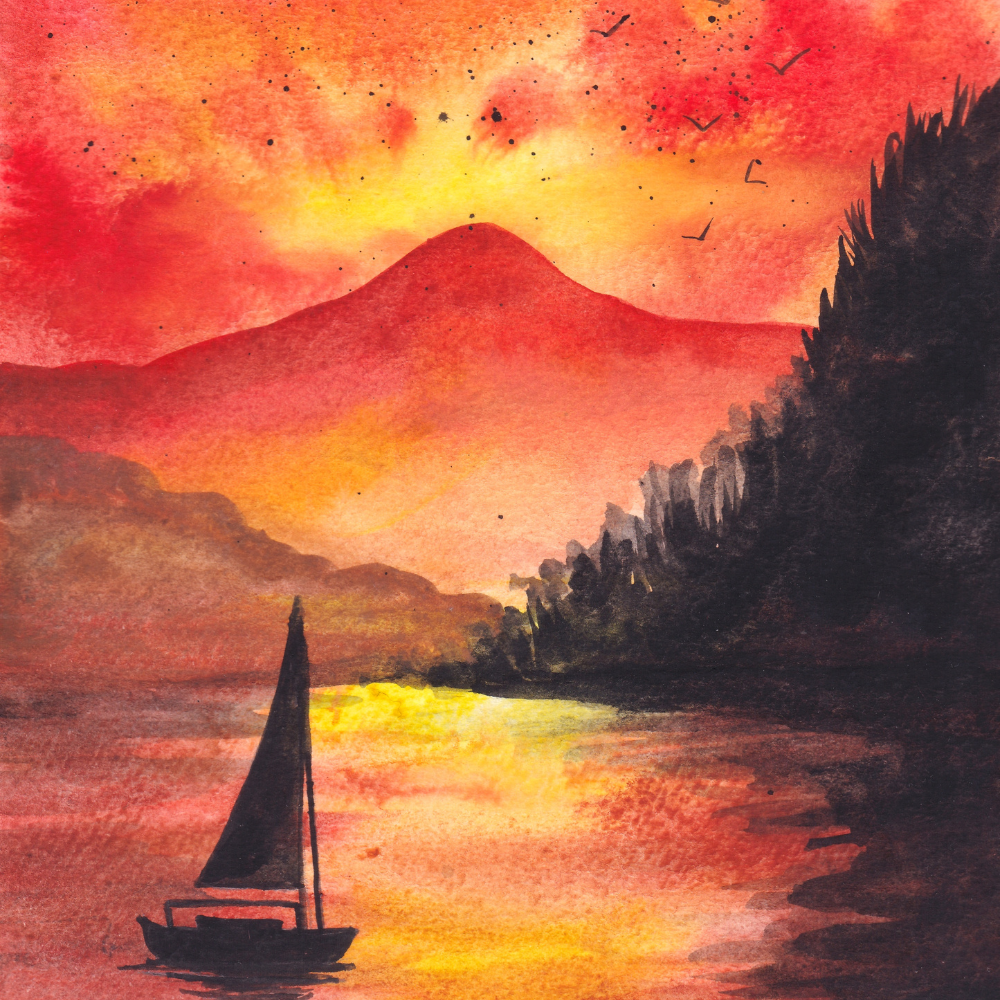
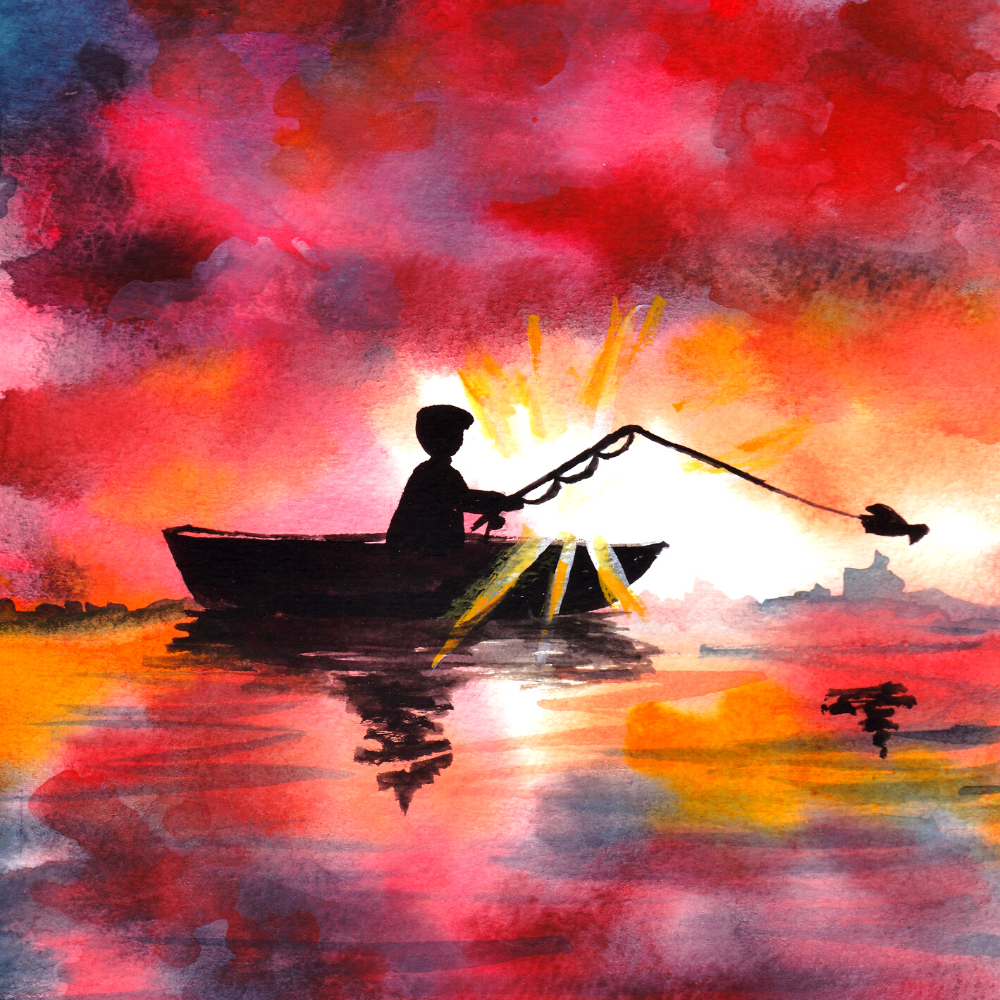
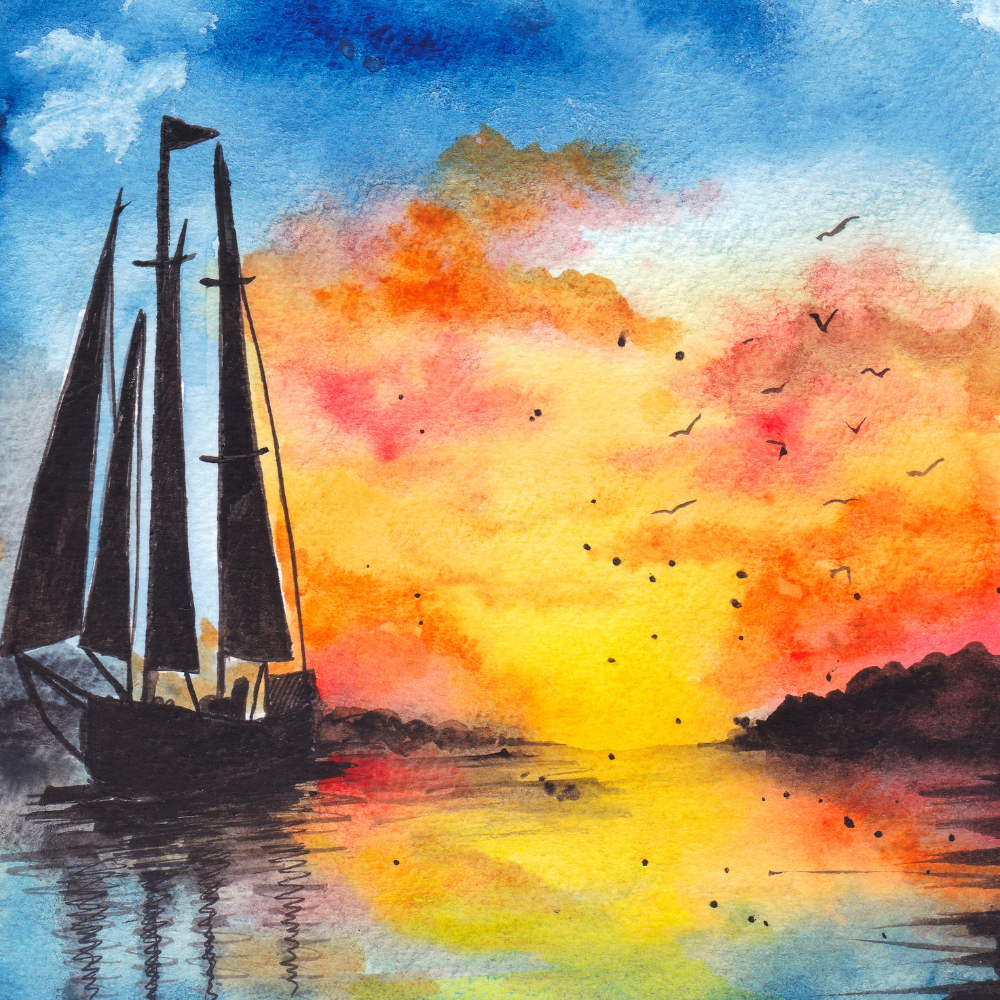
To finish off your creation, add any other elements like birds, boats, a man on a ship, or clouds in the sky for more visual interest.
Adding a focal point to your painting can also help create balance and make your work stand out; having a focused area of interest draws the viewer in and creates an overall pleasing composition.
When everything is complete, set aside for at least 24 hours before framing or displaying in order for the paint to fully dry and set.
Now that you’re finished, take a step back and admire your beautiful masterpiece!
Tips for Painting the Sea
Creating a stunning painting of the sea can be fun and rewarding, but it’s important to remember that there is no right or wrong way to do it.
The best advice is to be creative and have fun with it!
Remember to use light, loose brushstrokes when blending colors and use lighter shades for details like waves, crests, and highlights to give your painting a more realistic look.
Take your time and be patient.
Creating art can take time, and it’s important to enjoy the process as much as possible.
The most important thing is to have fun and let your creative juices flow!
With patience, persistence, and the right supplies, you can create a beautiful painting of the ocean that will take your breath away.
So, what are you waiting for?
Wave goodbye to old projects and dive into creating an ocean-inspired painting today!
Creating An Ocean Painting
Creating an ocean painting can seem intimidating but with the right supplies and guidance anyone can do it!
Gather inspiration, pick the right type of paint and brushstroke techniques, then add any special touches to your unique piece.
Remember to have fun with it and enjoy the process, as creating art is a beautiful journey.
So, go ahead and wave goodbye to old projects — let's get started on creating a beautiful ocean painting!
Happy painting!

Interested in creating an ocean painting? Check out Emily Mackey Art's video guide!
Want even more content about creativity and art?
Be sure to check out all of our creative chronicles!
Need some new paints for your collection?
Check out some of our paint articles:
Want to learn more and get started with painting?
Check out some of our other painting articles: