Are you an artist ready to take your creations to the next level?
If so, it’s time for you to get versed in all things resin!
Resin art has taken the art world by storm in recent years; it is a fascinating medium that offers endless possibilities to create unique, one-of-a-kind pieces.
This amazing medium can make art more dimensional, eye-catching and satisfying.
From mixing colors to mastering sculpting techniques - there is so much you can do with a little bit of resin know-how.
This medium is easy to work with, incredibly versatile, and produces some truly jaw-dropping results.
Plus, it’s accessible to artists of all skill levels, so whether you’re a beginner or a pro, you’re sure to find something to love in this exciting art form.
Working with resin requires some knowledge, skills, and patience, but let us show you the essential tips needed for crafting that masterpiece of your dreams!
If you’re new to resin art, it can be tough to know where to start.
That’s why we’ve put together this handy guide to help you get the most out of your resin creations.
With these tips and tricks, you’ll be well on your way to making beautiful, vibrant art that’ll leave everyone in awe, so let’s dive into the world of resin art!
Choose the Right Resin
The very first thing you need to do when diving into resin art is to choose the right resin for your needs.
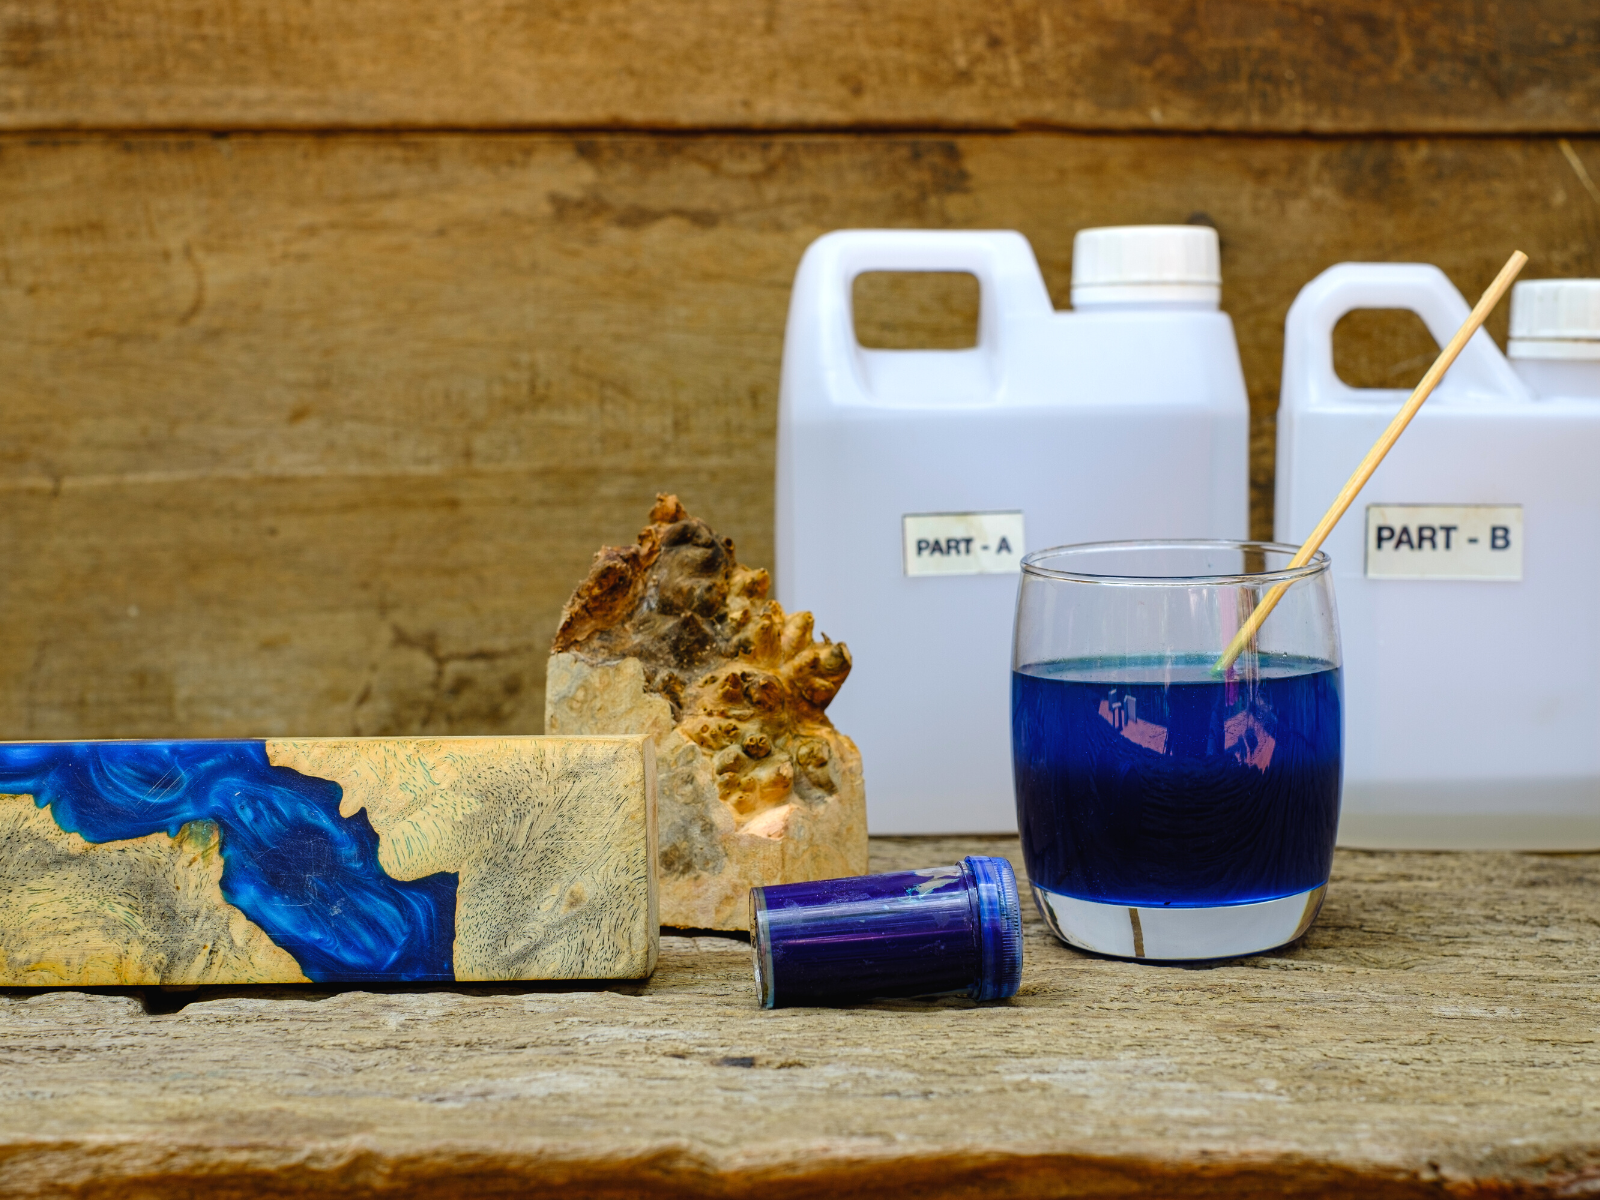
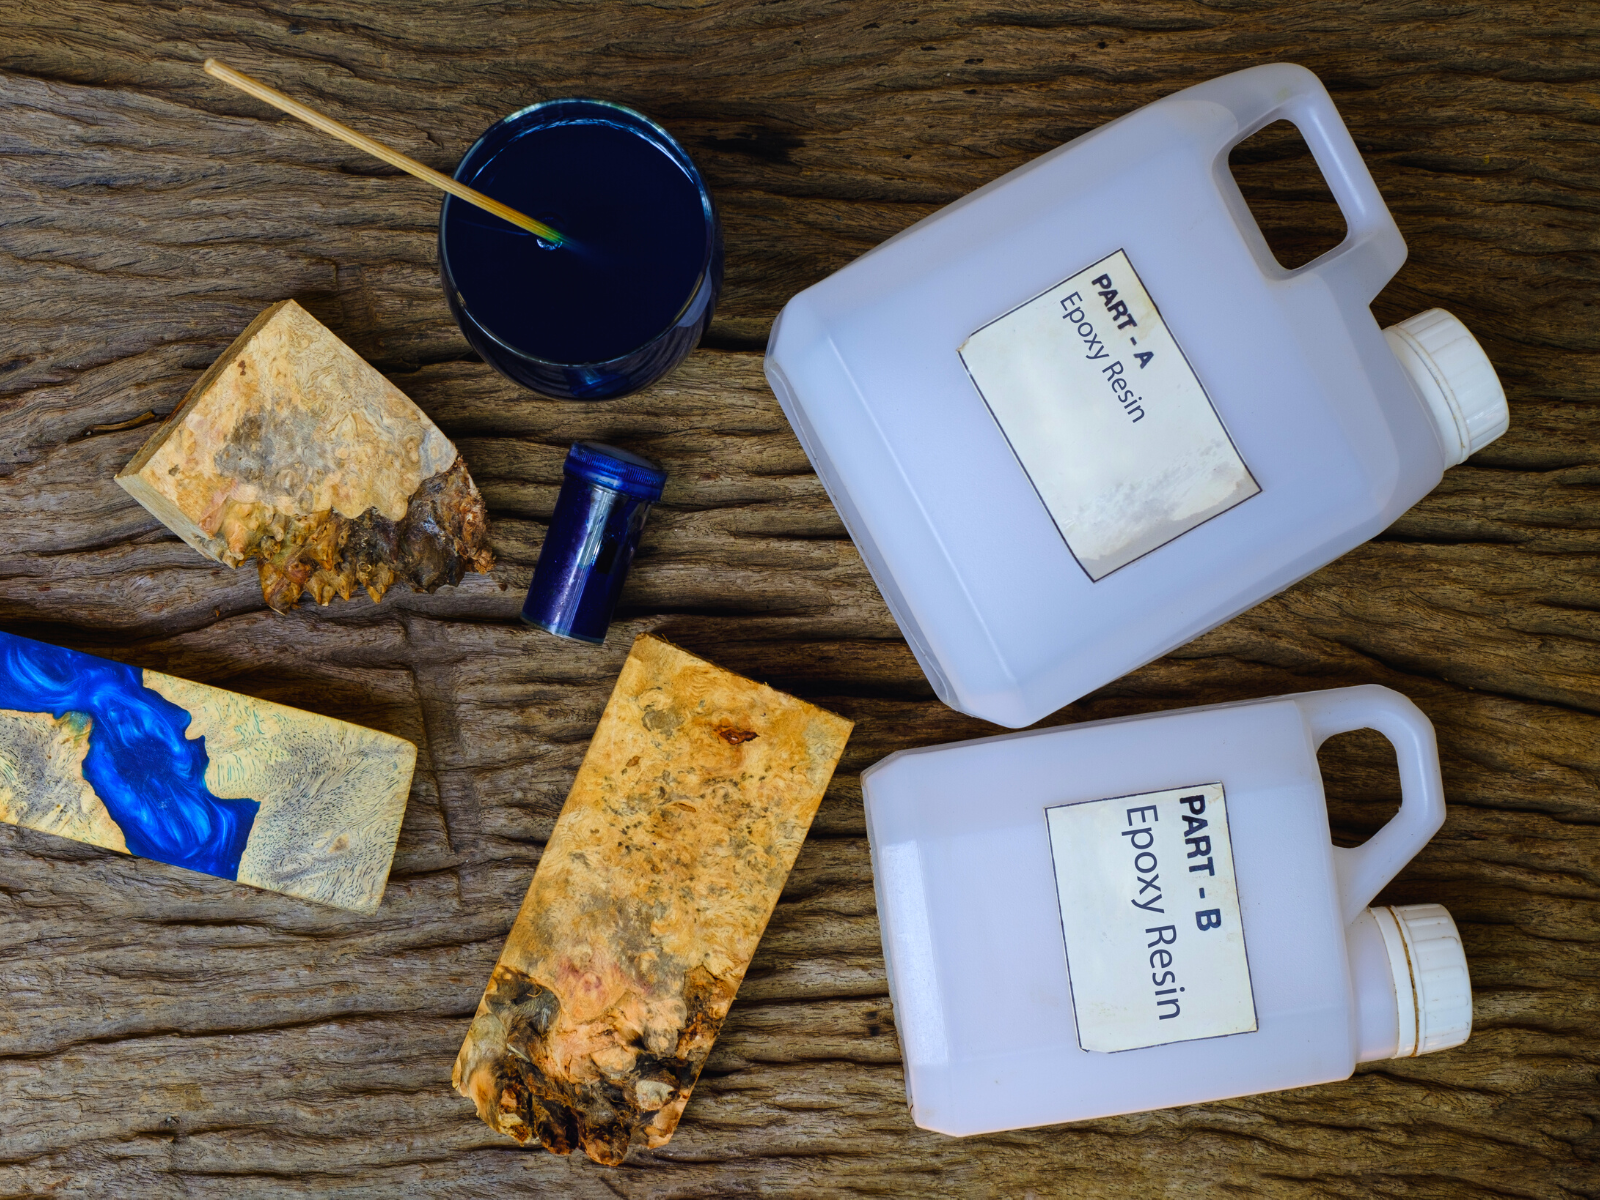
Generally, there are two types of resin: polyester and epoxy resins.
Epoxy resin is a bit more expensive but has a longer working time and is more resistant to yellowing over time.
Polyester resin, on the other hand, is cheaper but has a shorter working time and can yellow more quickly.
Consider which qualities are most important to you before making your selection.
When it comes to resin art, selecting the right resin is crucial to achieving the result you want because each has different properties and qualities.
Consider the type of project you’re working on, the size of your piece, and the effects you want to create.
For instance, if you want a glossy effect, choose a high-gloss resin.
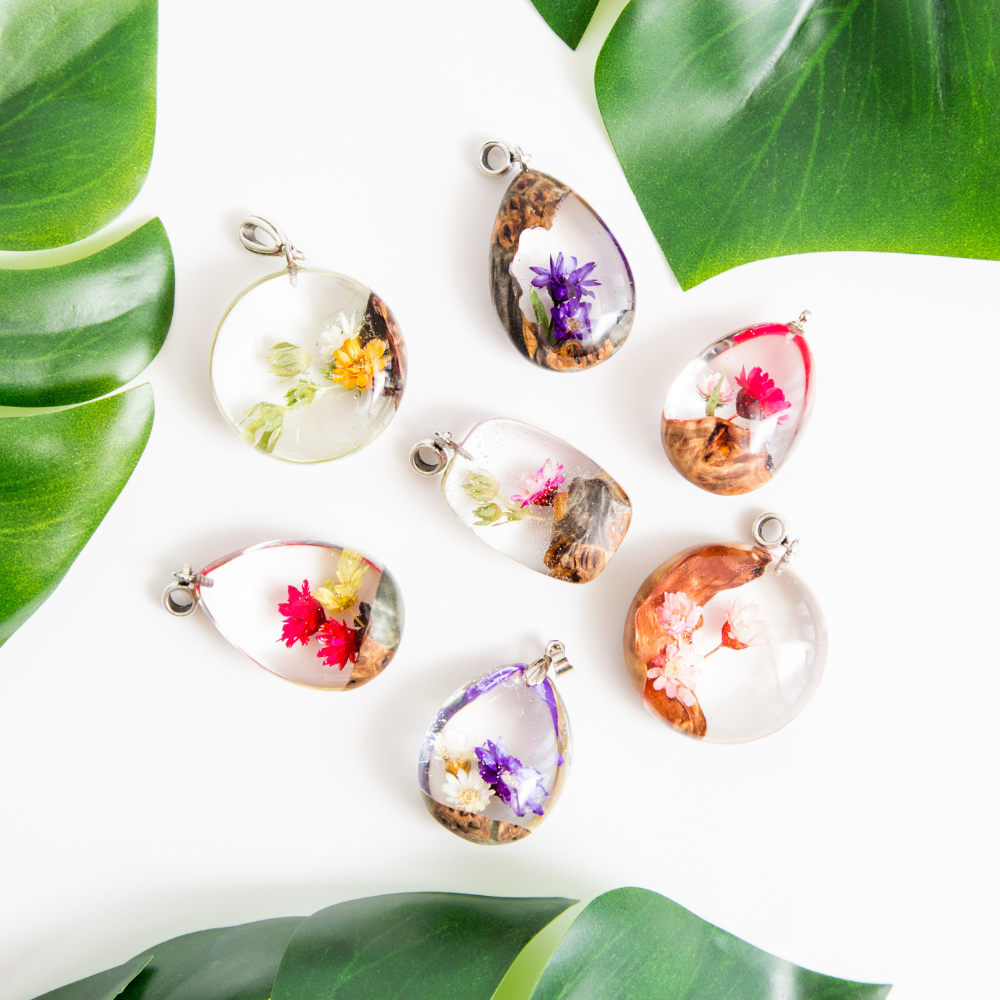
If you’re making jewelry, choose a UV-resistant and waterproof resin.
How much resin you will need for your resin project should also be taken into consideration; smaller resin pieces will require less resin than a larger one.
Always read the product description and follow the manufacturer's instructions when working on your craft.

Prepare Your Materials and Workspace
Before you get started, make sure you’ve prepped all your materials and supplies properly.
This includes your resin, of course, but also any surfaces you’ll be working on.
Dust and debris can easily ruin a gorgeous art piece, so make sure everything is clean and ready to go before you start pouring.
Resin art can be a messy process, so you need to prepare your workspace carefully; spilled resin can be difficult to clean up and can even damage furniture or floors, so make sure you have plenty of space and a protective covering.
Cover your work surface with a drop cloth, and have all the necessary tools, supplies, and materials within reach.
A silicone mat is also a great way to ensure your workspace remains clean and undamaged.
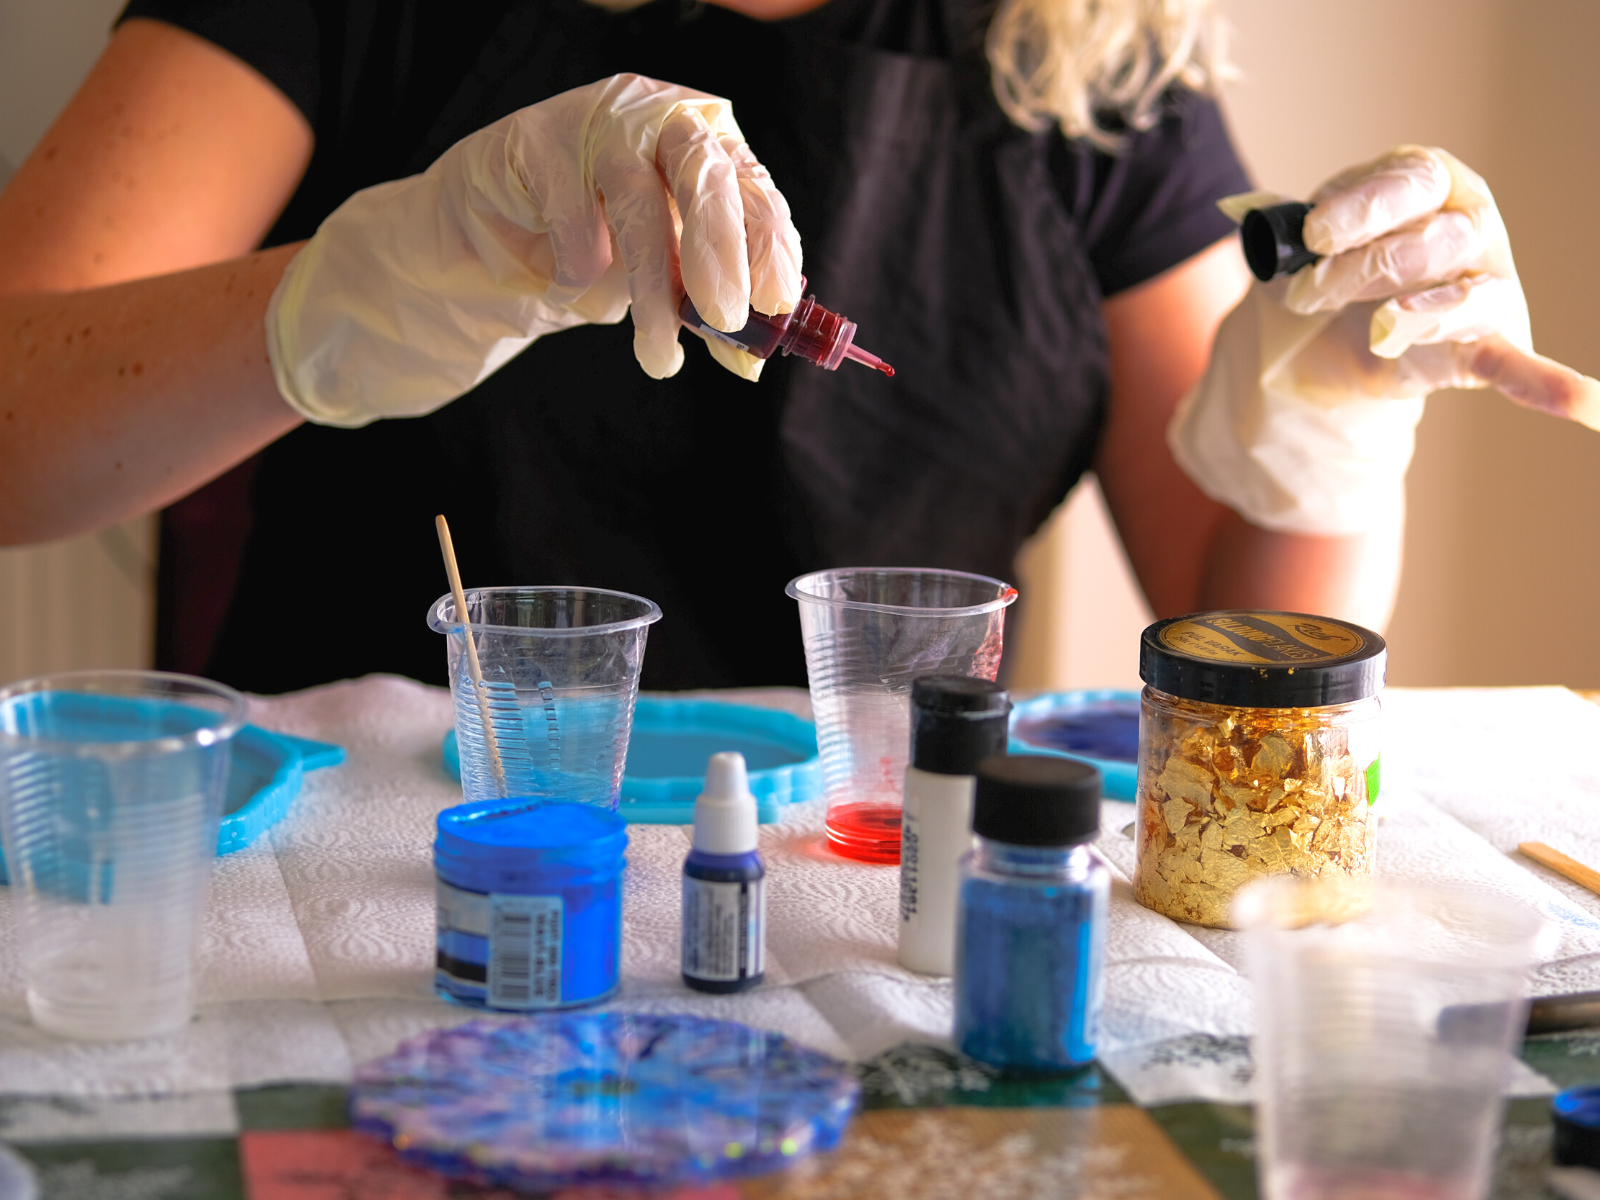
Wear gloves, a mask, and protective glasses to prevent contact with the resin and inhaling the fumes.
Ensure that your workspace is well-ventilated, and work in a dust-free environment.
The type of mold you use is also important, such as silicone molds; make sure you select the right type of mold for your project and use a release agent to ensure that your artwork pops out easily.
A silicone mold is a great option as it’s flexible and can be reused.
Mold release agents like Vaseline or vegetable oil can help you get a smooth, glossy finish.
These are all critical steps in the resin art-making process, so do not skip out on any of them; if you decide to skimp out, it could mean disaster for your art piece.

Mix Your Resin Properly and Allow It to Cure
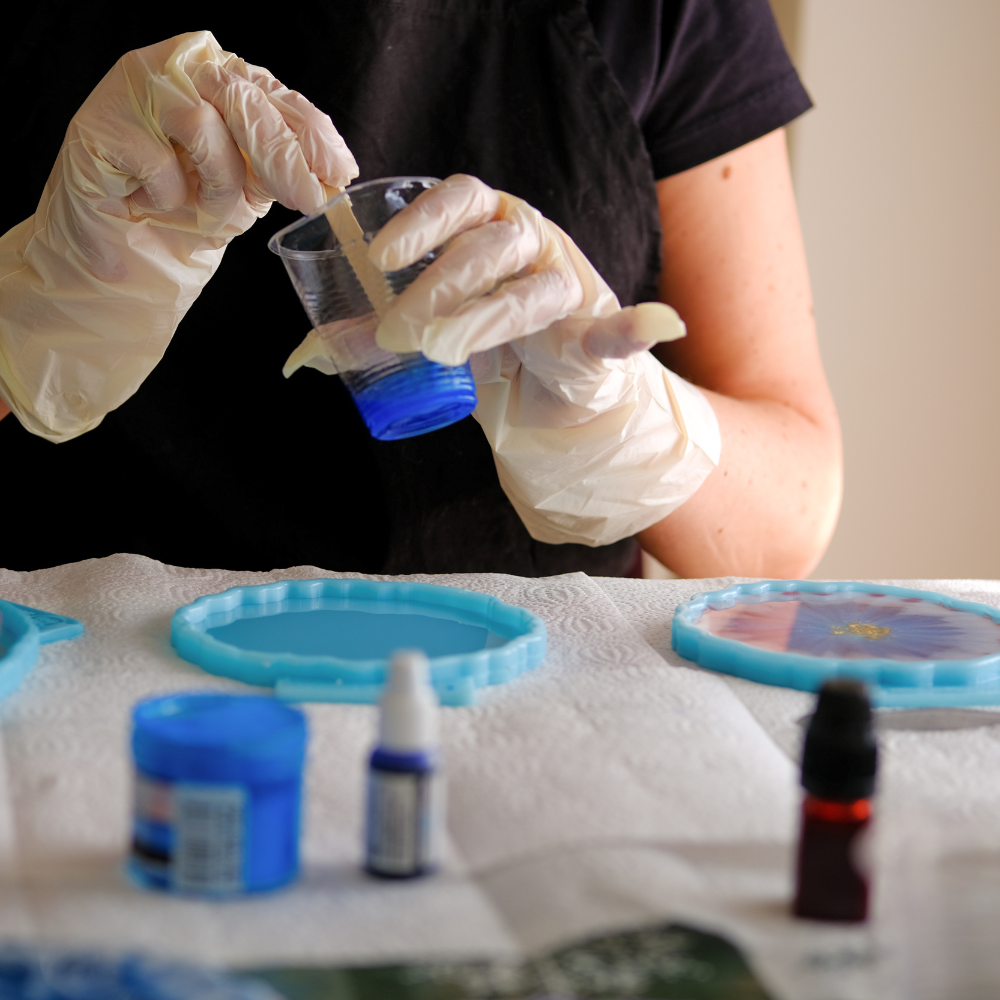
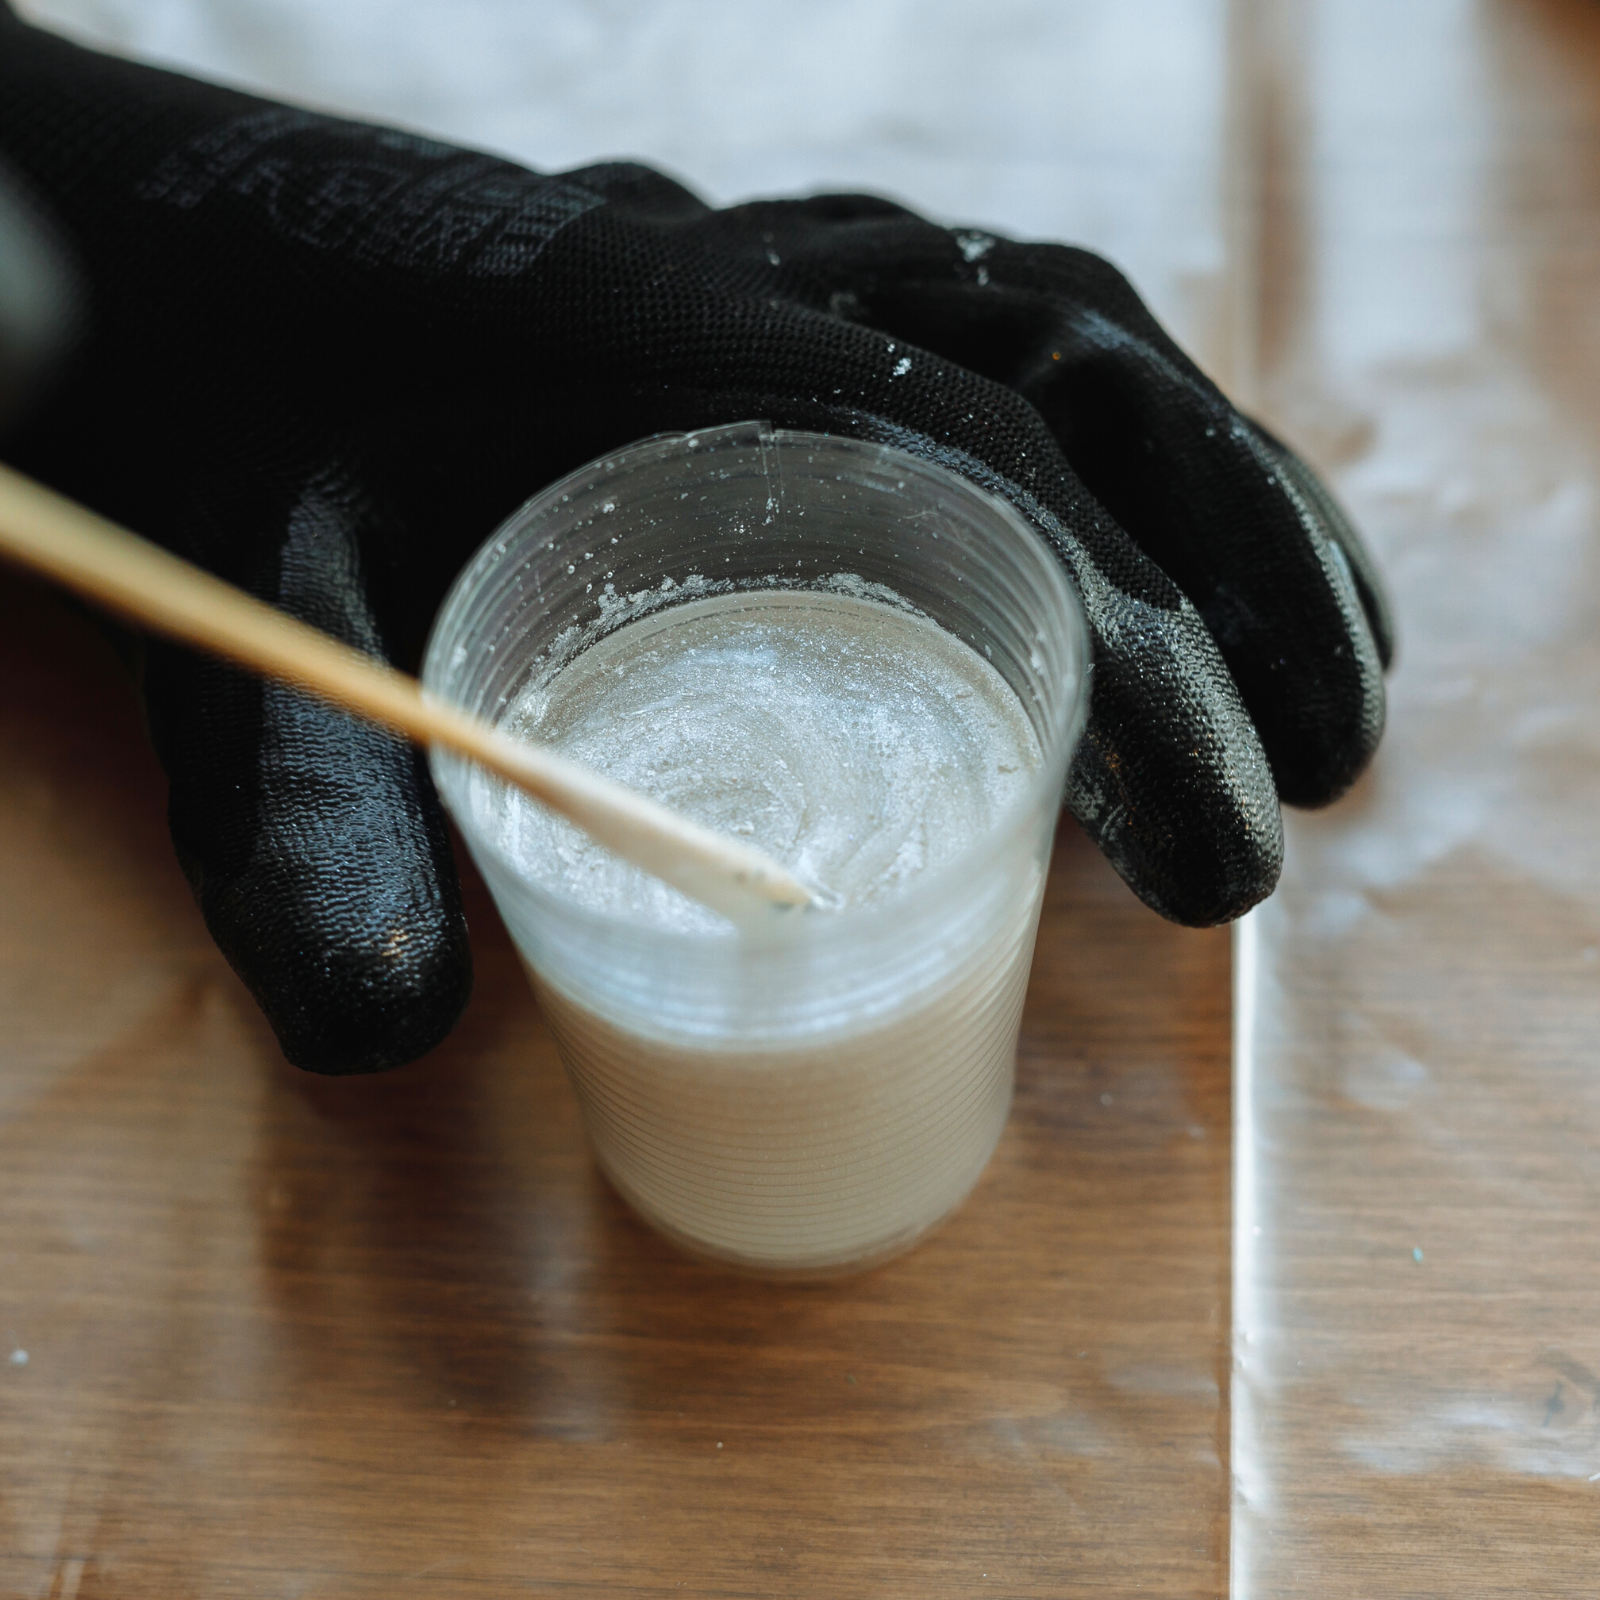
Mixing resin correctly is crucial to achieving the desired result.
You can use a scale to measure the resin and hardener accurately.
Liquid resin and hardener should be mixed in equal parts, then stirred for a minimum of three minutes; uncured resin that isn’t mixed properly can yield cloudy or yellowed results.
Mix the two components thoroughly, but avoid over-stirring, as this can cause air bubbles; air bubbles can ruin the look of your art piece, so be sure to mix it thoroughly but gently.
If you want a clear resin, don't use a wooden stirrer, since it can introduce impurities into the mix, so use a plastic or silicone stirrer instead.
Once you’ve mixed your resin, it needs to be left to cure.
The curing process is what gives the resin its strength and helps it set, so make sure to give your resin enough time to cure.
Mixed resin will need to cure before you can use it because resin undergoes a chemical reaction where it starts hardening.
The curing time depends on the type of resin you’re using and the temperature; generally, resin can take anywhere from 12 to 24 hours to cure completely.
Be sure to allow the resin enough time to cure before you start working with it.
Follow the manufacturer’s instructions for best results, as different resins require different curing times.
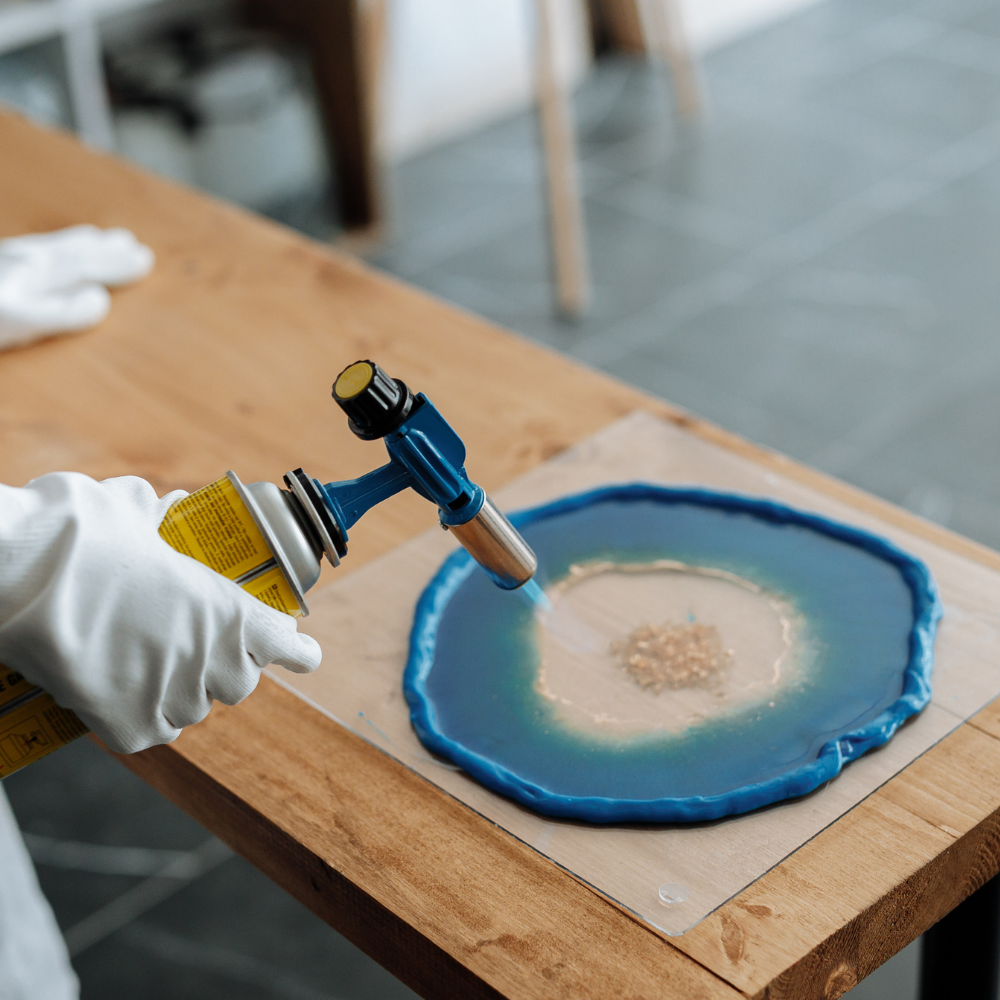
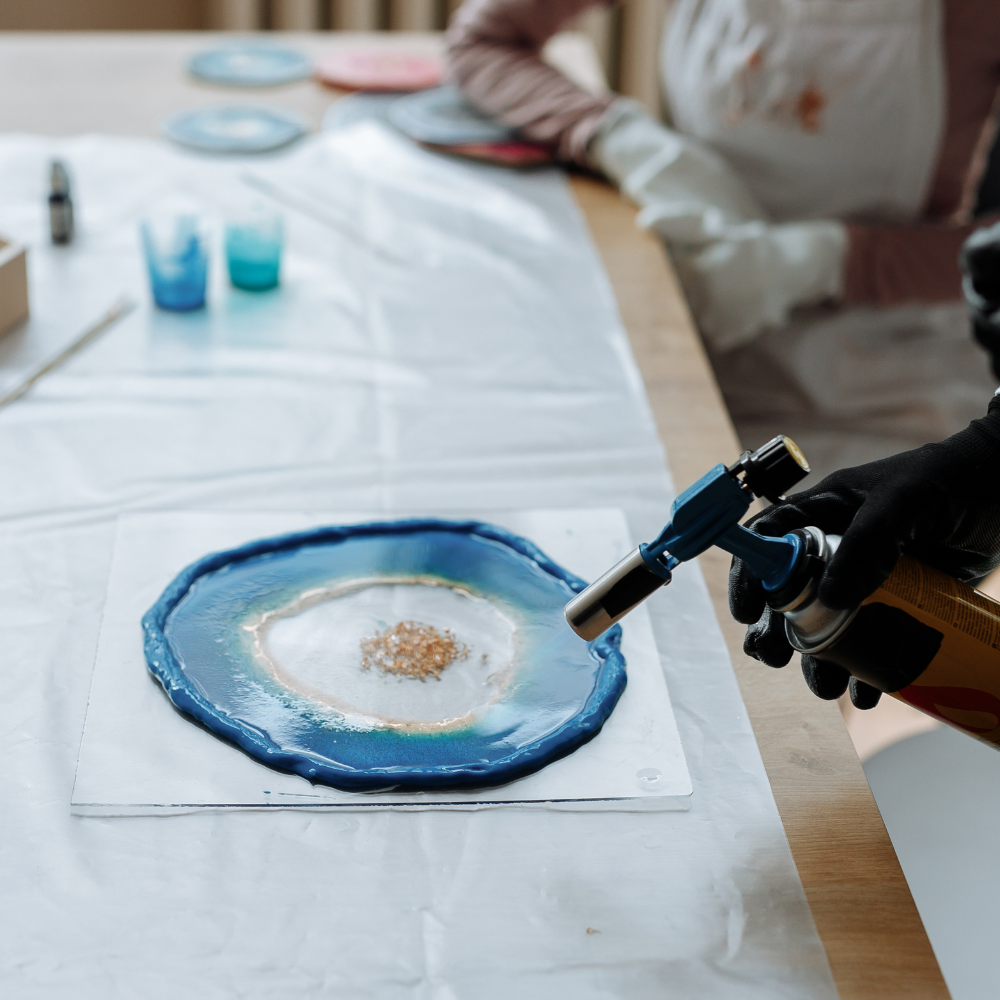
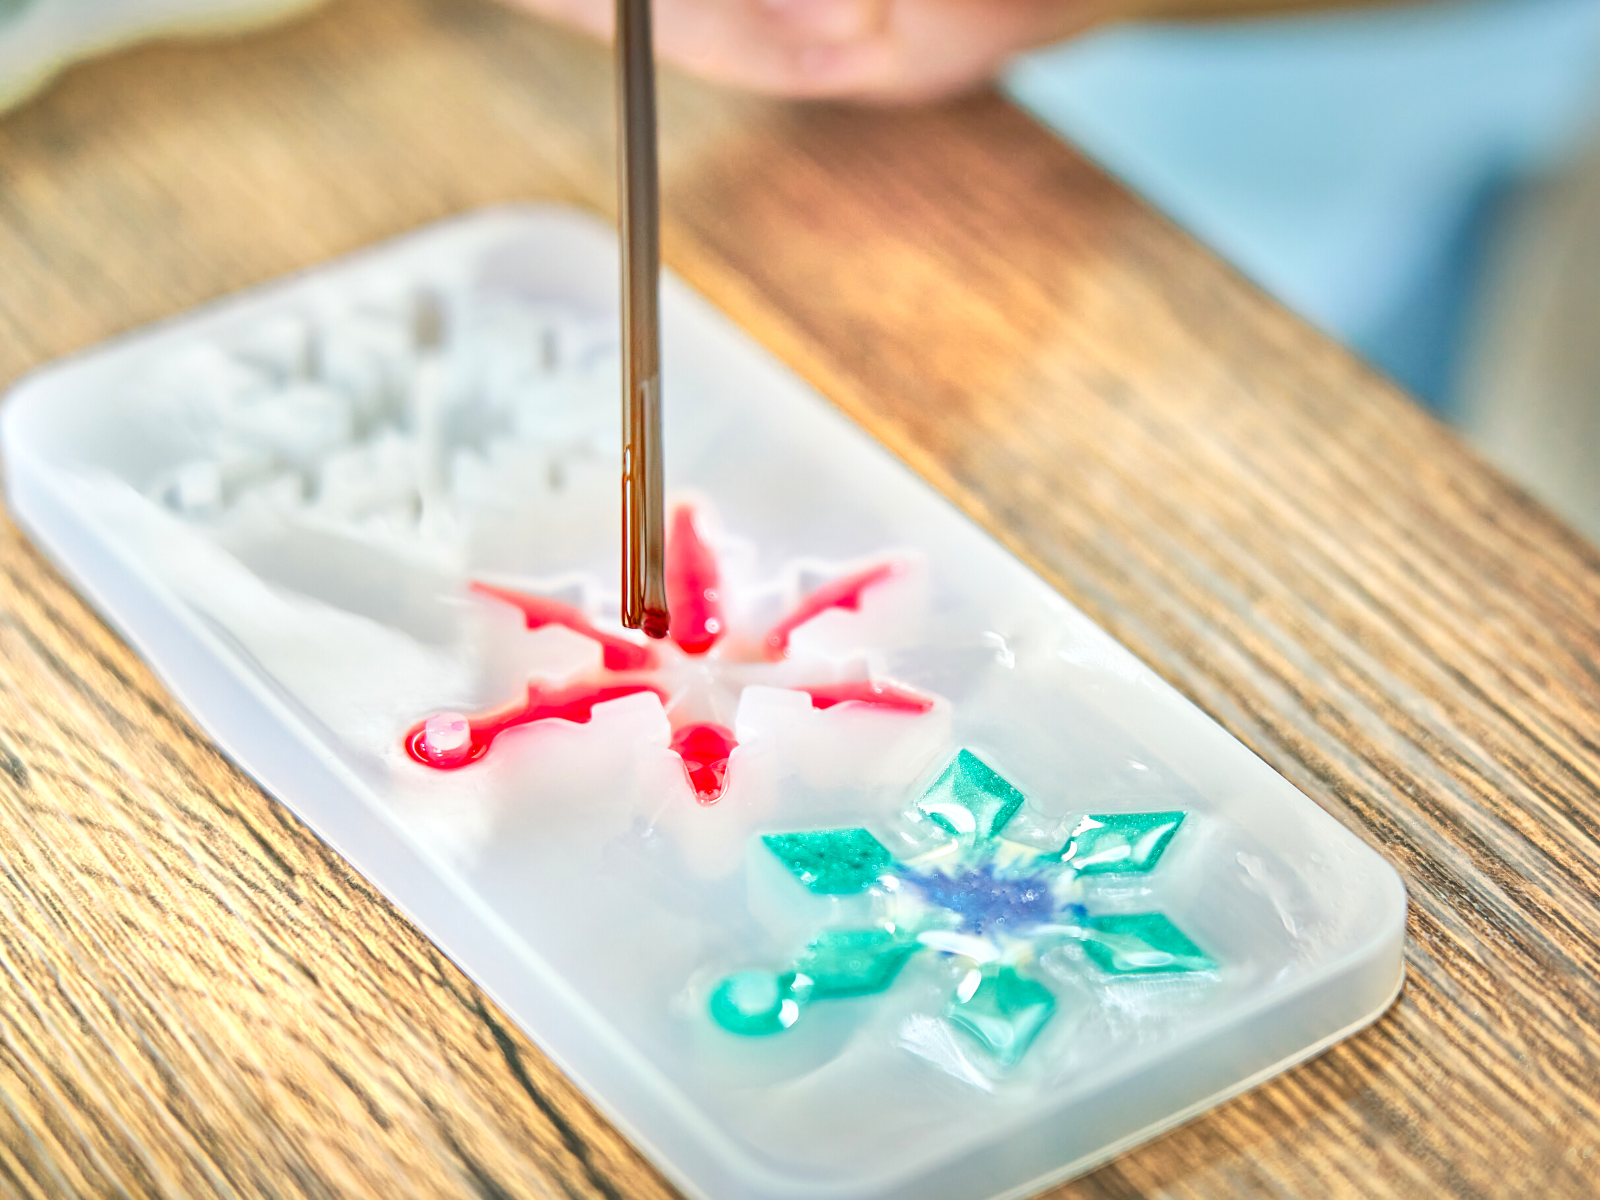
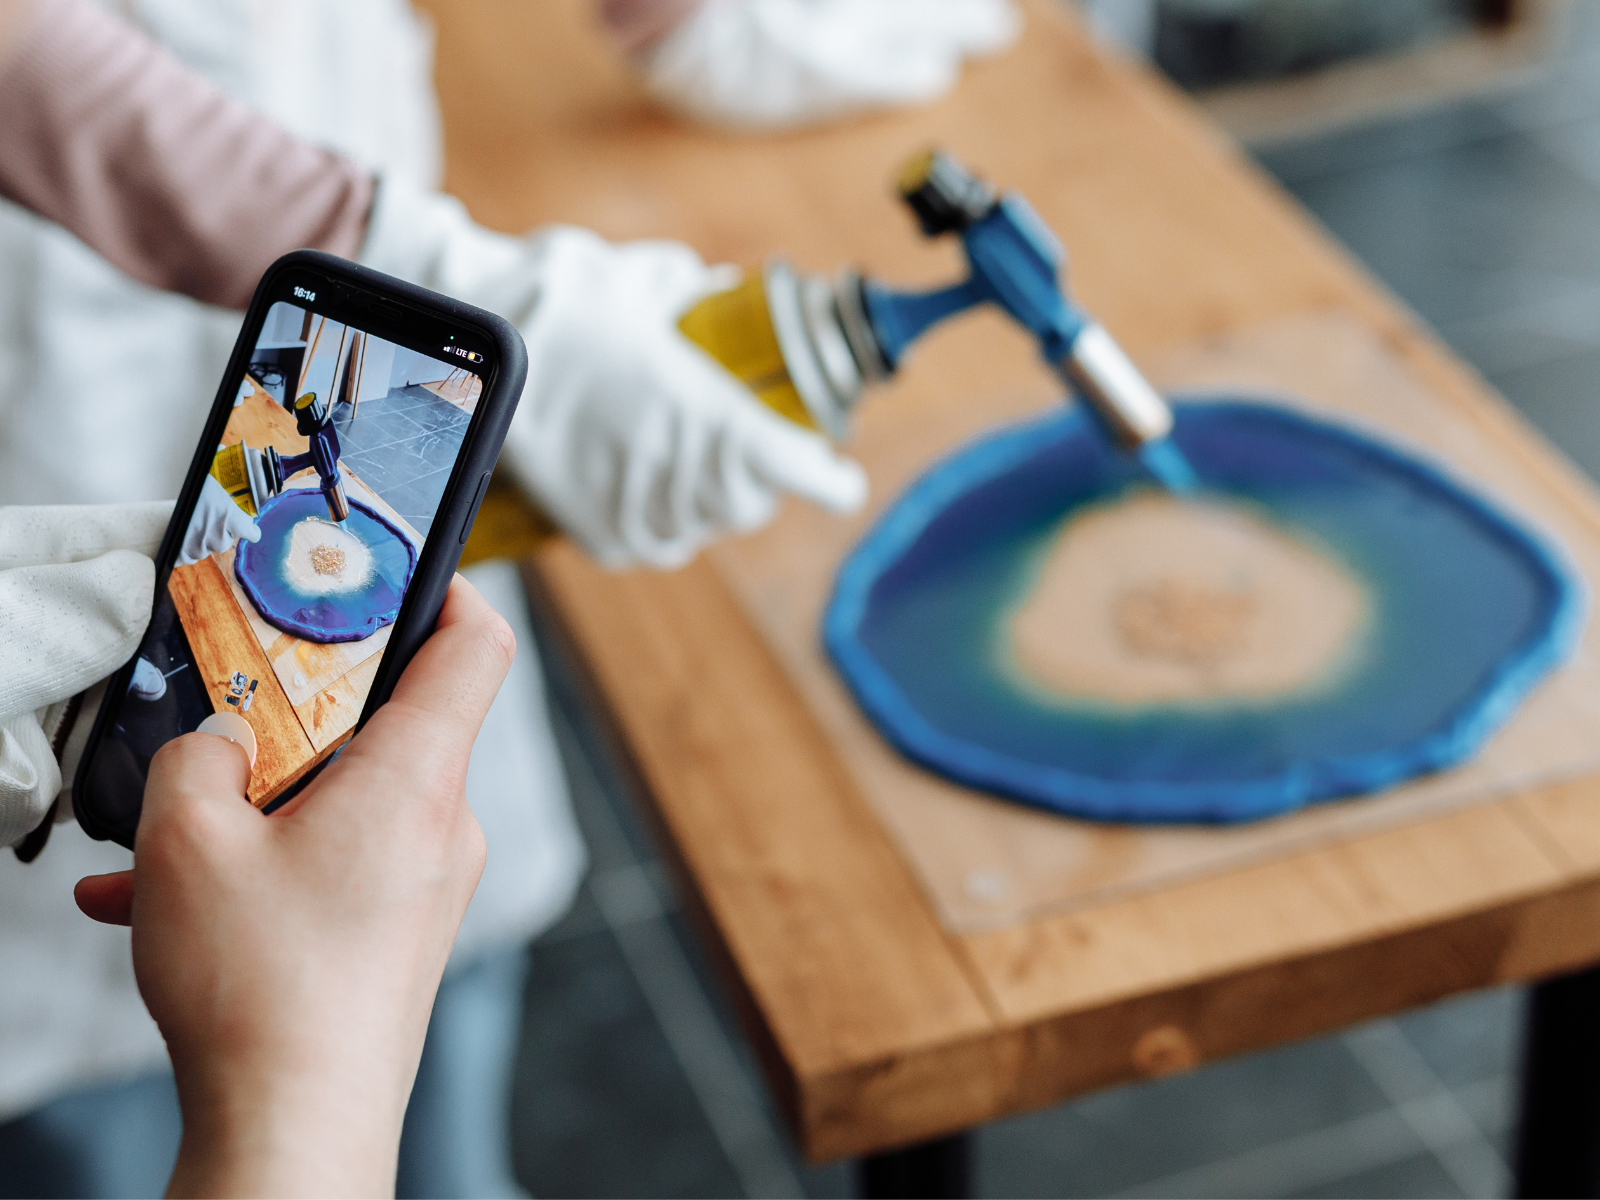
One of the signature effects of resin art is the “cells” that are created when the resin interacts with certain materials.
To encourage these cells to form, use a heat gun or blowtorch to gently heat the resin after you’ve poured it.
This will make the colors blend together and separate in beautiful, unpredictable ways.
But be careful not to overheat your resin, or it could become discolored or bubbly.
Take Your Time and Practice Safety
Resin art requires time and patience.
Rushing the process can lead to mistakes and frustration.
Allow sufficient time for each phase of your project, from mixing the resin to curing it.
Follow the manufacturer's instructions carefully, and avoid touching or disturbing the resin during the curing phase.
Remember that each piece is unique, and the result may vary depending on the environment, materials, and techniques used.
While resin art is generally safe to work with, it’s also important to take some basic safety precautions.
Wear gloves and a mask to protect your skin and lungs from the fumes, and work in a well-ventilated area.
You should also keep your resin in a non-flammable container and away from any heat sources to prevent any accidents from occurring.
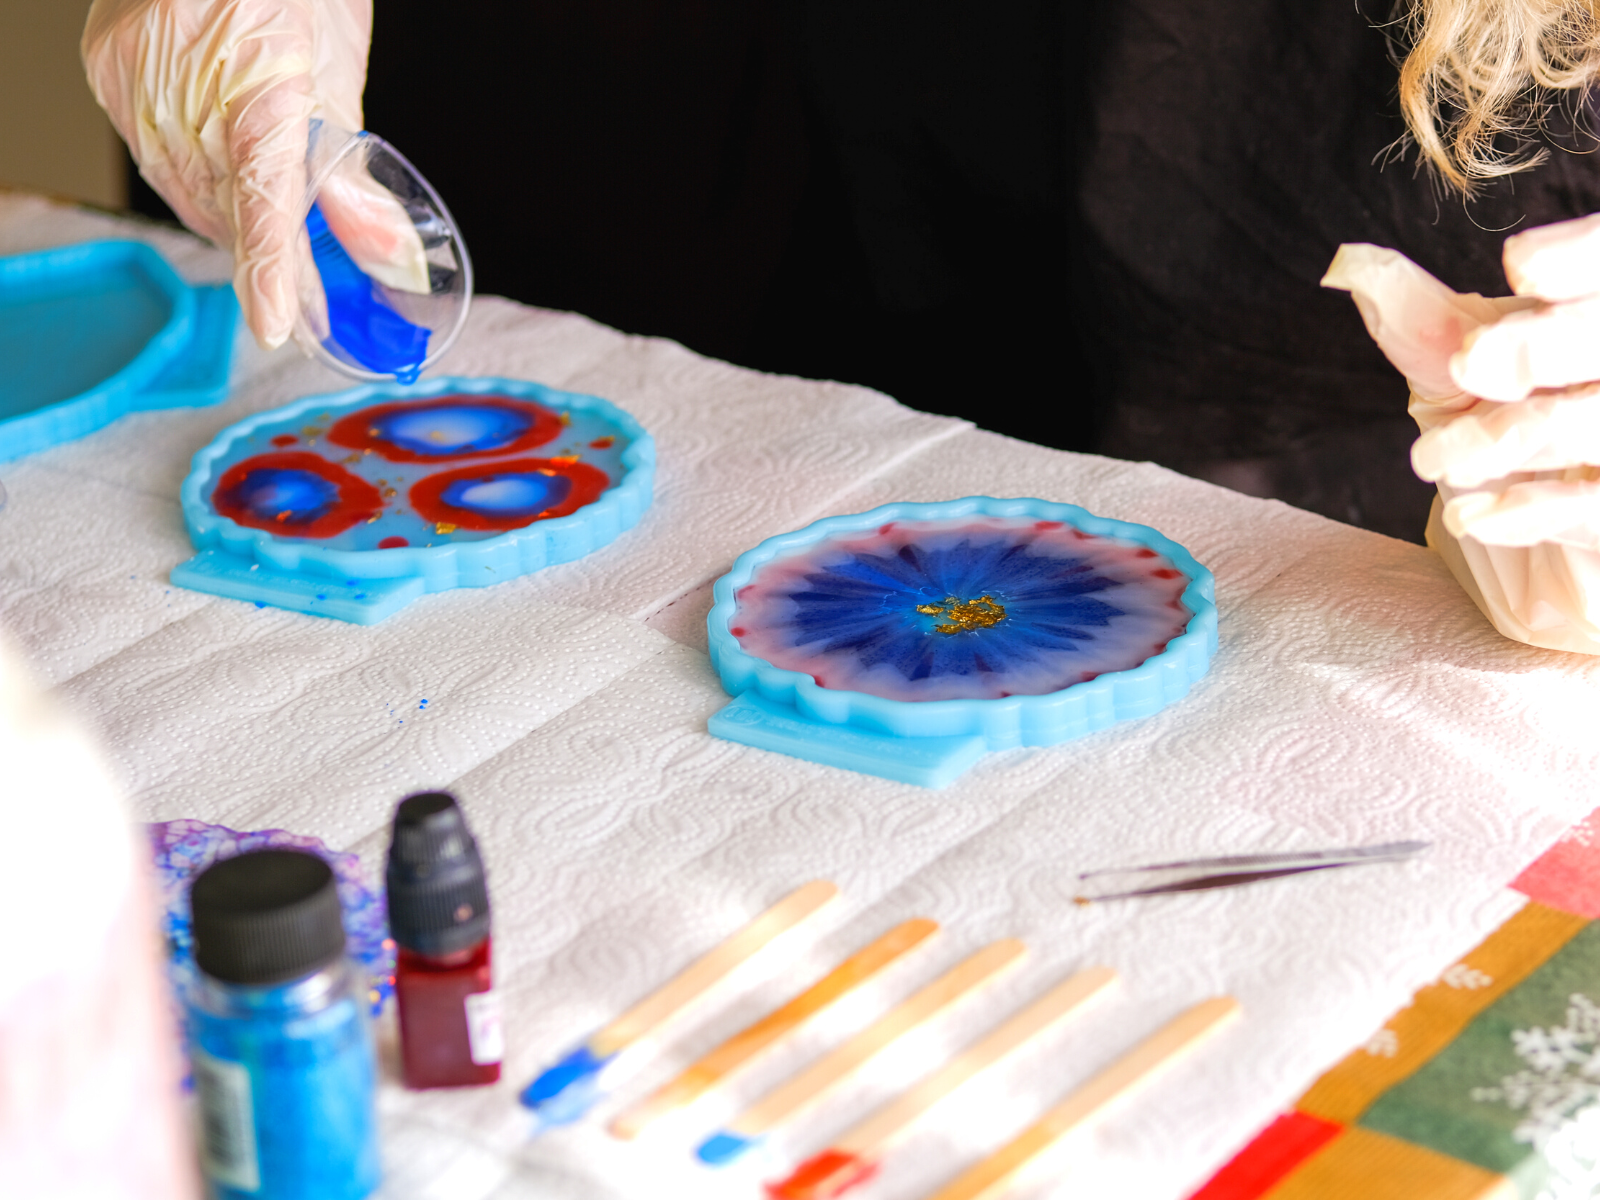
Experiment with Color, Additives, and Different Surfaces
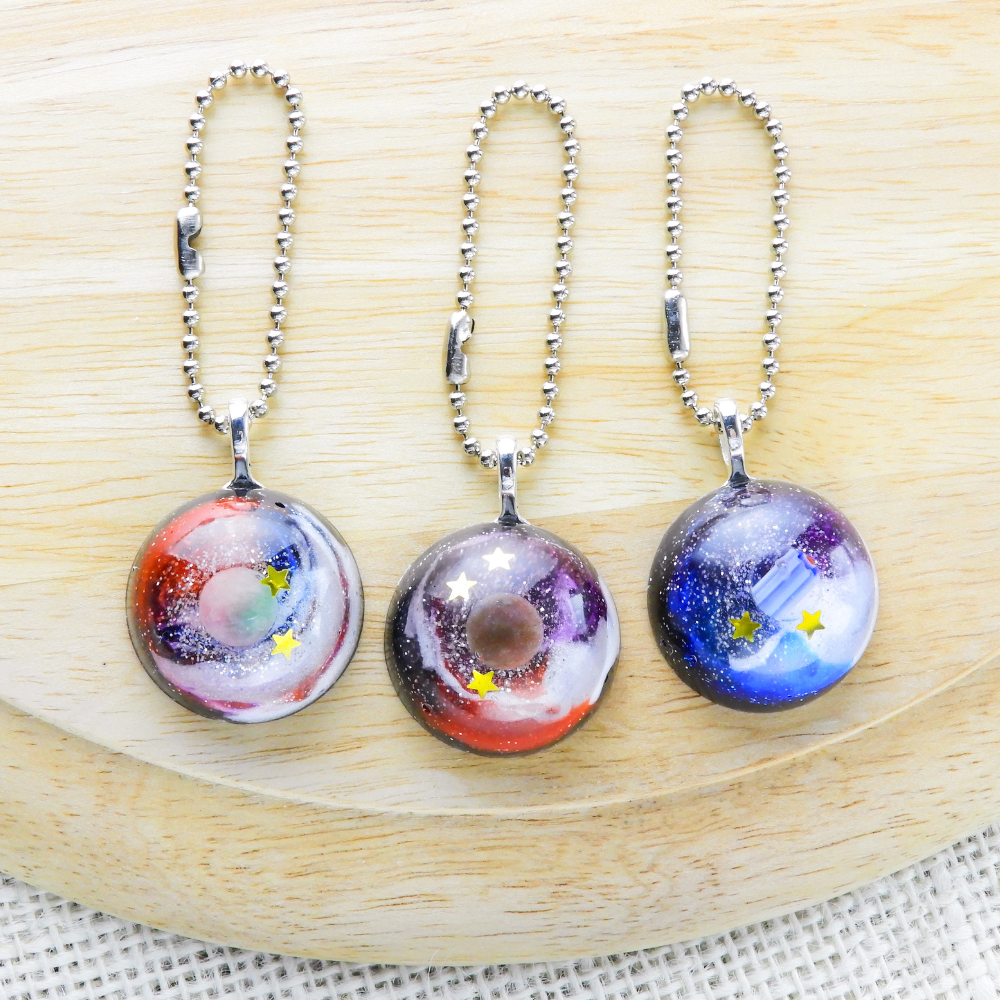
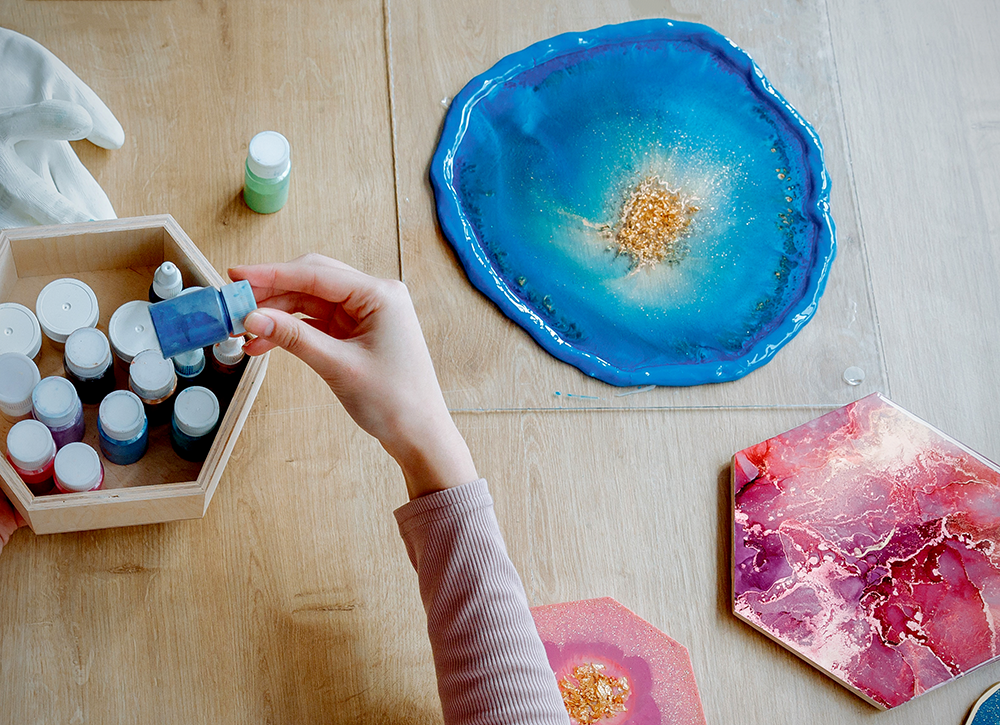
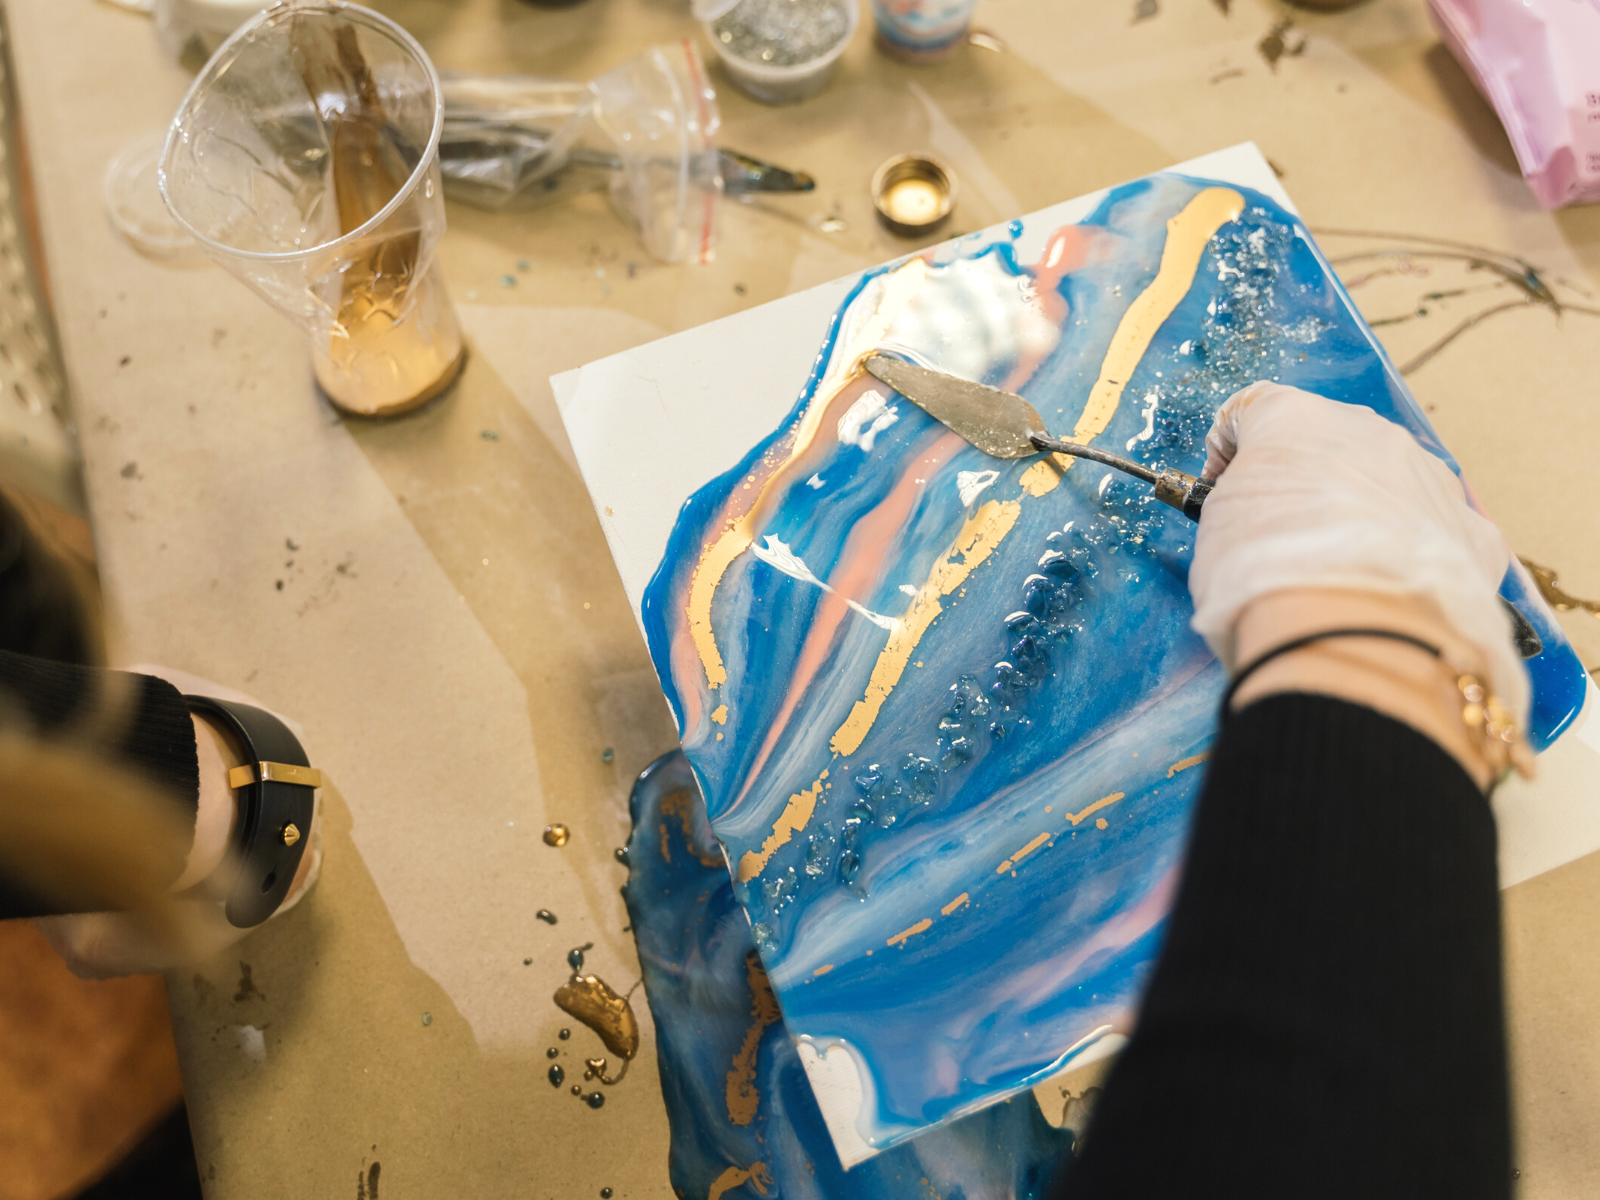
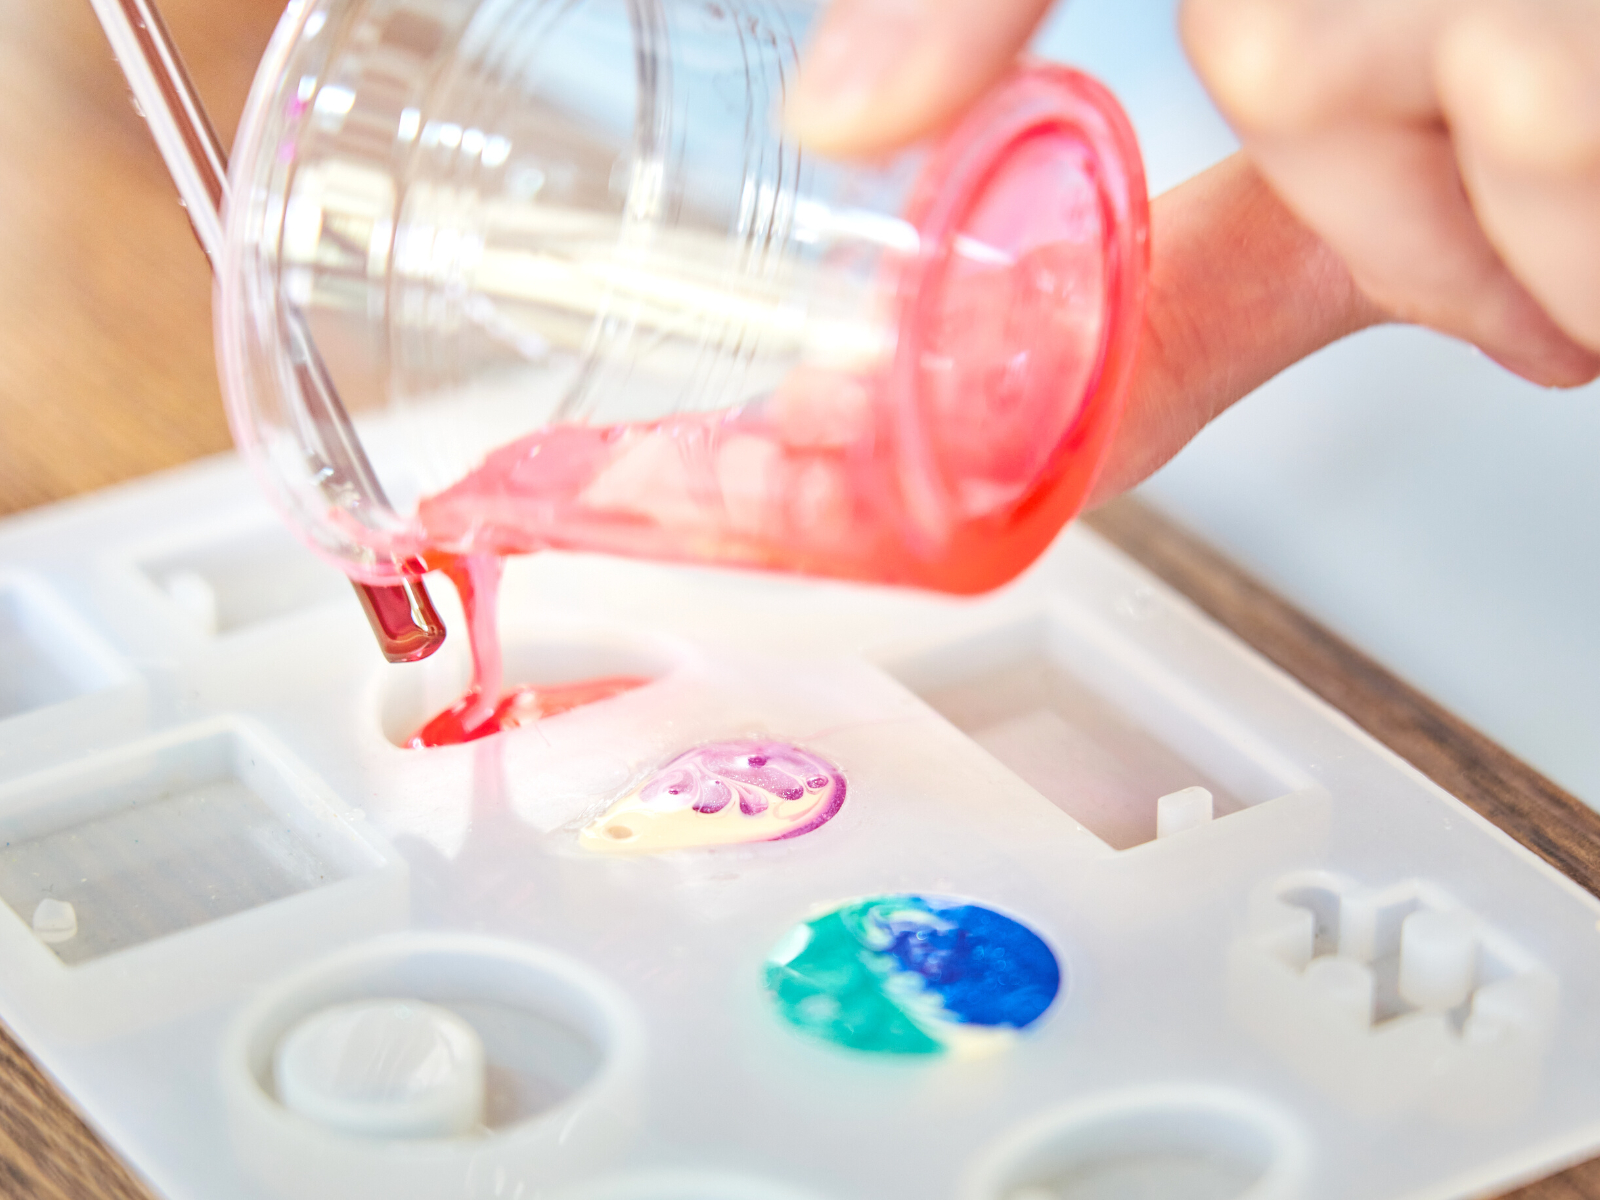
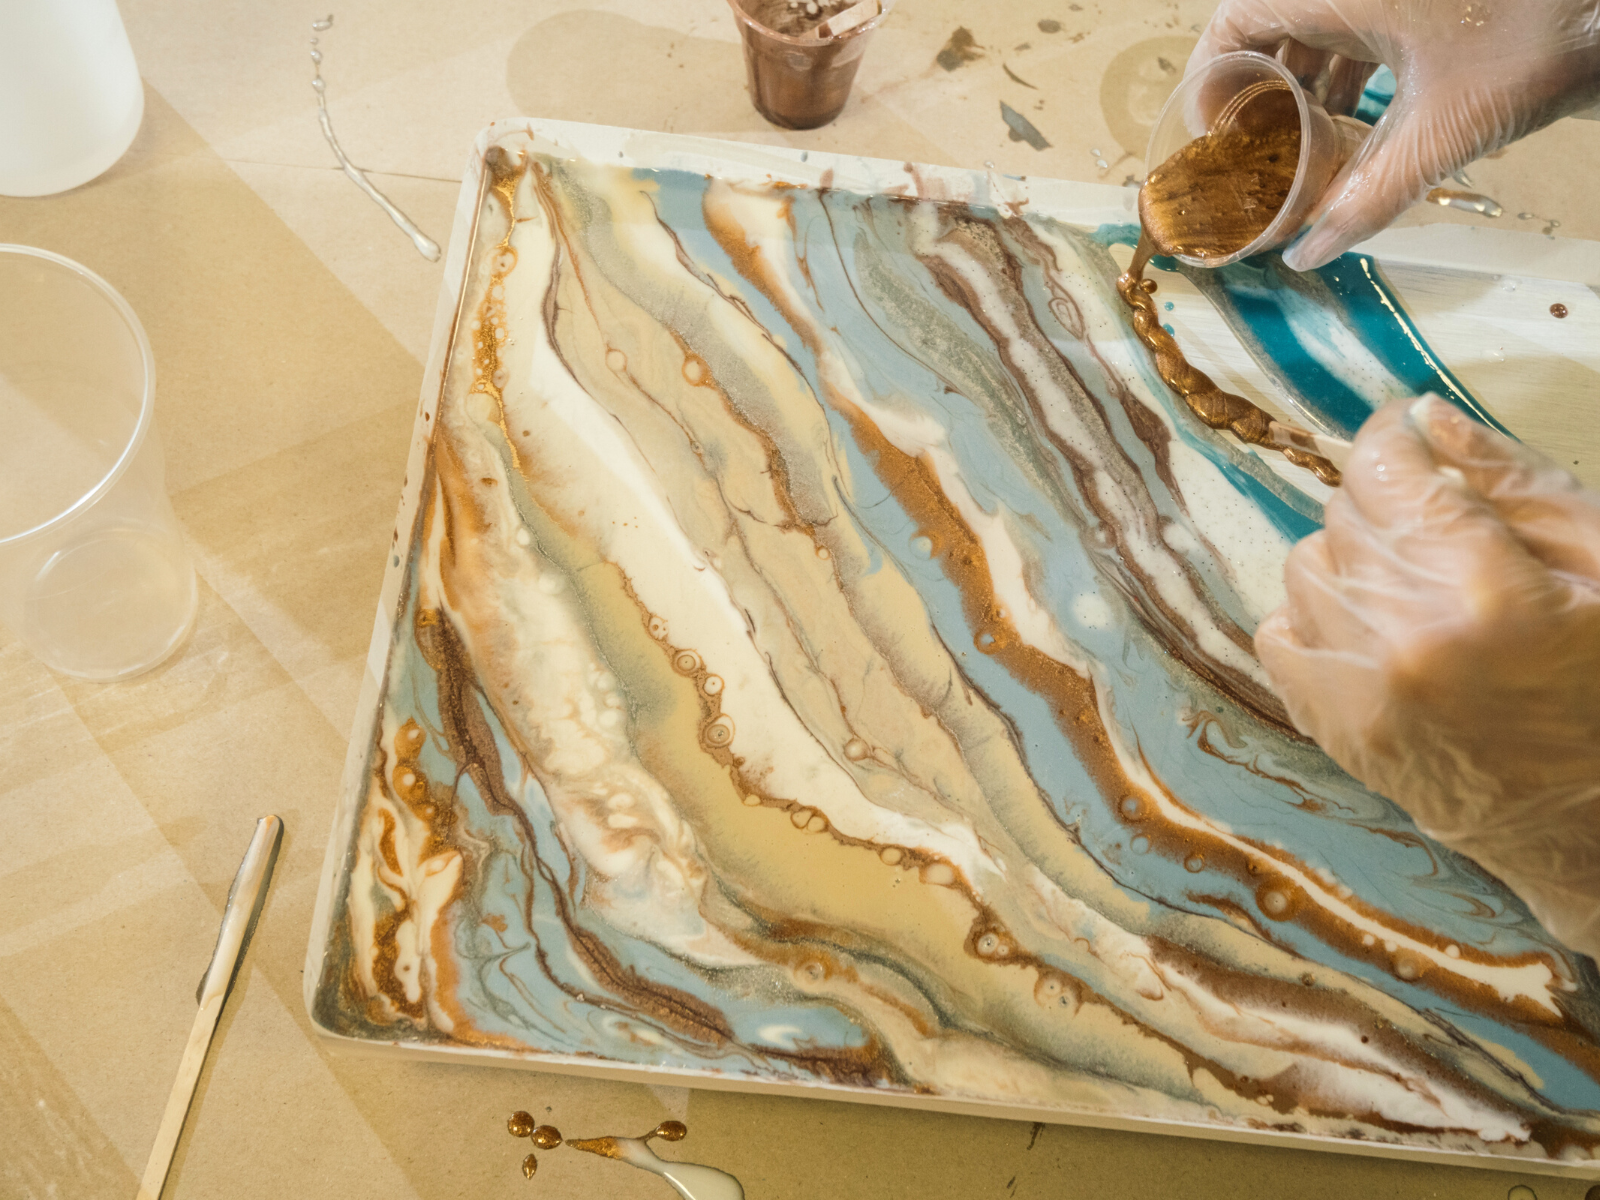
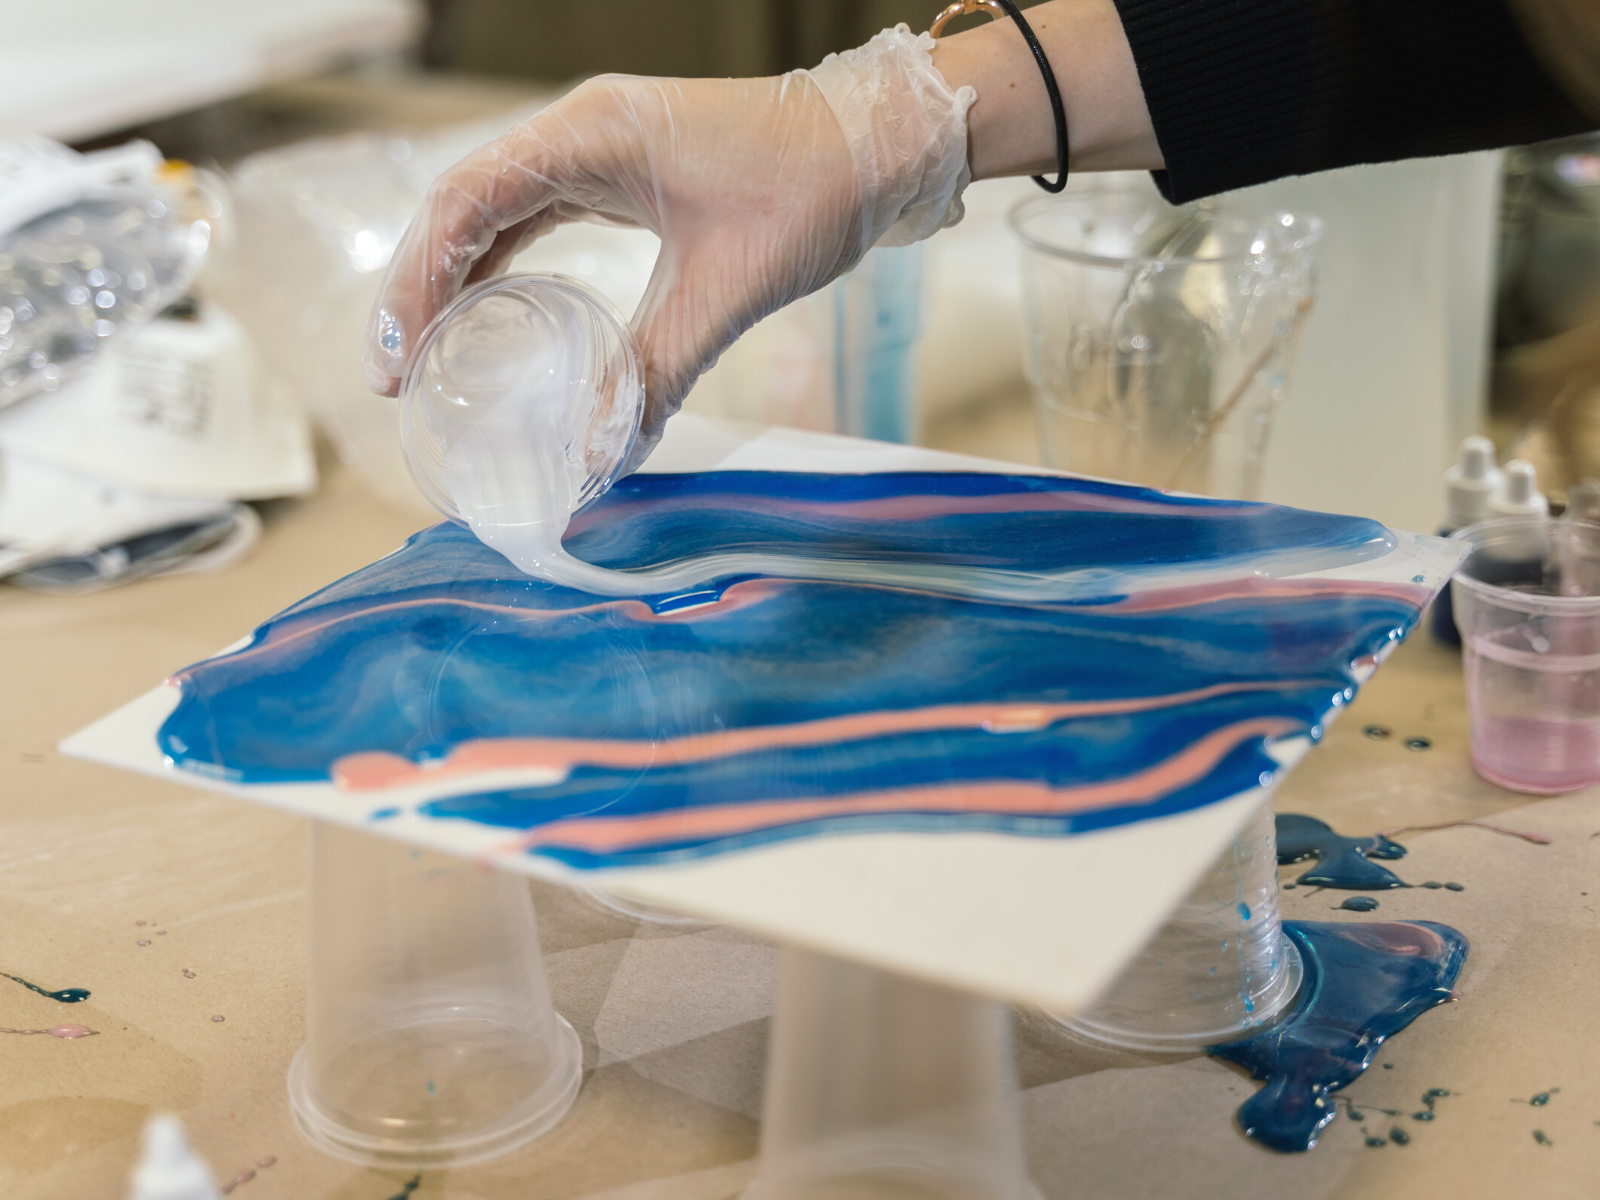
One of the coolest parts of resin art is the vibrant, swirling colors that you can create.
Don’t be afraid to mix and match different pigments to find the perfect combination for your piece.
You can even use acrylic paint or alcohol ink to add an extra splash of color to your art.
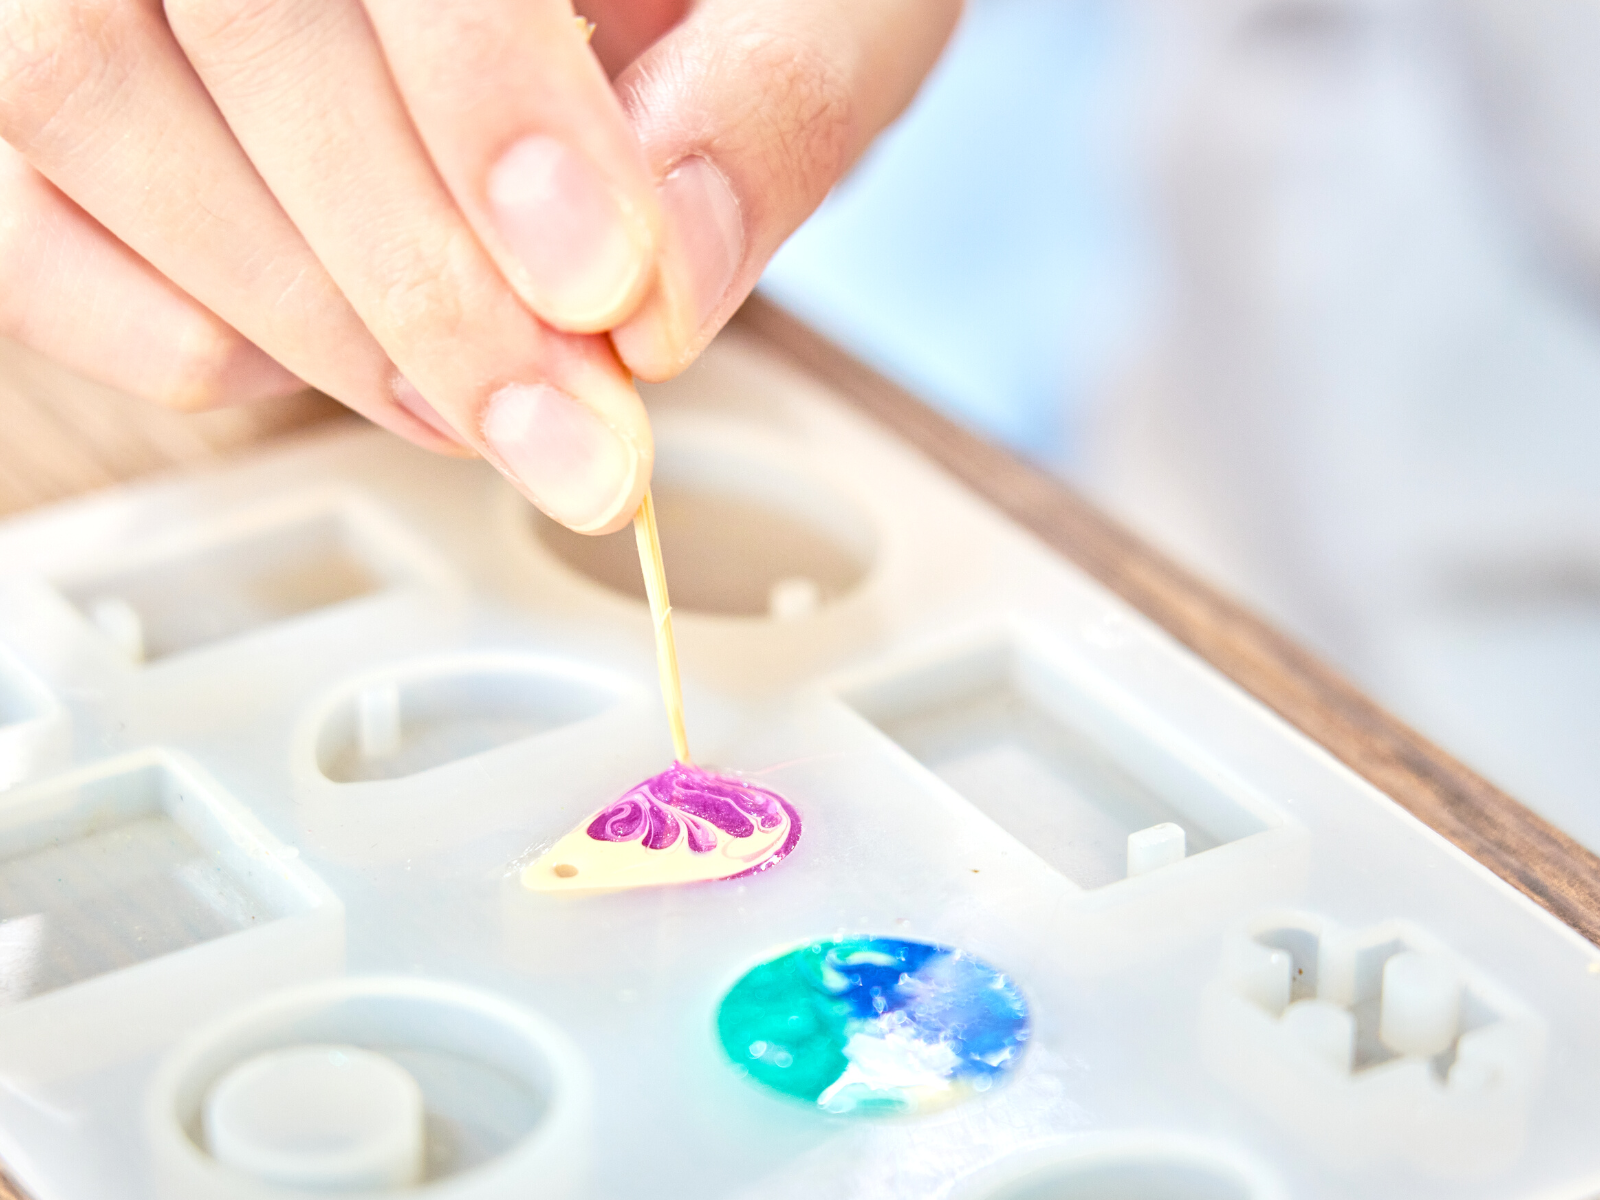
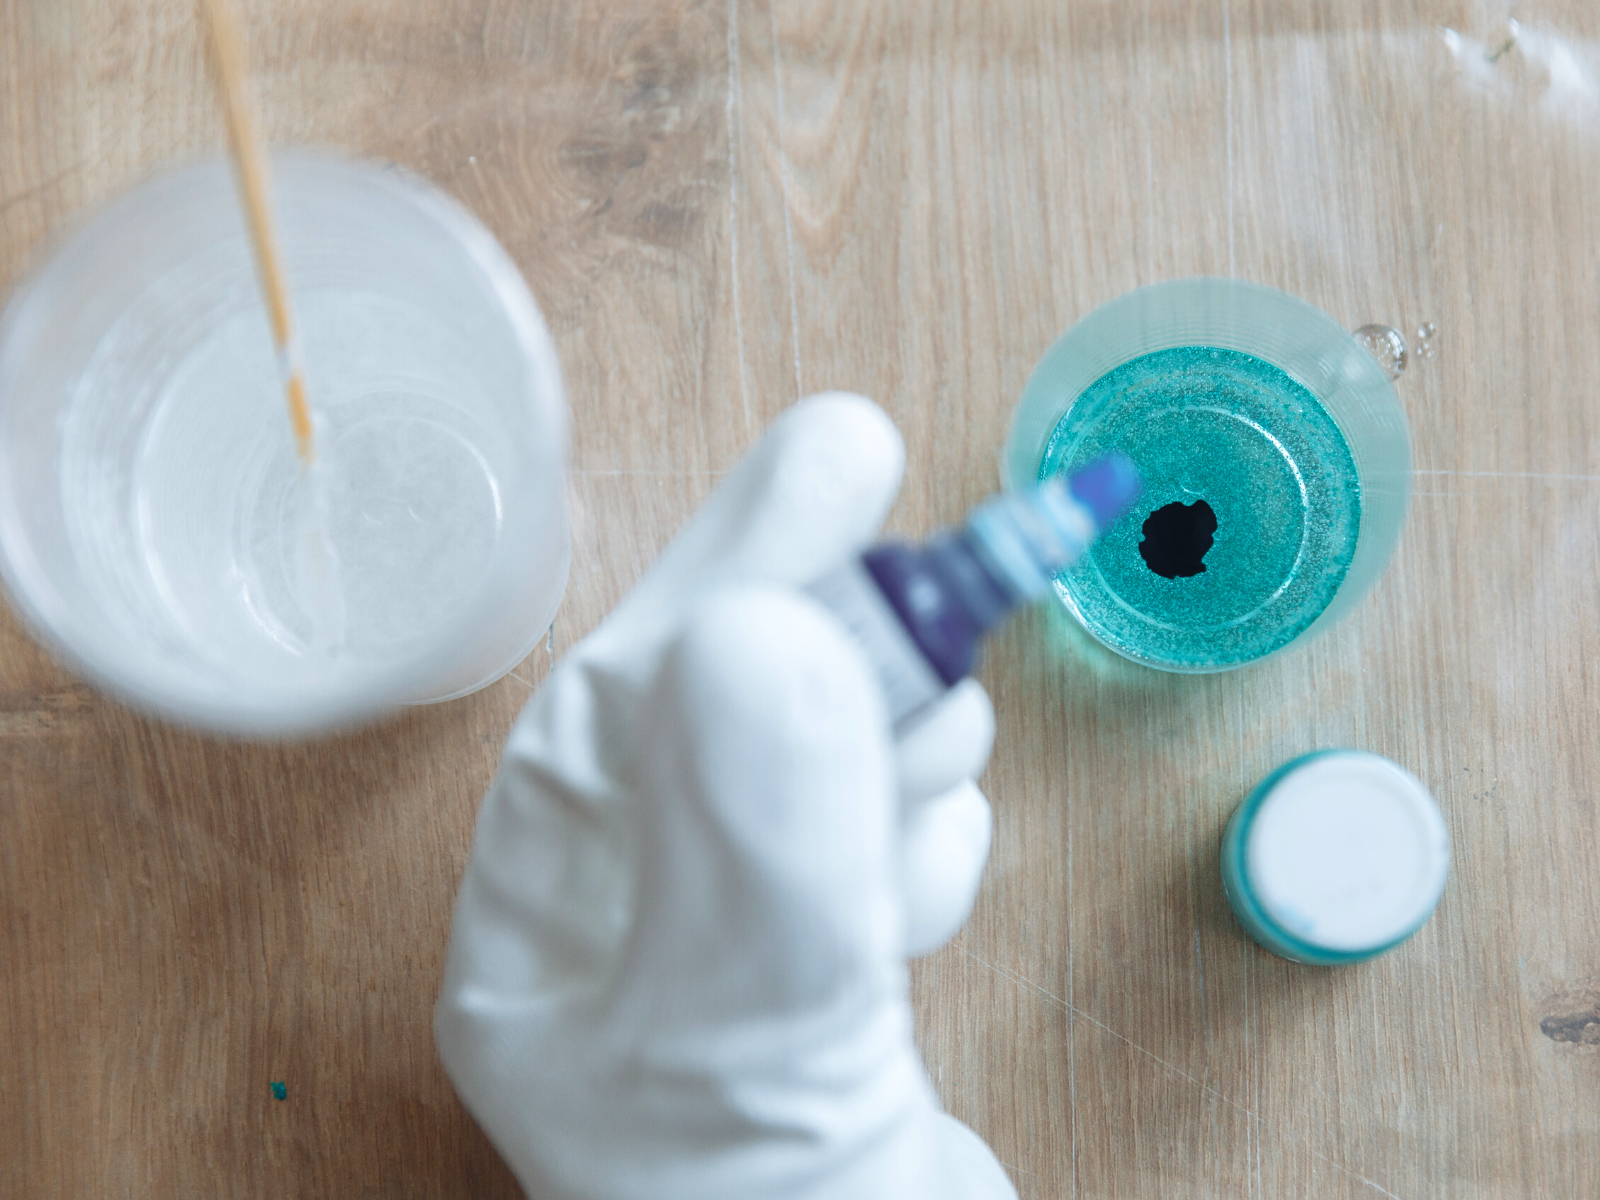
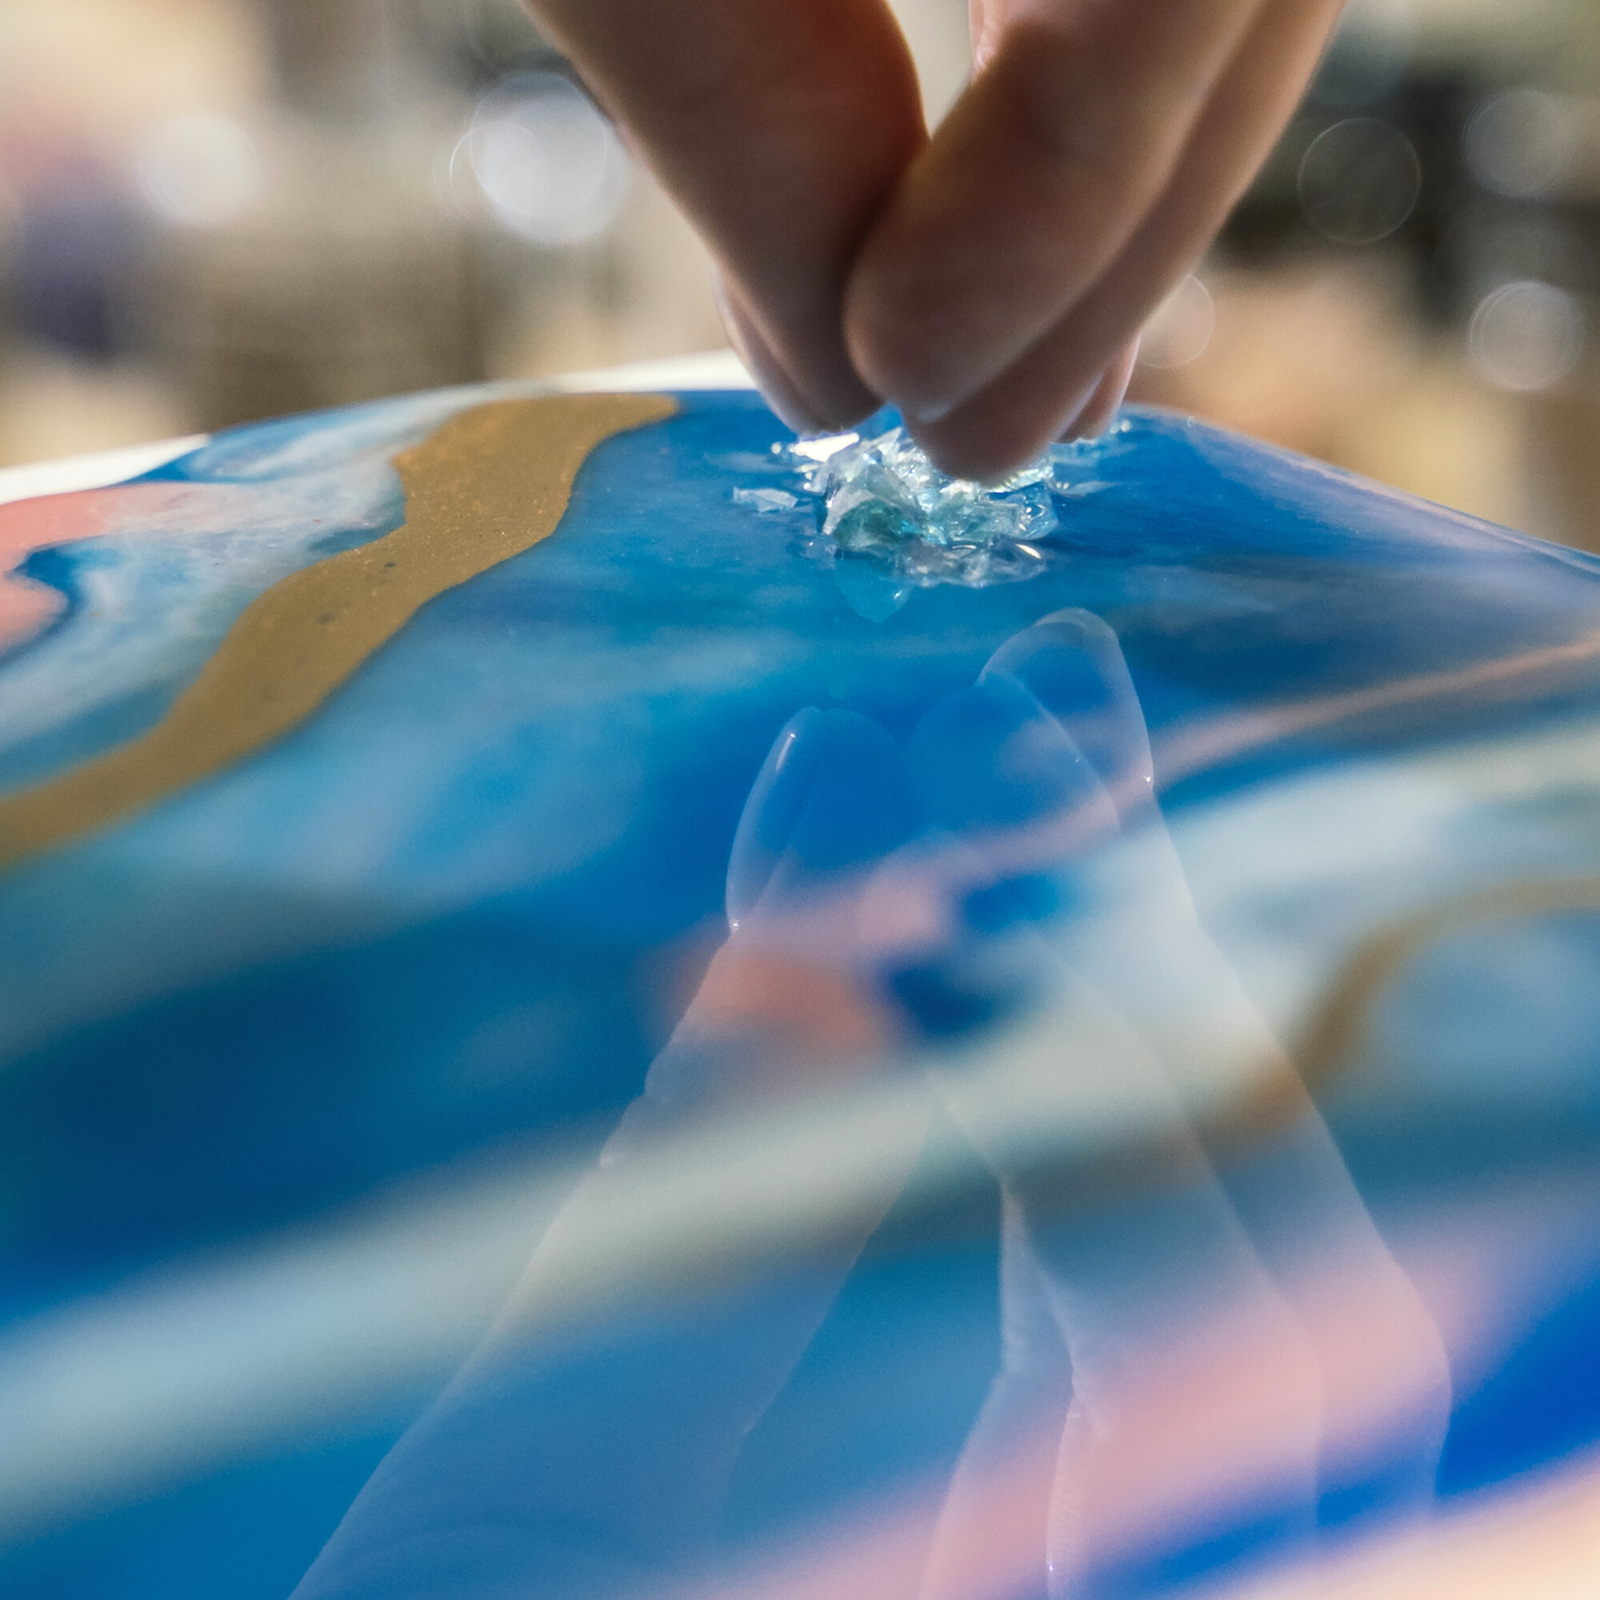
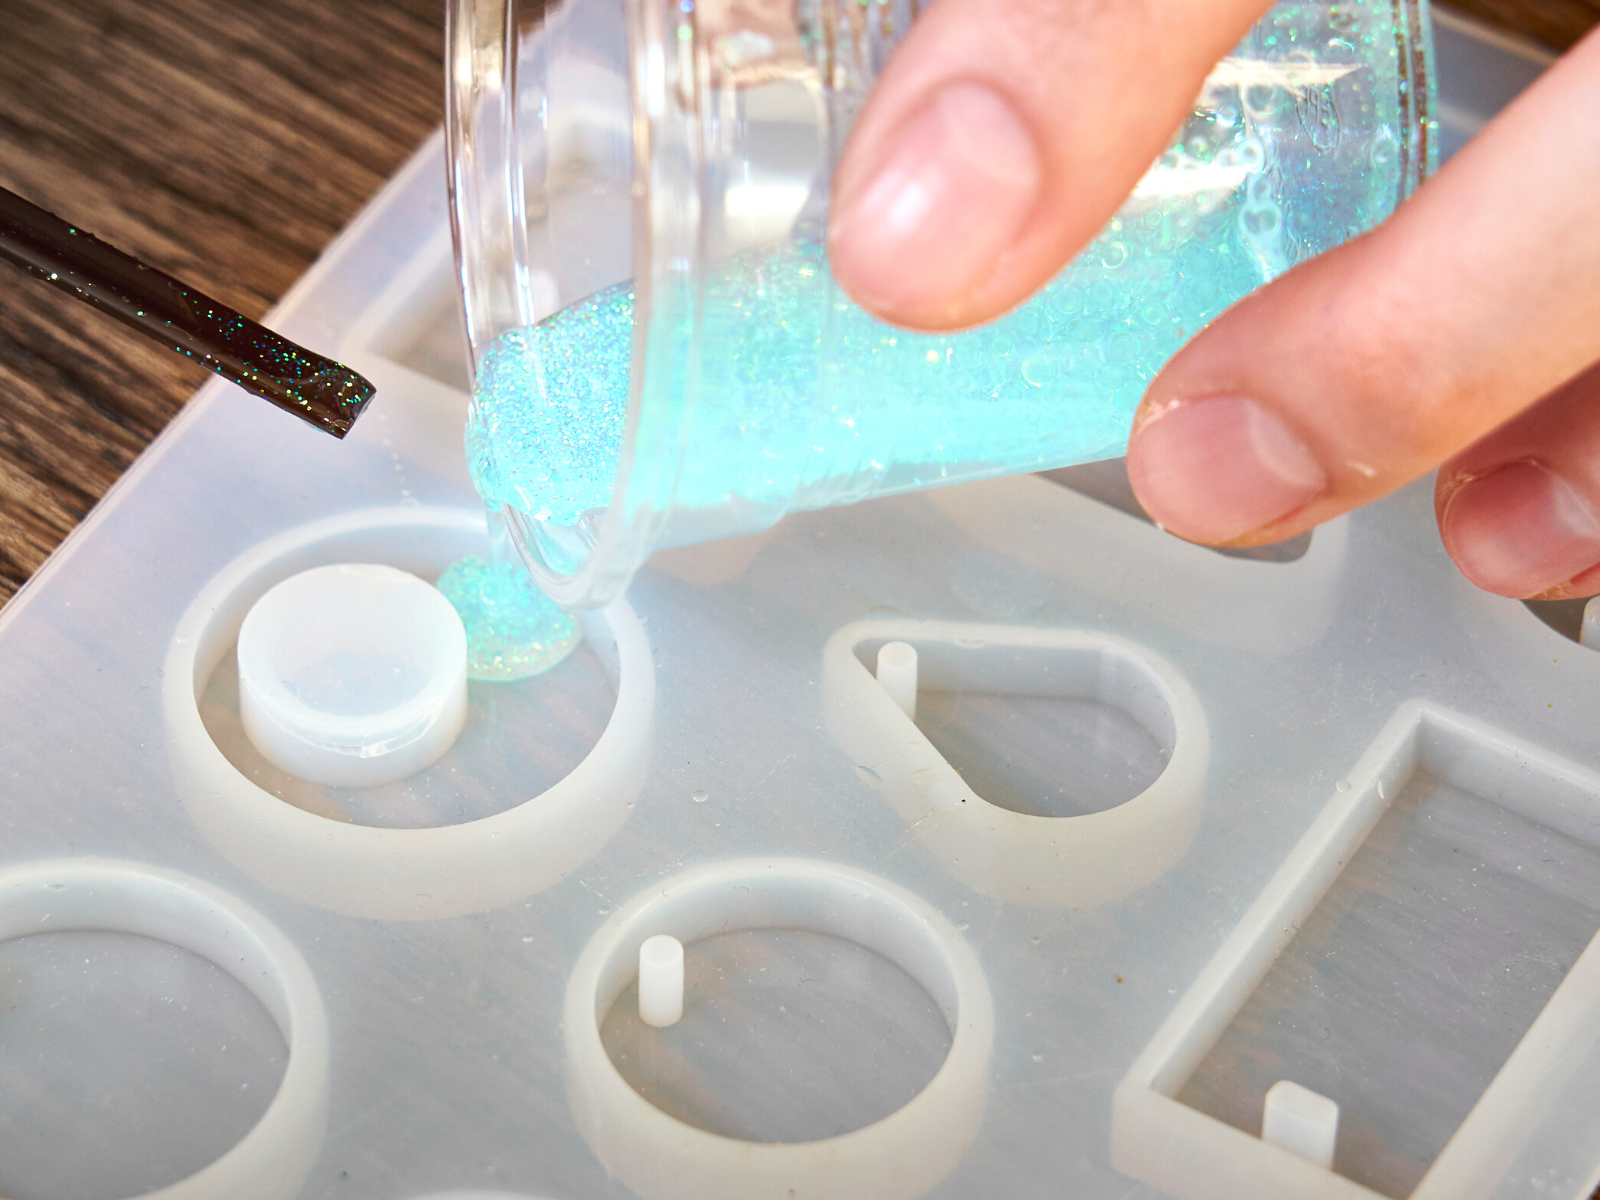
Resin art is versatile and allows you to experiment with various additives, such as pigments, glitter, mica powder, and ink.
Additives can add depth, texture, color, and character to your piece.
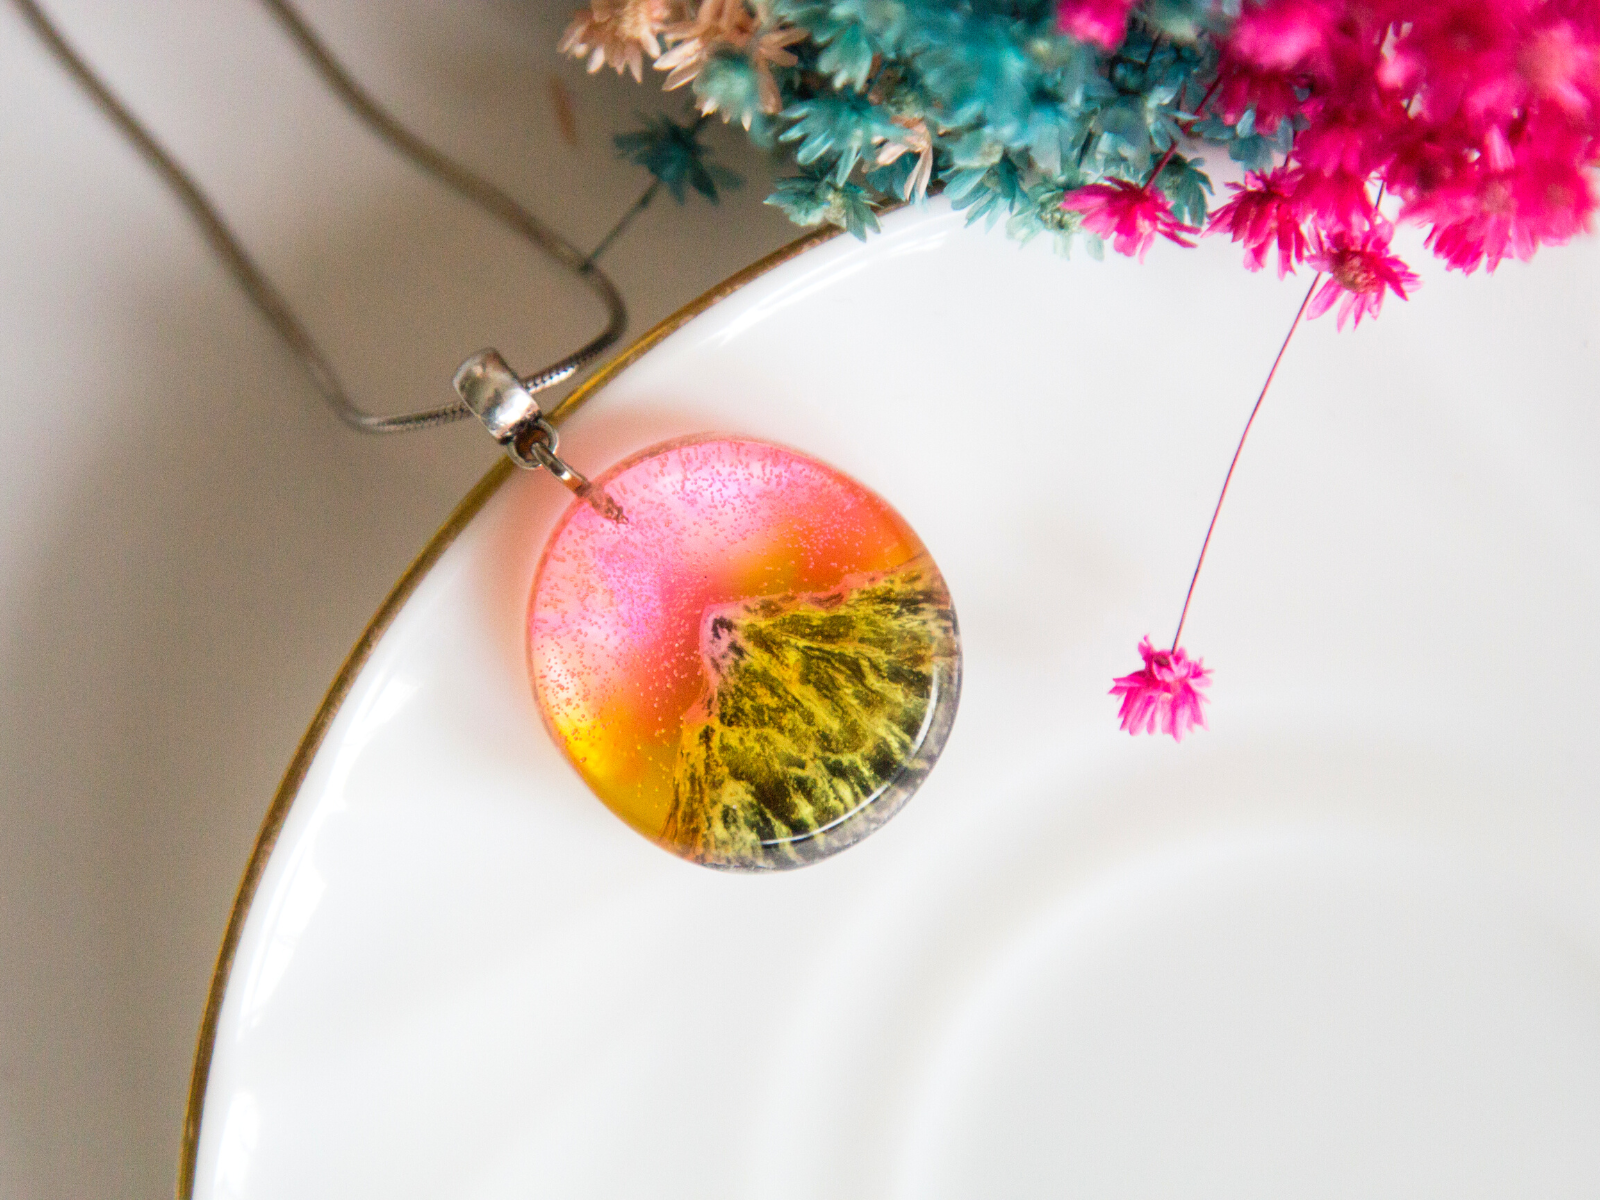
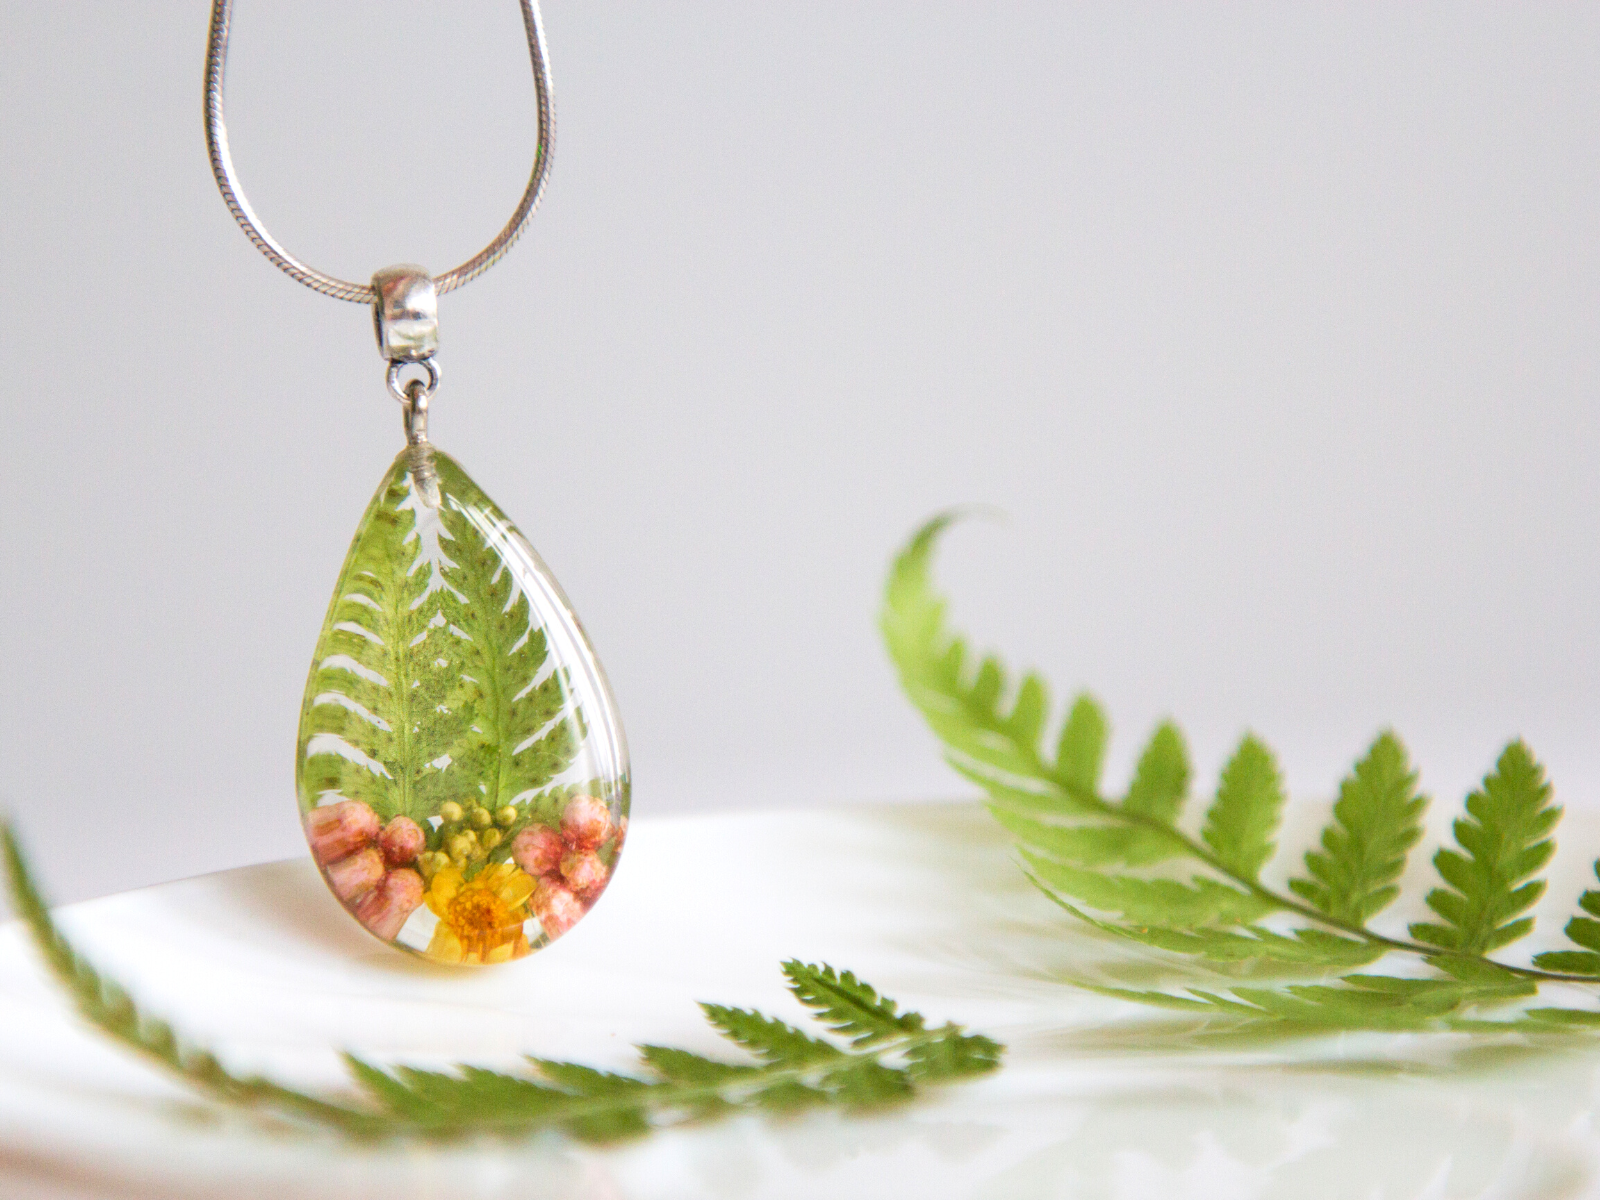
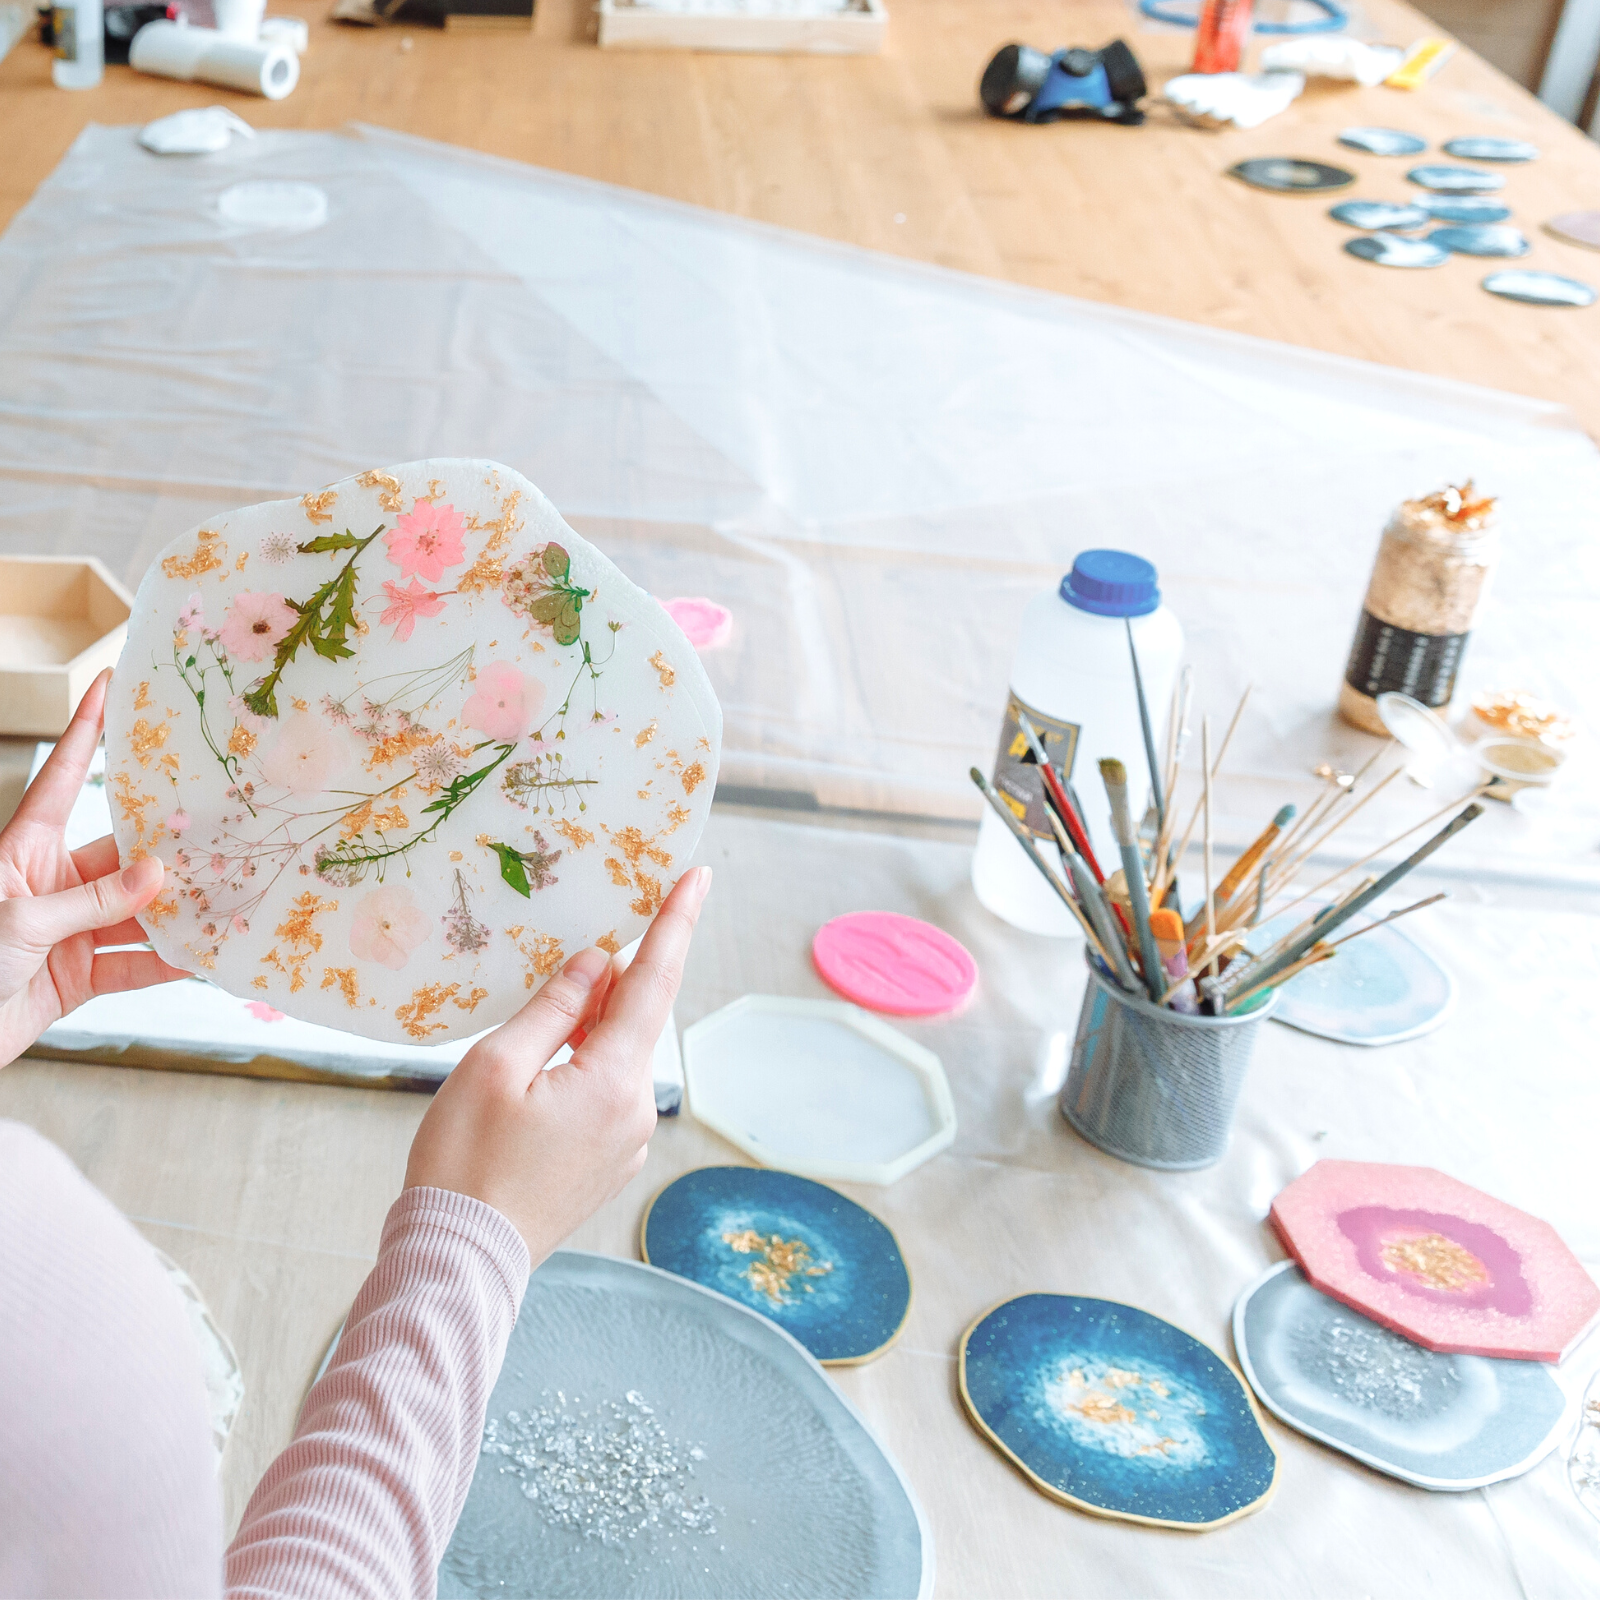
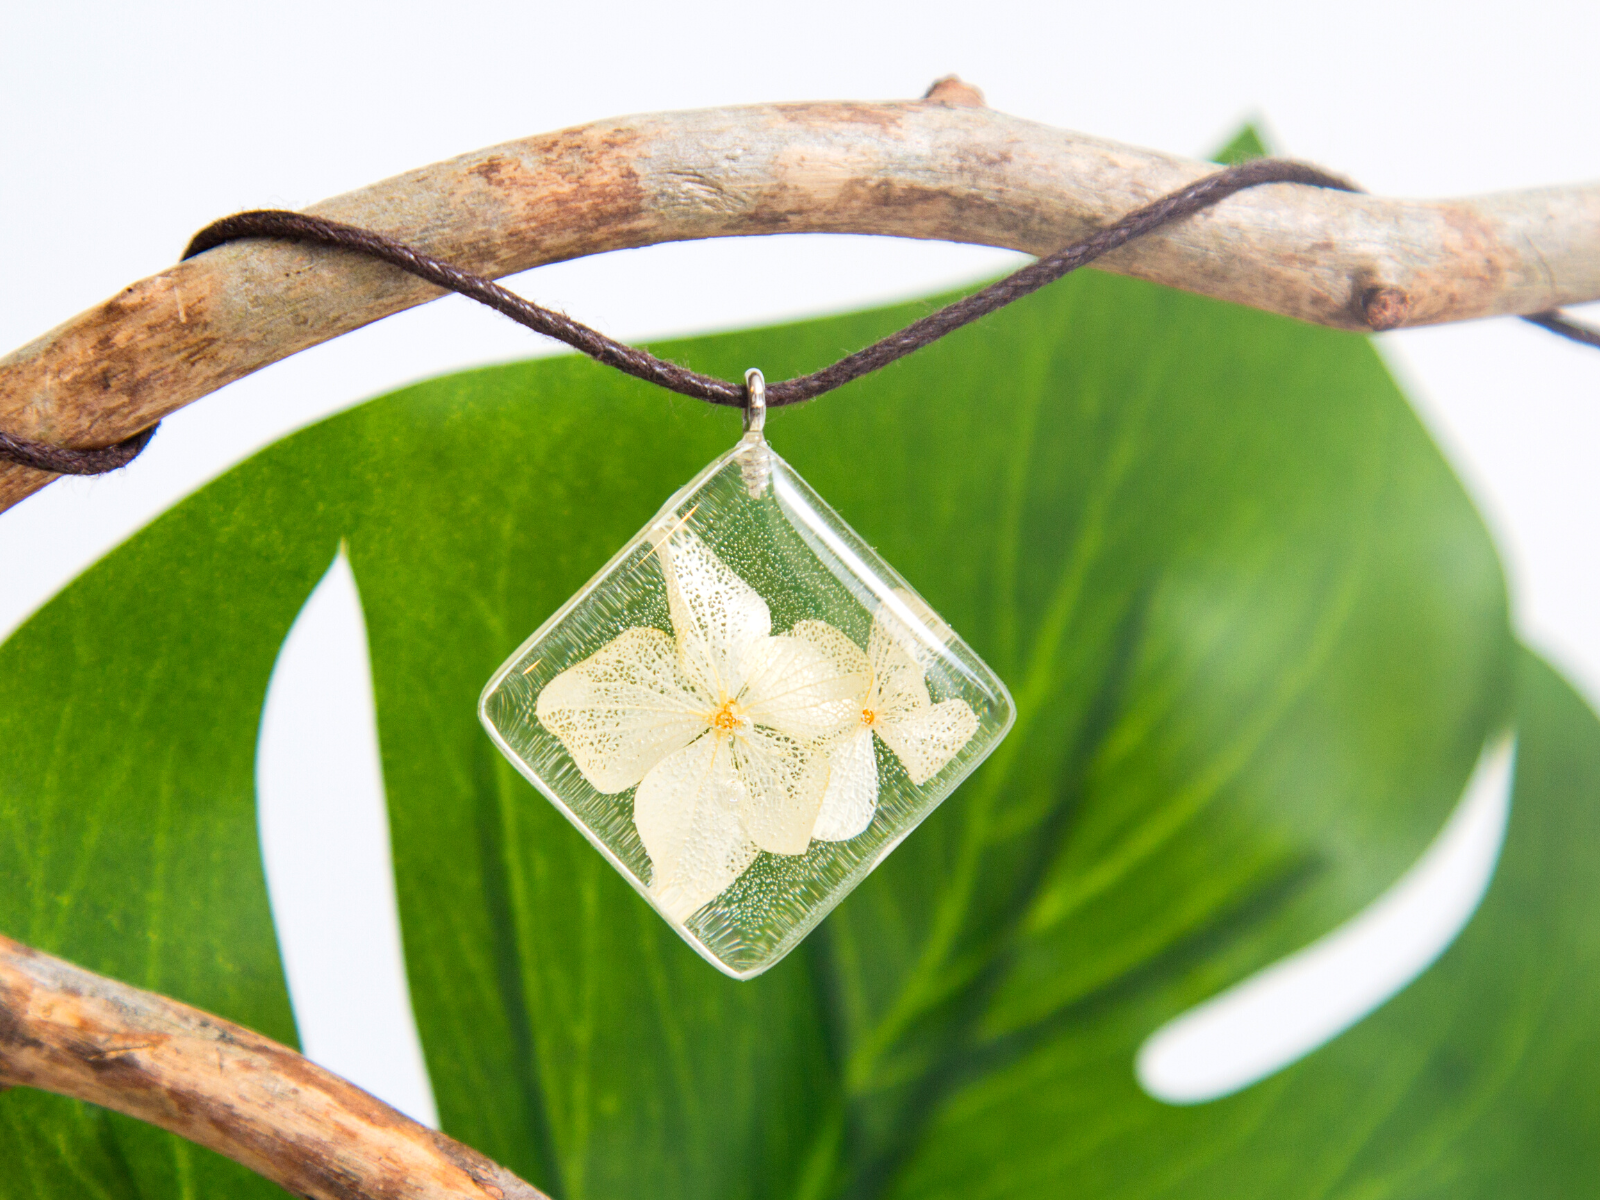
And don’t be afraid to get creative with it – add found objects, metallic flakes, or even dried flowers to make something truly unique.
Start with a little amount of additive, mix it well, and observe how your resin reacts.
Keep in mind that some additives can alter the curing time and consistency of your resin.
Plus, while many resin art pieces are created on canvas or other traditional surfaces, part of the joy of this medium is its versatility.
Feel free to experiment with different surfaces to create unique effects – try pouring resin onto a piece of driftwood or a smooth stone for a beautiful, natural look.

Embrace Imperfection and Practice Patience
One thing that makes resin art so special is the fact that it’s hard to control.
No matter how careful you are, there will always be some degree of unpredictability in the creation process.
But don’t let that discourage you!
Instead, embrace the imperfections and let your artwork take on a life of its own.
Who knows – the happy accidents you stumble upon might just end up being your favorite parts of the piece.
Resin art takes time, so don’t rush it.
Give your pieces plenty of time to dry and cure before handling them, and don’t be tempted to move them around too much before they’re fully set.
It can be tough to be patient when you’re excited to see the finished product, but trust us – it’s worth it.
Learn from Others and Have Fun!
The internet is chock-full of resin art tutorials, videos, and guides.
Take advantage of these resources and learn from others’ experiences.
You’ll be amazed at the insights and tips you can pick up from fellow resin artists.
Plus, don’t forget to have fun with your resin art!
This medium can be incredibly enjoyable and rewarding.
At the end of the day, the most thing is to enjoy the process.
Resin art is a wonderfully freeing and creative medium that can lead to some truly breathtaking results.
So, don’t be afraid to get a little messy, experiment with different pigments, and let your imagination run wild.
Who knows – you might just discover a whole new artistic passion!
After all, if you’re looking to create a truly unique and captivating piece of art, resin is the perfect medium.
Releasing Your Inner Resin Artist
Resin art is a fascinating and rewarding form of art that offers endless possibilities for creative expression.
As with any art form, working with resin requires some knowledge and skill to get the most out of it.
From selecting the right resin for your project to curing it properly and creating stunning effects, there’s a lot to learn about this wonderful medium.
But with the right tips and tricks, you can unlock your creative potential and make some truly stunning art pieces.
So, take your time, practice safety, and have fun with it!
With practice and persistence, you can master the art of resin and unleash your inner artist!
You’re sure to be amazed at the results; good luck and happy creating!


Looking to learn even more about working with resin? Check out Steve McDonald Arts and Crafts' video!
Want even more content about creativity and art?
Be sure to check out all of our creative chronicles!
Love working with resin and jewelry making?
Check out some of our other articles: