Are you ready to add a handmade touch of warmth and elegance to your home or workspace?
Do you want a new hobby that involves creativity and relaxation?
If so, candle making may be just what you need!
Candle making is a fun and rewarding craft that can be enjoyed by artists of all skill levels.
Not only is it a great way to unwind and express your creative side, but candles also make excellent gifts for friends and family.
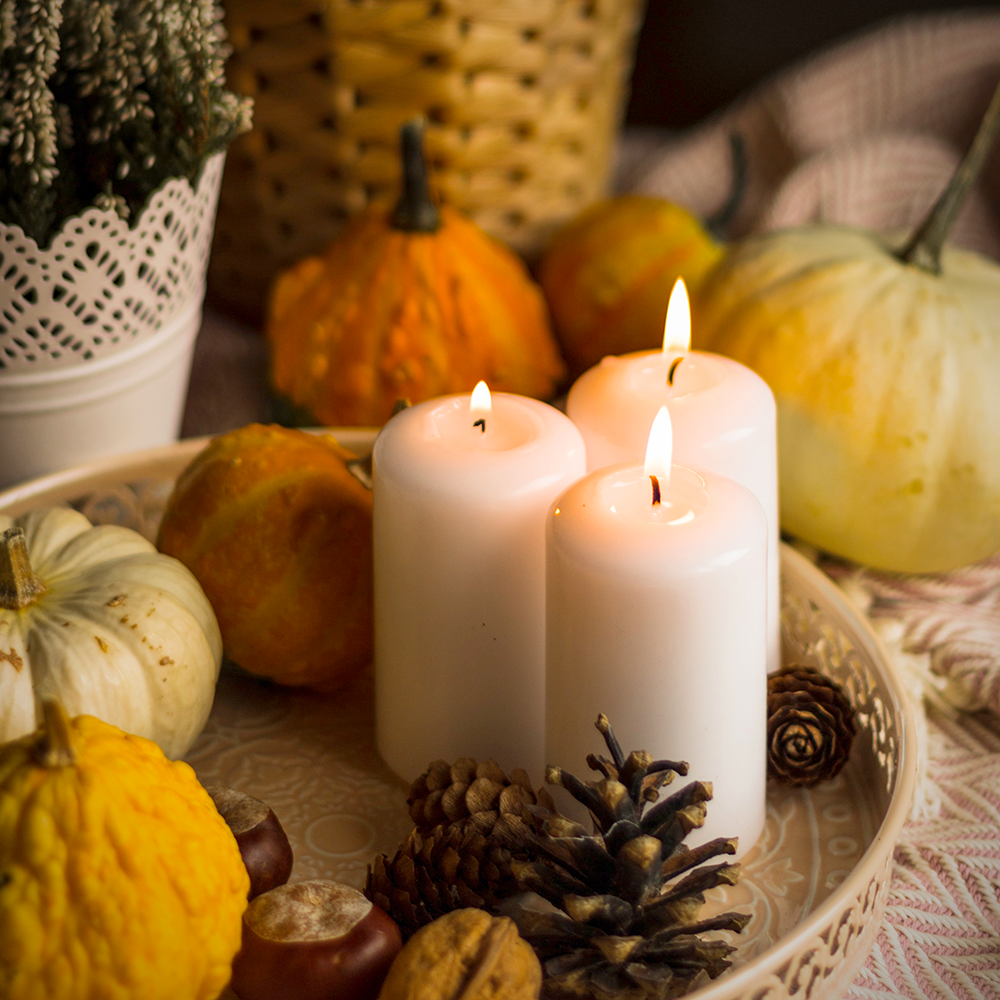
It's time to get inspired to create the most stunning candlelit centerpiece of all time with these DIY candle making tips!
Whether you’re a seasoned candle maker looking for ideas on adding unique shapes, textures, and colors, or a beginner just starting out in the craft, we have plenty of tricks up our sleeves that will help bring out your creative best!
So, let’s get started – it’s time to light the way into some eye-catching creations!

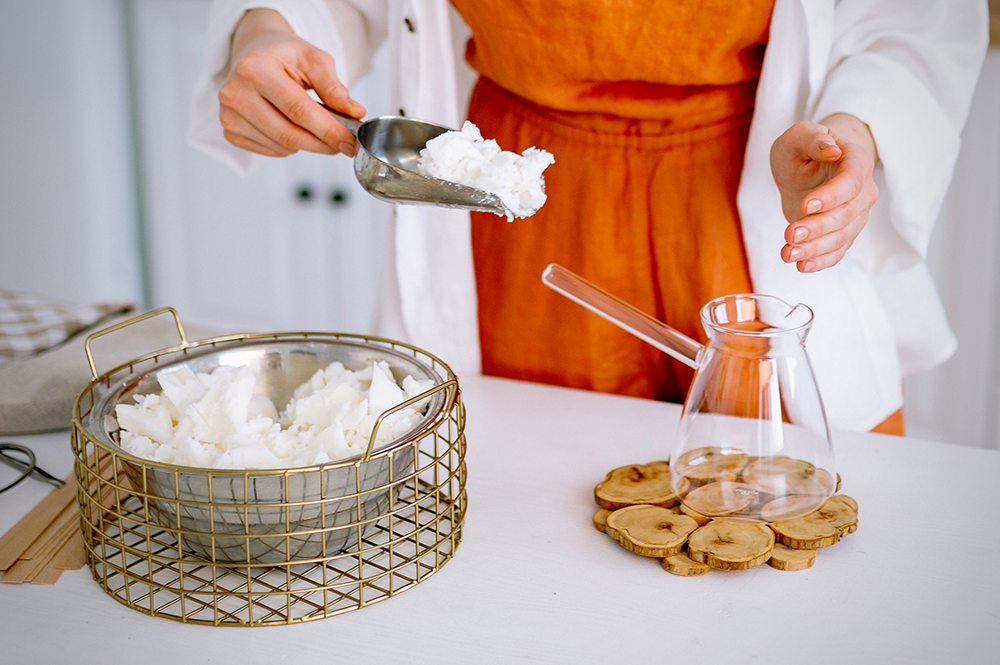
Choose the Right Wax
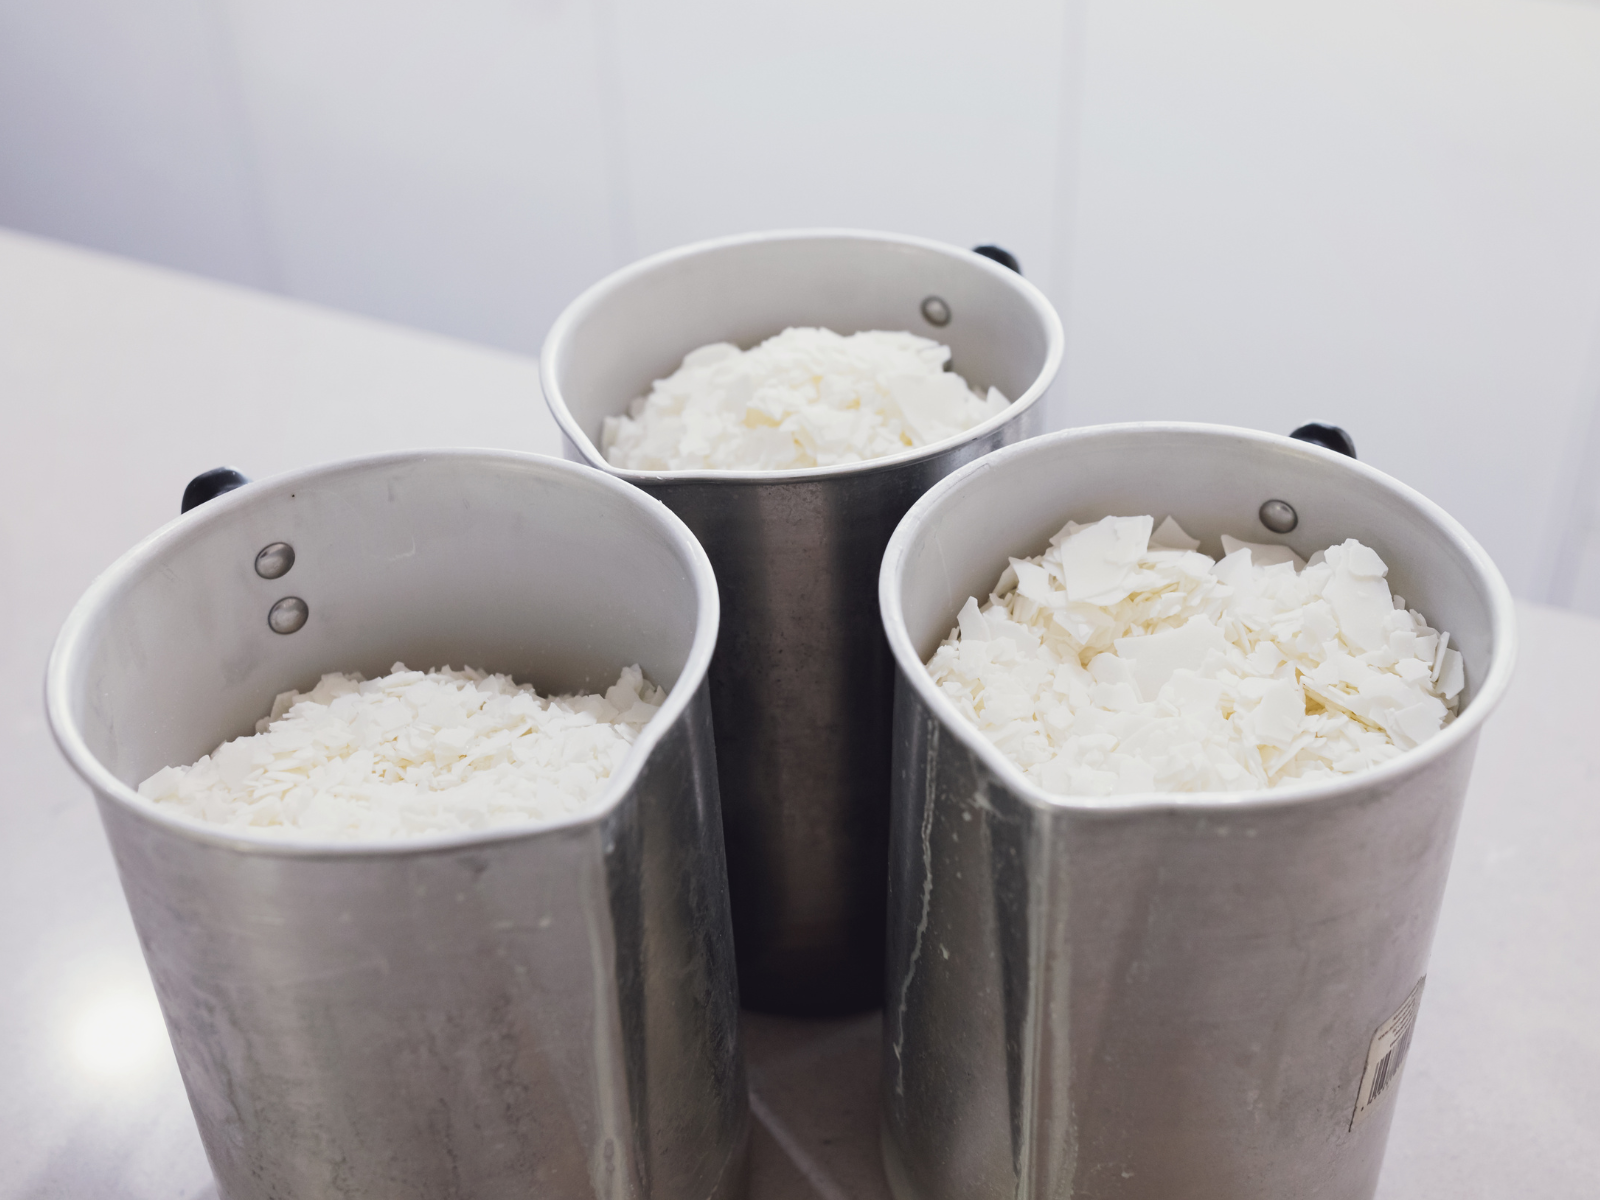
The type of wax you choose is a crucial step in the candle making process; there are many different types of wax to choose from when making candles, including soy wax, beeswax, paraffin wax, and more.
Each type has its benefits and drawbacks, so it's essential to choose the right wax for your specific needs.
For a more eco-friendly option, soy or beeswax is the way to go.
Soy waxes are easy to work with and produces a smooth, creamy finish; soy wax is an excellent choice for beginners and yields a clean burn.
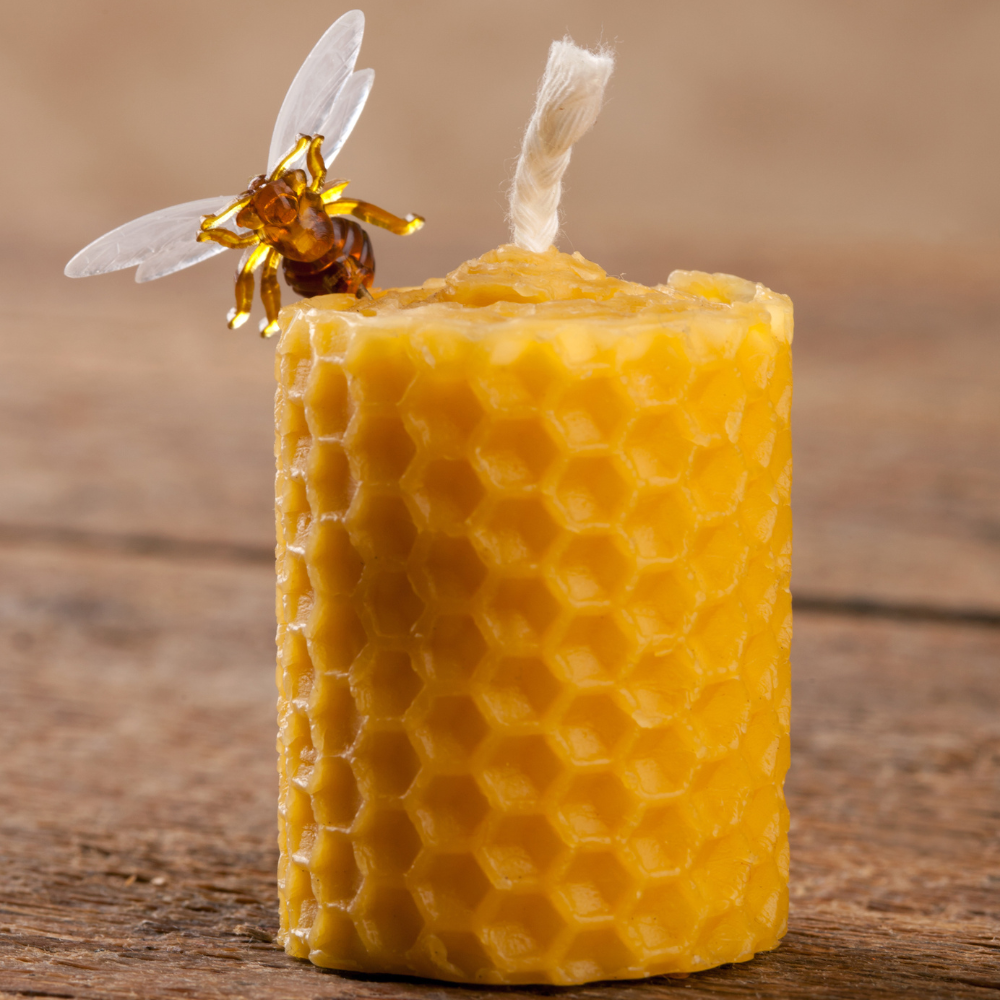
On the other hand, beeswax has a beautiful natural scent and is perfect for making beautiful, natural-looking candles.
Paraffin wax is a popular choice because it is readily available and affordable. However, it is not as eco-friendly as a beeswax or soy candle.
When making a handmade candle, the type of wax you choose can make a huge difference in the look and feel of your final product, so be sure to do your research before deciding on the right option for you.
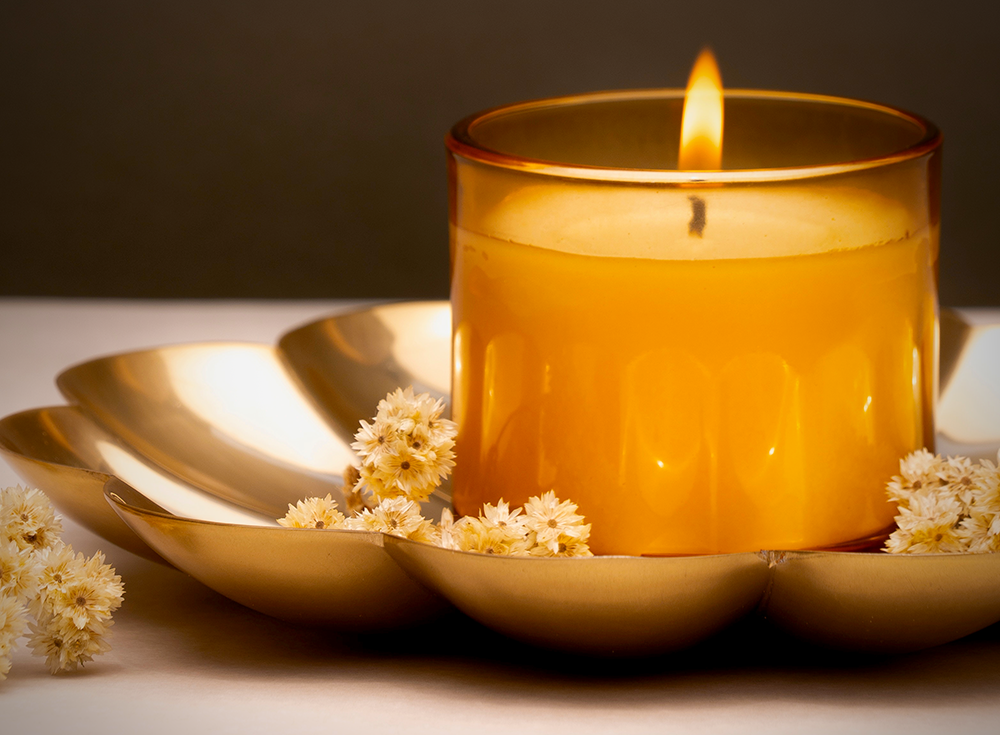
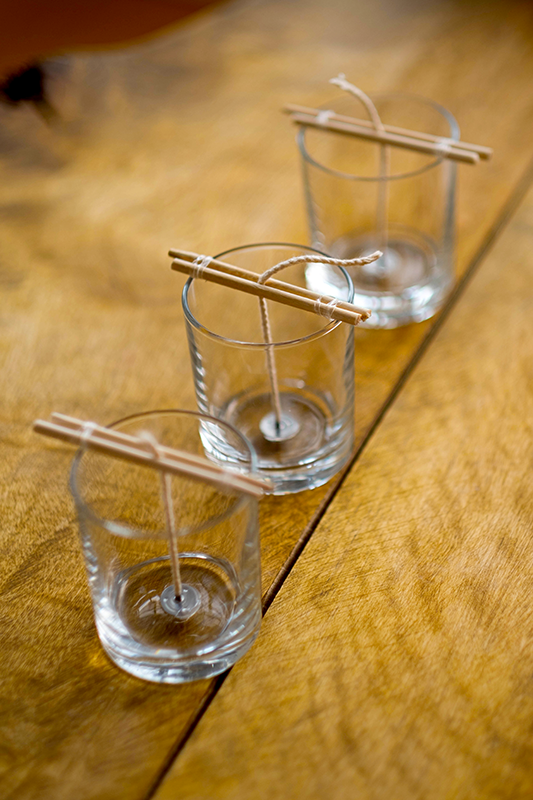
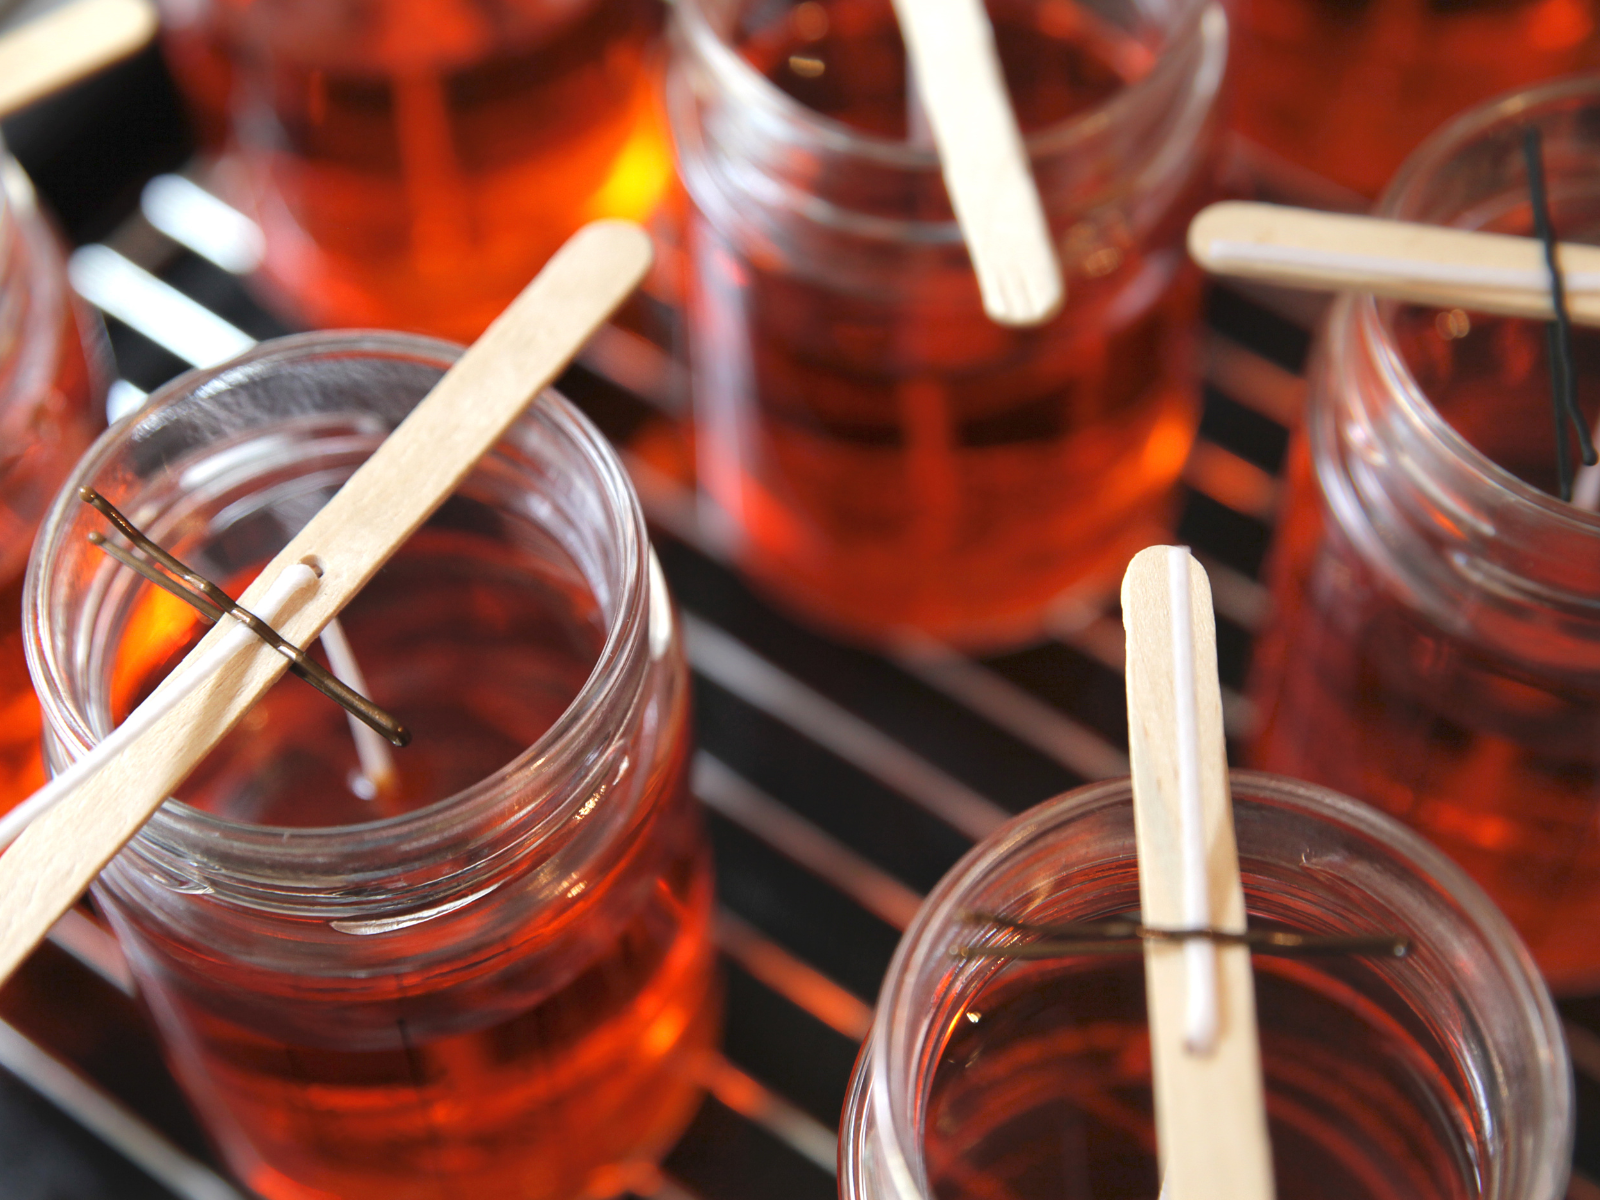
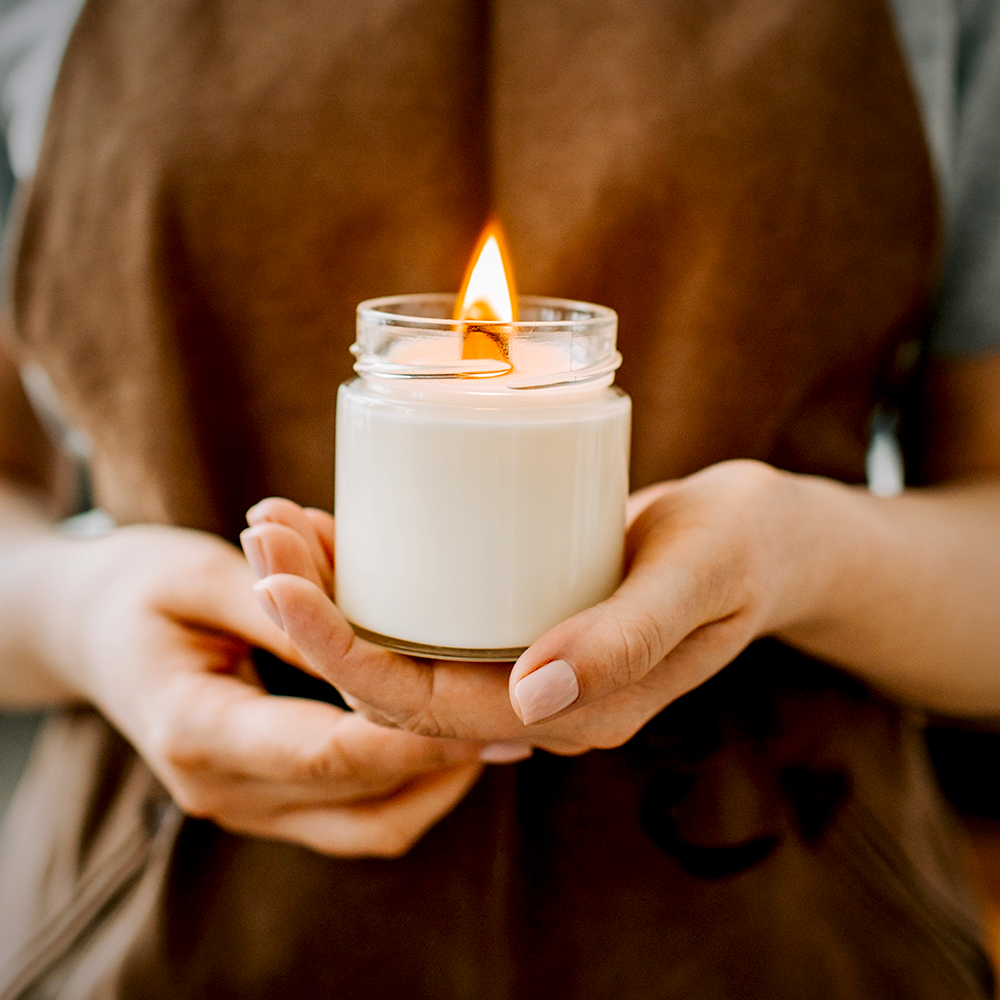
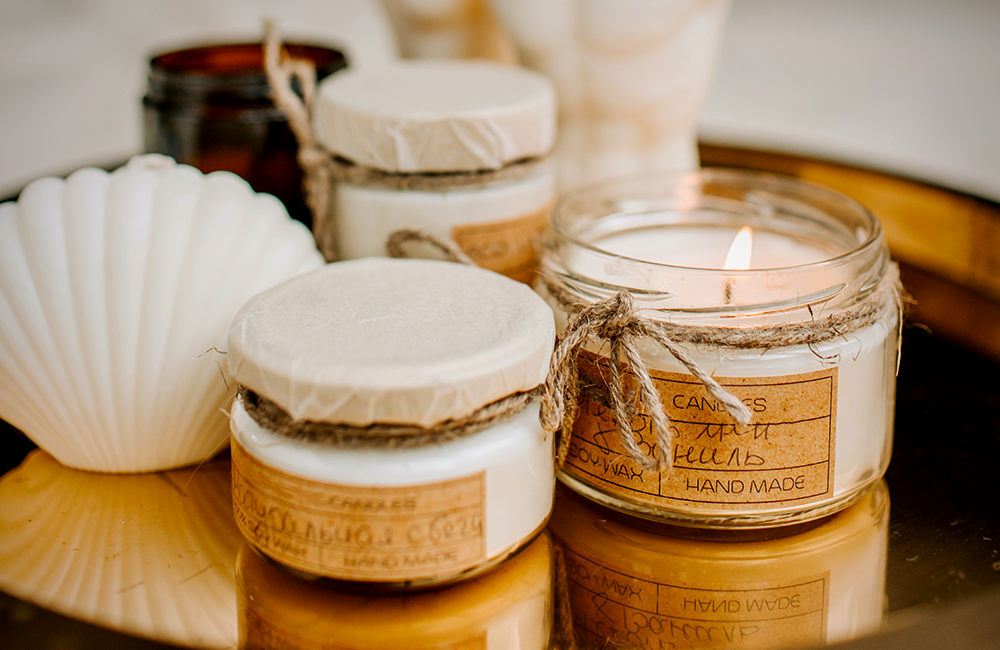
Select the Perfect Container and High-Quality Wicks
The container you select will completely determine the look of your finished product, so it's important to choose wisely.
Look for something that will complement your décor and enhance the beauty of your candle.
Glass containers are an excellent option as they offer an eye-catching display when lit, but you can also use ceramic, metal, or wooden containers as well.
A container candle should also have a tight-fitting lid to prevent dust and debris from entering the candle.
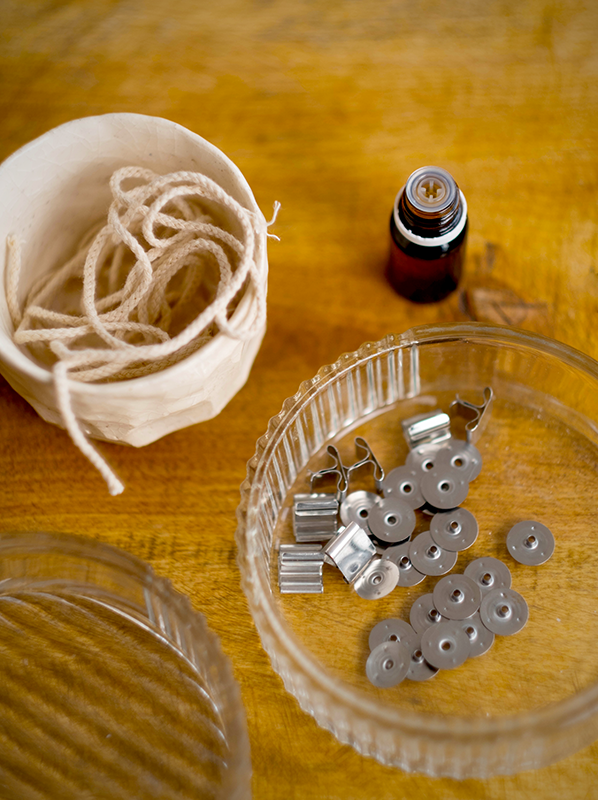
When it comes to wicks, quality is key.
Selecting the right wick is essential in creating the right burn time, look, and scent of your candle.
Choose wicks made from 100% cotton with a paper core for best results; this type of wick will provide an even, clean burn and help to maximize the scent throw of your candle.
The size of the wick will also depend on the diameter of your container.
You don't want to select a wick that is too small, as this can lead to tunneling, where the candle burns straight down the middle.
On the other hand, a wick that's too large can result in a flickering or smoky flame.
Make sure to select the right wick and container size for your candles.
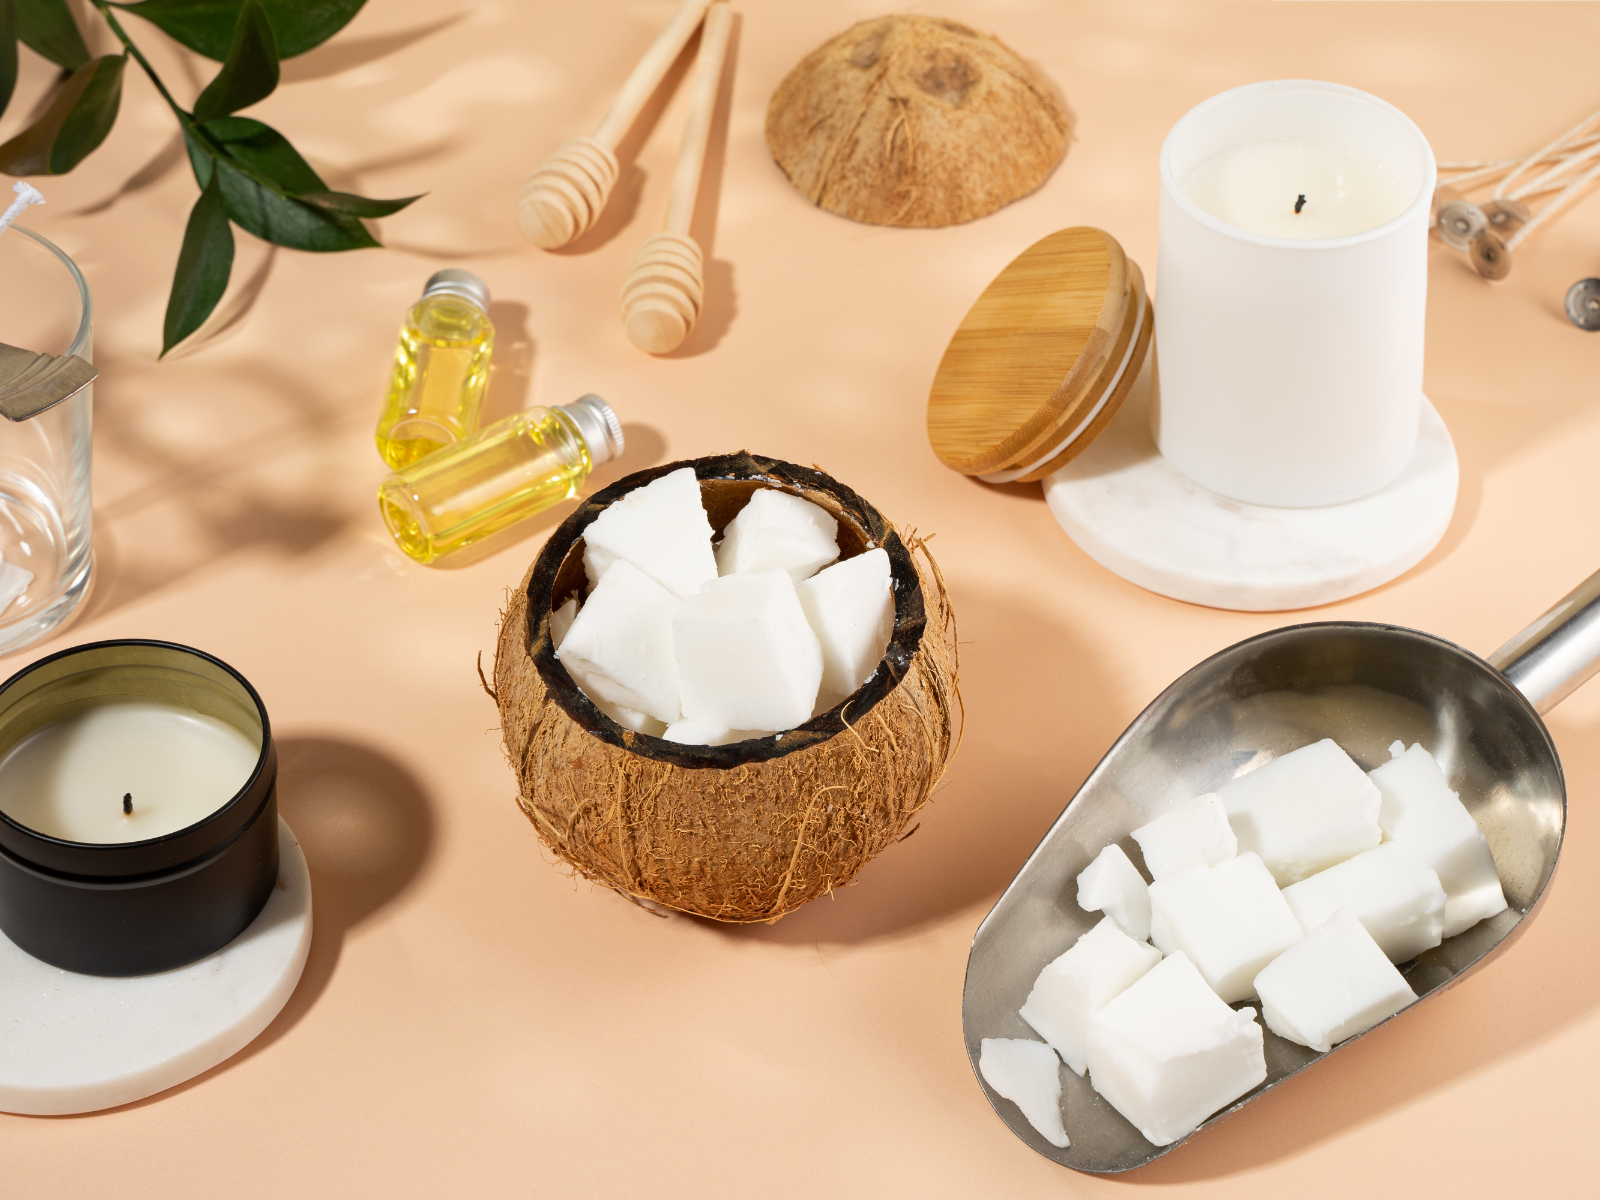
Use High-Quality Fragrances and Oils
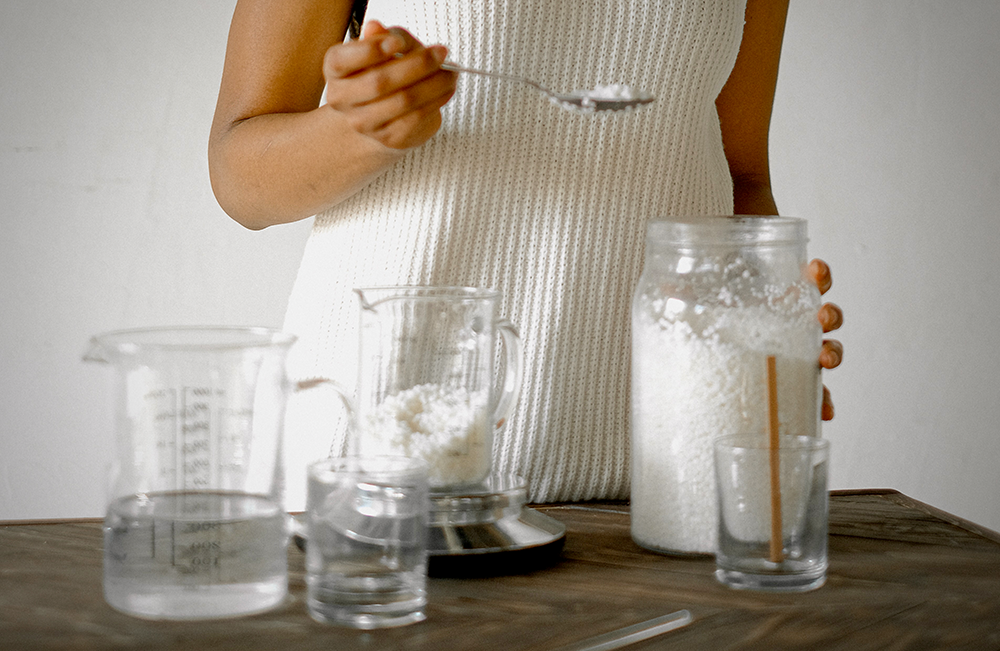
Adding fragrance and color is the fun part of candle making, and you can get creative and add various scents and colors to make your candle unique.
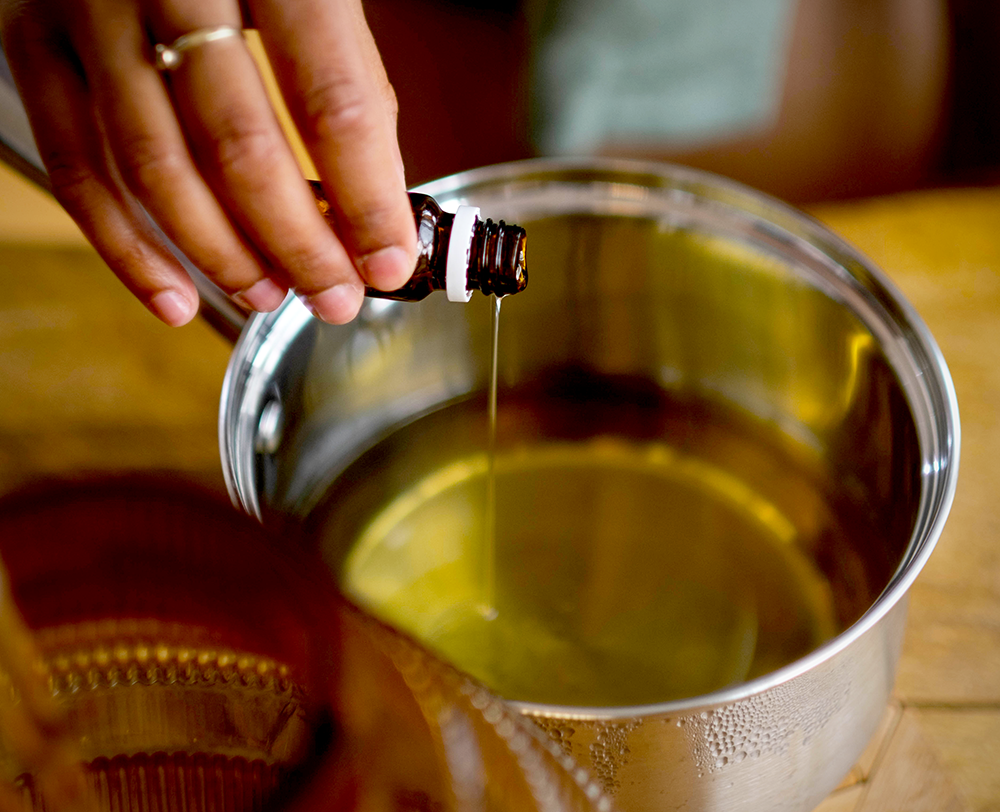
The scent of a candle is just as important as its appearance, so be sure to use high-quality fragrances and oils when making your candles.
Beginner candle makers might make the mistake of using too much fragrance oil; this can result in a fragrance that is overpowering and can even cause the wax to smoke when burning candles.
It's important to use the recommended amount of fragrance oil for your wax type.
Also, cheap fragrances may smell good initially, but they can lead to headaches and other unpleasant side effects.
Choose fragrances made from essential oils or high-quality synthetic oils for the best results.
When adding fragrance, it's essential to use high-quality fragrance oil to prevent the scent from fading or losing its potency.
You can experiment with fragrance combinations to create your custom scent, too, such as lavender and citrus or vanilla and cinnamon.
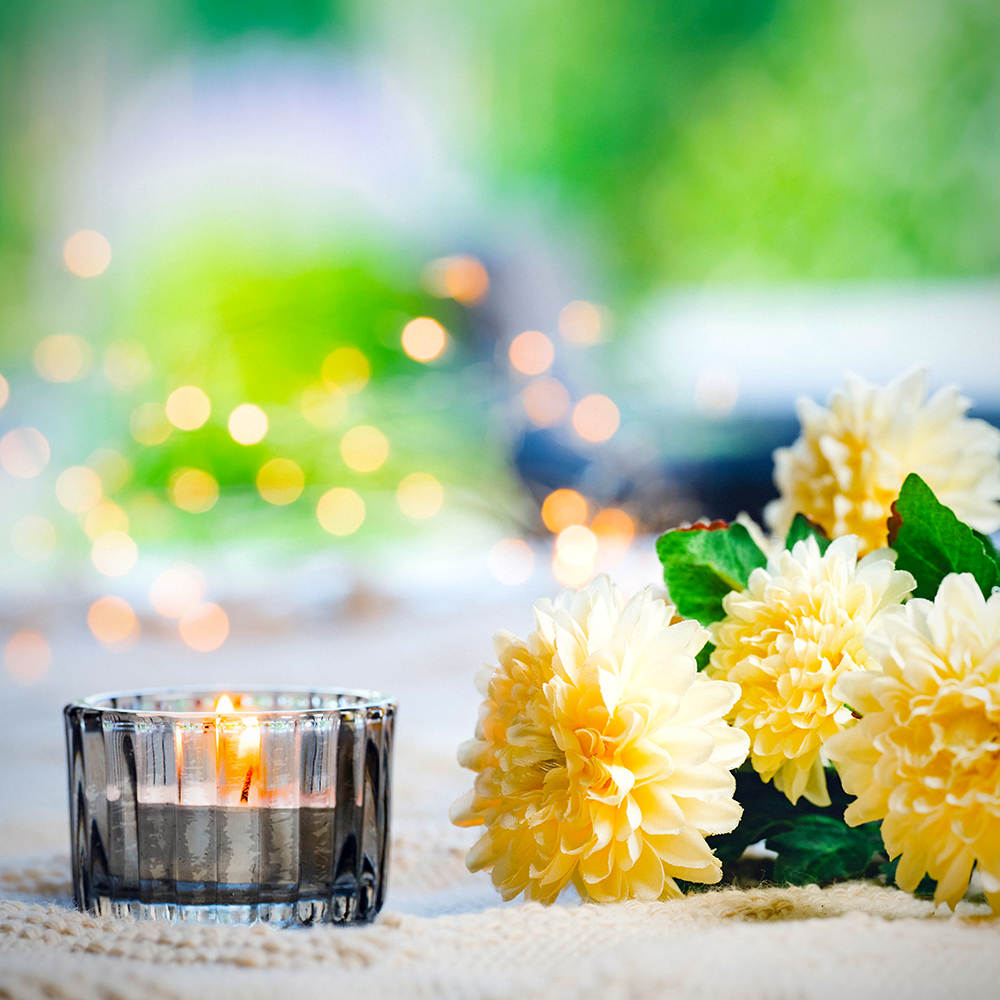
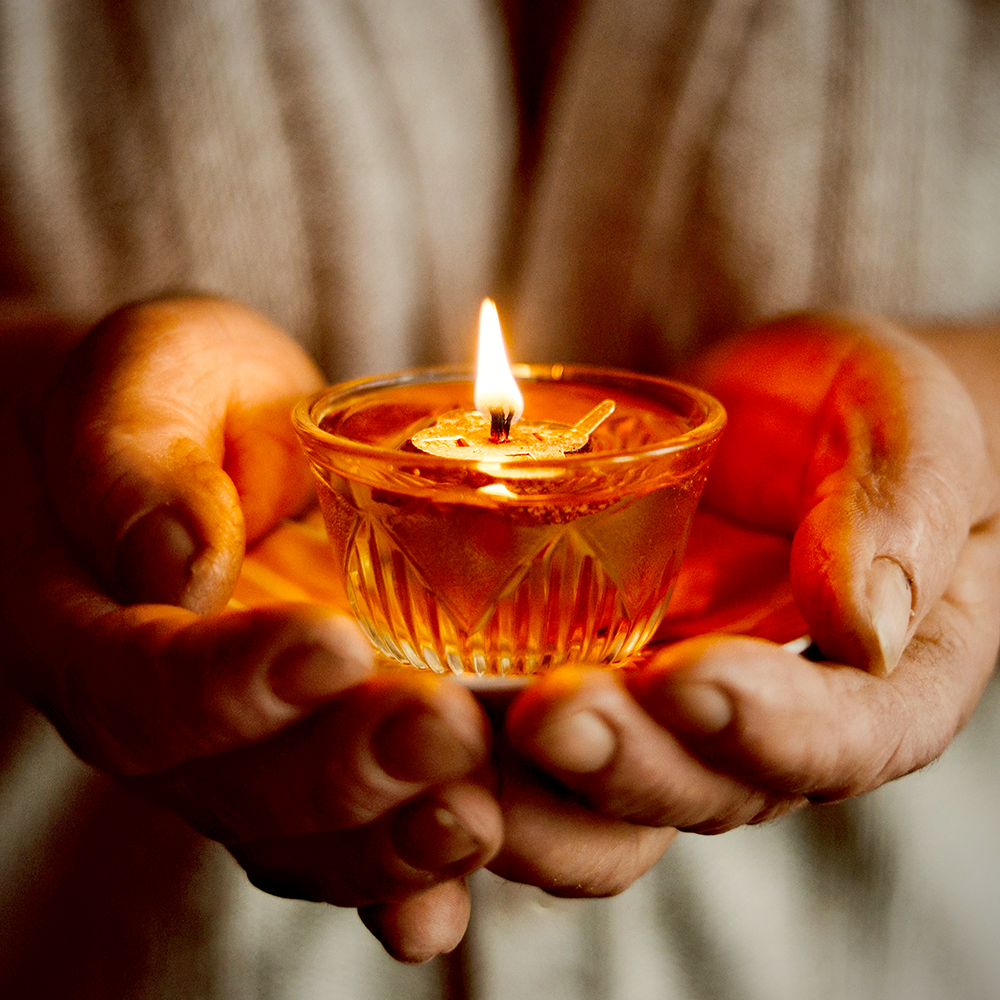
Scented candles are the perfect way to add a warm and inviting ambiance to your home.
And with so many fragrances available, you can create a candle that perfectly fits your mood.
As for color, you can use dye chips or liquid candle dye.
However, be mindful that adding too much dye can lead to reduced scent throw and an uneven burn.
Start with a small amount and add more as needed.
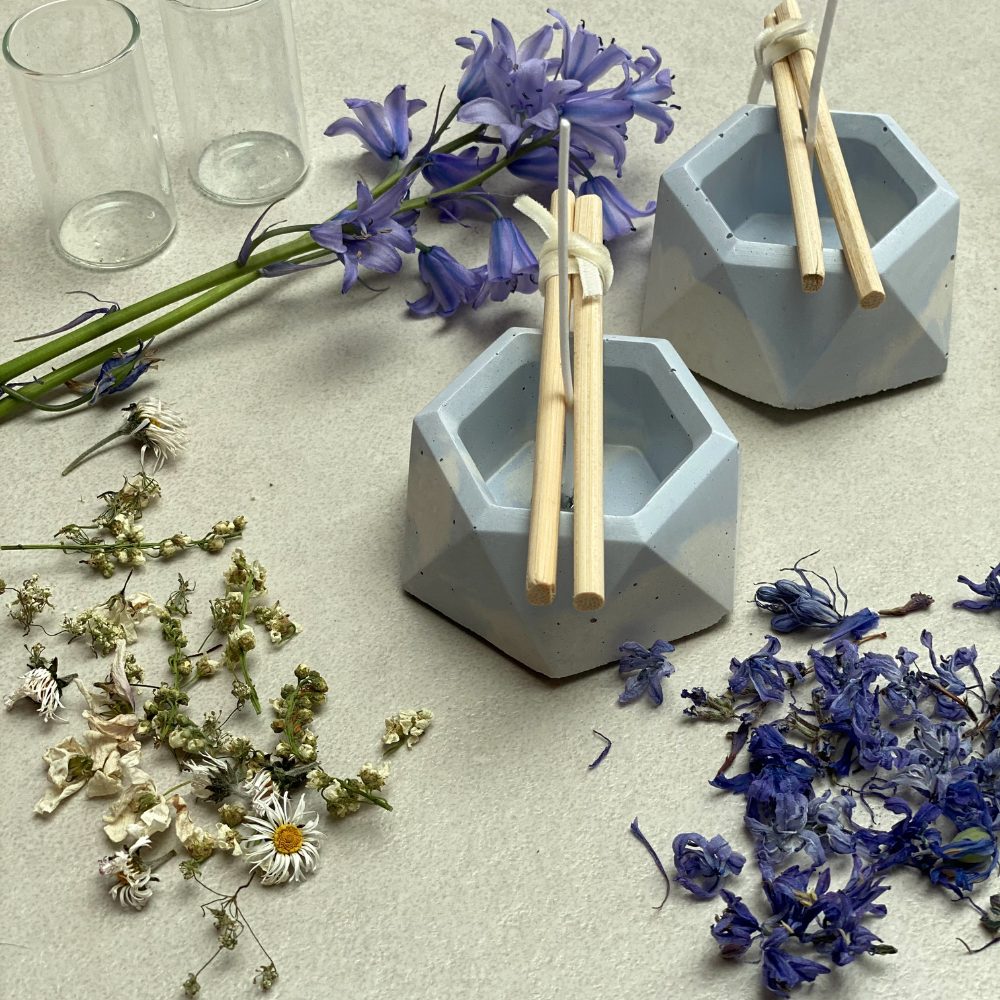
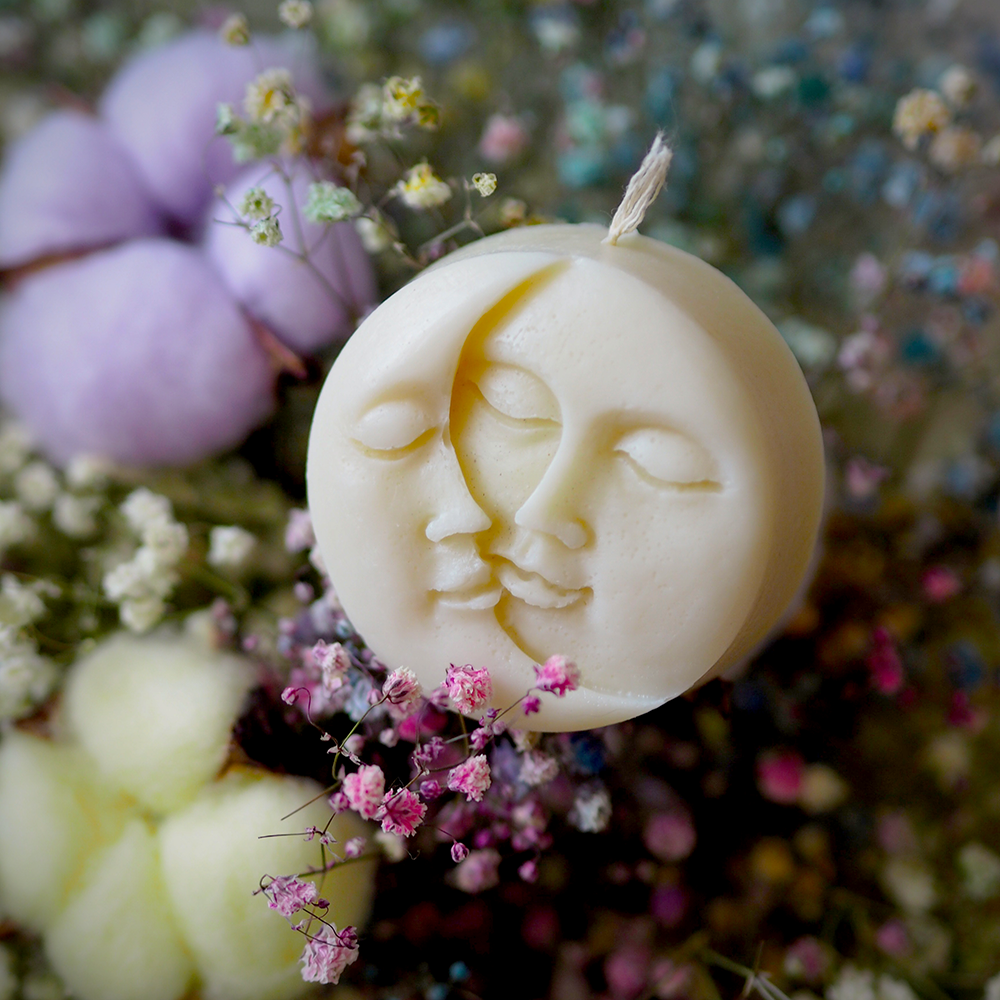
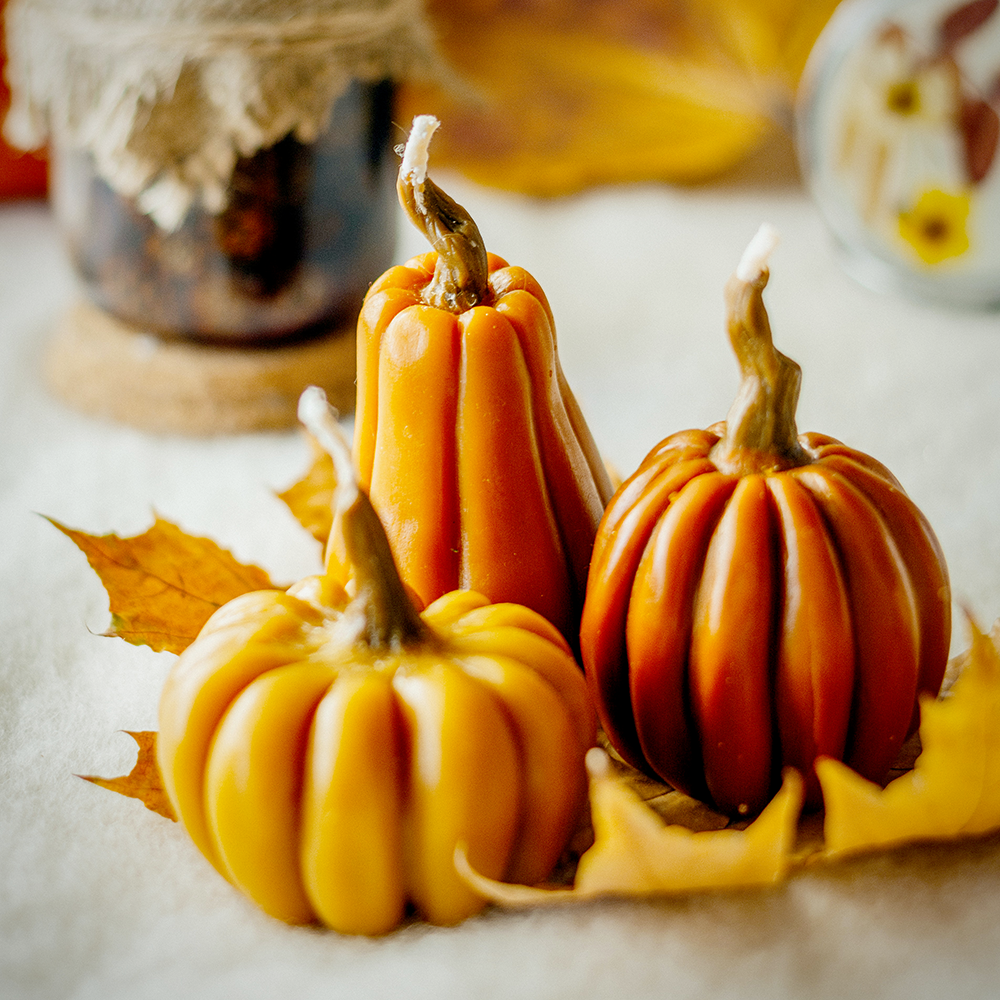
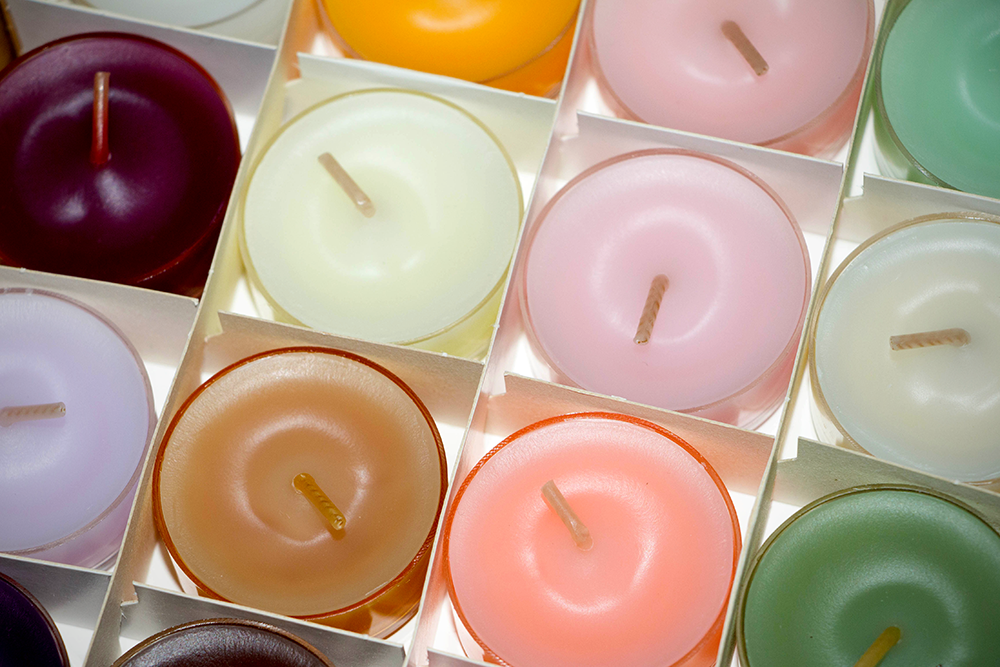
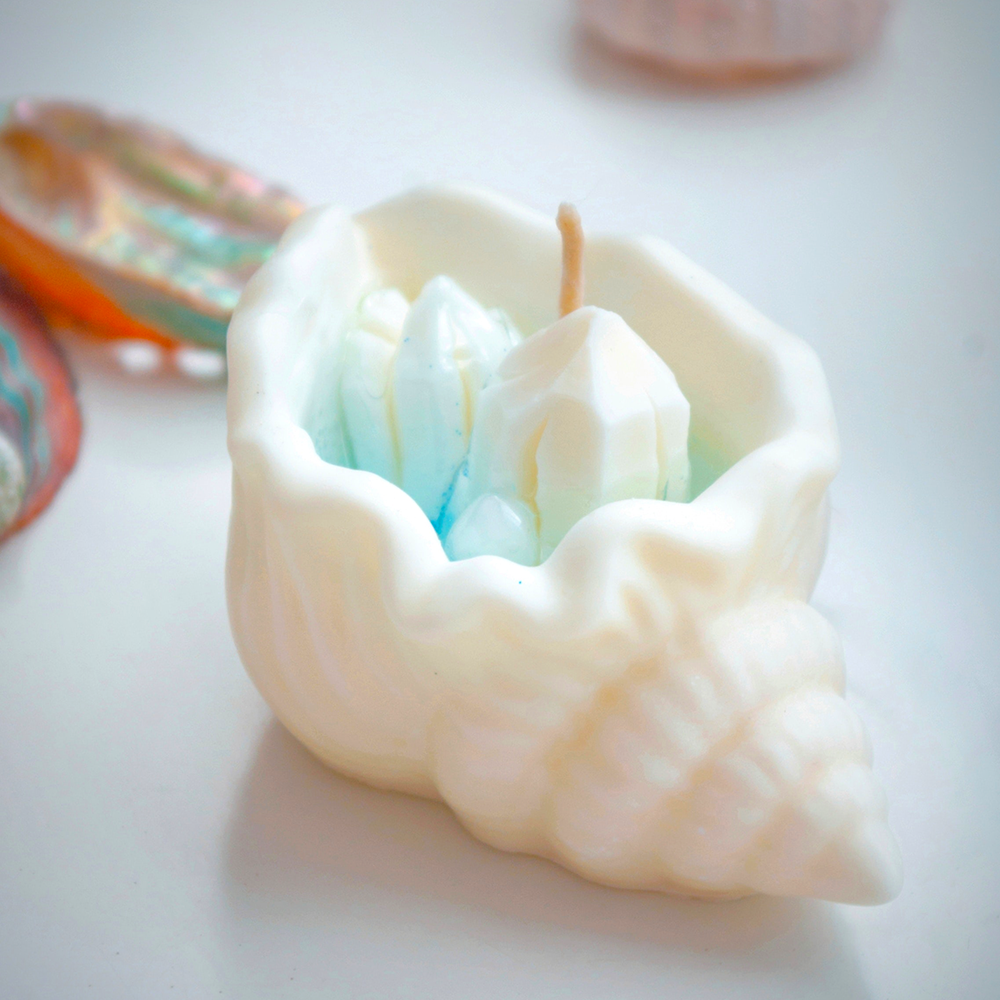
Experiment with Colors and Shapes
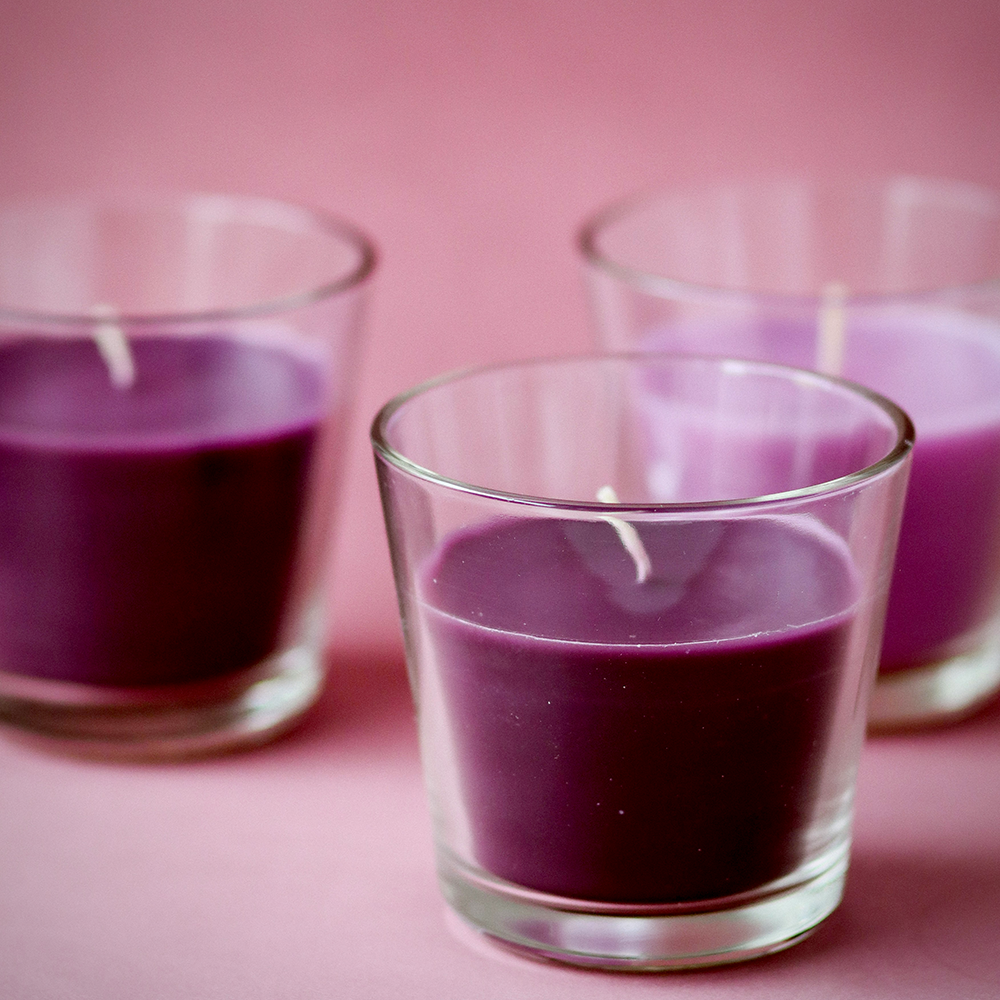
One of the most exciting things about candle making is the ability to experiment with colors and shapes.
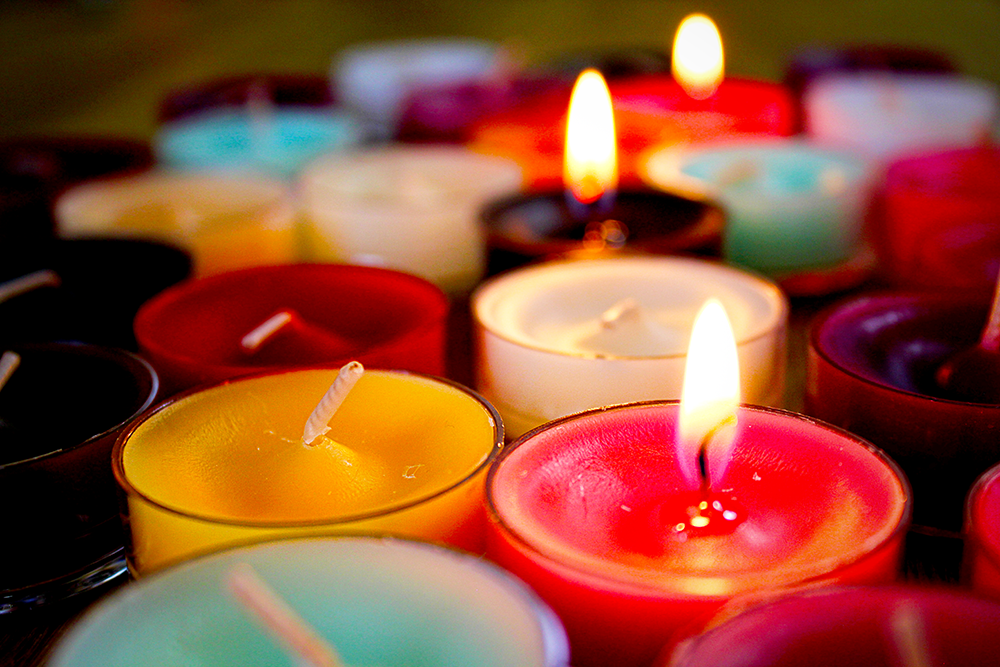
You can create candles in a range of colors, from soft pastels to bold and bright hues.
You can also experiment with different shapes, such as pillar candles, votives, tea lights, and more.
To create different shapes, you can use molds or carve your candles by hand.
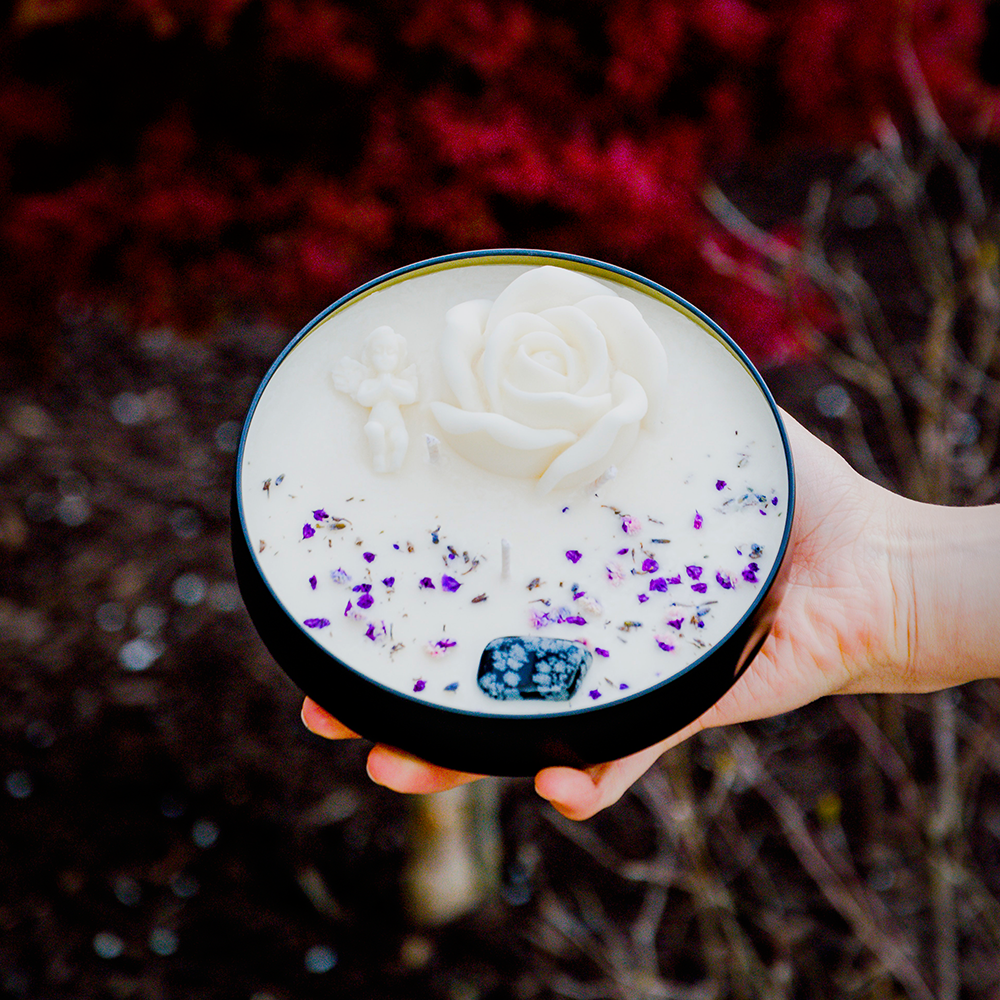
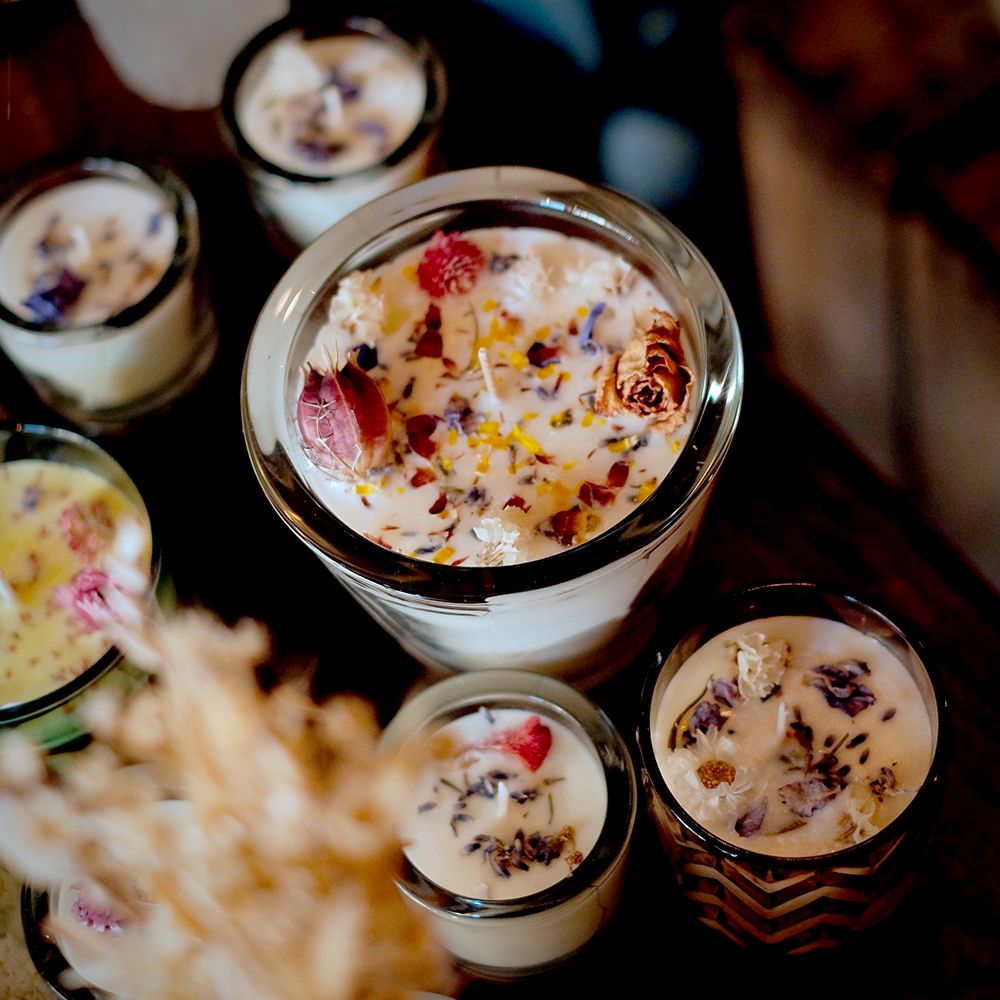
For a truly unique design, try using glitter, flowers, crystals, or other embellishments to create a candle that stands out from the rest.
Let your creativity run wild and see what unique and beautiful candles you can come up with!
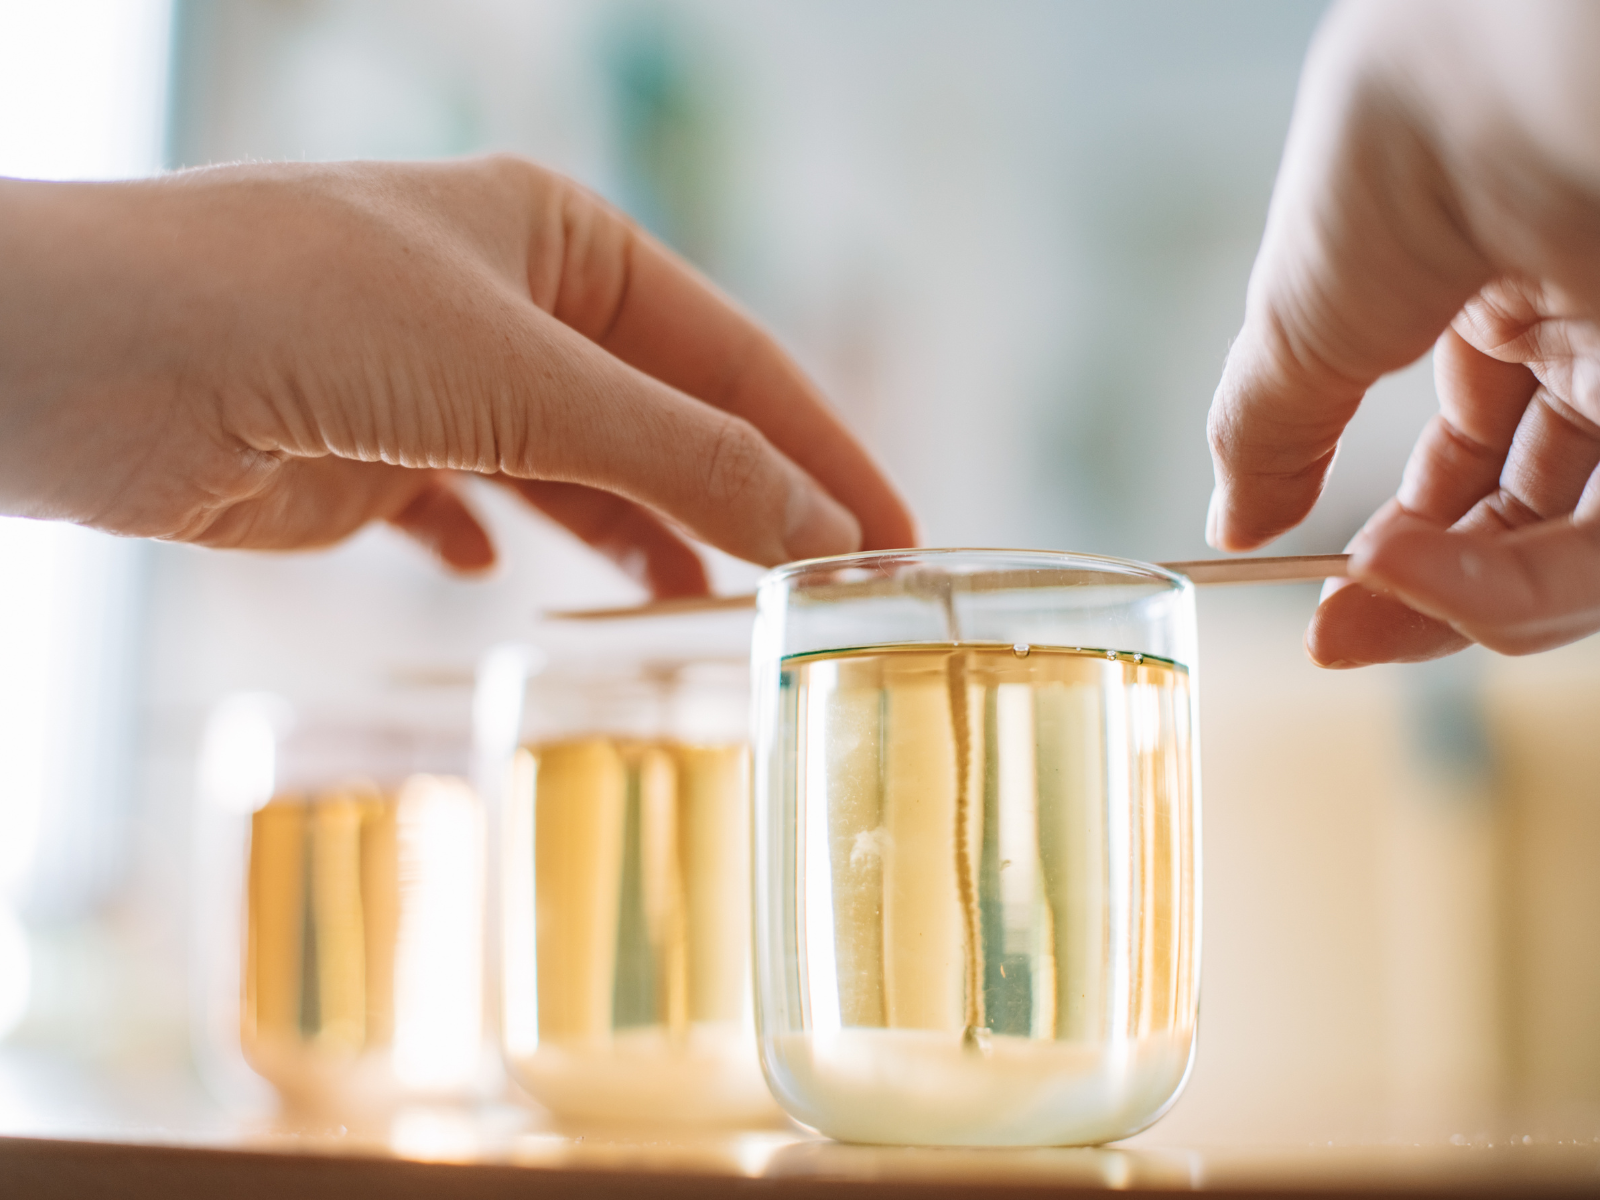
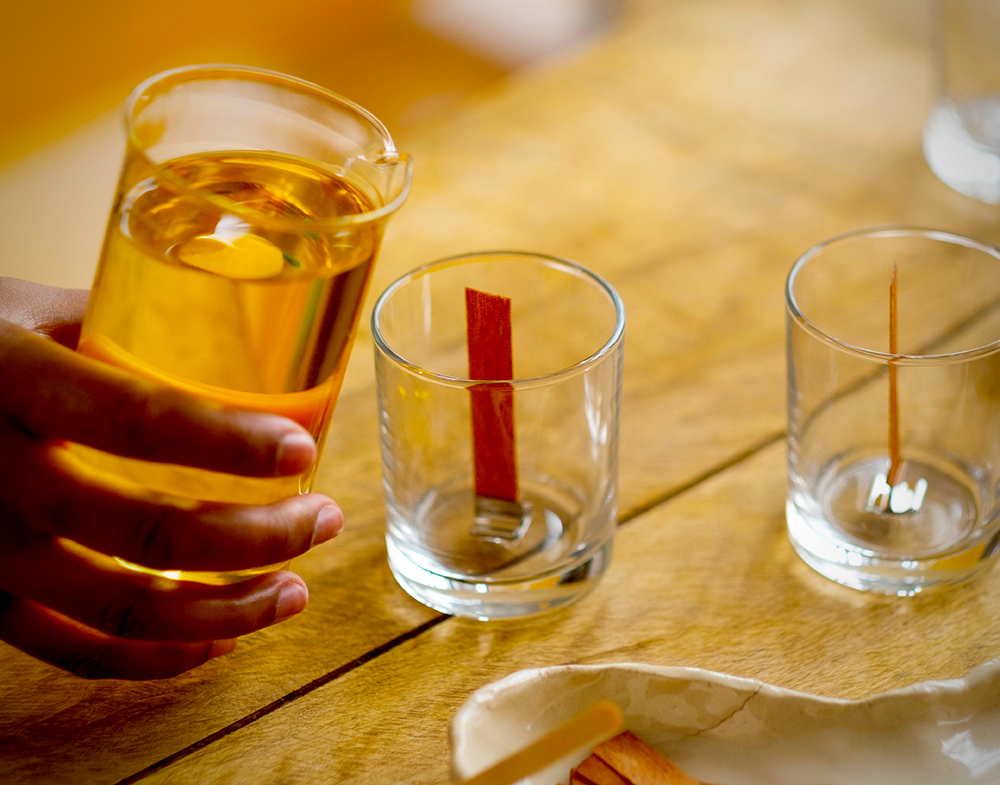
Preheat Your Container and Prevent Air Bubbles
Heating your container slightly before pouring your candle wax can prevent your candle from 'wet spots' forming.
Wet spots are patches where your wax does not adhere to your container, which can cause uneven burn.
To prevent this, preheat your container by placing it in the oven or in hot boiling water for a few minutes before pouring in the wax.
Also, air bubbles can be unsightly on the surface of your candle, and they can also cause uneven burns.
To prevent air bubbles, gently tap your container with a stirring rod or spoon after pouring the wax.
You can also use a heat gun to get rid of air bubbles.
Hold the heat gun over the surface of the wax while moving it in a circular motion.

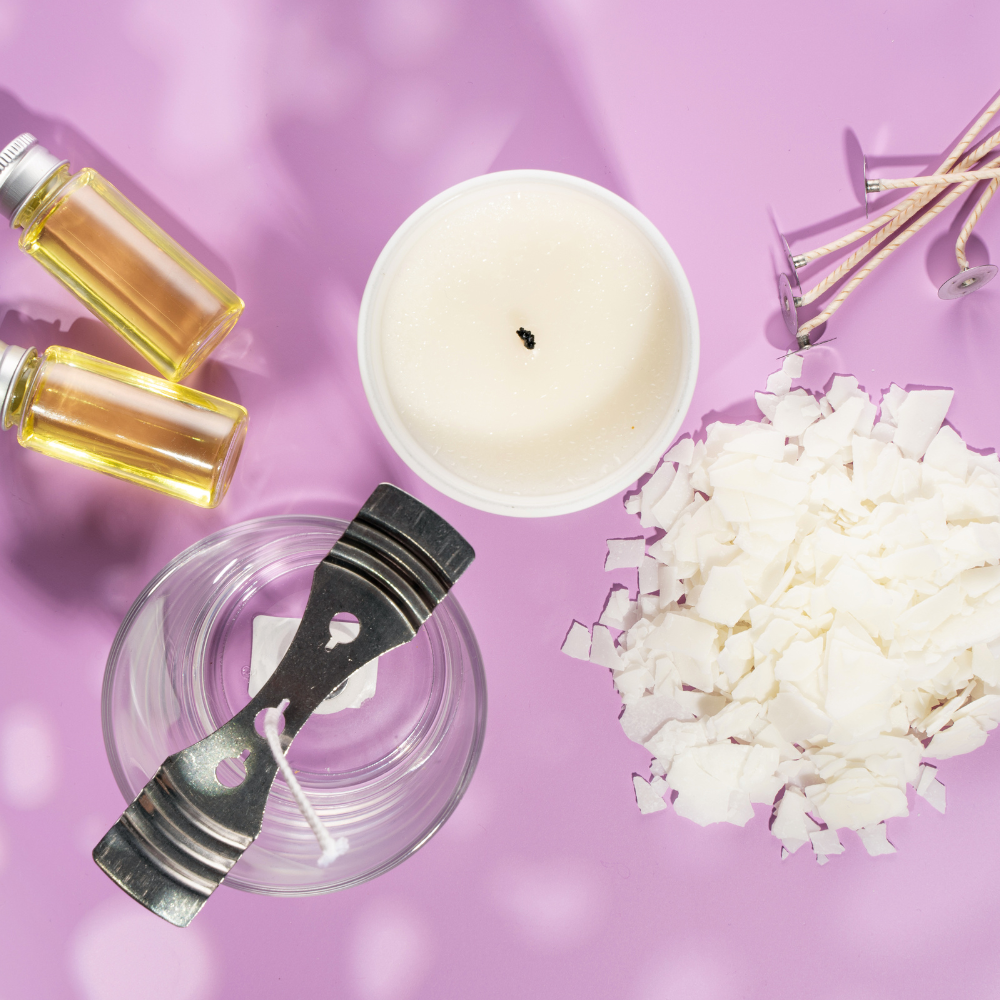
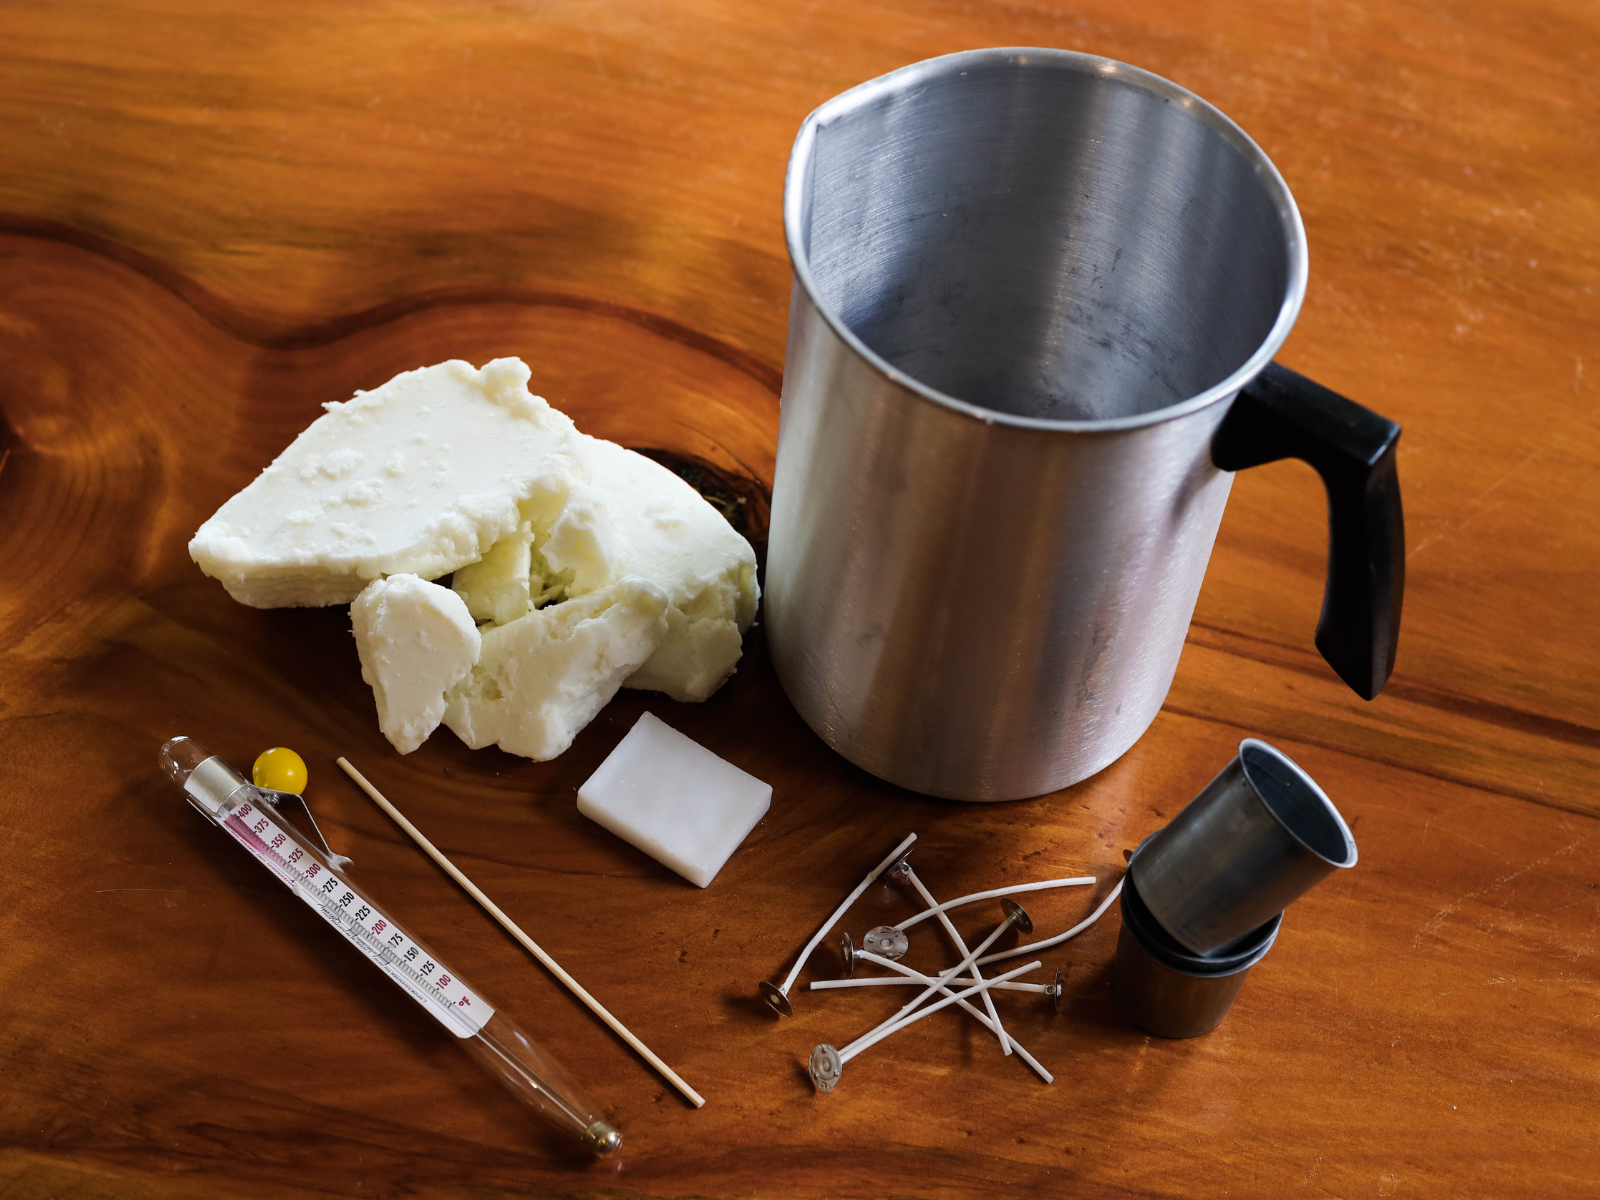
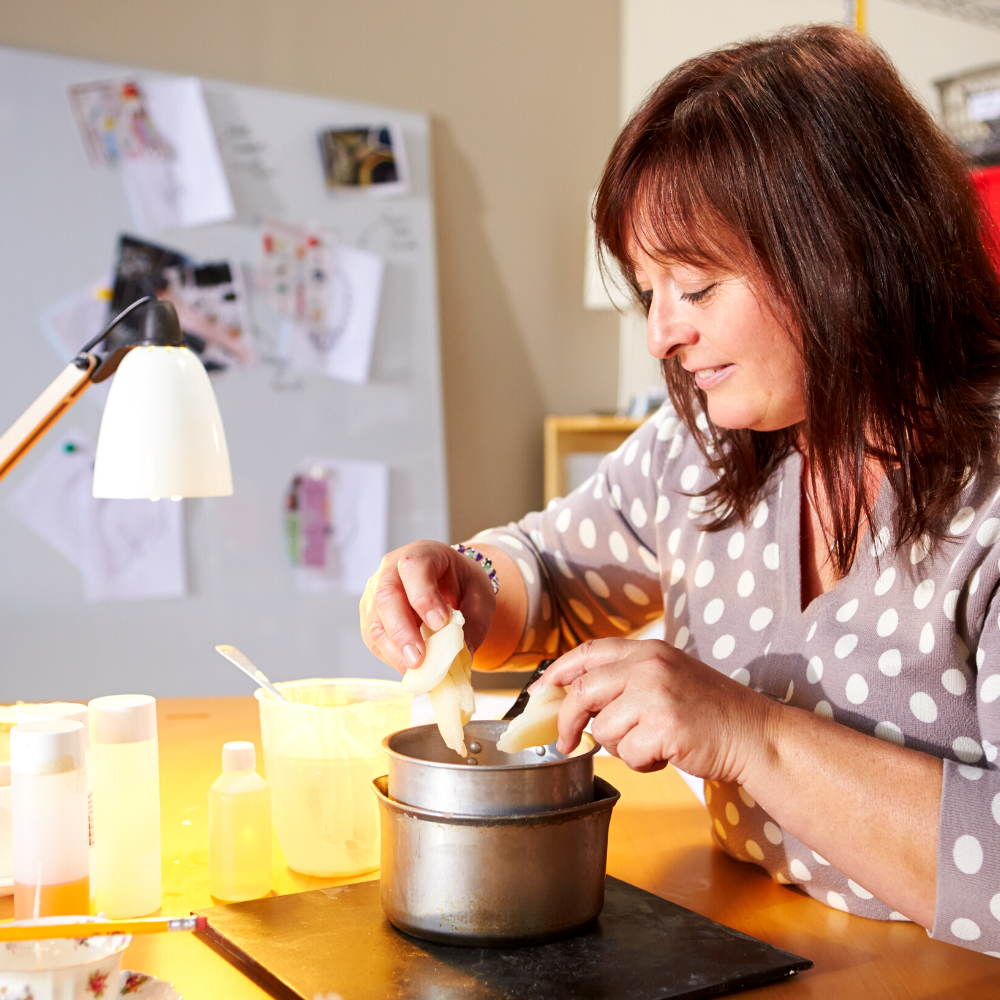
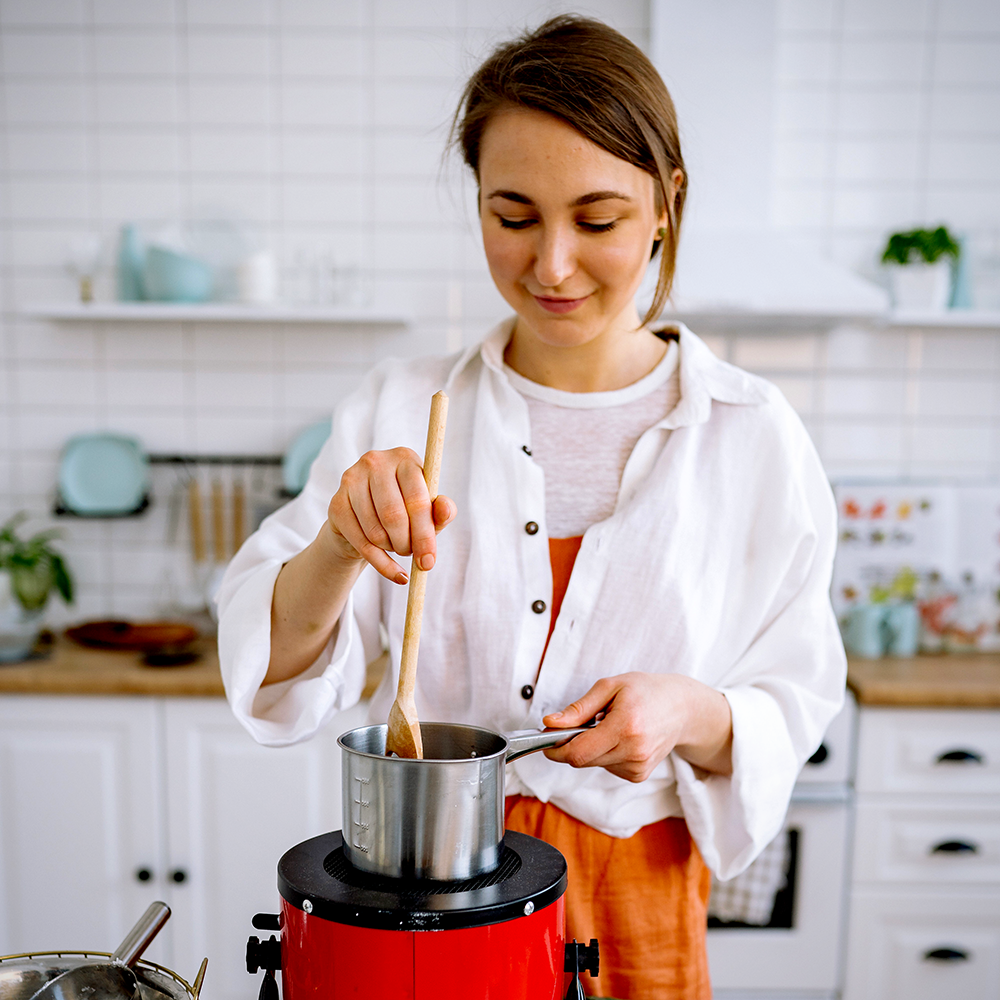
Invest in the Right Equipment
To make candles, you'll need some basic equipment and candle making supplies, including a double boiler, a thermometer, wicks, wax, and fragrance oils.
Investing in high-quality equipment can make a world of difference in your candle making experience.
Look for equipment made specifically for candle making, such as a dedicated double boiler, to ensure that you get the best possible results.
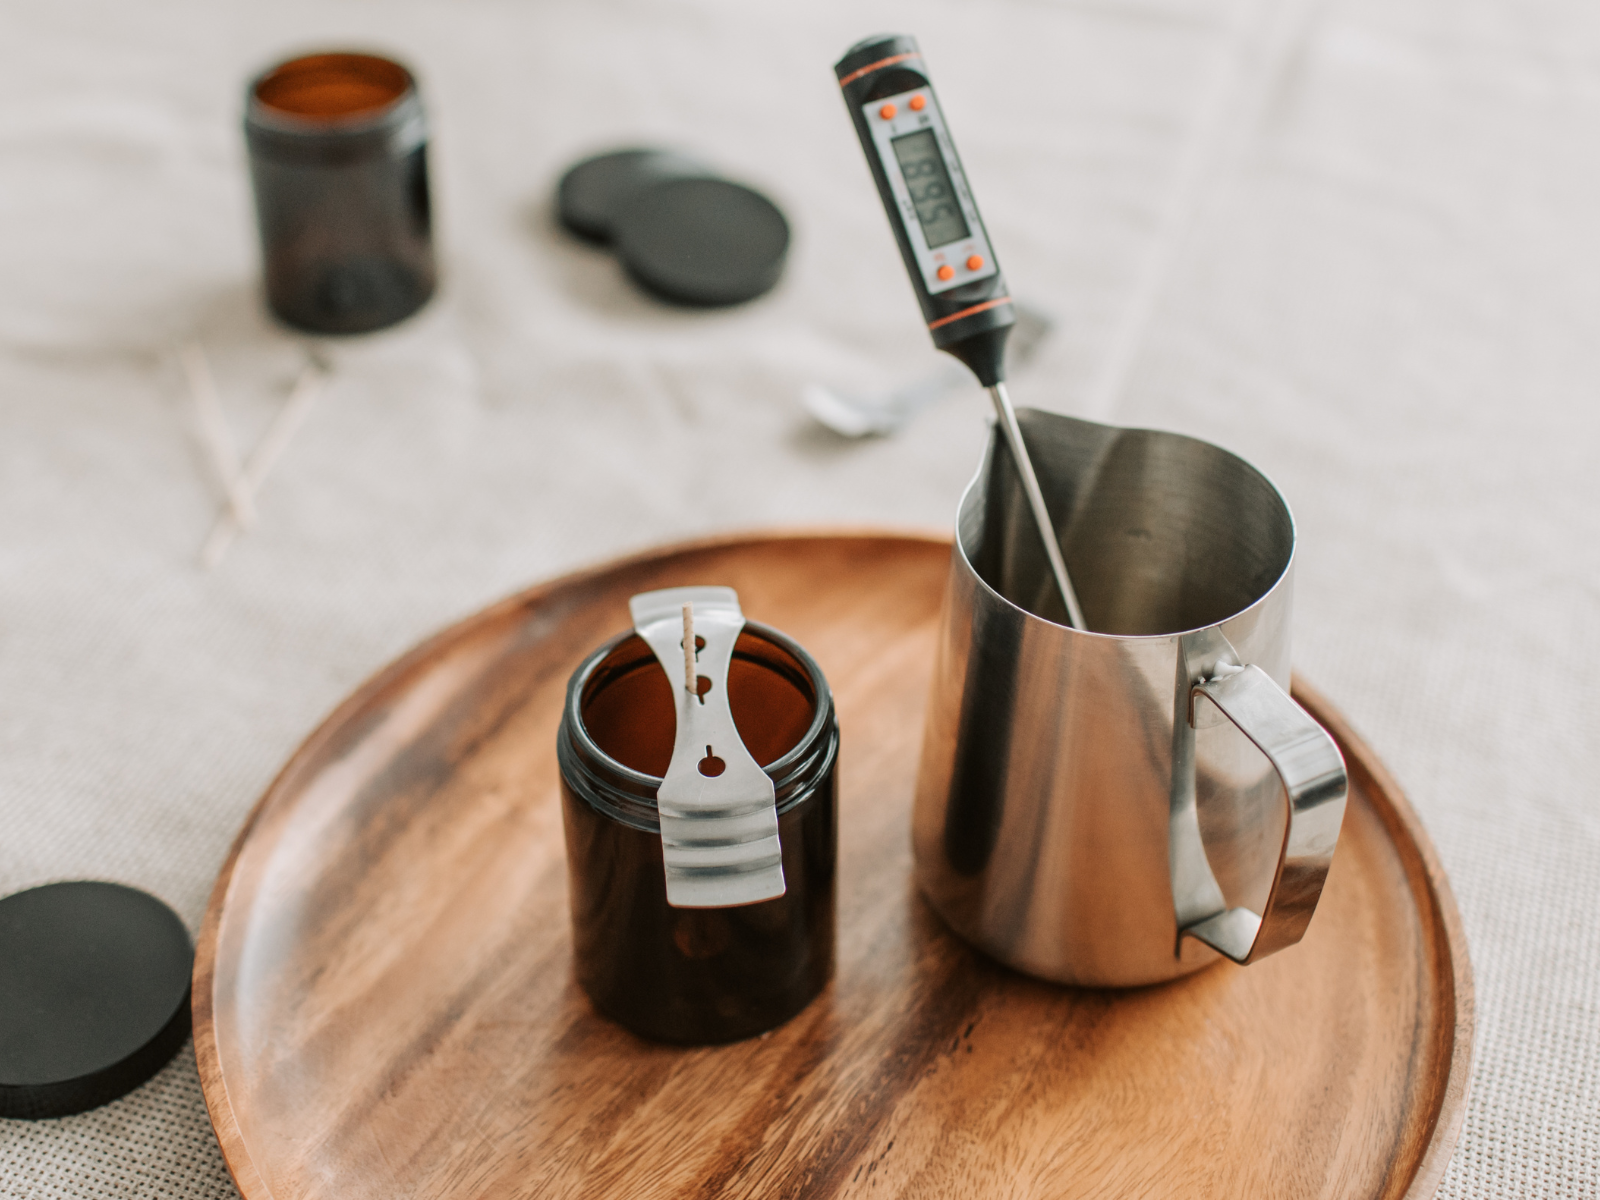
Temperature plays a crucial role in the candle making process, and using a thermometer can ensure that you get it right.
The ideal temperature for melting wax is typically between 160 and 190 degrees Fahrenheit.
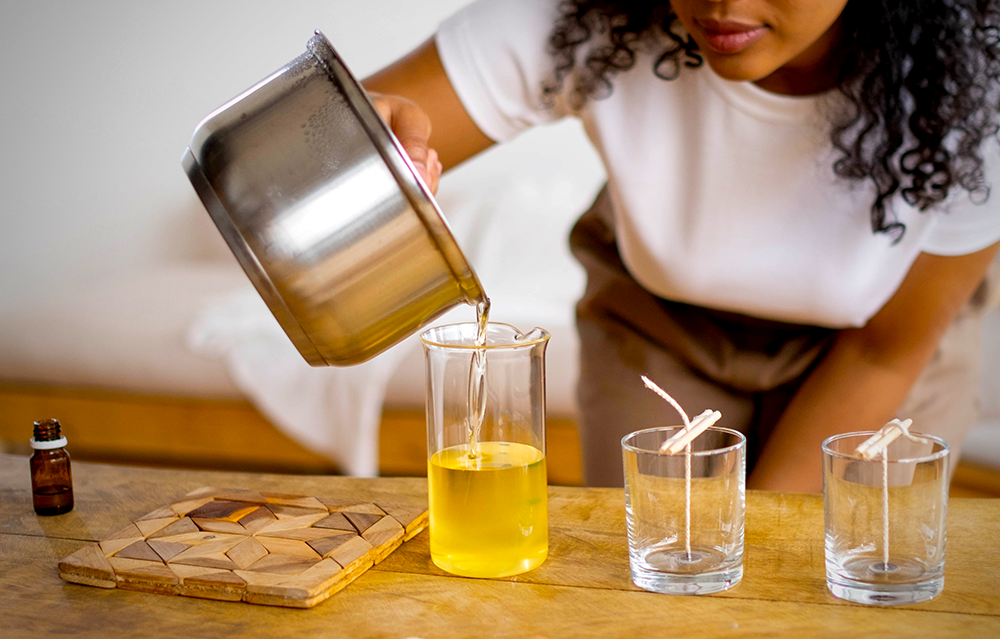
While adding fragrance oils, the wax temperature should be generally between 135 and 140 degrees Fahrenheit, as too high or too low temperatures can affect the scent throw.
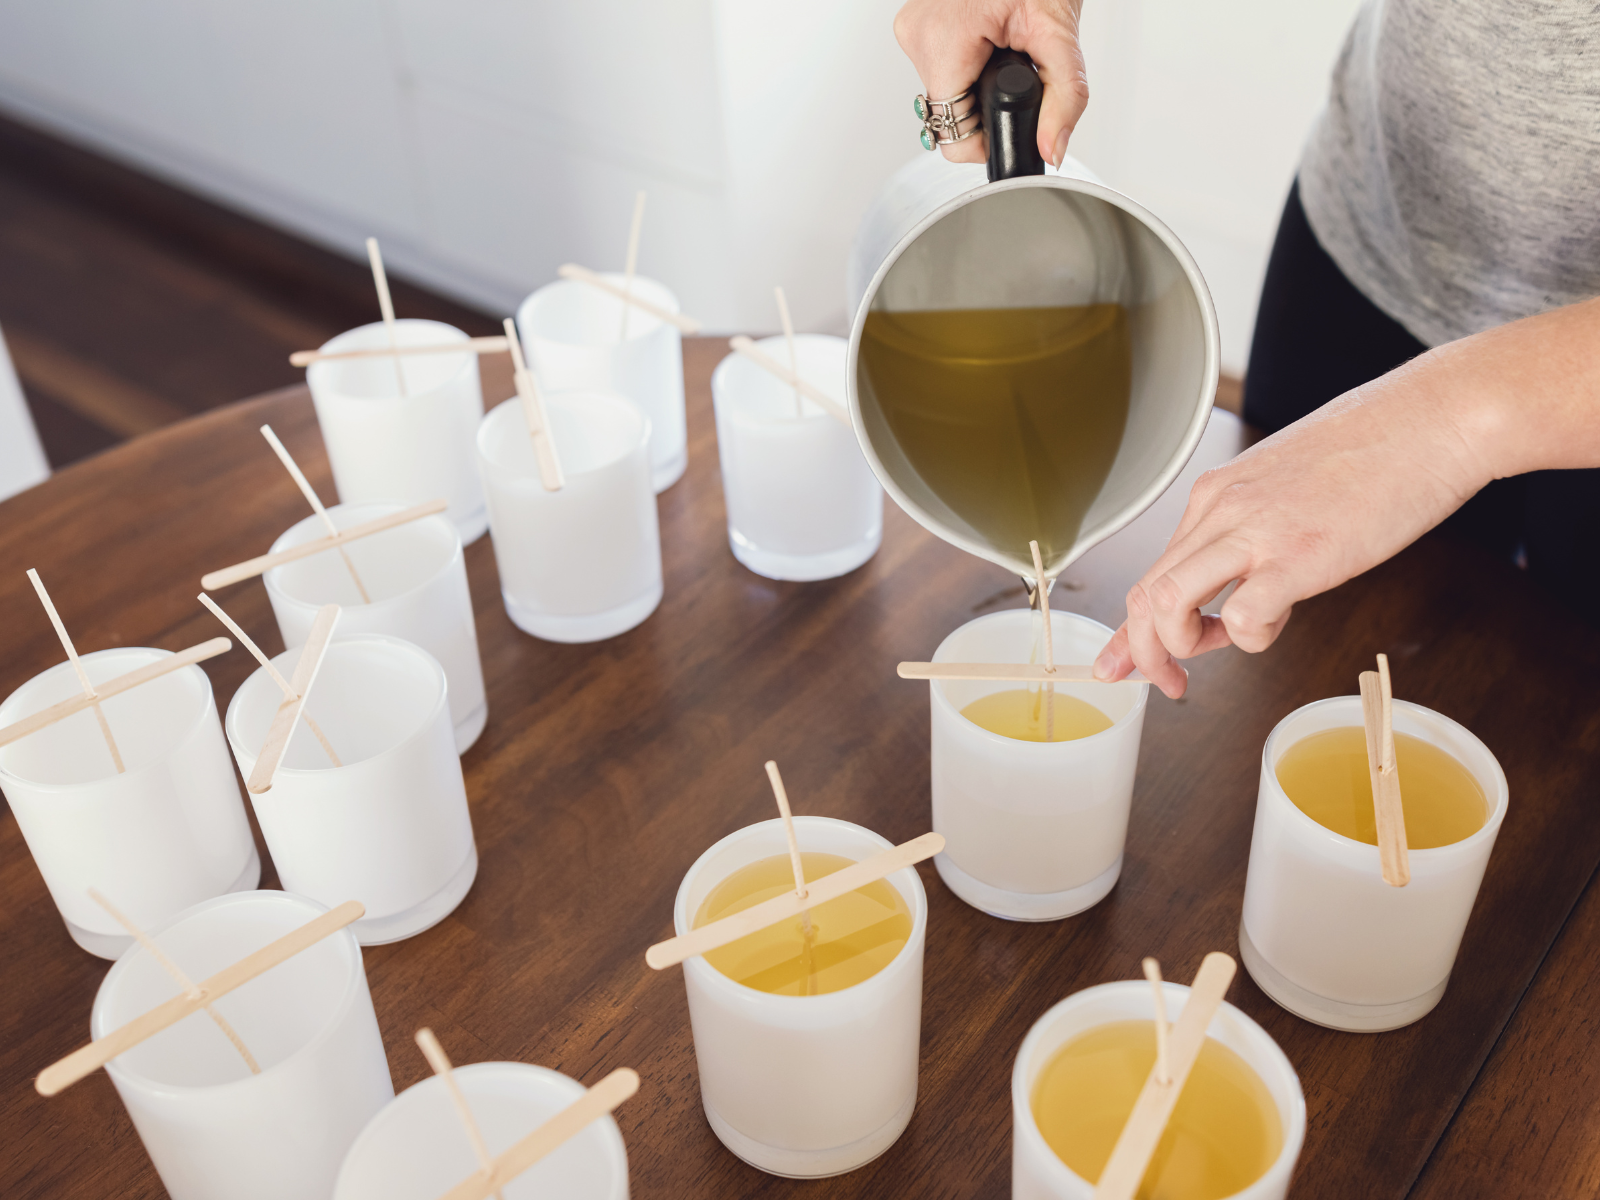
When pouring the melted wax into your containers, make sure that you pour slowly and evenly to ensure a uniform finish.
You can also use a heat gun to get rid of any air bubbles that may form.
Practice Patience
Candle making is a relatively simple craft, but it does require some patience.
You'll need to wait for your candles to set and cure properly.
Once you've poured your wax, resist the urge to move your finished candle.
Moving it before it has fully set can cause the wax to move and create uneven surfaces.
Allow your candle to sit in a cool area until the wax has fully set.
Rushing through the process can result in candles that don't burn correctly or don't look as good as they should.
So, take your time and enjoy the process of creating beautiful, handmade candles.

Trim Your Wick and Store Your Candles Properly
Trimming your wick before lighting your candle ensures that your candle burns evenly and smoothly.
A wick that's too long can create a flickering and smoky flame.
Trim your wick to around a quarter-inch before lighting your candle.
When not in use, store your candles in a cool and dry place, away from direct sunlight, to preserve their scent and prevent them from melting.
Prolonged exposure to sunlight can cause your candle's color to fade or even melt in hot weather conditions.
Have Fun and Enjoy the Process
Most importantly, enjoy the process!
Candle making is an art that is both relaxing and rewarding.
It allows you to let your creative juices flow, and at the end of the process, you would have created something beautiful and functional.
Candle making can be done solo or with friends and family, so have fun and enjoy the craft!
Most importantly, don't be afraid to experiment with various fragrances, colors, and wick sizes.
With practice, you'll become a pro at candle making, and you'll have a collection of beautiful candles to light up your home or gift to loved ones.
Whether you're just starting or an experienced candle maker, these tips will help you create candles that look and smell amazing.
So, grab your supplies and get ready to create a masterpiece!
Fun and Creative Candle Making
Candle making is a fun and relaxing hobby that can lead to beautiful, personalized candles.
It's a therapeutic process and a beautiful art form, which is why so many people are drawn to it.
Regardless of whether you want to create soy candles, beeswax candles, bubble candles, colorful and highly scented creations, or other fun designs, candle making is a great way to express your creative side.
By keeping these tips in mind, you can get started on your candle making journey and create candles that look and smell amazing.
Remember to choose the right wax, use high-quality fragrances and oils, experiment with colors and shapes, invest in the right equipment, and practice patience.
Make sure to have fun, experiment, and don't worry about making mistakes along the way!
With the right guidance and some effort, you'll be making your own candles like a pro in no time!
Happy candle making!
Ready to dive on into candle making? Check out Standley Handcrafted's video for more great tips!
Want even more content about creativity and art?
Be sure to check out all of our creative chronicles!
Interested in candle making?
You should check out some of our other supply articles: