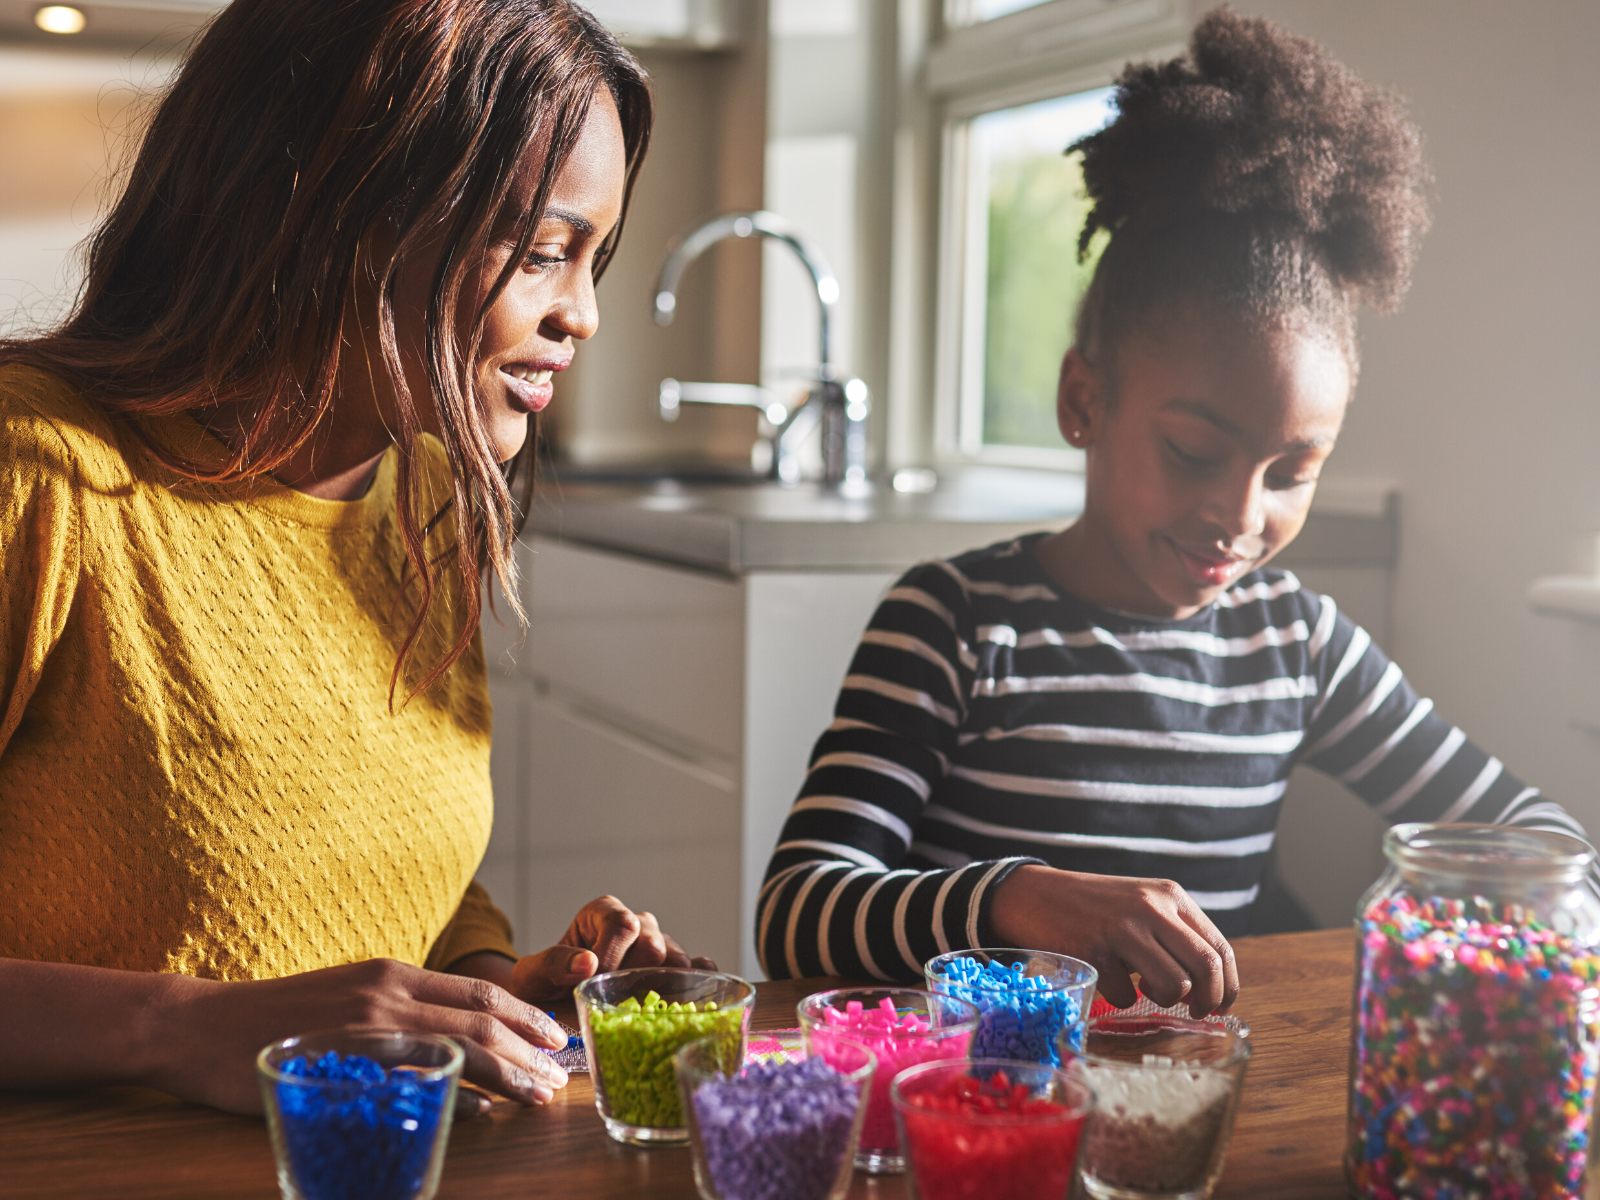
Beading is an incredibly fun hobby that can yield stunning results.
No matter if it is making jewelry, home décor, or costumes, there are no limits to what you can create with beads.
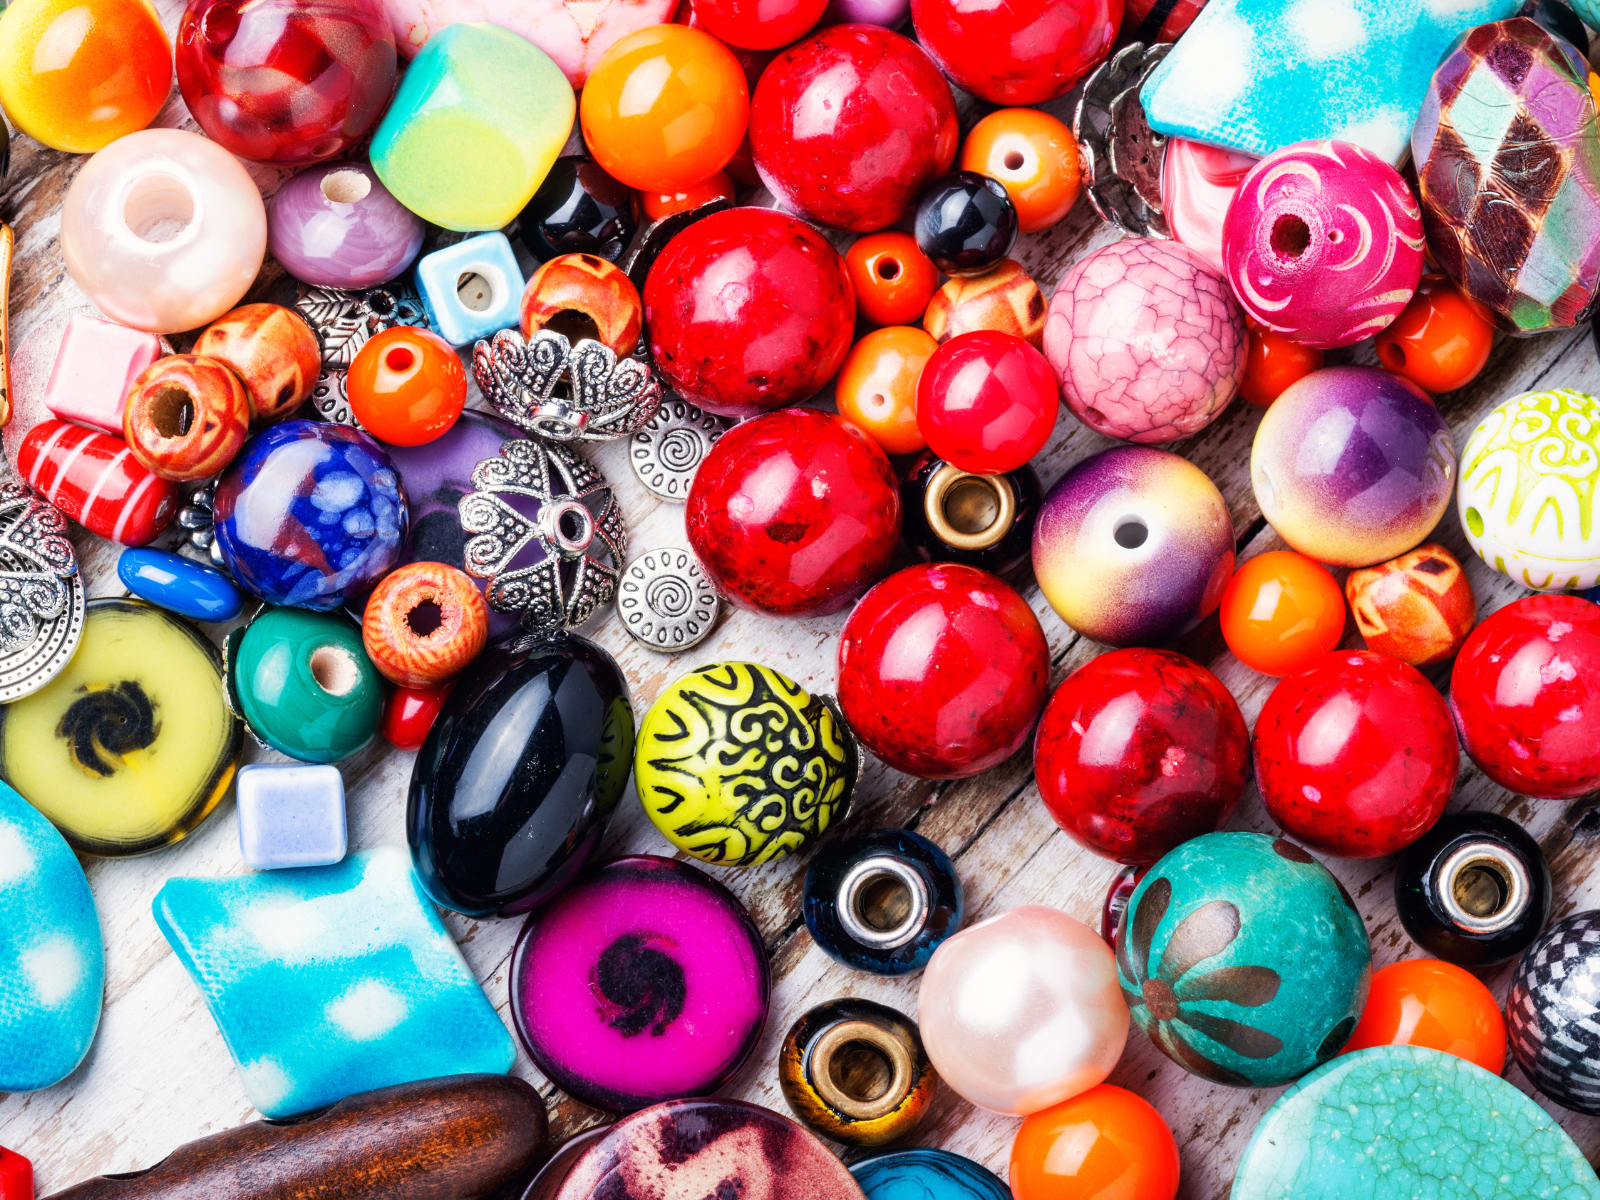
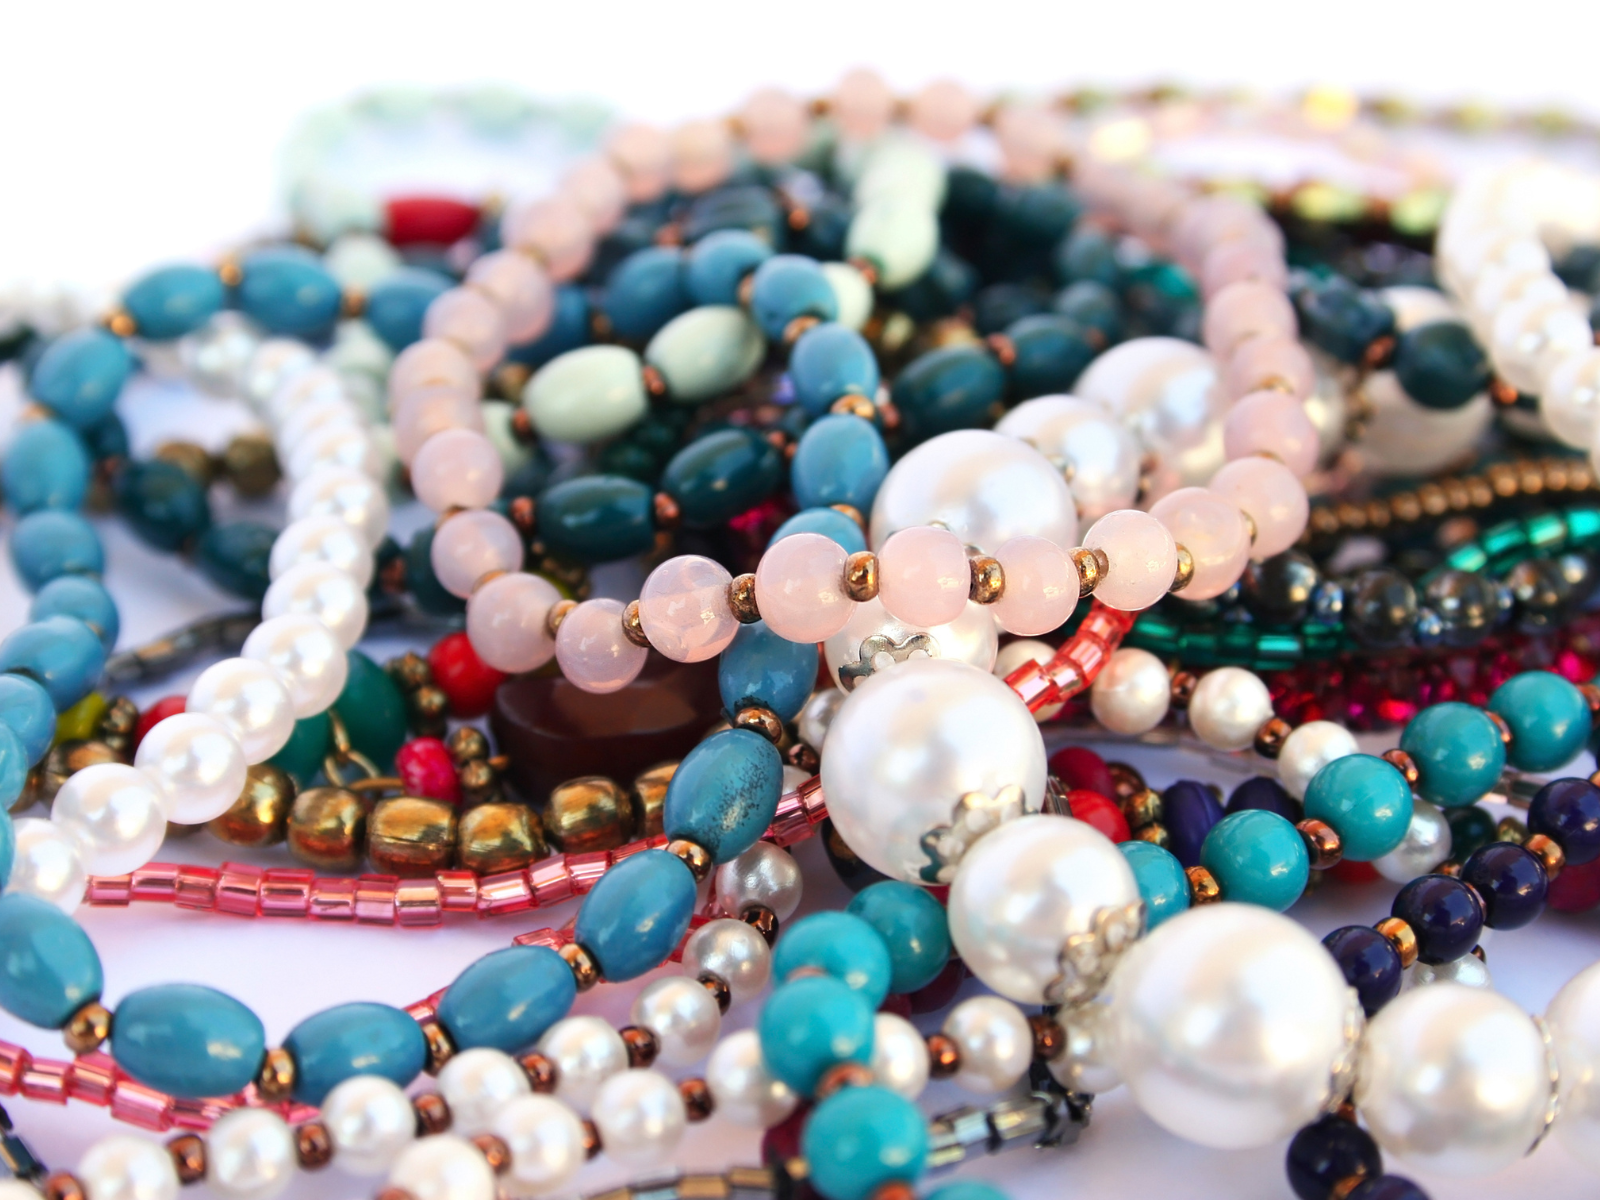
If you're a serious beader, then you know that no design is complete without great beads.
Whether it's stringing, weaving or knitting, finding the perfect bead to add your unique edge can make all the difference in your projects – and take them to another level!
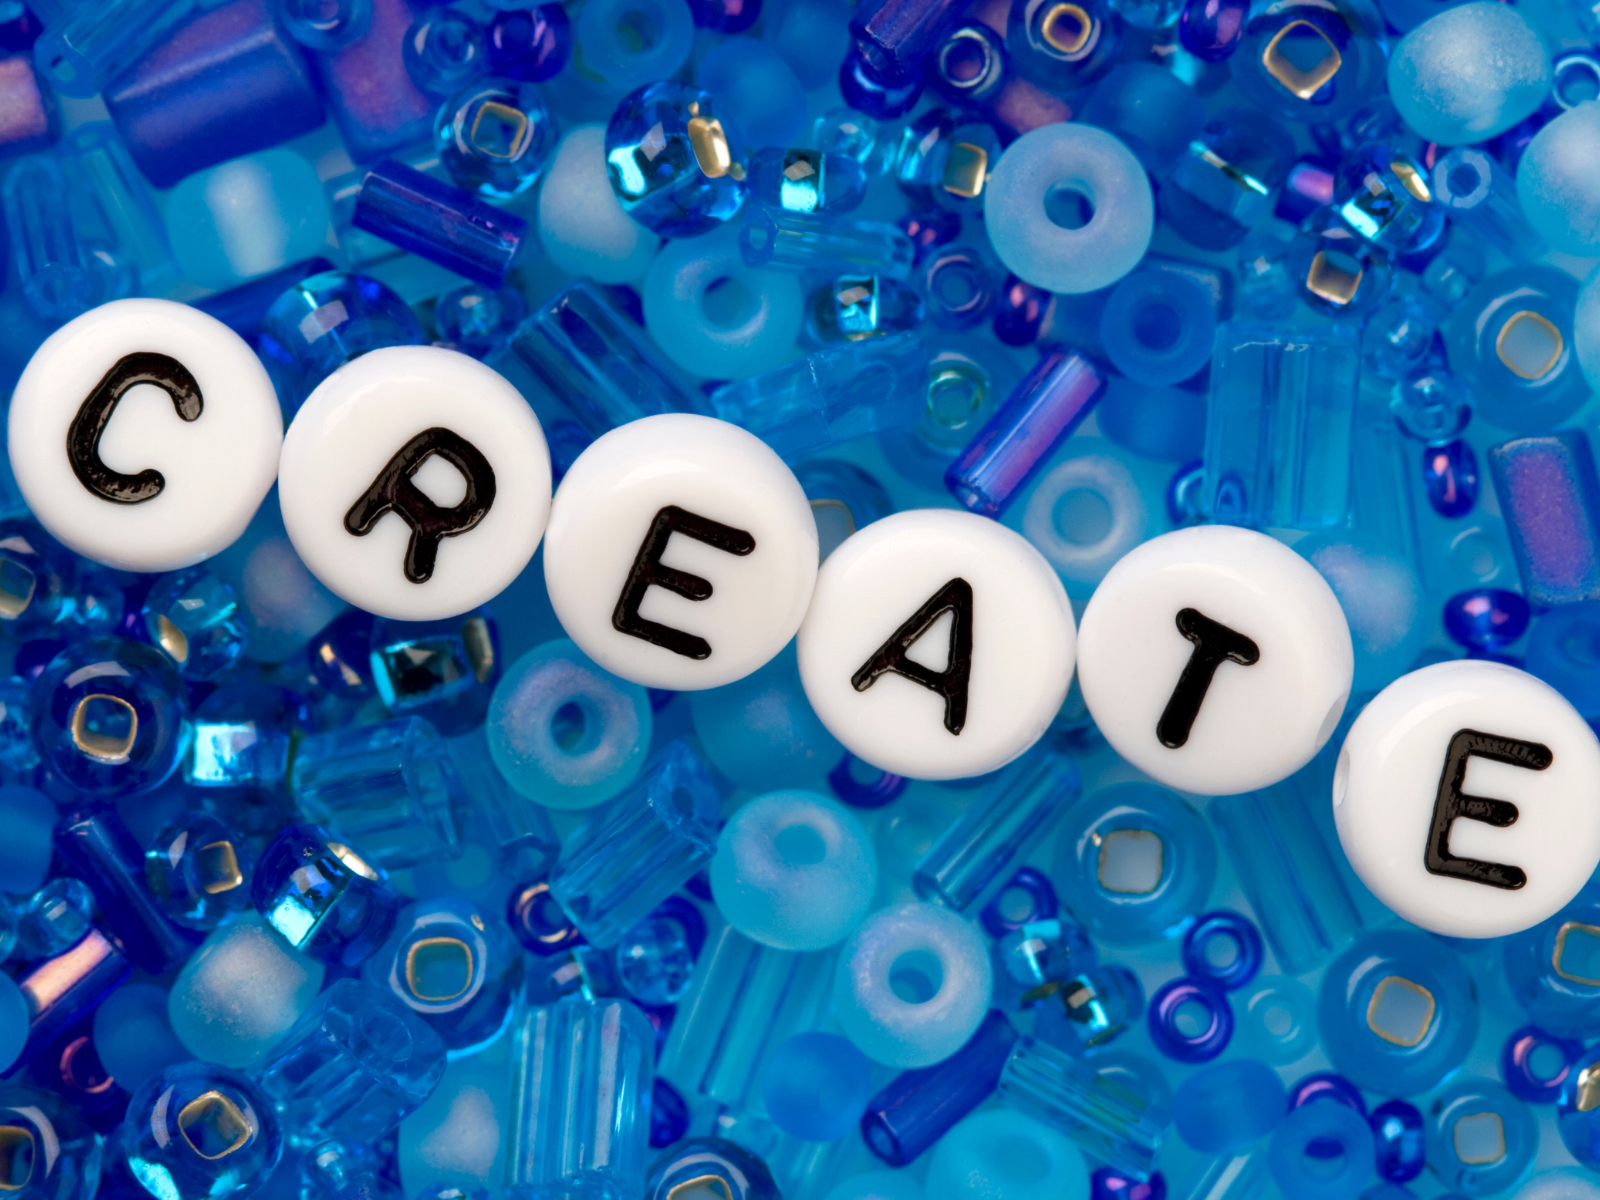
If you're looking for awesome ways to up your beading game, then look no further than this collection of inspiring beading tips.
Get ready to bead it up with these creative tips that'll have your creations sparkling like never before!
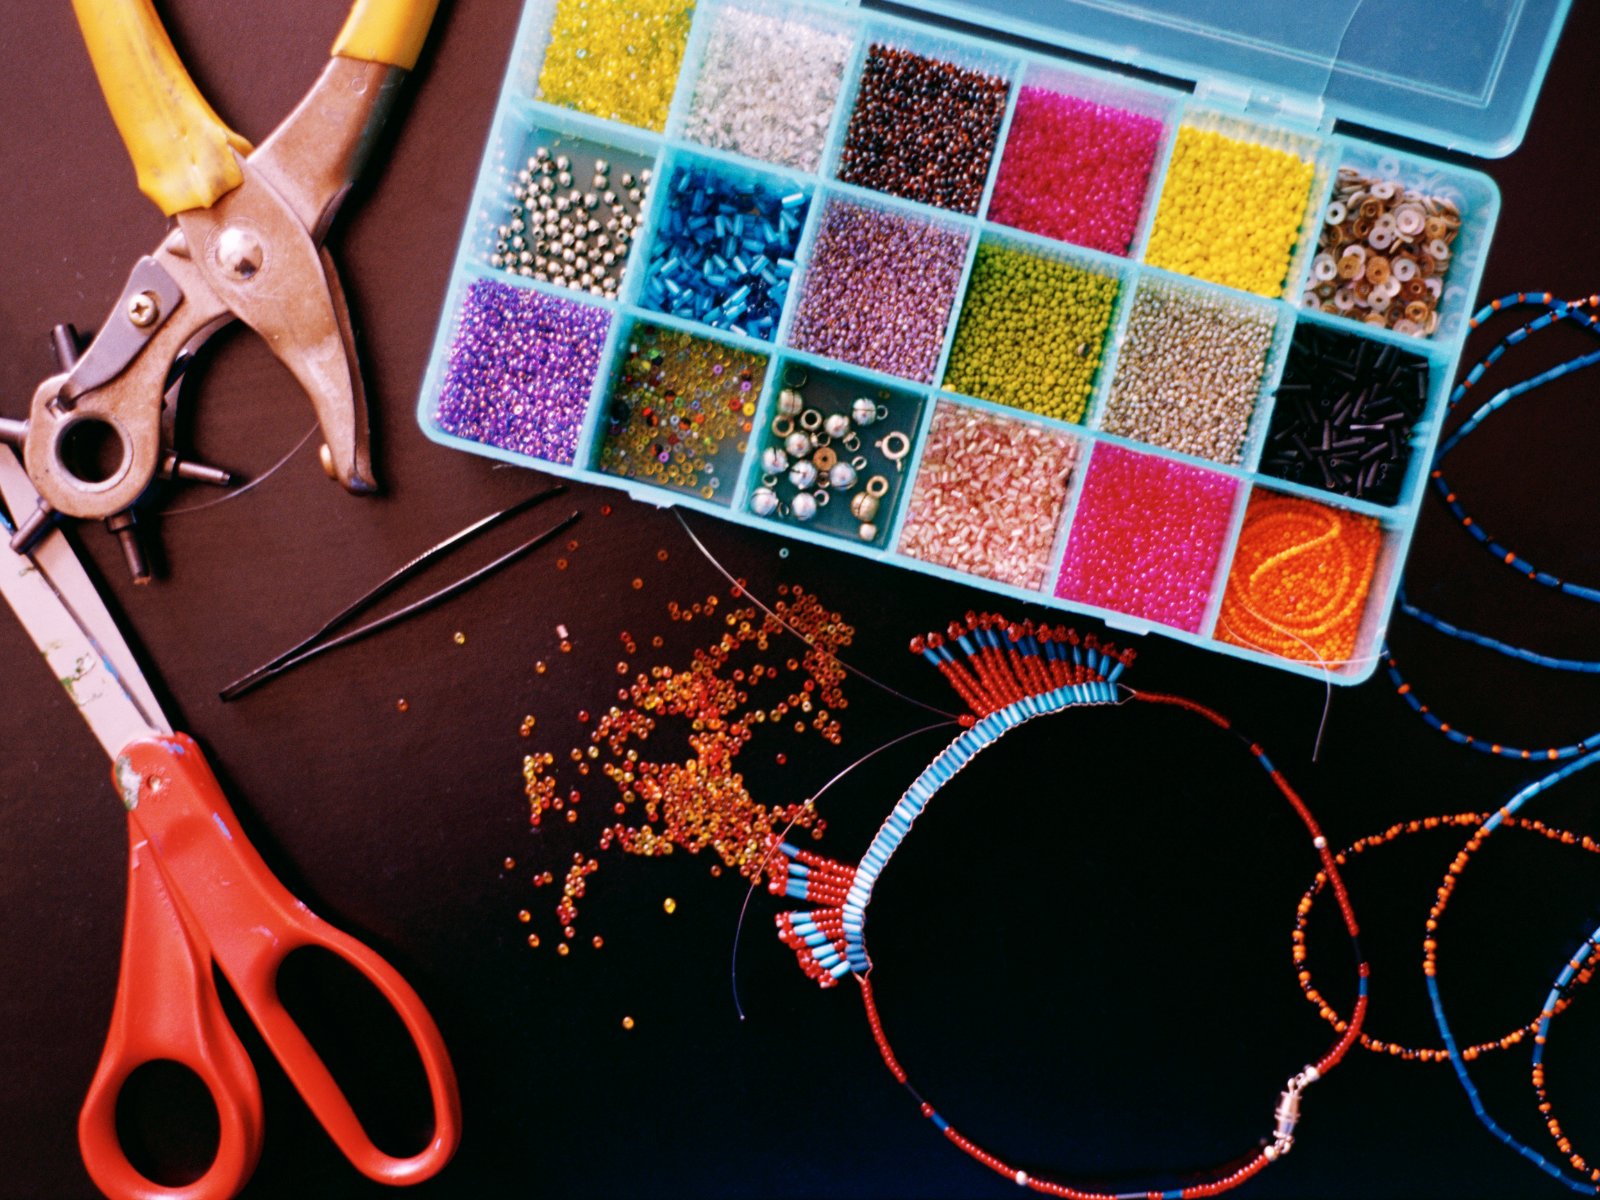
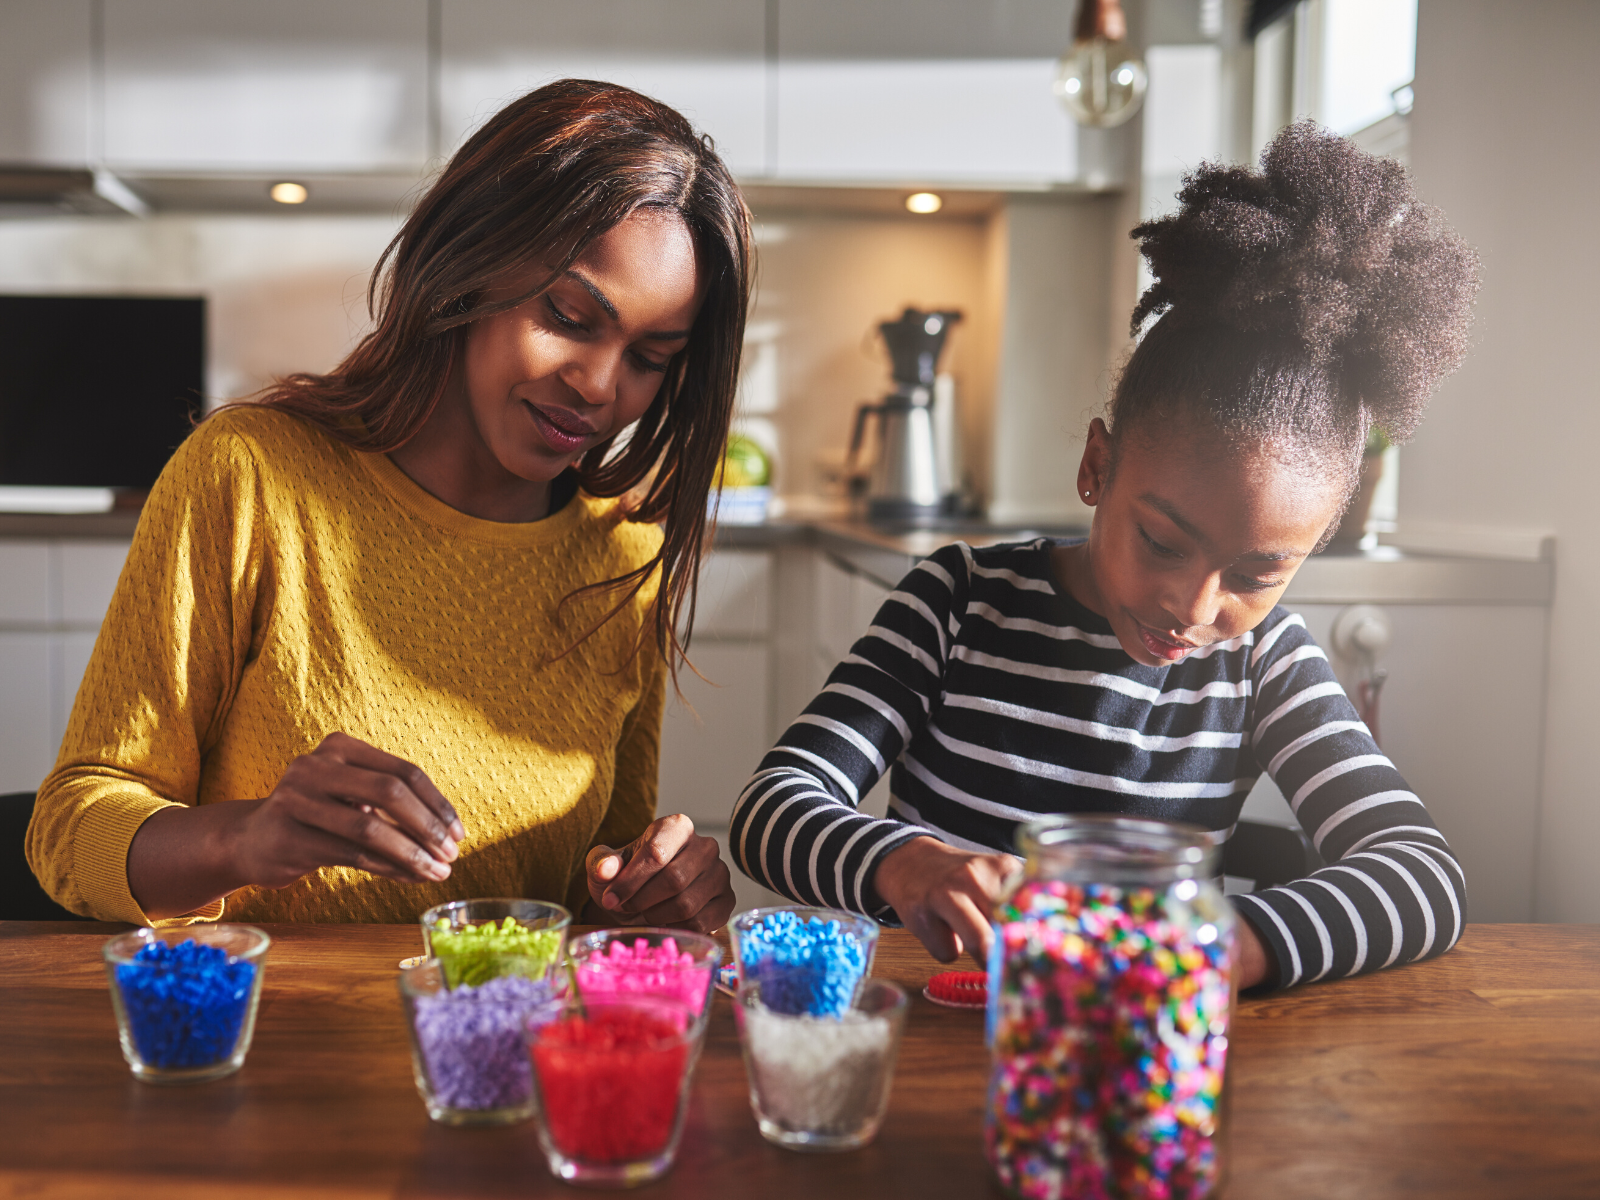
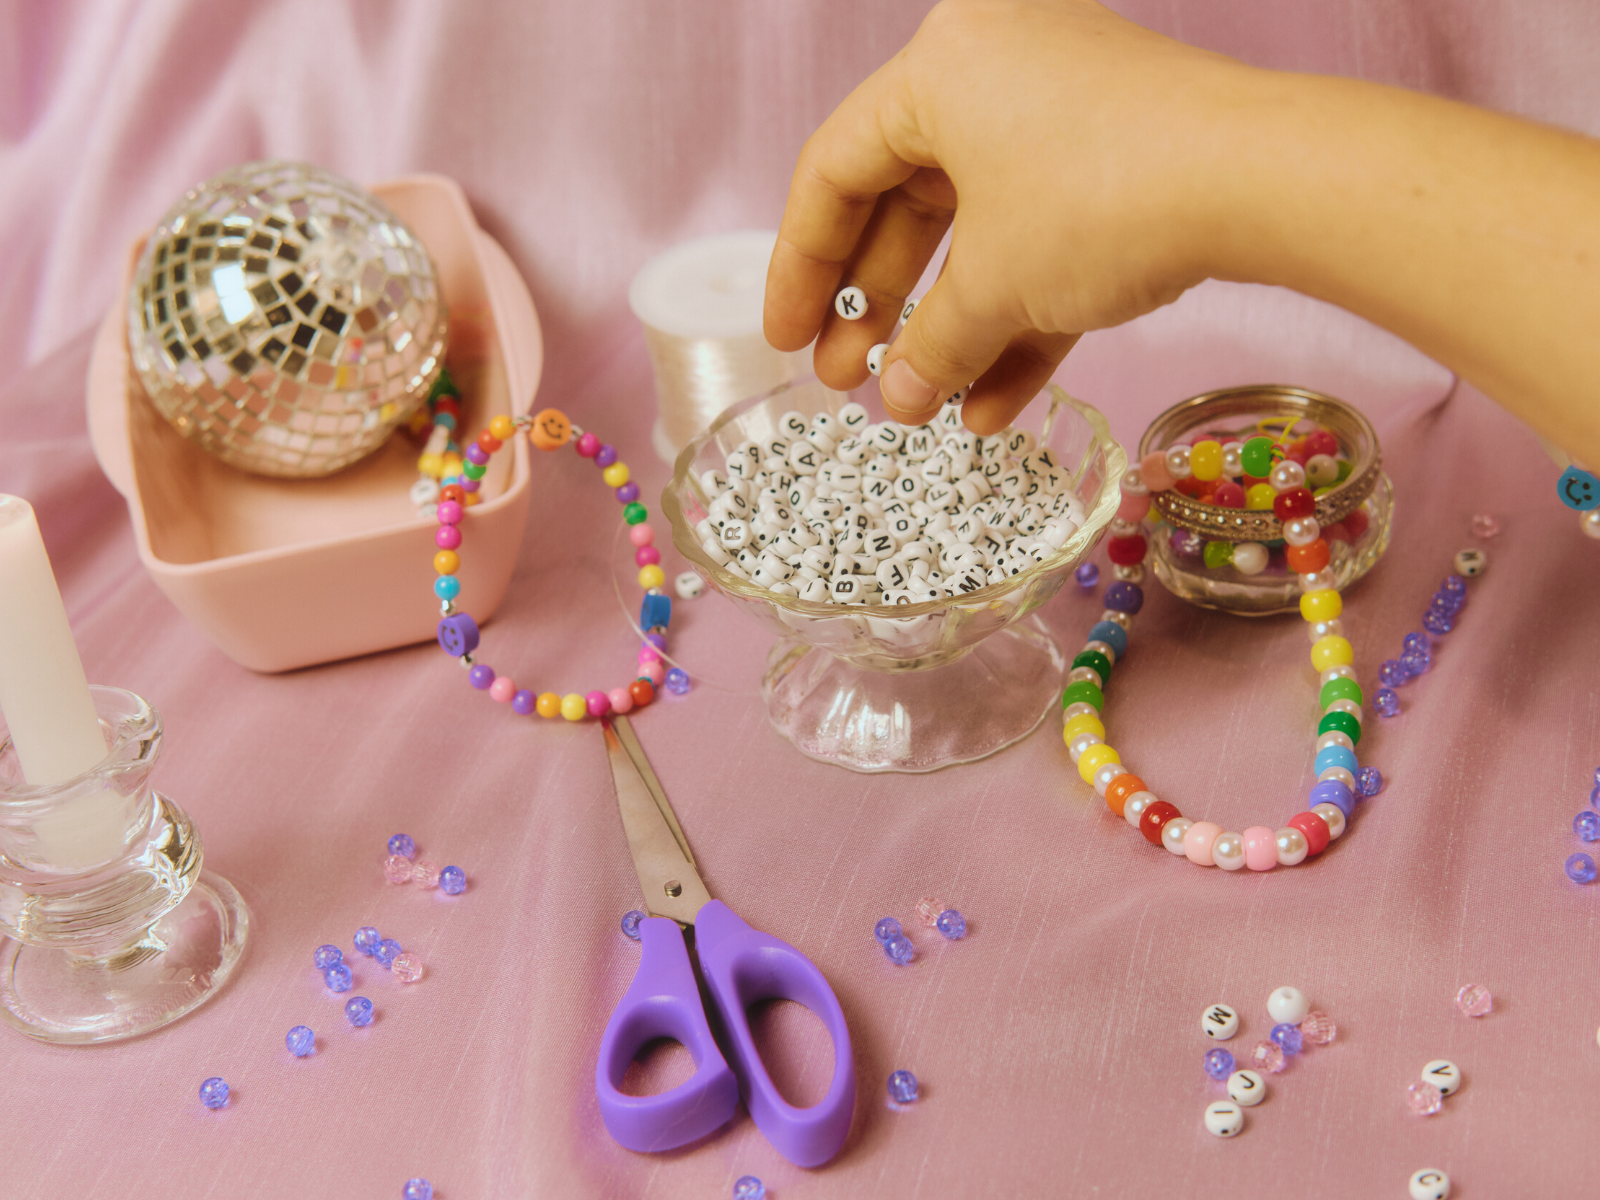
Prepare Your Workspace and Sort Your Beads
Before you start, make sure to clean your workspace and have all the tools you need nearby.
A cluttered workspace can be distracting and may even make you lose beads.
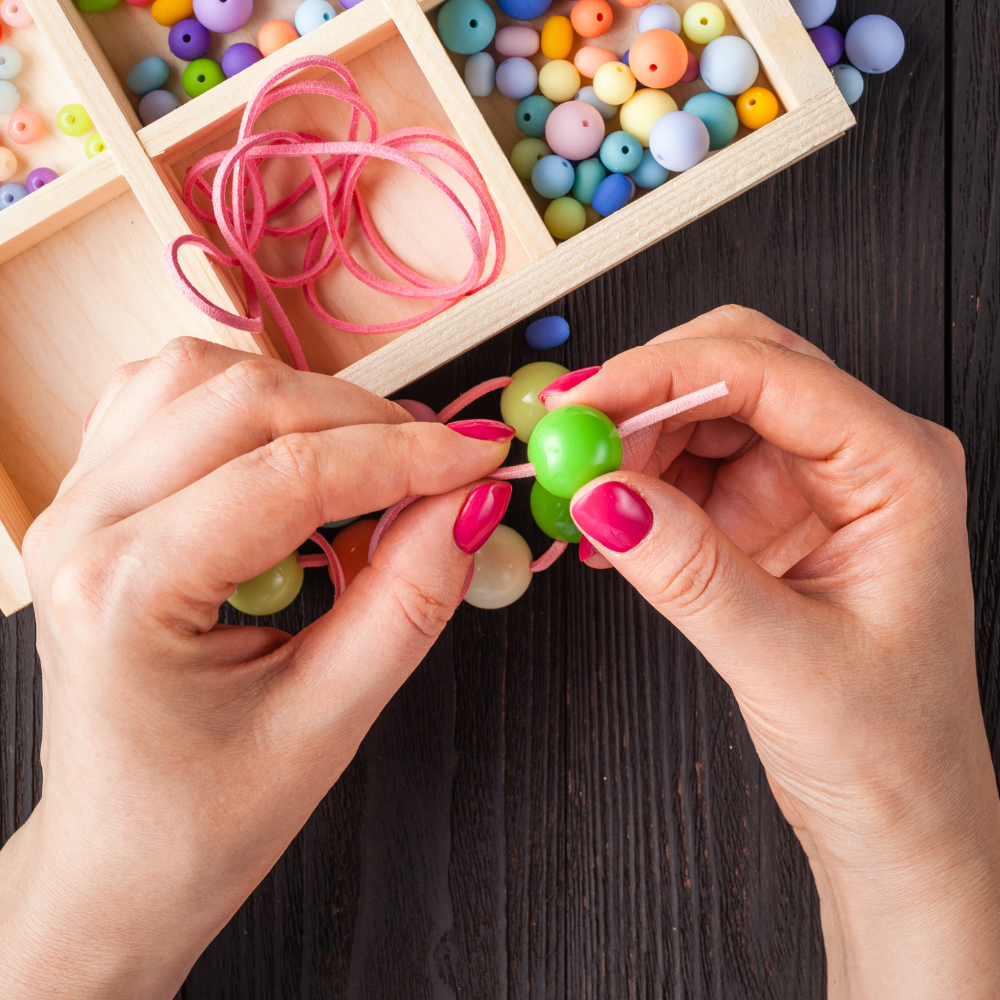
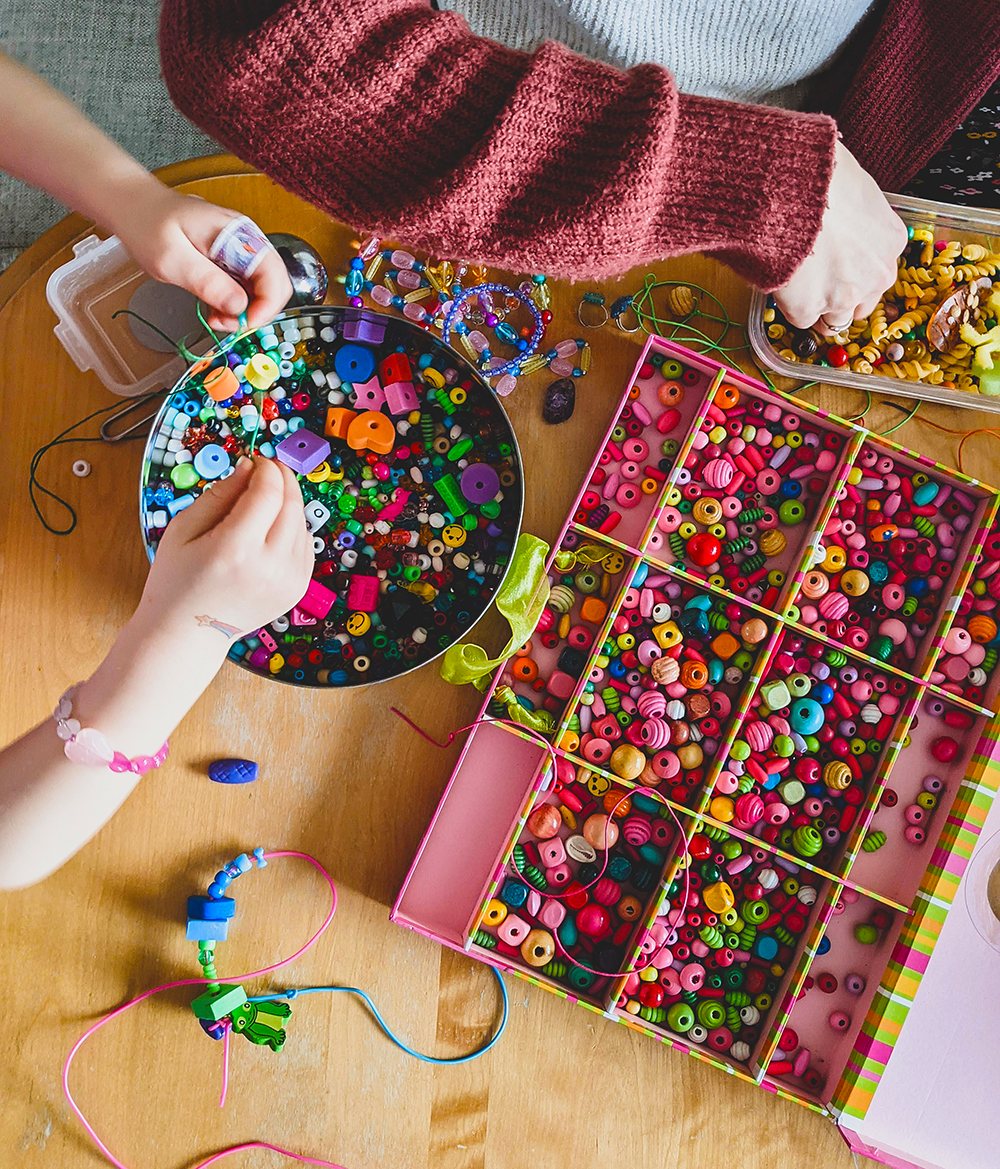
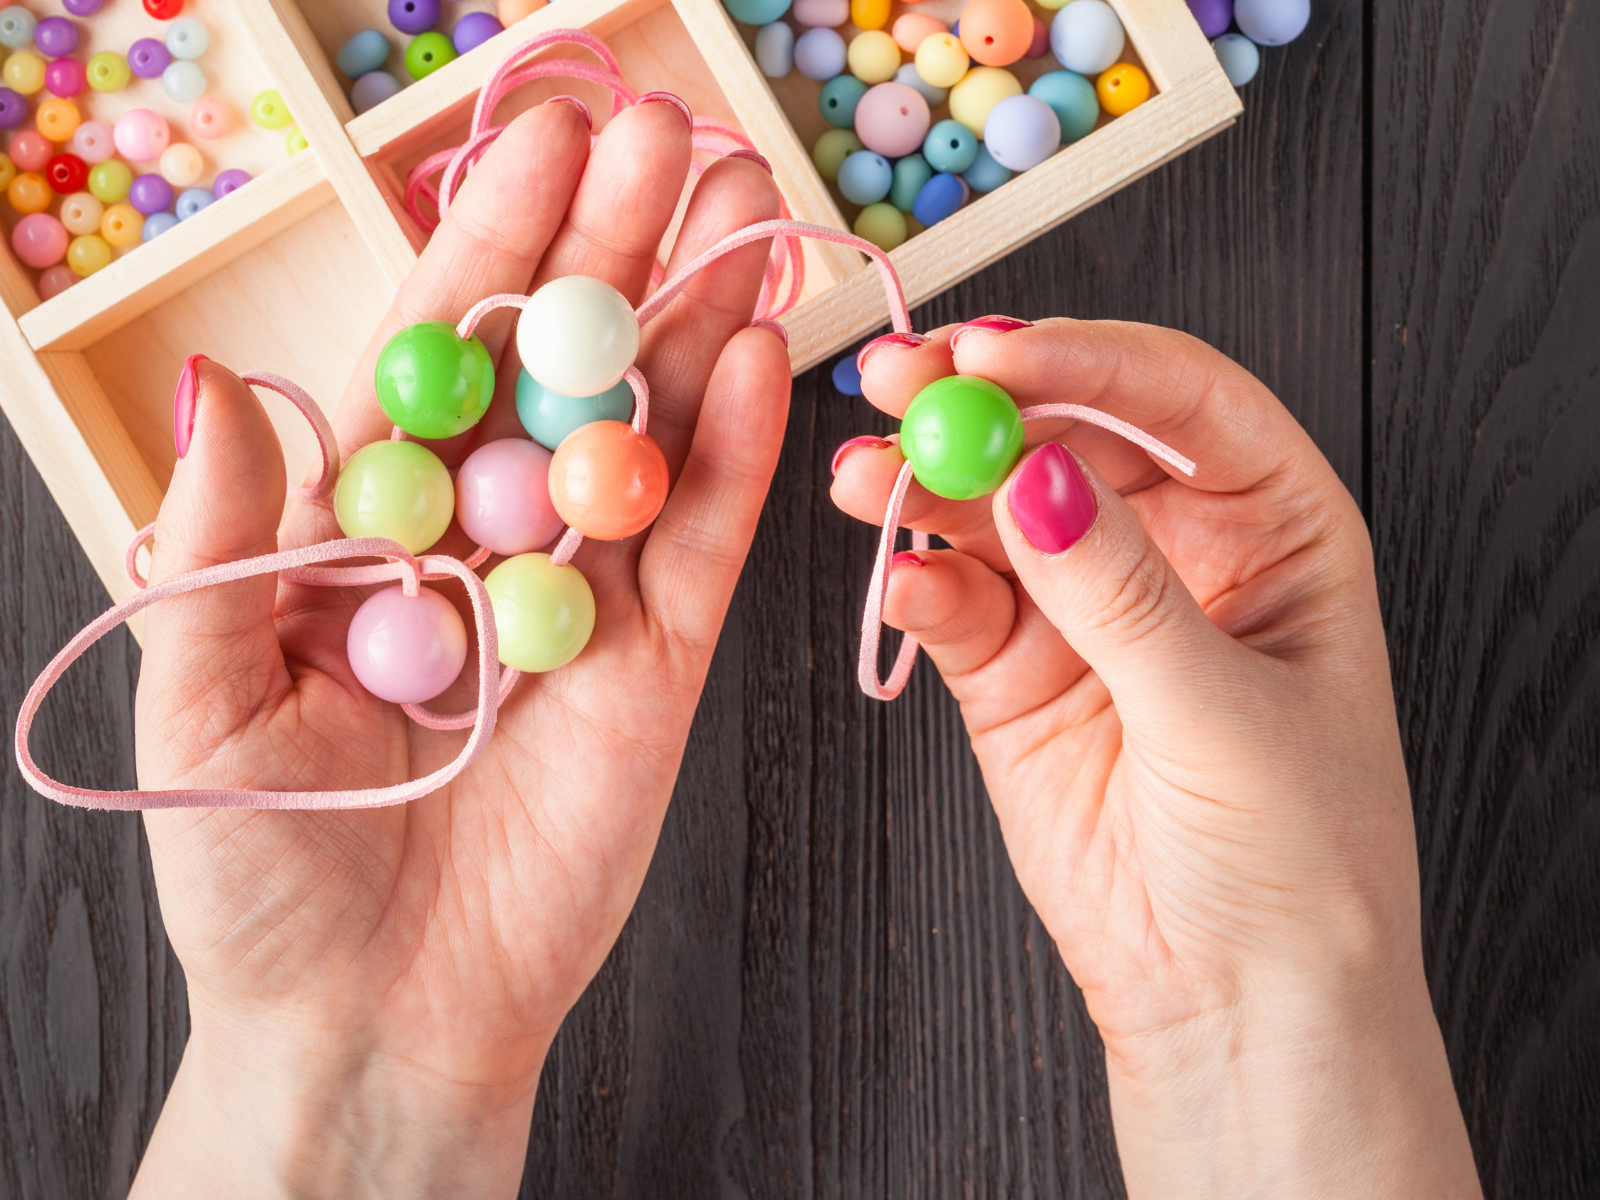
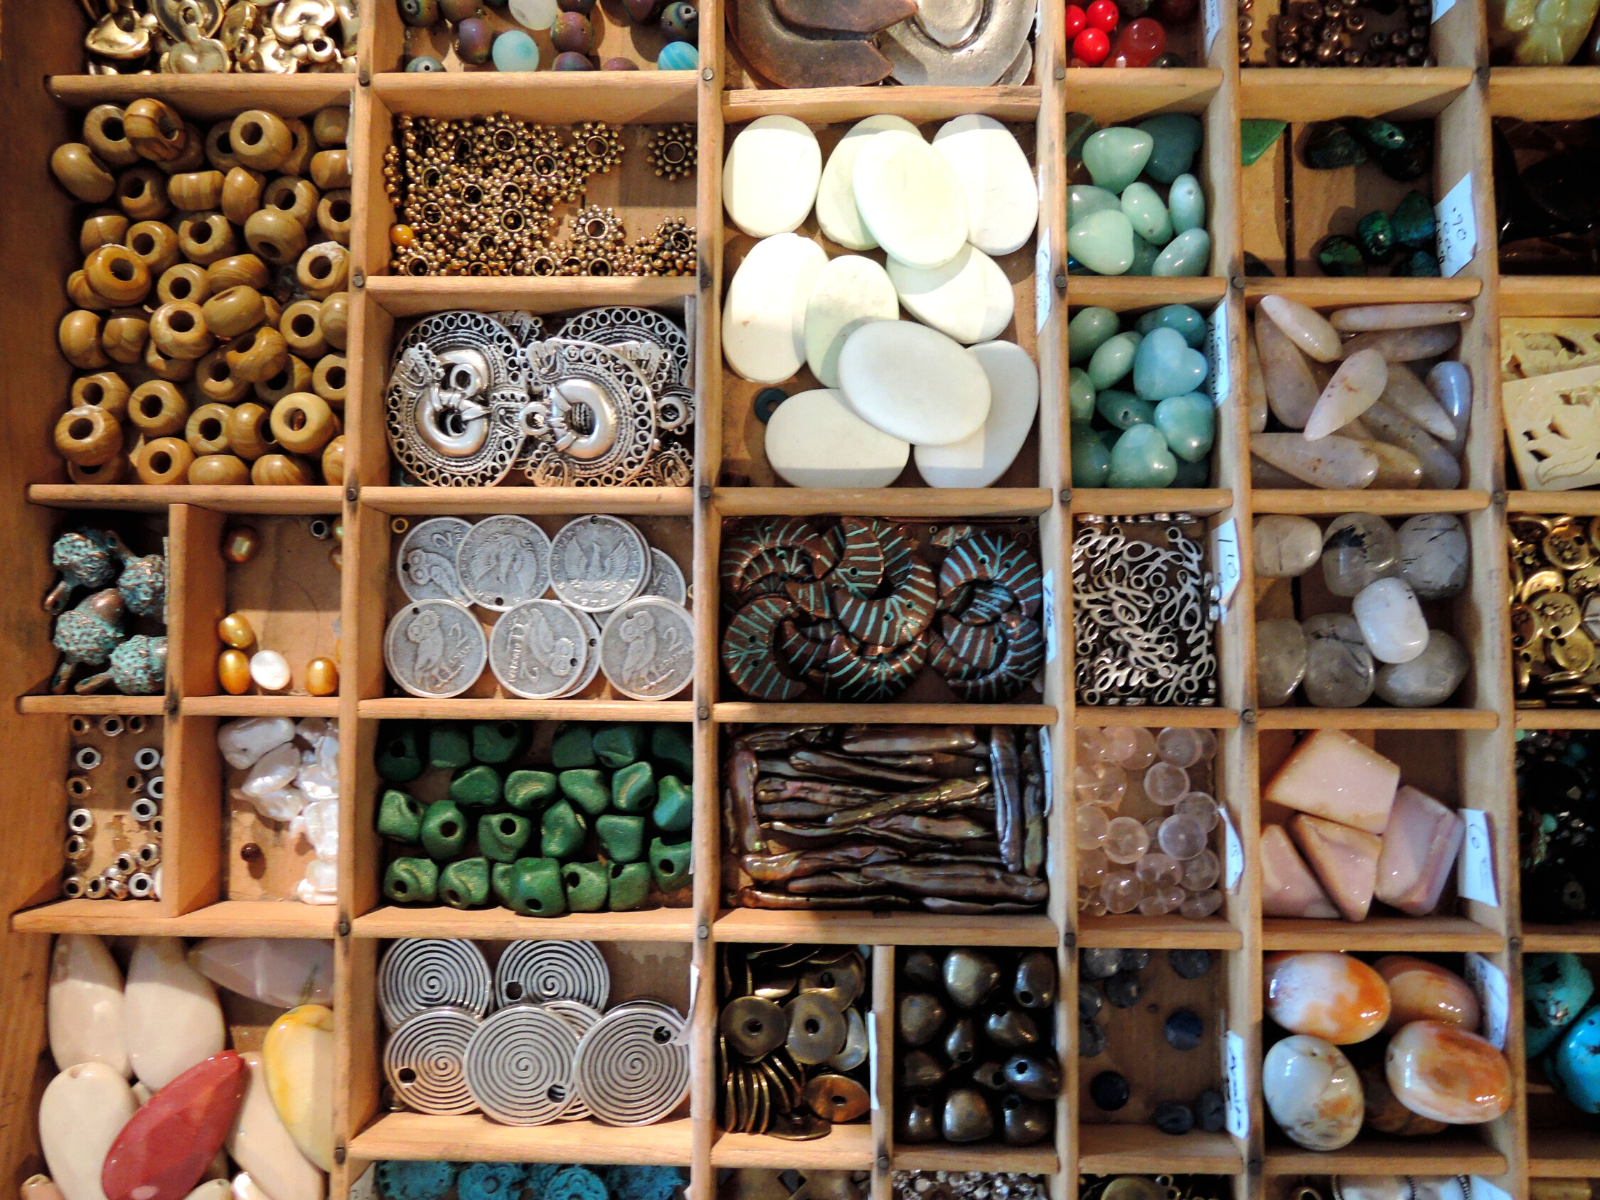
Staying organized while beading, especially when working with tiny beads, is essential.
It saves time, energy, and retains your sanity, especially if you’re handling small items.
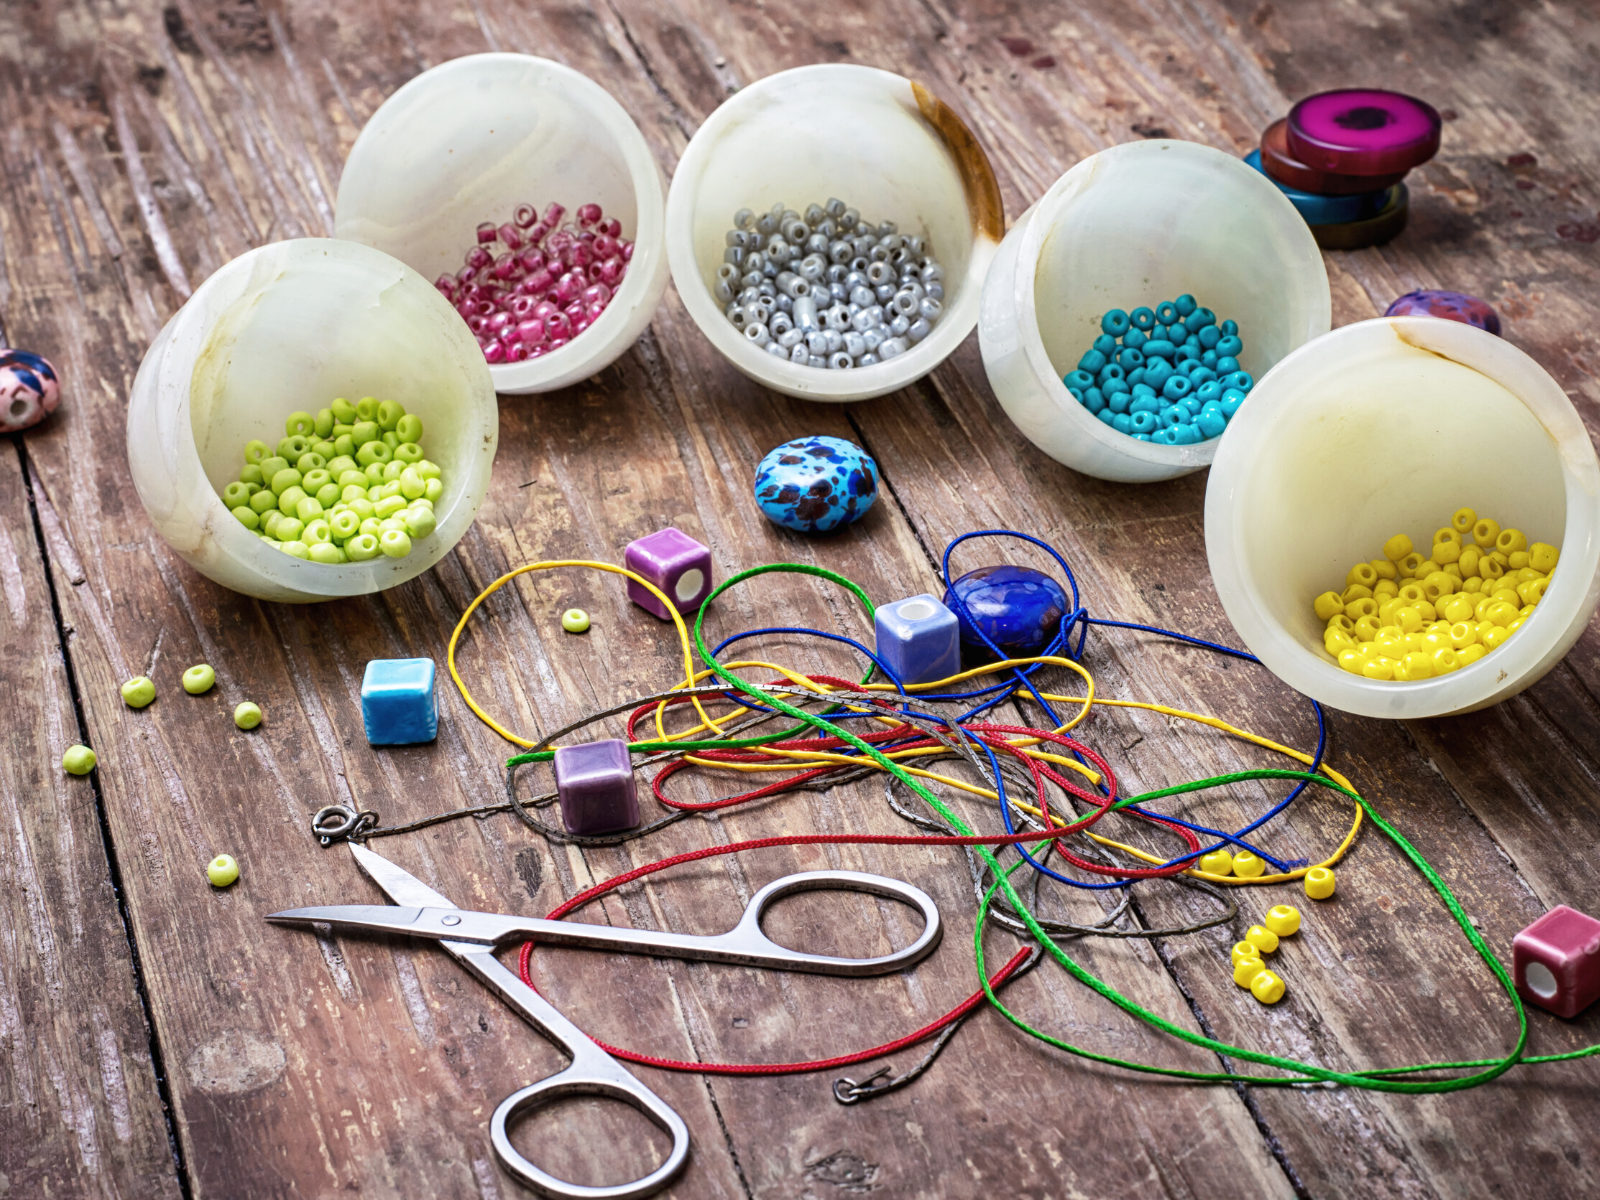
Sorting your beads before you start can save you time and make the process more efficient.
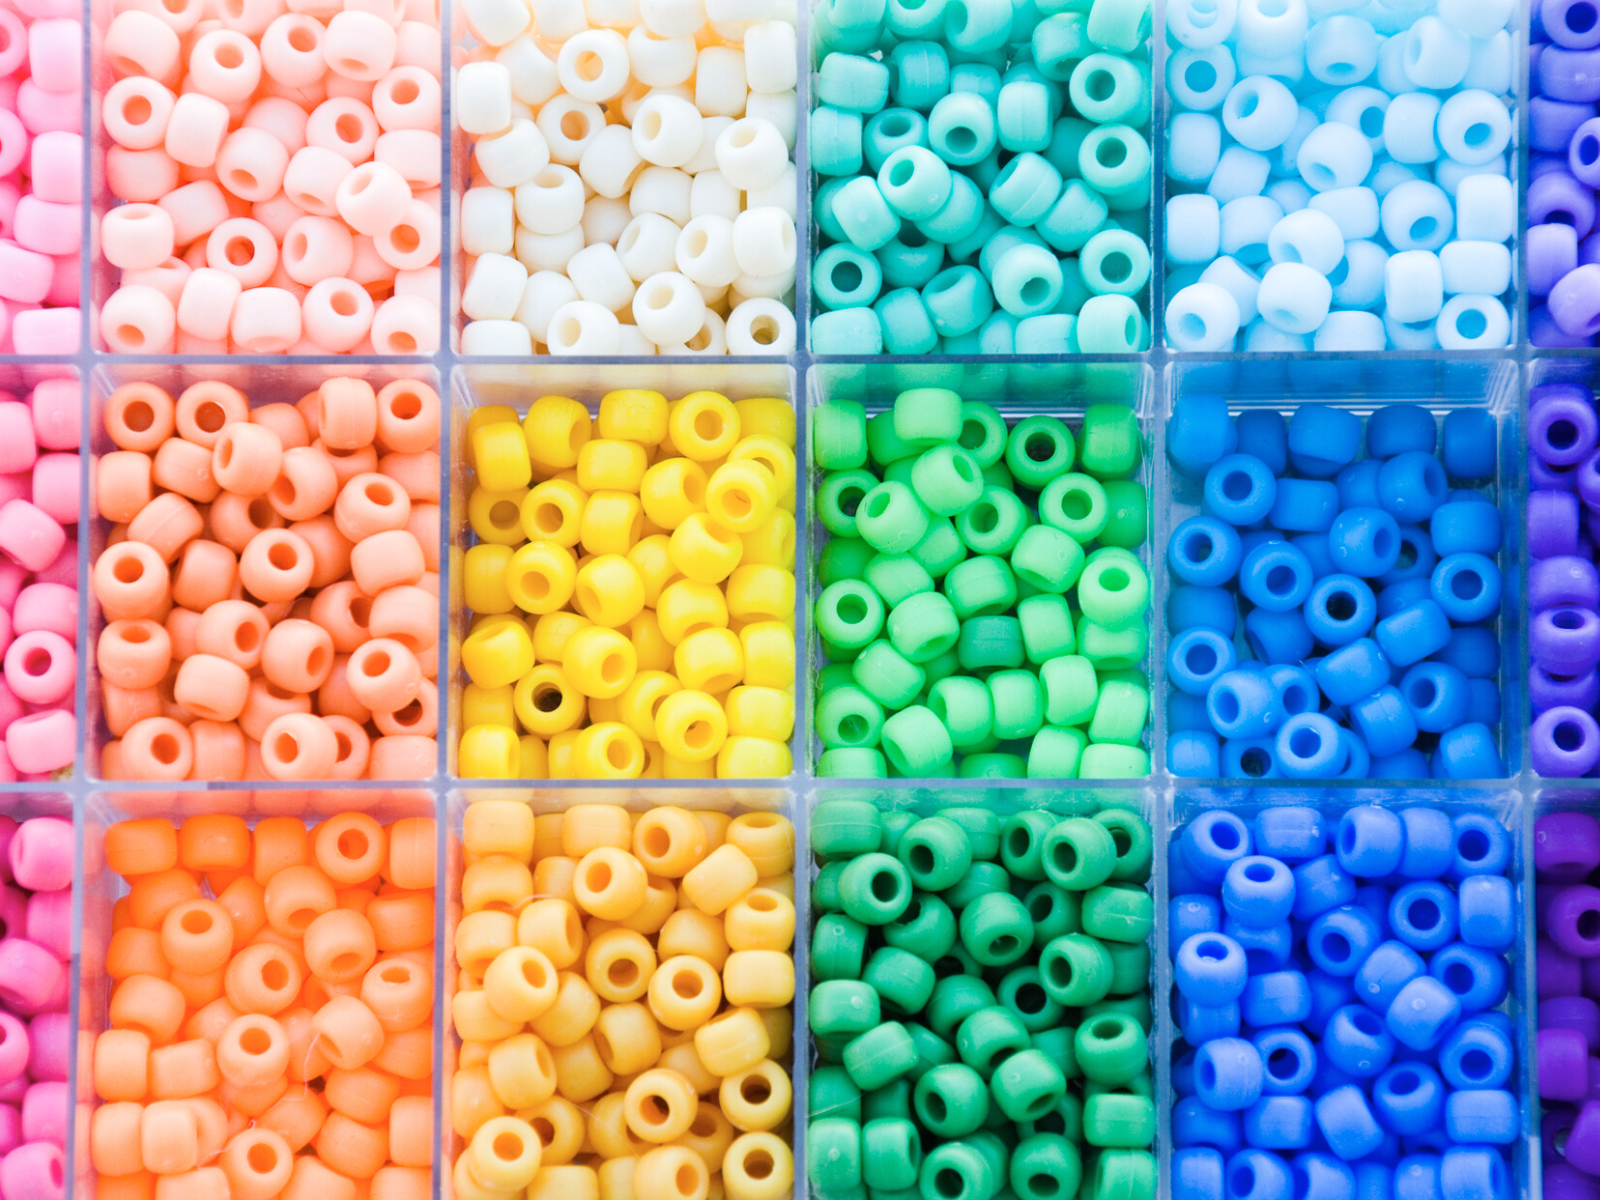
You can sort them by color, size, shape, or material, depending on your project's needs.
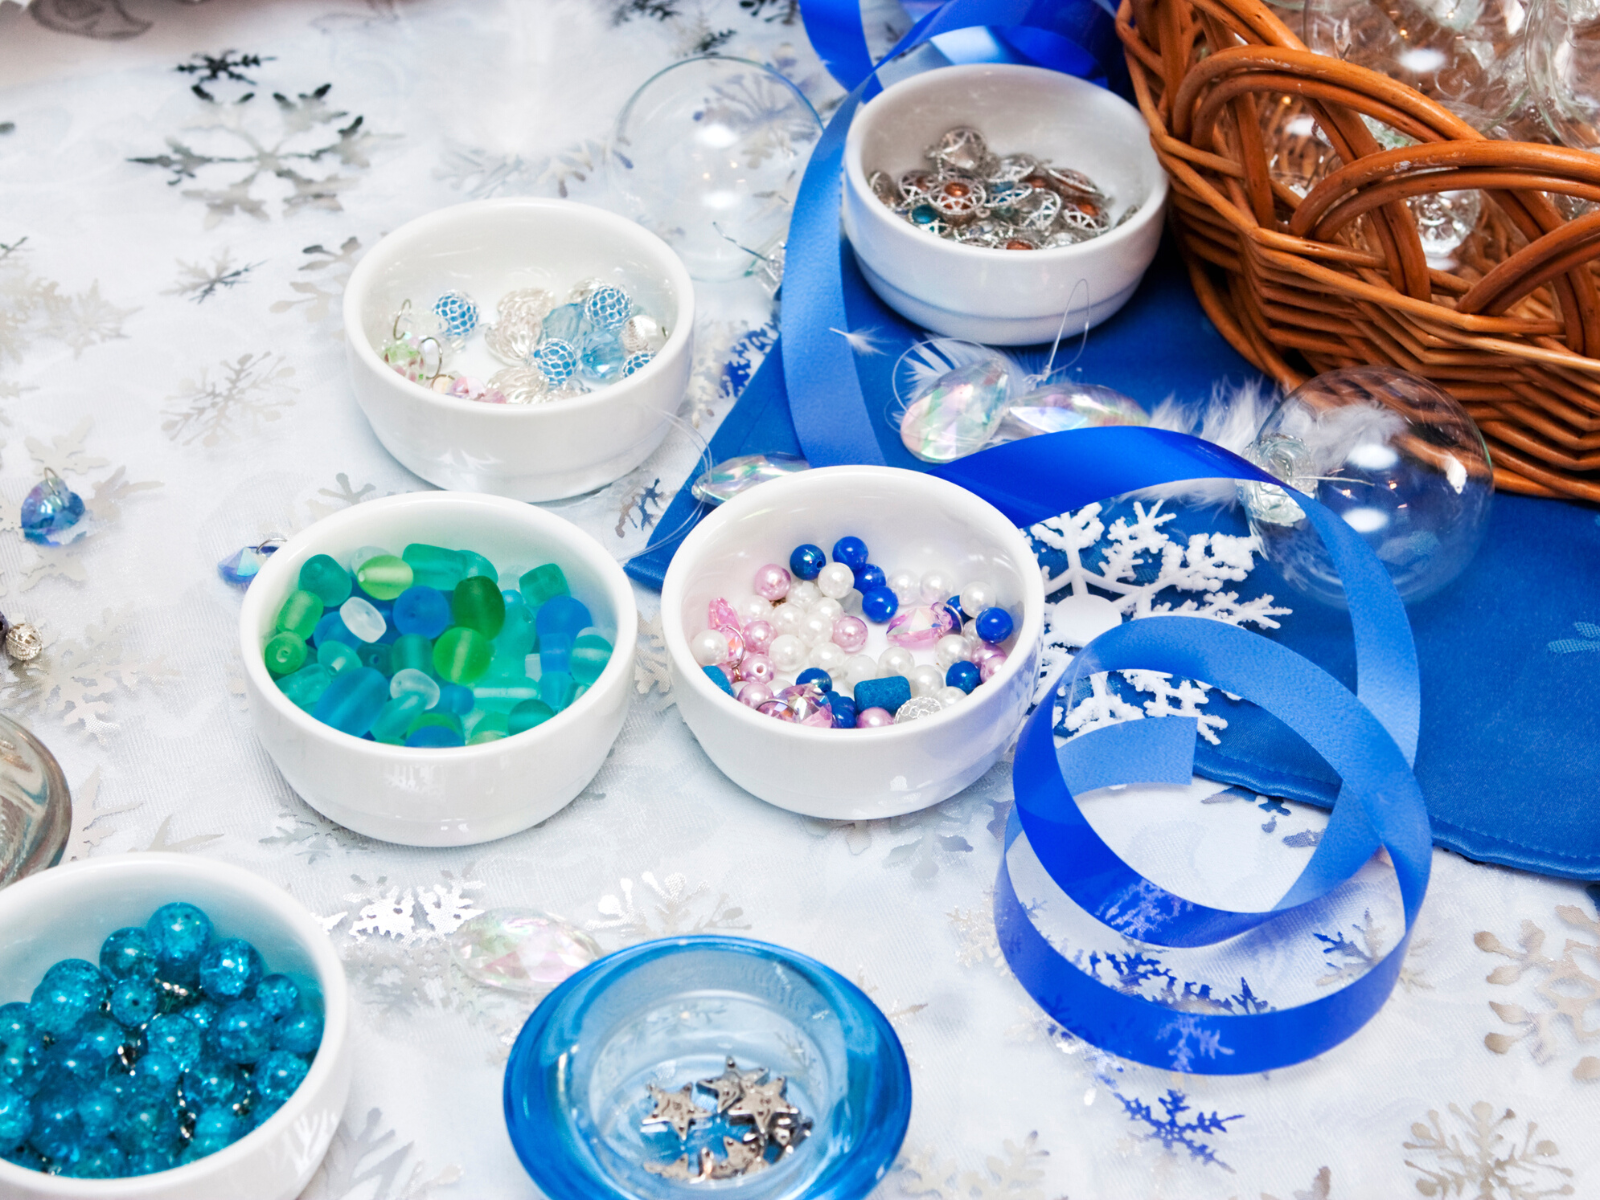
It also helps to store them in a container with compartments or small plastic bags to prevent them from getting mixed up.
Invest in bead organizers, storage containers, or small dishes to keep everything in one place while you work.
It also prevents losing small parts or misplacing tools that can ruin your progress.
Additionally, it helps to have good lighting, as beads can be tiny and hard to see.
Invest in a good lamp or bring your work closer to a natural light source.
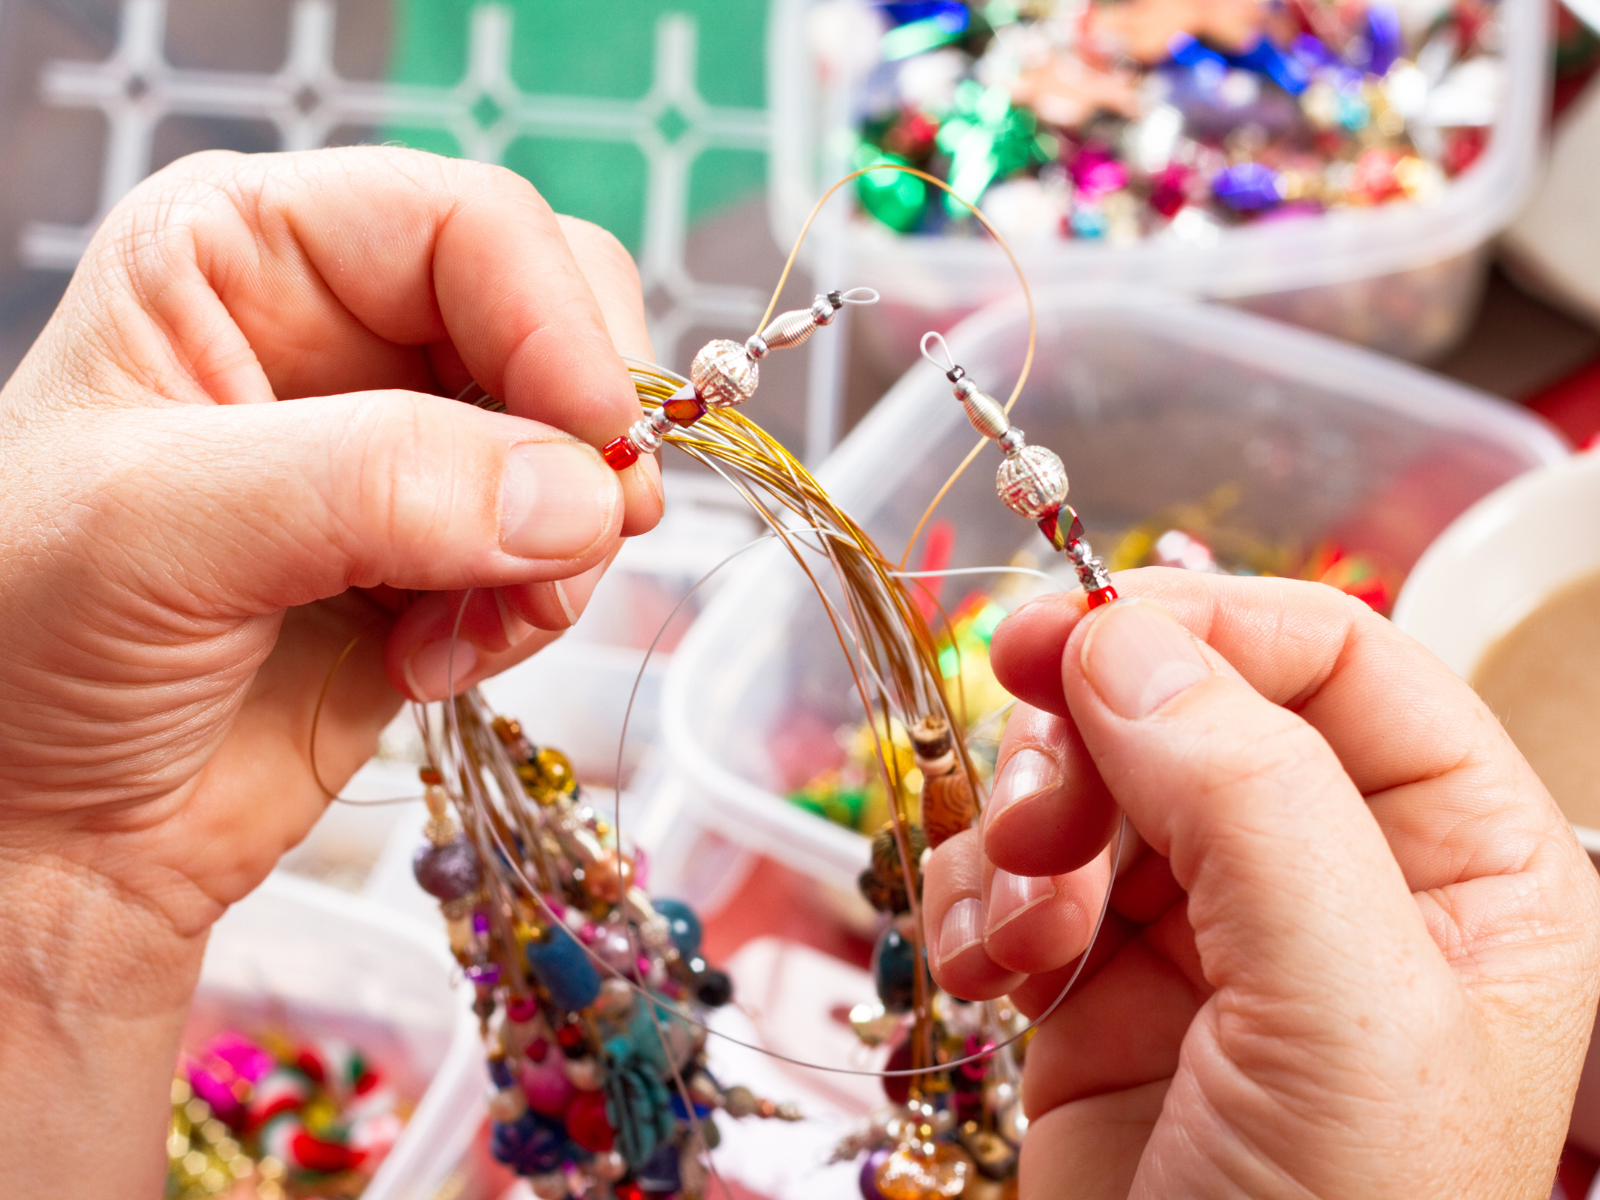
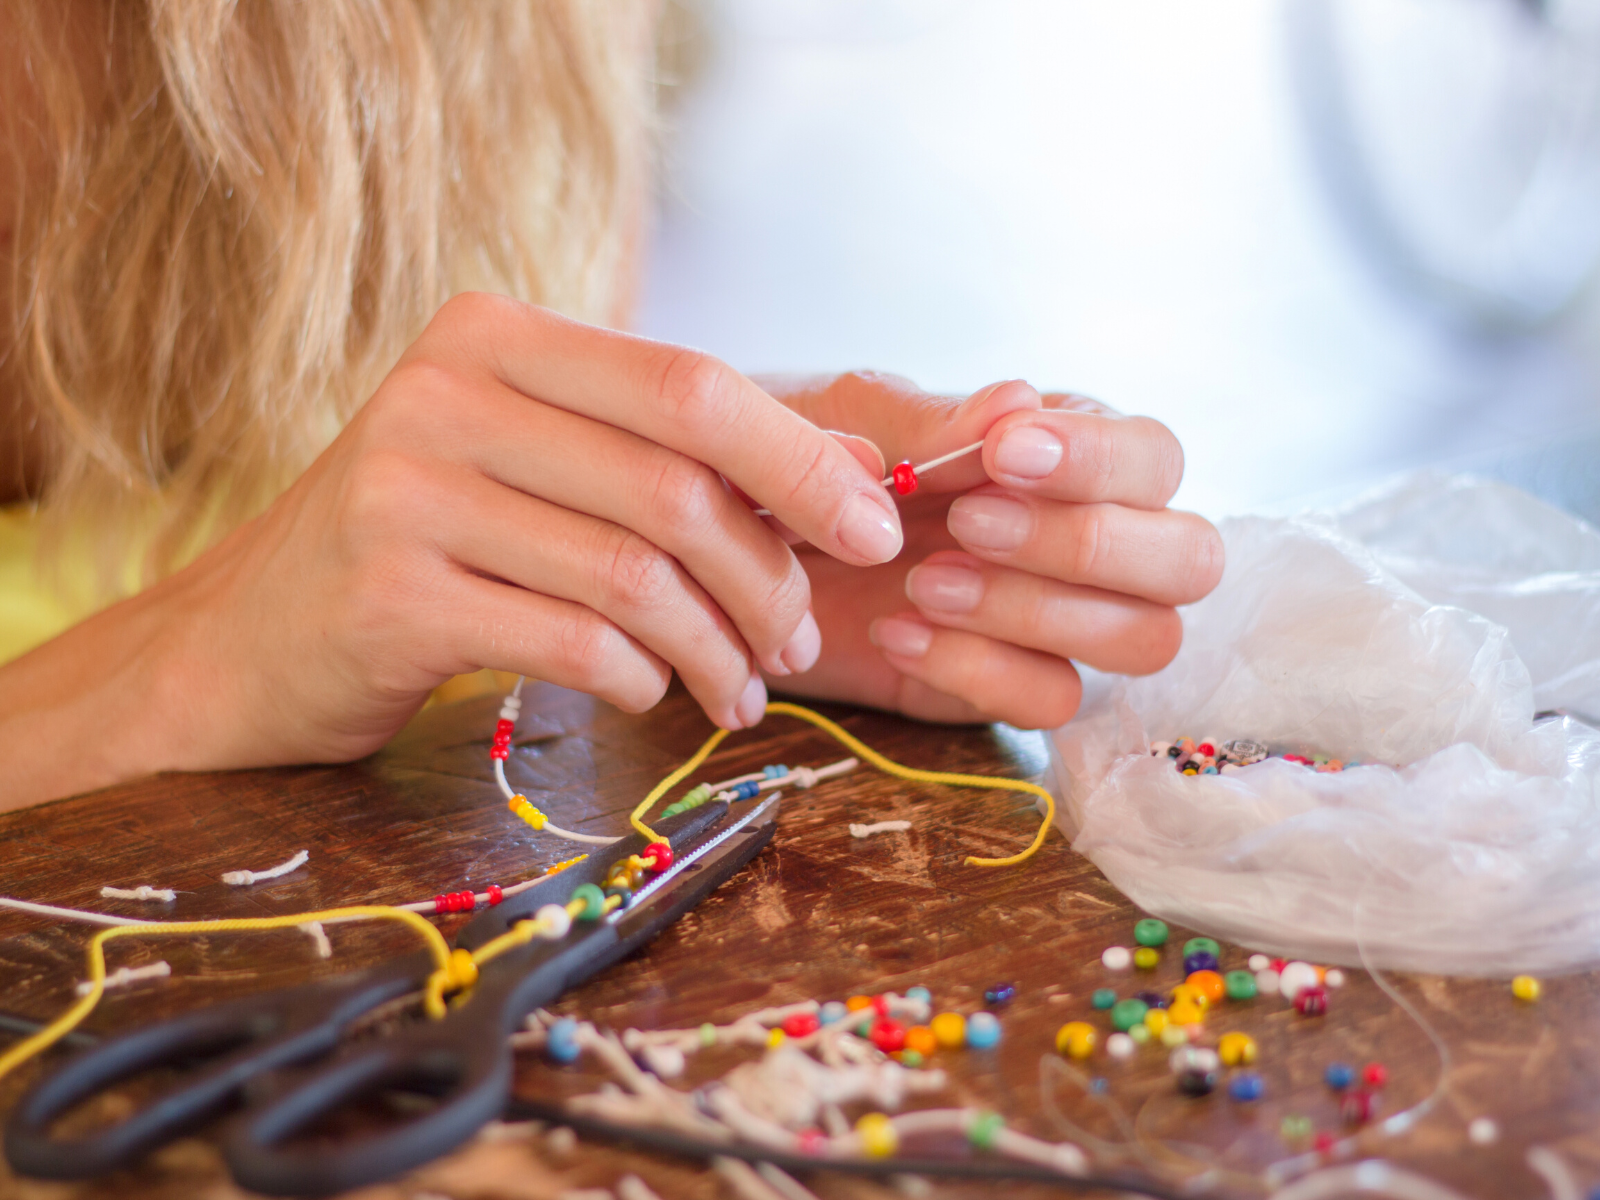
Choose the Right Thread and Needle
Selecting the right thread and needle is crucial for your beading project's success.
Heavy beads require thicker and sturdier thread, while lighter beads can be strung with a finer thread.
You also need to choose the right needle size based on the thread's thickness and the size of the bead hole.
If you're stringing larger beads, use a beading needle that has an eye big enough to accommodate the thread.
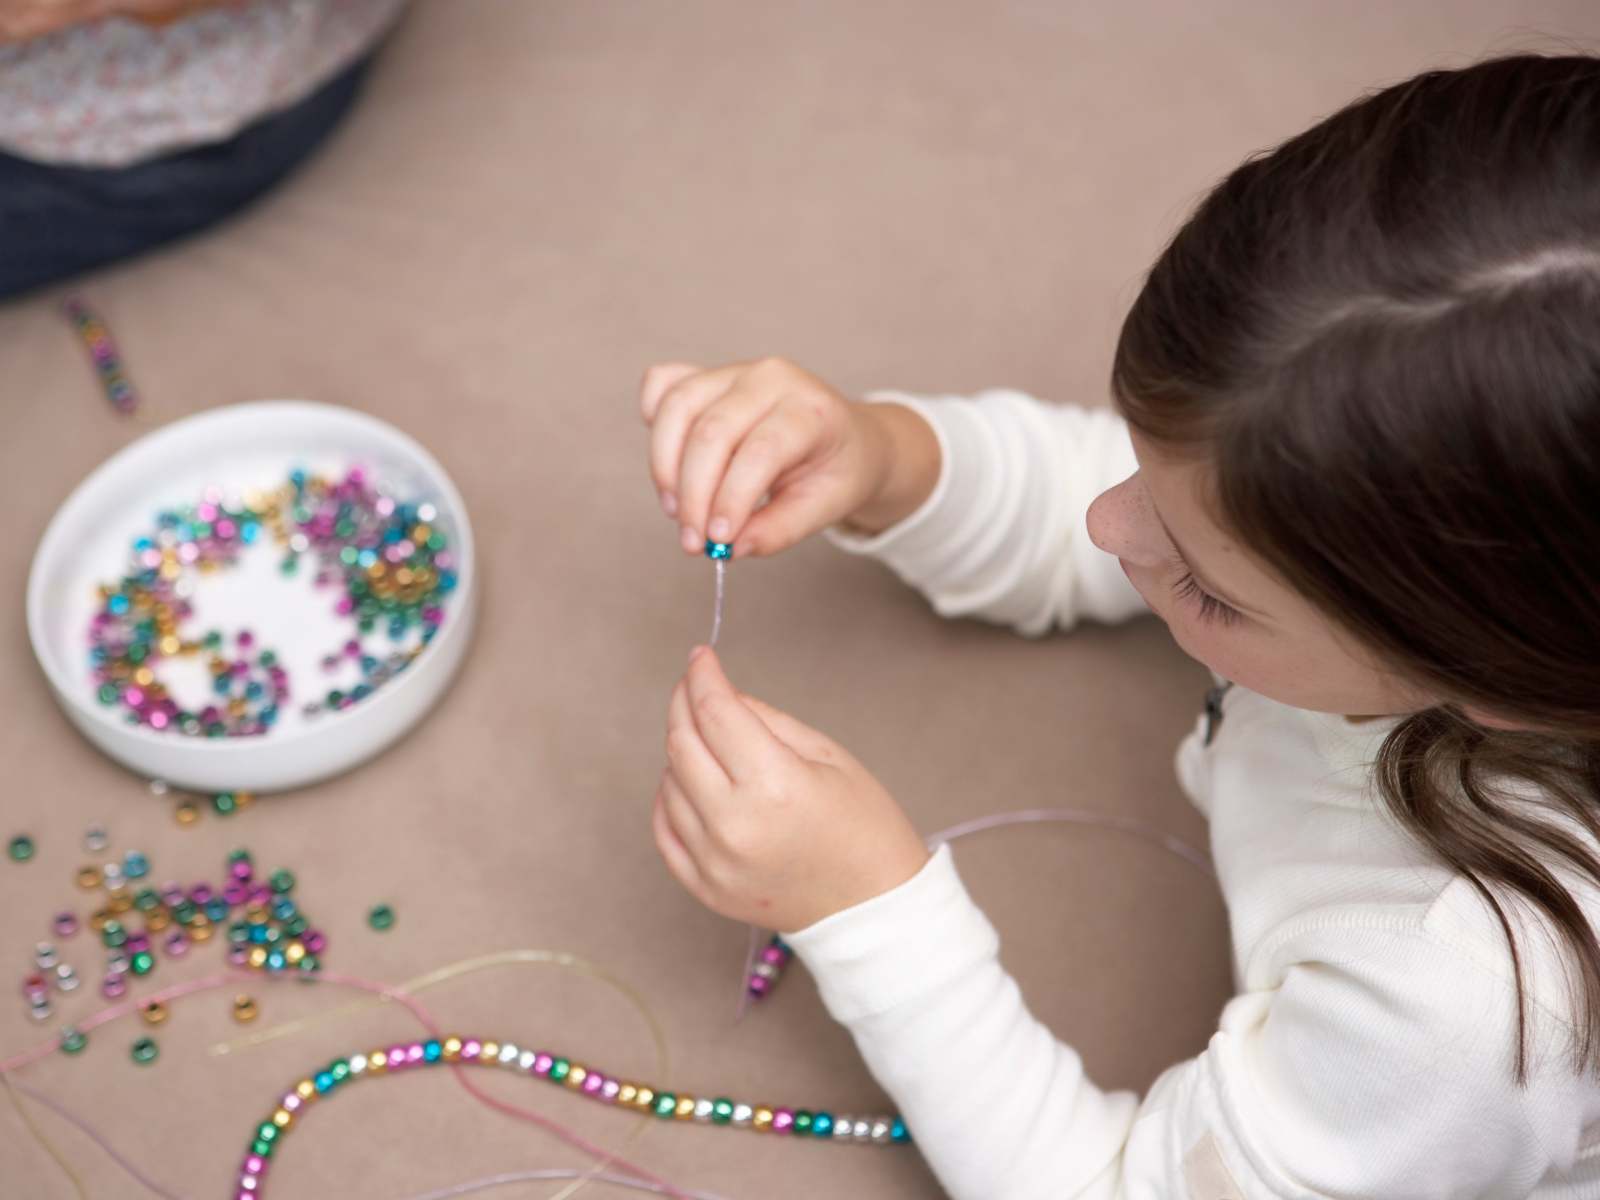
Plan and Start with Simple Projects
Before you start beading, have a plan in place.
It’s easier to plan ahead and have an idea of how your piece will look like than starting blindly.
This will let you determine what beads you’ll need, their size, and the layout of the piece.
You’ll also know how much time and energy you’ll need based on the complexity of the design.
Also, when starting with beading, it's best to start with simple projects.
This allows you to get comfortable with the tools, jewelry making supplies, and basic techniques.
You will also avoid becoming overwhelmed or frustrated, and it’s a great way to build confidence.
Starting small means you're not biting off more than you can chew, and you'll develop essential skills that you will need for more advanced projects in the future.
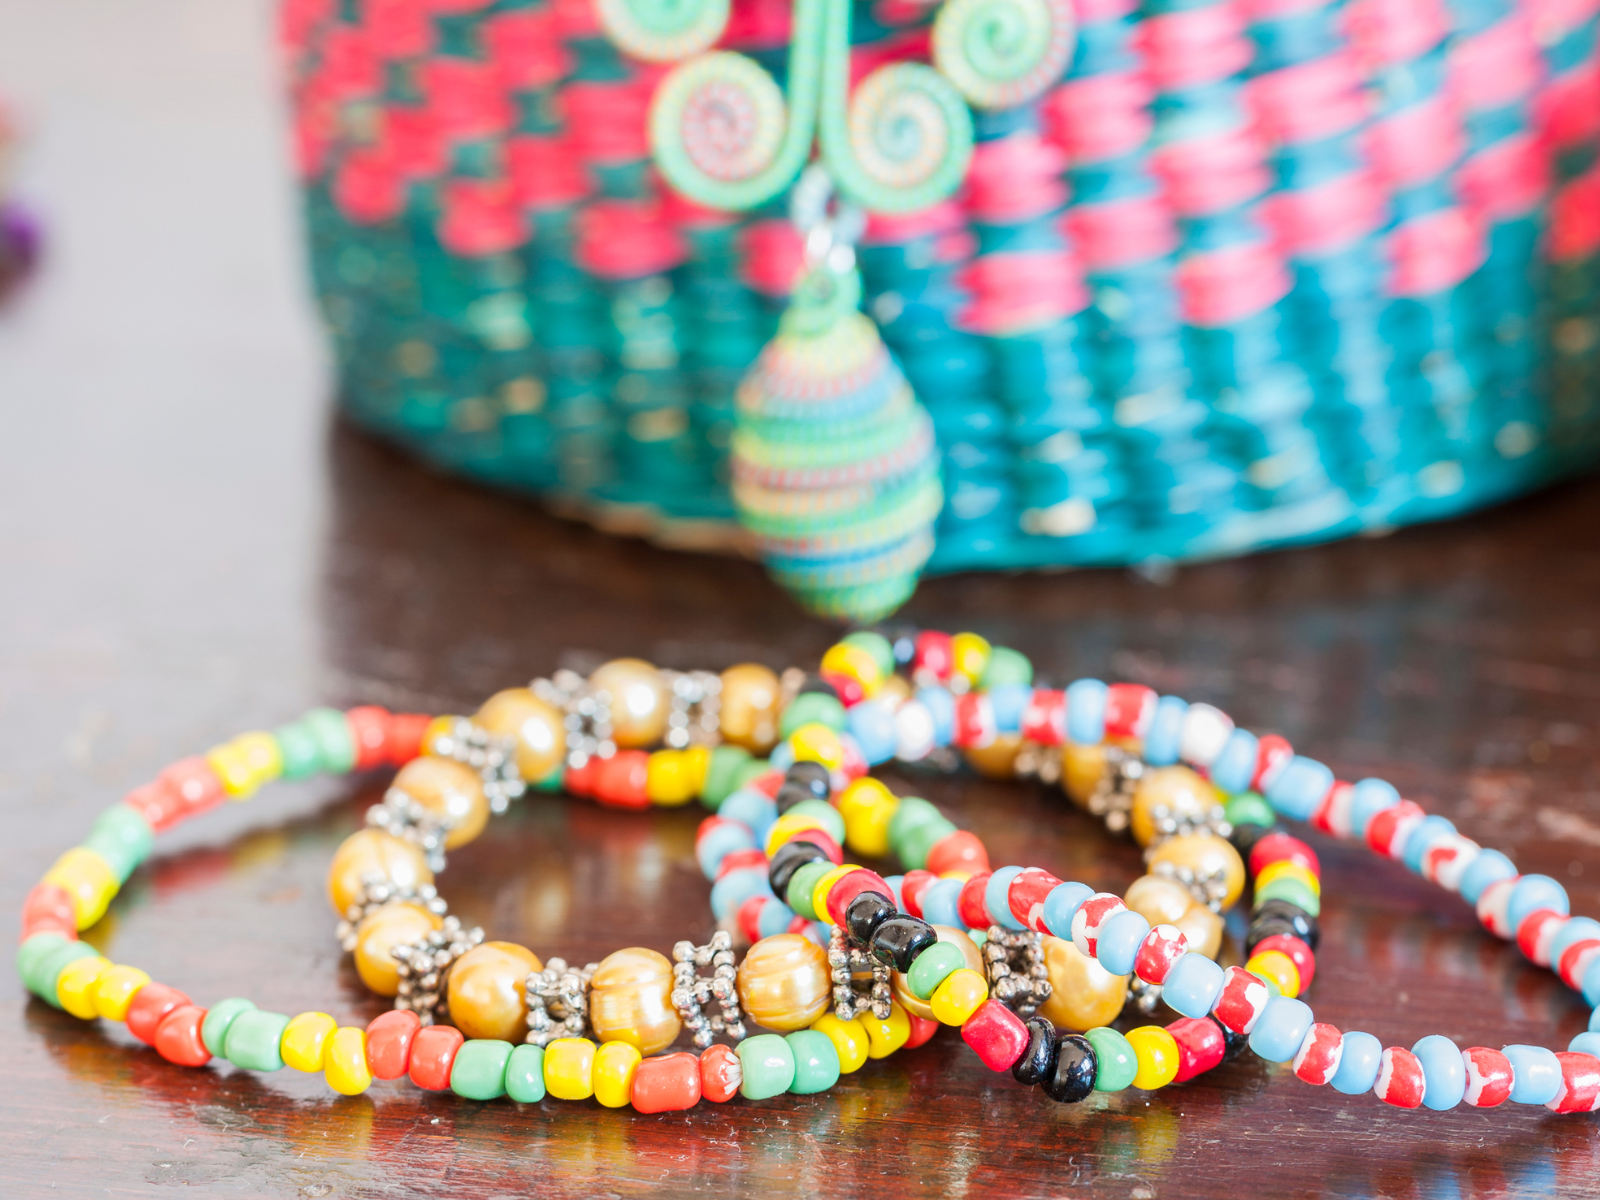
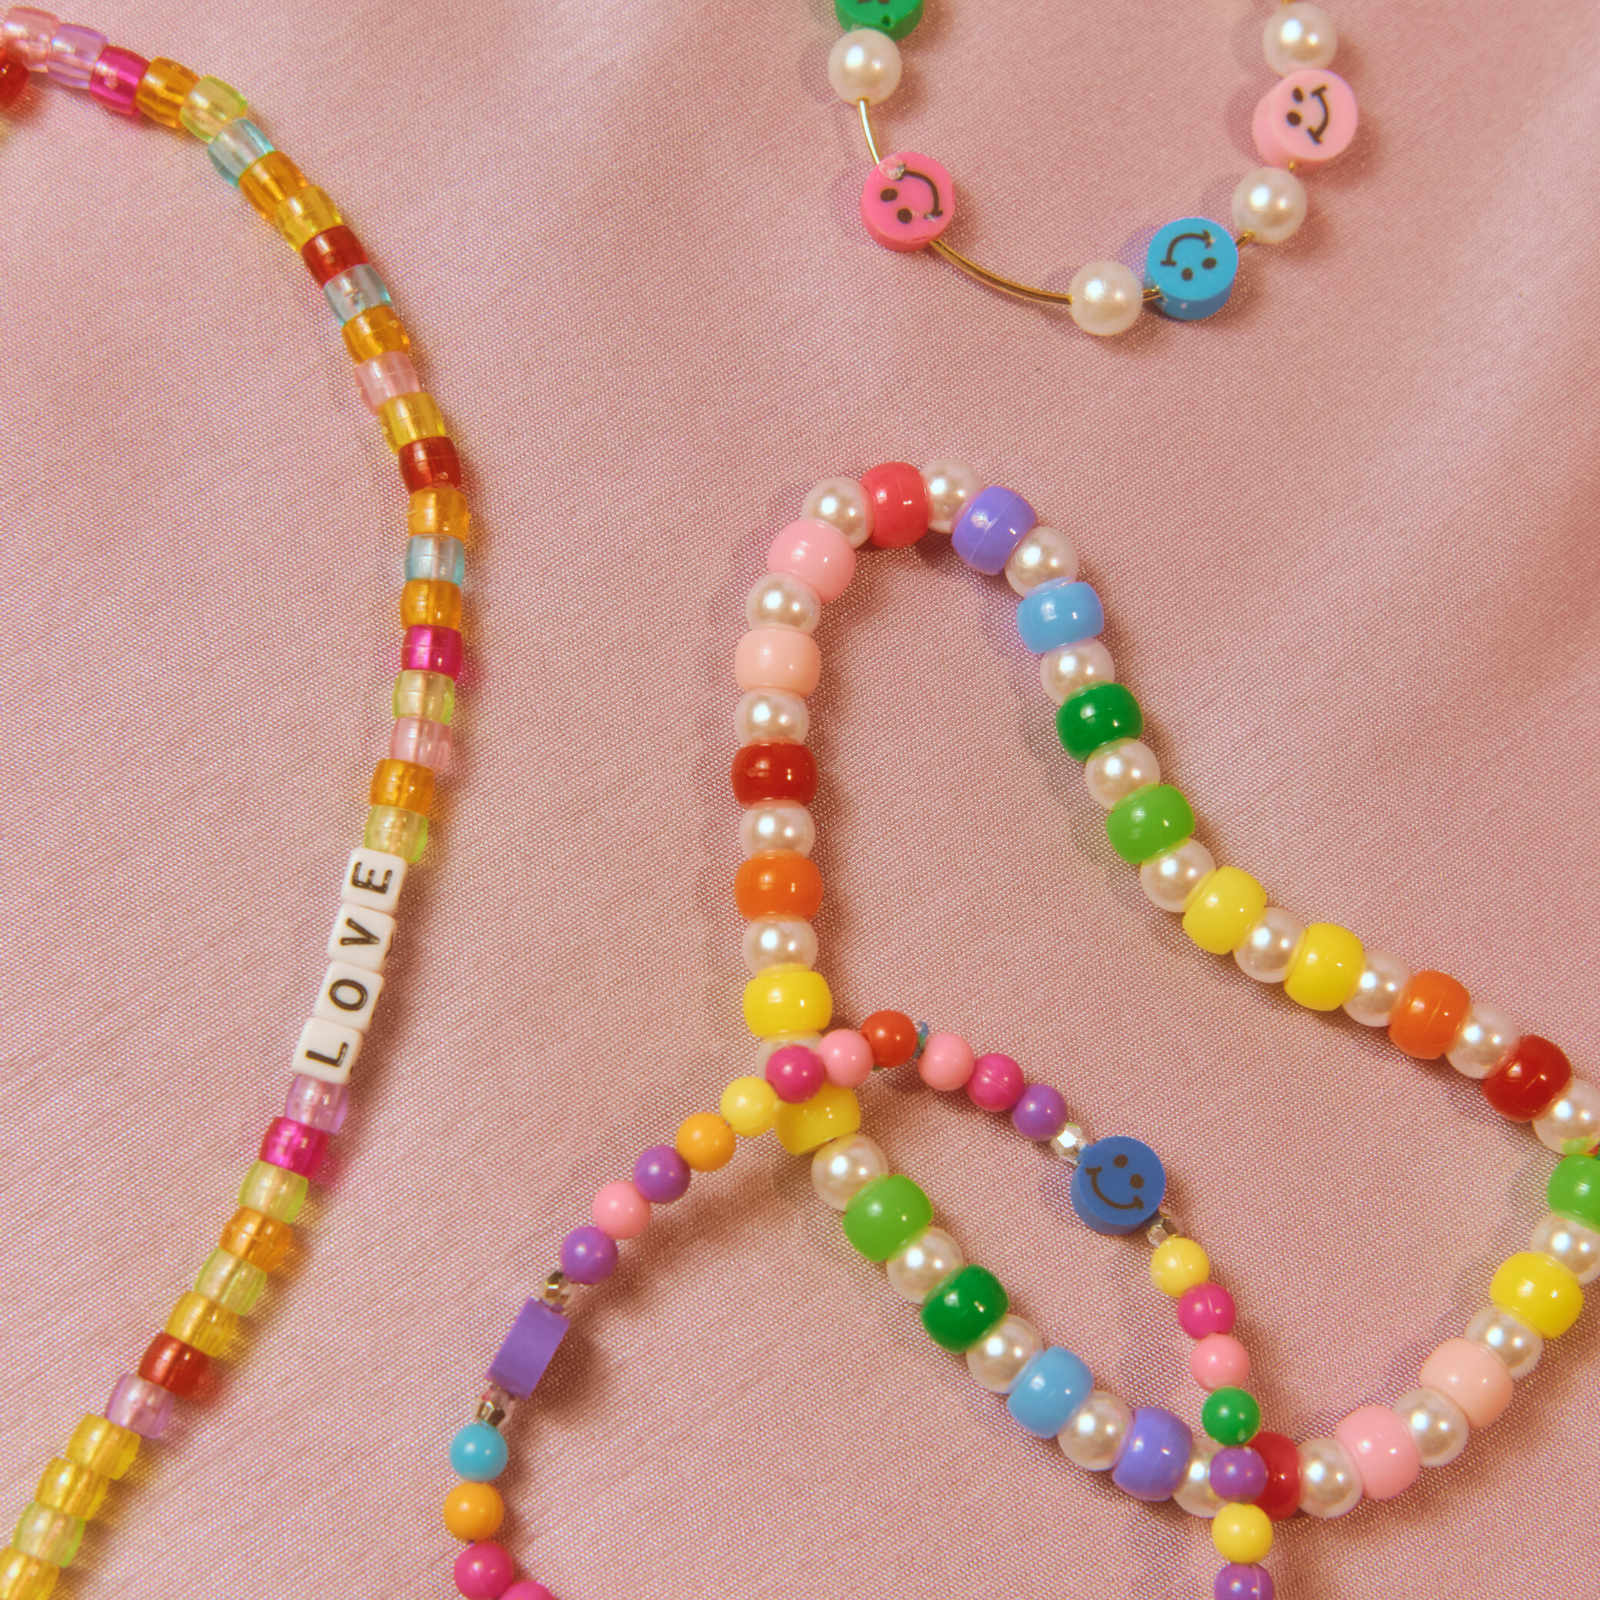
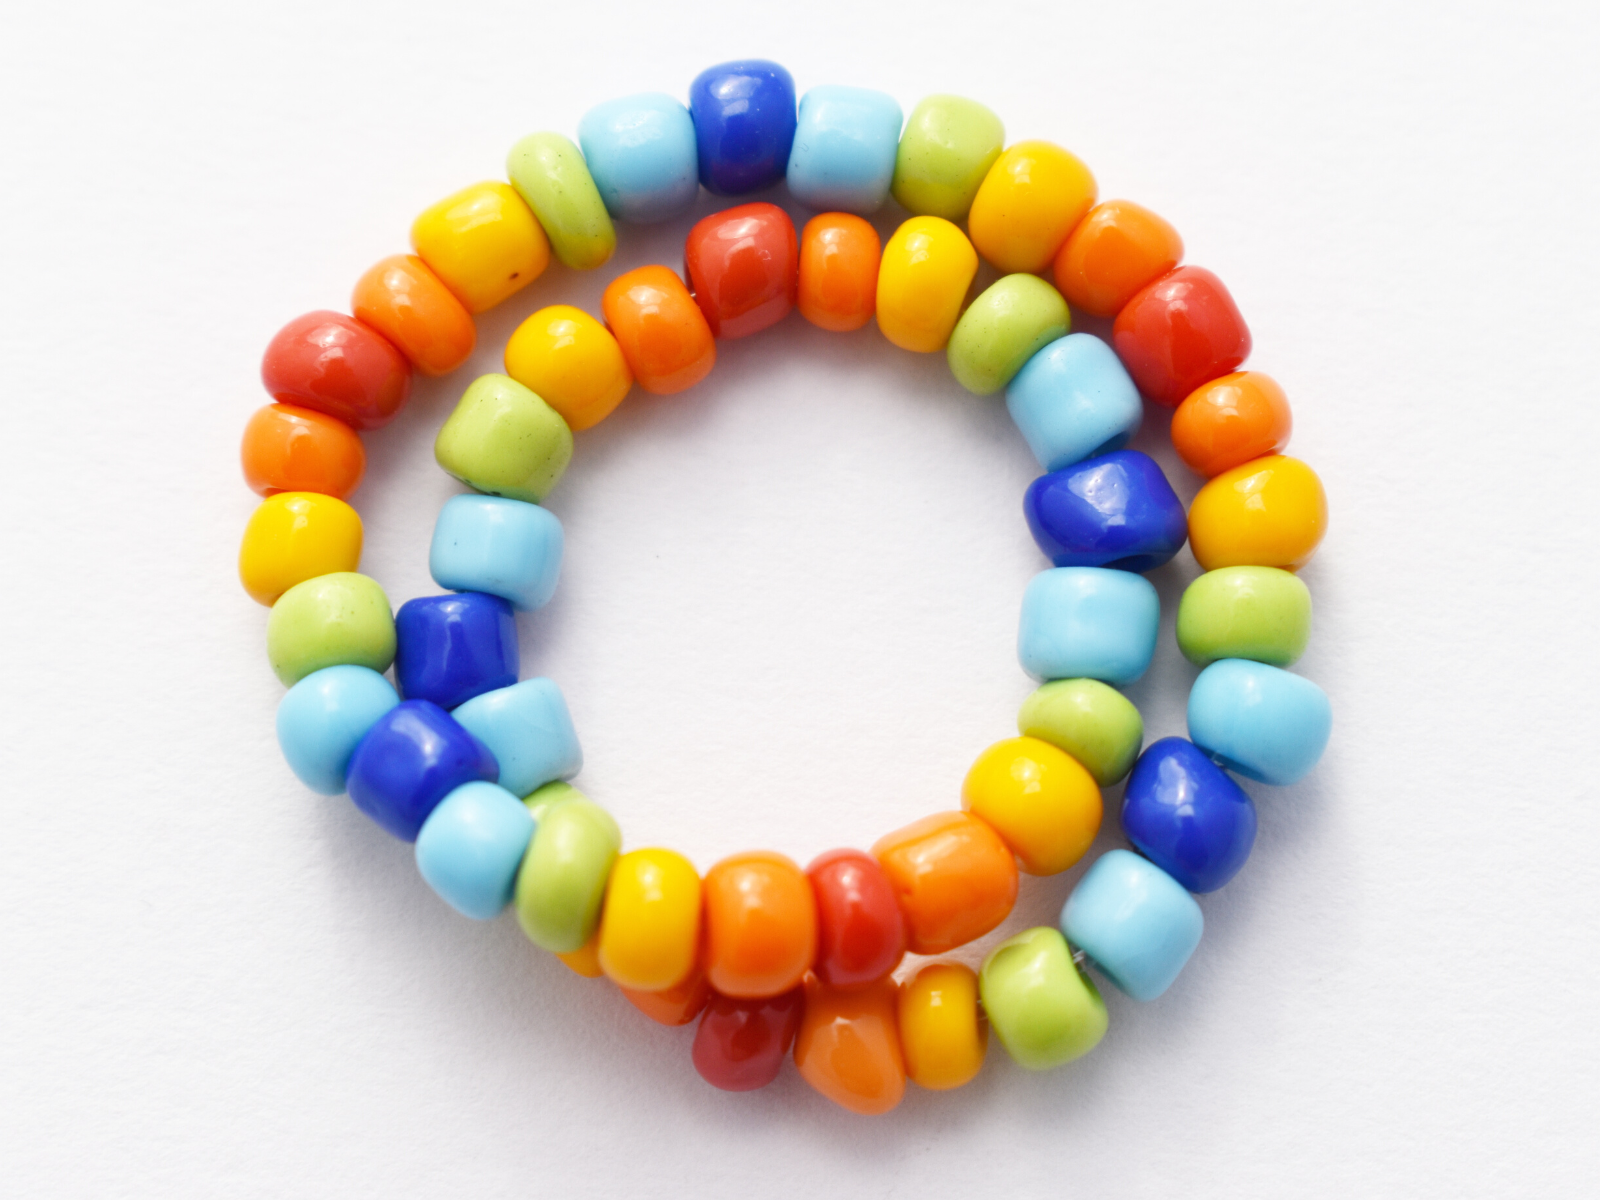
You can create many projects with beads, such as a beaded necklace, bracelet, key chain, or a wall hanging.
These projects allow you to practice the basics and get comfortable working with beads of different sizes.
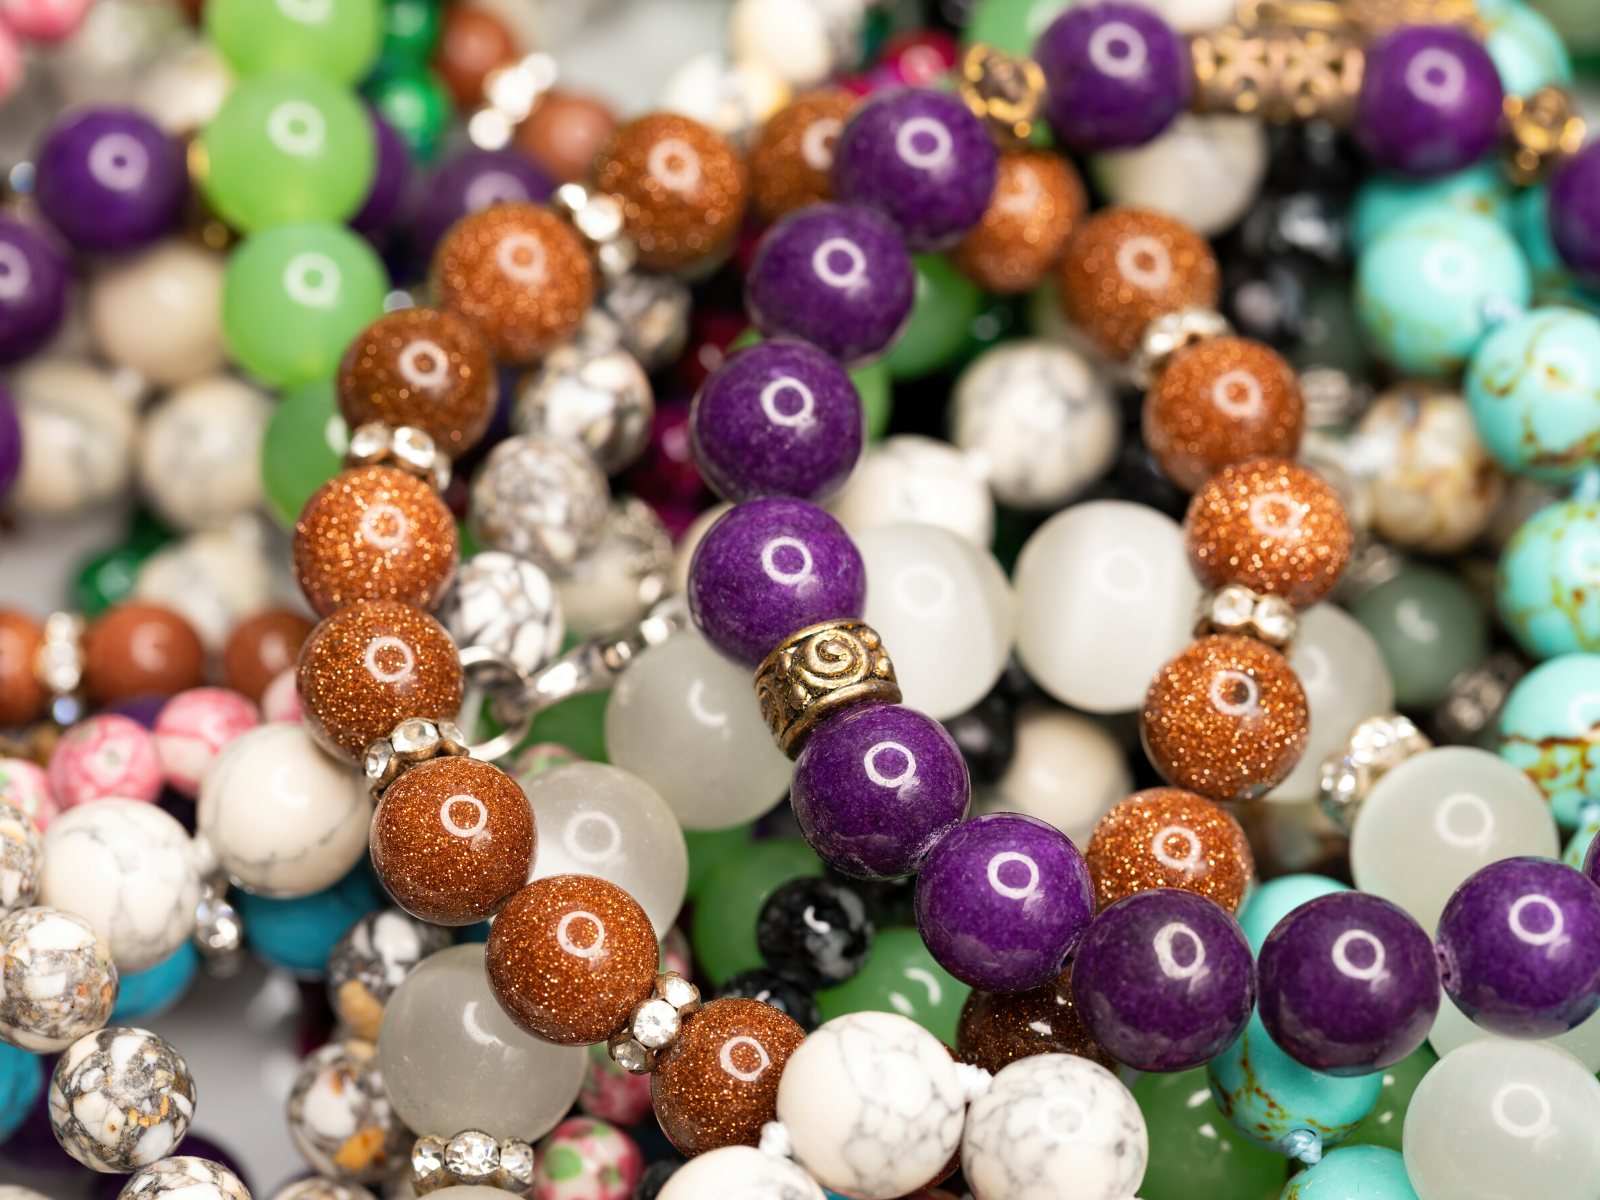
Bracelets made with gemstones and beads can be a great way to play around with colors and shapes.
And if you're feeling adventurous, you can create intricate designs or patterns with large beads.
The possibilities are truly endless!

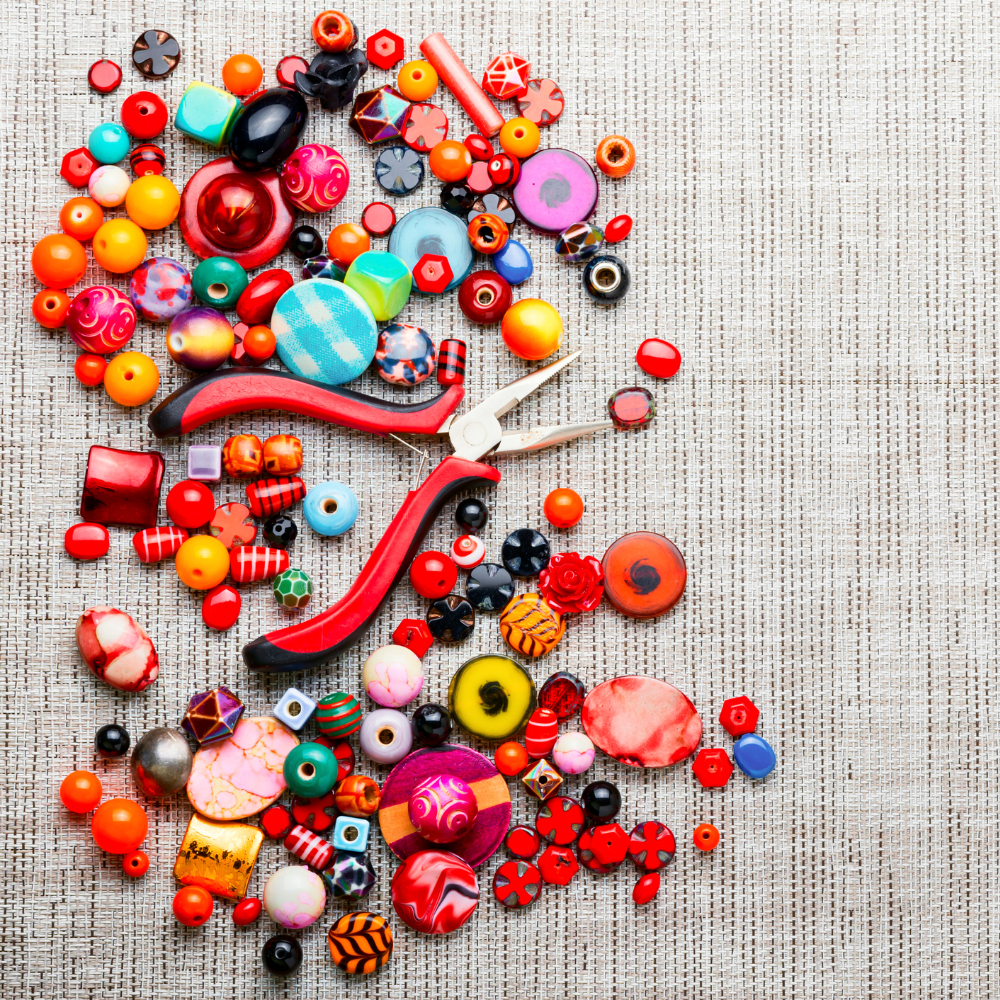
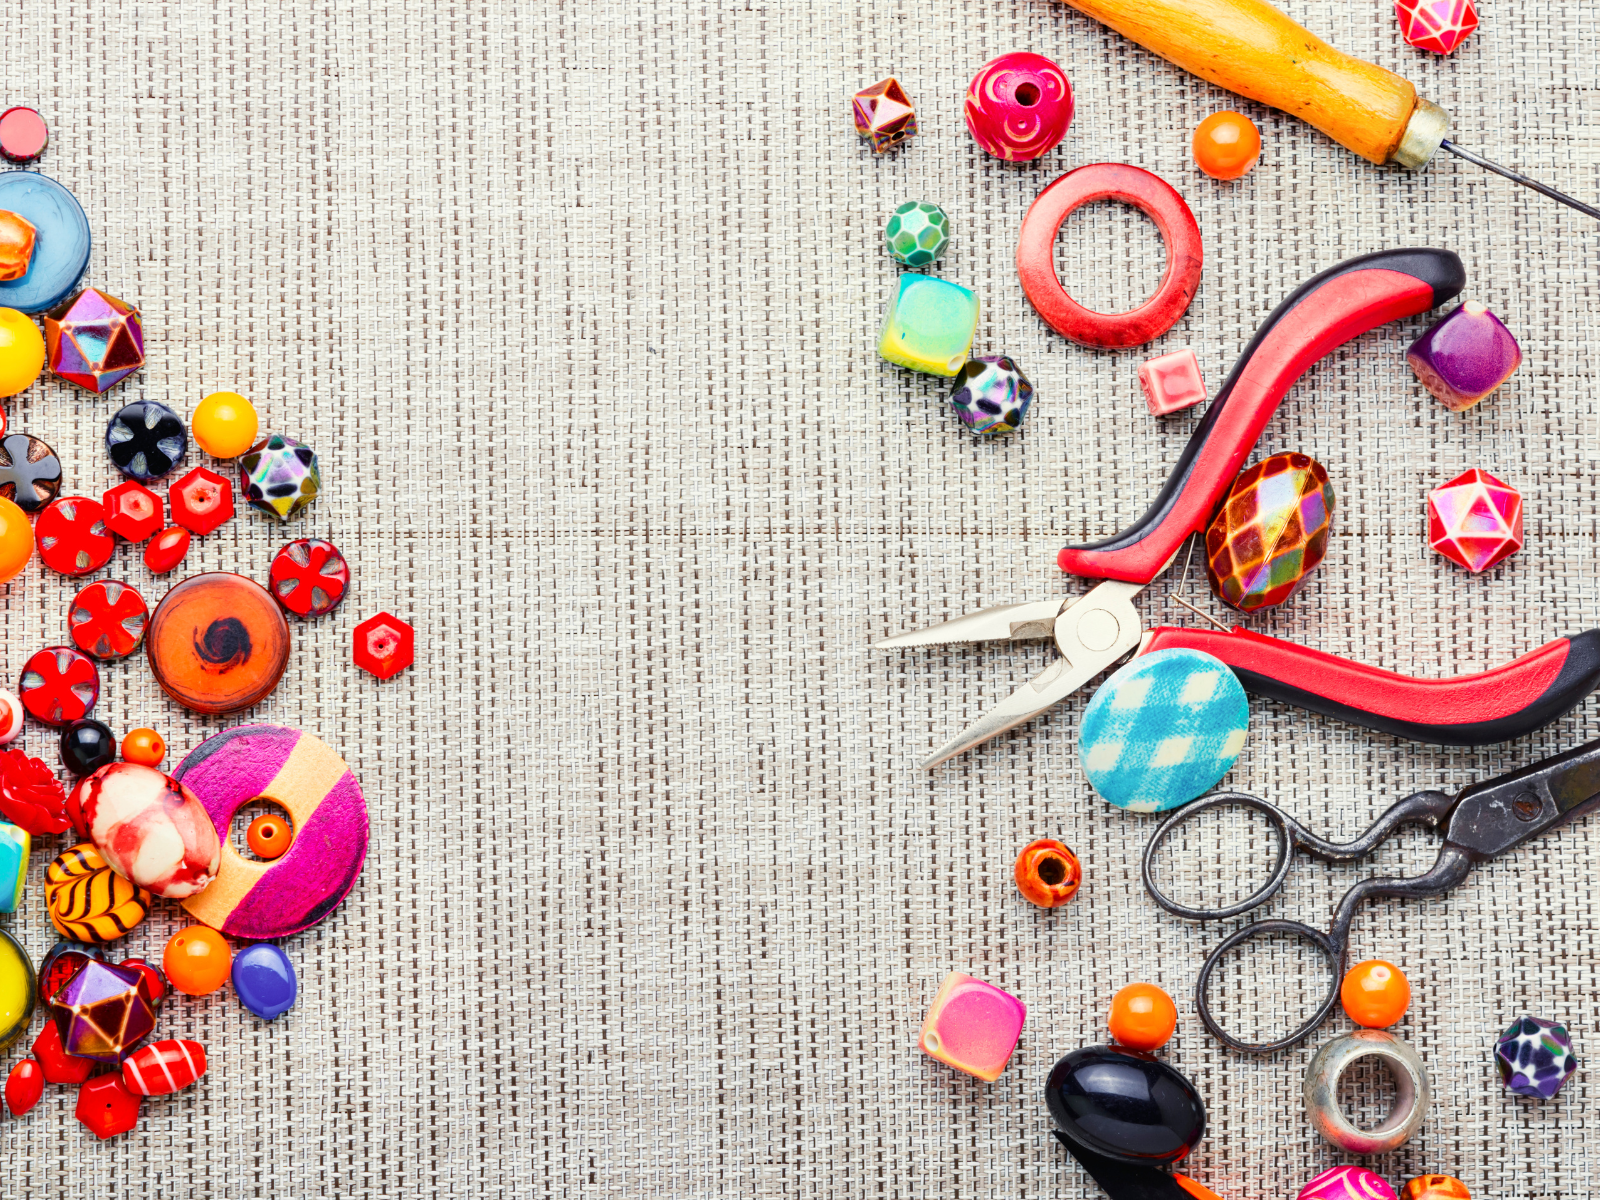
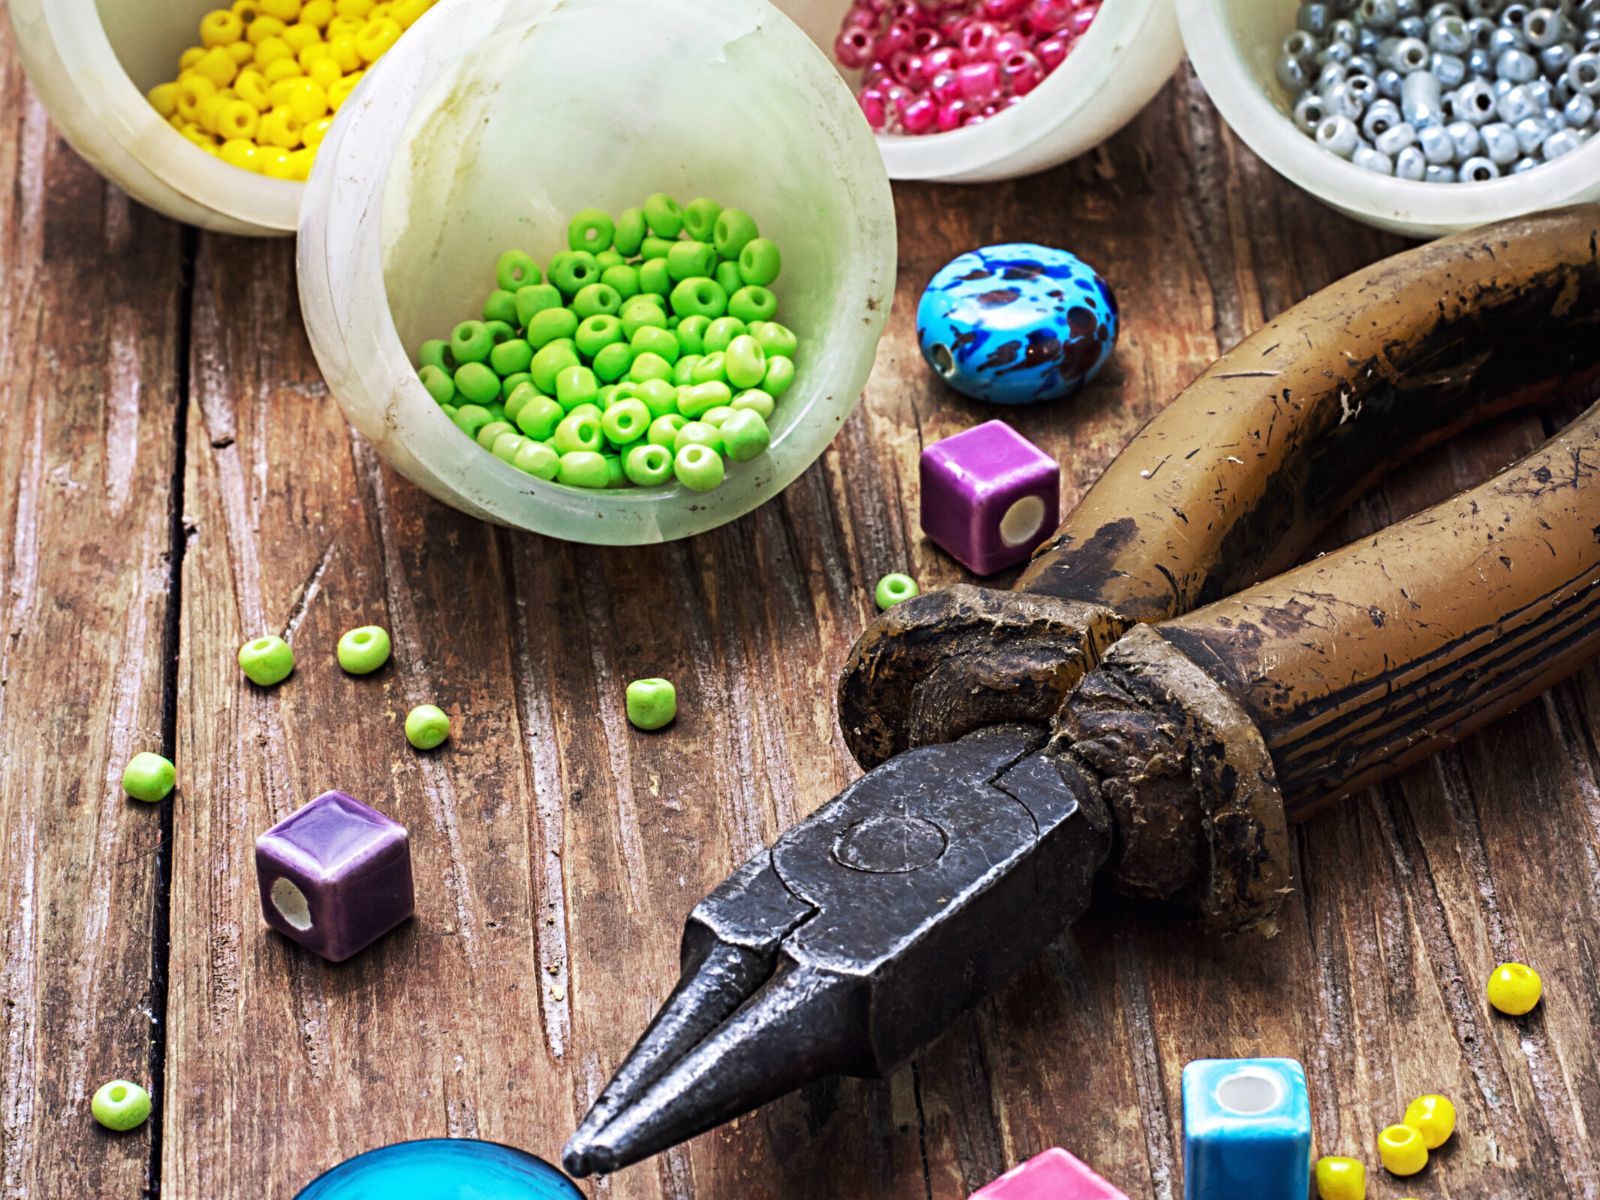
Use the Right Tools and Experiment
Using the right tools and supplies for beading is essential.
Tools such as pliers, wire cutters, and needles are essential to help you create beautiful pieces quickly and with greater ease.
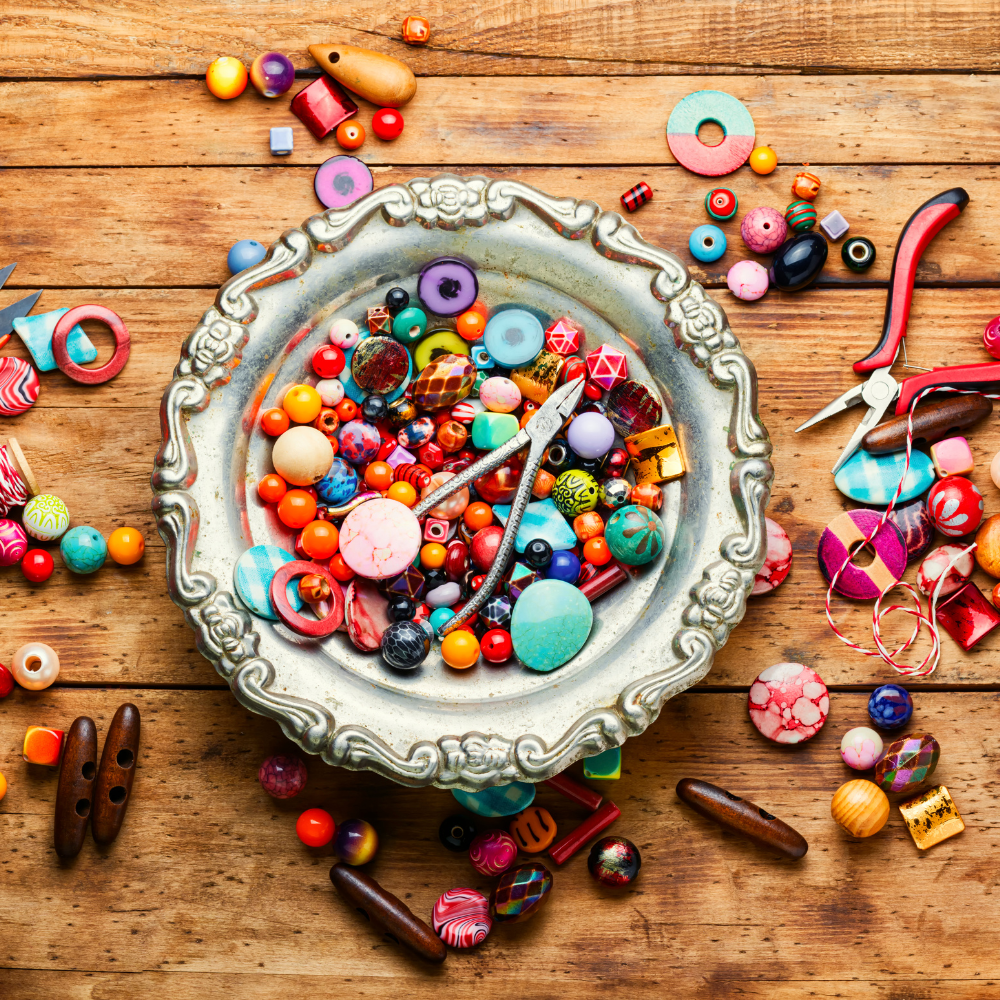
Before you even start beading, remember the golden rule – quality over quantity.
Investing in quality supplies will save you from headaches in the long run.
Quality beads, beading wire, and tools are essential for producing an exceptional result, so don't skimp on them.
They will make your piece look better and last longer, so consider it an excellent investment for your time and effort.
Sterling silver, nail polish, and a lightbox are also useful tools that can help you achieve stunning results.
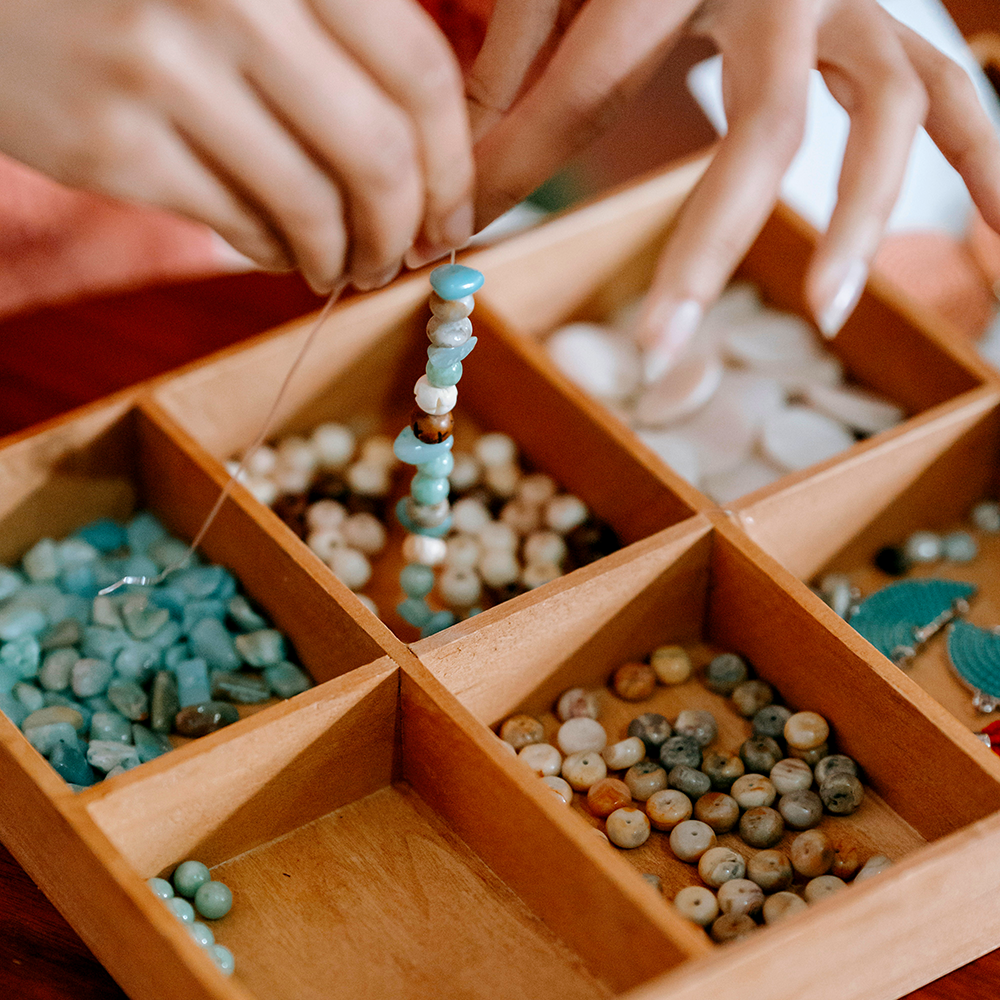
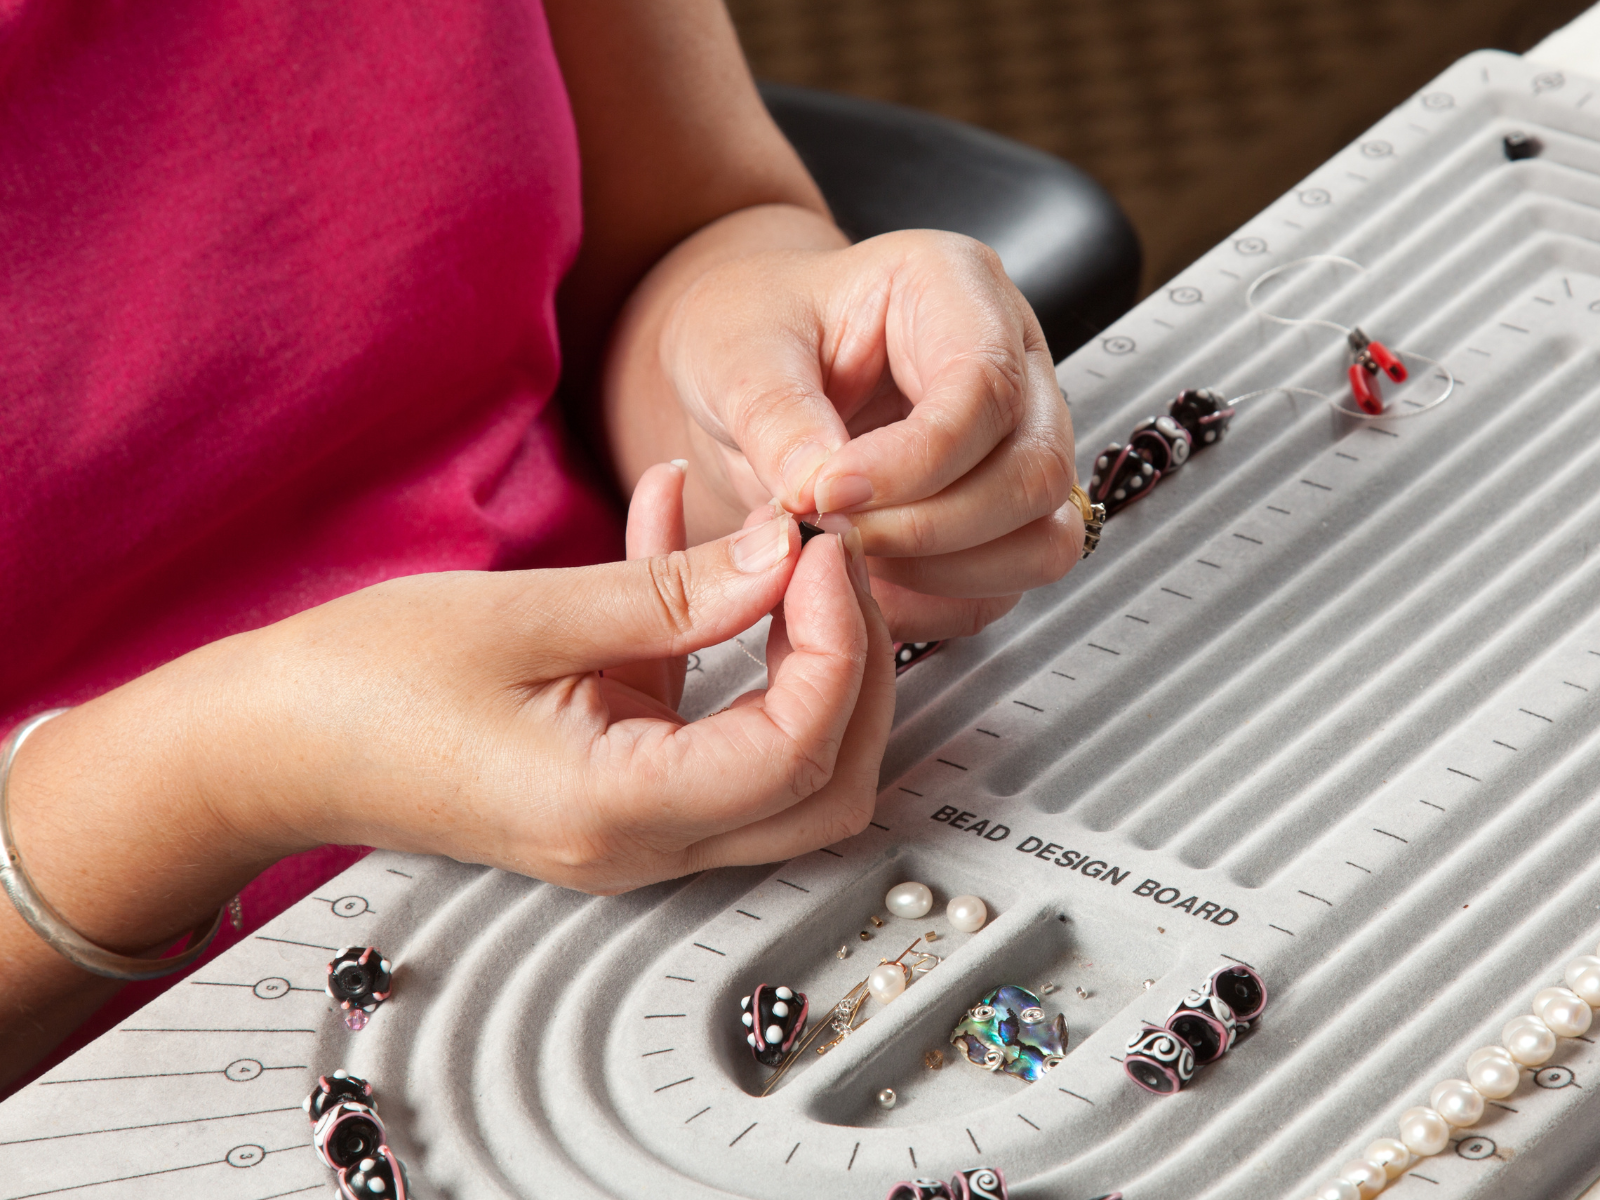
Moreover, a beading board is a great tool that helps you visualize and plan your designs.
It has grooves that allow you to line up your beads and experiment with different patterns before you string them.
It also comes in handy if you need to take a break from beading or if you are working on a project with multiple strands.
Invest in good quality tools to save you from frustrating mistakes that could ruin your beading experience.
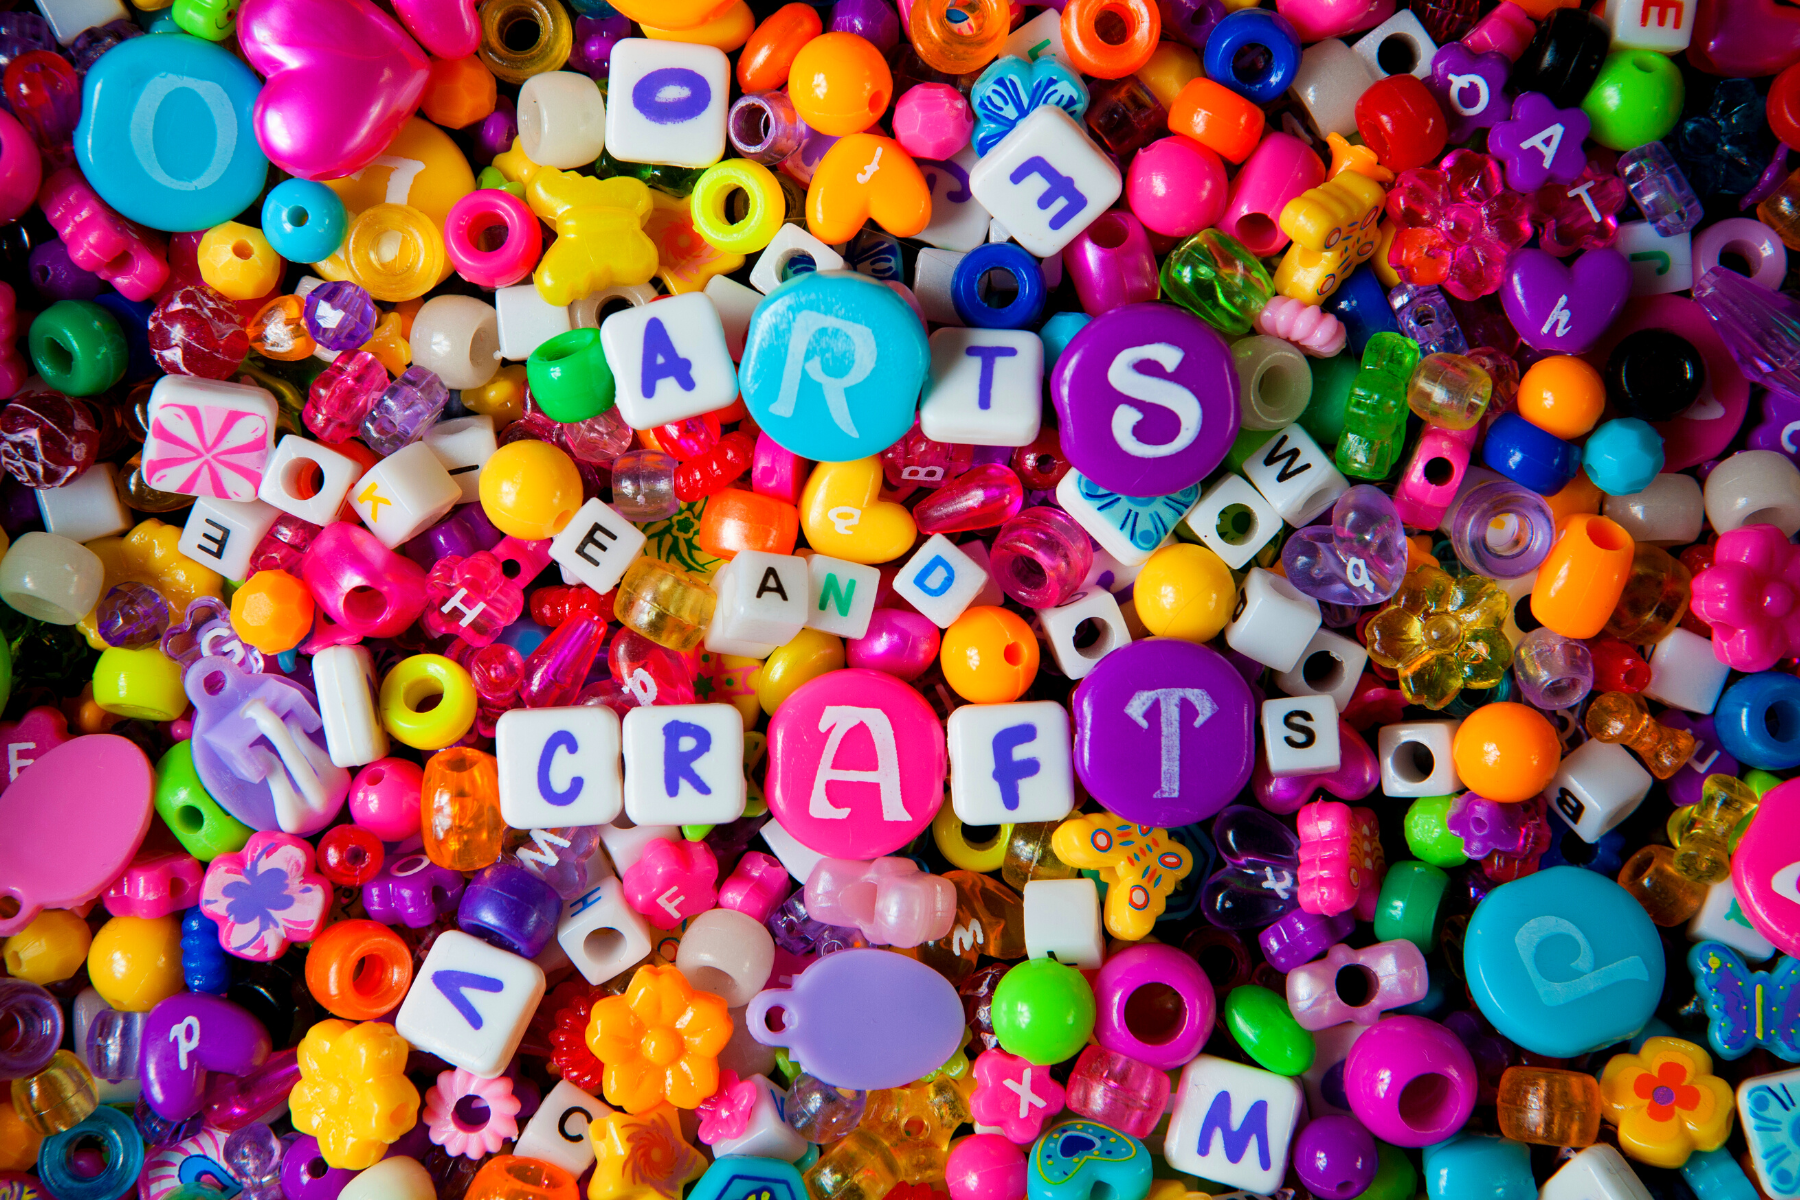
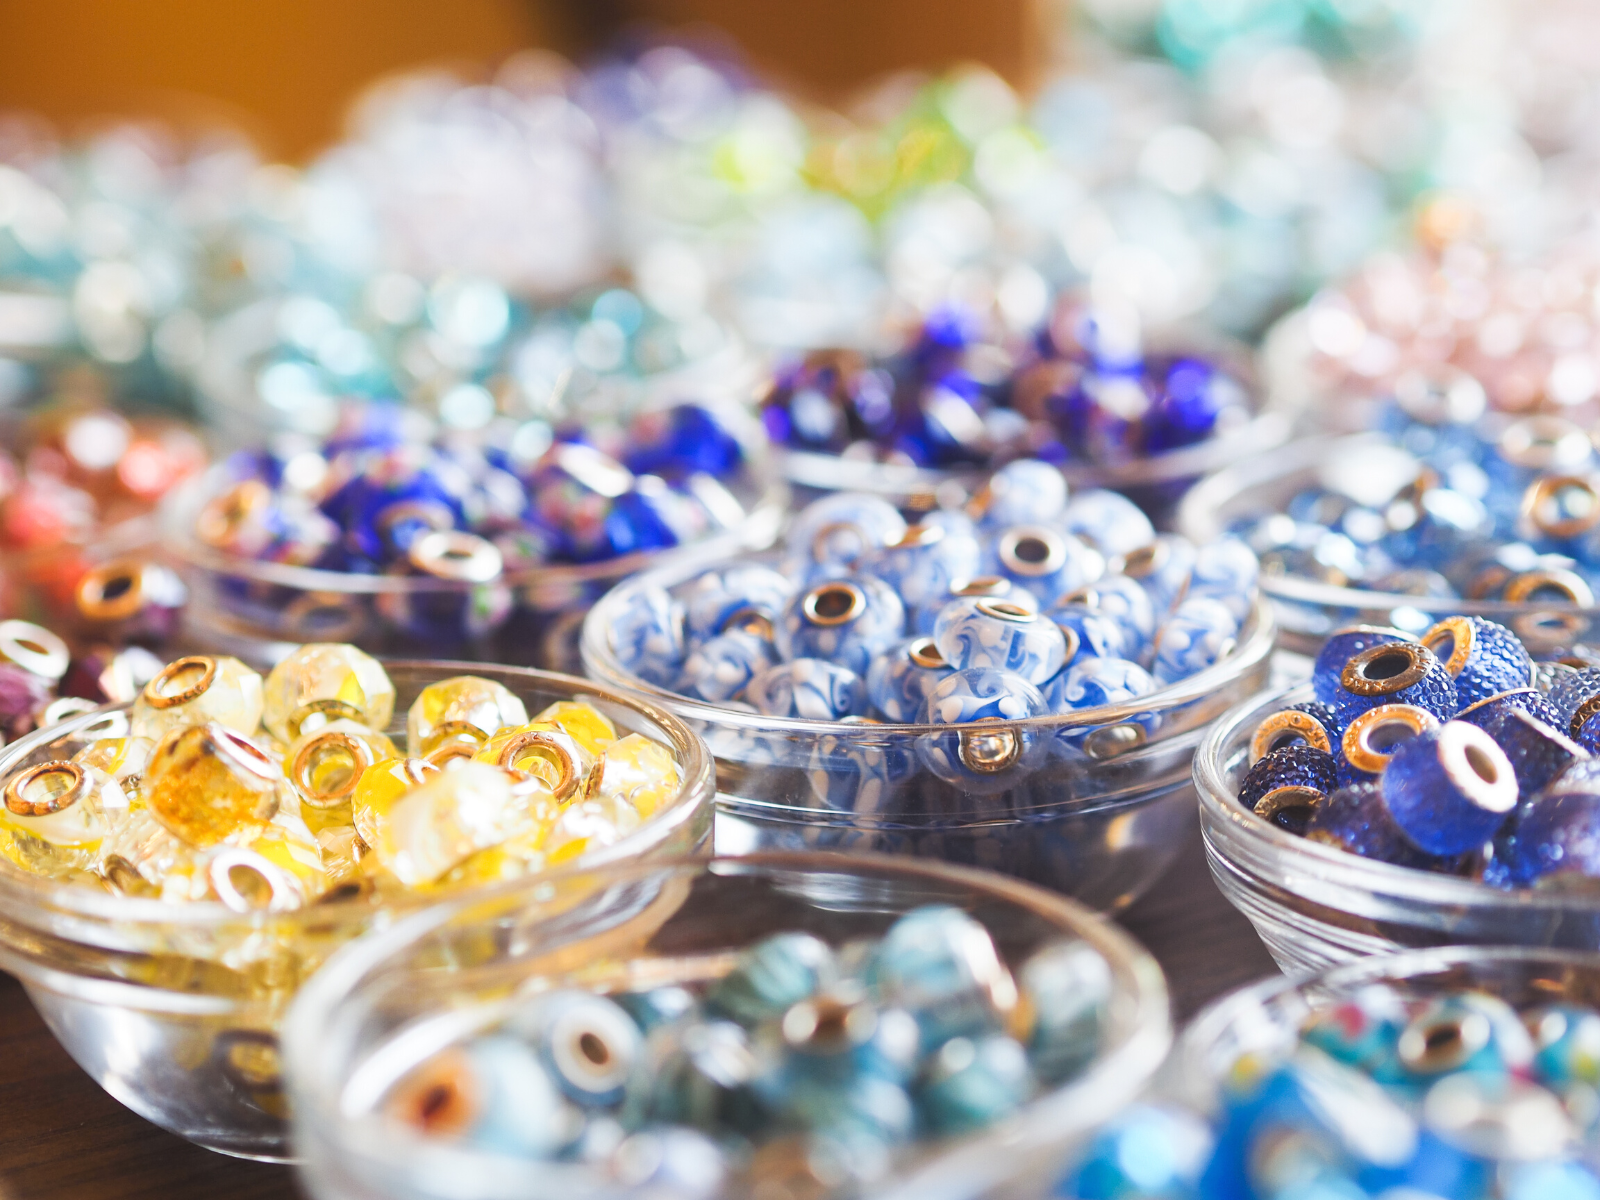
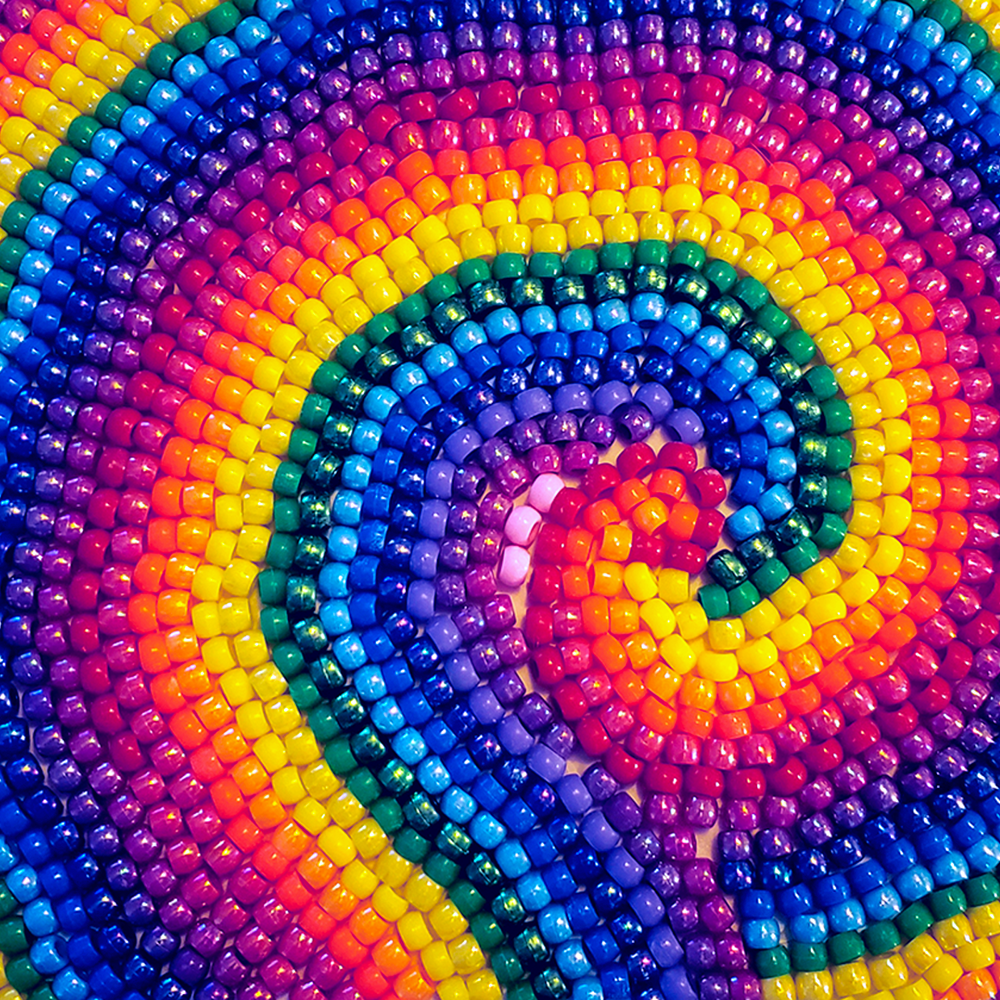
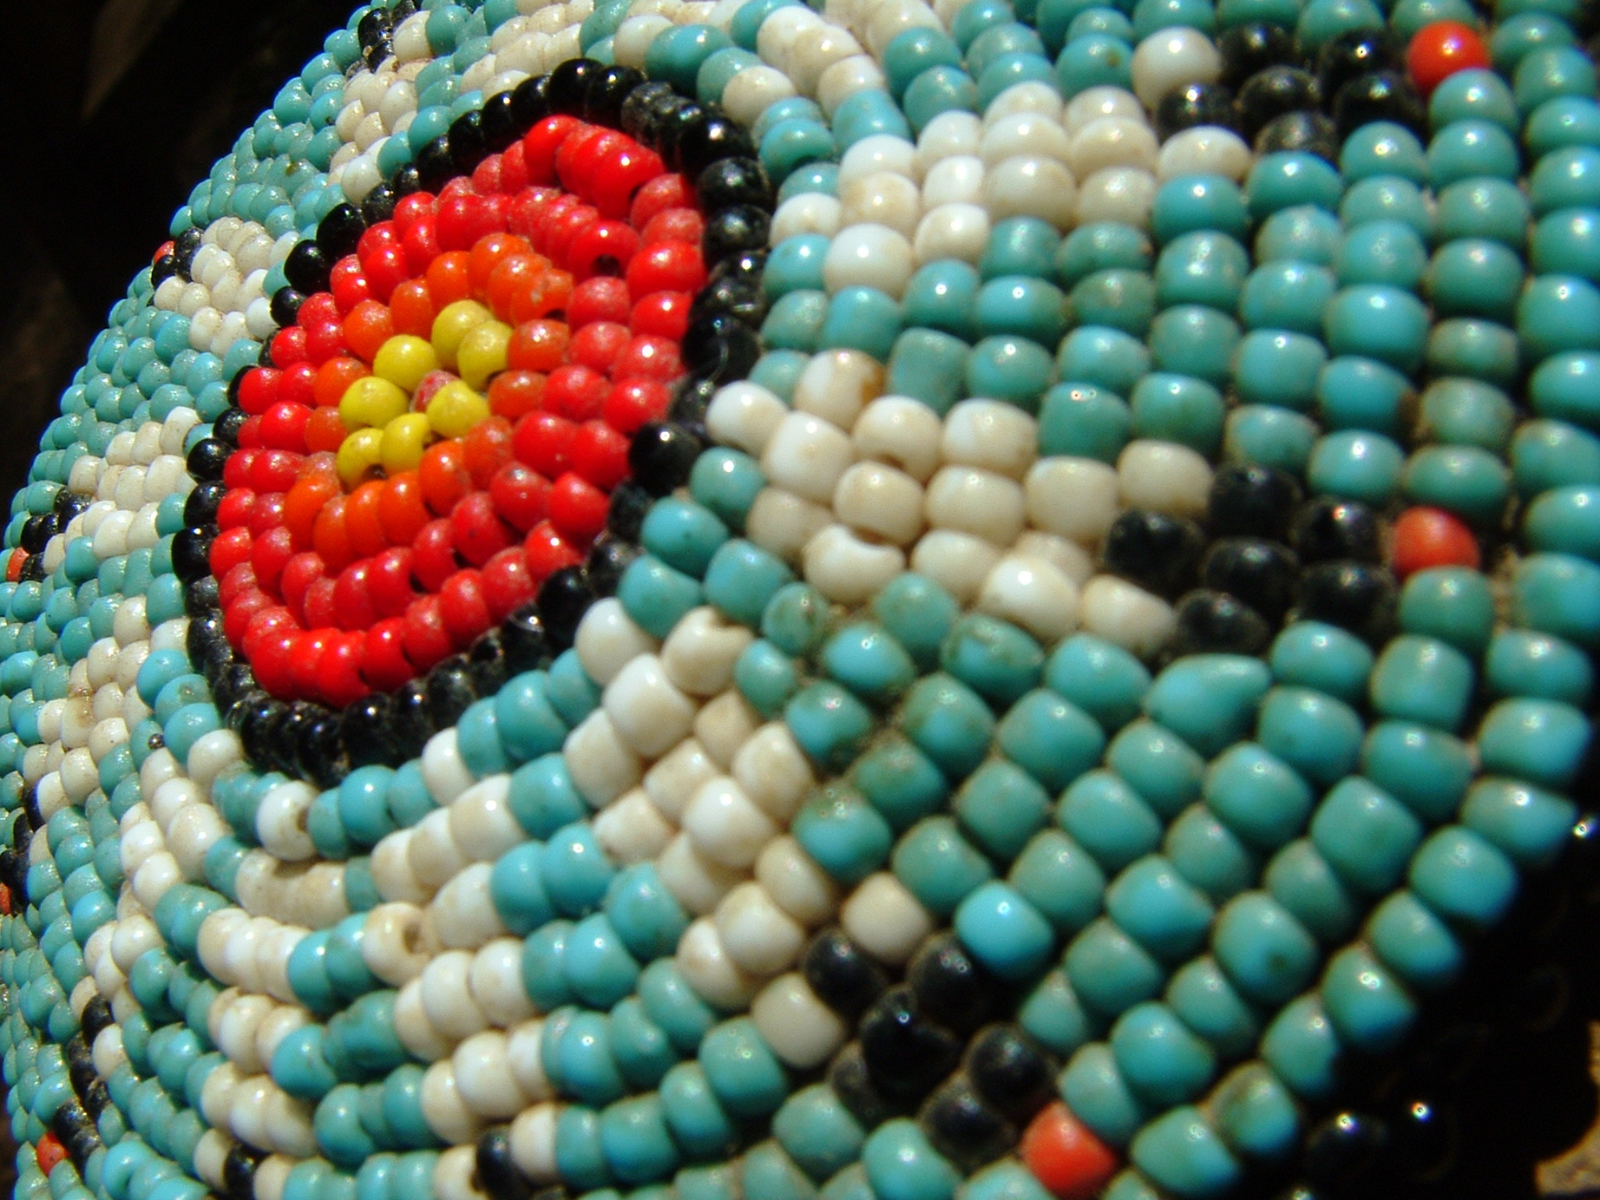
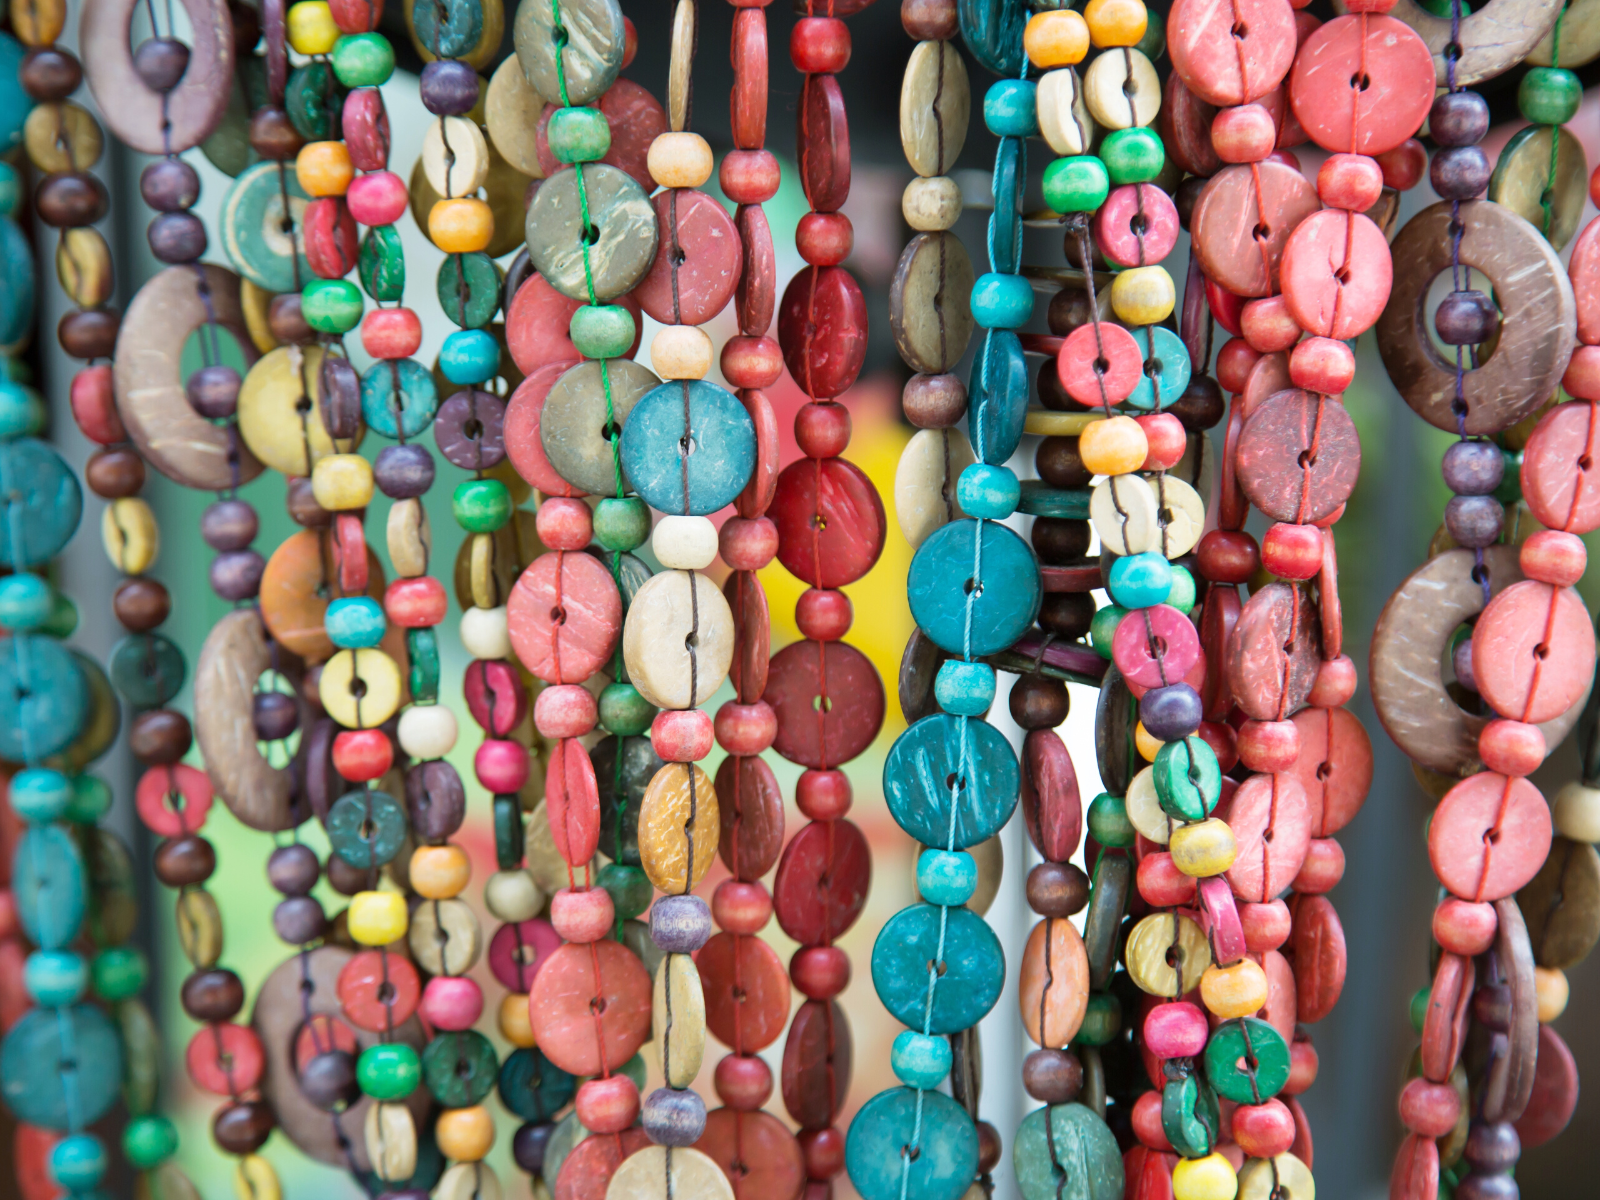
Beads come in all shapes, sizes, and materials, from glass and crystal to wood, plastic, paper, and more.
Don't be afraid to experiment with different beading resources and see how they affect your work.
Some beading supplies may be easier to work with, while others may require different wirework techniques or tools.
Mix and match them to create unique and beautiful designs.
Don't limit yourself and choose to combine different materials such as metal, fabric, and natural elements creates a unique and eye-catching piece that can stand out.
Experiment with different colors, textures, shapes, and finishes to create interesting and original pieces.
Feel free to experiment with different styles and techniques because you’ll never know how beautiful something can look until you try it.
Use the Right Grip and Even Tension
Holding your needle right can make a significant difference in your beading experience.
The most commonly used grip is the overhand grip, where you hold the needle between your thumb and index finger.
However, if you find this grip uncomfortable or have trouble threading the needle, try the underhand grip, where you hold the needle between your index and middle finger.
Tension is essential when beading as it ensures that the beads stay in place and the final product is of good quality.
Beads should be neither too tight nor too loose, and the thread should not be too loose or too tight as well.
To achieve even tension, make sure to hold the thread tightly while inserting the needle through the bead.
It also helps to leave some slack in the thread after each bead.
Don't Rush the Process and Watch Out for Mistakes
Beading is a process that requires time, attention, and effort.
Don't rush through the creation process as it can hinder your progress and result in poor quality.
Take your time and be patient throughout the entire beading process, whether for simple or complex projects.
This helps to create a higher quality piece and can lead to creating interesting alternations to the initial plan.
Mistakes happen, and it's a natural part of the learning process.
However, it's important to catch them early on to prevent them from ruining your work.
Some common mistakes include missing a bead, repeating a pattern too many times, or using the wrong bead.
Always double-check your work before you move on.
If you make a mistake, take the time to fix it carefully and accurately.
Practice Makes Perfect
Practice, practice, practice - this rule applies to everything, including beading.
The more practice you get, the more you'll develop your skills, techniques, and style.
Start with simple projects and gradually move towards intricate designs as your experience grows.
Learning new techniques and challenging yourself is the key to being a successful beader.
Remember, the more you practice, the better you get at beading.
Set aside some time each day or week to work on a new project or experiment with different techniques.
Don't get discouraged if it doesn't turn out right the first few times – keep at it, and you'll see improvement over time.
Be Creative and Practice Cleanliness
When starting any project, ensure all surfaces are clean to avoid contaminating your beads or accidentally losing some.
Having clean hands and work surfaces go a long way in preserving your beads and maintaining their quality.
Beadwork is all about creativity, so let your imagination run wild.
Don't be afraid to experiment with unconventional designs or nonconforming color schemes.
It could result in a beautiful and unique piece.
Affordable beads or limited resources around you shouldn't limit achieving quality products.
Incorporate new techniques and materials, and perhaps blend in styles you've seen.
Always try out different styles, and don't dismiss anything simply because it doesn't appear in traditional beading patterns.
Completing Your Project
Finishing your work correctly is as important as starting it right.
To prevent your beaded strands from unraveling, tie a knot at the end of the thread, and weave it back through a few beads before snipping the excess thread.
For a professional-looking finish, use a crimp bead or a ribbon clamp to create loops and clasps.
This adds a nice touch to your project and prevents the beads from moving around.
Finally, it's essential to store your finished pieces properly.
Invest in good quality storage boxes with separators to keep your pieces safe and organized.
This will also help you find the right pieces when you need them.
Remember, beading can be a fun and creative way to express yourself – so enjoy the process!

Beautiful Beading
Whether you're a seasoned pro or a beginner, the world of beading is vast and beautiful.
Beading is a craft that requires patience, practice, and creativity.
With these expert tips and tricks, you can take your beading game to the next level and unleash your creative side.
Remember to always invest in quality supplies, start with simple projects, stay organized, and let your imagination flow.
Soon, you'll be creating beautiful beaded masterpieces like a pro!
So, watch your pieces transform into beautiful creations and get ready to bead it up!
Eager to learn more about beading? Check out thefrugalcrafter Lindsay Weirich's video!
Want even more content about creativity and art?
Be sure to check out all of our creative chronicles!
Love beads?
Check out some of our other articles: